
On the request of my 17 yr. old granddaughter, who was visiting a few weeks ago, I volunteered to make her a dress, in the style of the 1950s. She had been trying to find “vintage” and “retro” clothing in thrift shops, but around here they were hard to find. (to see the difference between “vintage” and “retro” check out my last post, https://marykisner.com/understanding-antique-vintage-and-retro-clothing/.
Luckily, we found a pattern at JoAnn’s labeled “Retro ’52”, so we picked out fabric, buttons, zipper and thread for the project.
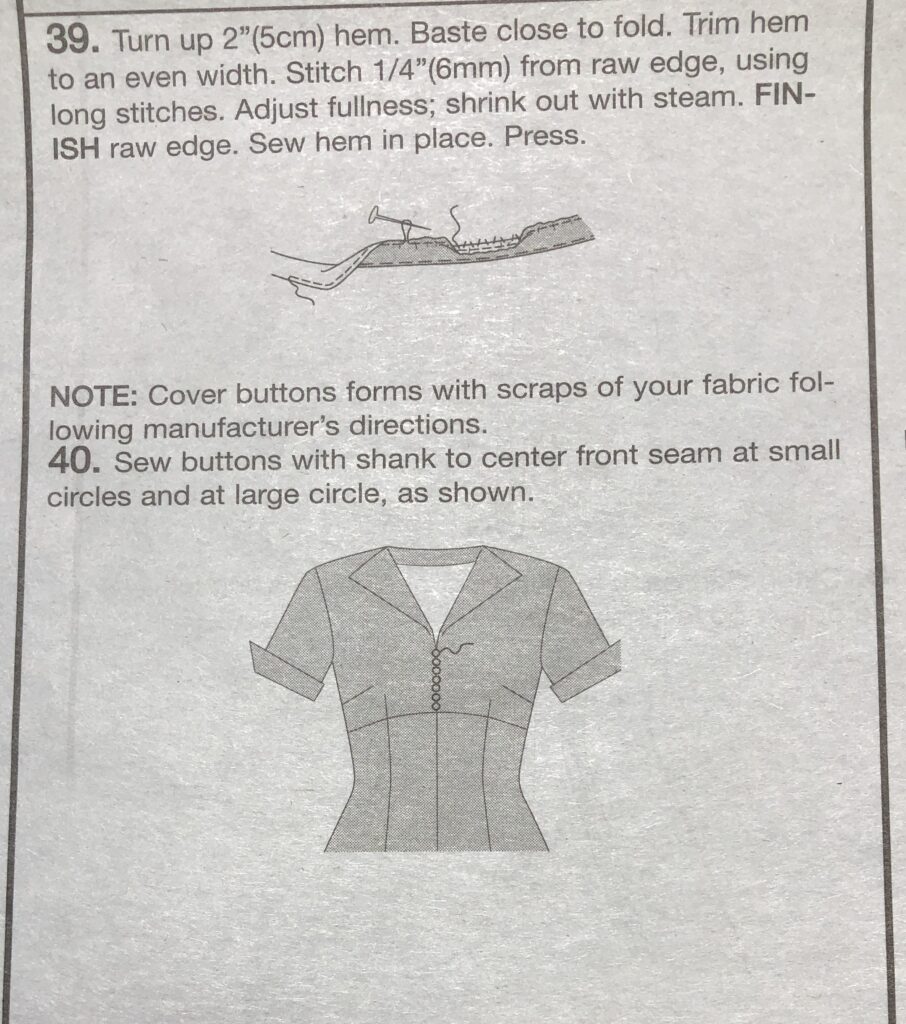
This is the pattern we chose:
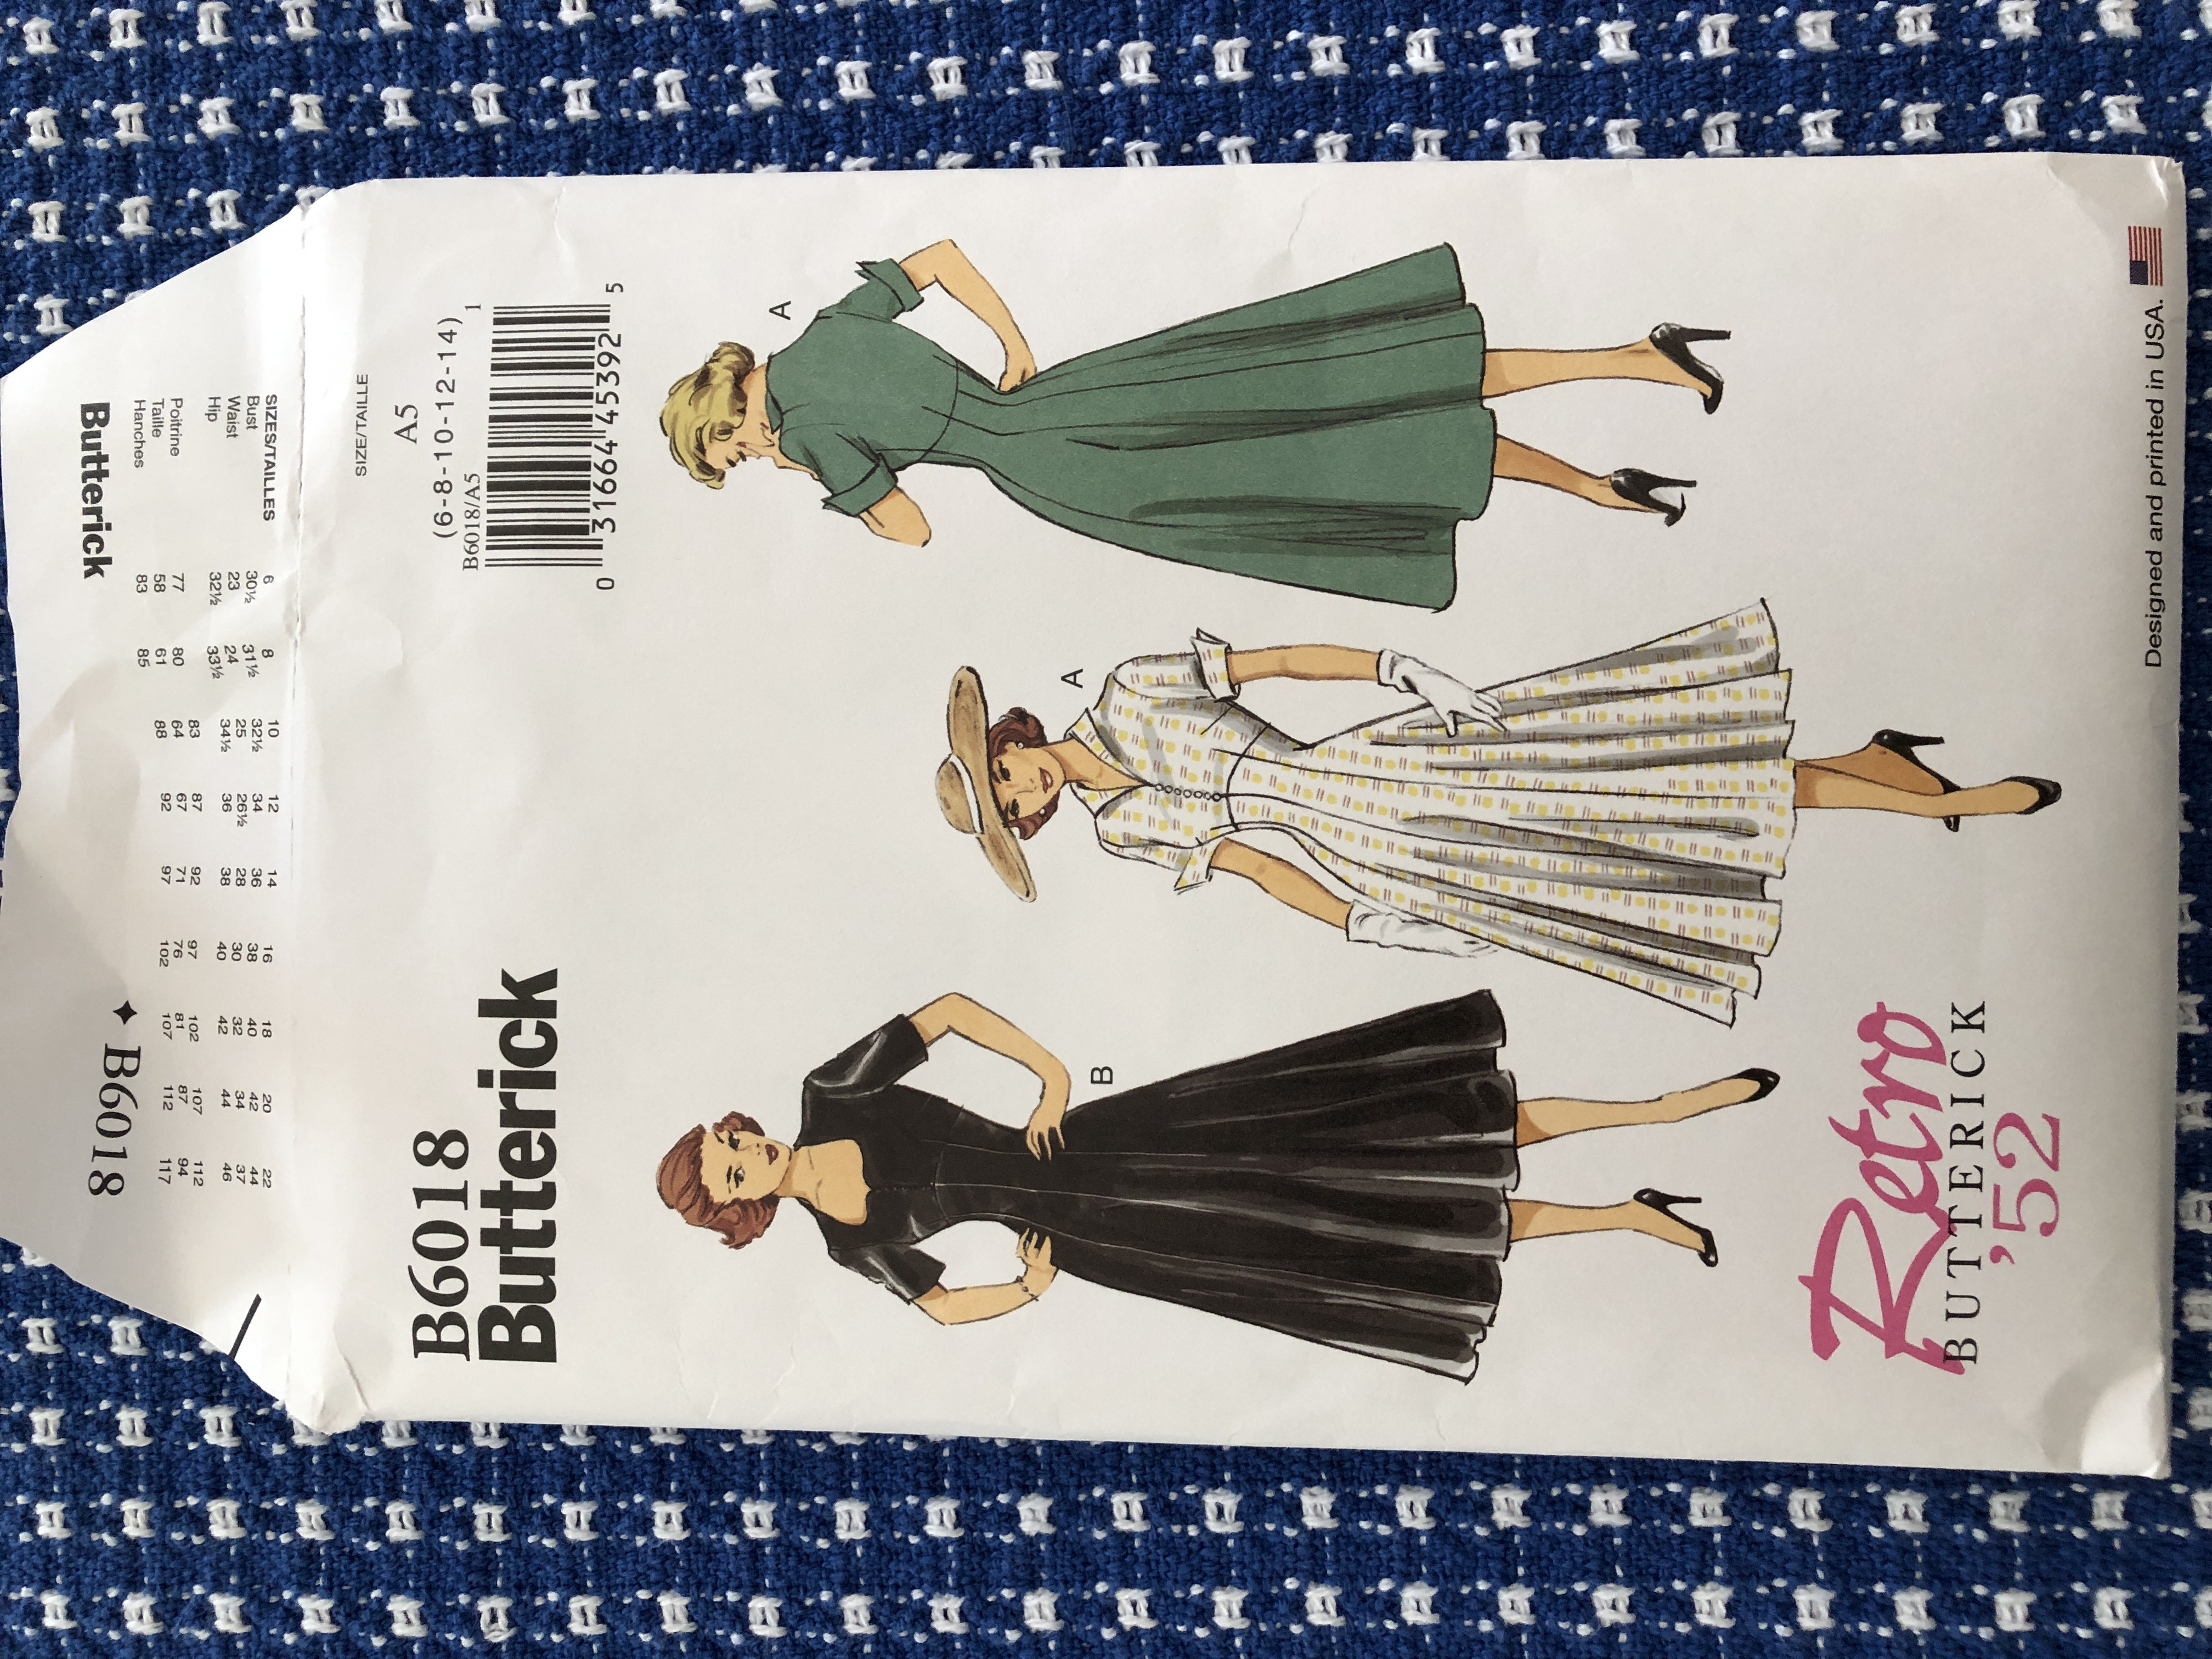
I was convinced I could just read the pattern, follow the directions, and whip out a dress! HA! This project brought back so many memories of my high school Home Economics classes…my teachers would be so proud that I actually did it! (Thank you, Mrs. Shaffer and Mrs. Krause!)
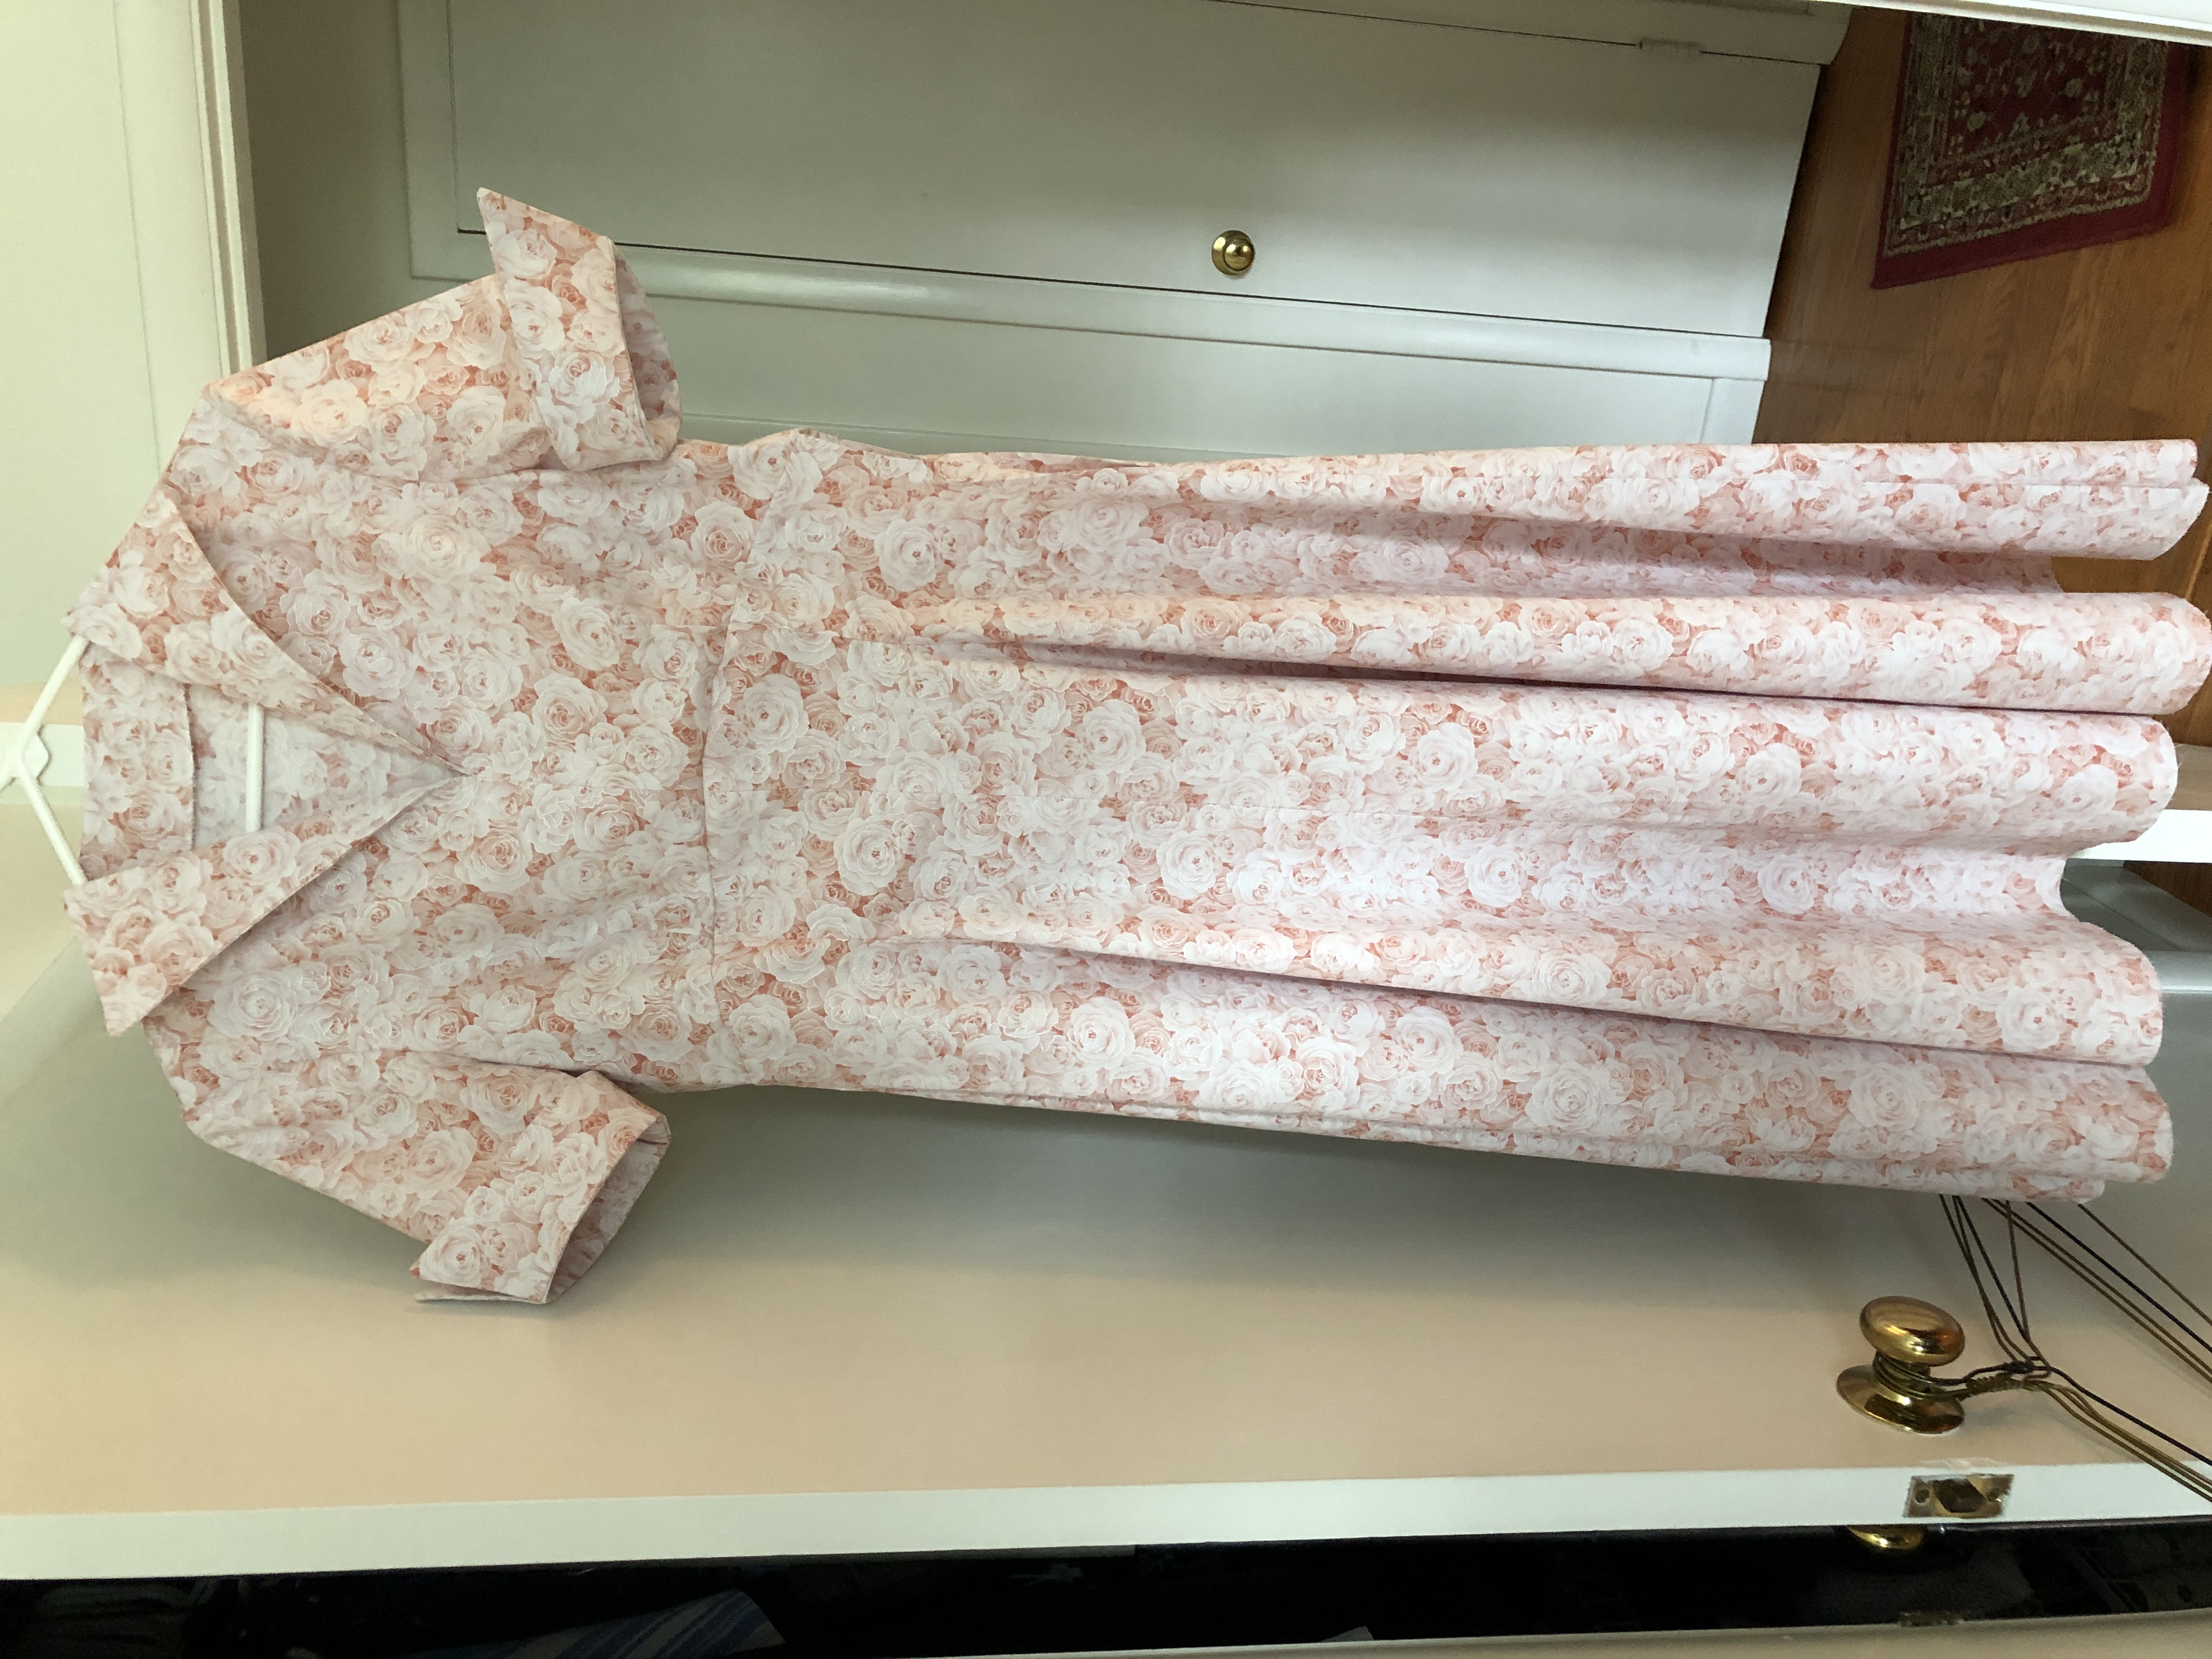
I think it turned out pretty well…hopefully it will fit when it gets to California! Here is the final dress (looks kind of flat without a body in it!).

Some very basic differences in sewing a dress in the style of the 1950s compared to today:
Fabric choices…suggested fabrics were light to medium weight woven fabrics like broadcloth, linen and taffeta. This means no extra stretch and the final dress will definitely need a hot iron! Does my granddaughter even know how to iron?
Side zipper…I had forgotten about the zipper tucked under the armpit! The pattern had pretty good instructions but it still took me two tries to get it right! (Gee, I hate to rip out stuff!)
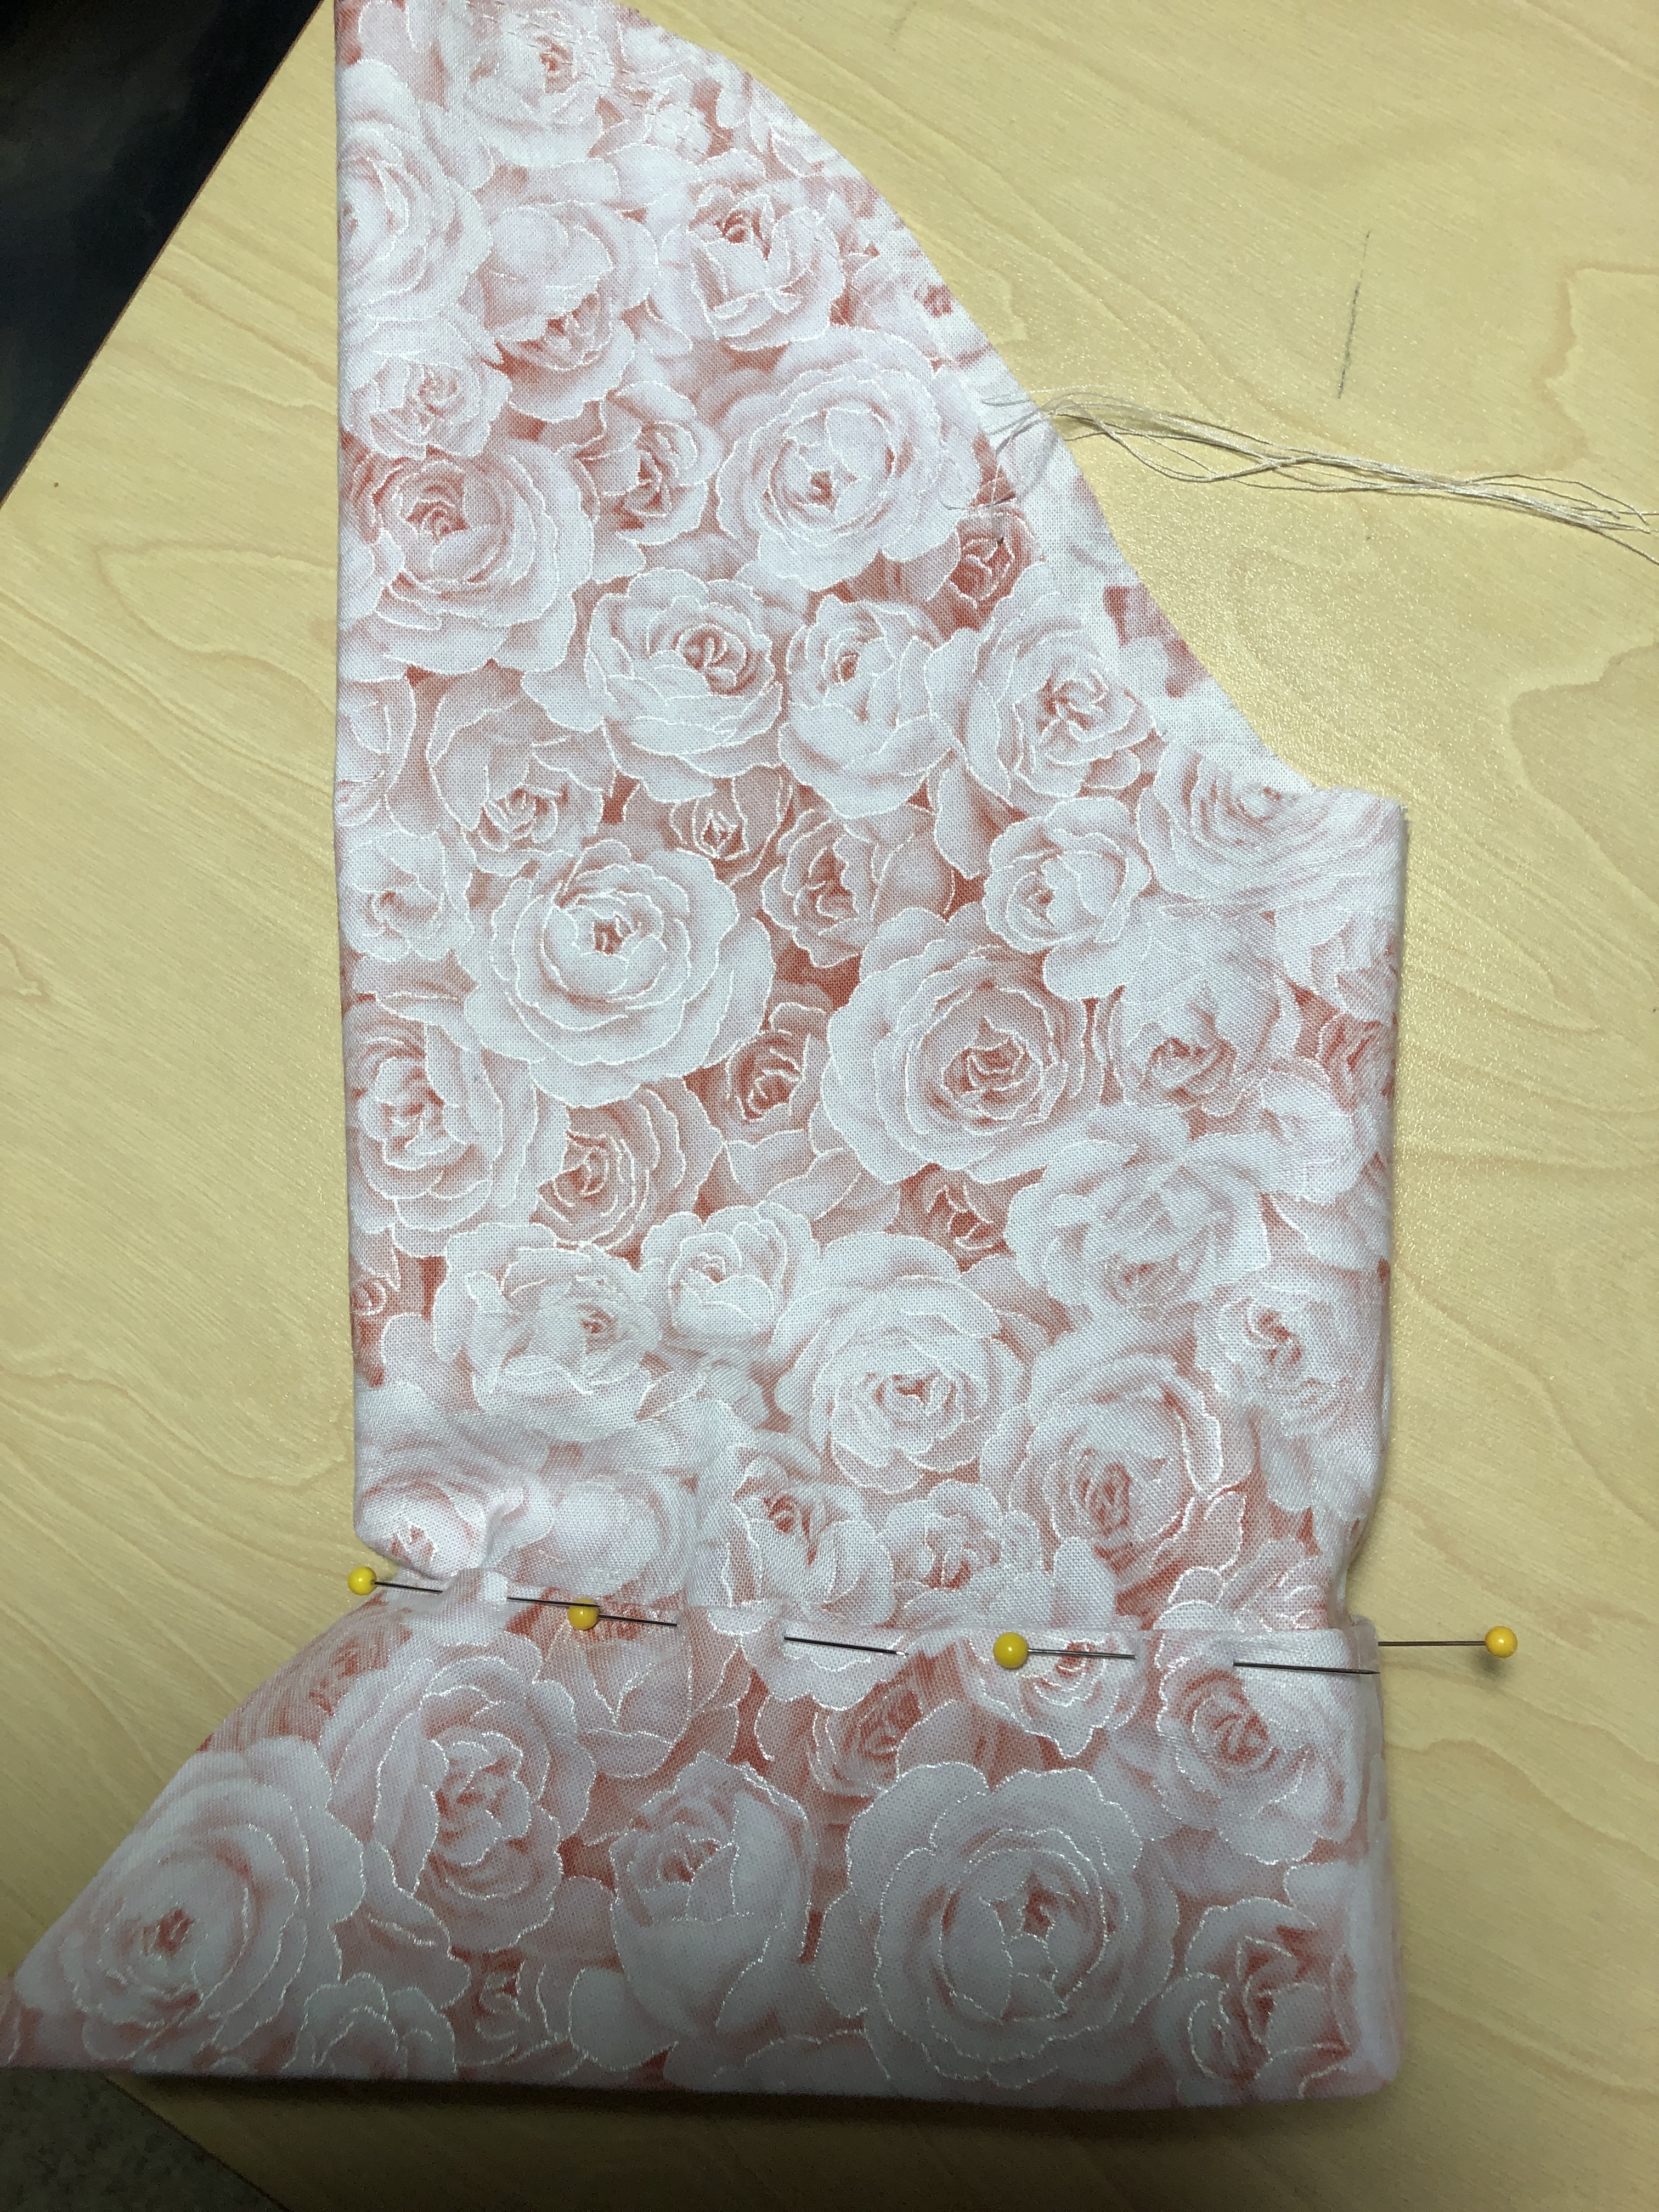
Fitted sleeves…just looking at the shape of the sleeve pattern told me it would be a restrictive sleeve. We are so spoiled with soft stretchy t-shirts!

Full skirt…making the hem a tedious half-day task by hand.
Complexity of the pattern itself…this pattern had 5 sizes in one, from size 6 to 14. To do that every pattern piece had 5 cutting lines, 5 sets of circles, etc.
Cutting Out the Dress
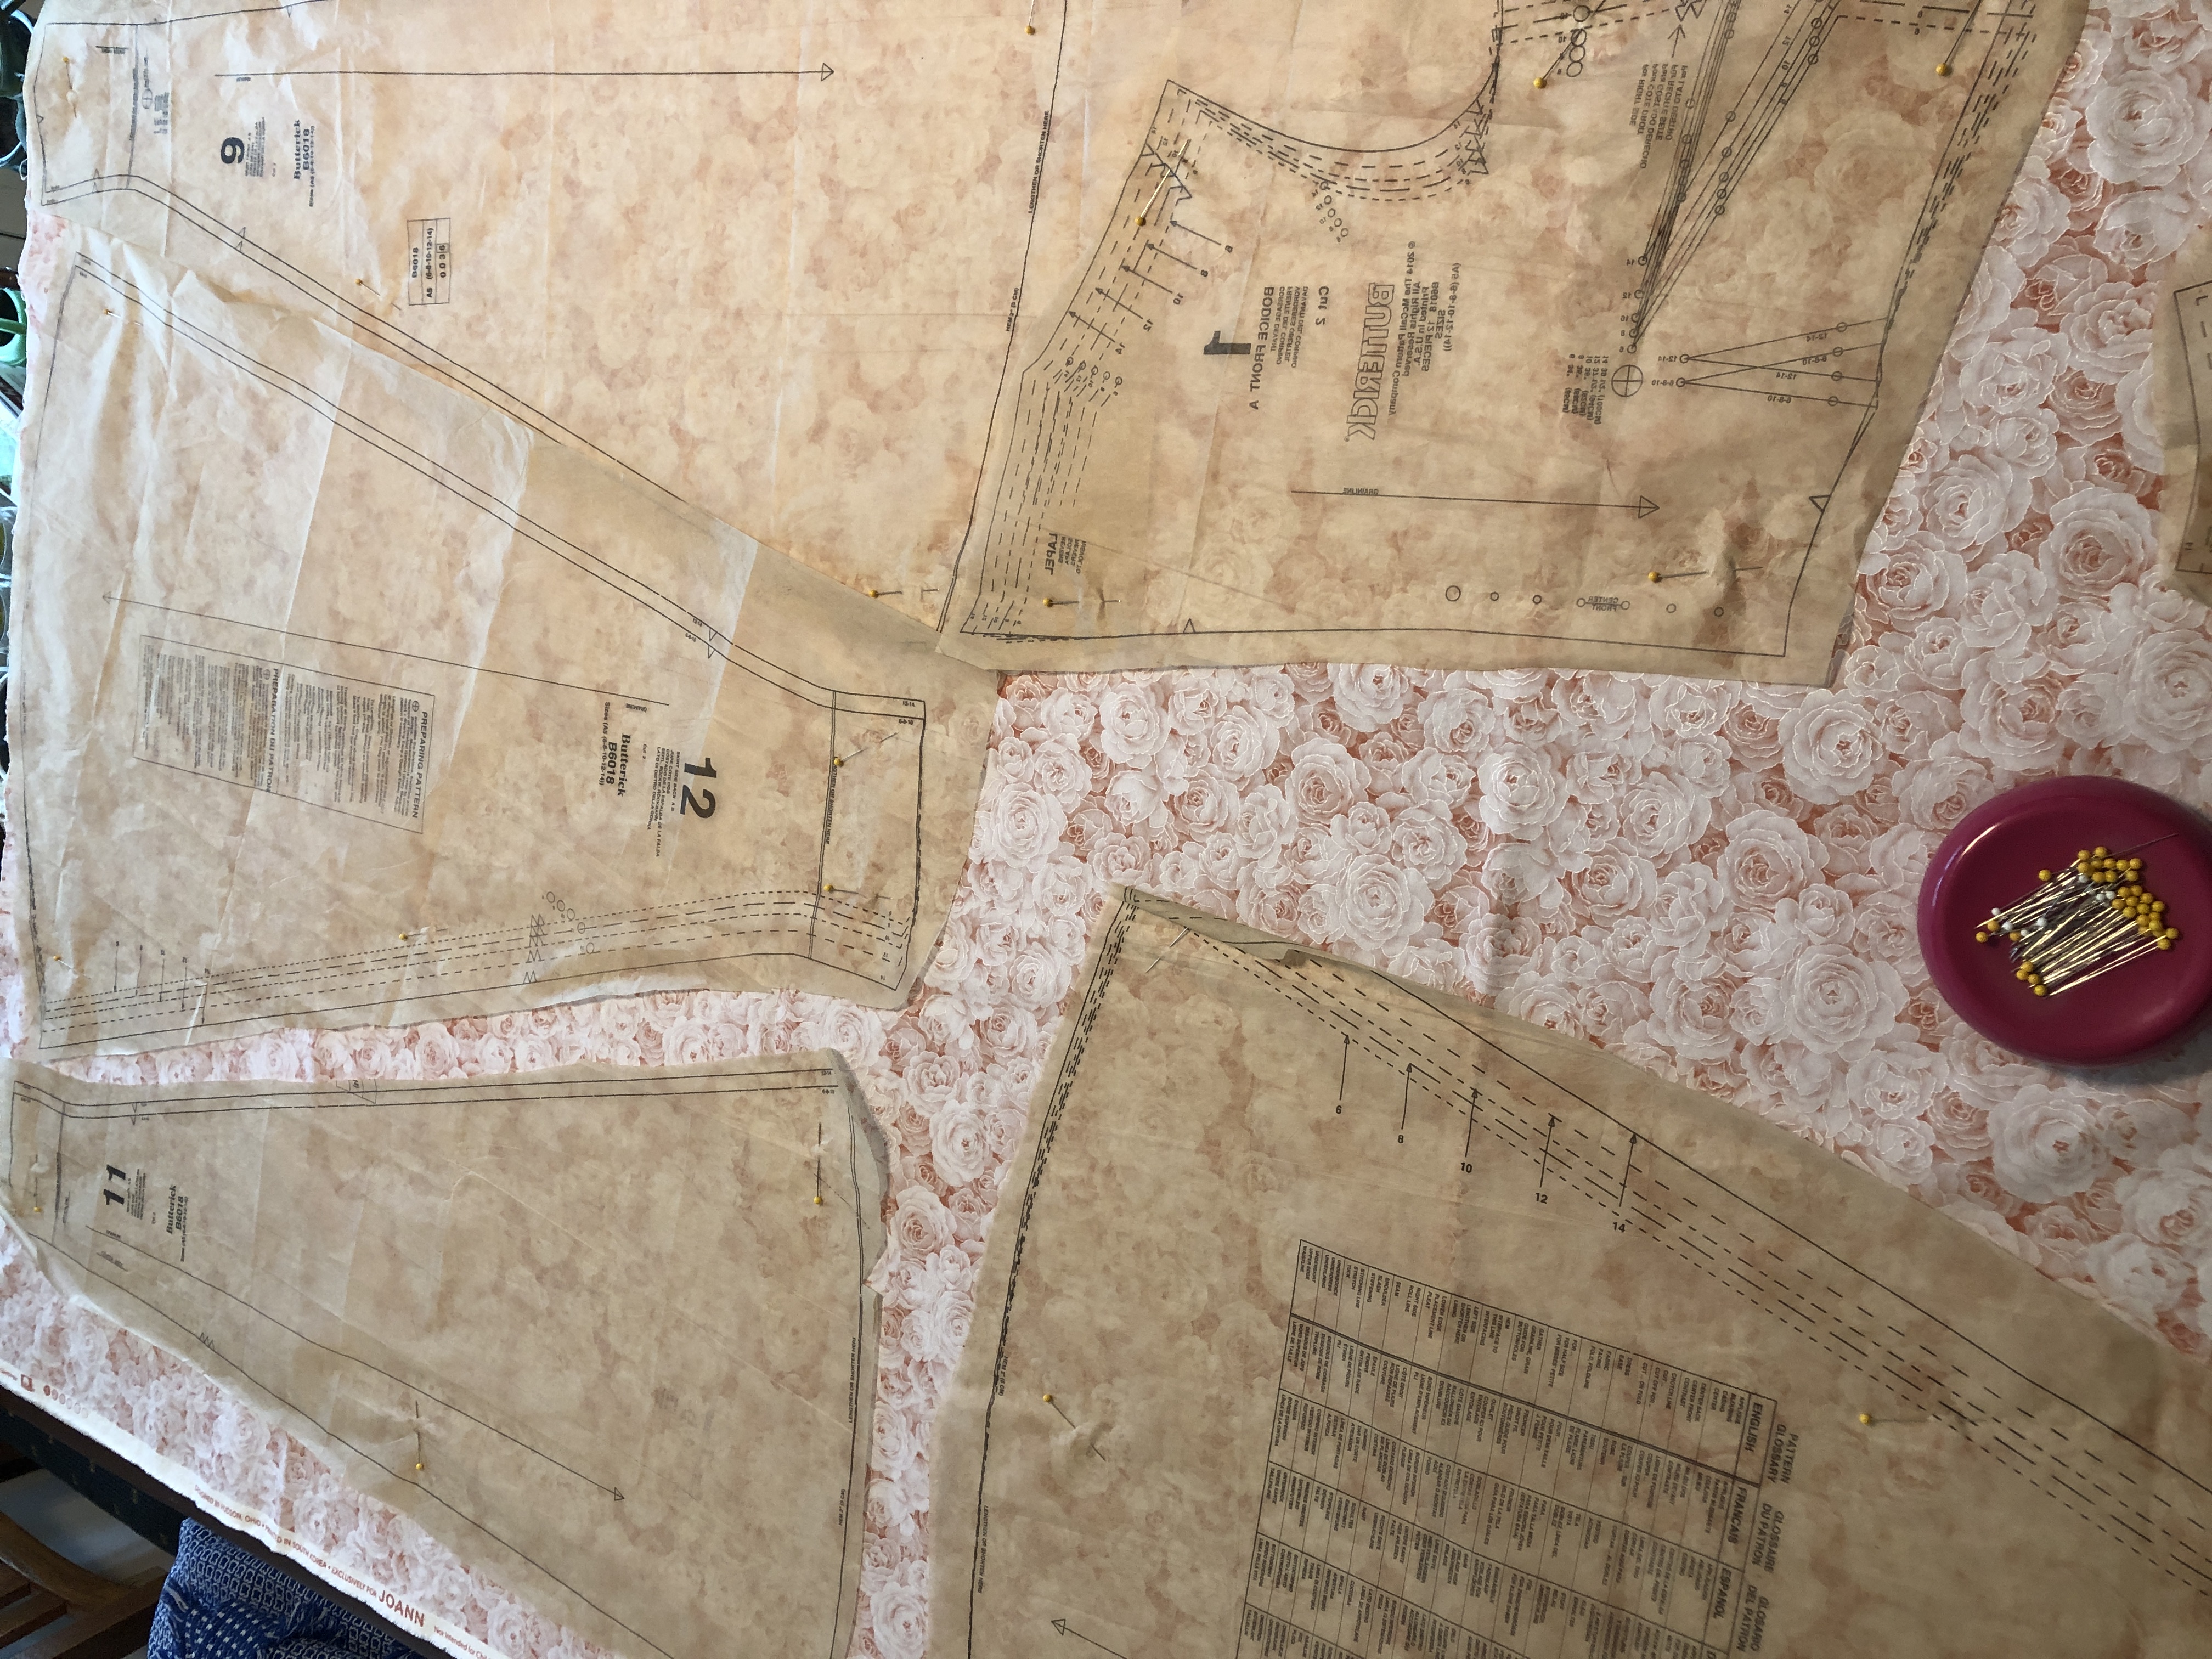
I cut out the dress on a day when I had no distractions. The suggested layout was intimidating:
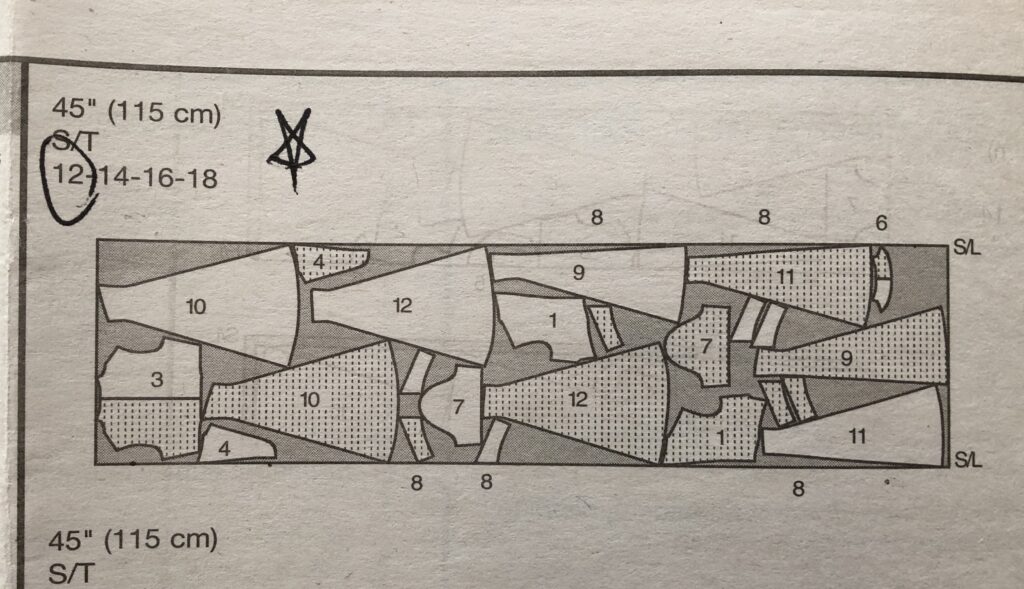
This layout had me cutting out each piece in a single twice and after stewing about this, I went back to JoAnn’s and bought another yard of fabric so I could do it my way. I just knew I would forget to flip each piece.
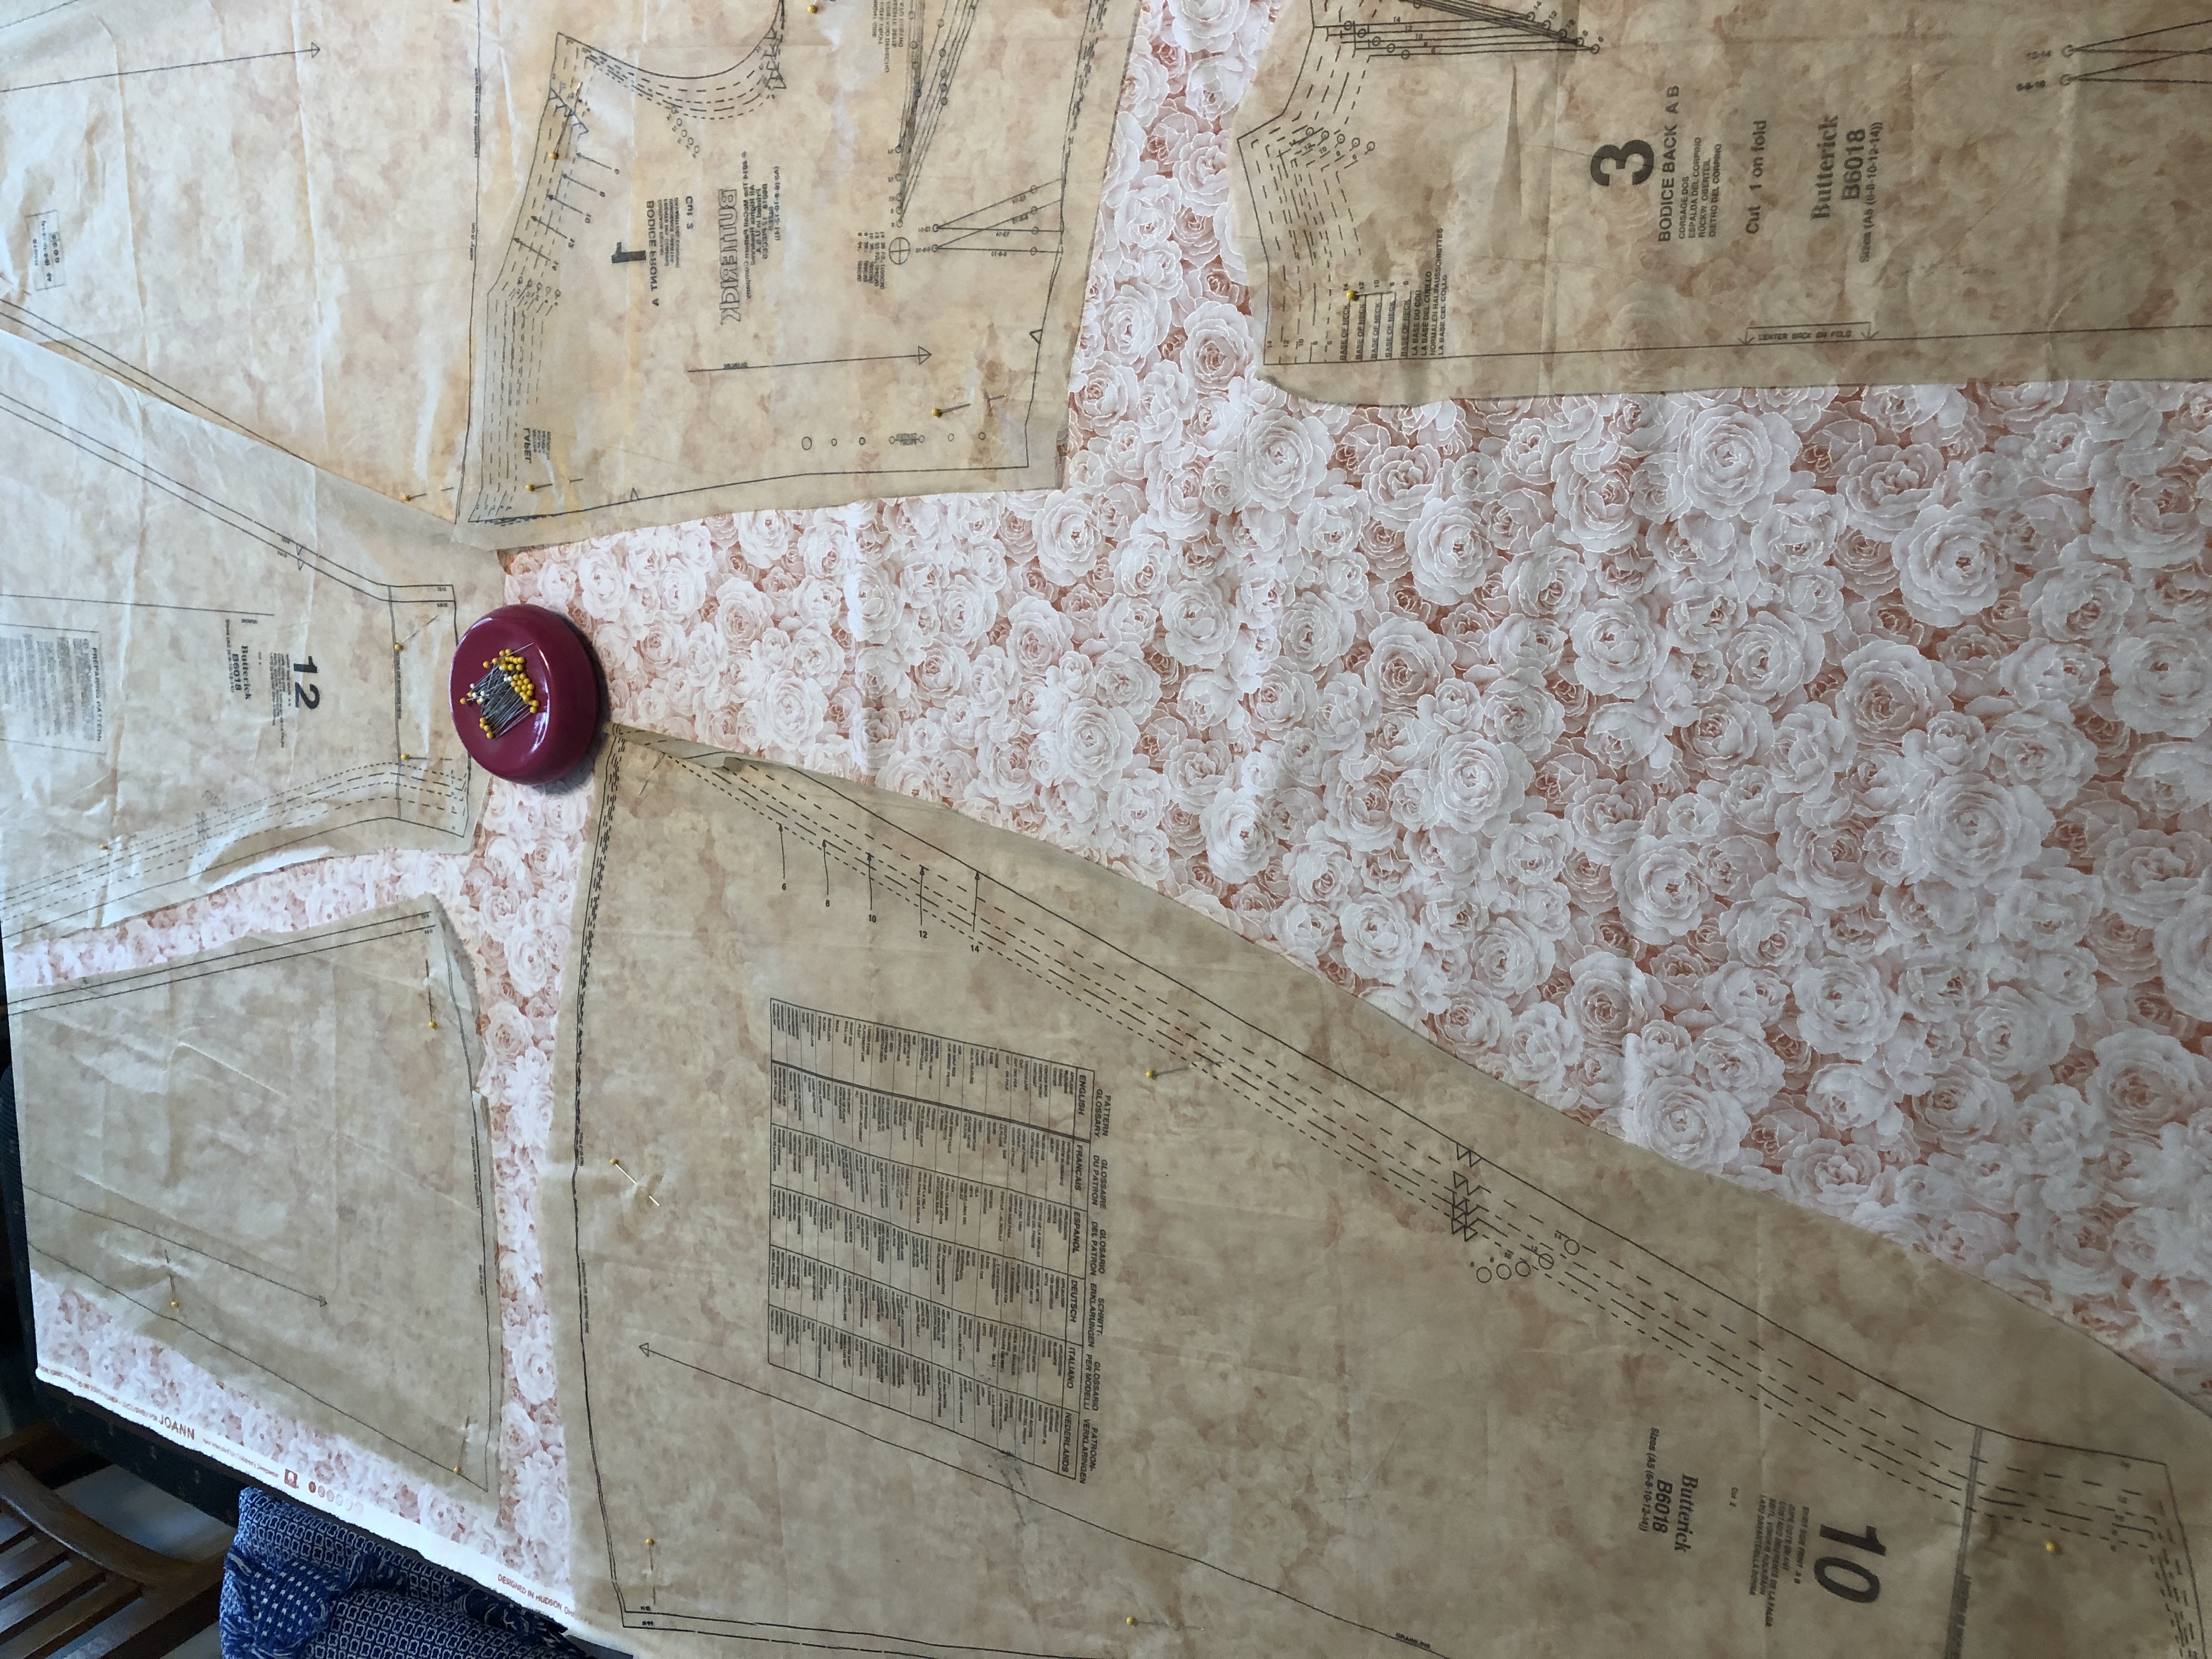
I folded the full width fabric in half and cut two of each piece at once so I was sure to have matching pieces. The extra yard I used to cut out all the little pieces, like the collar, cuffs, facings and sleeves. The length and shapes of the skirt pieces limited my choices of placement on the fabric.
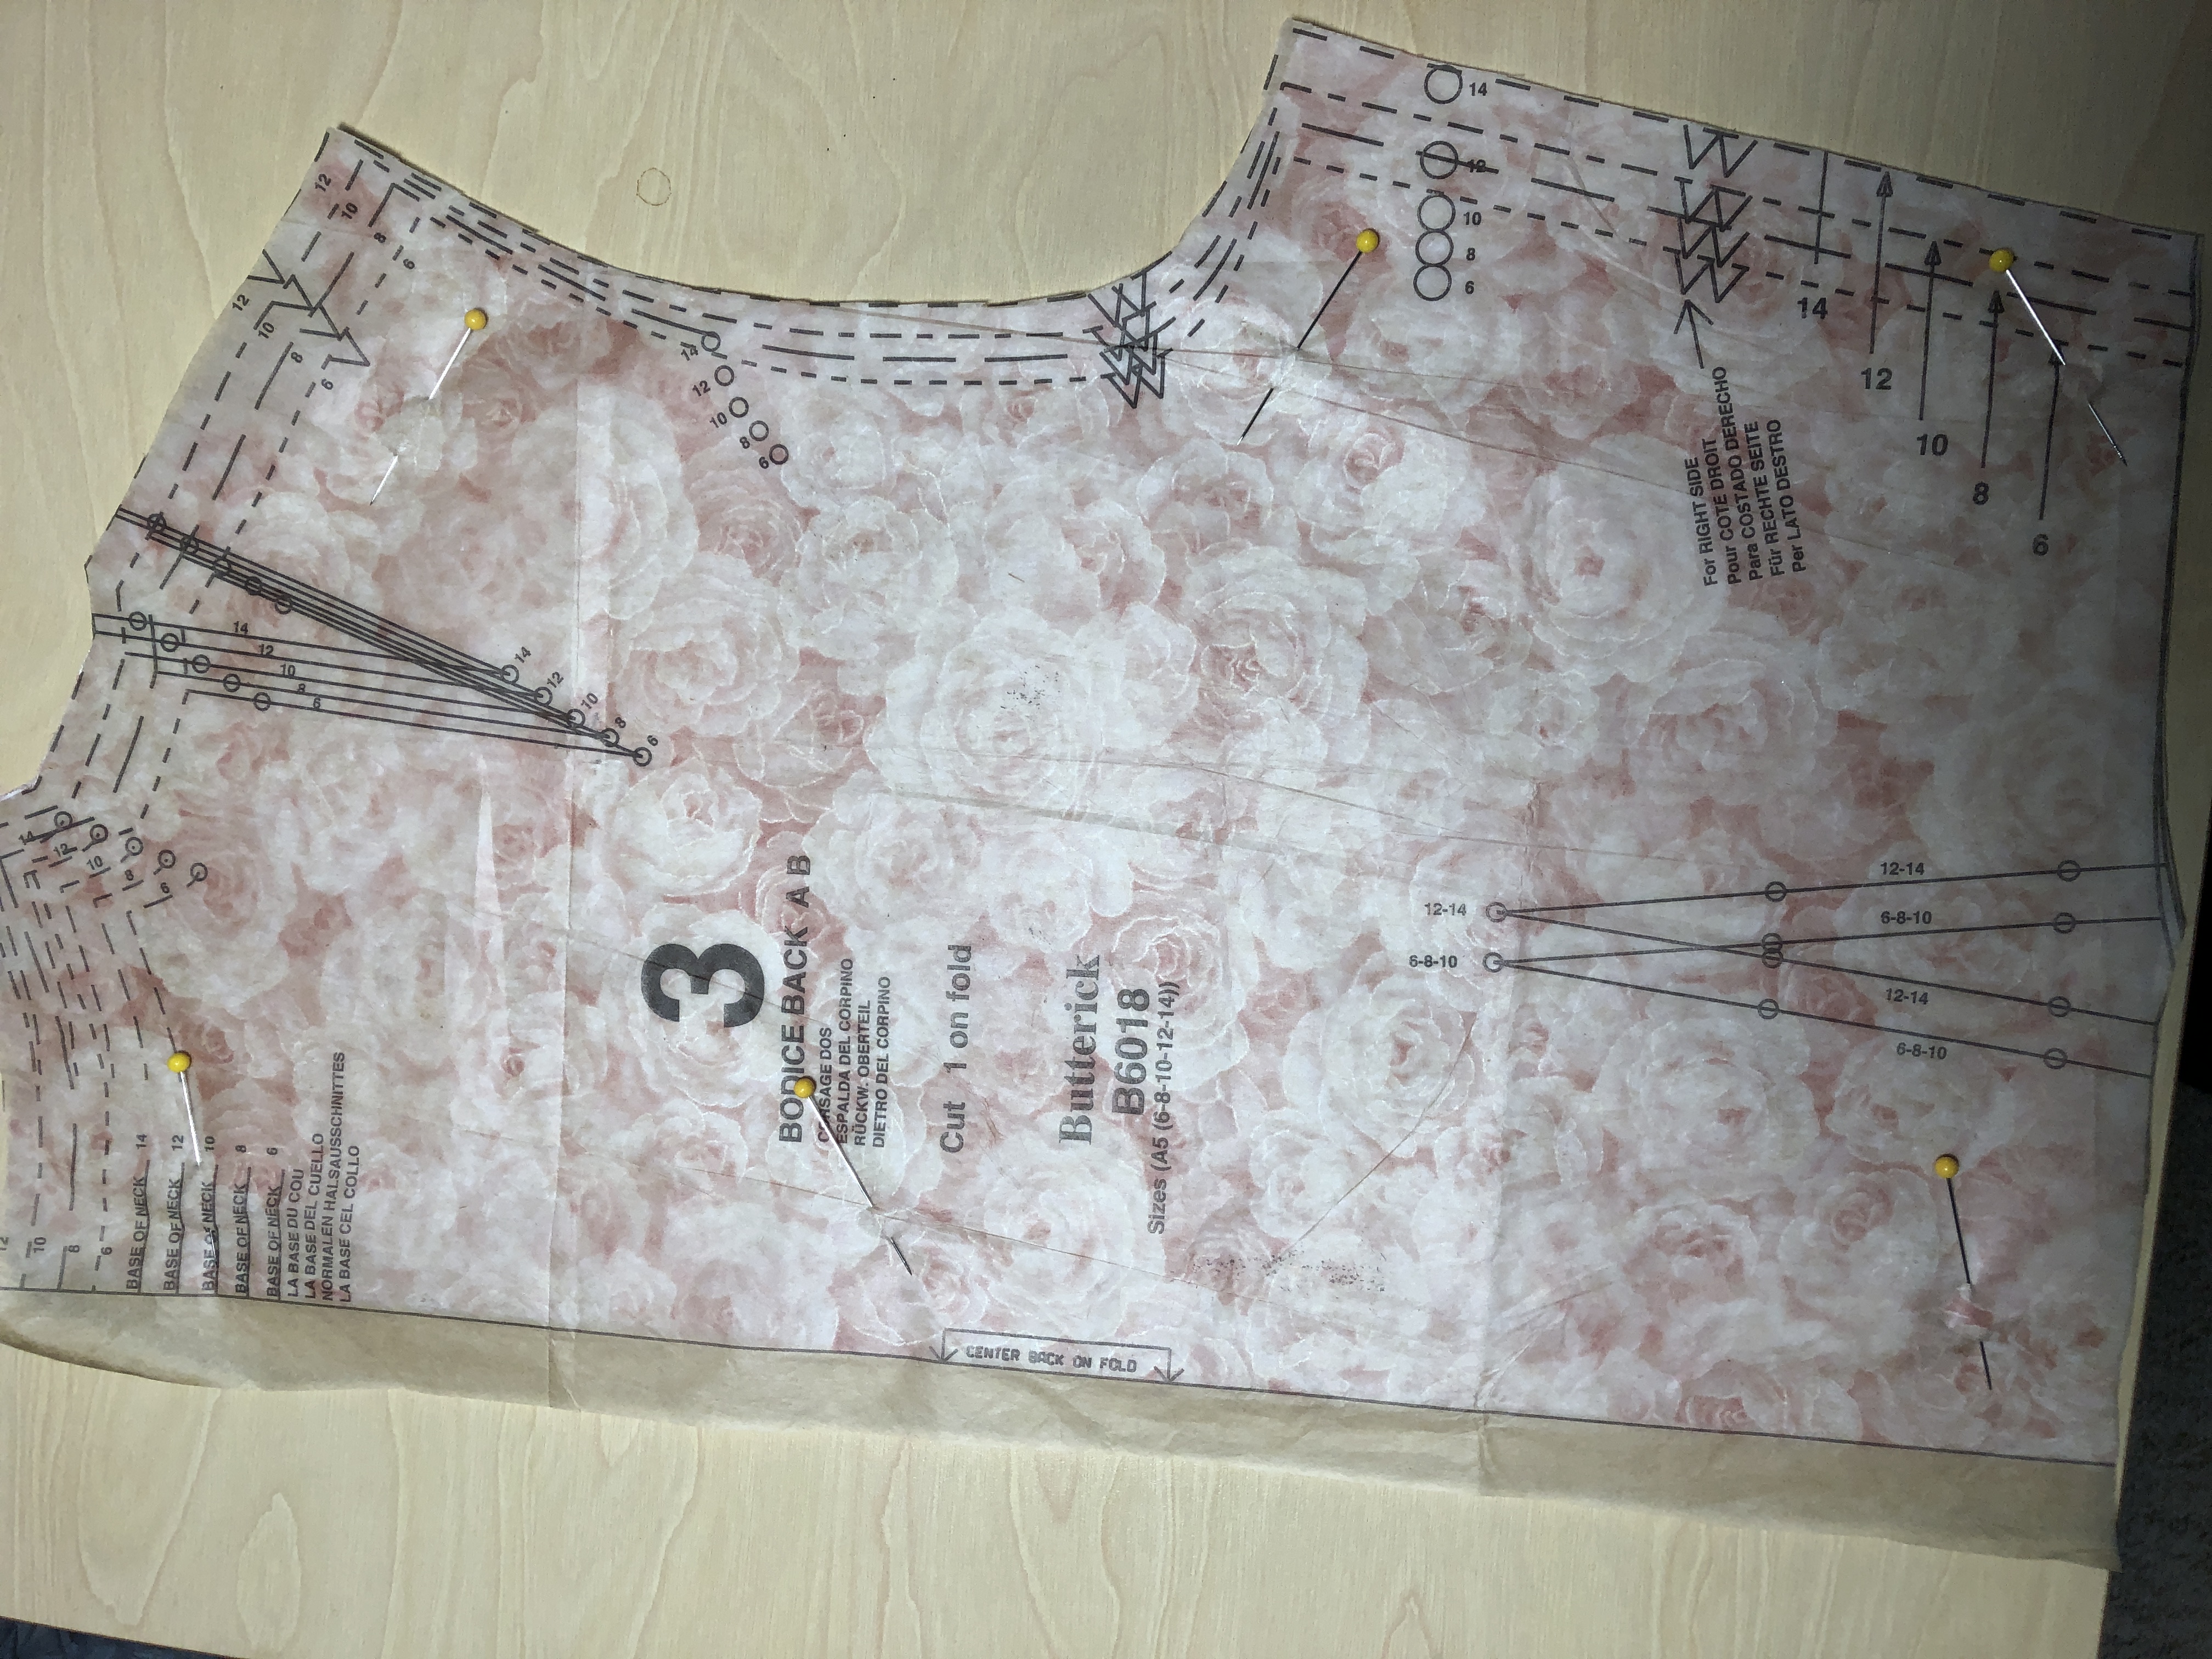
Once I had all the pattern pieces cut correctly, I kept them pinned together until I was ready to use the piece. Then I transferred the various markings (like darts and circles) with pins or a pencil. All the skirt pieces looked alike without the patterns, so I think that was a wise move.
Making the Dress
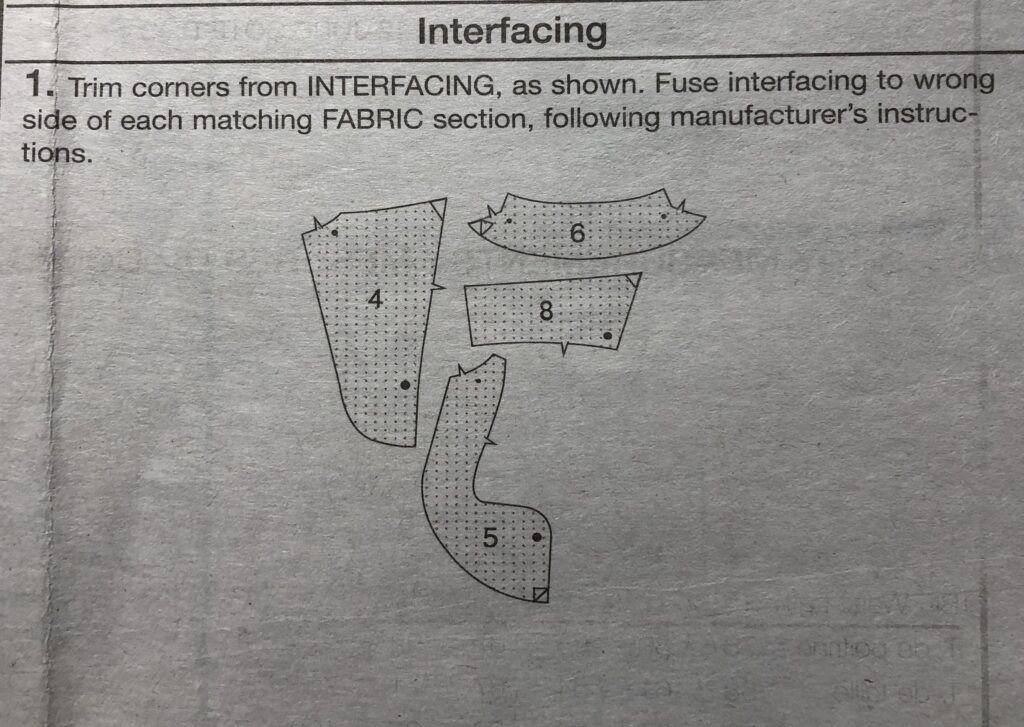
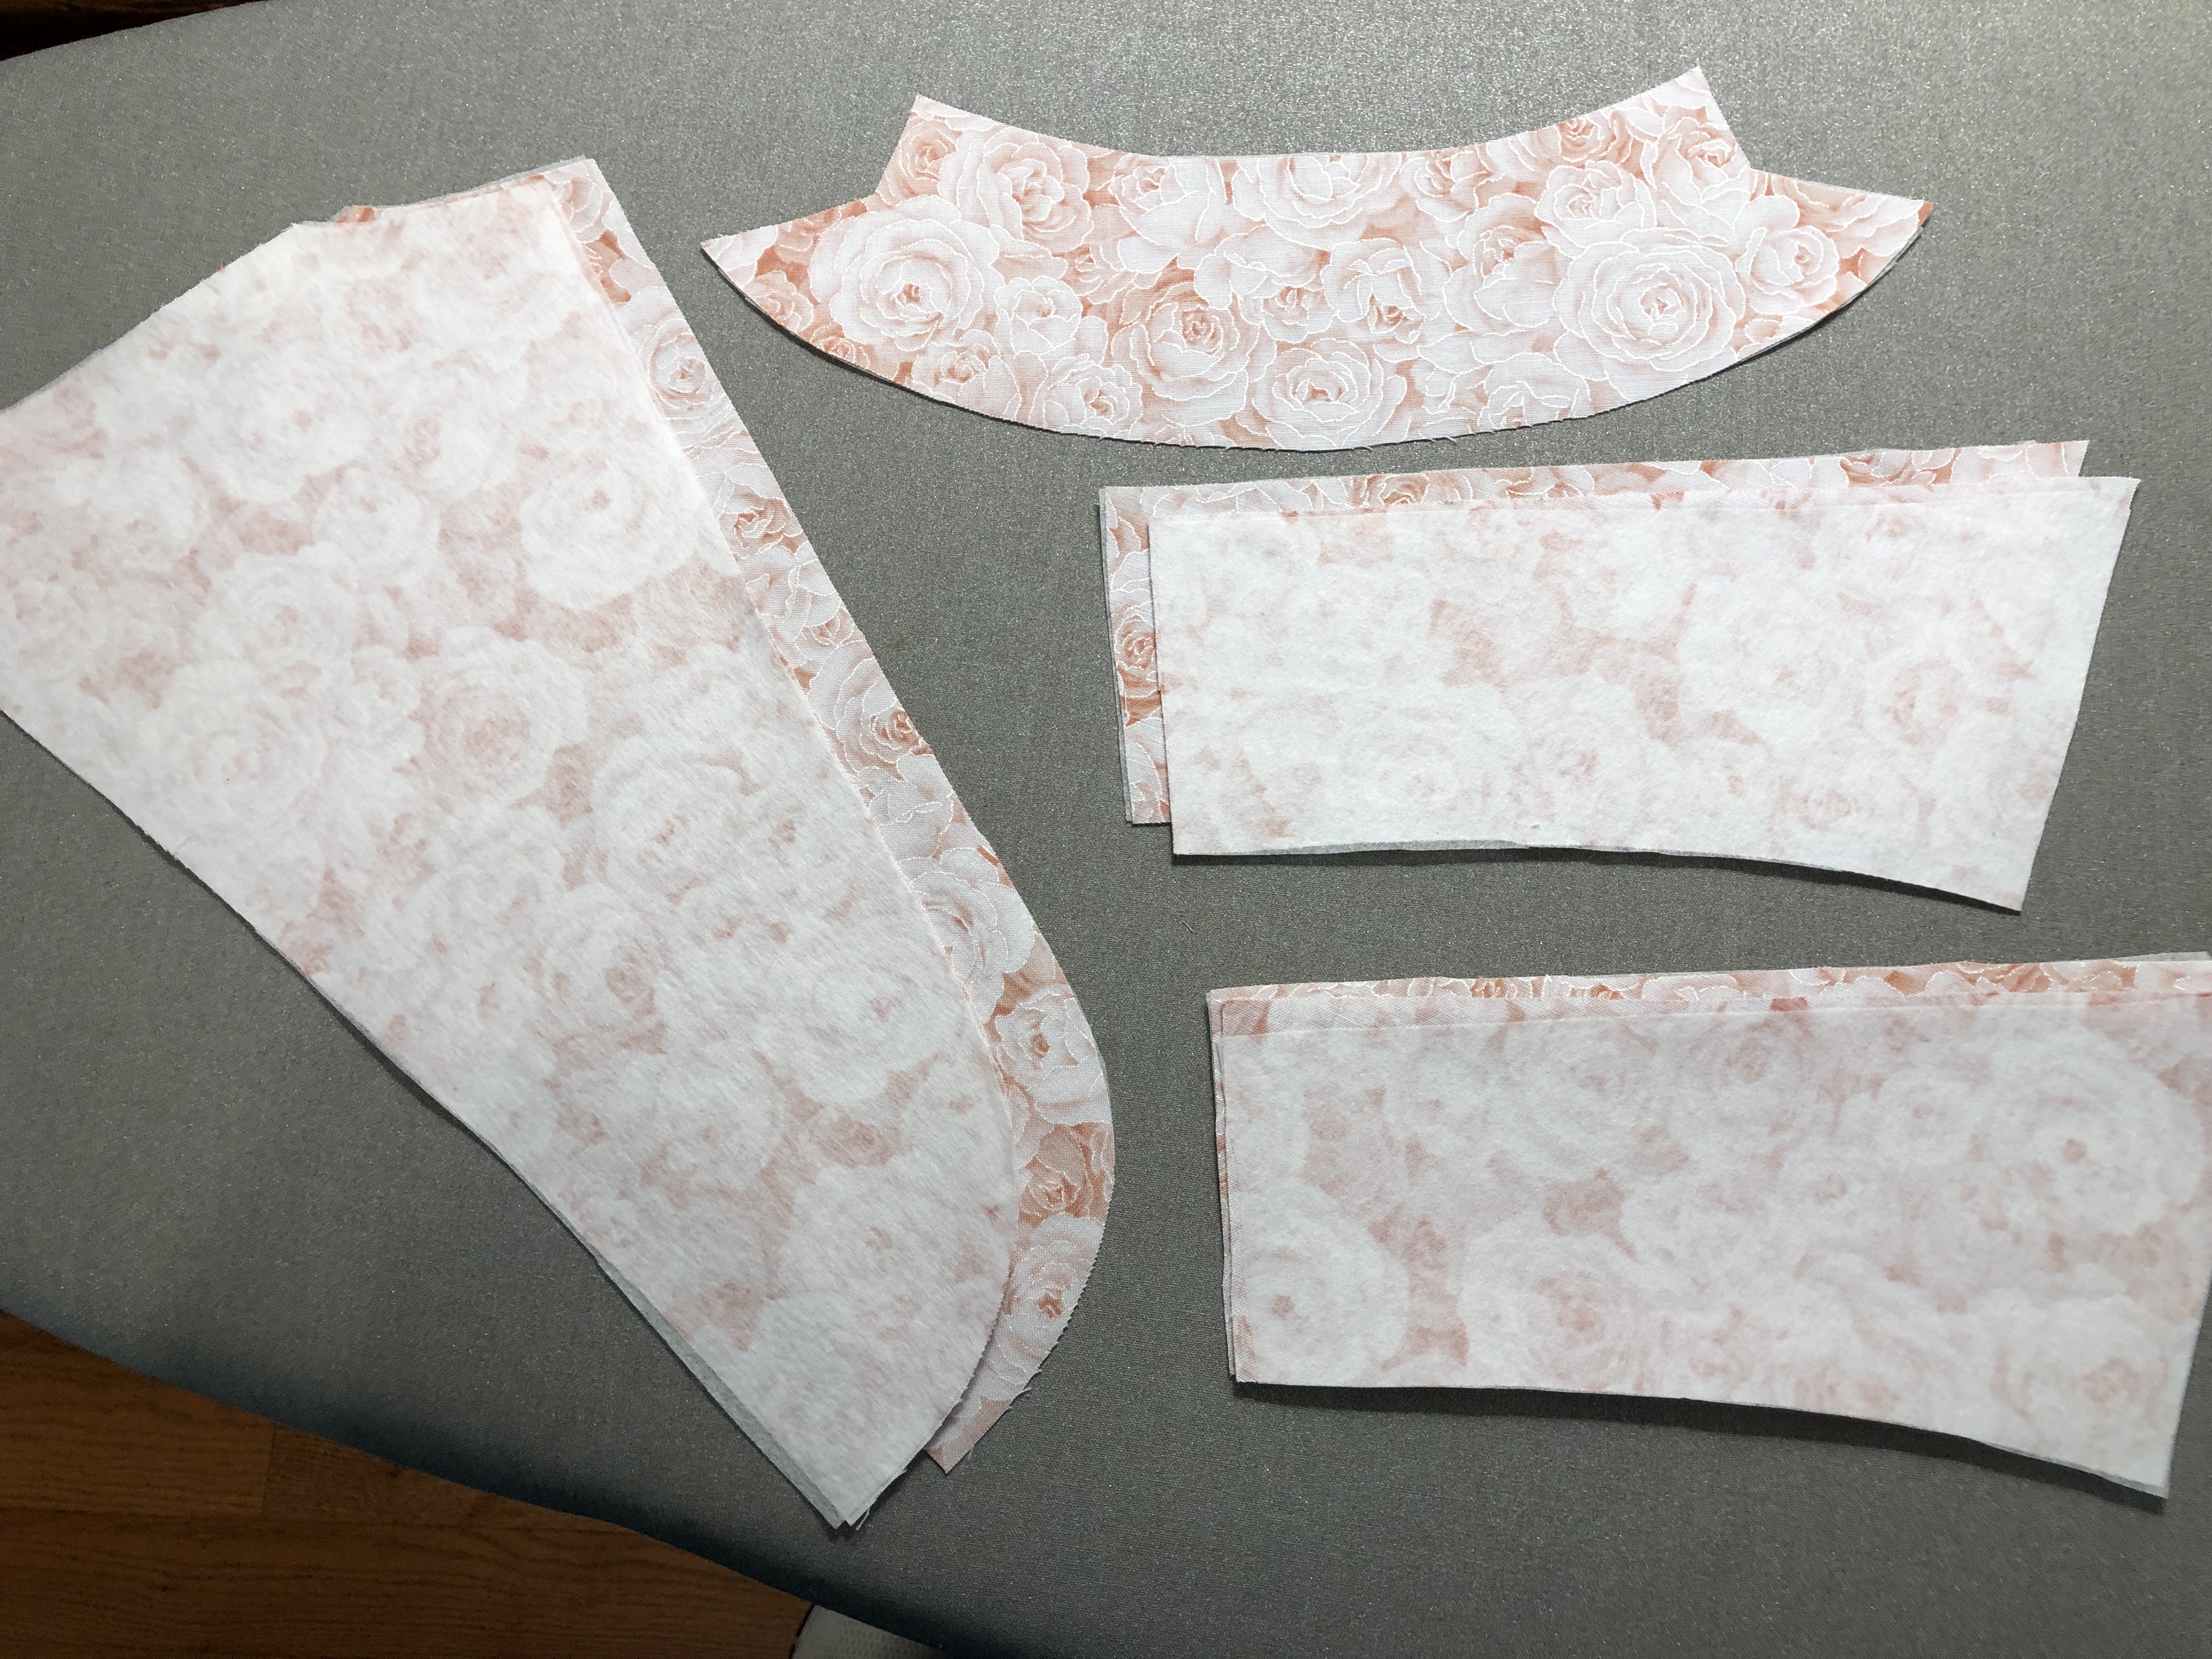
Step 1: Iron (fuse) the interfacing to neck facings and cuffs
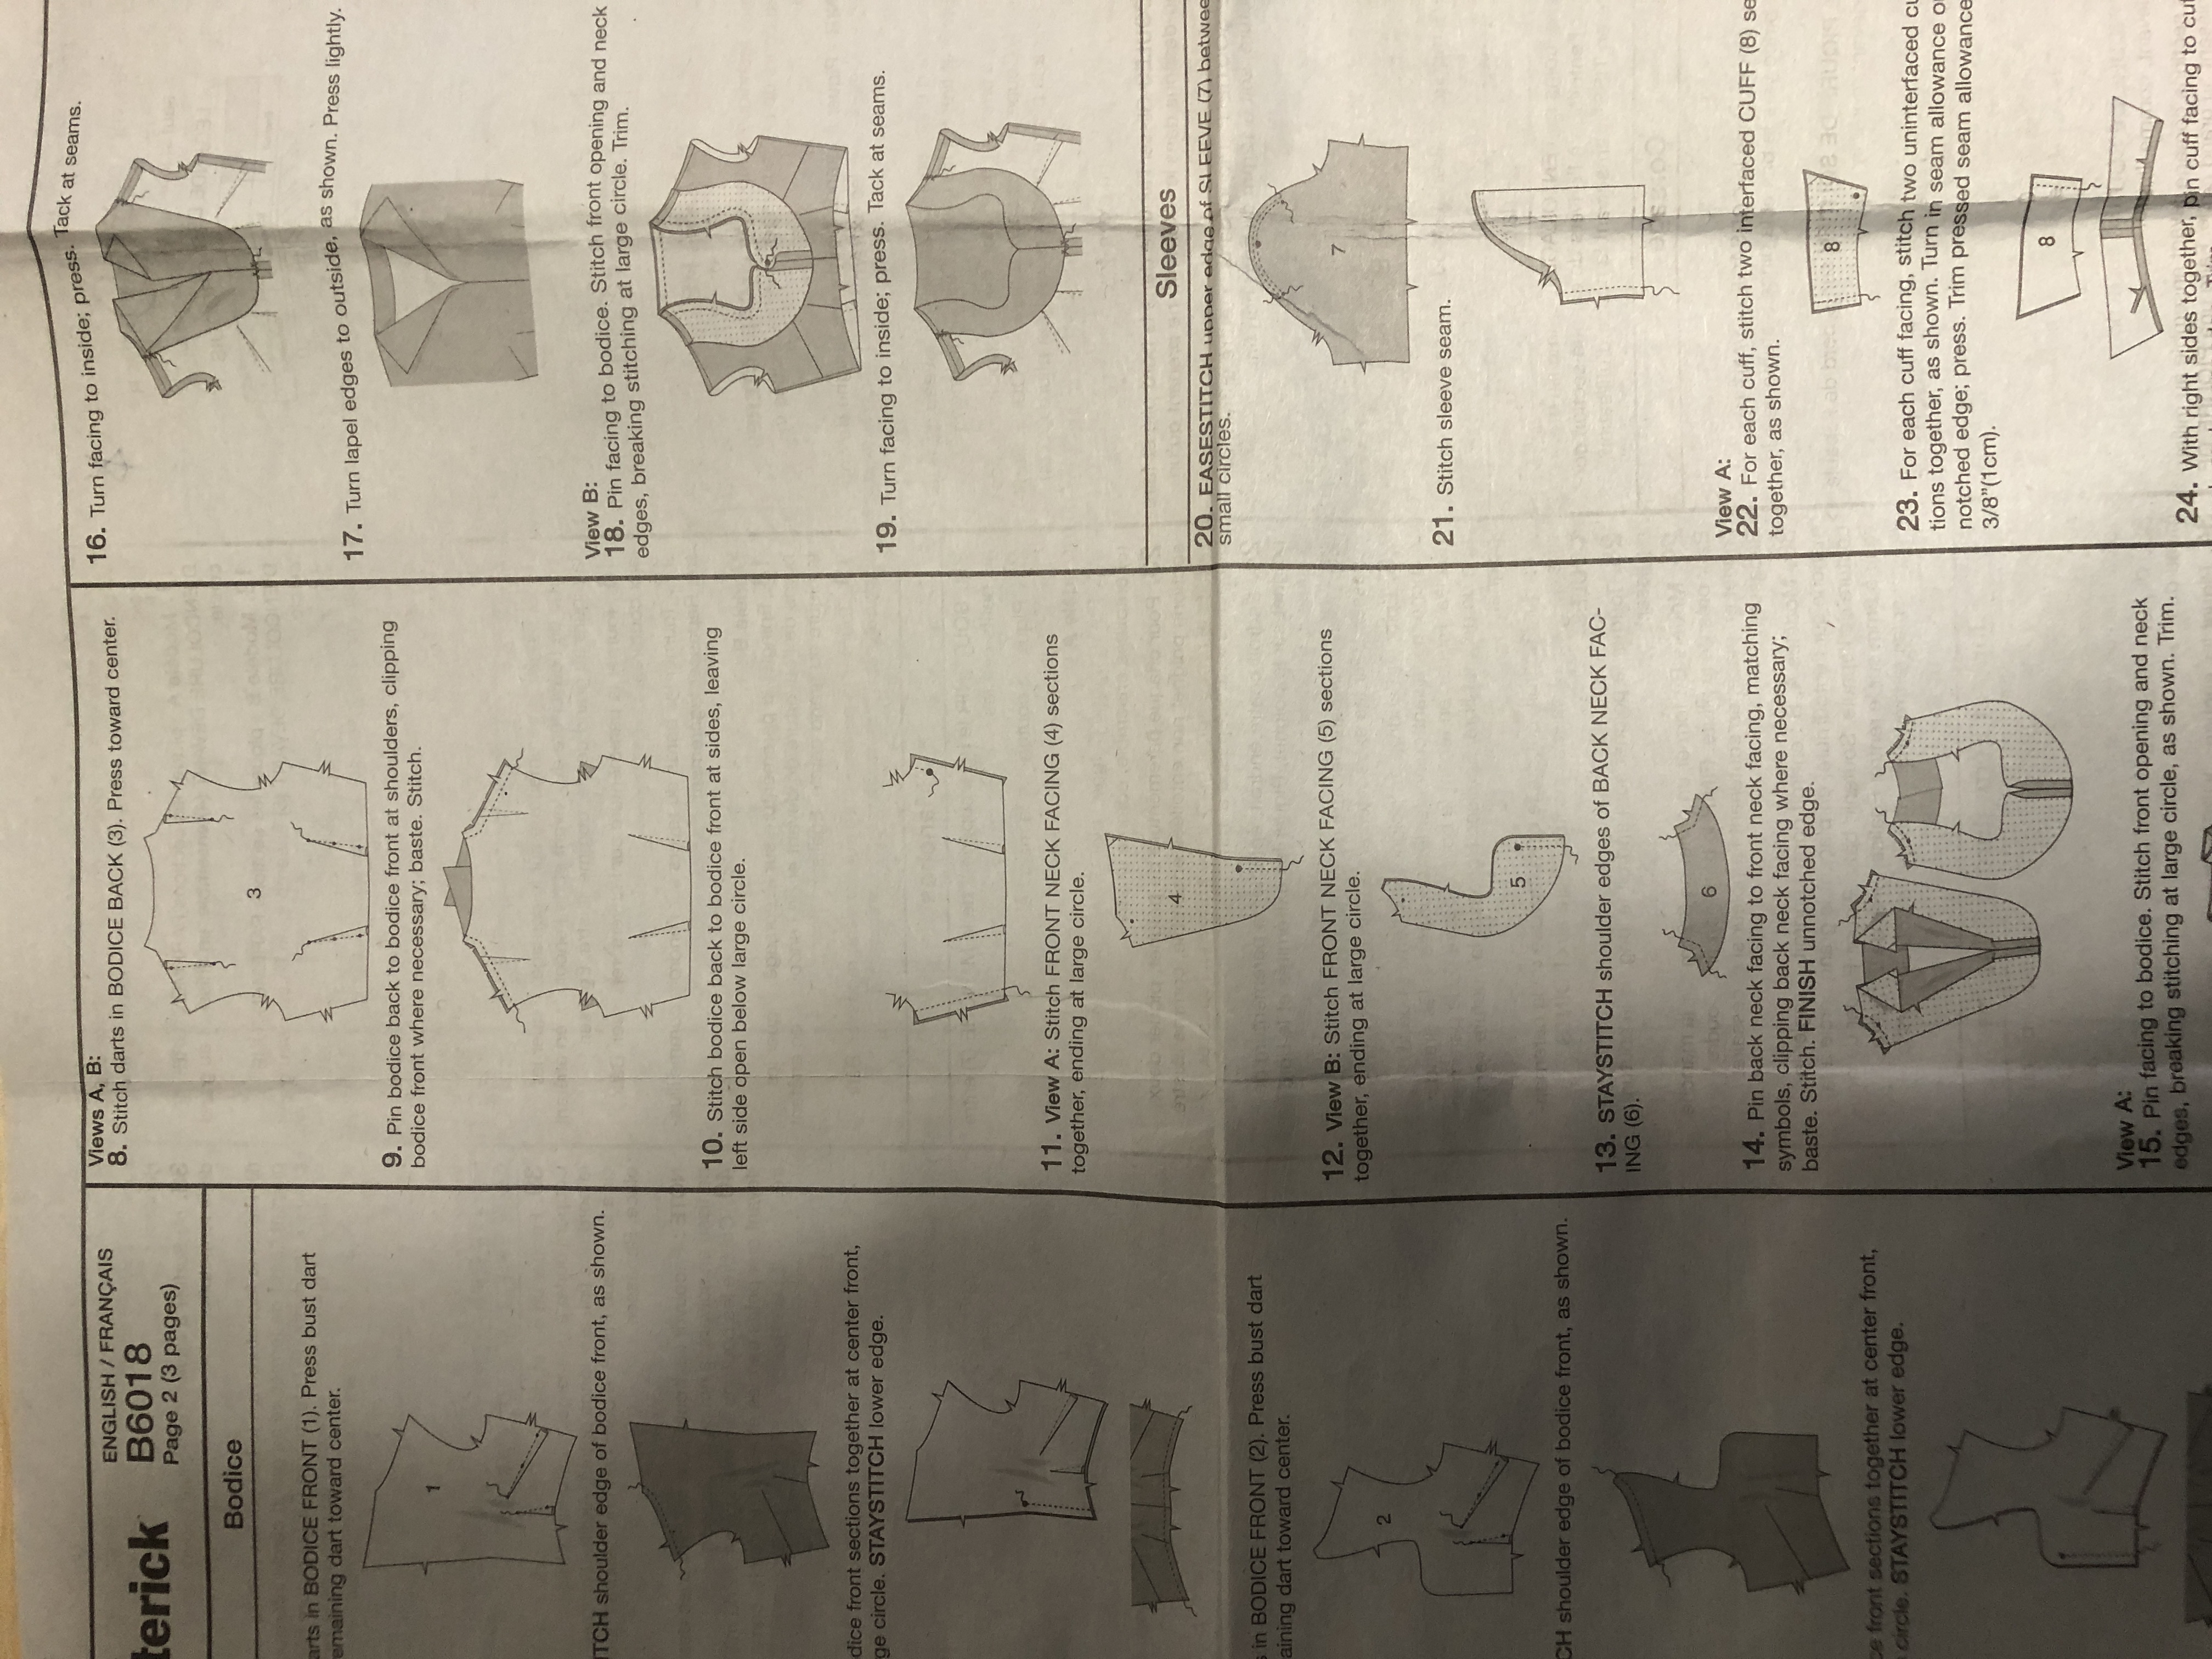
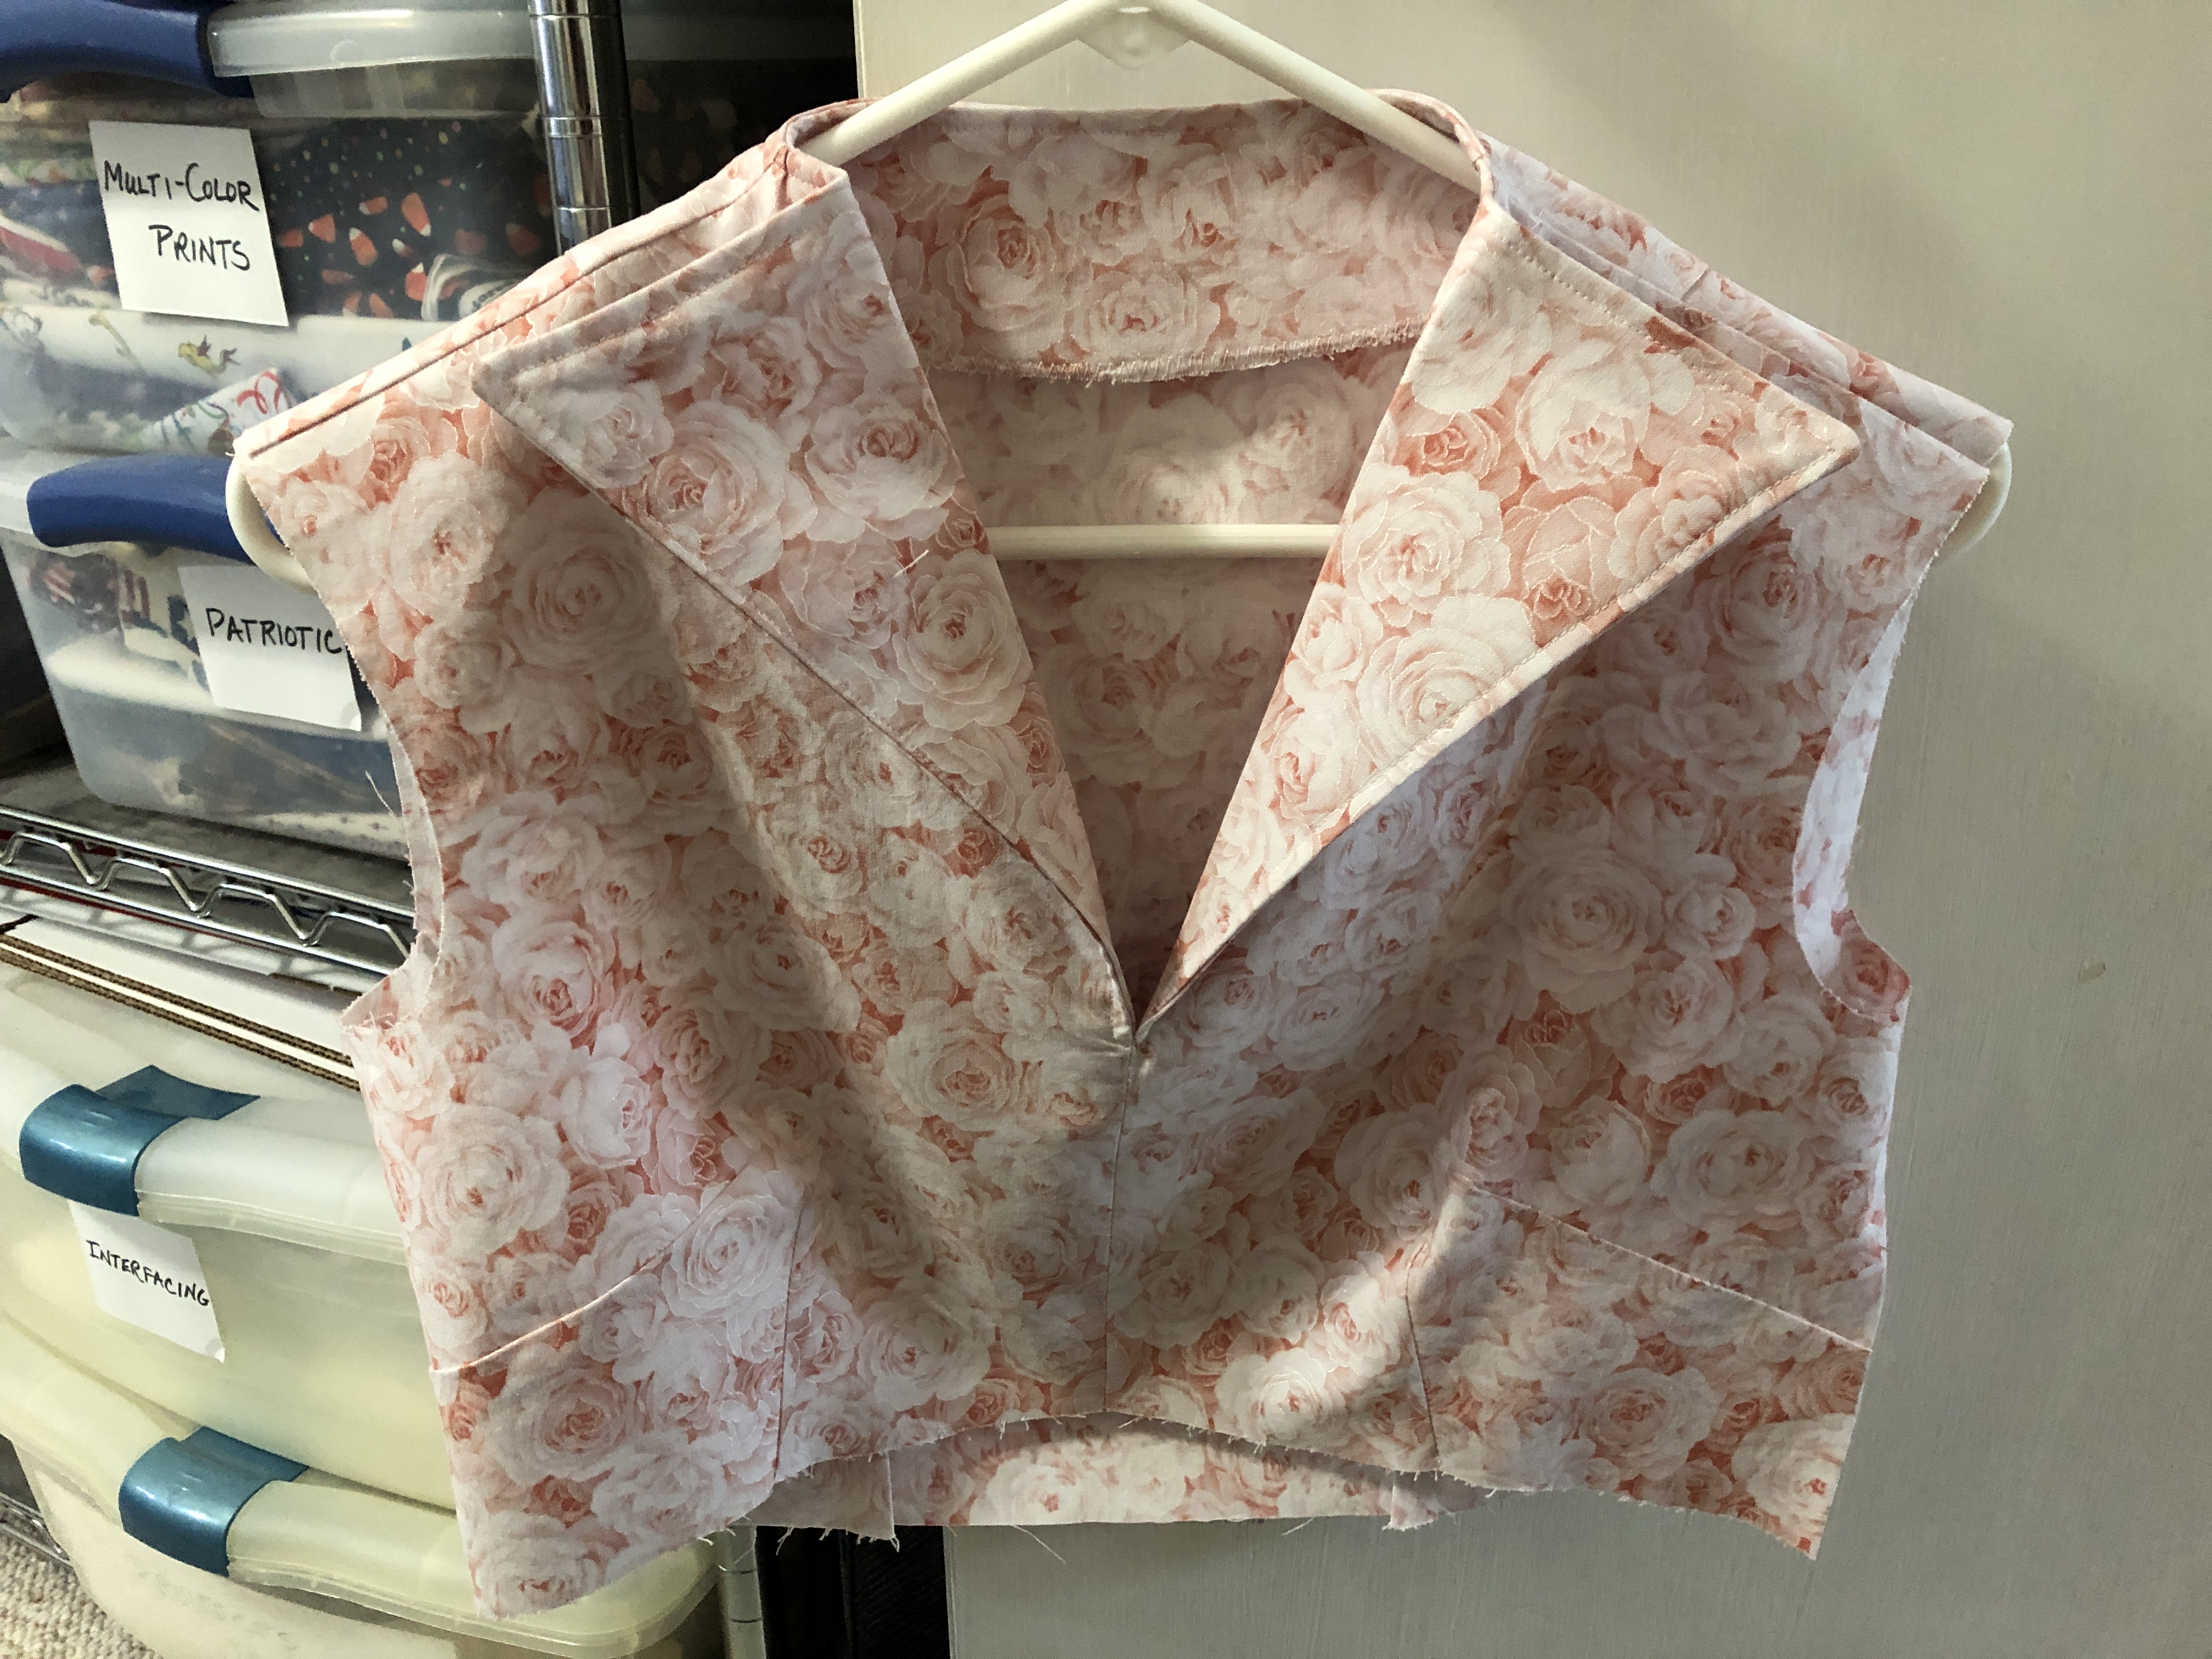
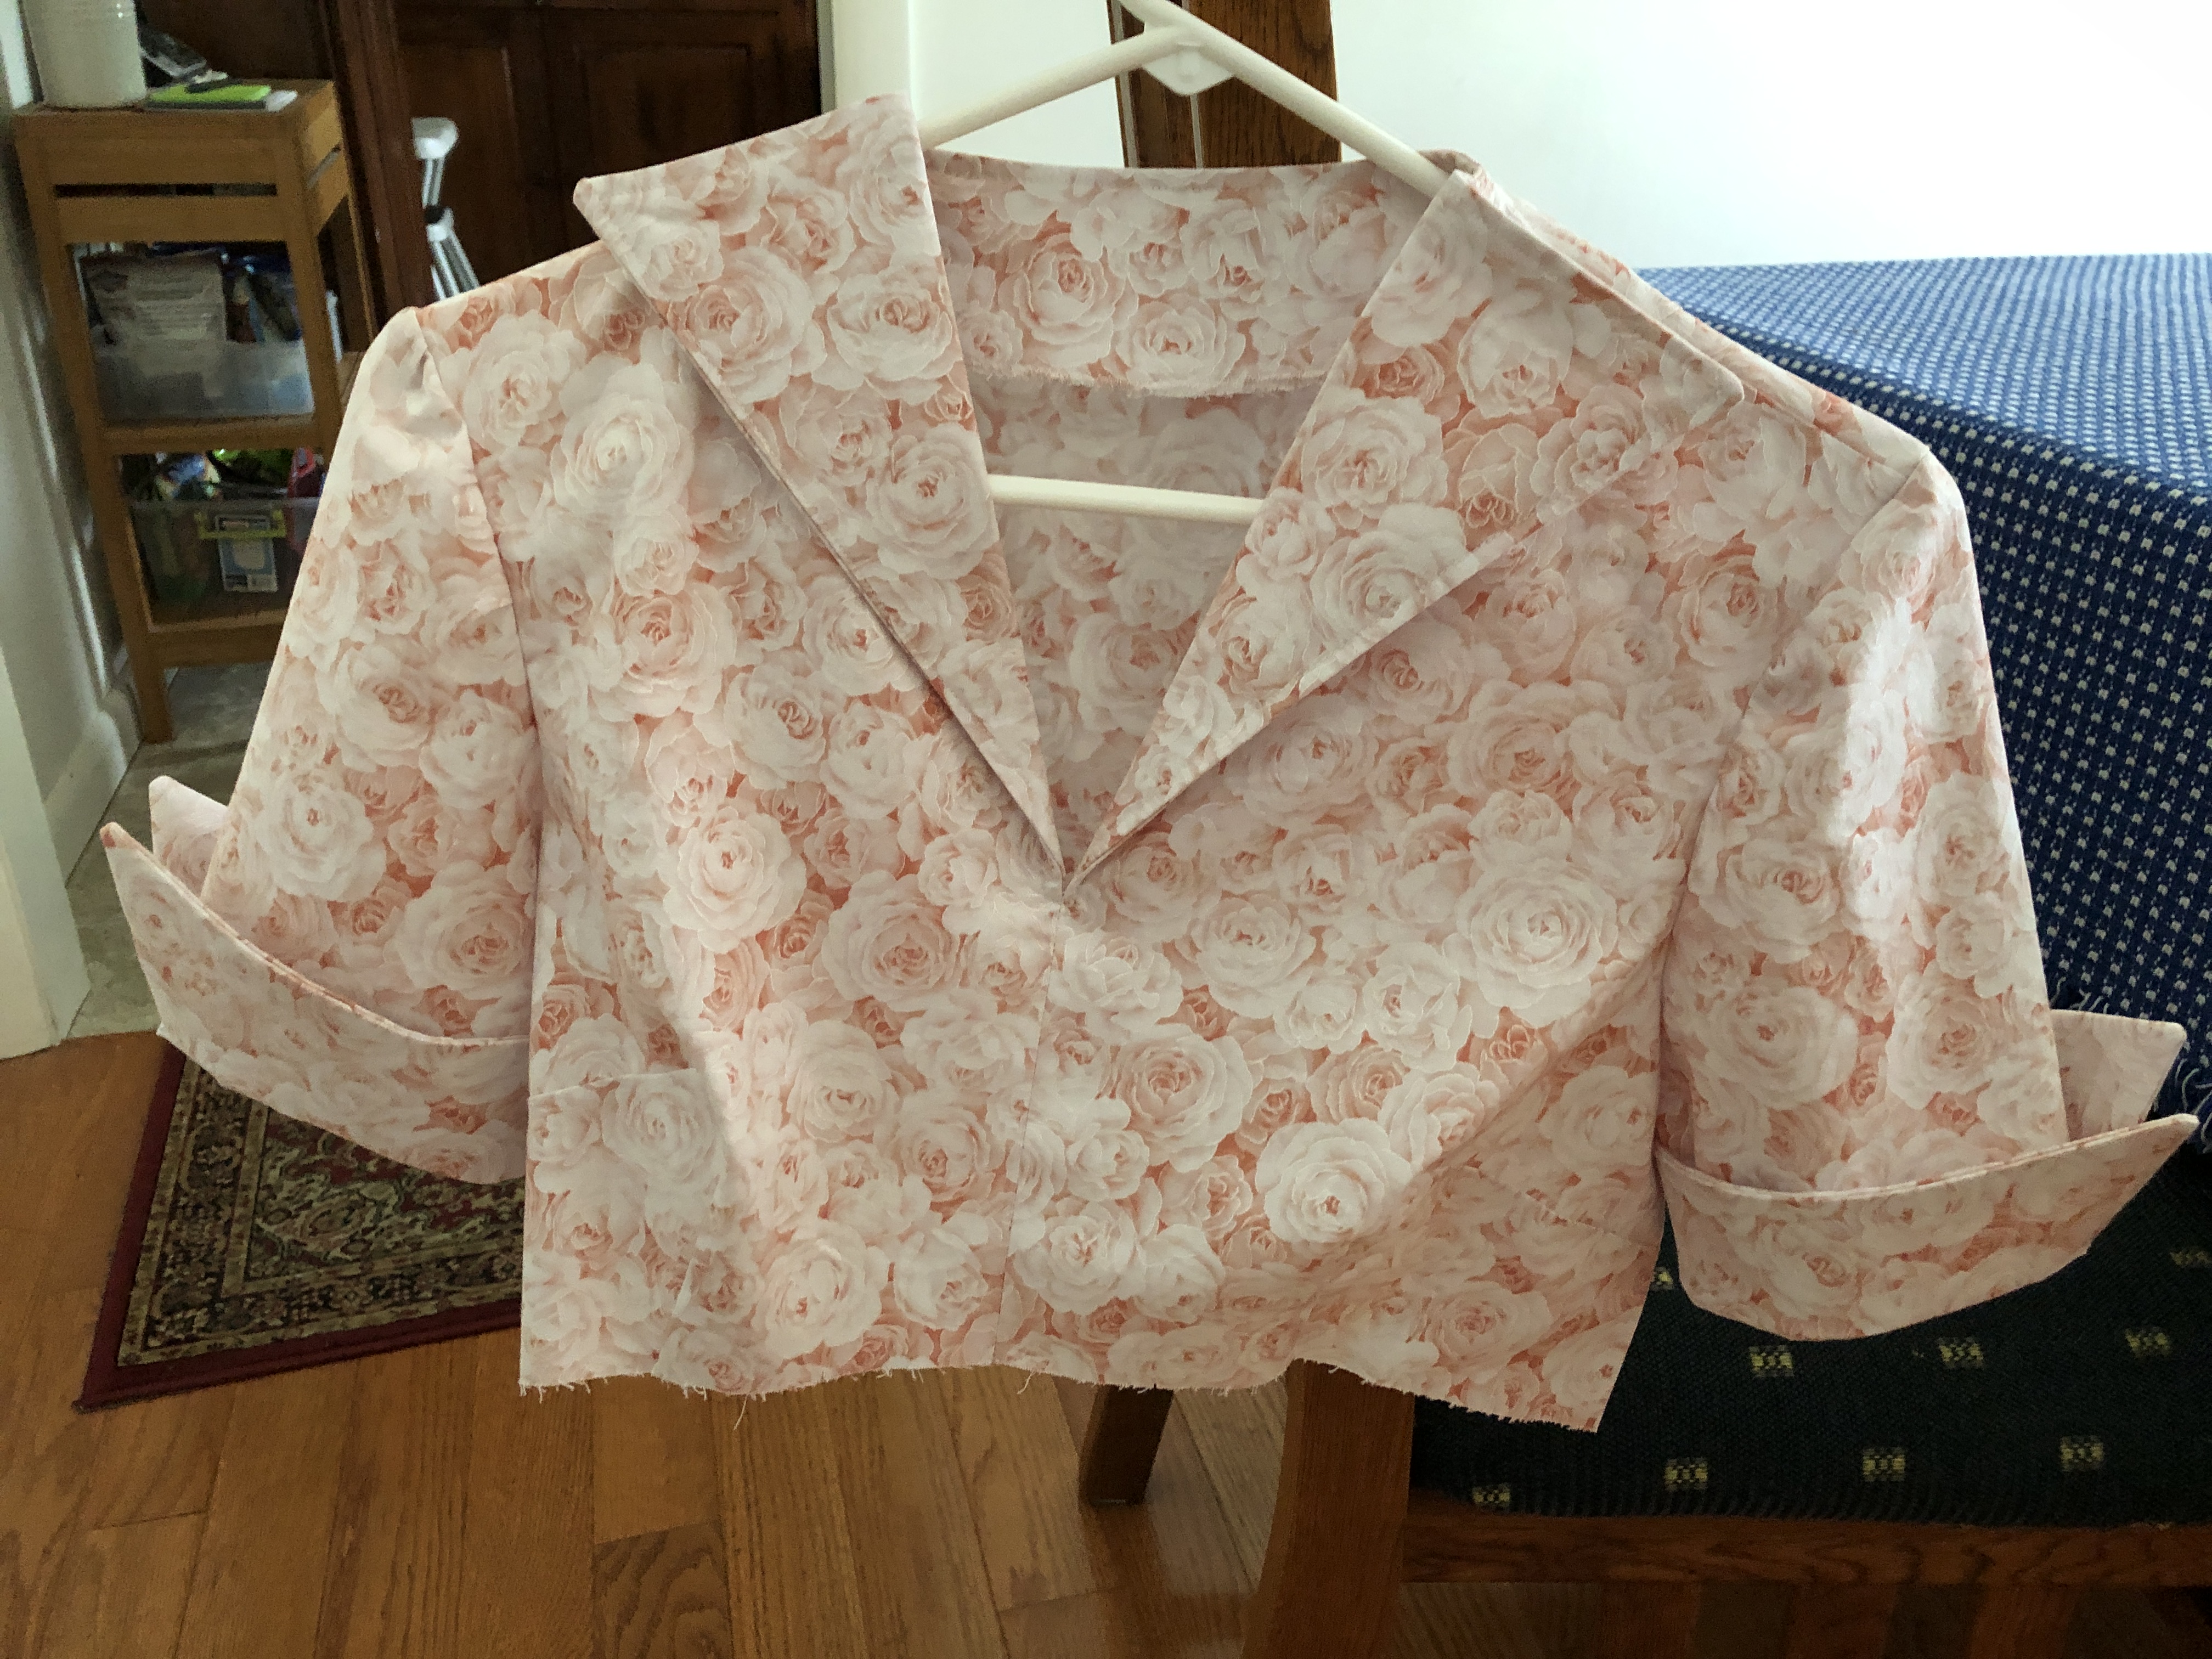
Step 2: Assemble the Bodice
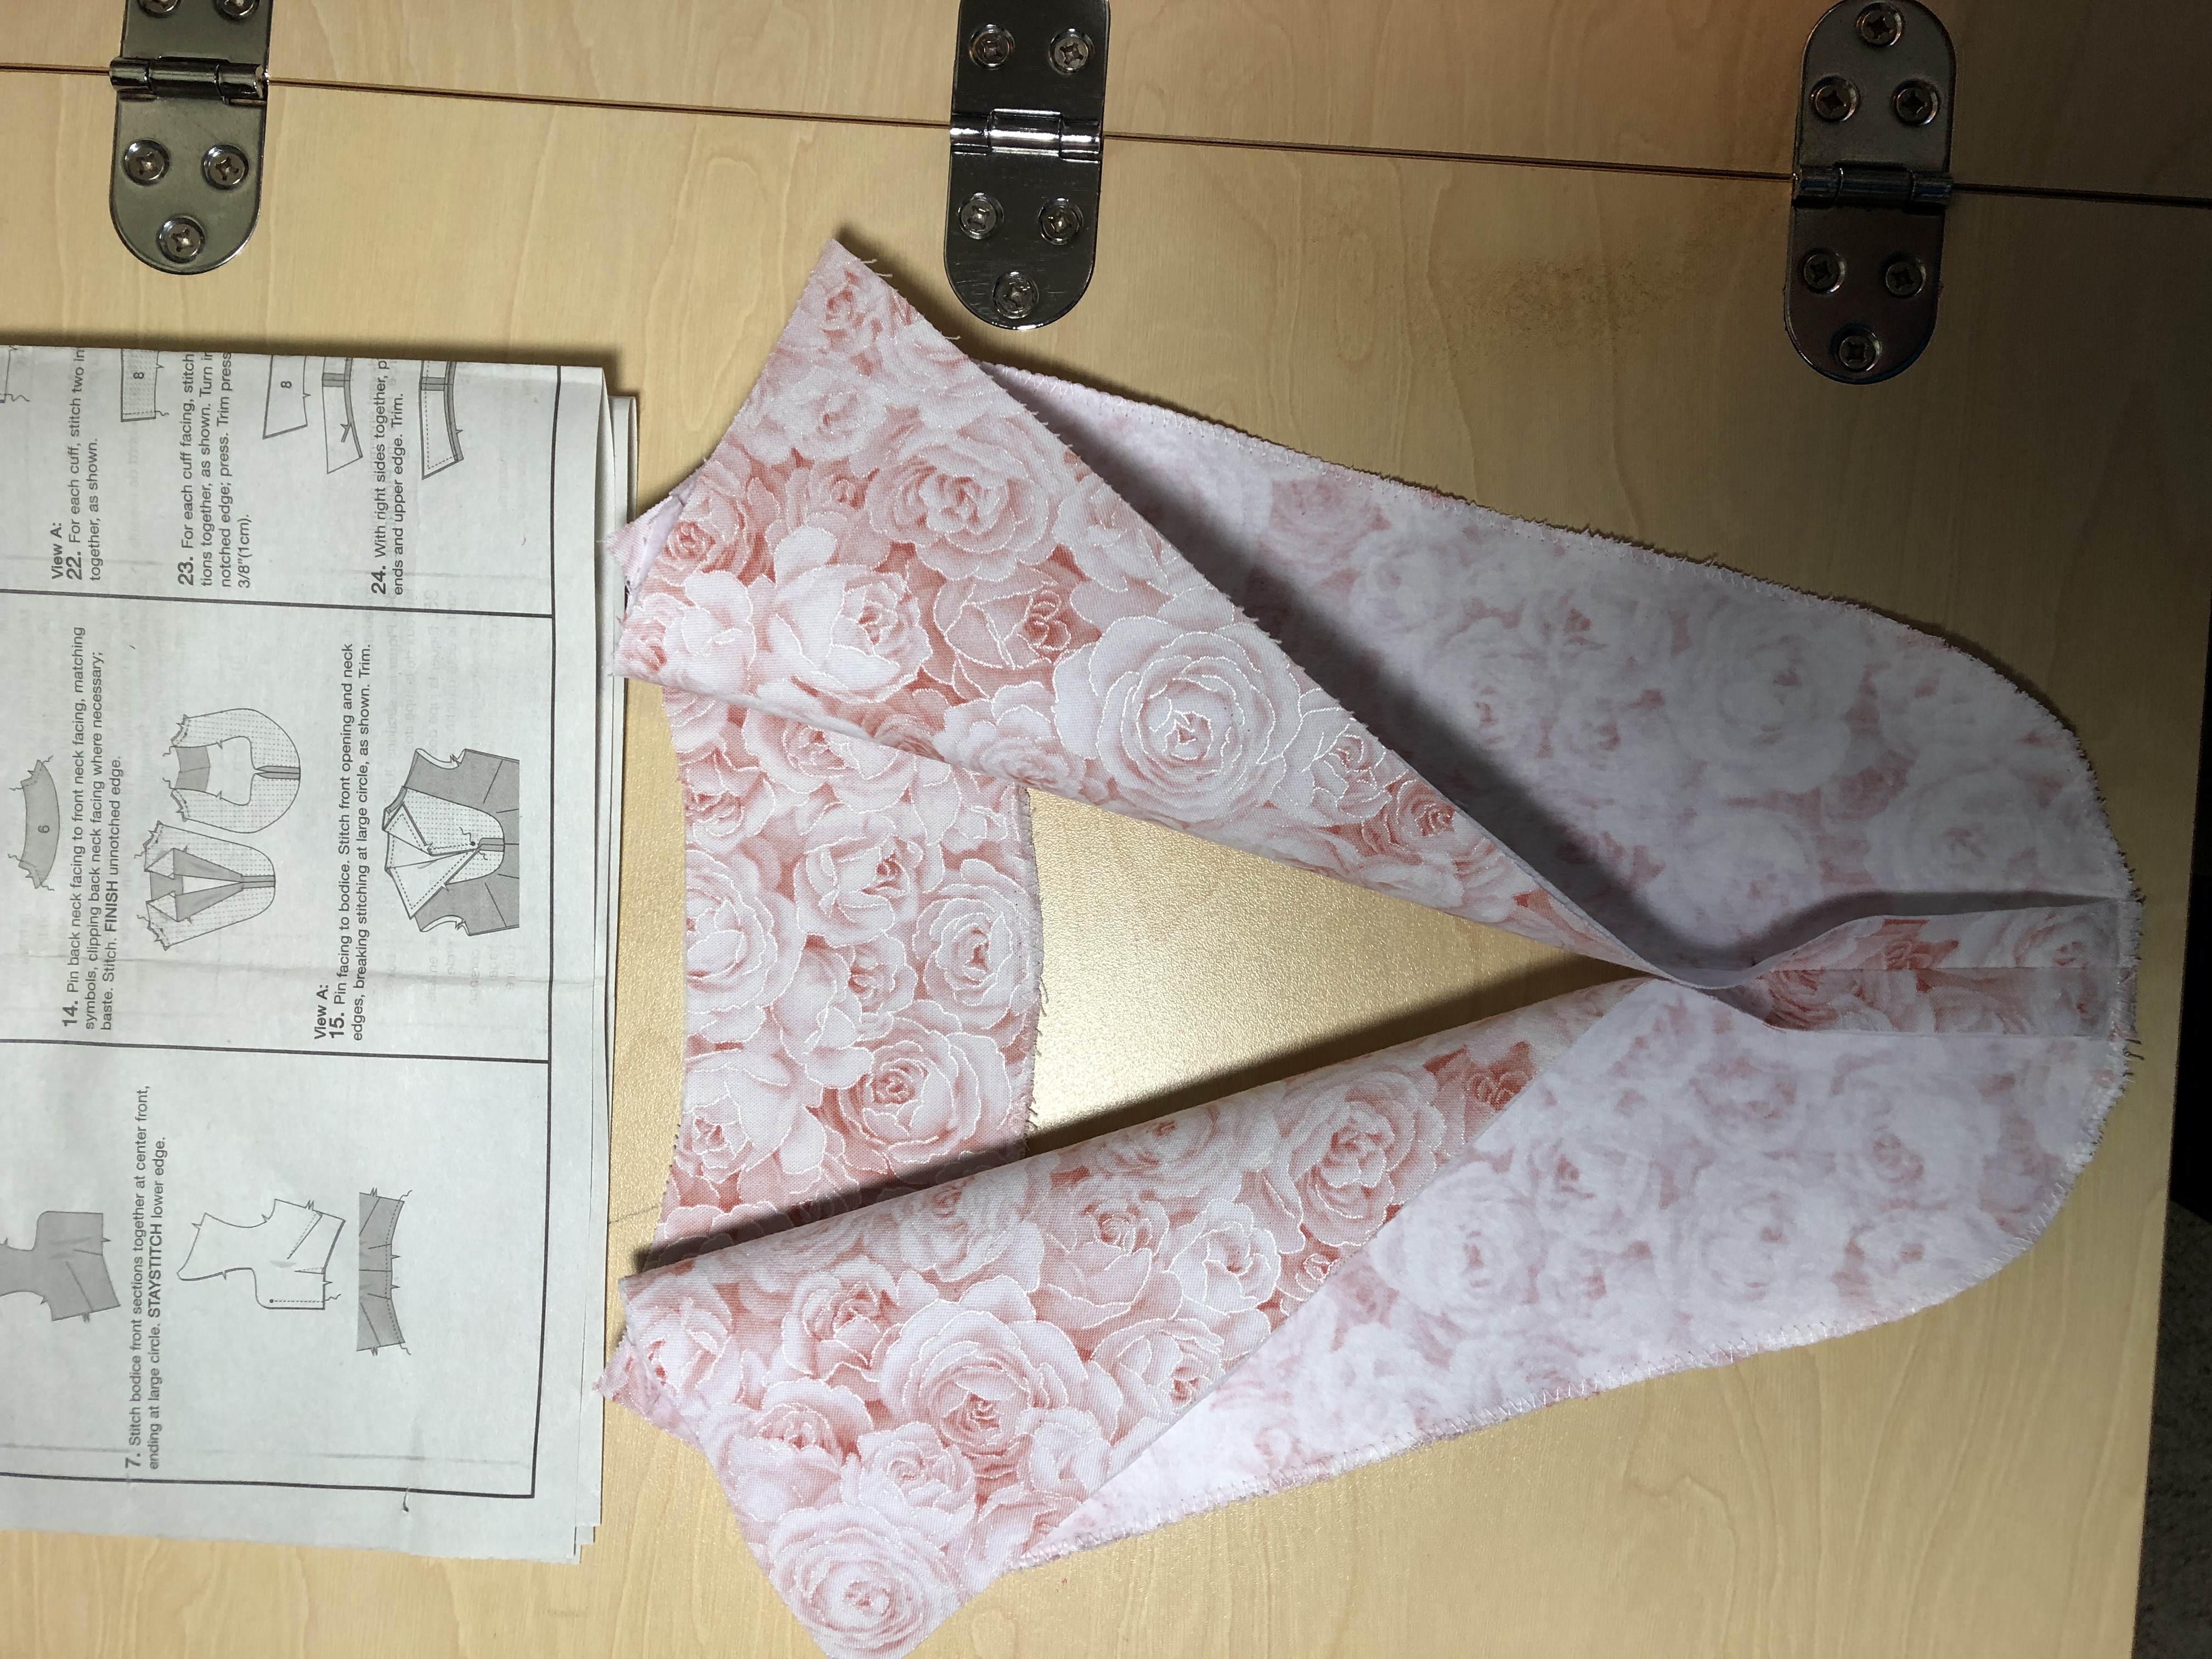
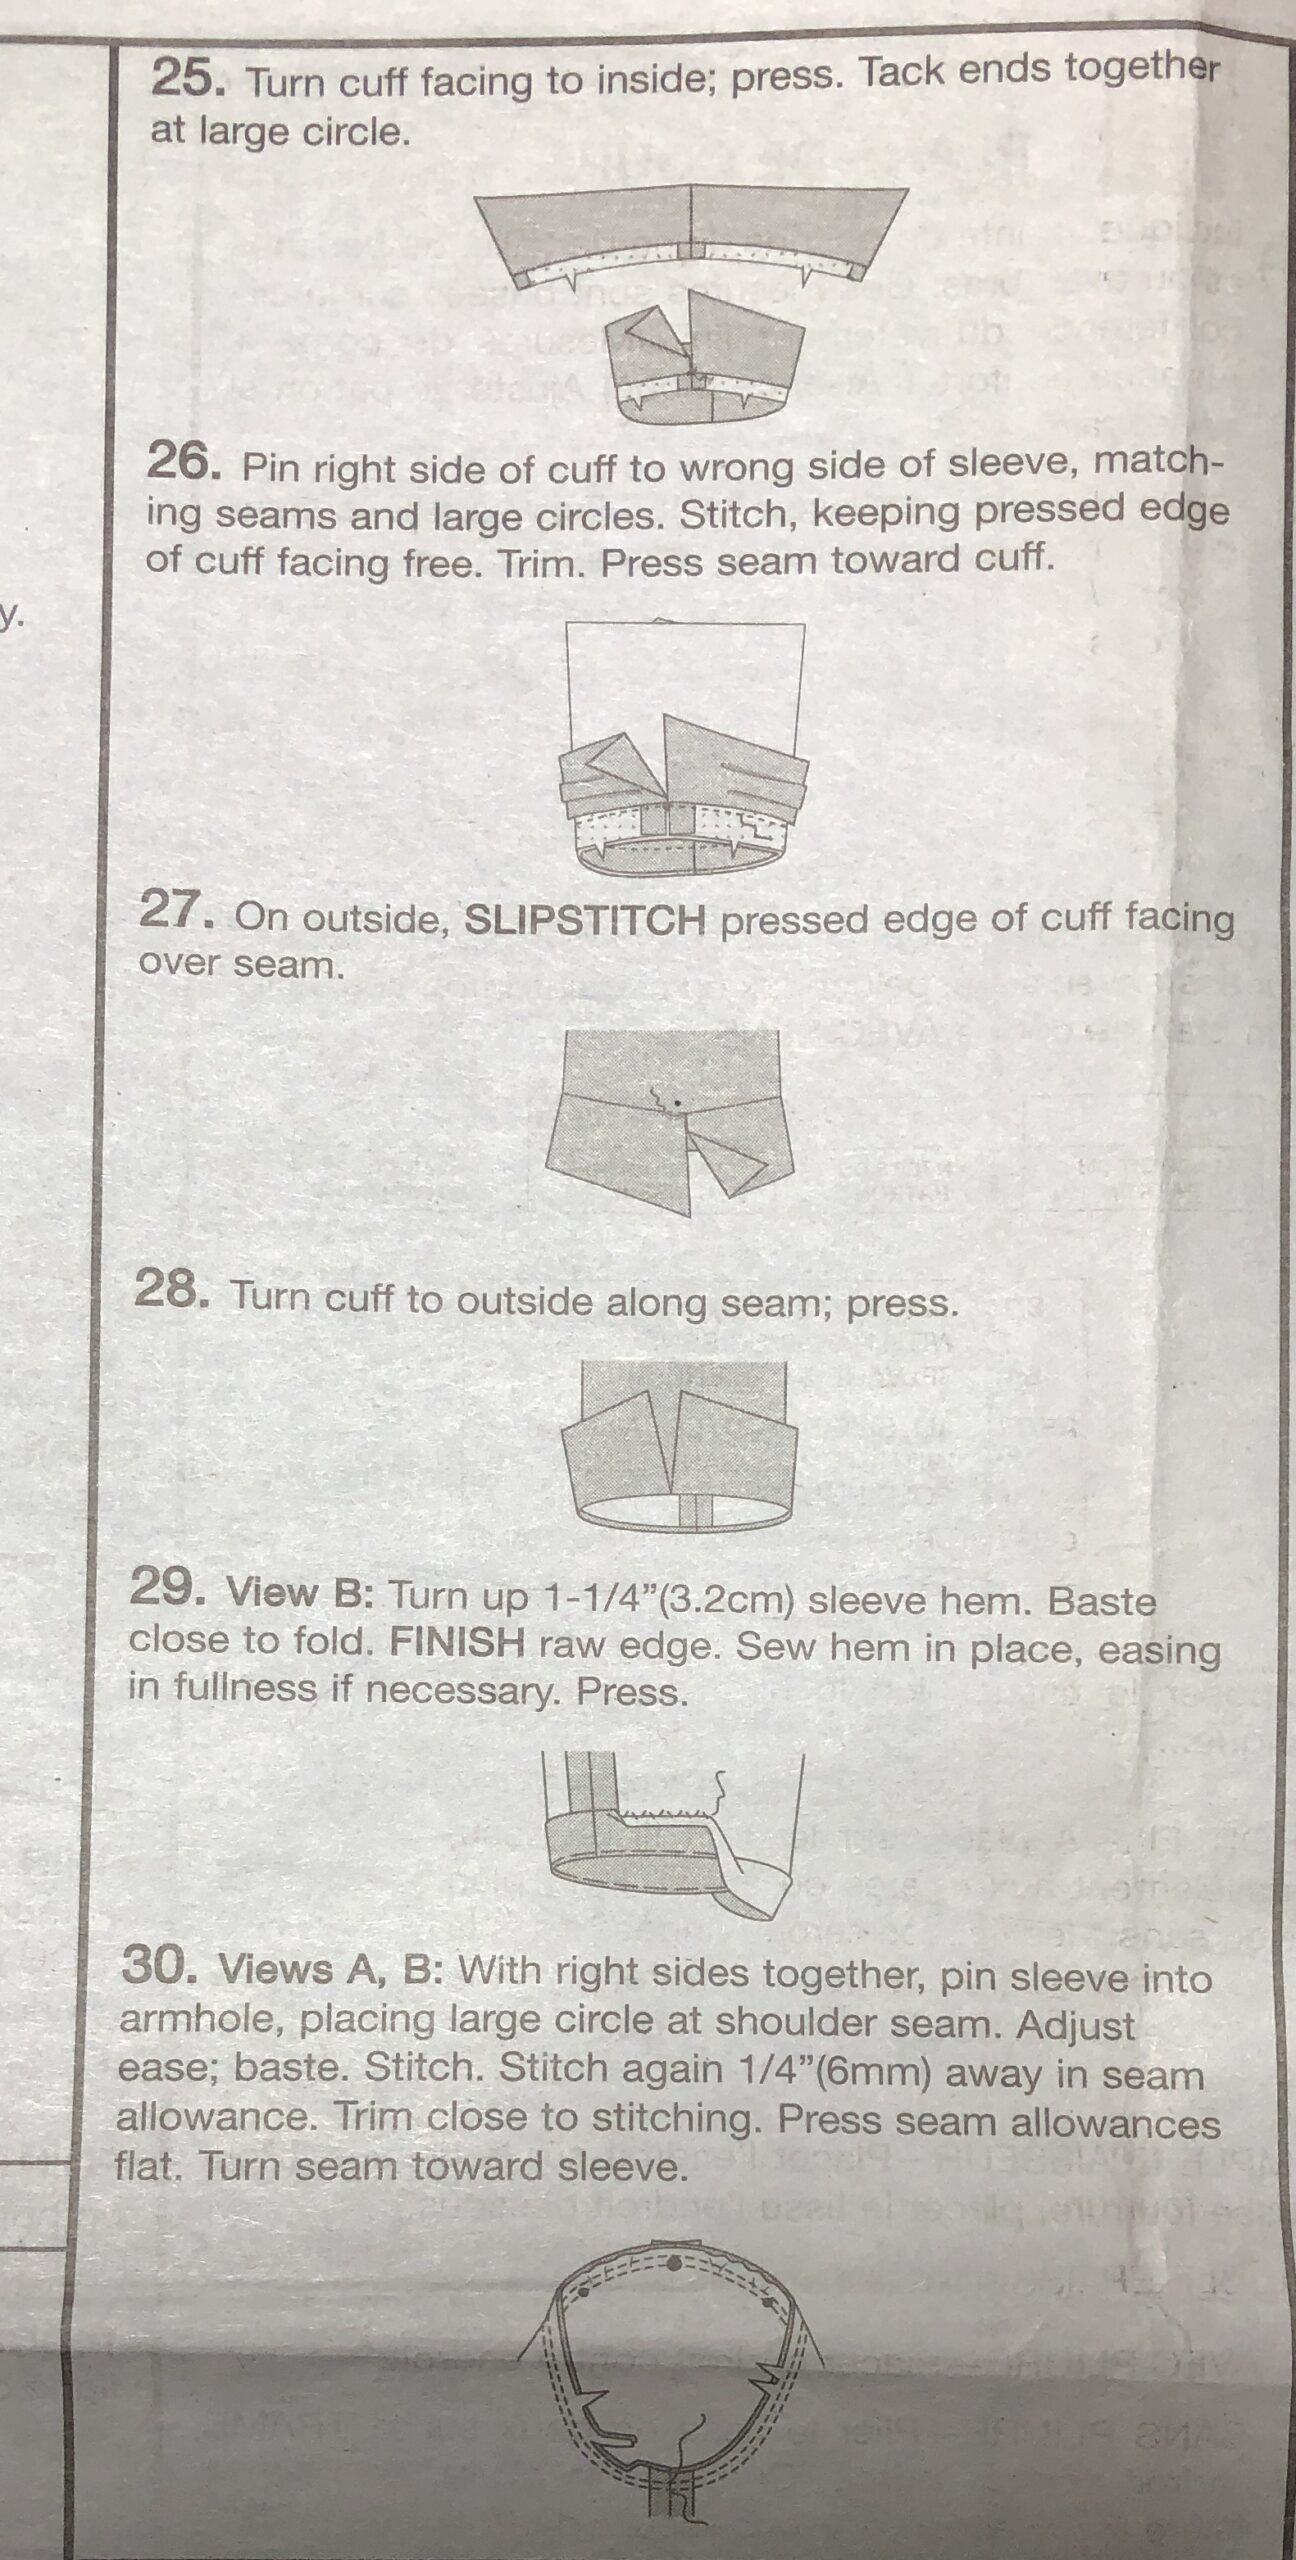
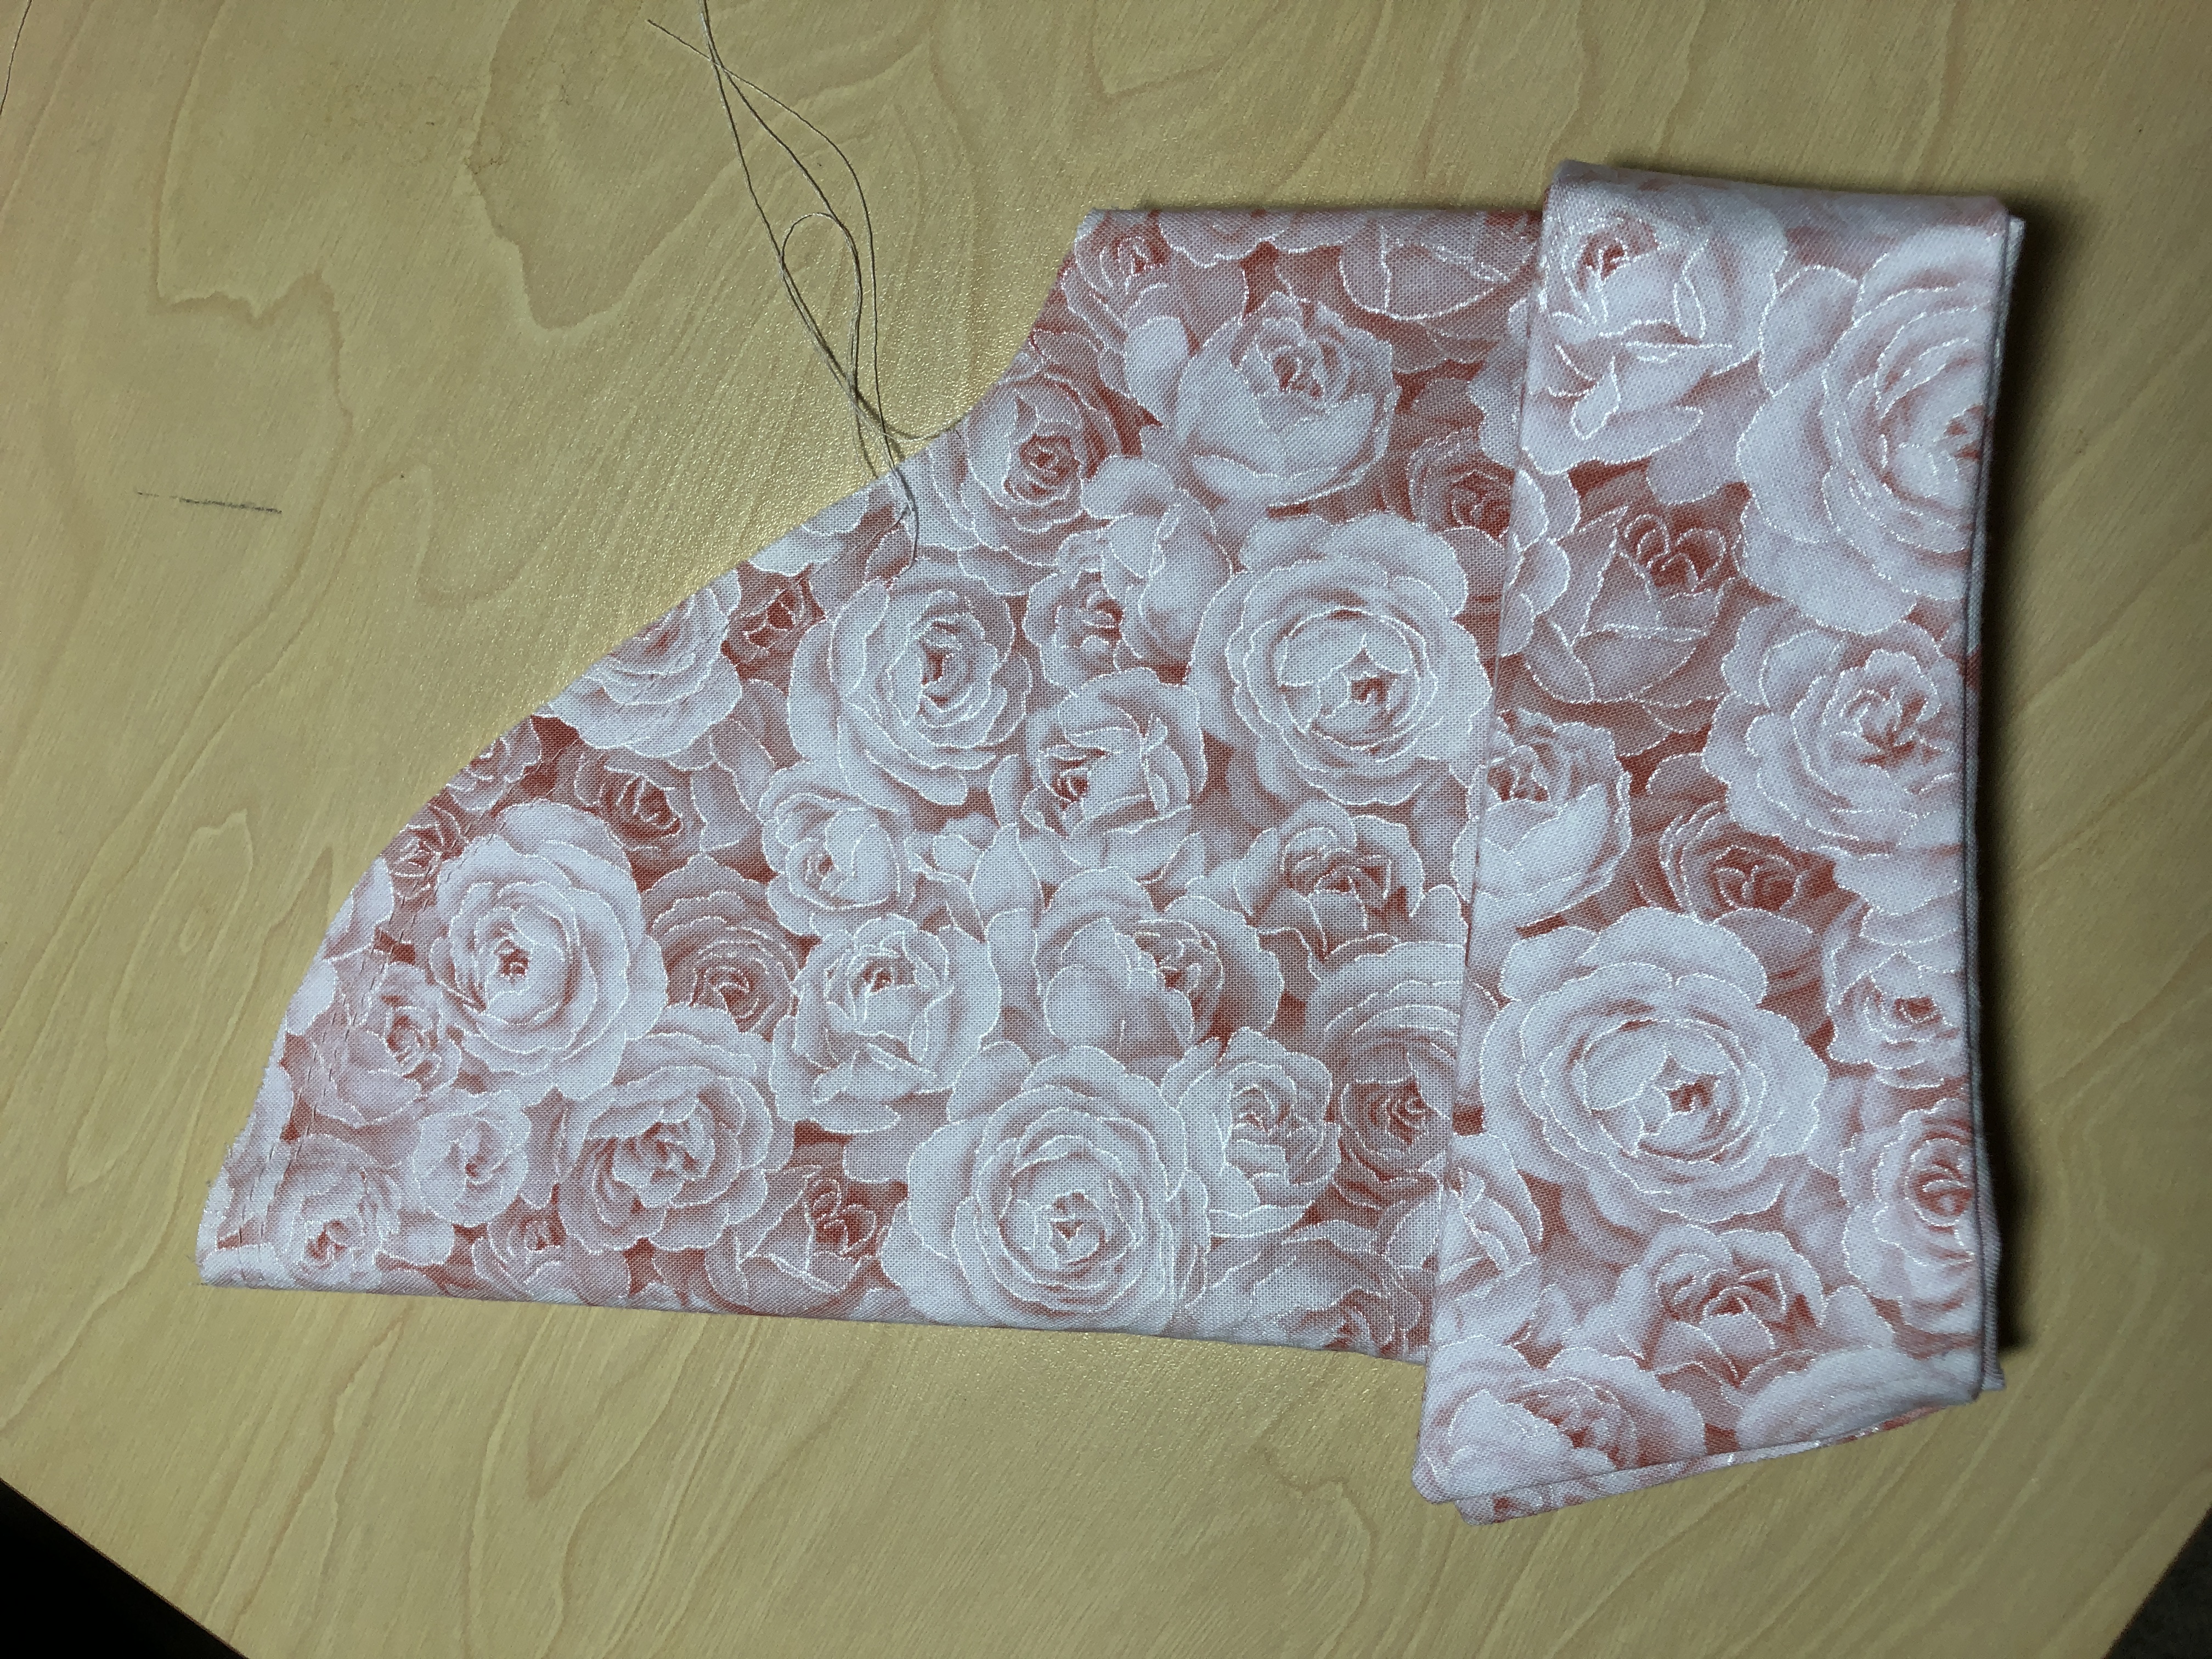
Step 3: Cuffs and Sleeves
Step 4: Sew skirt pieces together and add to bodice.
Step 5: Sew in side zipper.
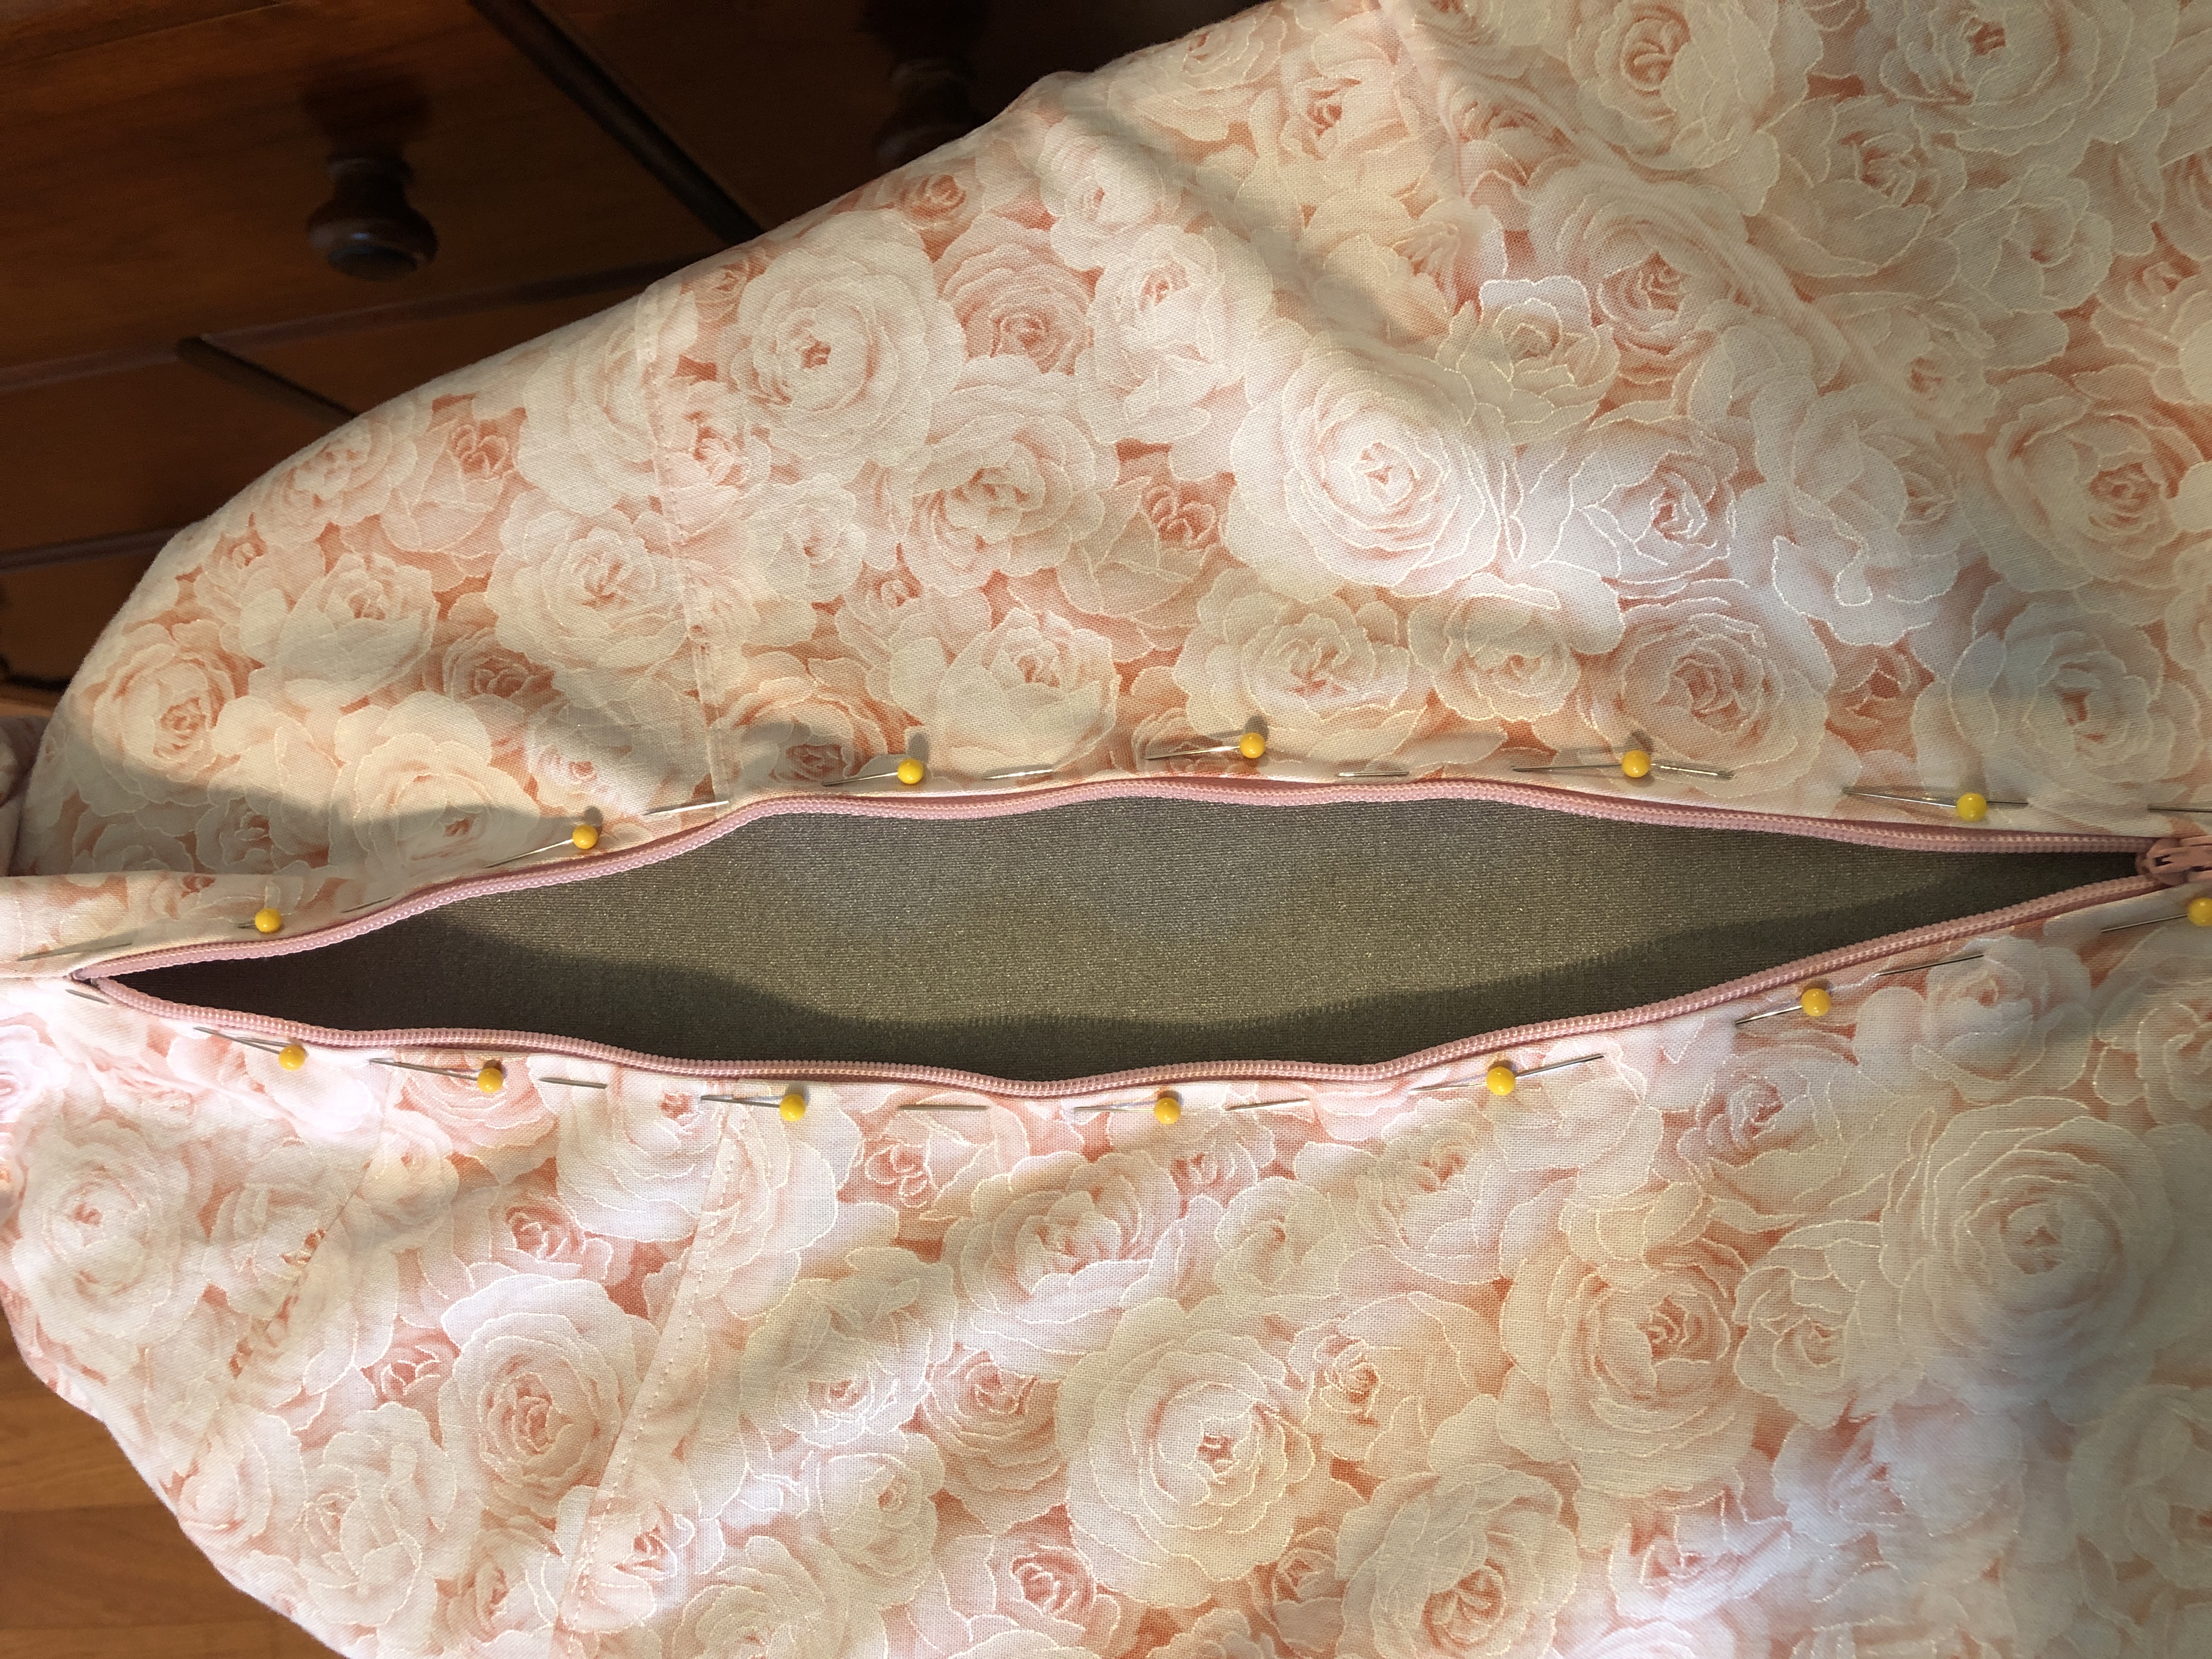
NO NO NO!!!
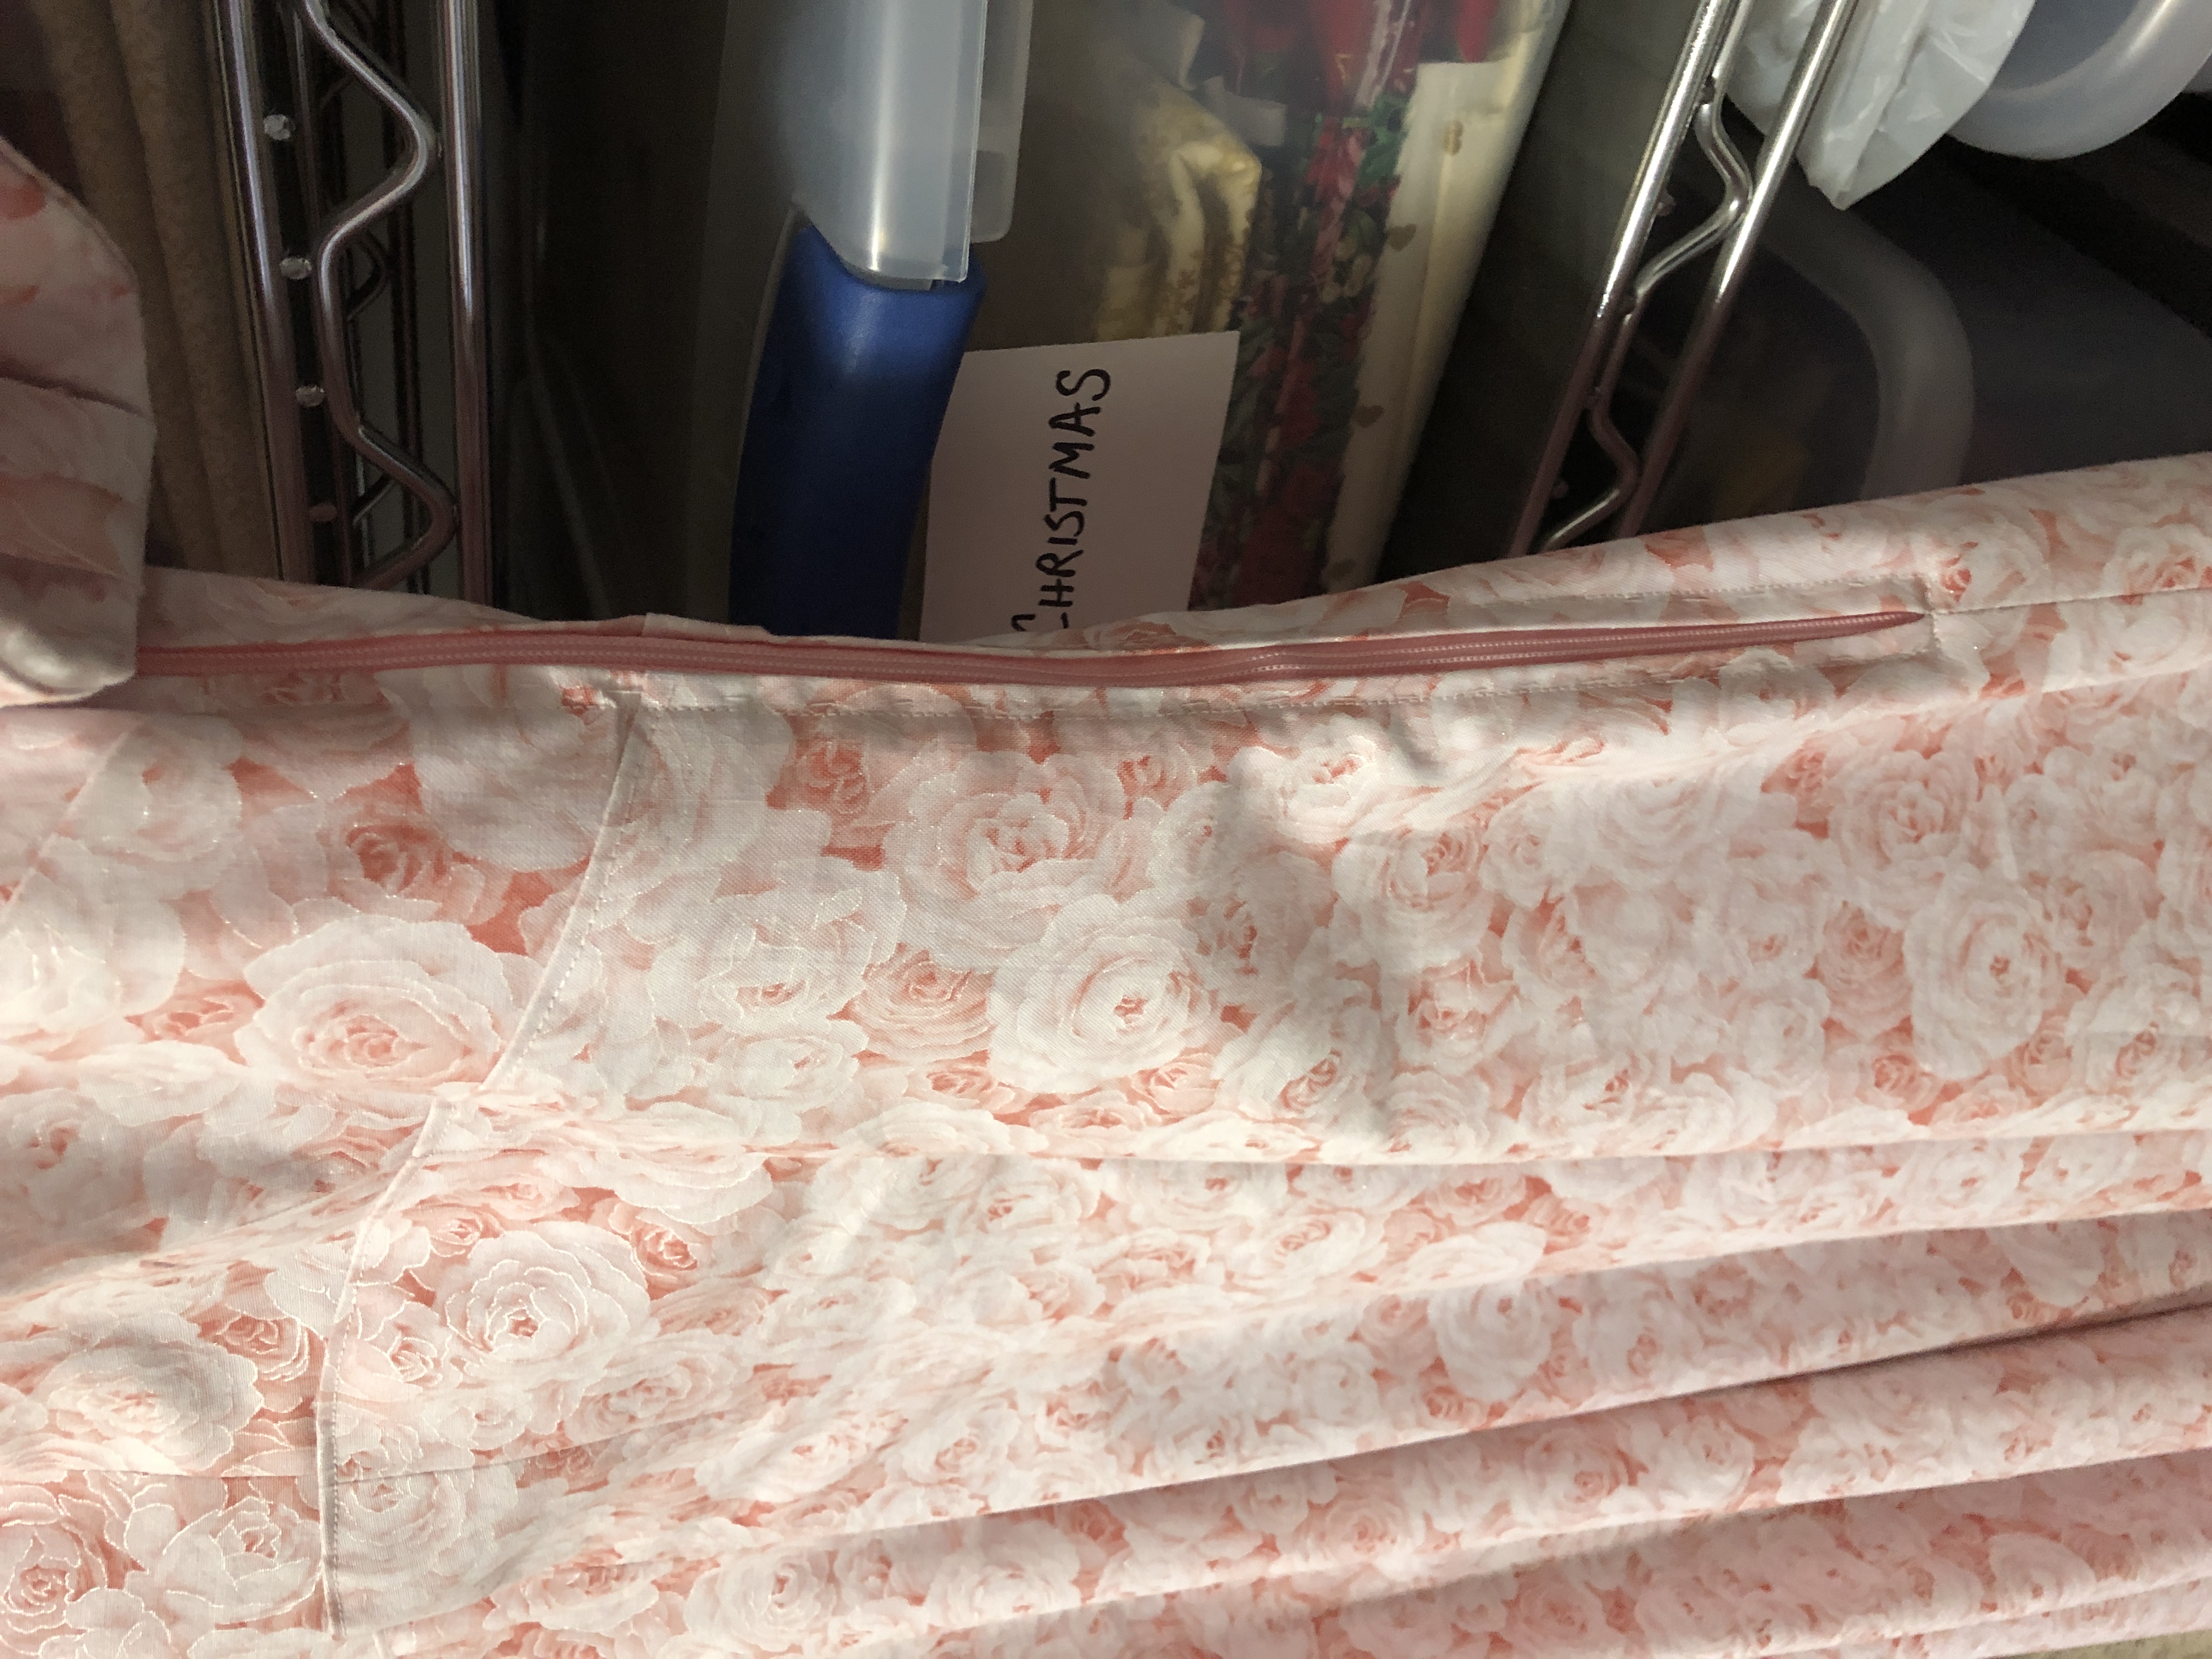
Now I remember that’s not how to hide the zipper! Rip it out!

I only had to rip out one side of the zipper!
Much better!!
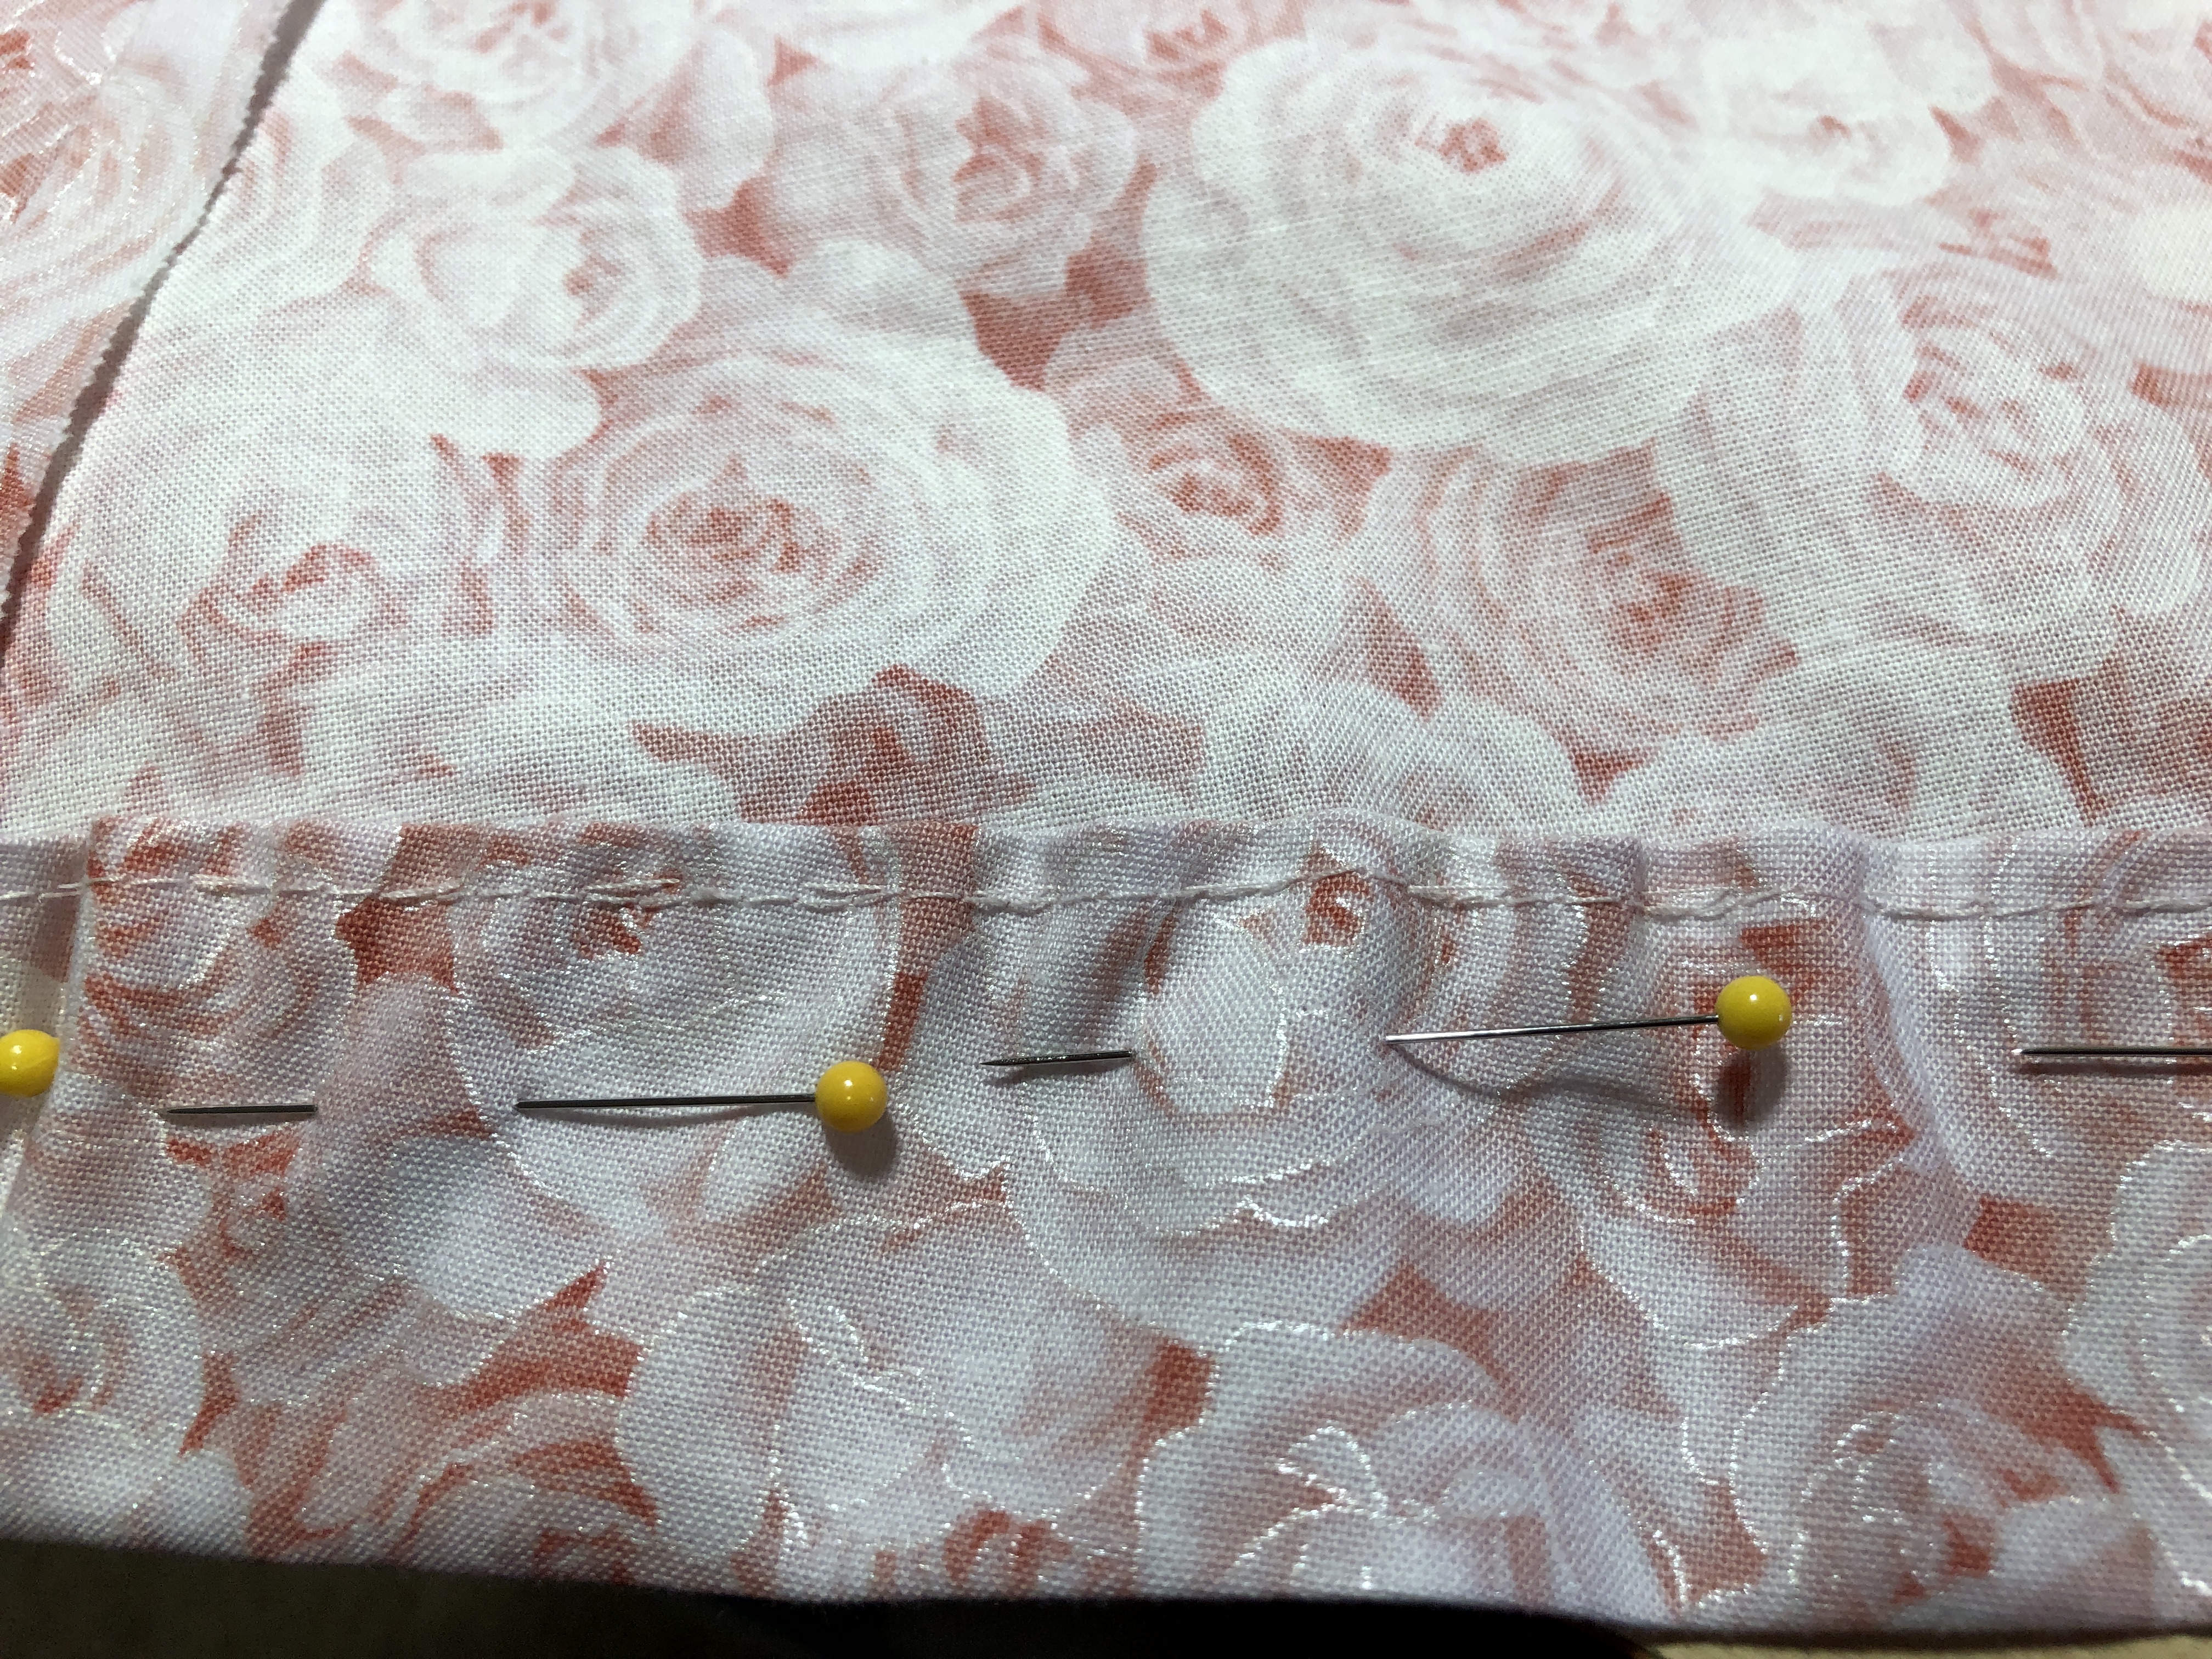
Step 6: Hem the skirt.
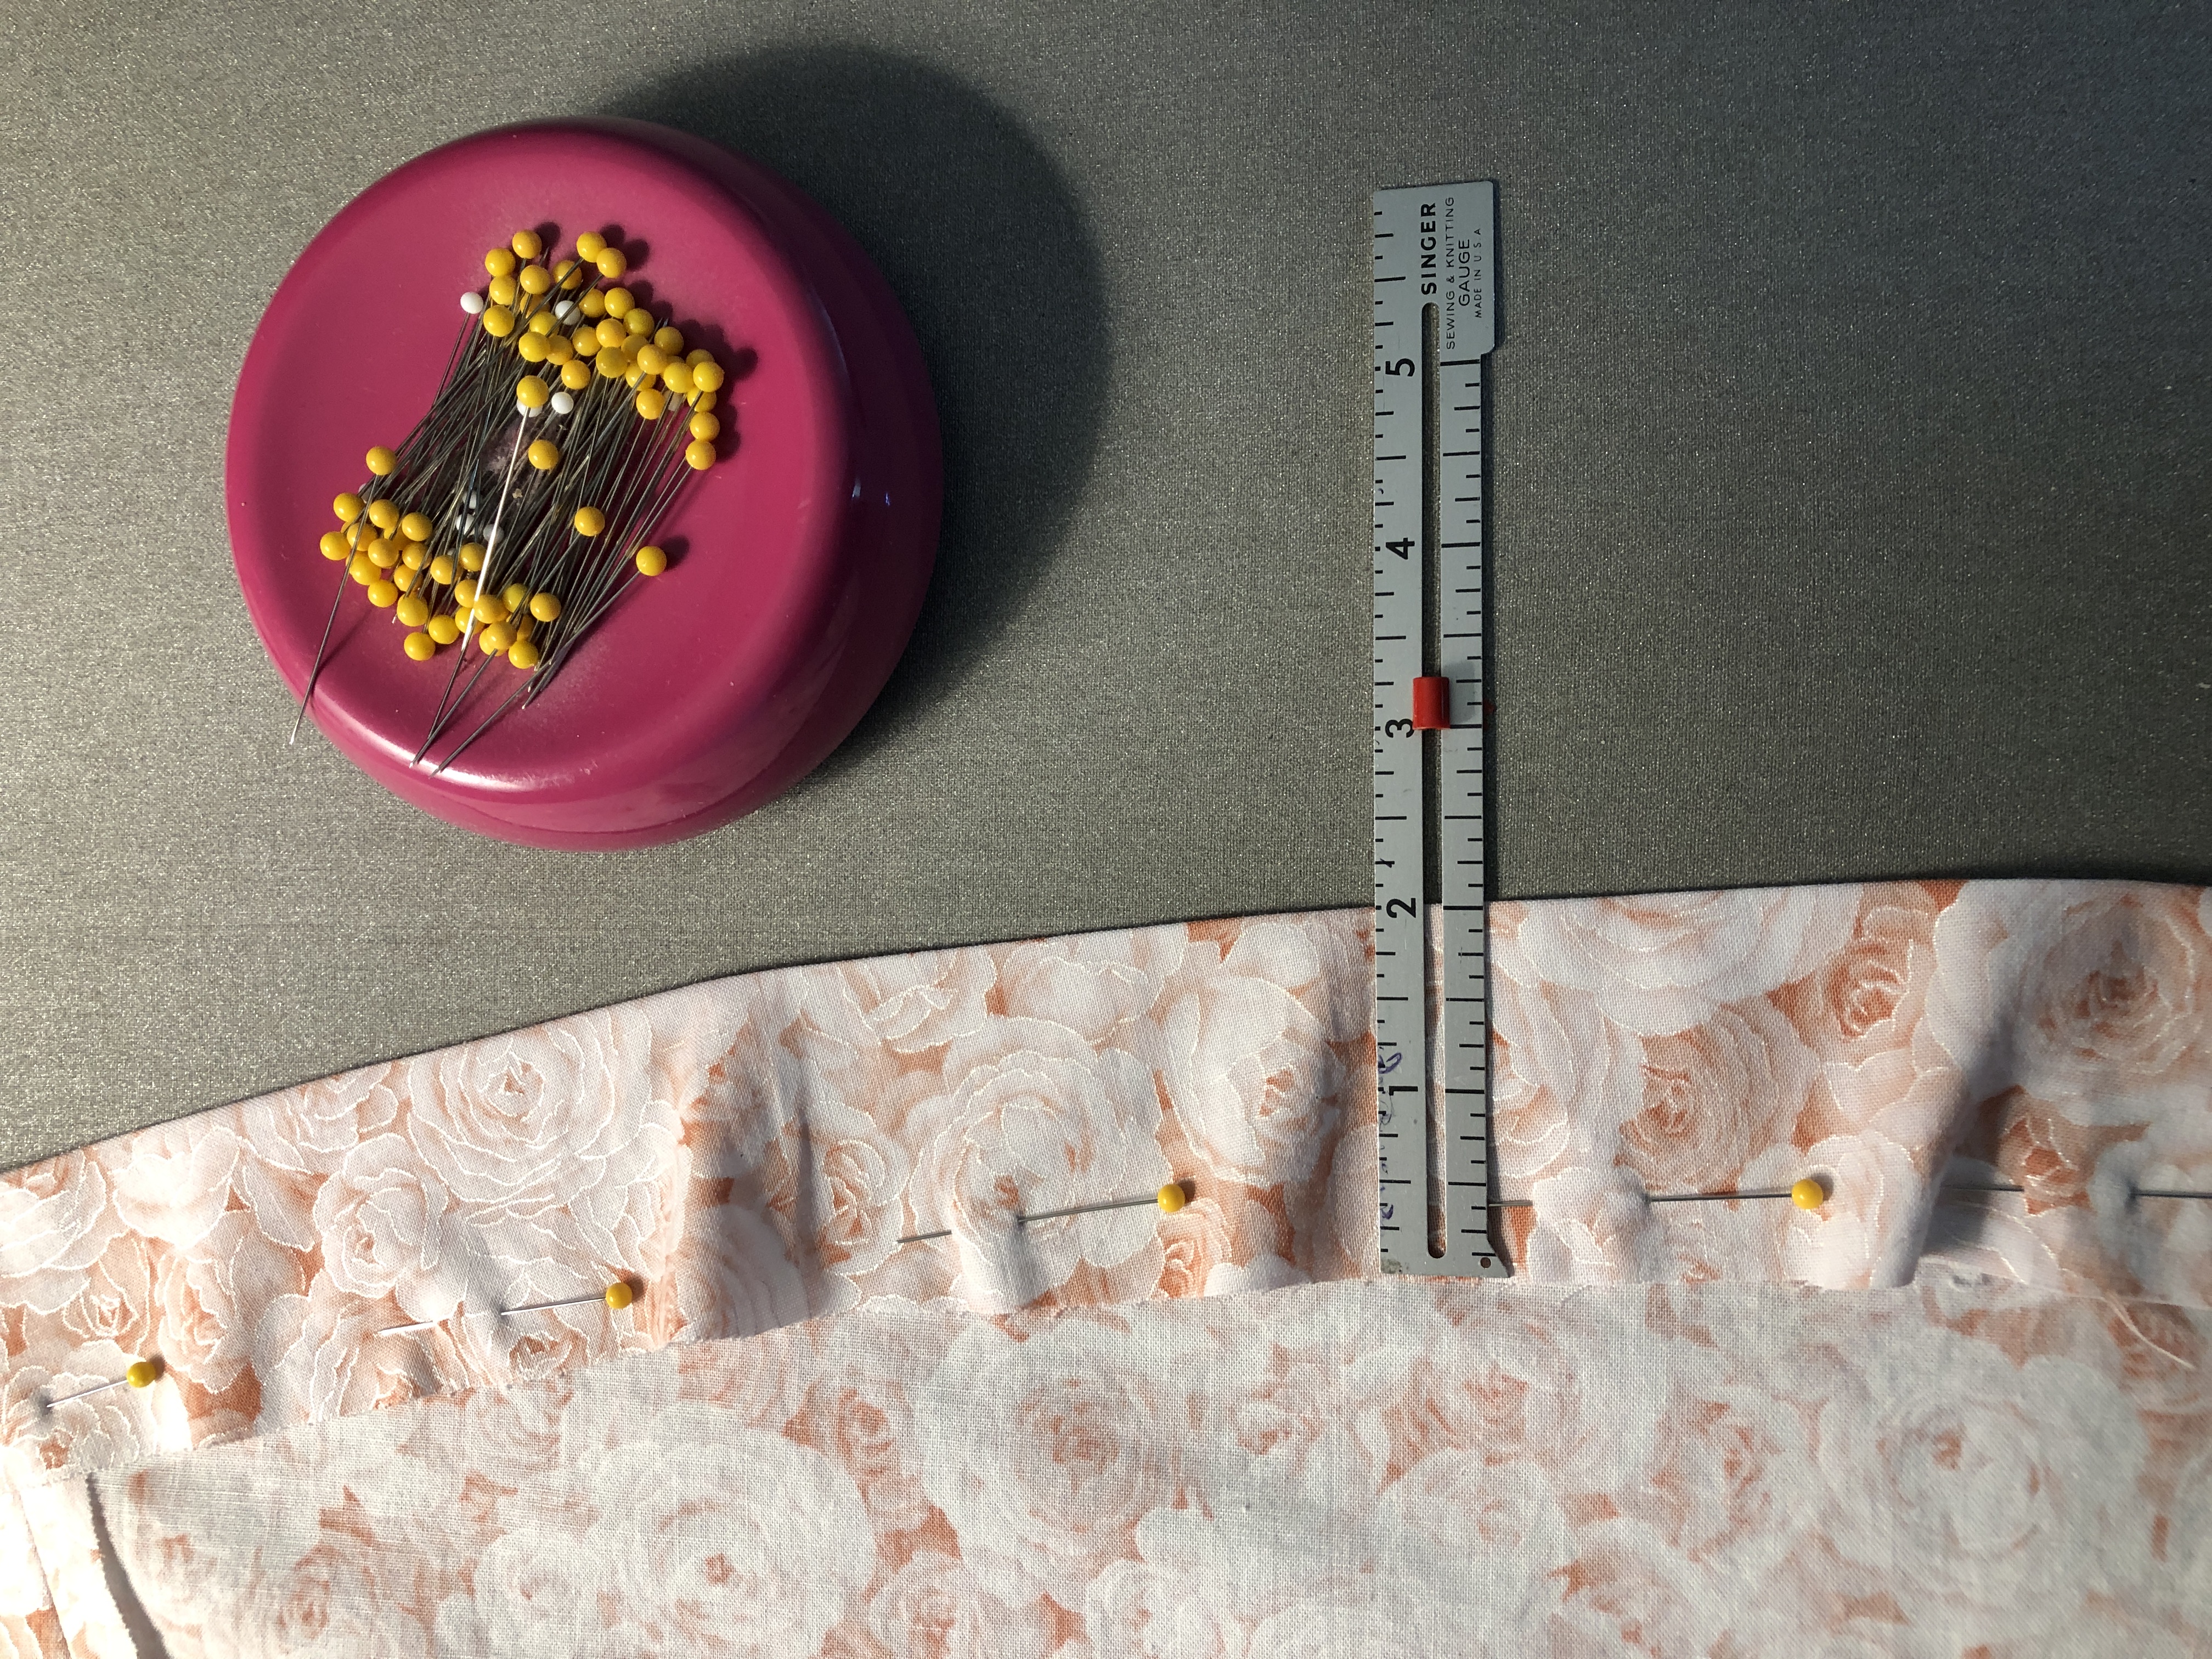
Instructions say to sew the edge 1/4″ with a long stitch. I didn’t make it long enough so I couldn’t pull the thread and ease the fullness. I had to make a basting stitch by hand along the 1/4″ stitching to lightly gather the edge to fit. Boo Hiss! Took hours to hem the skirt!
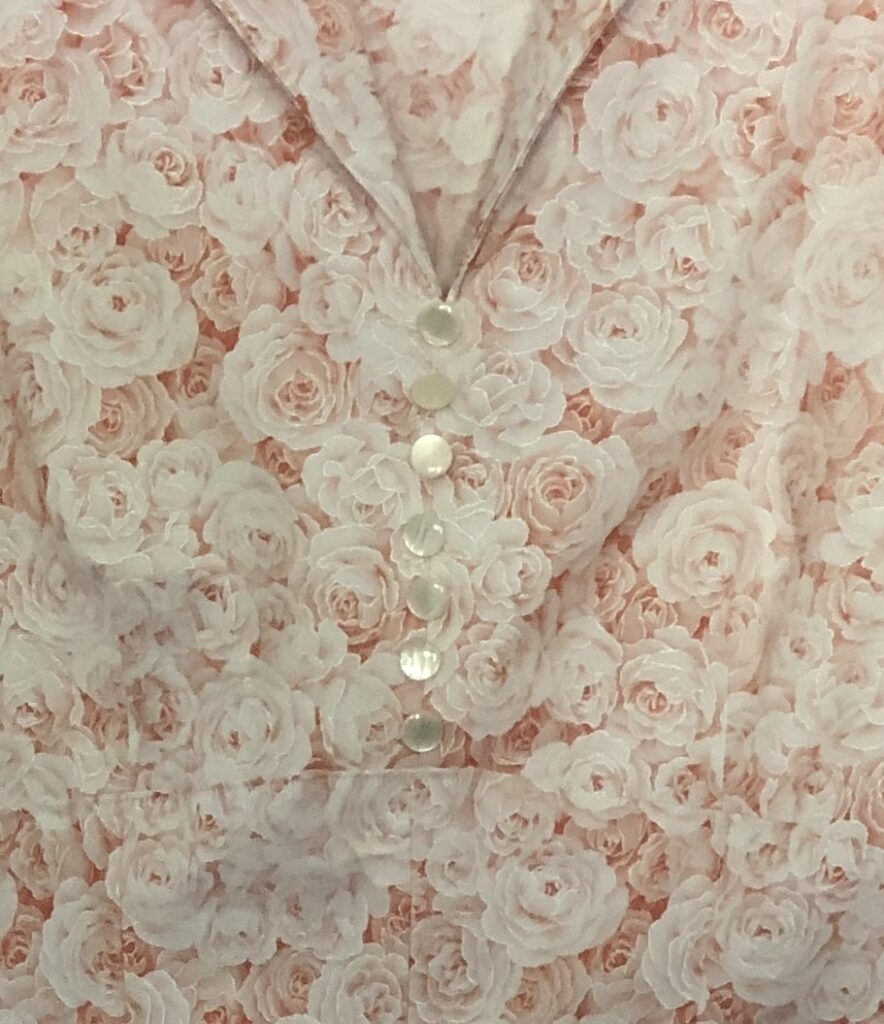
Step 7: Finally, add the decorative buttons down the front of the dress.
I carefully folded the dress up and put it in the mail to my granddaughter in California! I have no idea if it will fit! We agreed that this first dress was an experiment. Alterations may involve her sending the dress back to me. Or…it might make a good Halloween costume for someone!?!
I’ll have an update in the next week or two! Enjoy!