
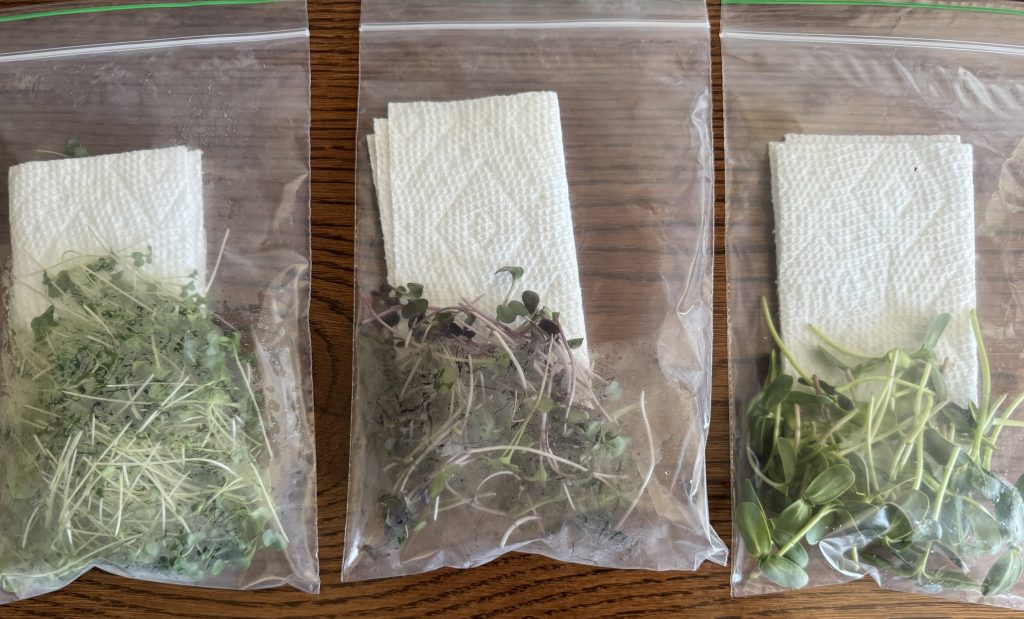
Two weeks ago, at the Boalsburg Farmer’s Market, I found a vendor selling microgreens. He took the time to explain a little about how he grew them and then cut three 1-ounce portions from three different trays…including sunflowers, radish and broccoli. I felt like I had three little bags of nutritional gold!
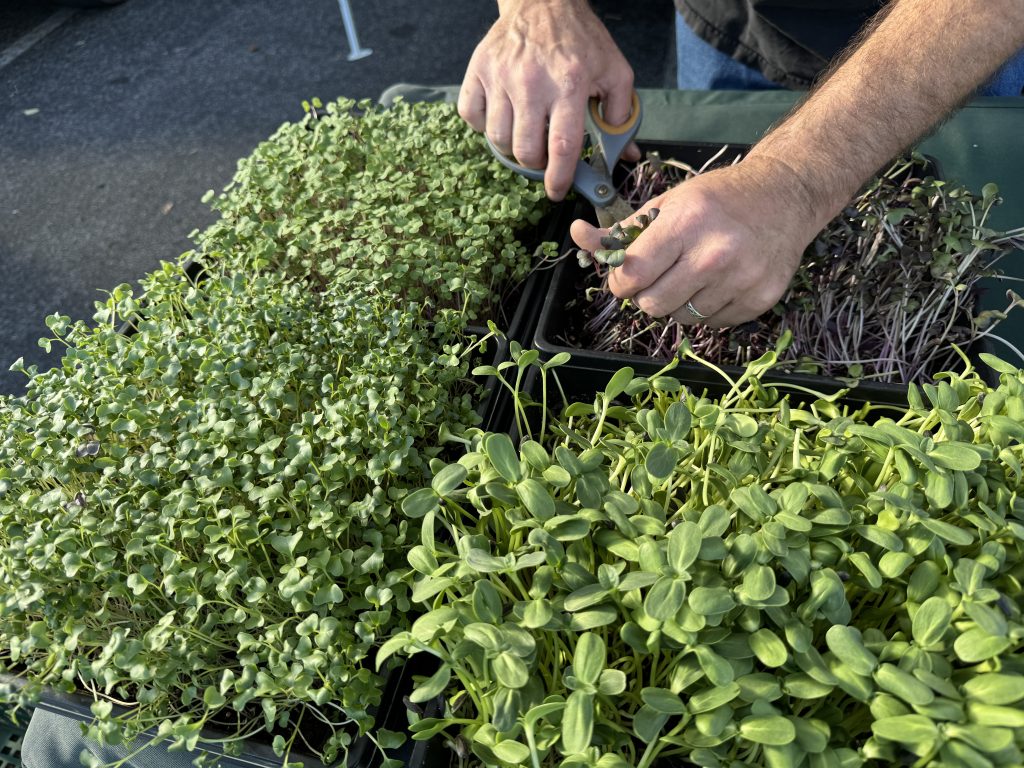
Then he shared information about a workshop he and his wife were offering to learn to grow them myself!
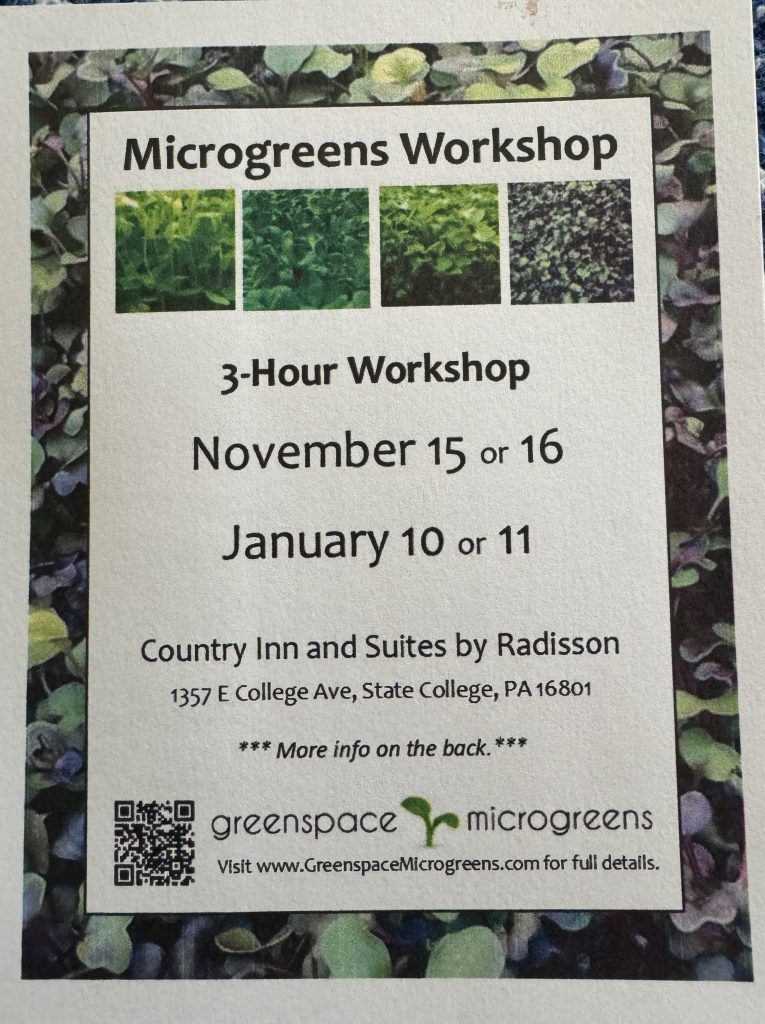

I came home with my loot and signed up! I’ve tried doing this in the past and I could never seem to get it right. I was looking forward to learning the process.
Hands-on Workshop
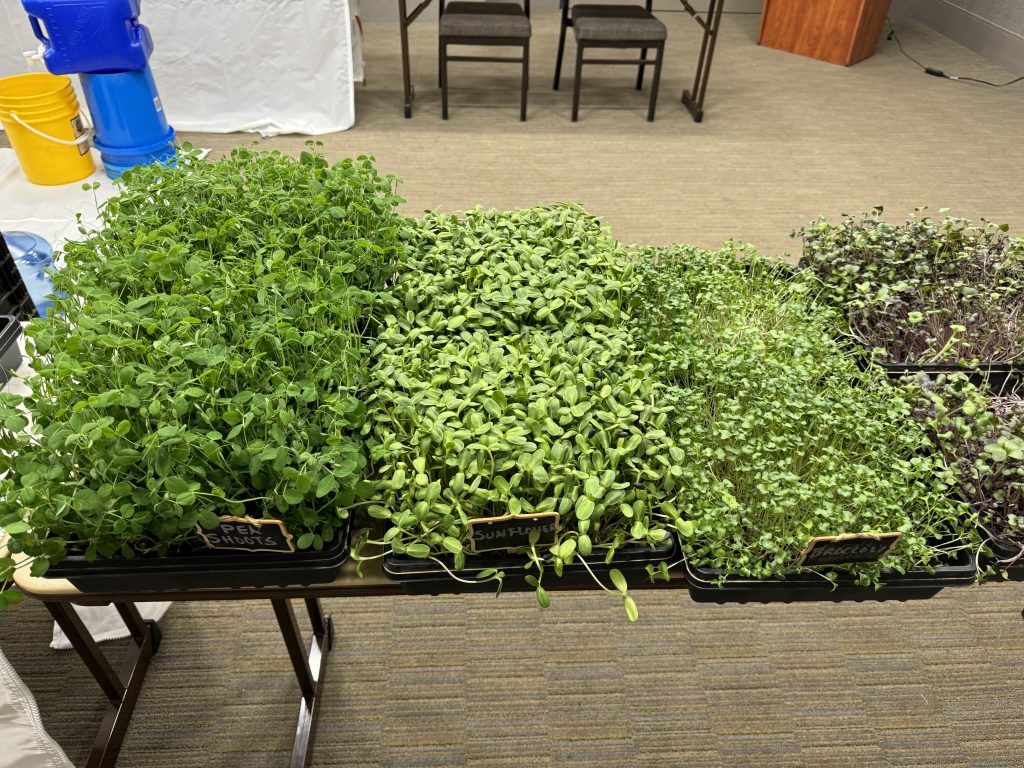
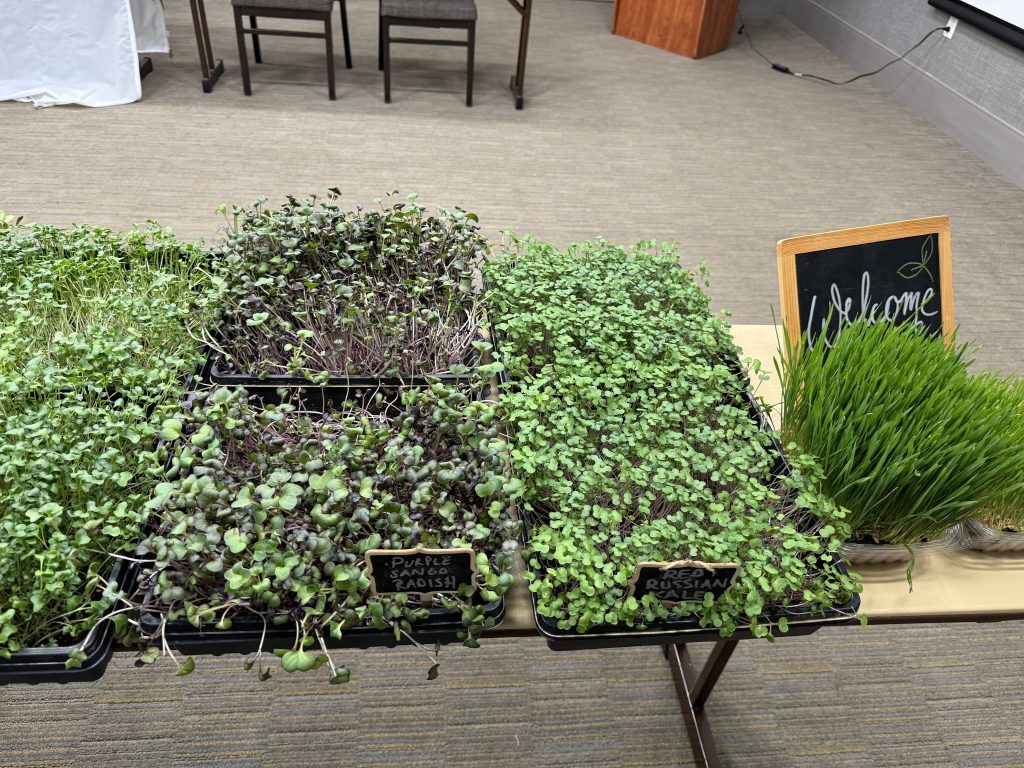
I arrived at the workshop and was greeted with multiple trays of beautiful microgreens and supplies to grow my own. Very inspiring!
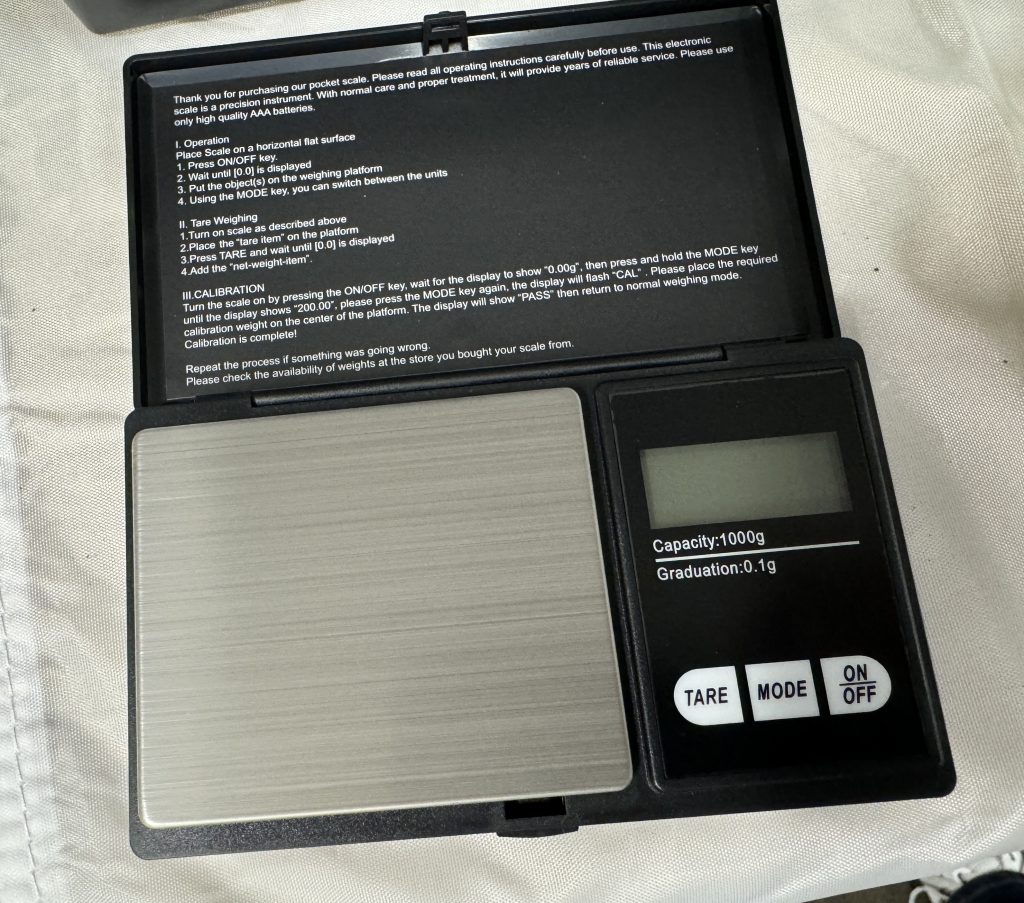
I had enough trays to plant four different seeds, along with a smaller tray to plant wheat grass. An adorable little scale was at my station. It was perfect for weighing out tiny amounts of seeds. (Of course, as soon as I got home I had to order one from Amazon!)
The workbook had tons of information about starting with the right organic soil and seeds.
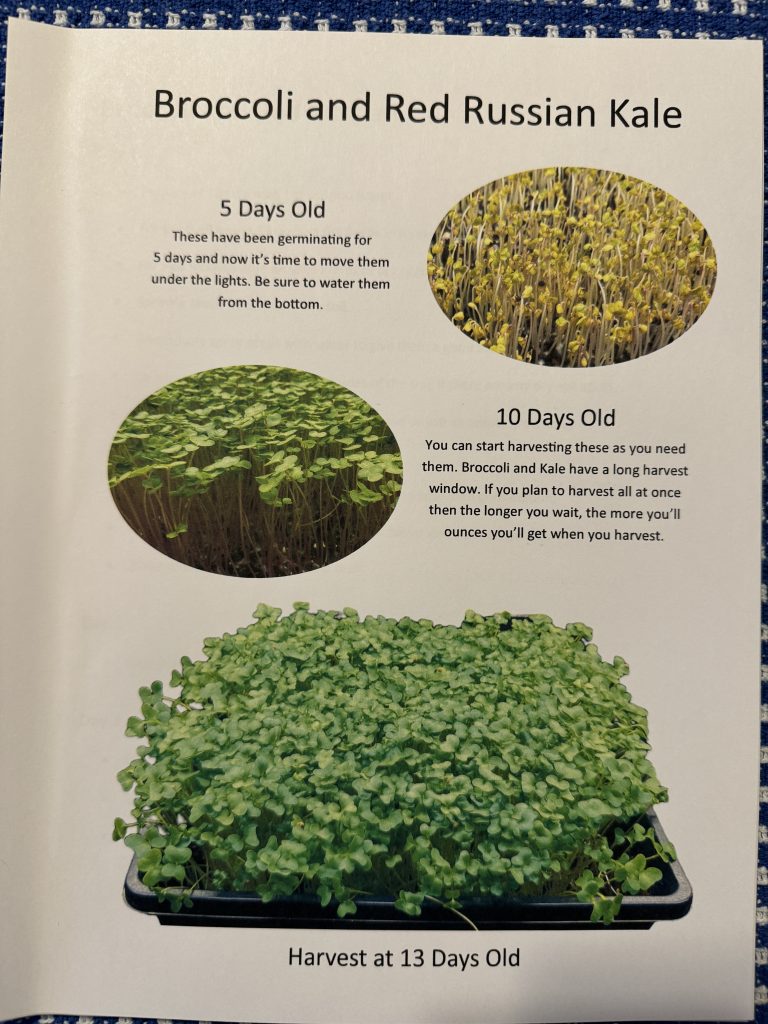
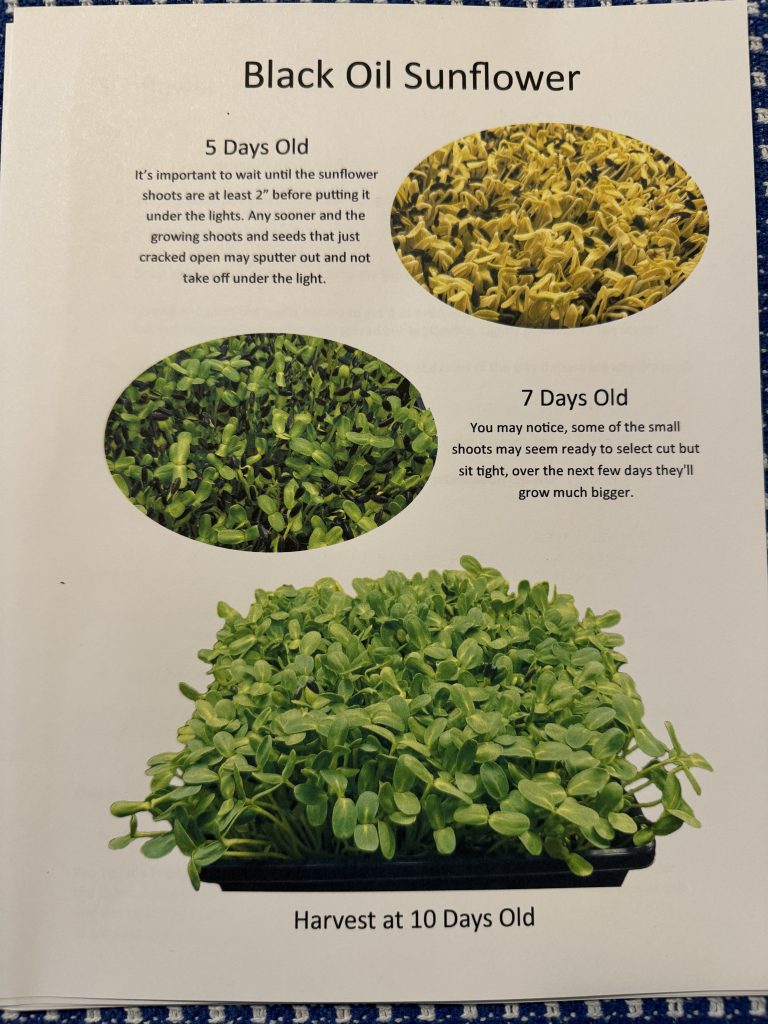
I can’t possibly share the whole step-by-step process for each kind of seed (not my workshop…not my expertise) but the most informative part of the presentation were the detailed slides of what the seeds/sprouts would look like on Day 1, Day 2 up to Day 10+ which was harvest day. The workbook had pictures to show the progression of each individual seed, but the slides were much more detailed. Of course, being able to actually see the ready-to-harvest plants was helpful.
I’m grateful for the workbook to take home, because once we started on the hands-on portion of the workshop, I just couldn’t take pictures…of course, I’ll remember the details of planting because I did it myself!
At the end of each section of planting, Dan harvested a try of greens to show me how it was done…where to cut, how to store, etc. Little did I know the cut greens were being arranged into a salad by his wife that I got to take home! No picture, because by the time I thought of it I had already eaten it! Delicious!
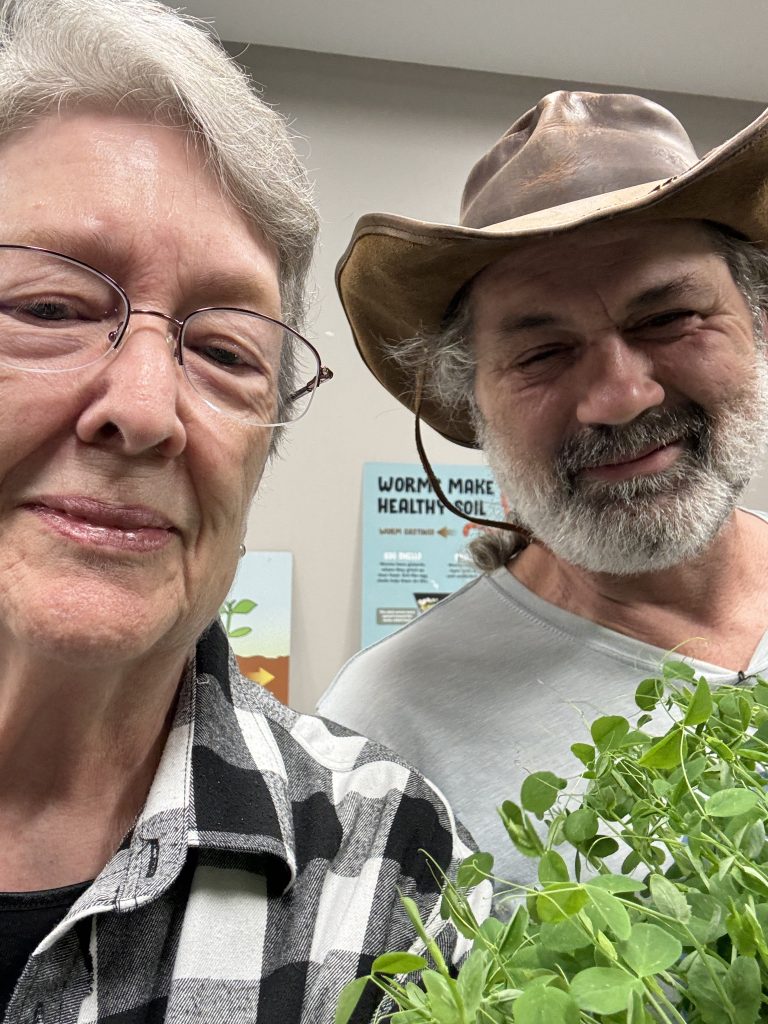
I am certainly not an expert at taking selfies, but Dan and his wife graciously let me take our pictures:

My Set-up at Home
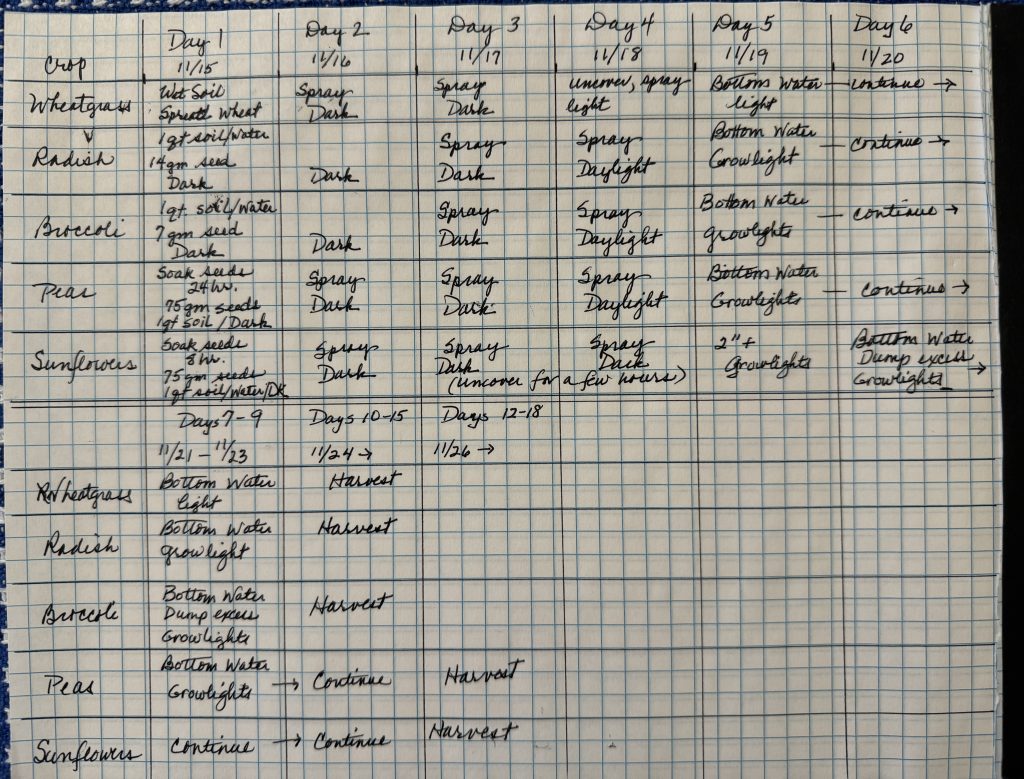
I came home with a stack of 5 trays of planted seeds. Each kind had a day-by-day set of instructions in the workbook of when to water them, when to expose them to light and when to turn on the grow lights. Of course, I couldn’t help myself…I had to make a chart so I knew what to do each day for each kind of seed!
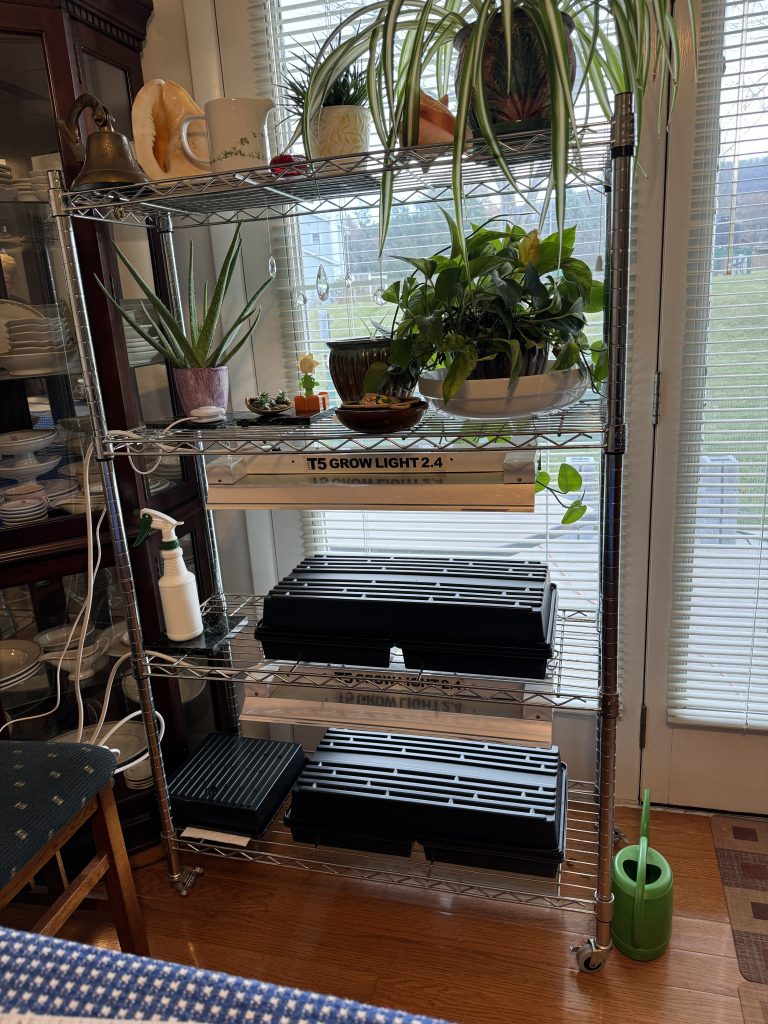
I put the trays on the shelves by our patio door.
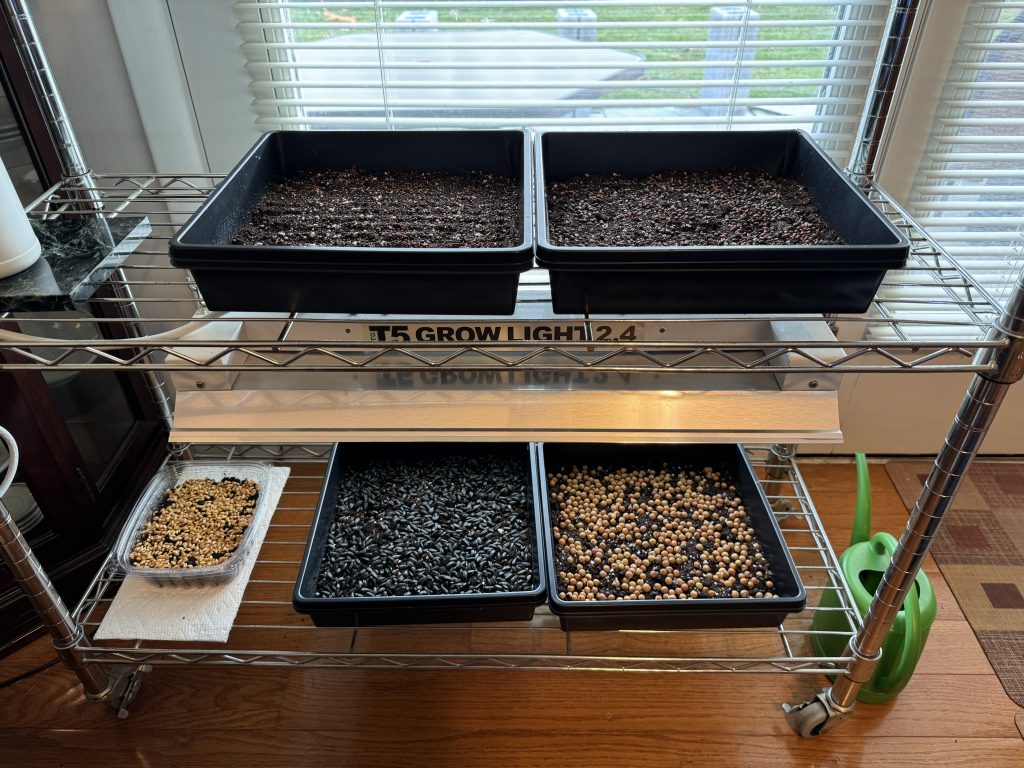
They will need to be in the dark for several days, so I used some larger trays to cover them. I can easily take them off to spray the seeds each day. I’ll take them off when I turn on the grow lights and start watering them from a bottom tray.
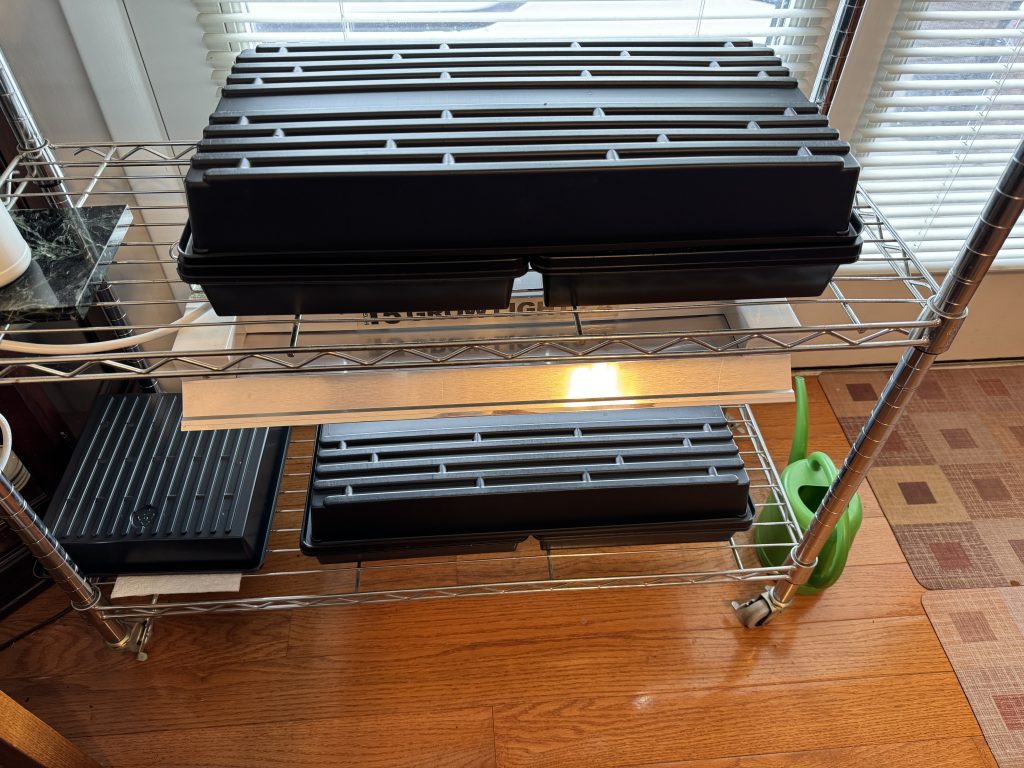
So, at the moment, my dining room is a miniature greenhouse!
This concludes Part 1 of Growing Microgreens. I’ll start taking pictures each day to show how they’re doing and will share those in Part 2…in about 10 days! Enjoy!