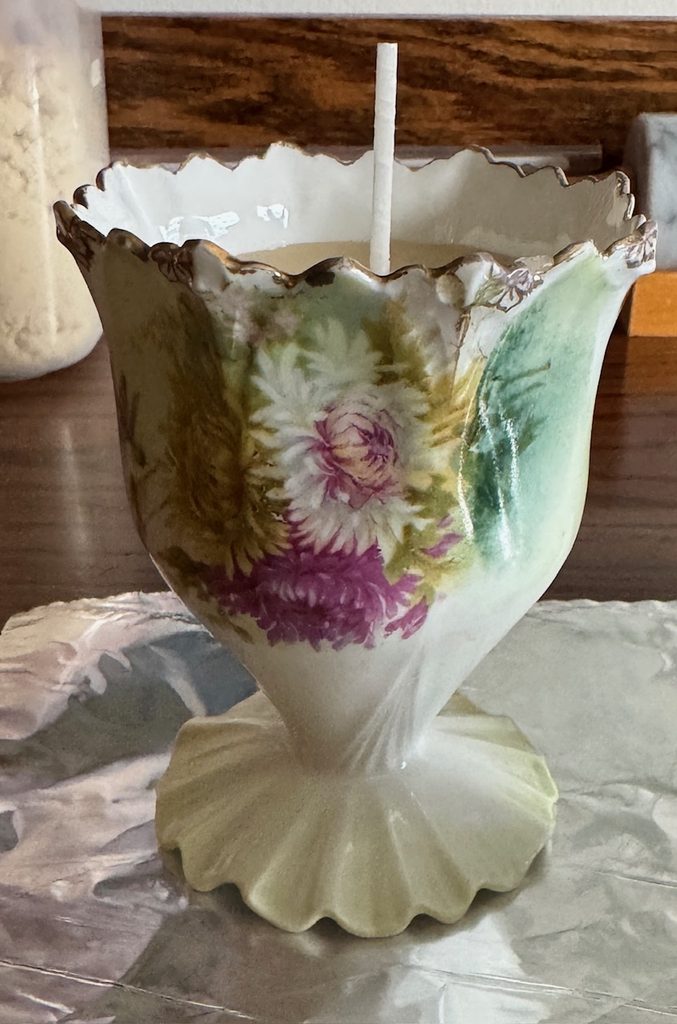
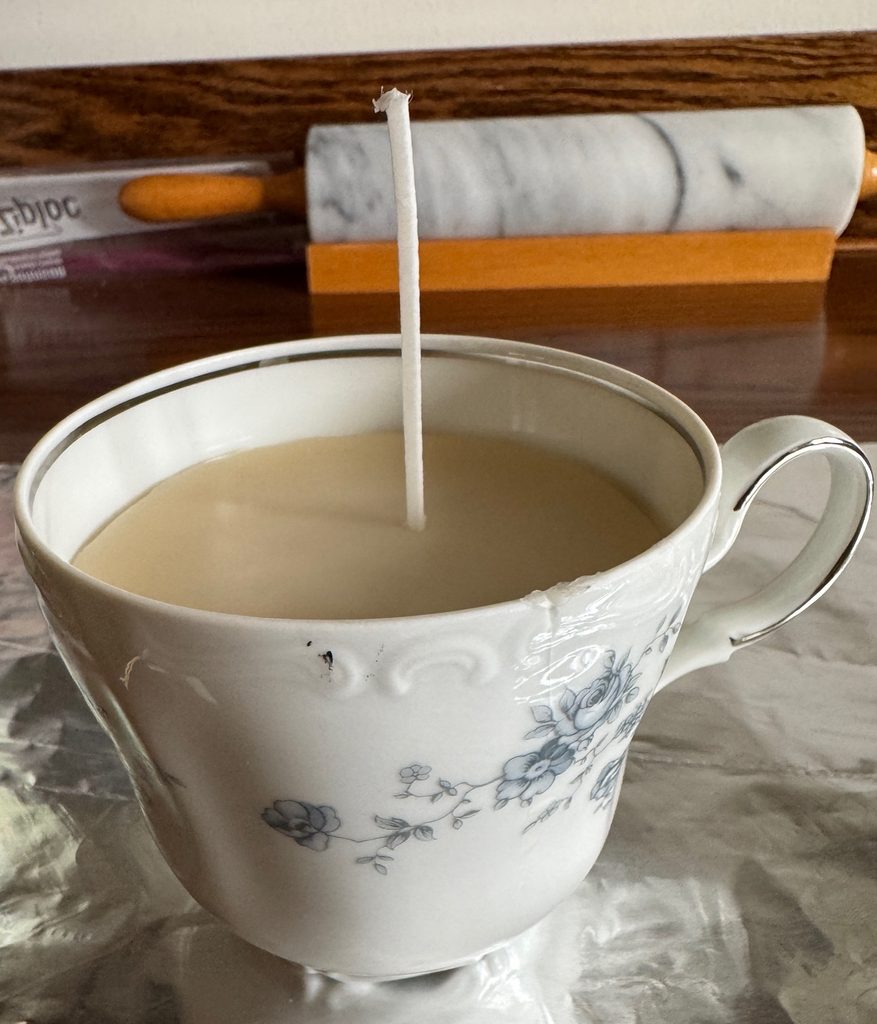
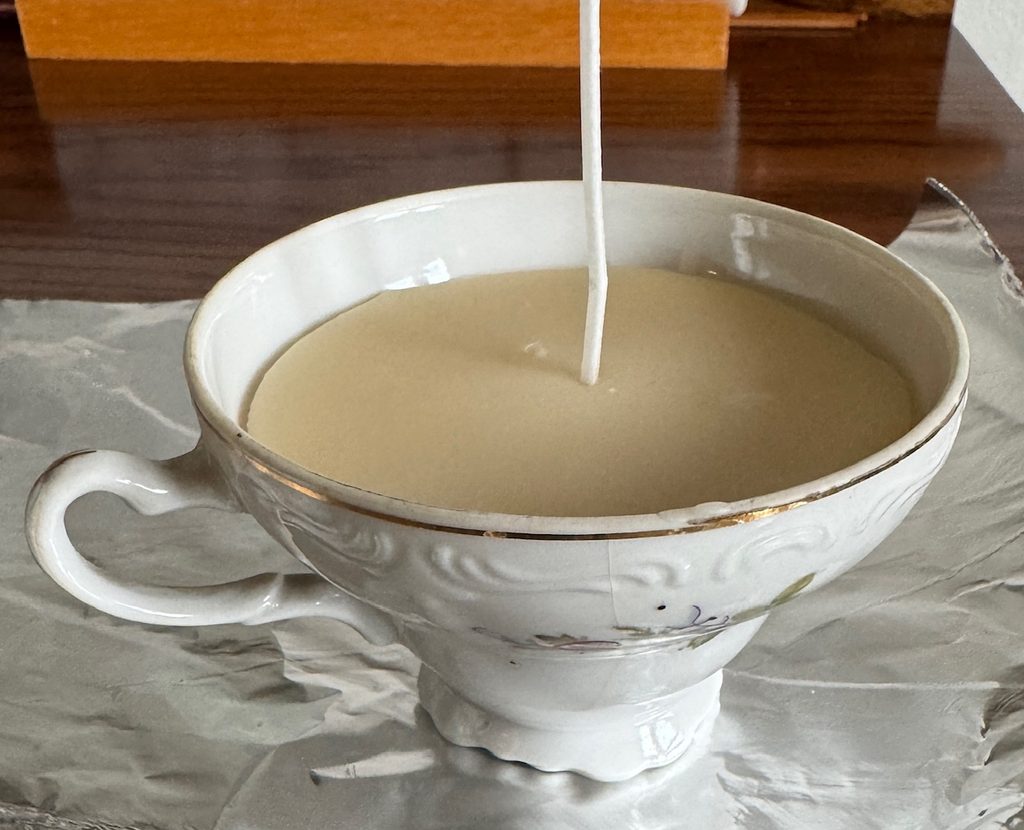
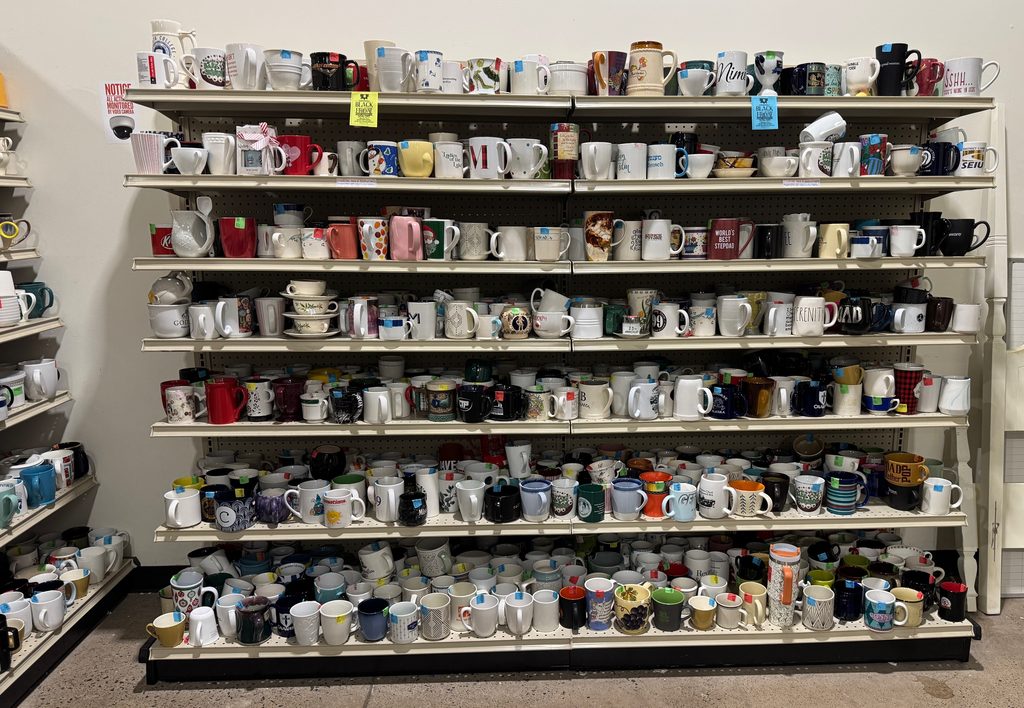
I had a chance to go to the local Goodwill outlet with a friend recently. I was so surprised with how organized everything was…and HUGE! The location used to be the Office Depot store years ago and I had not been inside the building for years. The parking lot was packed. The store was packed! Crazy on a Saturday.

I did have a mission…to look for some teacups that I could use to make teacup candles. O my goodness! I really had to focus. About half of the store was clothing…tons of clothing. I found the other half was an assortment of stuff typical of any yard sale…glassware, woven baskets and seasonal decorator items. I found the one aisle filled with glassware and ceramic cups, mugs and small vases. Perfect.
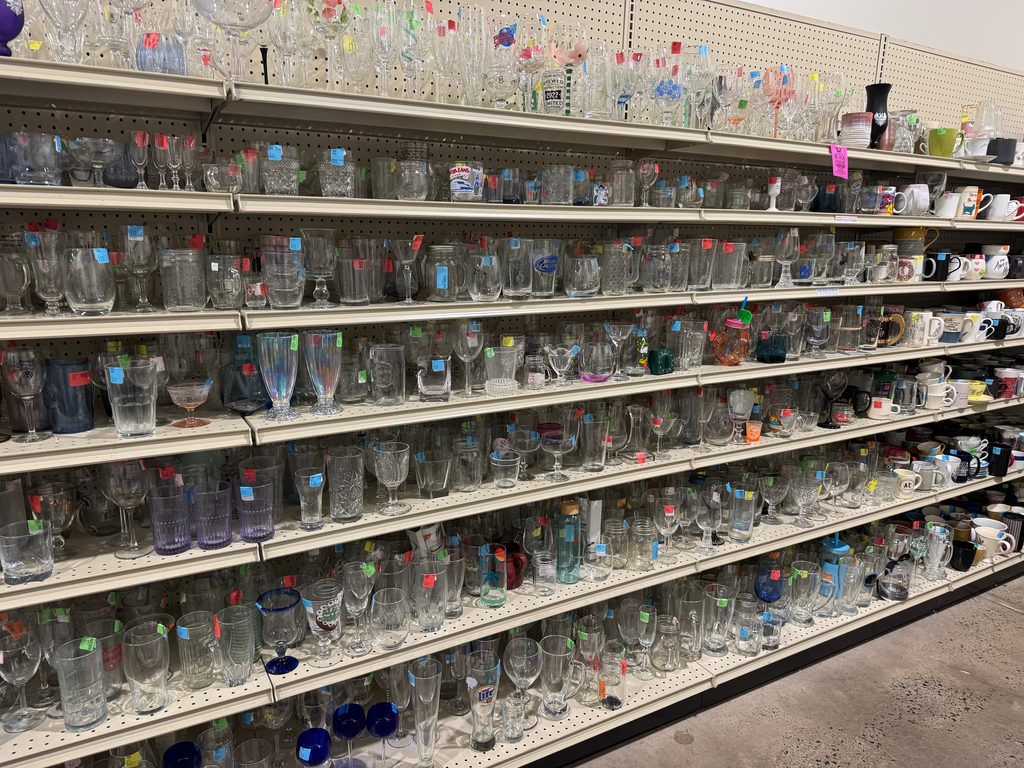
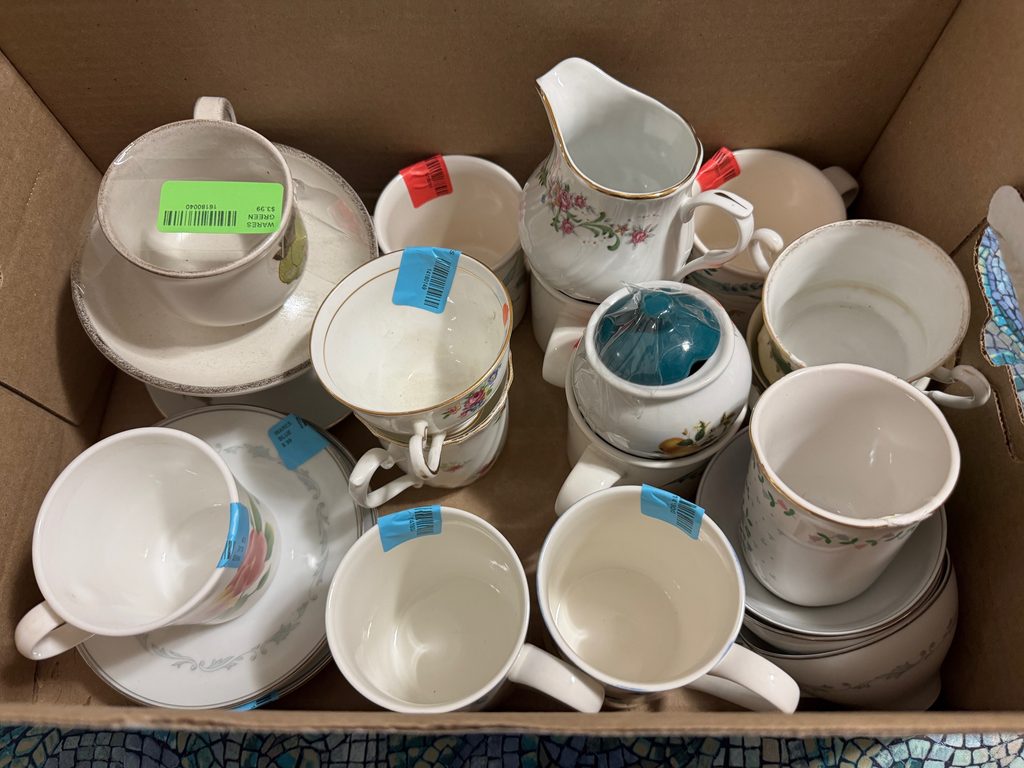
I wanted smaller cups or mugs that wouldn’t take too much wax to fill. Pretty flowers drew my attention. I did my best to not buy too much (haha). This box of cups was about $40. The expensive part of this project is the beeswax, but it makes a nice candle!
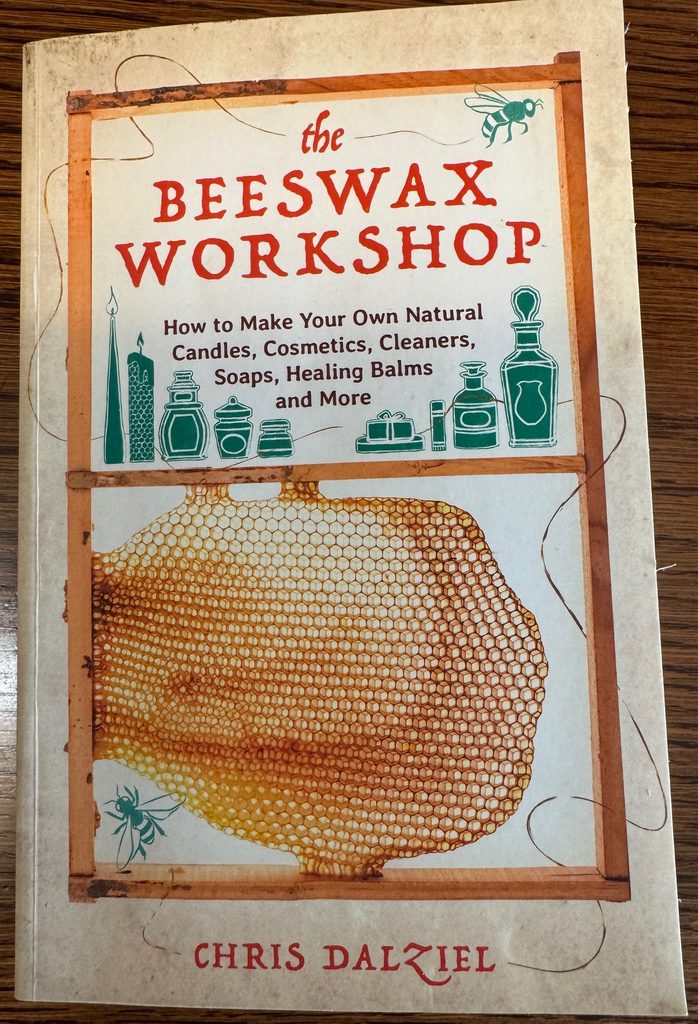
I found my favorite book about working with beeswax on the shelf. I have used this book for many of the lotions and lip balms that I’ve made in the past.
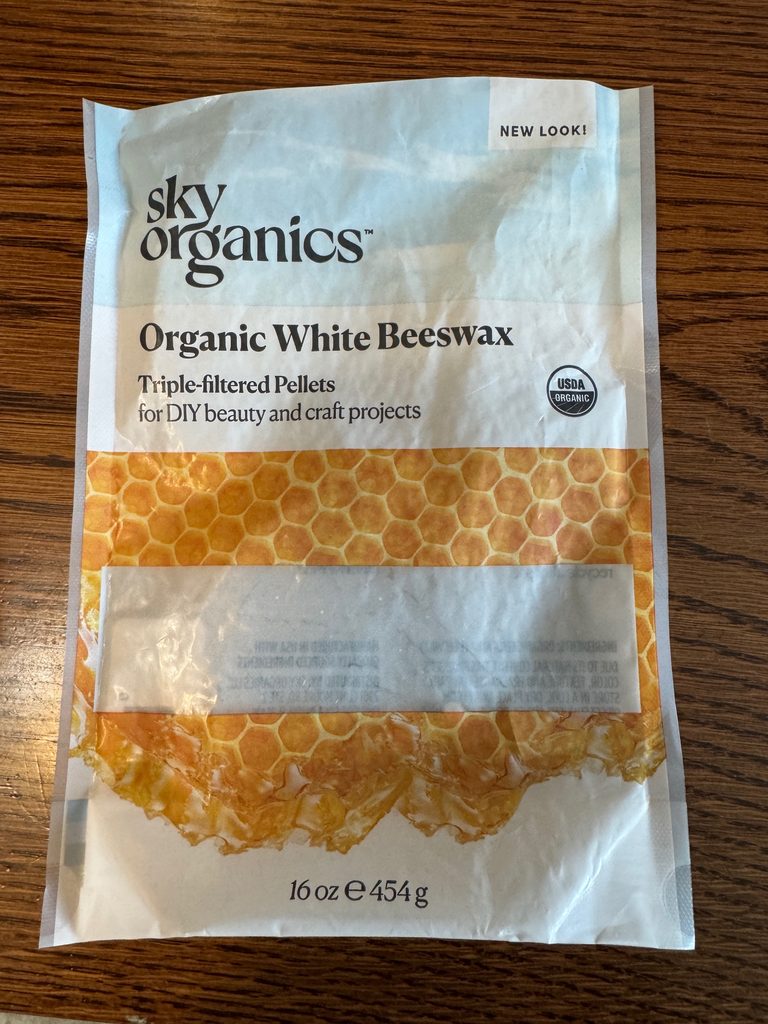
Before I could even start, I needed to collect my supplies. I actually had a bag of beeswax pellets:
I knew I needed a dedicated pot to melt the beeswax in…one that I wouldn’t have to wash out. I could let any leftover melted beeswax stay in the pot until next time. I found this one on Amazon:
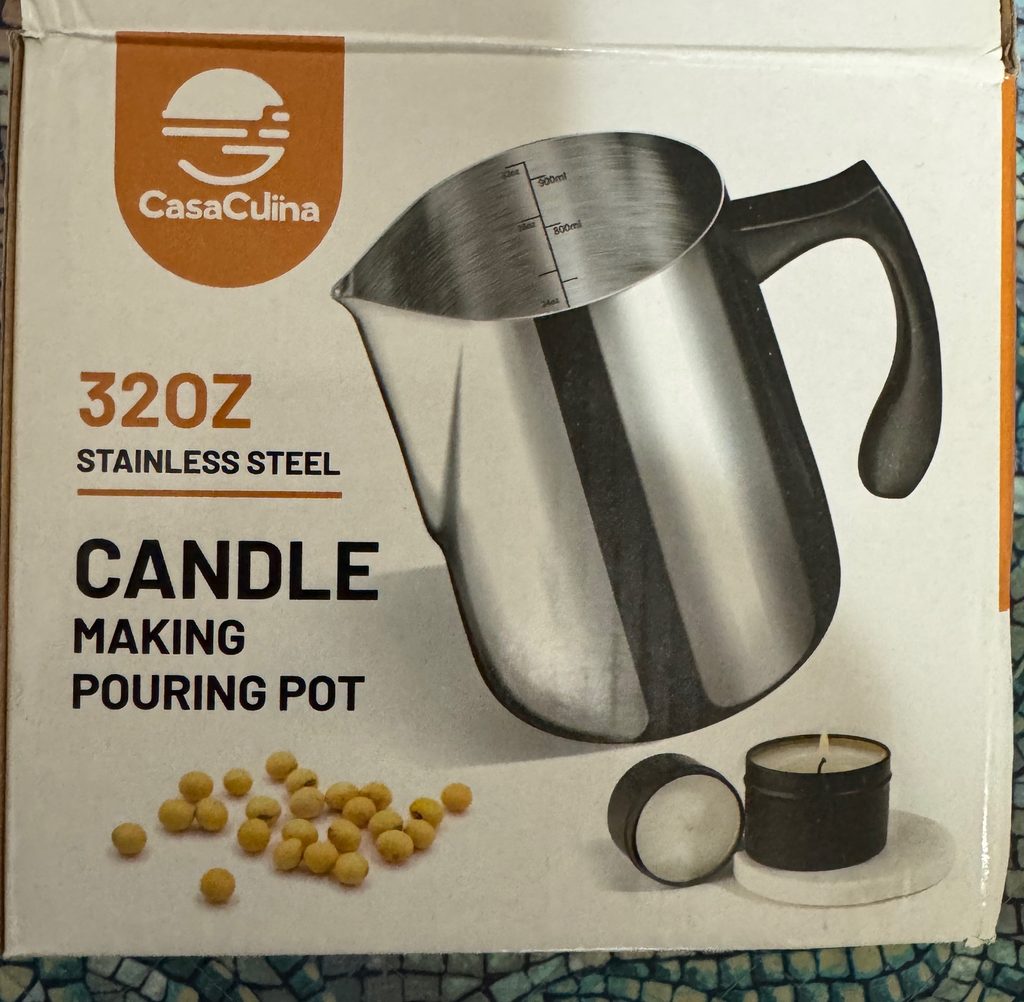
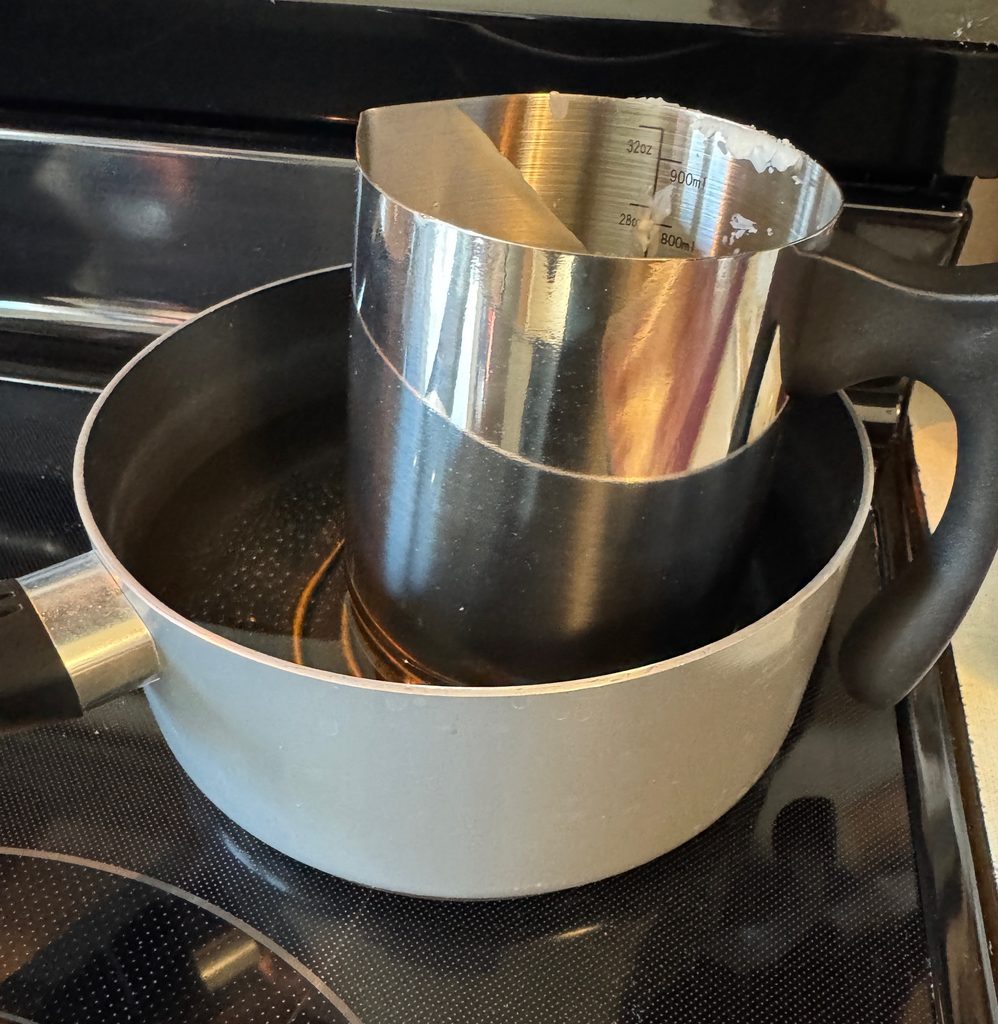
I pulled a saucepan out of my craft cupboard that I used to hold a large glass measuring cup when I melted body care products. The pot just fit inside the saucepan. I added a metal spiral to the bottom to keep the pot off the bottom. (I think Bert made it for me long ago).
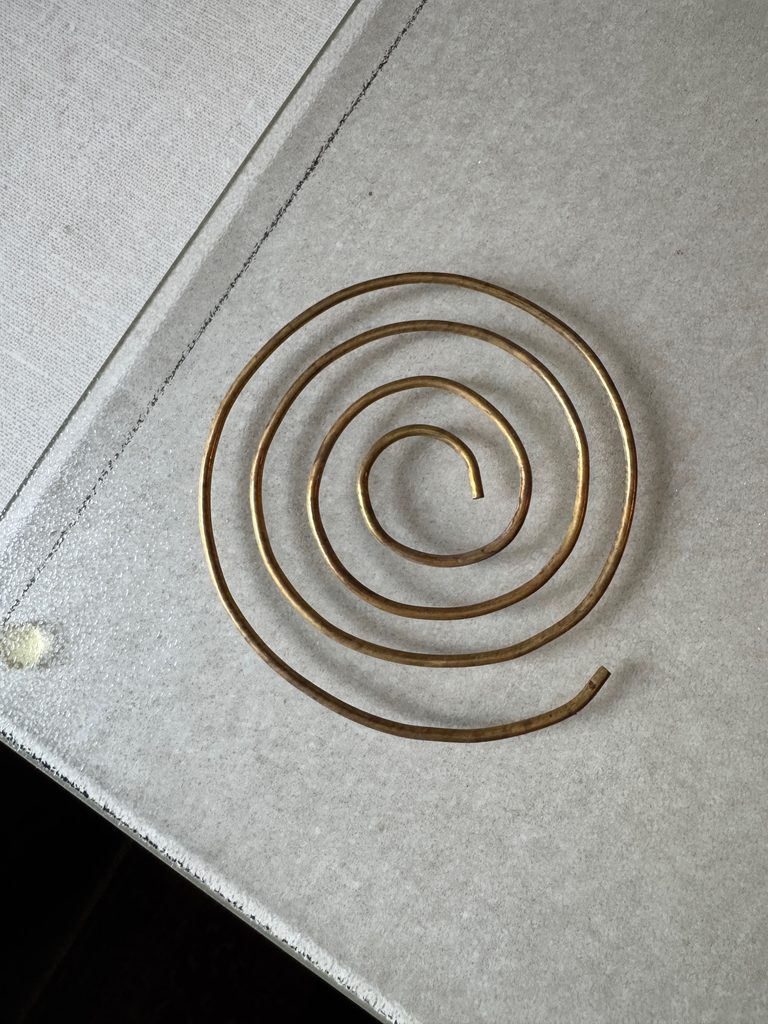
You can see it under the pot in this picture:
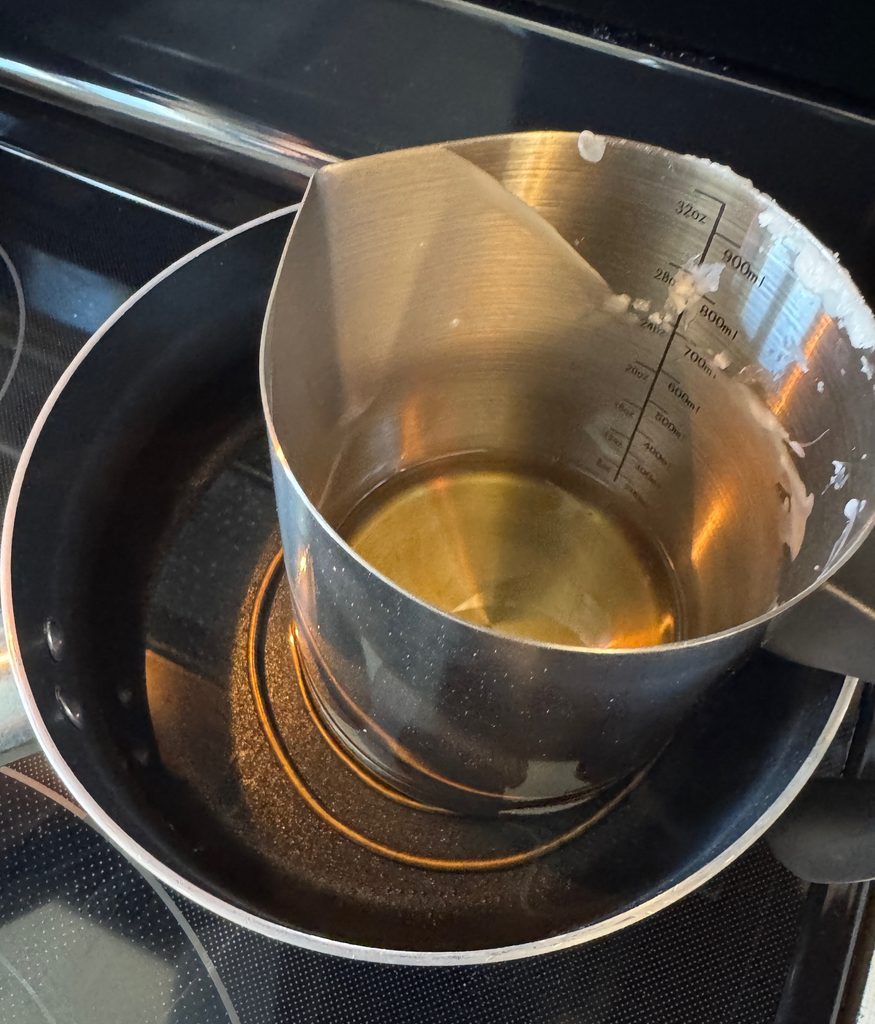
Then I fill the outer saucepan with water and set my beeswax pot in it. It acts as a double boiler and keeps the wax temperature steady as it melts.
Back to supplies I needed to order:
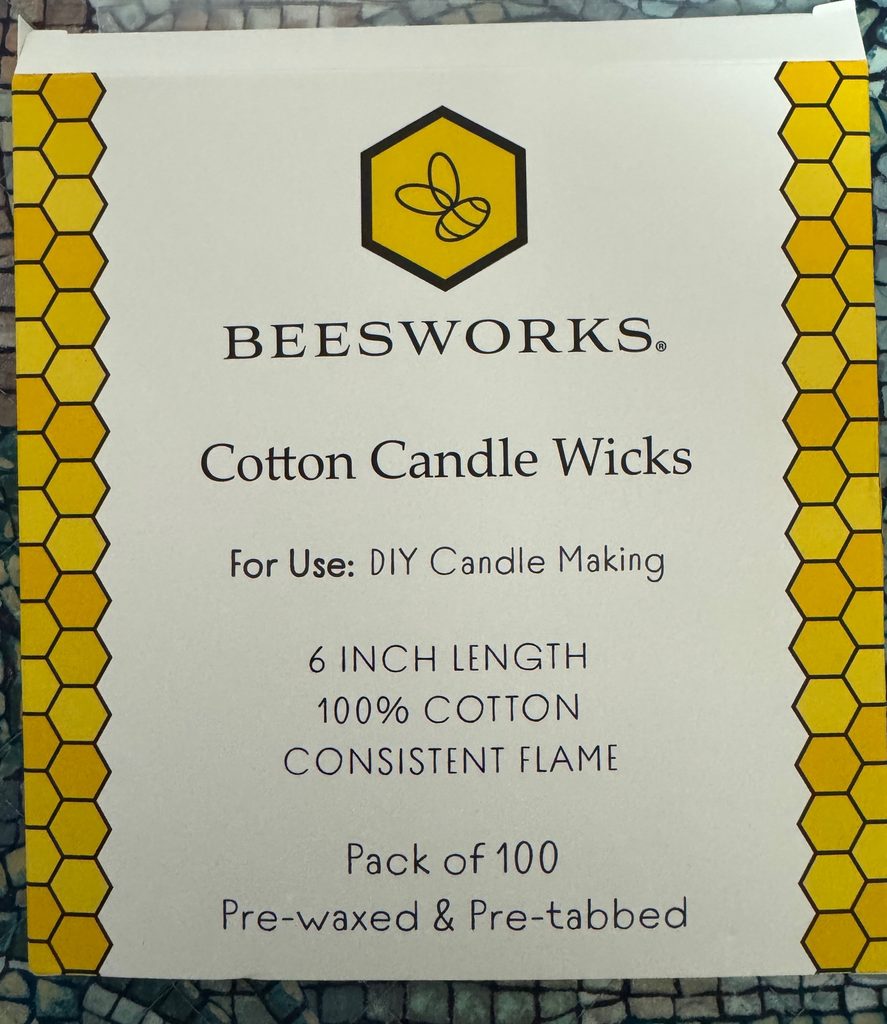
I found these wicks…as suggested in the book above.
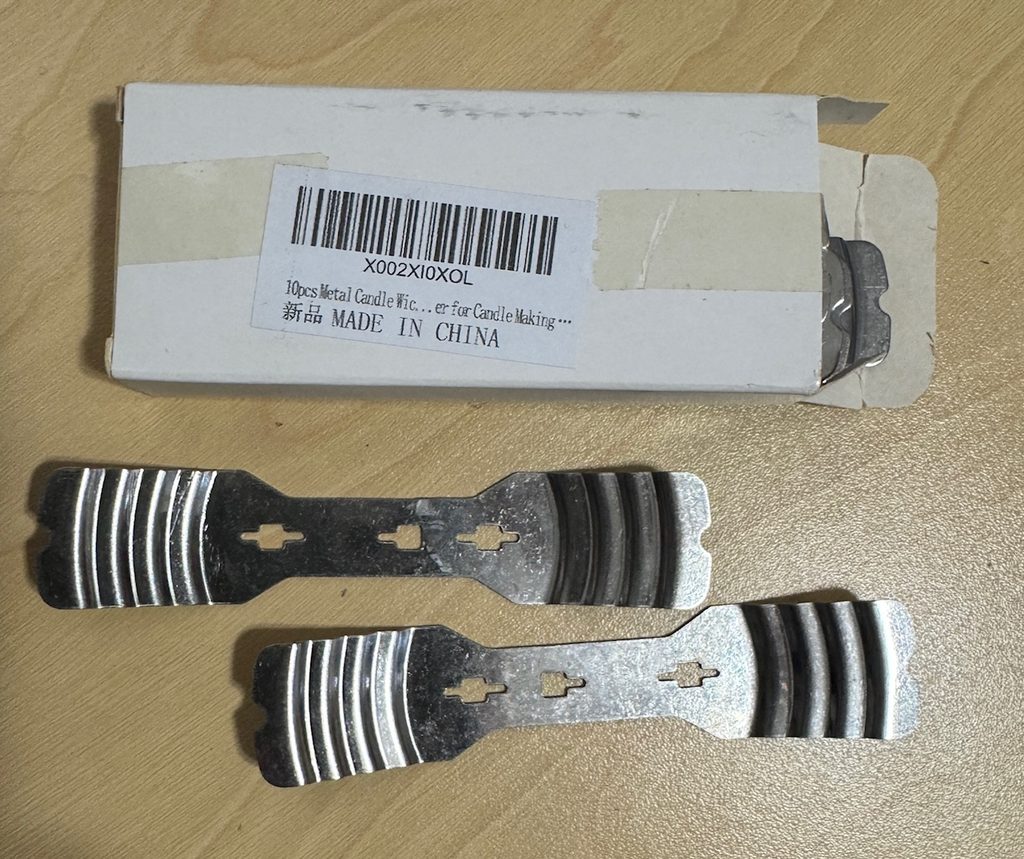
Then these metal tabs to hold the wick centered on the teacup looked like they would work for most sizes of cups.
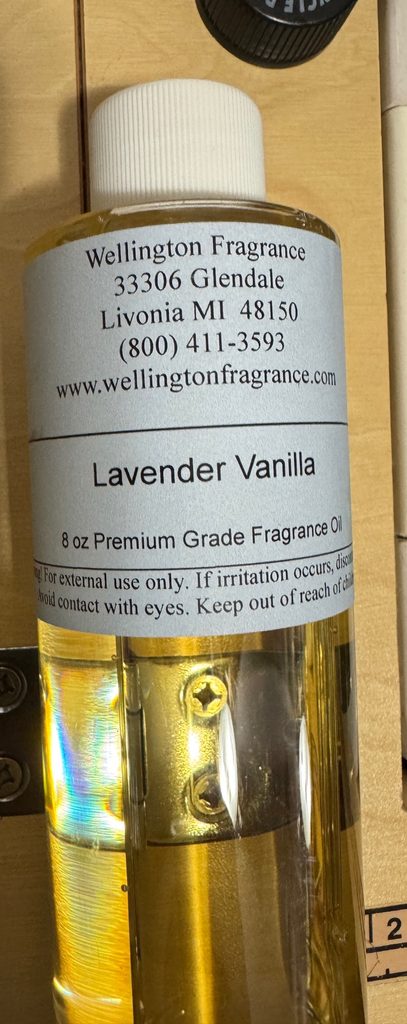
And of course, fragrance oil came right out of my cupboard!
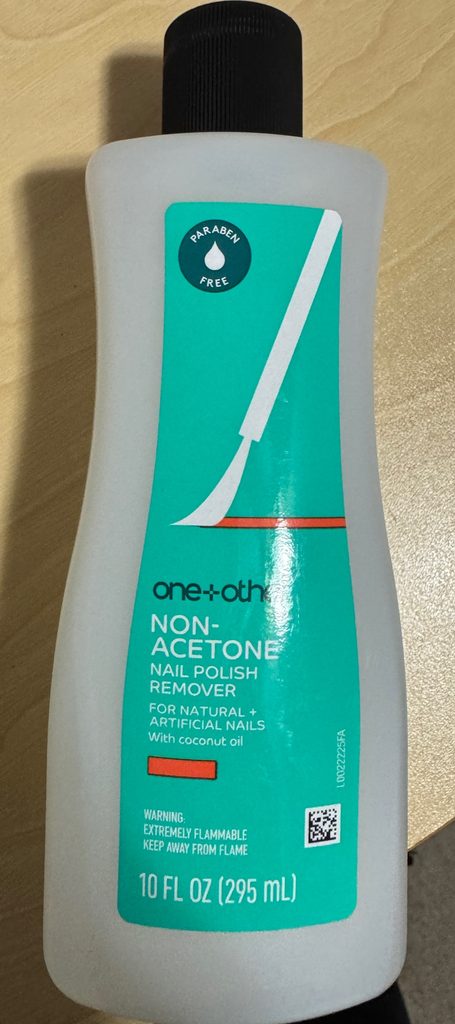
Surprisingly…the most useful item I needed right away was my nail polish remover…to get multiple stickers from Goodwill off the teacups!
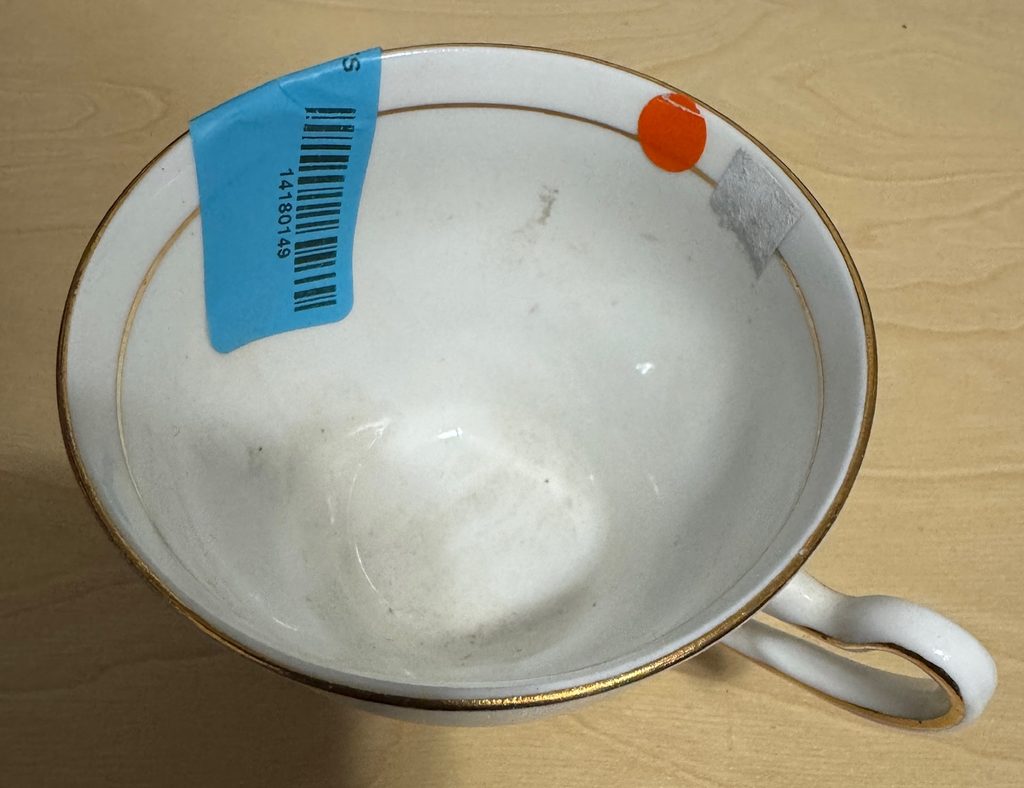
After choosing and cleaning the first batch of 3 teacups, I set them on a piece of foil…just in case an old teacup should crack when I fill it with hot wax. Then I read a book while I watched the beeswax pellets melt. A pound of pellets filled the pot about ¾ full. It took about 45 minutes to completely melt. All I had to do was watch the water in the saucepan and keep it simmering.
I had the three teacups ready with wicks and poured the wax into the cups. Luckily, nothing cracked!
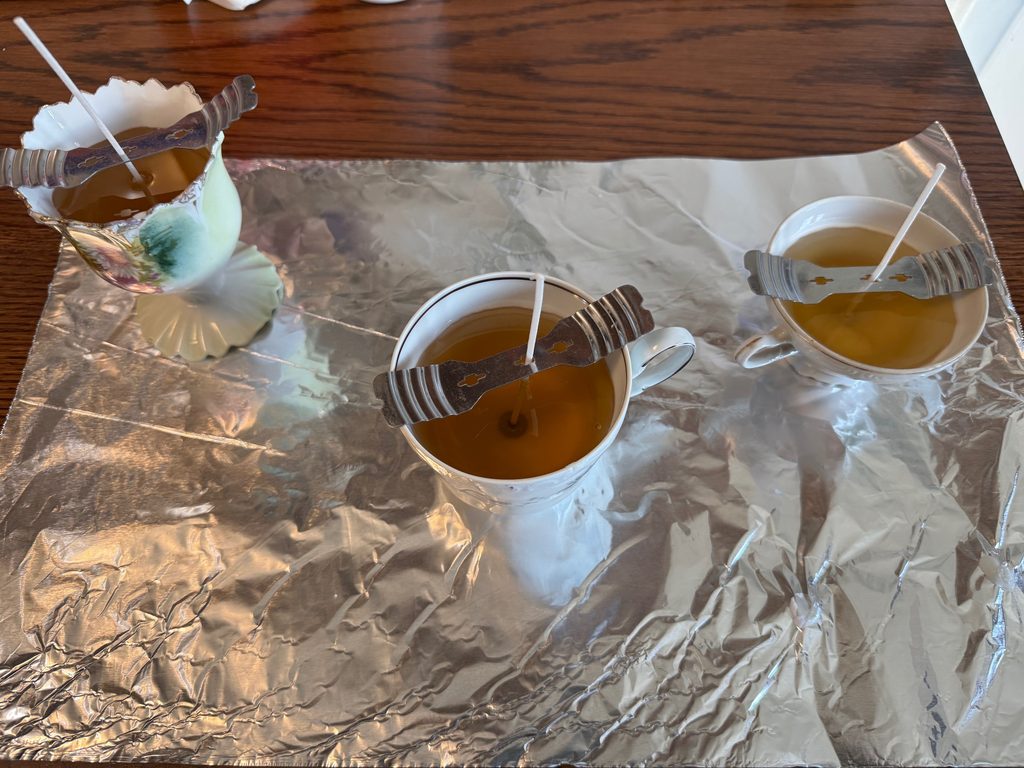
The directions said I was to poke with a toothpick near the wicks after the wax cooled some, then add more wax as needed to the cup. That sort of worked…but good enough for me!
When the wax was solid, I trimmed the wicks to about ½”. I will consider this first try a success! Look out…I may use these as Christmas gifts! For me…a fun day! As always, if you have comments or questions please email me directly at maryjkisner@gmail.com.