Before I spend the next three days sitting at an arts festival across town, I thought I’d better update you on the garden progress. Everything is doing well but I will miss the first picking of the beans. Some are ready right now, so I enticed a neighbor to come and pick some right now…I guess the deer have found her garden and made short work of her bean patch! By Sunday, there will be more to pick!
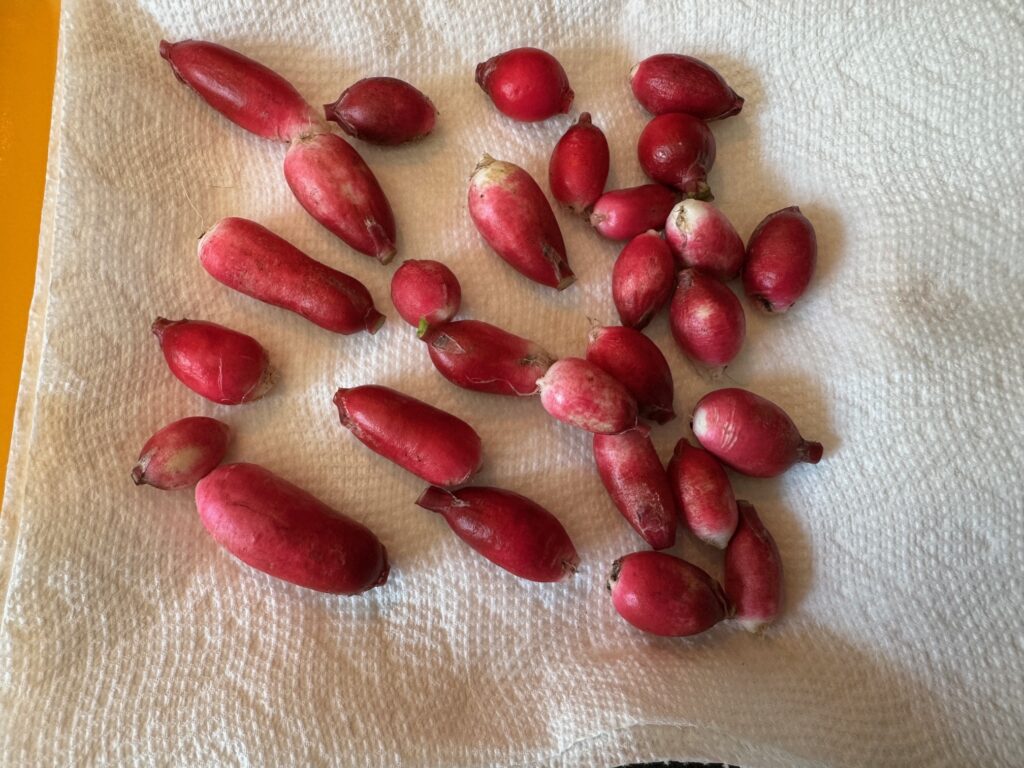
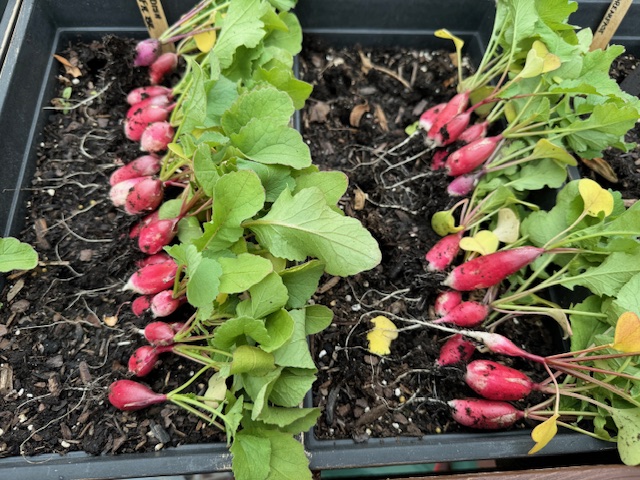
So, starting on the patio…I pulled the last planting of radishes. Bert will clean out the roots, add more soil and get it ready to replant. I may wait a week or two…I have several bags of radishes in the refrigerator so I’m set for salads for now.
Radish beds ready for a refresh!
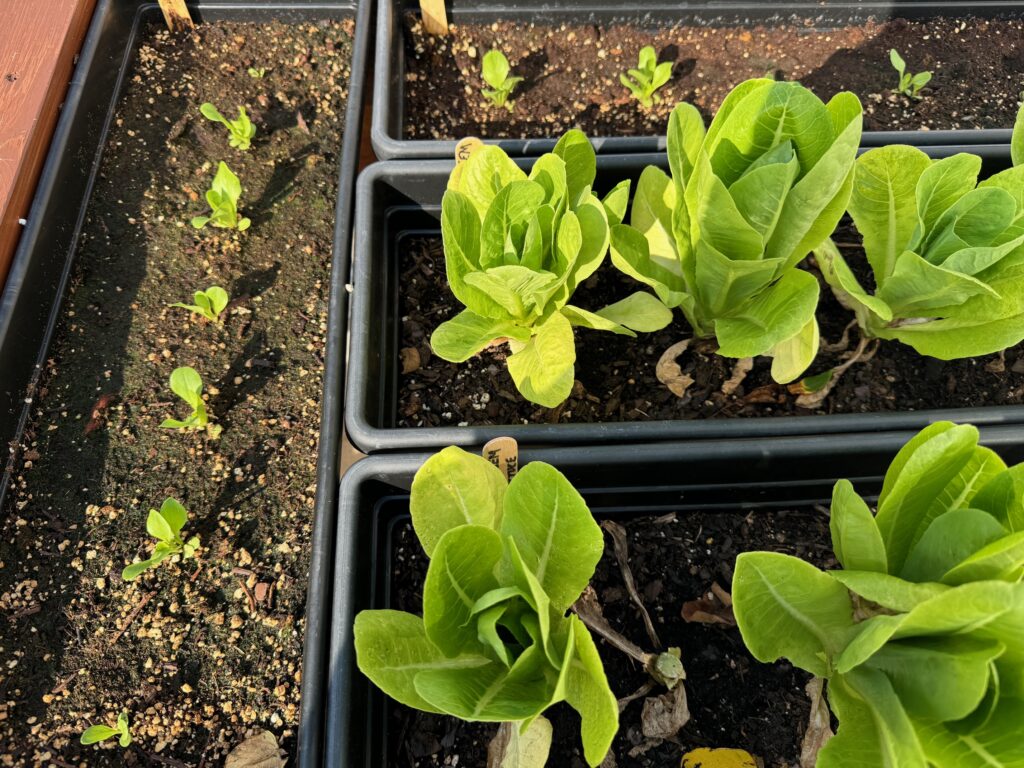
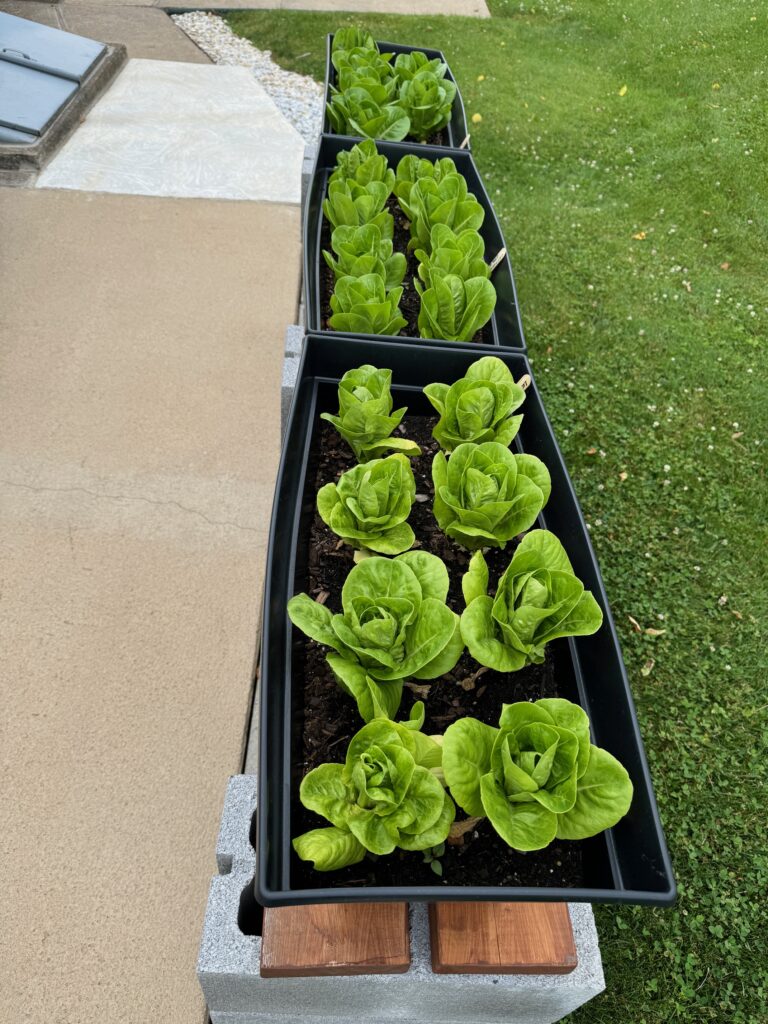
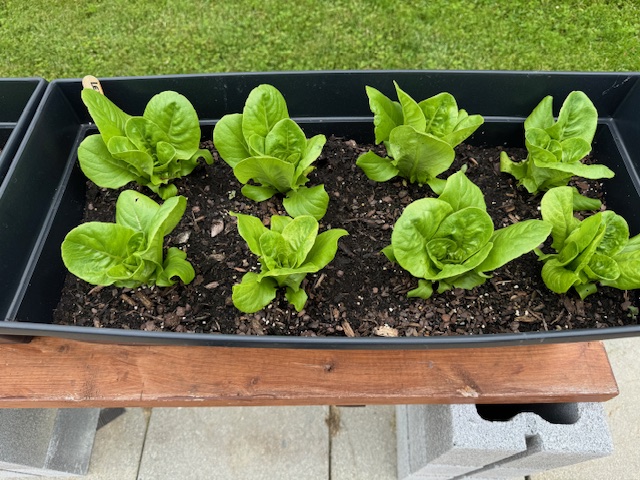
The Little Gem lettuce has been excellent. It grows quickly and stays crunchy in the fridge. Here are some just making heads (almost ready to cut) and the next round just beginning.
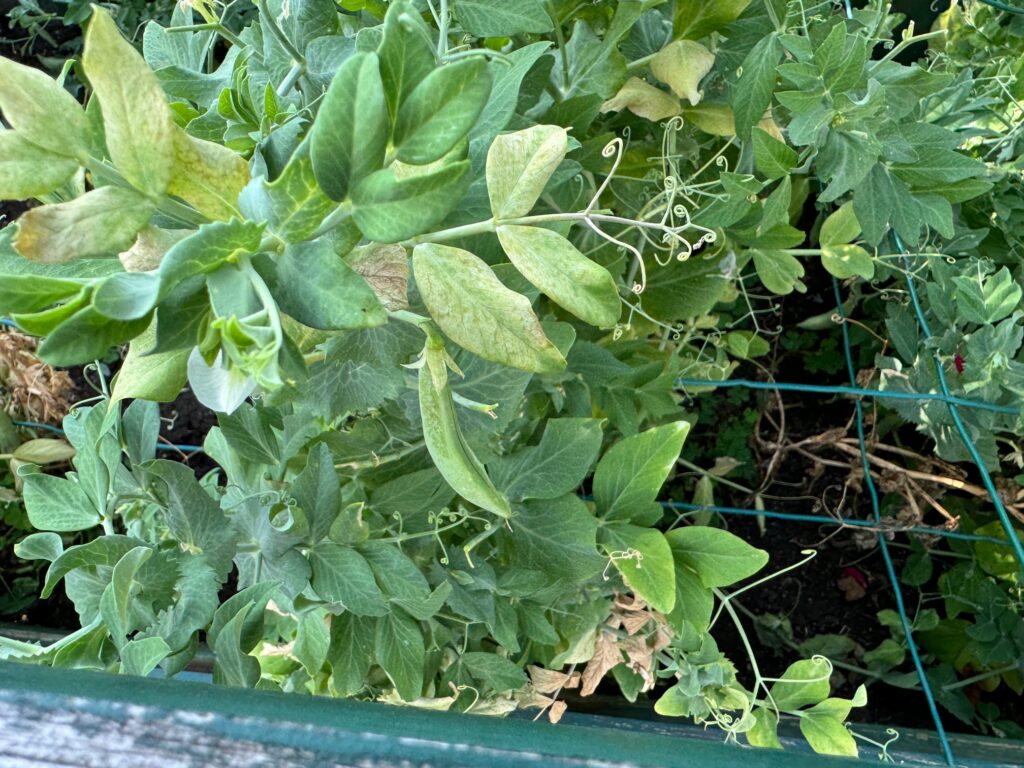
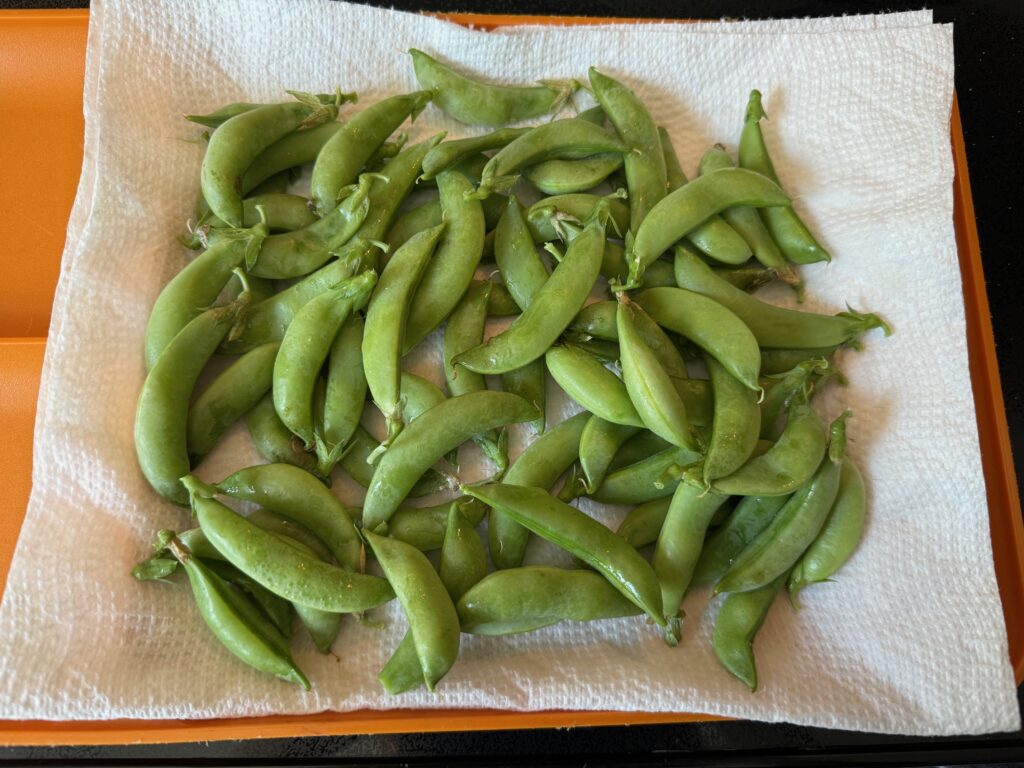
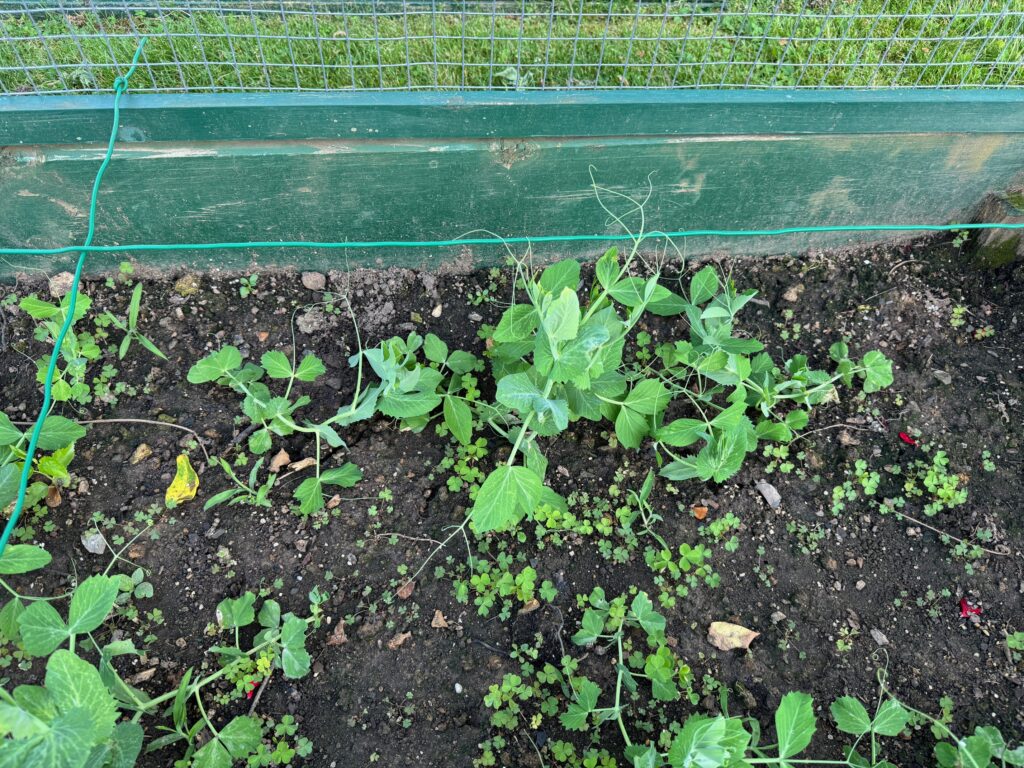
The sugar snap peas are filling out. I don’t see the plants surviving much longer in this heat. The peas are delicious!
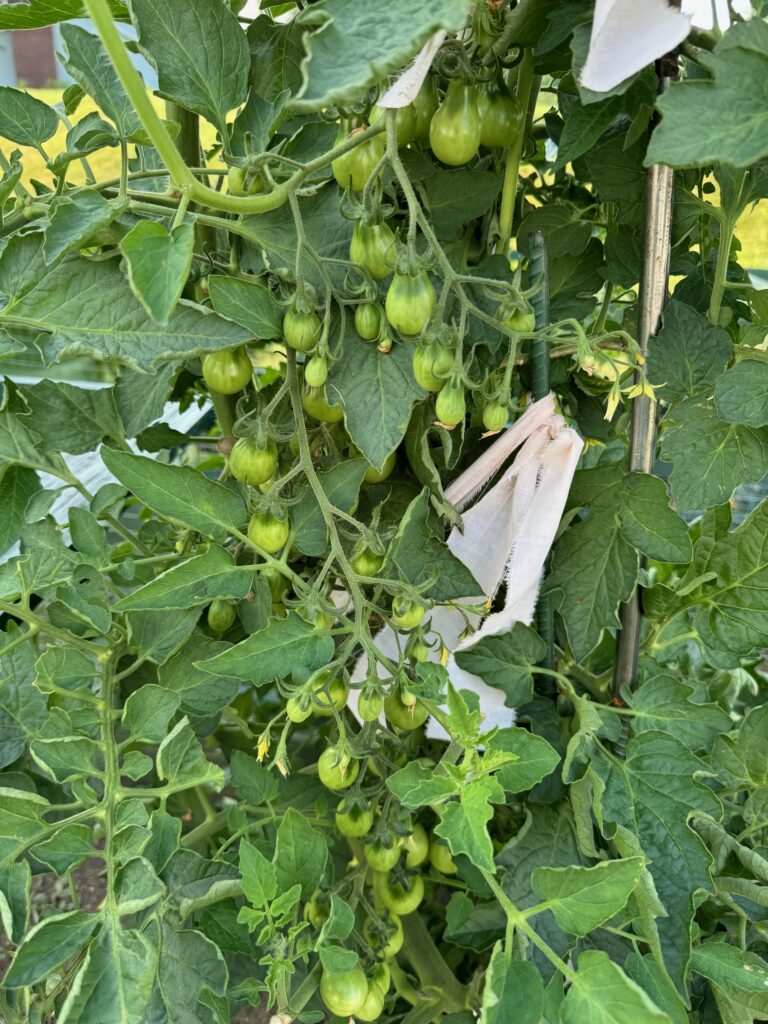
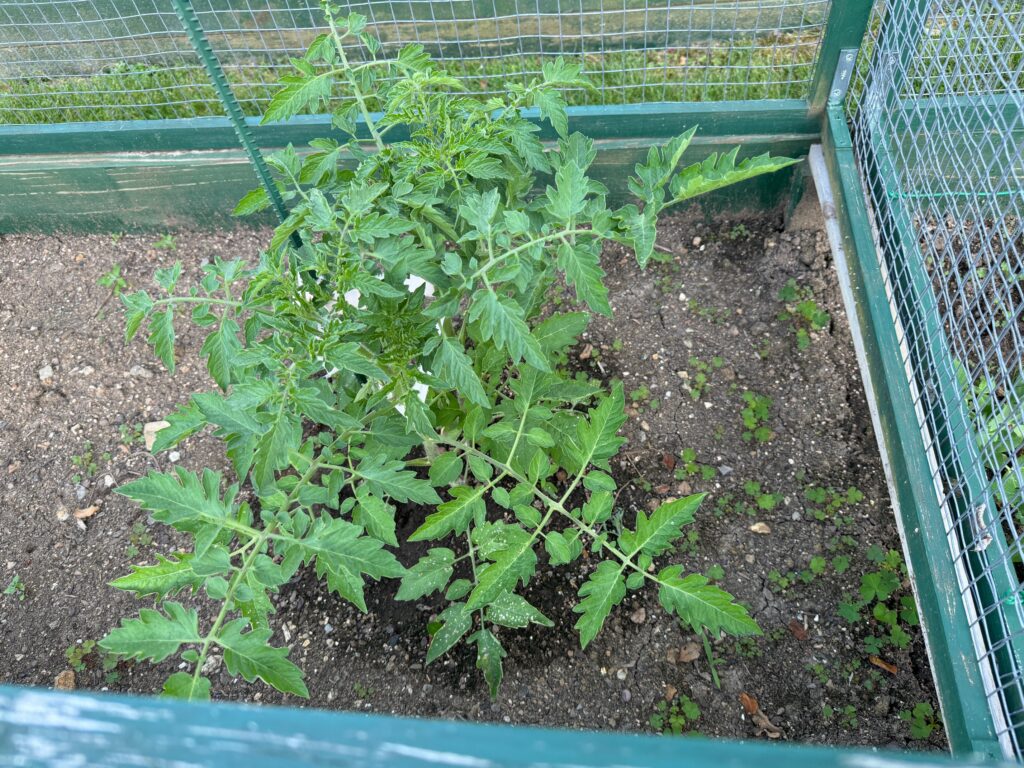
The yellow pear tomato plants are taller than me! Lots of tomatoes but not turning color yet. We’ll have a bunch!
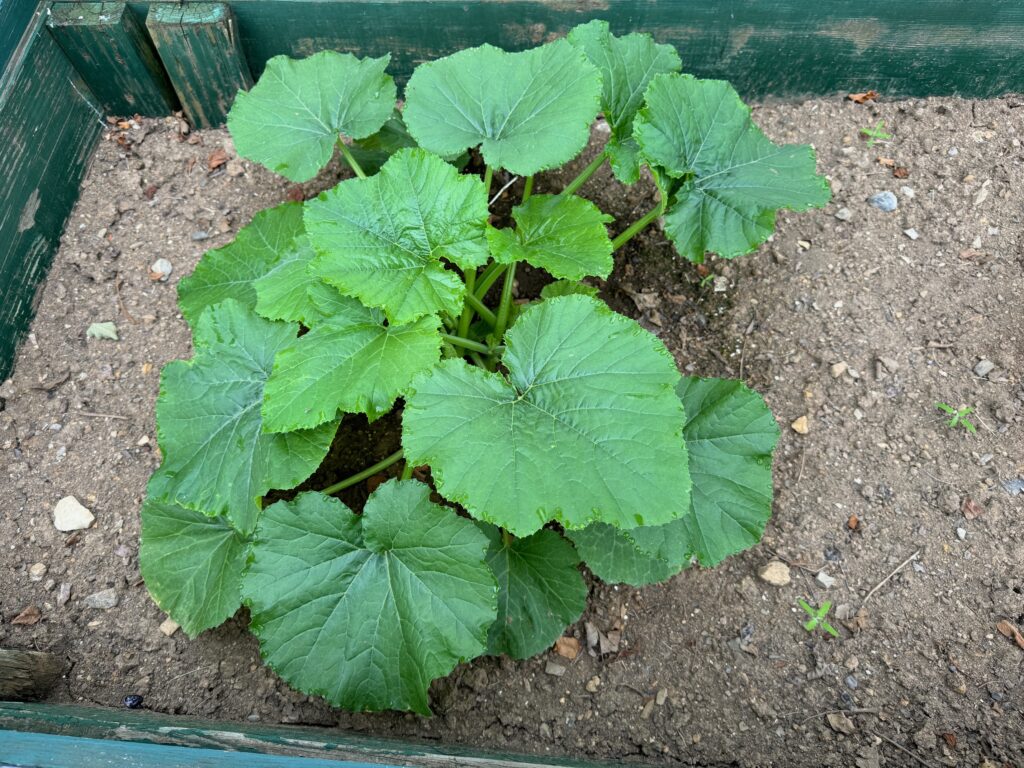
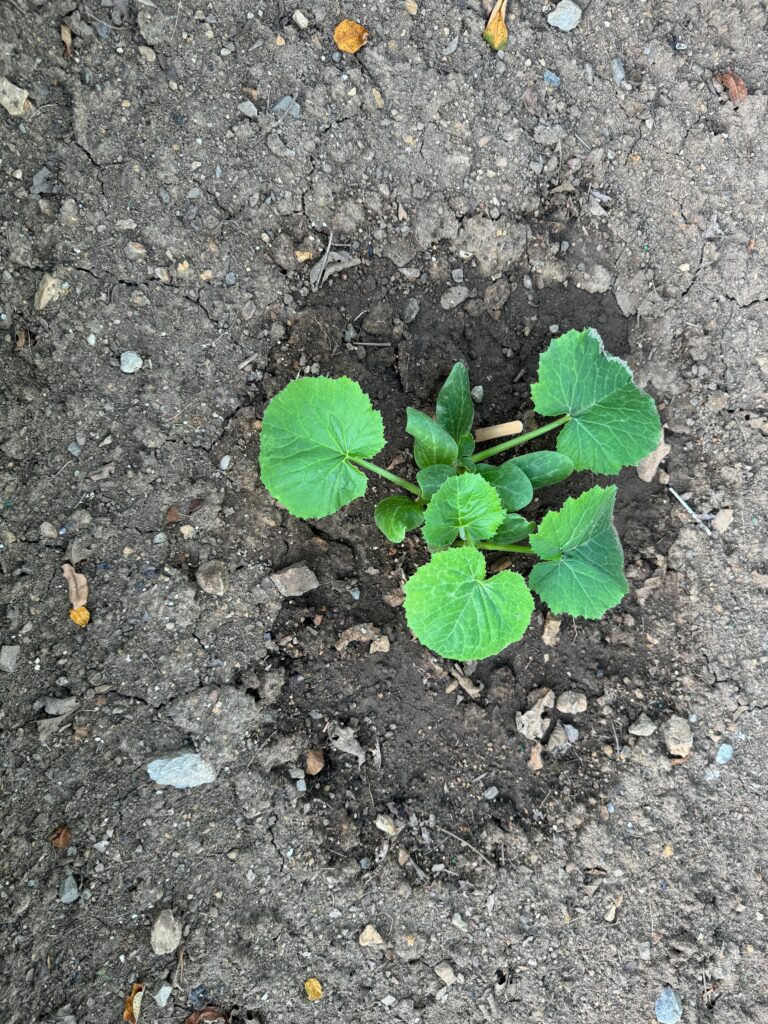
The zucchini plants are growing well. So far, we’ve eaten about 6 zucchini but we’re picking them when they are small. No avalanche yet!
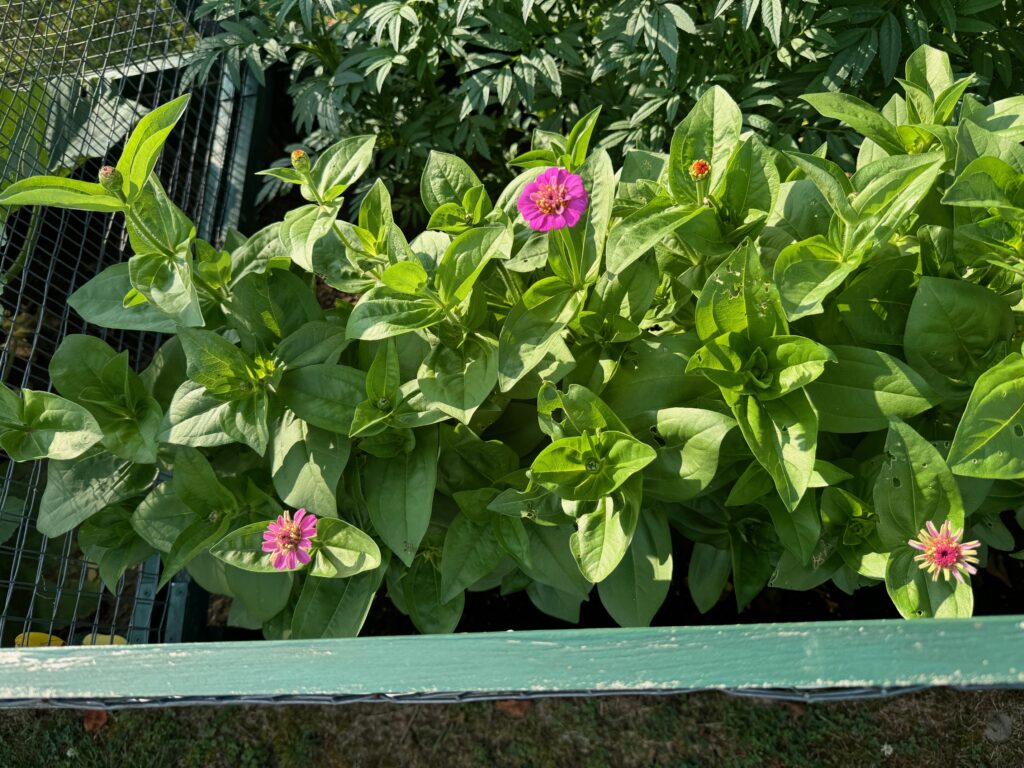
The flowers are starting to bloom and they’ll be a pretty addition to the back yard.
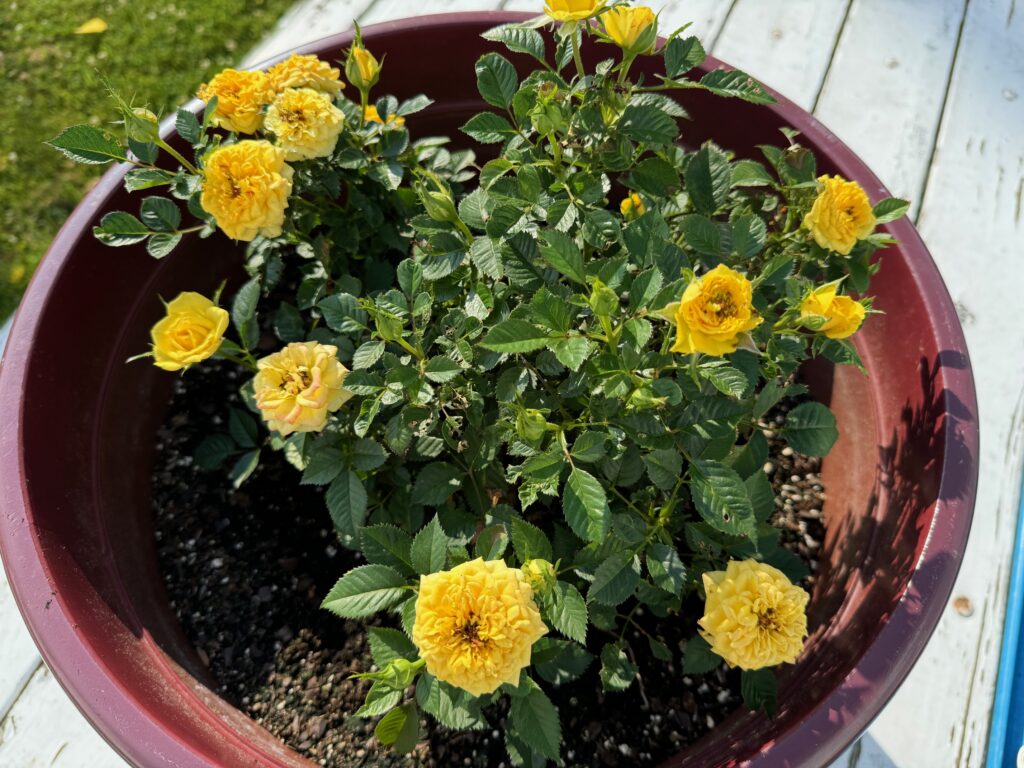
Remember the rose bush in a pot that was getting chomped by roving bunnies? Bert put it up on the picnic table and it is blooming just fine! I’m trying to keep up with the spent blooms. More blossoms to come!
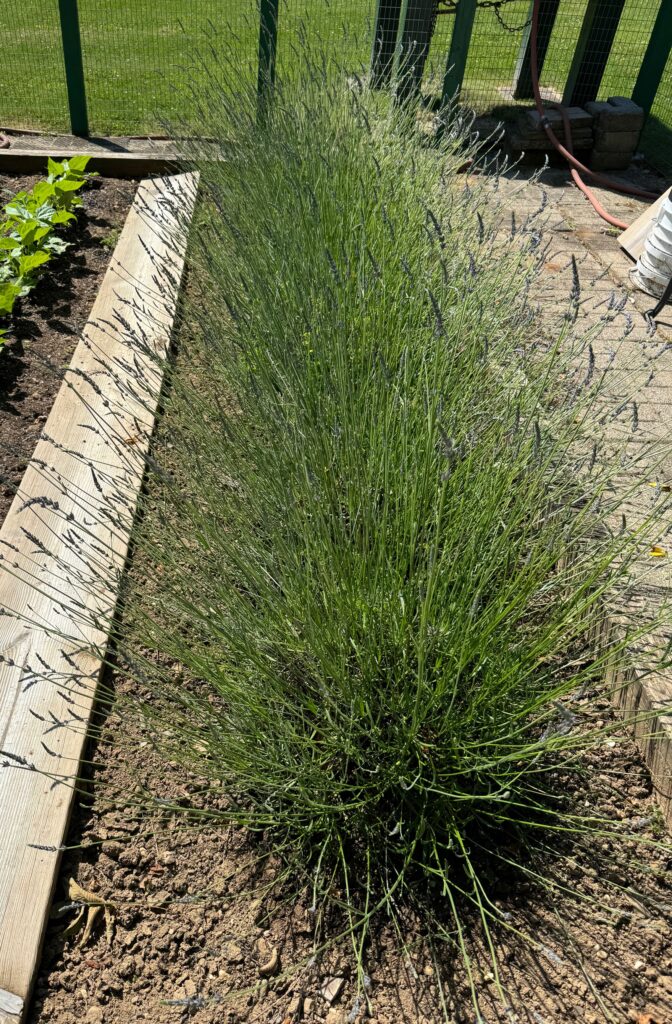
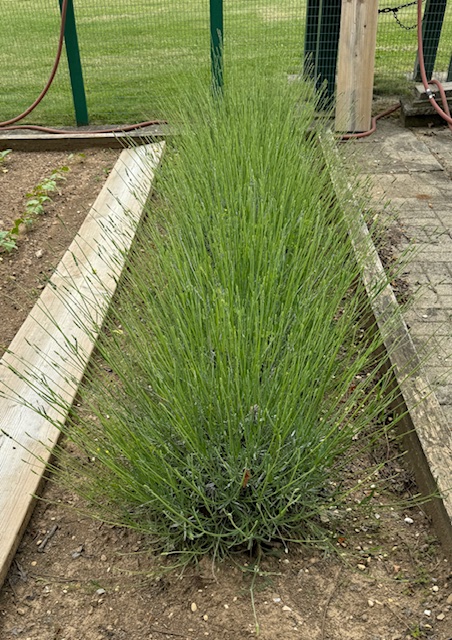
Up in the garden on the hill, the lavender has exploded into color. The bees are very happy!
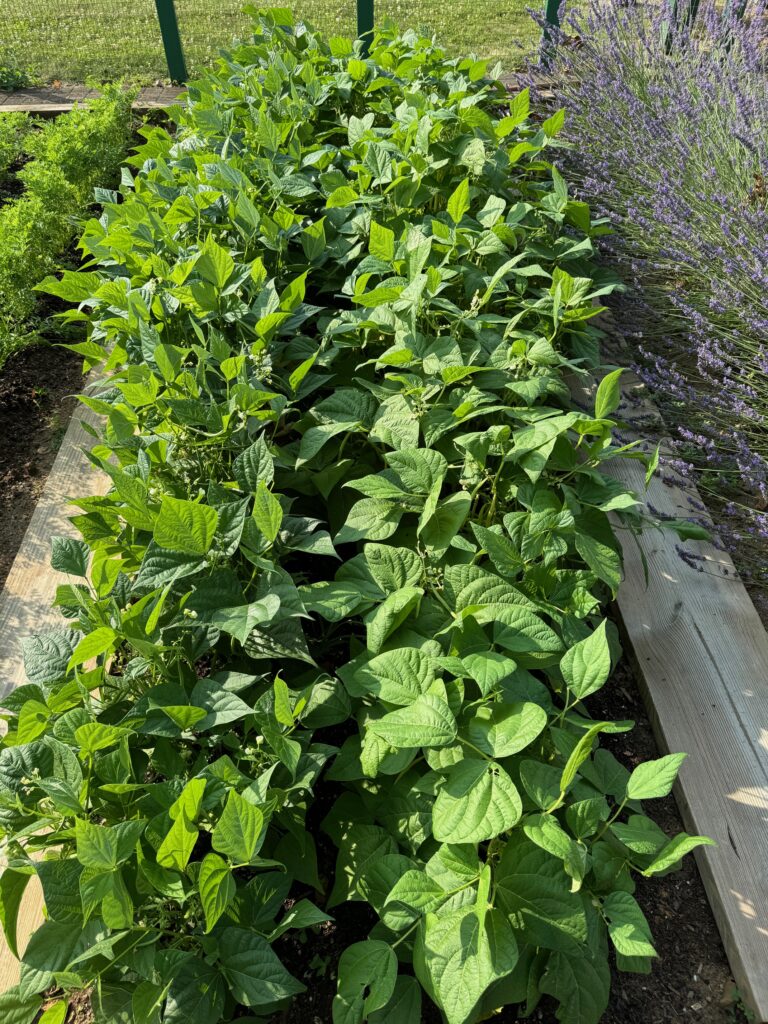
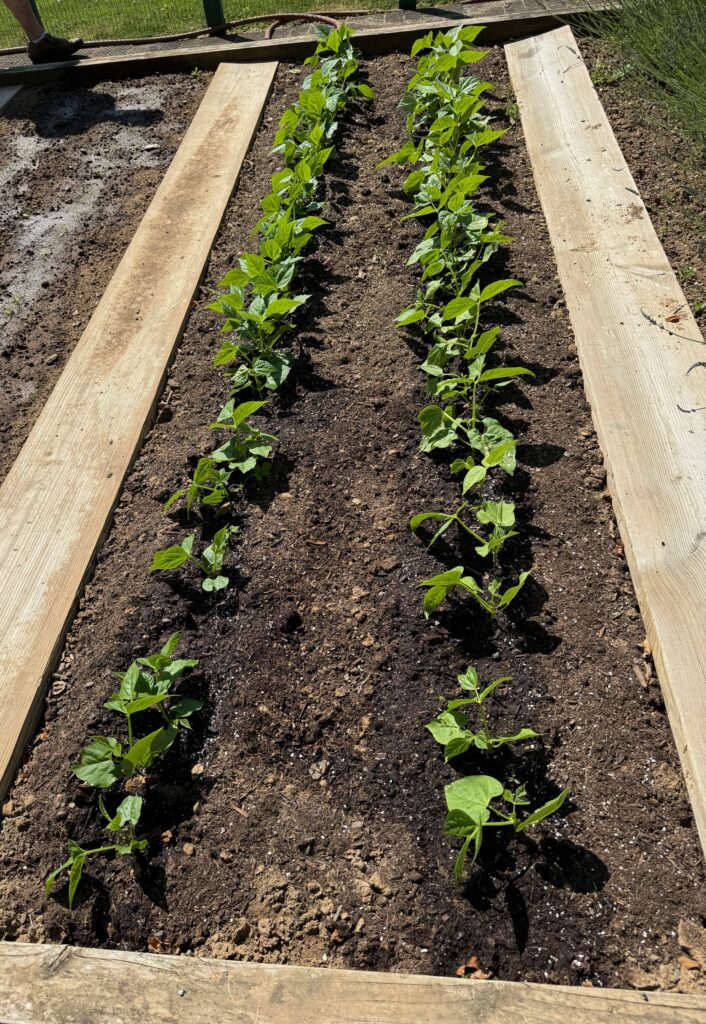
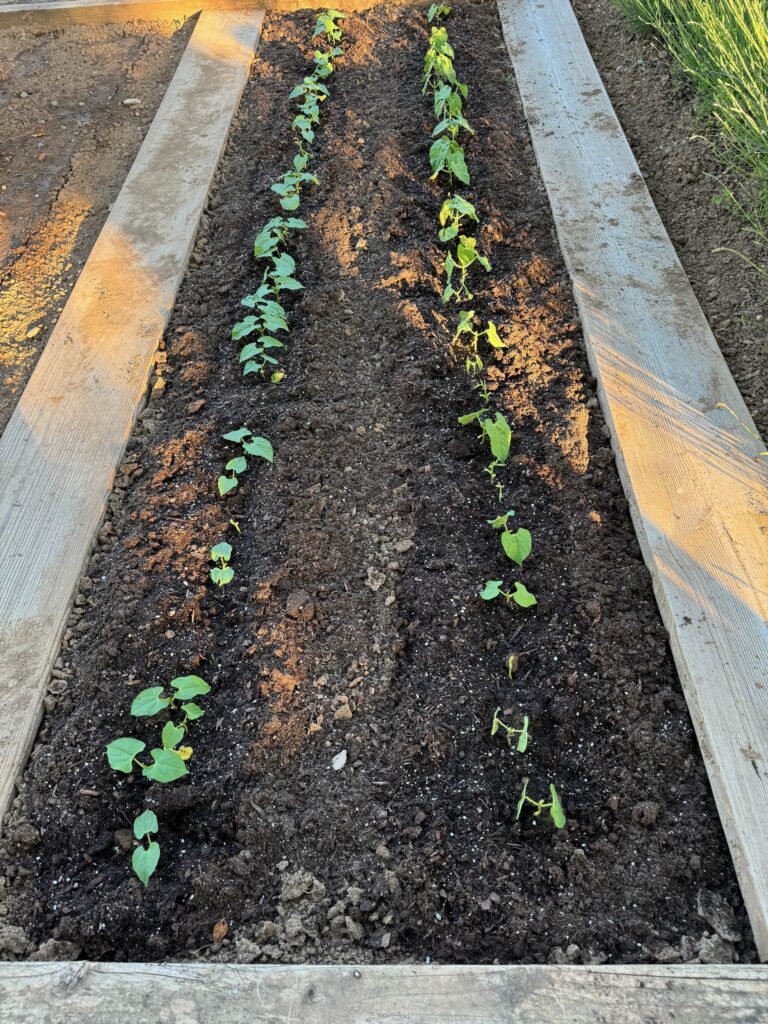
Some of the green and yellow beans are ready right now, thus my frantic call to my neighbor. Hopefully, the rest can hold on until Sunday when I’m available to pick them.
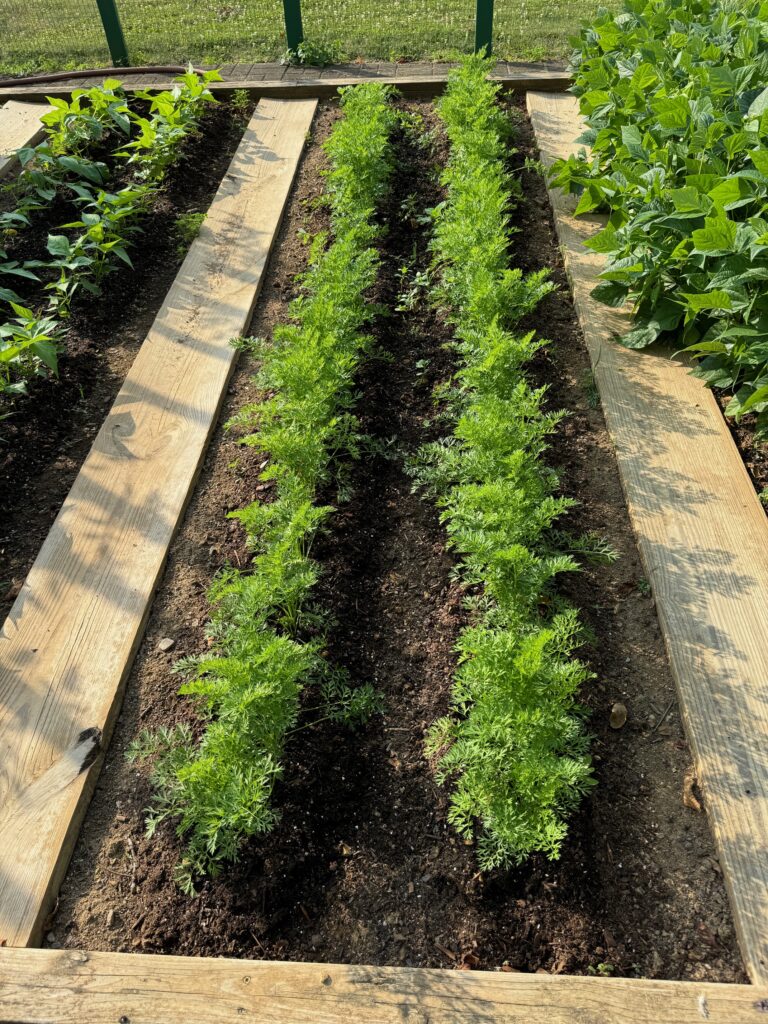
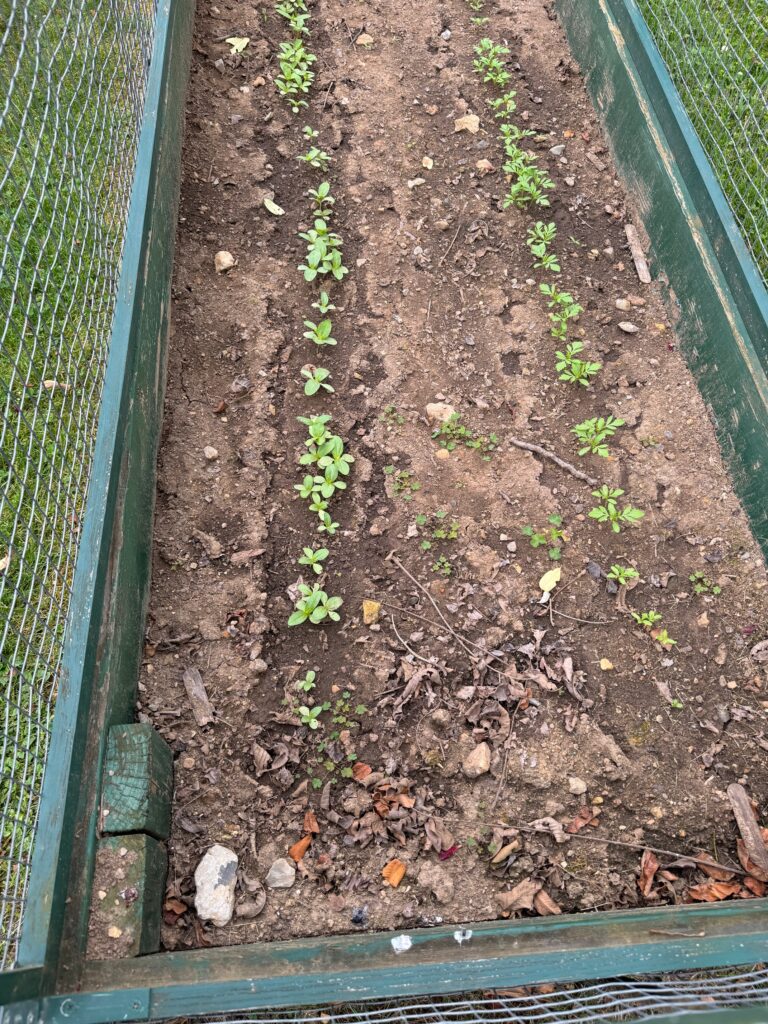
The carrots finally look like they’ll produce. Beside them on the left of the picture is the next planting of beans. They won’t be ready for a few weeks but that’s fine!
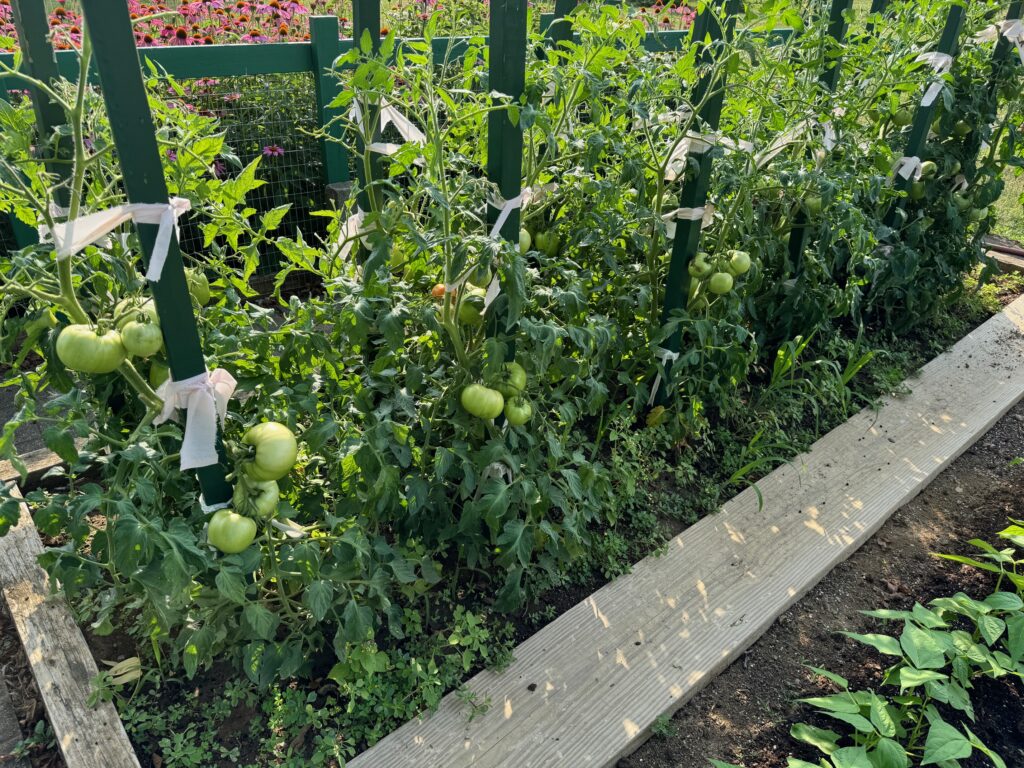
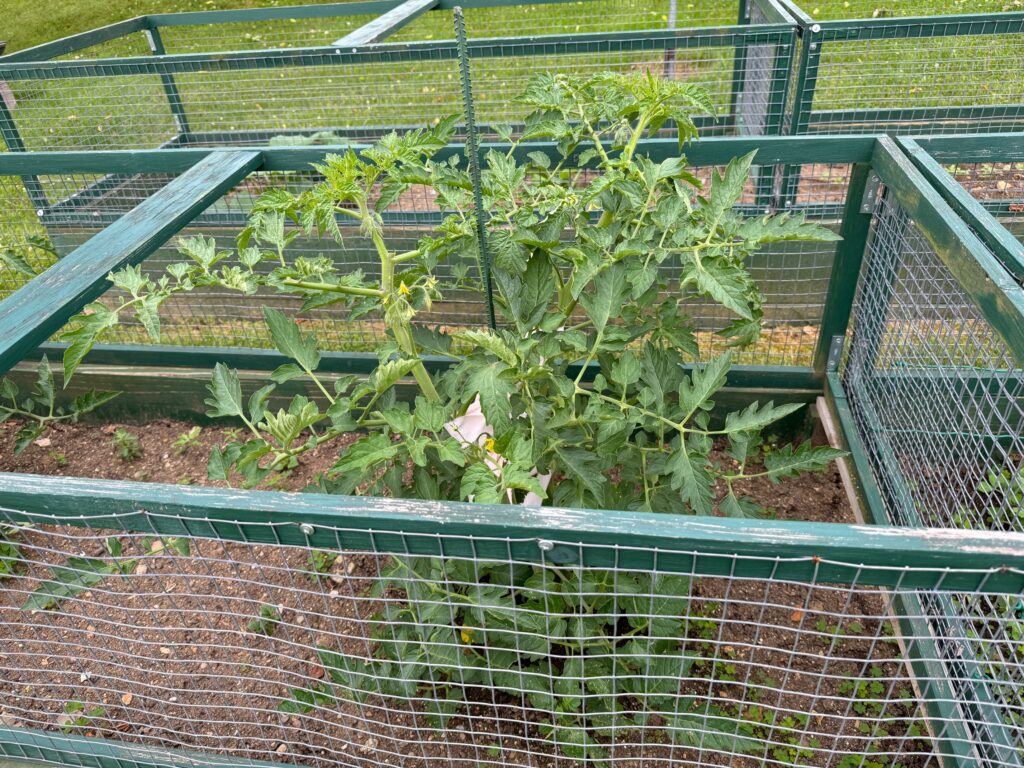
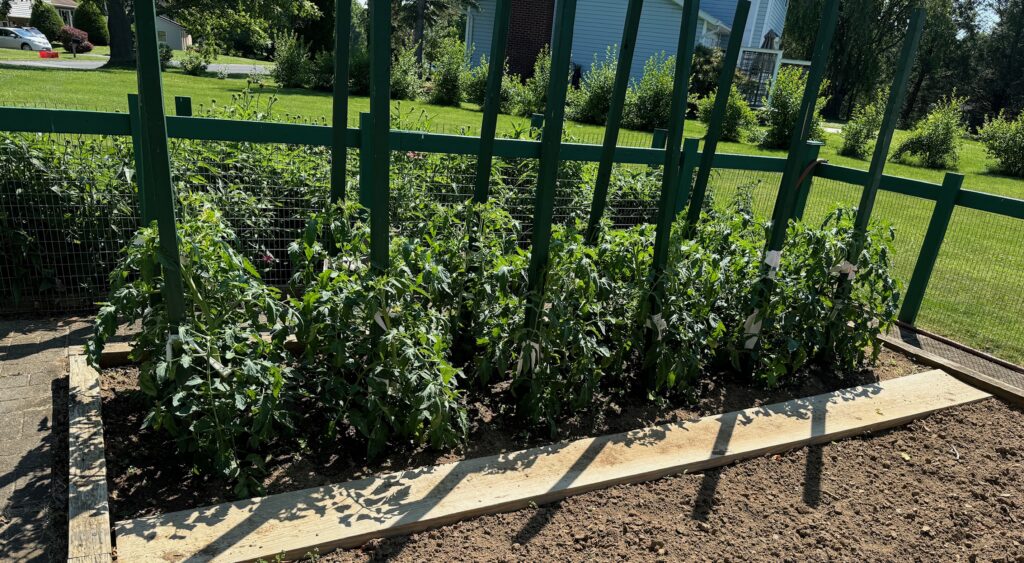
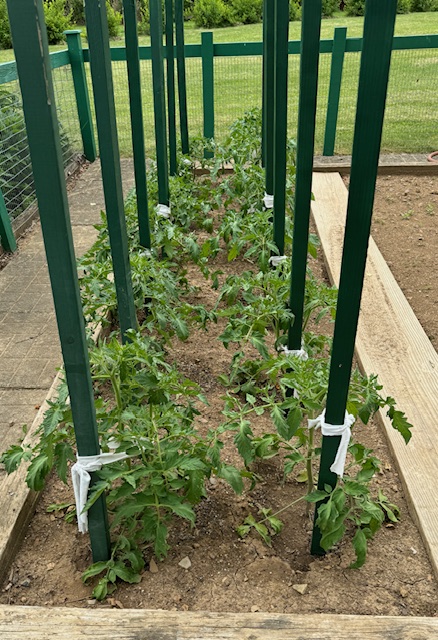
And then there are the tomatoes! Lots of green tomatoes!
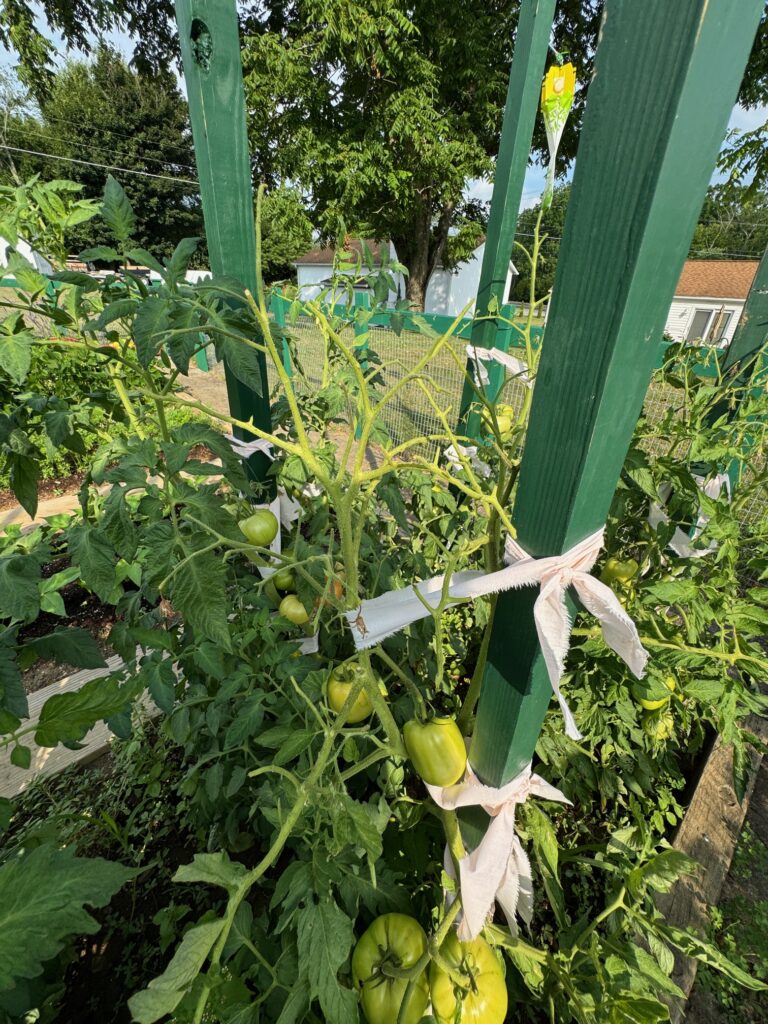
However, when I looked closely, I noticed about half of the plant tops had been stripped of leaves! Yikes! Did the deer hop the fence? I was so upset I called Bert to come look. Turns out if it had been deer, the stem would have been chomped off too. The leaves were just stripped off. Turns out the culprit is a giant tomato WORM! They were even taking bites out of some of the tomatoes! Bert will spray tomorrow after the rain tonight and hopefully that will end the snack bar fiasco!
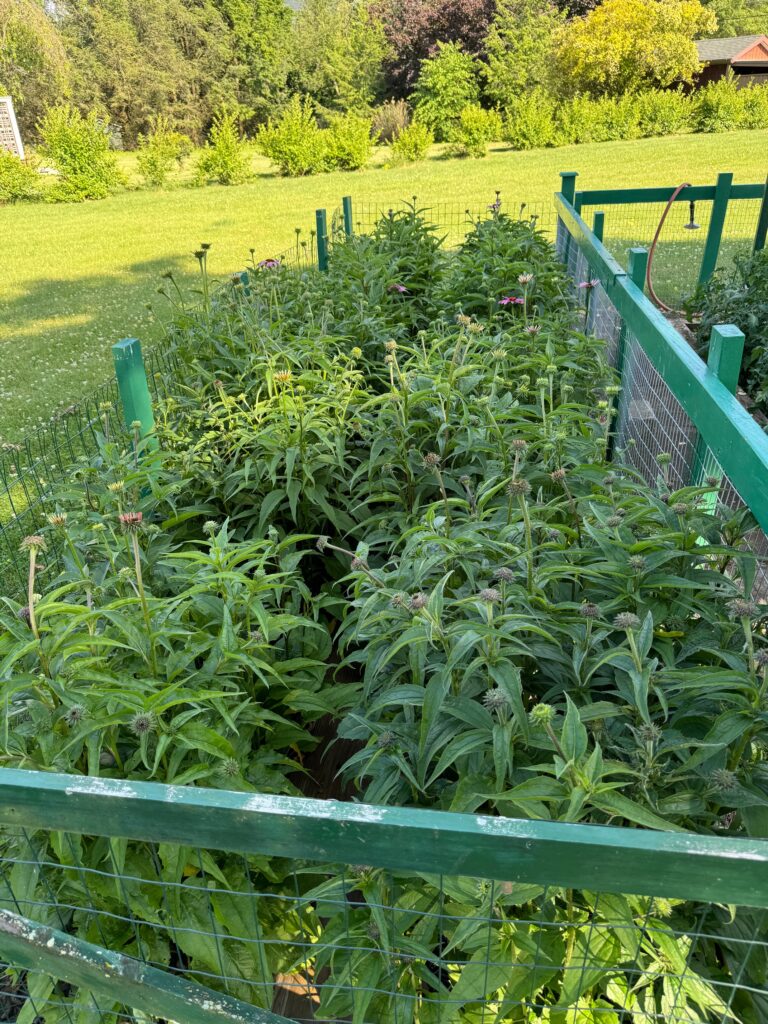
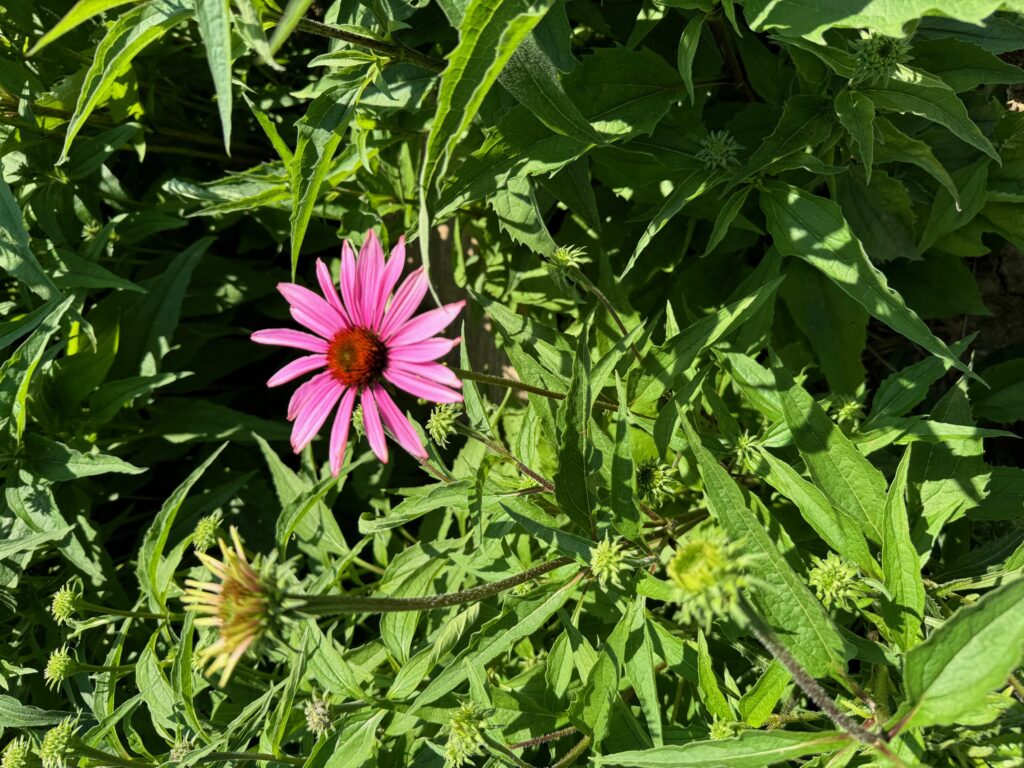
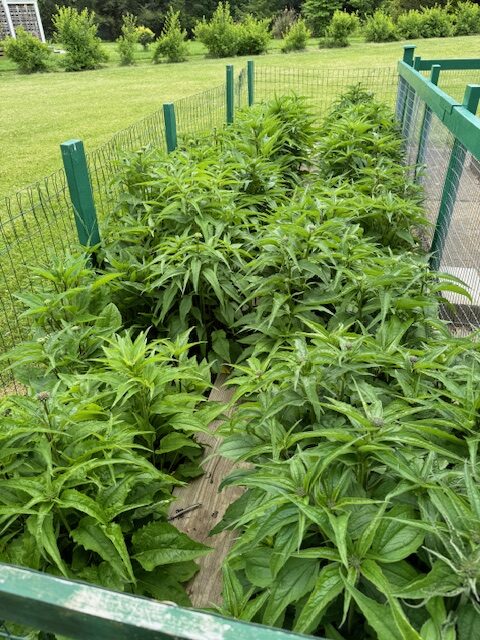
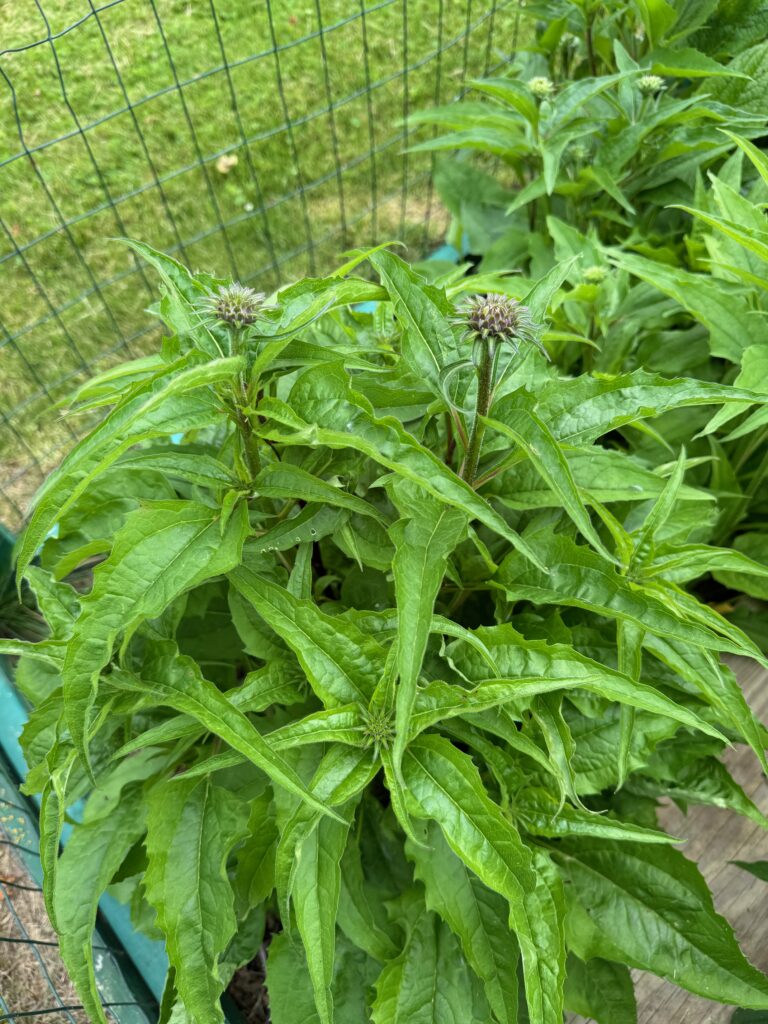
And finally…the glorious Echinacea have re-seeded themselves for several years and are spectacular! The bees and butterflies are busy. Enjoy!
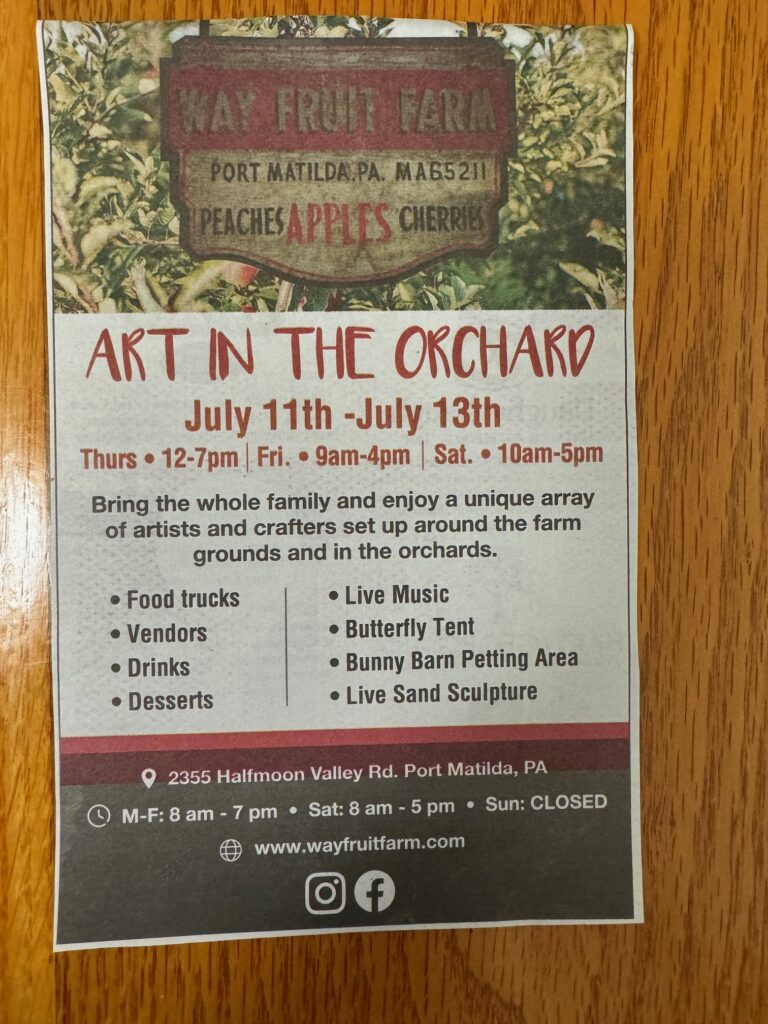
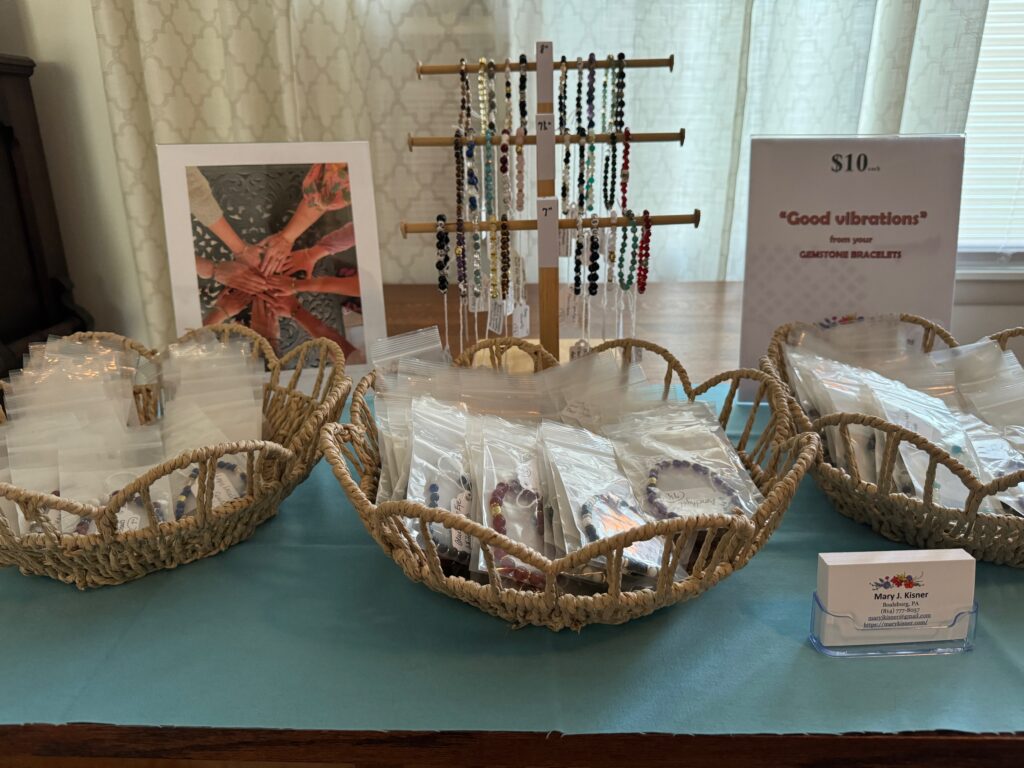
Ok folks…this next week is the Art in the Orchard festival I’ve been preparing for with all my gemstone bracelets! This festival will be held at the Way Fruit Farm property just past Stormstown on Rt. 550. Here is the advertisement:
At the same time, two other much larger arts Festivals will run concurrently: the Central PA Festival of the Arts will be held in State College, from July 10 to July 15, 2024; the People’s Choice Festival will be held in Centre Hall at the Grange Fair Grounds, from July 11 to 15, 2024. (The People’s Choice festival had been held in Boalsburg for many years but just outgrew the space.) Both of these festivals are worth your time to attend, but I’m certainly not ready for a venue like that!
The Art in the Orchard festival (July 11-13) has been around for several years and is perfect for my first attempt to be a vendor. Since my set up is pretty small, I’m joining my friend Toni Duchi who has had a booth at this festival for several years. She does amazing things with mosaics, collages and polymer clay. I profiled some of her work in a post from June 2021:
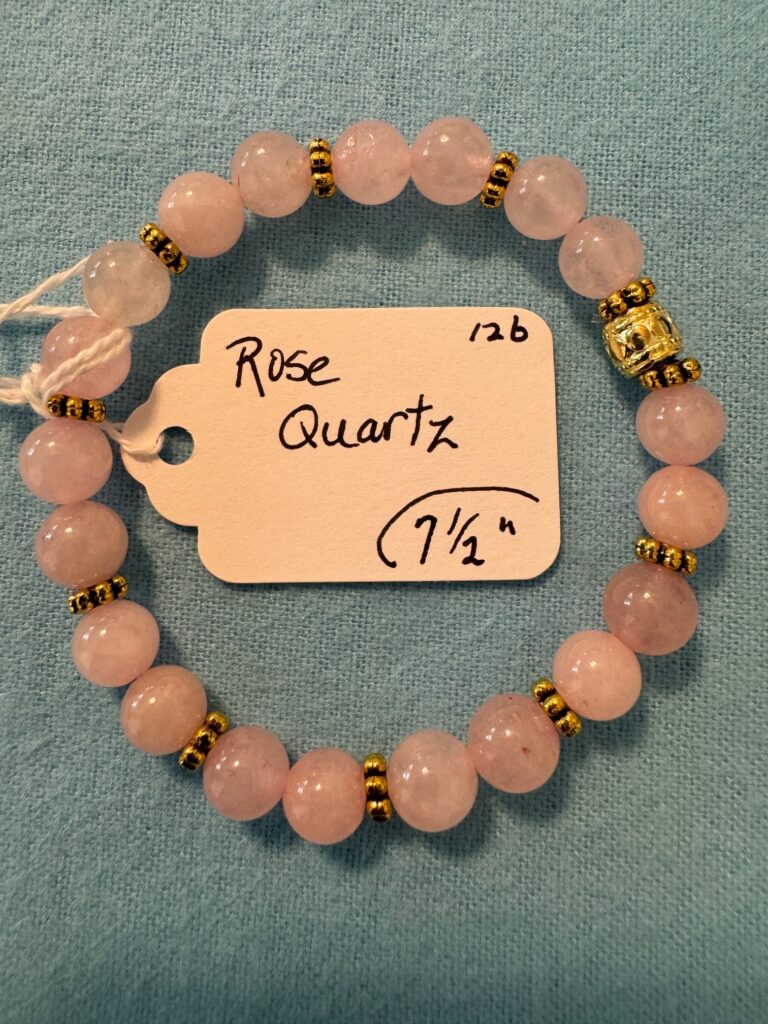
This festival will be a reality check for me. I’ve been making gemstone bracelets for about 6 months and have enjoyed learning about the qualities of the stones and how to make bracelets. I’ve enjoyed the process and enjoyed sharing them with friends and family. It is finally time to see if I can sell them…at least to help pay for all the materials. This is not a cheap hobby! I now have 130 bracelets to sell, in three sizes, for $10 each. We’ll see what happens!
I have so many questions that hopefully will be answered at this festival, such as:
Should I keep making bracelets? Do the bracelets appeal to others?
Does my display work?
What kinds of questions do folks ask about the gemstones?
How do folks choose a bracelet…by color, by stone, by the message on the tag?
Basically, should I keep making bracelets?
I’ve had to remember that there are other variables that could affect the outcome of sales…especially the weather, the location of our booth, the competition from other vendors at the festival and of course, the competition from the other two regional festivals. I may have to consider other ways to use the bracelets. Maybe offering workshops to teach others how to make them for themselves would be more up my alley!
If you’d like to experience a local arts festival this week, consider heading out to Way’s Fruit Farm for the Art in the Orchard, and stop to say hello to Toni and me! A friendly smiling face will make our day!
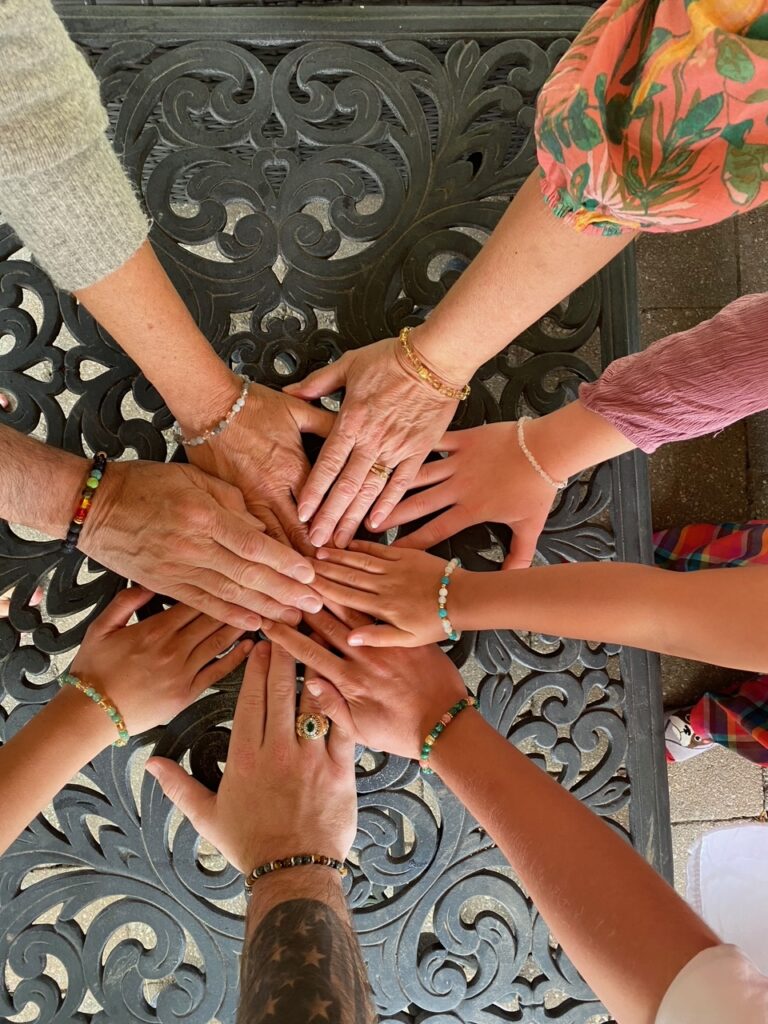
I shared bracelets with my family at a reunion in June. They enjoyed choosing the one that “spoke” to them!
Summer is in full swing! Every day I can see changes in the garden. Of course, with the exception of lettuce and radishes we need to be patient with the rest of the produce. I know folks at the Farmer’s Markets use greenhouses and hoop houses to get produce earlier. I’m sure the Amish Markets provide produce from their friends and families that live farther south. If I want a big watermelon for the 4th of July picnic, it has to come from outside our area!
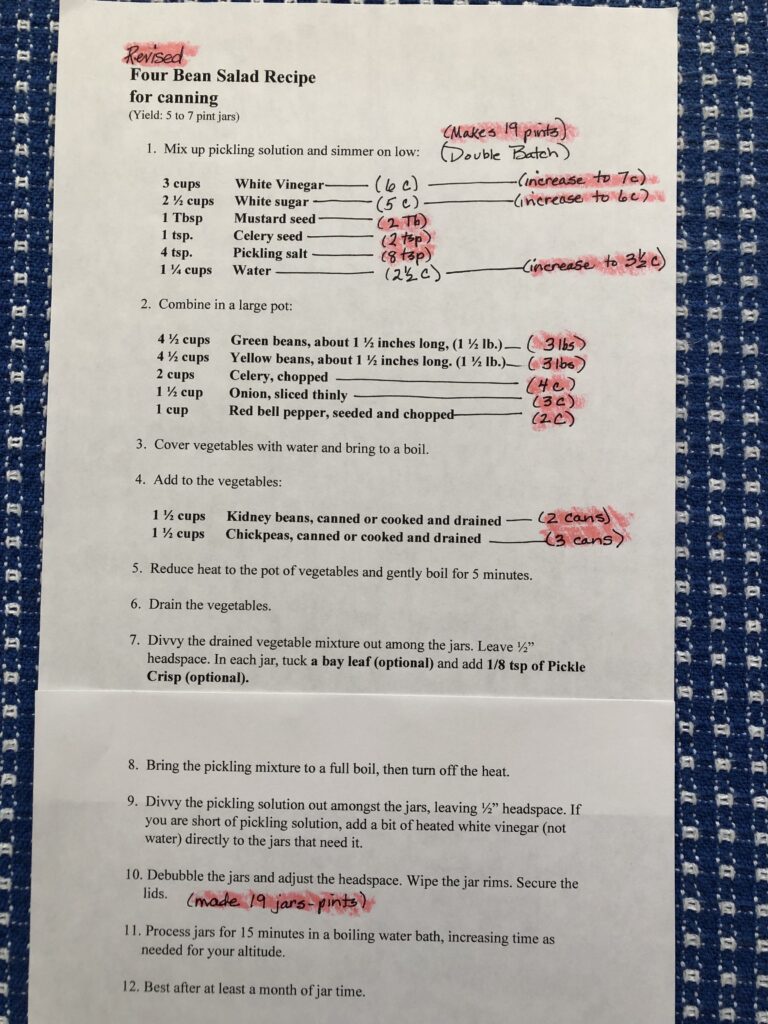
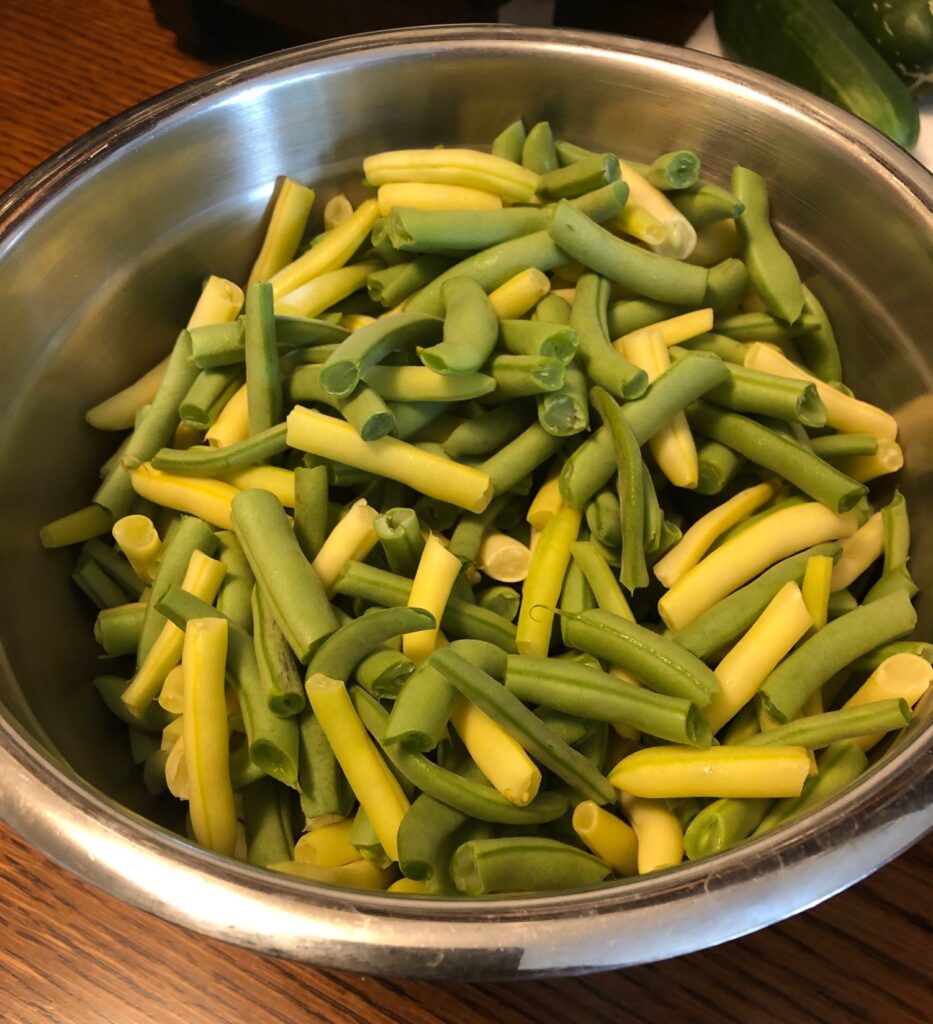
I can see our green beans are a week or two away, and tomatoes will start to ripen in 2-3 weeks. Two things that I want to get canned before our own produce demands attention are my 4-Bean Salad and Pickle Relish. Right now, at the Amish Market the green and yellow beans are piled high on the tables; cucumbers are just the right size and also piled in boxes. So…while I wait for our vegetables to be just right, I made a big batch of my 4-Bean Salad and we canned it last evening.
I’m so grateful I went into such detail of the process in my post. It made it easy to do it again. In face, I’m keeping the notes on the revised recipe sheet so I can remember how to do it again.
I picked up 3 pounds each of green and yellow beans at the Amish Market. I snapped them and put them in the refrigerator.
I bought sweet red peppers, celery and onion at the grocery store and chopped them up yesterday.
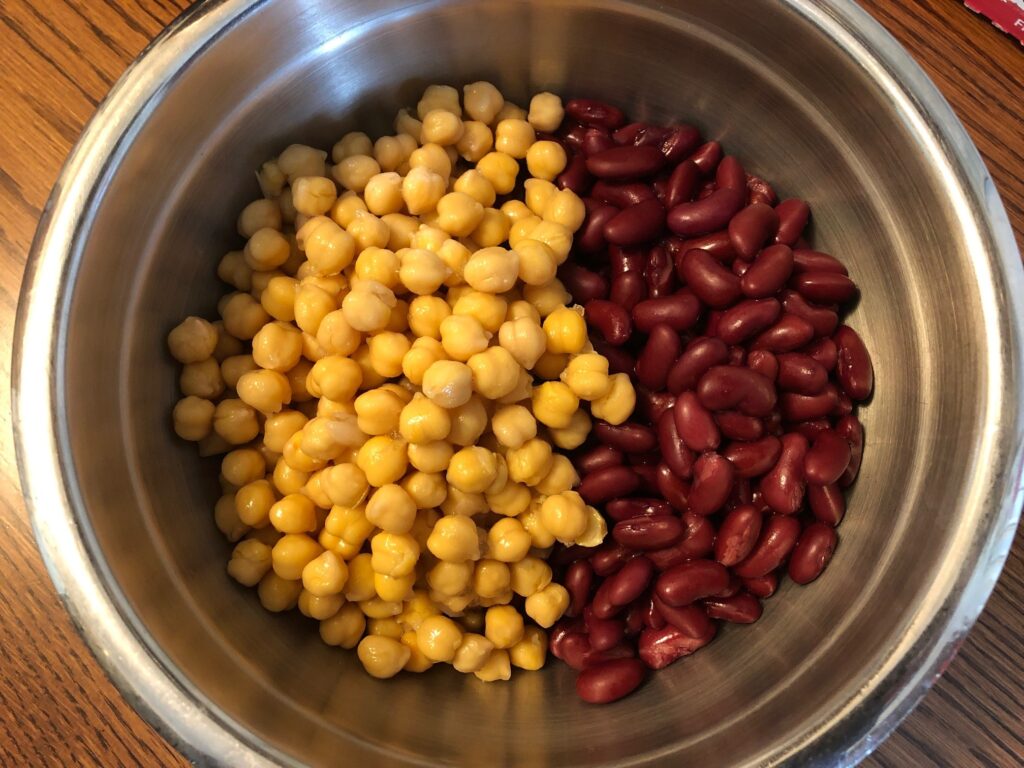
The five cans of beans (kidney and garbanzo beans) were ready on the shelf and just needed to be drained.
Bert had picked up another gallon of White Vinegar and extra sugar for the brine. Seems like a lot of work, but I’ve tried just buying a jar/can of this salad at the store. I can’t seem to find any that doesn’t use High Fructose Corn Syrup! I can do better!
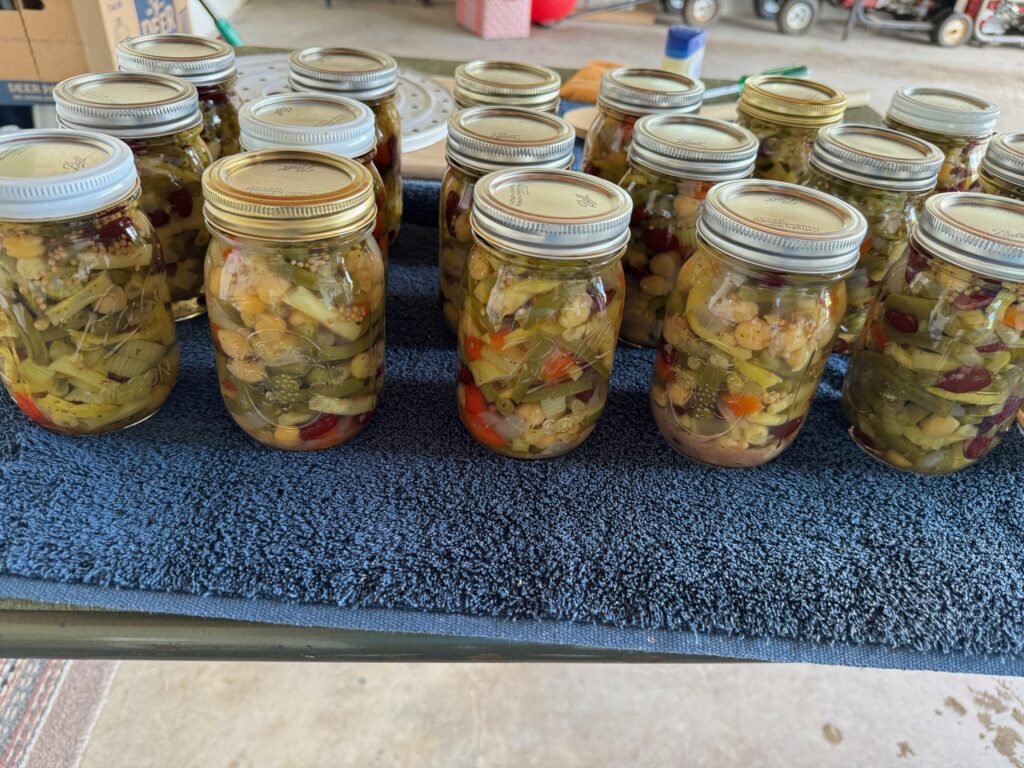
At the end of the day yesterday, I had 18 pints of 4-Bean Salad ready to put on the shelf. Feels good! Later this week I’ll take the cucumbers I bought at the Amish Market and make my pickle relish! THEN…I’ll be ready to deal with my own produce!
Take advantage of Farmer’s Markets around your area to fill in with produce that you don’t grow, or is ahead of your own garden produce. Enjoy!
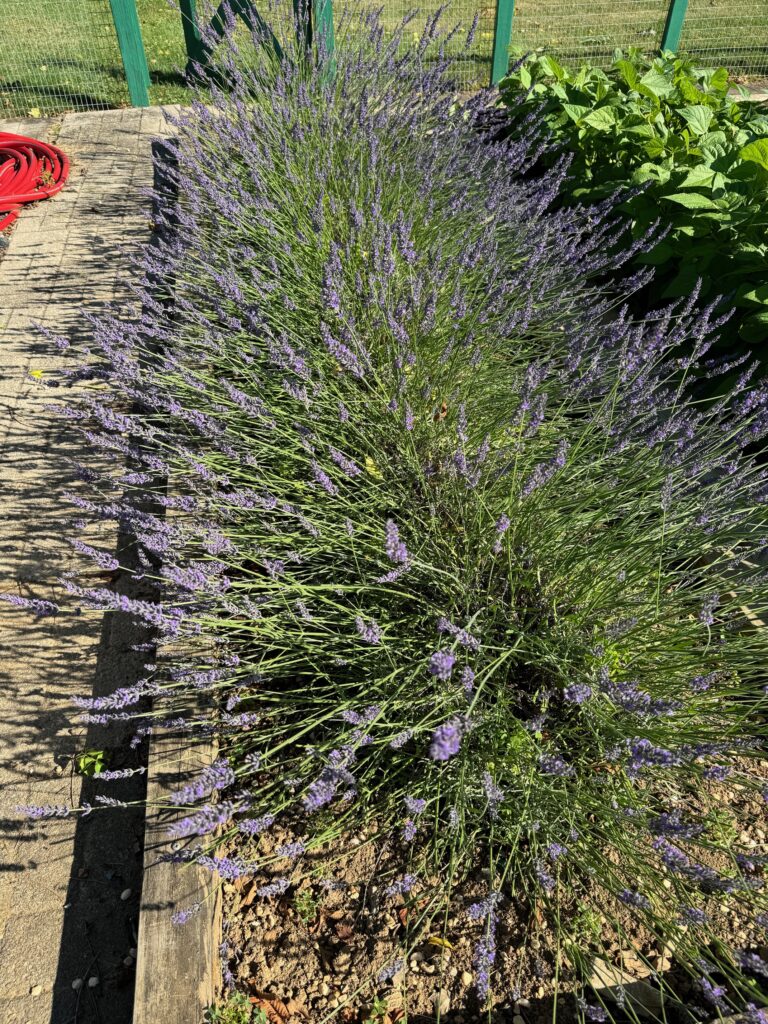
Our lavender plants this summer are doing very well! The flowers are just opening and the bees have discovered them! I’ve been trying to cut some while they are so beautiful but I can tell the bees sense that I’m competition. They even checked out the basket I was using to put the cut flowers in. I promise, I won’t take them all!
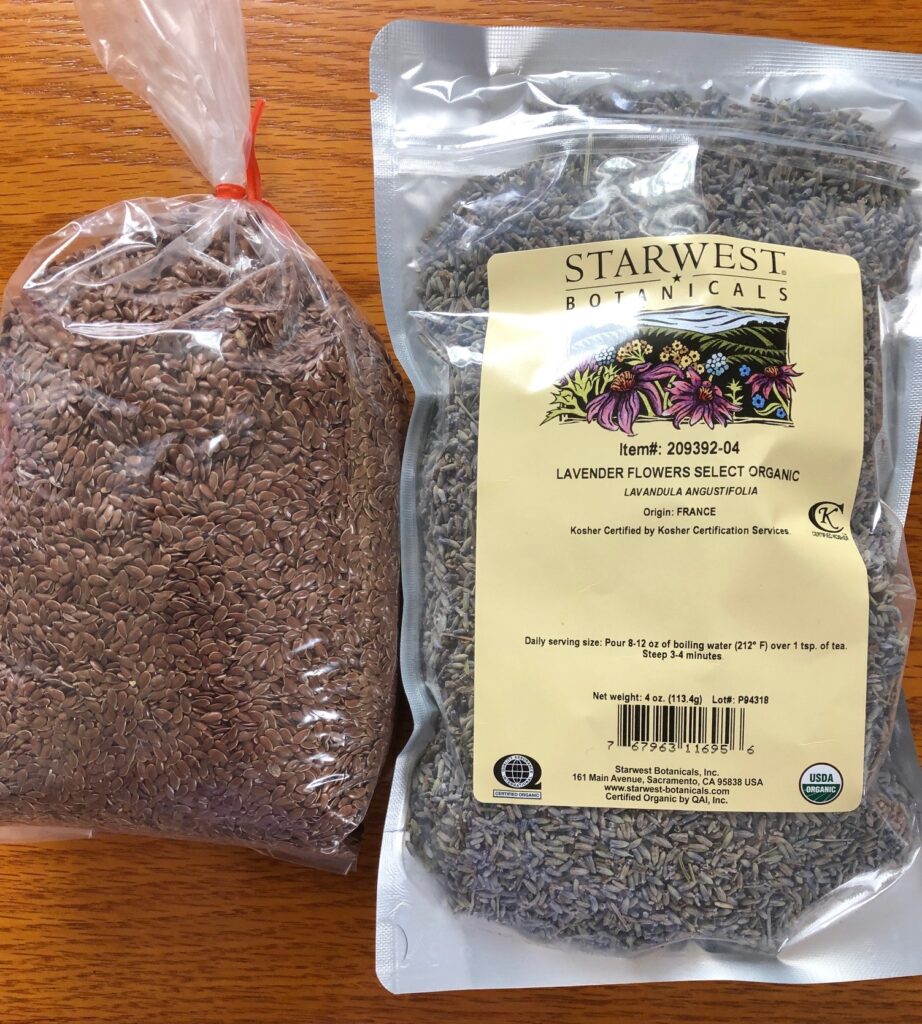
I’m really not cutting the flowers to use as a decoration in the house, although they look nice in a vase without water for a while. I’m hoping to let them dry naturally and collect the flower buds. I can use them in several fabric projects and even in my soap. In the past I have purchased them in bulk from STARWEST Botanicals, as shown in the picture below. The buds are often used with flax seeds in several of my projects. When sealed in a zip bag, they maintain their lovely scent for more than a year.
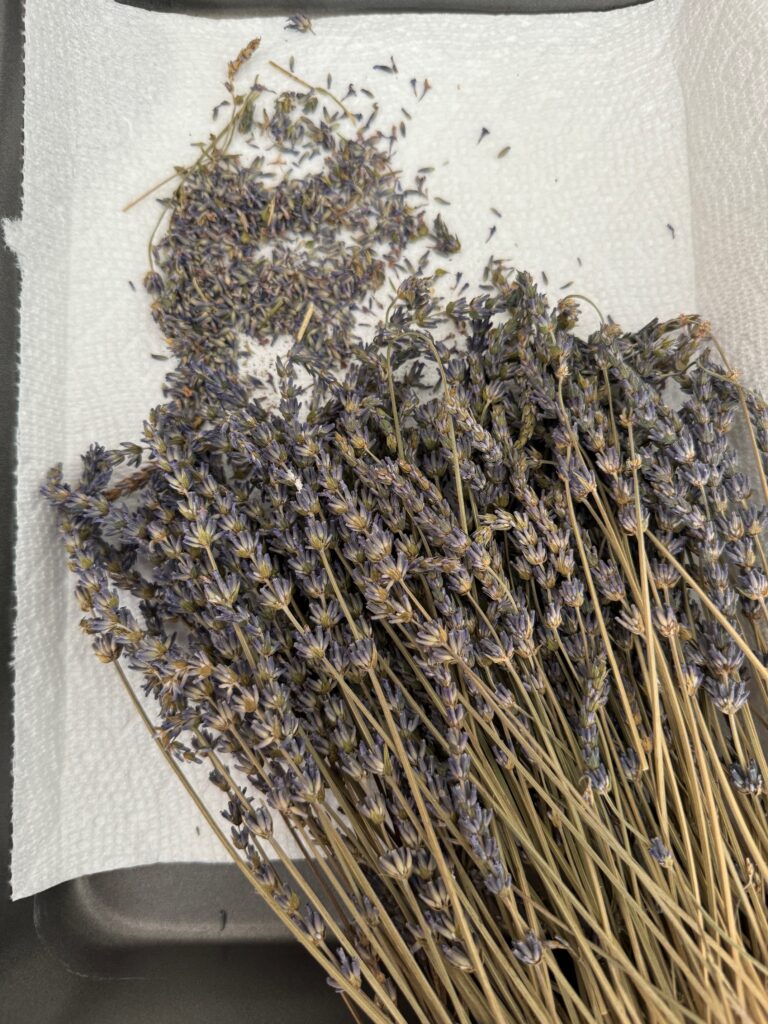
Last year I cut some lavender flowers and let them sit on a try for a month or so. Then I dropped them into an unsealed zip bag and set them aside to continue drying. Actually, I totally forgot about them until this year! They are quite dry now but still have a nice scent, so I will rub the buds off the stems, seal them in a zip bag and use them this year in projects. You can see the buds that have fallen off the stems already.
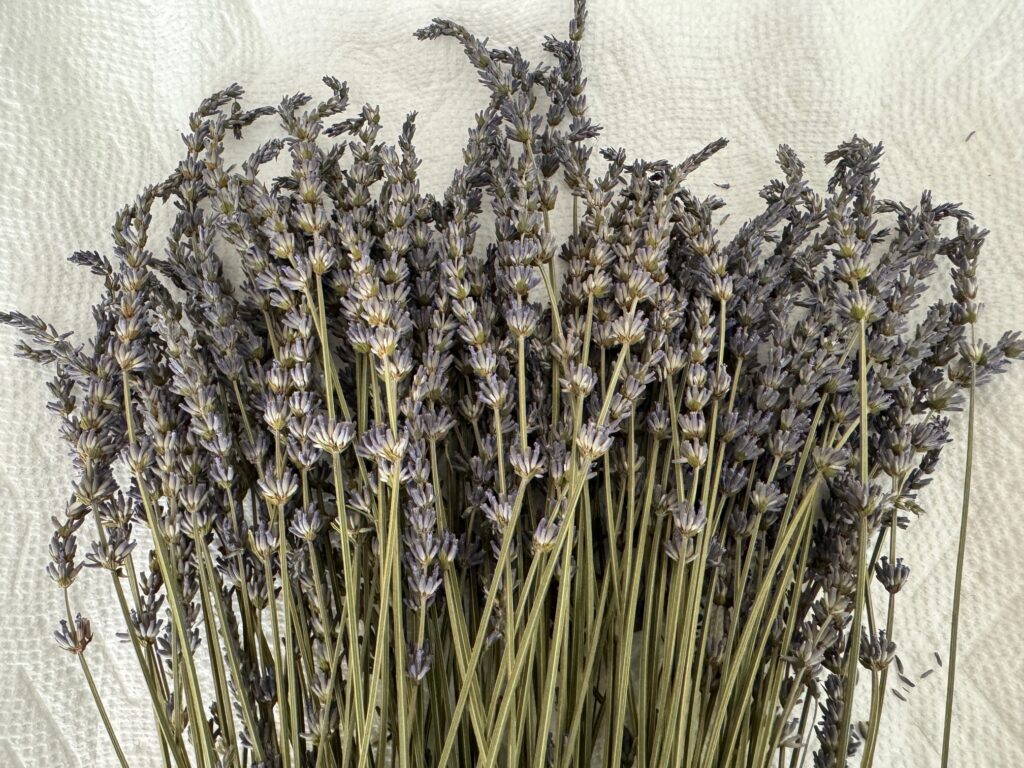
Earlier this month, I cut another batch of flowers to begin the process again. I’ve laid them on a tray in the dining room, right under our ceiling fan.
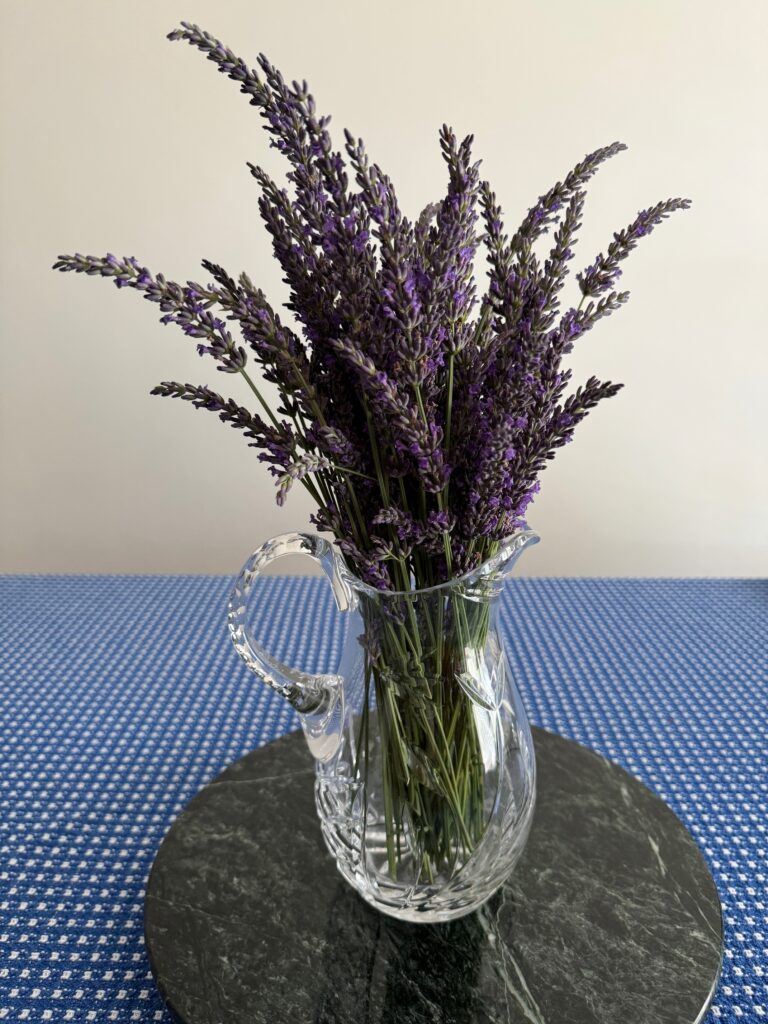
Today, I cut another batch…not too many…the bees were very interested in my activities! I will enjoy these as a decoration until they start to wilt. They dry better if laid flat or hung upside down. I don’t have a dry barn or attic to hang them in, so a tray will have to do.
Projects Using Lavender Buds
I have three fabric projects where I’ve used lavender buds.
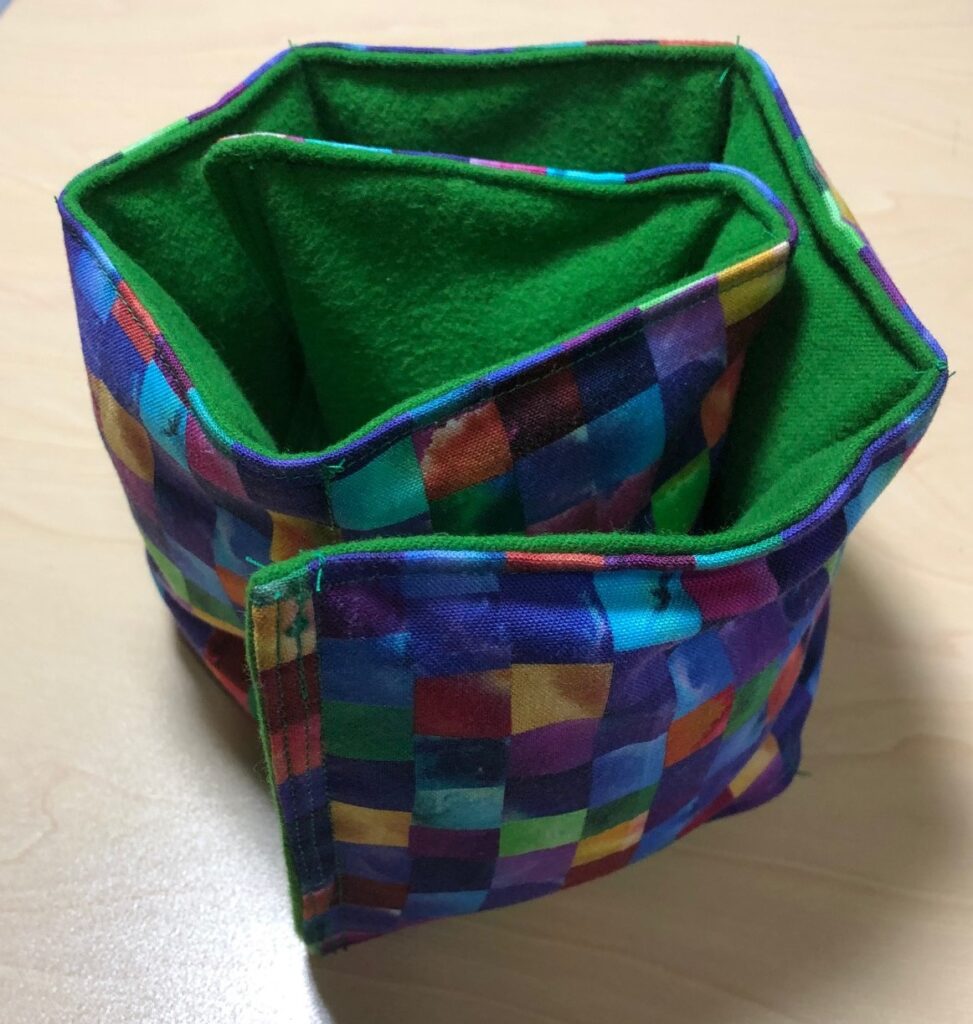
The first is a small pillow (about 5″ x 9″) that can be warmed in the microwave or dropped in the freezer…good for headaches, toothaches or bumps and bruises. I use mostly flax seeds (purchased from the health food store in bulk) and add several tablespoons of lavender buds to the mix. If you plan to use it mostly frozen, I’d suggest using only flax seeds. Having the buds freeze and thaw several times might make them mushy. You can read about how to make this pillow here:
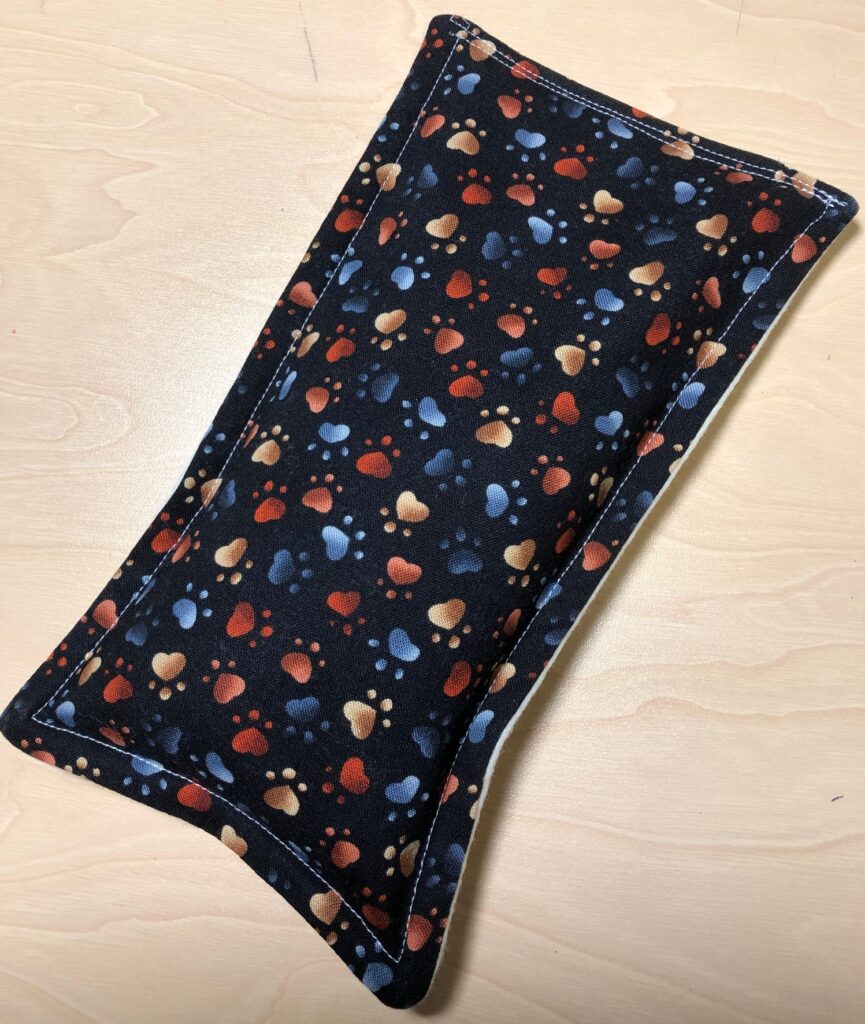
The second fabric project was a hot or cold neck wrap that was longer than the pillow that could wrap around the back of the neck and onto to the top of the shoulders. It is also stuffed with flax seeds and lavender buds and can be microwaved or stored in the freezer until needed. You can read about how to make this wrap here:
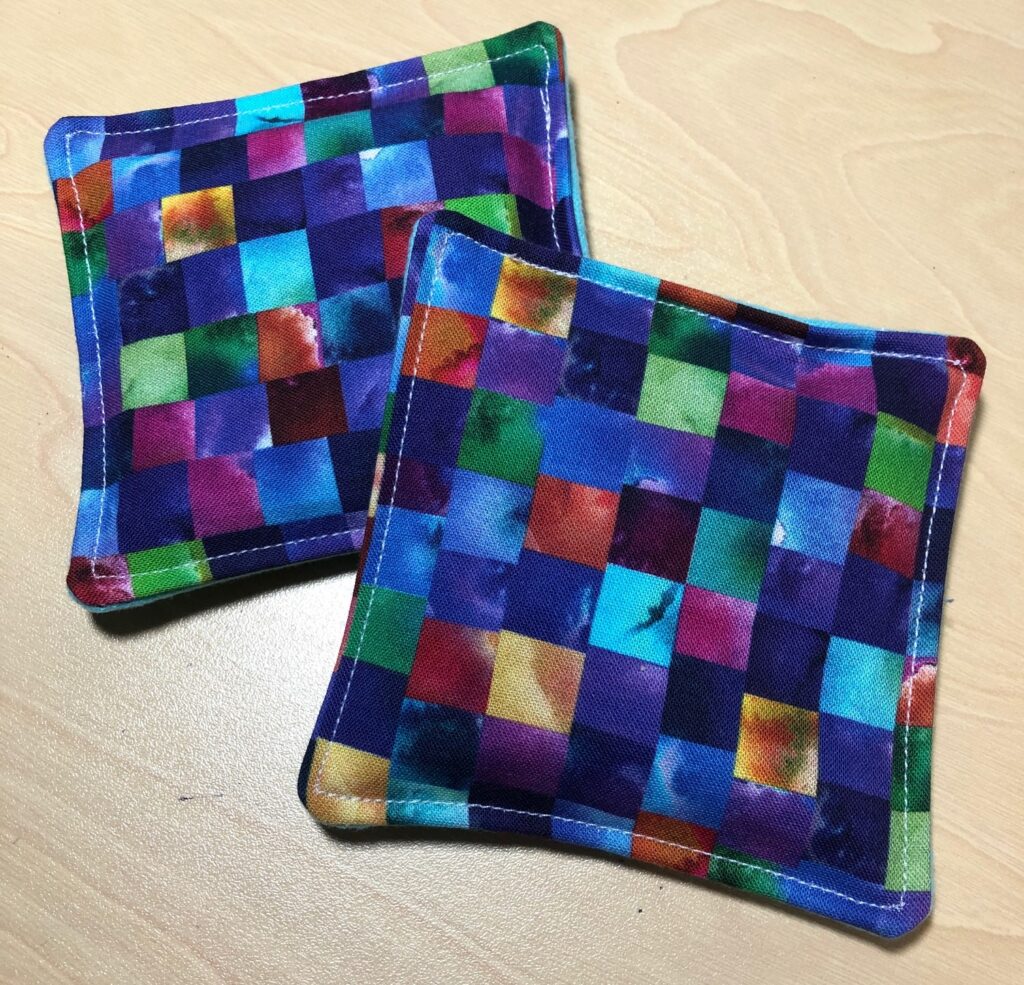
A third project made small pouches (about 4″ square), again, filled with a flax seed/lavender bud mixture. These were called pocket hand warmers…meant to be warmed in the microwave and tucked into your coat pockets on a cold winter day. Good for kids and adult when you need to be outside. You can read about how to make them here:
Those are some ideas for how I use lavender buds. After I’ve worked with the buds, the whole room smells like lavender and my hands smell good for hours! Give them a try…might make good Christmas gifts for the whole family! Enjoy!
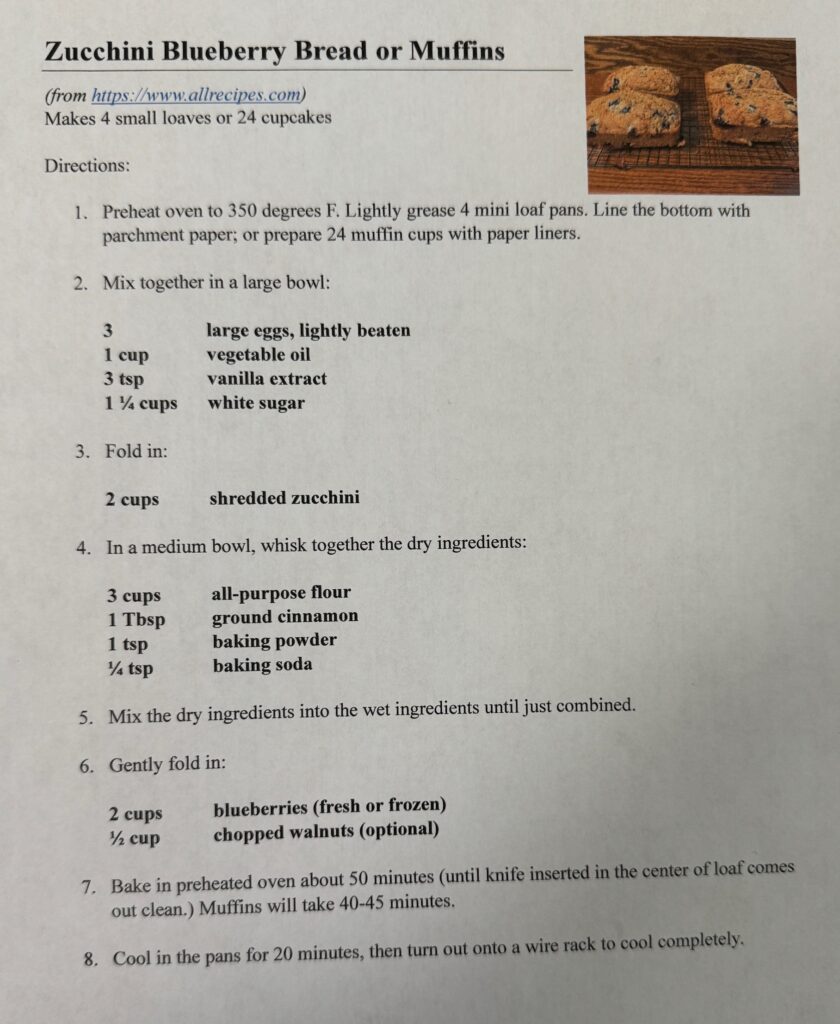
Now that I’m searching for recipes using zucchini, I notice I’m hearing from friends that Zucchini Bread is something I should try. I found the following recipe on https://www.allrecipes.com. Of course, I had to reformat it into my favorite layout (which is based on the layout from Joy of Cooking). Instead of a list of ingredients at the beginning, the ingredients are listed as part of the instructions. With a glance down the recipe, I can see the list of ingredients in the order they are needed.
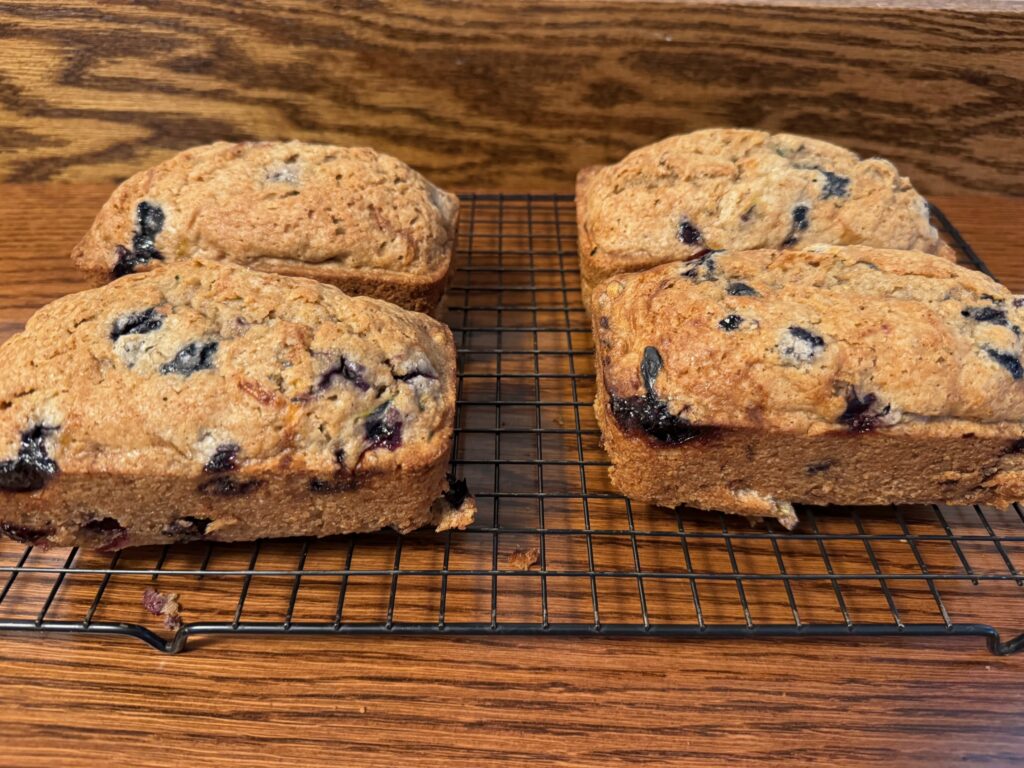
This recipe made 4 mini loaves of bread. The first time I made the recipe I tried muffins. That worked great, but I baked them about 5 minutes too long and they were pretty firm. Luckily, they still tasted great!
Here is the recipe:
First, I usually preheat the oven just as I begin assembling the ingredients. I did spray the mini loaf pans with oil (after baking I discovered the bottom of the pans really needed parchment paper to keep it from sticking). Muffin papers in the muffin pan really helped too.
Prepping Ingredients
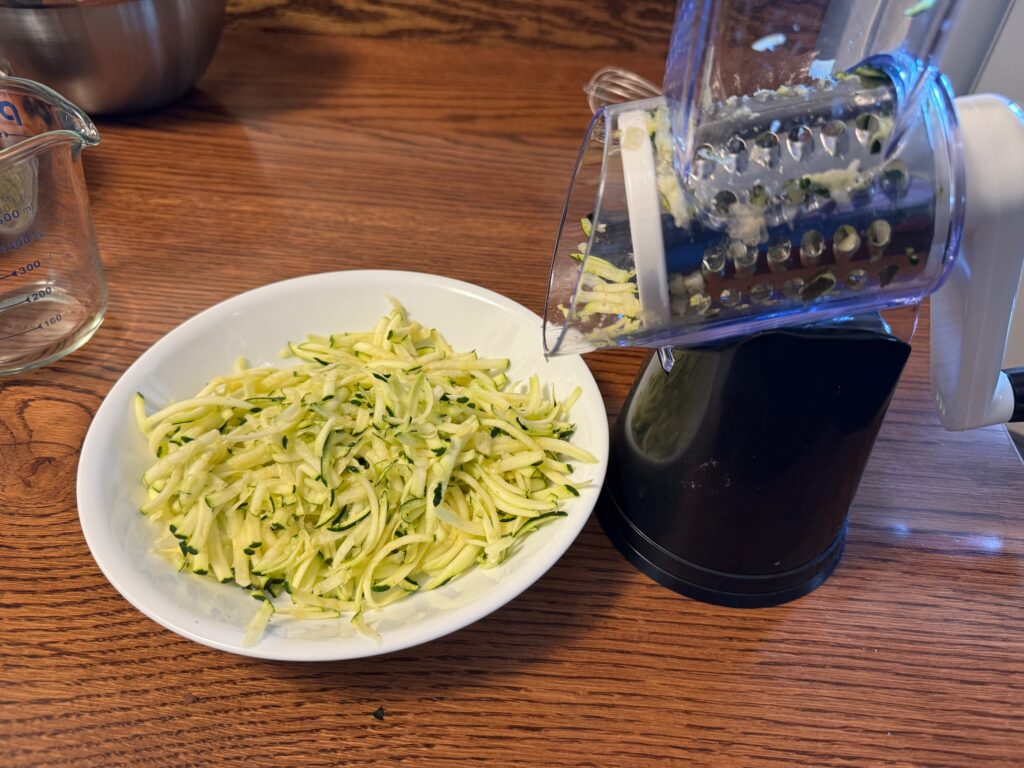
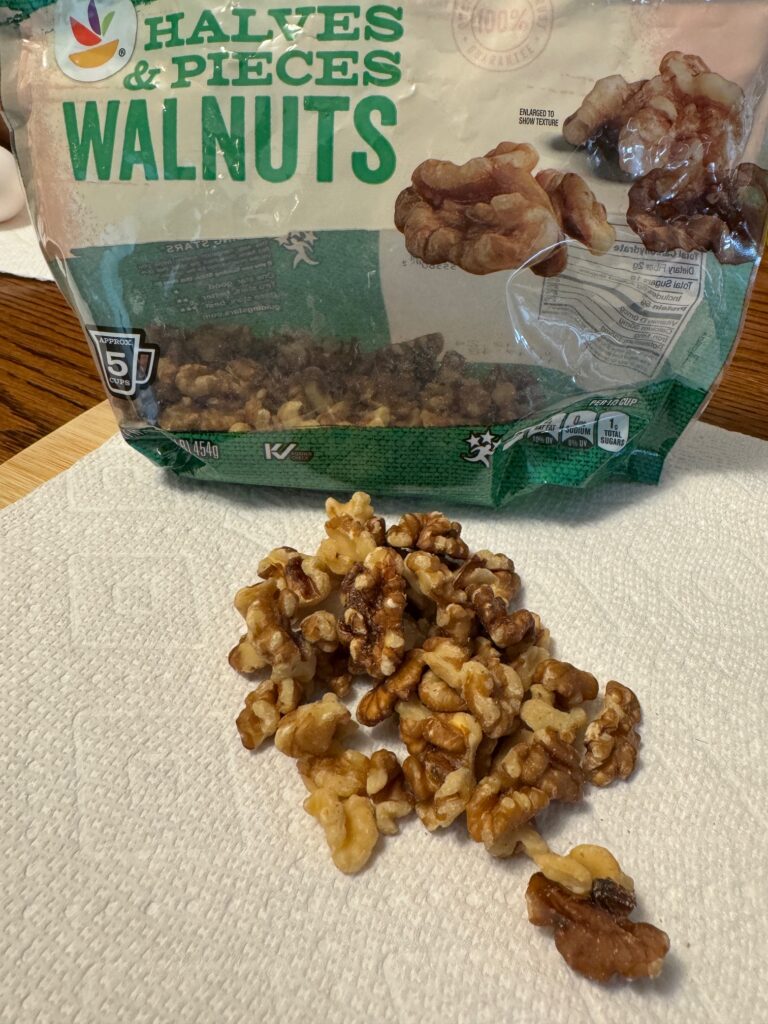
When I look at a recipe like this and glance down the ingredient list, I see I’ll need to have 2 cups of shredded zucchini and 1/2 cup of chopped walnuts ready to go. I end up prepping them before I begin assembling the recipe.
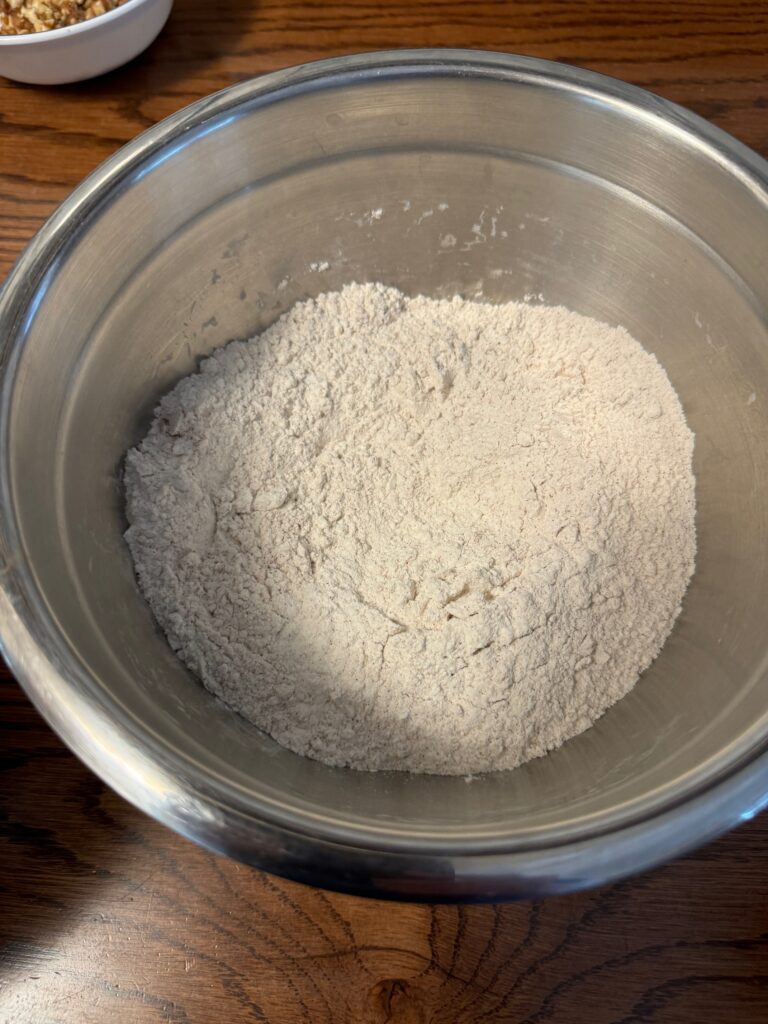
Next, I assemble the dry ingredients in a separate bowl:
Mixing Up the Batter
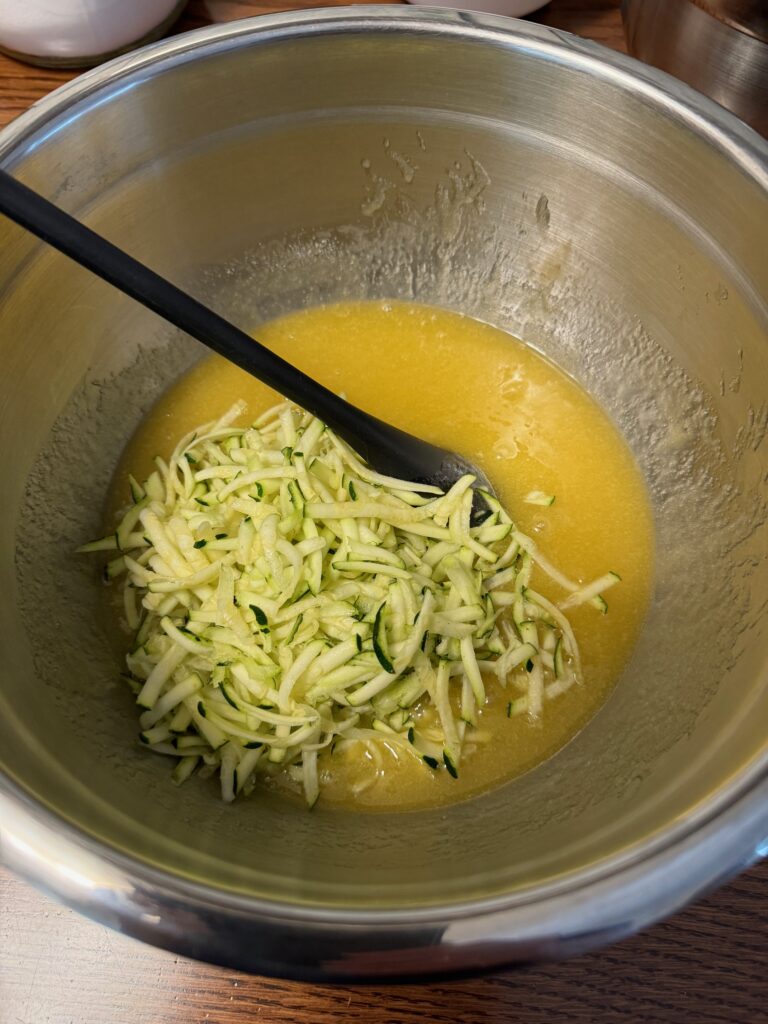
I now continue with Step 2…assembling the wet ingredients…eggs, oil, vanilla and sugar. (This is when I preheat the oven.)
The zucchini is prepped and ready to fold in:
Dry ingredients are ready to mix in also (see bowl above).
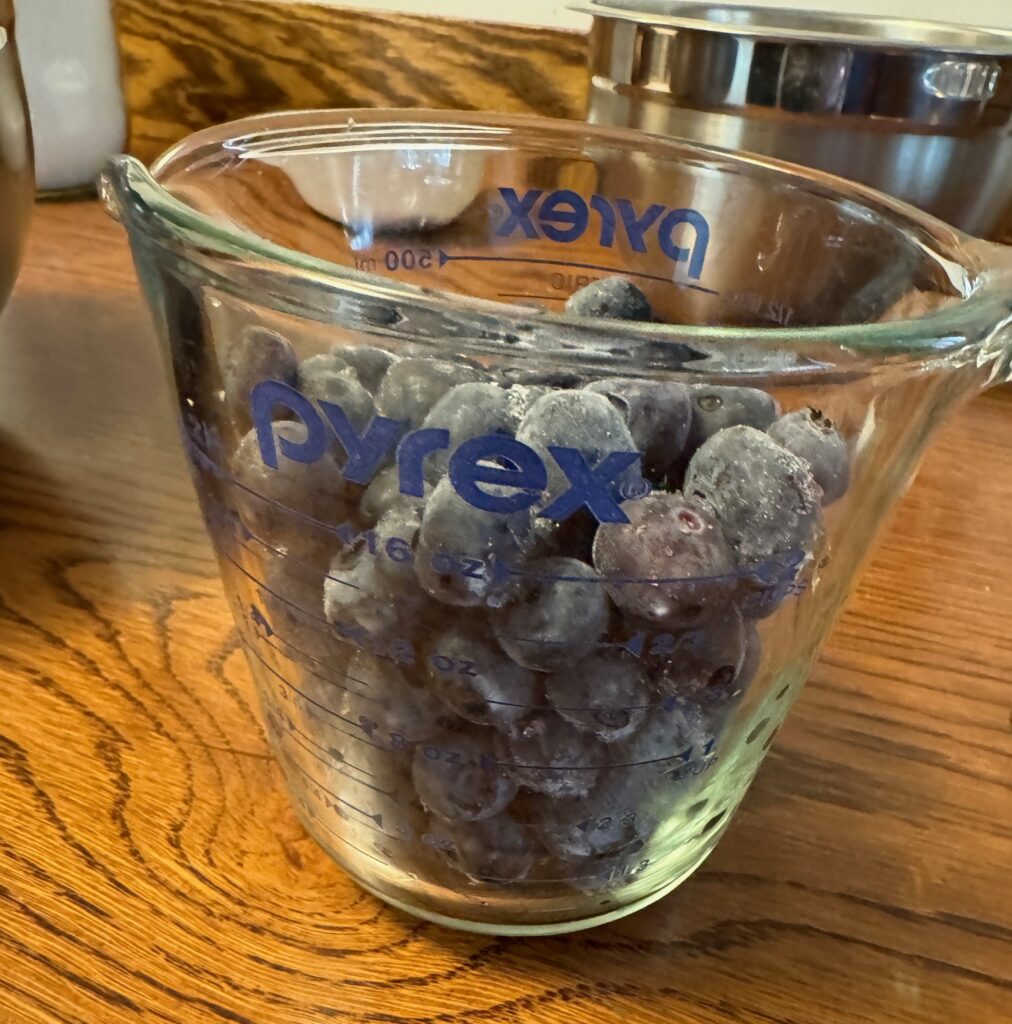
Finally, I pull the frozen blueberries out of the freezer, measure 2 cups and mix them into the bread…still frozen. Fresh berries are fine also but when they are frozen, they are not as delicate and I can really mix them in.
(NOTE: Walnuts are added last (or not at all!) I love them, but not everyone can eat them. When I make bread where I know I’m going to gift it to a neighbor who can’t have nuts, I measure out their loaf or muffins first, then add the walnuts for the rest of us.)
Finally, I spoon the thick batter into the mini loaf pans or muffin cups and bake the bread about 50 minutes. Muffins will probably be done in 45 minutes.
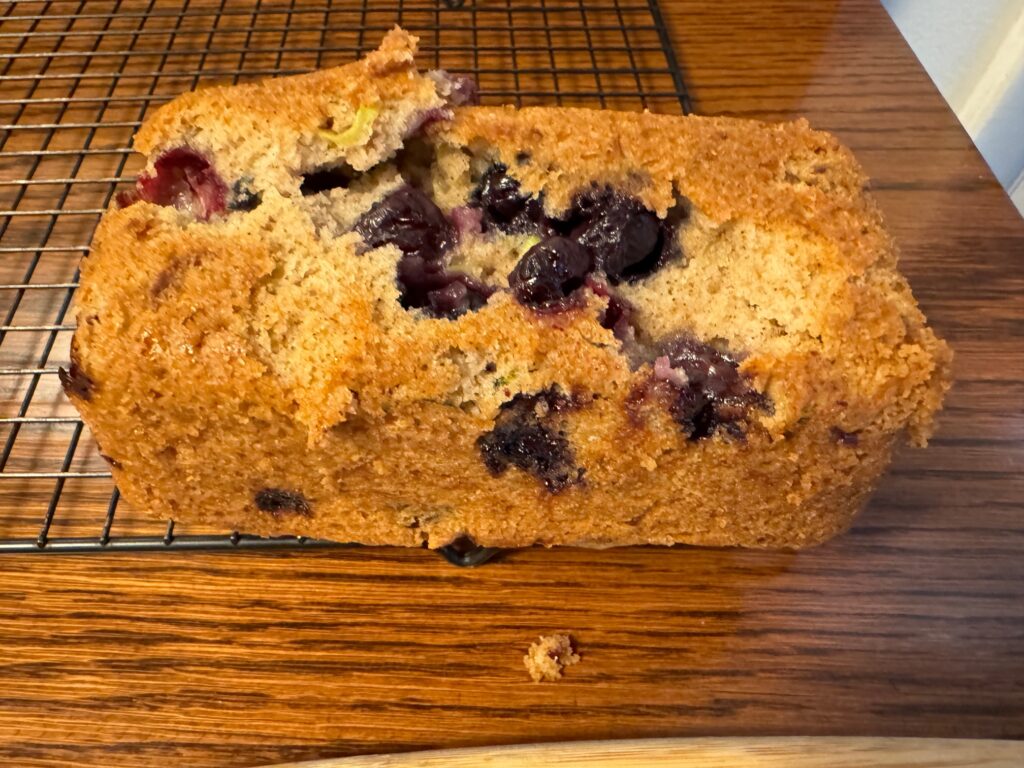
FYI…this is what happened when I tried to get the bread out of the pan (thus the suggestion to also use parchment paper on the bottom):
Luckily when I turned them over, they didn’t look too bad from the top! And they tasted great!
I think I’ll stick with muffins! Of course, in my quest to find ways to use up zucchini, this recipe used only ONE zucchini, but made 4 loaves of bread or 24 cupcakes!! Enjoy!
In anticipation of an abundance of zucchini in our garden, I’m experimenting with recipes to find ways to use them. In the past, when we did not grow them, zucchini just appeared on our patio table as the neighbors tried to find ways to distribute their garden overload! This year, I’ve heard friends and neighbors say they would NOT be growing zucchini this year! Maybe I can sneak a few onto their patio tables!
Obviously, it will be a few weeks until we have zucchini to cook and share, but I want to be ready with ideas so I don’t waste the produce. In the last week or so I’ve actually had to go to the grocery store to buy a few zucchini to experiment with!
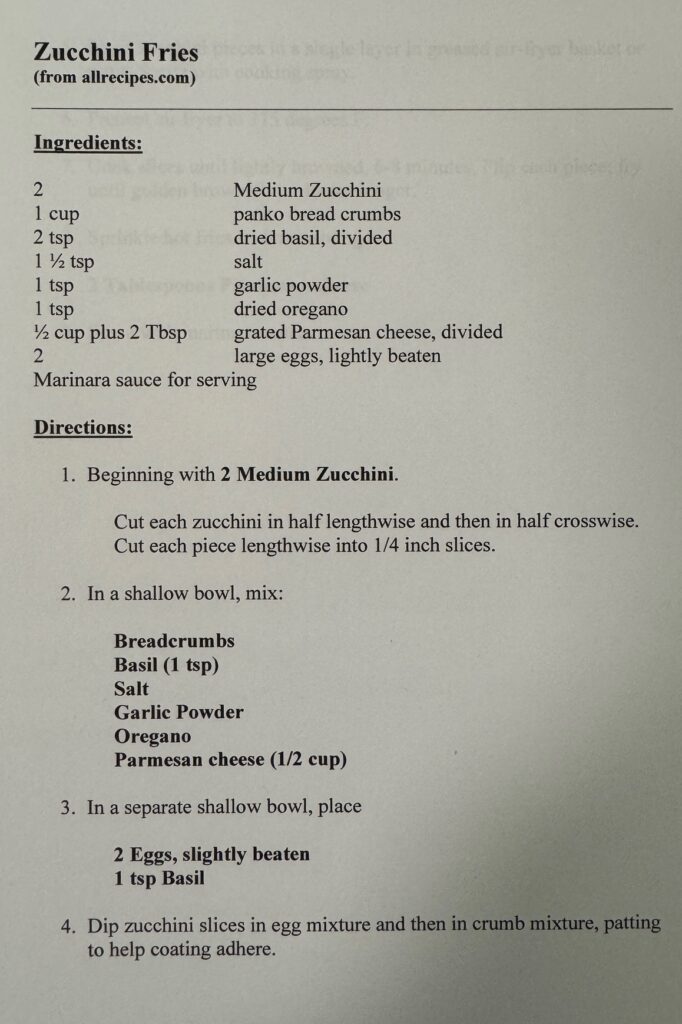
For this experiment making zucchini fries in the air fryer, I picked up 2 medium zucchini. I ended up using only one. The recipe came from https://www.allrecipes.com. I retyped it into a format I prefer and went to work.
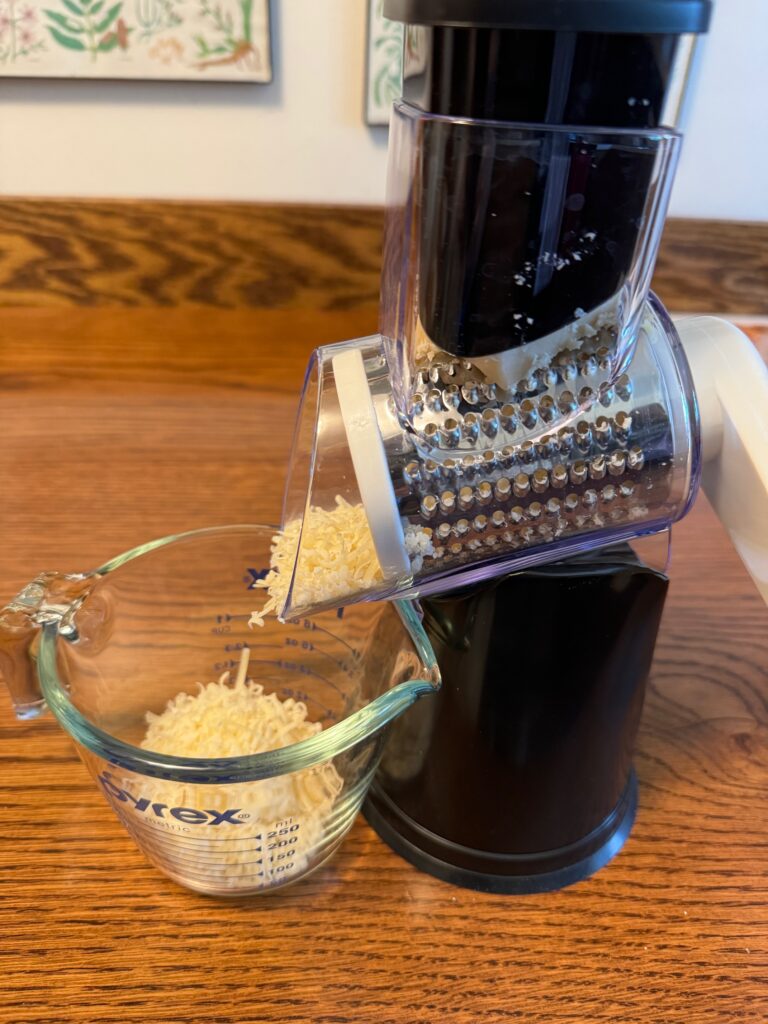
Anticipating this recipe, Bert had ordered a simple cheese grater for the Parmesan cheese (basically, simple enough for me to use and it will also slice and shred vegetables.) It’s lightweight and easy to clean compared to my food processor!
Prepping the Ingredients
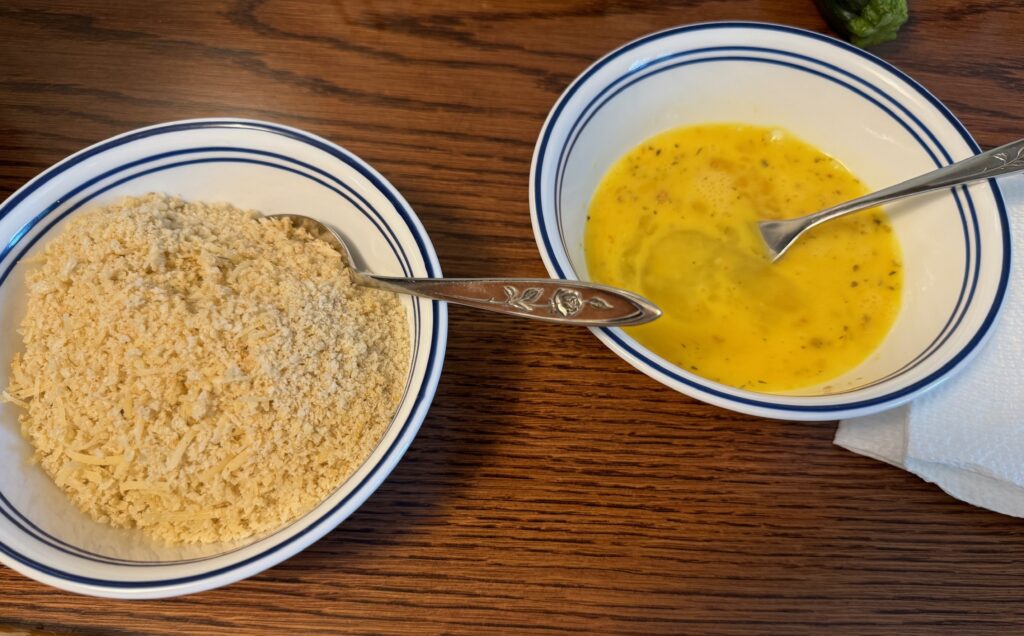
First, I grated the cheese and set it aside.
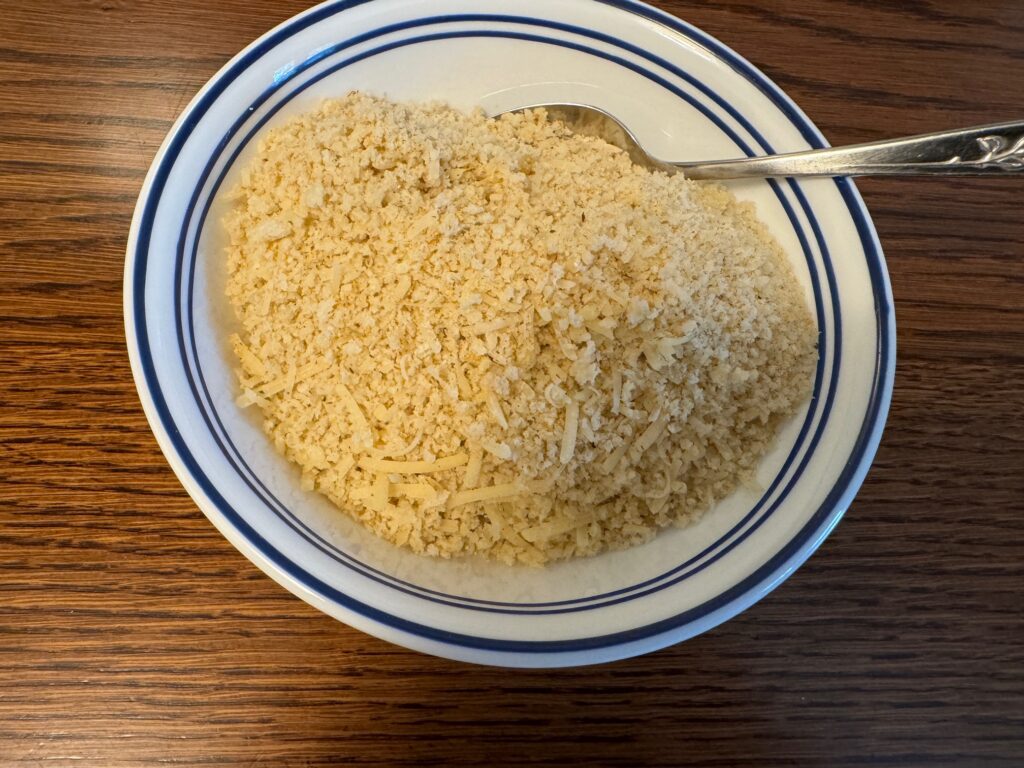
Next, I measured out the bread crumbs and added the cheese and seasonings.
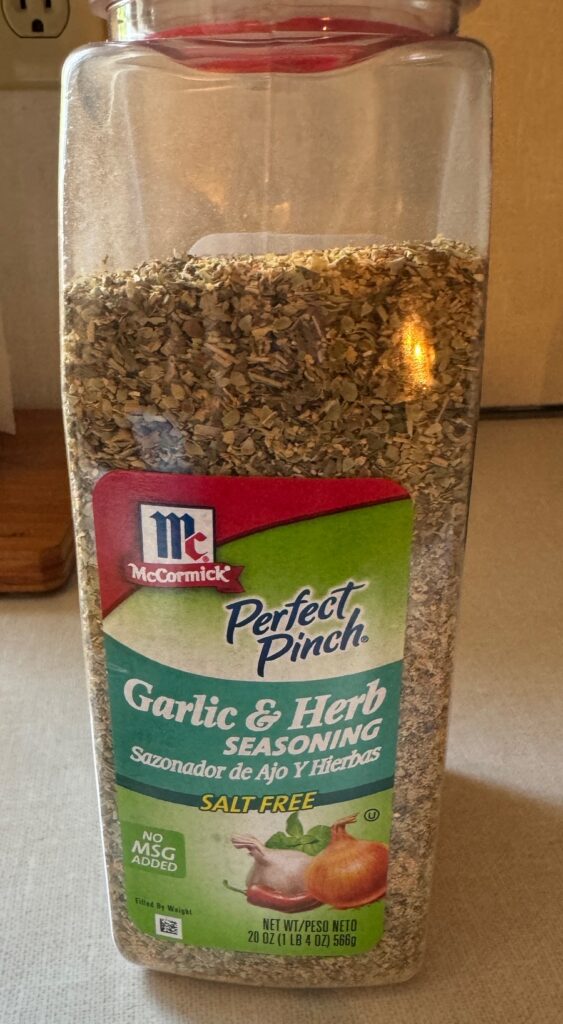
I used this general seasoning along with the dried basil.
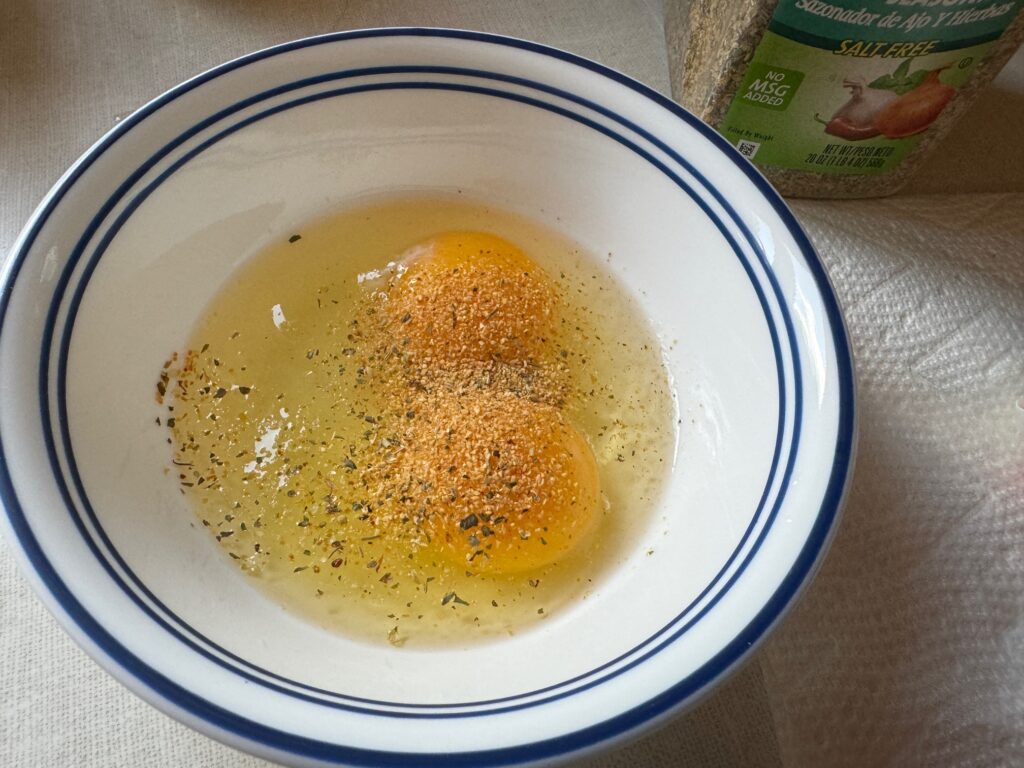
Next, I got the eggs ready in another bowl. I used a fork to gently beat them.
Making the Fries
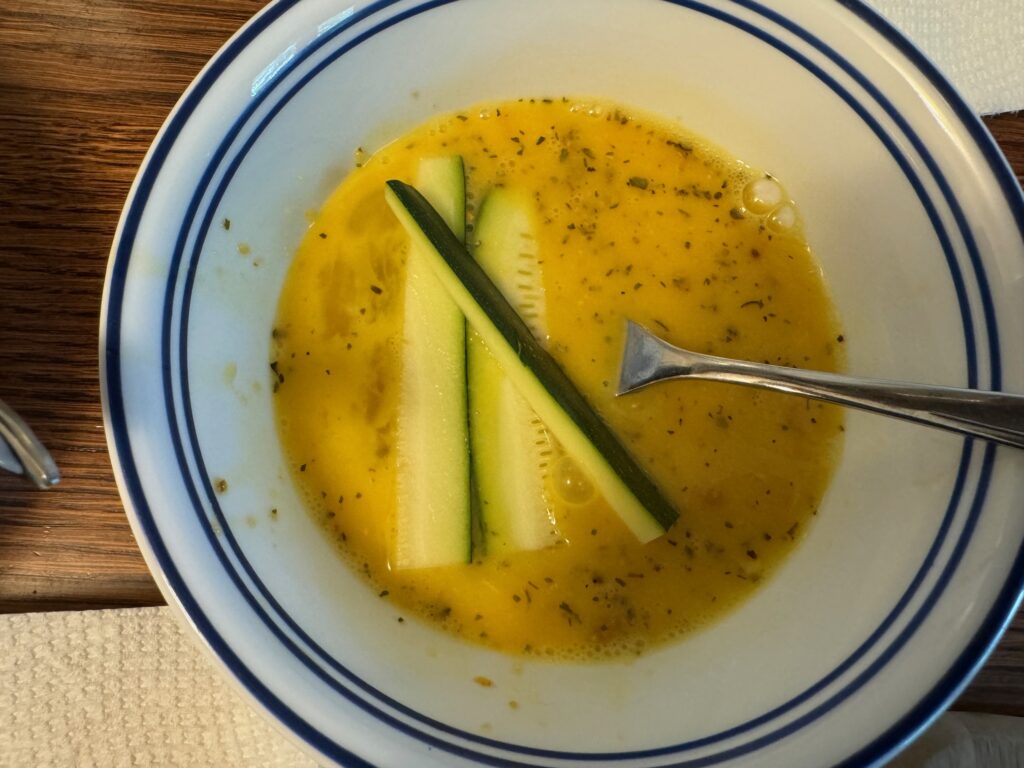
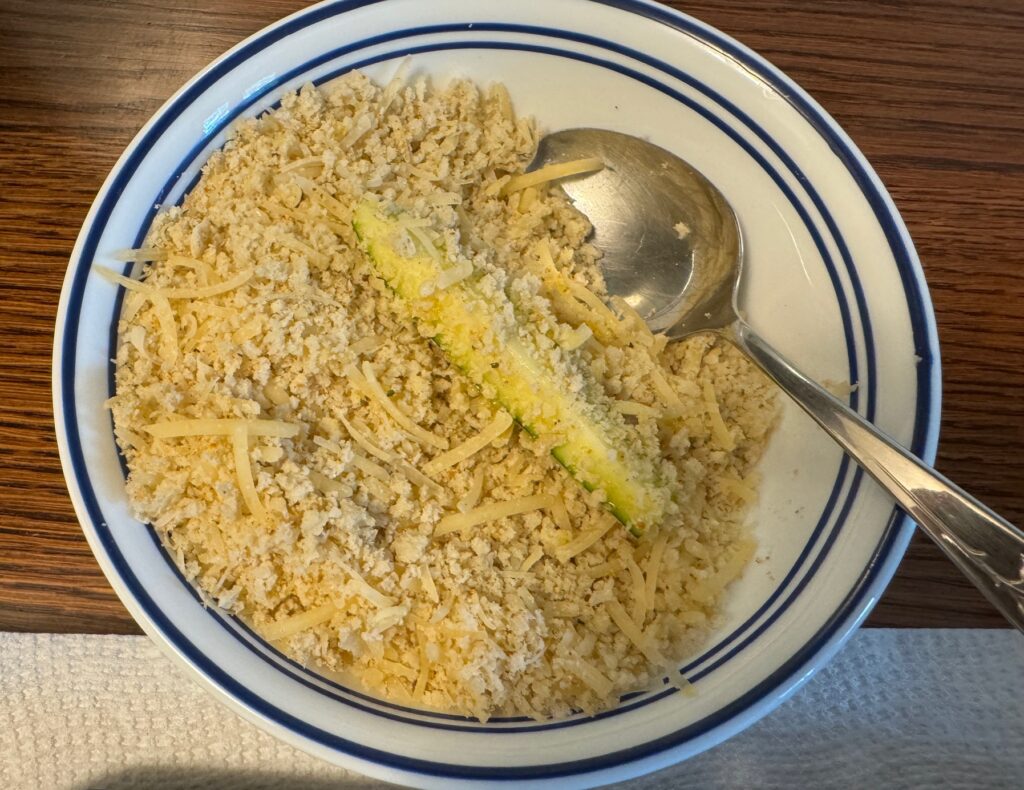
I cut the zucchini into “fries” as described in the instructions and dipped them into the egg mixture. Then I rolled them in the bread crumb mixture.
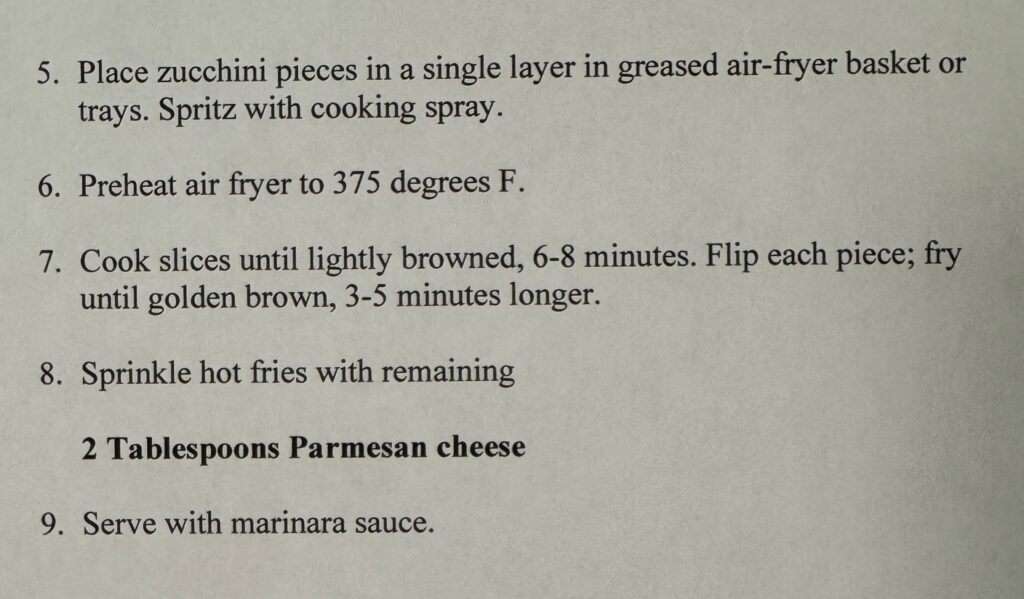
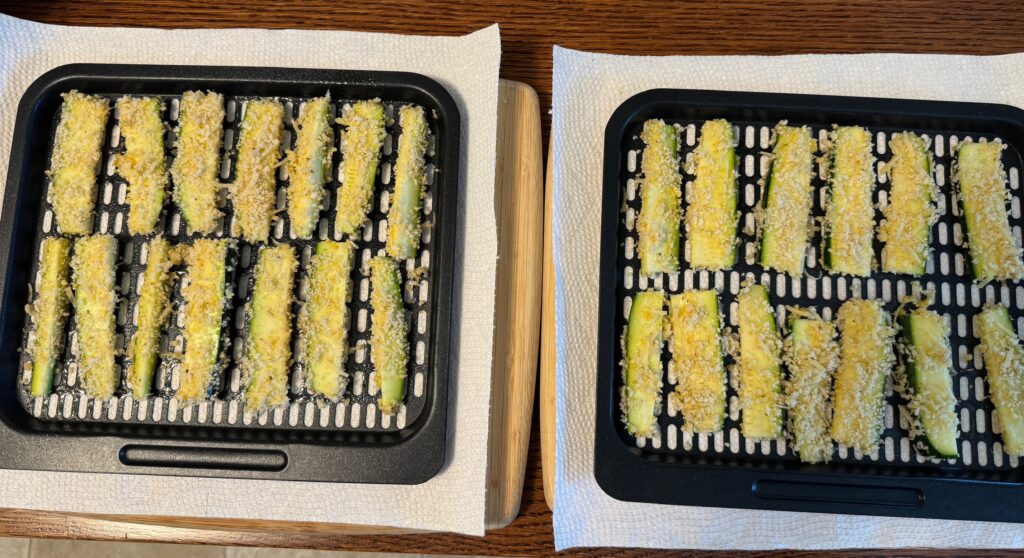
Then, I laid them out on my air fryer trays and sprayed them with oil.
These “fries” used up only one (1) zucchini!
The trays went into the air fryer. About 12 minutes later, I had a plate full of zucchini fries! They were pretty good. Not sure I’d bother if I had a pile of zucchini to use up!
I now have ONE recipe that I know tastes pretty good and isn’t too hard to make. I think if I had the grandkids here for a meal, I’d need to make several batches!
The garden is starting to develop nicely this year. So far, the plants have not been bothered by fungus, bugs or critters! Well, except for the tiny rose bush we put in a big pot. I think it’s down low enough that a hungry bunny has been able to taste the new growth!
We’ve had enough rain that the plants aren’t stressed about that; the summer is young…so fungus and bugs aren’t a problem yet. We’ll see if the deer get adventurous and nibble on my small yellow pear tomatoes when they get here. All we have a flowers so far.
So, here’s a tour of the various beds:
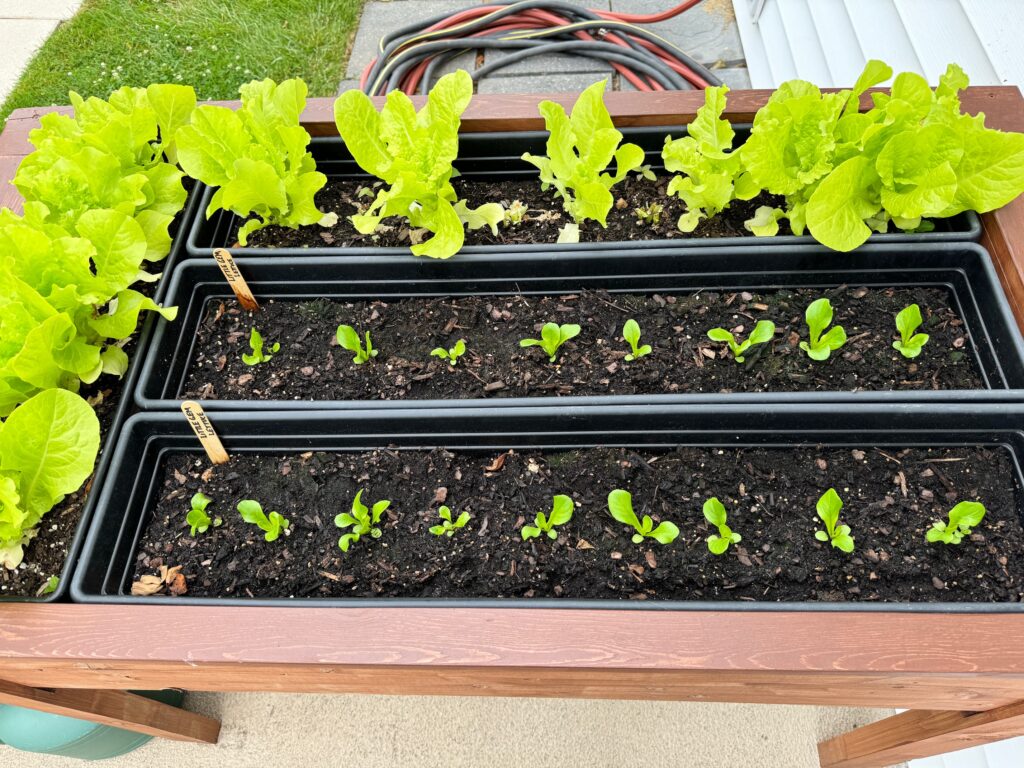
On the patio, our raised planters are doing well. We’ve started cutting the Black Seeded Simpson lettuce for sandwiches. I started another batch of the Little Gem lettuce in the two empty sections.
The Little Gem lettuce is starting to make small heads…just right for one person for a salad. We’ll start picking and eating that soon.
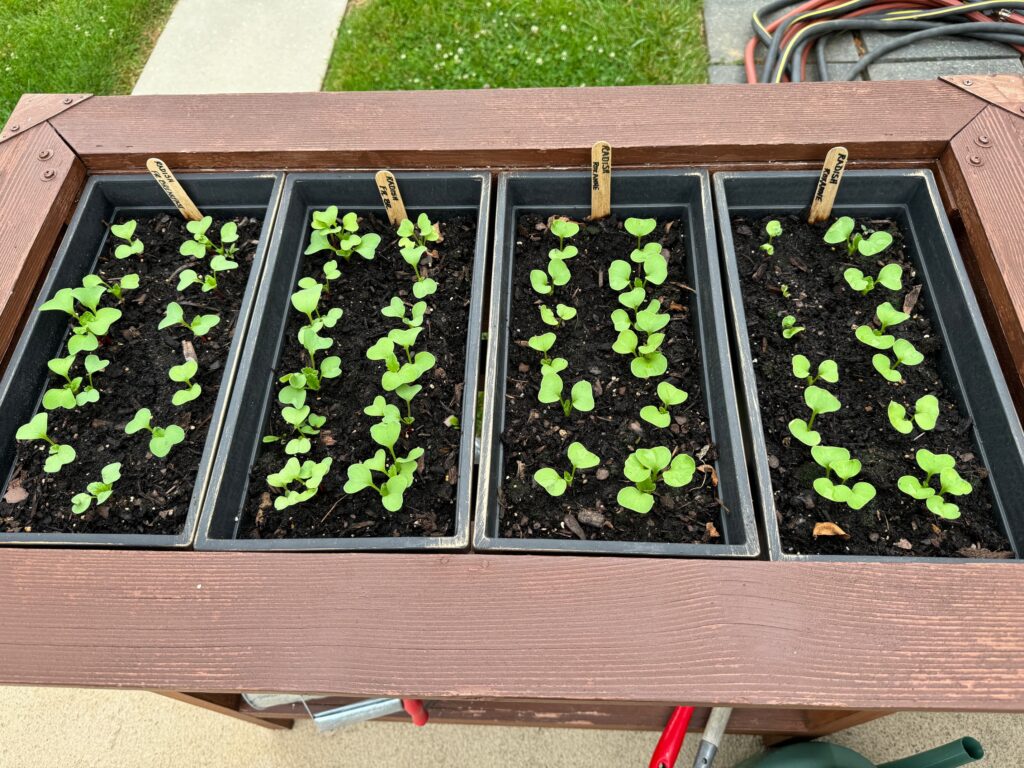
The second planting of radishes is going strong.
You can sort of see the chomped off tops on the tiny rose bush.
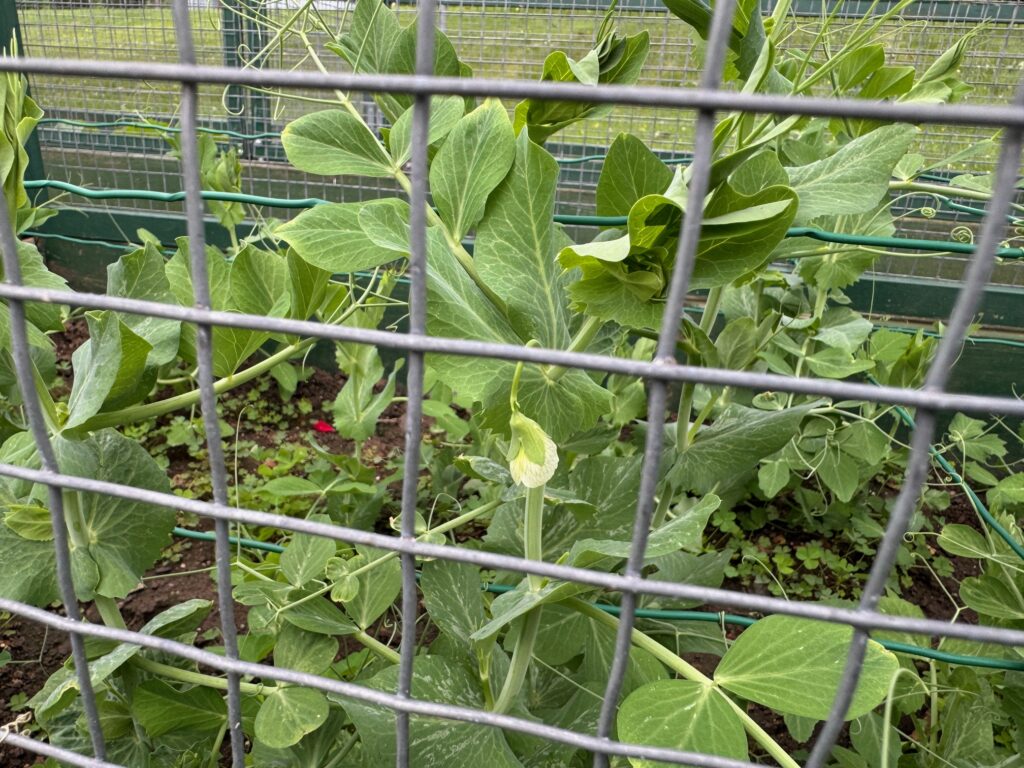
The fenced gardens off the patio are helping the sugar snap peas grow up and we finally have the first flower! There’s hope for peas in our salads someday soon!
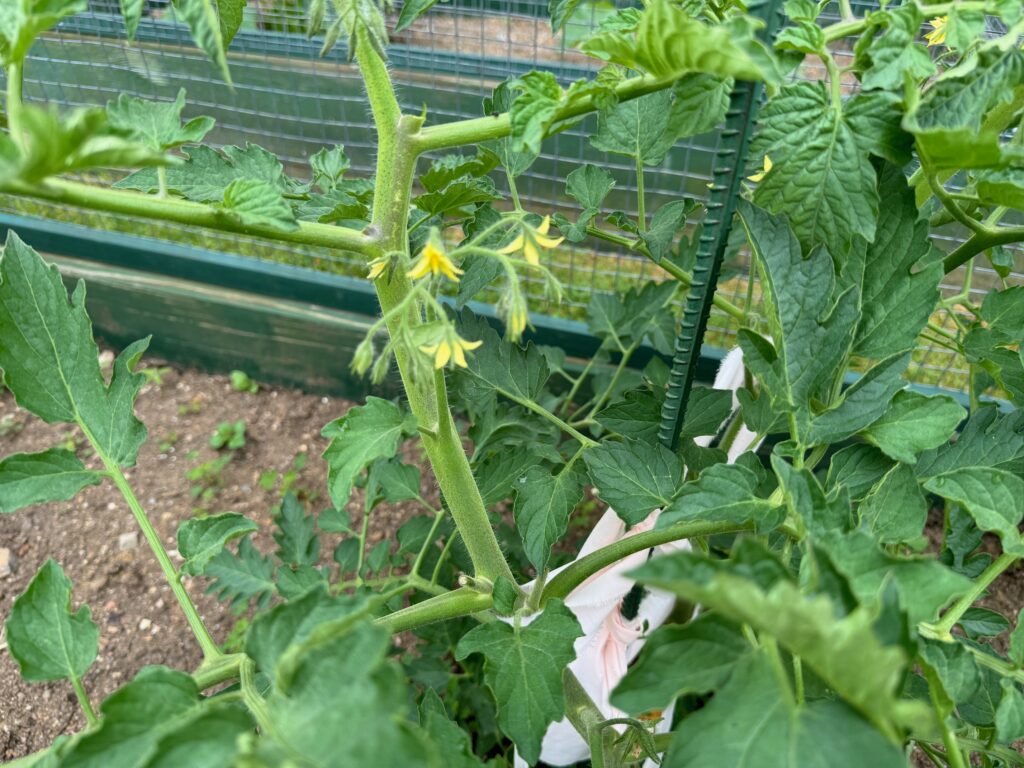
The yellow pear tomato plants look healthy and have their first blossoms.
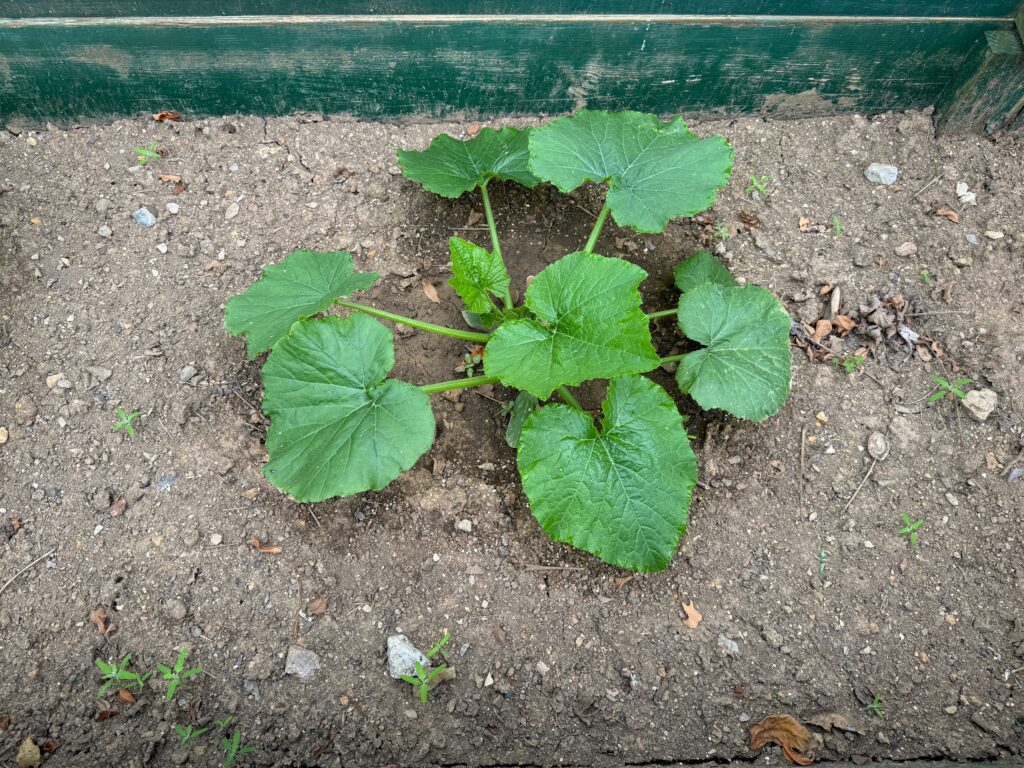
The two hills of zucchini are going strong. I had planned to compare how each hill did with two different brands of seeds…but of course now I can’t remember which is which! I guess it doesn’t matter but I’m more worried that I won’t be able to keep up as they produce.
Hill #1
Hill #2
And the last section of the fenced garden by the patio has two rows of huge flowers…one is a giant Marigold and the other is a Zinnia with double flowers that may be up to 2 1/2 inches across! These are meant to be used as cut flowers. I hope the deer don’t like them!
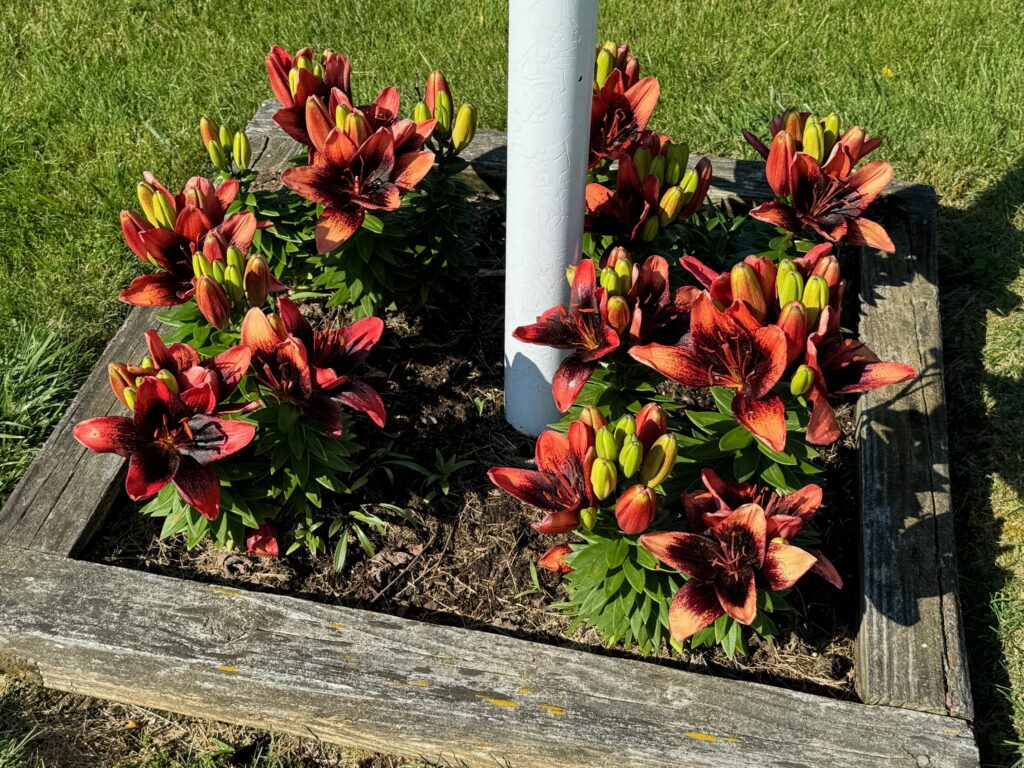
We remembered we were going to plant flowers around our lamp post out front…and then we’ve watching some plants we grew last year come up again…we had no idea they were perennials!
The fenced garden on the hill is starting to look encouraging. The row of lavender we planted last year made it through the winter just fine. I should soon be able to start cutting some to dry.
The green and yellow beans continue to grow.
The carrots have finally popped but they are still pretty tiny…here’s a close up:
The tomatoes have blossoms! This year we’re growing 6 plants of a large variety called, “Bodacious.” The other 6 plants are our familiar Super Sauce tomatoes from Burpee.
Of course, the Echinacea plants have gone nuts! I just noticed the first flower has bloomed. It won’t be long until the whole bed is beautiful!
While we’re waiting for baskets of vegetables to appear, my first task of the summer is to make applesauce. I usually go out to Way’s Fruit Farm and get a bushel to work with. These would be apples that were picked last fall and stored over the winter. By now, they are much easier to peel! Happy Summer!
Three to four years ago, I found my interest in the uses of stones, crystals and gemstones in meditation was a way to focus my thoughts. I realized I was reading about the way gemstones were used in ancient times…in crowns, in prayers and in ceremonies…but I really didn’t know what some of them looked like. Unless the stone was someone’s birthstone, I really didn’t have a knowledge base to work with.
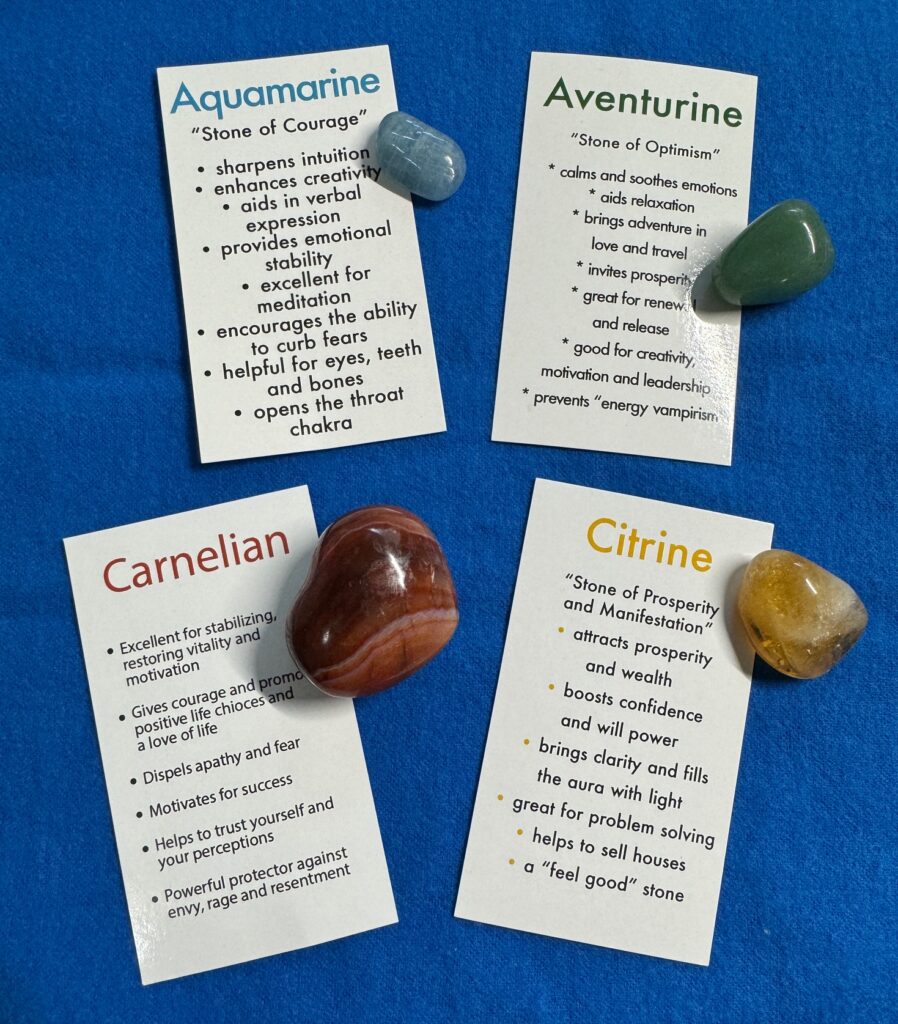
After one of our driving trips to California to visit Ted’s family, our stop in Sedona, Arizona was most inspiring! I discovered the Sedona Crystal Vortex shop. I came home with an assortment of polished stones in my suitcase! Each came with a card describing the stone. Thus began my fascination with gemstones and their meanings.
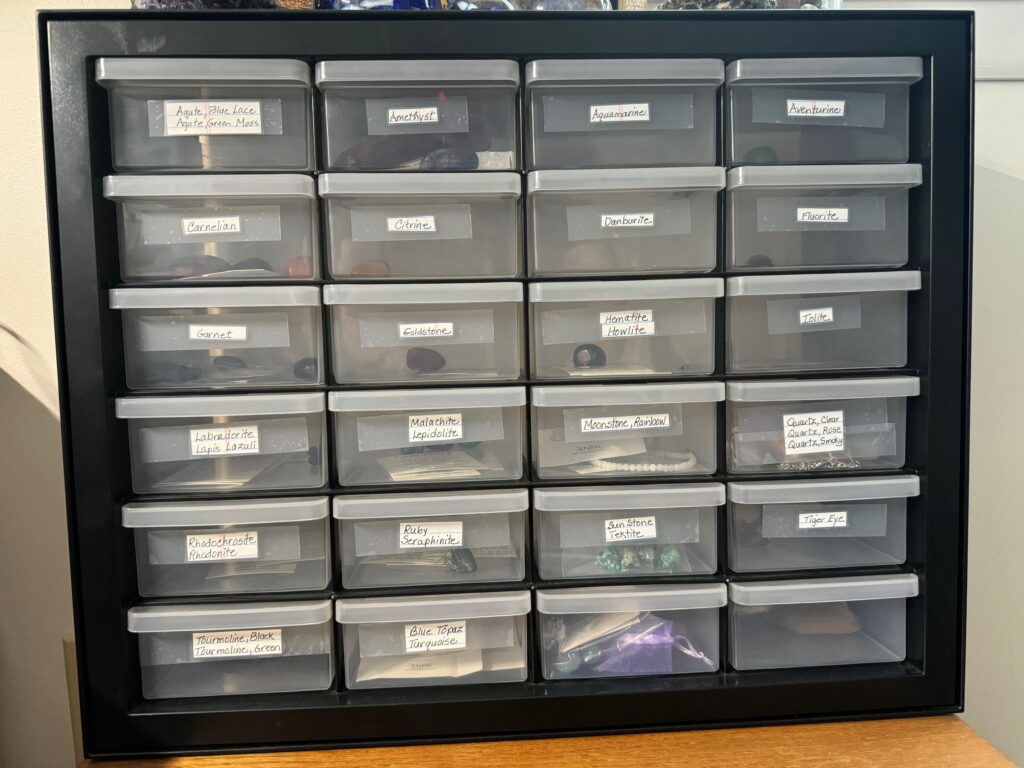
Over time, I managed to collect at least 24 different polished stones and organized them so the card with information was kept with the stone. Now. I can recognize most of the stones by color and have some basic knowledge about each one.
For several months I carried one or two stones in my pocket, depending on my mood and focus…whether it was confidence with my writing, reducing stress in my life or courage to face hard decisions. Not sure if they made a difference in my writing or my stress level, but they did help me focus my intentions to improve my writing or lower my stress level.
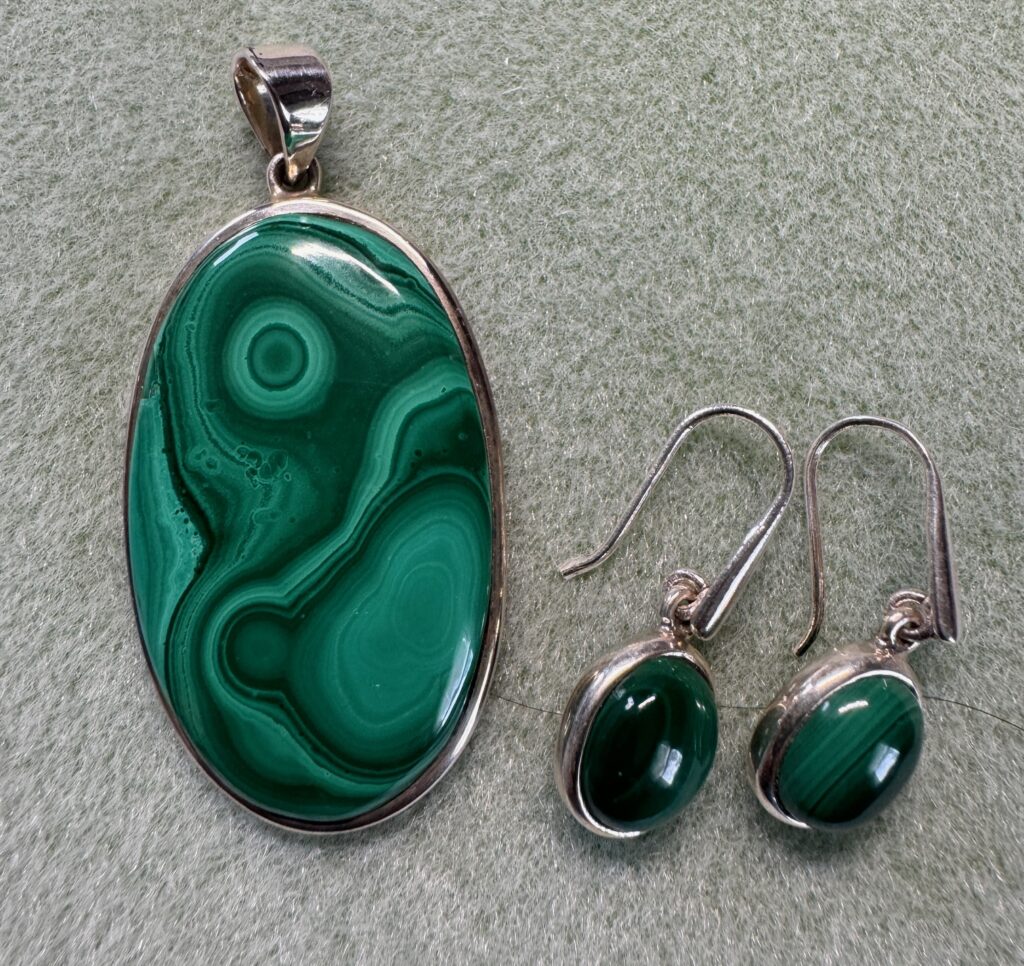
Then, I discovered Sedona Crystal Vortex offered various pendants and earrings featuring specific stones…what fun! Very quickly I could see this collection would be a bit more expensive! Not sure I could afford a necklace for each stone!
Here is a Malachite set:
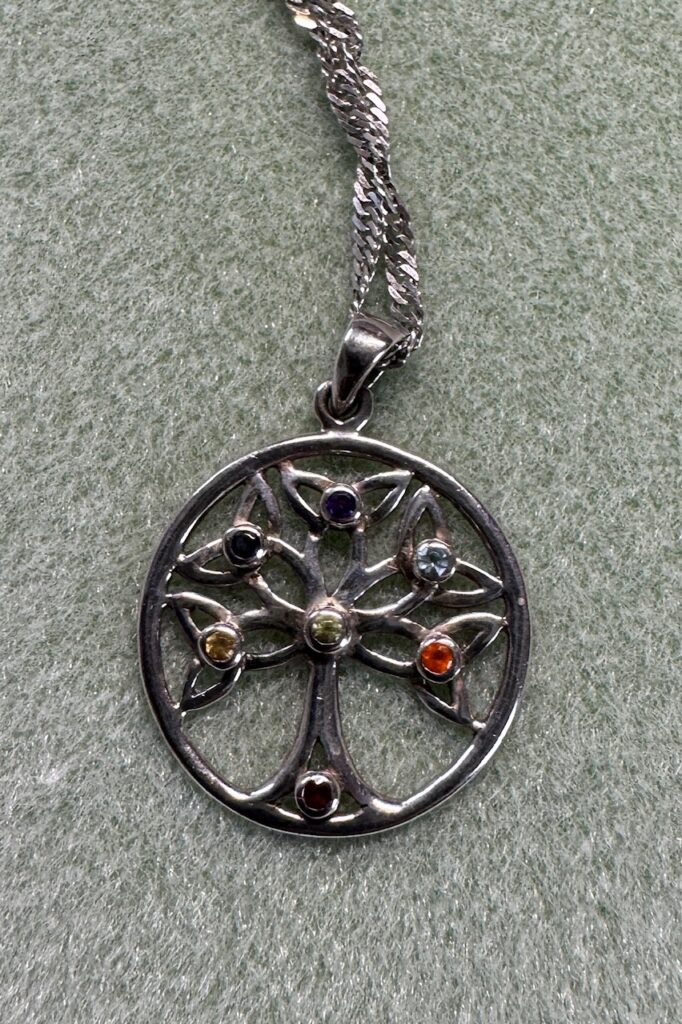
And my favorite Tree of Life necklace:
Learning More about Stones, Crystals and Gemstones
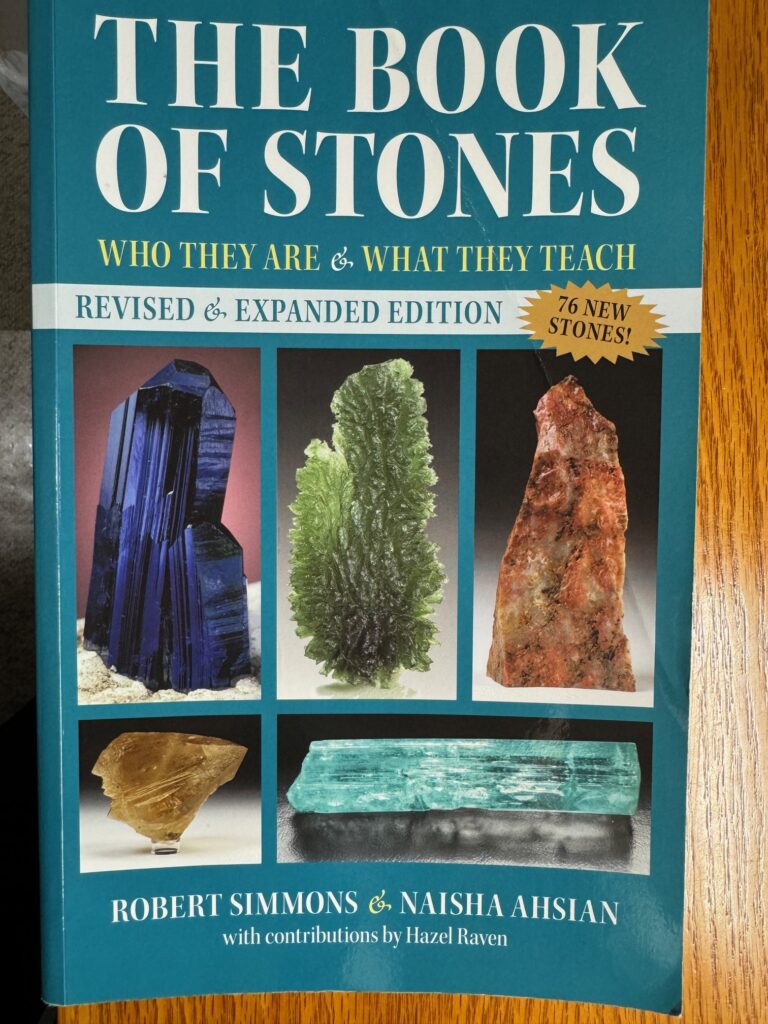
I continued researching these stones, crystals and gemstones on the internet…so MUCH information was available. I ended up ordering this book, The Book of Stones, by Robert Simmons and Naisha Ahsian (2015. Heaven & Earth Publishing LLC). I learned so much more and could reread sections without turning on the computer!
In the introduction to the book, the authors helped me understand why some folks believe they can feel (sense) the vibrations from the stones. They provided a general theory how humans could actually feel and benefit from crystal energy.
Apparently, the crystal lattice structure found in minerals, such as Quartz, Beryl and Diamond, provides great stability of structure and regularity of flow of any electromagnetic energies that move through it. This is why silicon chips are used to provide memory in computers. It’s also the reason Quartz crystals can be incorporated into watches and clocks to provide highly accurate measurements of time. This crystalline structure is present in all stones and crystals at some level.
Humans have their own crystalline structure in their bodies, even at the smallest level. Our DNA basically has a crystalline structure that manages to pass on genetic information quite accurately. Not too hard to imagine that it may be possible for some people to be capable of detecting, or “feeling” these energies.
I will admit I don’t feel the vibrations from my stones. However, I do believe they help me focus my thoughts.
The Transition to Beaded Bracelets
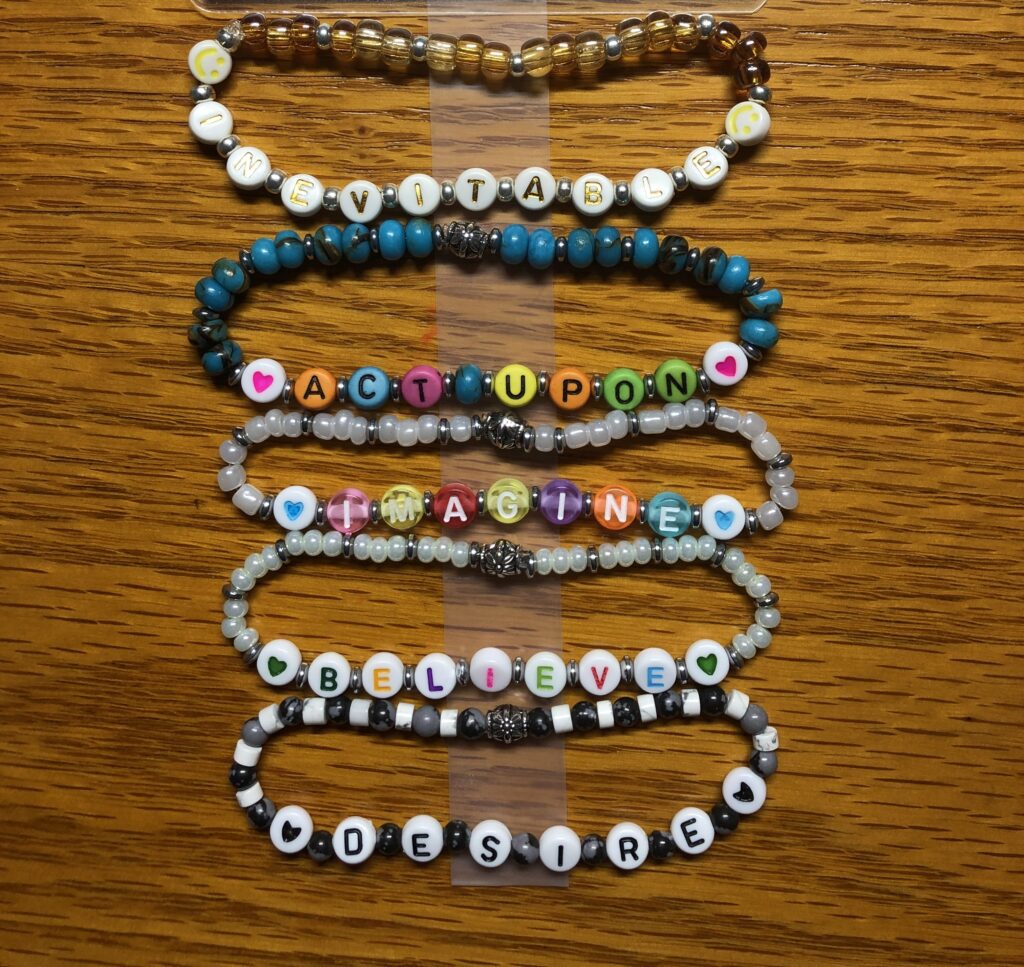
Recently, as the public became obsessed with Friendship bracelets, folks of all ages were making and exchanging them. Why not check it out! I made a few bracelets with plastic letter beads and made a few to represent one of my favorite sayings:
I used up various glass beads to fill in around the letters. Interesting, but I hadn’t planned to wear them so I sent them to a niece.
I tried to make Penn State bracelets using the letters, P S U, but after 4-5 bracelets, I ran out of those three letters! The letter beads seem to come with the whole alphabet and I couldn’t order just those three letters! Phooey!
I ended up making PSU bracelets with Blue and White beads…no letters. The only “real” stone bead that had the right color to represent PSU blue was the Blue Tiger’s Eye. So I added white glass beads, Opals or Howlite to get the Blue/white feel. I don’t think I’ll focus on making too many of these, since I’d prefer to explore the many other gemstone beads I have.
The transition from stones in my pocket and pendants around my neck seemed to happen in the last year or so. If you’ve read my blog (https://marykisner.com/) you’ll know that I’m always on the lookout for new and interesting projects. I thought if I wanted a different way to carry the gemstones, why not a bracelet.
Look at the difference between a polished stone for my pocket and the corresponding bracelet. Perfect!
Production for the Summer Arts Festival
For the past month or two I’ve been cranking out several bracelets a day in three sizes. I now have over 100 bracelets ready to sell at the Summer Arts Festival which will be held July 11-13, 2024 on the grounds at Way’s Fruit Farm in Stormstown, PA. (These are the same three days as the Central PA Festival of the Arts in State College, PA).
To prepare for the festival, I took my bag of bracelets to a family reunion a few weeks ago and let interested folks choose one. It gave me a chance to talk about the gemstones. Bracelets were chosen by mostly women of all ages and a few young men found stones that spoke to them! Very rewarding to watch the process! Save the dates in July! Hope to see you there!
The garden is finally starting to look like it might produce stuff eventually! We’ve had enough rain so even the grass doesn’t have brown spots, like last summer. The rain barrels are now empty…all water was moved up to the large tank by the garden yesterday. Just in time, it’s supposed to rain later this week!
Yesterday, the radishes looked ready, so I pulled them all! Nice crop. A little spicy but tasty. I’ll replant the spaces with the same radish seed, but alternate in each section.
The Black Seeded Simpson lettuce is filling out. The leaves will make a loose head and should be crisp.
The Little Gem leaves are starting to curl and should make small heads…just right for a single serving!
The yellow pear tomato plants look really healthy but I’m glad we planted only two…they can be quite prolific.
The zucchini plants look good!
The sugar snap peas are finally reaching out. Bert added a coated wire grid to help them get started in climbing.
Up in the big garden, the bed of lavender is going nuts! I can see I’ll have a lot of lavender buds to work with this year.
The green and yellow beans are coming along!
The tomato plants continue to fill out.
And, of course, the echinacea is reaching for the sky. You can see the flowers just about ready to bloom.
That’s the tour for today! Gardening is definitely a process, with lots of “waiting” time. However, I’m anticipating the harvest, as I make sure I have a plan for each of the vegetables. Zucchini, green beans and tomatoes can quickly get out of control. Such fun!
It is time! Now that all the seeds have been planted, I’ve started a list of what we’ll do with all the produce (assuming it will all grow!!). What we don’t grow, I’ll tap the Farmer’s Markets around the area to buy produce in larger quantities to fill in.
My project list includes applesauce, pickle relish and pizza sauce. These will require my food processor. It has been stored in extra cupboards in the garage. It is not a light appliance, so I had to rearrange things to bring it into the kitchen storage. Since I’m not using my blender very often, I’ll swap it with the food processor.
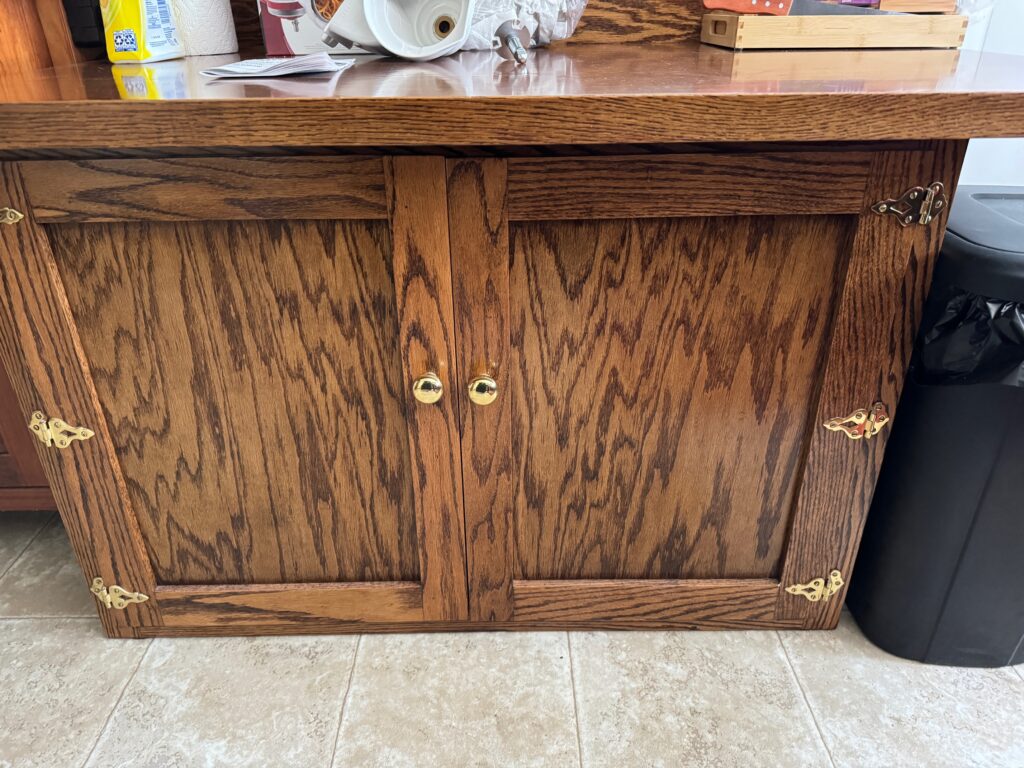
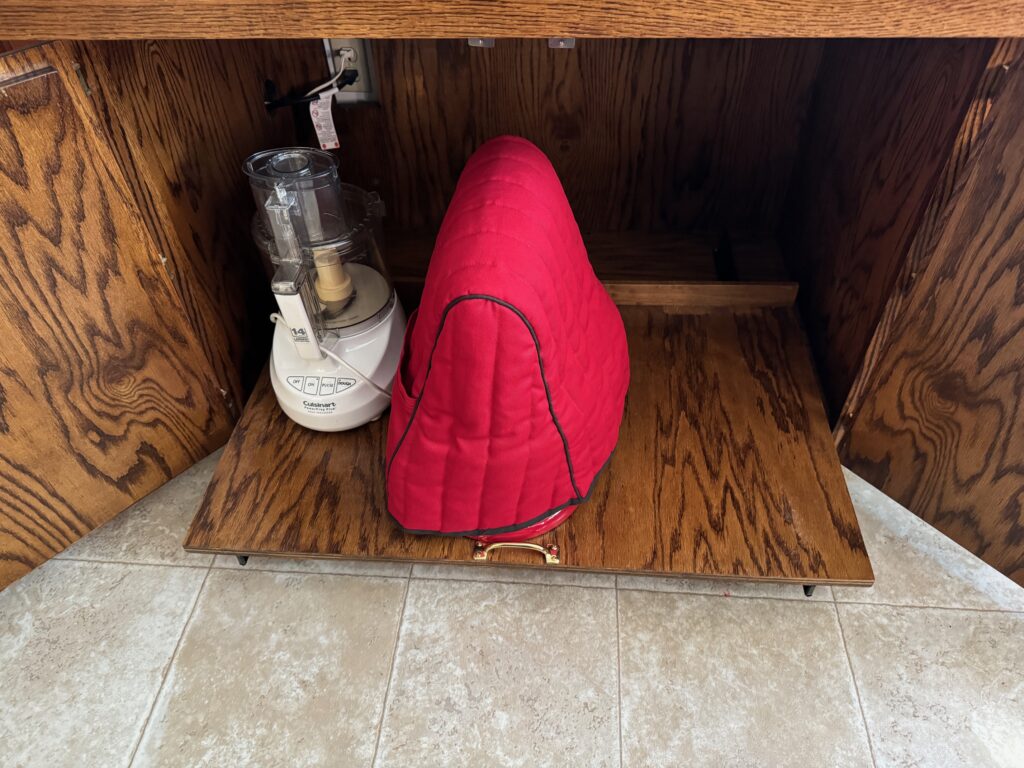
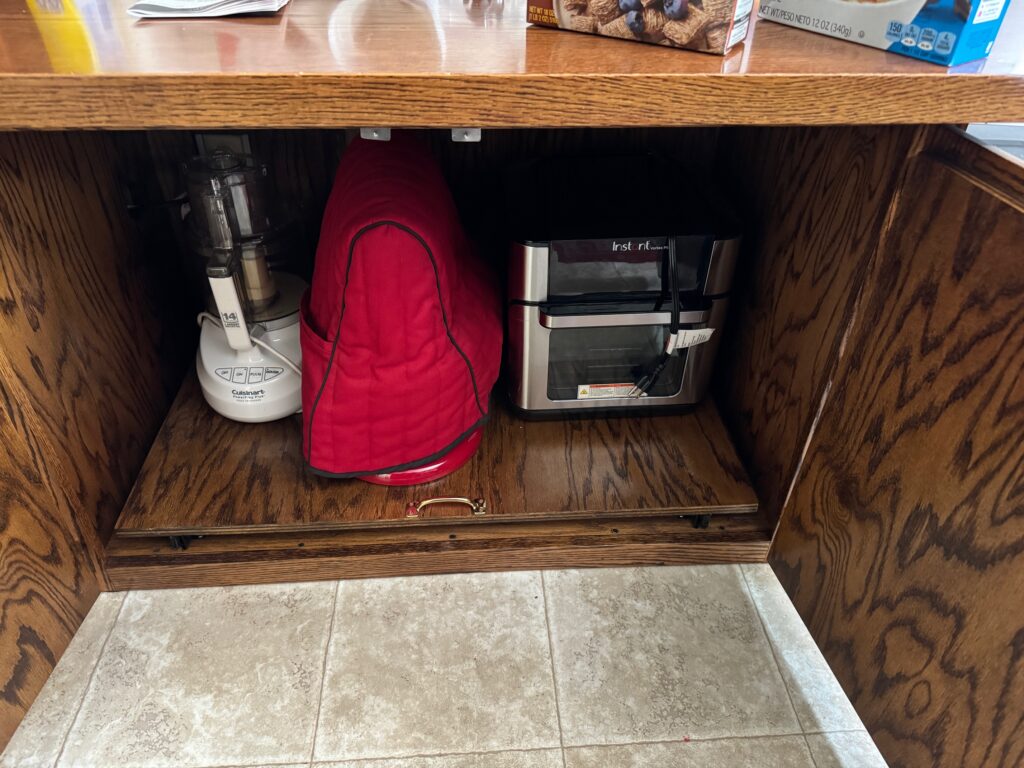
Here’s the space I’m rearranging in the kitchen. Bert built this table with storage space below a few years ago and added a pull-out drawer so I can easily reach the appliances and lift them to the table. My stand mixer is stored here all the time…it’s too heavy to move any further and I use it frequently.
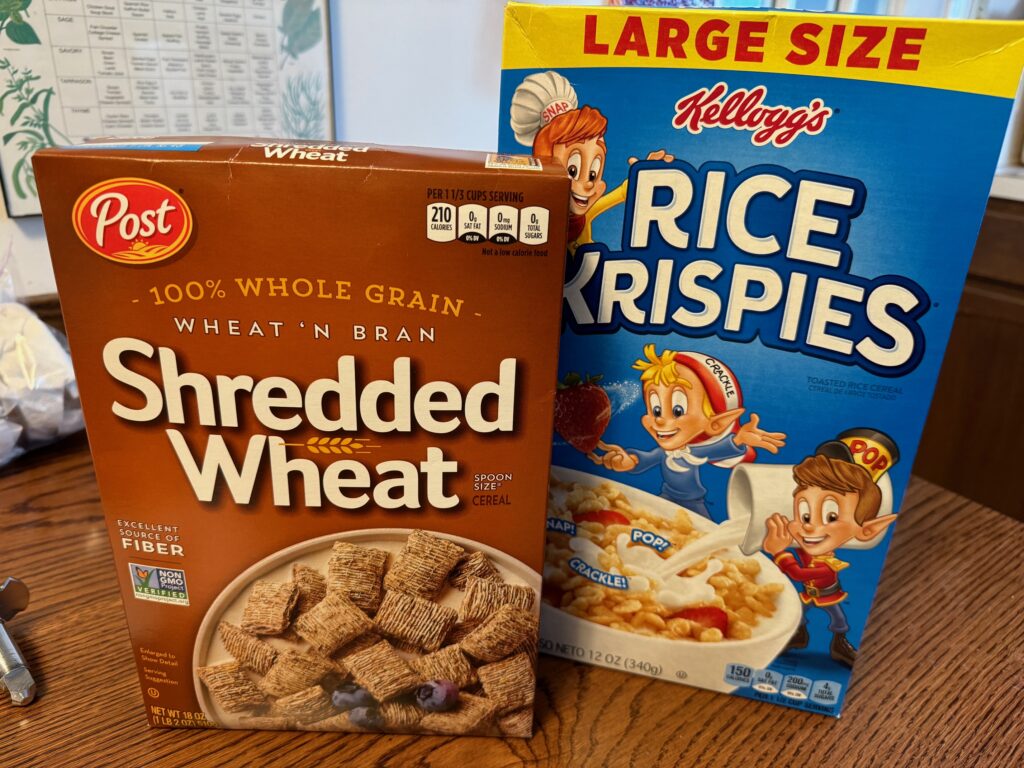
The salad spinner was stored to the right of the mixer, but I haven’t used it since last summer when I grew leaf lettuce. It really was not very useful and took up a lot of space. In fact, it was piled with extra flour and cereal boxes that needed to be stored someplace else!
The one main project I have in mind for the summer produce is what to do with zucchini! This is the first year we have grown it and I’m a little nervous about getting overrun with zucchini! I’ve bee collecting recipes with ideas but one appliance seems to be mentioned frequently…the air fryer!
I have one and have used it occasionally but it is so big I can’t let it sit on the counter. By moving the spinner and assorted stuff out of the table cupboard I should have room to store it right in the kitchen. Then all I have to do is open the doors, roll out the drawer and lift the air fryer to the table. Much better!
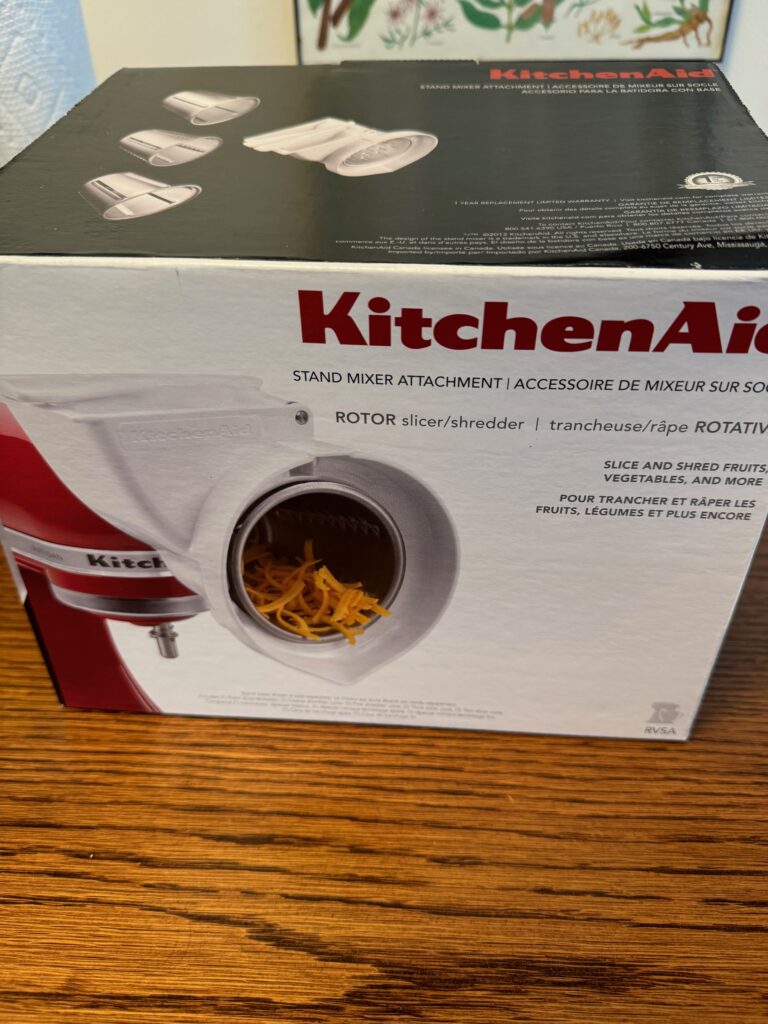
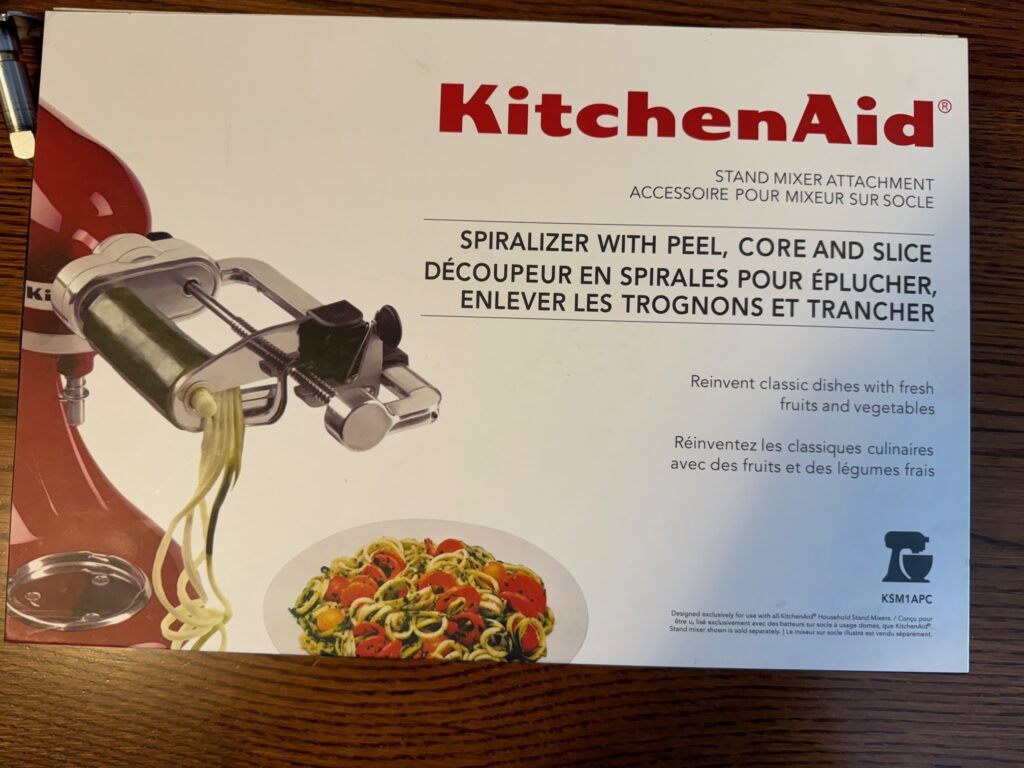
Speaking of what to do with zucchini, recipes often mention shredding or spirializing the vegetable. I can shred with my food processor, but I had forgotten I had two boxes of attachments for my mixer that would let me do the same. The boxes were unearthed when I started rearranging stuff in the garage cupboards. I can see I’ll have lots of choices as I make plans for the zucchini!
Box of Attachments #1
Box of Attachments #2
Now, my kitchen appliances are in the right places when the produce is ready. Of course, all three projects mentioned at the beginning will require canning when they are done. Bert will then have to bring the HUGE HEAVY Pressure canner up from basement storage and we’ll work around it for a few weeks. We do the canning in the garage so I don’t have to worry about making space to store the canner!
I think vegetable gardeners are the most optimistic people…we have visions of bounty from the garden…and often forget that weather, bugs and plant diseases will influence how the growing season goes! Enjoy!