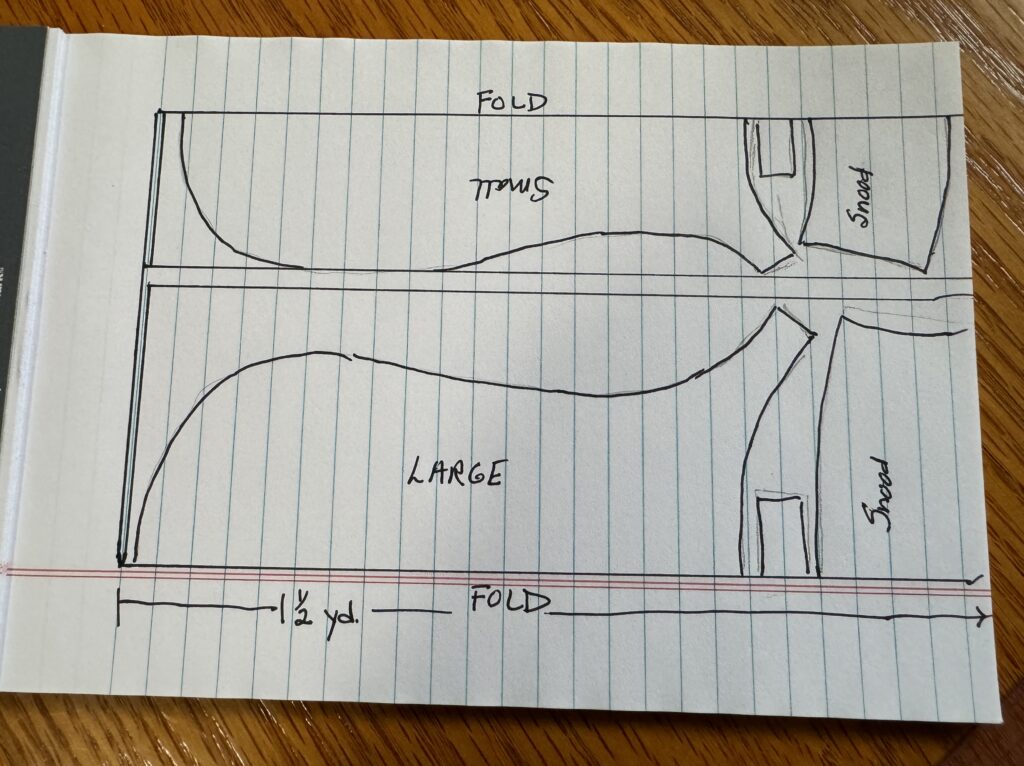
That’s a question I have not been able to answer over the last 20 years I’ve been making coats for Nittany Greyhounds. Usually, I make 4 coats at a time… occasionally two at a time. Because the way the pattern is laid out on the fabric, I can make two coats with 1 1/2 yards of fabric.
If I have a special order for 1 coat, large or small, I make two and give the other one to Nittany Greyhounds.
So, to answer the question of how long it takes to make one coat, first I had to think about how I make four coats.
Cutting out the Coats
I start with 3 yards of fleece for the outside of the coat and 3 yards of coordinating fleece fabric for the lining. That means I’m cutting out 8 coat shapes. I can do that in about 4-5 hours with breaks to let my cutting hand rest. My daughter have me the best scissors to cut out the bulky fabric, but of course my weak link is my hand!
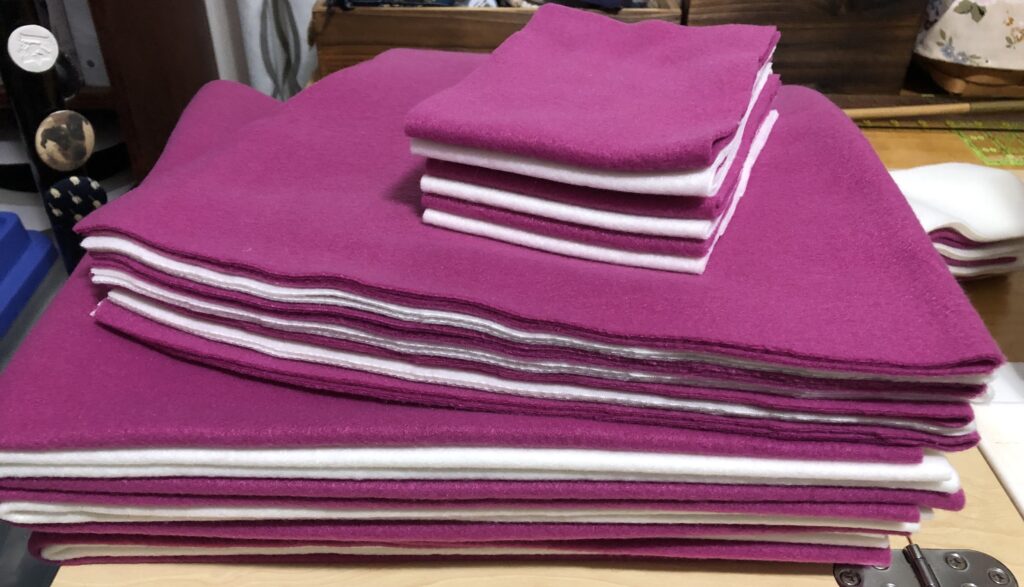
I do all the cutting in one day and then put the assembling aside for another day. Even if I’m making only one customer coat, I cut out the second one at this time. What I’m left with is a stack of pieces ready for assembly.
Assembling the Straps and Snoods.
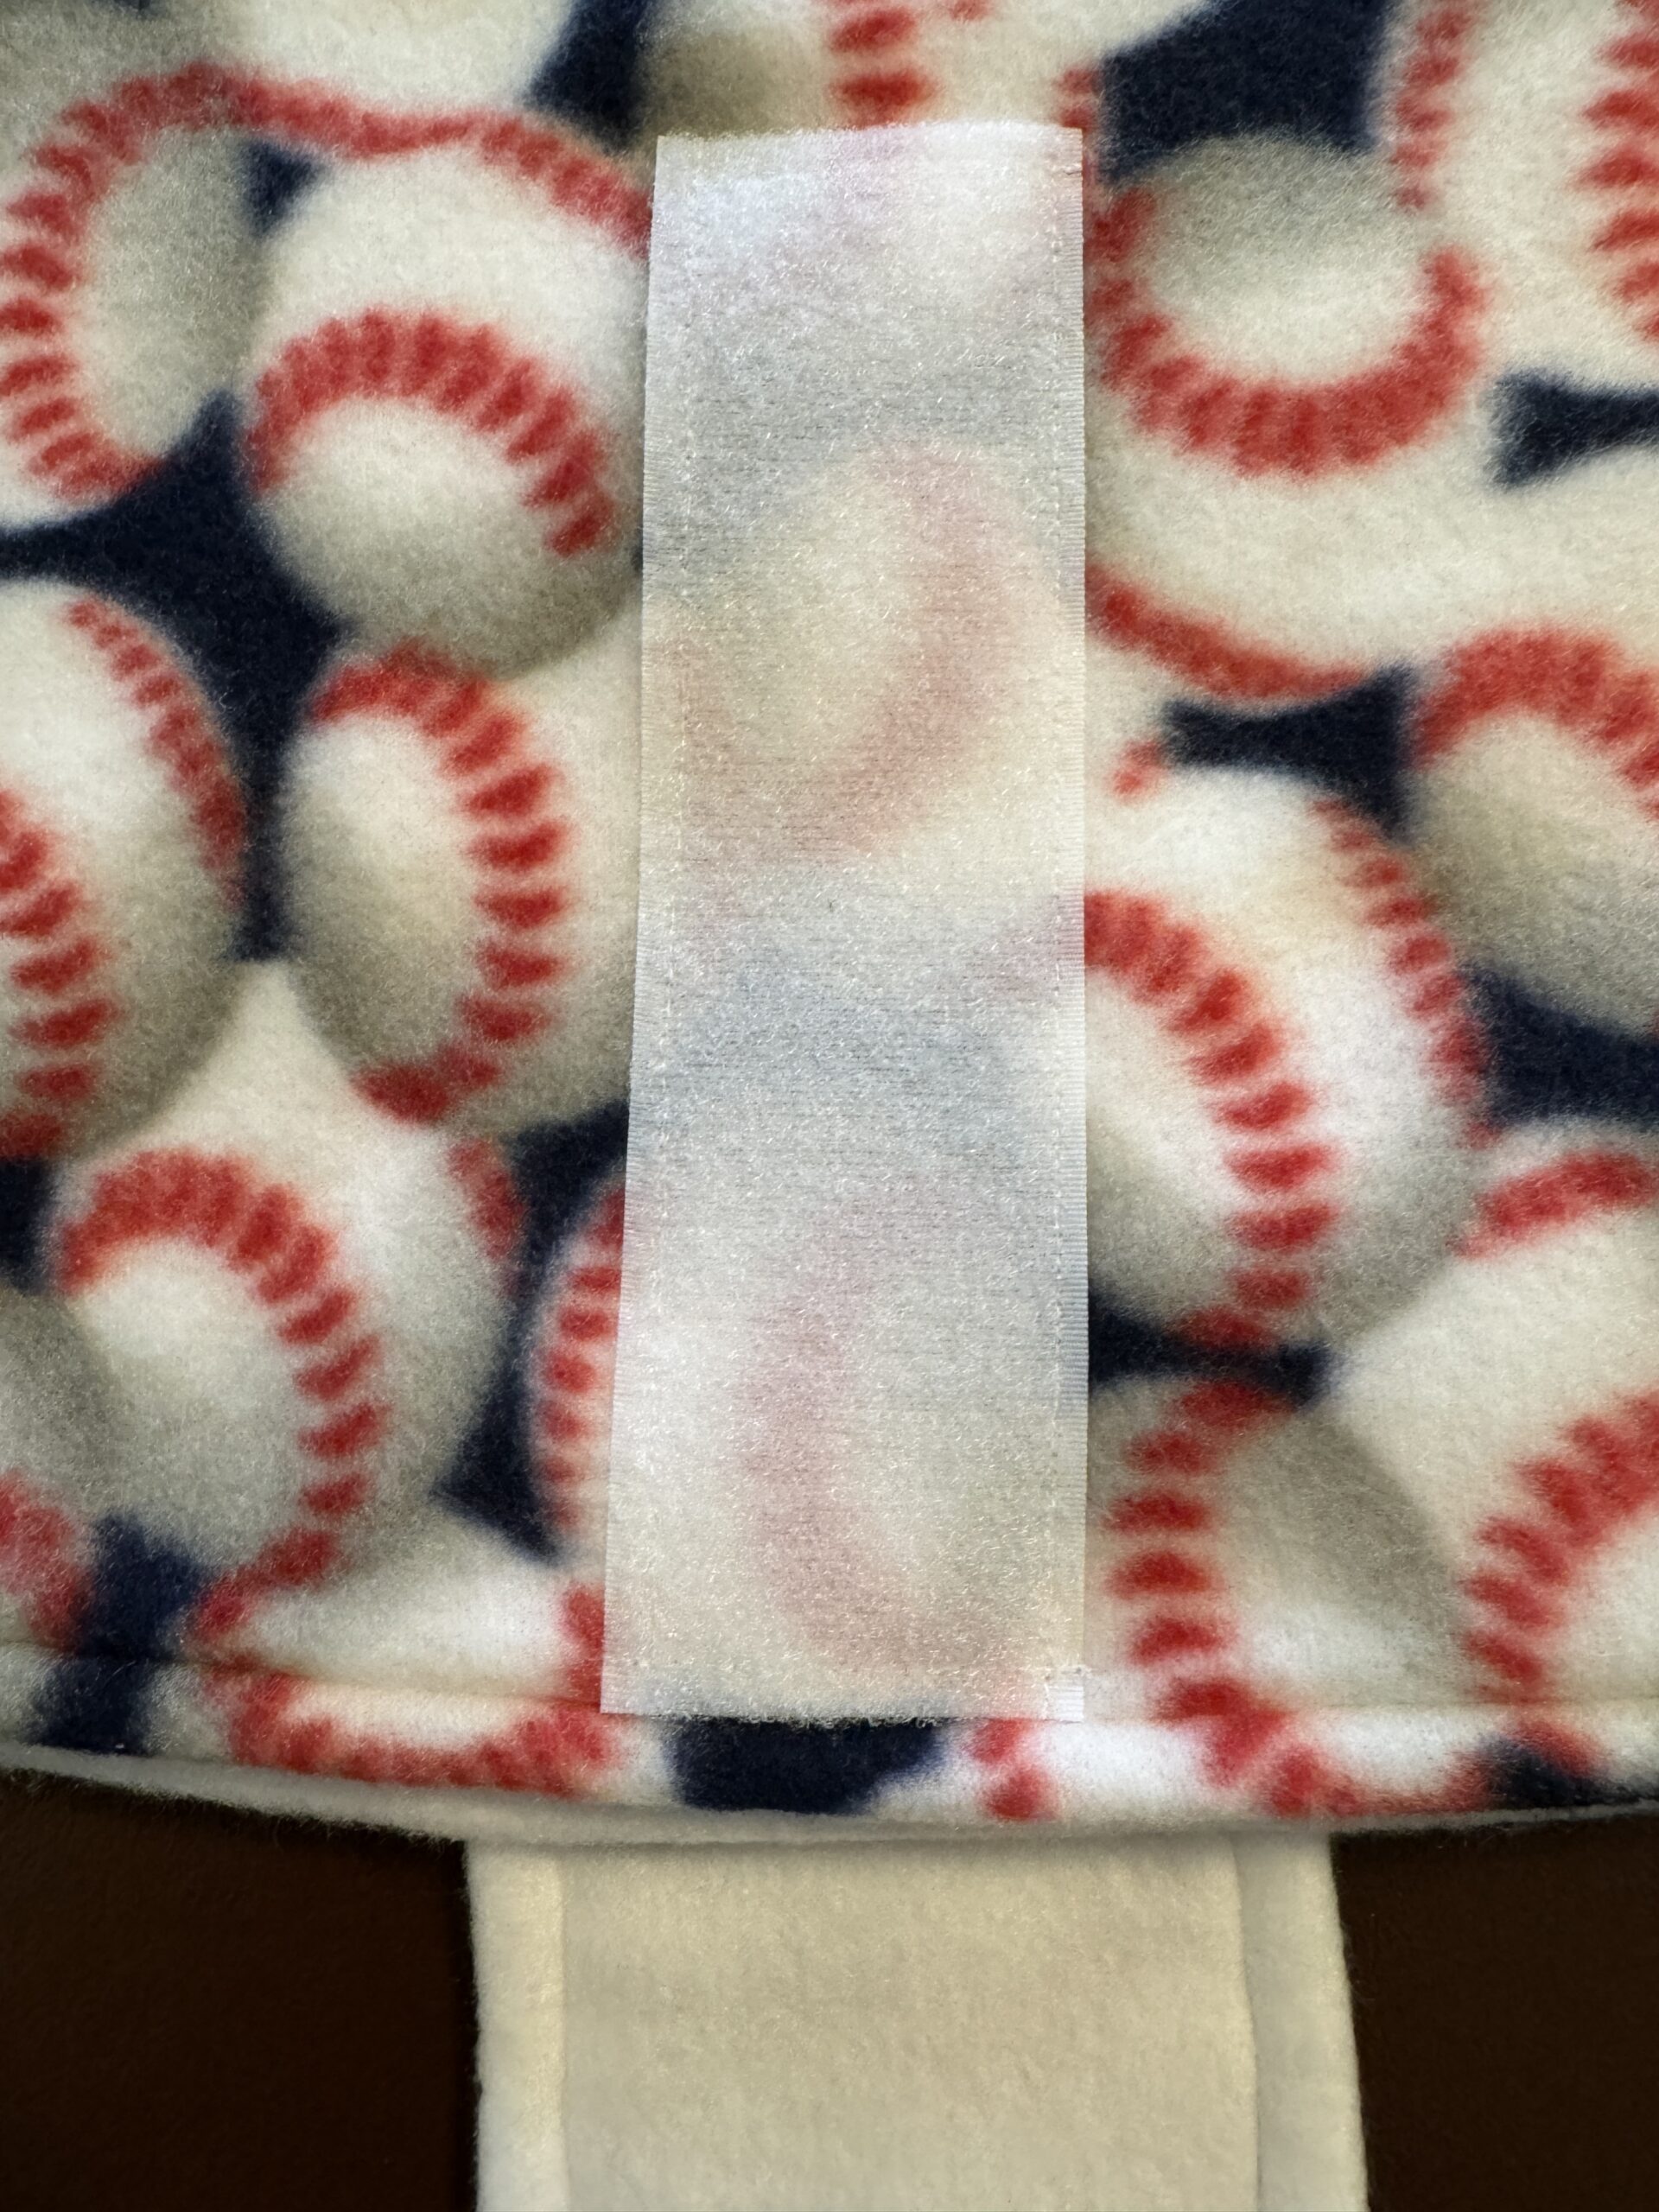
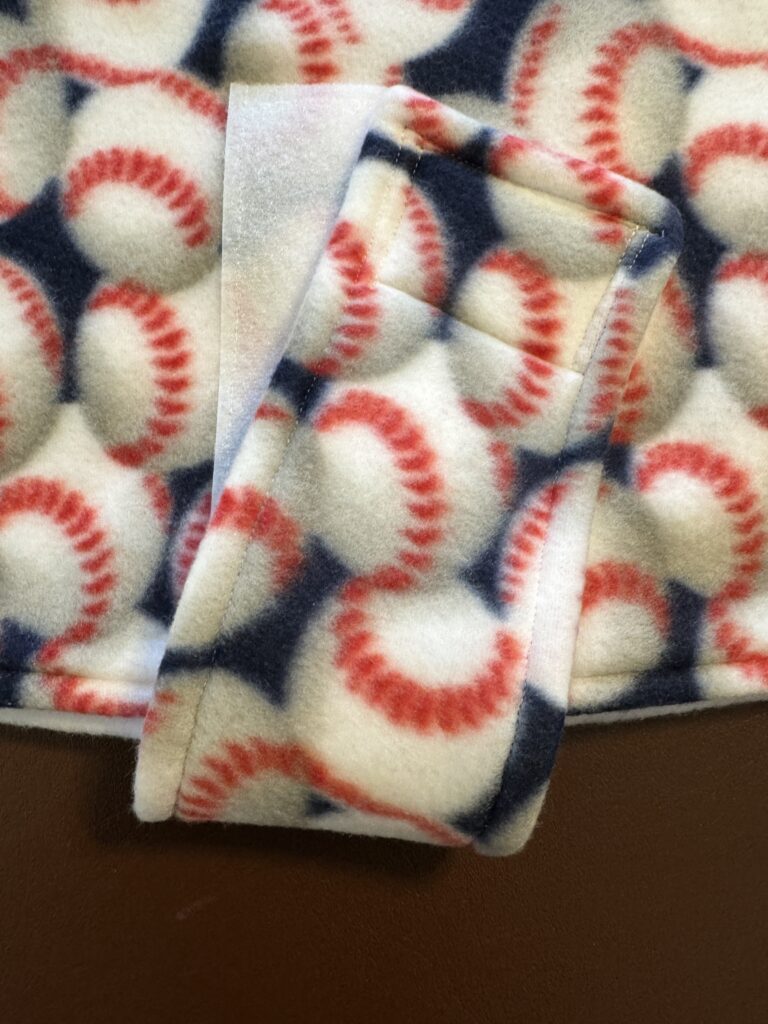
The straps need to be stitched along three sides, turned right side out and top stitched while attaching my label. Then a piece of Velcro Hook is sewed on one end (a piece about 3″ long of 2″ wide Velcro).
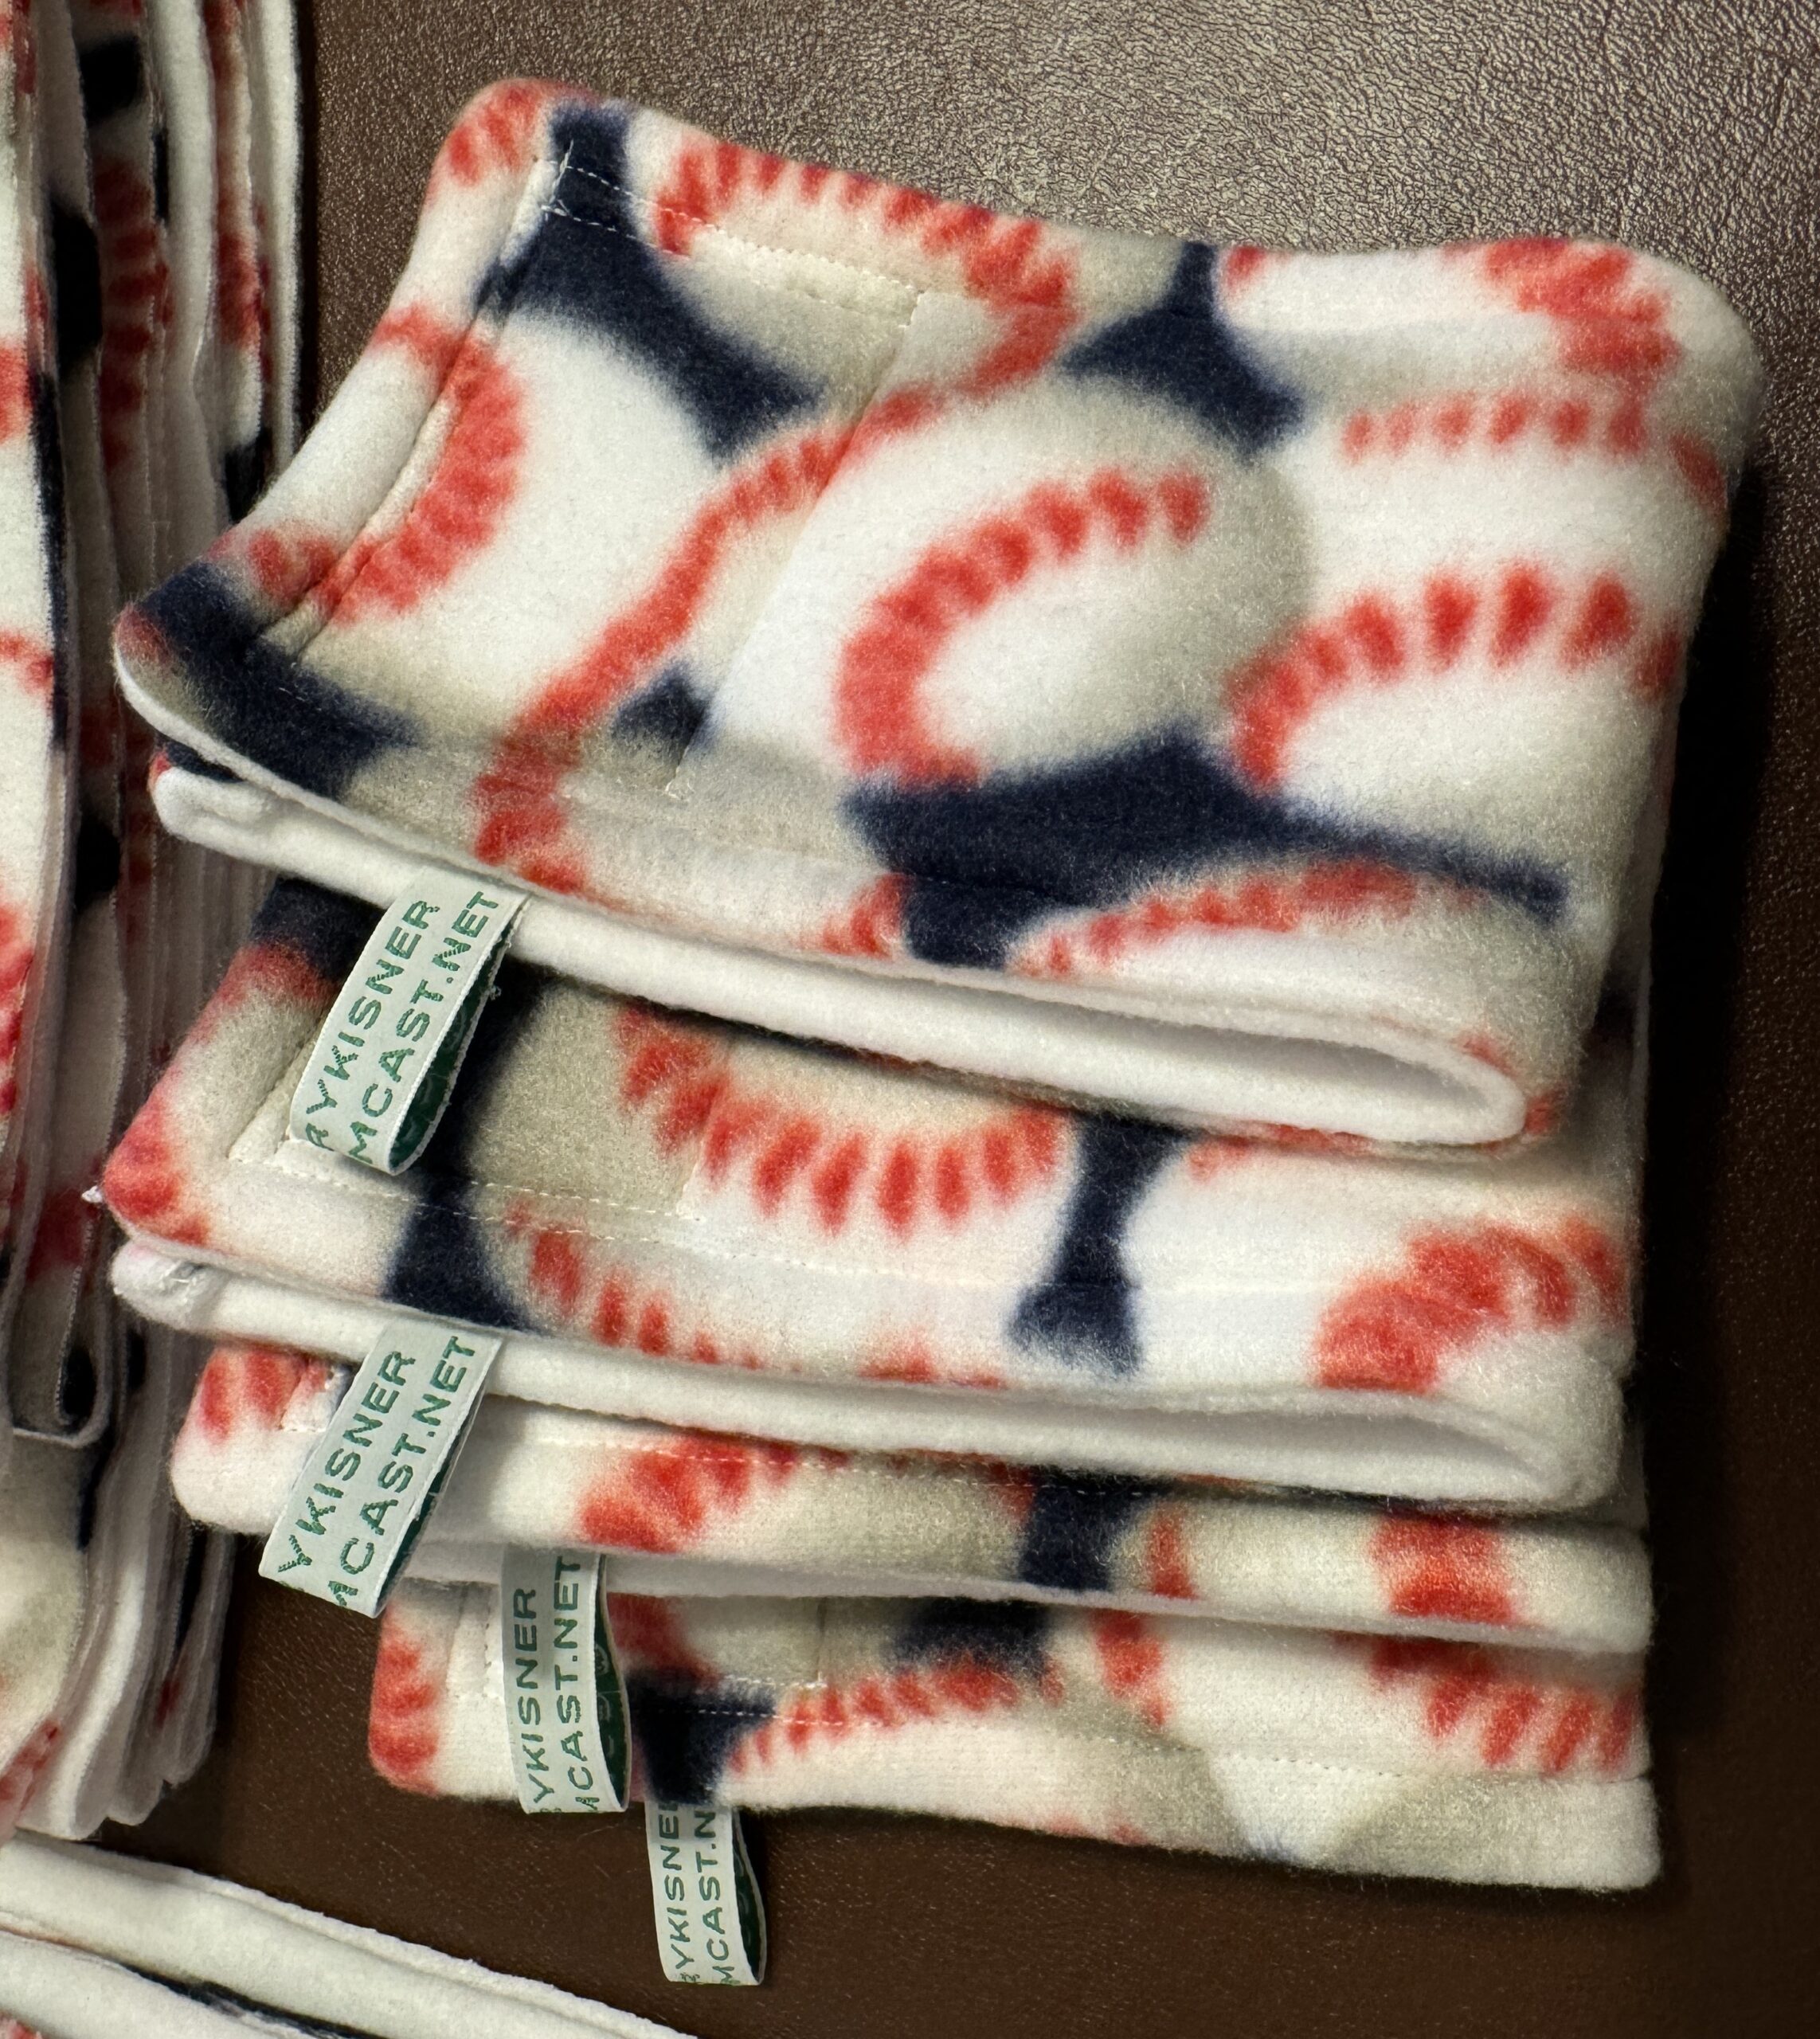
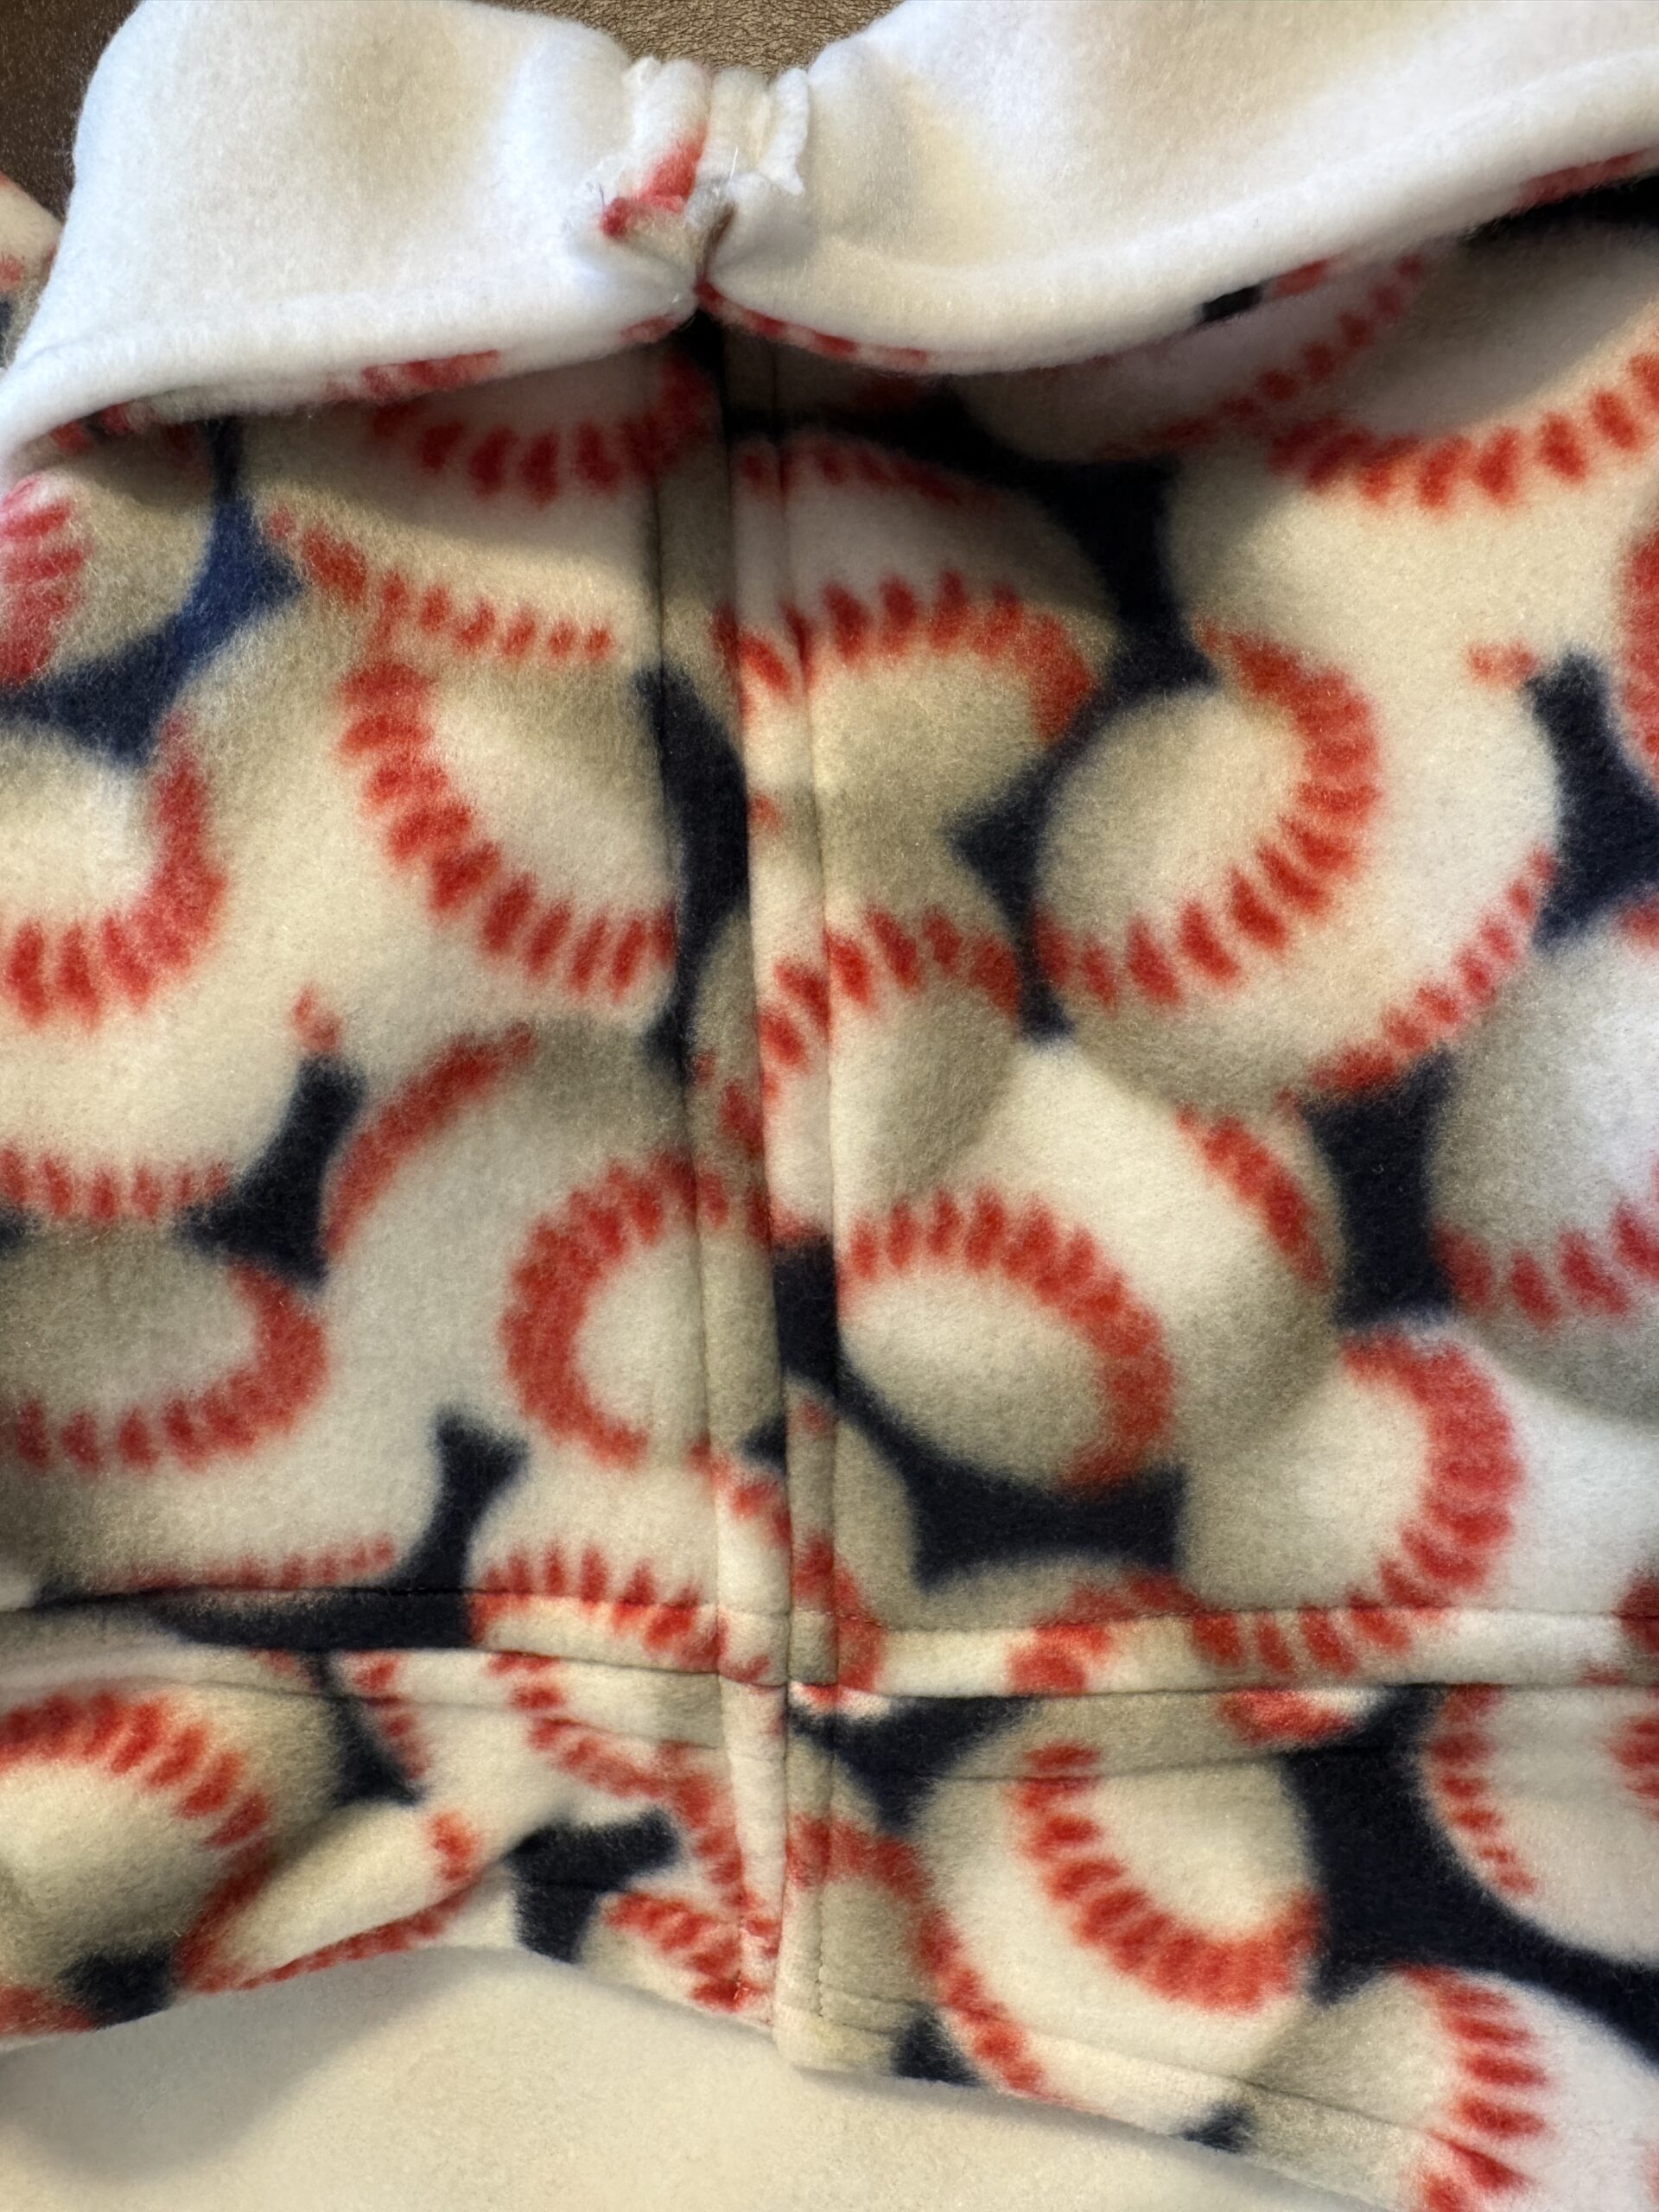
The snoods are next. They must be sewn right sides together at the neck edge, turned right side out and top stitched. Then the bottom edge that will attach to the coat is sewn and trimmed (it took me a long time to figure out that it was easier to trim at this stage, rather than when it’s attached to the body of the coat.)

Prepping the Body of the Coat.
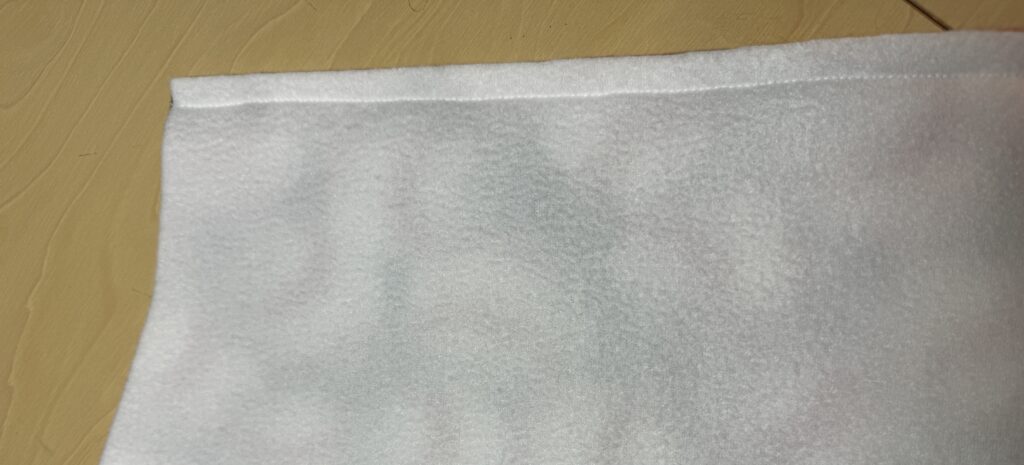
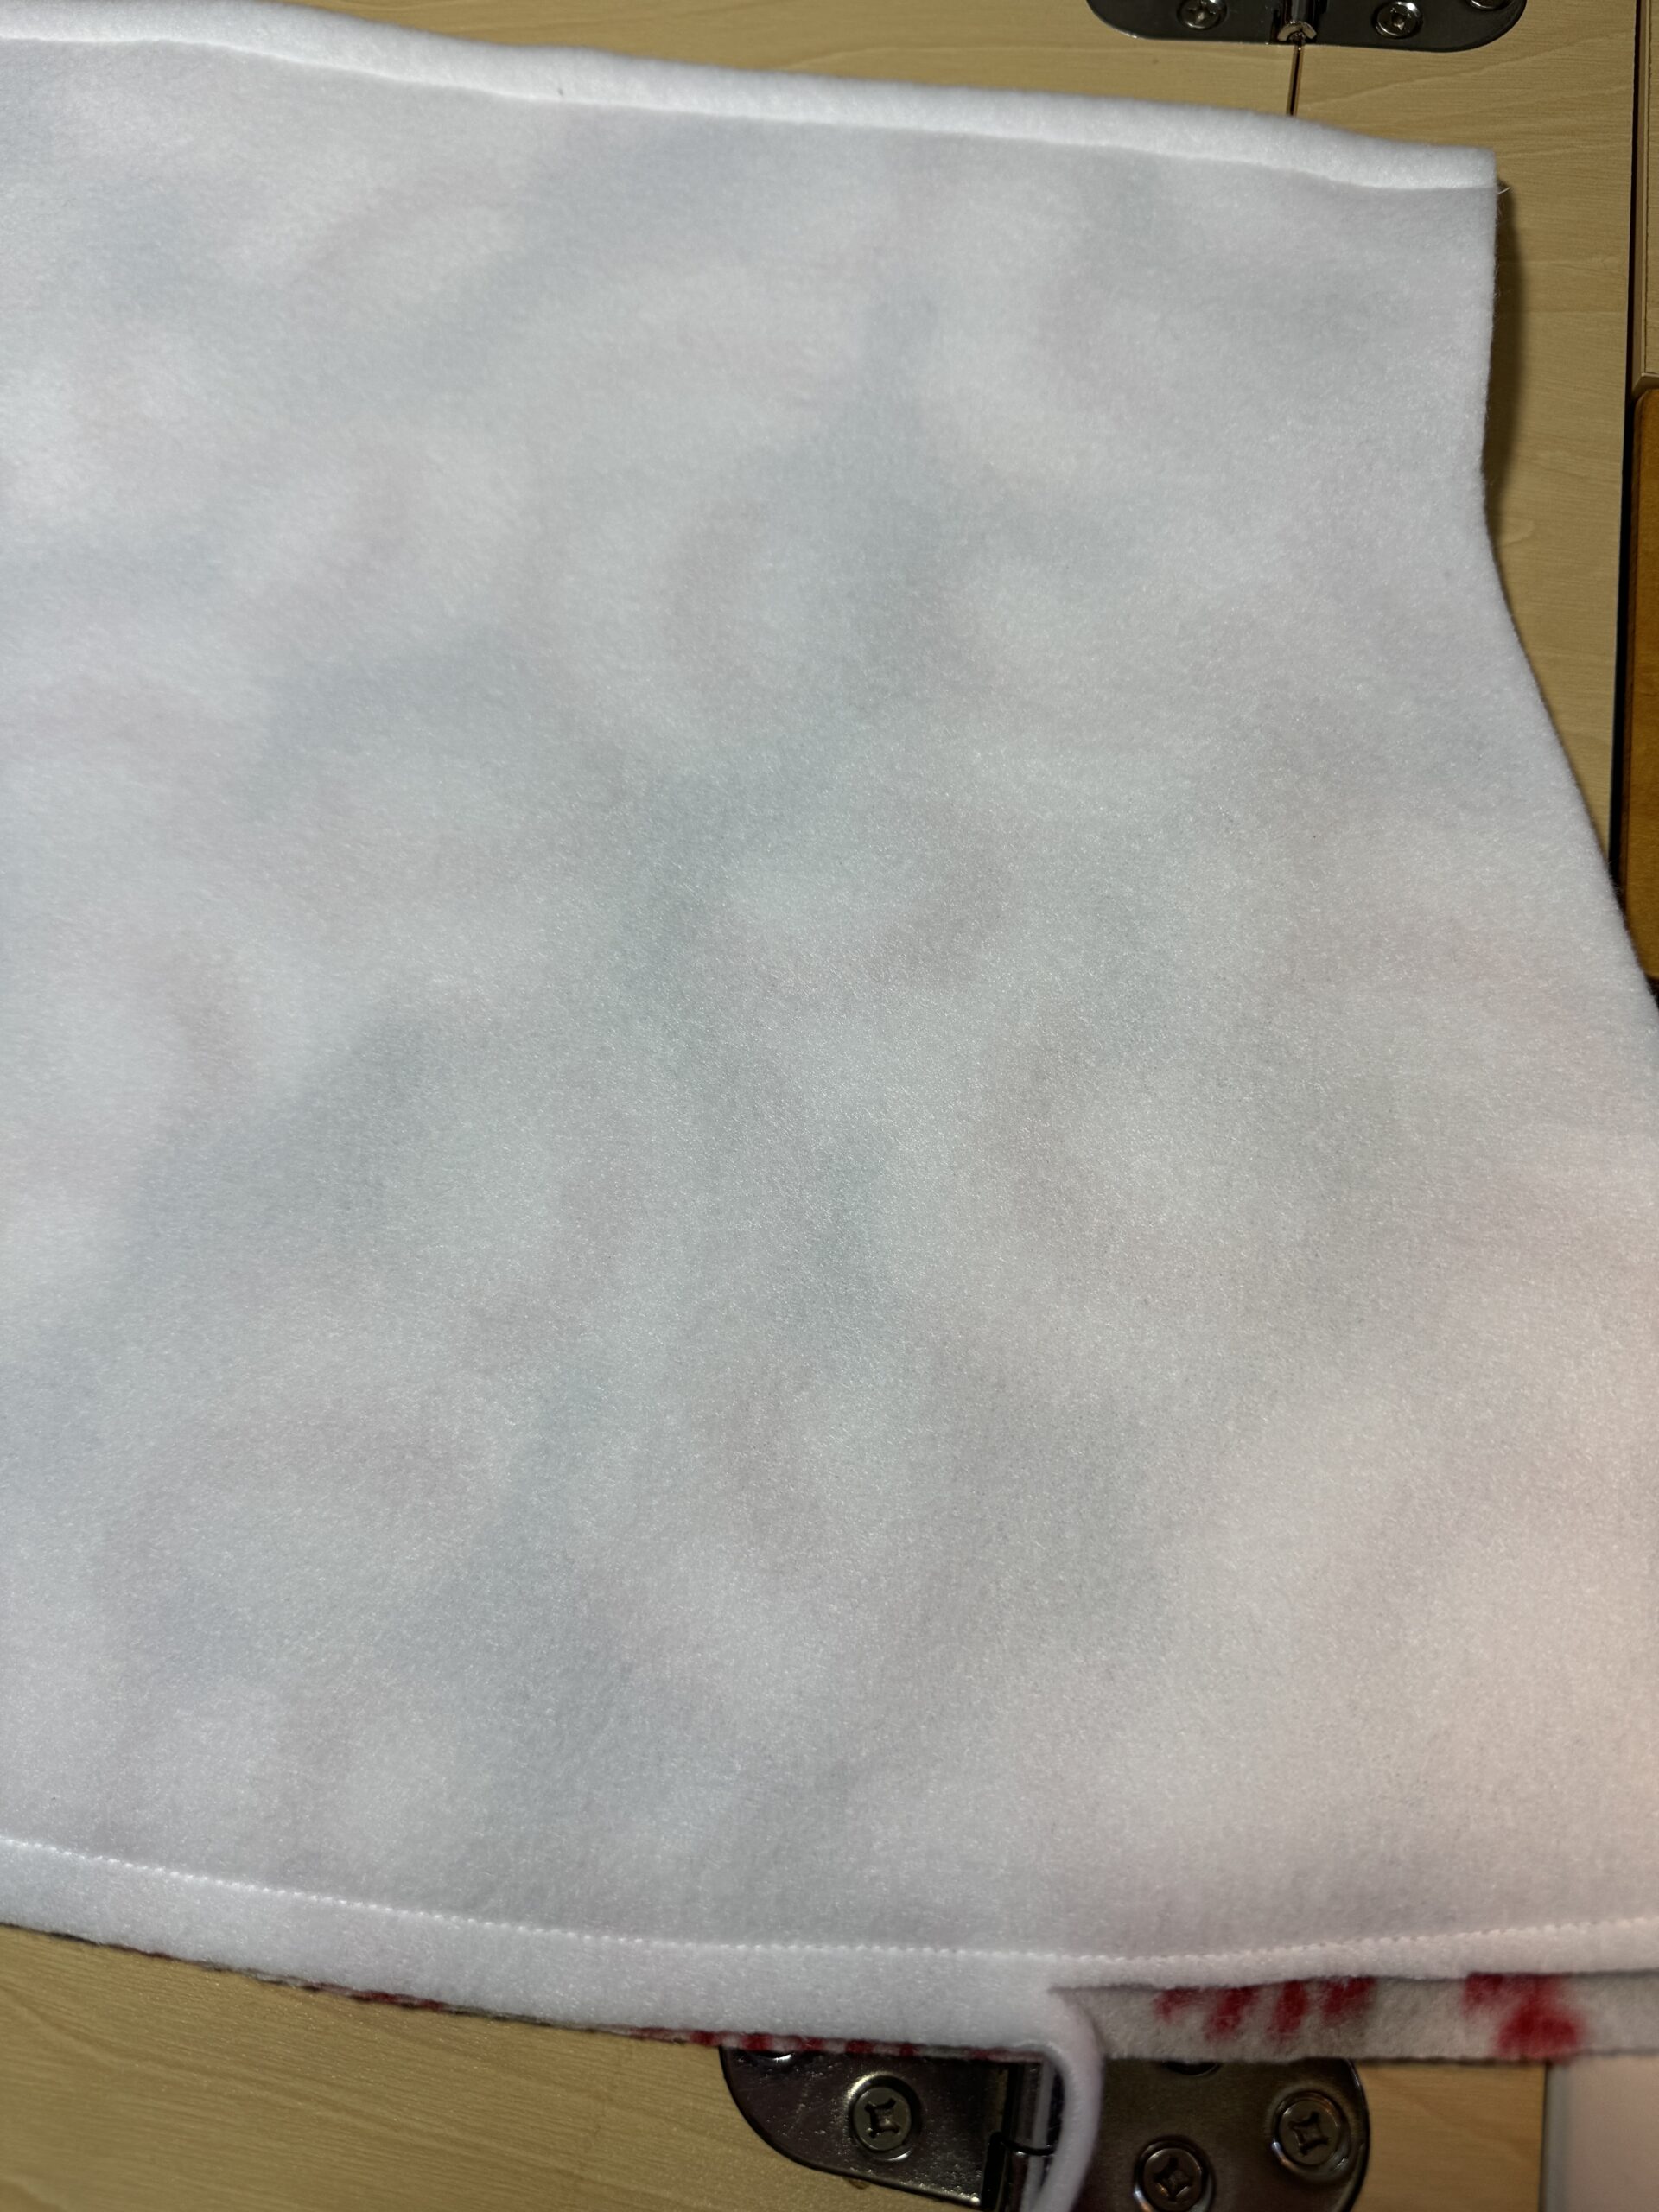
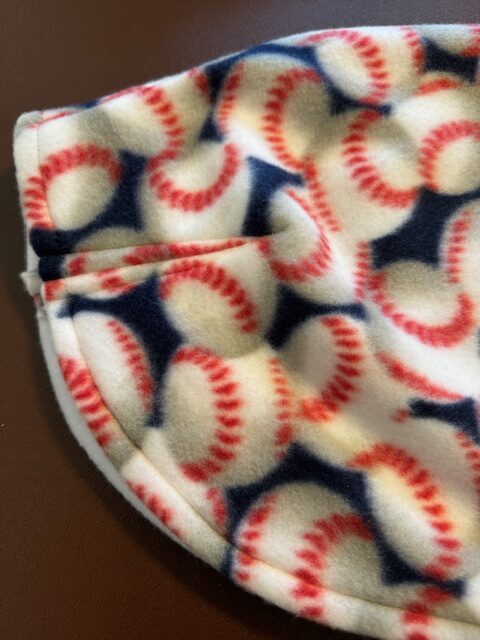
The coat is sewed to the lining right sides together along the outside edge; then turned right side out and top stitched. The neckline of the coat is stitched and the lining is trimmed away from the seam.
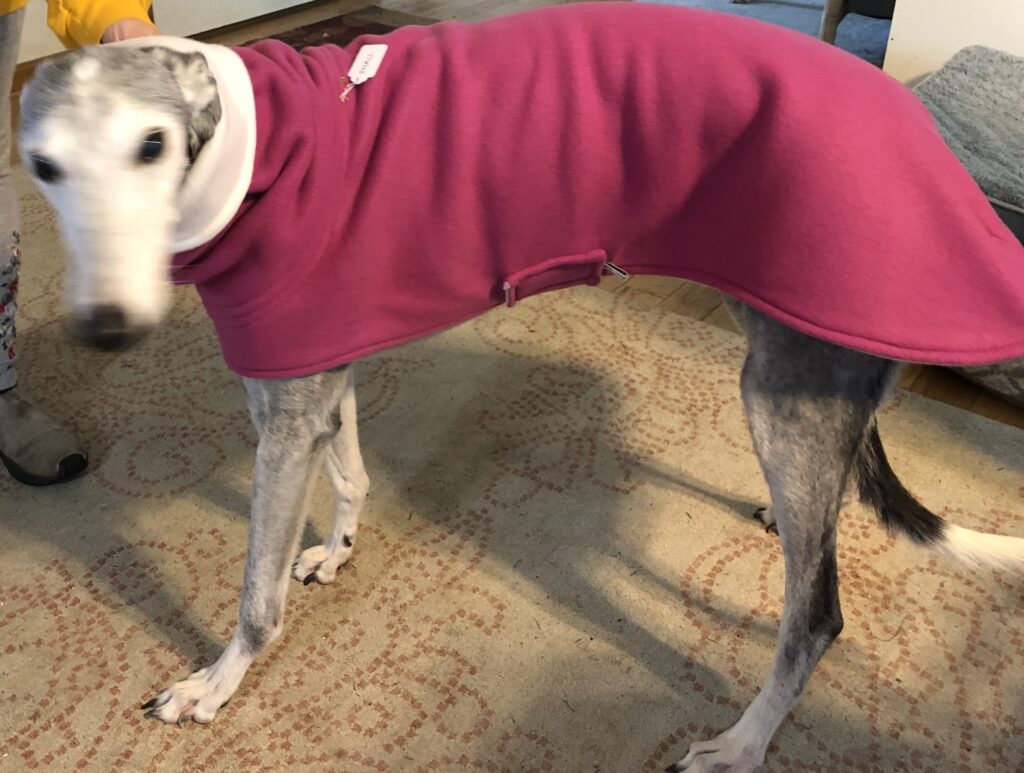
To give the flat coat some shaping I make three darts along the back edge so it will drape better over the dog’s tail. The coat is pretty long but does not seem to get in the way while the dogs run and poop (smile!). It does seem to keep them warmer in the winter.

Assembling the Coat
To assemble the coat, I sew the snood to the body of the coat (leaving a 3″ slot in the seam for the leash to go through) and stitch down the sides of the seam. The neck seam is done the same way. The strap is attached along the side of the coat.
Finishing the coats involve sewing the Velcro Loop to match the location of the Velcro Hook on the strap. It needs to be long enough so it’s adjustable to any size dog. This is usually a piece about 6-7″ long of 2″ wide Velcro.
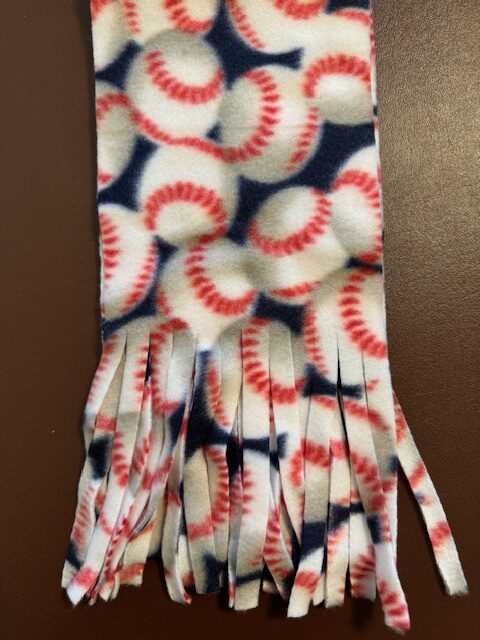
Occasionally, there is enough fabric at the end of cutting to make on matching scarf (for the human). Not enough to make four, but someone might find it fun.
And the Answer Is…
OK, to answer the question, “How long does it take to make one greyhound coat?” It depends. If I’m up to it and I can focus on just one coat, I can finish it in about 4-5 hours. Of course, that assumes there is something interesting on TV to watch while I sew!
Beyond that, if there is anyone out there interested in volunteering to make coats, I’d be glad to share the pattern and walk you through how to make them. It is a well-appreciated volunteer activity!
You can contact me at marykisner@comcast.net or email Nittany Greyhounds at toni@nittanygreys.org.