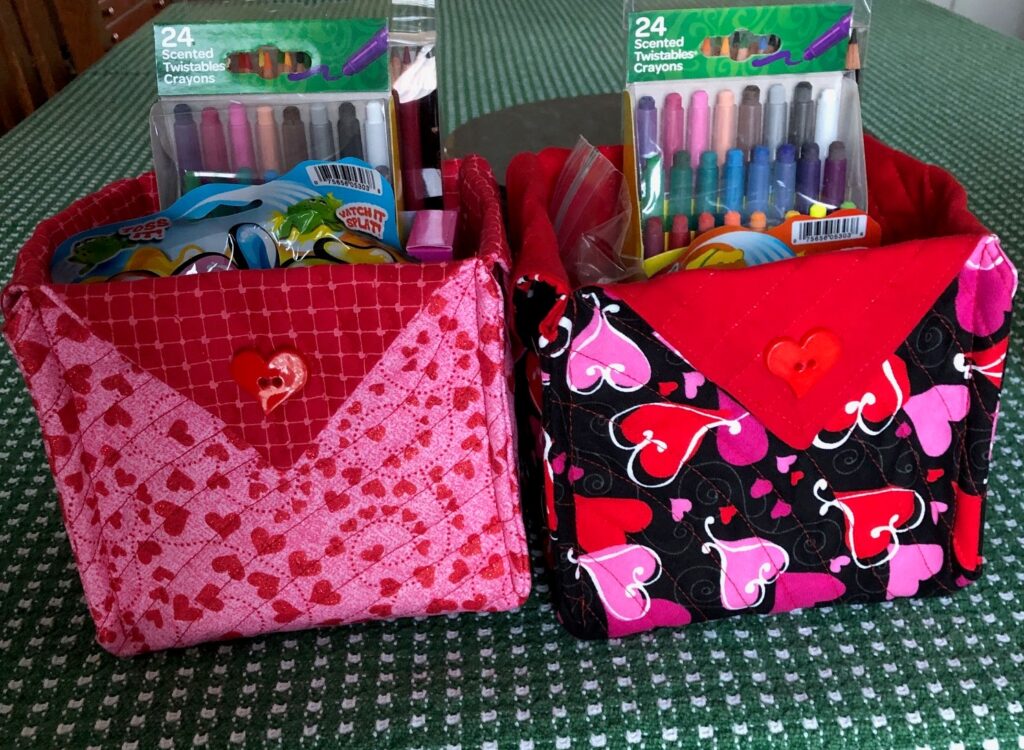
Last week I was brainstorming a nice way to package up three odd shaped items to use as a gift. I didn’t want to have to stock up on small wicker baskets to do the job. My daughter suggested I make a fabric box like the ones I gave to the grandkids. That way I could make one at a time as I needed them. At the time I cranked out a whole bunch of them for gifts and for a greyhound conference and I still have a few around the house.
Luckily, I saved the link to the tutorial, because frankly, I couldn’t remember how to make them! The original instructions are from a website by Connie Kresin Campbell. Here is the link to the tutorial:
https://conniekresin.com/2014/12/fabric-baskets-tutorial.html
What I do recall about these boxes was they perfectly held a square box of tissues but they were not sturdy enough to really pick them up without squishing them. However, they could be made in any appropriate fabric for most any holiday.
I wanted to refresh my memory about how to make them so I referred to the link above. I documented my steps here, but they do mirror the ones in the tutorial from Connie.
How to Make a Fabric Box
Materials:
Two 16″ squares of coordinating fabric, one will be the outside of the box, the other the lining.
One 16″ square of lightweight low loft batting
4 buttons
Instructions:
- Sandwich the fabric, right sides together, on top of the batting square.
- Stitch around the “sandwich” with a 1/2″ seam, leaving a 3-4″ opening to turn.
- Trim the corners to reduce bulk.

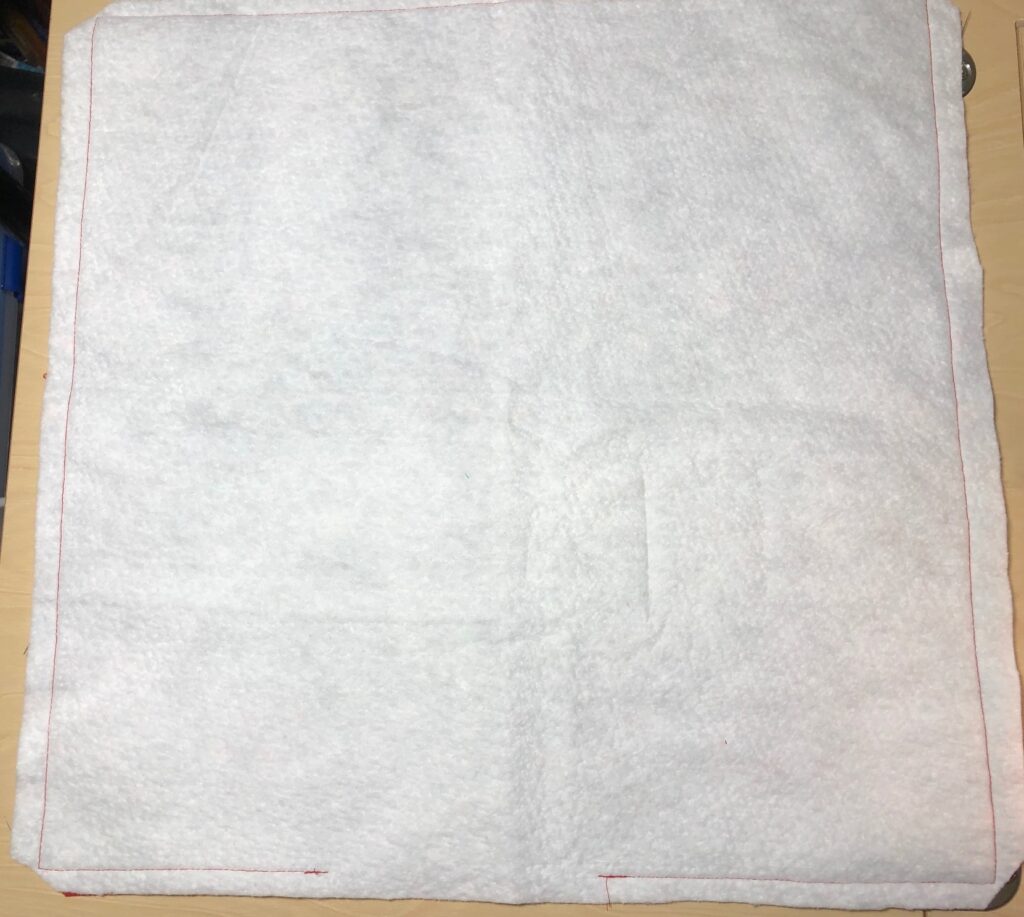
4. Turn the “sandwich” right side out. Press the finished square. Hand or machine stitch the opening closed.

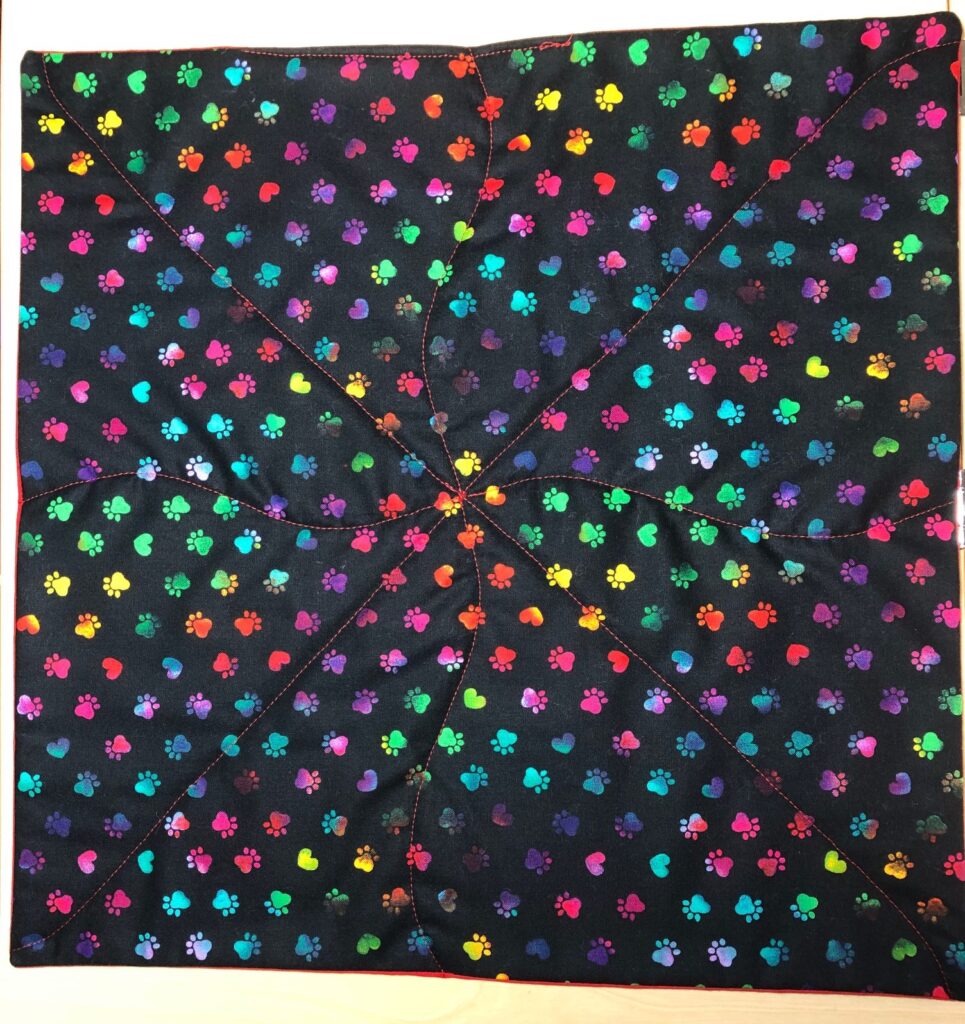
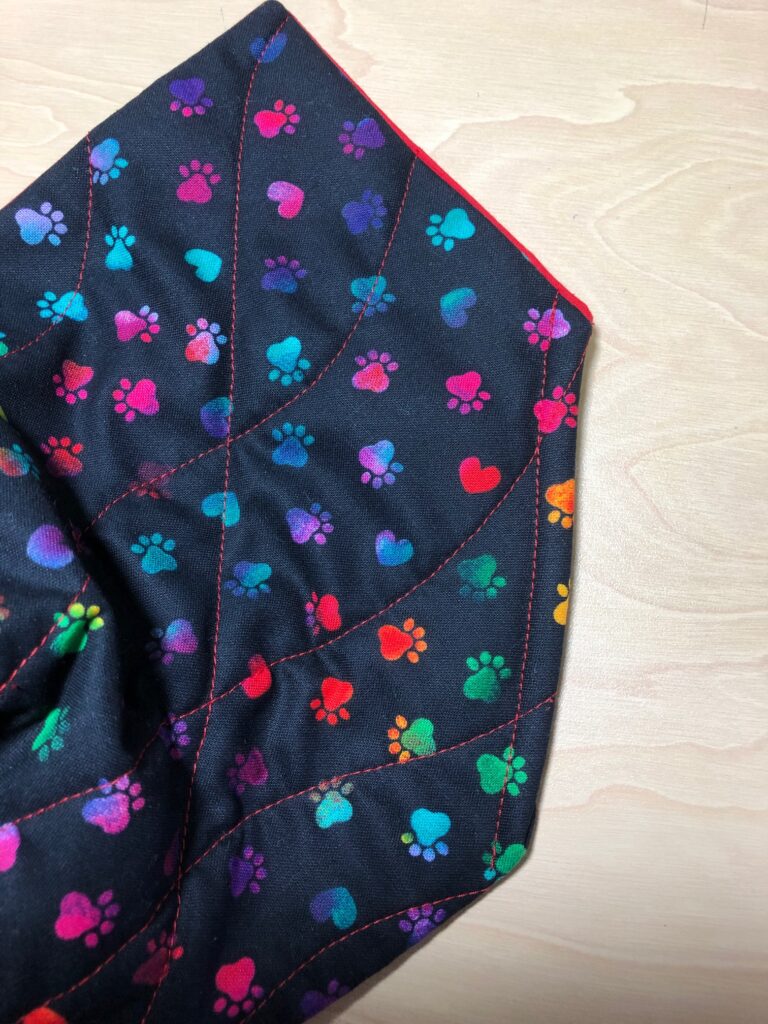
5. Quilt the square in any pattern you like…free motion, straight lines, wavy lines, etc. (Hint: Unless the fabric is quite stiff, the fabric will “creep” as you sew. I started all my stitching from the center to reduce this problem. I also started with two diagonal rows of stitching to stabilize it.)
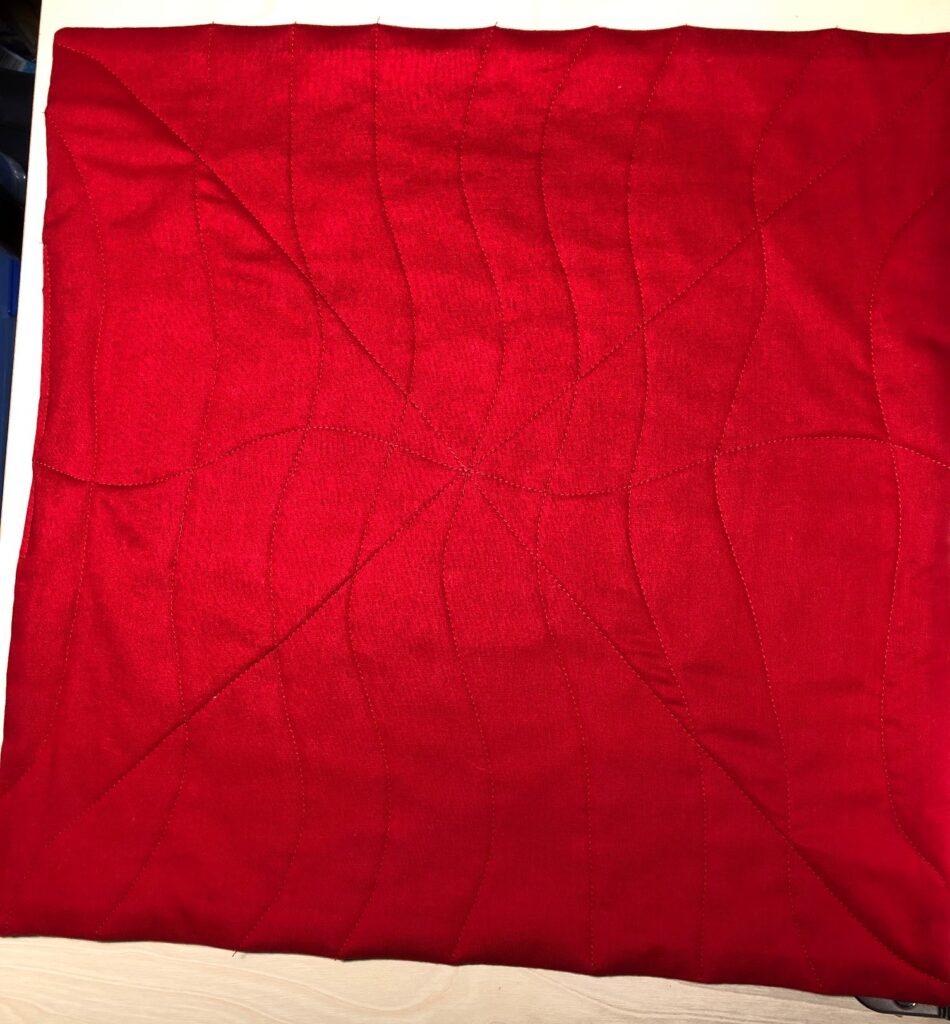
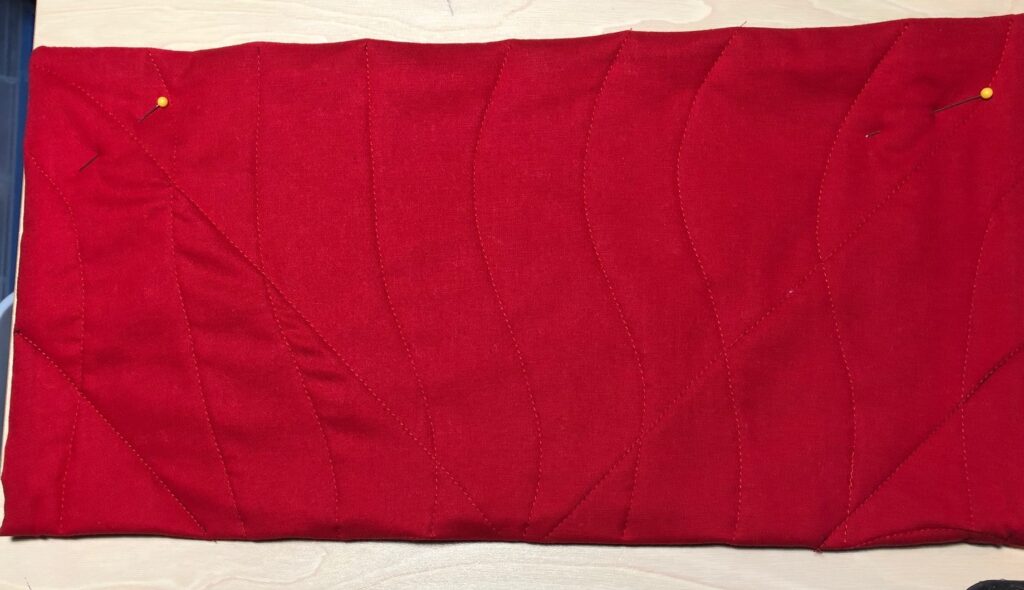
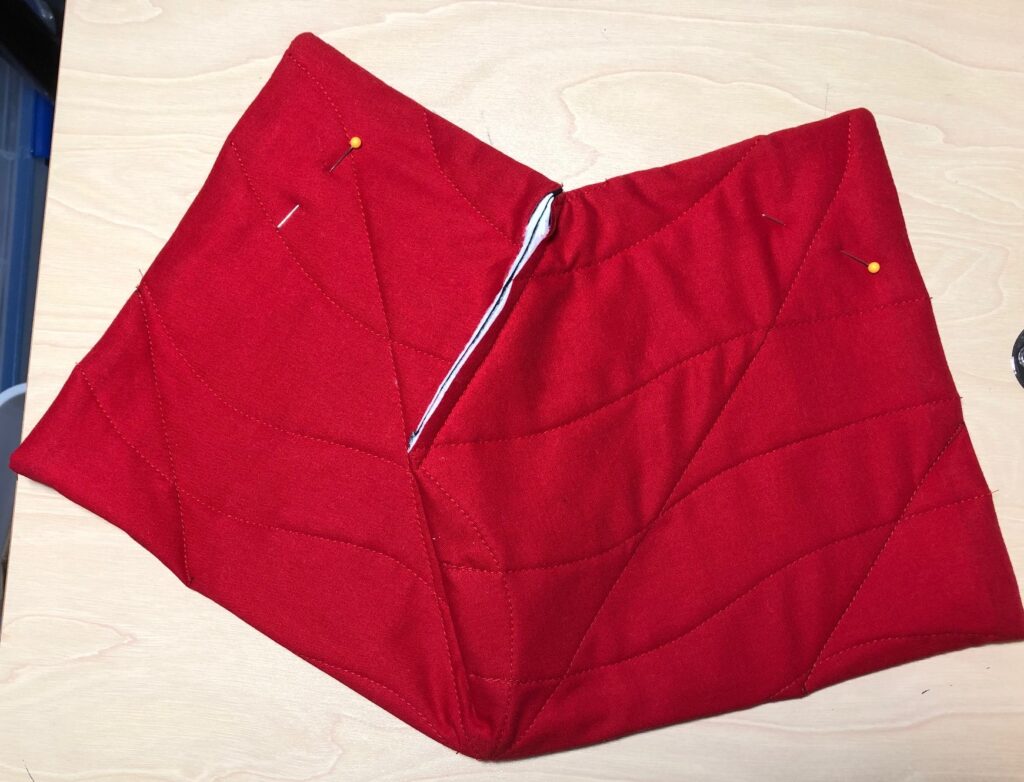
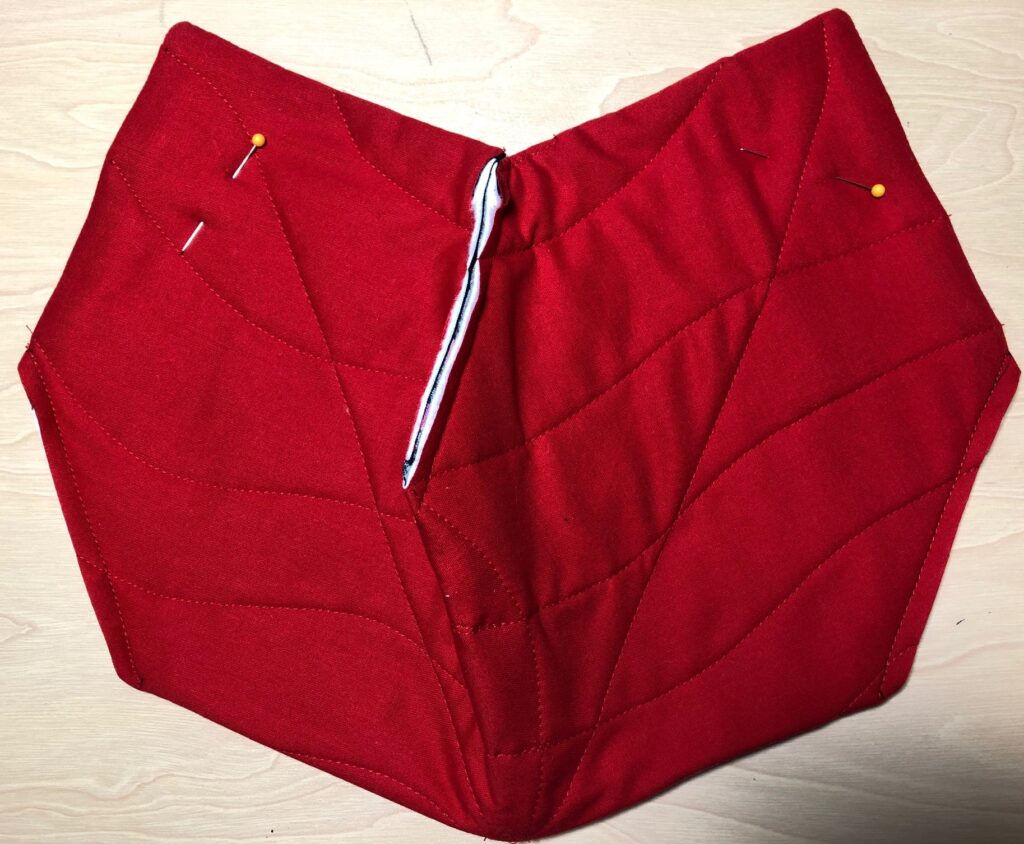
6. Decide which side will be the outside of the box. Fold the square in half with the lining out.
7. Mark the corners 3″ by 3″ with a ruler and pen. Stitch on the lines. Trim close to the stitching.

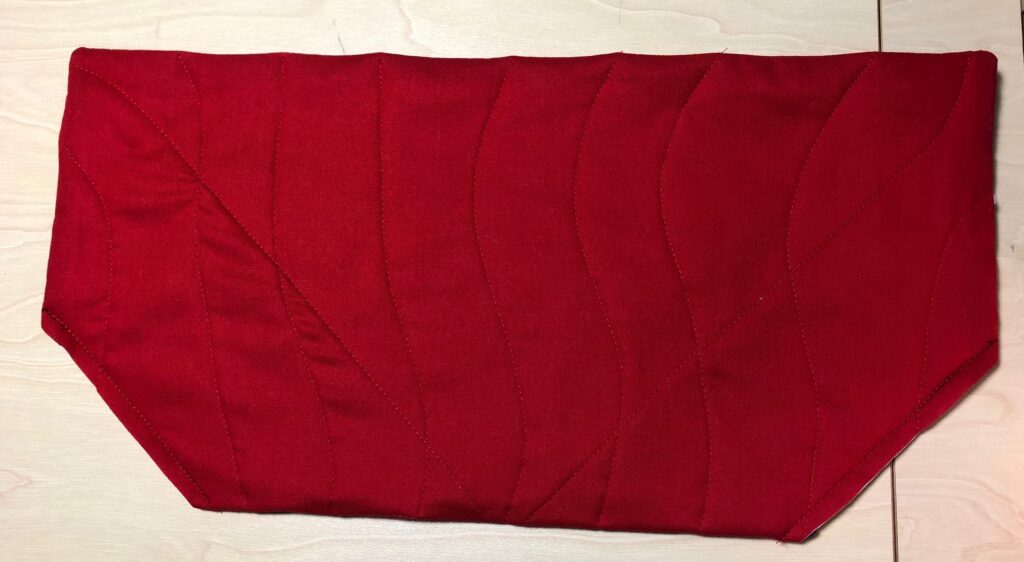
8. Open the square and fold again in the opposite direction. Mark the corners, stitch and trim as before.
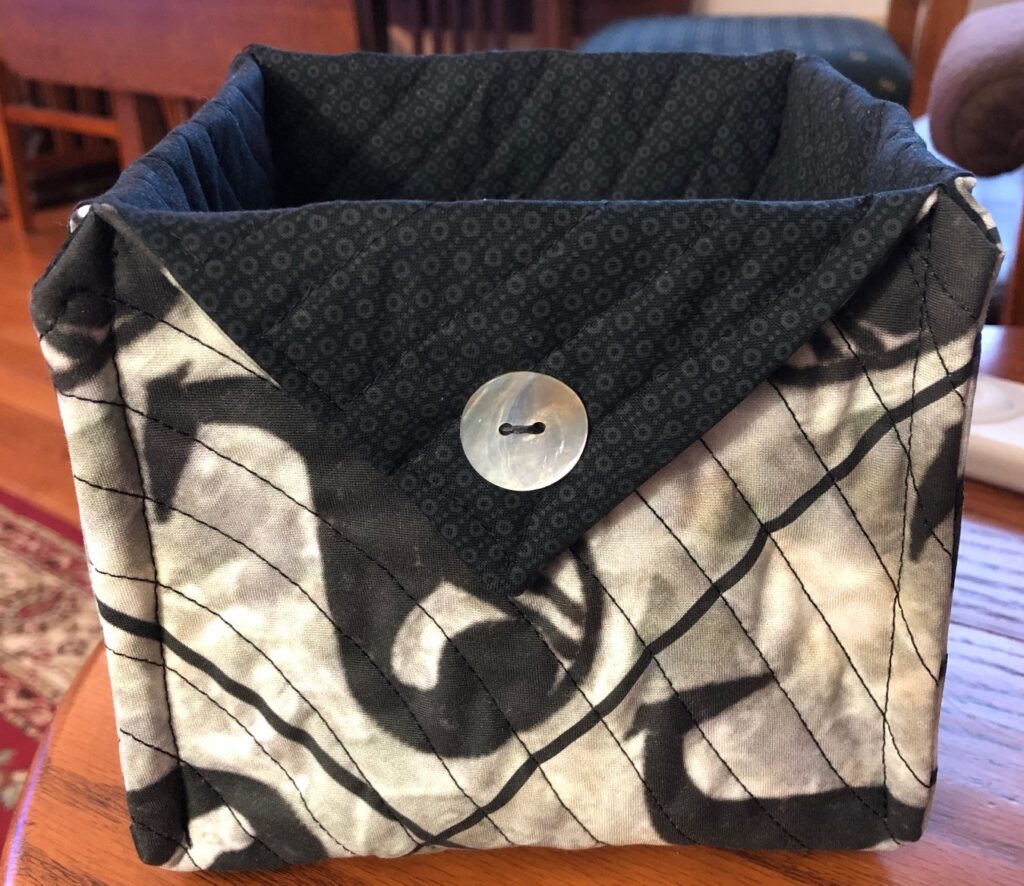
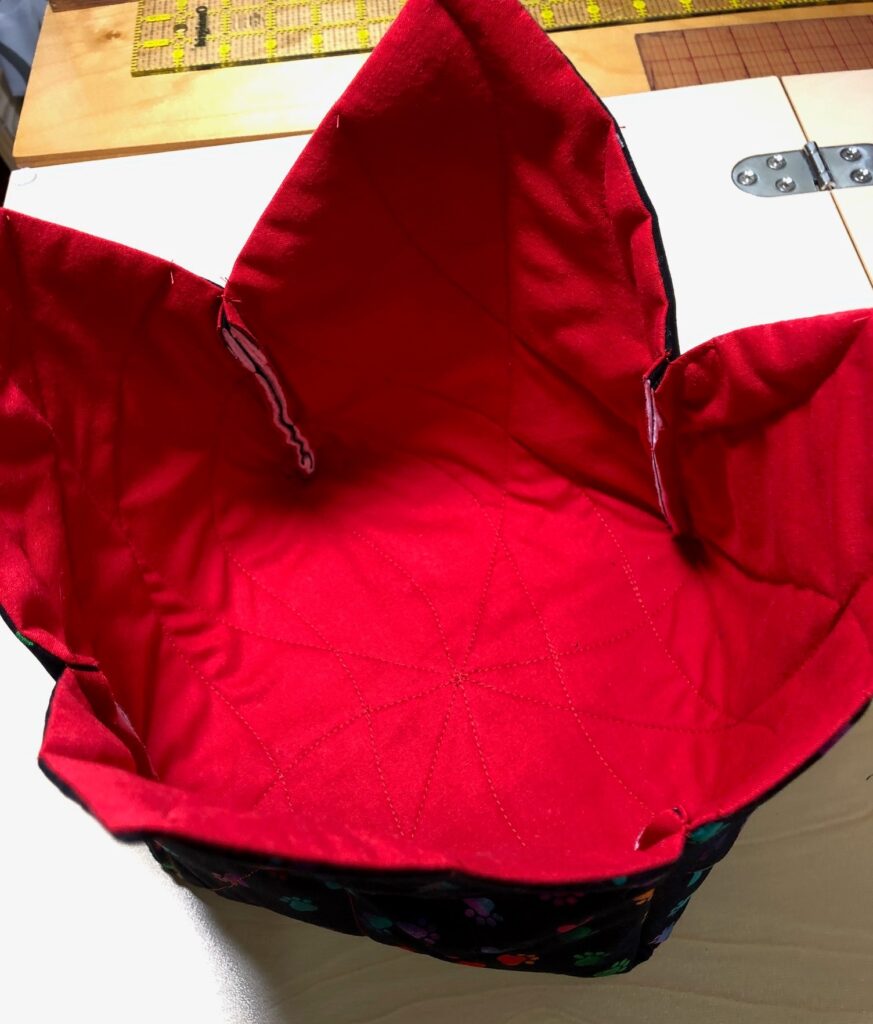
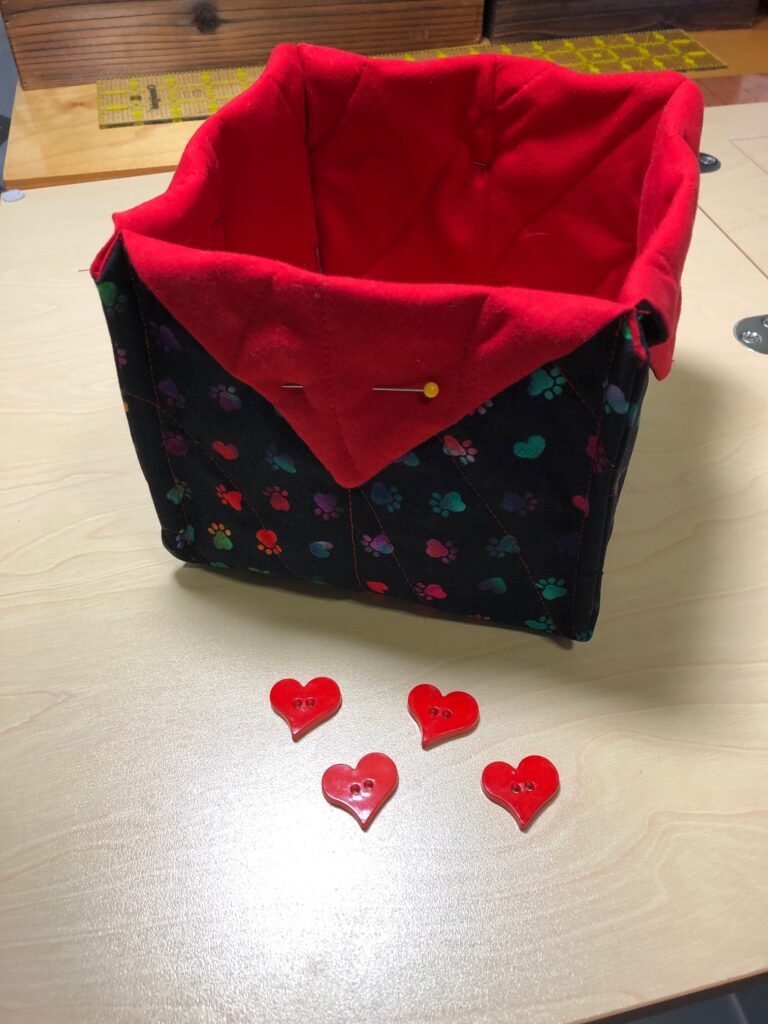
9. Turn the box right sides out. Pinch each corner flat and top stitch as shown below:
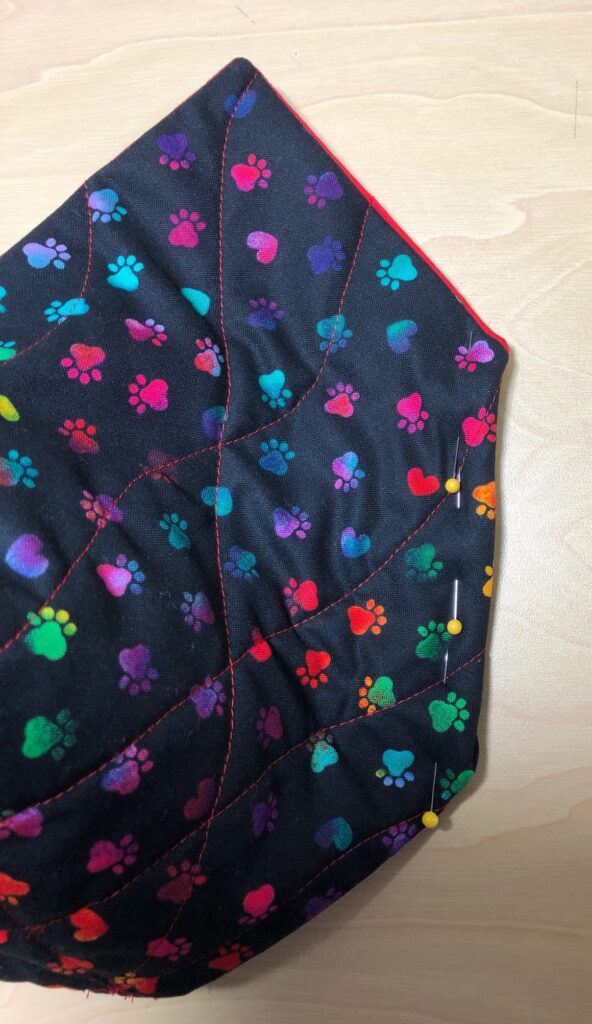
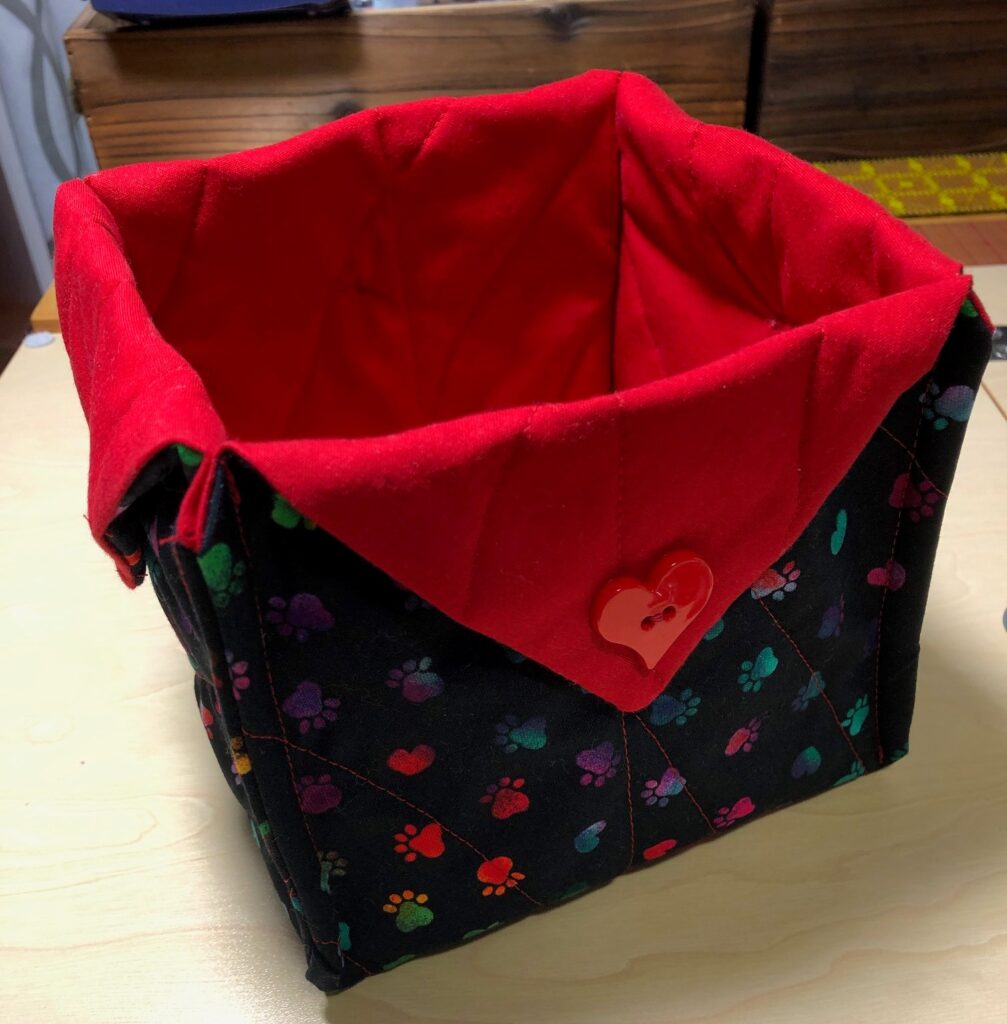
10. Fold down the points and add a button to secure them.
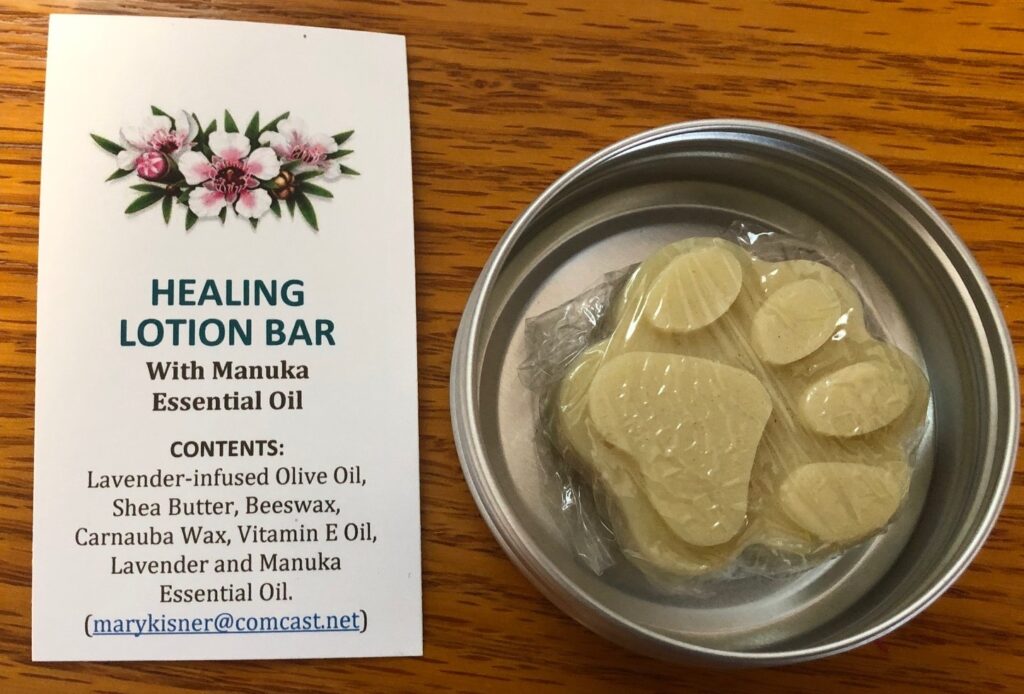
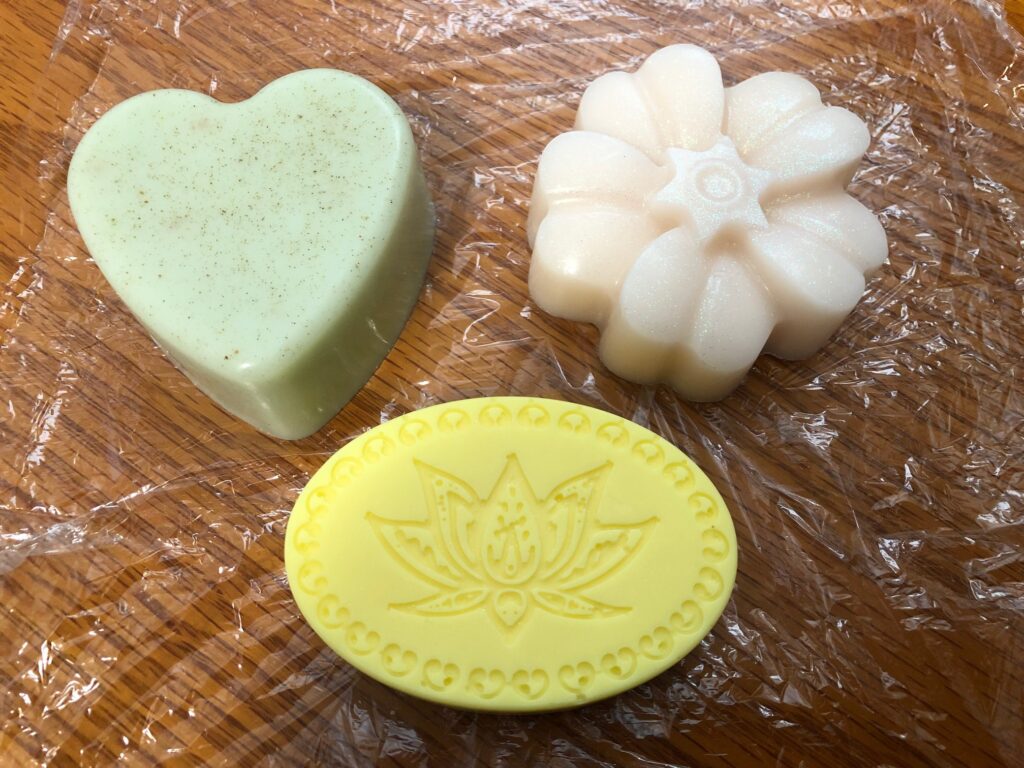
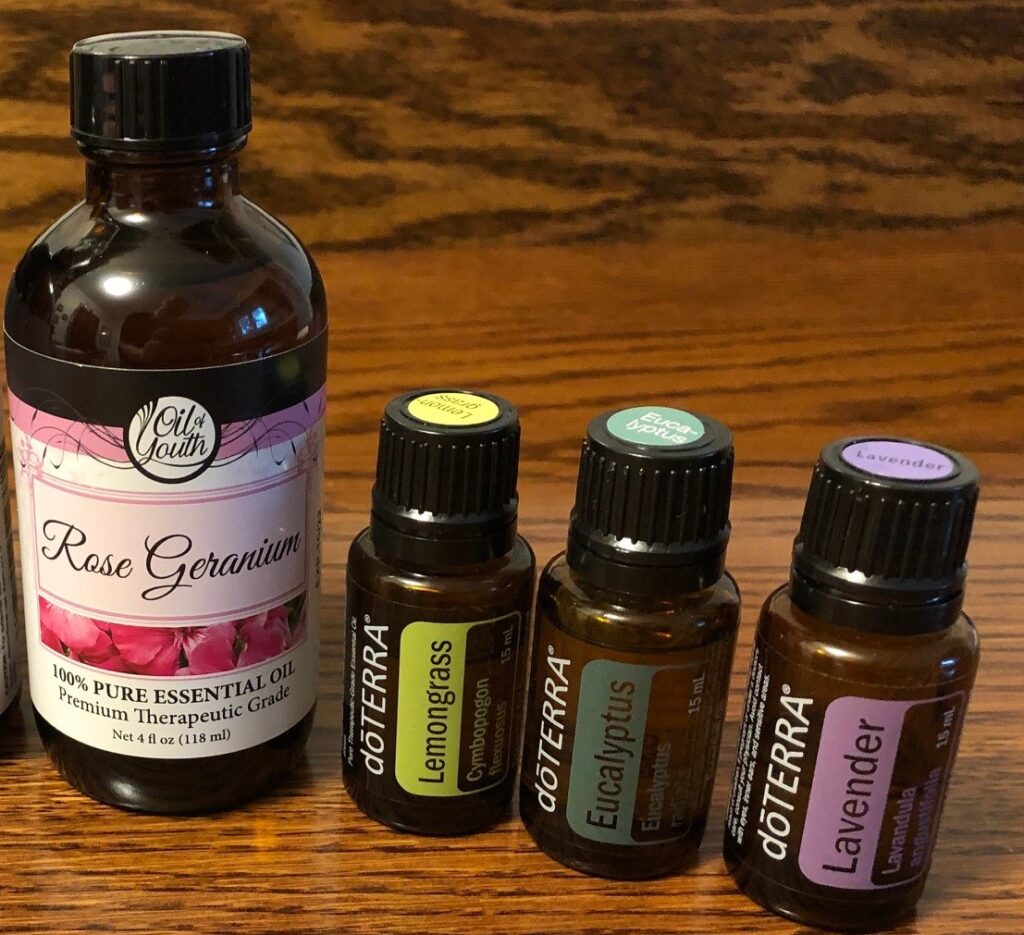
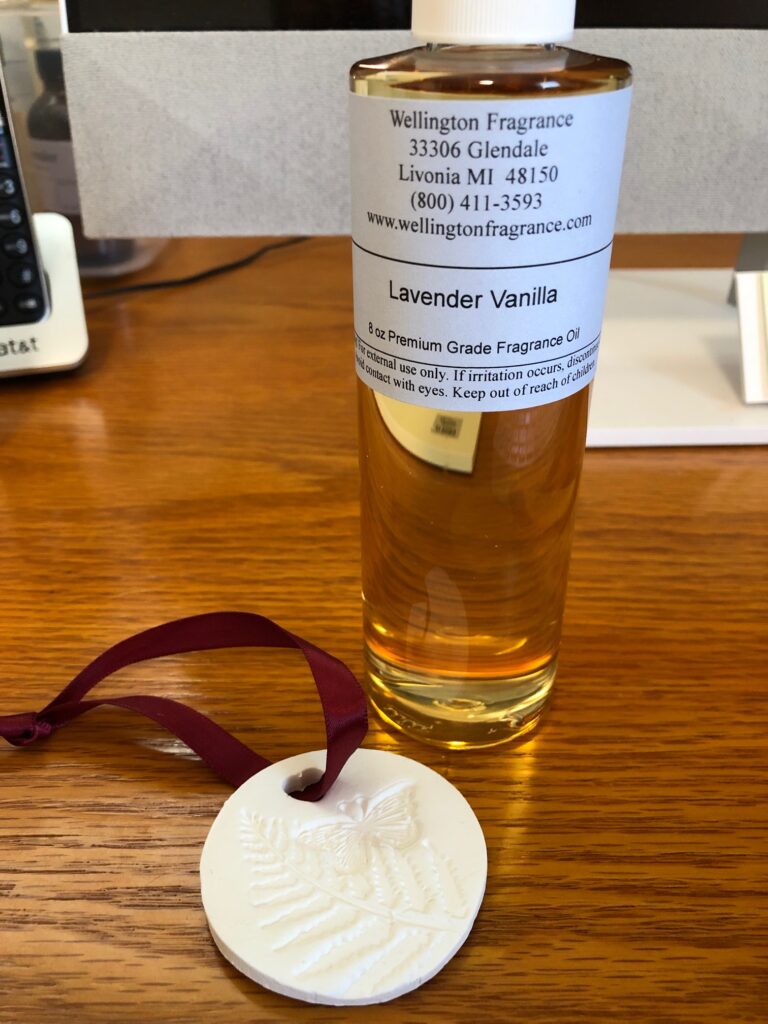
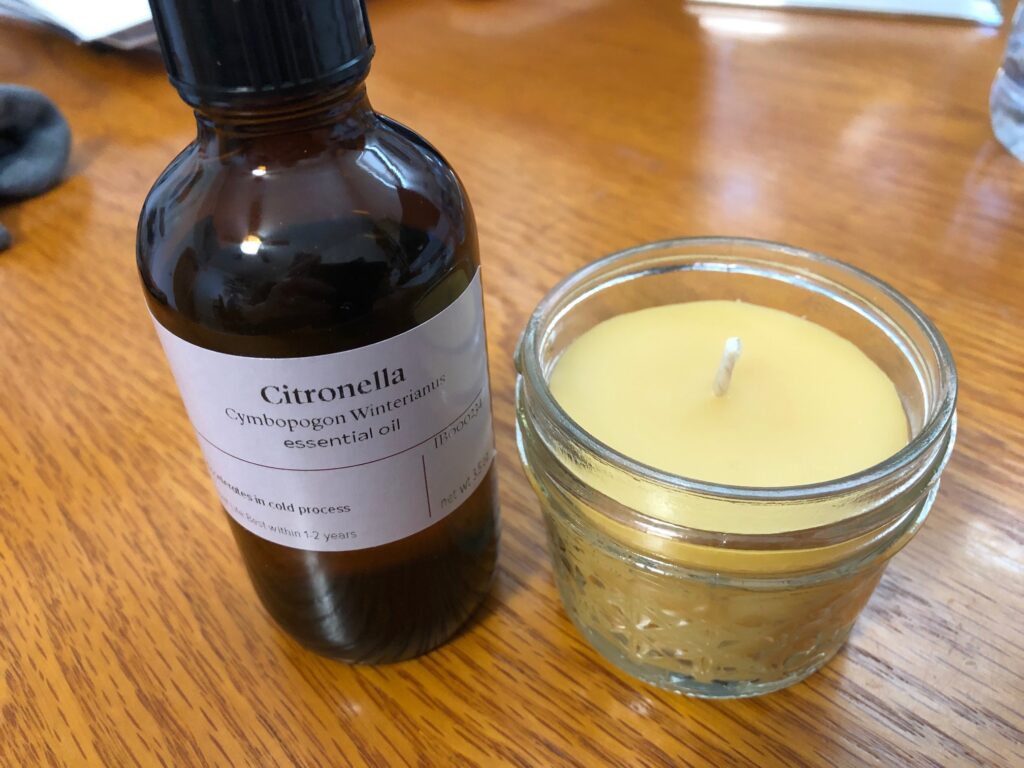
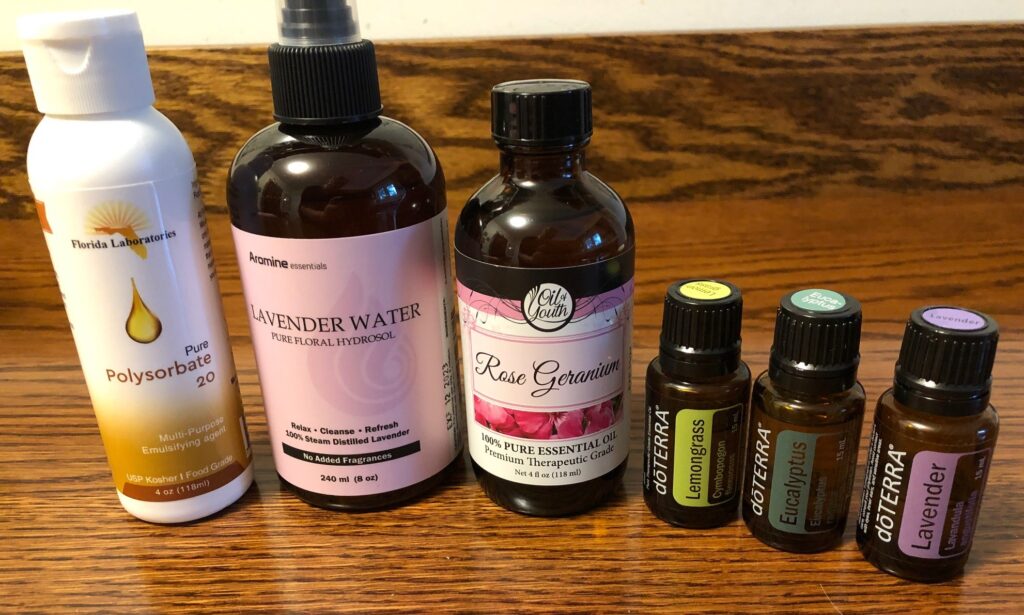
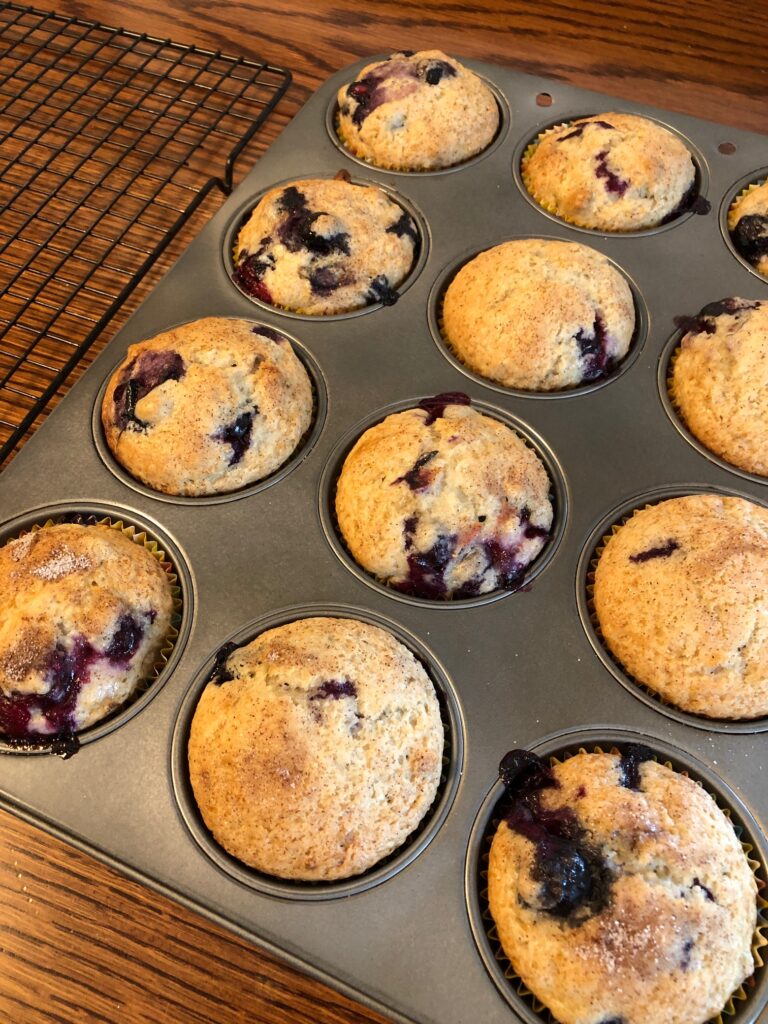
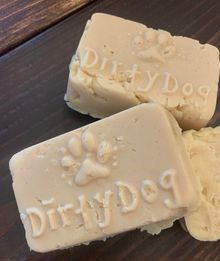
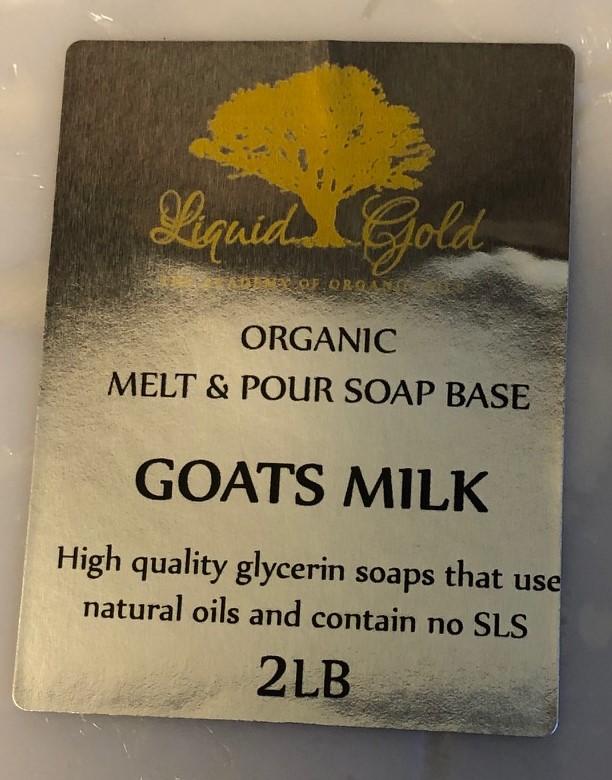
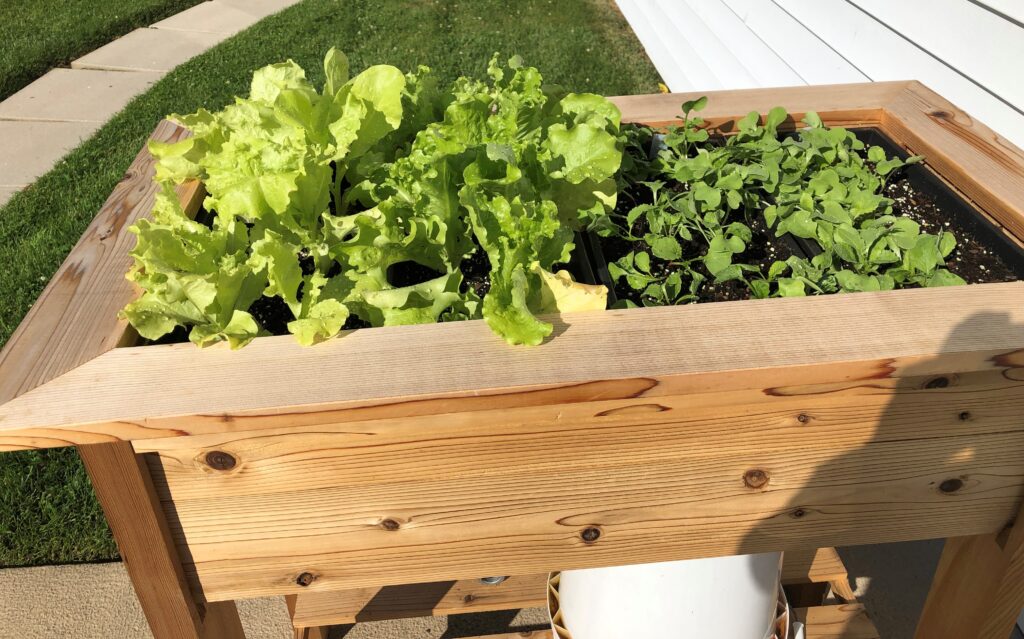
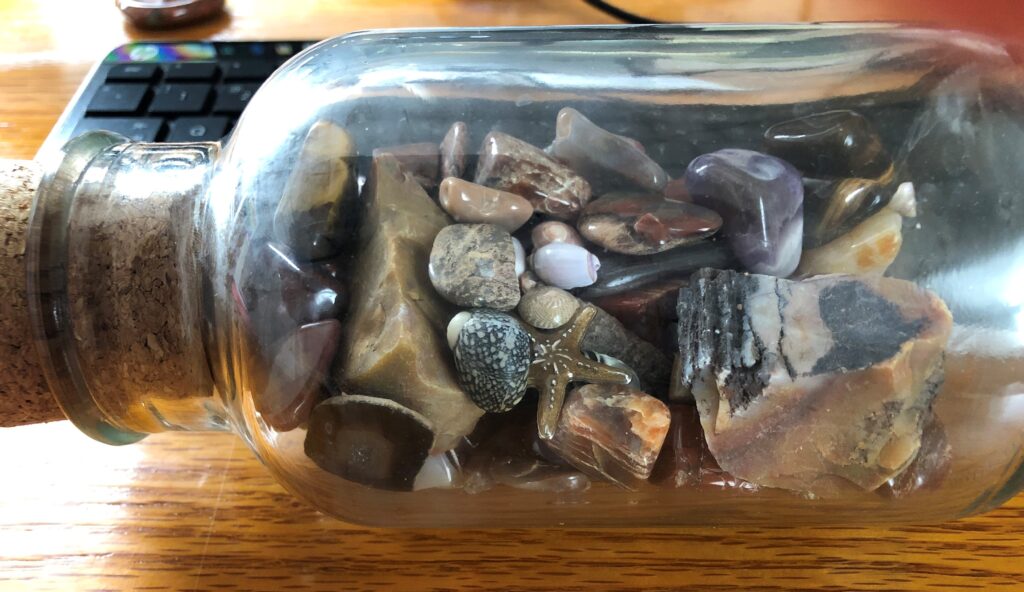
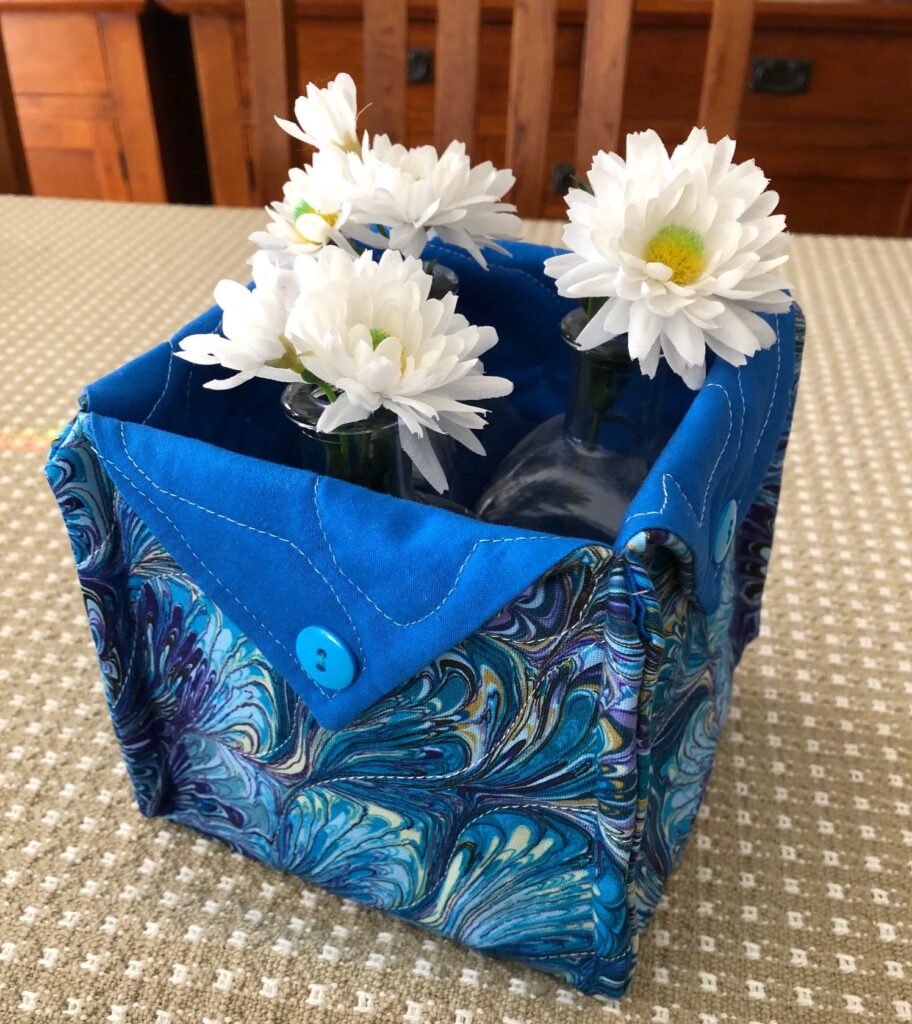
I had three items that I wanted to put in this box. They are lumpy and the basket is hard to pick up.
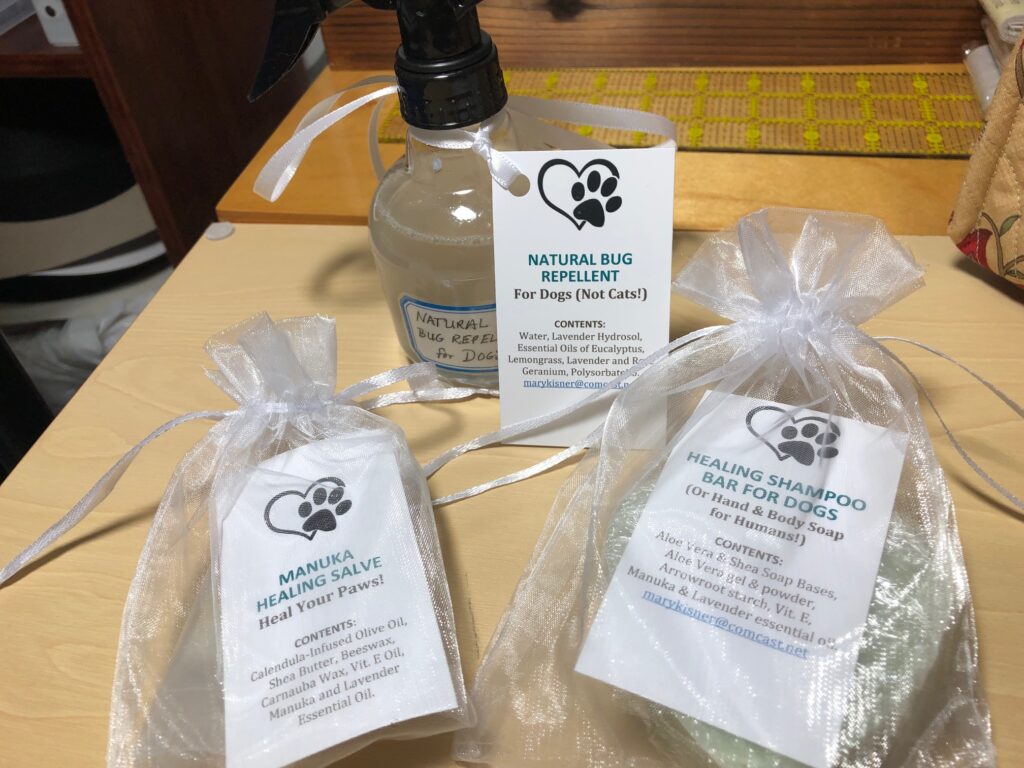

I think I will have to figure out how to shrink wrap them like a gift basket so they are easier to pick up, or I’ll have to put a handle on the fabric box and add a piece of stiff cardboard inside on the bottom of the box.
I’ll be glad to hear any suggestions you might have! Anyway, now I’m clearer about how to make these boxes…and you can try it too! Enjoy!
Please comment or email me directly if you have suggestions at marykisner@comcast.net.