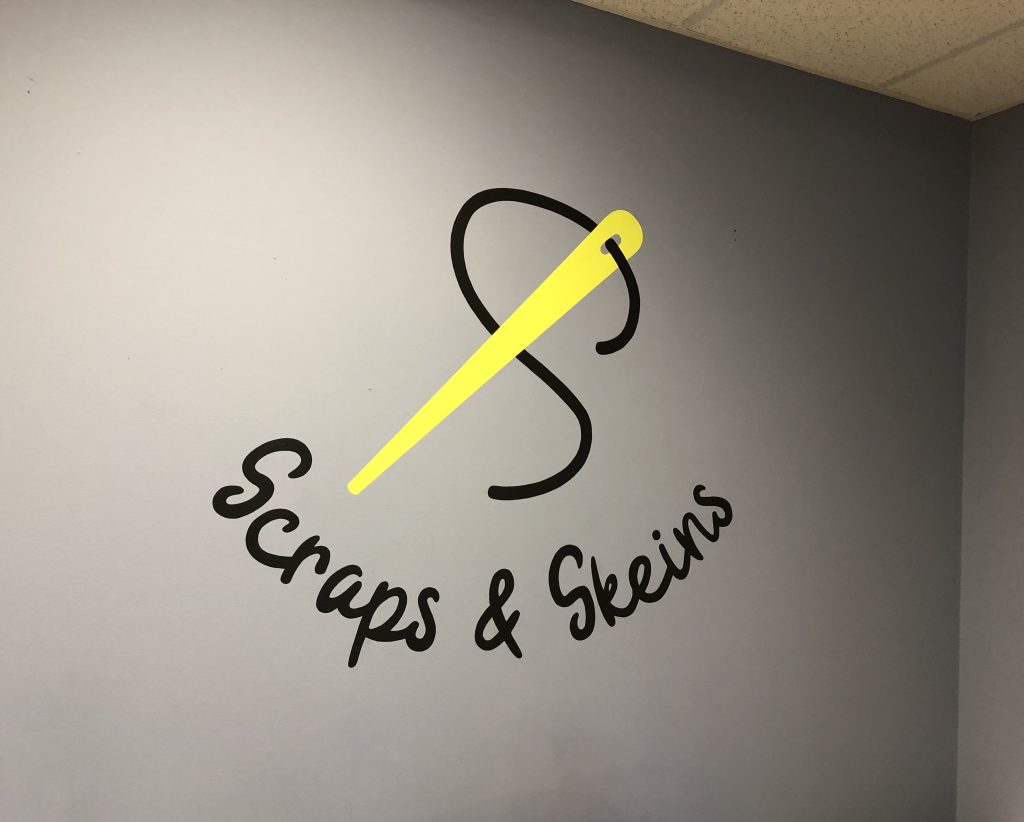
I posted over a year ago about the Scraps & Skeins Shop with an eye out for a place to donate items as I started thinking about downsizing. It looked like the perfect place…when the time comes to donate my various sewing supplies, fabric and yarn. Now, I’m considering how this shop can fill a need with the closing of our local JoAnn Fabric store.
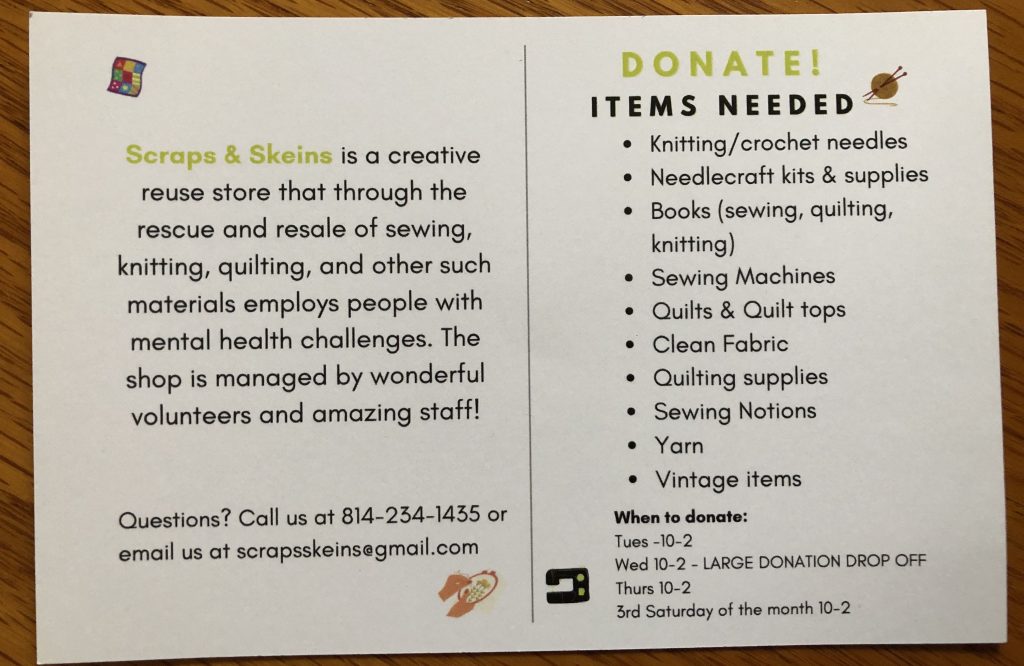
Their printed literature says Scraps & Skeins is a creative reuse store…meaning they accept donated items such as fabric, yarn, quilting supplies, knitting needles, books, patterns and even refurbished sewing machines! These items are organized and repackaged for resale to the public. This store provides employment opportunities for adults with mental health challenges. This is a win/win as far as I can see!
Scraps & Skeins was officially opened in 2015 under the umbrella of Strawberry Fields with the mission to create employment opportunities for adults with developmental delays, intellectual disabilities, and mental health issues. All proceeds support Strawberry Fields Inc., a United Way affiliate.
Since 2015, Scraps & Skeins has grown from a single showroom and storeroom into the six-room shop and workspace located behind the Strawberry Fields’ administrative office. It now employs a store manager and multiple employees.
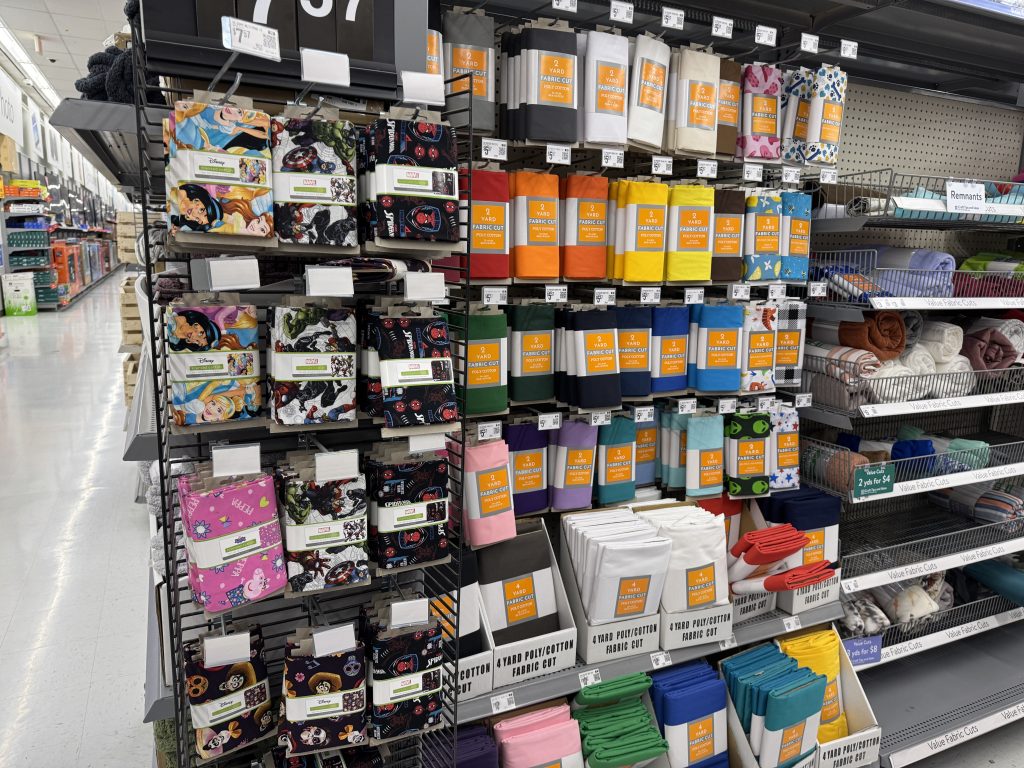
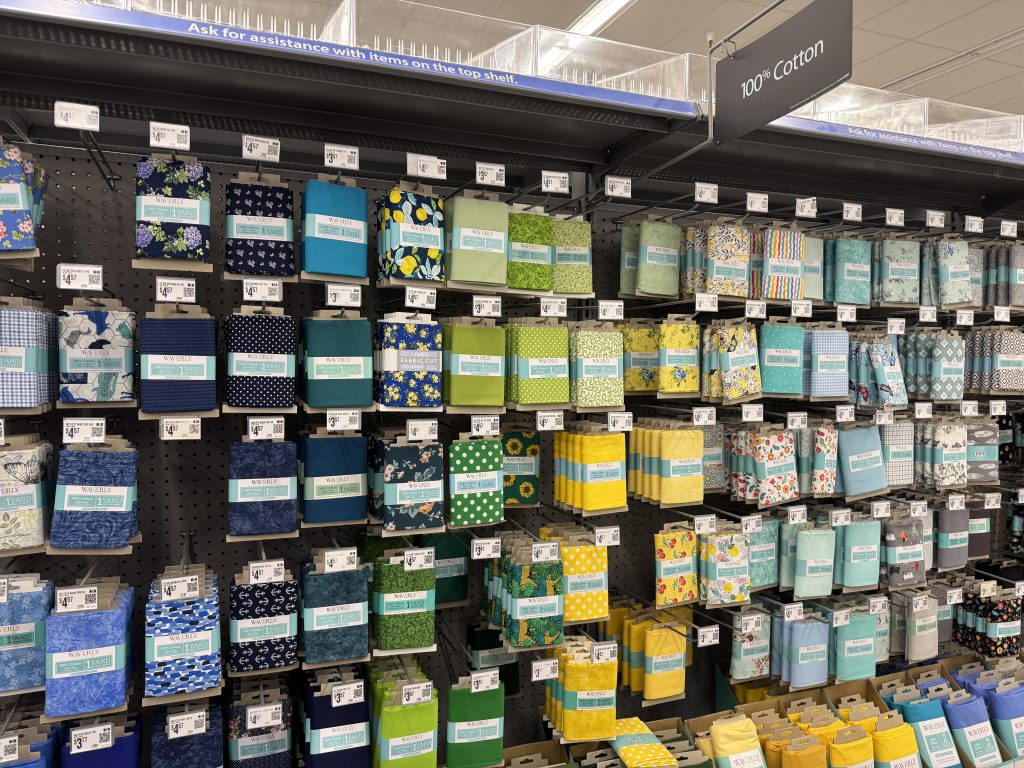
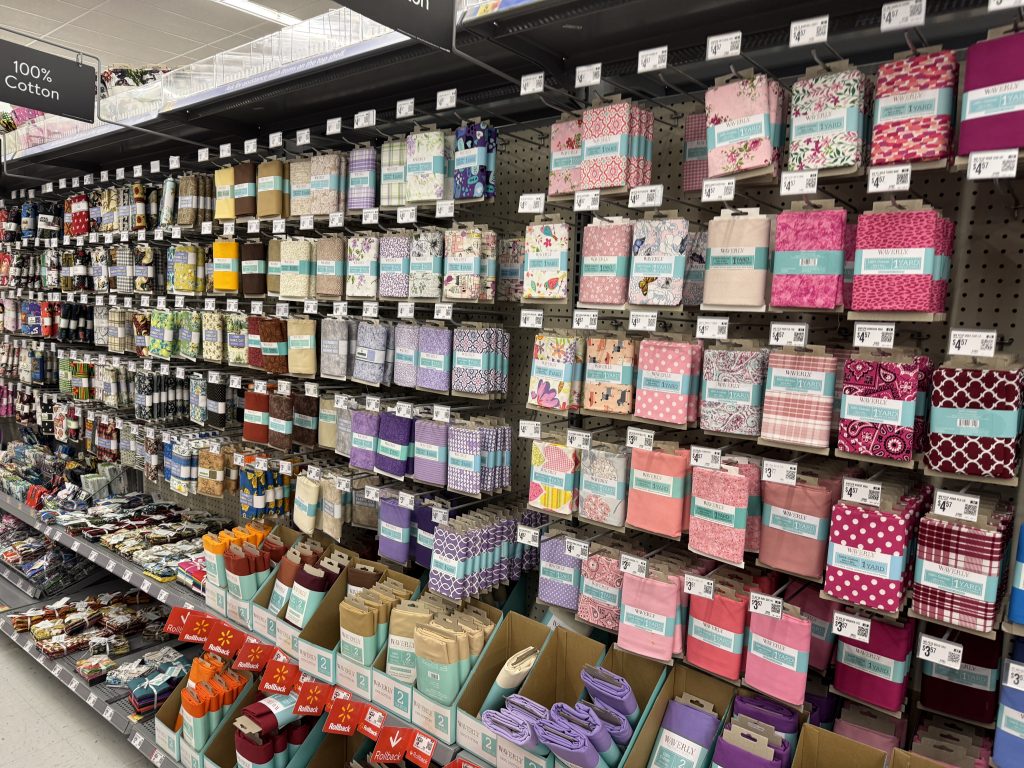
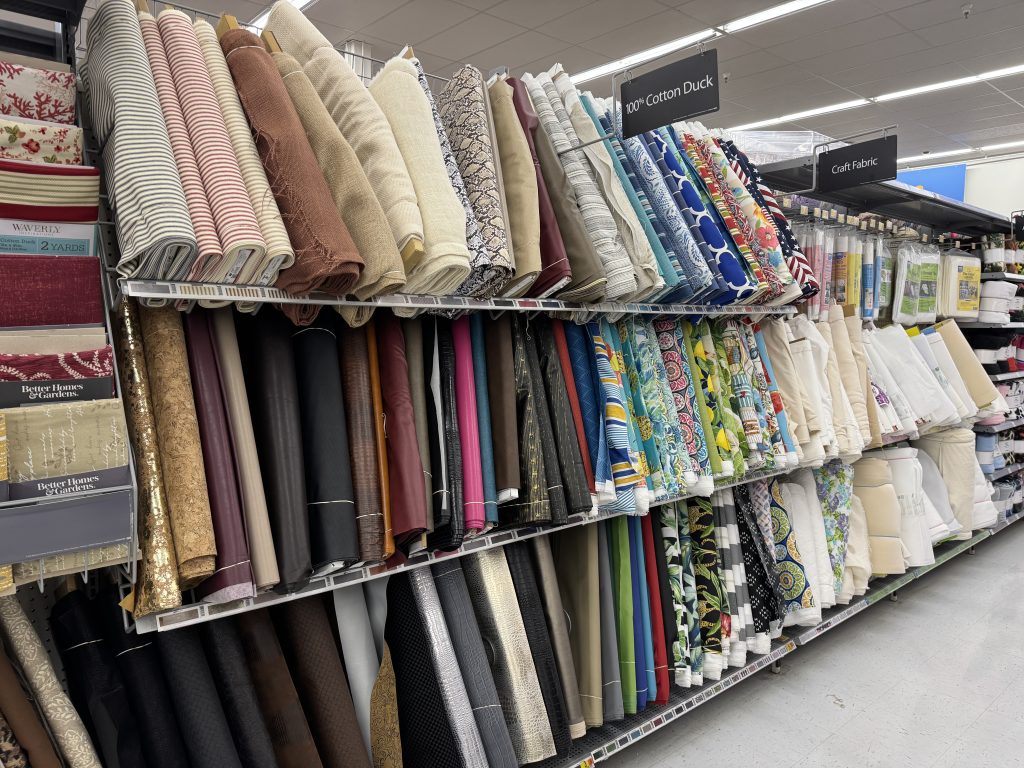
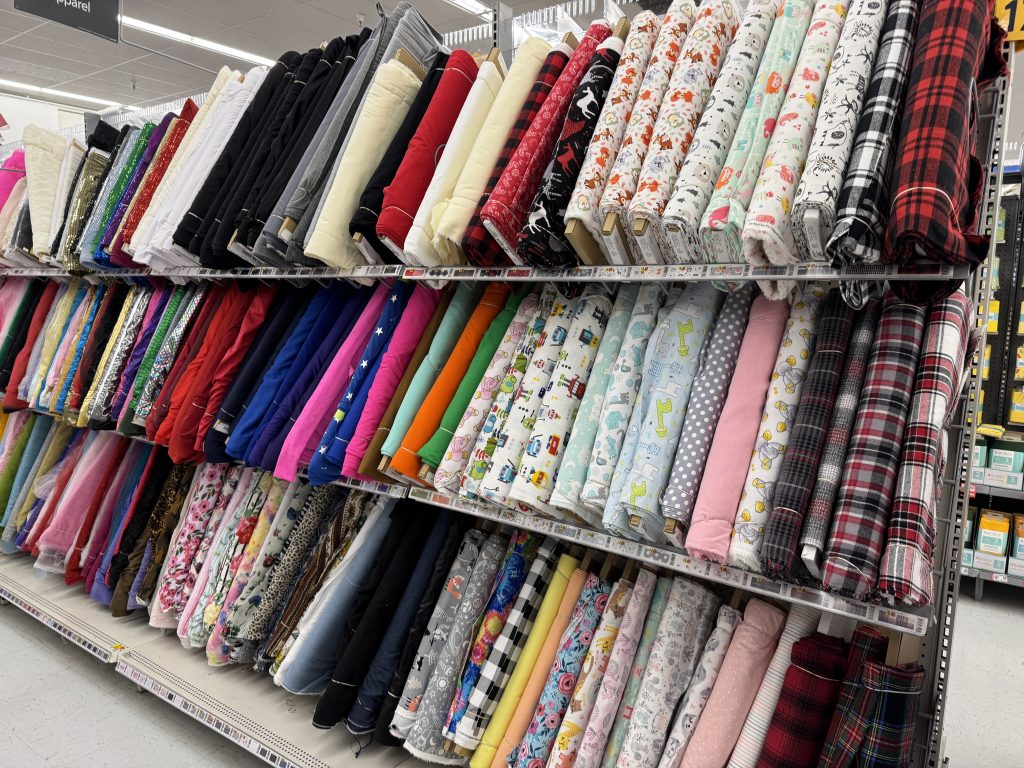
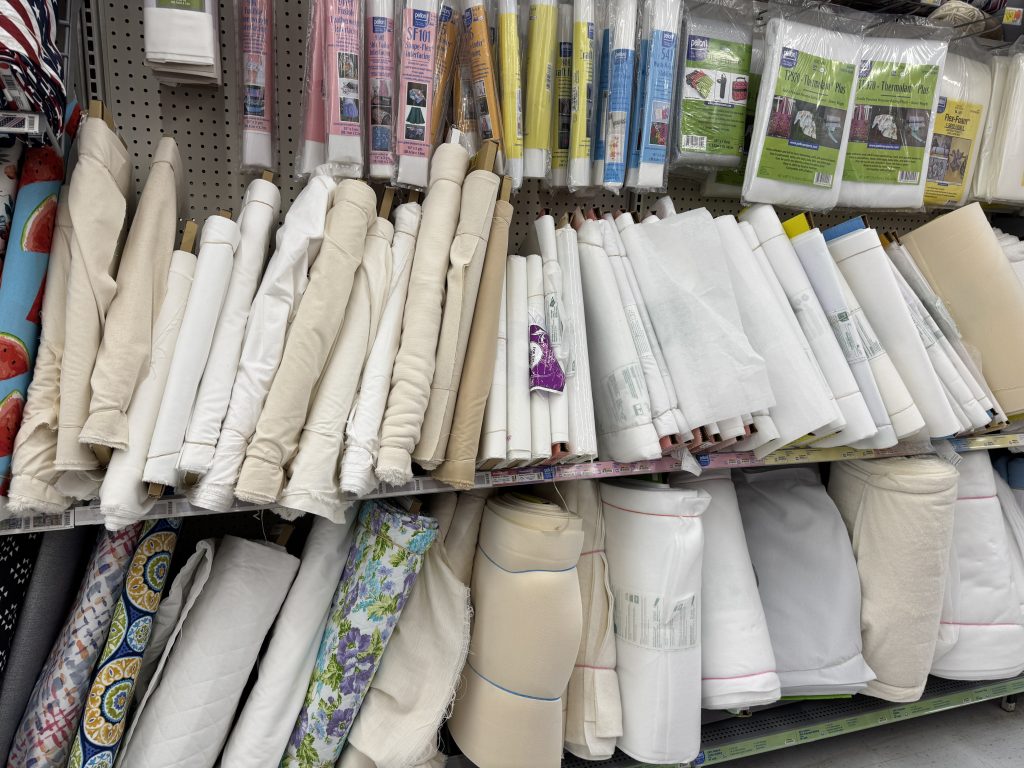
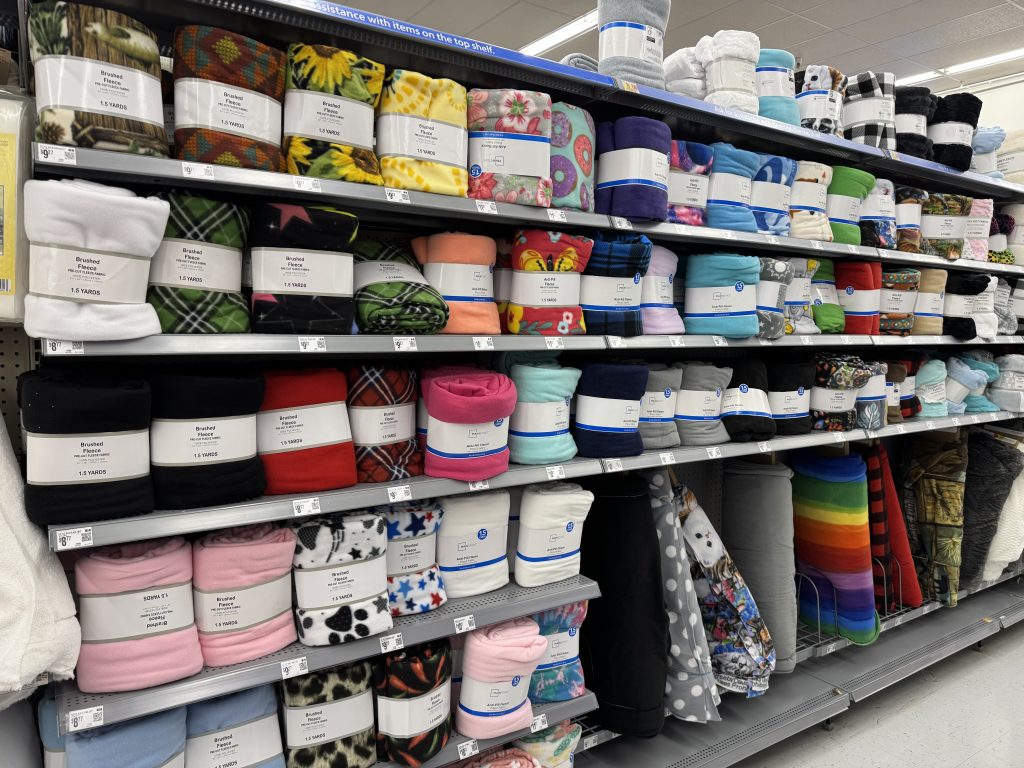
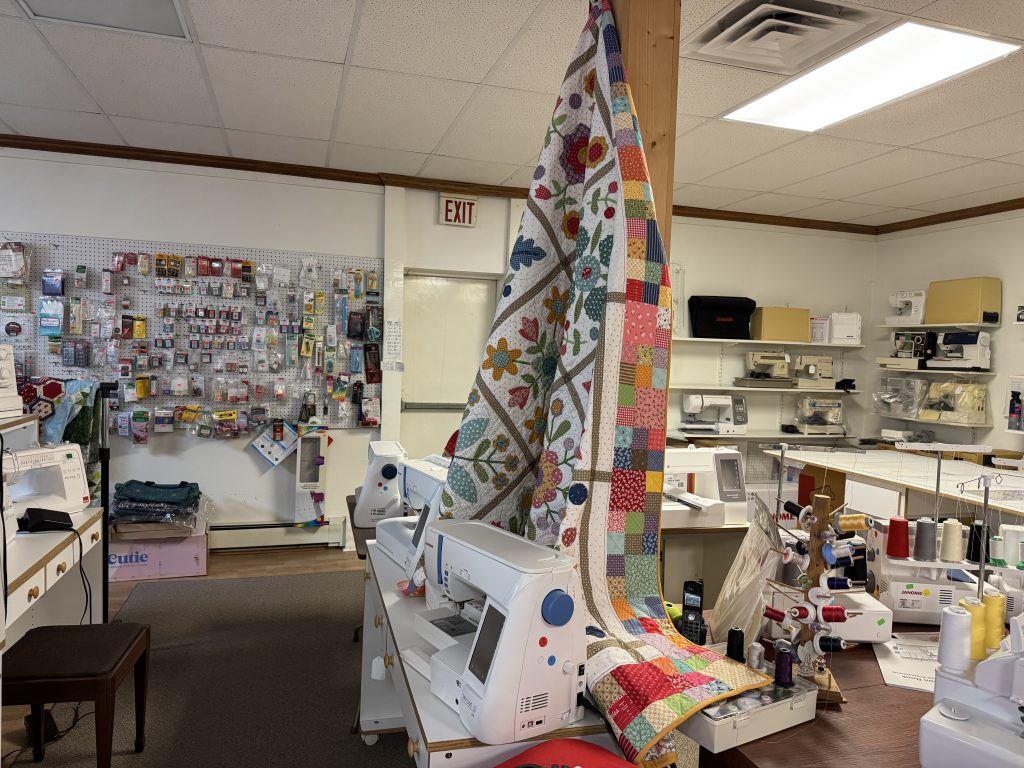
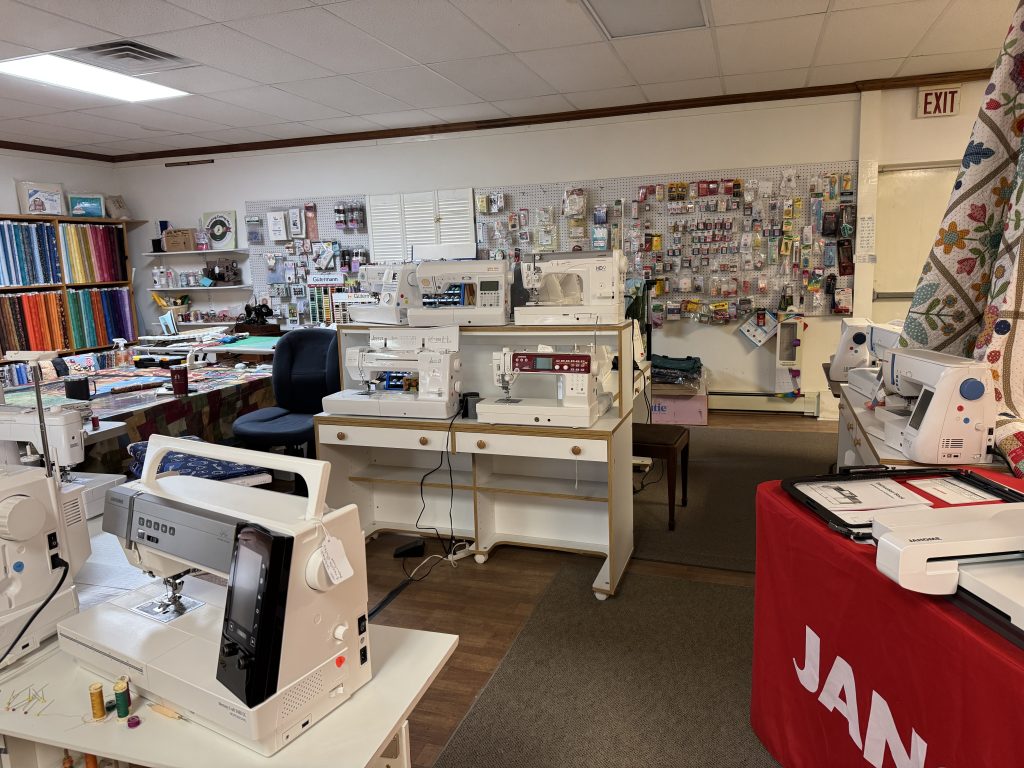
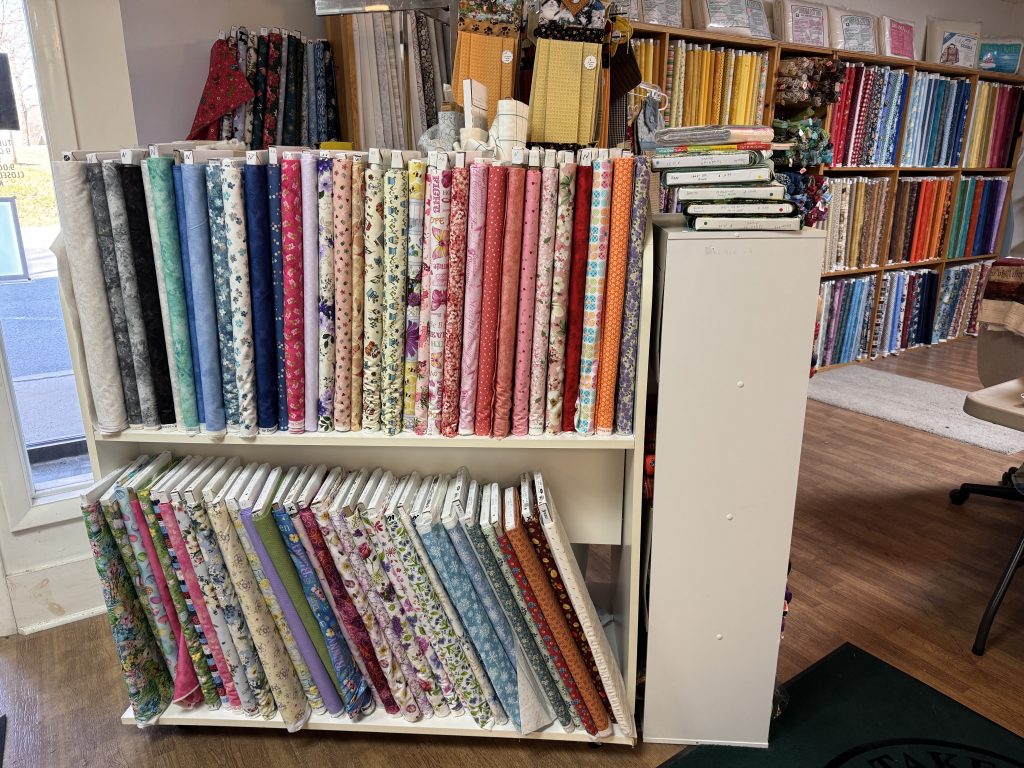
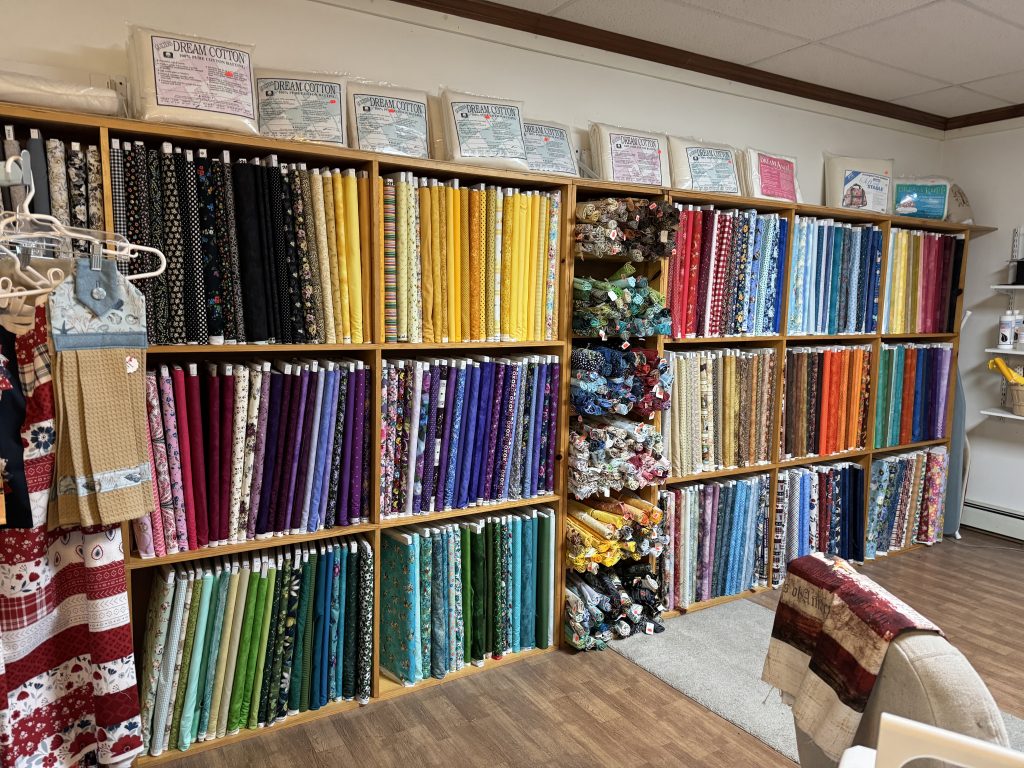
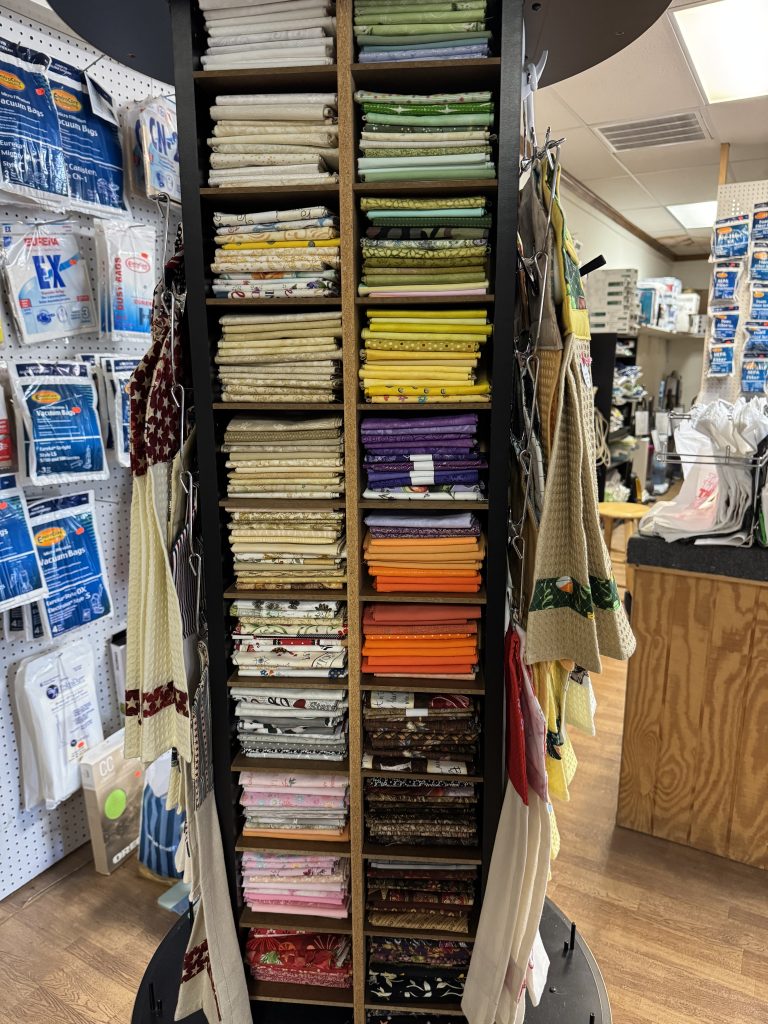
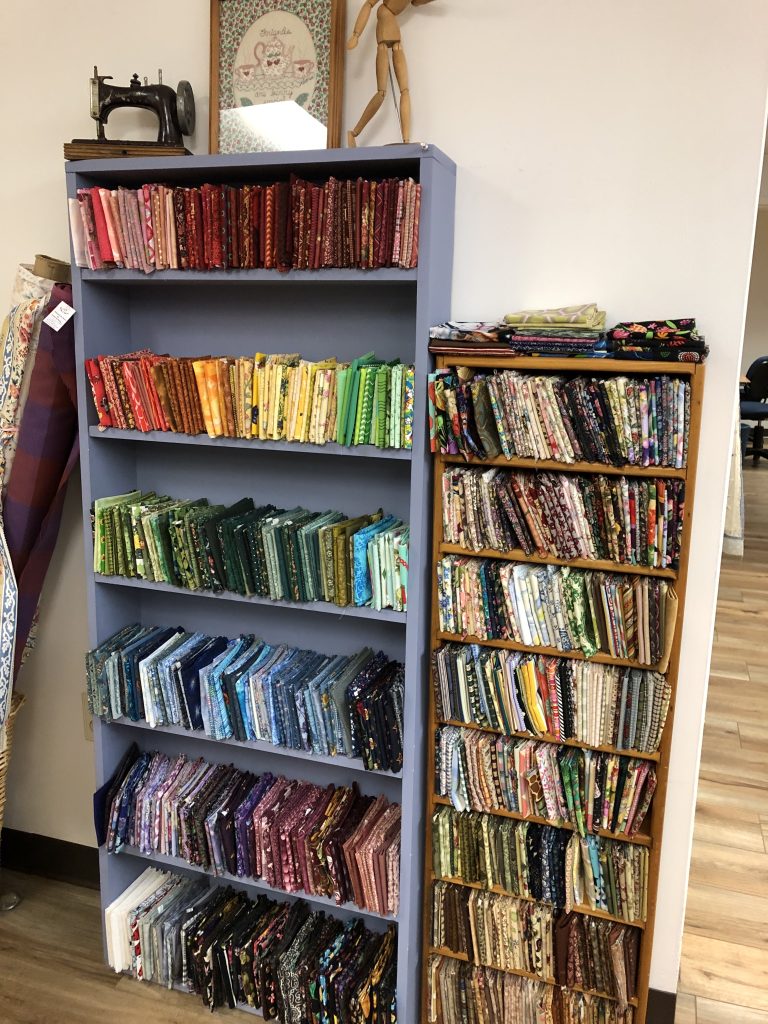
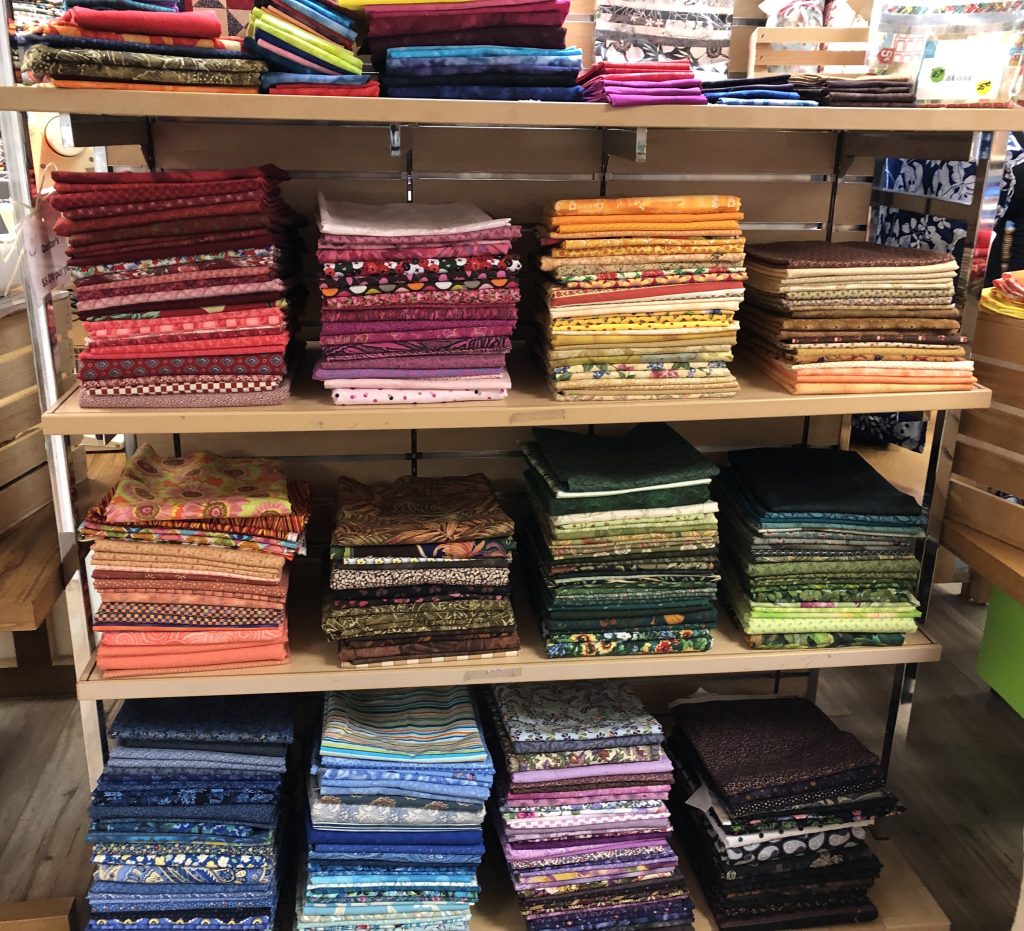
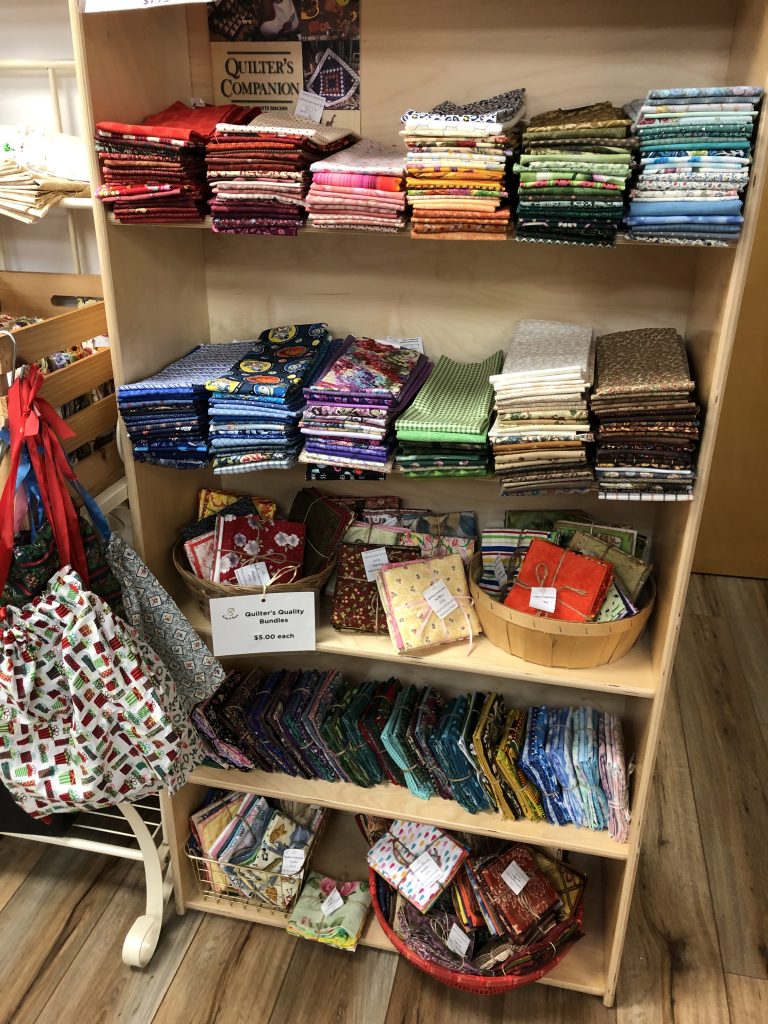
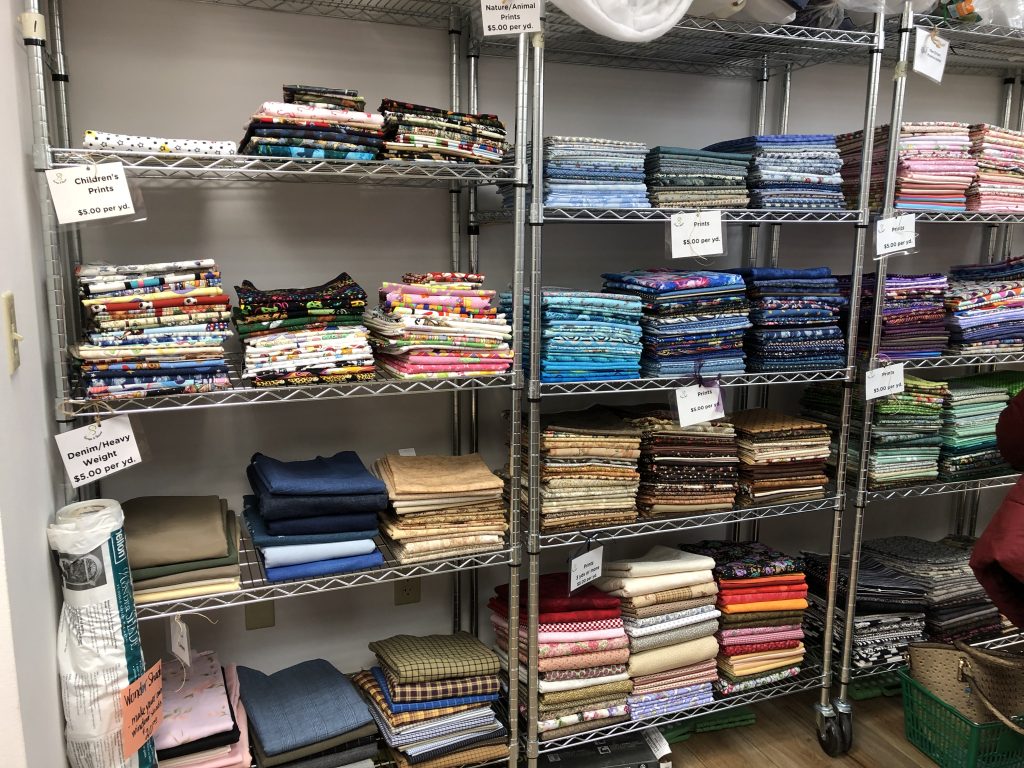
When wandering around the shop, the colorful displays of fabric are enticing! It feels like a fabric store! All the fat quarters, 1/2 yard and full yard pieces make an organized explosion of color!
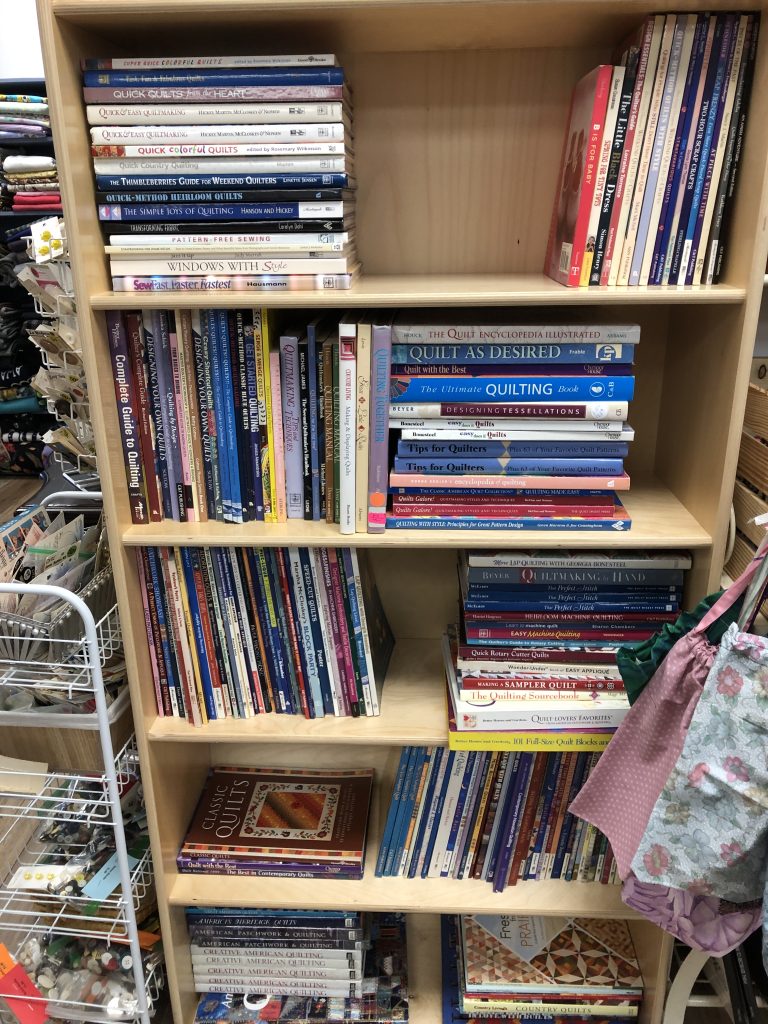
There are many books available for sewing, knitting and crafts projects.
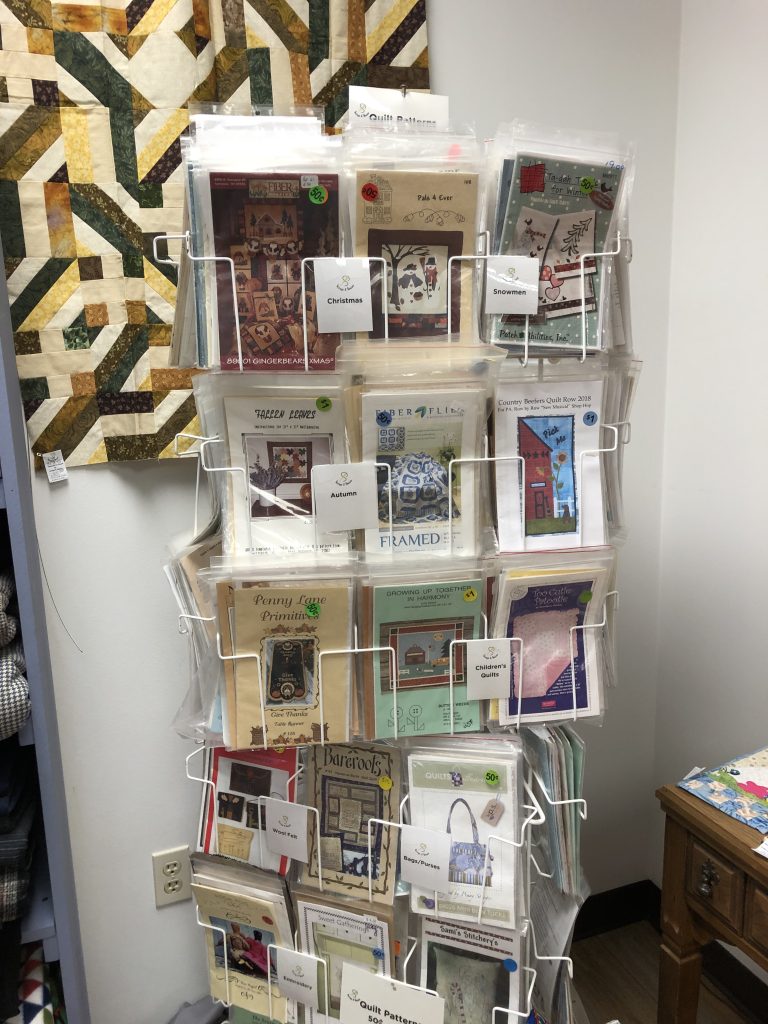
They even have some patterns available!
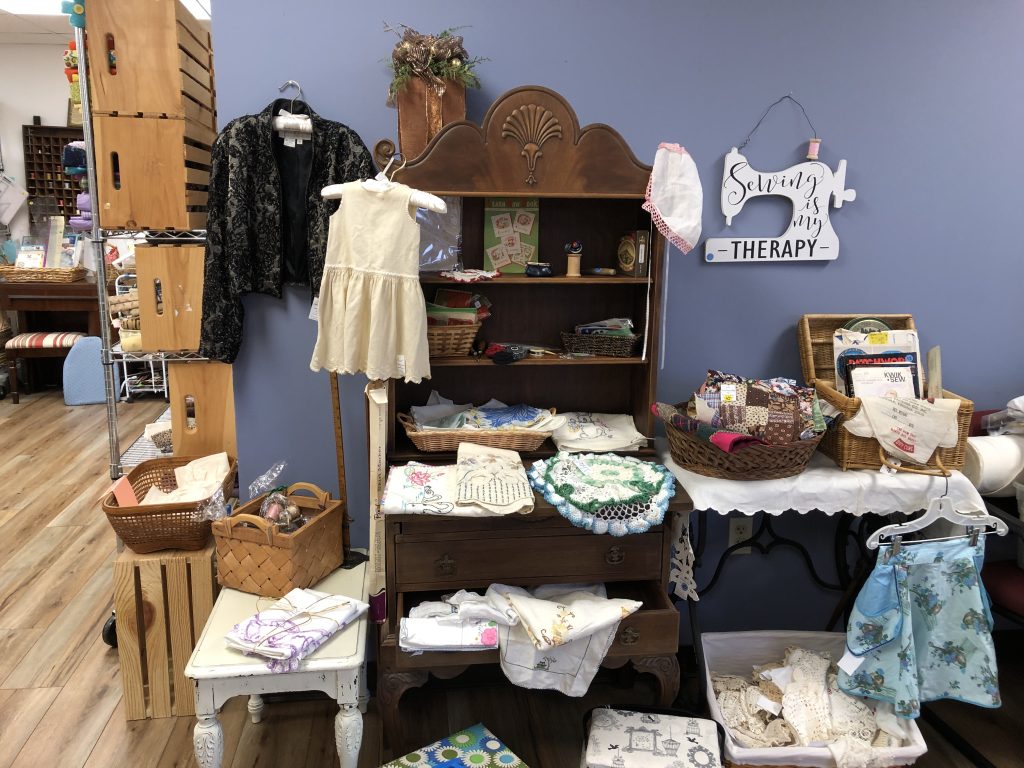
They had a display of various vintage fabric items for sale!
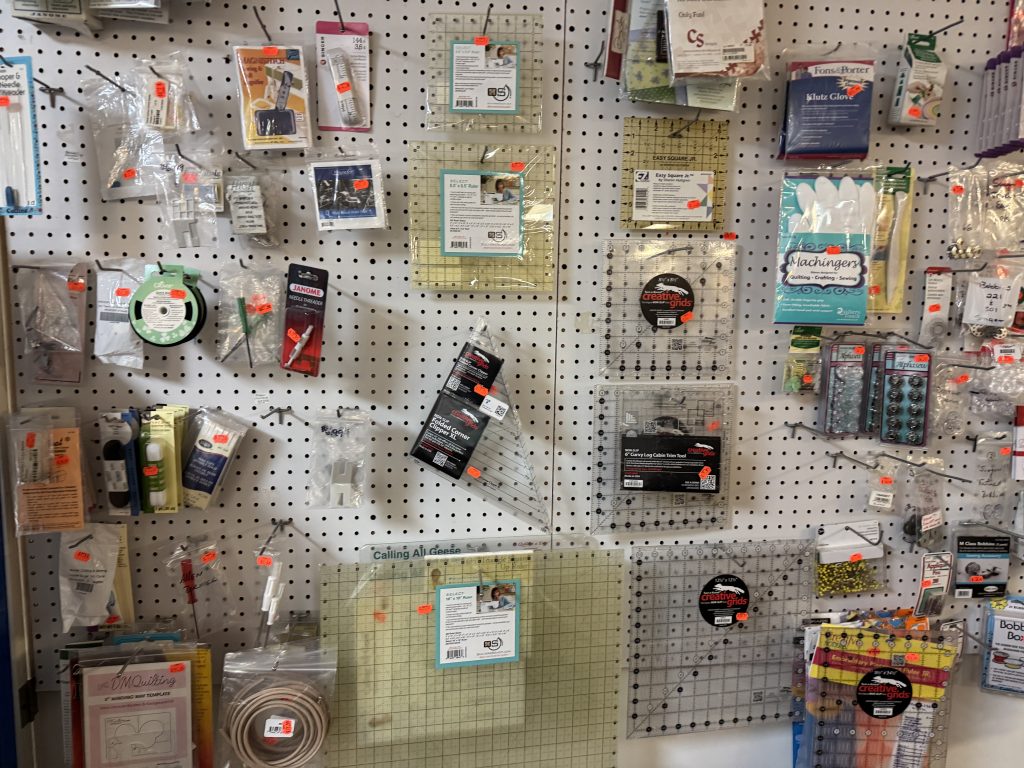
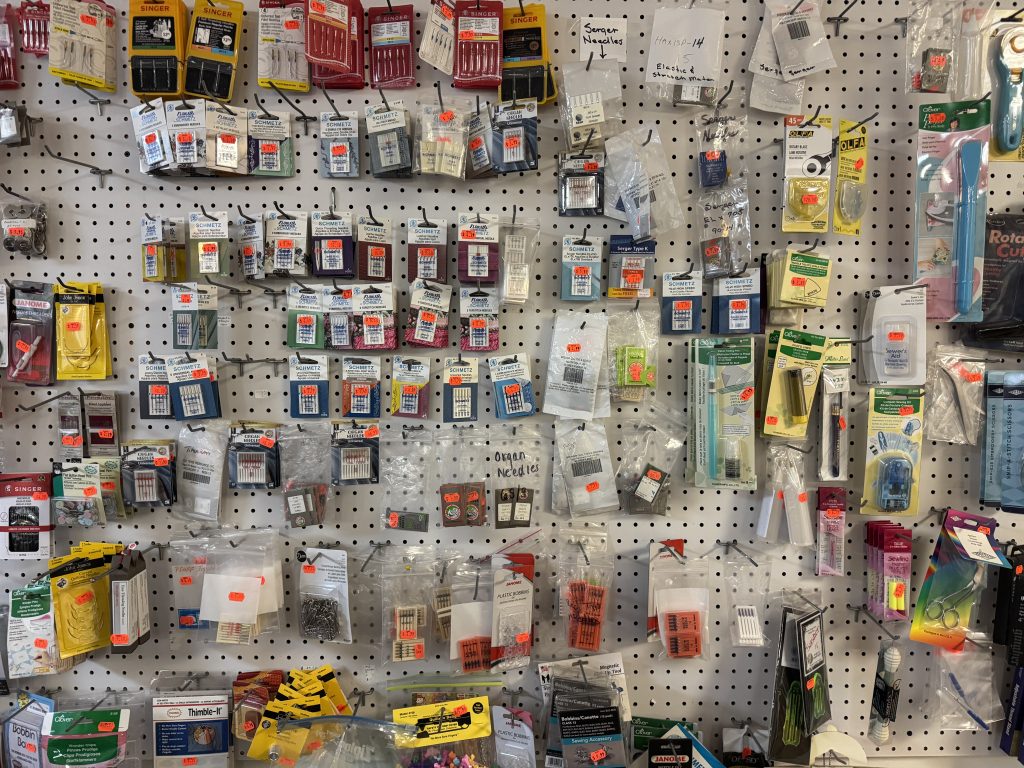
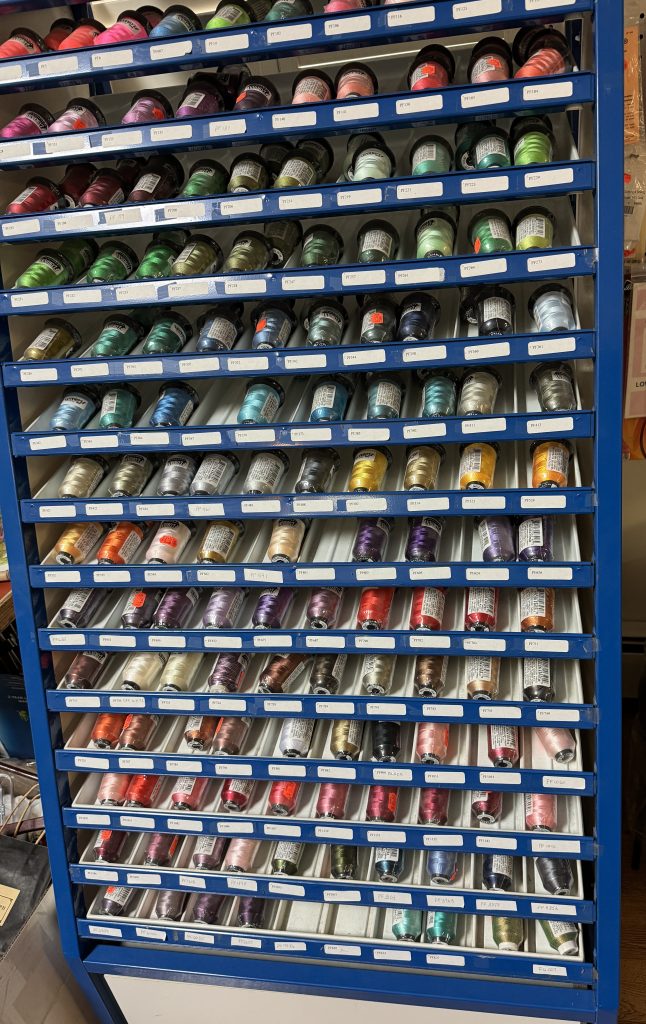
They also had a whole room filled with notions…like thread, sewing needles, knitting needles and a lovely selection of yarn. (The room was crowded so I didn’t try to get pictures.)
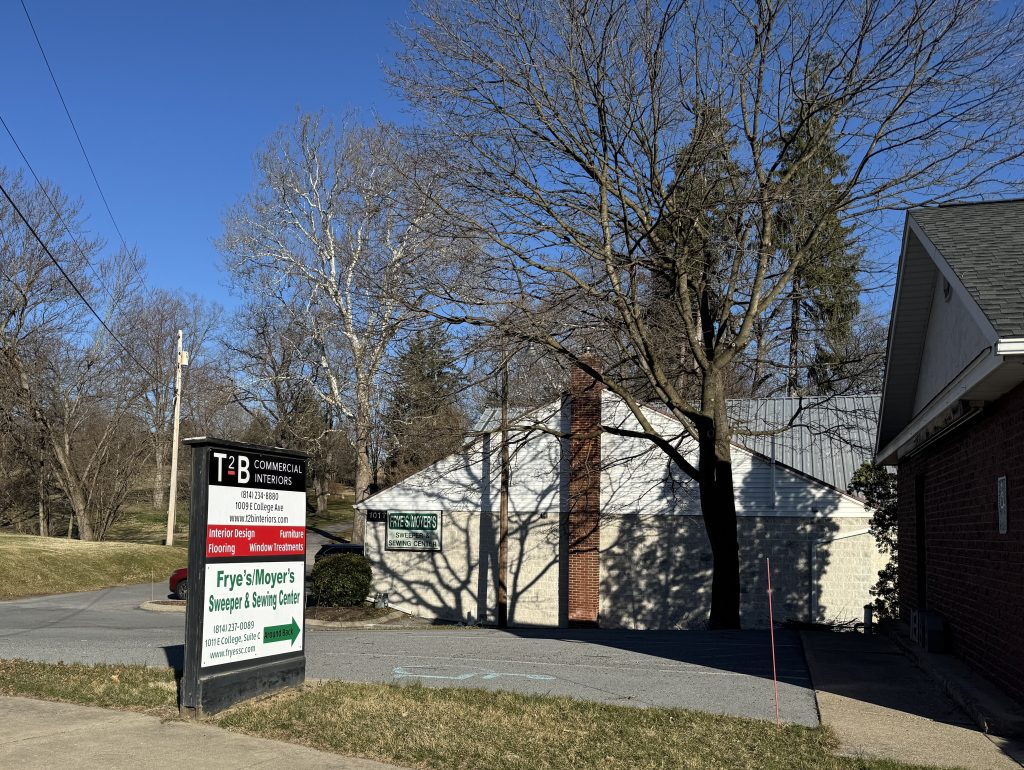
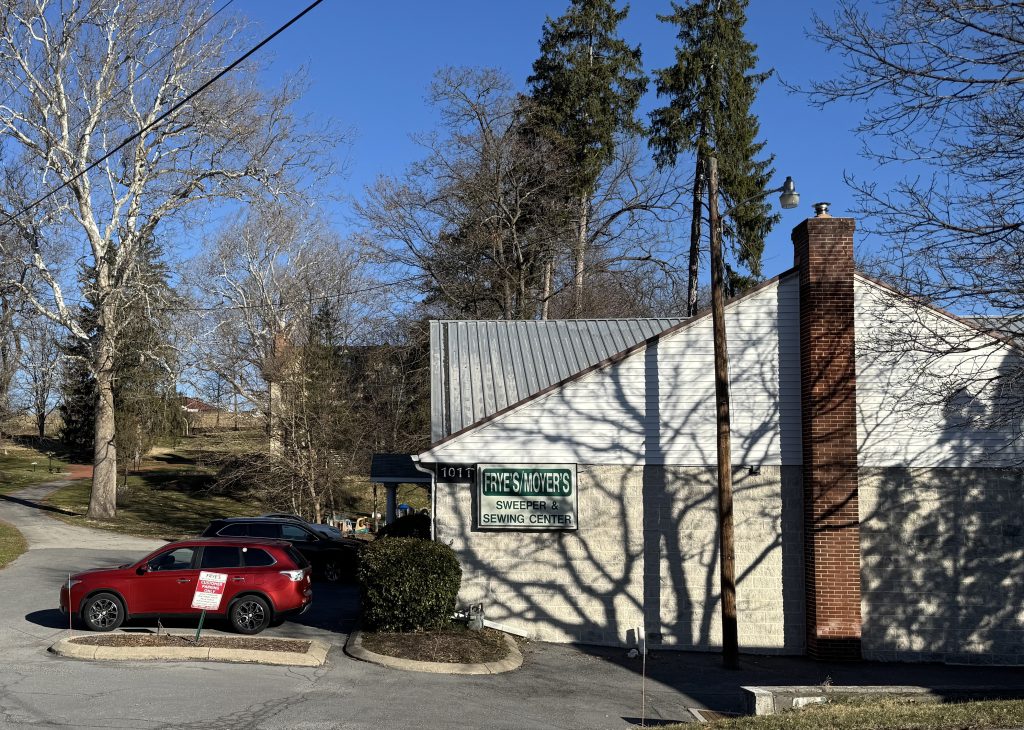
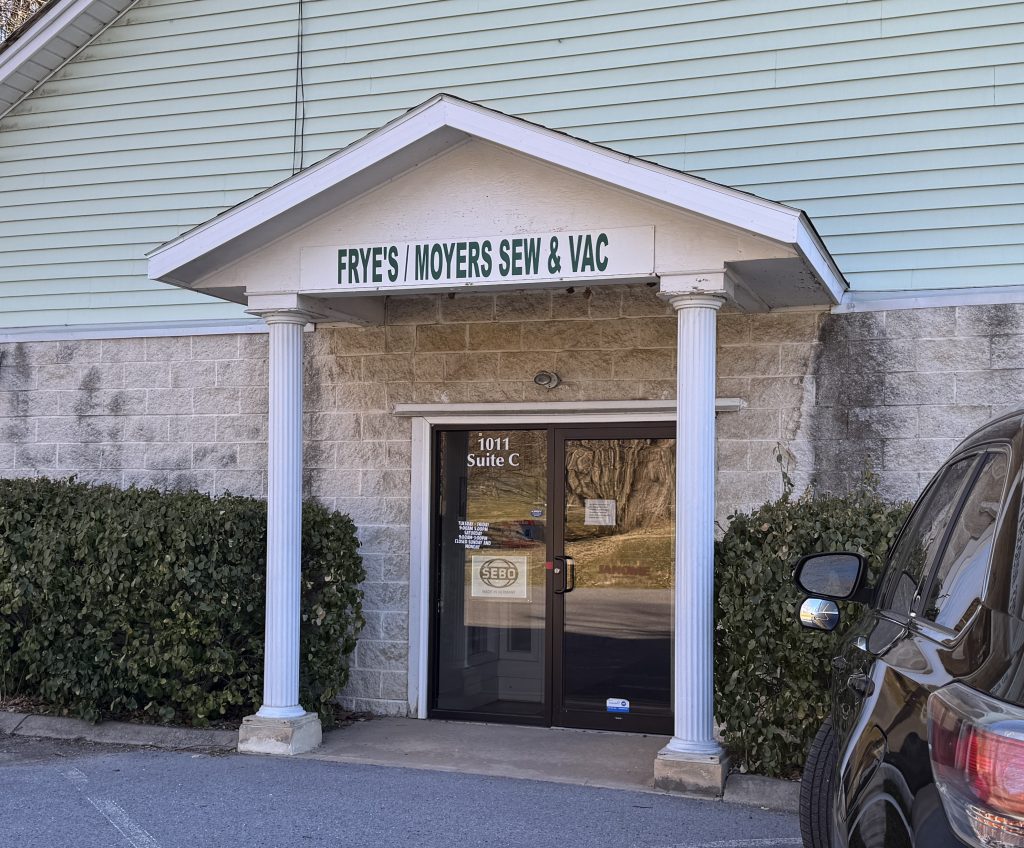
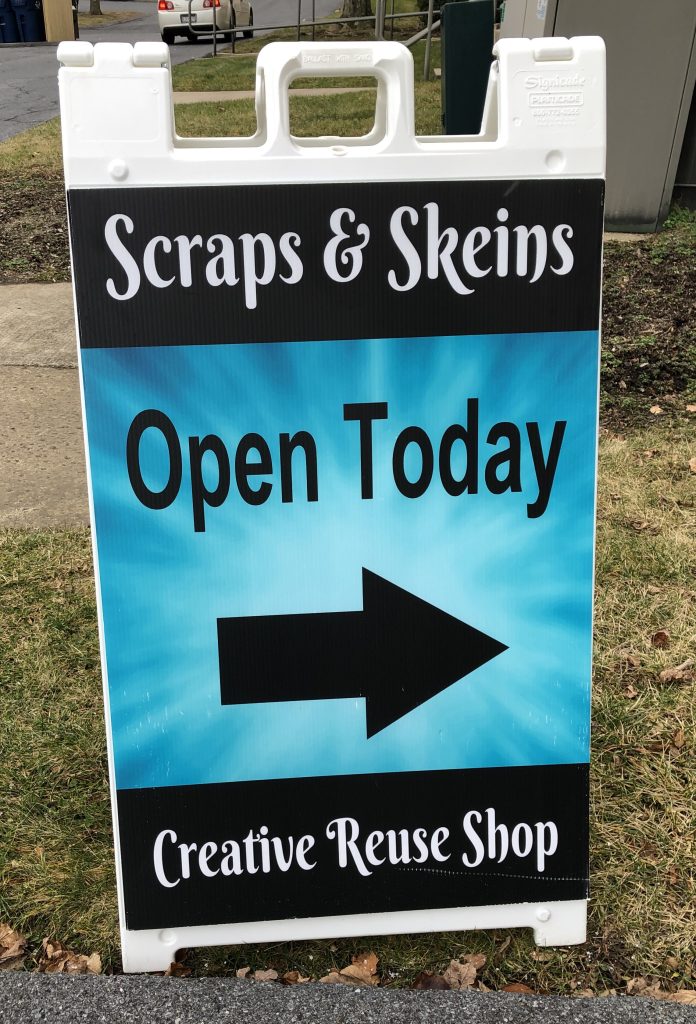
Finding the Scraps & Skeins Shop
Their store is a little difficult to find the first time, but when you find it…you’ve found a treasure! Their address is 2766 West College Ave., State College, PA 16801…but to get there I find it easiest to turn off West College Avenue onto Bristol Avenue and then turn right onto Enterprise Drive. The first right takes you behind and between the buildings and when they are open, they put out a sign that really helps.
The store is open Tuesdays, Wednesdays and Thursdays, 10 a.m. to 2 p.m., and every third Saturday of the month from 10 a.m. to 2 p.m. You can reach them at 814-234-1435 or email at scrapsskeins@gmail.com.
Helpfully, they also post regularly on Facebook and remind you of their hours and new stuff they have! They even offer select items on their website that can be ordered online! (https://scrapsskeins.shopsettings.com)
Because their offerings come from donations, their inventory is always changing. Stop by frequently to check them out! If you don’t live nearby, check out what’s available for purchase at their website.
Of course, if you’d like to donate YOUR extra fabric and yarn, here are the kind of things they accept! Know that your donation will keep the good stuff in circulation for the rest of us! Enjoy!