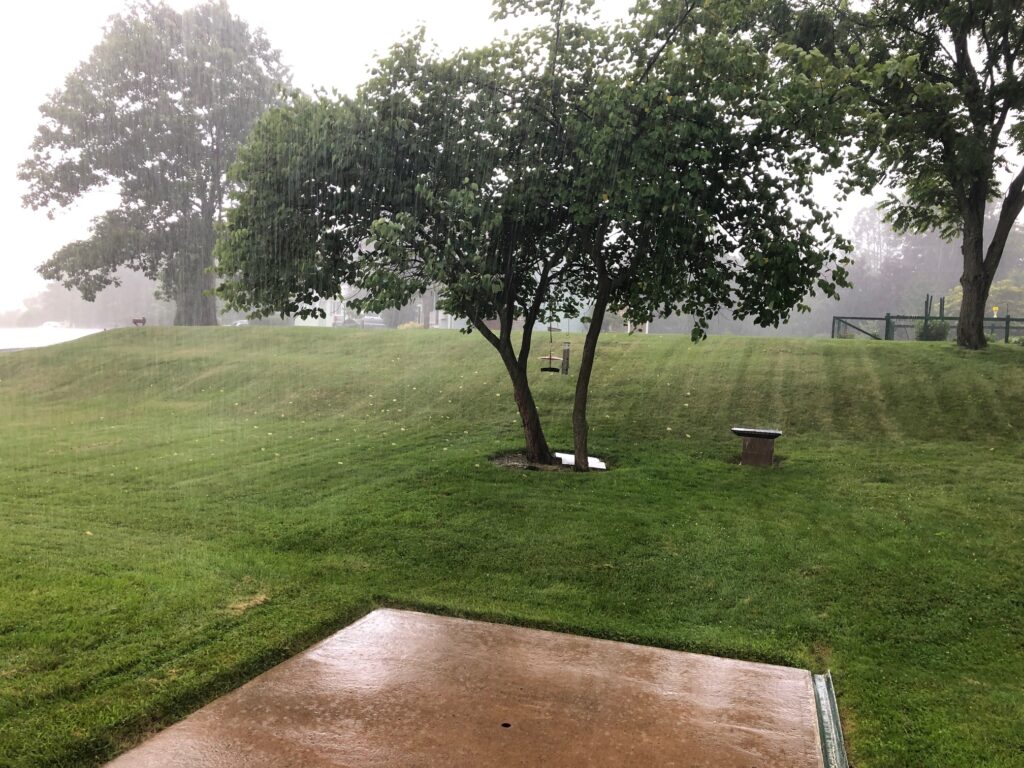
The garden is going into production mode! With over 6″ of rain this month so far I’m just grateful the garden drains well and the sun comes out once in a while. Time to show you how things are growing.
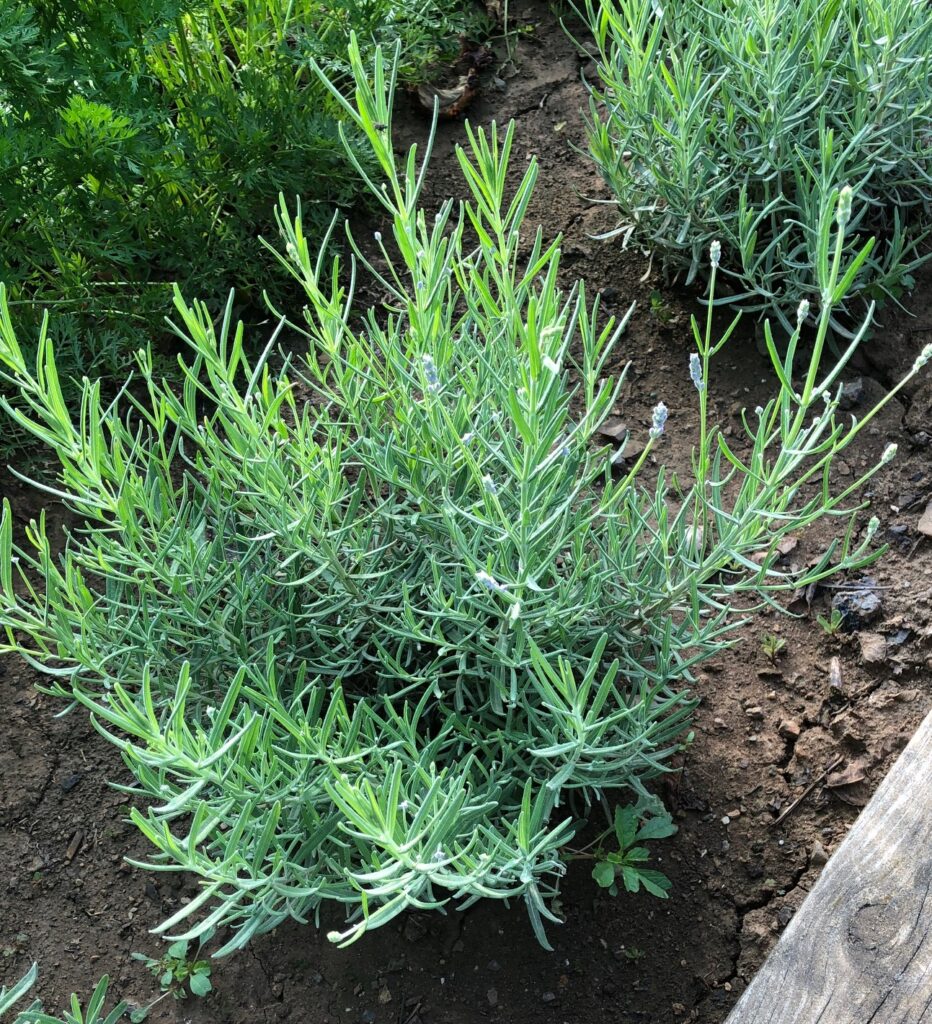
First, we have the row of lavender and the first row of carrots. Hope you can see the lavender buds ready to pop. I’m so hoping the whole row will eventually be in bloom at the same time. I have memories of the lavender fields in California that were so impressive. Plus, I can dry the buds and use them in my soaps and skin care products.


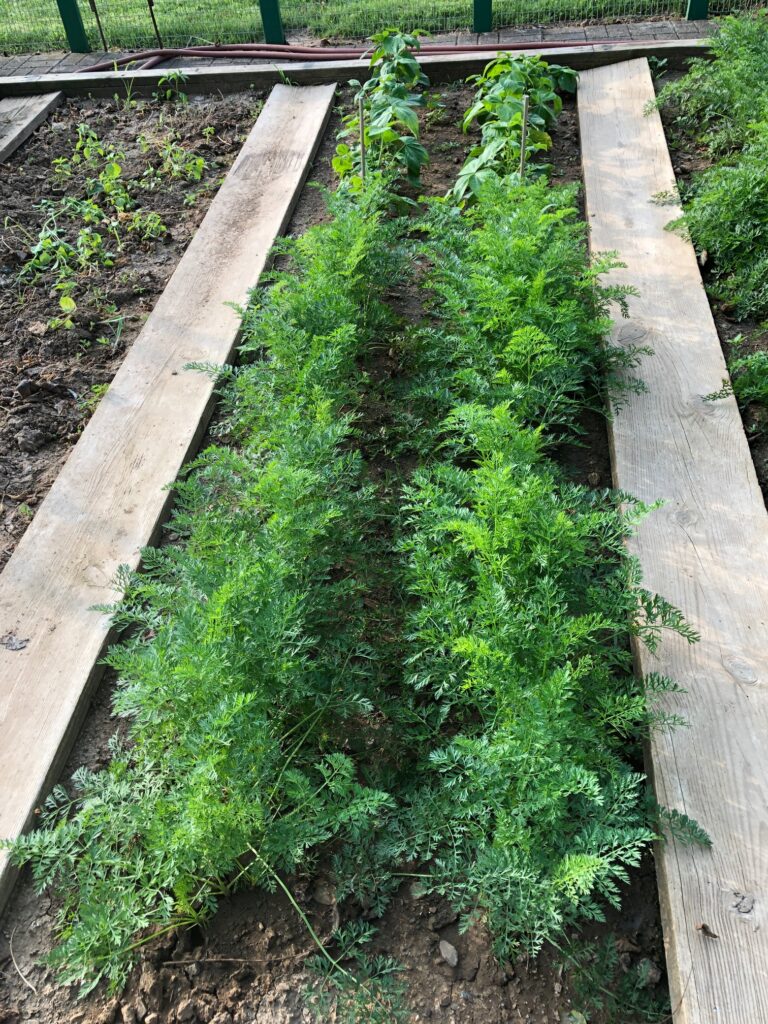
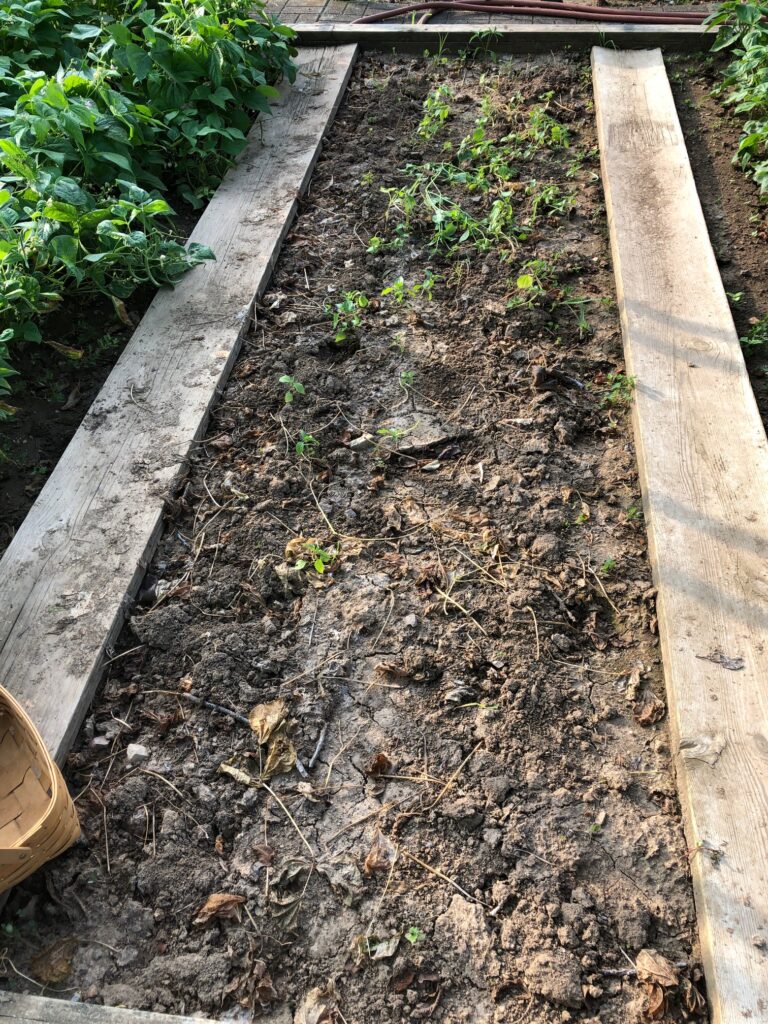
The second planting of carrots are doing well. The end of that row has a few late green bean plants. That’s where we tried to grow beets, but nothing came up. Must be the seeds. Oh well…I can buy beets at the Farmers’ Market.
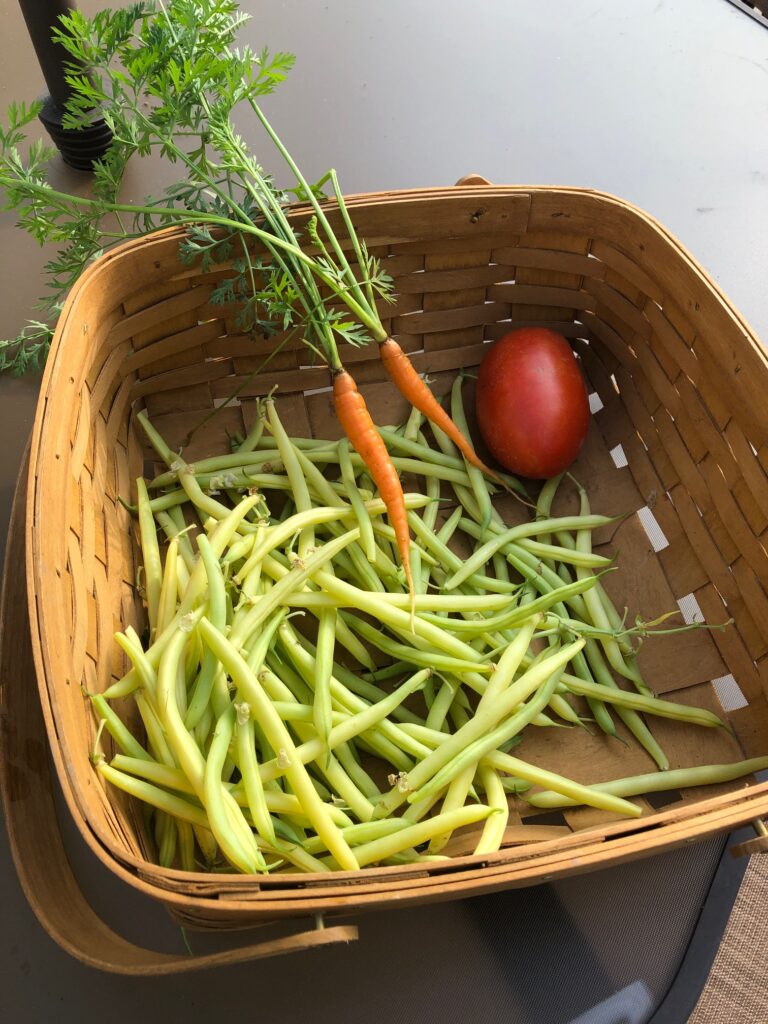
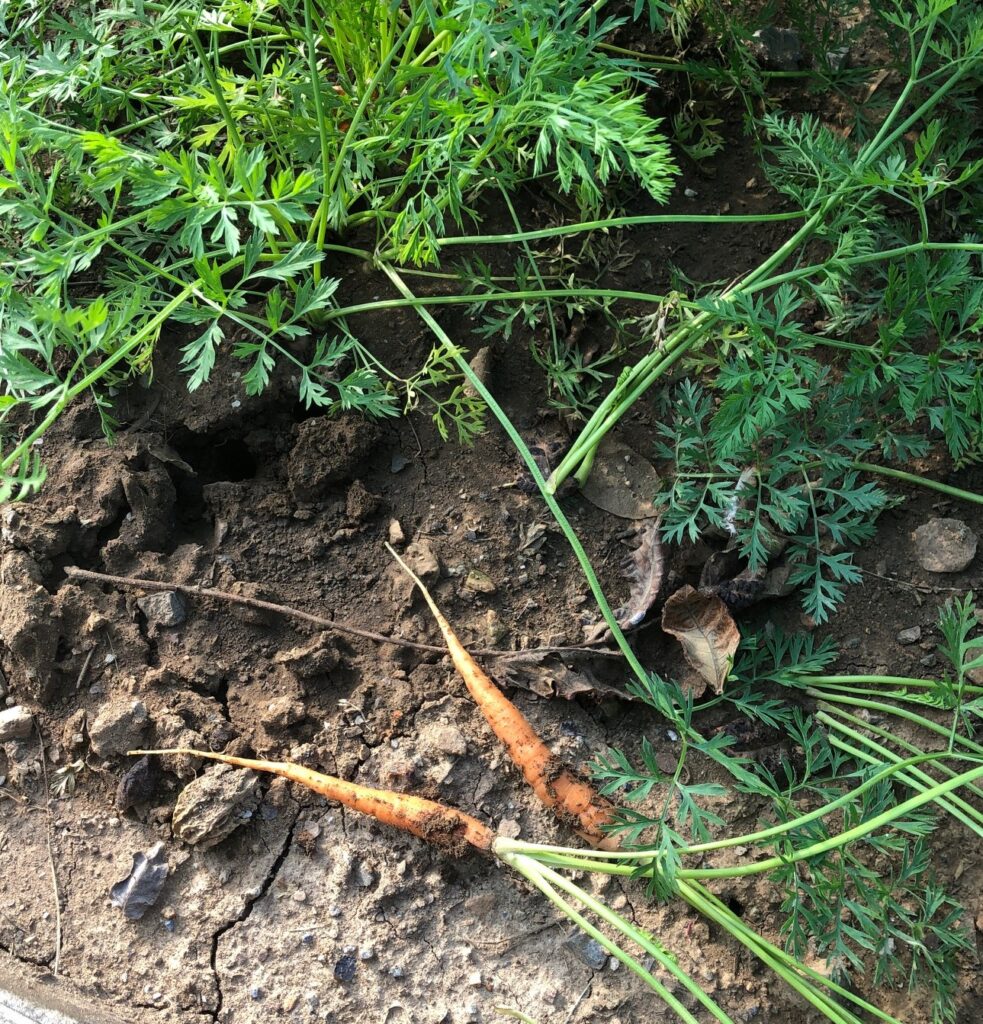
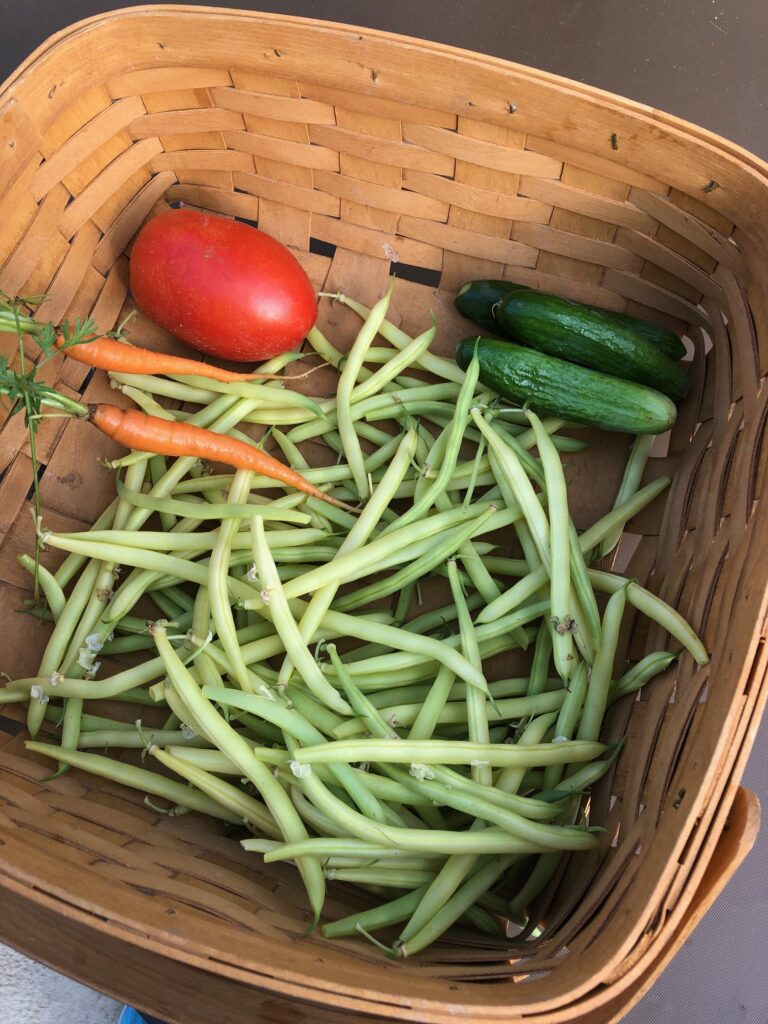
I couldn’t resist pulling a few carrots just to see how big they were.
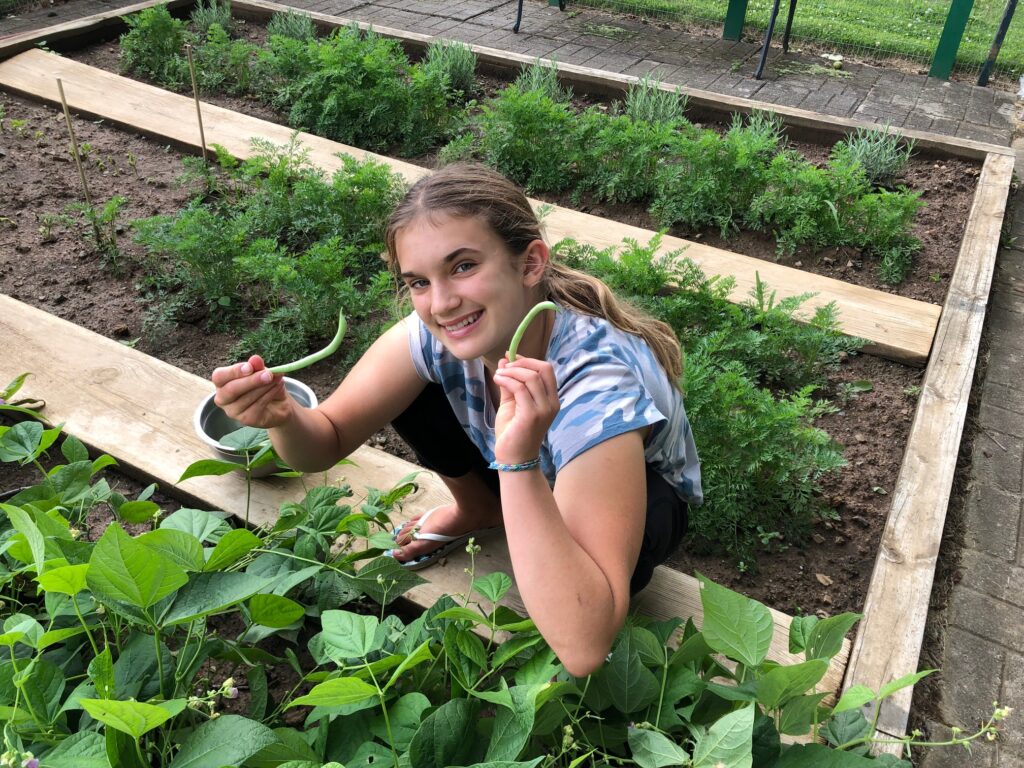
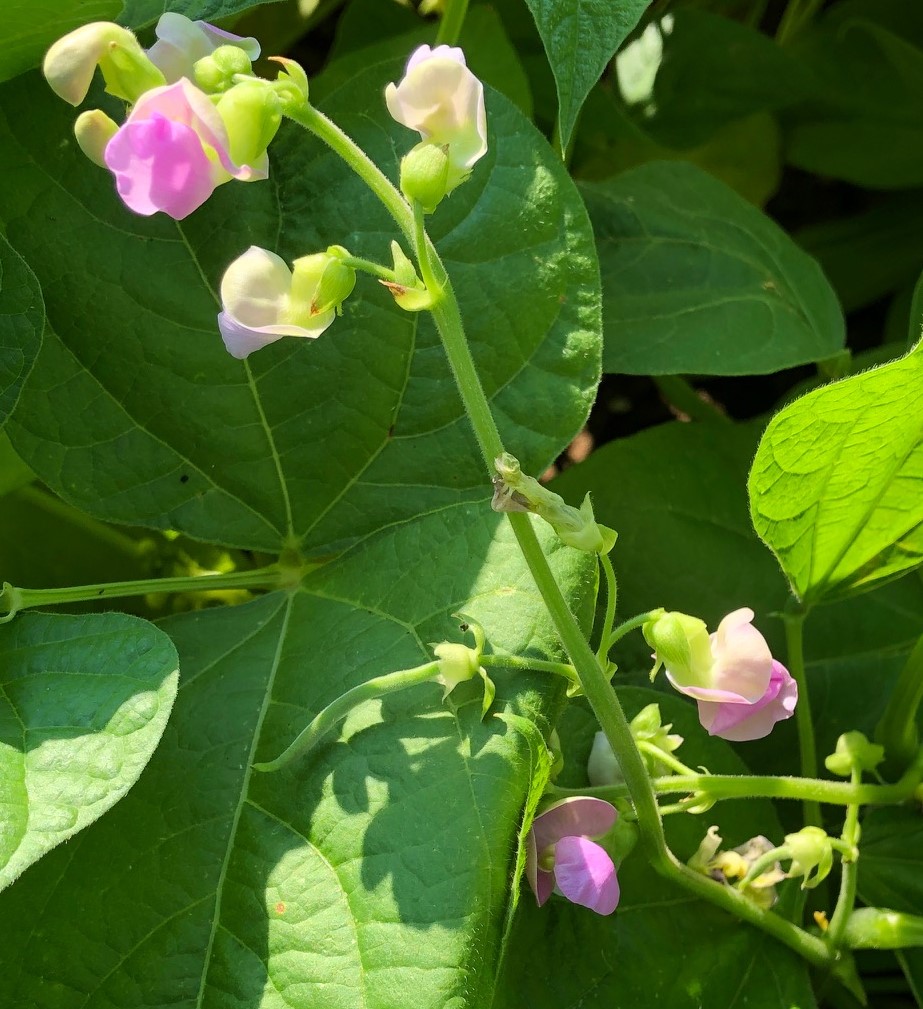
This section had two rows of green and wax beans. My California granddaughters helped me pick them and we ate them right away! Very tasty!
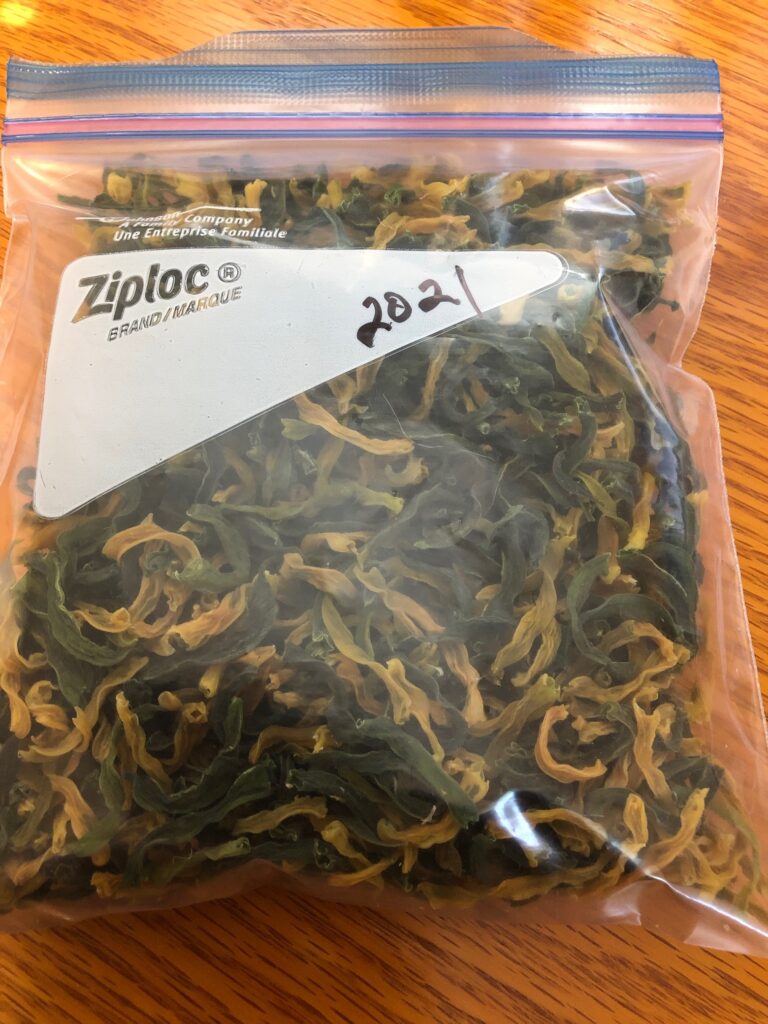
The extra beans went into the dehydrator and now fit in this little bag. Storage is easy and they are ready to toss into soup anytime.

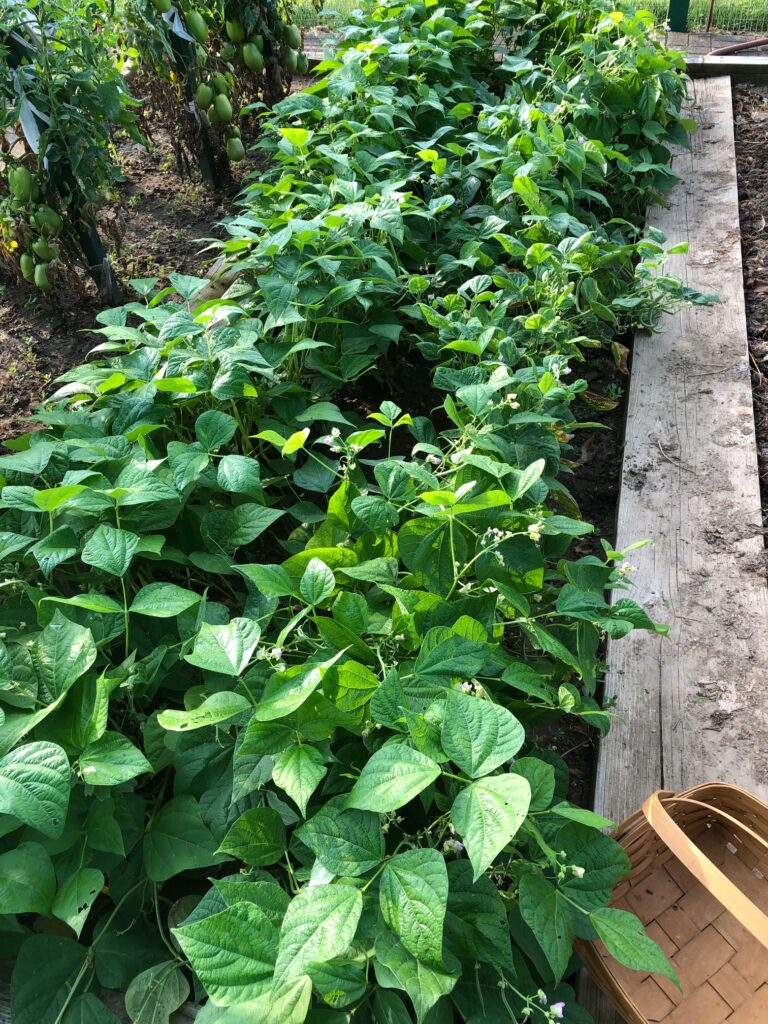
These two rows were the second planting of green and wax beans. Yesterday I picked the largest green beans. Today, the largest wax beans were picked. By Monday many more will be ready to pick.
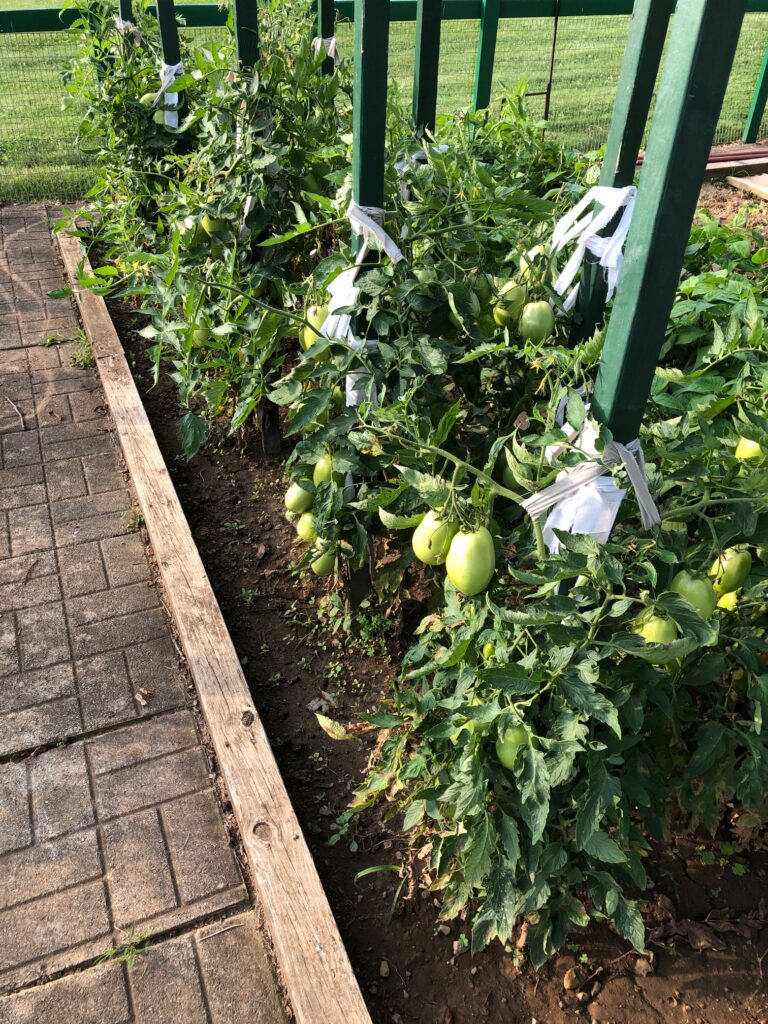
We have lots of tomatoes…only one was ready to pick.
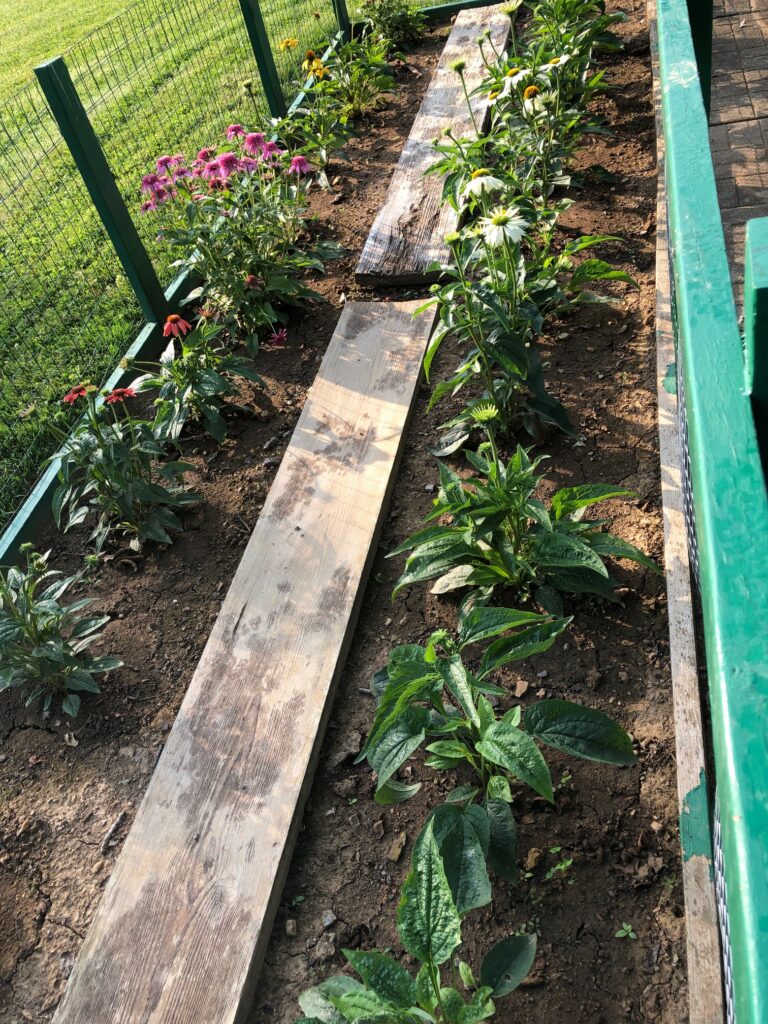
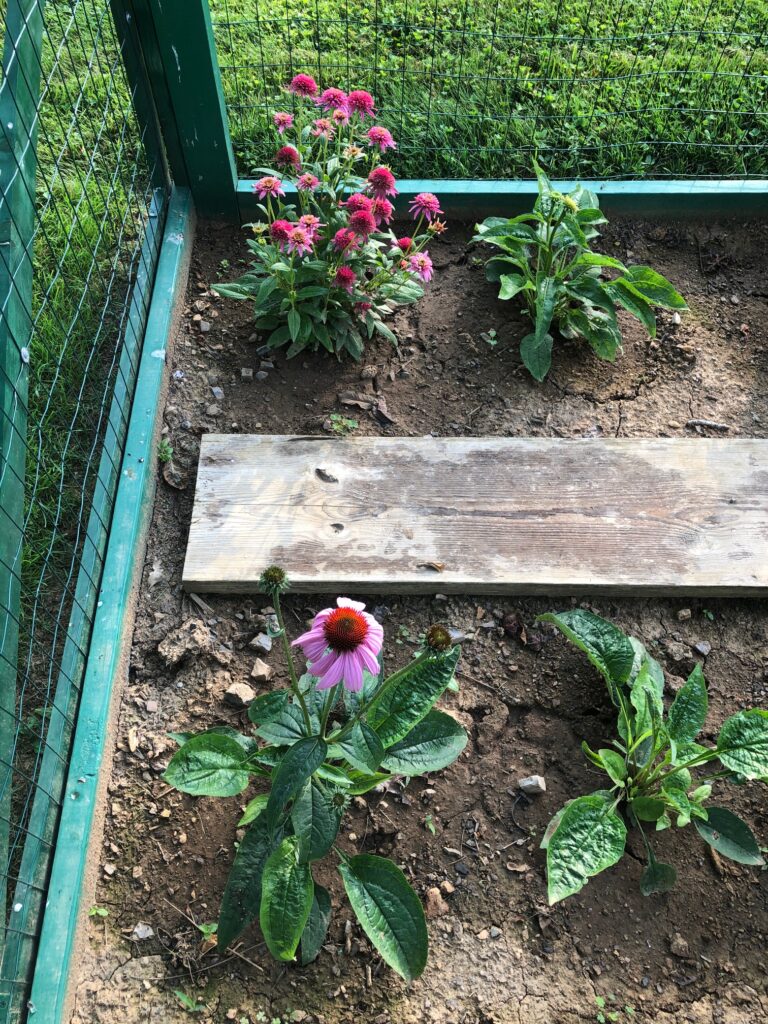
The echinacea is finally making flowers. Who knew we had such a mix of colors? I hope the bees enjoy them.

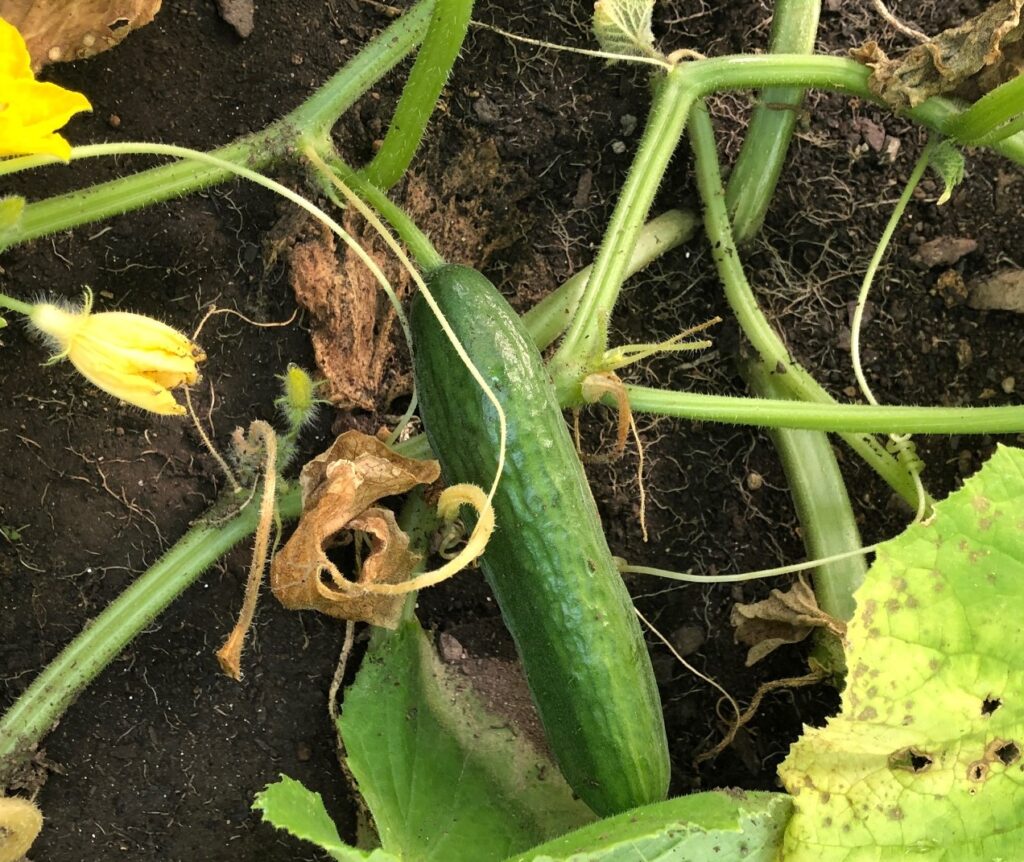
As I walked down the hill, I passed the cucumber plants and peeked under the leaves. Surprisingly, the few plants that are left are making cucumbers!
So, this is my early morning harvest today! There are still some hot days ahead this week so things will start ripening faster.
We do not have a huge garden this year, but it is fun to check it out each morning. If I really want a quantity of produce, the Farmers’ Market is still my best choice. At the end of each season, I can usually get large bags of cucumbers or tomatoes to make into relish or spaghetti sauce for a good price. Enjoy!
Please comment or email me directly at marykisner@comcast.net.

 The second and third partial row of carrots are doing well. The end of that row has a few green bean plants. That’s where we tried to grow beets, but nothing came up. Must be the seeds. Oh well. I can buy beets at the Farmers’ Market.