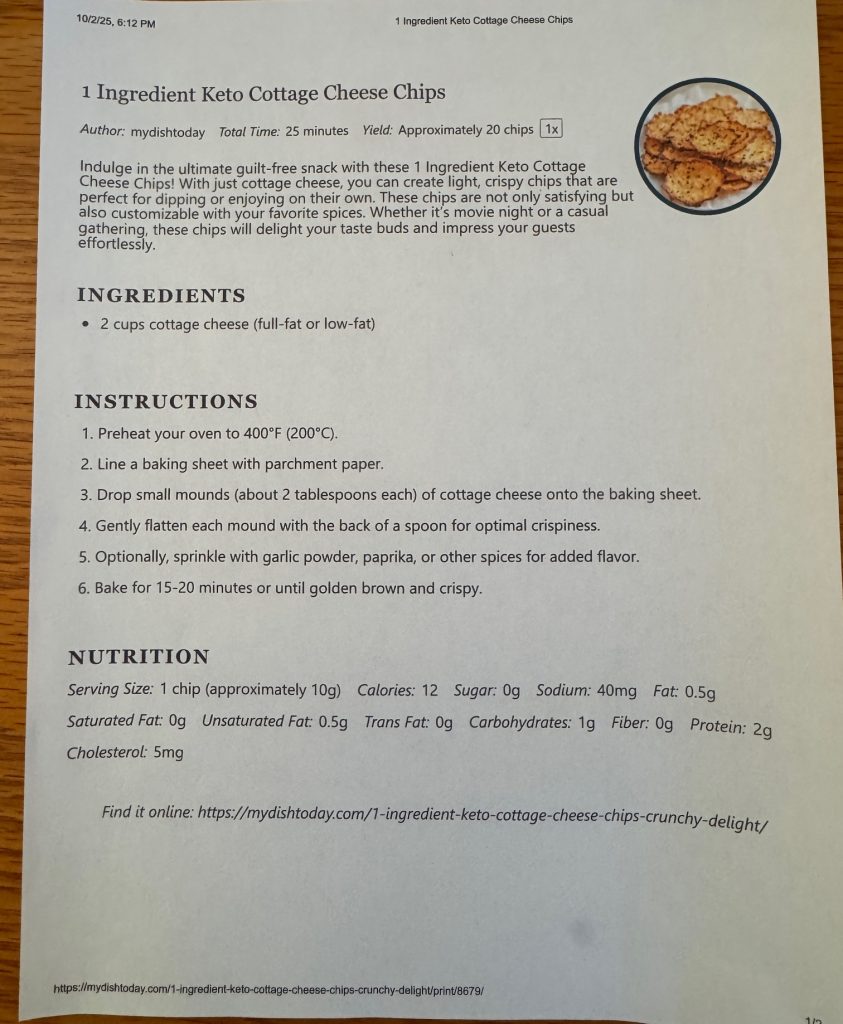
Anytime is smoothie time but the summer is the best time to take advantage of available abundant fruit (unless you live in the tropics where fresh fruit is available all year). If I want to make smoothies with fruit, I need to plan ahead. I like to use frozen fruit in my smoothies (instead of just ice). If I freeze it myself, I can put it into single serving size bags and I’ve chosen the quality of the fruit.
Apples
I can usually find fresh apples most of the year, but before harvest season in September or October, the apples have been stored someplace in a climate-controlled setting. Most other fruit we buy here in Pennsylvania from October to June has been grown somewhere else and shipped to our stores. When local fruit shows up at farmer’s markets and the grocery store, I know it’s time to start chopping!
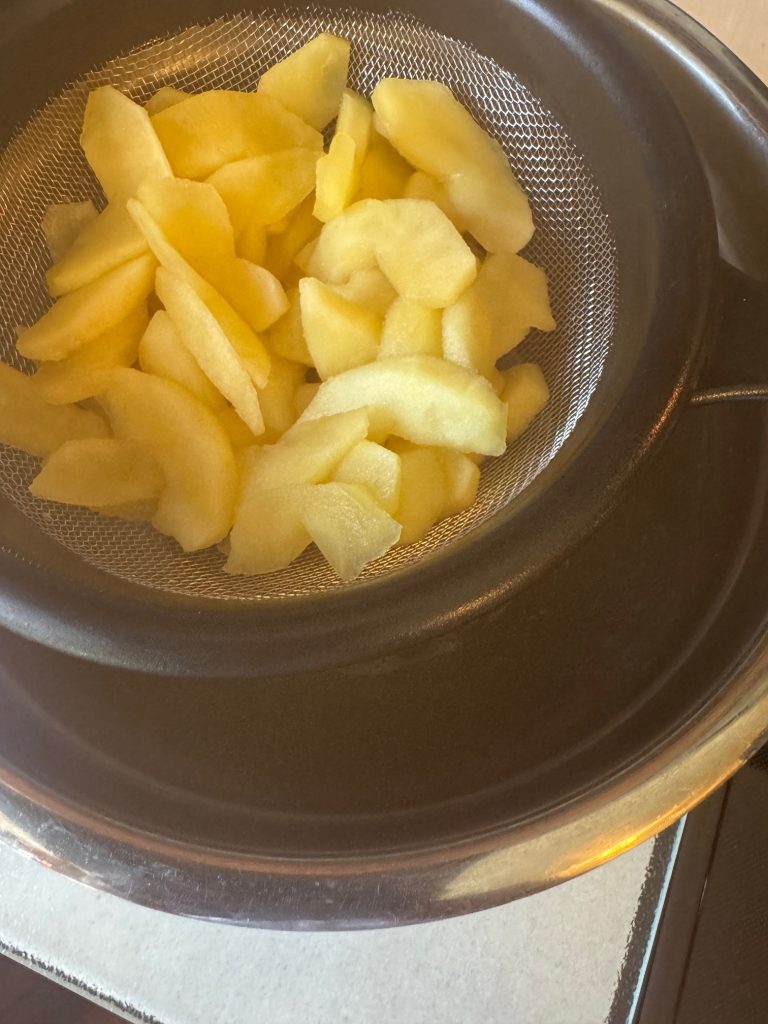
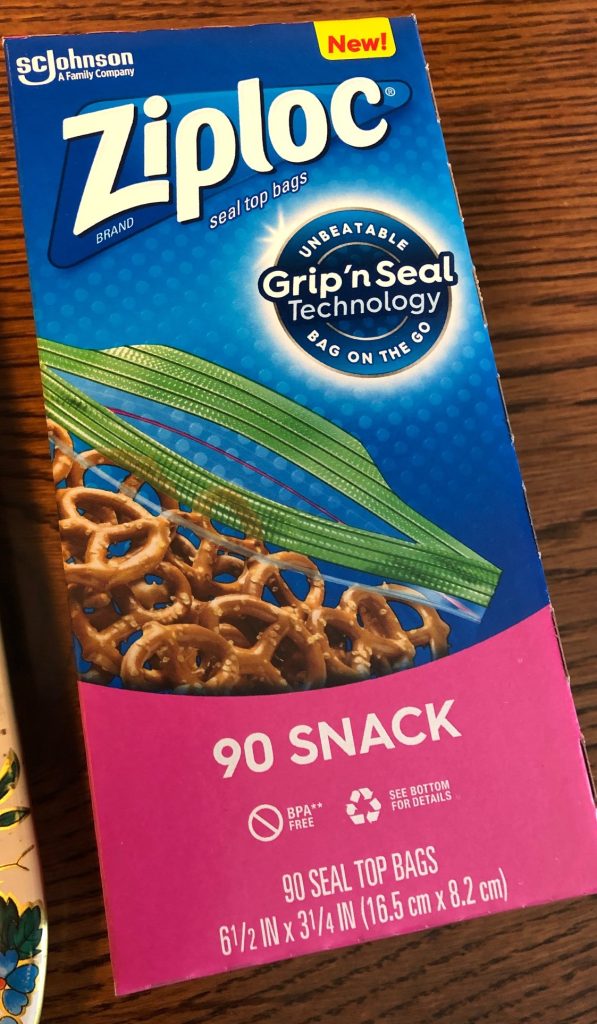
Anytime I buy a bag of apples and we aren’t eating them fast enough, I take the time to chop them up in small pieces, put them in a snack-size zip bag and get them into the freezer.
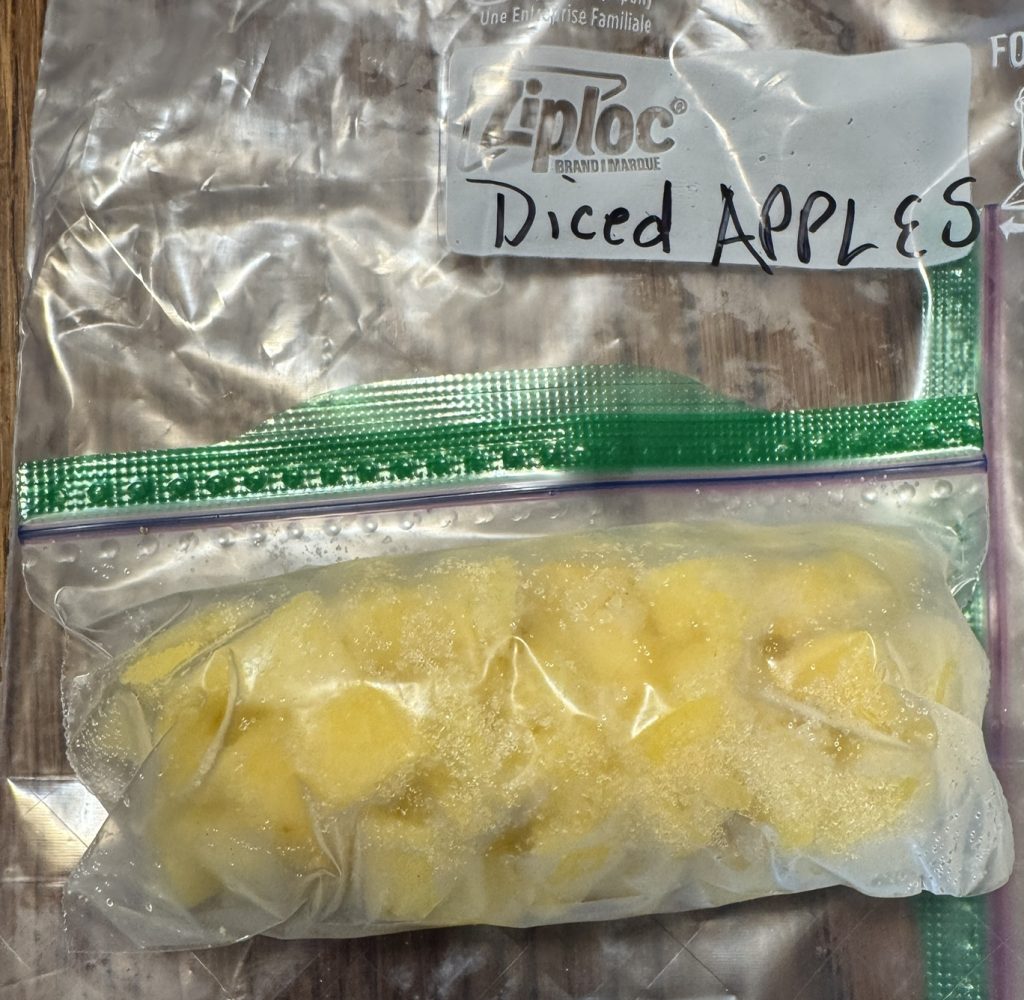
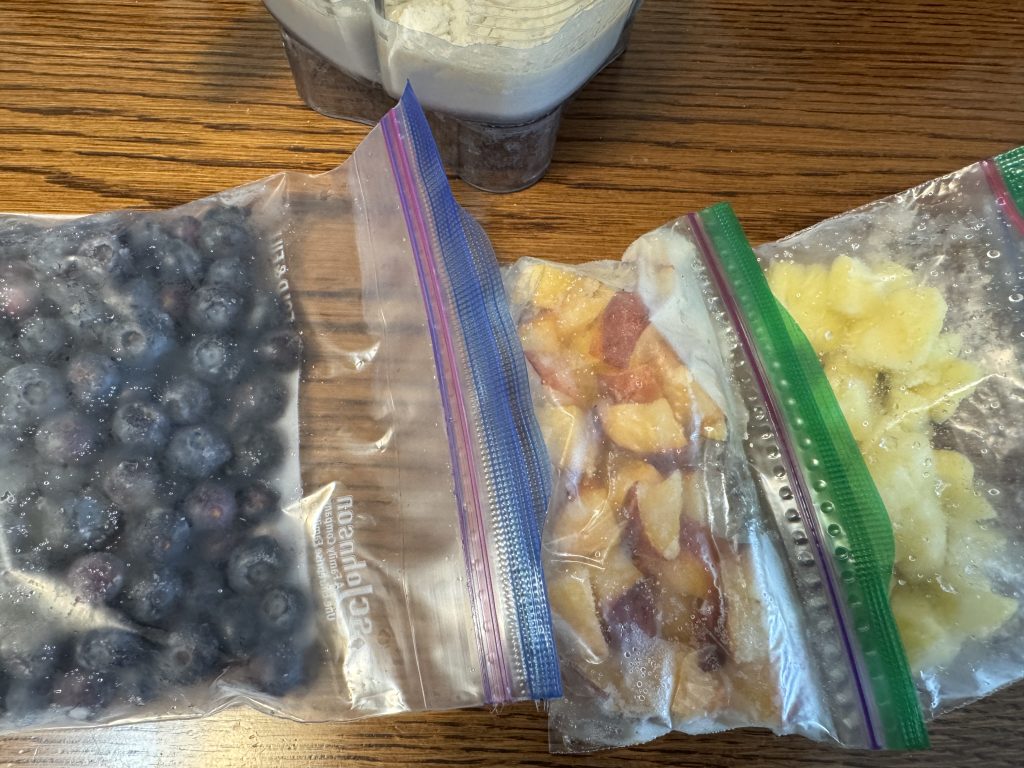
This quart bag held 4 bags of diced apples. I can easily break off half the bag if I want to mix it with other fruit.
Blueberries
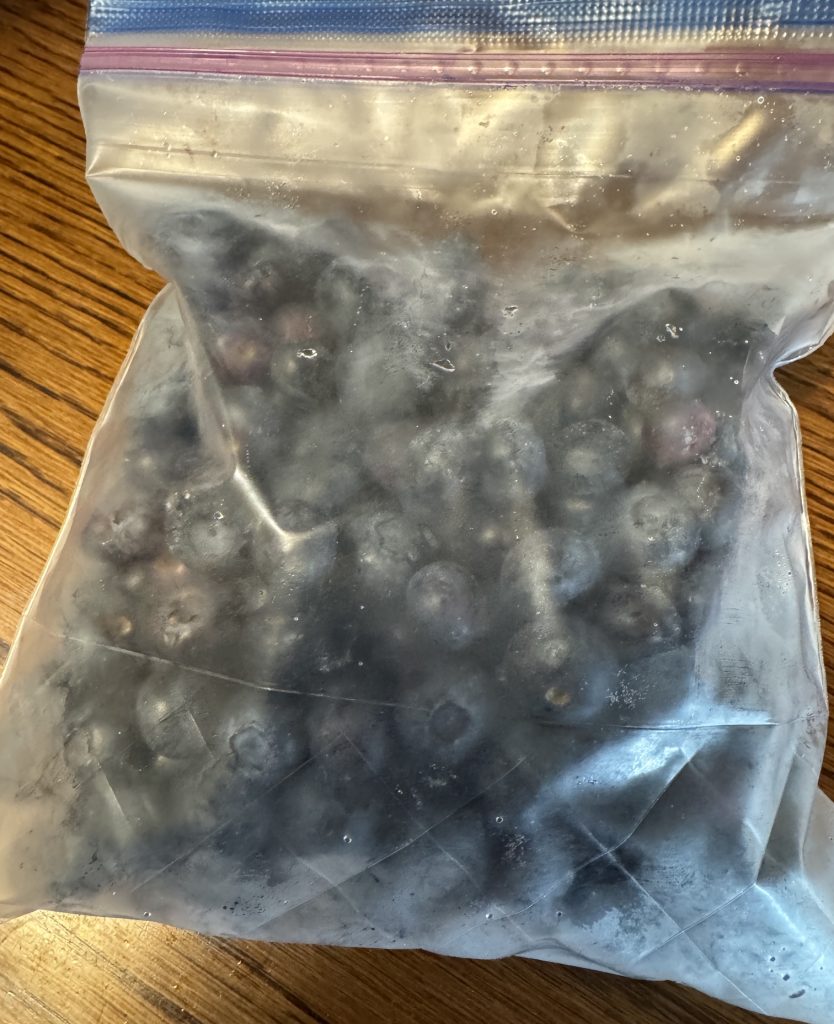
Every year the Kiwana’s in our area have a blueberry sale. The blueberries come from New Jersey (or maybe Maine?) and are very clean and delicious. A 10-lb box this year was $38 and I bought only one box…I still have blueberries in the freezer from last year. I wash them right away and put them into 1-quart zip bags. Once they are frozen, I can pour them out of the bag like marbles right into my blender or into a measuring cup if I need them to bake muffins, etc.
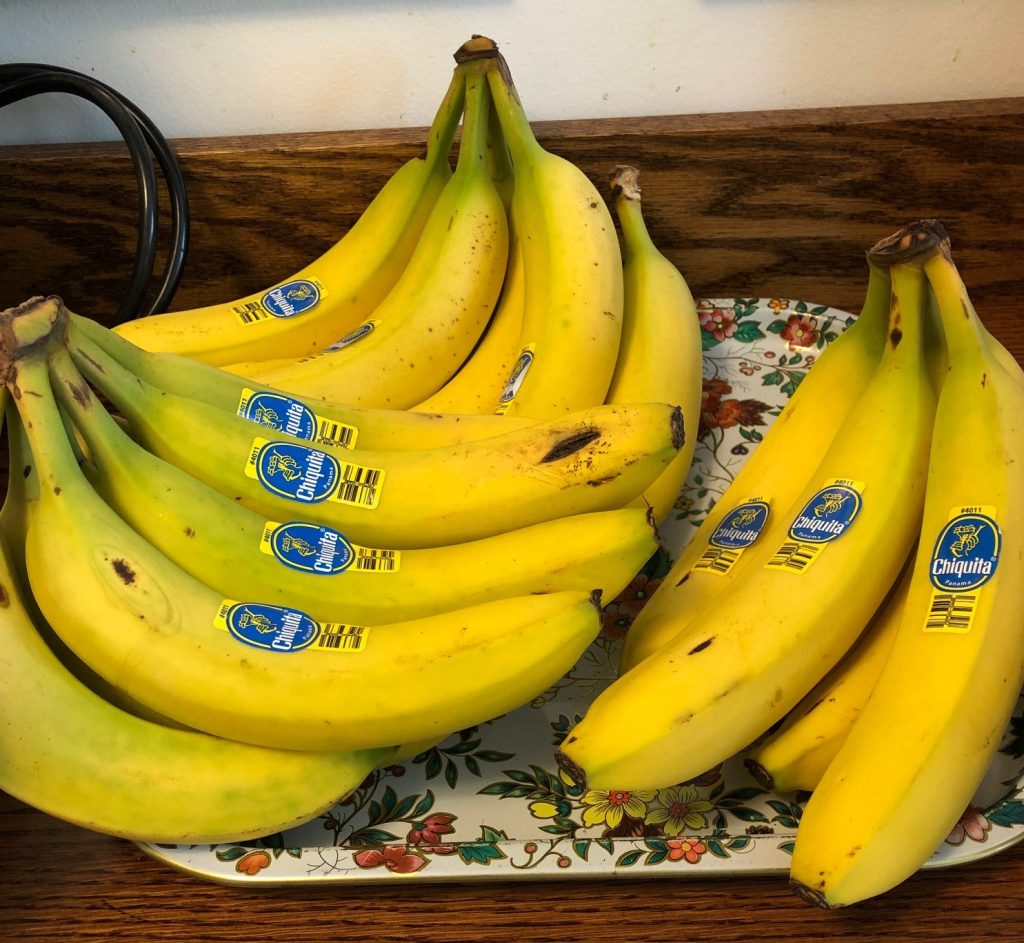
Bananas
I especially like bananas in my smoothies, and freezing them in slices makes it really easy. Bananas don’t keep very long on my counter top and always go bad before I can get to them.
When they are abundant in the store and I have time, I buy about 20 bananas…all about the same ripeness. Then I turn on my music and start chopping!
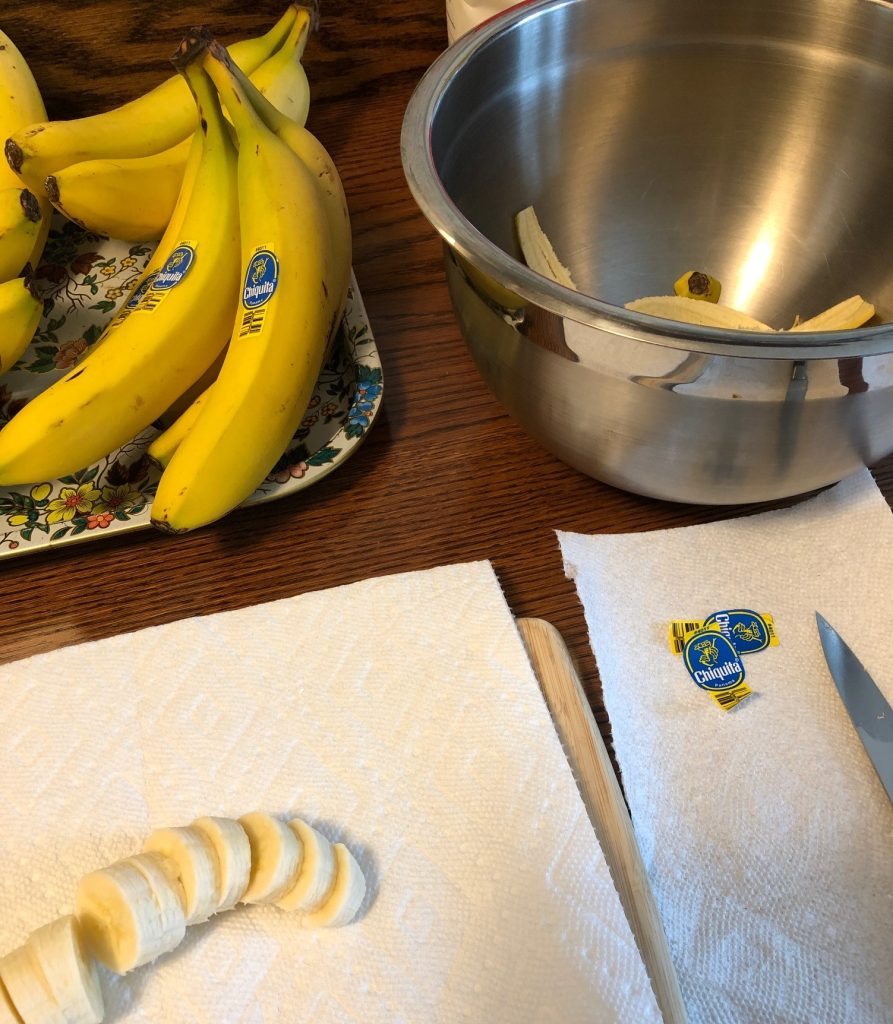
Since we compost the peals, I’ve learned to remove the stickers. Even when the peals decompose and turn to good dirt the stickers NEVER decompose!
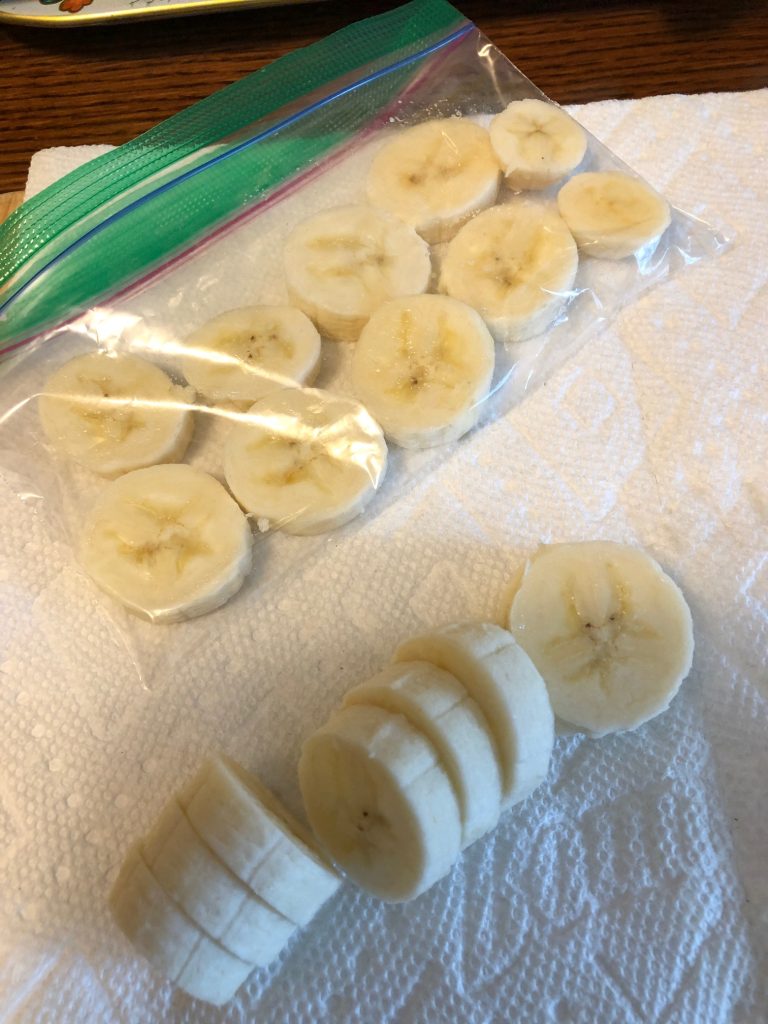
Each snack bag holds exactly 10 slices, which is about 1/2 a banana. Perfect!
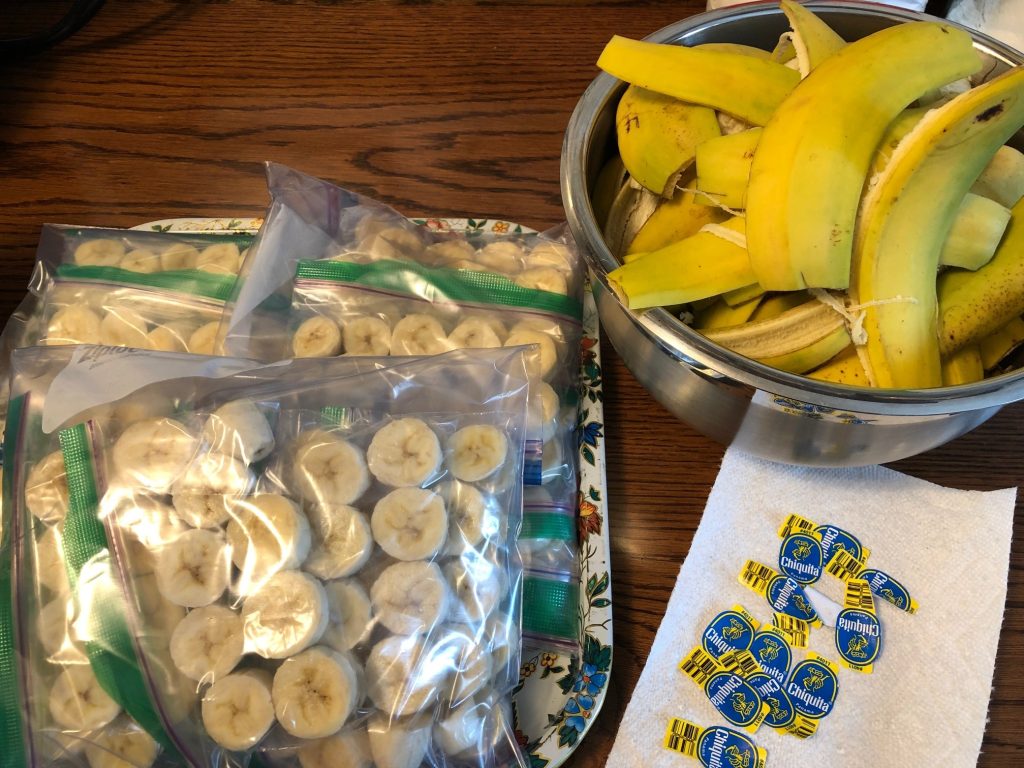
Ready for the freezer! I don’t even have label them…they look like banana slices when frozen!
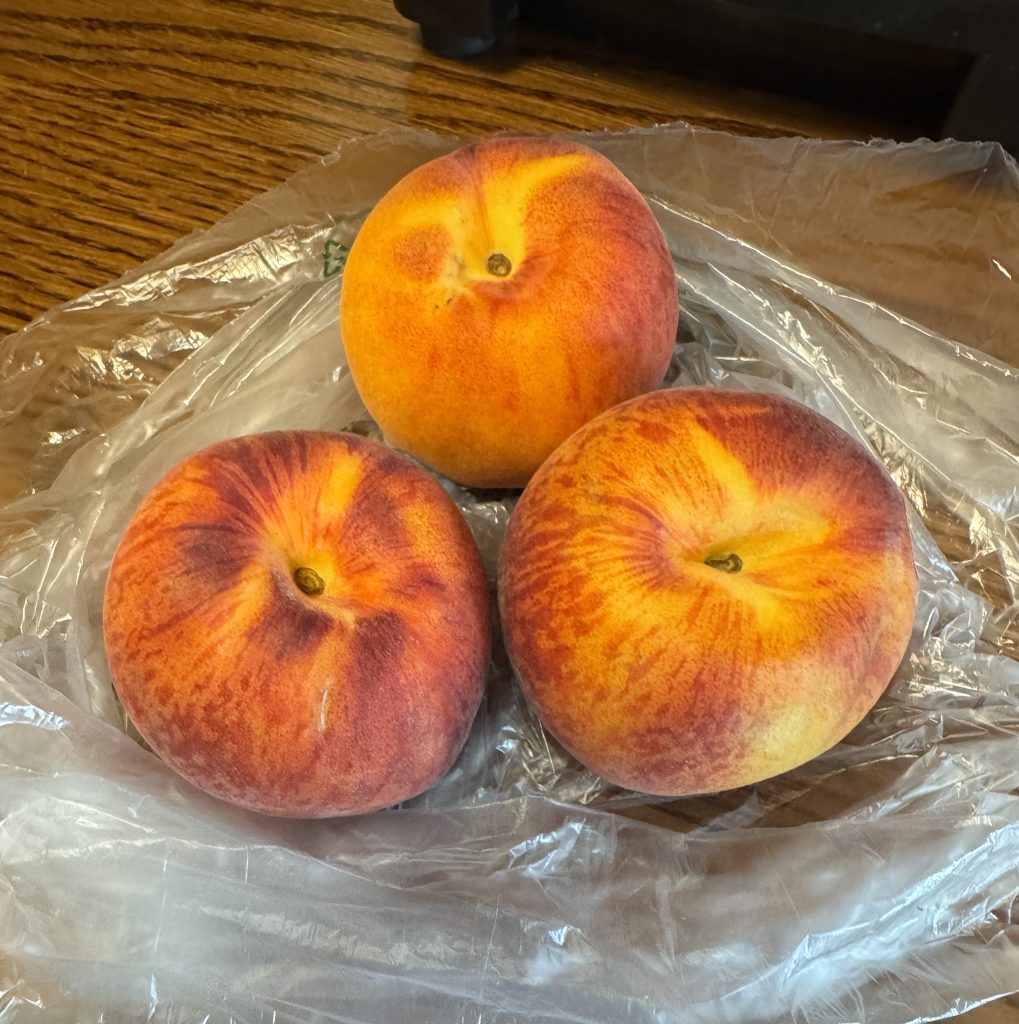
Nectarines
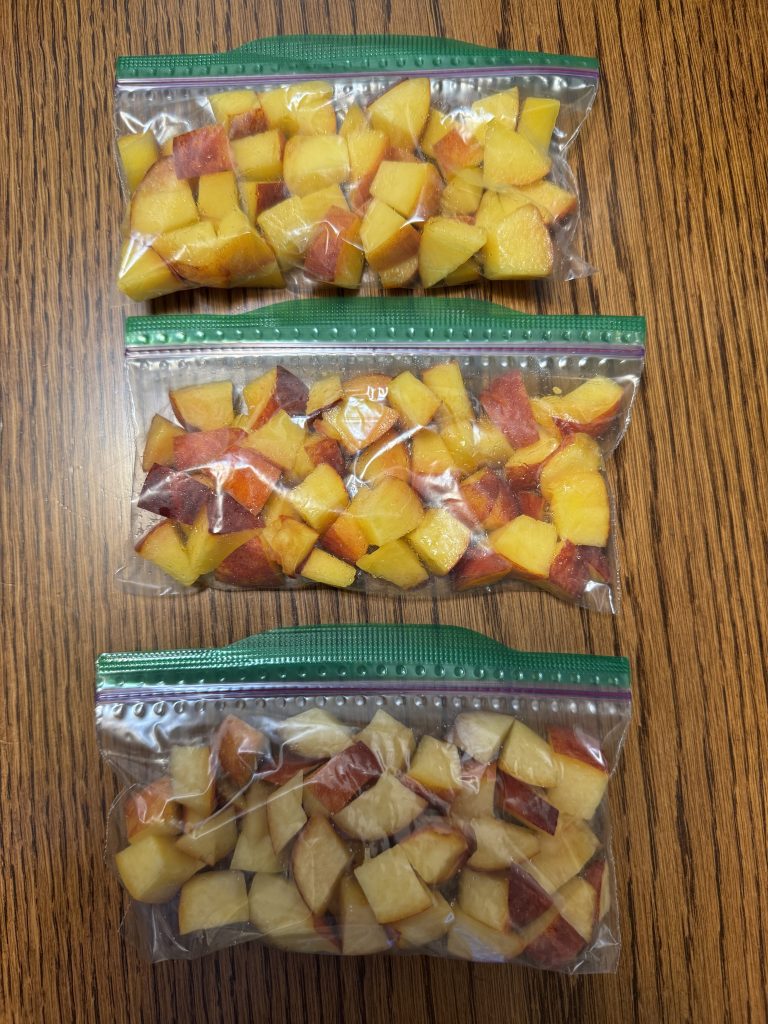
I just took three nectarines that were not going to last on my counter and chopped them up.
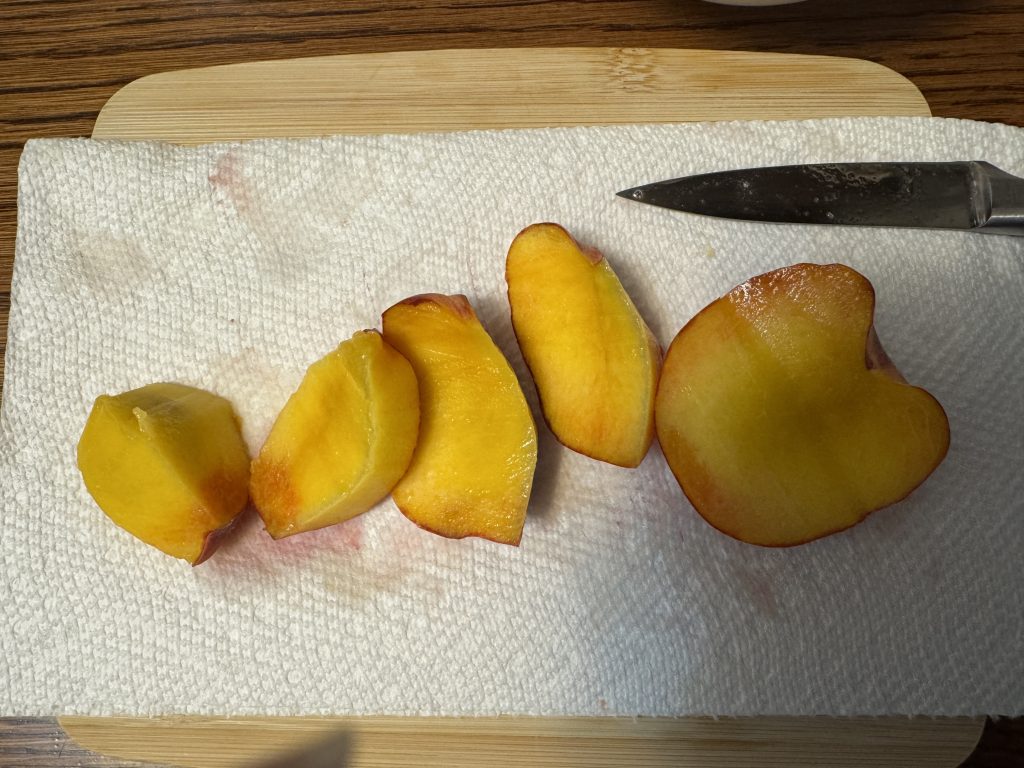
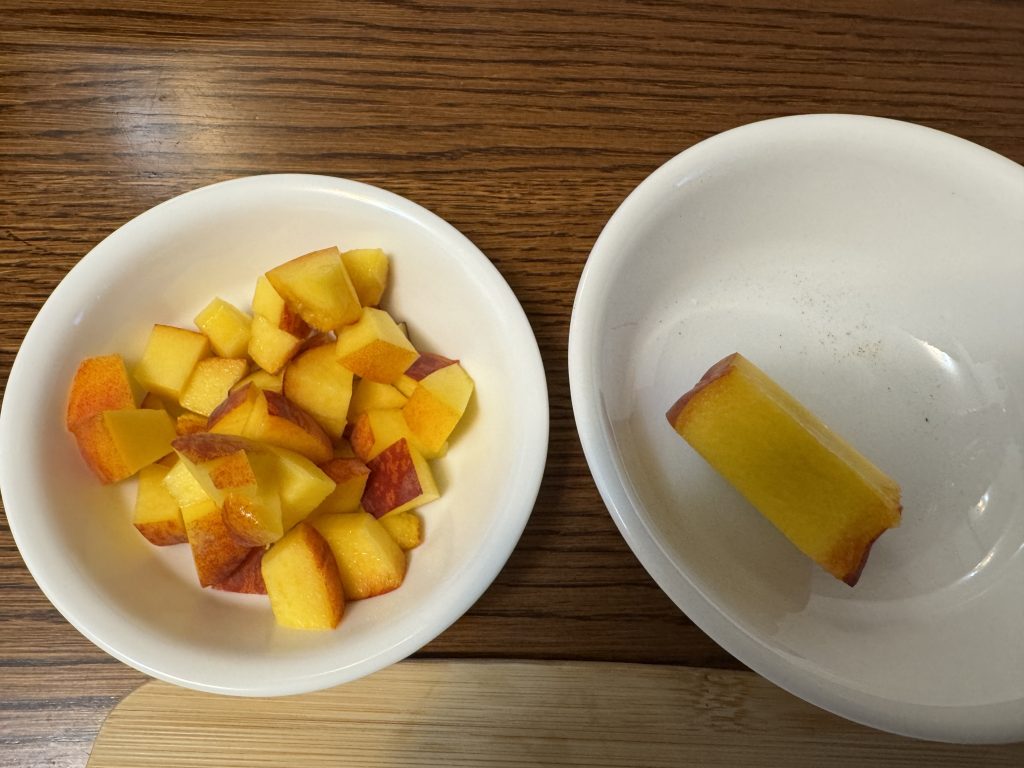
These are ready for a smoothie…and I can use just half a bag if I like!
Making Smoothies
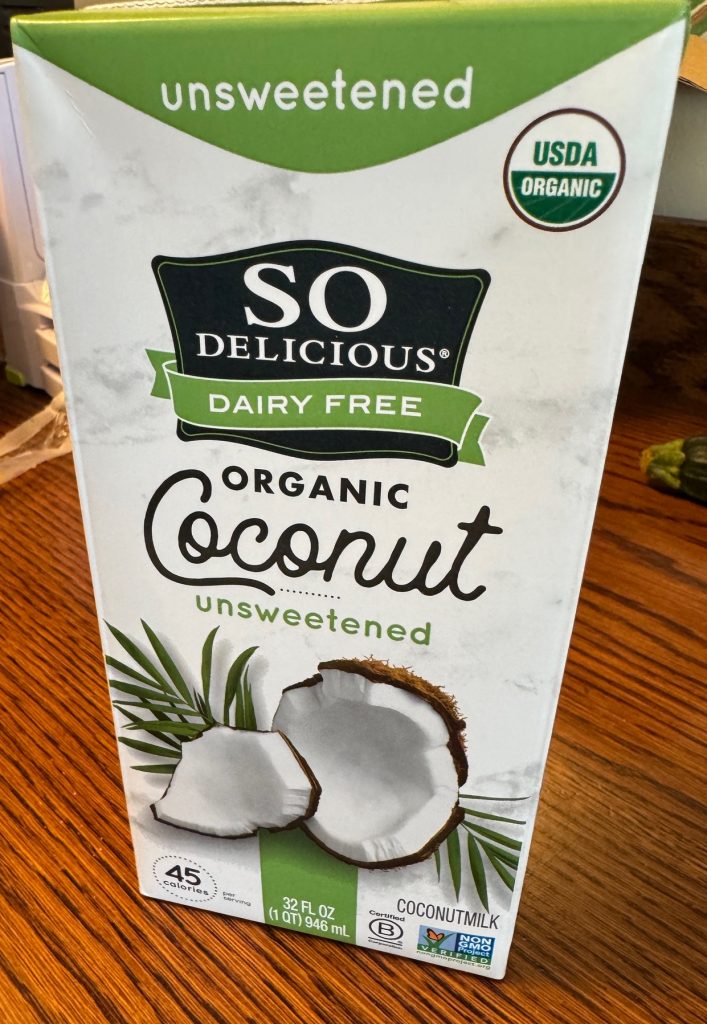
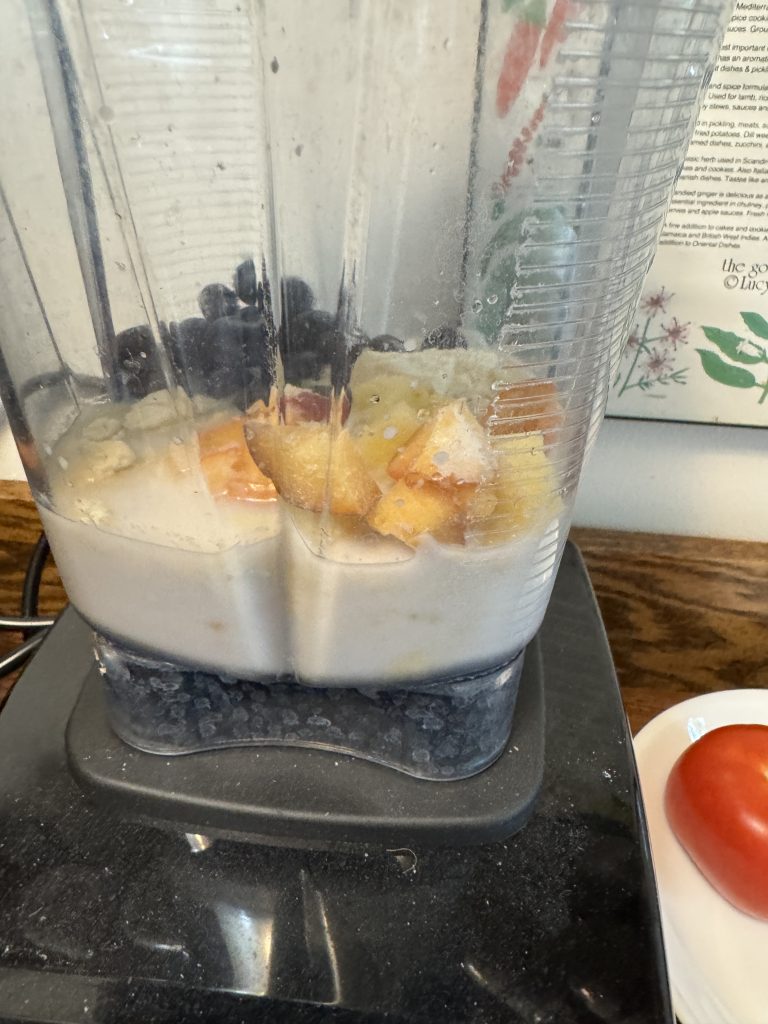
My smoothies start with about 8oz of Almond or Coconut milk. You could use regular milk or water. My choices for Protein Powder include:
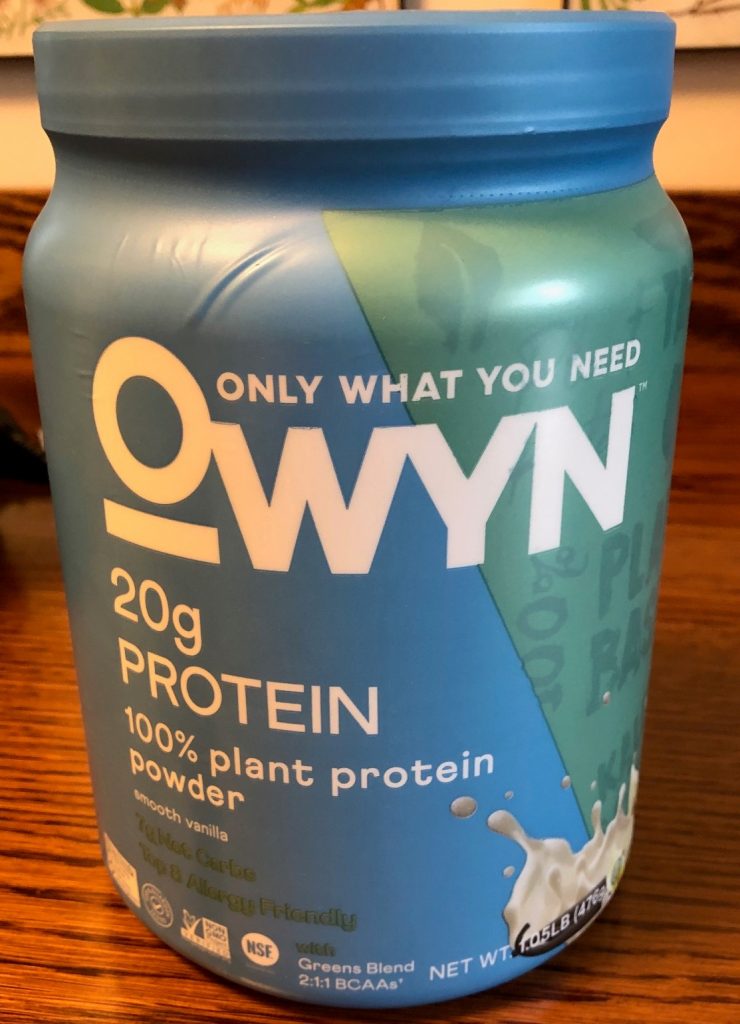
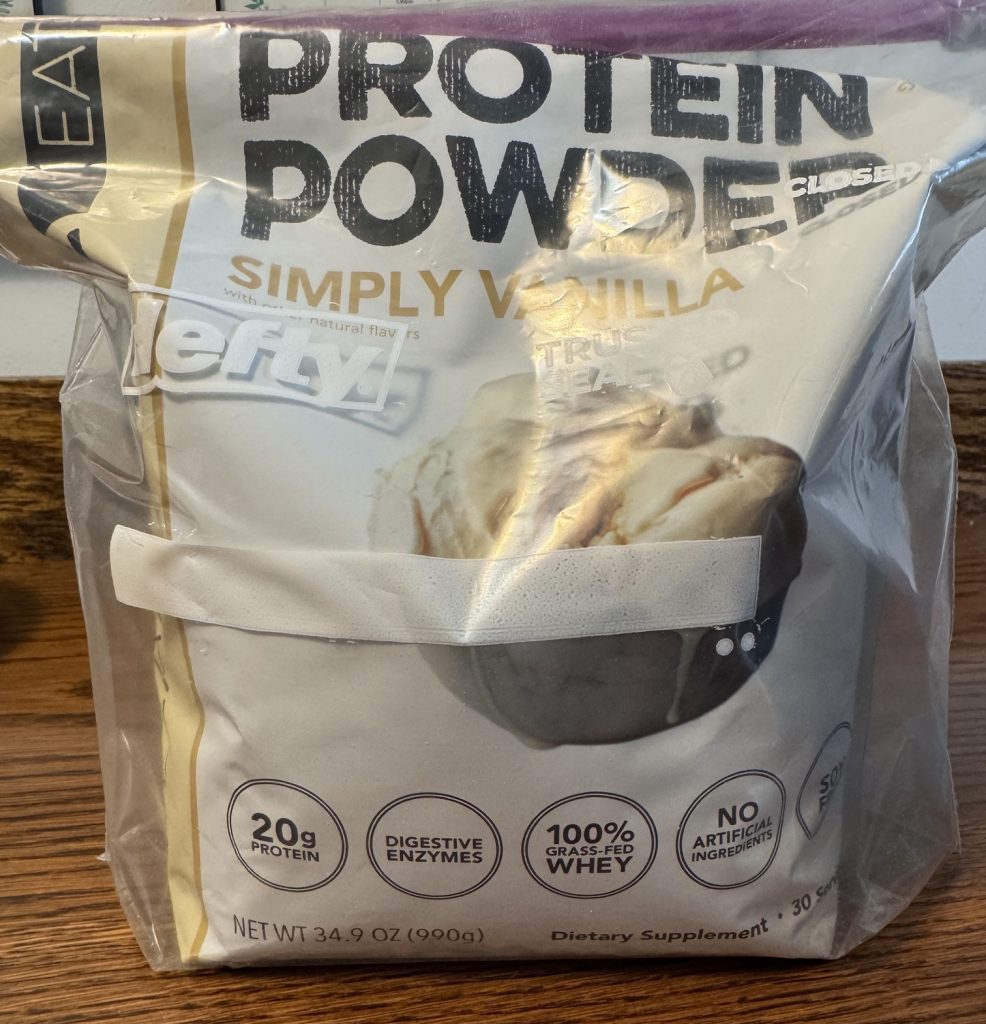
Or a whey-based protein powder:
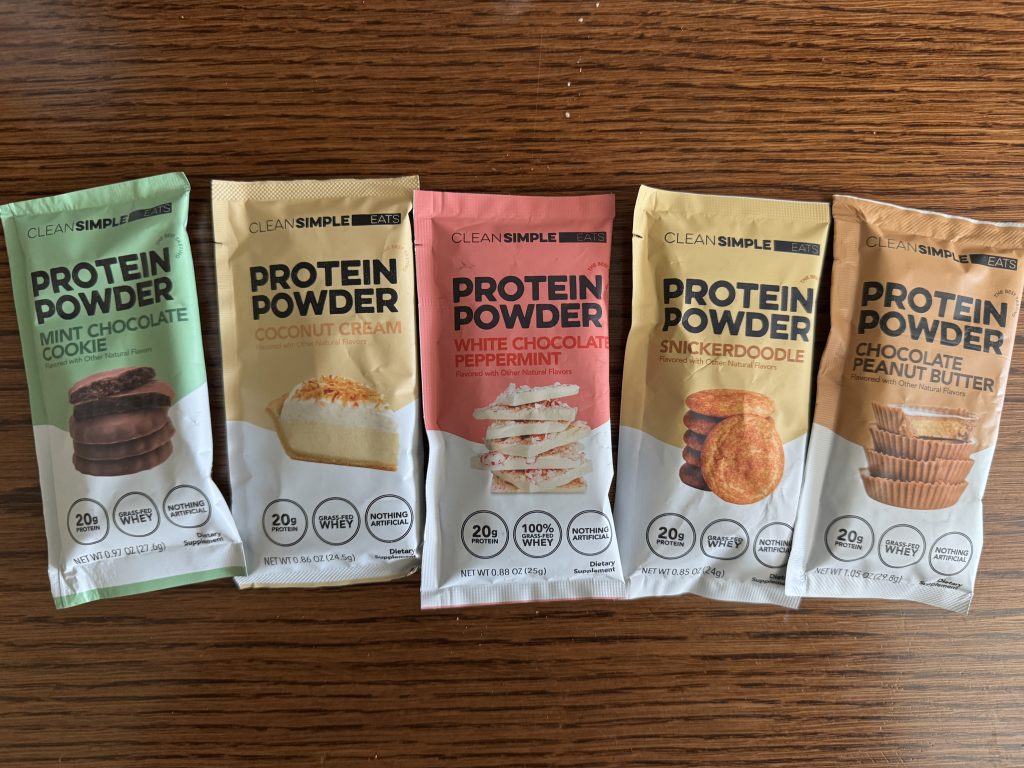
This brand is called “Clean Simple Eats.” Very tasty!
It even comes in many flavors! I haven’t tried them yet…but the vanilla is delicious!
Milk goes in the blender first. Then a scoop of protein powder.
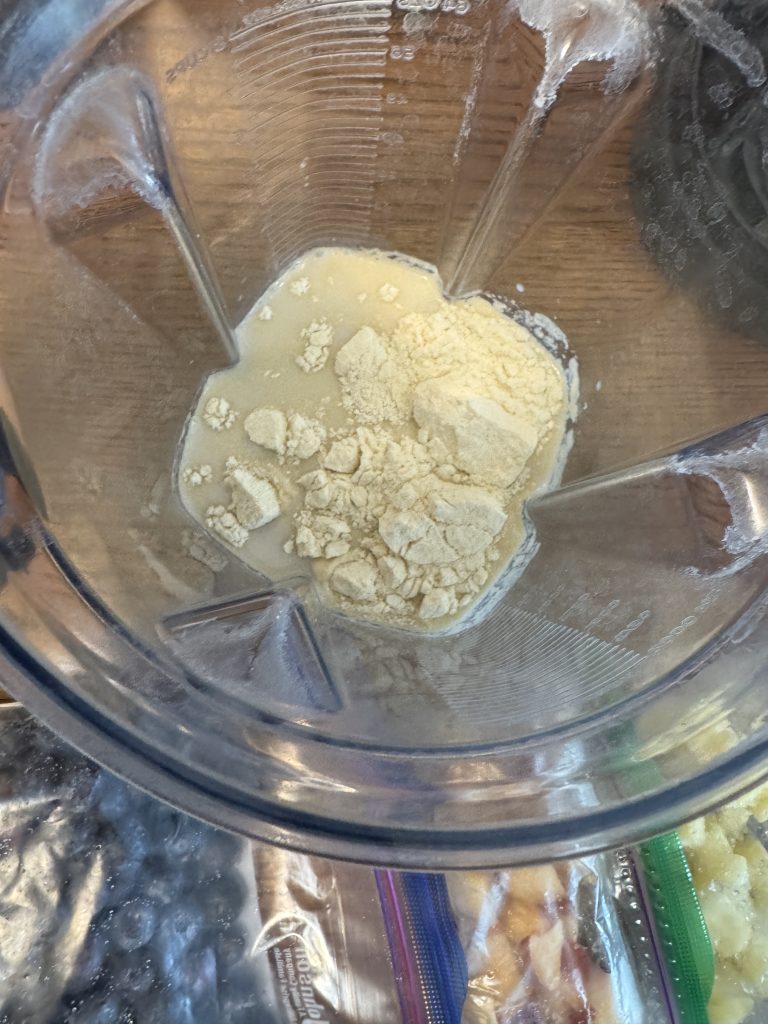
Then about 1 cup of frozen fruit.
Fruit goes on top of milk and powder.
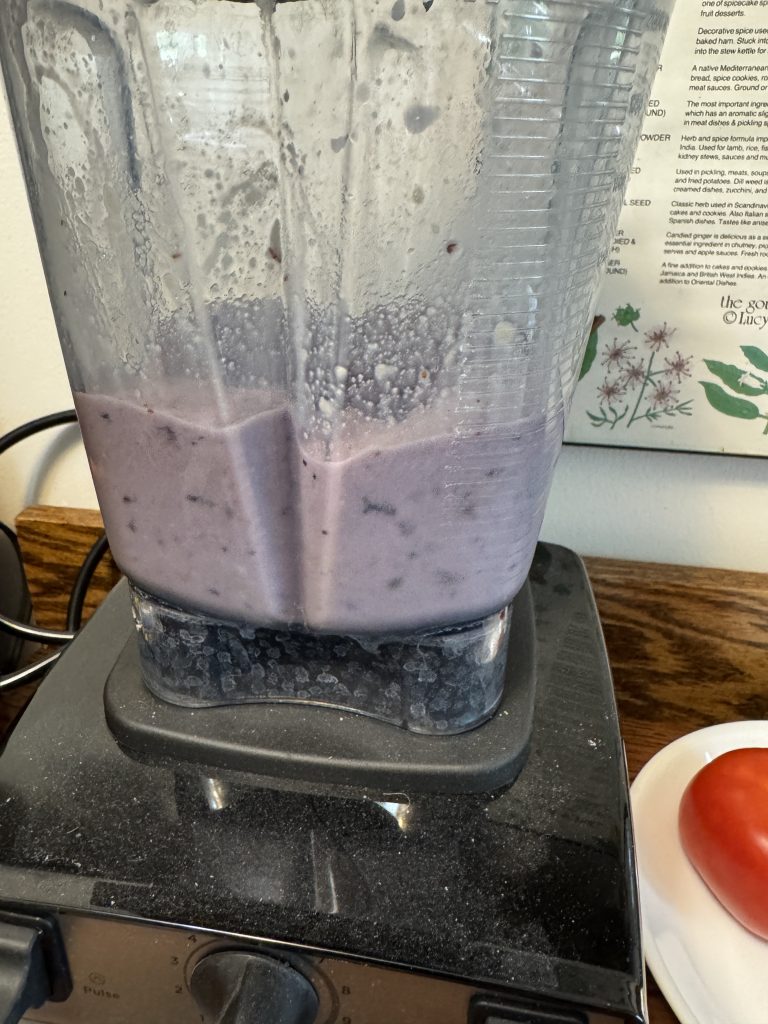
About one minute in the blender and I have my “smoothie milk shake” for breakfast!
Prepping fruit for smoothies doesn’t take long but it sure makes my morning much easier to get going! Don’t let any fruit go to waste…get it in the freezer ready for smoothies! Enjoy!
Please email me directly if you have questions or comments: maryjkisner@gmail.com