Dehydrating Pineapple and Zucchini

The last few days, when I needed a distraction, I decided to get the dehydrator ready for garden season. I look forward to planning what we’ll be canning, freezing and dehydrating. I also had fun with a new canning tool.

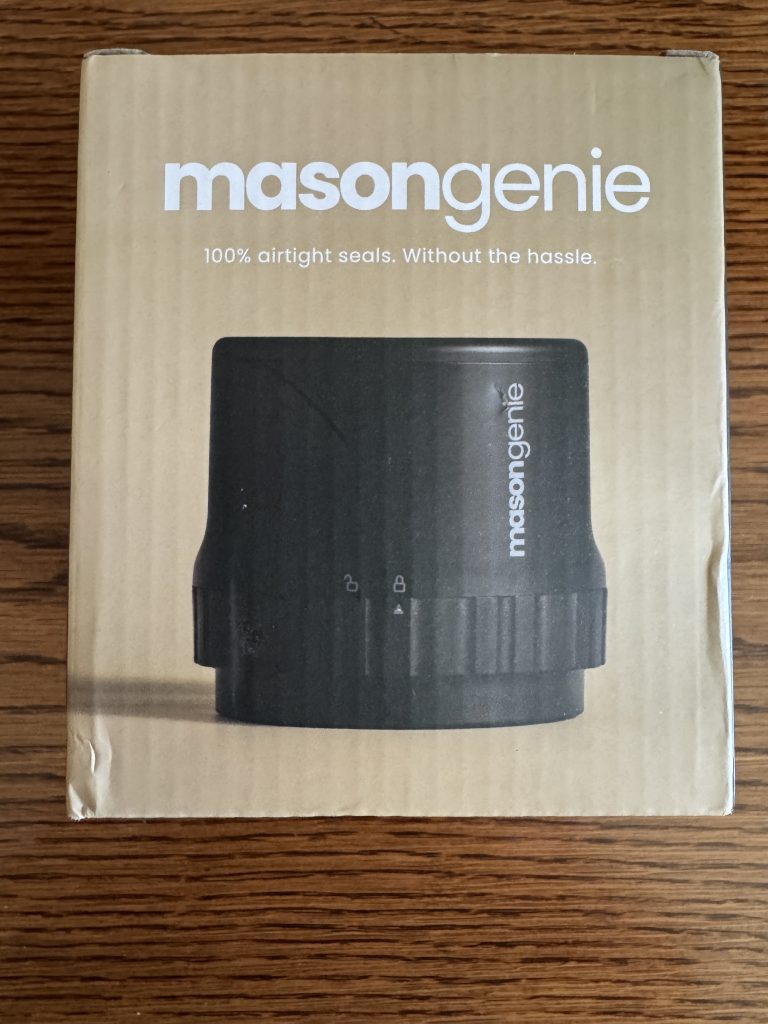
It all started with an ad for a tool, called a masongenie, that would suck out the air in a canning jar to seal it…as a way to preserve dry goods, like cereal, rice, beans or dried fruit. It looked pretty simple and could be used to re-seal the jar after using some of the contents. (NOTE: This is not a substitute for regular canning processes of raw, uncooked produce.)

I thought it might substitute for my usual way of taking the air out of a jar with little packets of “oxygen absorbers.”

They worked, but if I opened the jar to use some of the contents, they had trouble sealing the jar again.

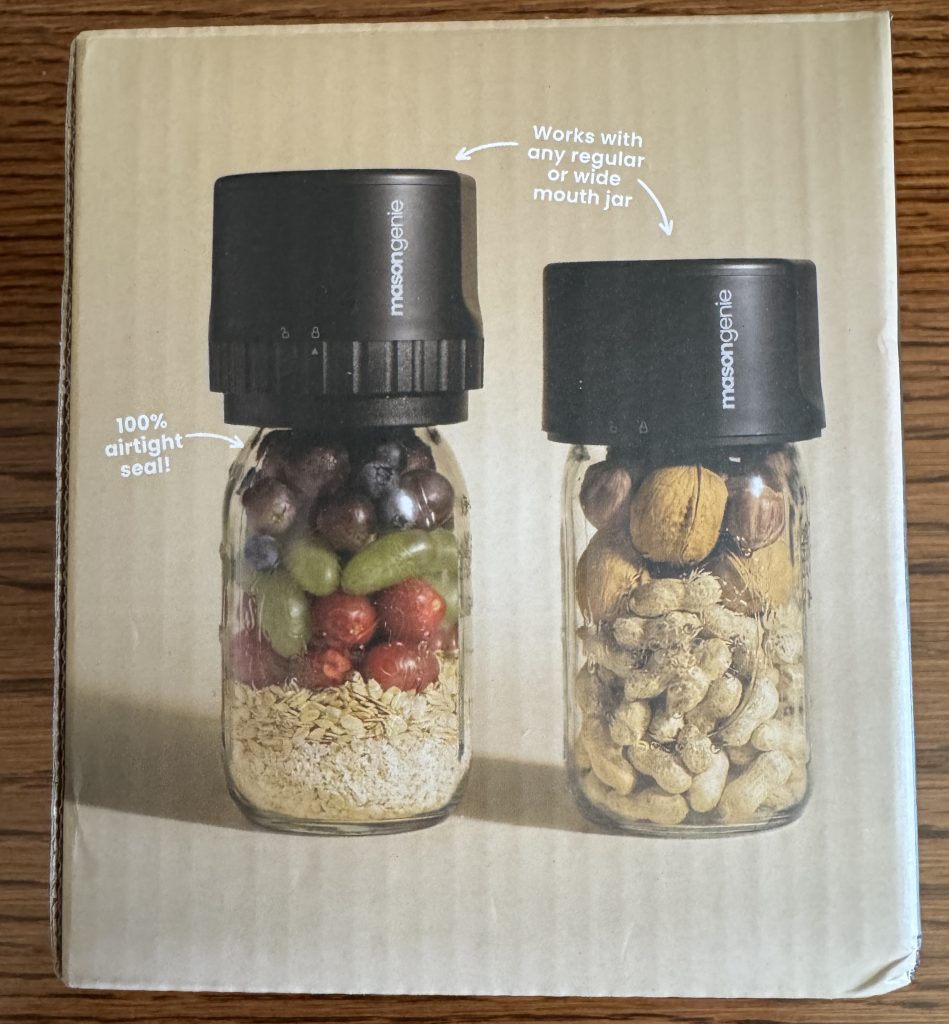
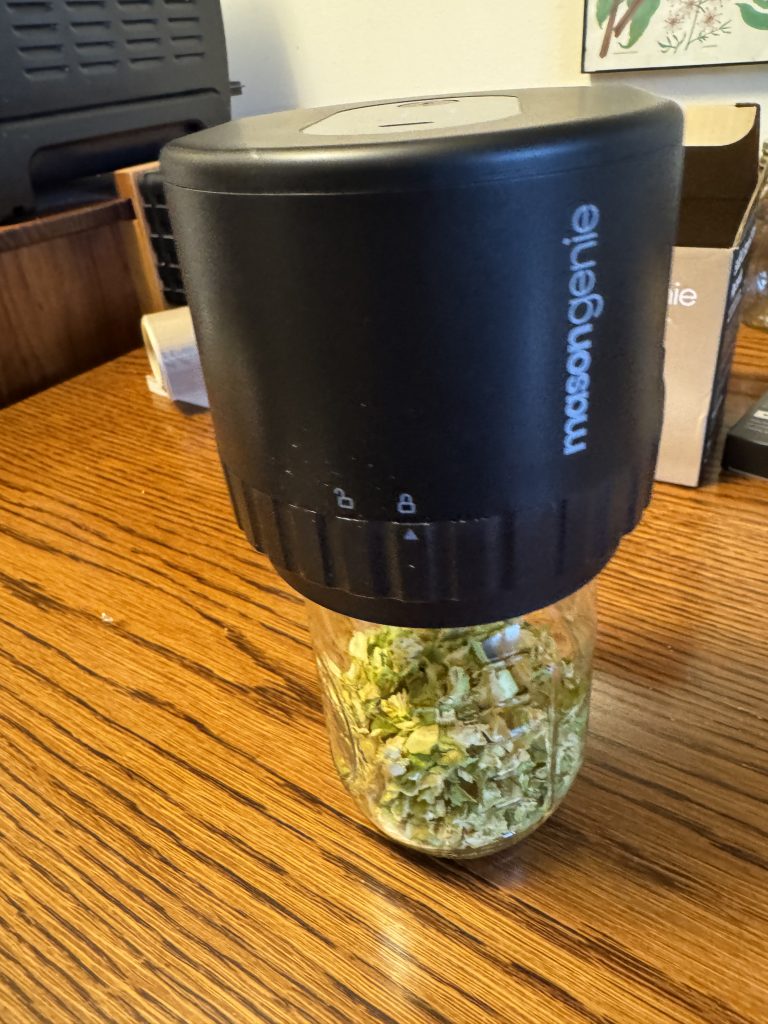
The masongenie works with regular-mouth and wide-mouth jars. It can be charged with a USB connection and can seal most jars in 60 seconds.

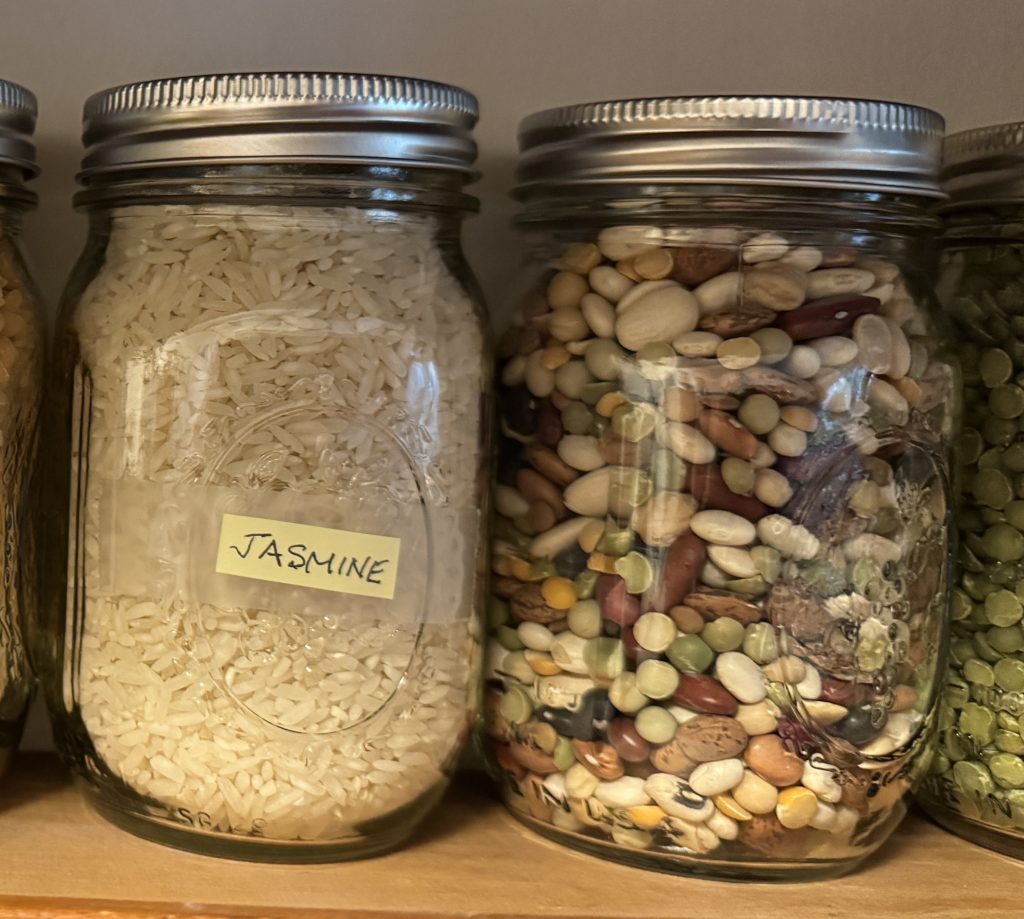
I started with a partial bag of rice just to give it a try. In 60 seconds, the lid sealed and I could put the jar on the shelf. Looked much better than the wrinkled bag of rice and should keep the rice fresher. Now, when I use some, I can easily reseal the jar.

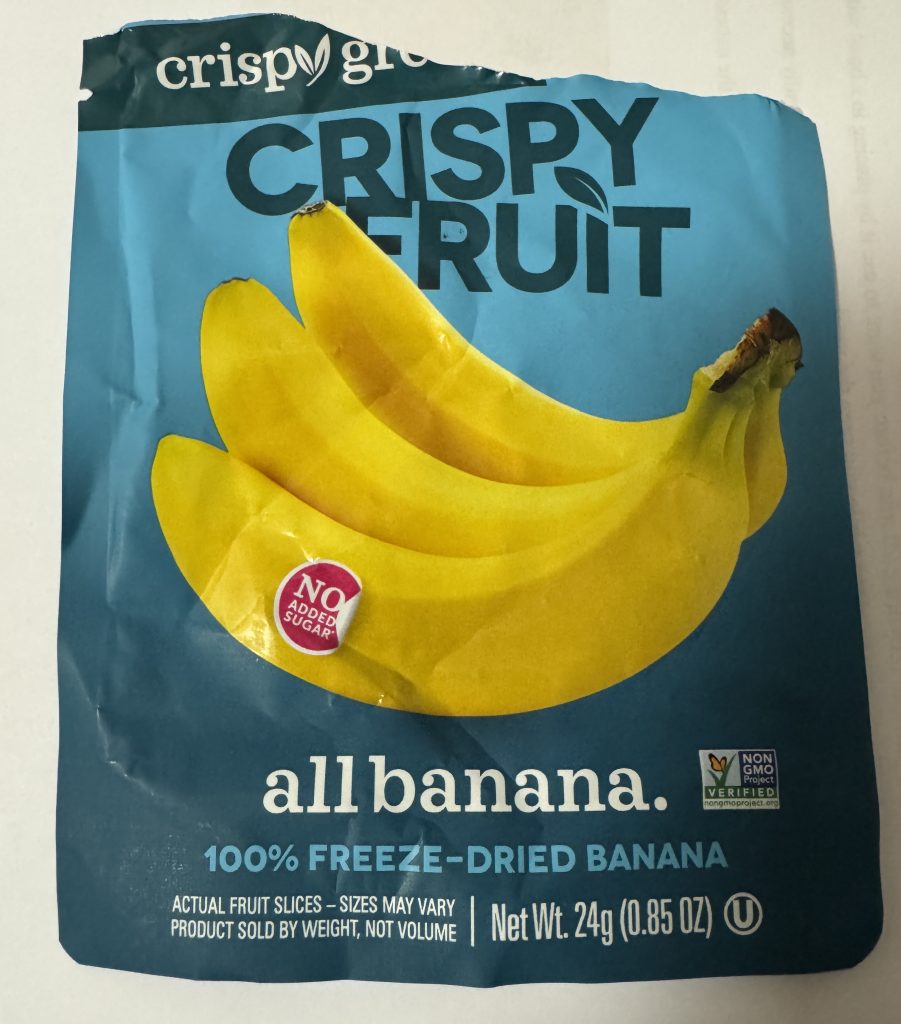
Of course now I looked around to see what else I could seal! I got distracted with the package of dried bananas we had been snacking on. When we read the packet, it said, “Made in China!” Yikes! Certainly, we could do better than that. I started thinking about other snacks I could make in the dehydrator.

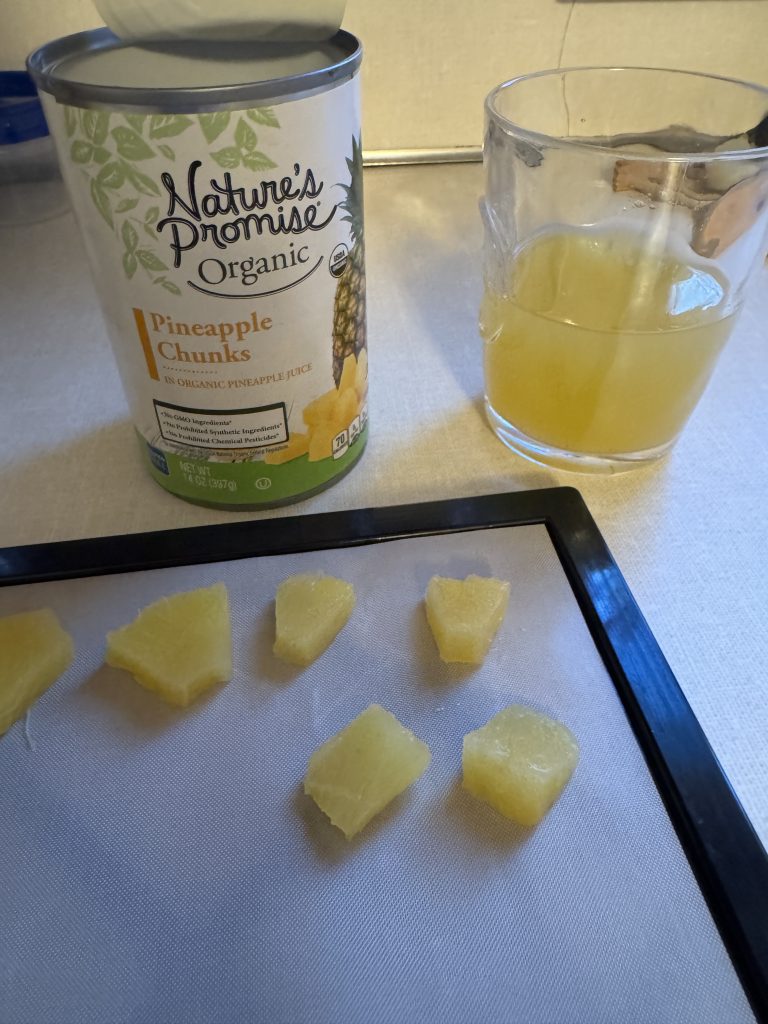
I understand these bananas were freeze-dried…which is something I can’t do with my dehydrator. However, I can do regular dehydrated bananas. I didn’t want to go to the store to buy them right then, but I did have cans of pineapple that could be cut up and dried. They might make a good snack until I could buy bananas!

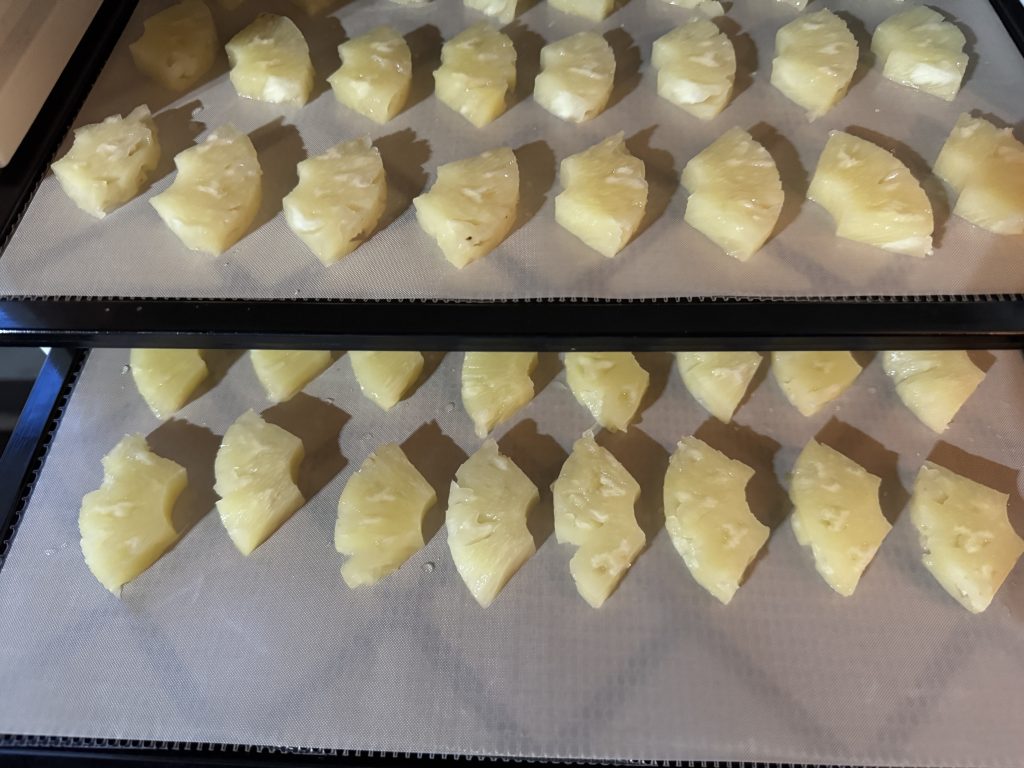
With the can of chunk pineapple, I cut each chunk in half to make it thinner and laid them out on my dehydrator tray. I had several cans of pineapple slices so I cut them into quarters and laid them on trays. Frankly, the slices worked best!

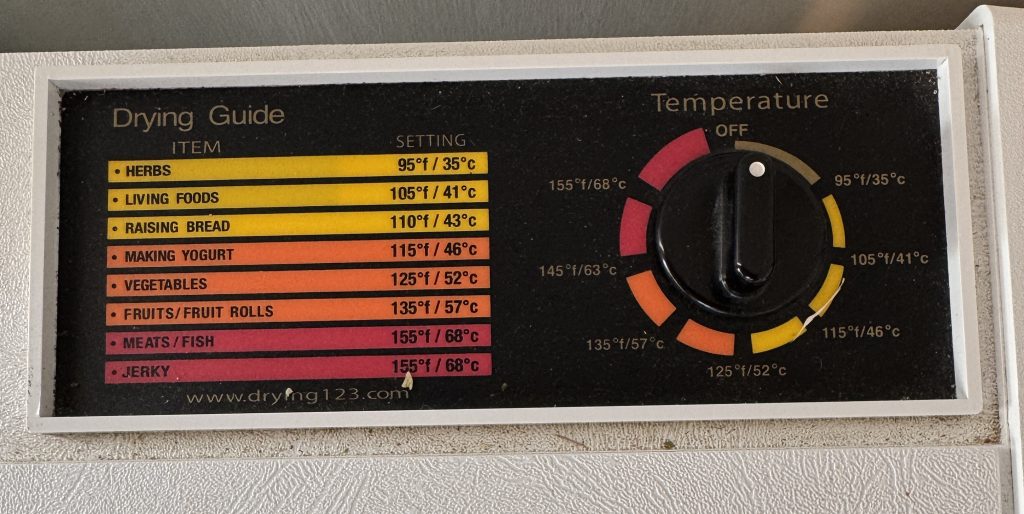
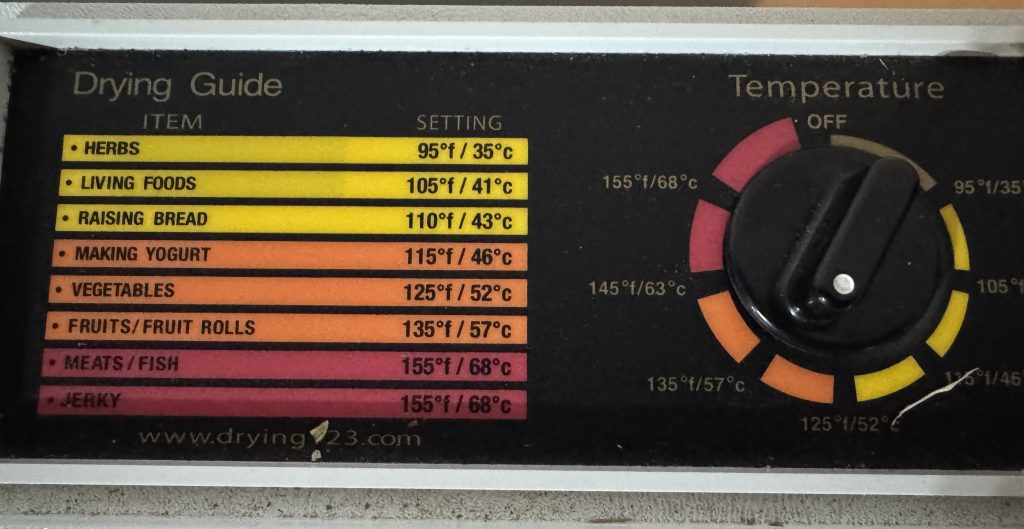
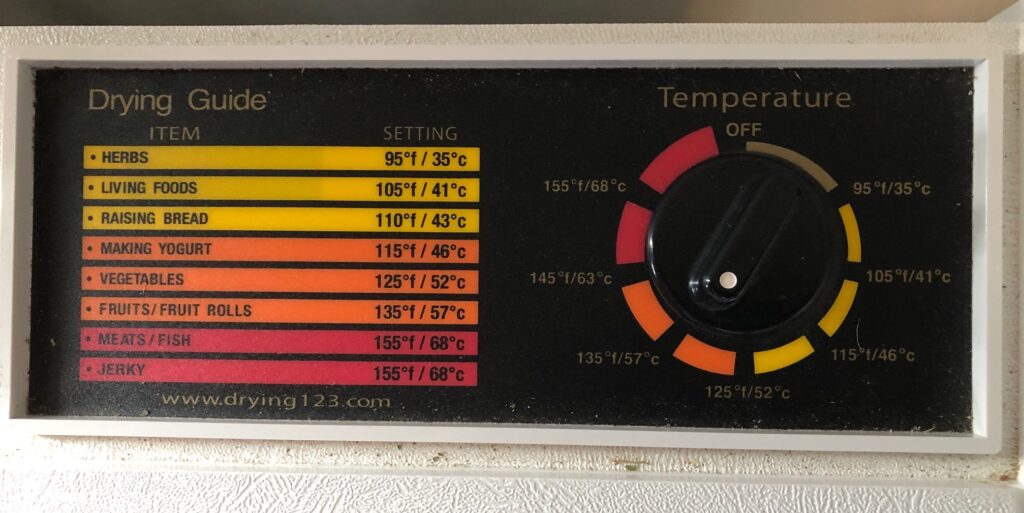
I filled three trays and started the dehydrator…135 degrees for about 16 hours!

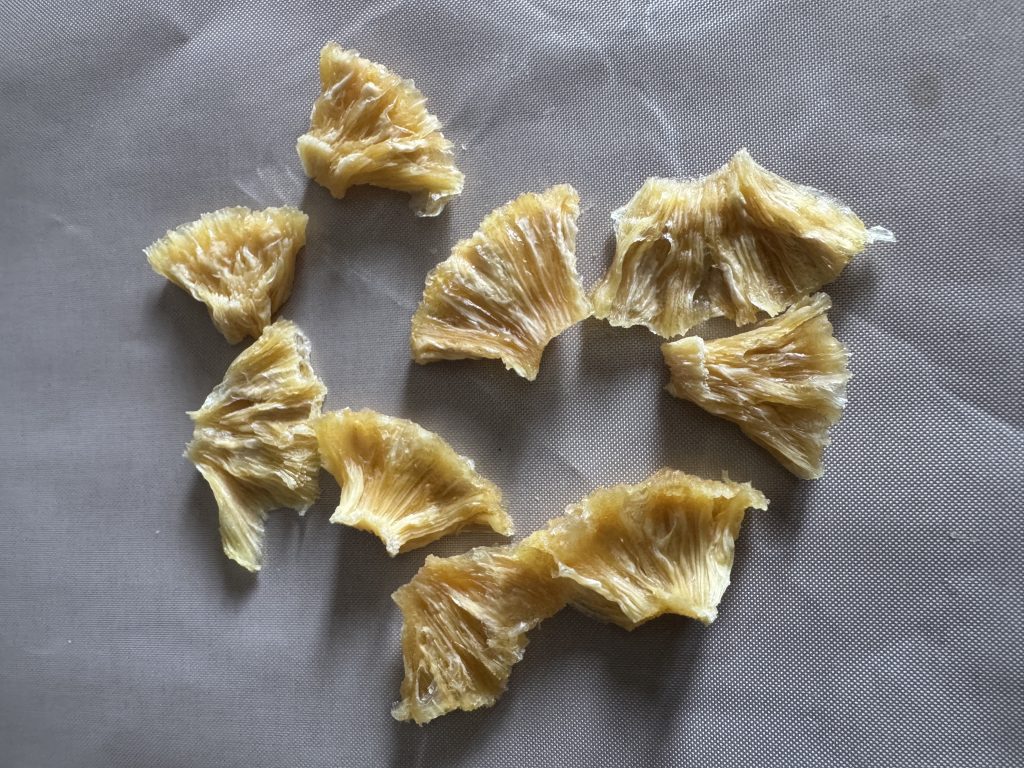
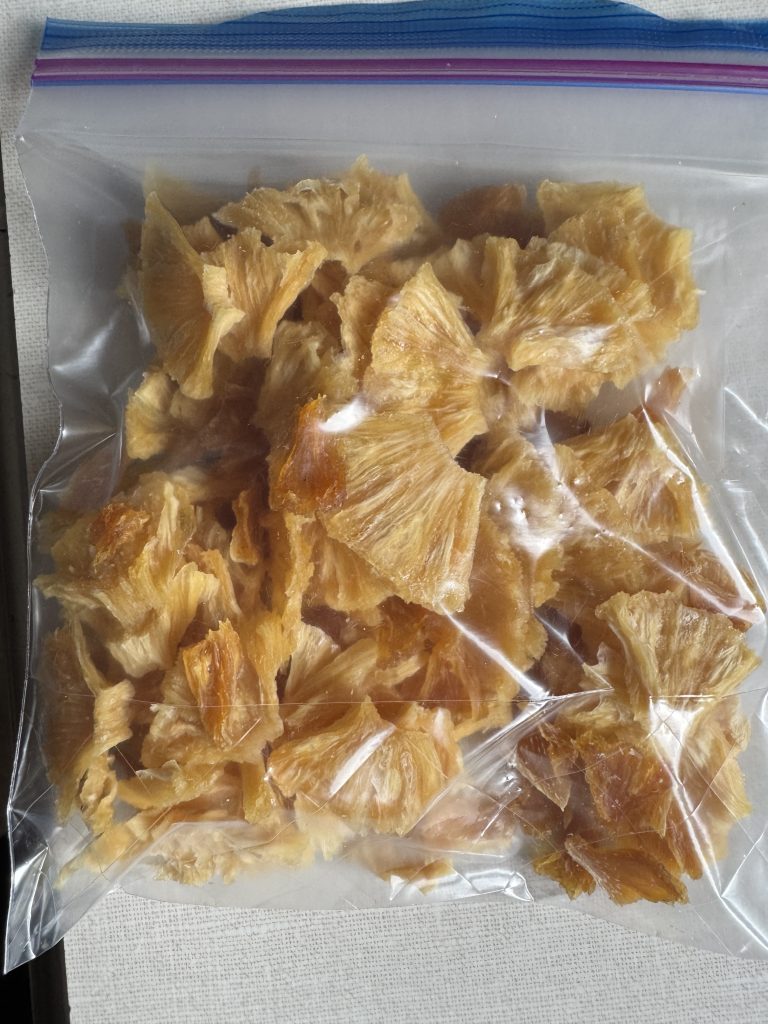
The dehydrator ran all night until noon the next day! Delicious!

The pineapple is the first of several fruits I’ll experiment with…this batch is going into the fridge…the pieces were too big to bother putting in a jar!

Dehydrating Zucchini

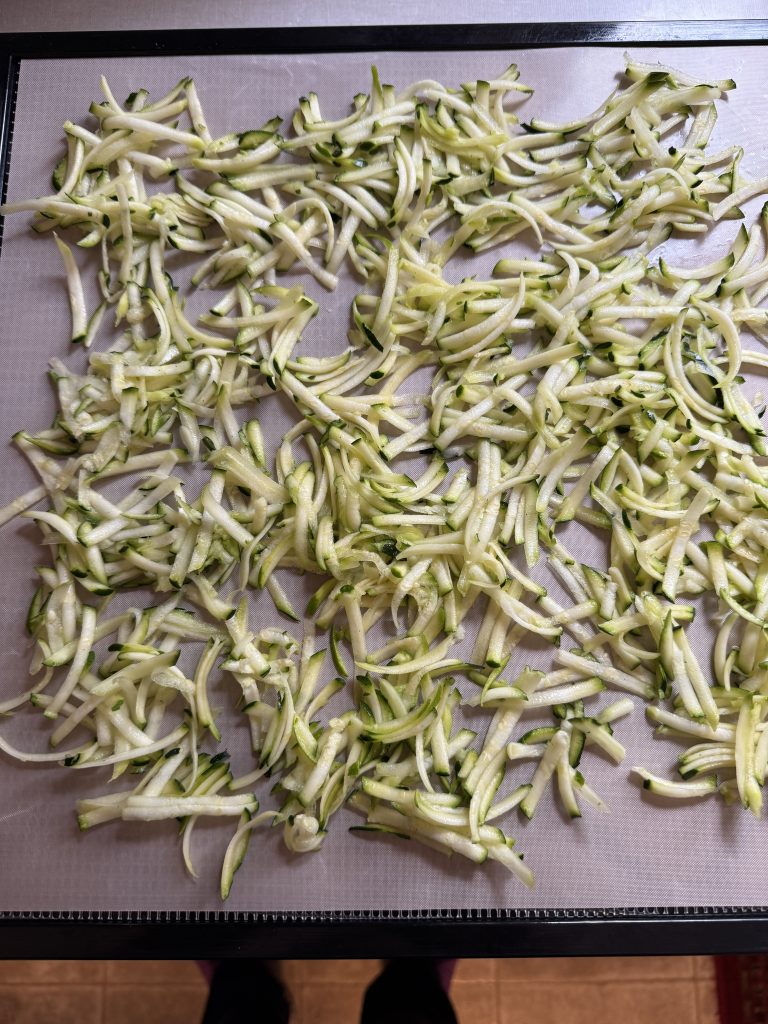
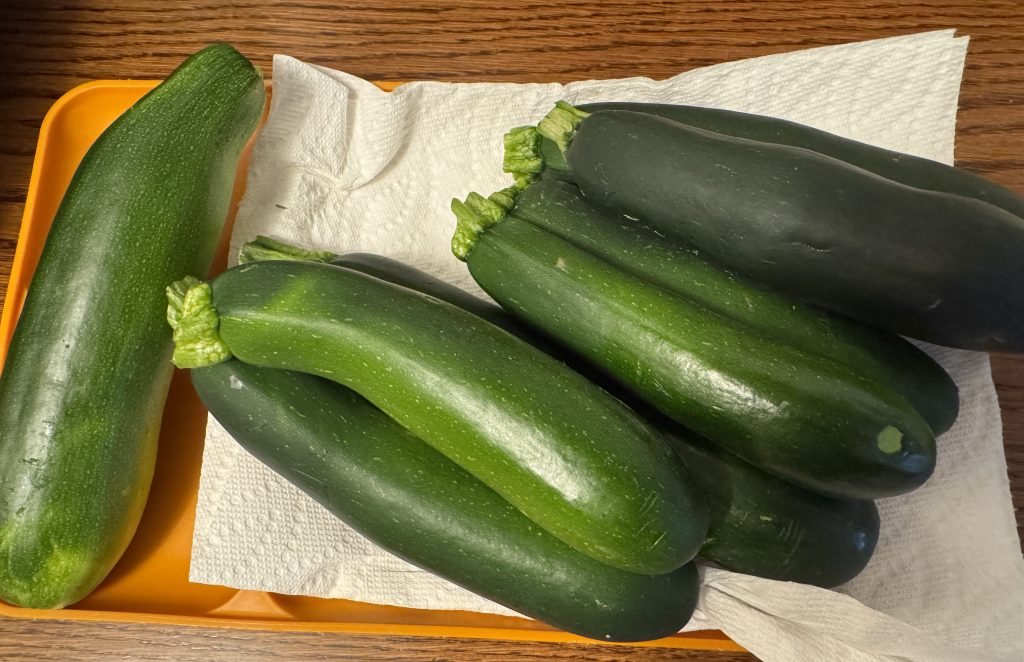
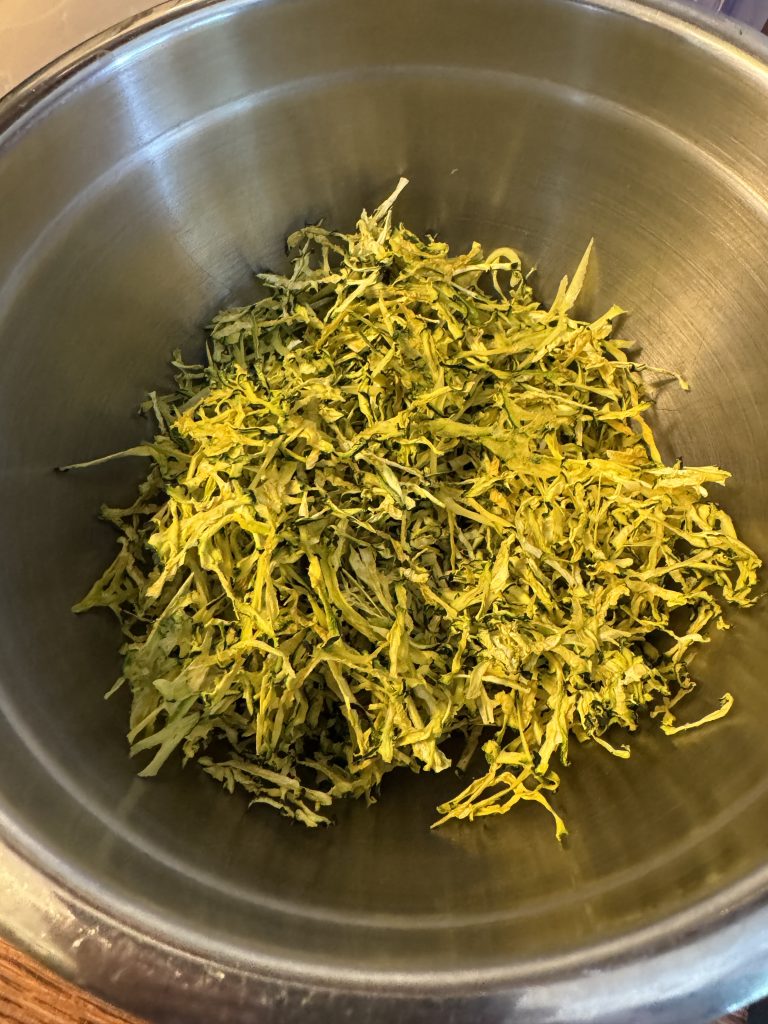
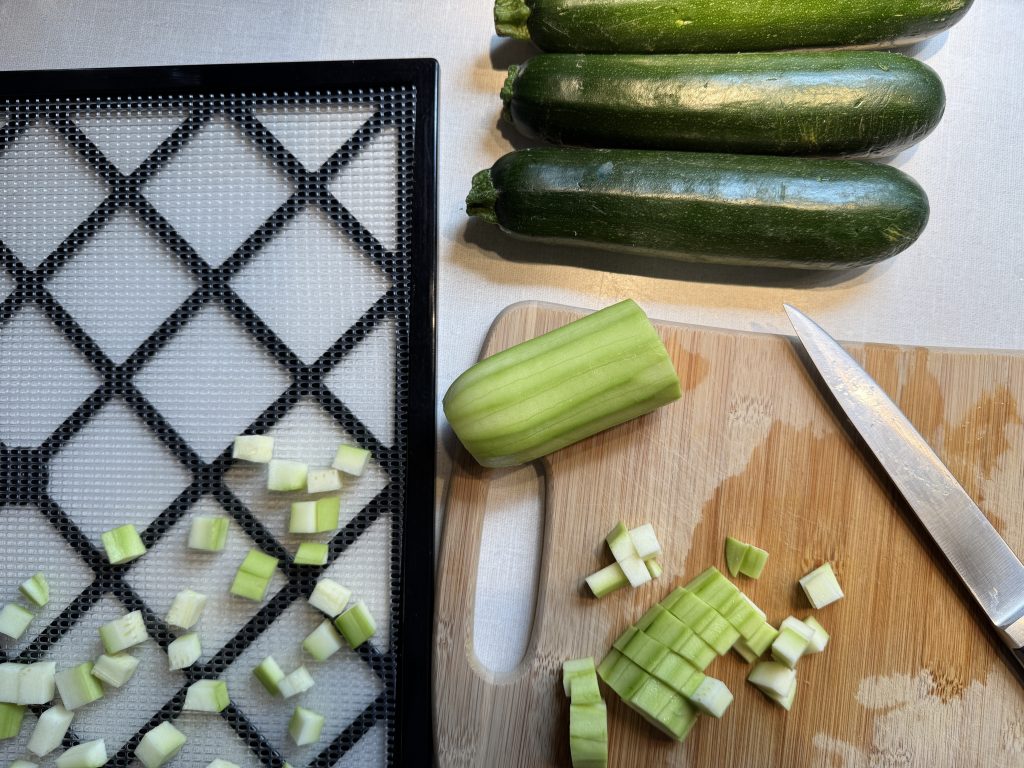
Now that I had the dehydrator ready to go, I decided to work with the 4 medium zucchini I had on the counter. I use zucchini in a sausage/tortellini soup recipe, but I never seem to have zucchini at the time I want to make the soup. So…time to chop zucchini. Thinking ahead…that I wanted to dry the zucchini and store it in mason jars…I peeled the zucchini and cut it into small cubes. I filled up 4 trays with zucchini cubes.

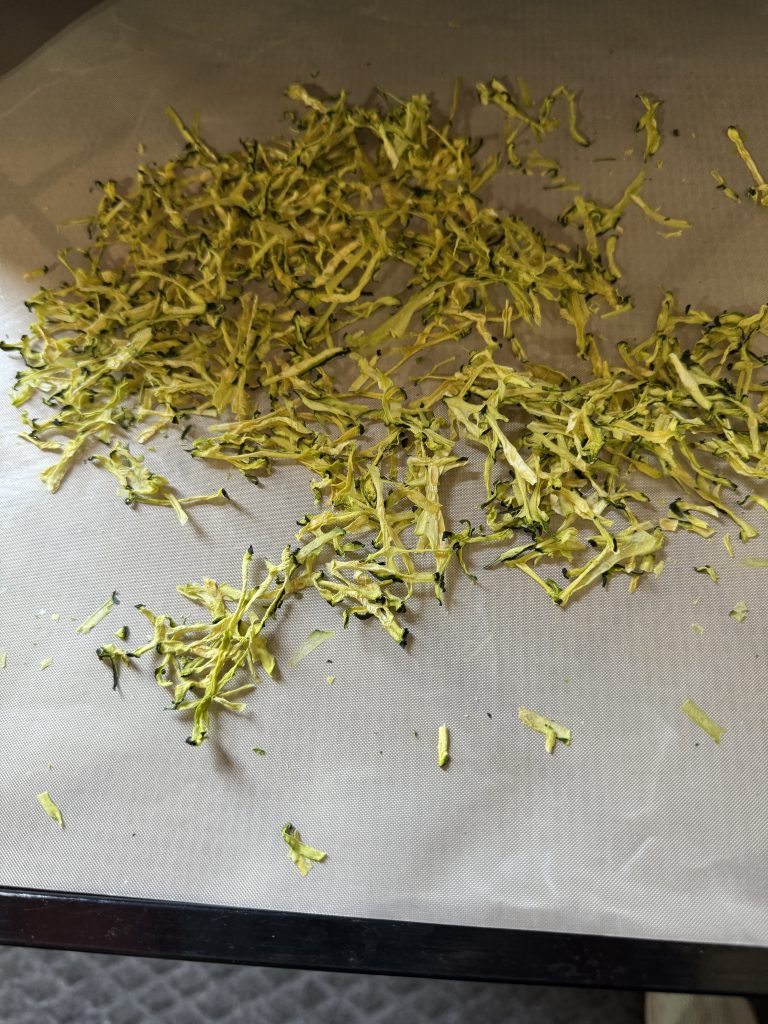
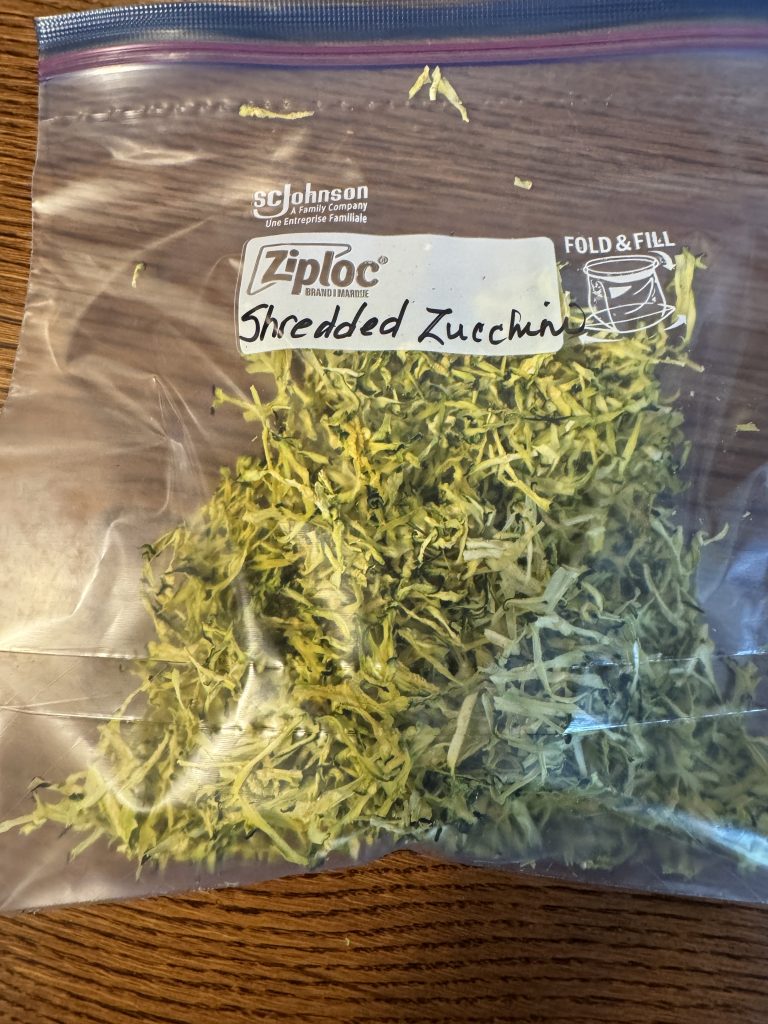
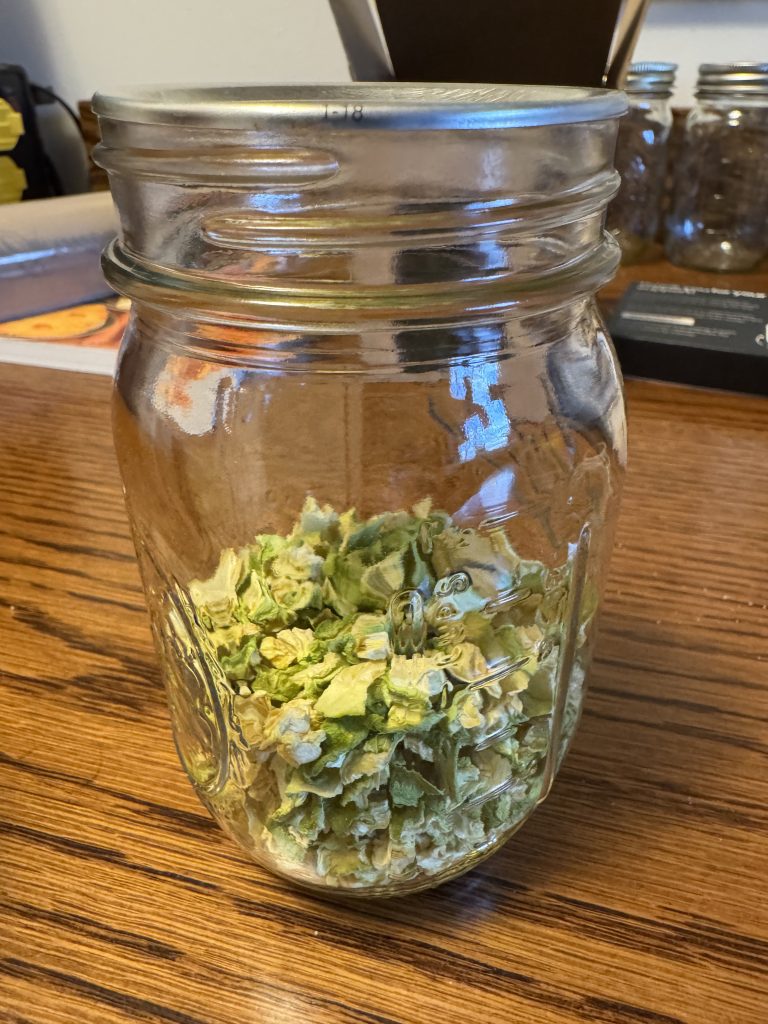
When dried, the chunks were pretty tiny, but all four zucchini made about 1 cup of dehydrated chunks! Next time, I won’t cut them so small.

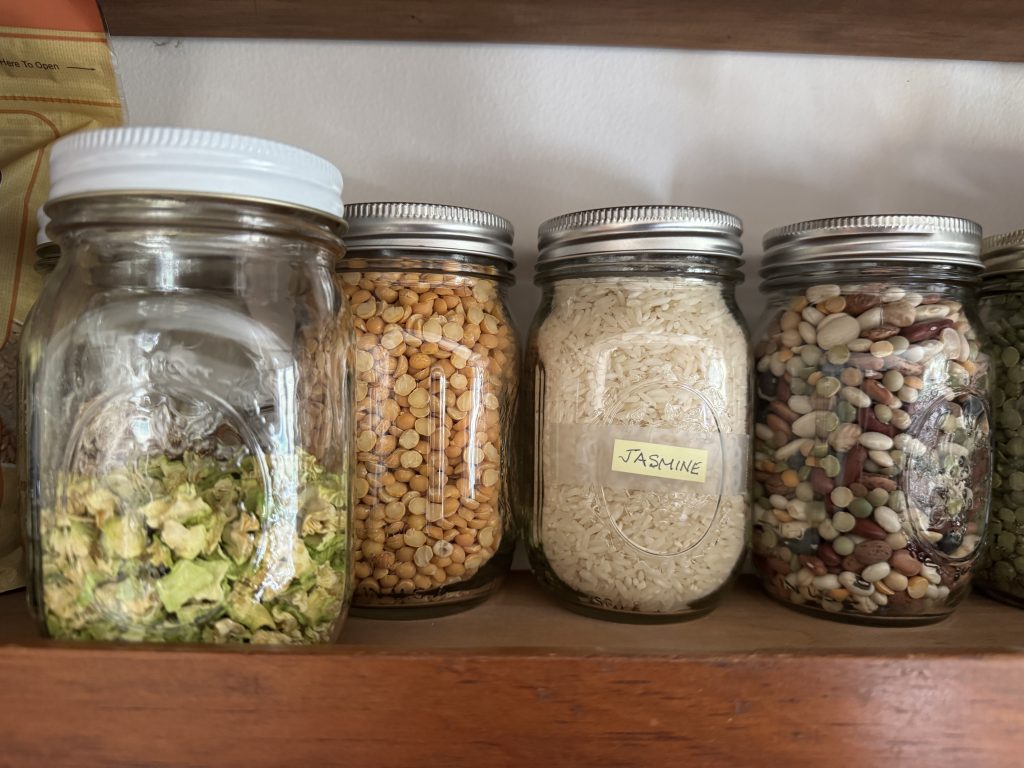
I put a lid on the jar, set the masongenie on top and in 60 seconds the jar was sealed! I added the jar to my shelf!

I’ll let you know when more produce and dry goods make it to my shelf! Garden season 2025 is coming soon!

Dehydrating Beans Saves Space

A few days ago, I went to the local Amish farmer’s market to get some sweet corn. I noticed they still had quite a pile of green and yellow beans available. I usually don’t bother to can or freeze plain beans…I prefer them fresh or dehydrated. Dehydrated beans are great in the winter when I’m making vegetable soup. I can add just a handful of dried green beans…they rehydrate in the broth as the soup is cooking.

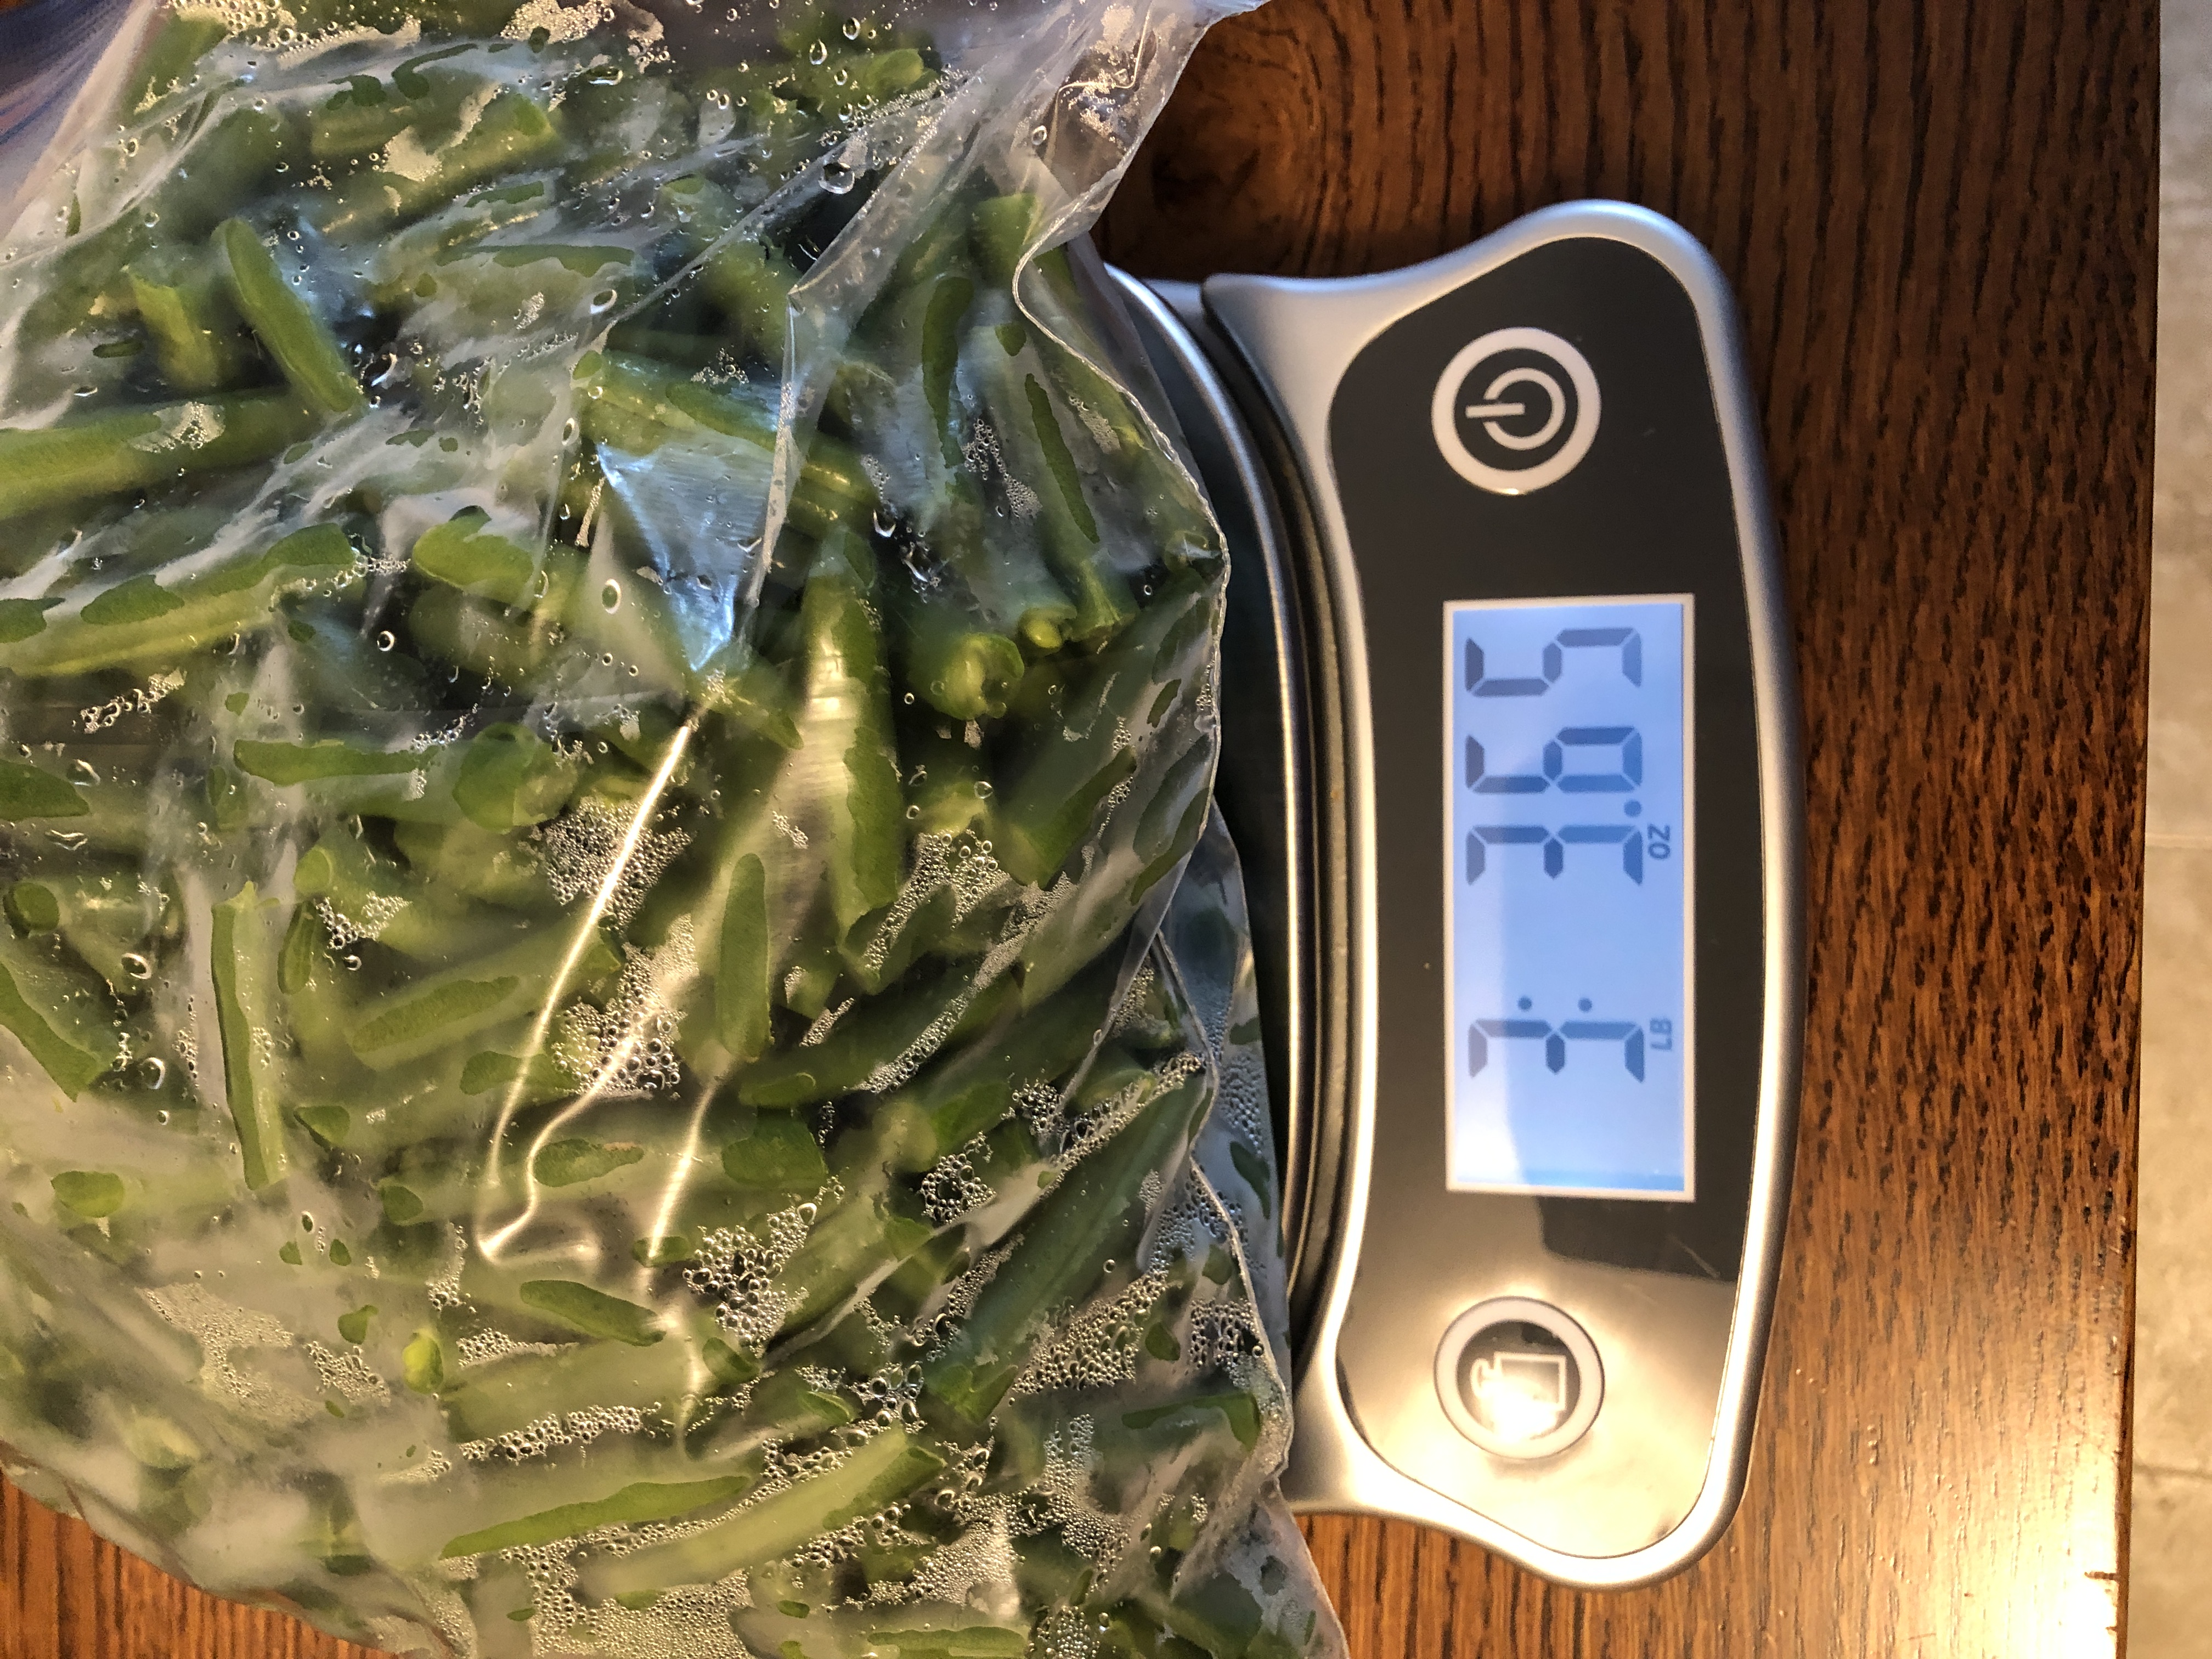
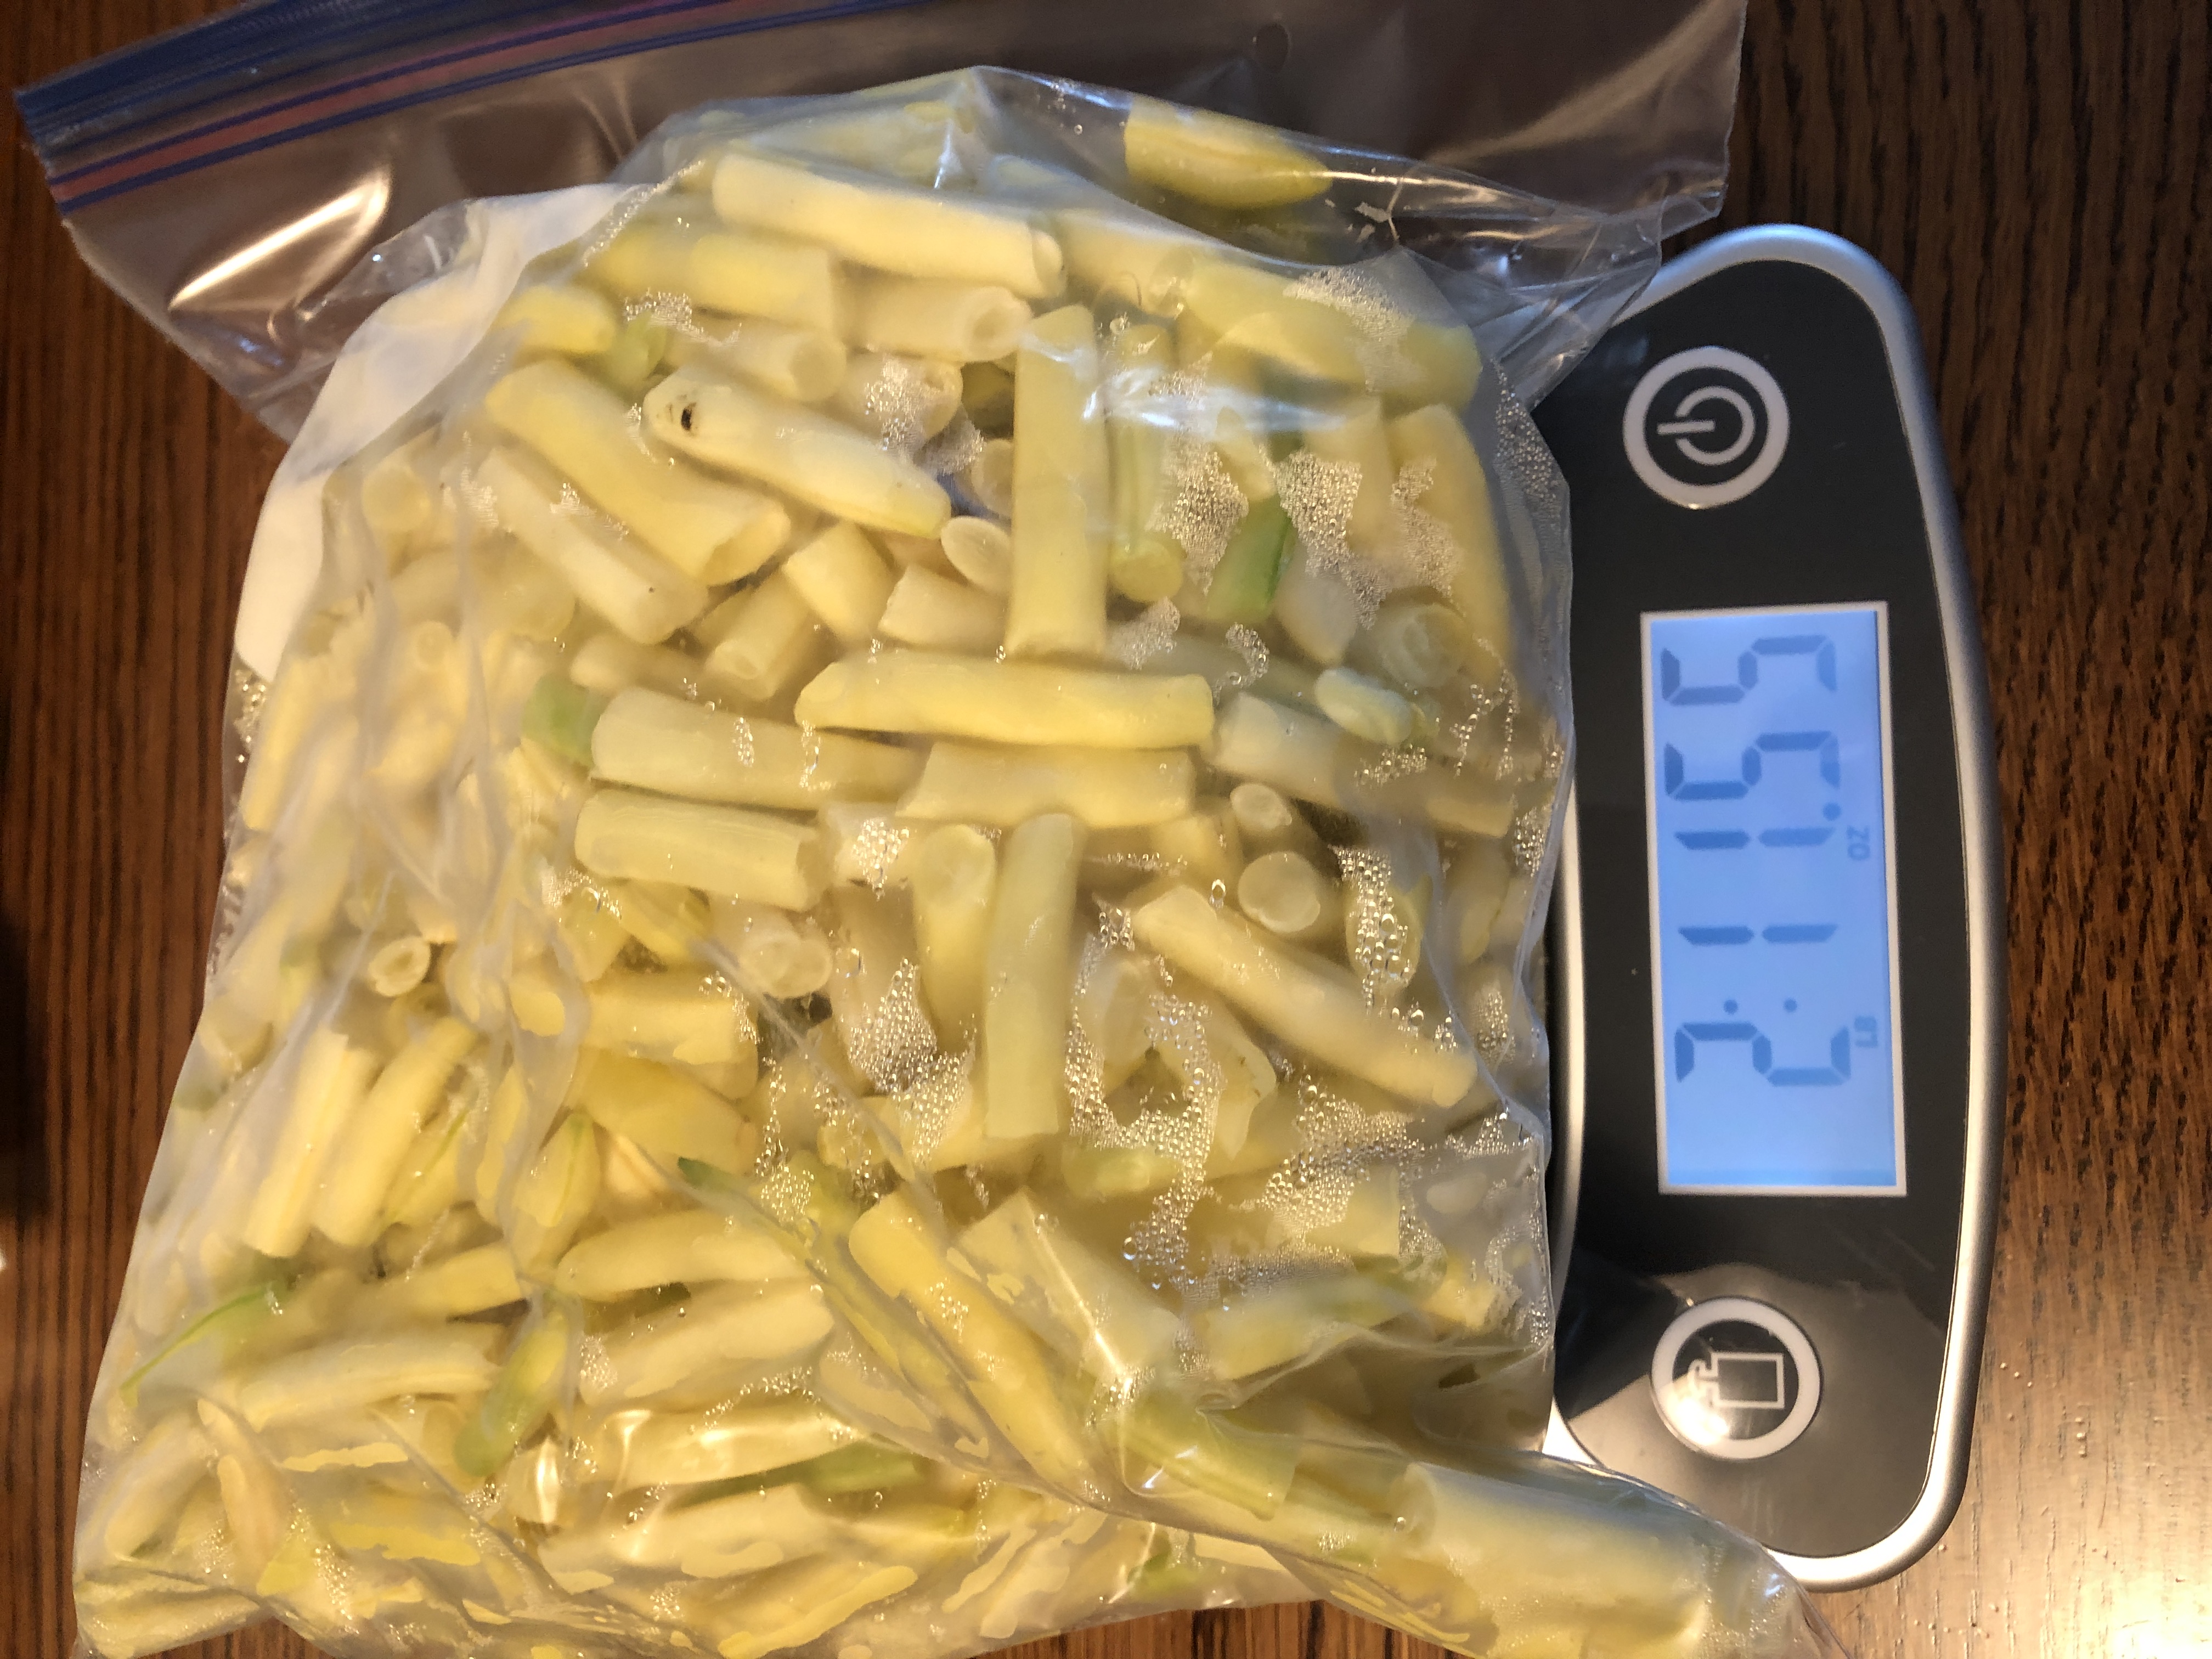
I thought I’d like to show you how much space (and weight) I save by dehydrating this batch of beans. I filled two sacks of green and yellow beans and brought them home. I snapped them and put them in the fridge while I got the dehydrator ready. The next day, I put each bag on the scales to see the weight I was starting with. The green beans weighed about 3 lbs. 4 oz. The yellow beans weighed about 2 1lb 12 oz…a total of about 6 lbs.

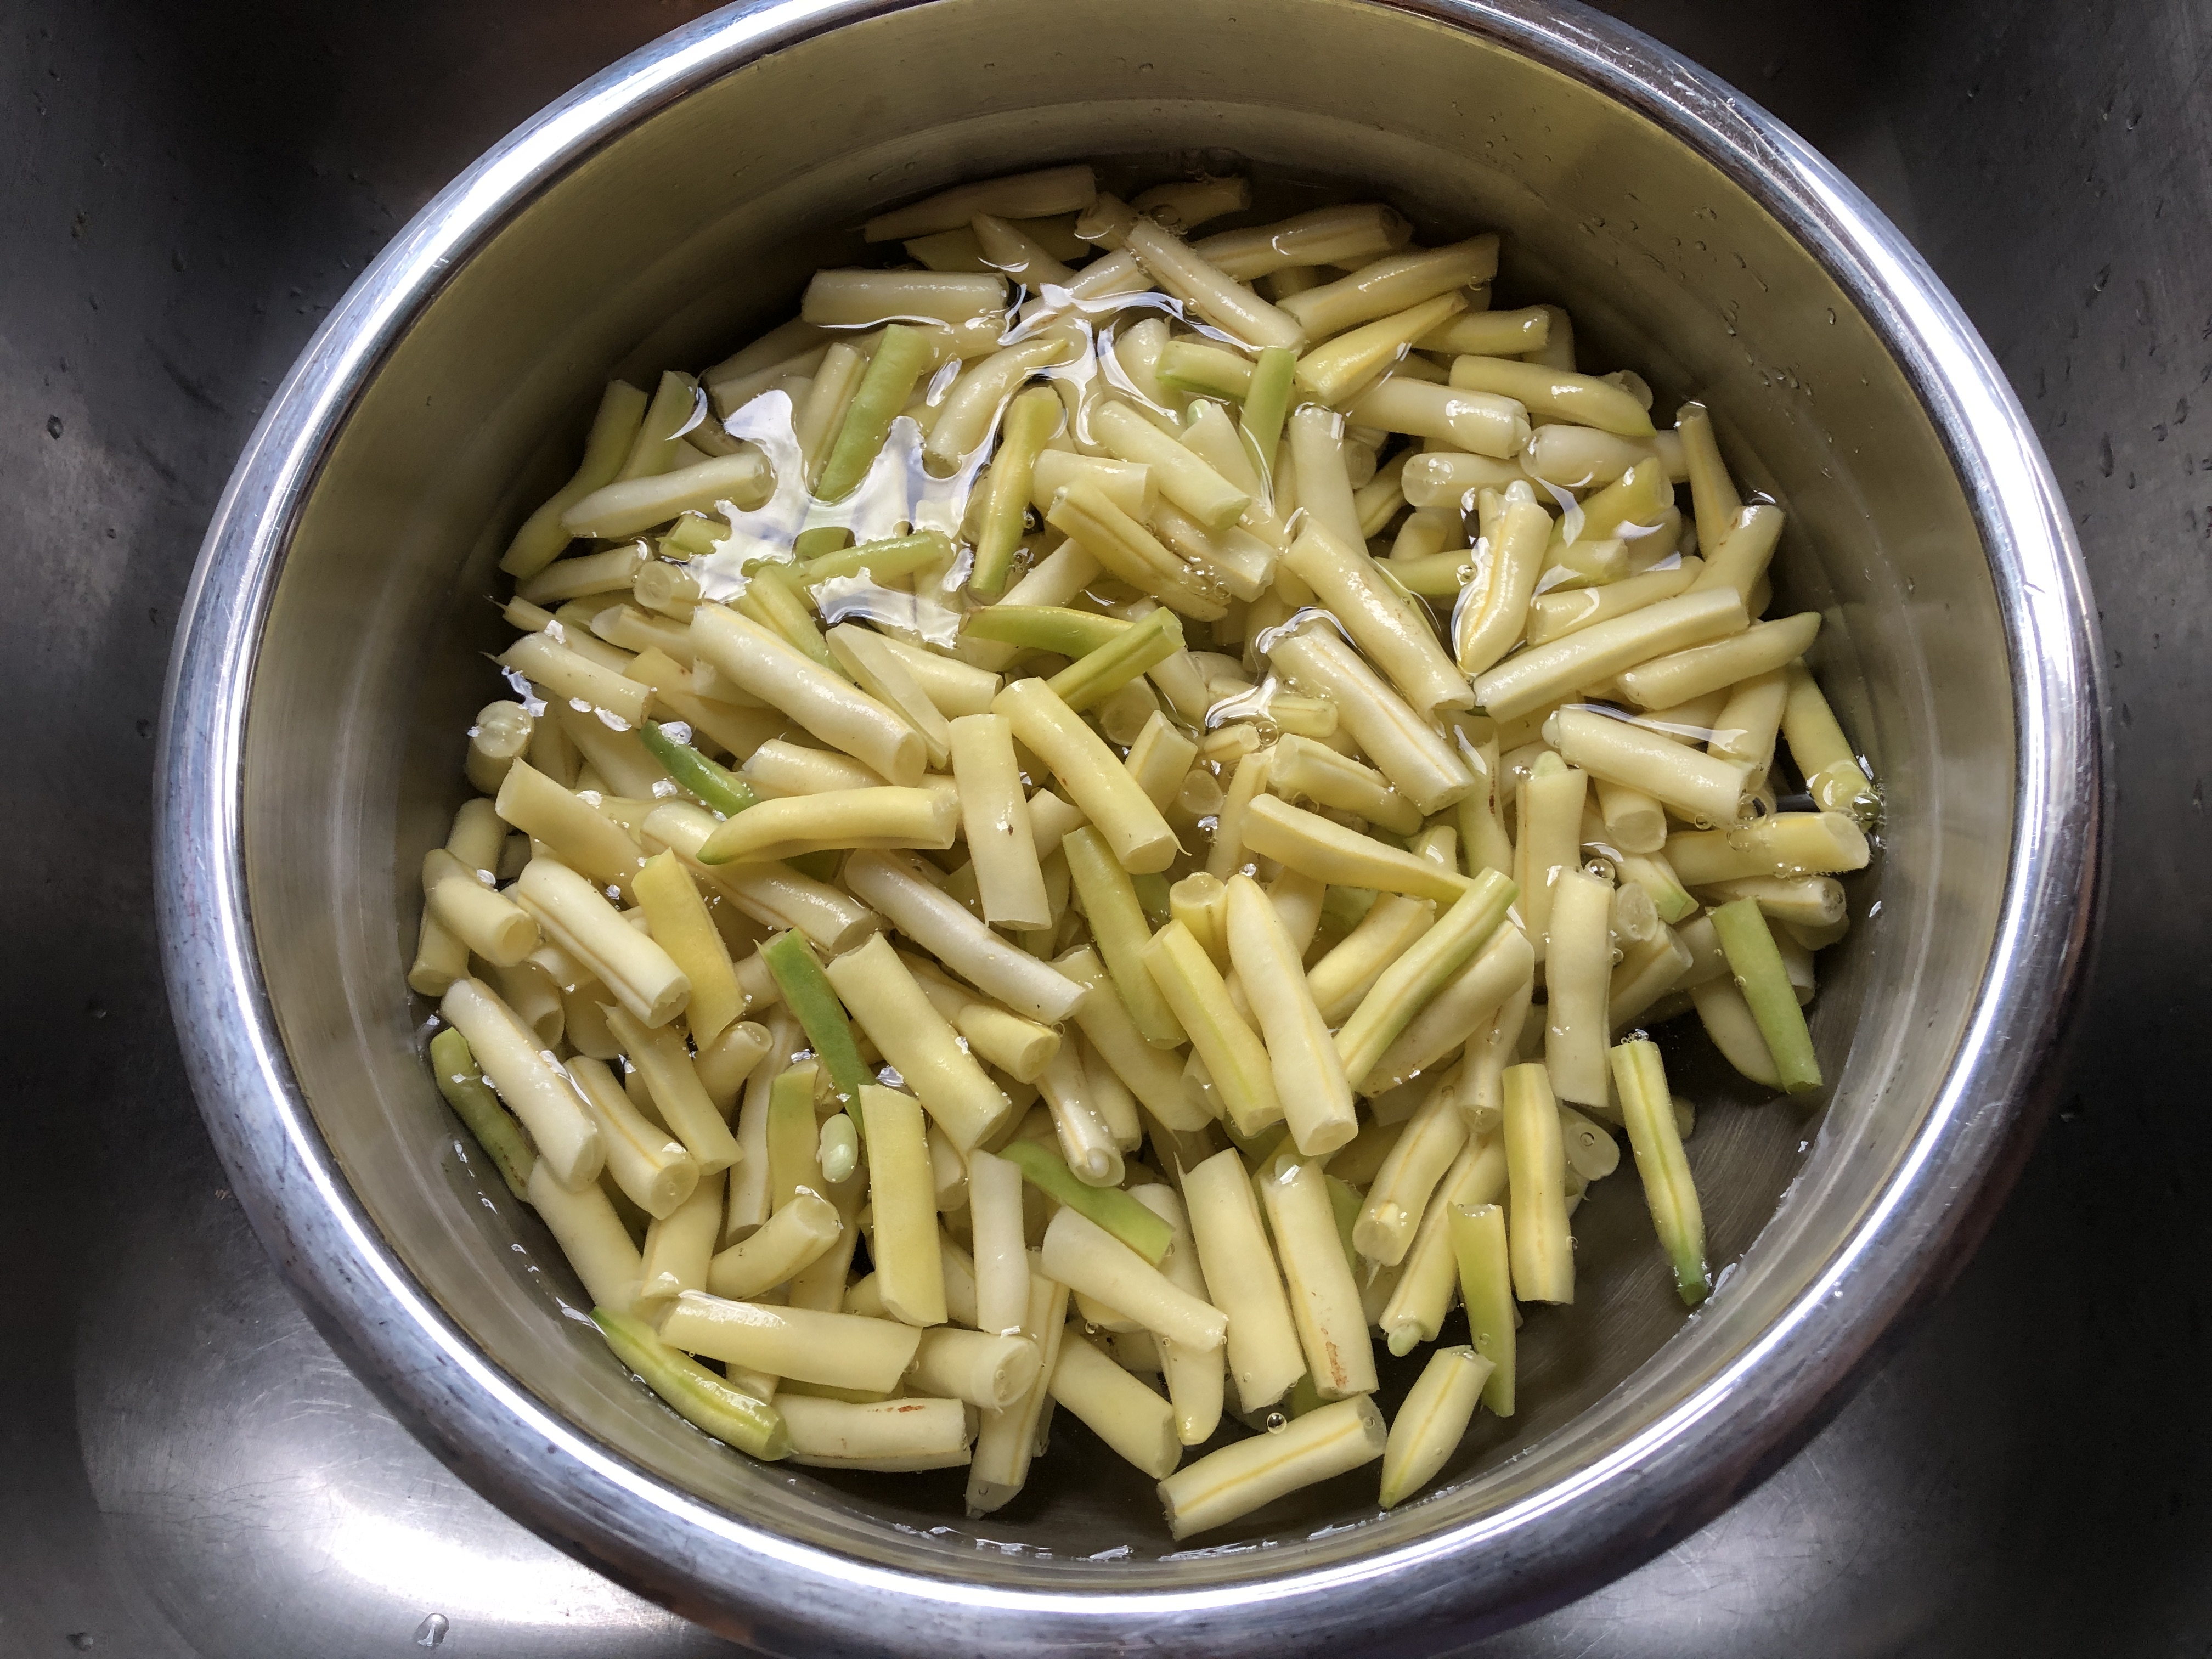
Next, I washed them, blanched them for 4 minutes in boiling water, cooled them in ice water, put them in a bag in the fridge while I did the next batch.

The manual says I should put them in the freezer for 30 minutes, but the fridge worked for me. They dehydrate quicker when they start out cold apparently.

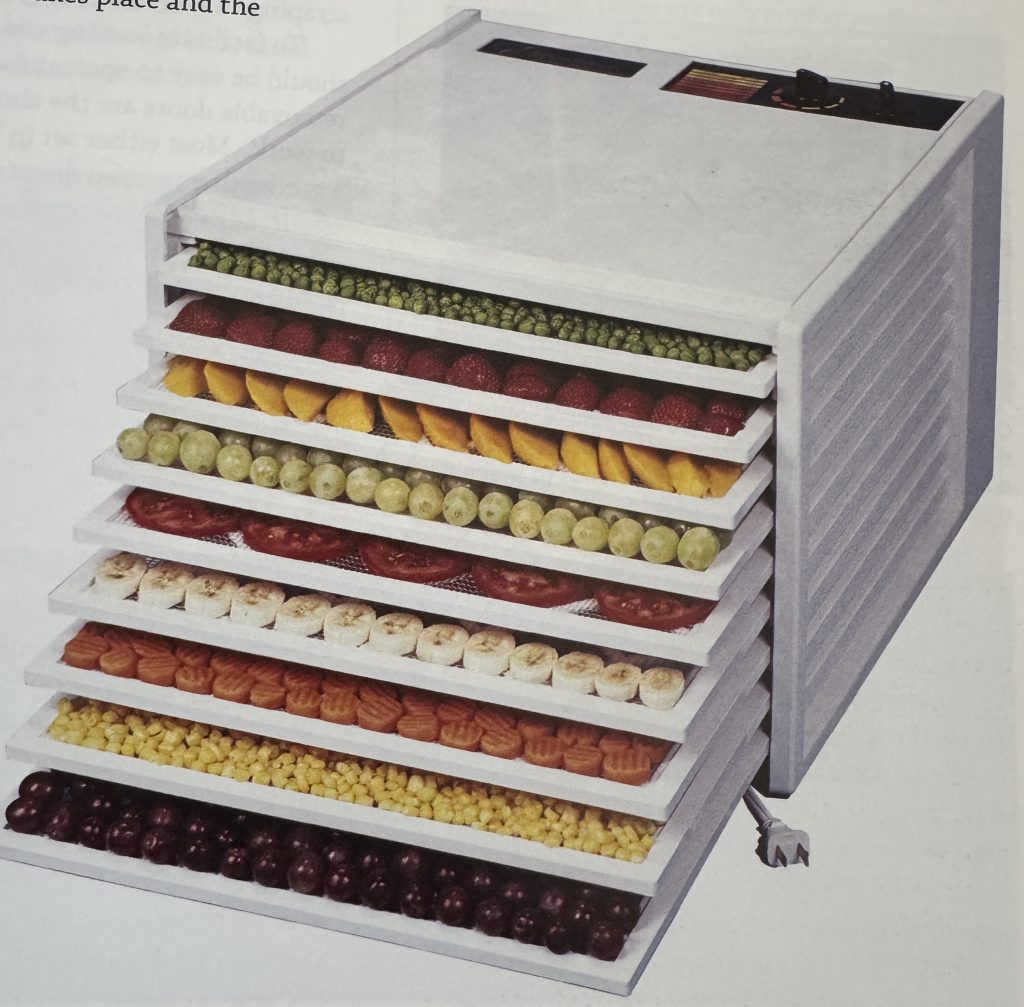
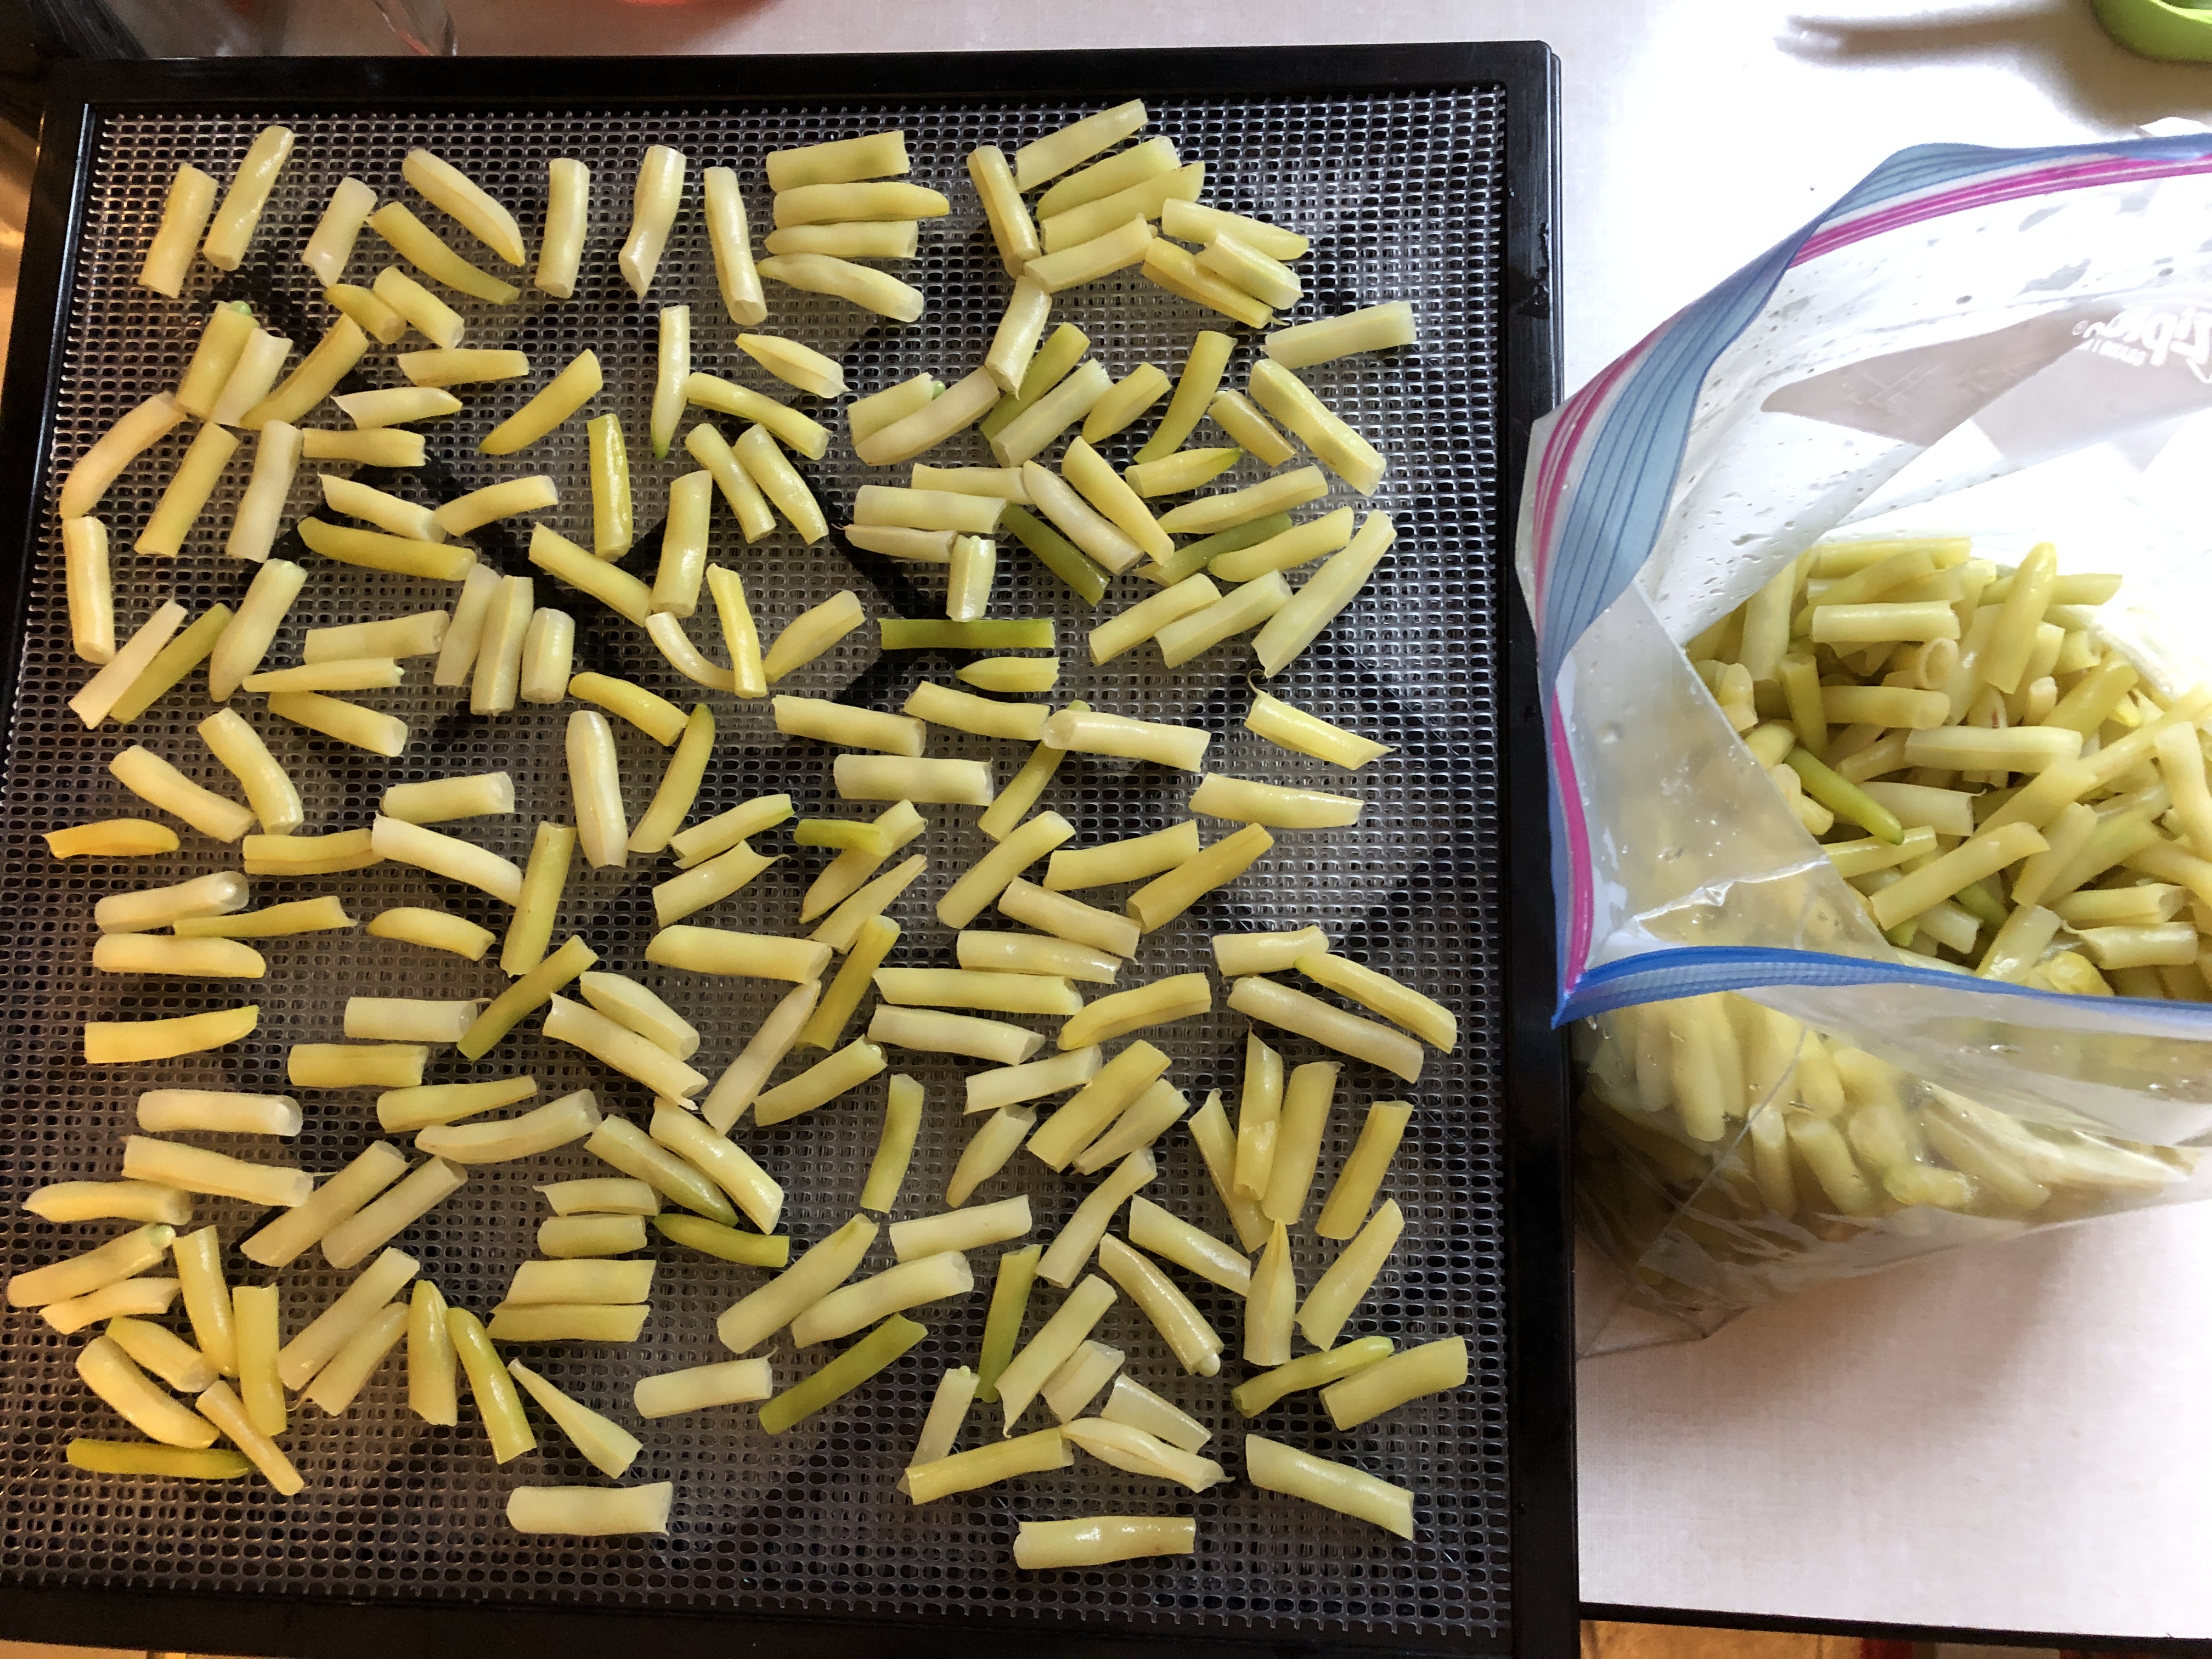
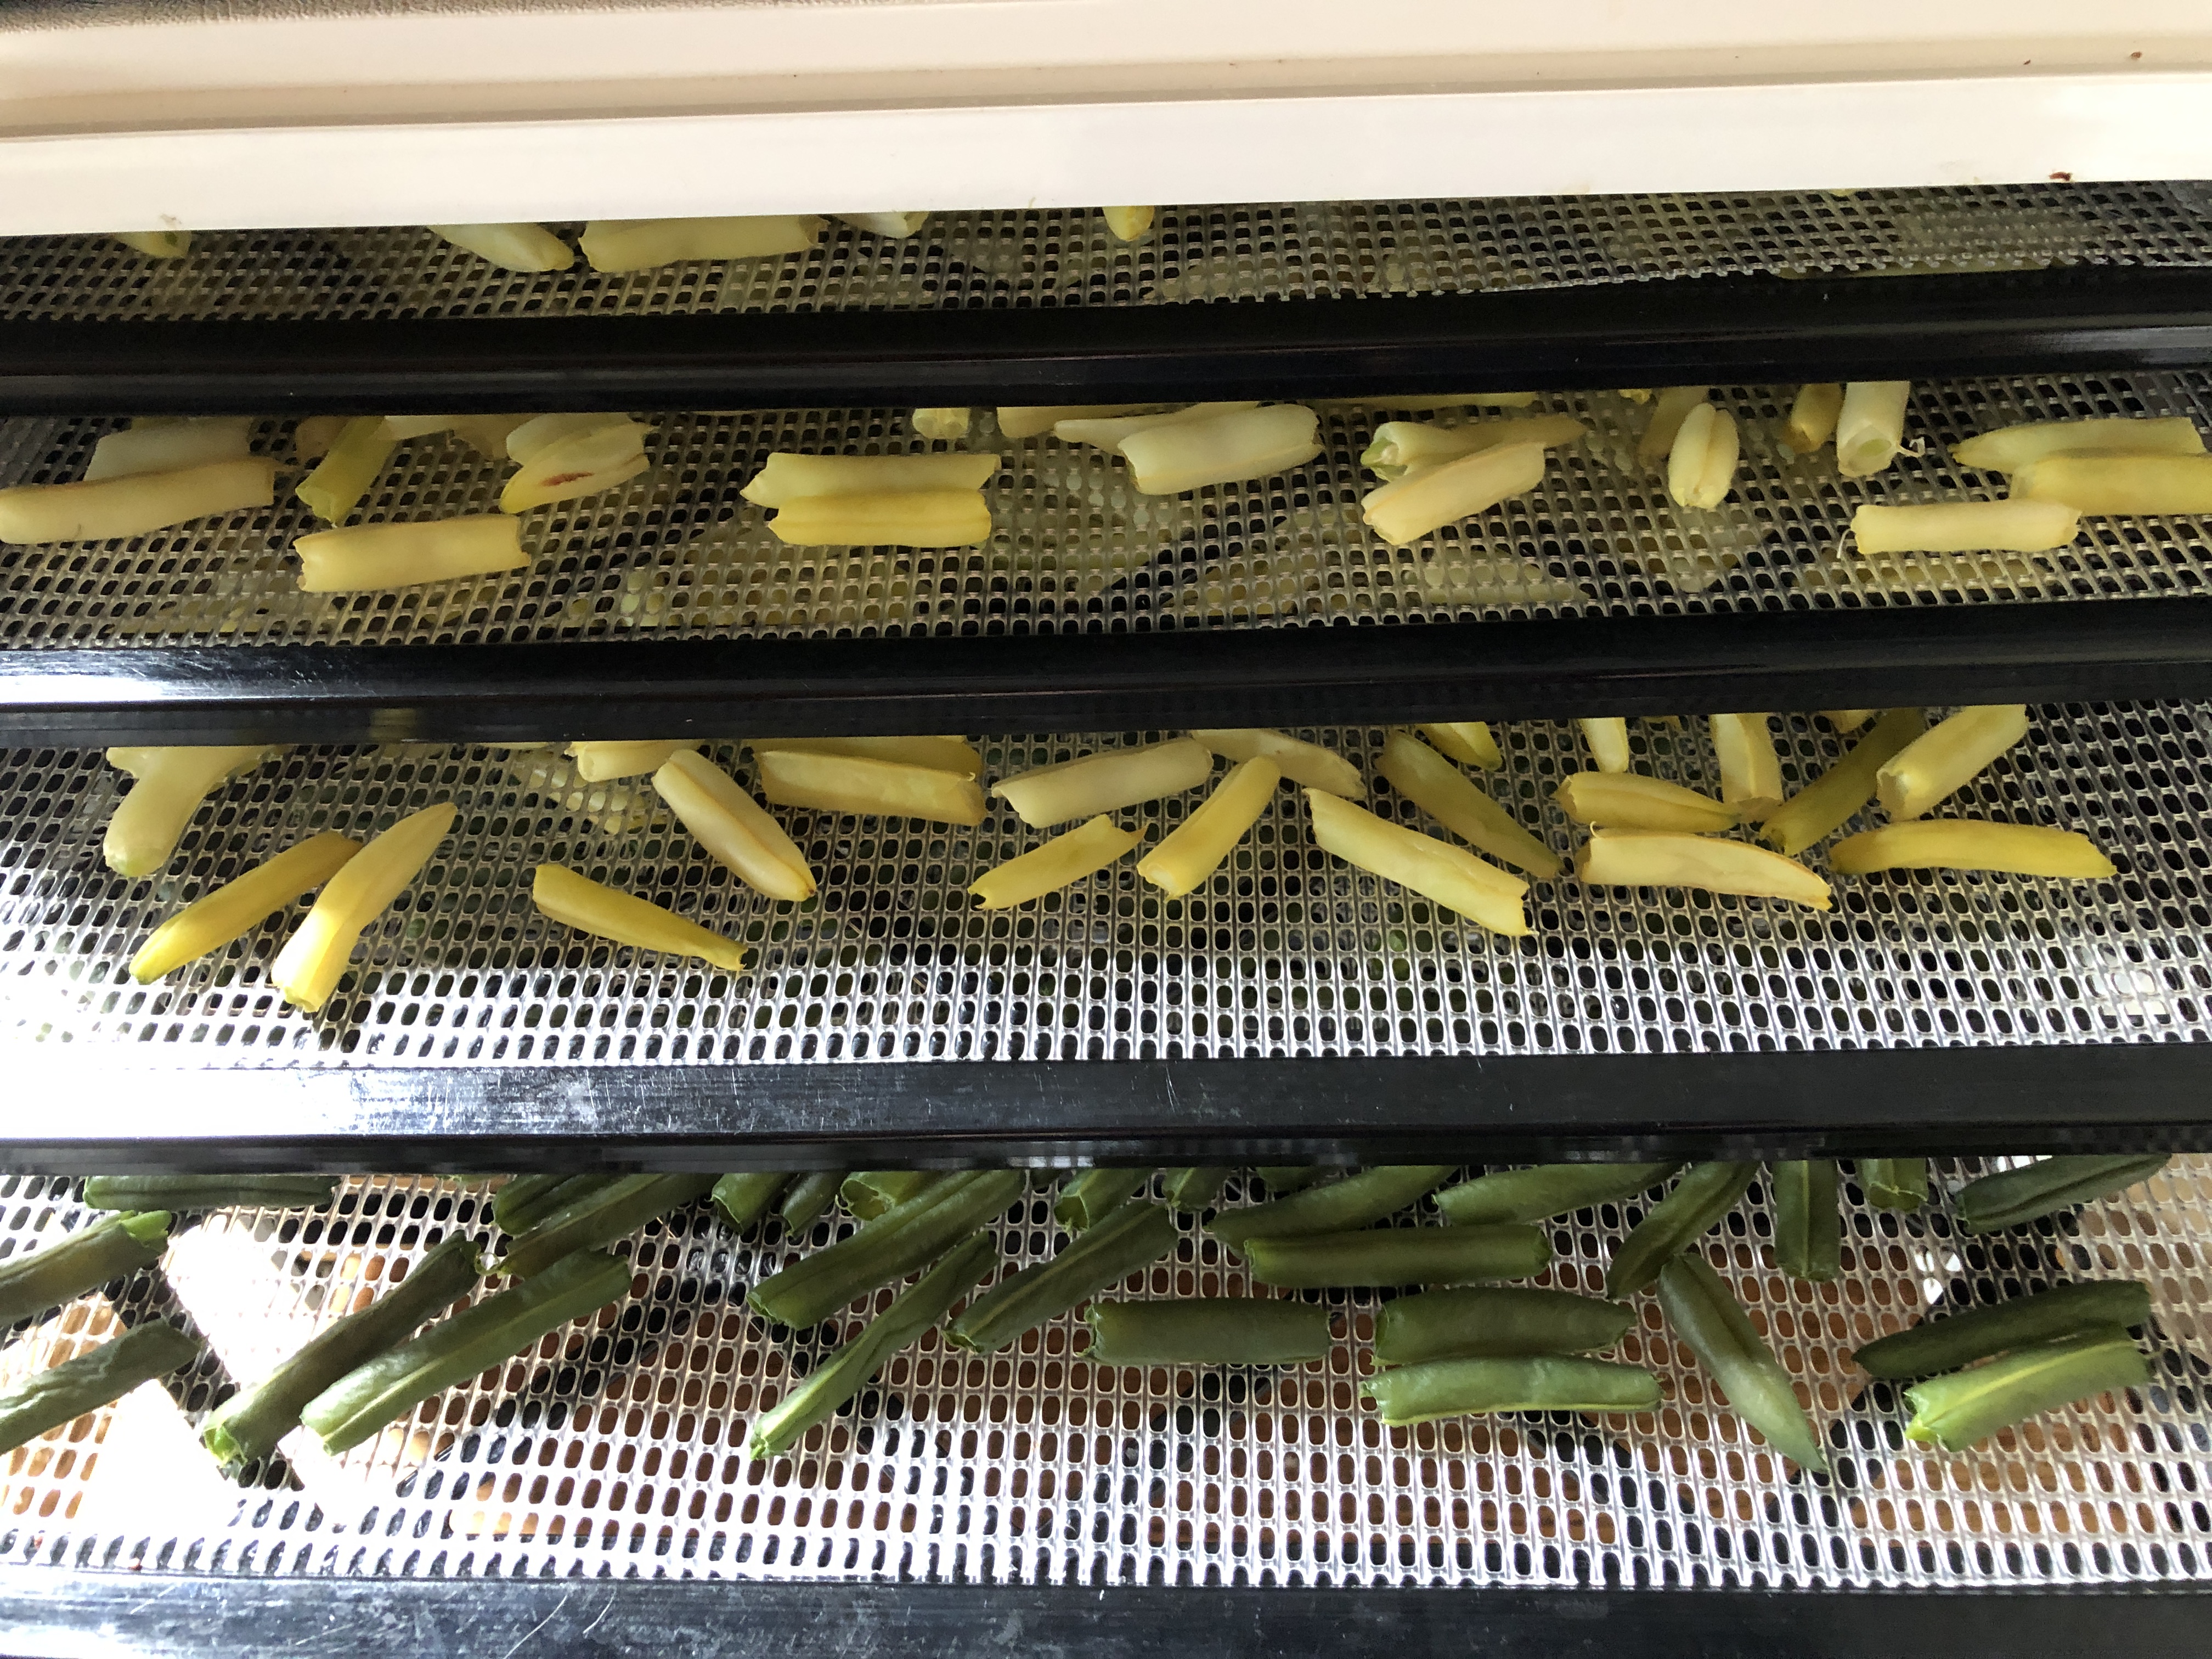
The beans filled all 9 trays of my dehydrator.

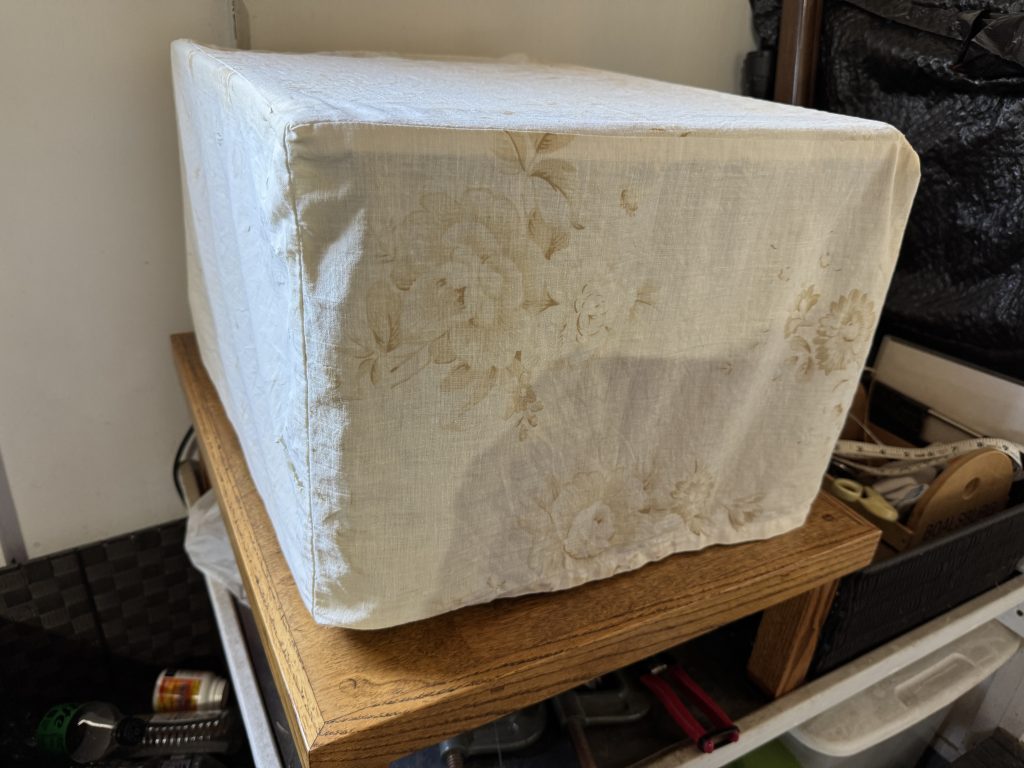
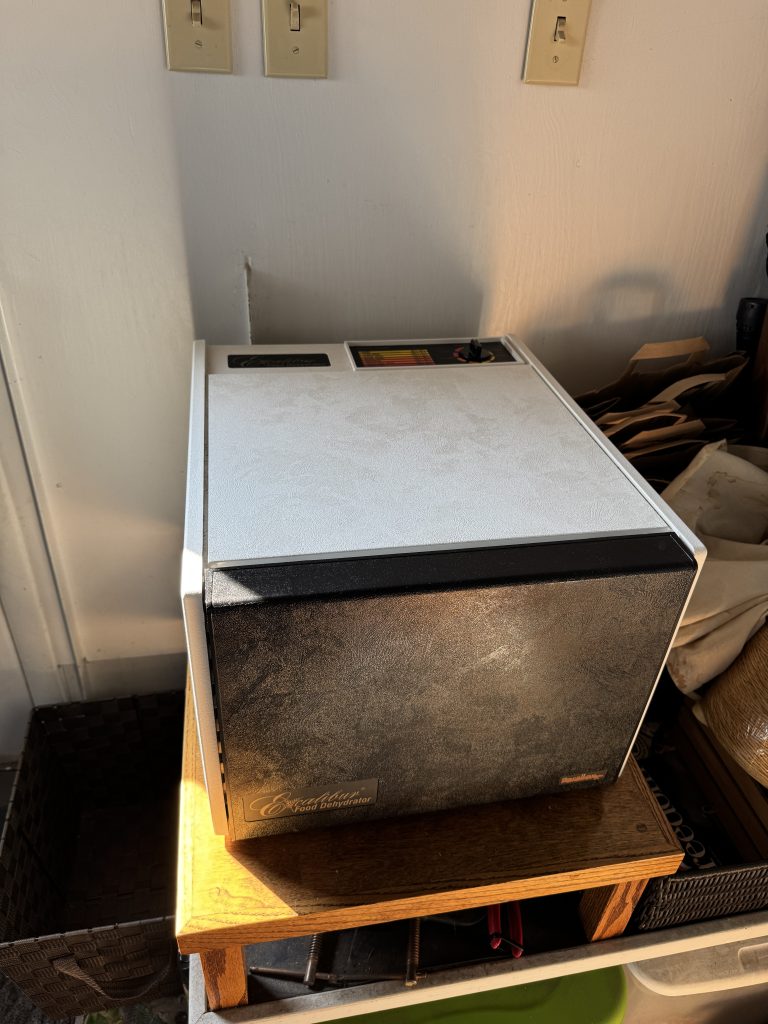
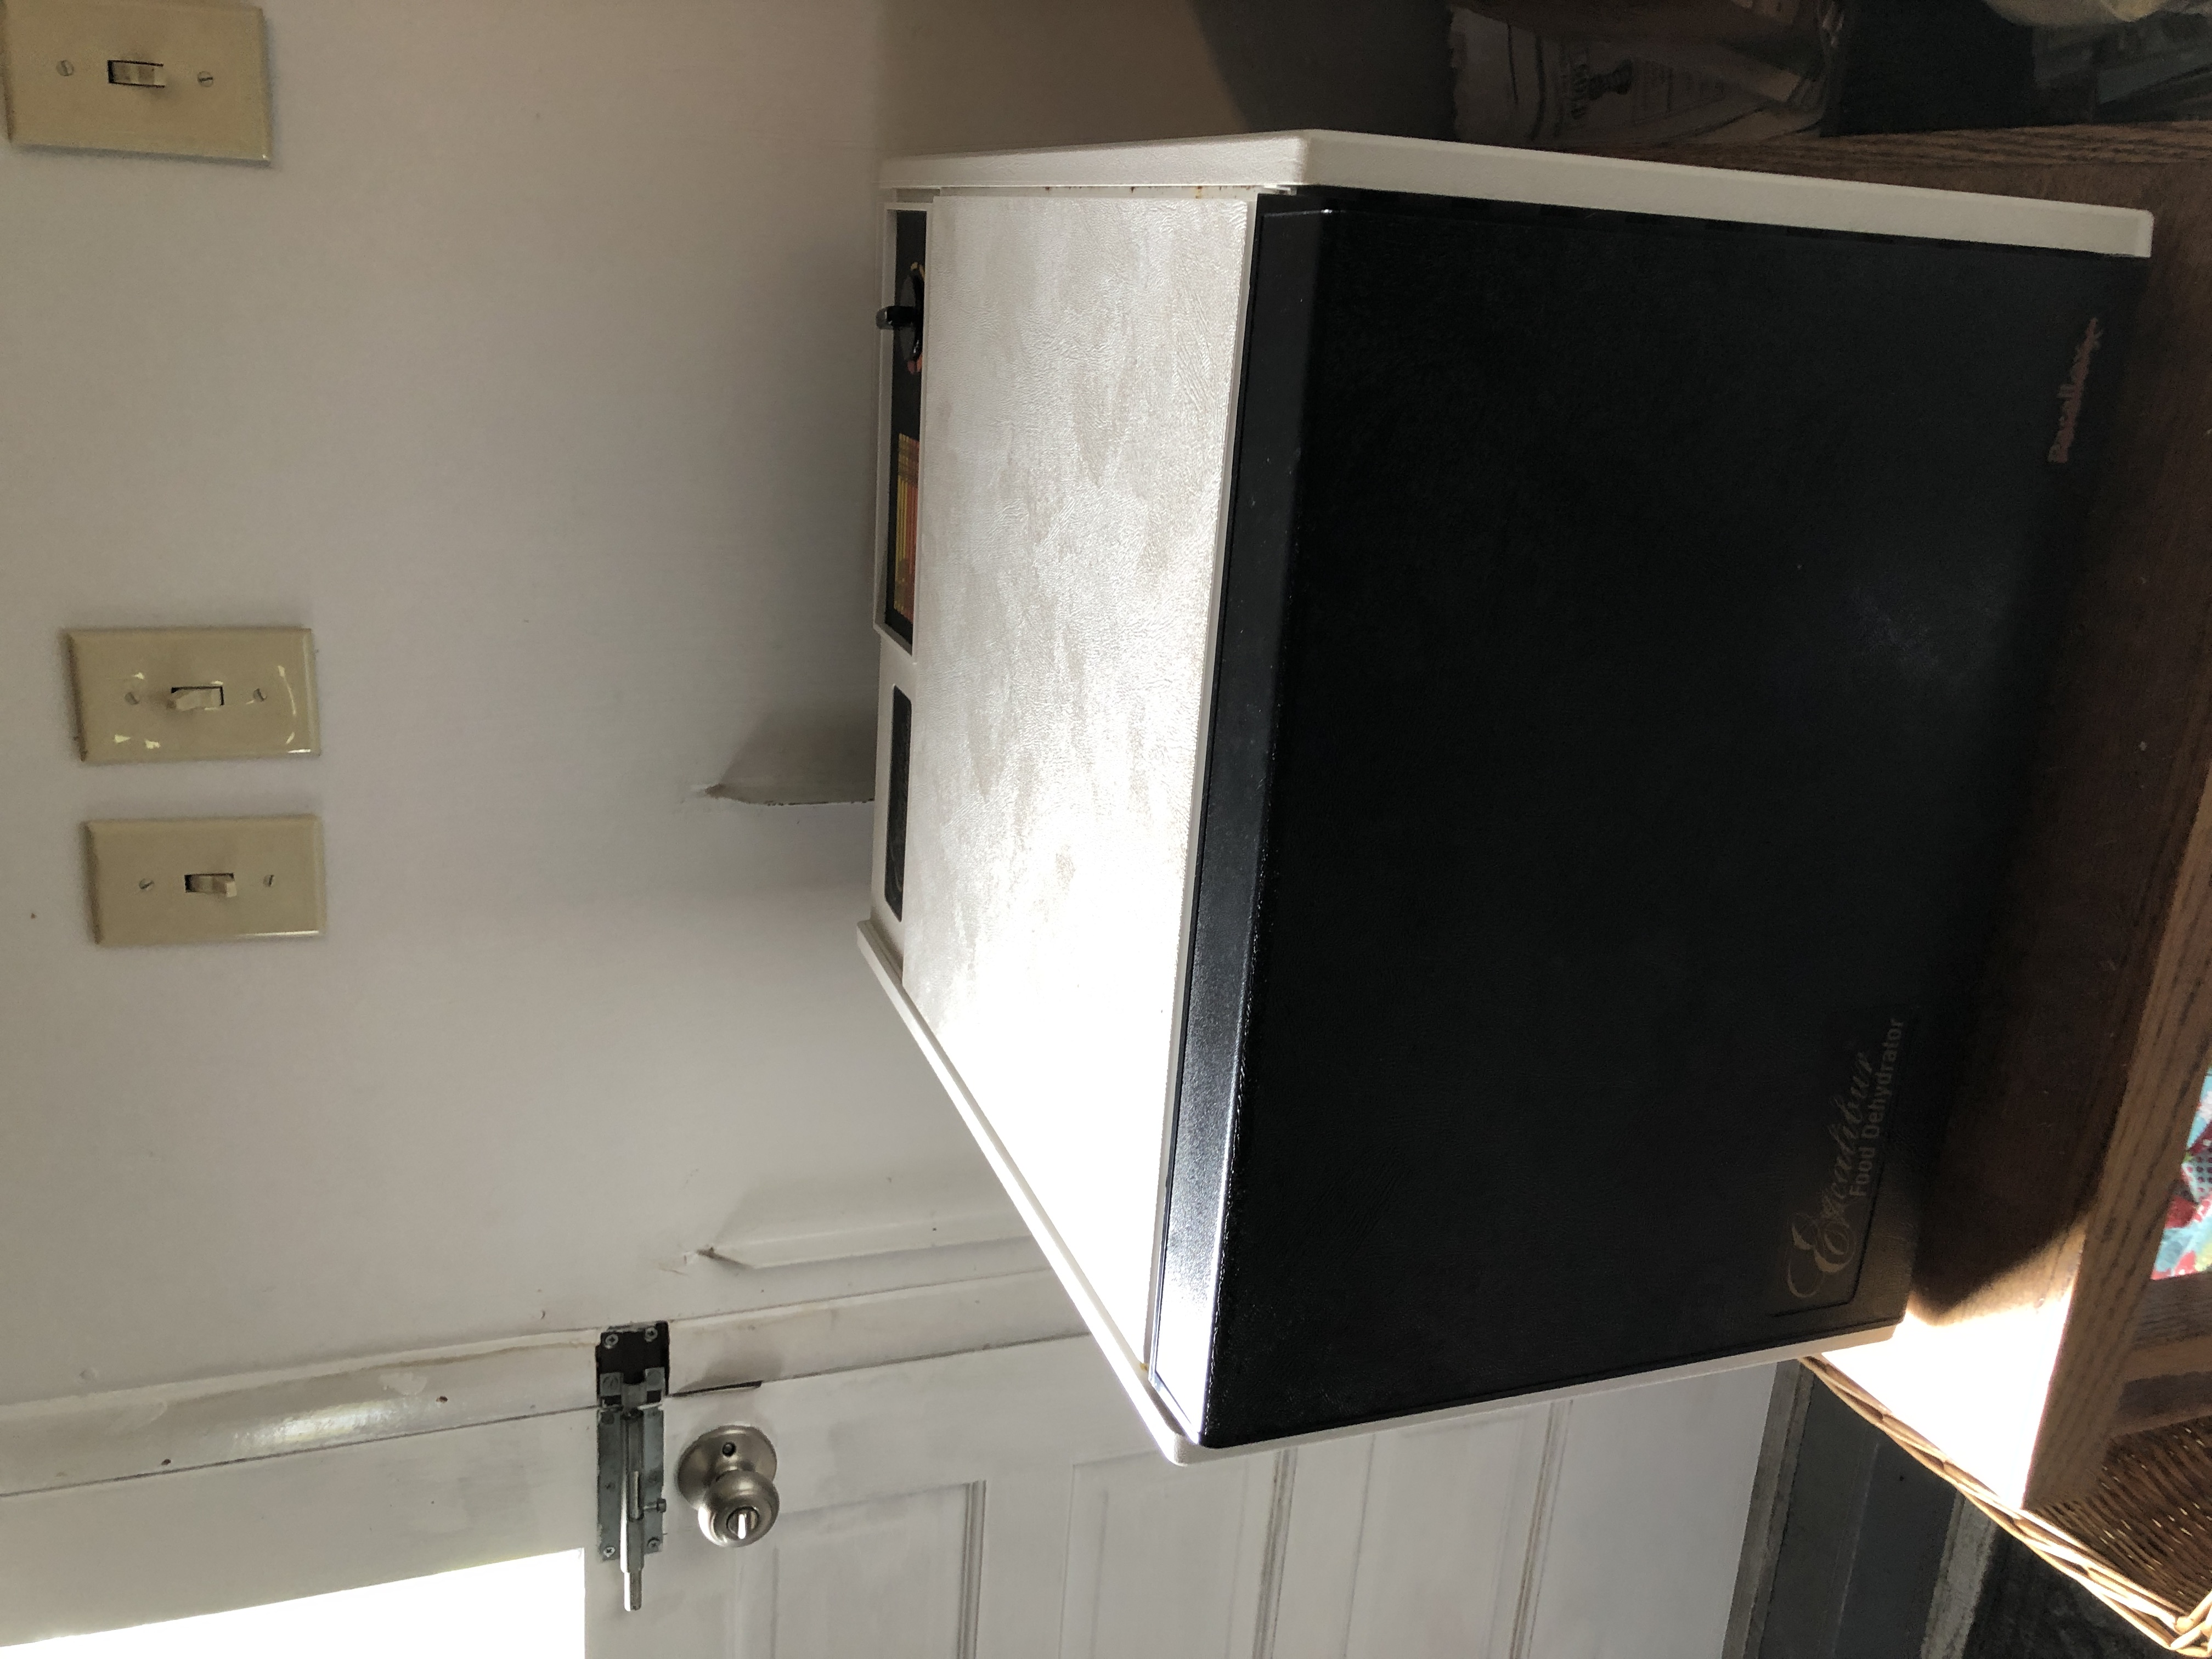
The dehydrator sits outside the kitchen door in the garage. It makes noise, has to run for 10-12 hours and is too big to put in the kitchen.

To determine how long to dehydrate the beans, I checked the manual for my dehydrator.

This map shows the general percent of humidity in each region, by season. Pennsylvania is in the green zone in July. The day I dehydrated the beans was damp and rainy so I assumed the time of 11 hours might be more like 12 hours.

The manual describes how to test when the food is dry enough. Vegetables should be brittle.

During the 11 hours, I rotated the trays front to back and from upper levels to the middle several times. The fan is located in the back, so the back of the trays get dry faster than the front edge. After 11 hours, the beans look like this:

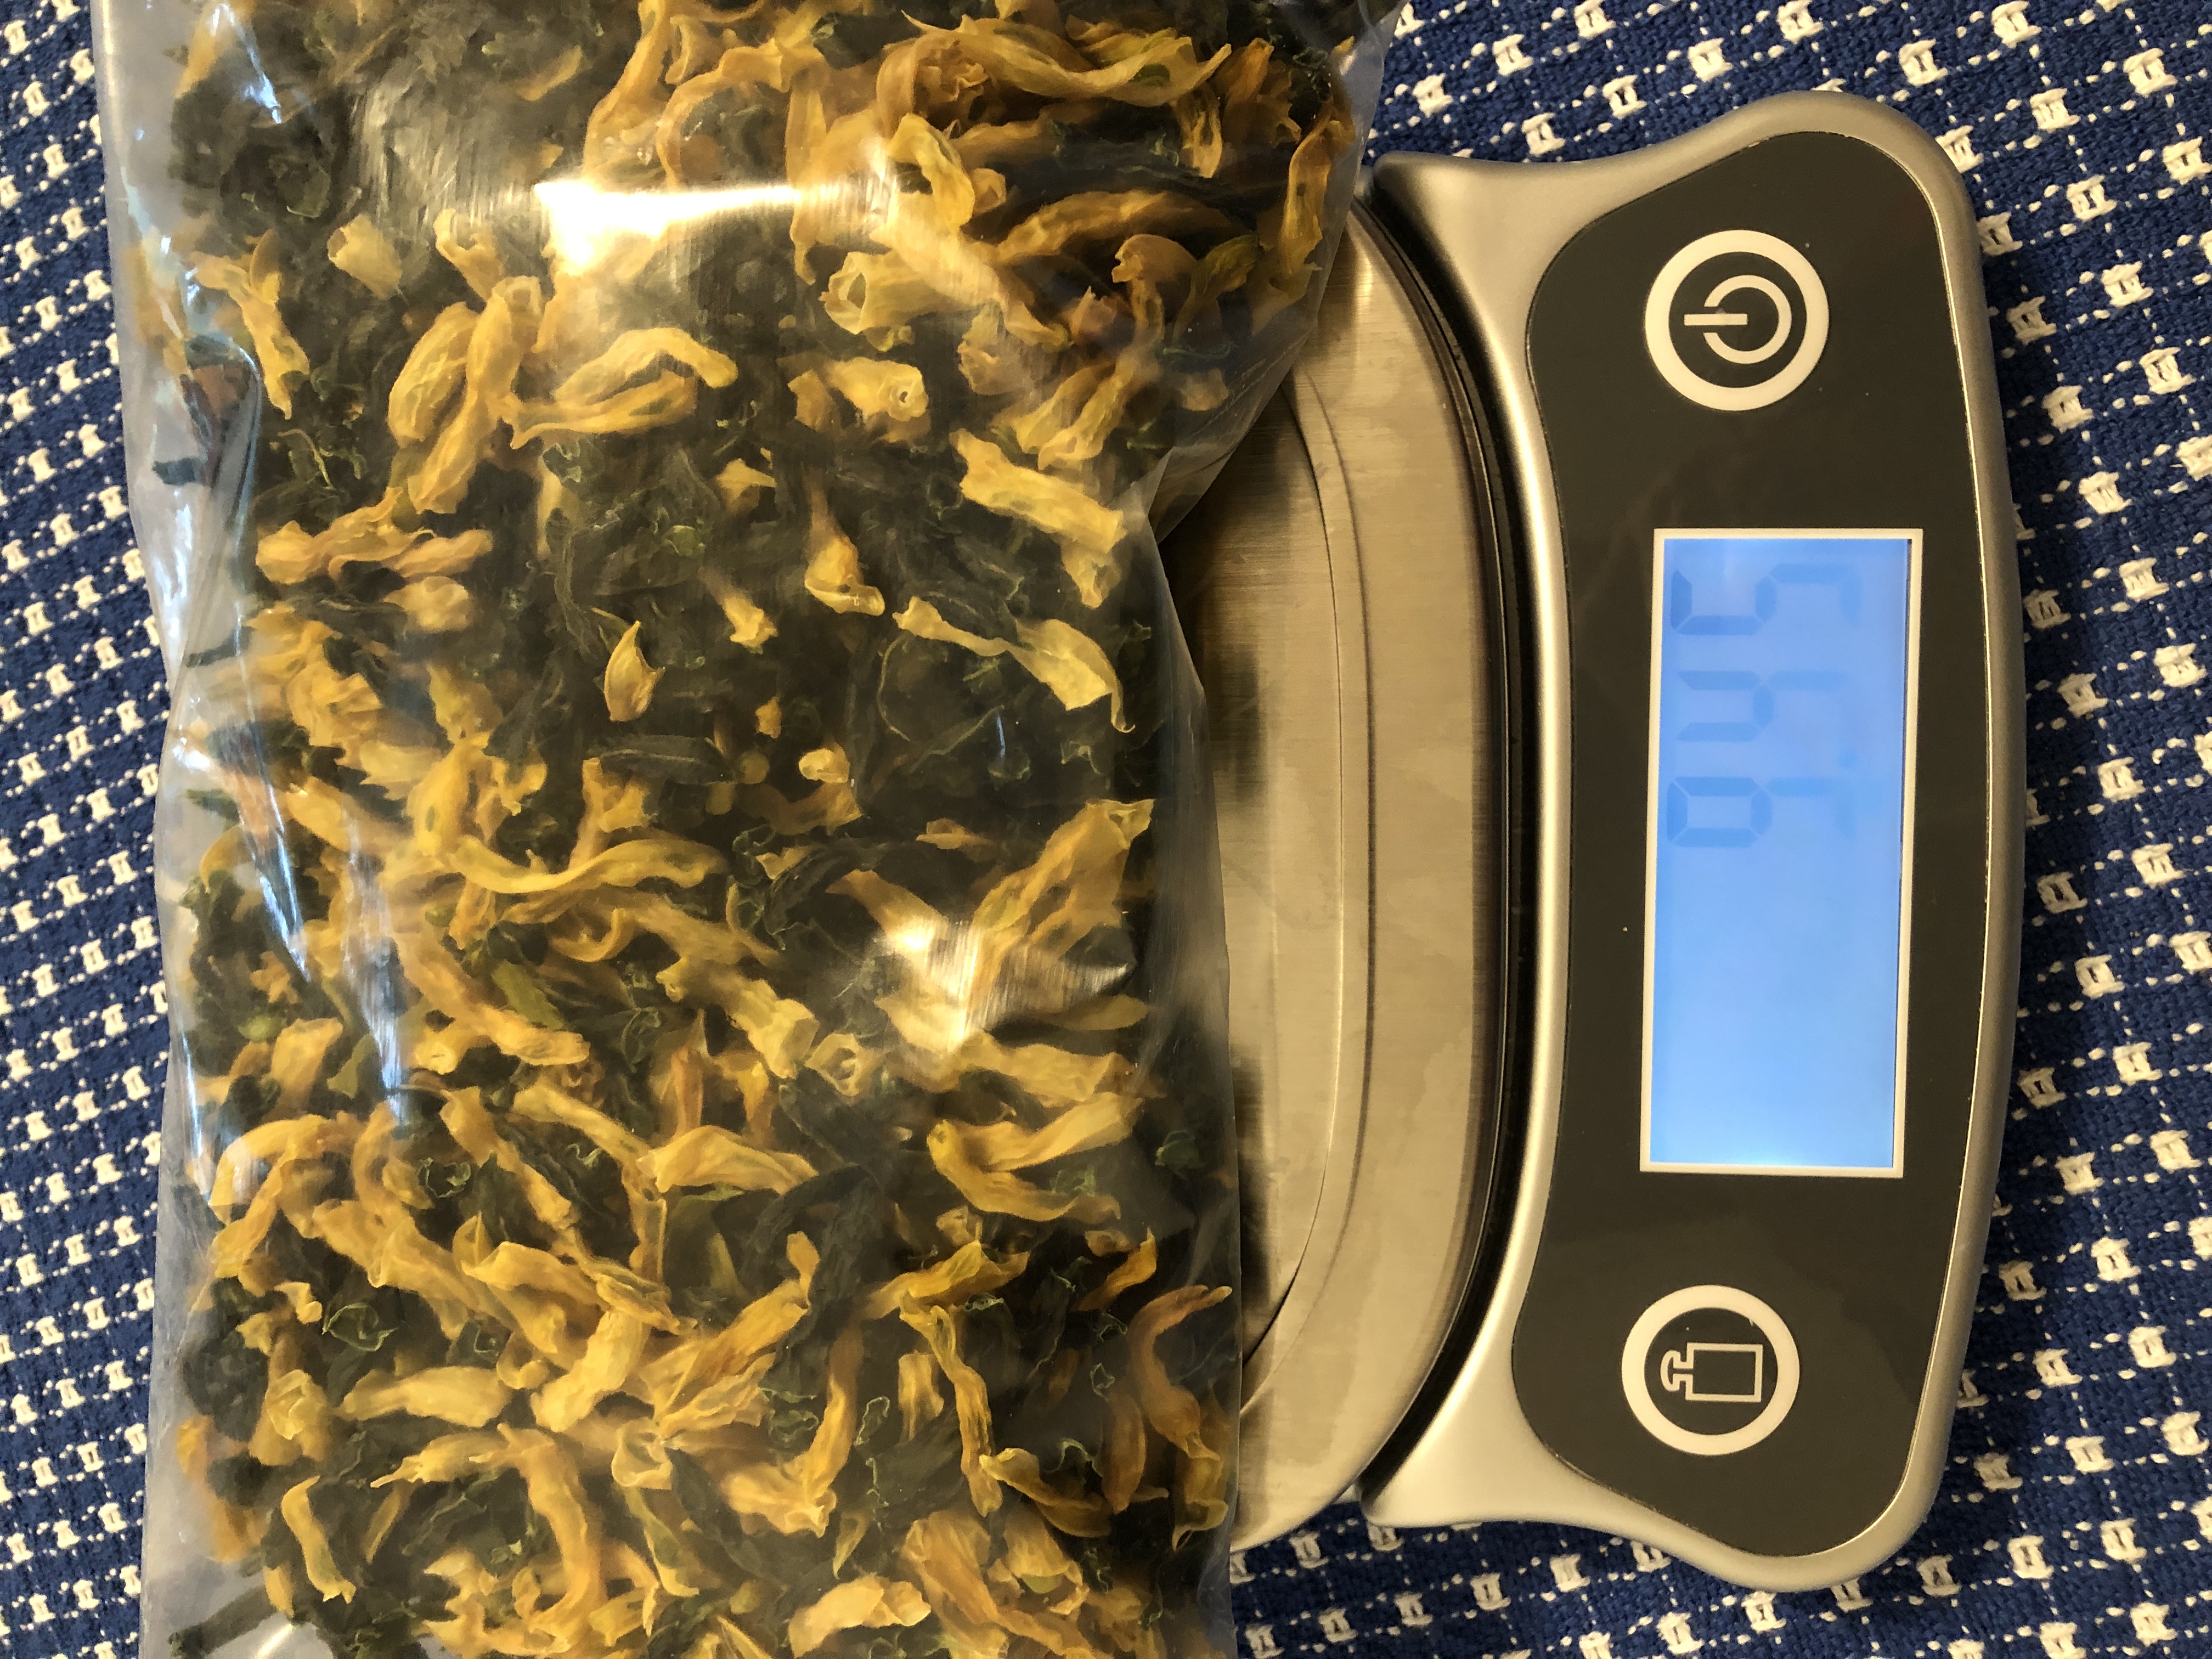
Once I determined they were dry enough…because they were brittle when I bent them…I put them in a zip bag and weighed them again. The 6 lbs. of beans now weighed about 9 1/2 oz…a little more than 1/2 lb.

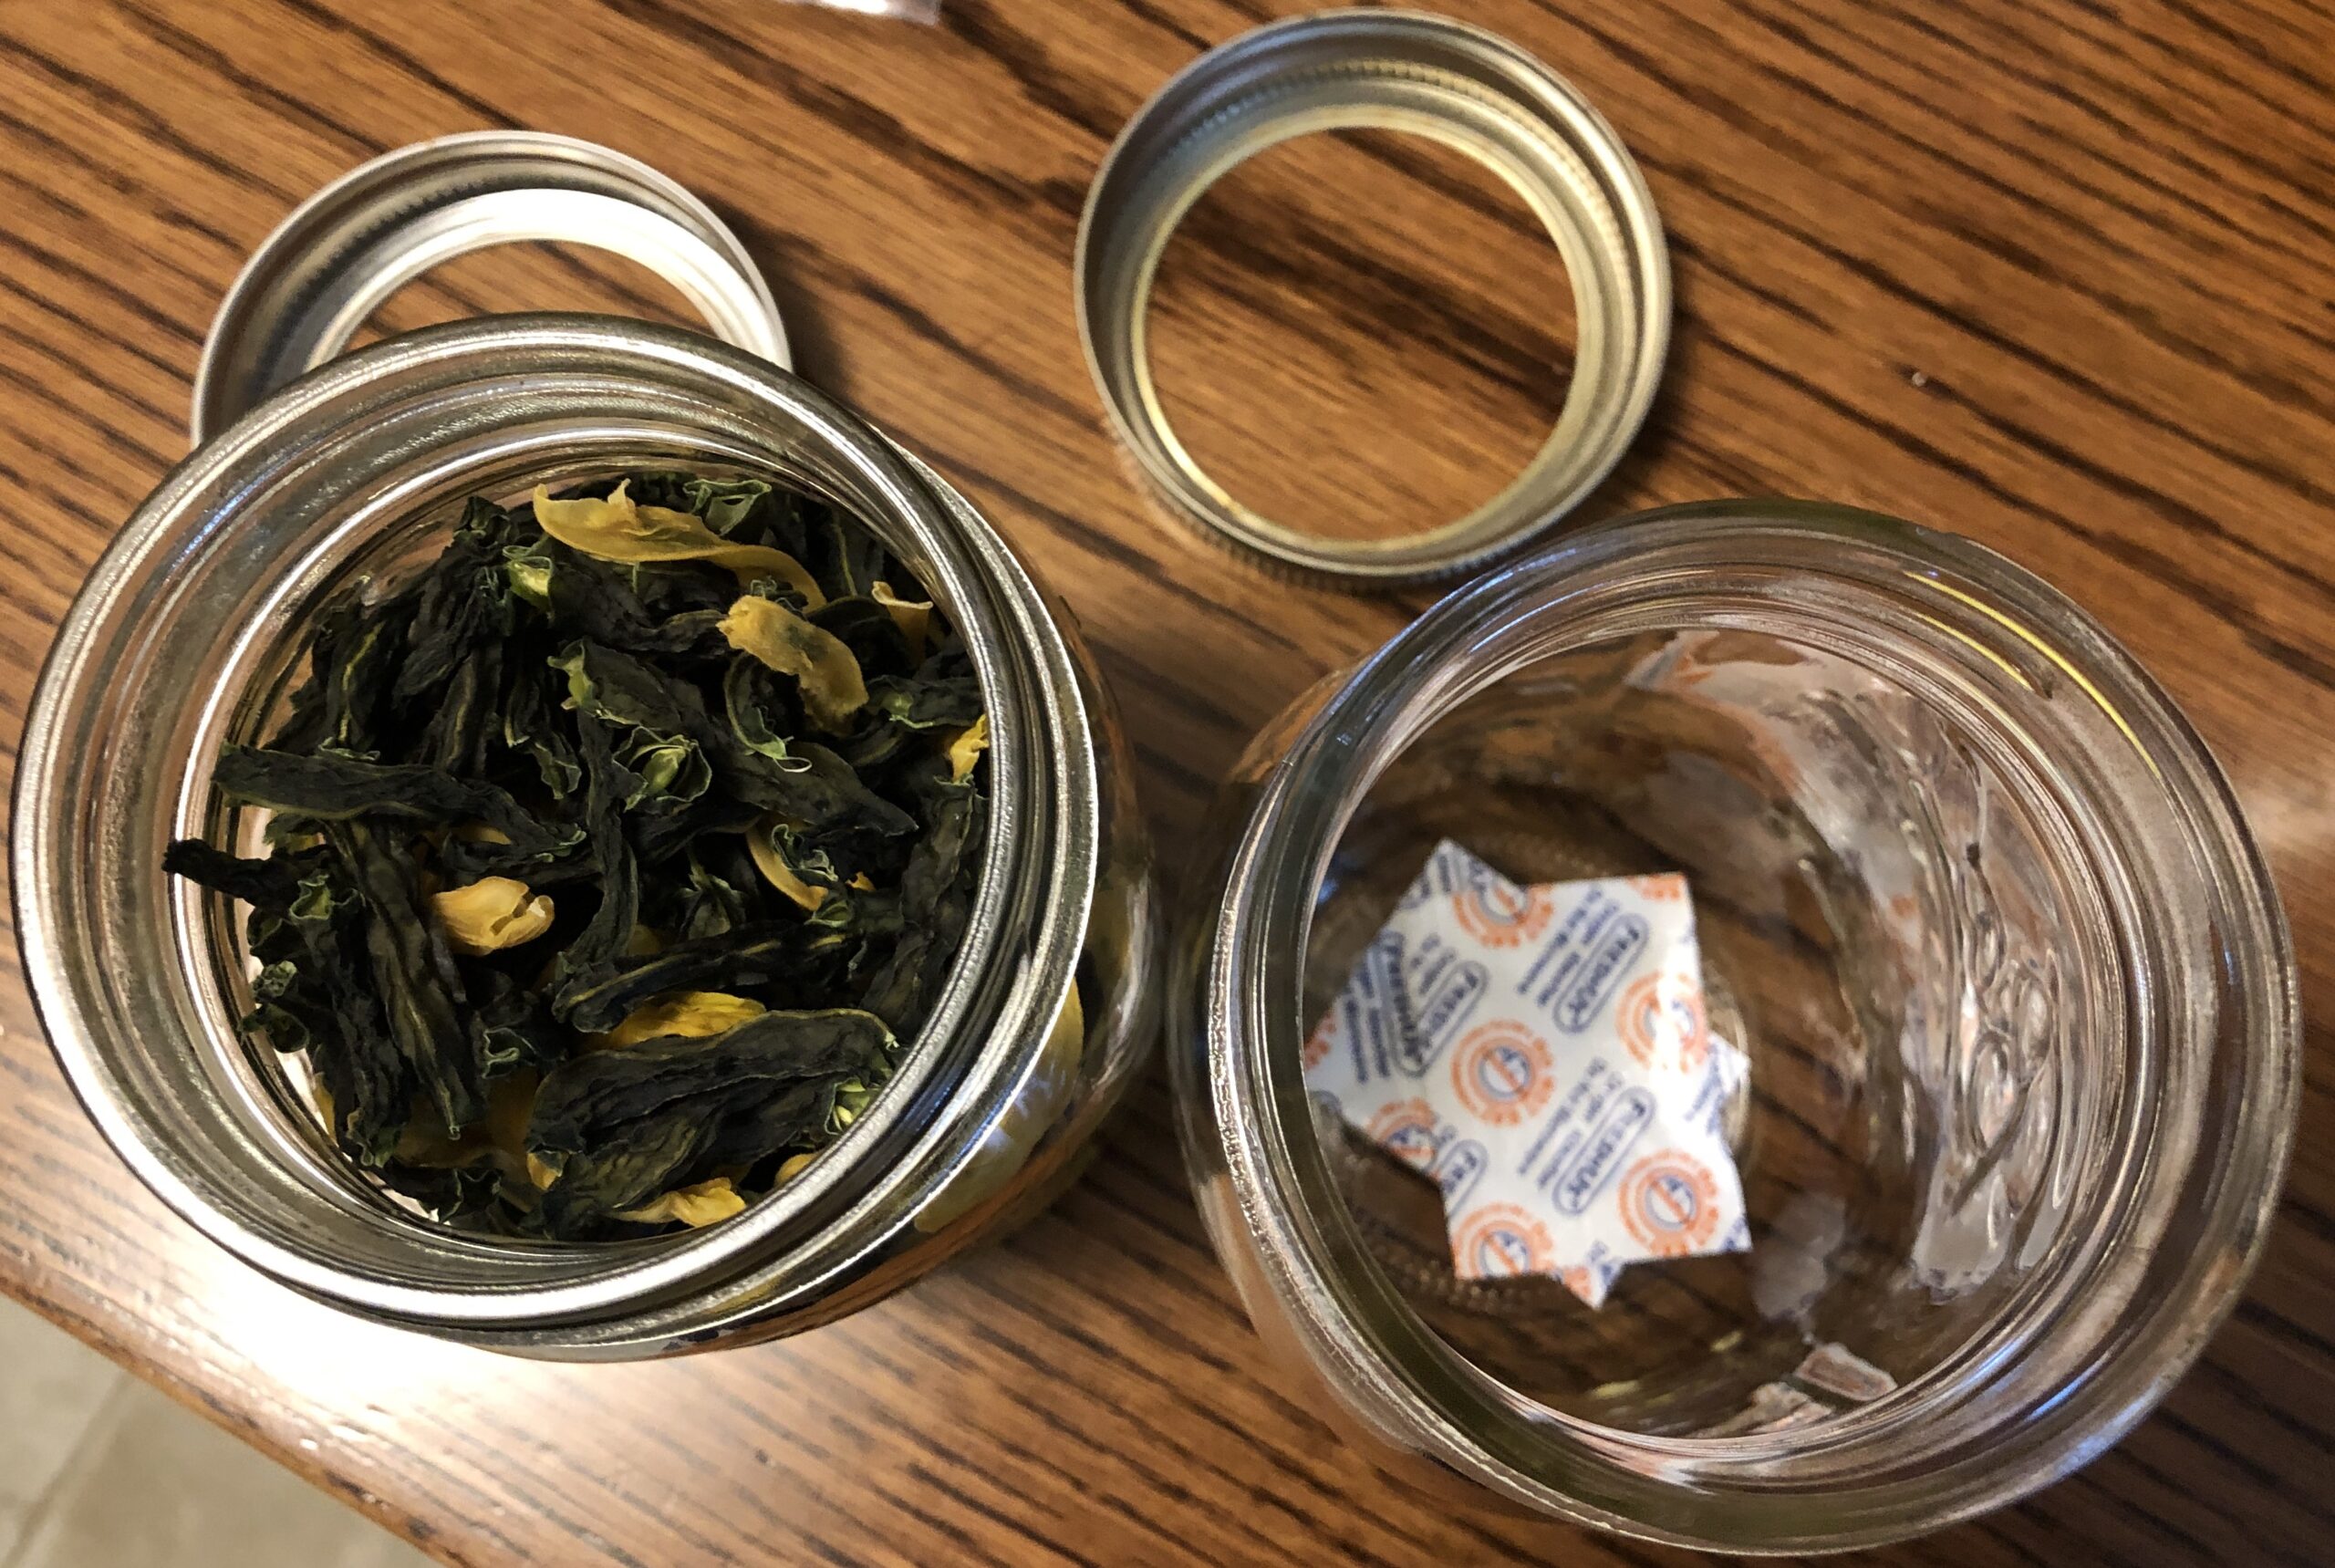
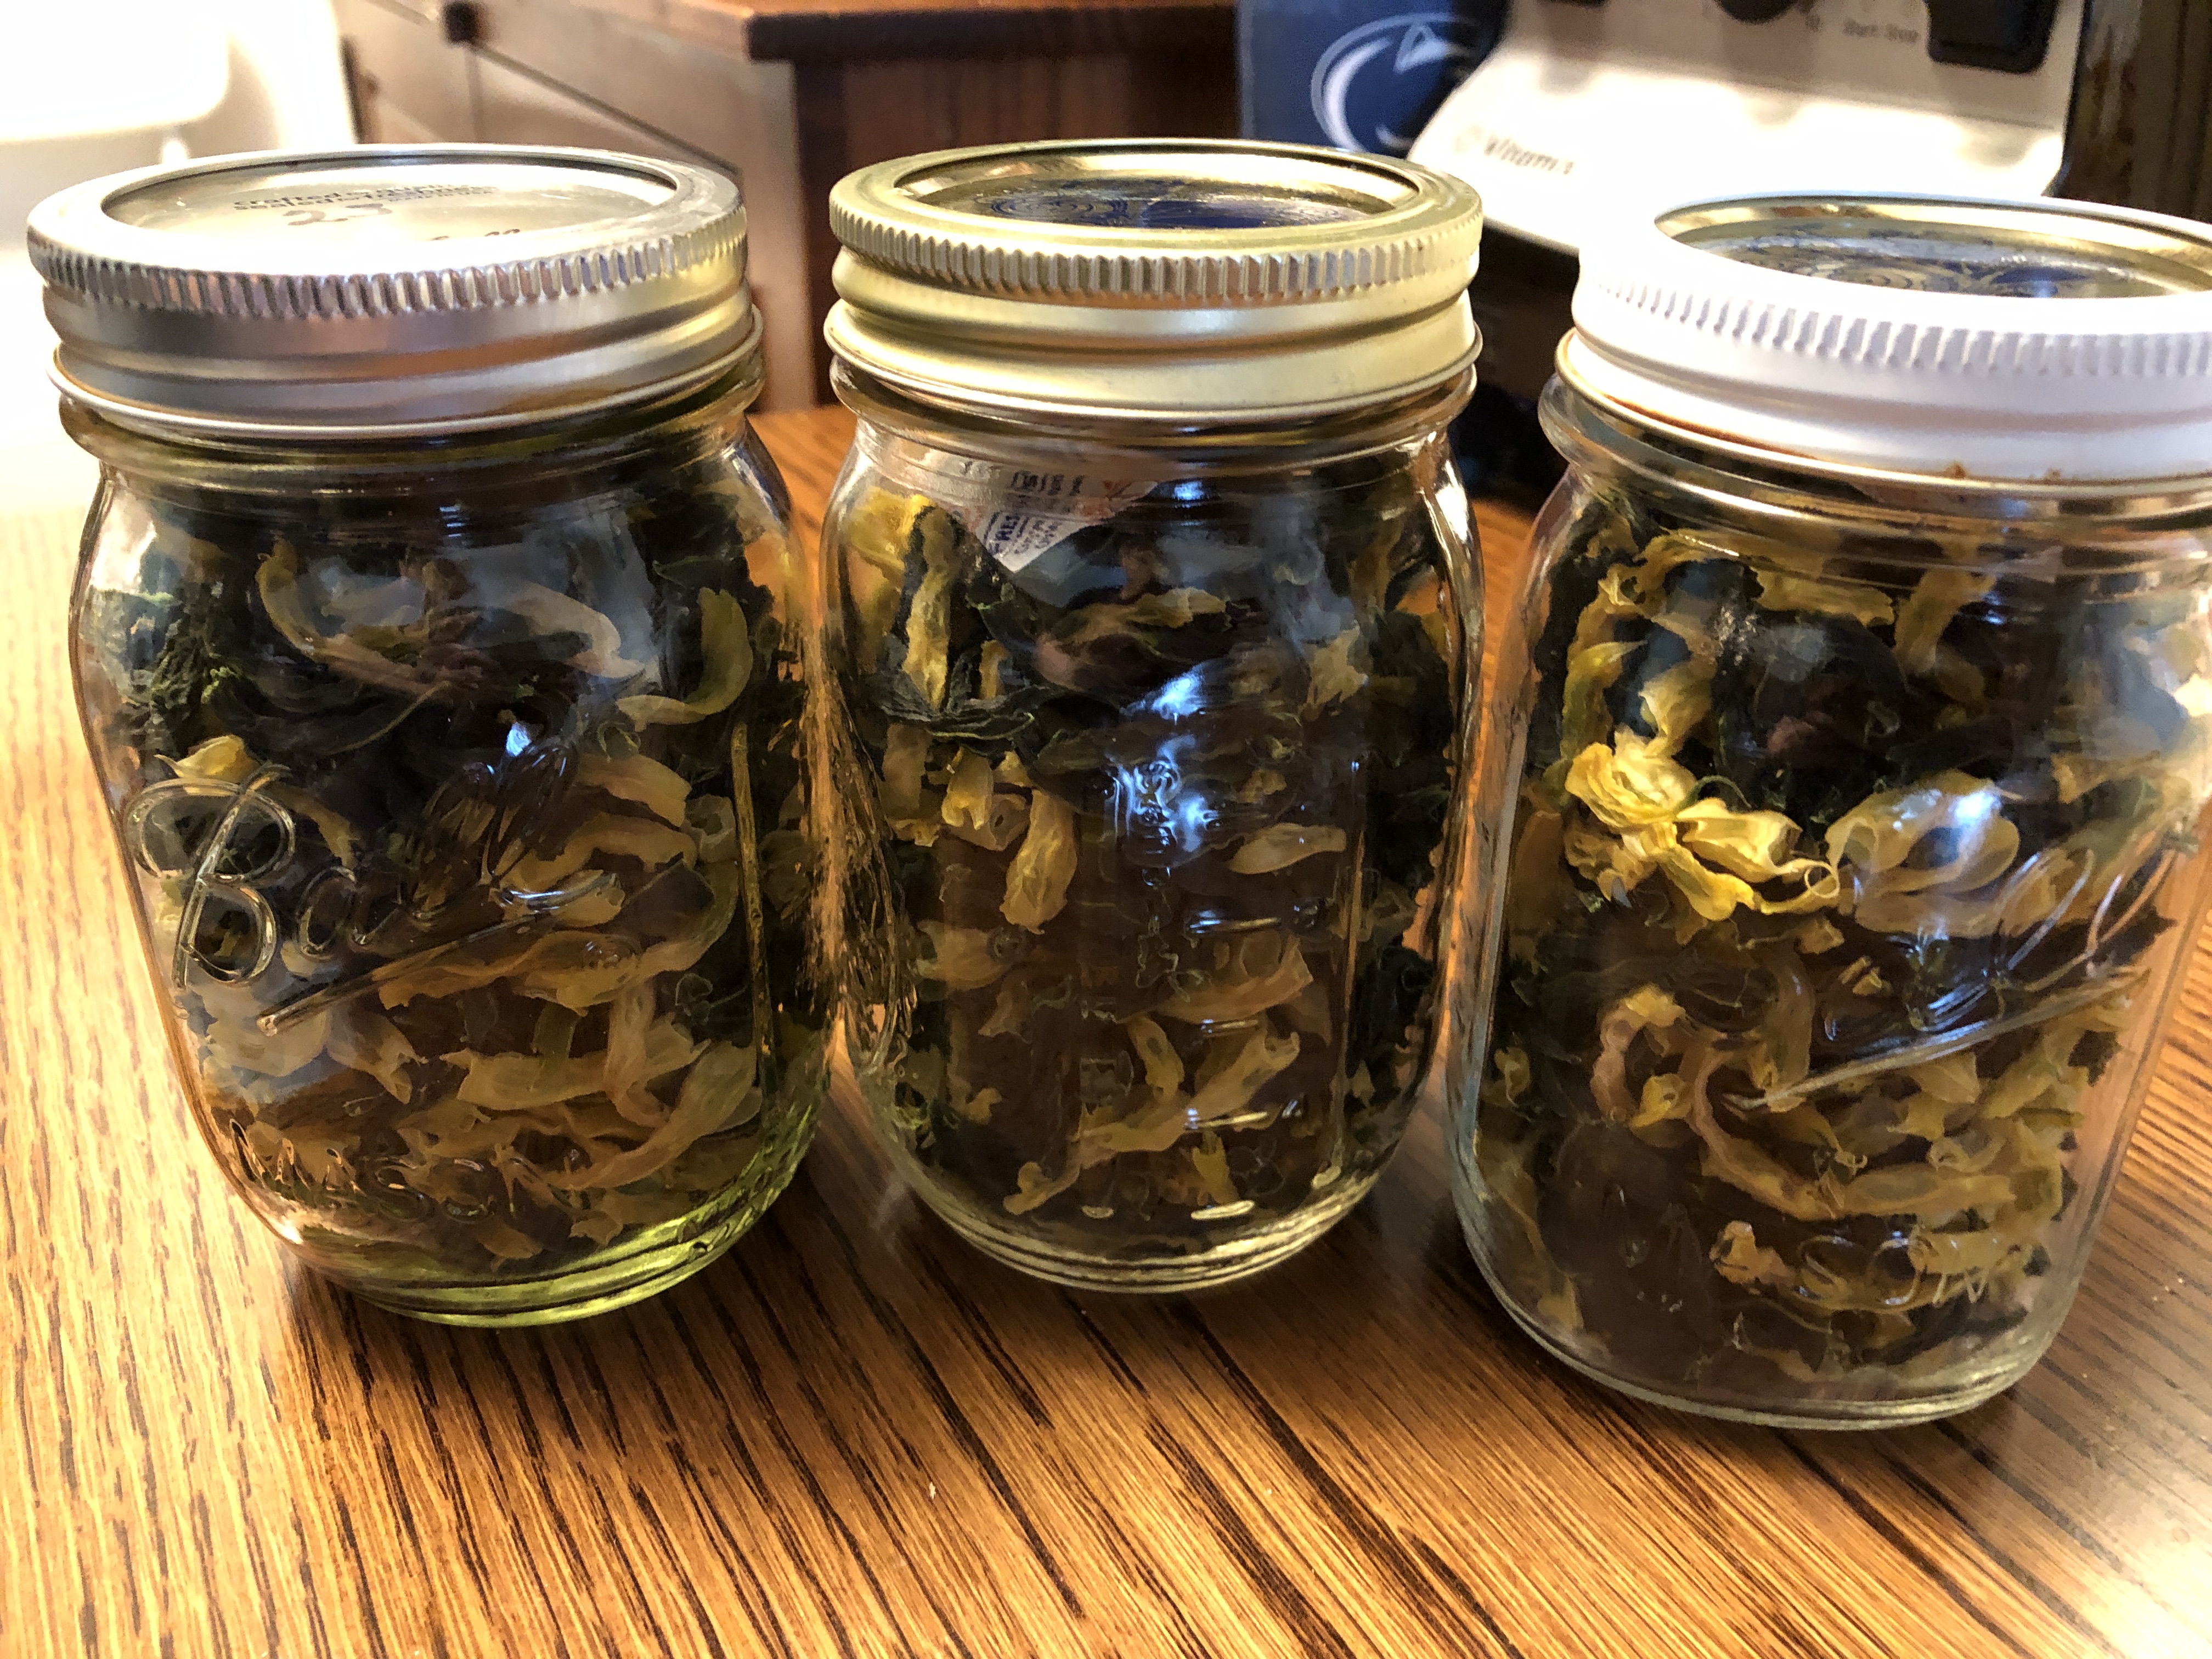
I store dehydrated vegetables in my canning jars, with little packets of oxygen absorbers. They keep the jar sealed on the shelf.

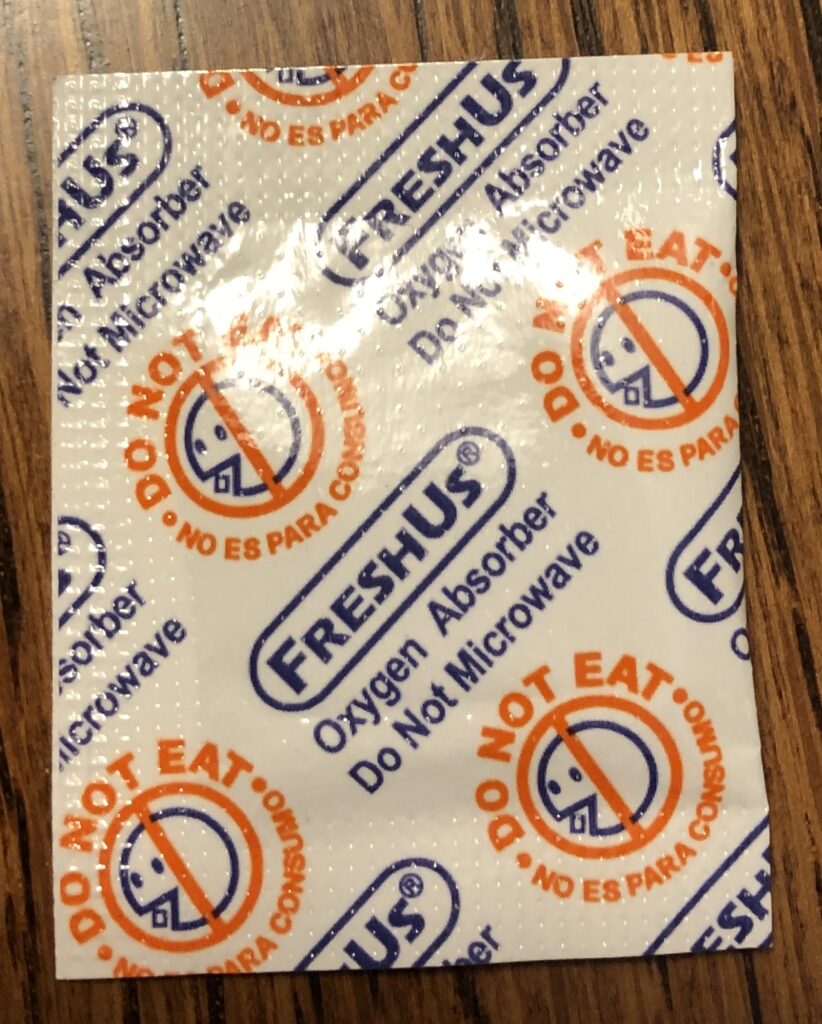
The oxygen absorbers can be purchased at Amazon in several sizes…these are 300cc. I put several in each jar with the beans.

So that 6 lbs. of green and yellow beans are ready for my winter soup. I’ll put about 1/2 cup of dehydrated beans in a pot of soup to start and will add more if needed…depends on the amount of soup I’m making! They need about 30 minutes to reconstitute. Enjoy!

Dehydrating Strawberries and Apricots

Strawberries are in season in Pennsylvania…everywhere, except in my garden! So rather than get upset, I managed to find fresh, yummy strawberries at local farmer’s markets. I thought I’d start with just two quarts, while I worked to remind myself how to do it. The dehydrator sits quietly in my garage most of the year, but from July to September it gets heavy use. Dried fruits make great snacks and toppings for cereal. Dried vegetables make quick additions to vegetable soups. The last few days, I focused on strawberries and as you’ll see…relearning how to use the equipment is always my first step.

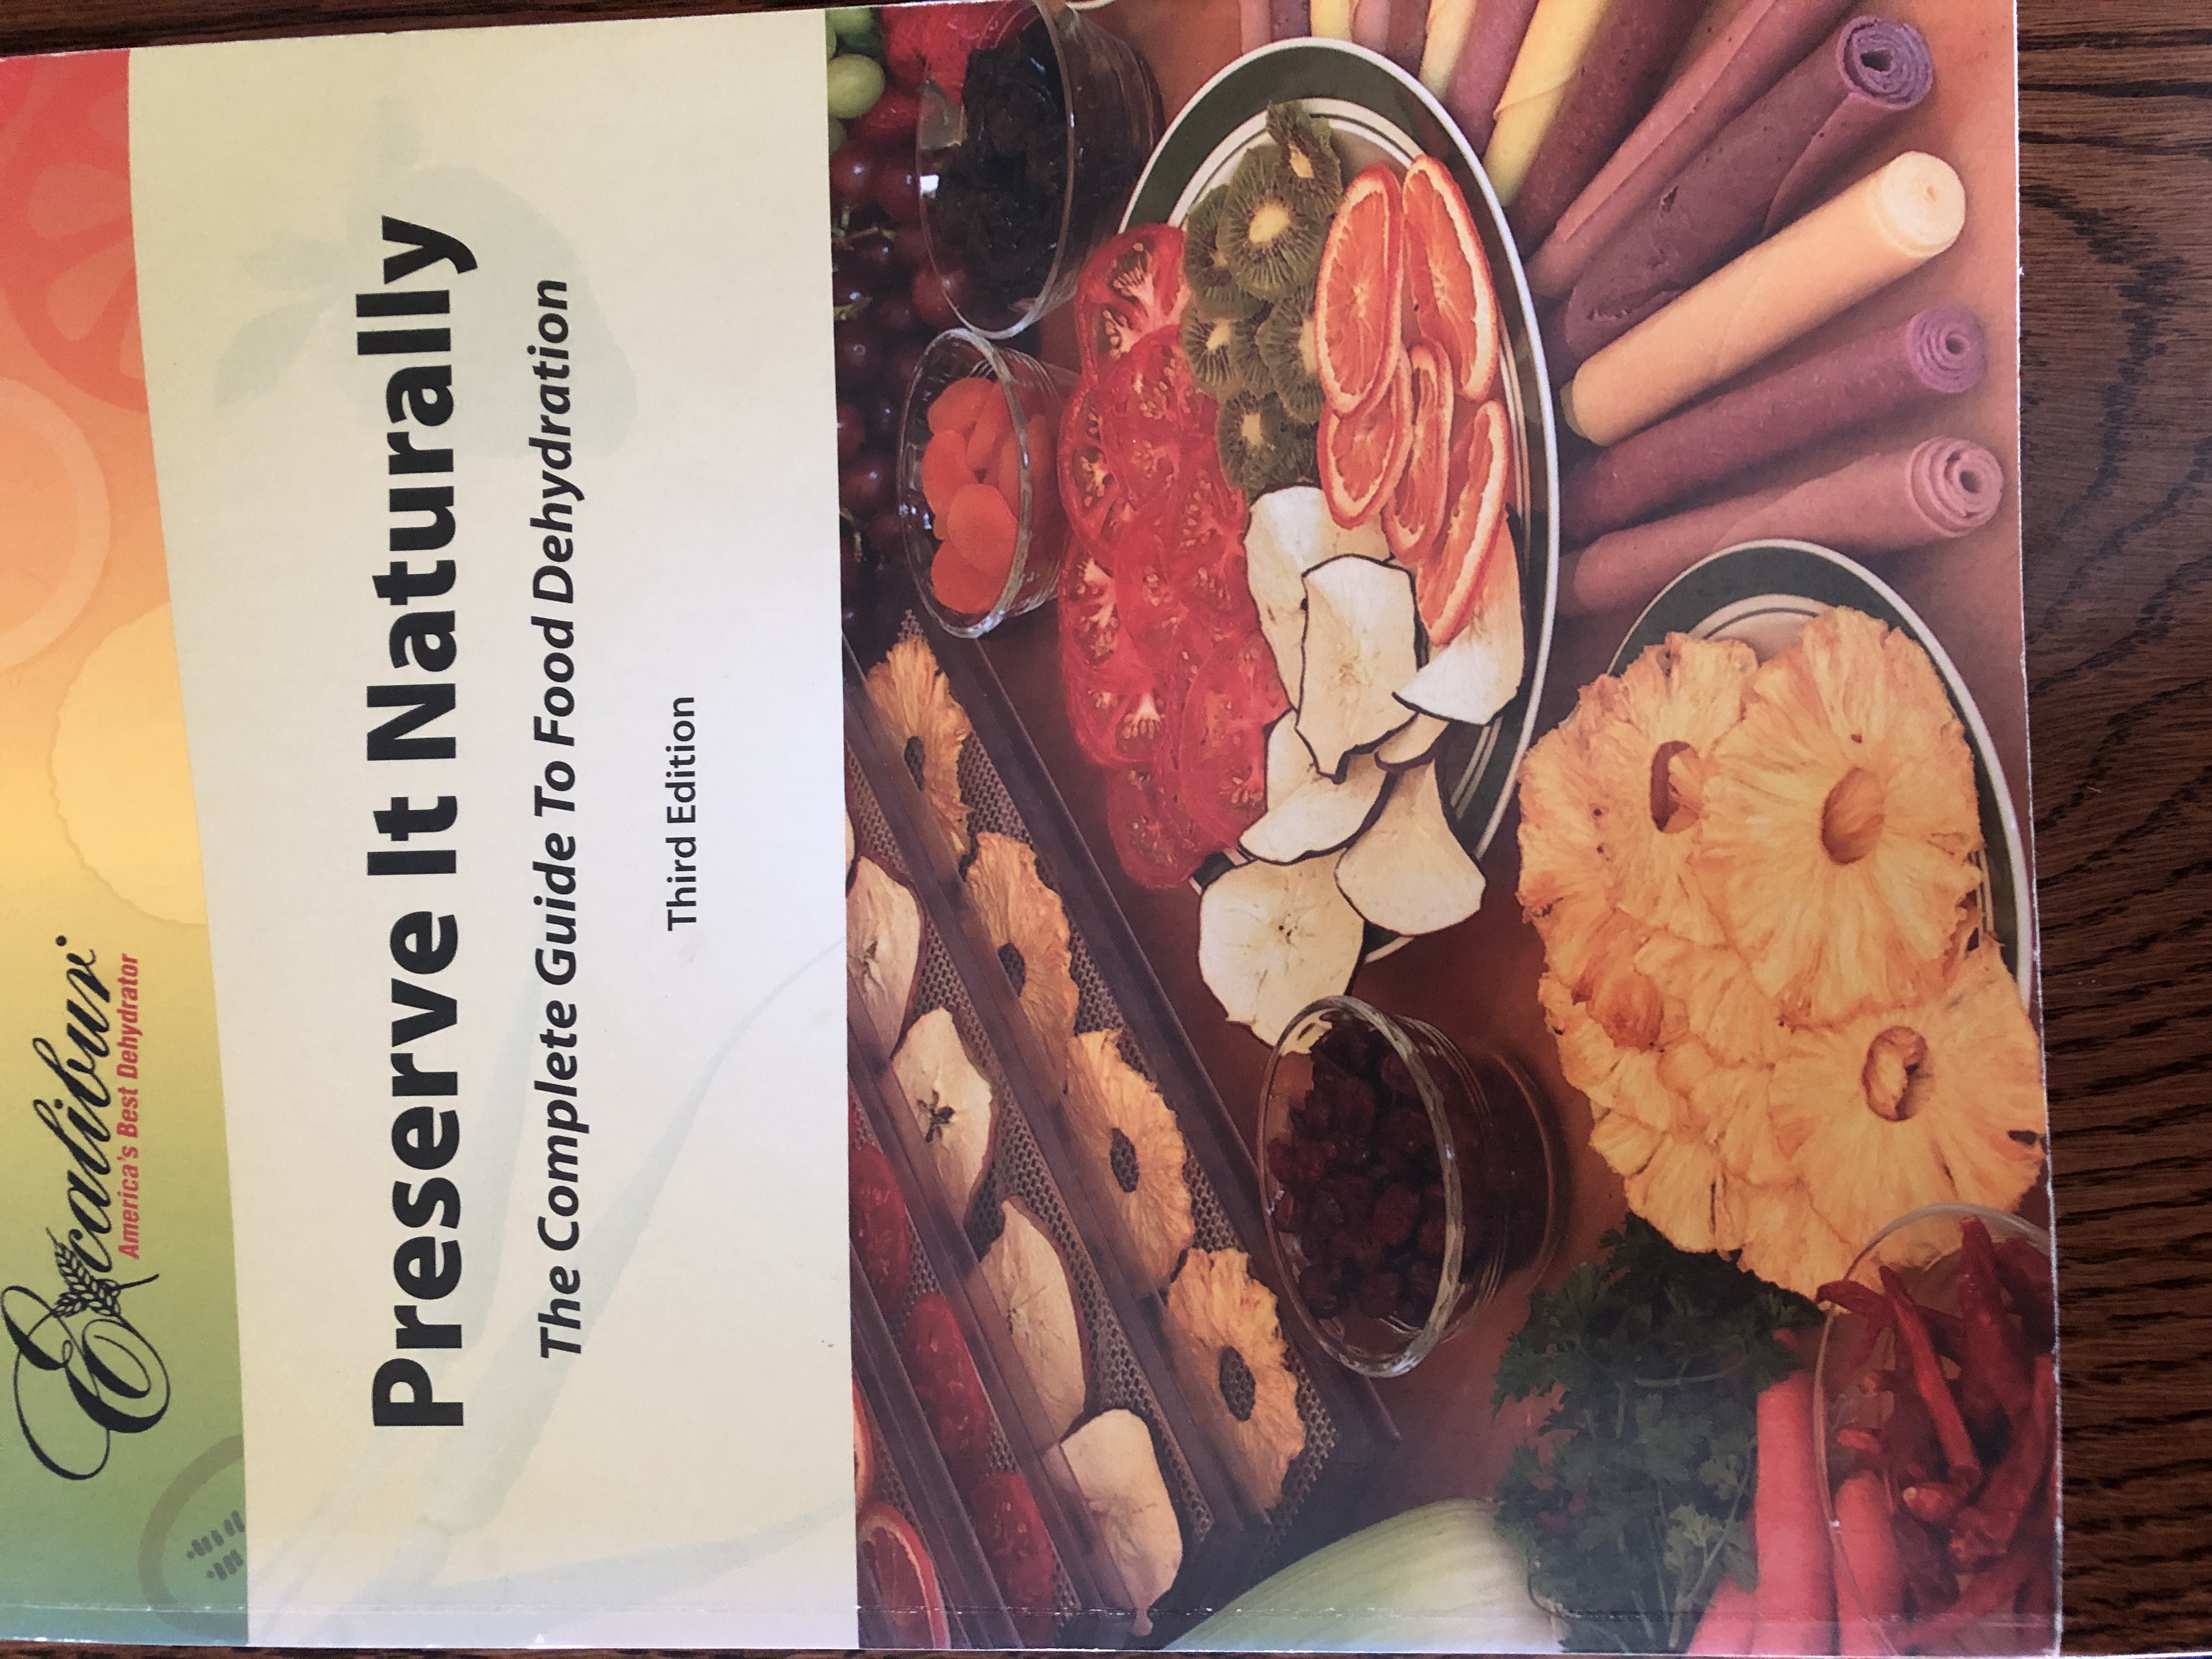
I pulled out the book that goes with my dehydrator:

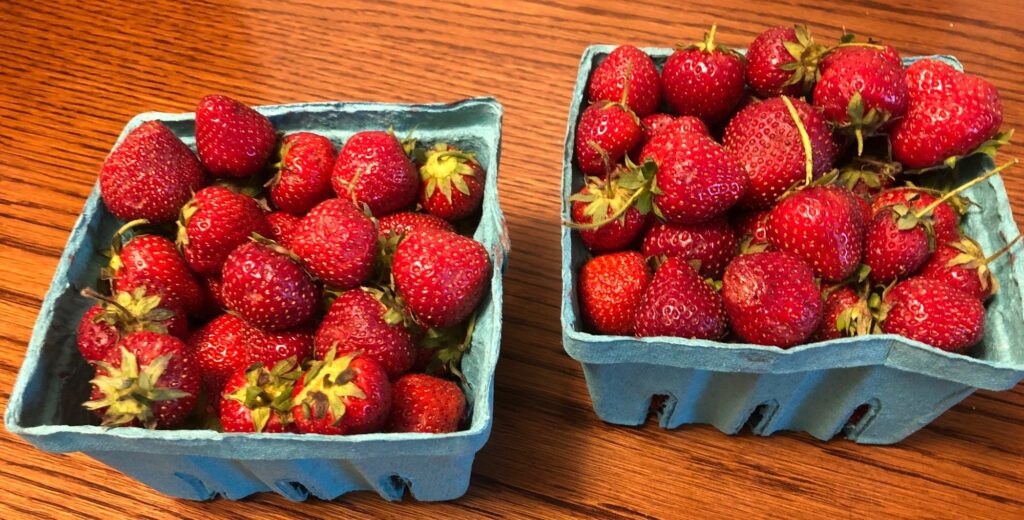
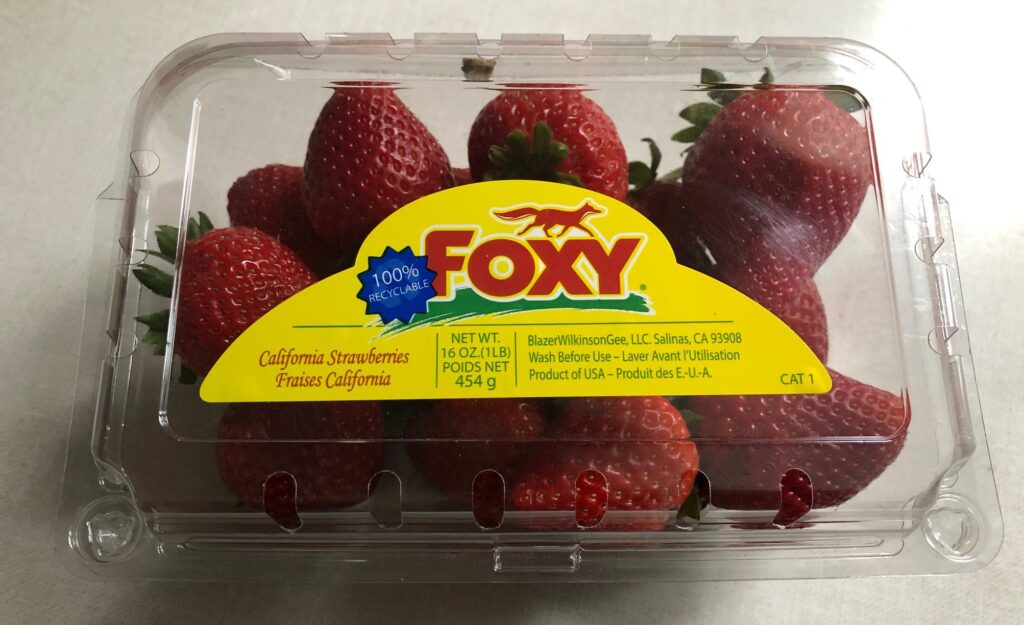
Then I picked up two quarts of strawberries at a local market:

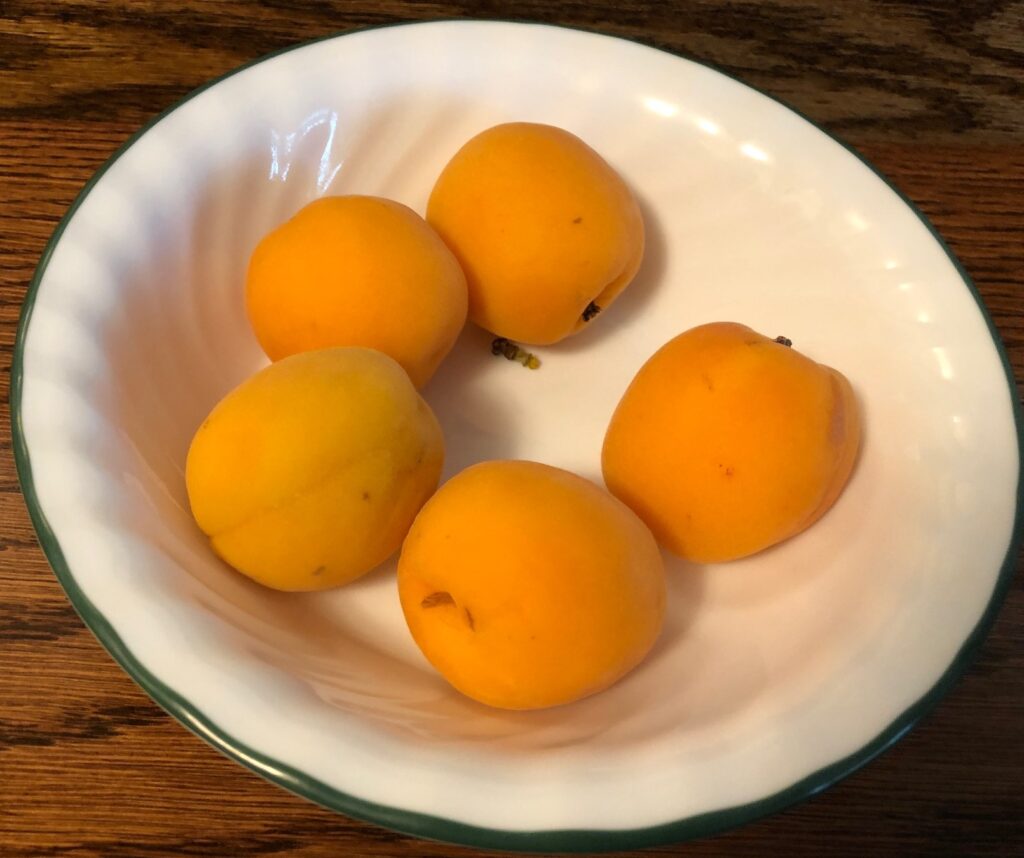
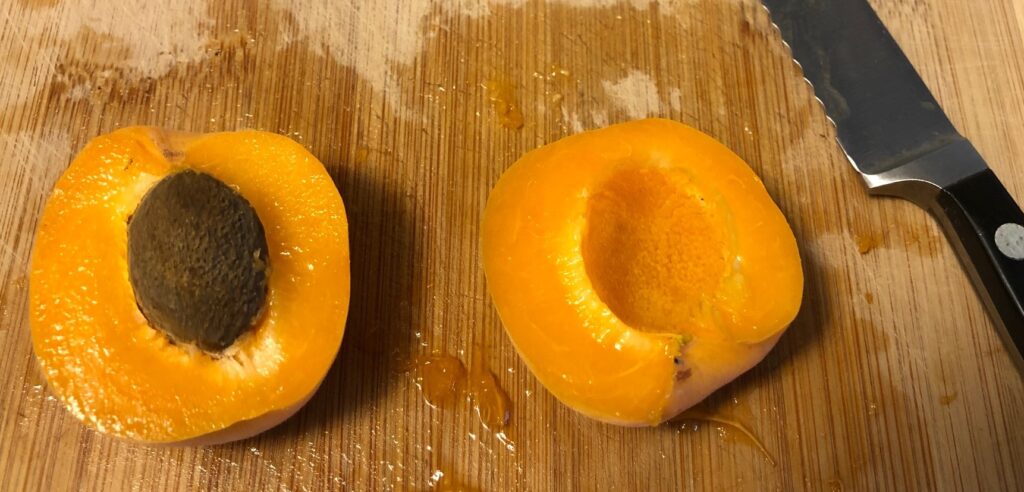
I also had a few apricots sitting on the counter that were ripe and decided to add them to a tray:

I pulled the trays out of the dehydrator and got to work. Washing and slicing very ripe strawberries is work, but delicious…I think every now and then one would jump right into my mouth!

My First Attempt to Dehydrate Strawberries

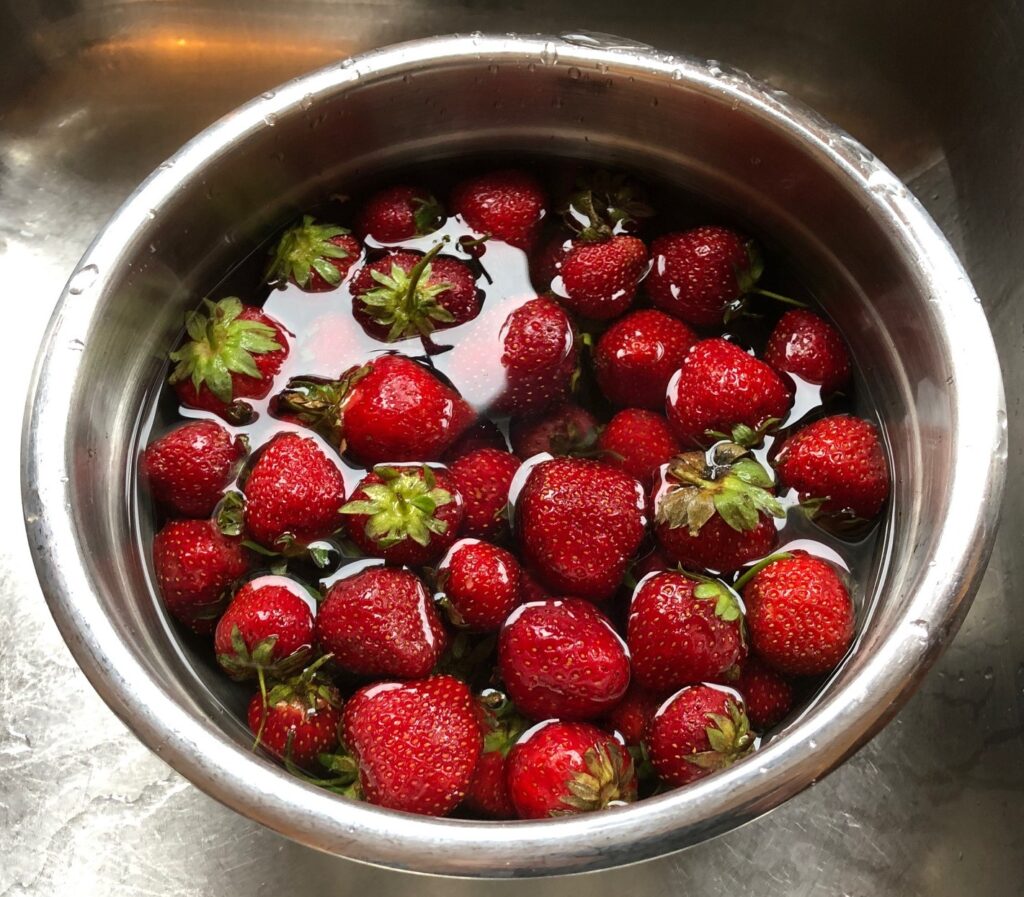
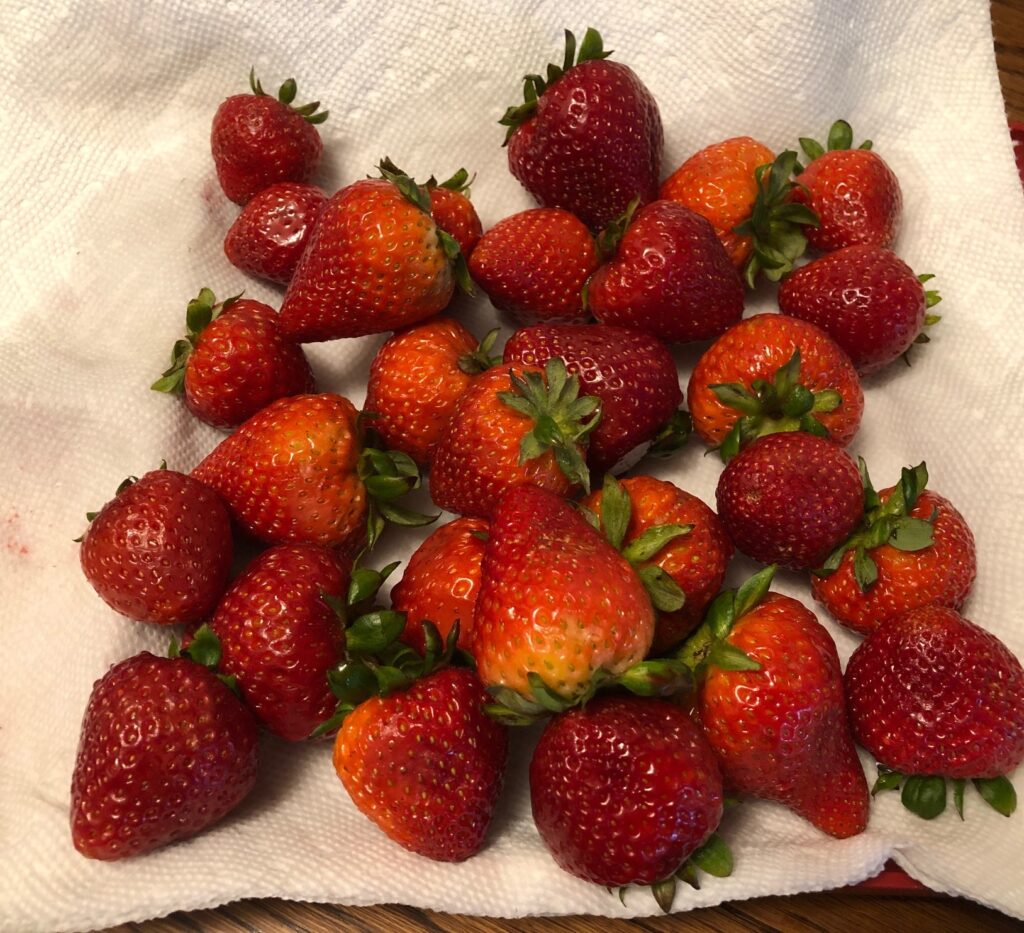
First, I washed the strawberries:

Just a few minutes in cold water was enough.
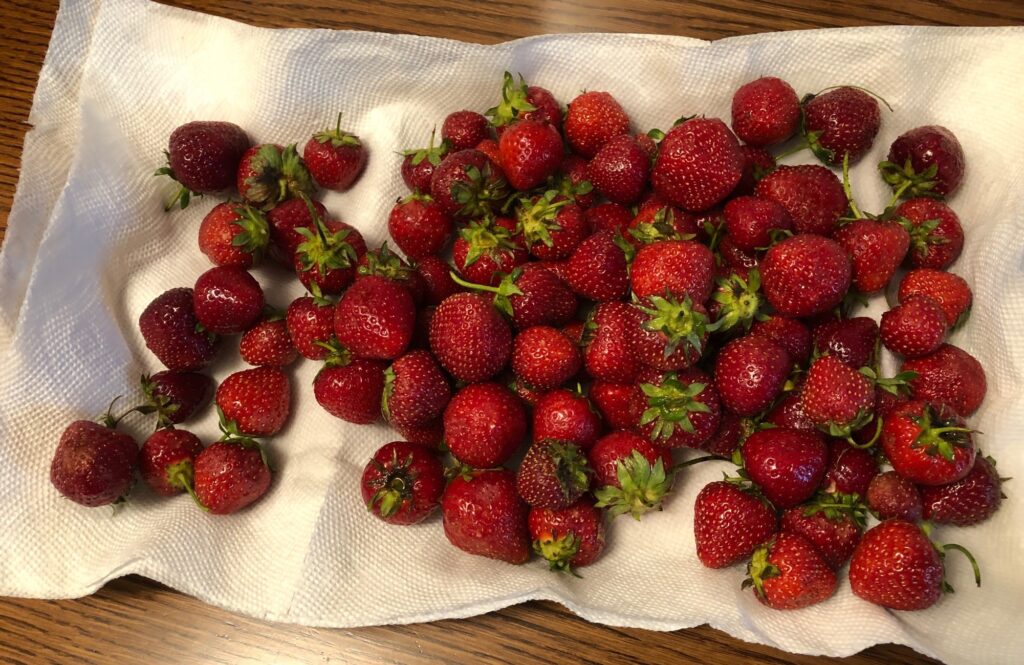
Washed strawberries
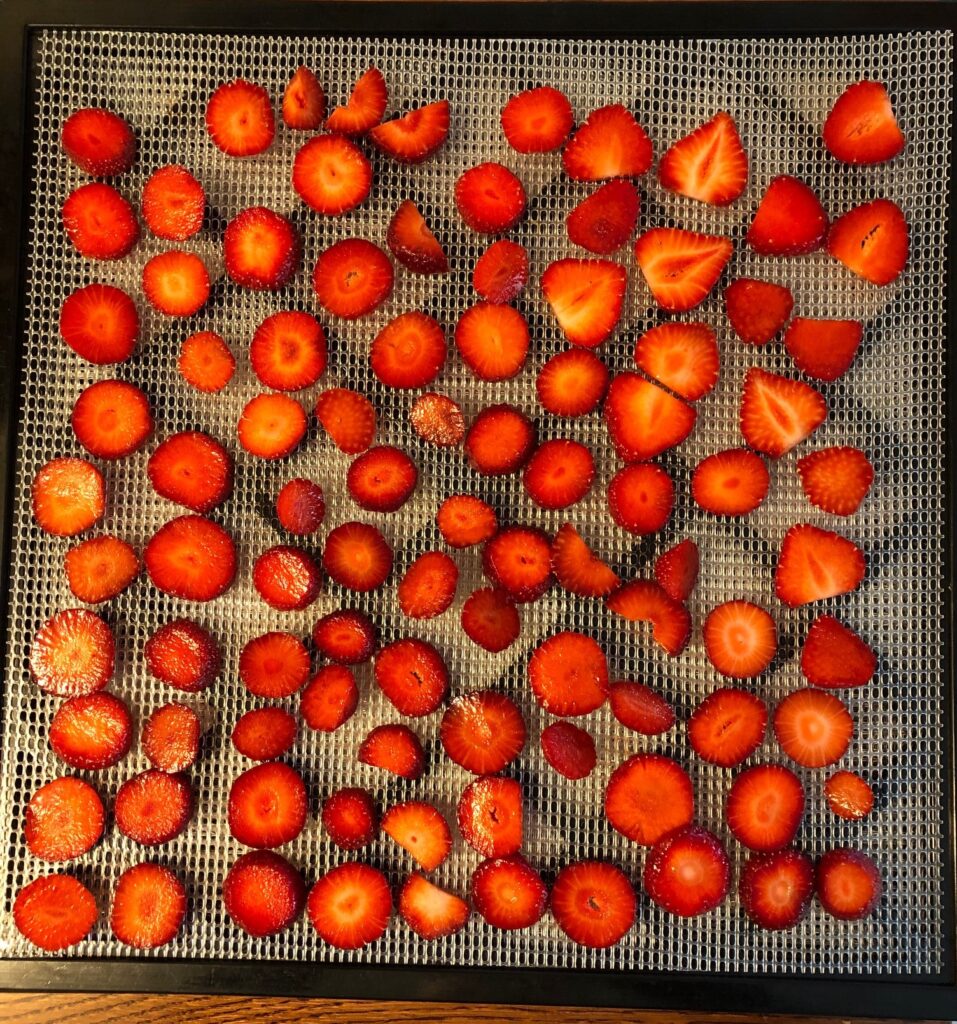
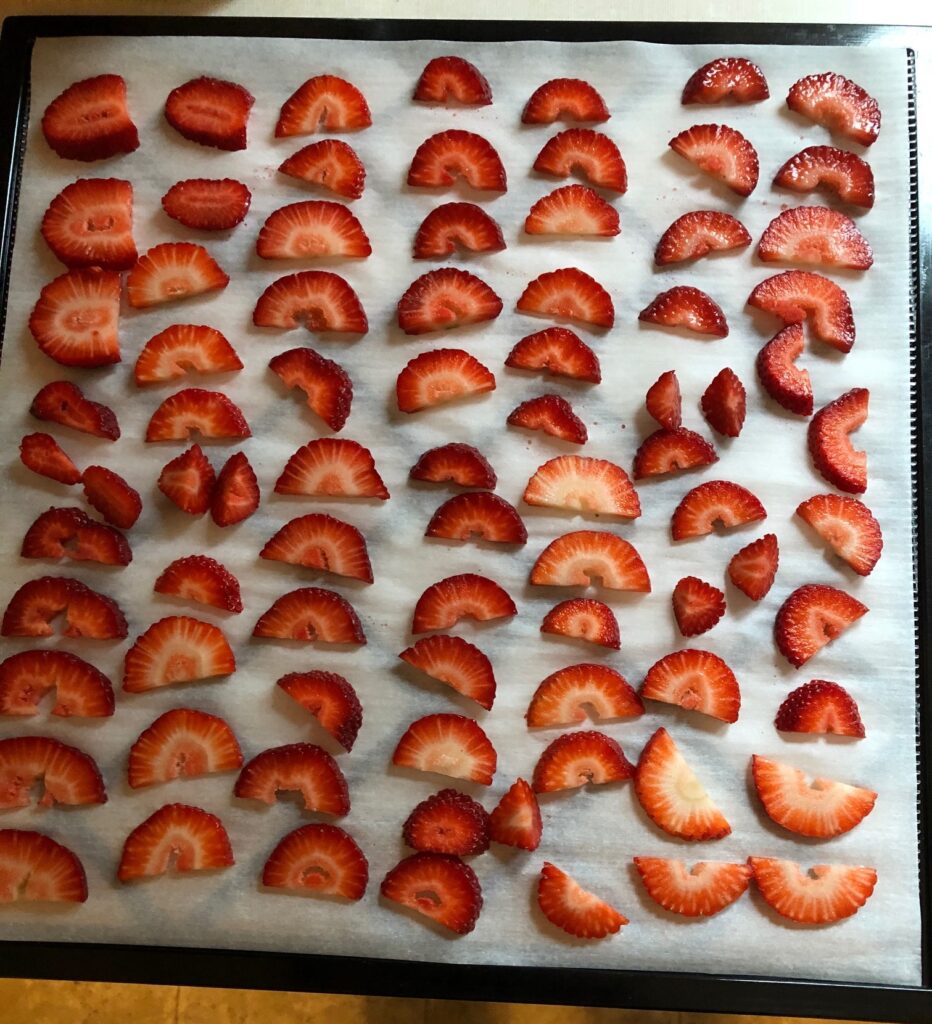
Sliced and ready for the dehydrator

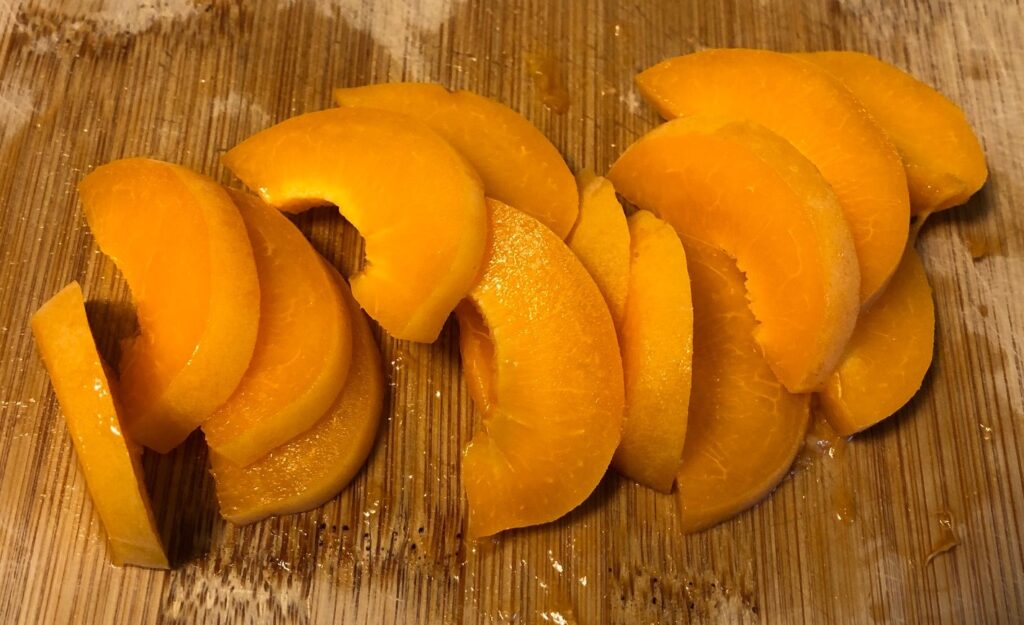
Apricots were pretty easy:

Five apricots filled a tray
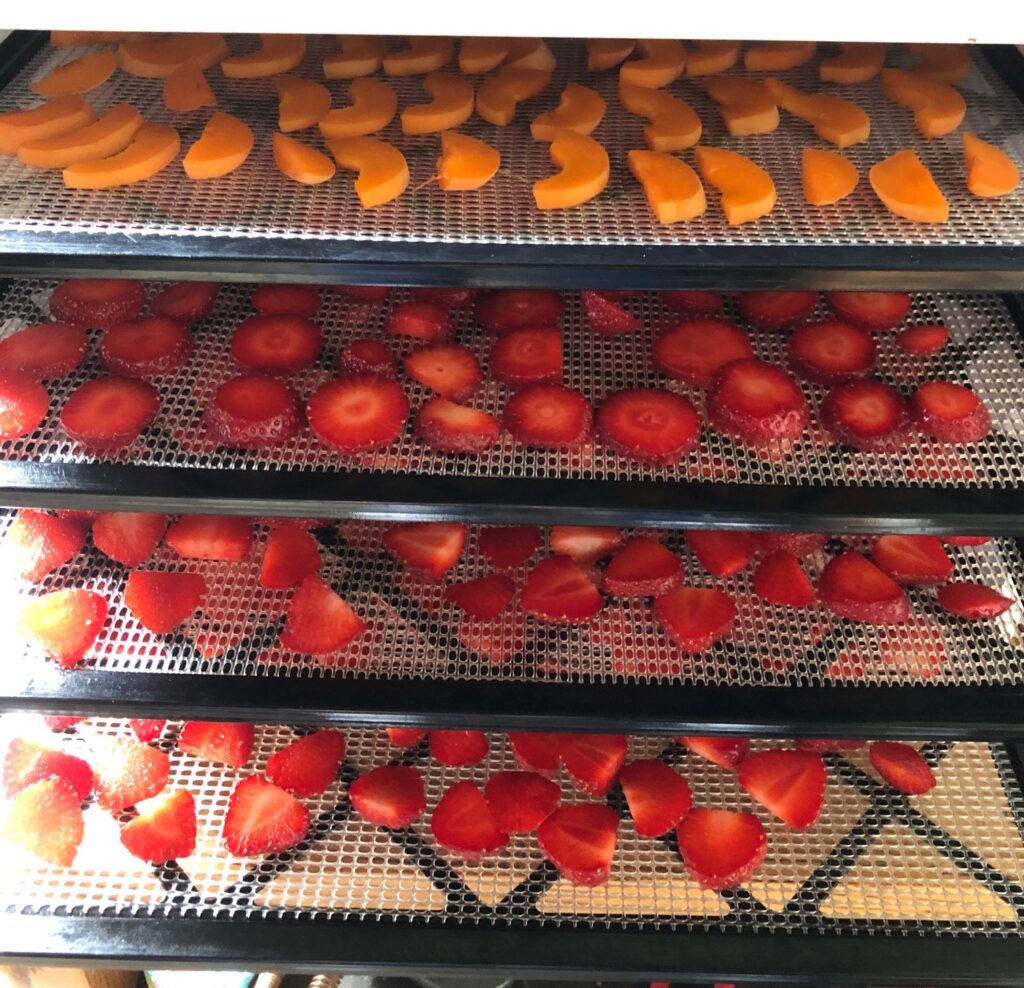
Filled 4 trays (out of 9) so I spaced them out.
Temperature set at 135 degrees for 6-8 hours.

Well, let me tell you something I had forgotten:

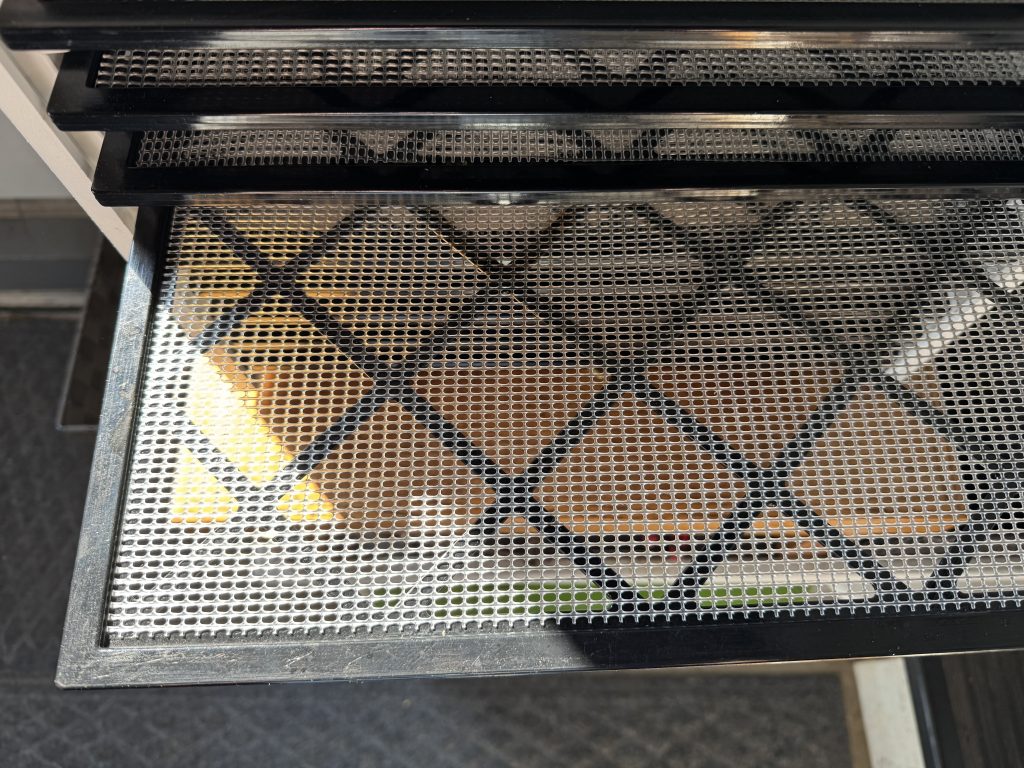
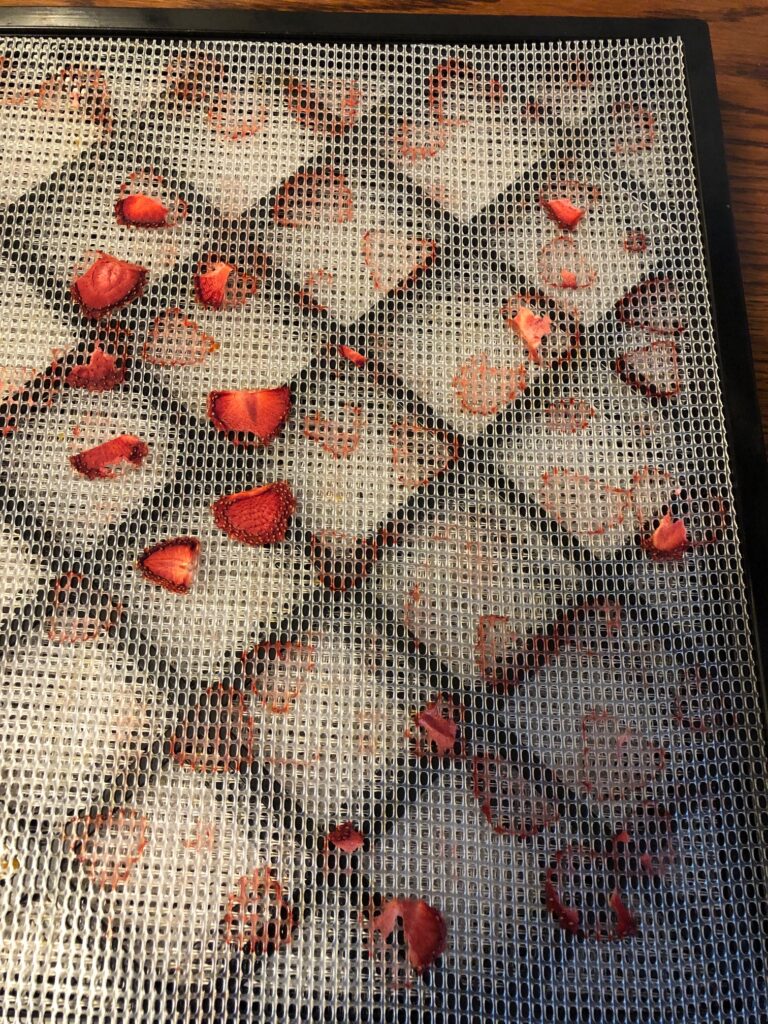
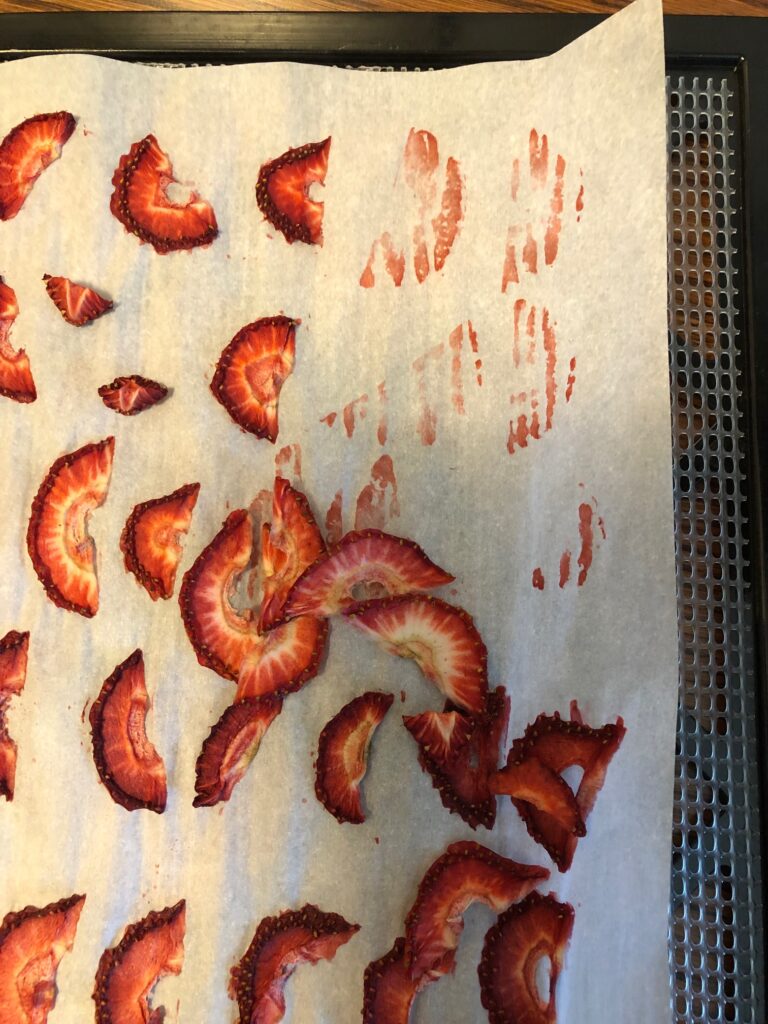
Soft, juicy fruit needs a sheet of parchment paper under it…otherwise, it will gradually sink into the grid of the tray and practically glue itself to the grid!

After 6-7 hours, they were ready to remove. Yikes! They were stuck fast! I could chip most of them off but it was tedious.

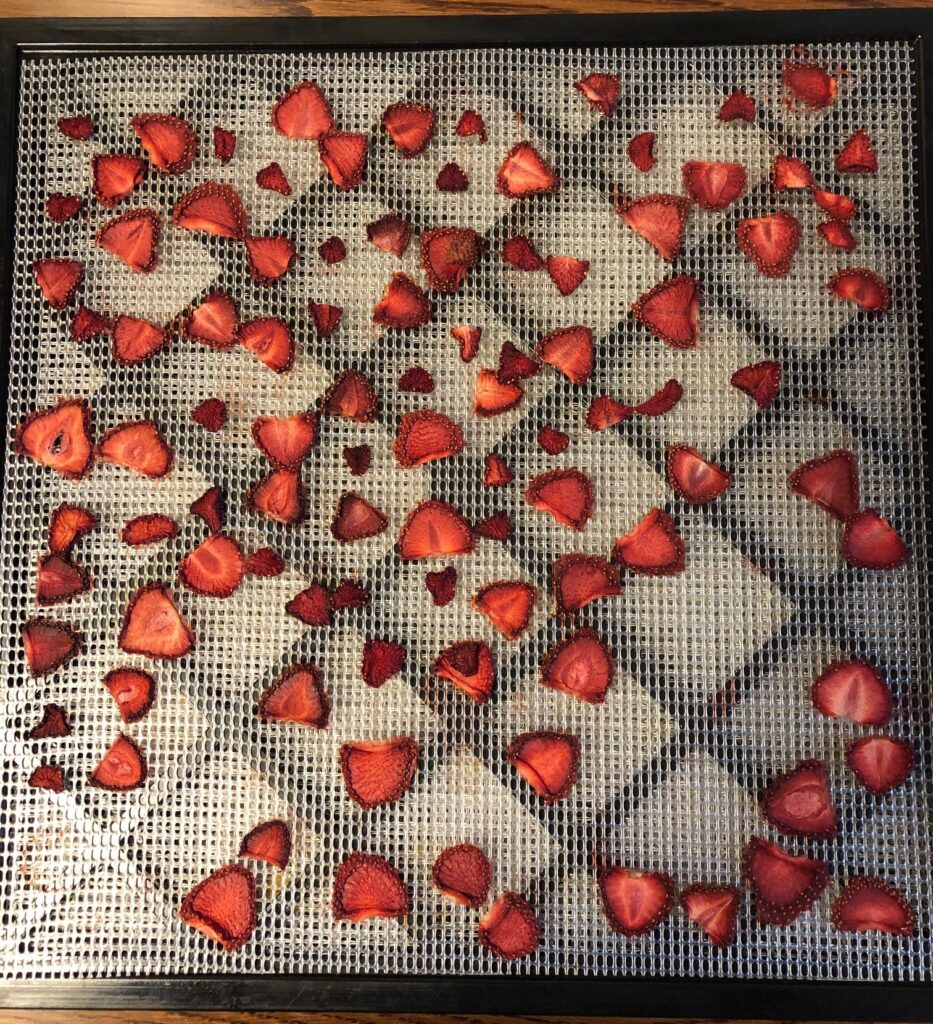
Looked great, but…
…I just couldn’t chip these off the tray. I had to soak them in a tub outside until I could wash them off.

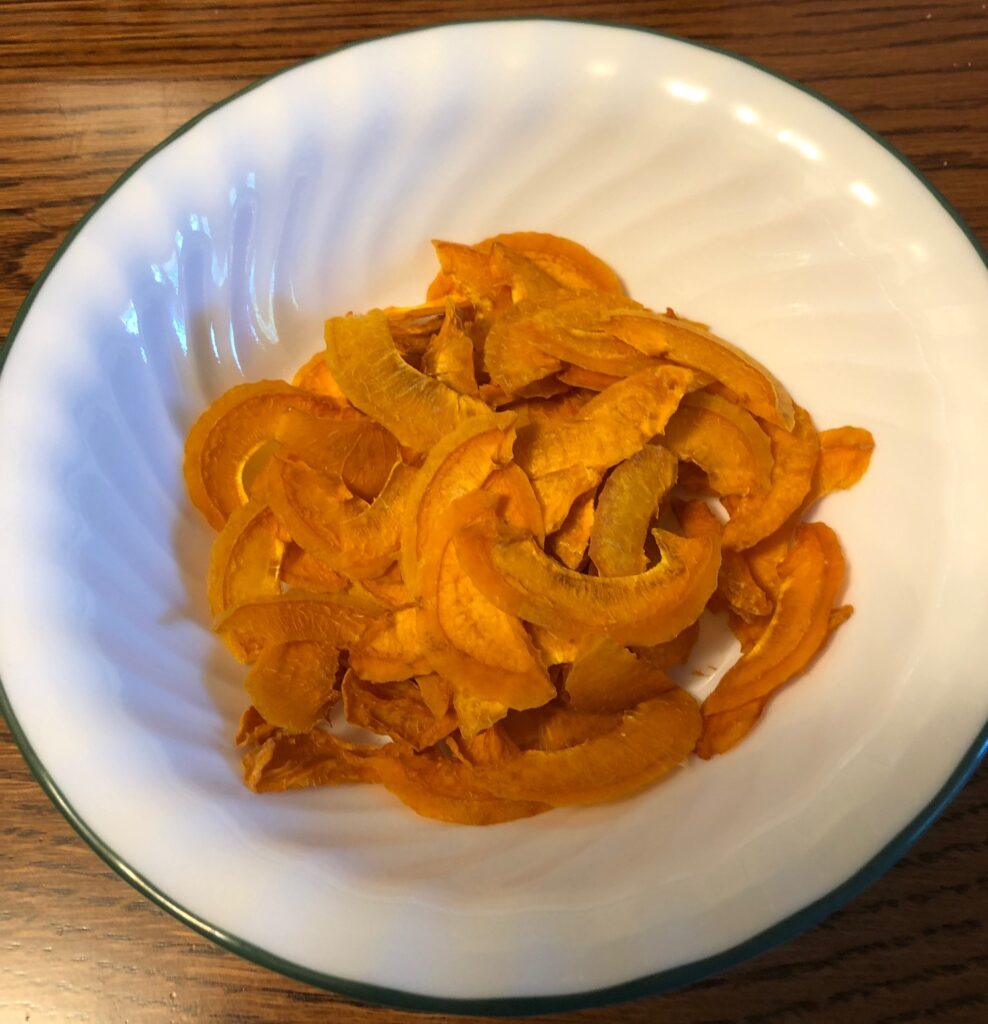
Actually, the larger pieces of apricot did much better because they weren’t so juicy.

Made pretty yummy snacks!

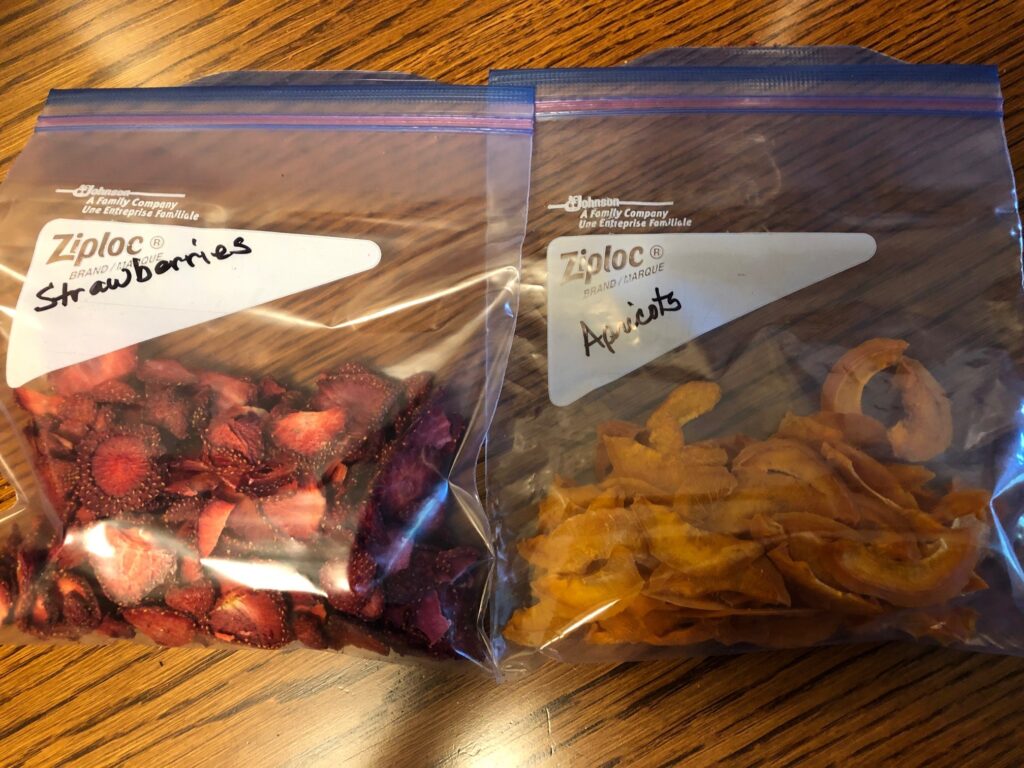
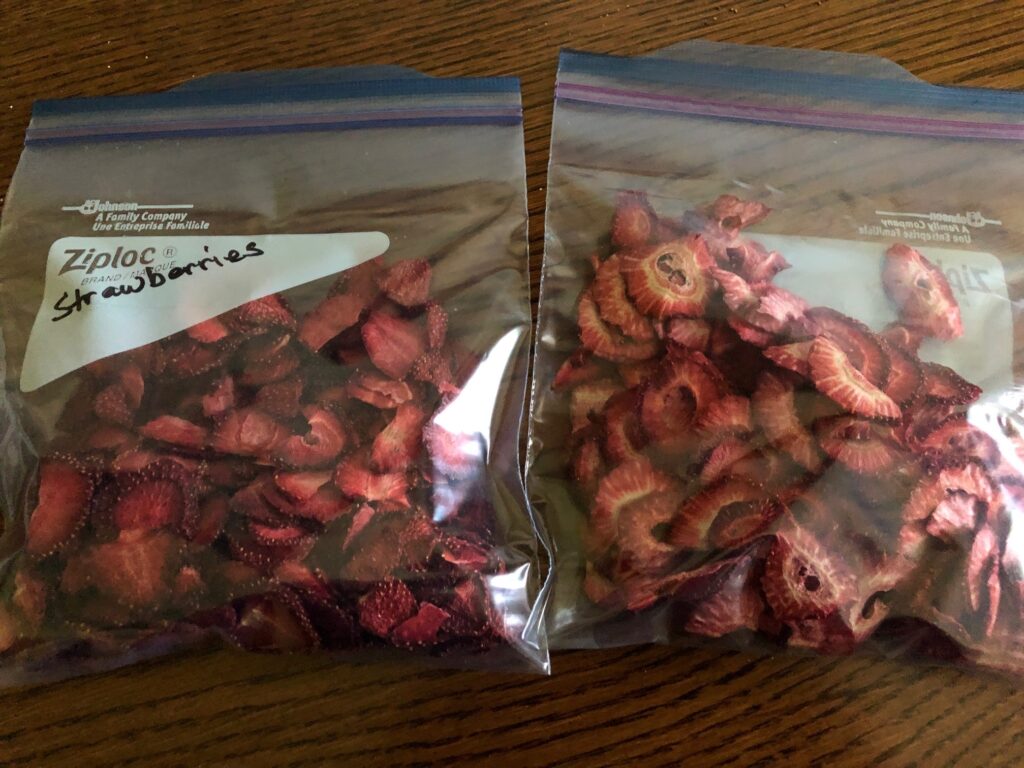
So, my first attempt made two small bags of dried fruit, but I had to take the trays outside to soak off all the bits of fruit that was glued on the plastic grid!

My Second Attempt

The next day, I ran to the grocery store and picked up more strawberries…not local but less juicy.

This time, I lined the trays with a sheet of parchment paper on top of the plastic grid.

I can buy parchment exactly the right size for the tray…14 inches square.
When dry, the strawberries popped right off the paper!

My second attempt made as many dried strawberries with MUCH less hassle! Yea! These will be great on top of granola and oatmeal!

What did I learn?

Always use parchment paper under soft juicy fruit (especially strawberries and bananas). The parchment is essential under fruit roll-ups, like applesauce or mixed blended fruit.

I think I’ll print this statement and tape it to the inside of my manual! Live and learn.

Please comment or email me directly at marykisner@comcast.net.