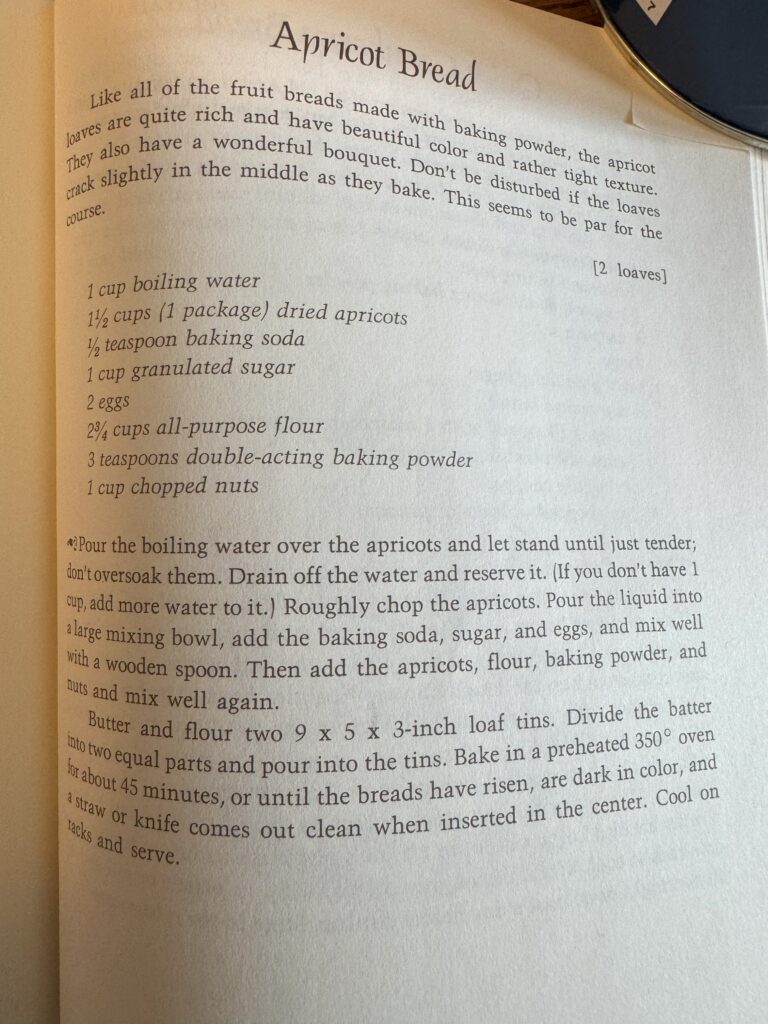
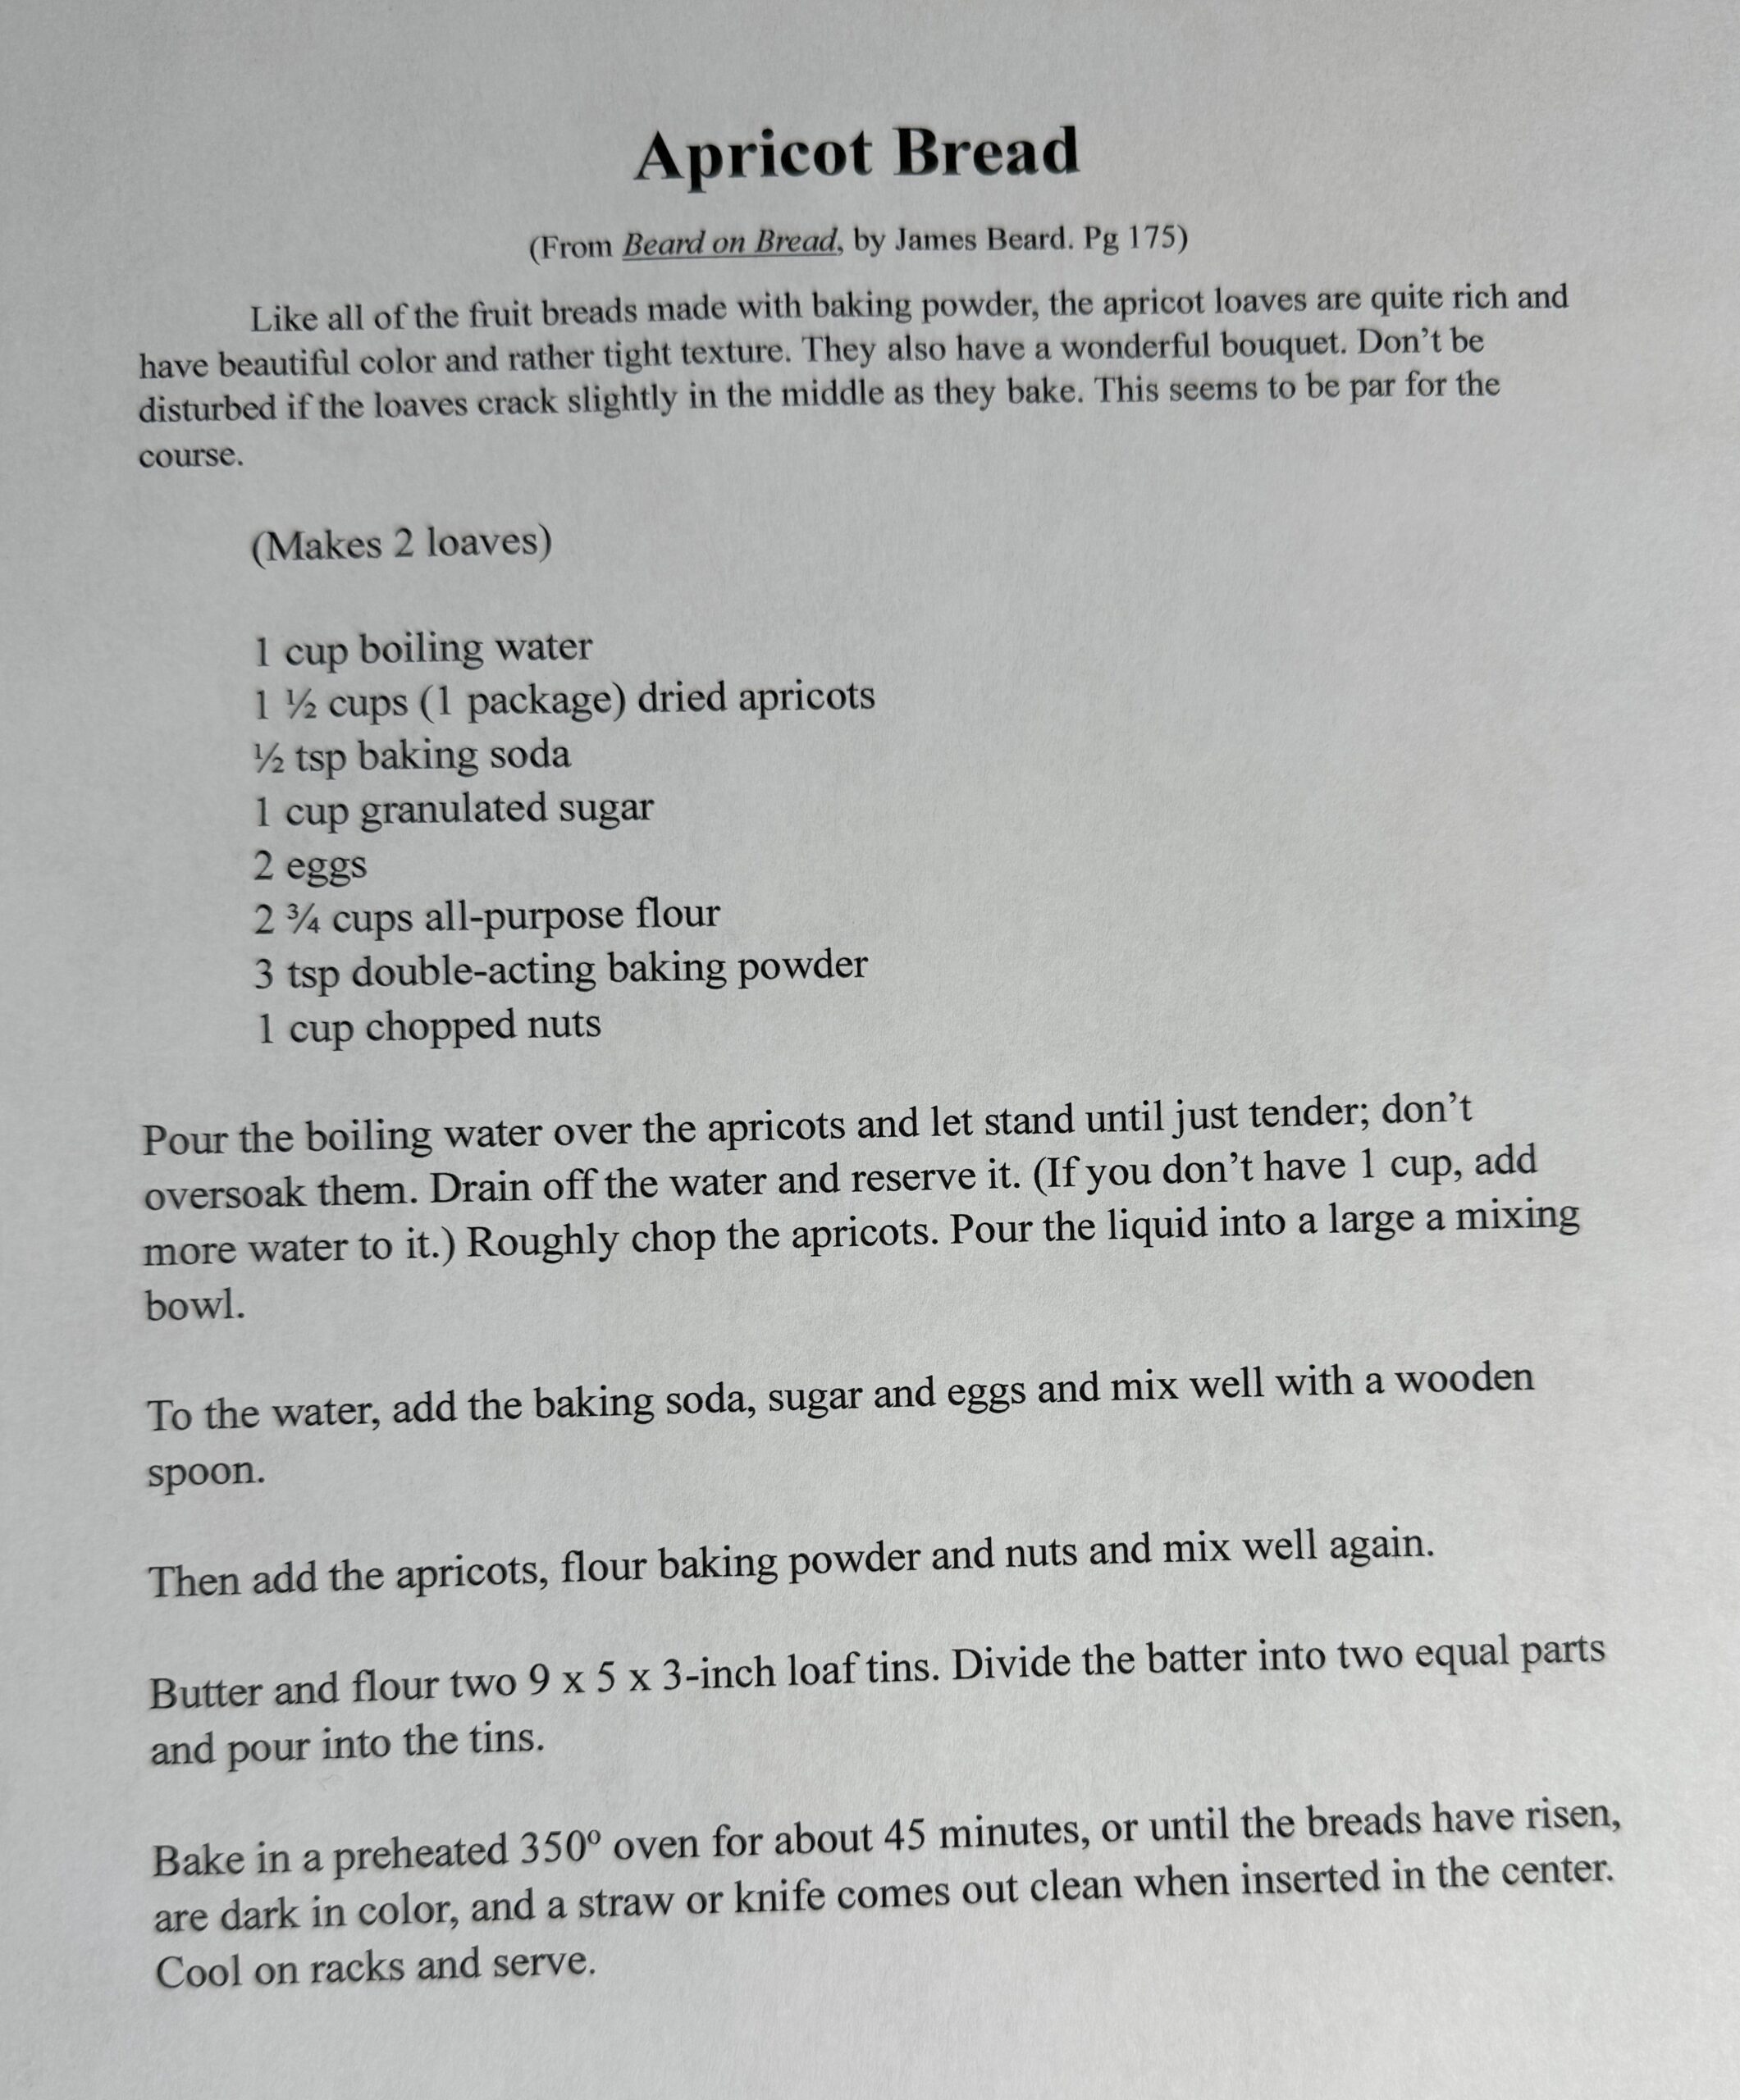
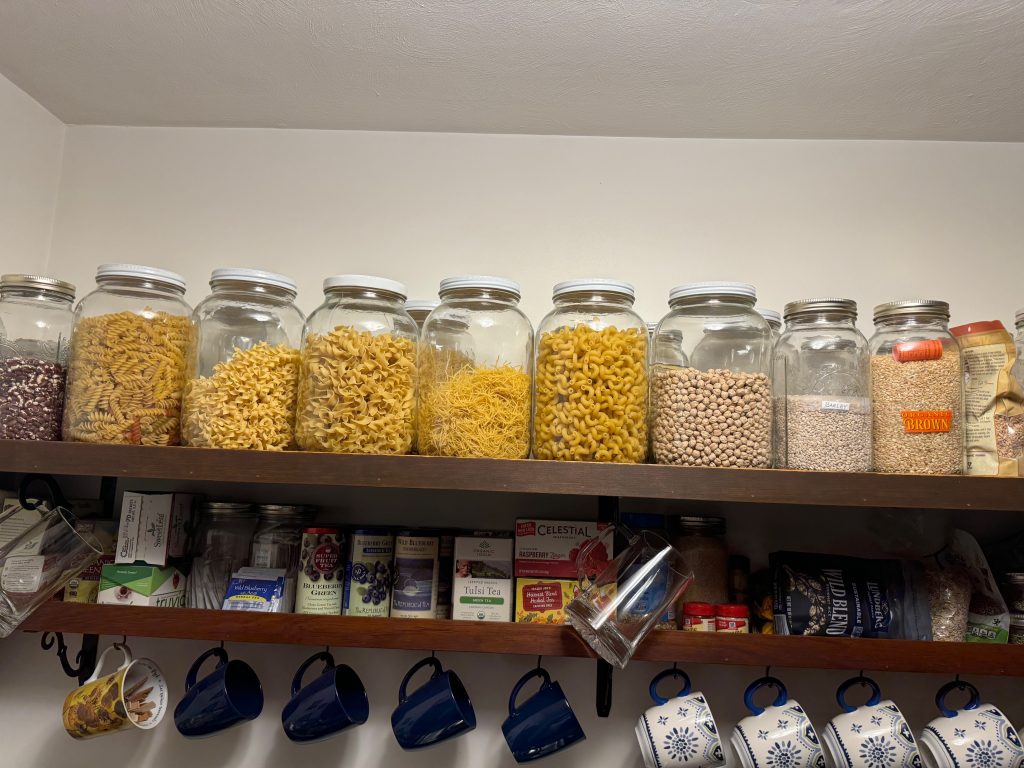
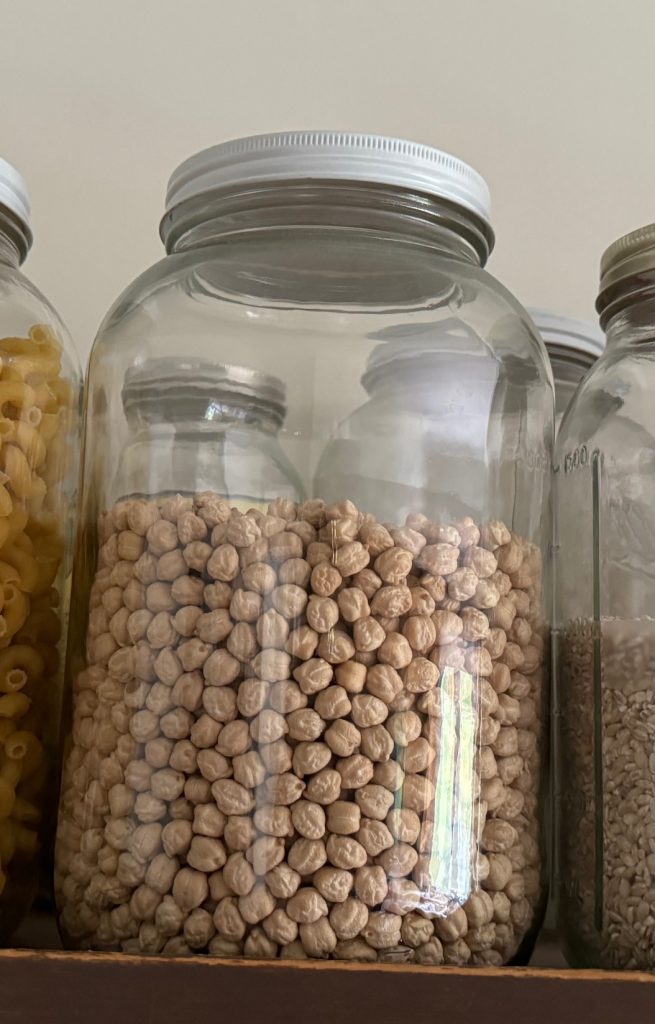
While I was rearranging the jars on my shelf in the kitchen, I pulled forward the jar that was filled with dried chickpeas. I had forgotten they were there. It’s always so easy to just open a can all ready to eat! I knew I would be in the kitchen that day so I thought I’d make a batch and try a recipe to make a chickpea snack!
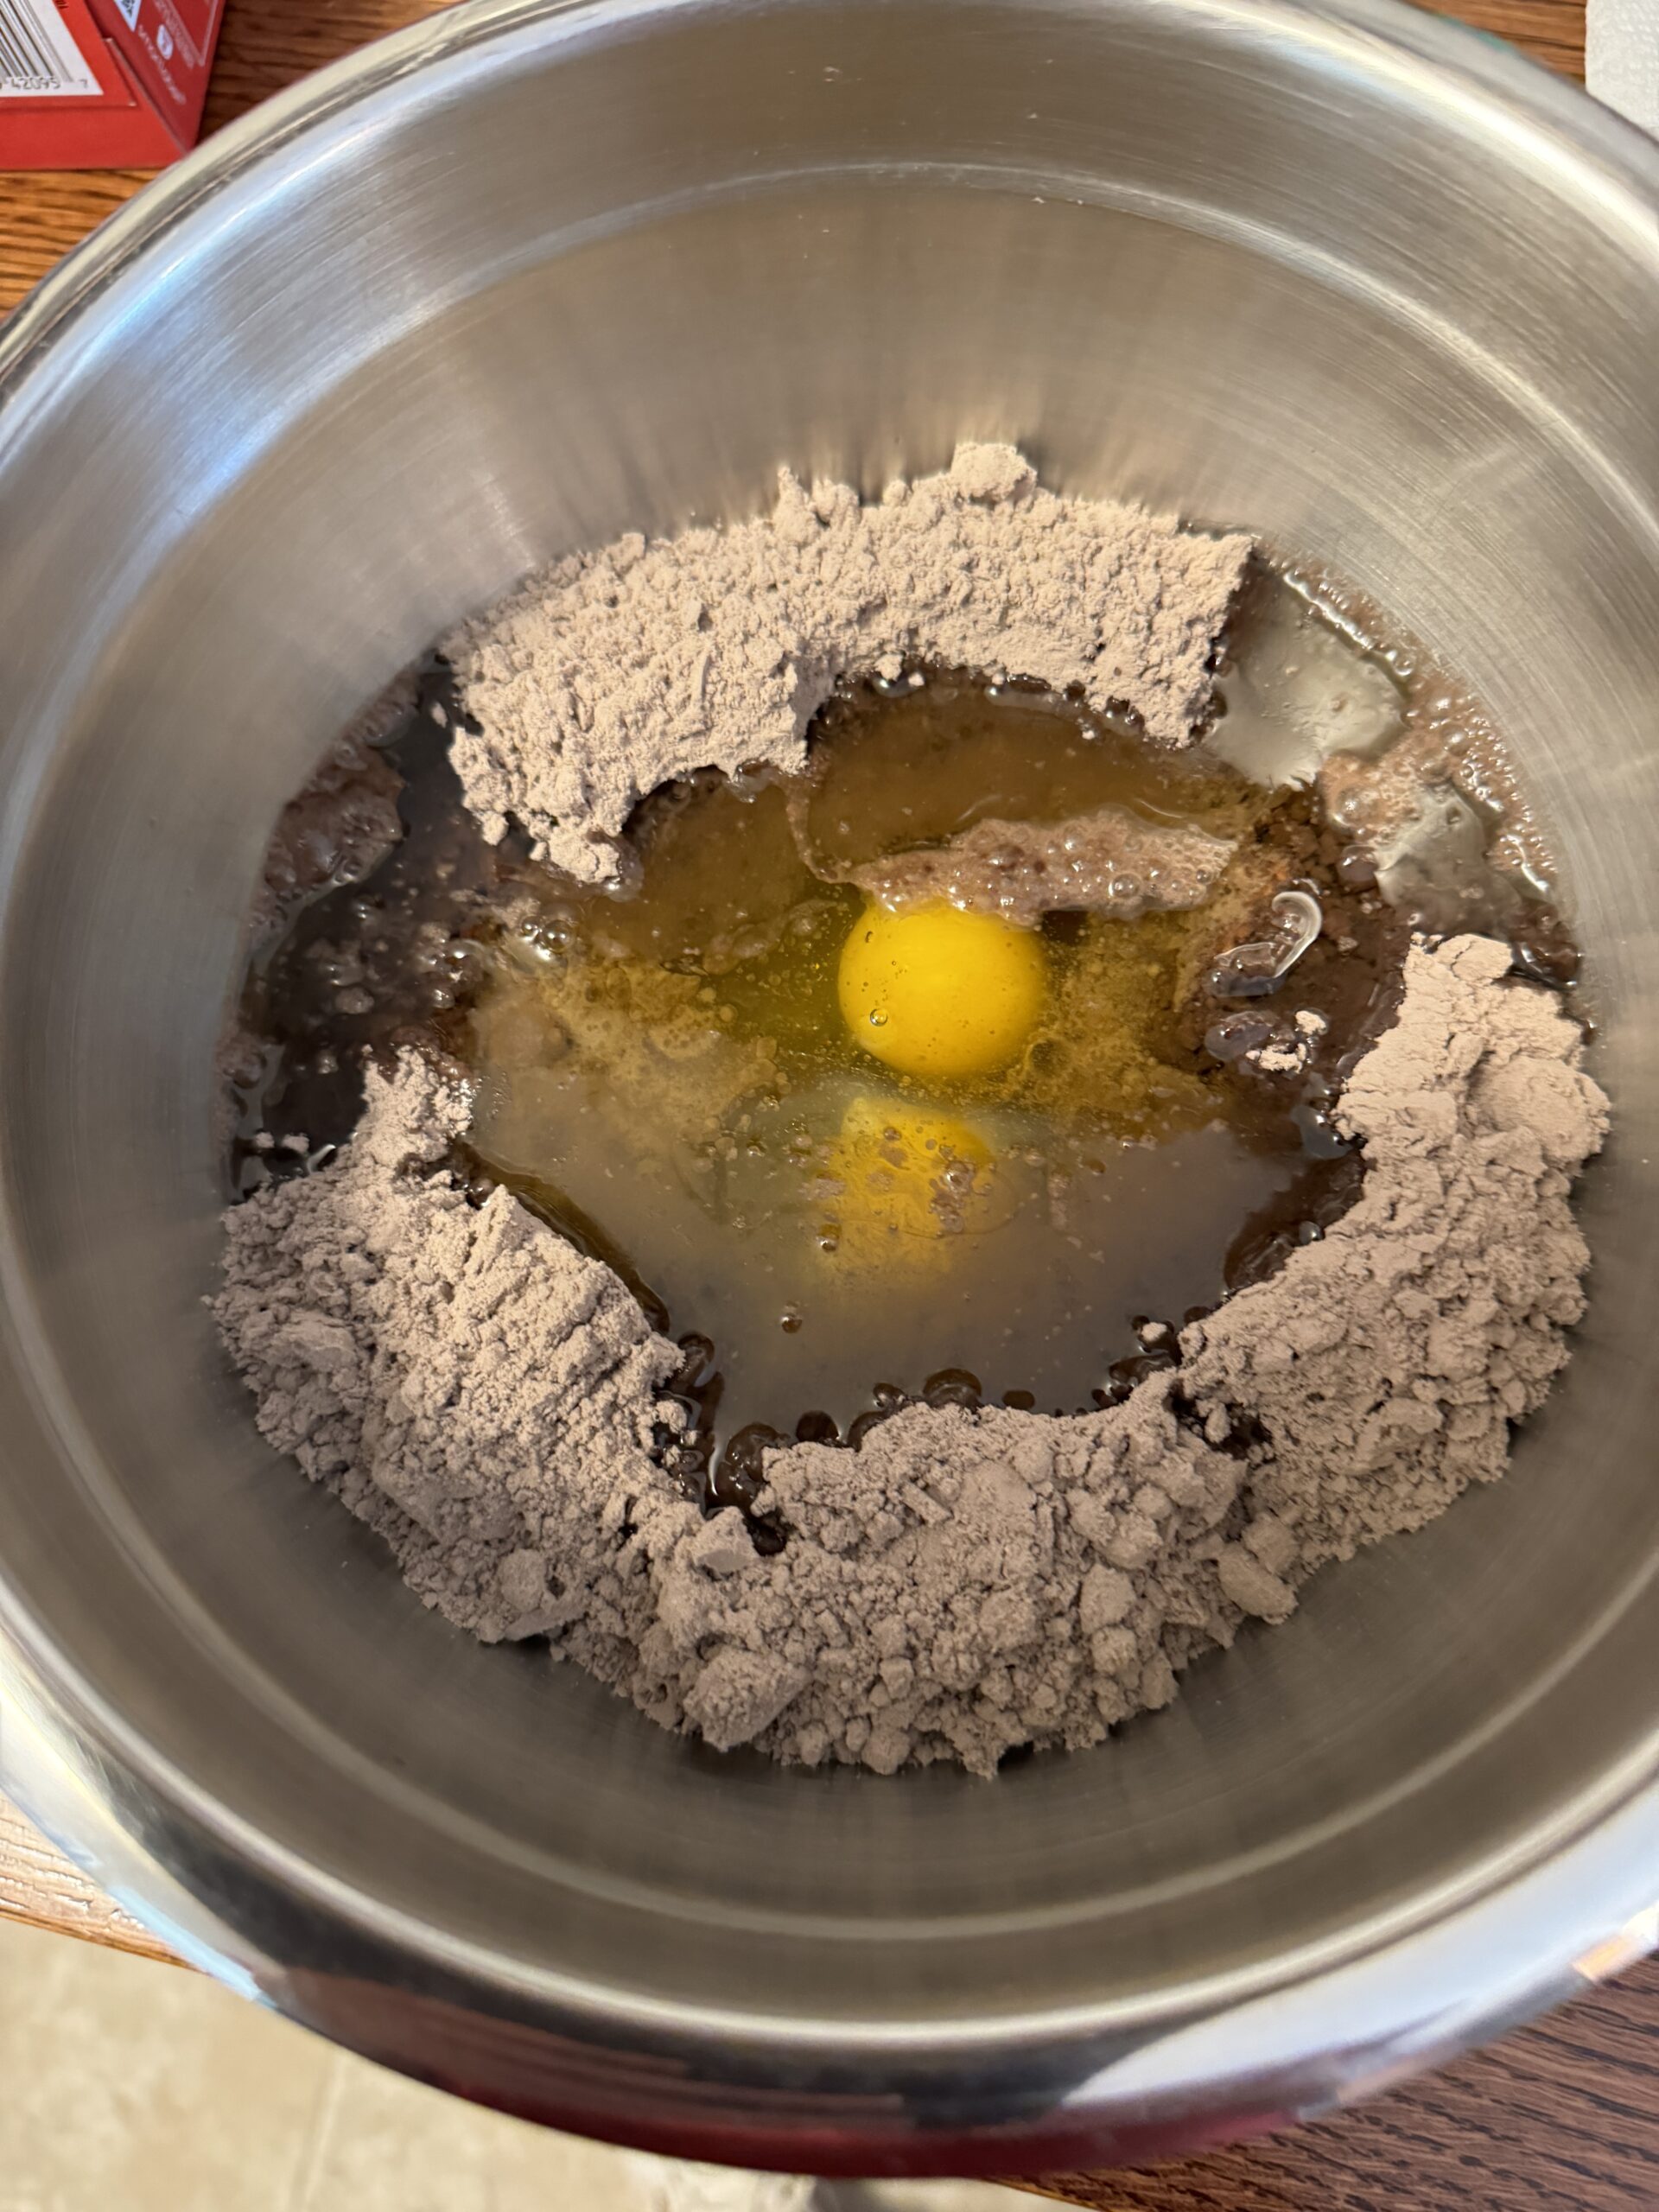
I measured out 2 cups into a sauce pan and covered them with water to soak. An hour or two later…when I remembered they were there, I turned on the burner, brought the chickpeas to a boil and turned down the heat to simmer for a while. I tried covering the pan, but even a low simmer bubbled up and almost overflowed with “bean suds.” You know what I mean!
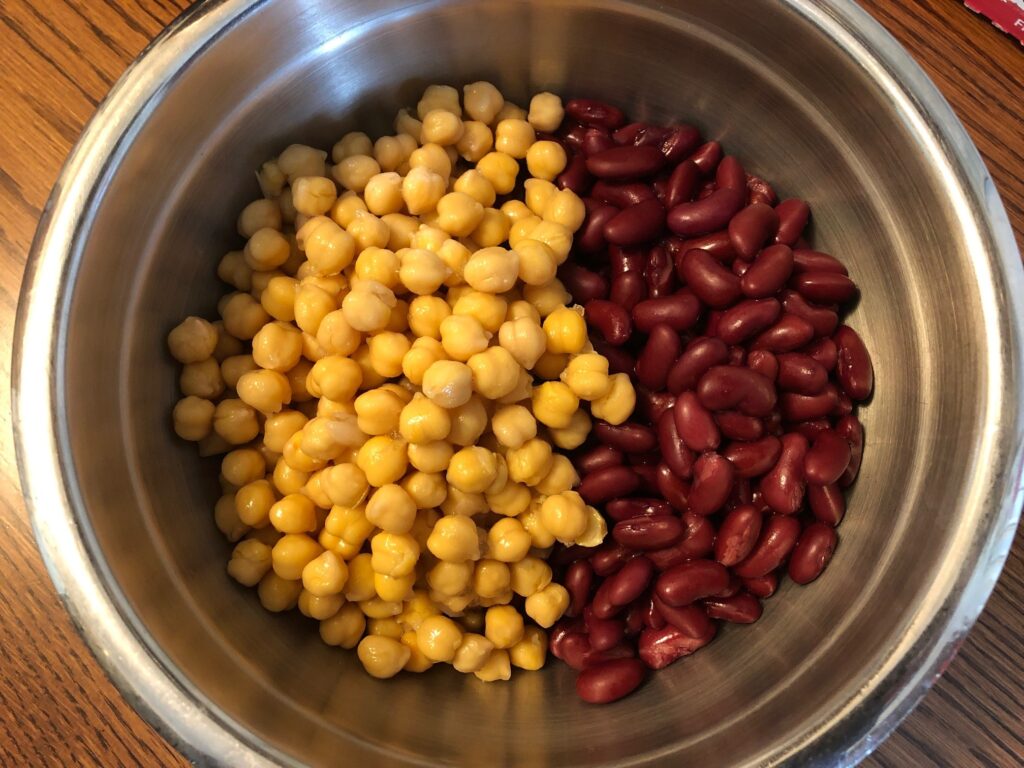
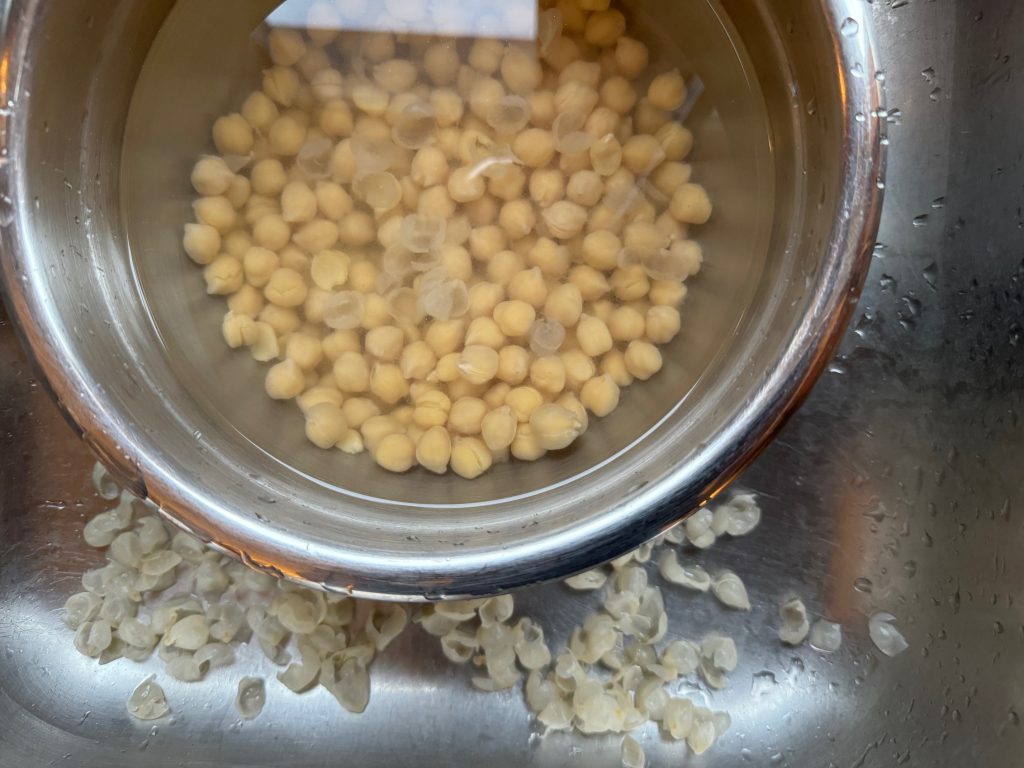
When they were cooked, I drained them and let them cool in cold water. Of course, the skins started to separate so I gently rubbed them together with my hands to loosen them. So easy…NOT! I probably had at least 2 cans worth of chickpeas so I spent a good half an hour getting the skins off. Quite a mess!

Finally, I had two containers of nice clean chickpeas! I started by using a handful in my salad for lunch!
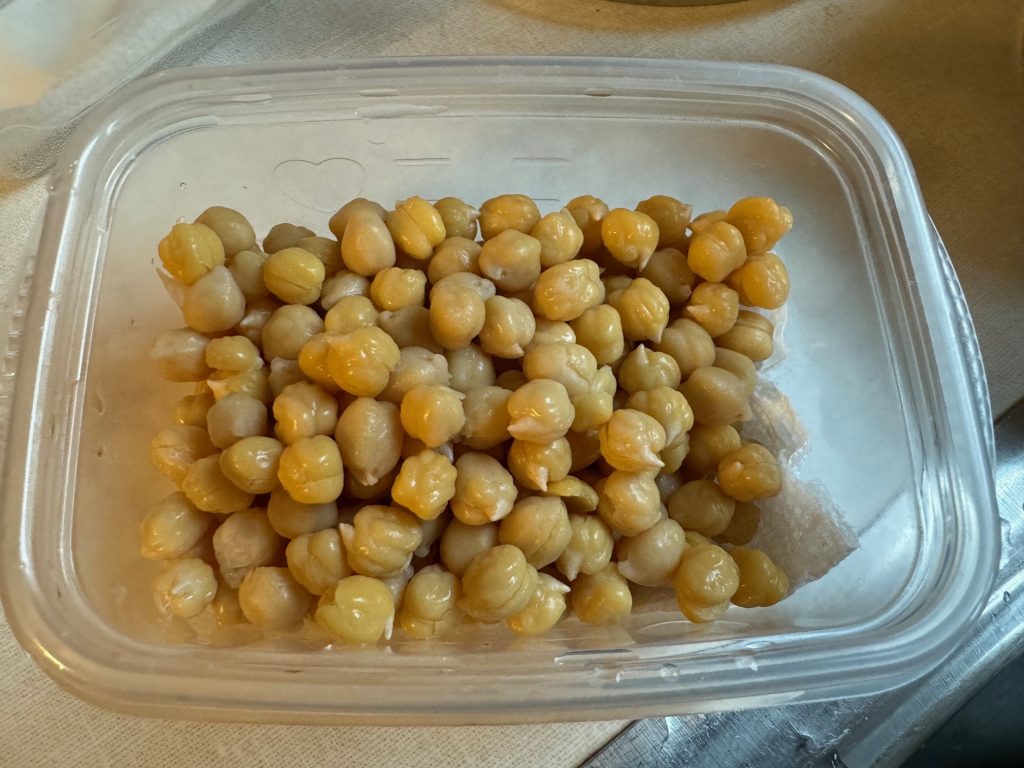
Then I spread them out on a paper towel covered tray and let them dry.
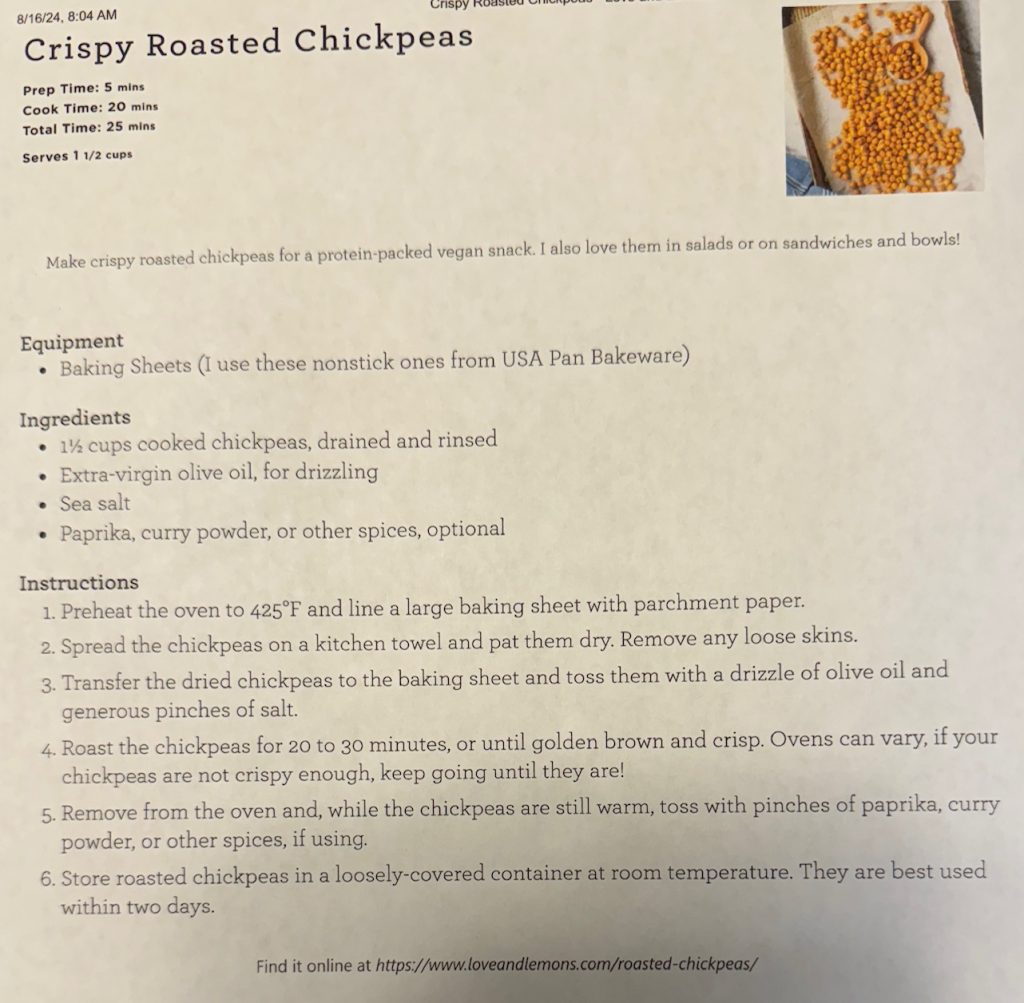
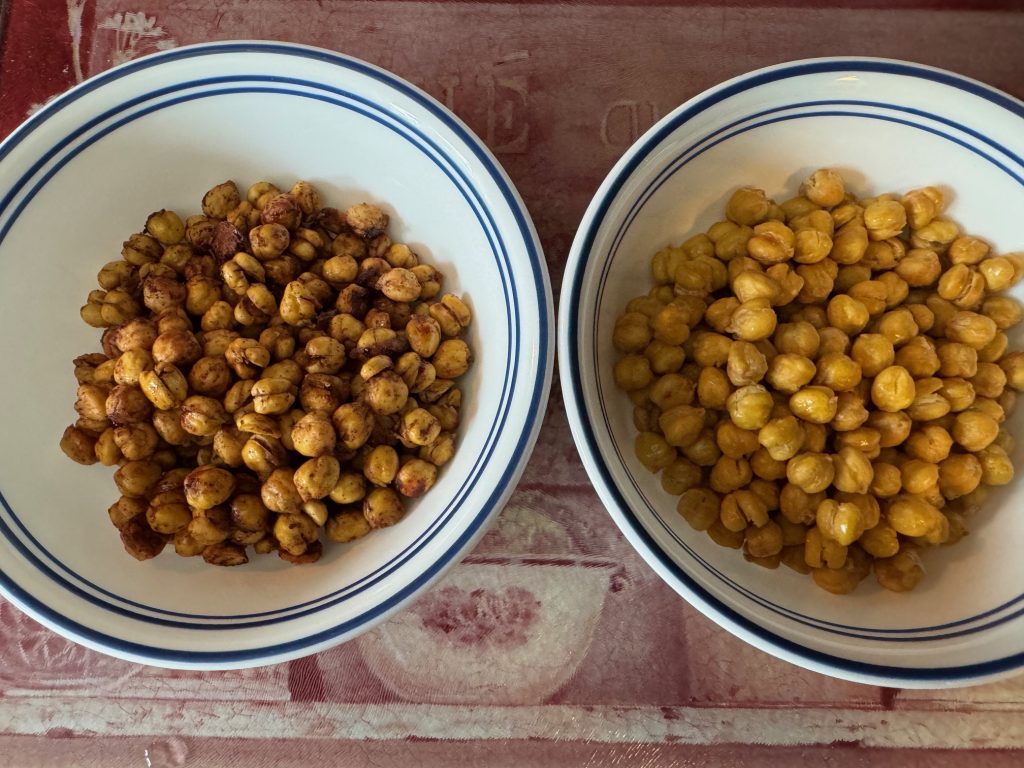
My first snack recipe used about 1 1/2 cups of chickpeas. I put them in a gallon bag, added olive oil and salt and shook them up until coated.
Then, I spread them out on a baking tray and put them in the oven…425 degrees for about 20 minutes. They weren’t crunchy yet so I gave them another 10-15 minutes. Now I had a snack I could eat!
This is the recipe I found on the internet:
The second recipe was supposed to make a sweet snack:
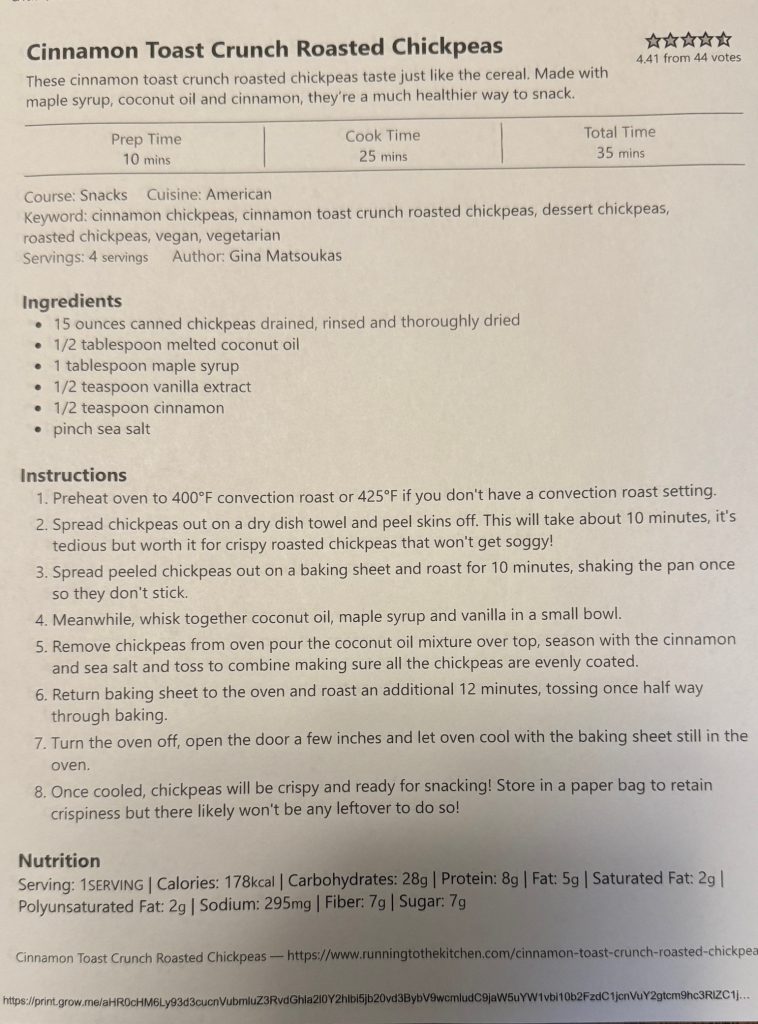
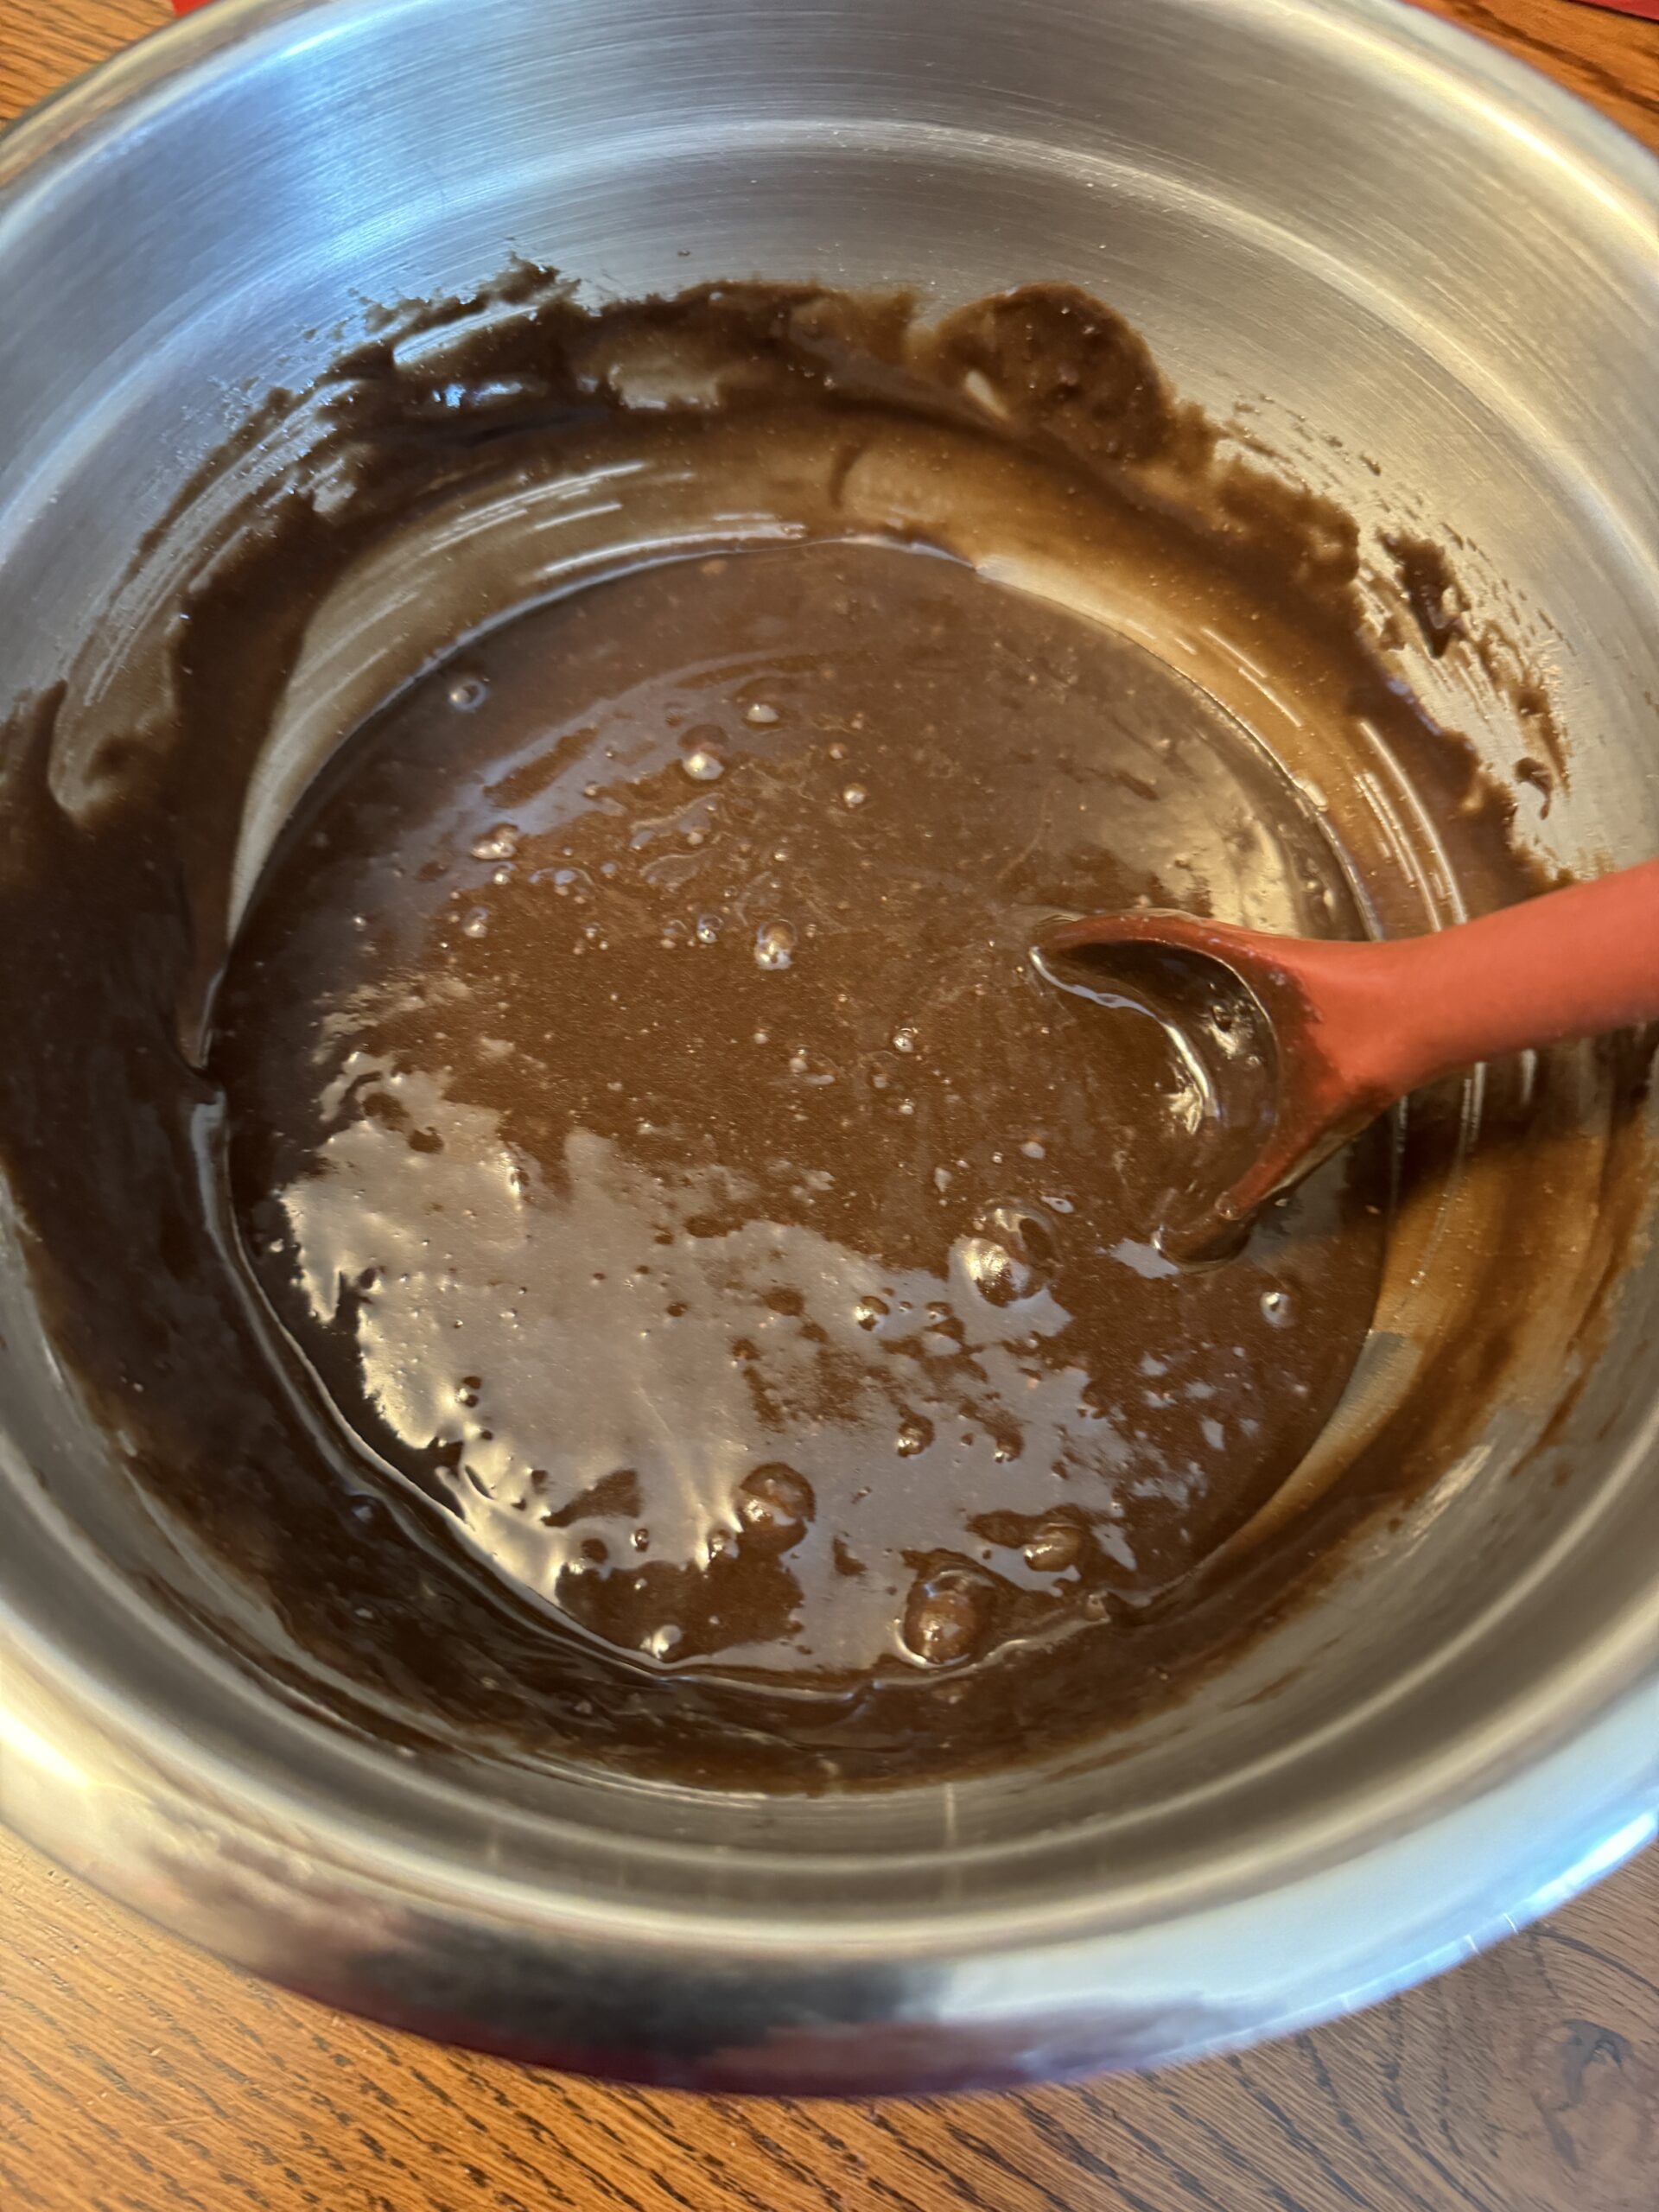
This was a little more complicated, with a mixture of coconut oil, cinnamon, vanilla and maple syrup. I ended up baking the chickpeas for 10 minutes, then dumping them into a gallon bag, pouring in the oil/cinnamon mixture and shaking it up. I poured the chickpeas back on the baking pan and put it back in the oven. There has to be a better way!
This might have made a sweet snack, but frankly it didn’t taste very good. I think I’d have to tweak the seasonings the next time.
So, that was my adventure into making a chickpea snack from dried chickpeas! Next time I’ll start with a can of chickpeas and save myself half a day! If you have a better way, or a better tasting recipe, I’d love to hear about it!