Dehydrating Apples

Over a month ago, I bought a bag of nice small apples just to eat. The bag ended up in the garage temporarily while I was doing other things in the kitchen. I totally forgot to reach for them…out of sight, out of mind! Needless to say, they still looked OK but the they were getting soft. Before they were too soft to eat (that’s called rotten!) I thought I’d just dehydrate them. I know we’d eat them that way as snacks! Here are the 15 small apples:

First, I had to uncover the dehydrator. Most of the year I keep it covered and store it right outside the back door. It is already plugged in and ready to go. We keep a board on top to protect it from damage because that seems to be the place where we pile things…stuff to go out to the shop, packages delivered by UPS, etc. I went out to take a picture of it before I uncovered it…and sure enough, UPS had dropped off a package already this morning!

Then I pulled out the manual to check how long to dehydrate apples. They provide a color-coded map to help determine how long to dehydrate foods, based on location and season. Fruit should have 10 to 20% moisture content to store well.

For May in Pennsylvania, it said a range of 51 to 70% (indicated by yellow) or 71 to 80% (indicated by green) in the instructions. Then I look up Apples and find the yellow means 11 hours, and green means 13 hours. This is very important if I want to store them without refrigerating them.

So, curious challenge for today. It was already 2:00 p.m. when I finished peeling and I don’t like to leave the dehydrator running after I go to bed. At 9:00 p.m. I turned the dehydrator off and put the apples in a zip lock bag and put them in the refrigerator. They are still a little moist inside. In the morning I can always lay them out on the trays again and finish drying them for another 5-6 hours. I think we’ll just eat them!

Here’s the process to dehydrate apples:

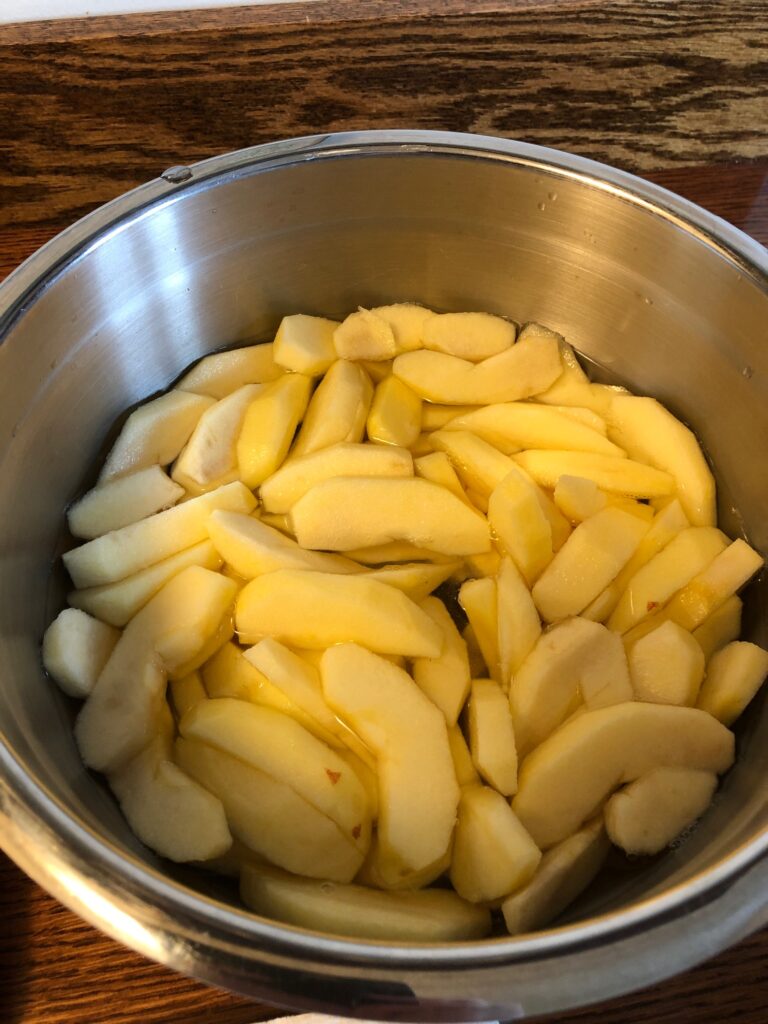
After washing the apples, I made a bowl of lemon water to put the sliced apples into as I peel them. That will keep them from discoloring.

Then I laid the apples on the trays.

And put the trays in the dehydrator.

I set the temperature to 135 degrees.

After 7 hours, the apples were dry on the outside but still a little moist inside. They would need another 5 hours or so to be dry enough to store on the shelf.

Those 15 apples made a small pile of dried apples.

Next time I want to dehydrate apples, I think I’ll get larger apples and use the apple peeler/slicer attachment on my mixer…much easier! At least I didn’t waste this bag of apples and we have snacks for a few days!

Please leave a comment or email me directly at marykisner@comcast.net. Enjoy!

Discovering Vegan Mayonnaise

You will find, after seeing a few of my recipes, that there are no eggs or dairy products in them. I have food allergies to both and have been egg- and dairy-free for several years. As annoying as it is to have to do without them, I feel so much better that it’s worth it!

This is the latest product I’ve fallen in love with!

Luckily, the Food Allergen Labeling Consumer Protection Act (FALCPA) requires that foods are labeled to identify the eight major food allergens. These are: milk, egg, fish, crustacean shell fish, tree nuts, wheat, peanuts and soybeans. These 8 major food allergens identified by FALCPA account for over 90 percent of all documented food allergies in the U.S. If you look carefully on most packaged food, right after the list of ingredients you’ll see the list of allergens. When it says, “milk” that could mean they seasoned the food with Parmesan cheese or cooked it with butter. It may also say, “Made in a facility that uses those products.” Cross-contamination matters if you are deathly allergic to any airborne components, like wheat flour or particles of nuts.

I do not need to avoid wheat, soy, fish, shell fish, peanuts or tree nuts. And my allergy does not lead to a life-threatening result. However, I may experience a sudden bout of diarrhea if I ignore my allergy, so if I’m eating away from home, I’m pretty careful. I also can eat meat so if I ask how things are cooked, I can usually find something to eat. I’m certainly not starving to death!

One of the first things I missed the most was mayonnaise (and of course butter, ice cream and cheese!). I have found Smart Balance a good substitute for butter on toast and in cooking. There is coconut ice cream if I must have ice cream. I have not found a good substitute for cheese, so my days of a good toasted cheese sandwich and pizza are behind me. I have tried to order a pizza without cheese…just not the same!

According to the Federal Government, to be called mayonnaise the product must include EGGS. Therefore, the item I’m talking about today has to be called “Vegan Dressing and Spread.” However, it is found on the shelf right next to Hellmann’s Mayonnaise.

Here are some details on the jar of regular mayonnaise:

Notice Hellmann’s Mayonnaise has whole eggs and egg yolks. It can legitimately be called Mayonnaise.

My salad dressing of choice was always Thousand Island dressing and I had been making my own for several years using regular mayonnaise. Once I found I could not have mayonnaise, I found Vegenaise.

This does not say it is Mayonnaise…it is “Better than Mayo.”

This was in the Organic refrigerated aisle at the grocery store. It worked, tasted fine but tended to separate. I would make chicken salad and the next day I had to drain off some watery liquid and mix it up again.

By surprise when I was buying regular mayonnaise for Bert, right there next to the Hellmann’s Mayonnaise was Hellmann’s Vegan Dressing & Spread!

This turned out to be just what I’d been looking for. It tasted great, was creamy, mixed well with salads and DID NOT SEPARATE! Yea! It did not need to be refrigerated until being opened.

Hellmann’s Vegan Dressing & Spread had fewer calories than regular mayonnaise and was even lower in Total Fat. It tasted just fine!

Here are more details about this product:

Hellmann’s Vegan Dressing & Spread has no eggs!

Now, to make my version of Thousand Island dressing, I use a cup or so of this Vegan Dressing and add a tablespoon of my home canned sweet pickle relish, a squirt of mustard and a squirt of ketchup (real exact measurements! HaHa!)

Sweet pickle relish, mustard and ketchup adds flavor and color.
Homemade Thousand Island dressing that is safe for my egg- and dairy-free diet!
These small disposable cups hold about 1/2 cup of dressing…just right to take to a restaurant.

Finding this substitute for mayonnaise makes me not feel too bad when I have to restrict my other choices so much!

Please leave a comment or send me an email at marykisner@comcast.net. Enjoy!
Homemade Oatmeal Bread

Another round of snow today…about 3″ this time…and I decided it was time to bake bread! Since we hope to go see the Grandkids near Pittsburgh this weekend, why not make some of the bread into sticky buns! Since I wanted to make both that meant a BIG batch. Therefore…time for the BIG mixer!

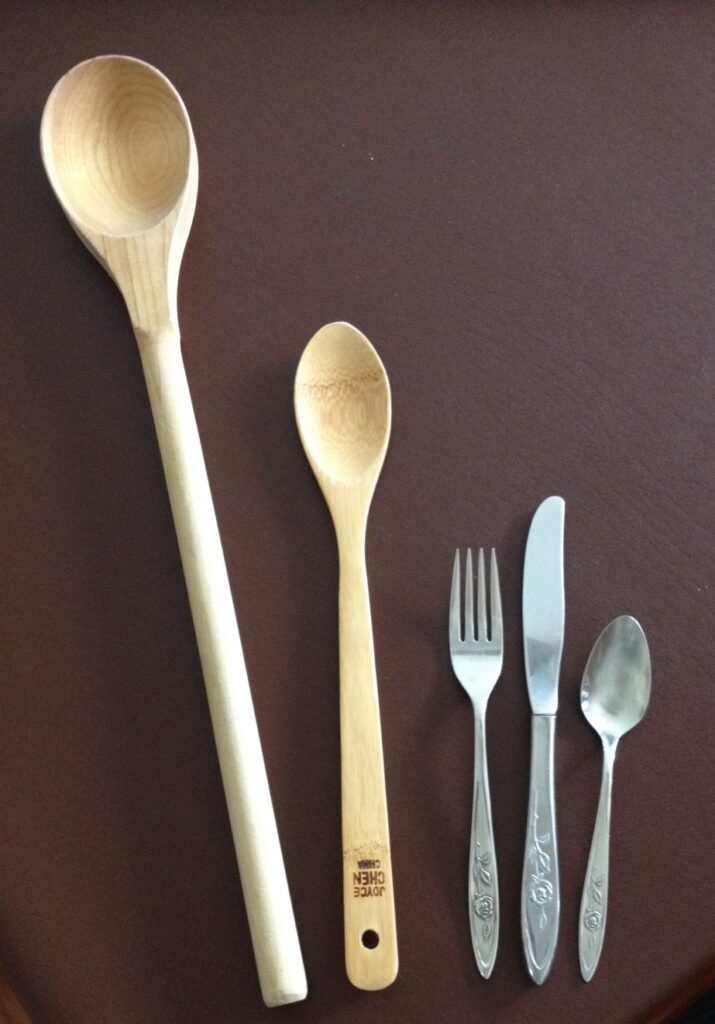
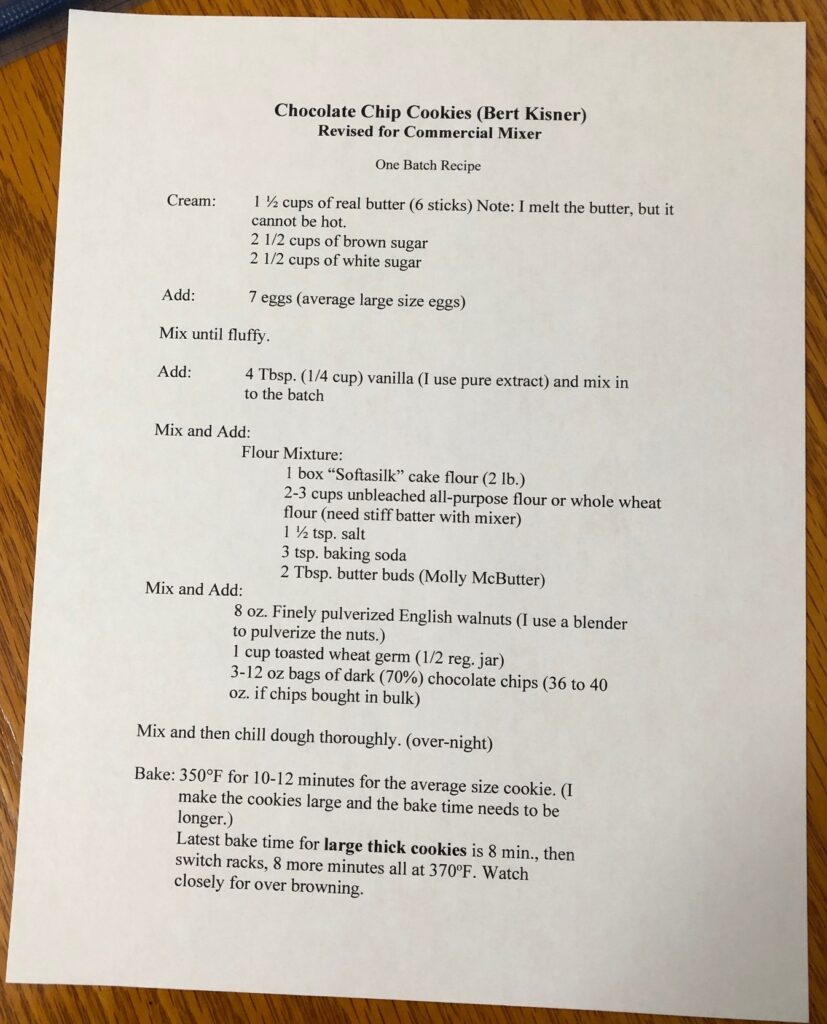
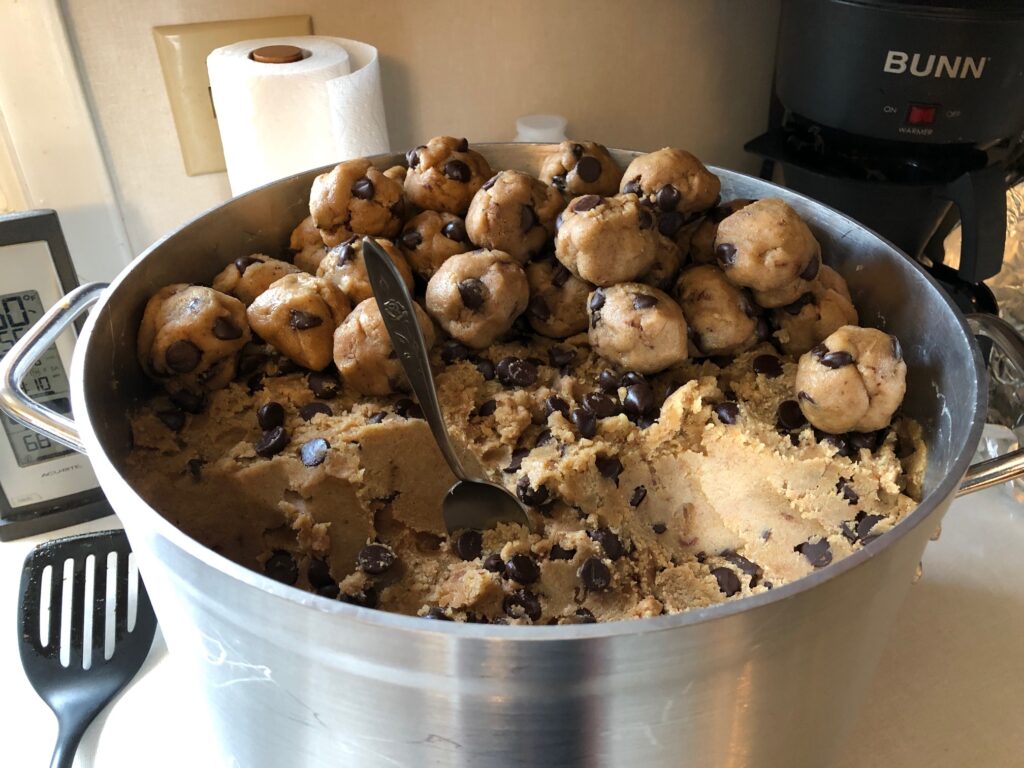
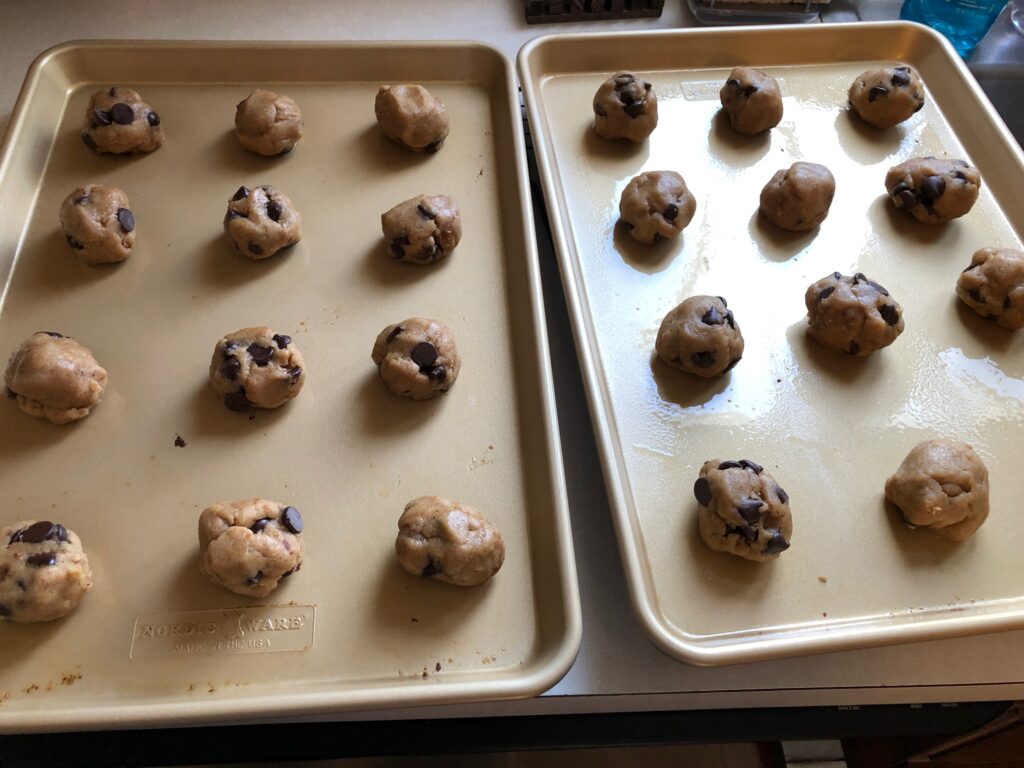
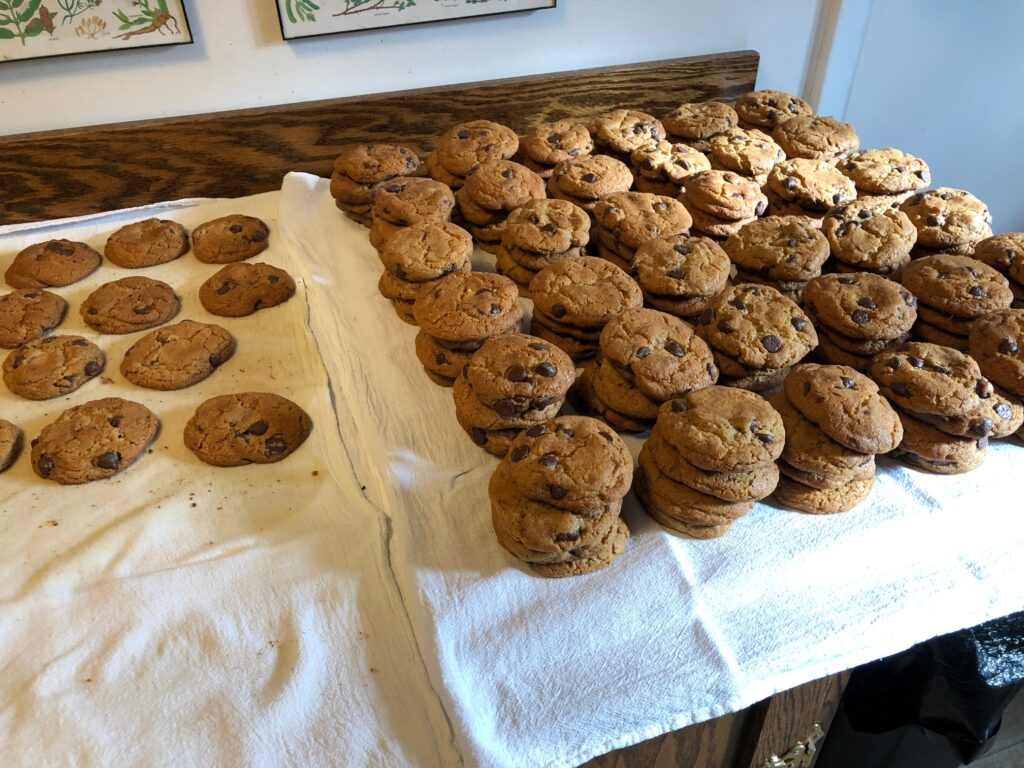
Now, many of you know that each Christmas Bert bakes hundreds of chocolate chip cookies for gifts. If you stop by as they are coming out of the oven you might even get to try a few. Bert has been doing this marathon baking since before we got married, so over 50 years! For many of those years he did it all by hand with a giant wooden spoon and lots of muscle!

Comparing the BIG wooden spoon to regular ones!
Bert with a few of the 120 dozen cookies he baked last Christmas.

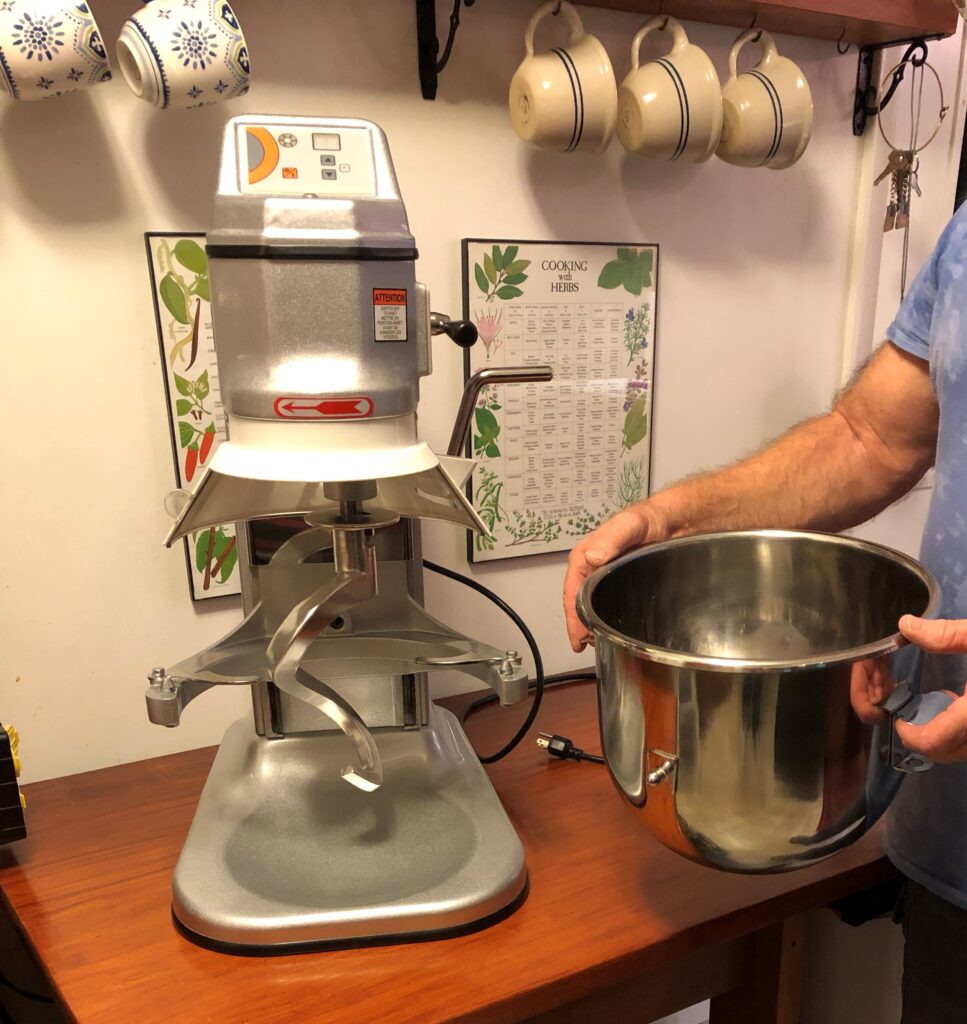
Several years ago, he finally decided to invest in a huge commercial mixer that he moves into the kitchen when it’s time to bake. Luckily, I get to use the mixer when I’m making a big batch of bread. Most of the time I mix bread in my KitchenAid mixer (I think it’s a 7 quart bowl). The big mixer has a 12 quart bowl. It is so slick to mix up a big batch of bread dough.

Comparing the 12 quart mixer with the 7 quart mixer.

The first thing I need to do is check that I have enough ingredients. I usually use my Oatmeal Bread recipe. We like it and it feels more nutritious with the oatmeal in it. Since I cannot have eggs or dairy, by baking my own bread I have control over the ingredients. You can use any bread recipe you like to make sticky buns…probably even frozen commercial dough!

Here is my recipe. You can make a 3-loaf batch or a 6-loaf batch. Not a lot of detailed instructions about mixing up the bread, but it’s what I use. If you don’t know how to bake bread at all, there are many cookbooks (like Joy of Cooking) and YouTube videos that will walk you through the process.

Just a Note: If you want to know approximately how many loaves of bread a recipe will make, add up the amount of liquid and estimate that each 1 cup of liquid will make 1 loaf of bread. To reduce the volume of the dough for a smaller batch, first reduce the amount of water (in the 3-loaf recipe, for example): Use 1 cup of boiling water on the rolled oats, 1/2 cup water on the yeast, and just 1/2 cup of water with the oil and honey. If you do that you will not need as much flour and yeast. You will have to experiment to see what works with your mixer. You can also skip the mixer completely for a small batch and just mix and knead it by hand. I did that all the time when I first started making bread (way back in the 1970’s!)

Here are the basic ingredients:

I use a loose dry yeast and measure it out with a measuring spoon. If you want to use packaged yeast, each package is a little less than a Tablespoon of yeast. I keep my yeast in the refrigerator in a glass canning jar, while the extra is kept in the freezer. Here are two example packages of the yeast I buy:

You can buy packages of yeast like this on Amazon or at a local health food store.

Instructions to mix up the dough:

Step 1: First, I put the rolled oats, sugar and salt into the mixer bowl. Then I pour the boiling water on it, stir it around and let it sit for about 10 minutes so it isn’t so hot (don’t want to kill the yeast!)

Step 2: After 10 minutes or so, I use a small bowl to start the yeast…yeast plus 1 cup of warm water and a tablespoon of sugar. Let it sit until dissolved and bubbly (about 5 minutes).

Step 3: Add cool or room temperature water to the mixer bowl. (That helps to cool down the rolled oats is it’s still too hot).

Add oil to the mixer bowl. Using the same measuring cup (now greased with oil) to measure out the honey…no sticking!

Add the yeast mixture to the mixer bowl.

Step 4: Begin adding flour about 1-2 cups at a time until most of the flour is added. Let the mixer run for 8-10 minutes to knead the dough. Add a little flour at a time if the dough is still sticky.

Step 5: Dump the dough on to a floured table/board and work into a nice smooth ball.

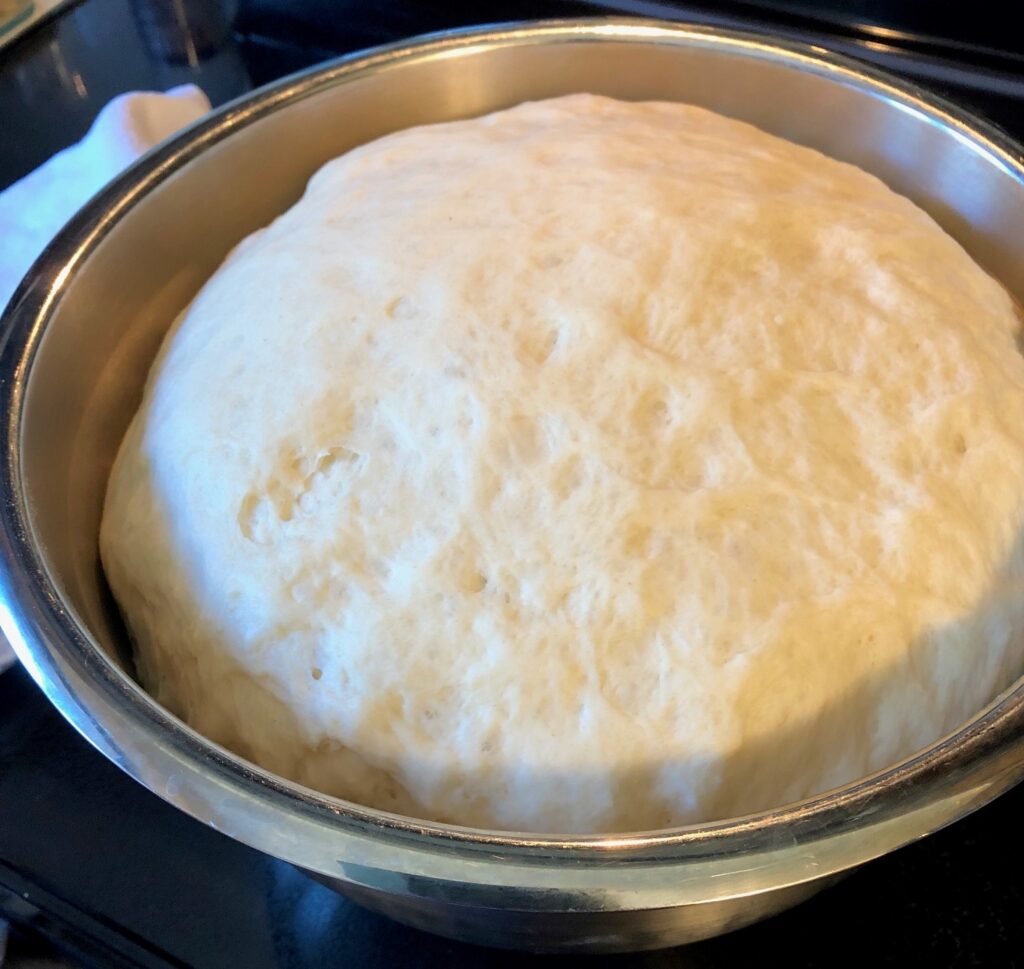
Step 6: Place the ball of dough into a large oiled bowl to rise. Cover with a cloth.

Step 7: When the dough has doubled in size (about an hour), leave the dough in the bowl and put your fist into the middle of the dough to deflate the big bubbles, fold in the sides and turn the ball of dough over so the smooth side is up. Cover the bowl and let rise another hour.

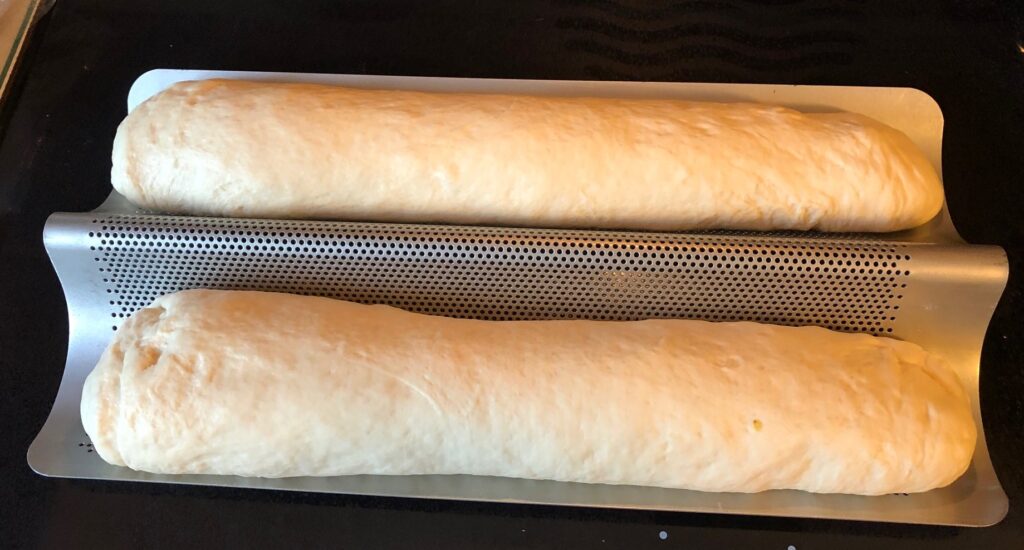
Step 8: Shape the dough…into loaves of bread or rolls or sticky buns.

Shaping Sticky Buns

Here’s how I shape sticky buns:

First, I prepare the pans by greasing them generously with butter-flavored Crisco. You can use butter or margarine.

Then I sprinkle about 1/2 cup of brown sugar over the bottom of the pan. I sprinkle that with ground cinnamon.

Then I take a chunk of dough and pat it out to a rectangle.

This gets sprinkled with brown sugar and cinnamon also.

Next, roll up the rectangle of dough into a log.

Slice the log into 1″ rounds and place cut side down into the prepared pan.

If you have a little roll leftover, just pinch the end shut and put it in a greased pan like a little loaf of cinnamon bread. Bake along with the buns at the same time.

Let the pans rest for about 20 minutes while you preheat the oven to 350 degrees. Bake about 25-30 minutes.

To Remove Sticky Buns From the Pans:

Flip the pans of buns directly onto a foil covered board or table top. Use a table knife to lift the pan off the buns. (Advice…fill each pan with soapy water immediately and let them soak while you clean up…the “sticky” topping is a real pain to clean up if you let it harden and cool in the pan!)

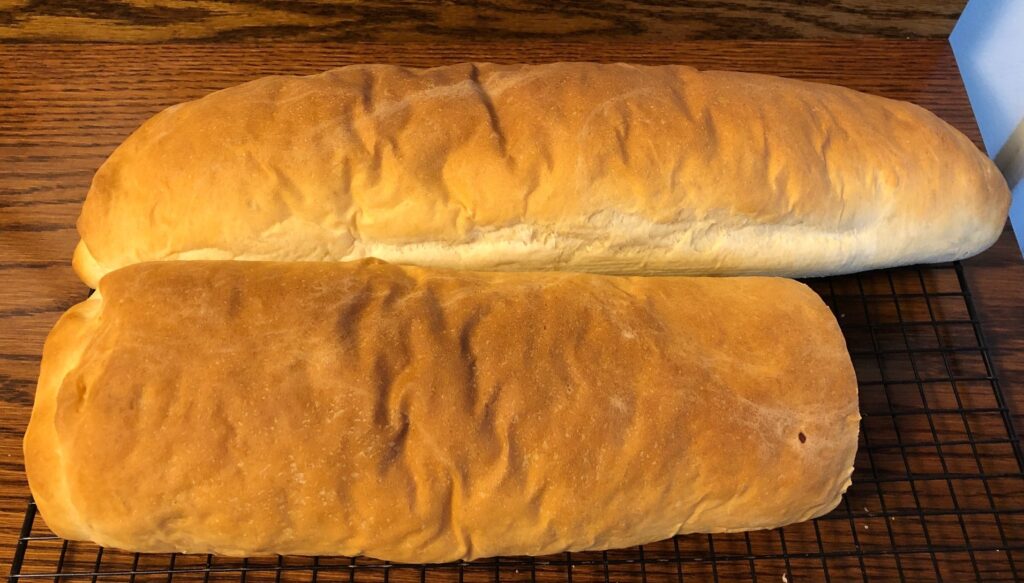
Loaves of bread will bake about 40 minutes in a 350-degree oven.

Not exactly pretty crusts…but tastes great!

So that’s what I do on a snowy day! Wow, the whole house smells good today! Wish I could share it with you!

If you’d like to comment on this post leave a comment or send me an email at marykisner@comcast.net.