Thanks for the reminder from Facebook that three years ago I posted about our travel to Eqypt in 1956. I had written the story for my grandchildren. It brought back a lot memories of traveling with my family and the year we spent in the Philippines (I was 9!). I’m sure Cairo looks much different today, but 68 years ago it was still a novelty for us in America!
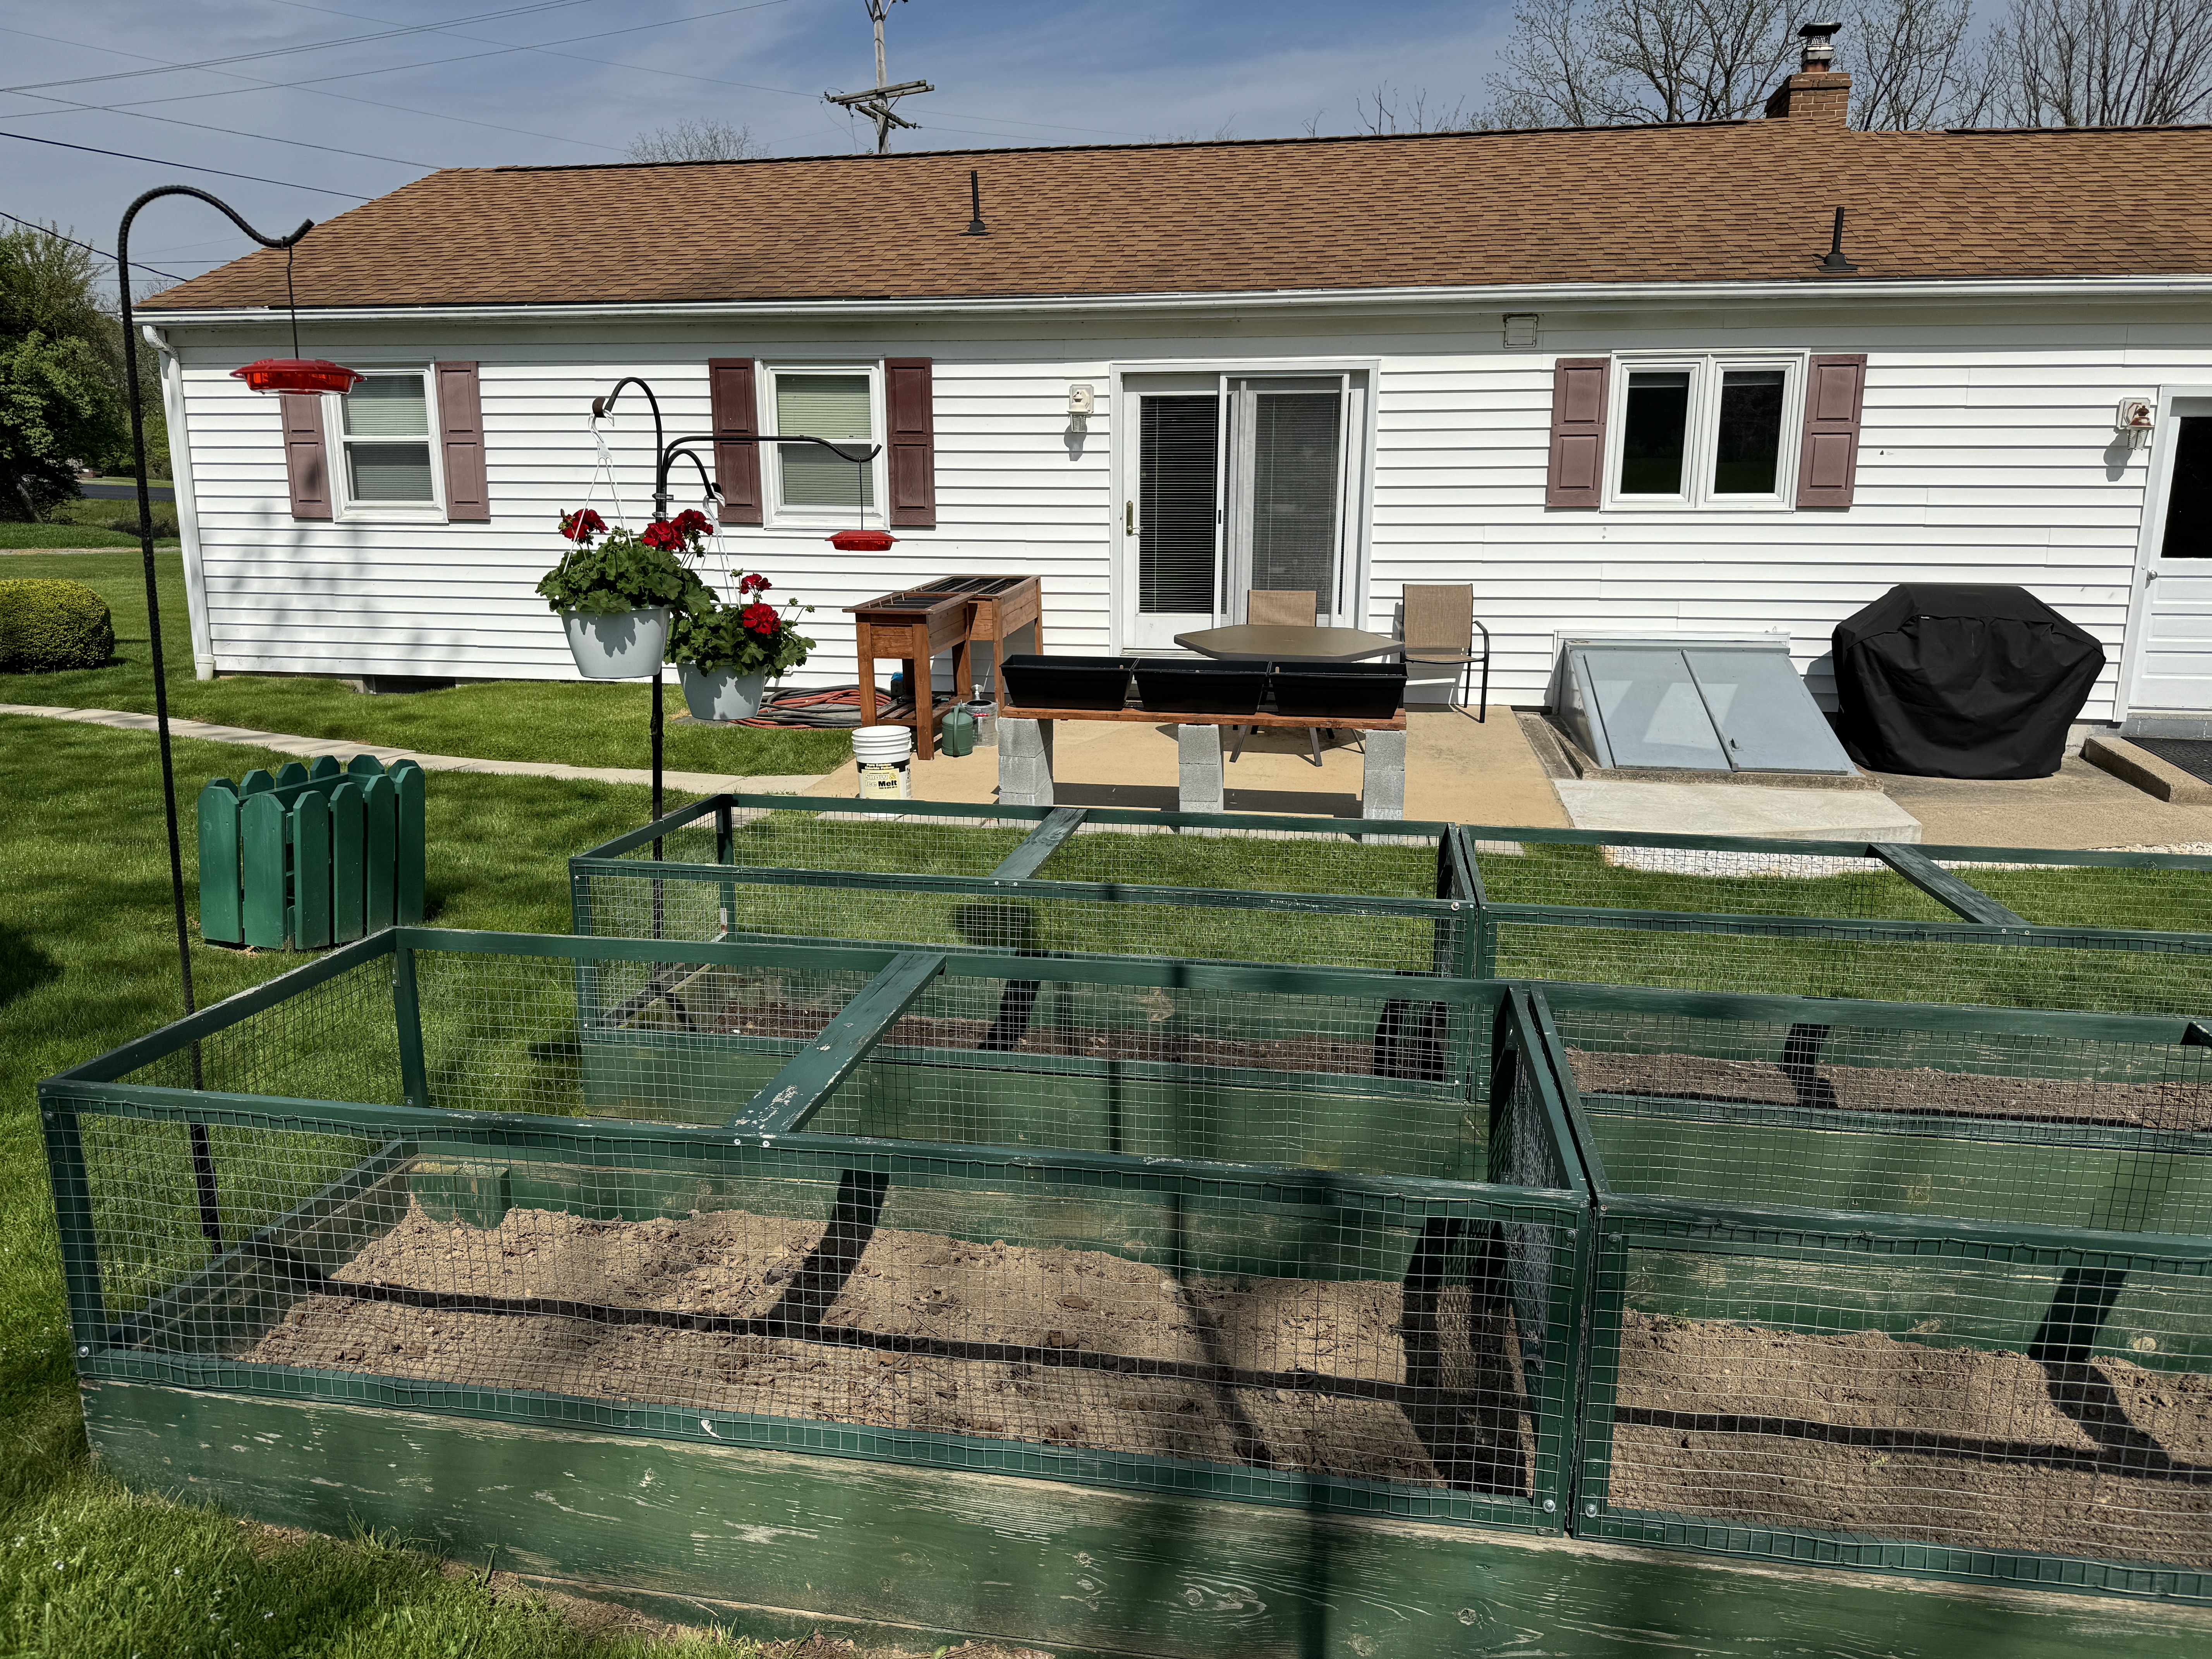
It’s finally time to start getting the garden ready for this year! We’ve had so much rain that it really kept us from playing in the dirt! The grass has benefitted from all the water and is a lush bright green.
Garden beds have just been too soggy until today. We still may have a frost at night so sensitive plants need to wait a few more weeks indoors.
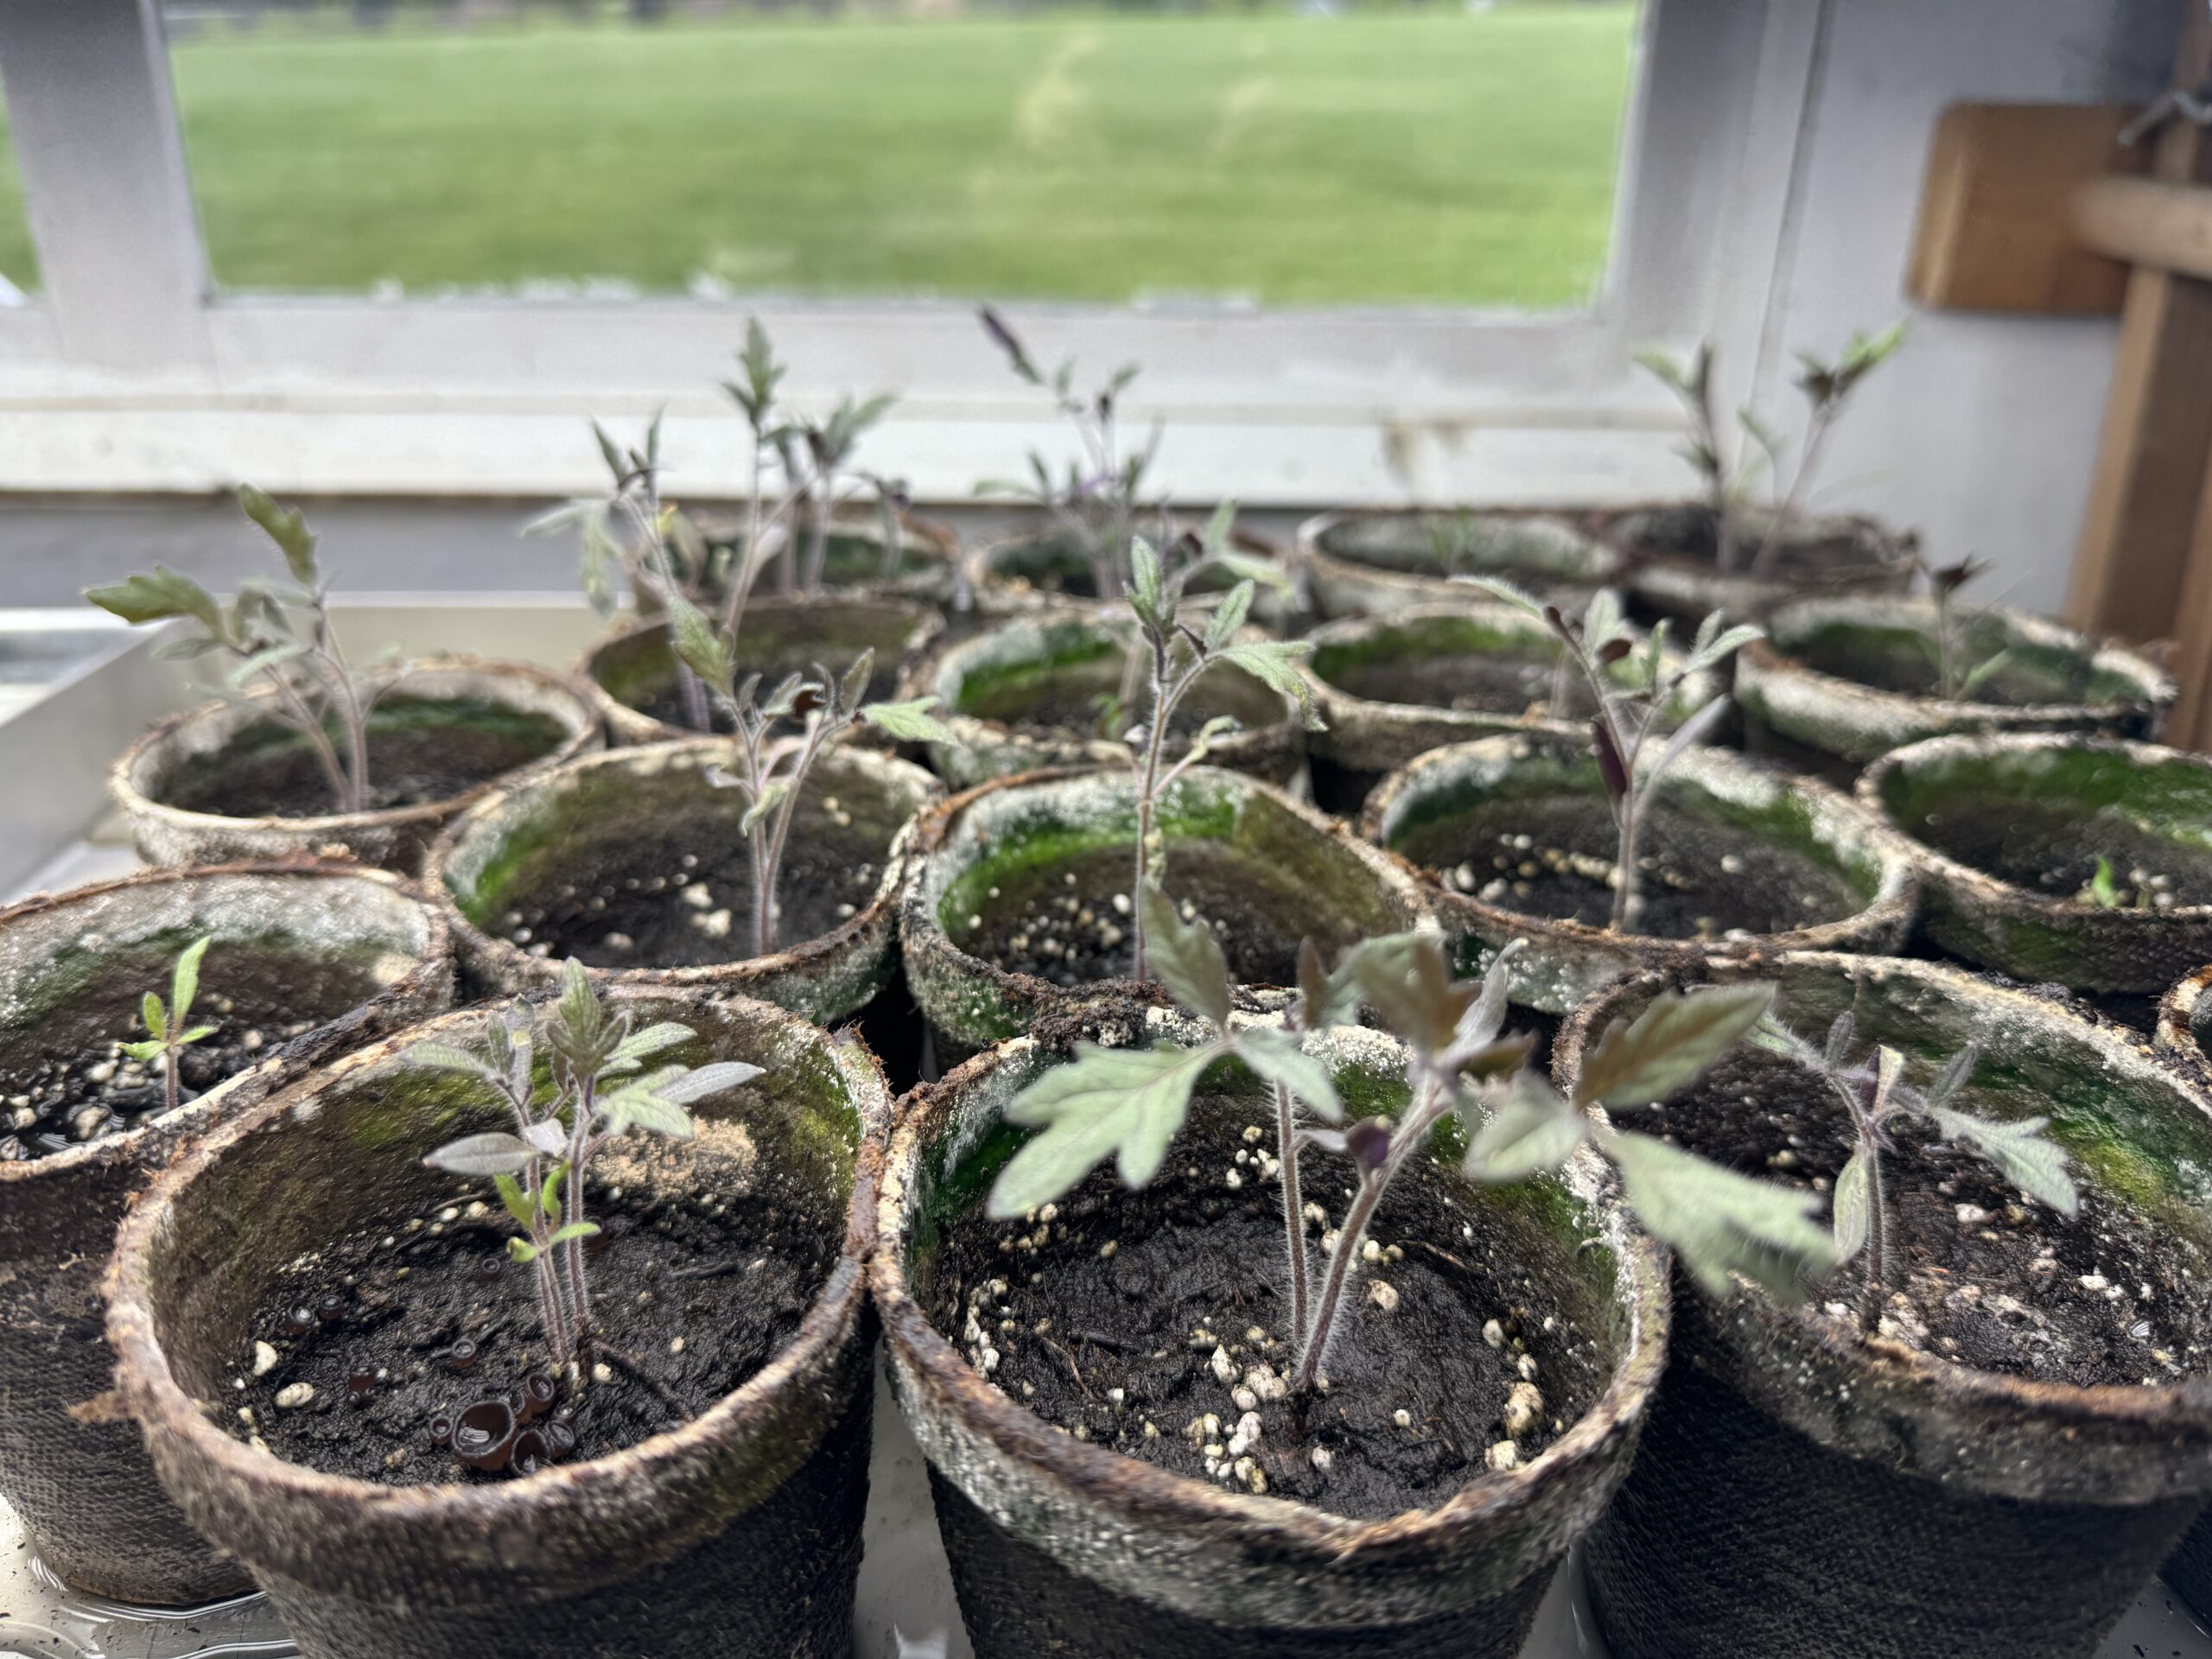
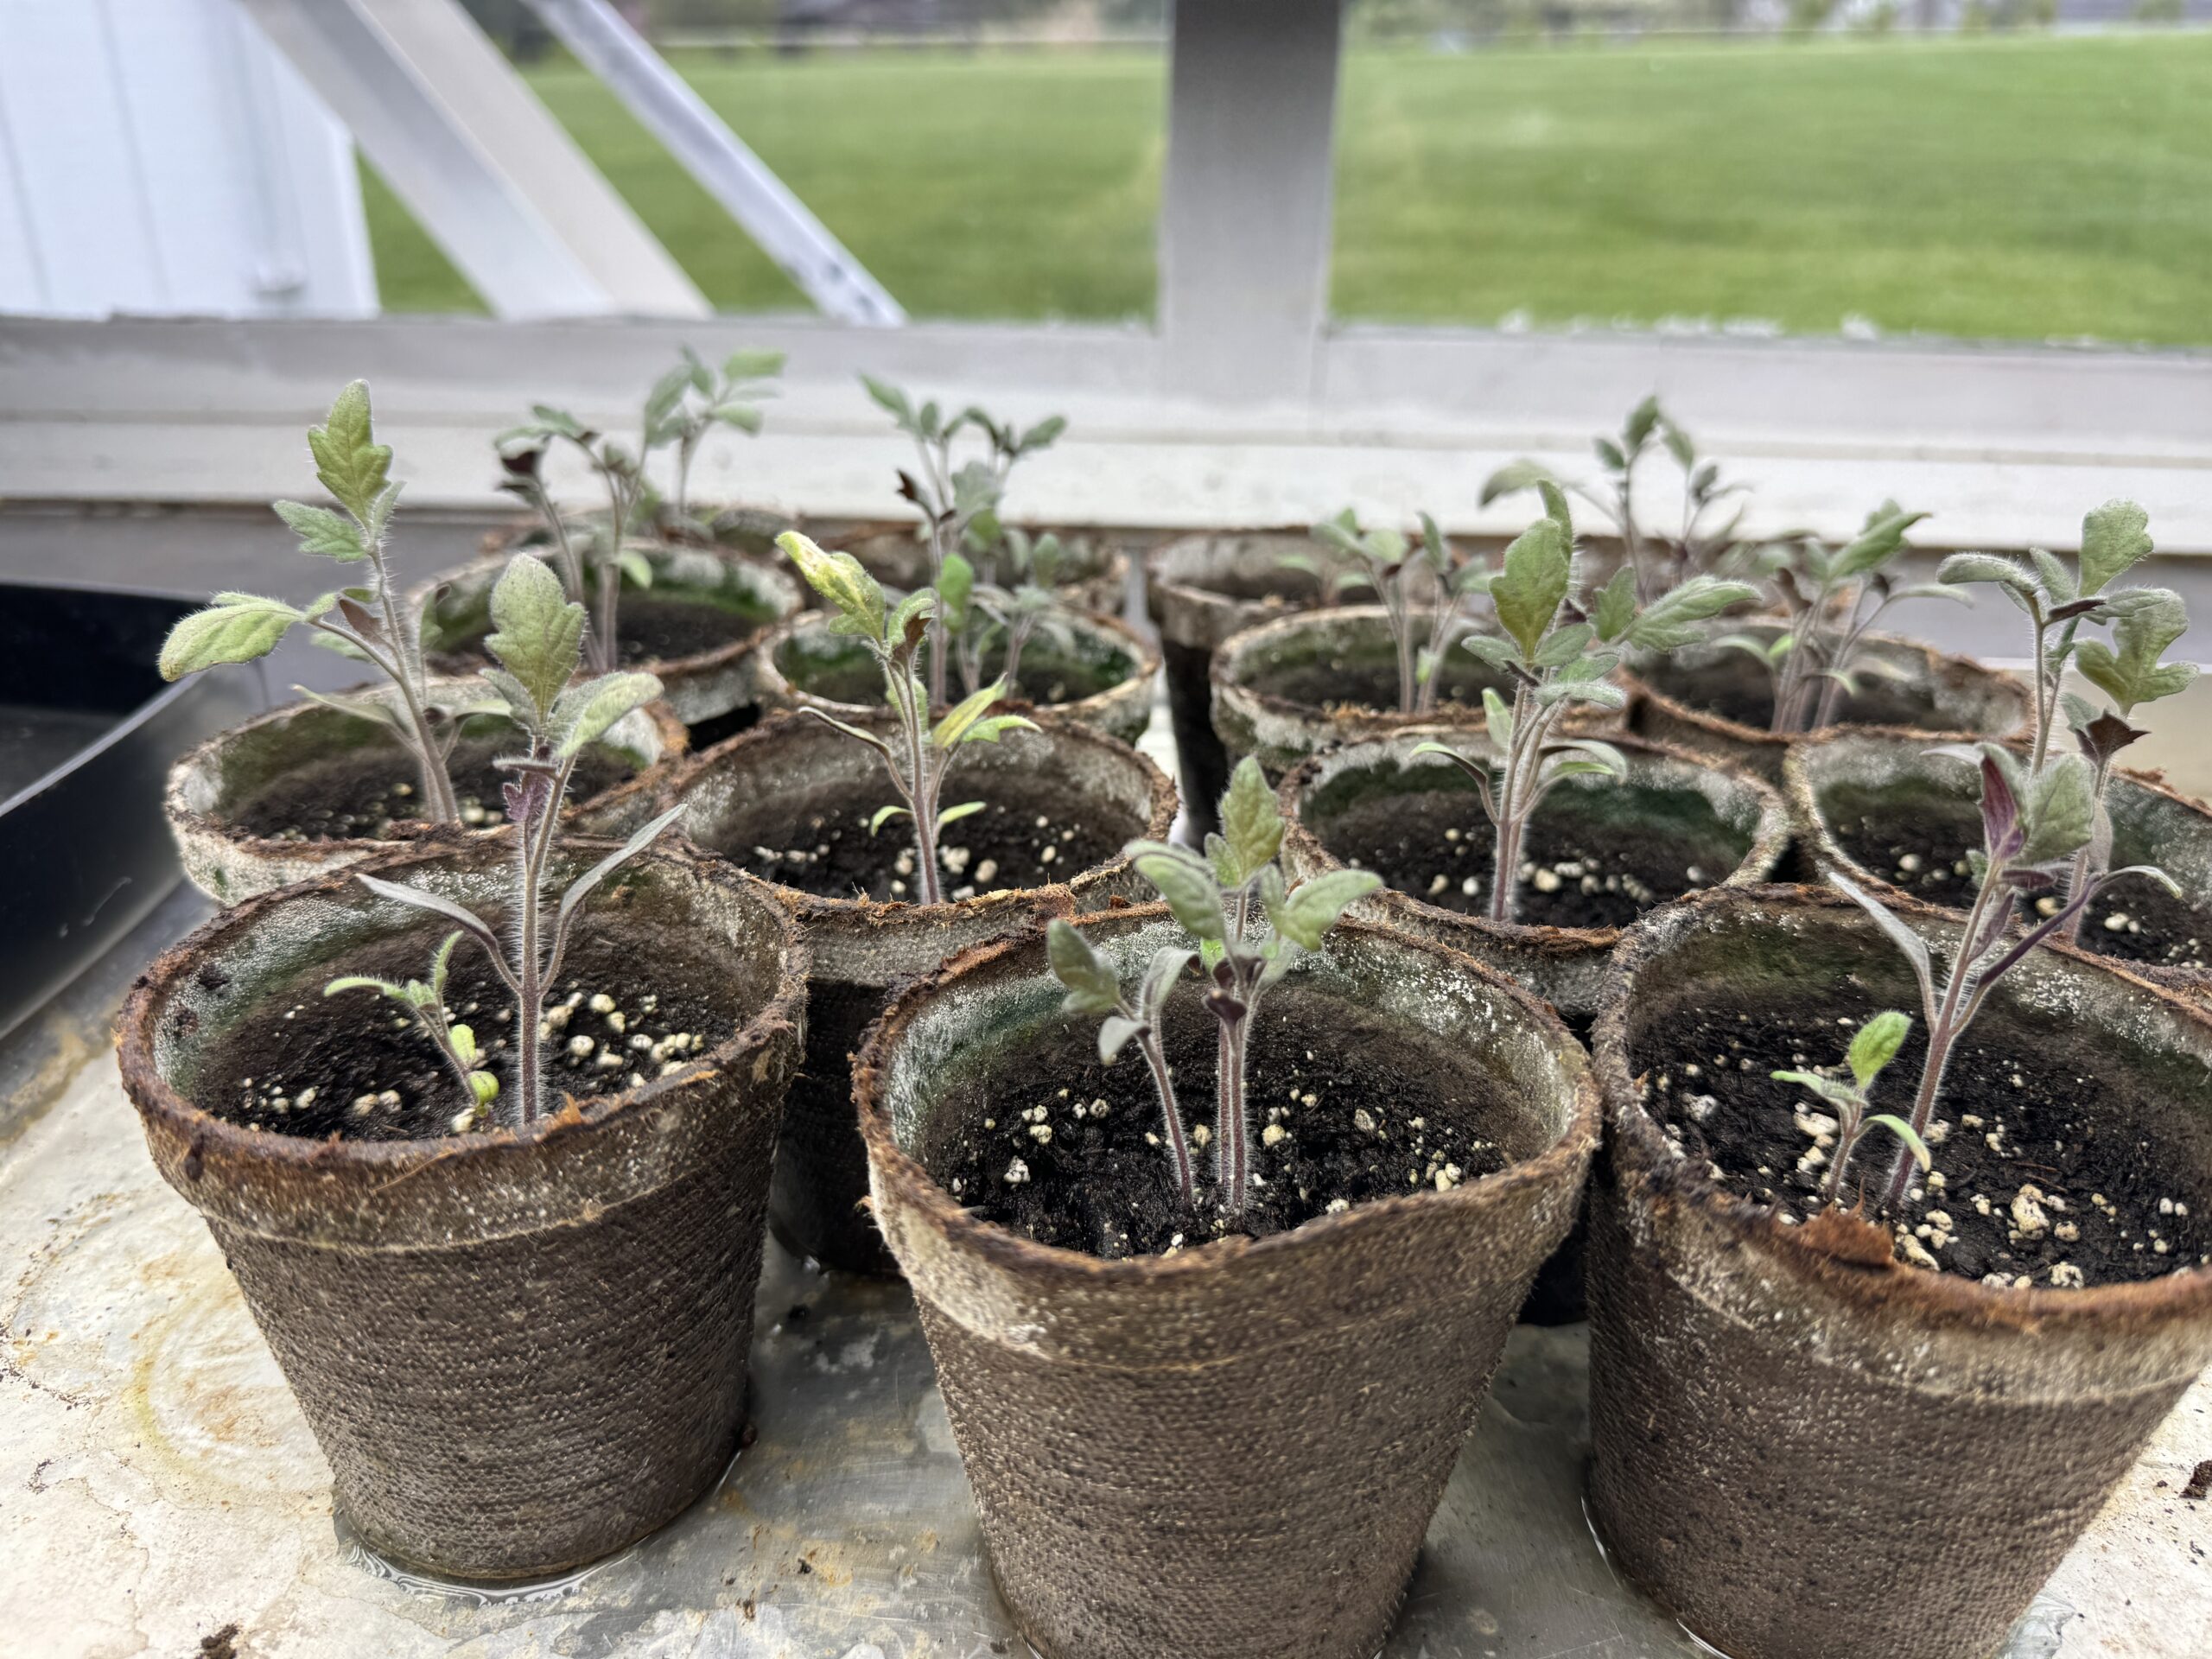
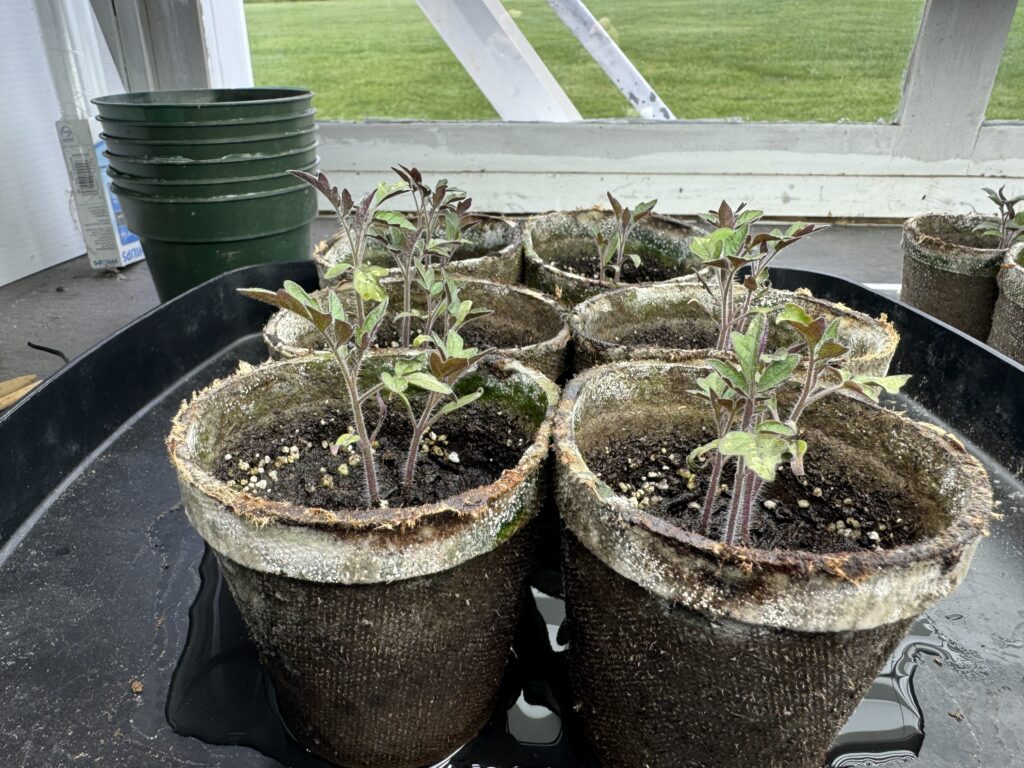
The three kinds of tomatoes Bert started from seed are doing well in the shop under grow lights. First, we have our standard SuperSauce tomatoes:
Then Bert thought he’s try something called “Bodacious” Tomatoes from Burpee…supposed to be a huge, solid tomato:
Finally, I requested a Yellow Pear tomato…hopefully will be good in salads. I’m hoping I can share a few plants with my daughter or the neighbors…we certainly don’t need that many little tomatoes!
Frankly, right now they all look like generic tomato plants!
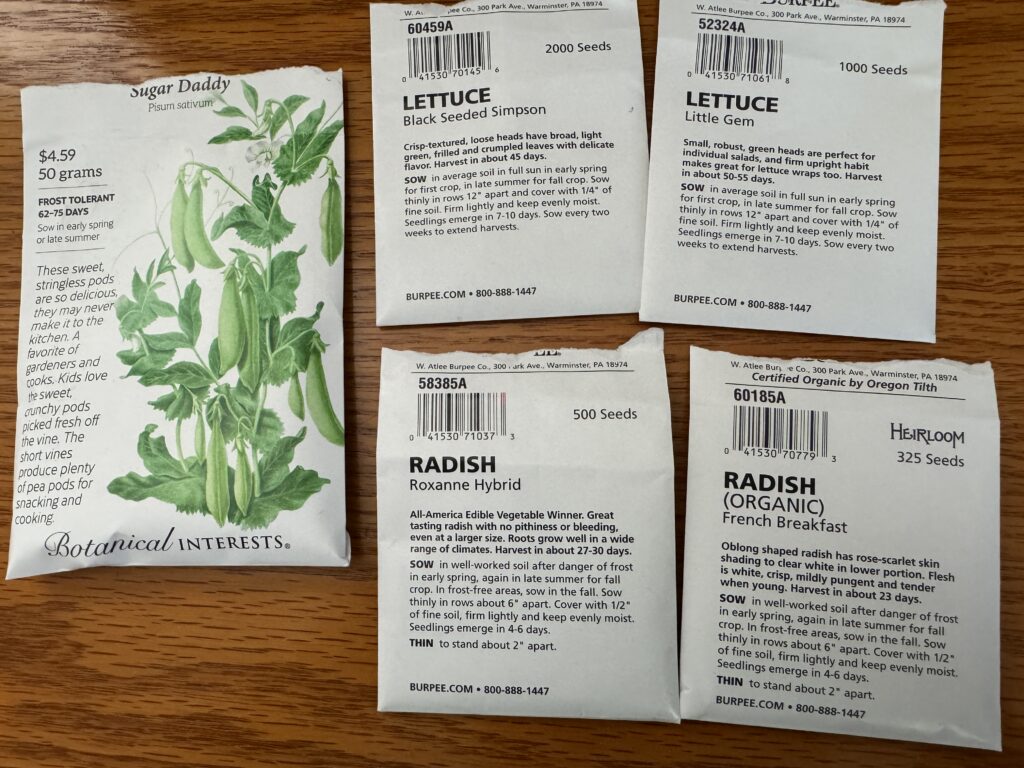
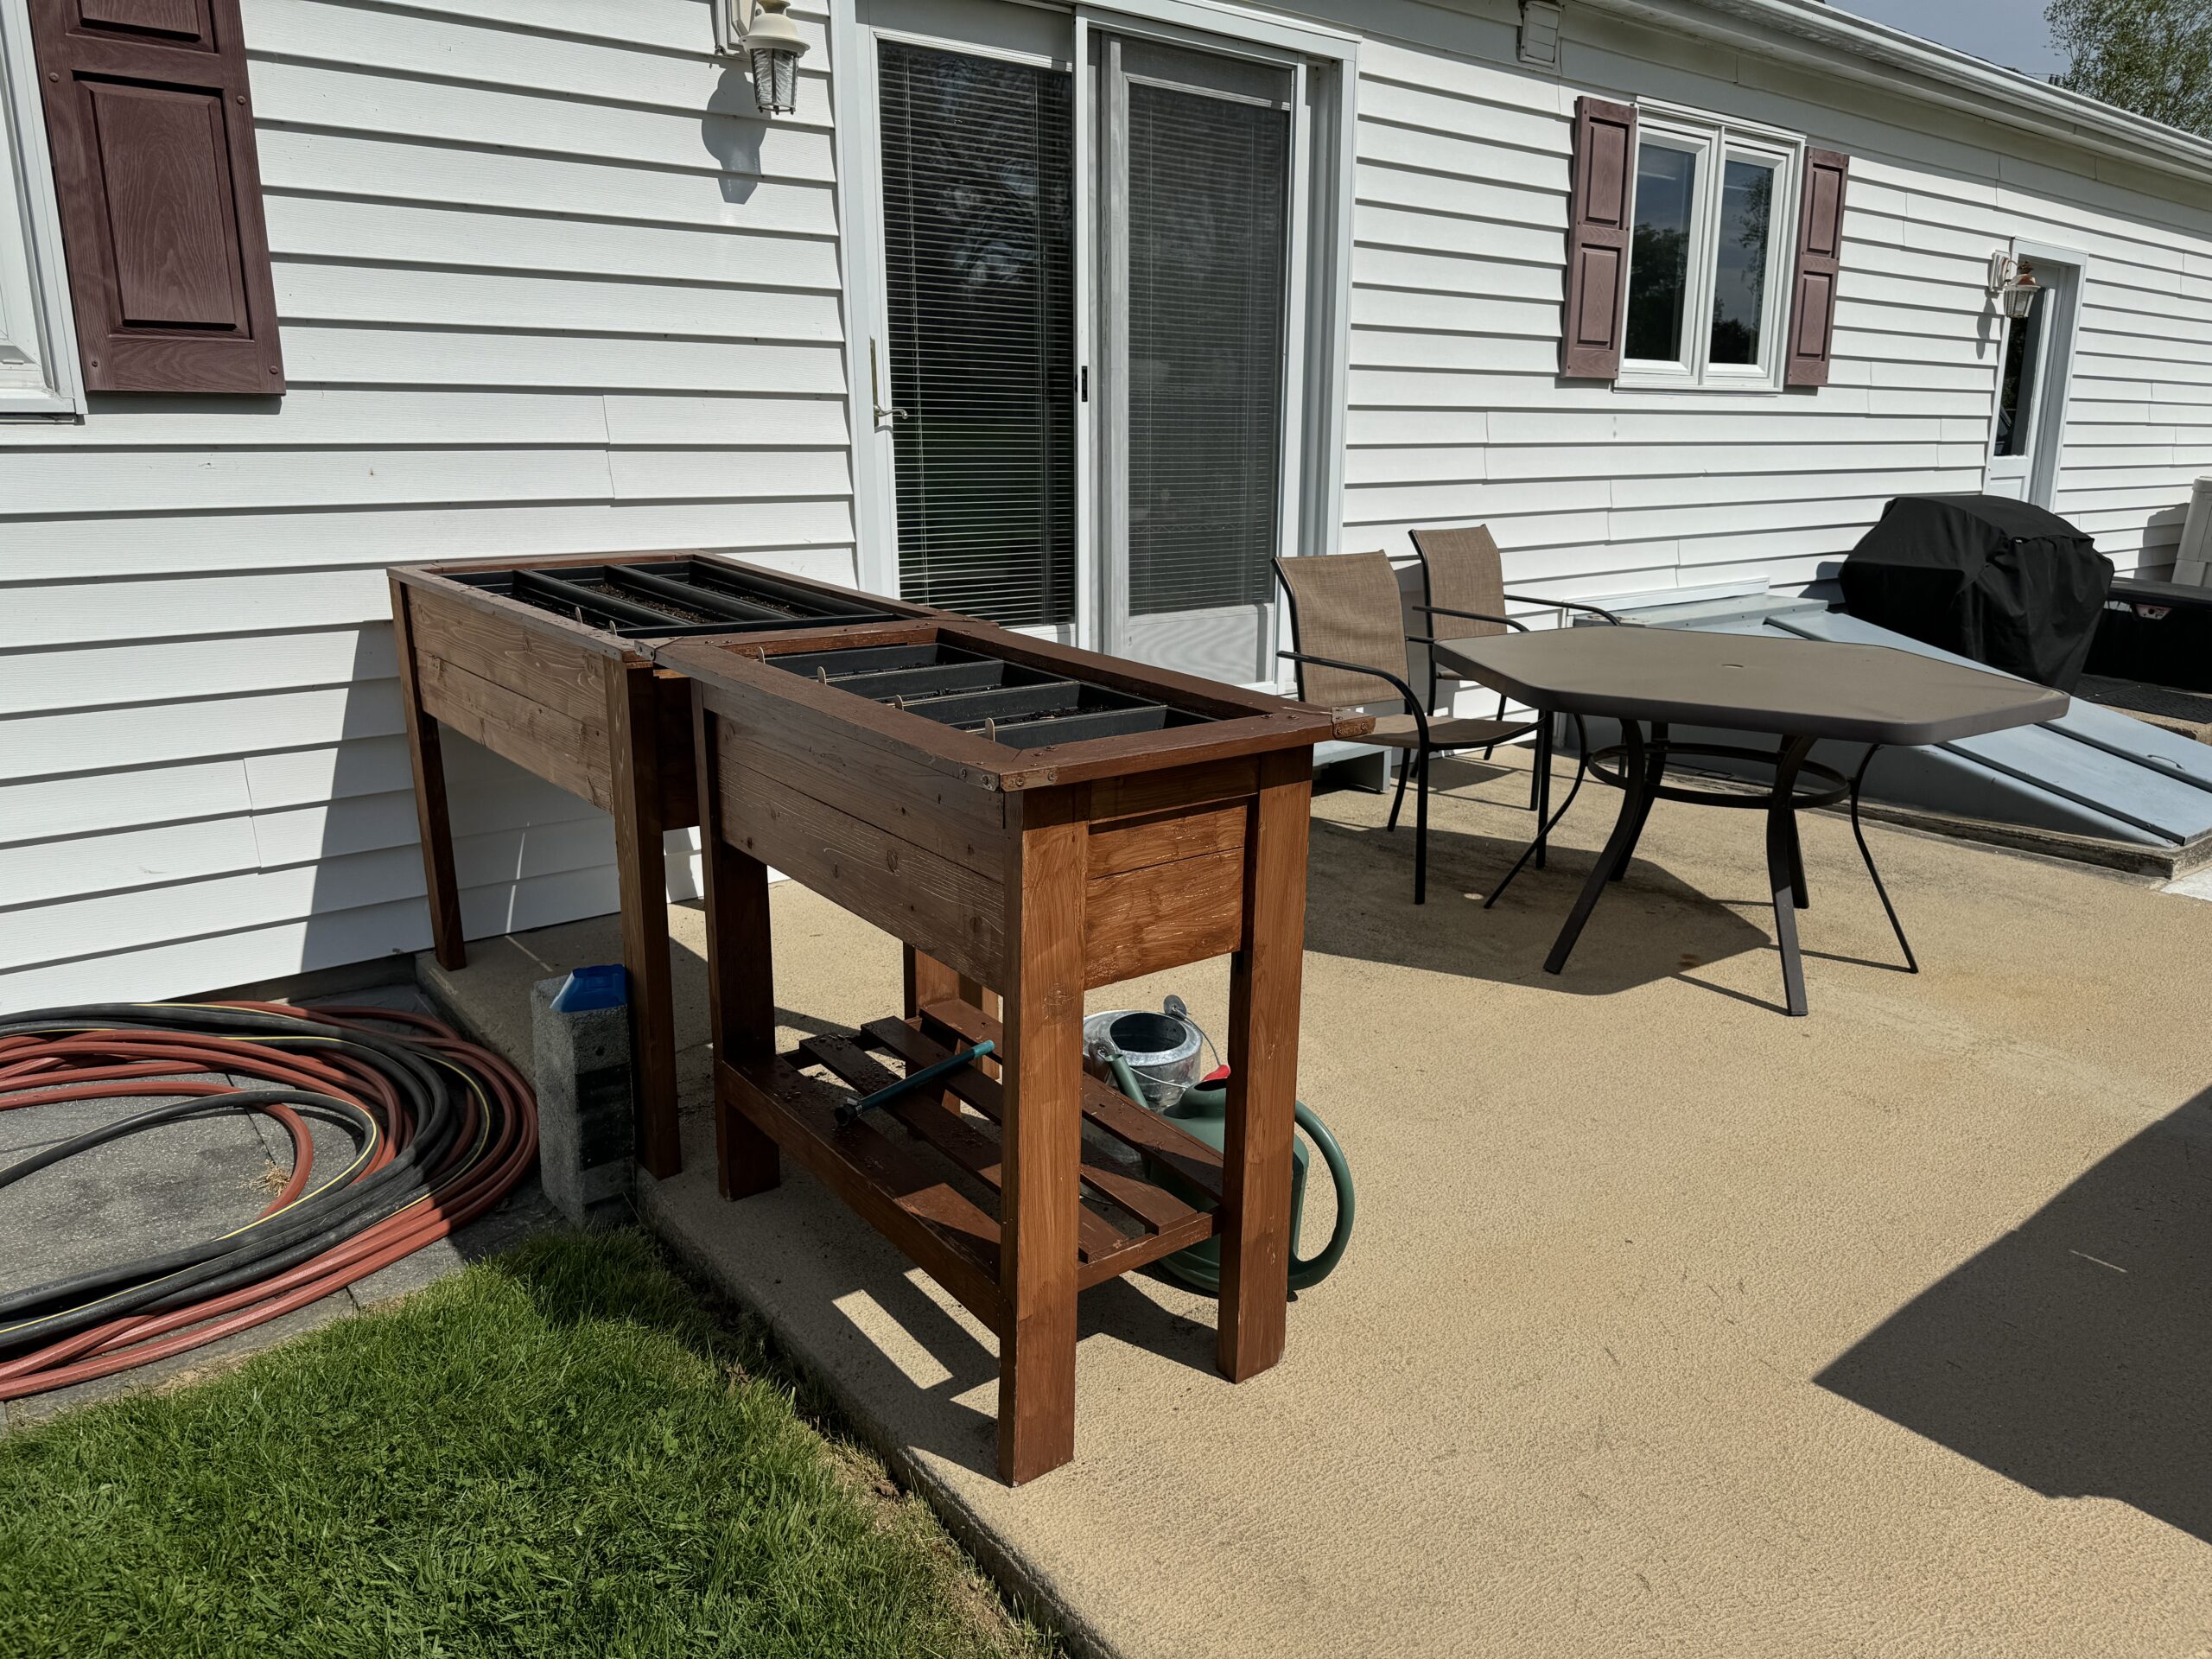
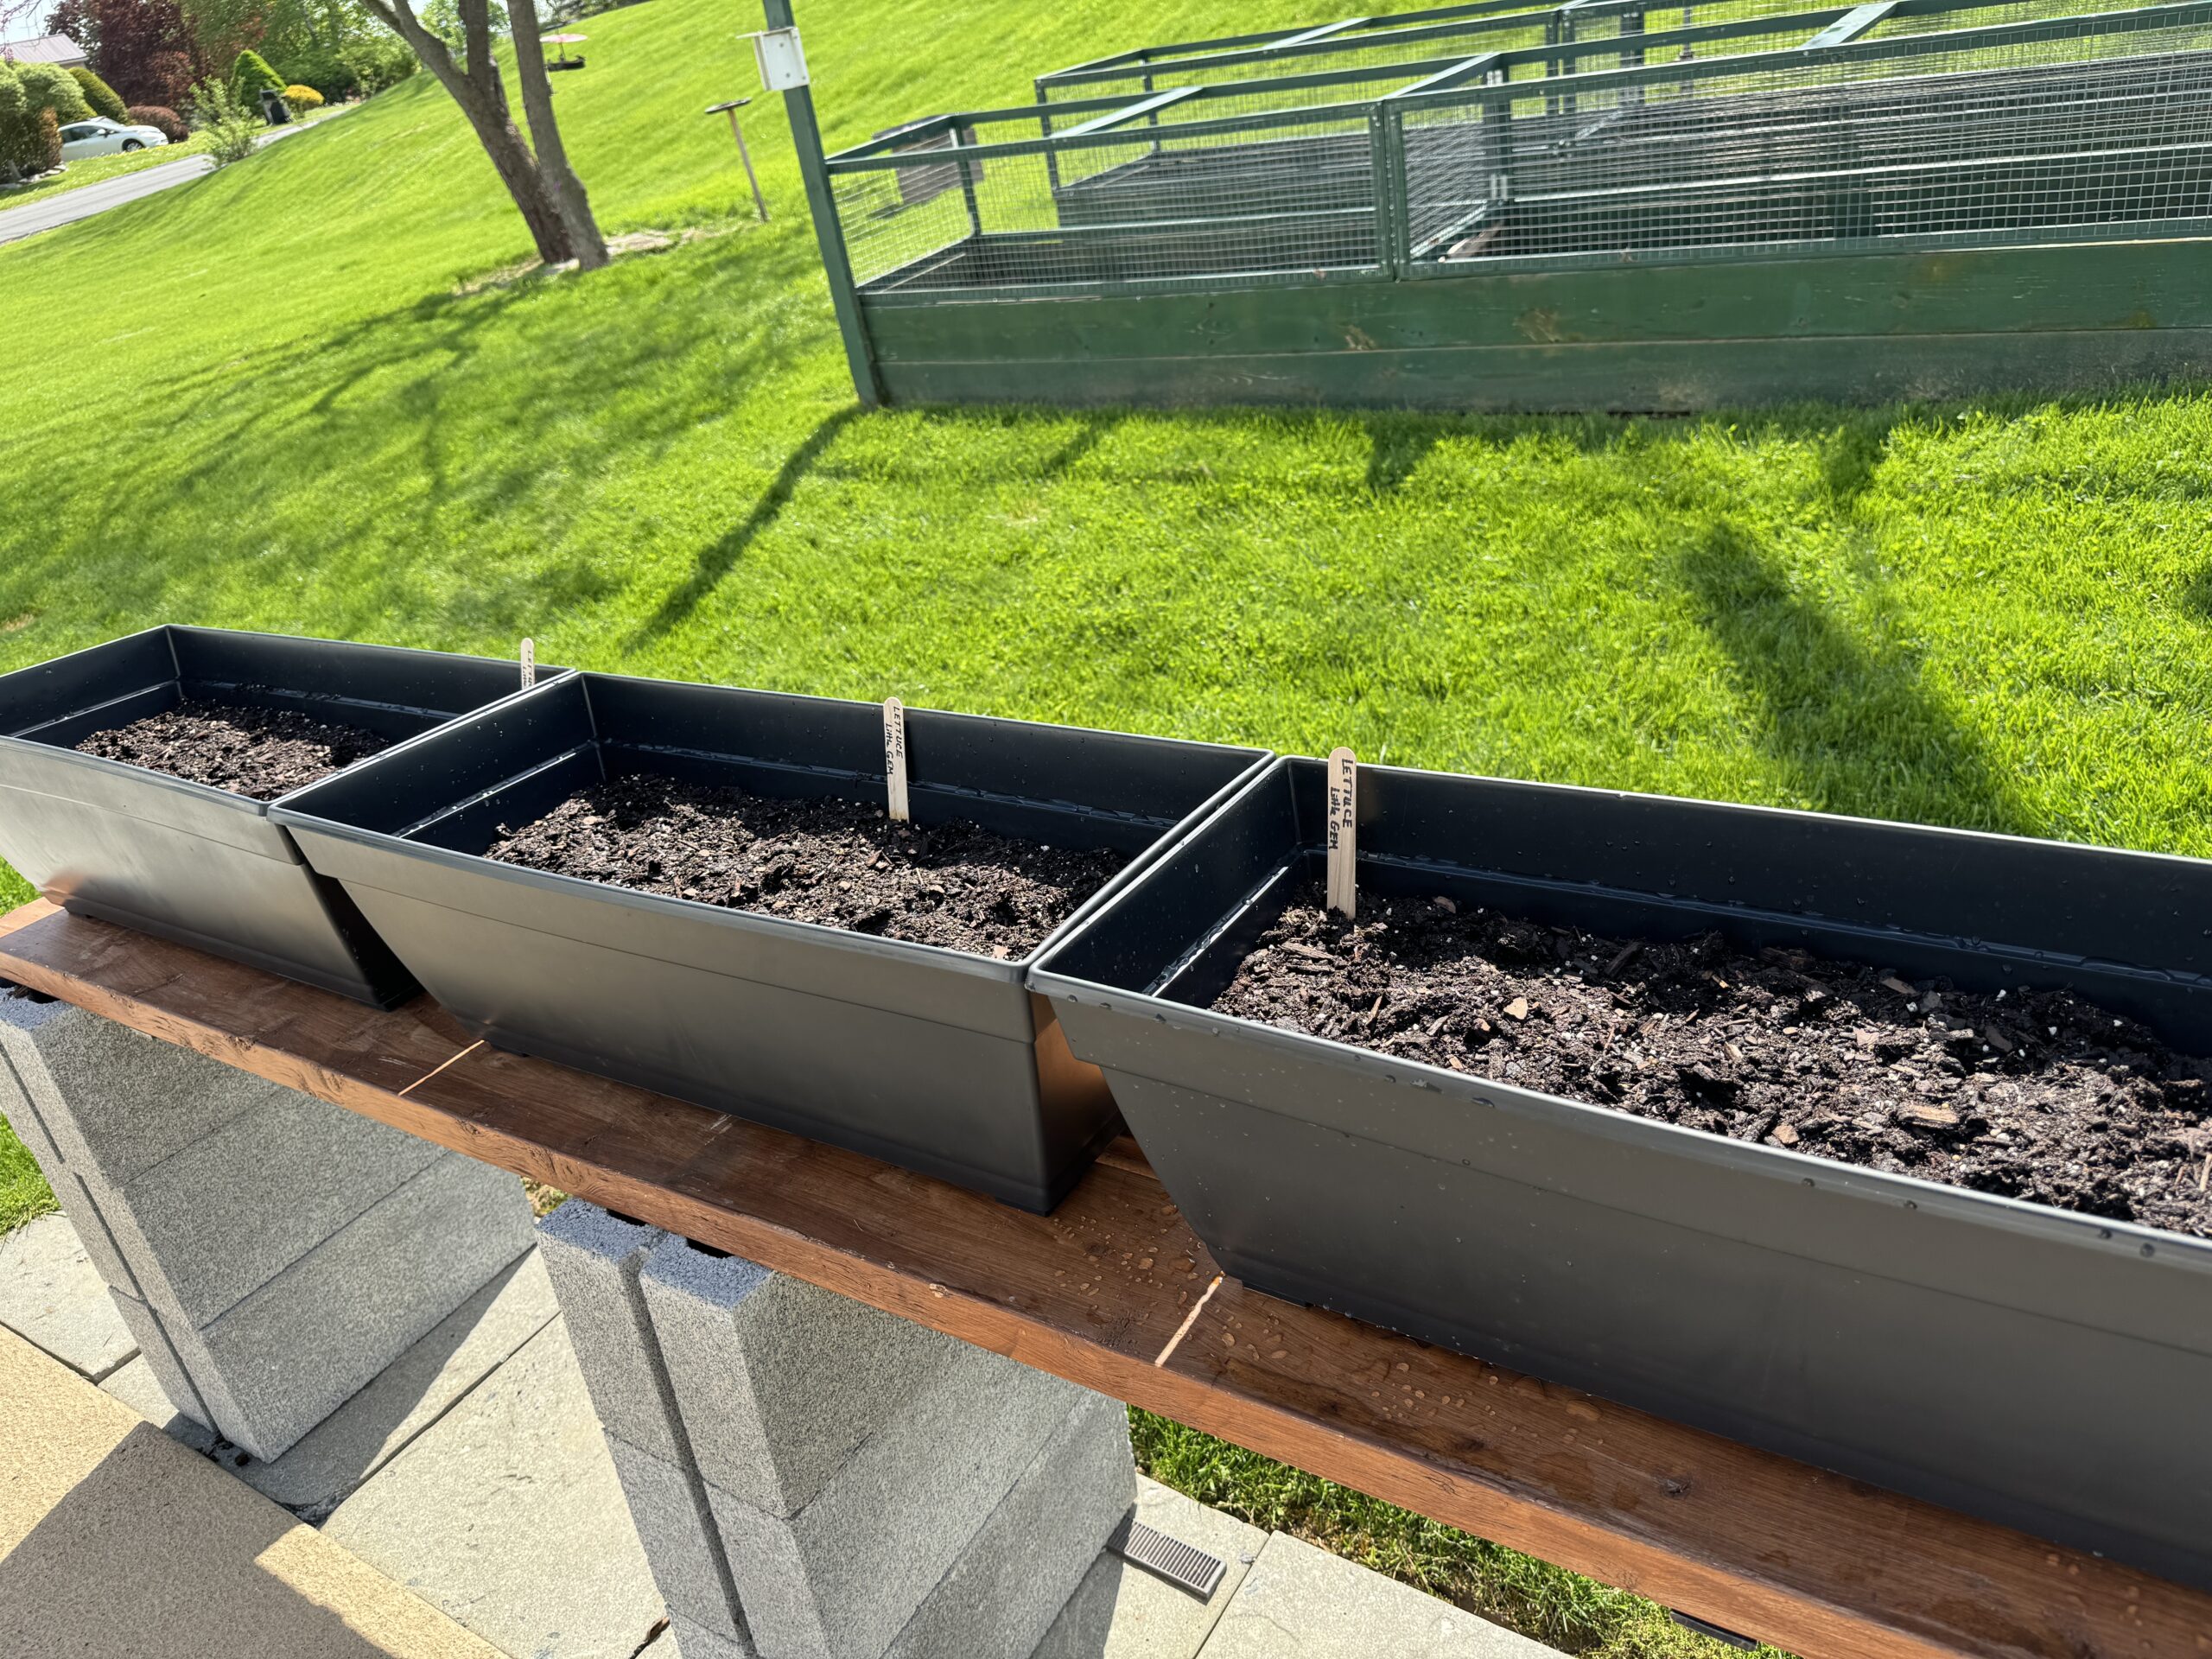
Today, I got out the seeds I’ll put in my planters right by the patio:
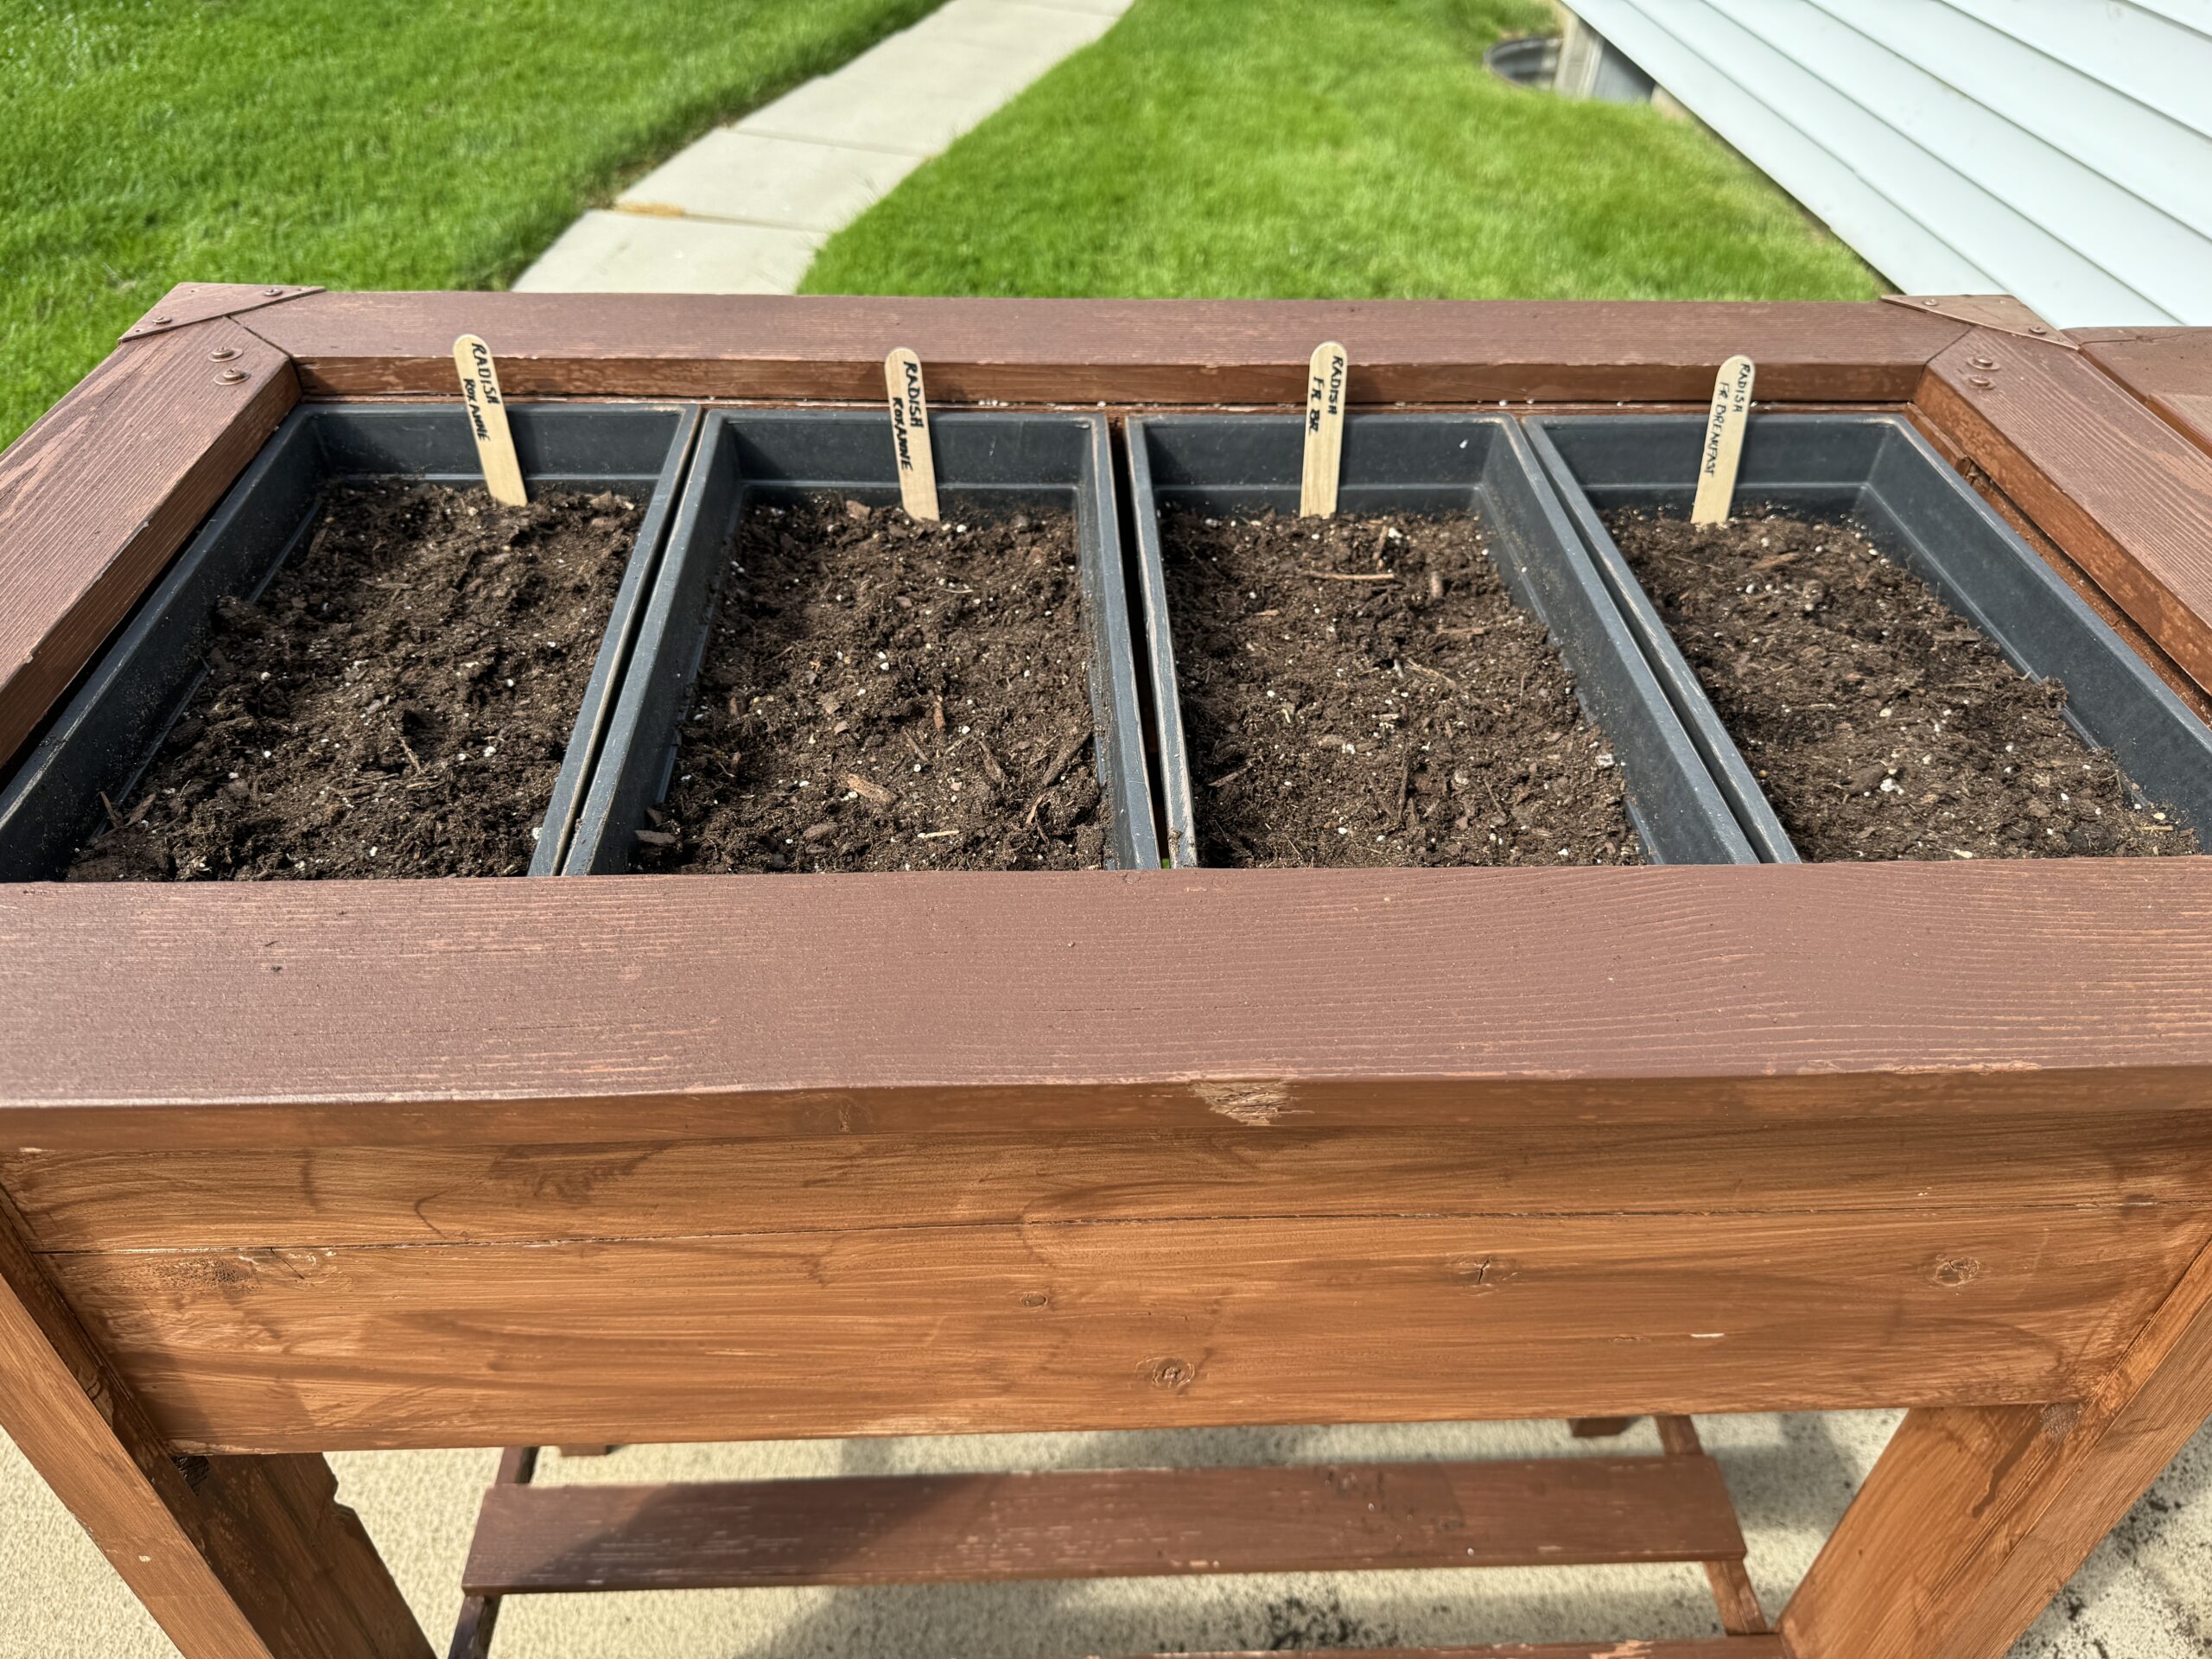
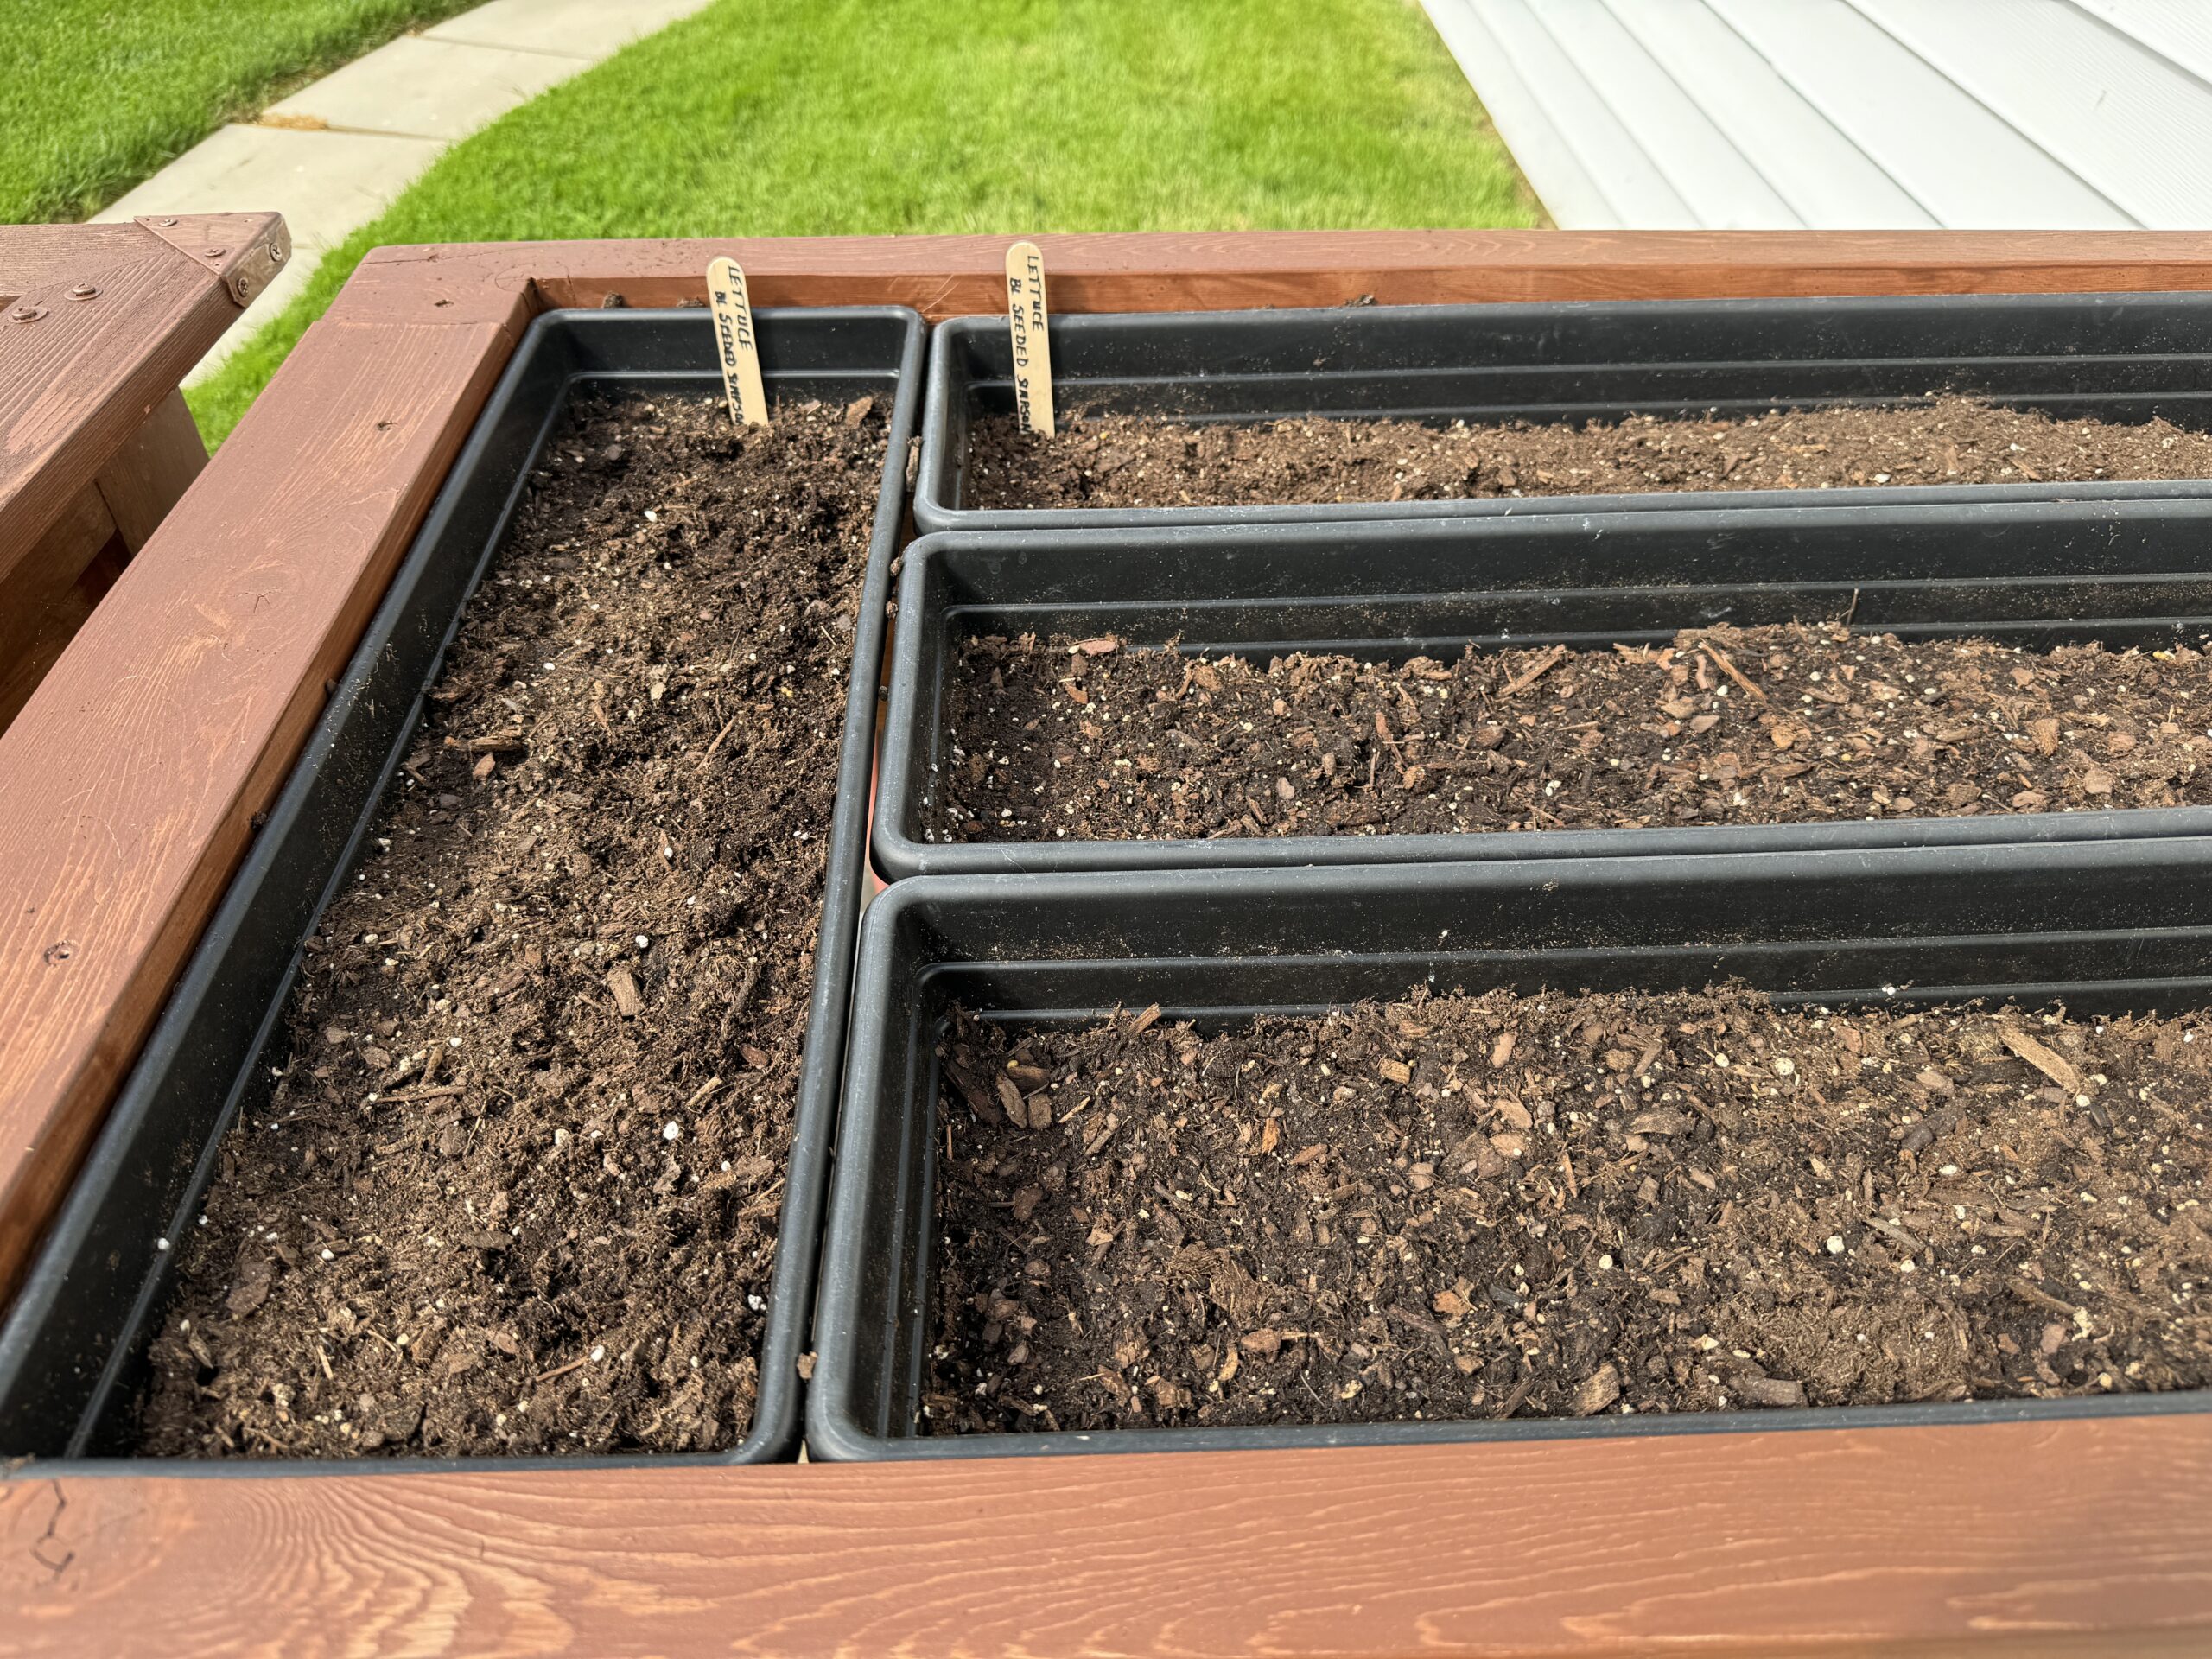
These planters will hold two kinds of radishes and the Black Seeded Simpson Lettuce:
Along the outside edge of the patio, I’ll plant Little Gem lettuce…it’s supposed to make little heads so I tried to put just 1-2 seeds in each hole and spaced so I don’t have to thin them out. It doesn’t look very exciting right now, but these planters keep everything up and away from roving bunnies looking for a snack!
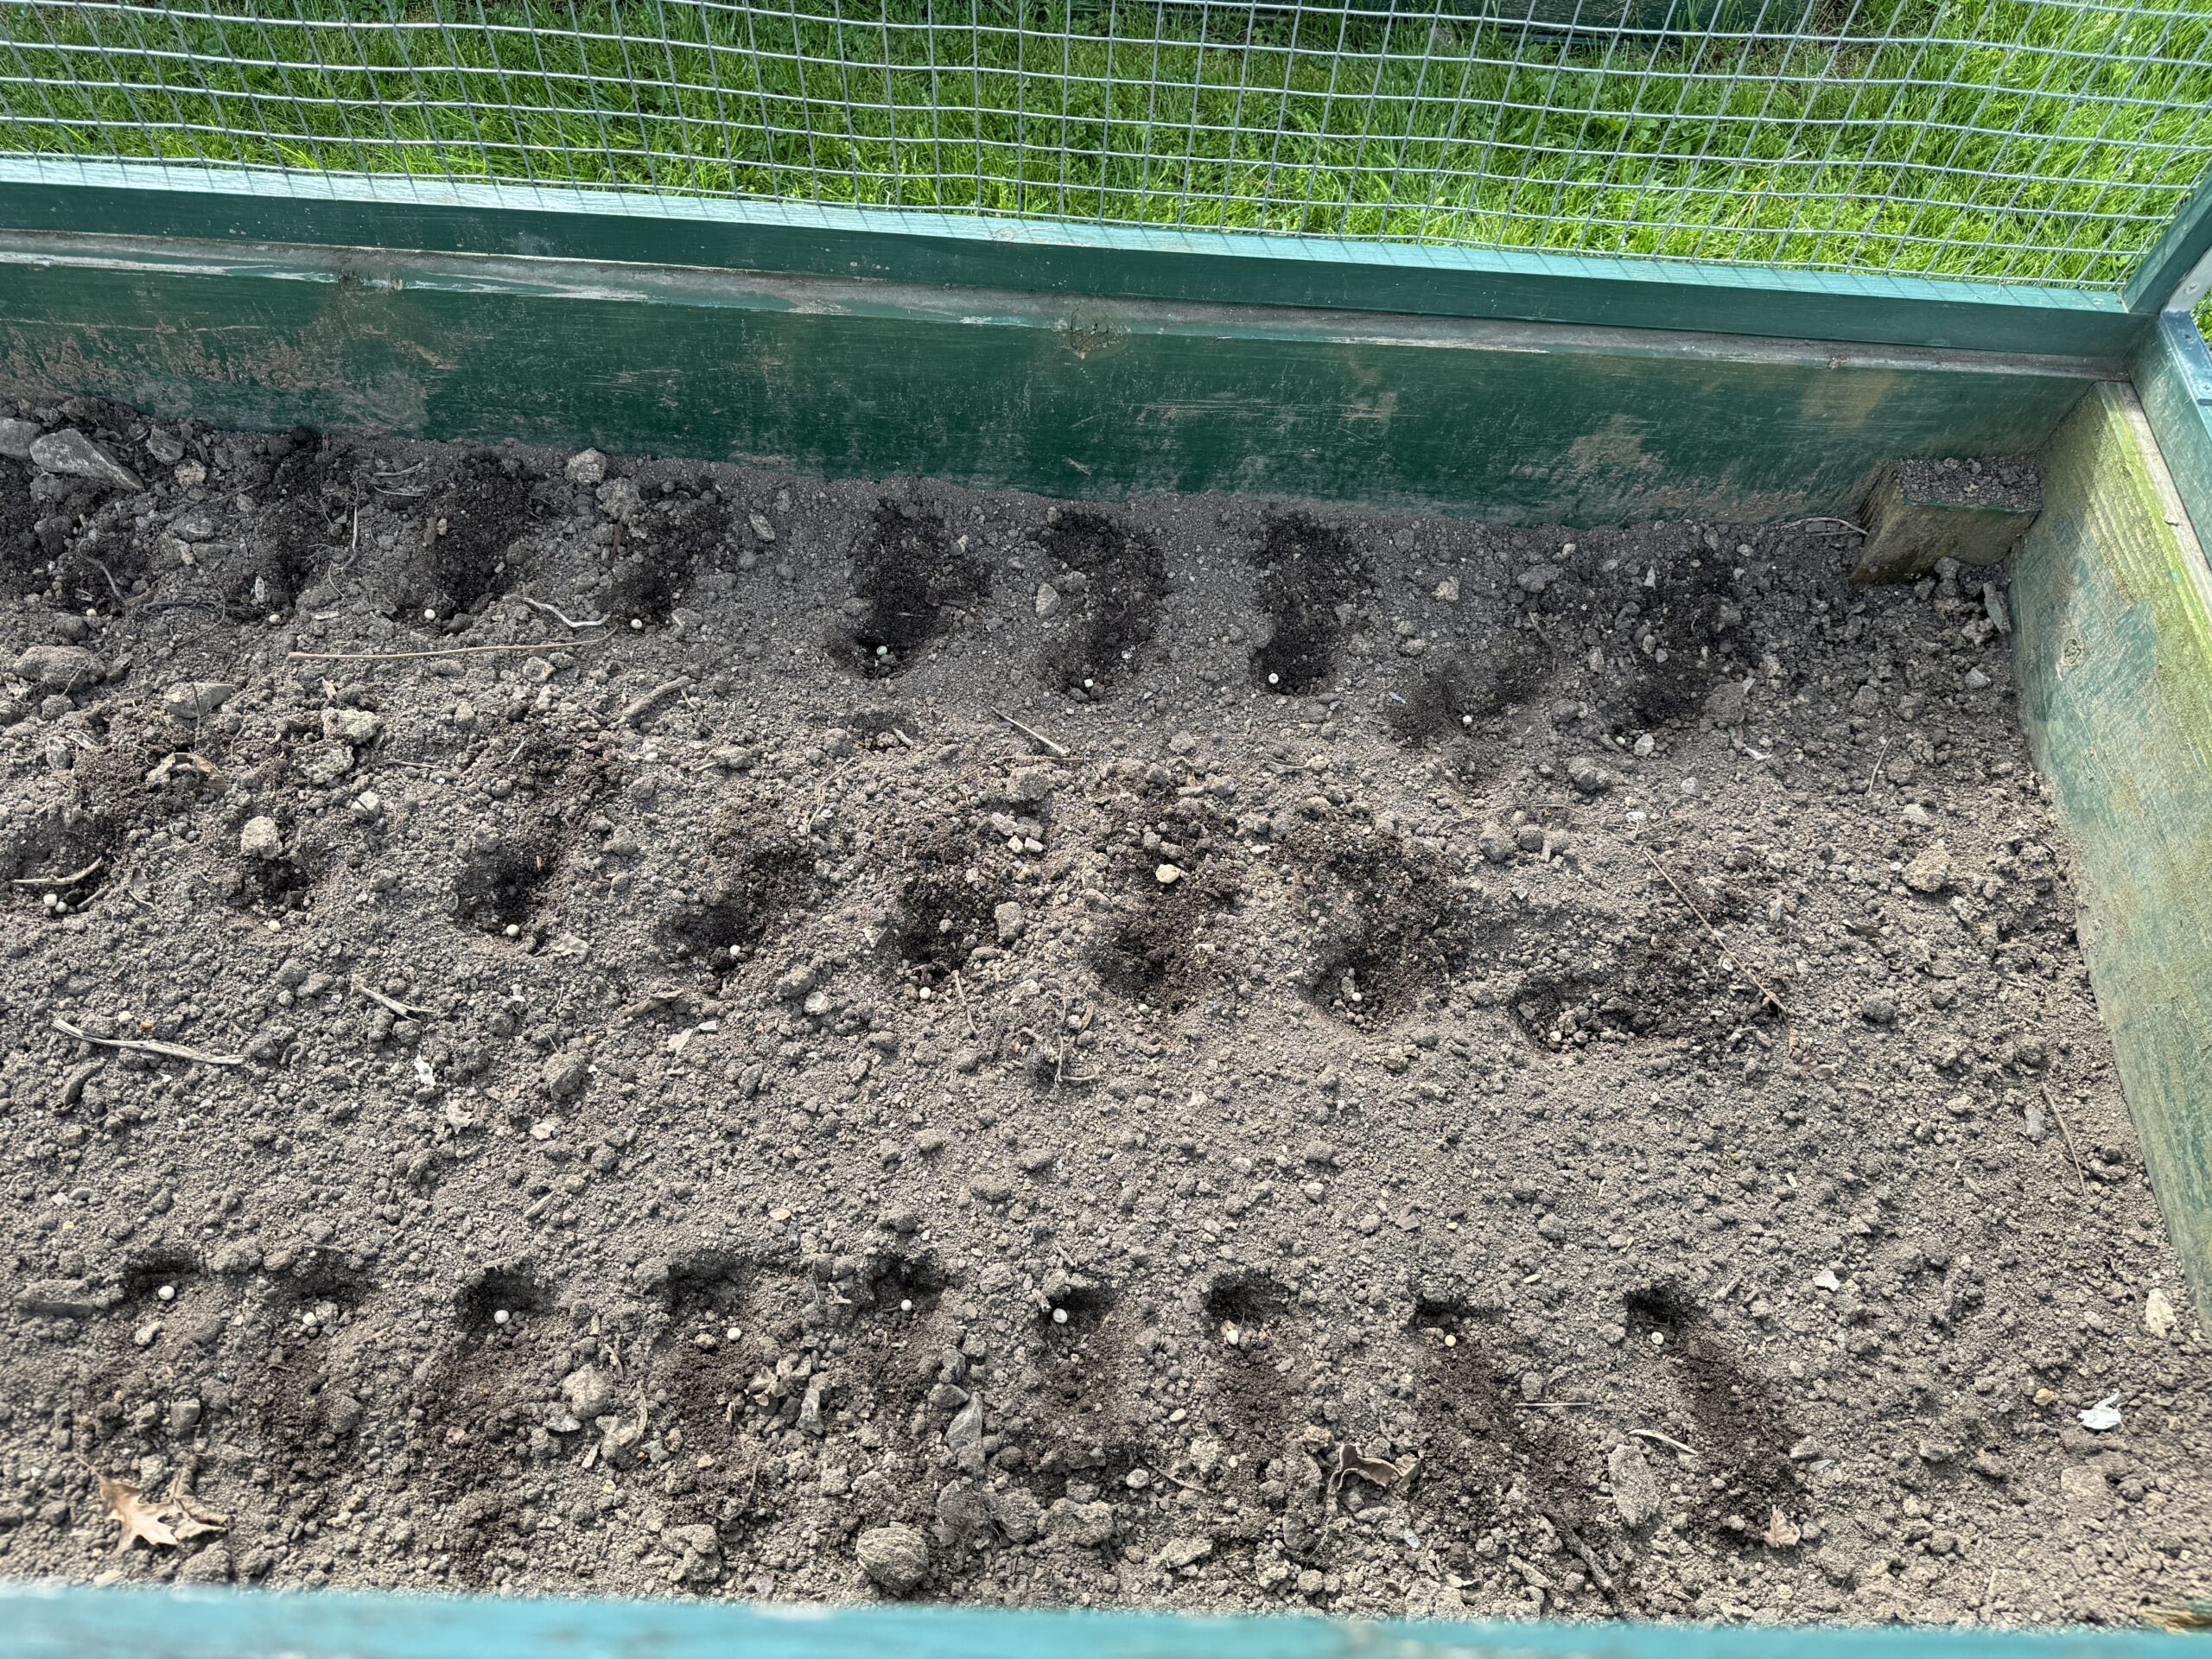
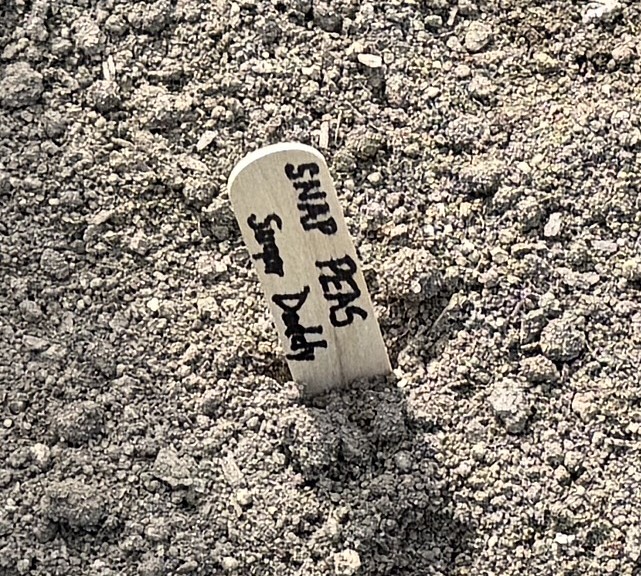
Then, in the fenced beds just off the patio, I’m trying Sugar Snap peas so they can use the fence to climb up. I haven’t done peas for quite a while, so we’ll see if it’s worth the effort!
Bert has the upper garden tilled and ready to go but it will be the middle of May before those seeds and plants go in the ground. Next is probably setting up the rain barrels.
So, there is the beginning of our 2024 garden. Hopefully, everything will be more colorful in the next month! Enjoy!
My Oatmeal Bread is my go-to favorite recipe…to make, to eat and to share! I have never had a bad batch of this bread (that I can remember!). You can read about my recipe in this previous post (https://marykisner.com/marys-oatmeal-bread/).
In the last several months I’ve been unhappy with texture of the bread. At least it still tasted OK but the bread was a little dry and crumbly when sliced. Each time I tried a batch I changed something, hoping to hit on the magic ingredient or process. I started making batches of only two loaves. We ate one and froze the other. I now have 5 loaves of bread in the freezer that are just experiment rejects!
I started with the knife. Maybe the serrated knife we used was not as sharp and seemed to shred the bread instead of cutting it. We switched knives…made no difference.
Time to investigate the ingredients. This recipe is simple…flour, rolled oats, yeast, olive oil, honey, sugar and salt. So, one at a time, I substituted ingredients.
Then I used the original recipe, but changed the flour from King Arthur All-purpose flour to Pillsbury All-purpose flour. The new flour felt “thicker” or more compact. This made a heavy loaf and tasted fine, but it still made crumbs as it was sliced. The next batch I added Vital Wheat Gluten to the mix…this changed the taste a little but didn’t fix the crumbling texture.
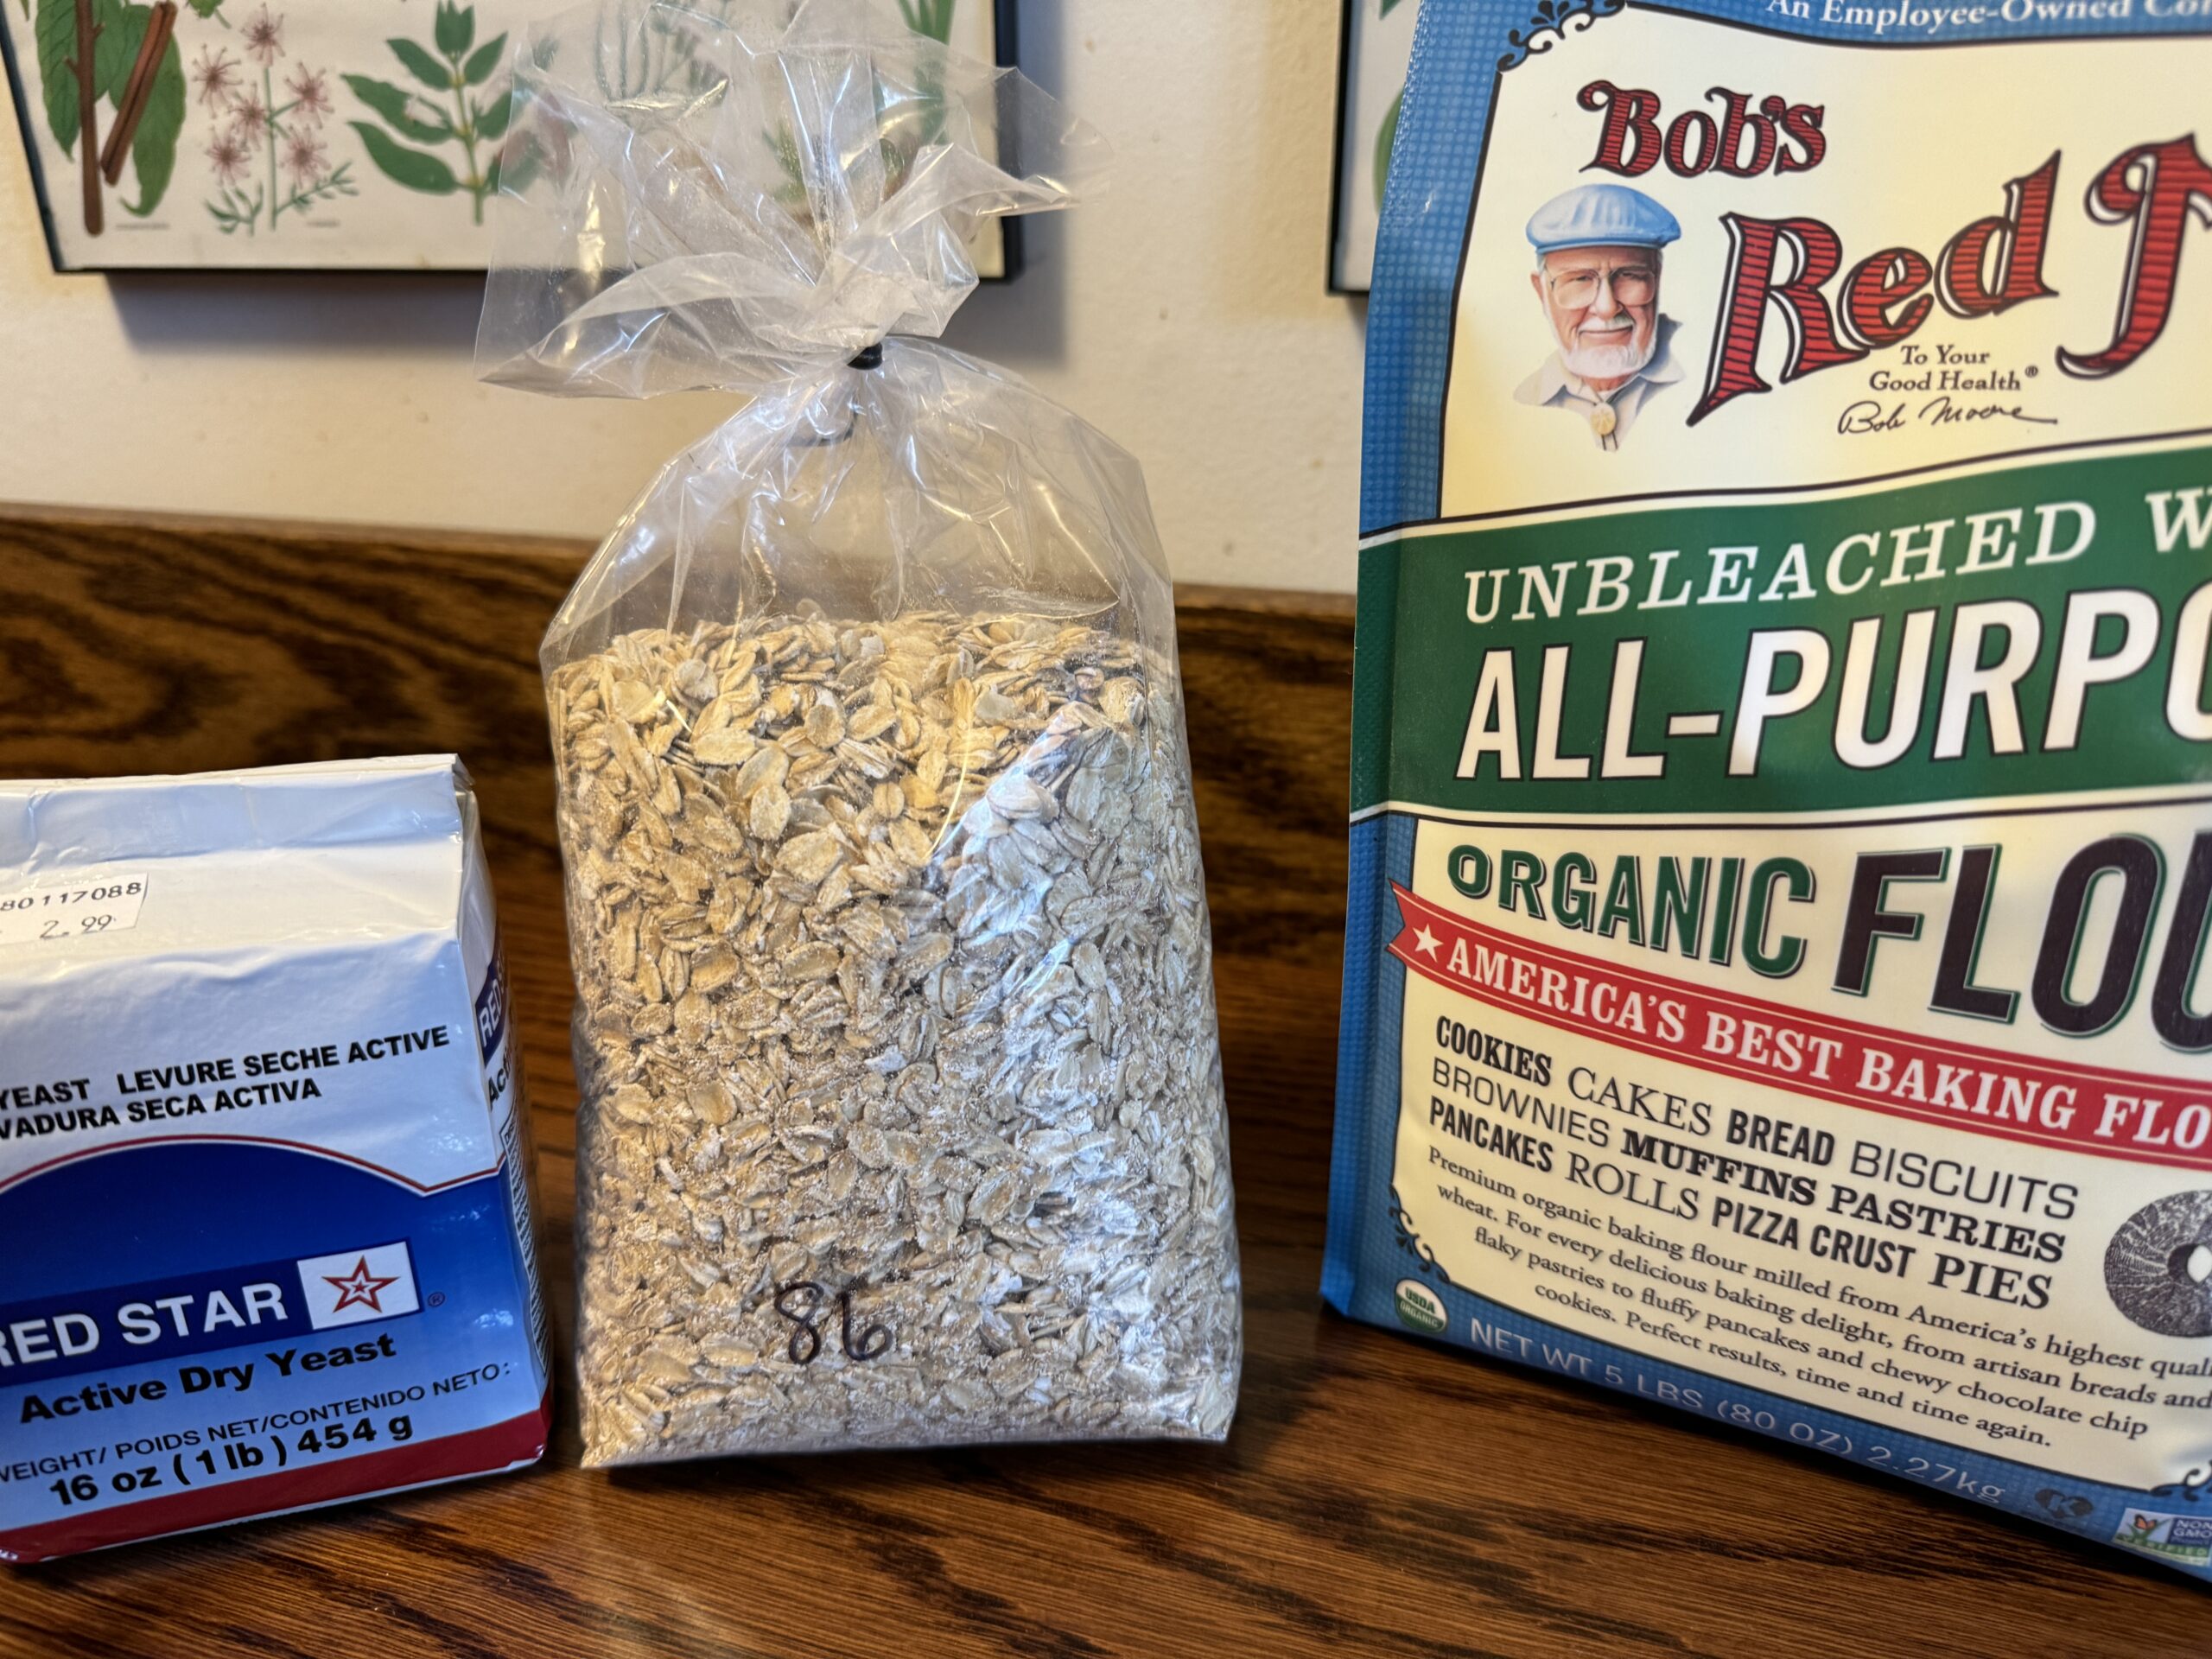
Next, I went to the local Health Food Store and picked up a small bag of organic rolled oats. They appeared to be smaller and softer than the ones I was using. I also picked up a 5 lb. bag of Organic All-Purpose flour. Finally, I brought out a fresh package of Dry Yeast from the freezer.
Finally, the new ingredients seemed to make the difference! At this point I’m going to say the new rolled oats incorporated better into the dough when mixing.
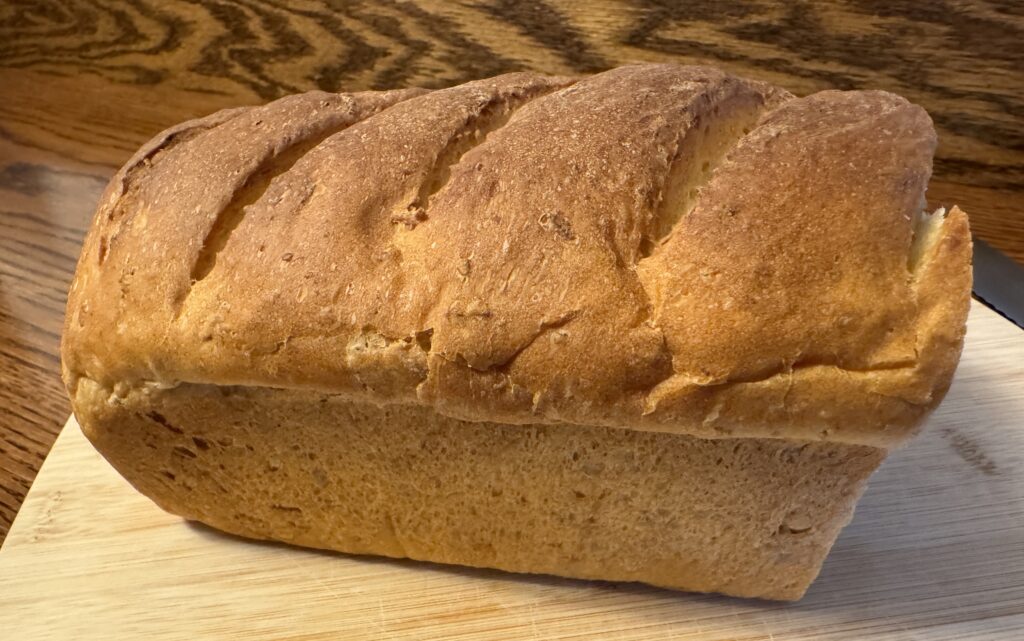
Now that I have a freezer full of 5 loaves leftover from my baking experiments, all labeled OATMEAL BREAD, for the last loaf that turned out right I made a different label:
Nice rise!
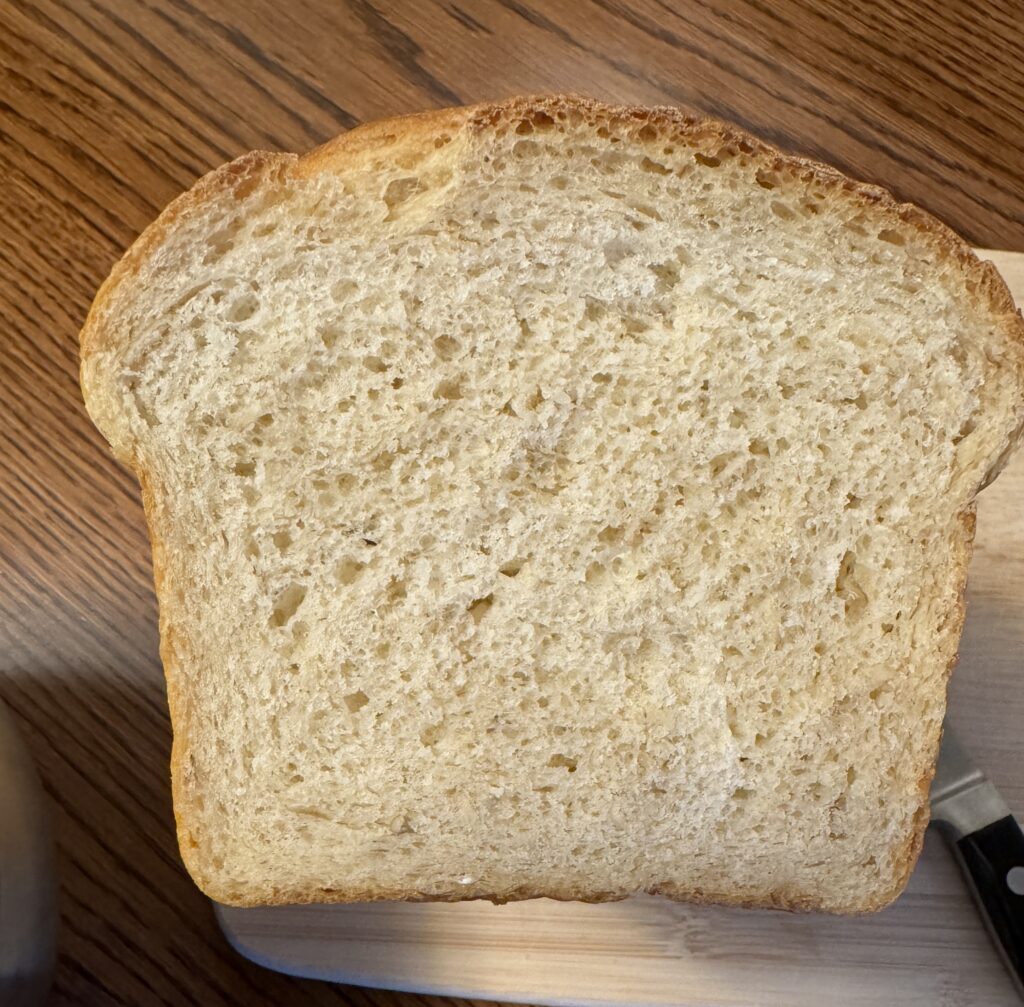
Great texture!
Now, what to do with 5 loaves of bread in the freezer that need to be recycled into something else? How about croutons!!
Making Croutons
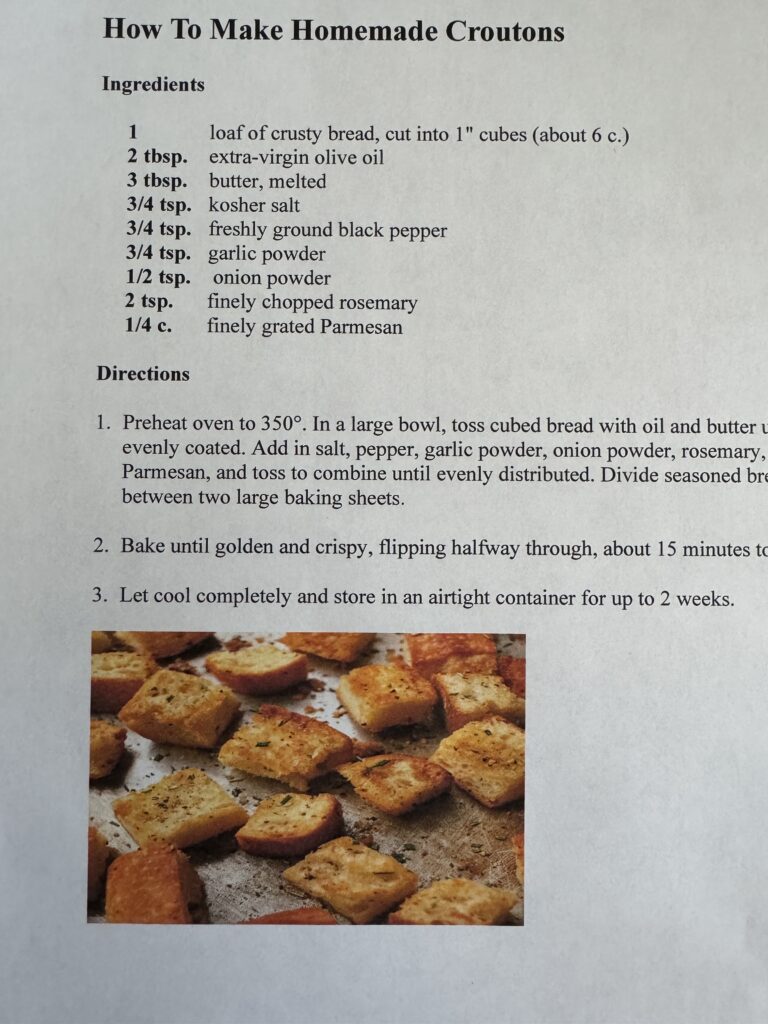
I did a search for “How to Make Homemade Croutons” and found a simple recipe. This link has lots of information about making croutons:
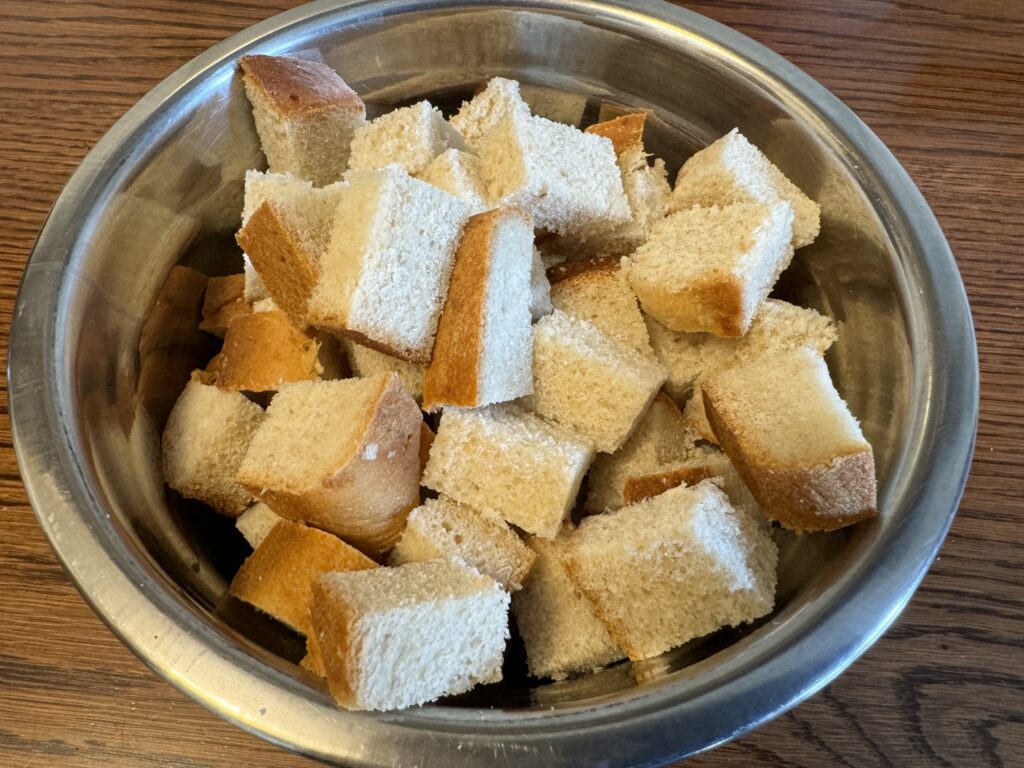
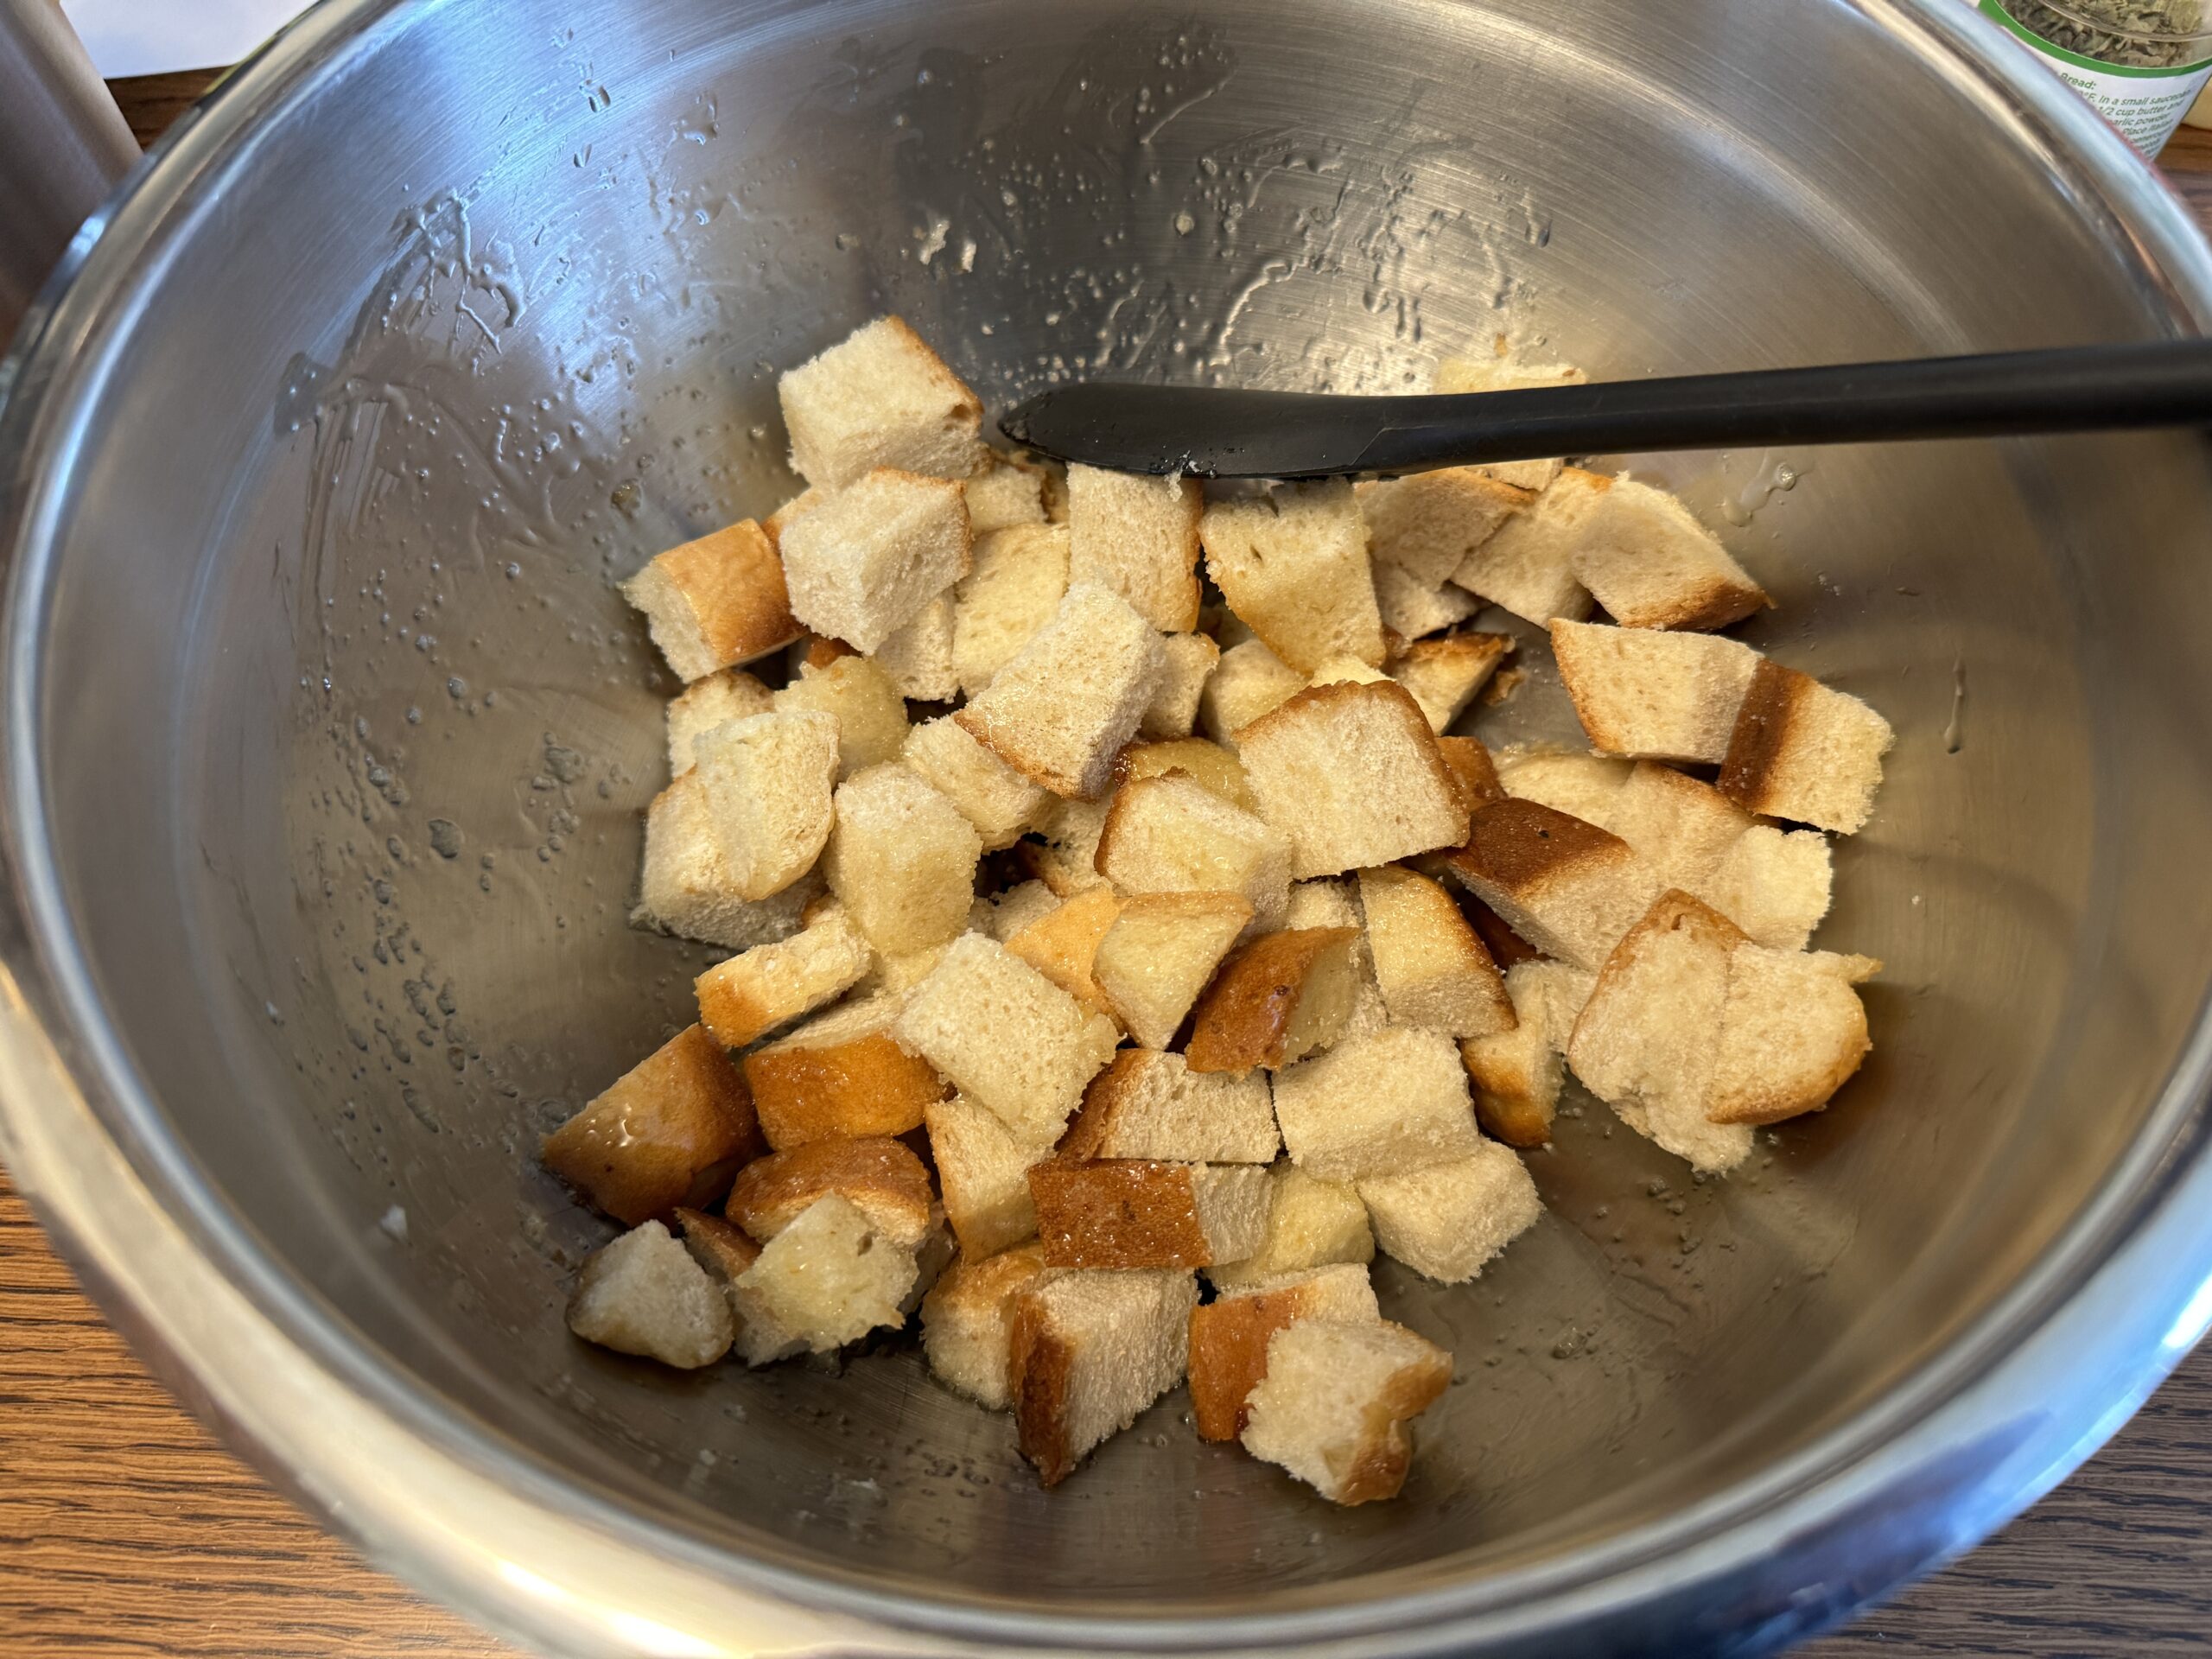
I pulled my loaves of Experimental bread out of the freezer and let them thaw enough to cut them into cubes. Because it’s homemade bread, I kept the cubes a little larger and let them finish thawing after cutting. I was crumbling enough!
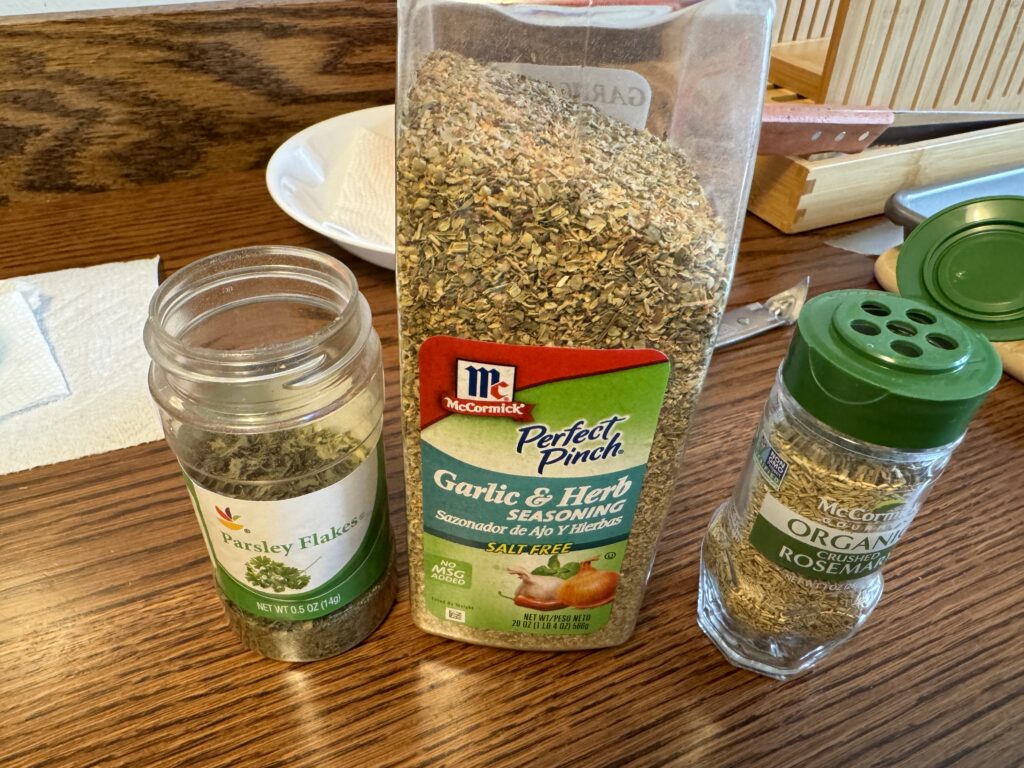
I put 1/4 cup of oil in a larger bowl and dumped in the cubes. I tossed the cubes in the bowl to coat them with oil and sprinkled herbs on the pile and tossed them again.
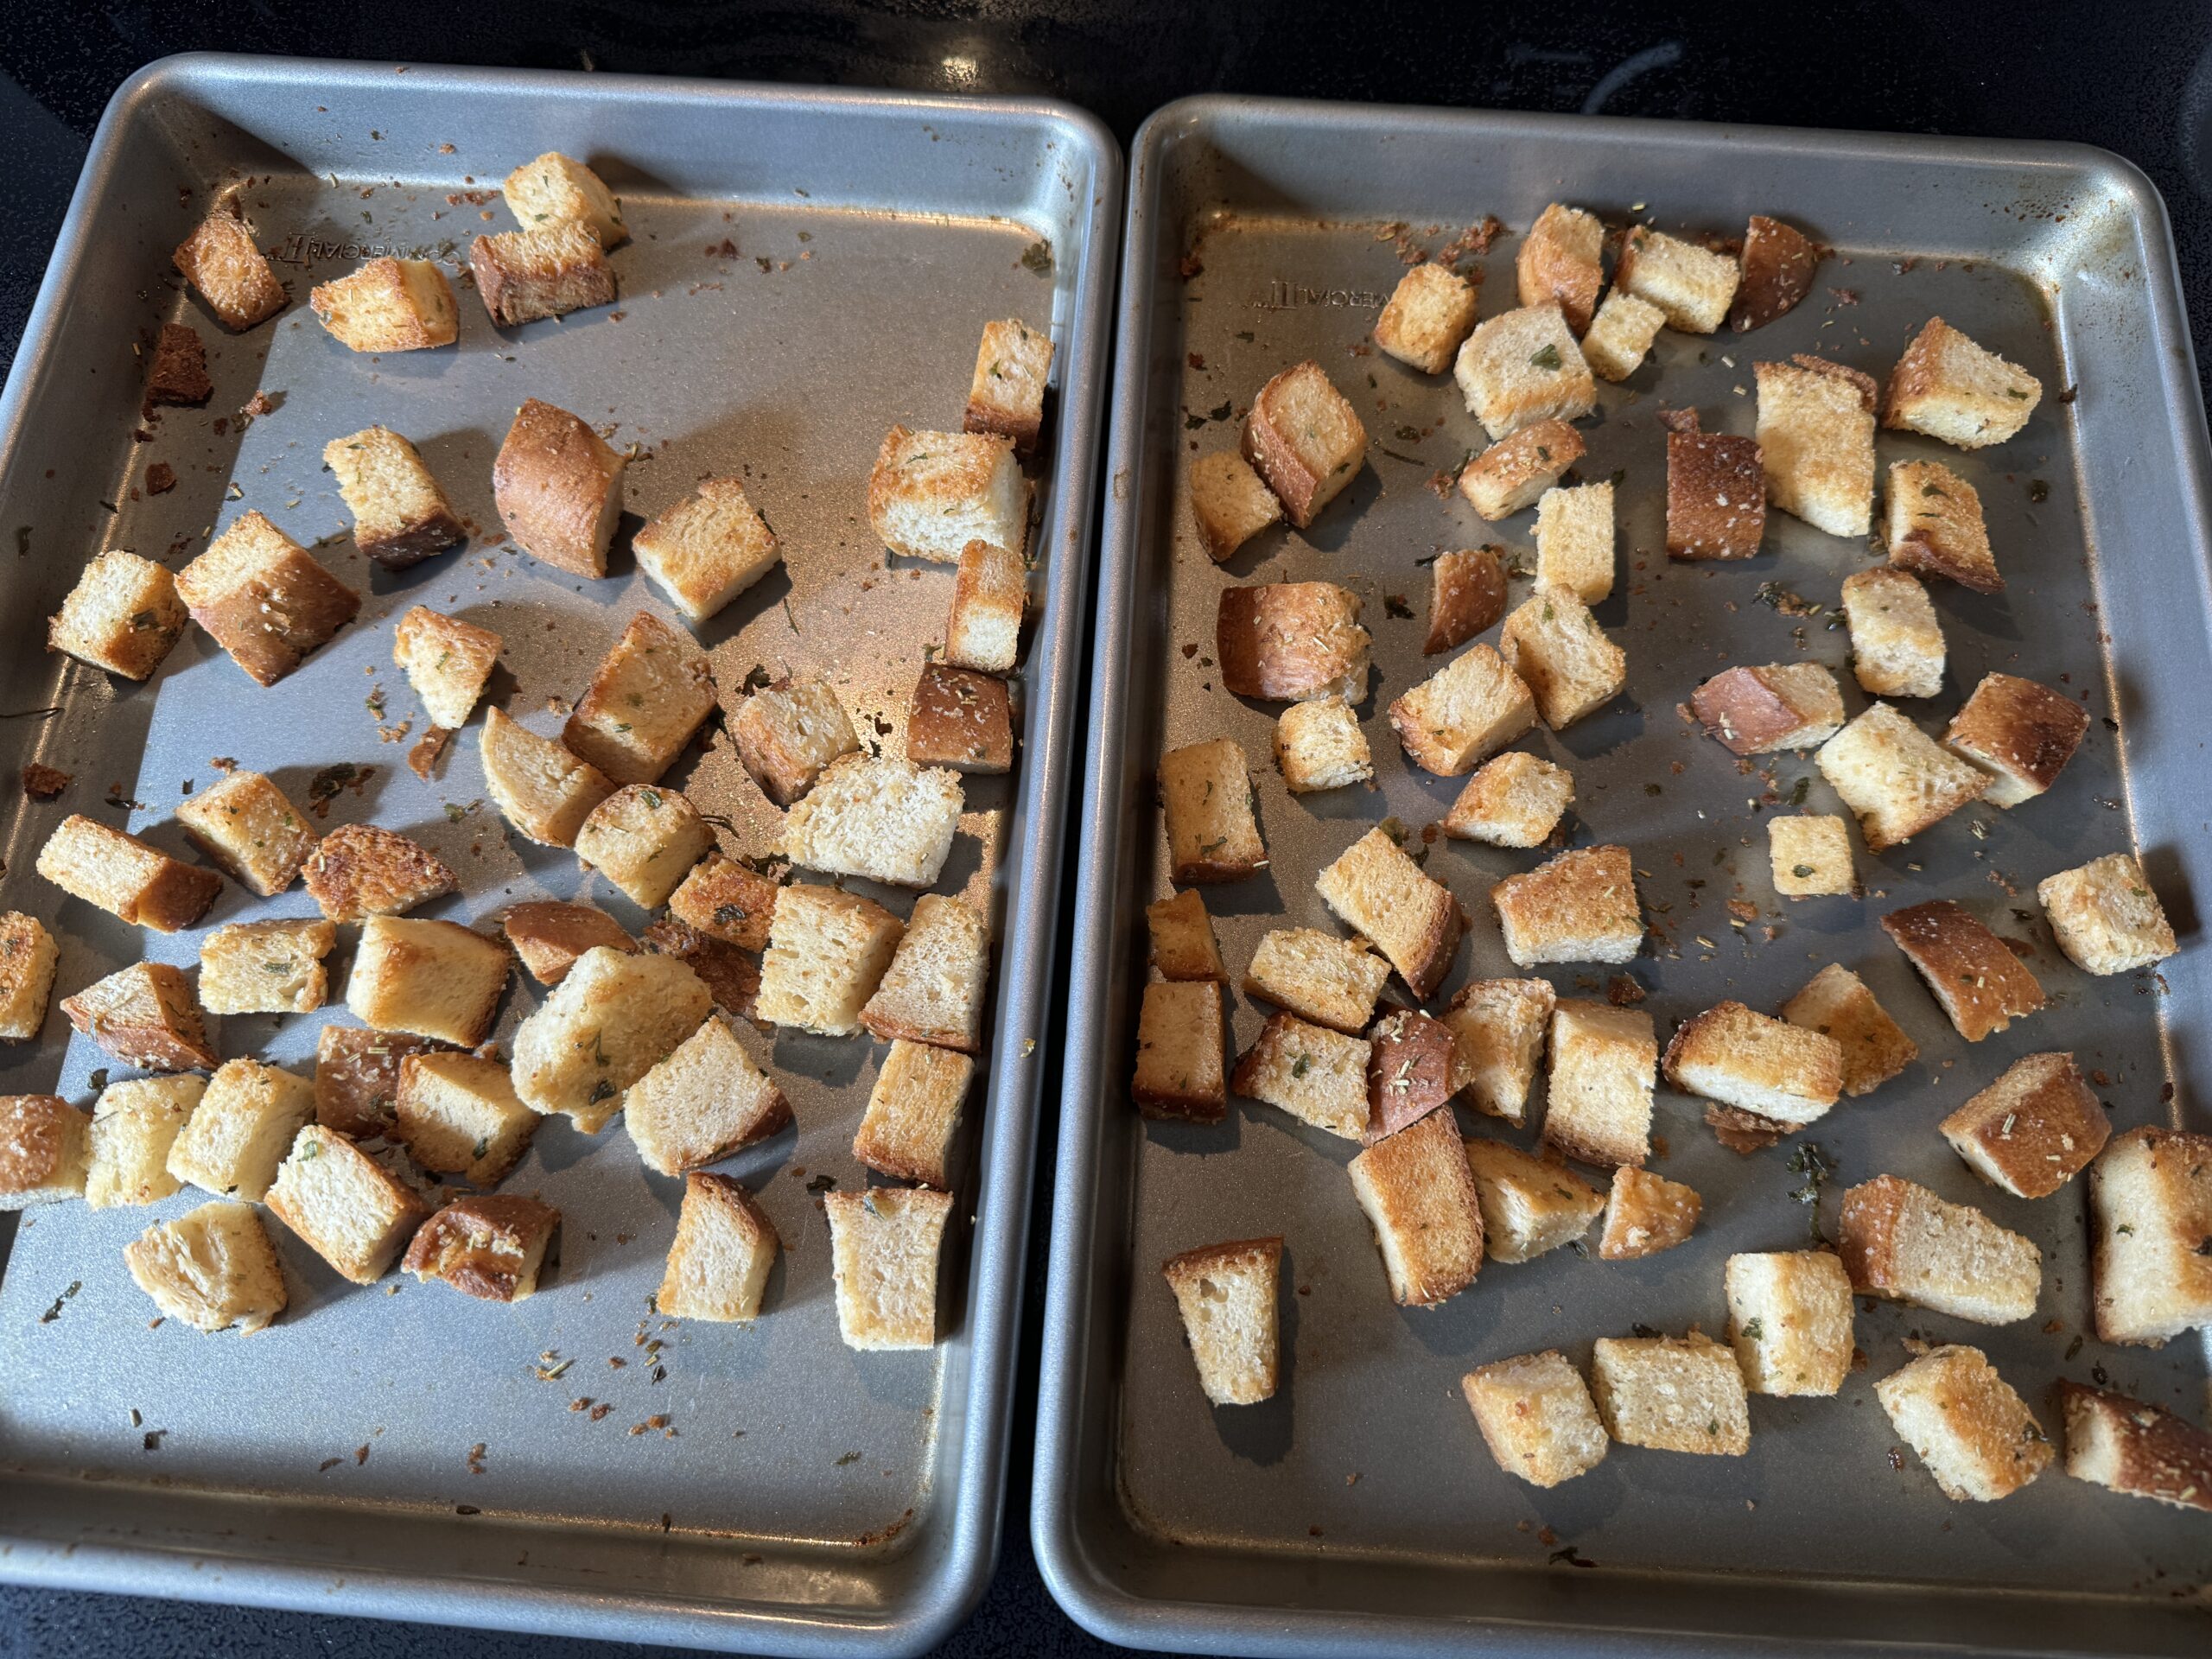
I spread the cubes out on two baking pans and baked them for 15 minutes at 350 degrees. I let them sit on the tray until they were coo. They turned a golden brown, crunchy on the outside, but soft enough inside so they would work on a salad. Some commercial croutons are so hard they can’t be stabbed with a fork! As I make more, I think I’ll store them in zip bags in the freezer.
I feel so much better about my Oatmeal Bread! I counted it to be the bread I could take as a gift…now I can!! Enjoy!
Every time I roast vegetables, they come out differently. After this last batch, where I thought I understood how to get them tender in the middle and crunchy on the outside, I decided it was time to do some research!
The first article I found online was, “Everything You Need to Know About Roasting Vegetables.” Of course, after I read the article and took notes, I was unable to find it again! Phooey! However if you type that title into your search engine, you will find many more articles to search through!
This article was a good review of things I already knew, like how to cut the vegetables, what temperature to roast the vegetables (400 to 425 degrees) and how to not crowd the baking sheet. That third suggestion seemed to be the crux of my problem! When I chopped up vegetables the other night, I did separate the potatoes from the vegetables. They came out great!
I found a great YouTube video from a woman in Australia (I think) with details about what kind of potatoes work best, the benefits of parboiling, and what kind of oil (or butter, lard, duck fat) gave them the best flavor. It was a very informative video! (See https://www.youtube.com/watch?v=pigPB9xE4j4)
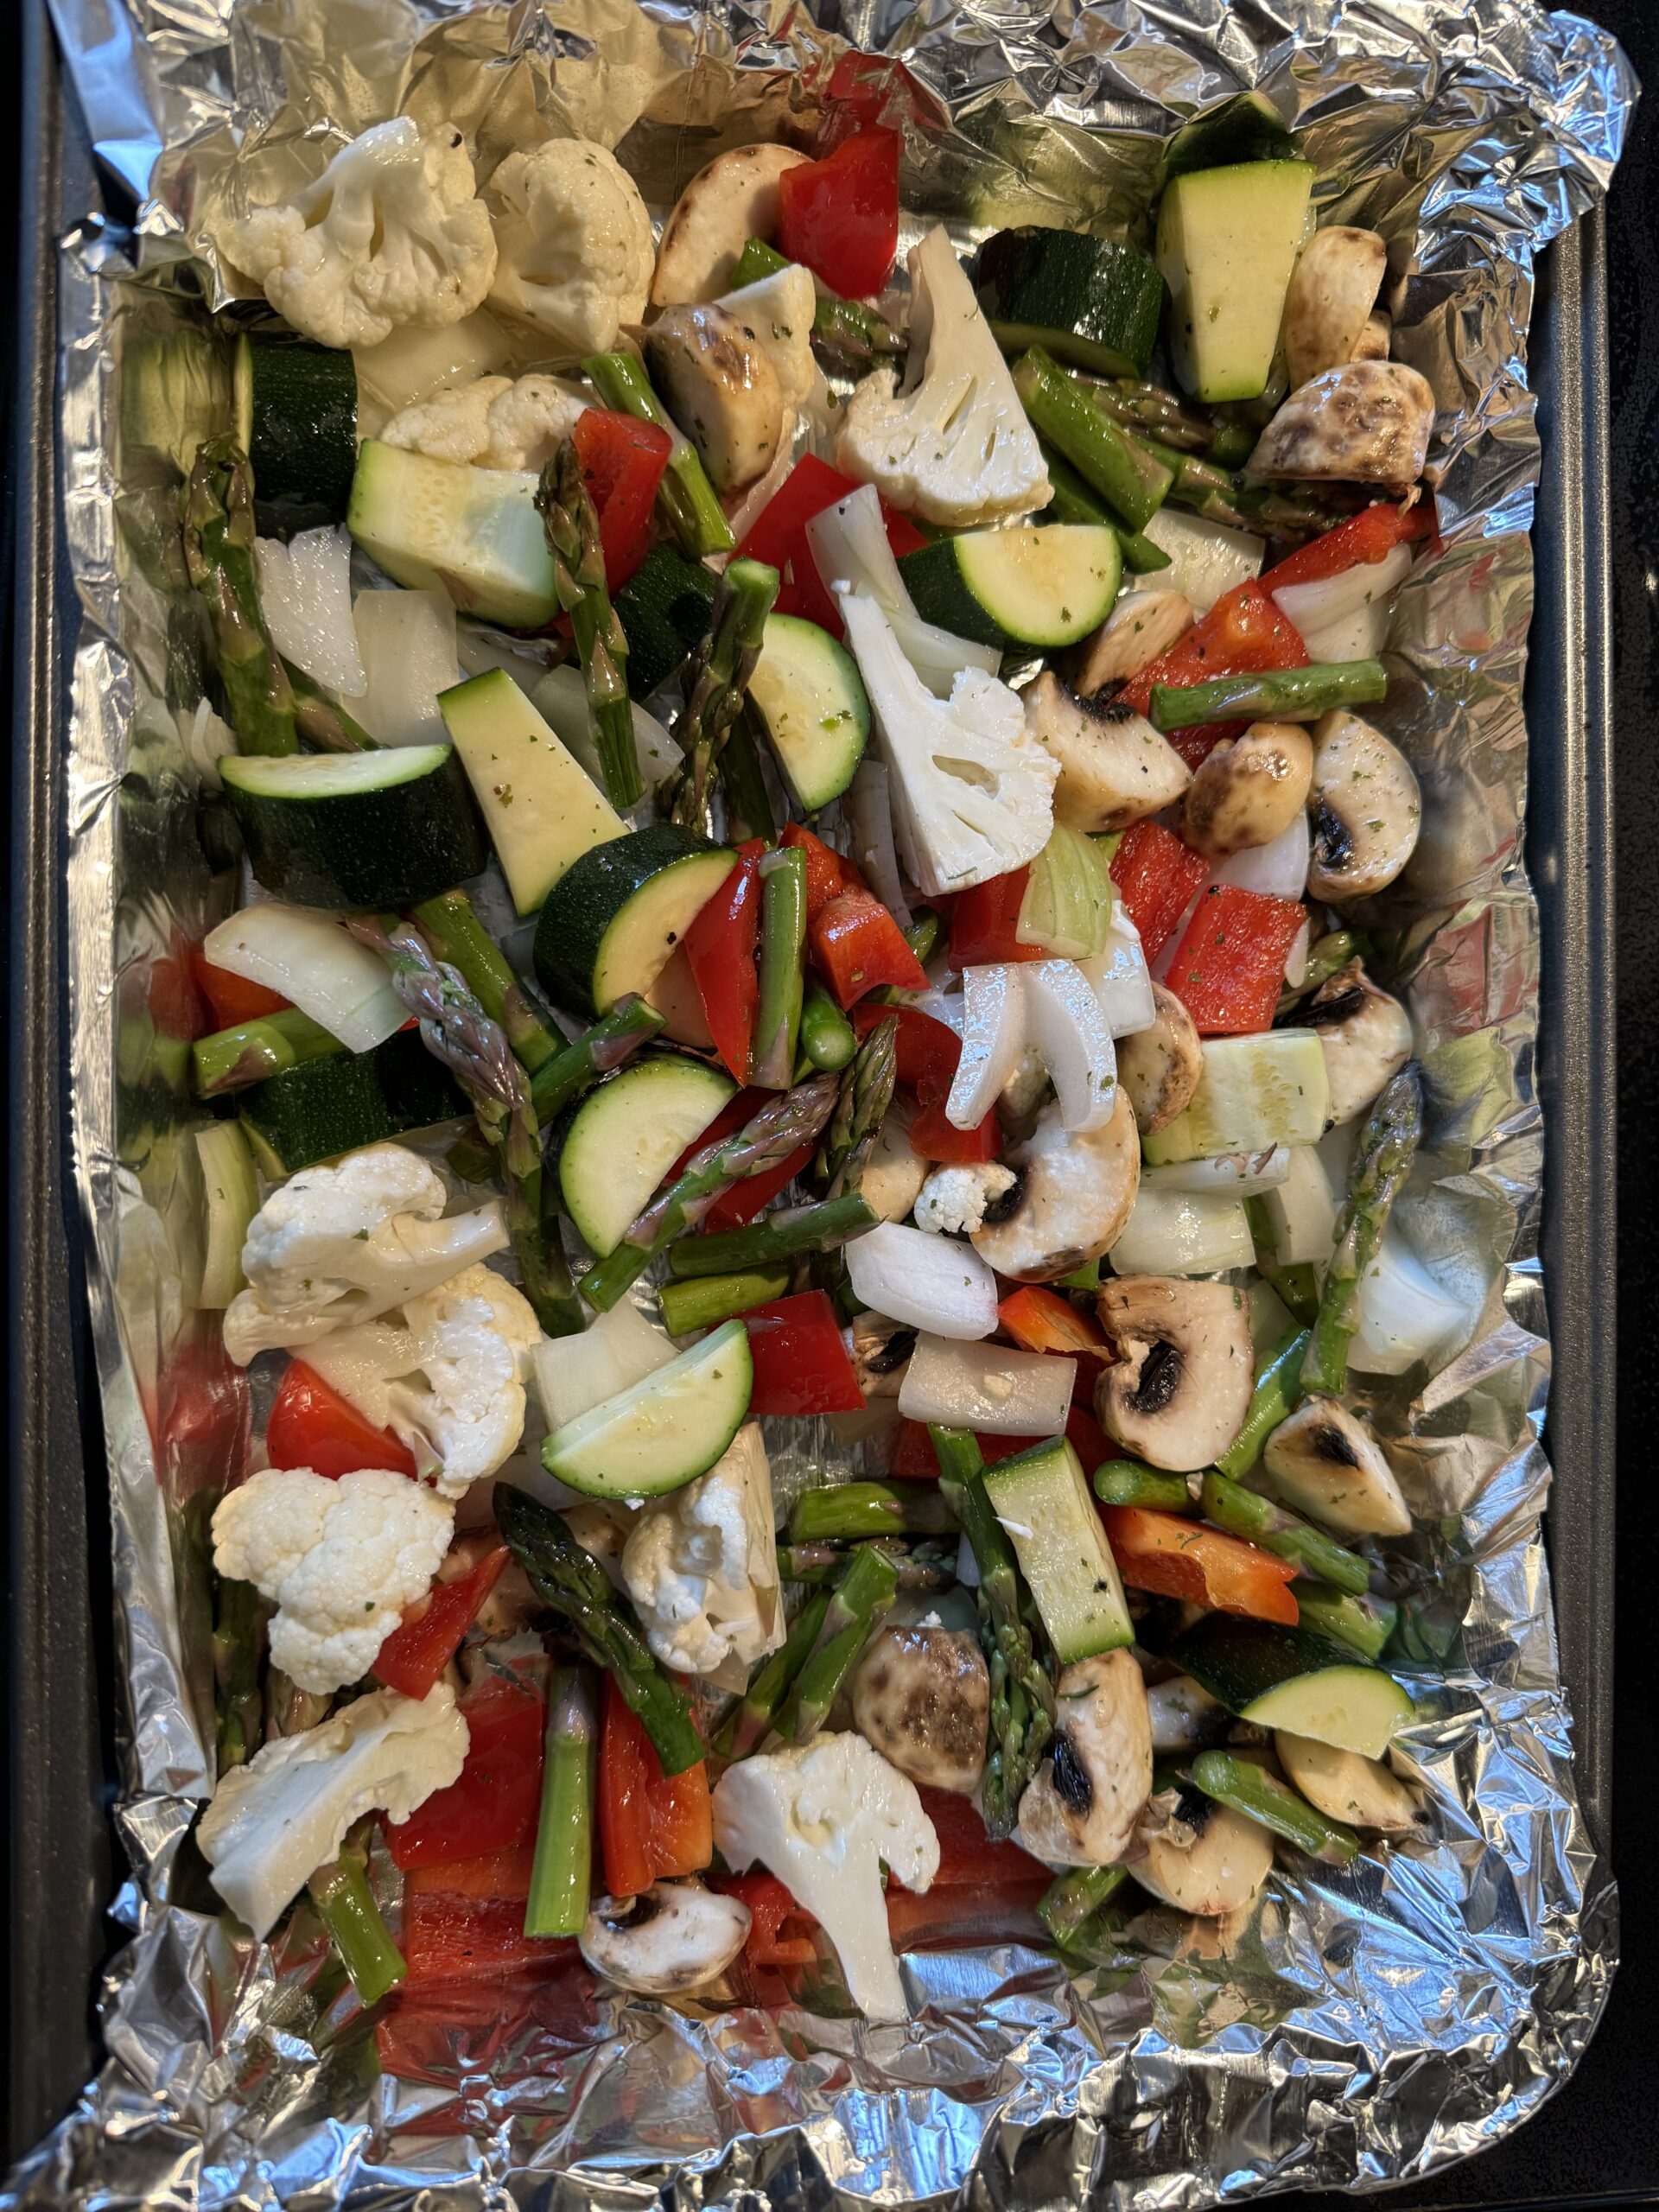
But then I chopped a whole bowl of assorted vegetables…kind of like I do when I’m making vegetable soup! I ended up with a bowlful of “assorted vegetables” that were too thick on the baking sheet.
The vegetables could not be separated from each other (too crowded) and so some steamed while others burned at the tips!
I can see I need to work a little harder to roast fewer kinds of vegetables at once. My mindset that I can combine vegetables on one tray needs to change! I finally found a chart that could help me remember. I think I’ll post this someplace handy:
________
How Long to Roast Vegetables at 425 degrees/F
Root vegetables: 30-45 min. (beets, white and sweet potatoes, carrots)
Winter squash: 20 min. (cubed) 45 min. (halved) (butternut squash, acorn squash, spaghetti squash)
Cruciferous vegetables: 15 to 25 min. (broccoli, cauliflower, Brussels sprouts)
Summer squash: 10 to 20 min. (Green & yellow zucchini)
Thin vegetables: 10 to 20 min. (asparagus, green beans, snap peas)
Soft vegetables: 15 to 25 min. (Cherry tomatoes, eggplant, bell peppers)
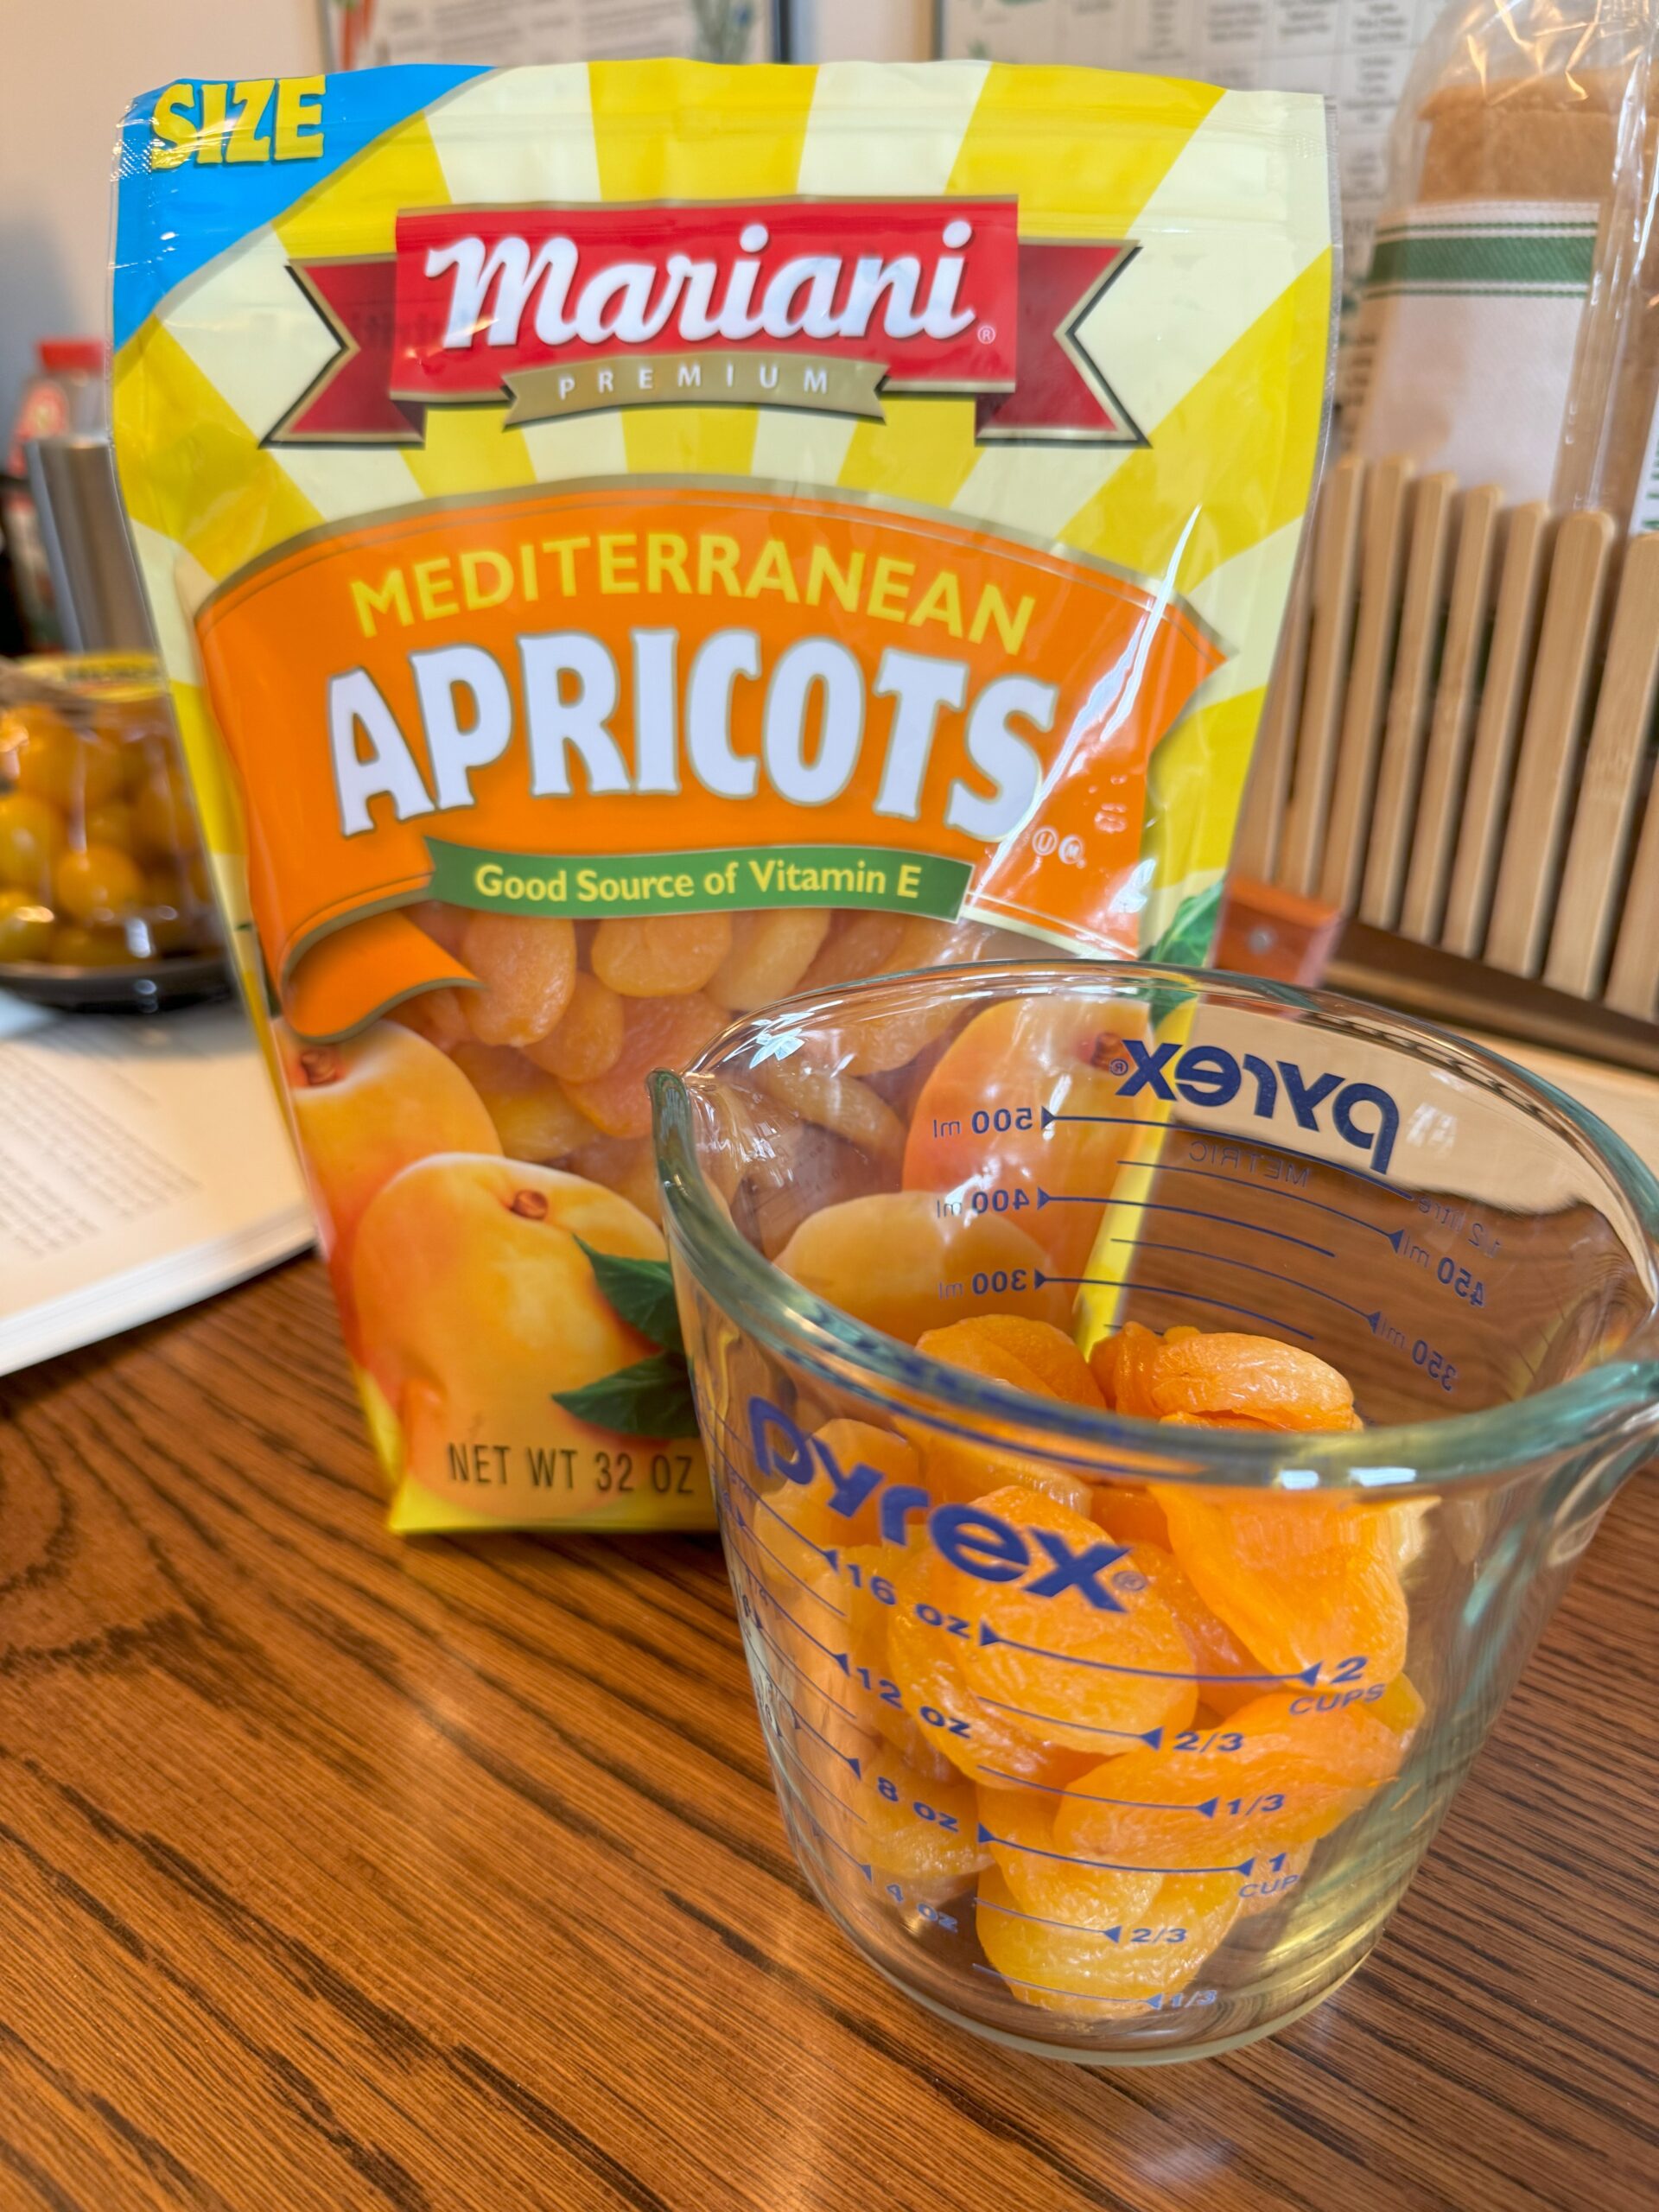
On our trip last weekend to southern Pennsylvania, we enjoyed a delicious addition to our breakfast spread…Apricot Bread! I knew about banana bread, blueberry bread and raisin bread but had never had apricot bread! It was a delicious, colorful bread!
I was told the recipe came from a cookbook written by James Beard…Beard on Bread. I just so happened to have that book on my shelf!
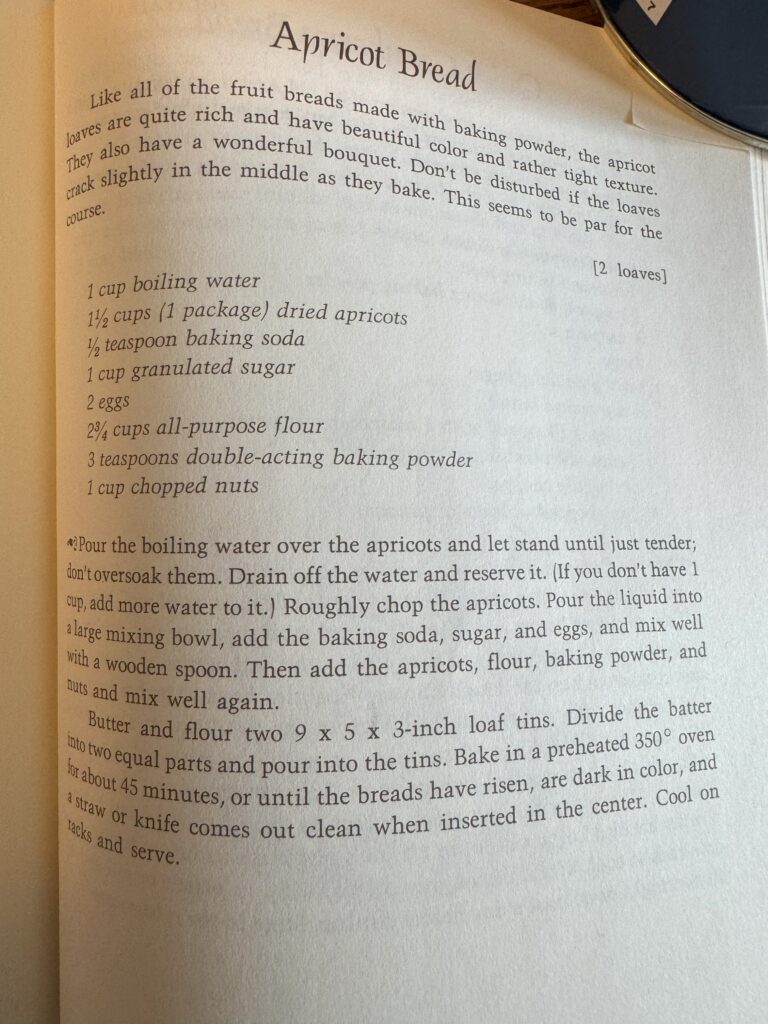
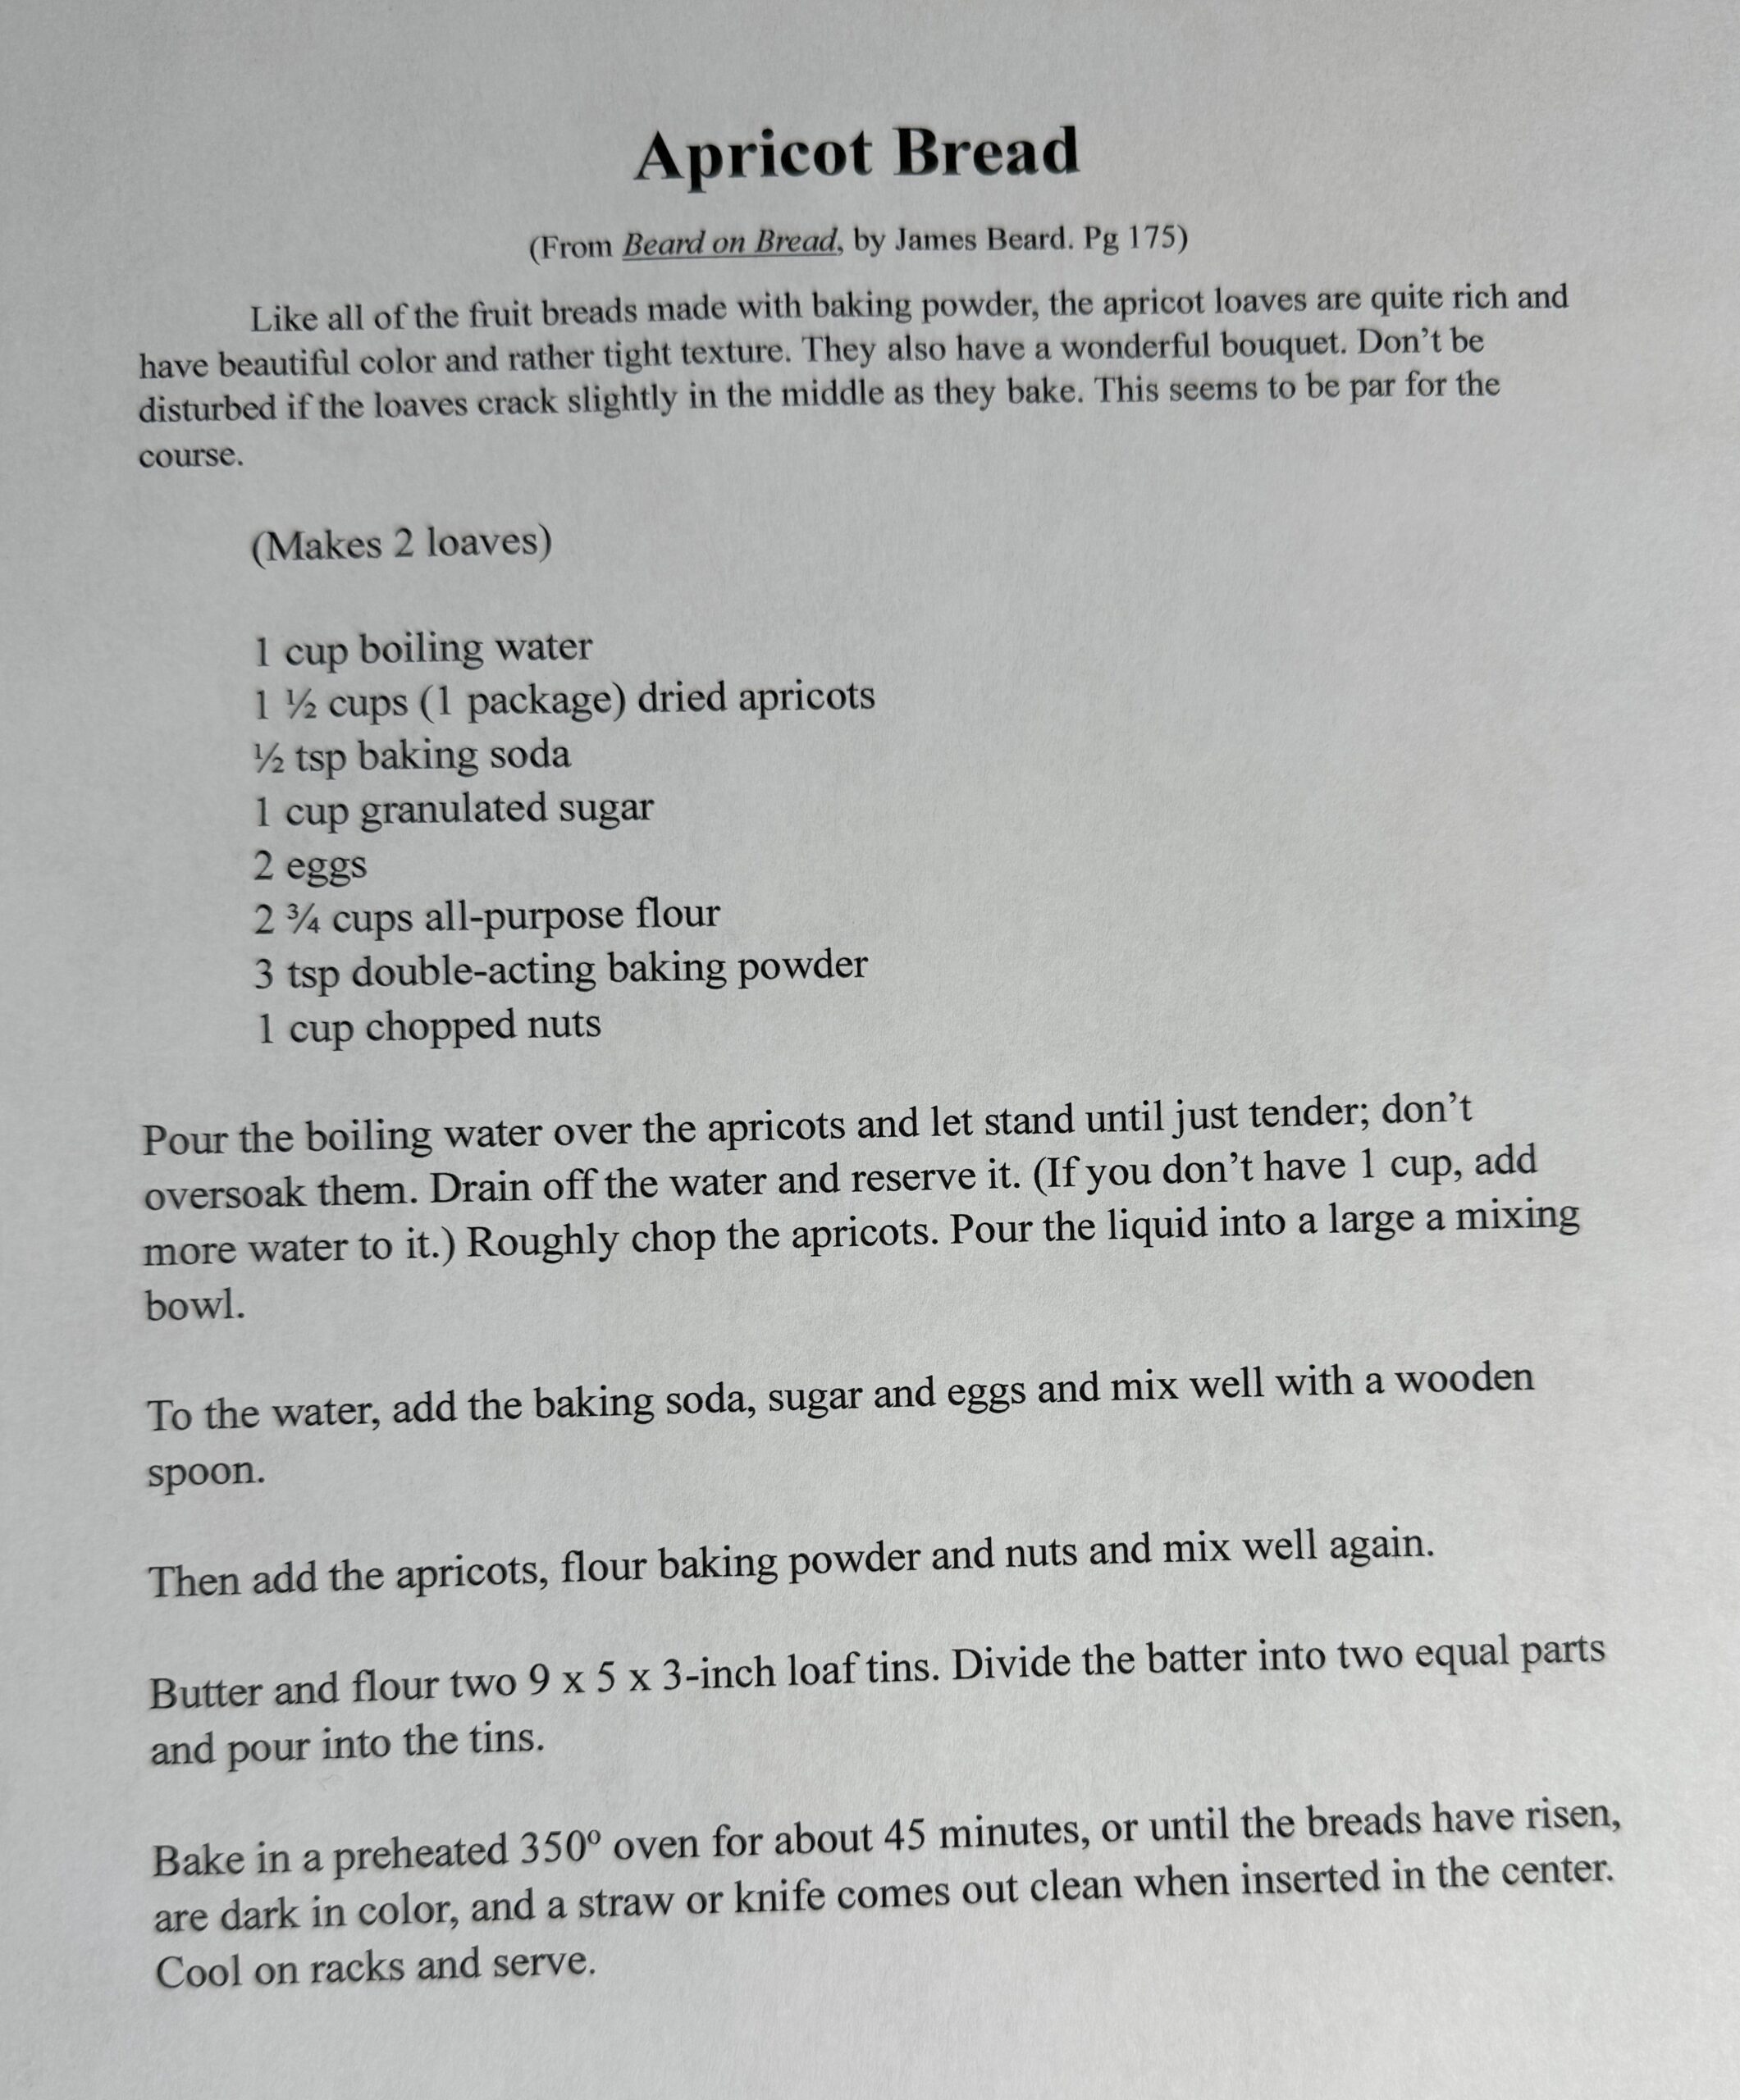
I typed out the recipe because the small paperback would not lie flat and I couldn’t weight it down without covering the recipe! (It’s on page 175, if you also have the book.) I’ll include a photo of the recipe below.
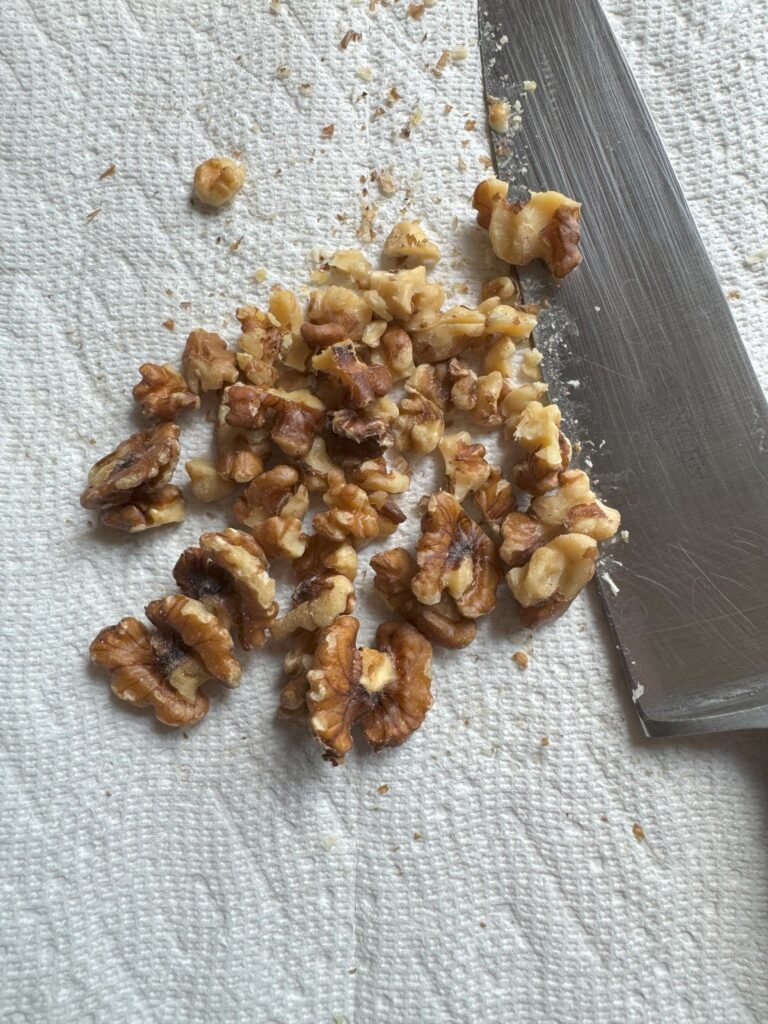
When I start a recipe like this…with several ingredients needing additional preparation, I try to prep them before I start…in this case chopping the nuts and soaking the apricots.
I did not take pictures of mixing the bread up. By the time I thought of it…it was mixed! It was really pretty simple and made the whole house smell good!
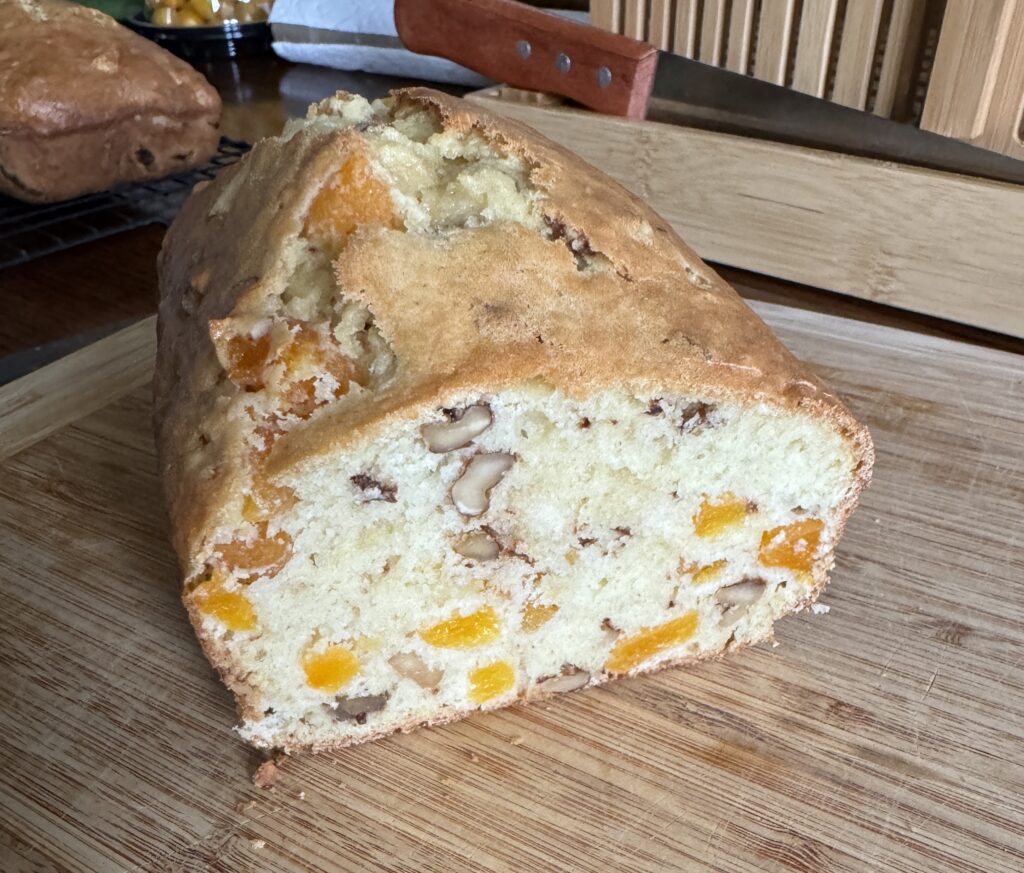
It made a pretty loaf. Perfect for breakfast or dessert! Give it a try! Enjoy.
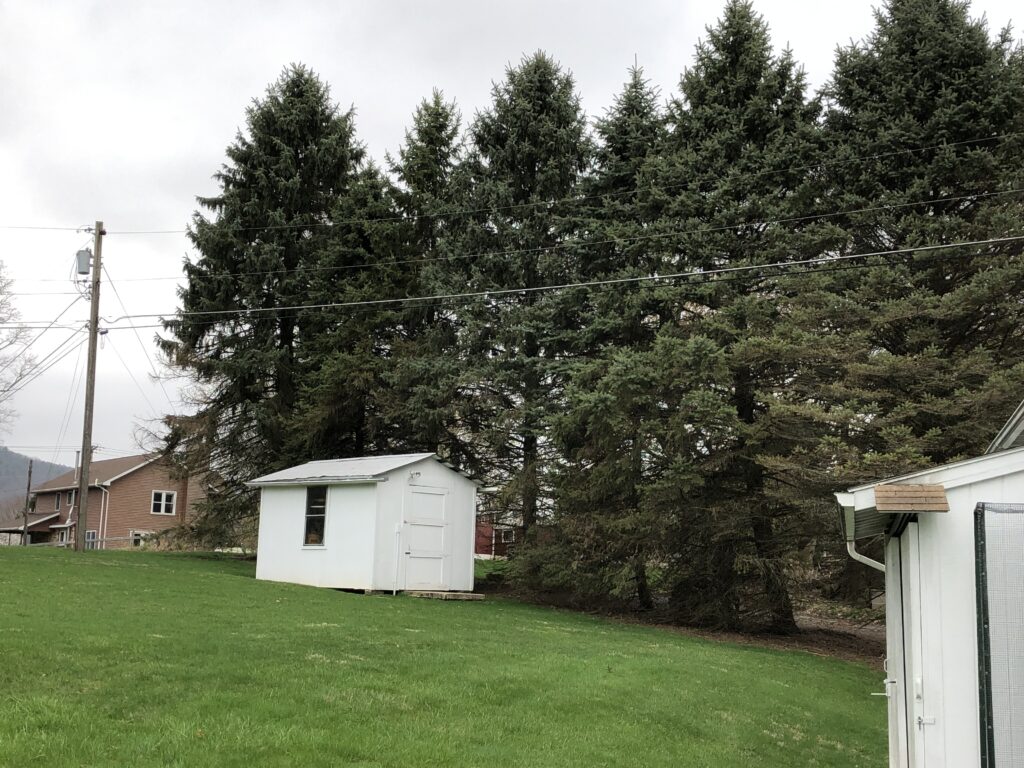
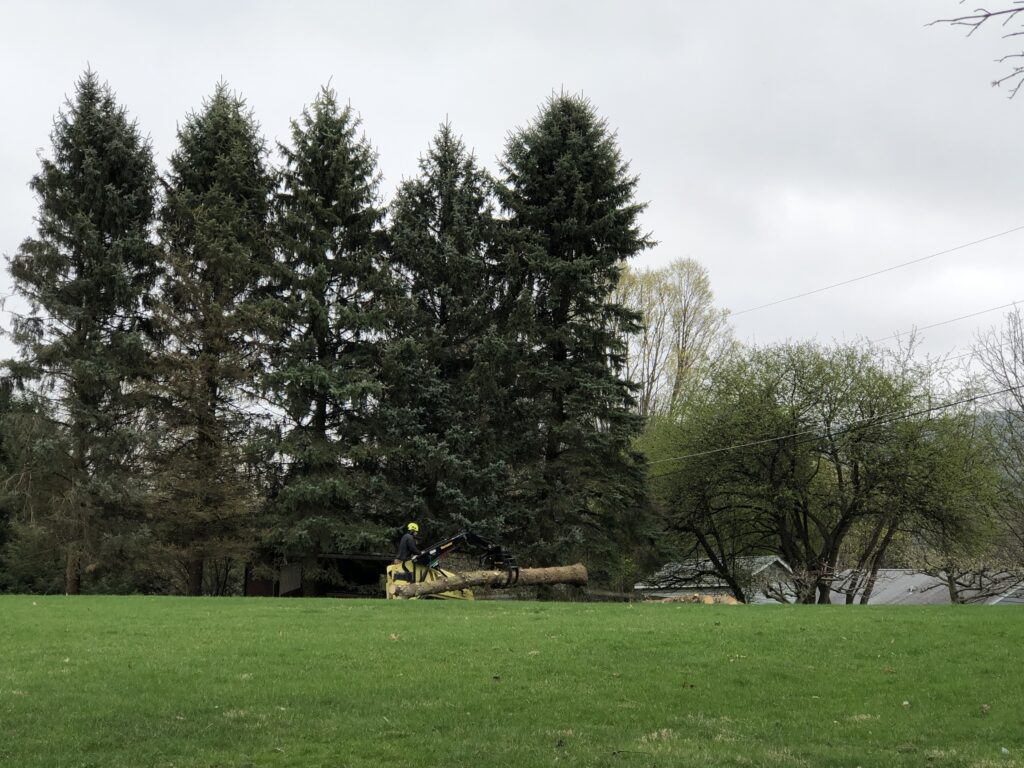
For many years, our property was surrounded by 27 Blue Spruce trees. When we first moved here in 1970, we had a huge garden. We had some tiny spruce tree seedlings that we planted in the garden. When they were big enough…took several years…we transplanted them around the property line. They gave us some wonderful privacy for 50 years.
2019
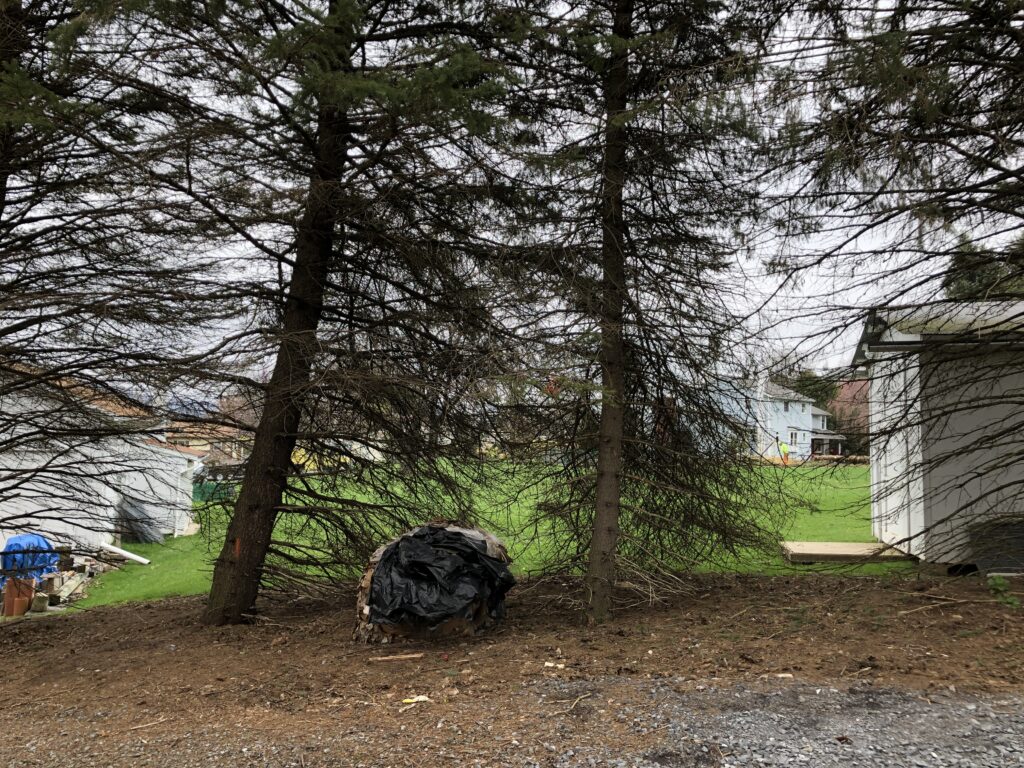
By 2019, we noticed several of the trees were unsteady in high winds and had to be removed. We didn’t want to be responsible for a large tree landing on our neighbor’s roof! Eventually, we determined it just wasn’t safe to have any of them. Plus, they weren’t looking too health. Looking at the trees was more like looking through lace; it was just too risky to leave them up.
2019
The process of taking them down by professionals was the only way to go. It was a pretty sad day.
2019
It did leave us with a huge pile of logs that Bert worked on for several weeks…a little at a time! The picture below was just a small portion of the pile of logs.
2019
This was just the beginning of the final wood pile!
2019
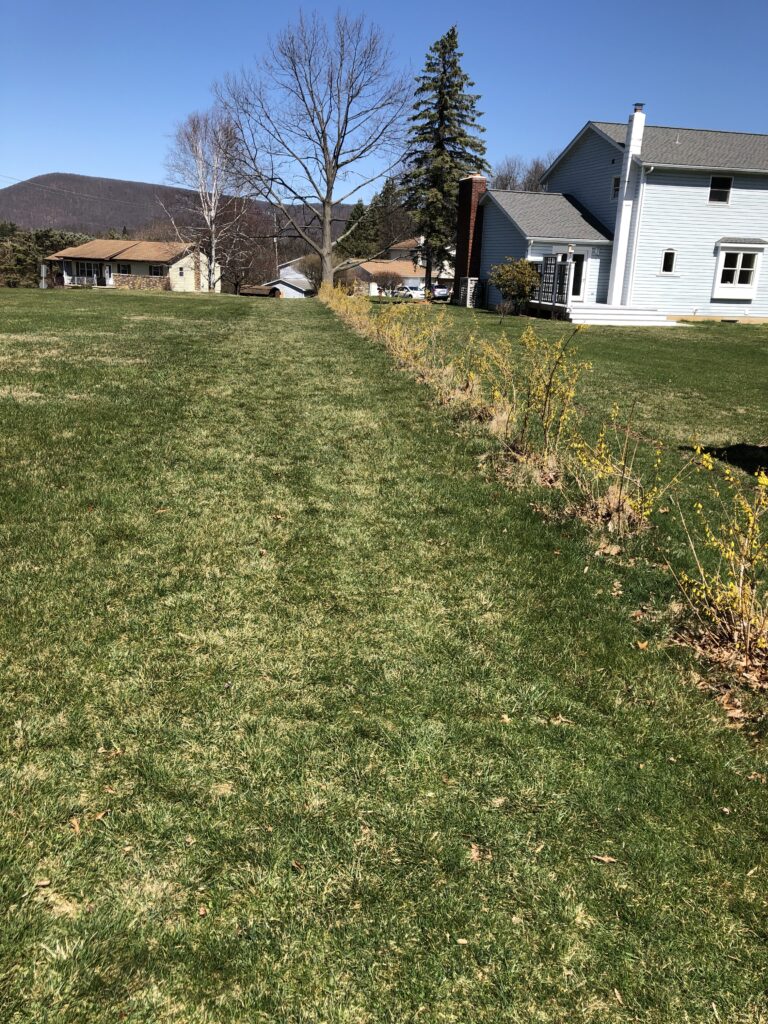
In 2022, we decided it was time to replace the trees with…something! Anything huge would not have time to grow big enough to enjoy. As much as Bert dislikes plants that seem to grow where ever they want, he agreed forsythia plants would define the property line and be pretty in the spring in a year or two. We invested in 65 plants and Bert, with a willing friend, managed in a few long hot days to get them all in the ground. Whew!
The first year they just looked like a bunch of sticks in the ground. In 2023, the plants tried their best, so we had a few yellow flowers.
2023
2023
2023
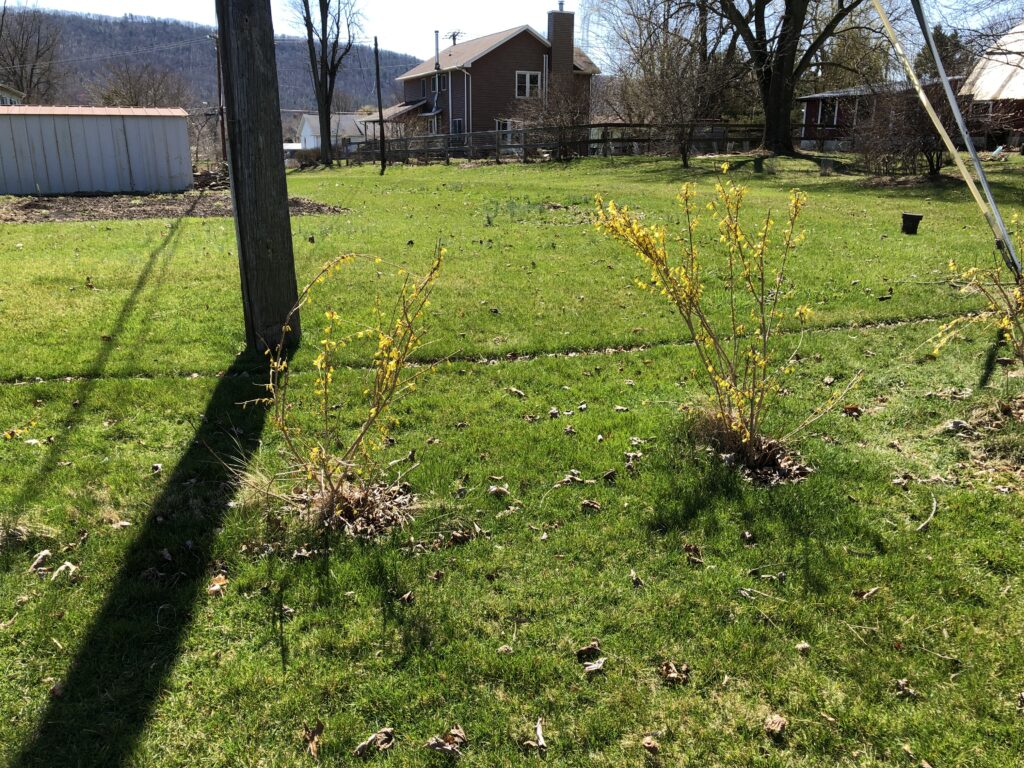
This year, 2024, we can really see the potential for pretty spring flowers.
2024
2024
2024
So, even though we still miss our Blue Spruce trees, we’ll now have pretty forsythia to look at each spring…and we won’t have to worry every time the wind blows! I don’t think the forsythia will ever get so big it will block our view of the mountains. Happy Spring!
(The dreary rainy weather is prompting me to bake bread today! I especially wanted to remind you about this recipe that starts with grinding the wheat to making the bread. I always feel like The Little Red Hen in the children’s book! This was posted in May of 2022, so forgive me if you remember it. Sometimes I just need to do it again!)
Baking bread has always been my favorite activity when I want to do something that reminds me of my mother. I learned the “feel” of a well-kneaded loaf of bread when I was young and carried that skill over to my family when I became a mother. When sticky buns made an appearance in my mother’s kitchen, I was always glad I had hung around and could try the first batch.
Fifty years ago, we had few choices at the grocery store…white bread was everywhere. There was much in the news about how white flour had lost much of it’s nutrition by sifting out the wheat germ and bleaching it with chemicals. Of course, then we used wheat germ in cookies and added the bran back to our diets with Bran Cereal! When I cruise the bread aisle today. I’m always struck with how many choices I have of whole wheat and multi-grain artisan bread and buns. However, I still enjoy the process of making my own bread.
I’ve already shared my Oatmeal Bread recipe (https://marykisner.com/marys-oatmeal-bread/) but I’m still struggling to find a good whole wheat recipe that tastes good and isn’t as heavy as a brick. Last week, I did an internet search with “the best whole wheat bread recipe” to see what came up. Lo and behold, a recipe called, “The Very Best Whole Wheat Bread Recipe” was at the top of the list. The recipe was from https://www.fivehearthome.com/. It looked pretty simple so I thought I’d give it a try.
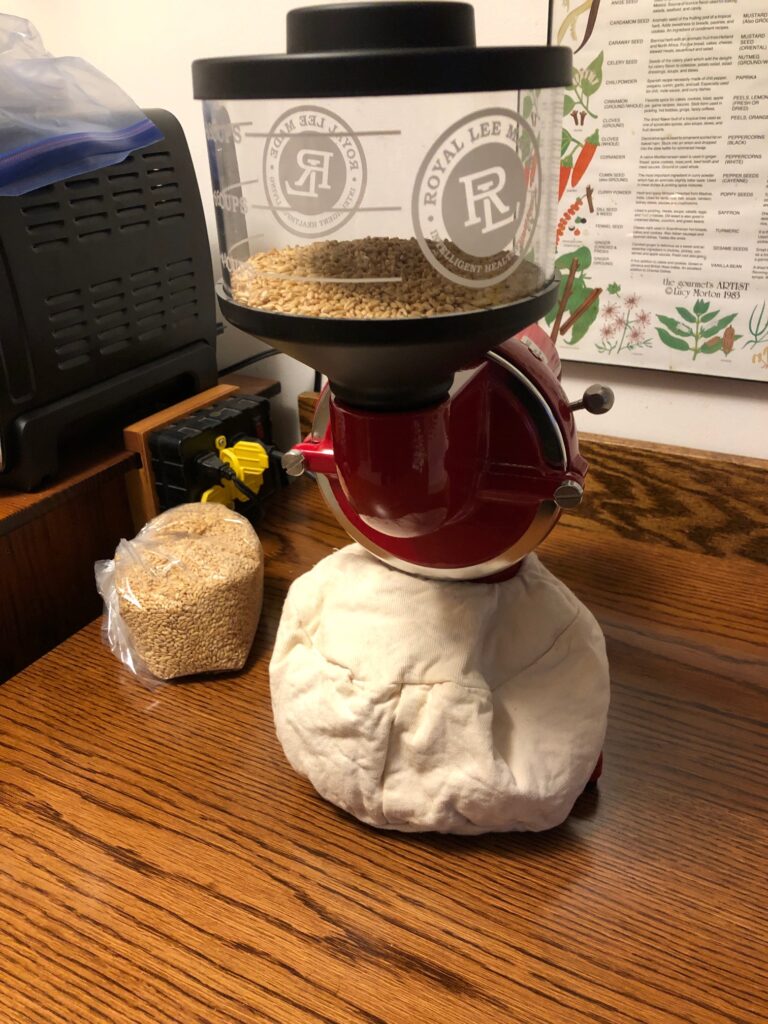
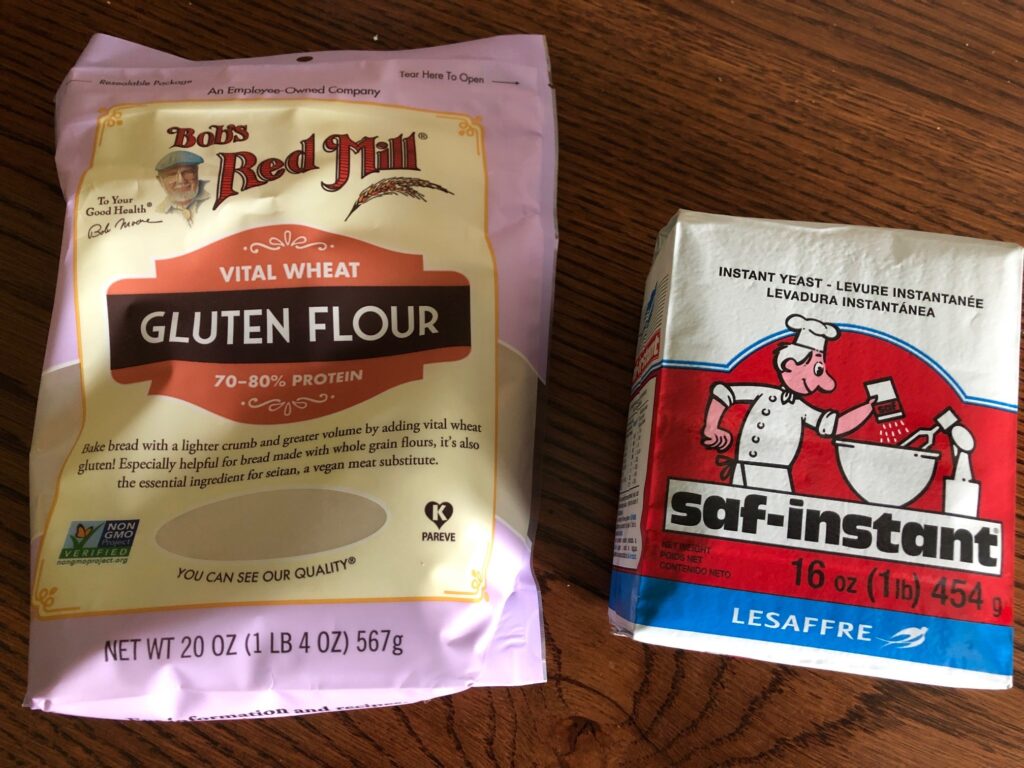
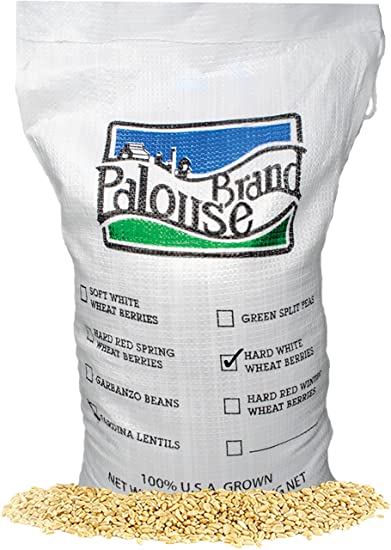
The day before I was going to bake, I went to the health food store and picked up about 10 lbs. of white whole wheat berries and a small bag of Vital Wheat Gluten. This powder will add more wheat gluten so the loaf sticks together better.
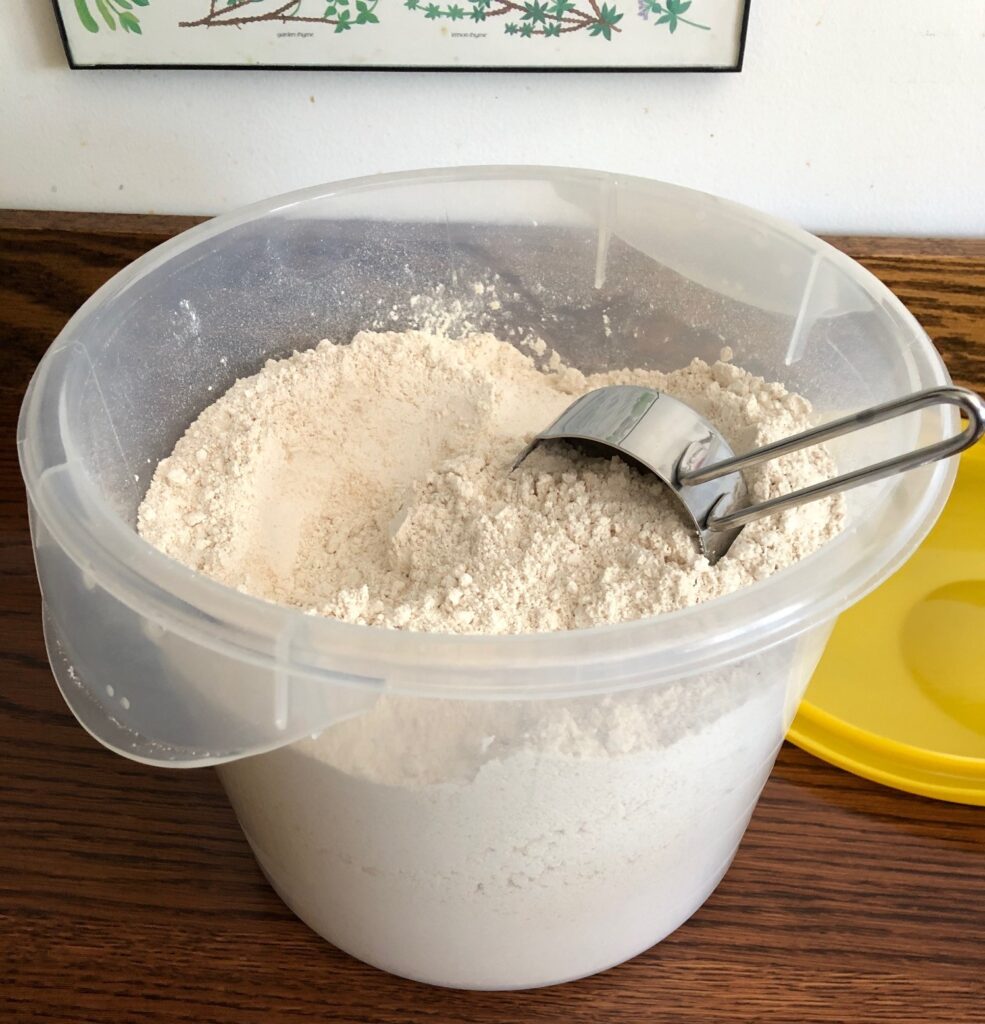
I set up my wheat grinder and got it running. Within an hour or so I had about 10 lbs. of beautiful flour ready to go.
Now I’m ready to bake! I did notice that the grocery store carries King Arthur brand of “White Whole Wheat Flour” now, so I shouldn’t have to grind my own if I don’t want to.
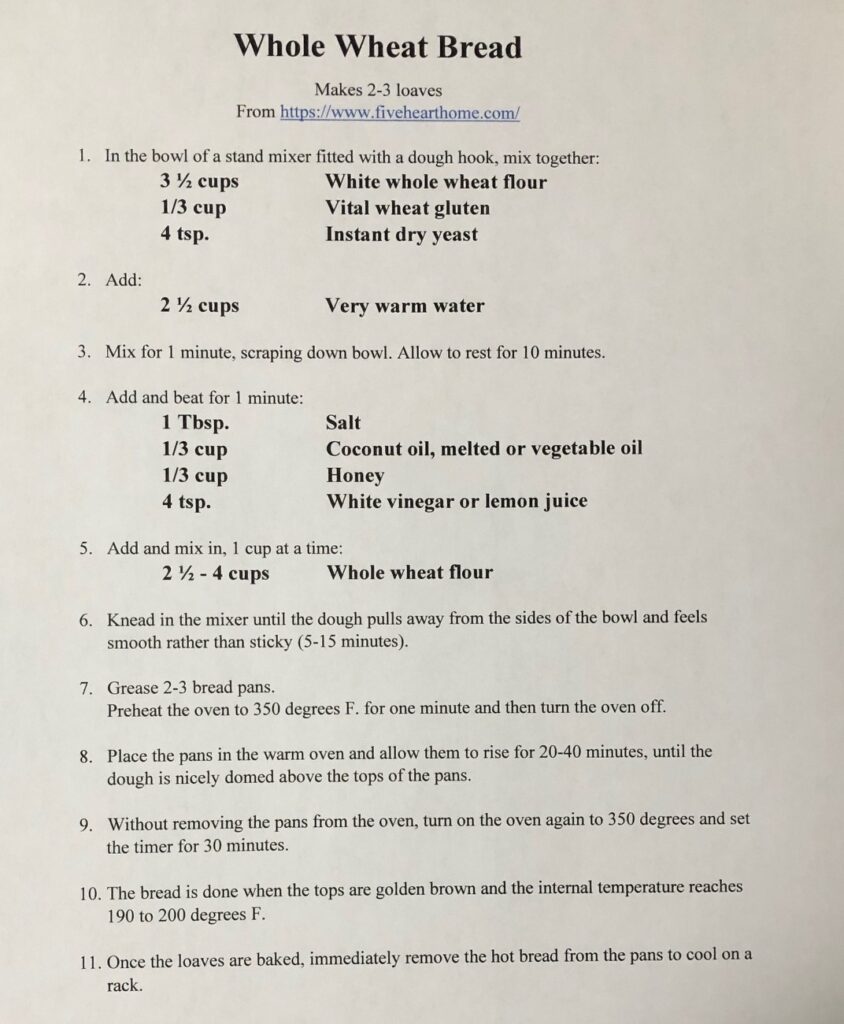
Here is the recipe:
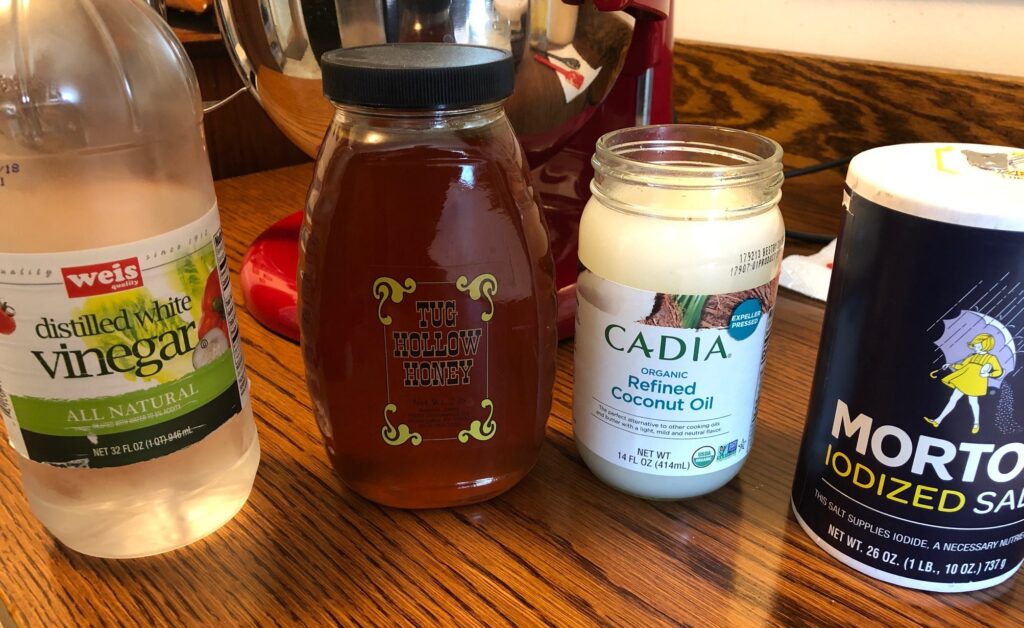
Here are the rest of the ingredients:
Directions:
Step 1: Measure out the flour, vital wheat gluten and yeast into the mixer bowl.
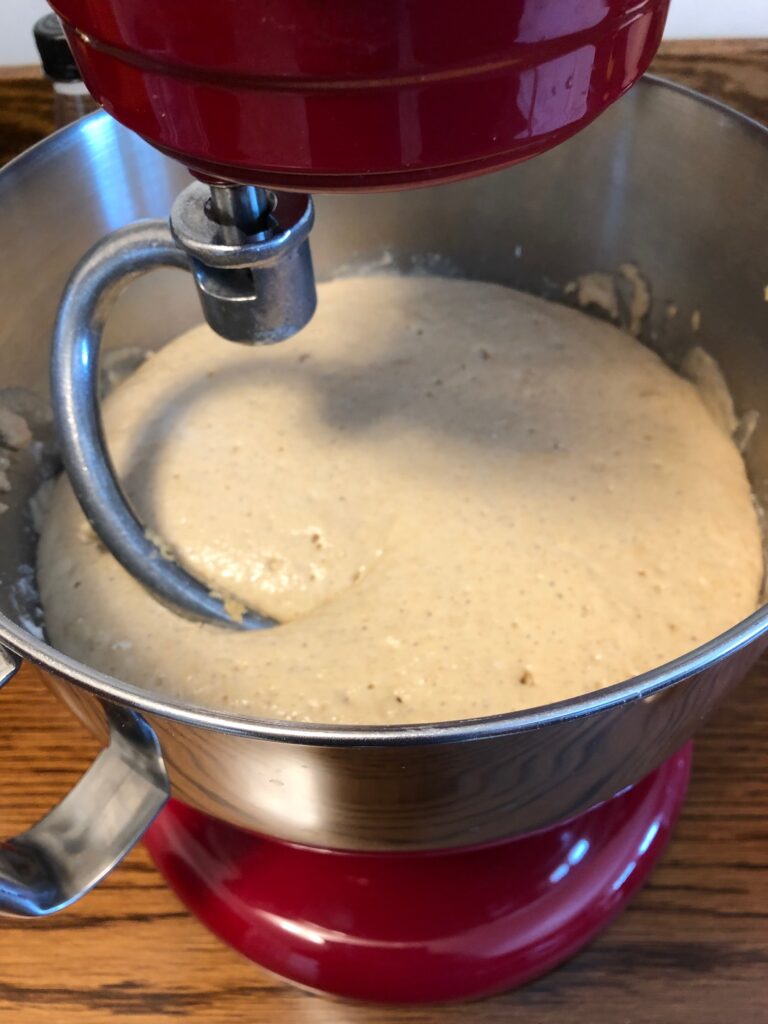
Steps 2-3: Add 2 ½ cups of very warm water. Mix up for 1 minute (I did this by hand) and let it rest for 10 minutes.
In 10 minutes, the yeast is going to town!
Step 4: Add salt, oil, vinegar and honey. Mix for 1 minute.
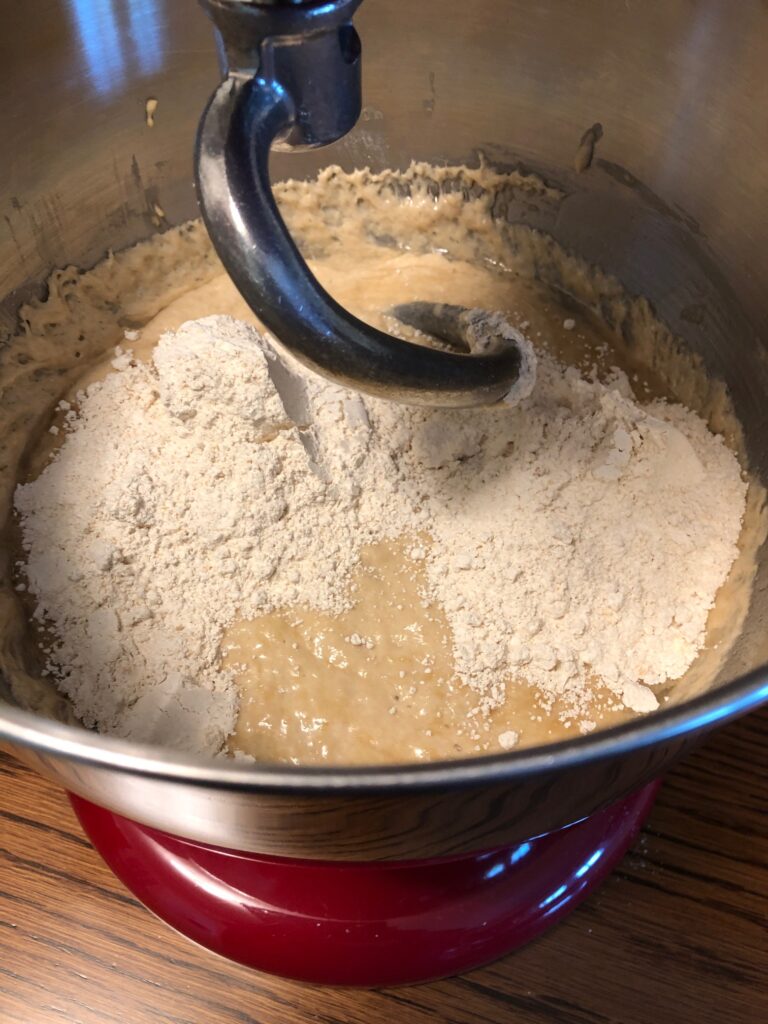
Step 5: Add and mix in 2 ½ to 4 cups of flour, 1 cup at a time.
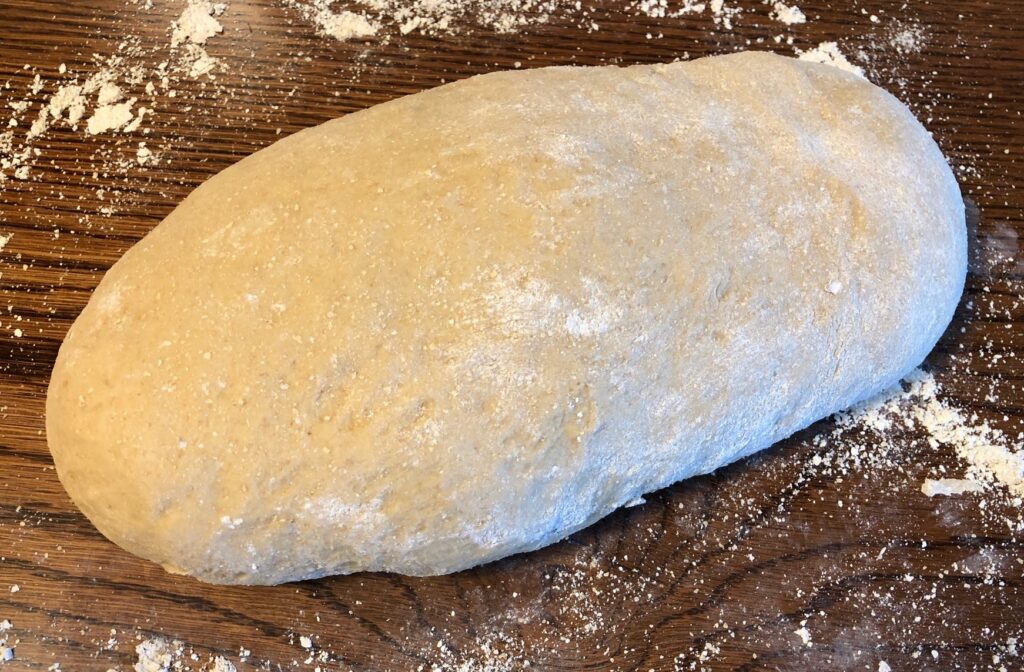
Step 6: Knead in the mixer until the dough pulls away from the sides of the bowl and feels smooth rather than sticky (5-15 minutes). Turn the dough out on to floured surface. Form into a smooth ball.
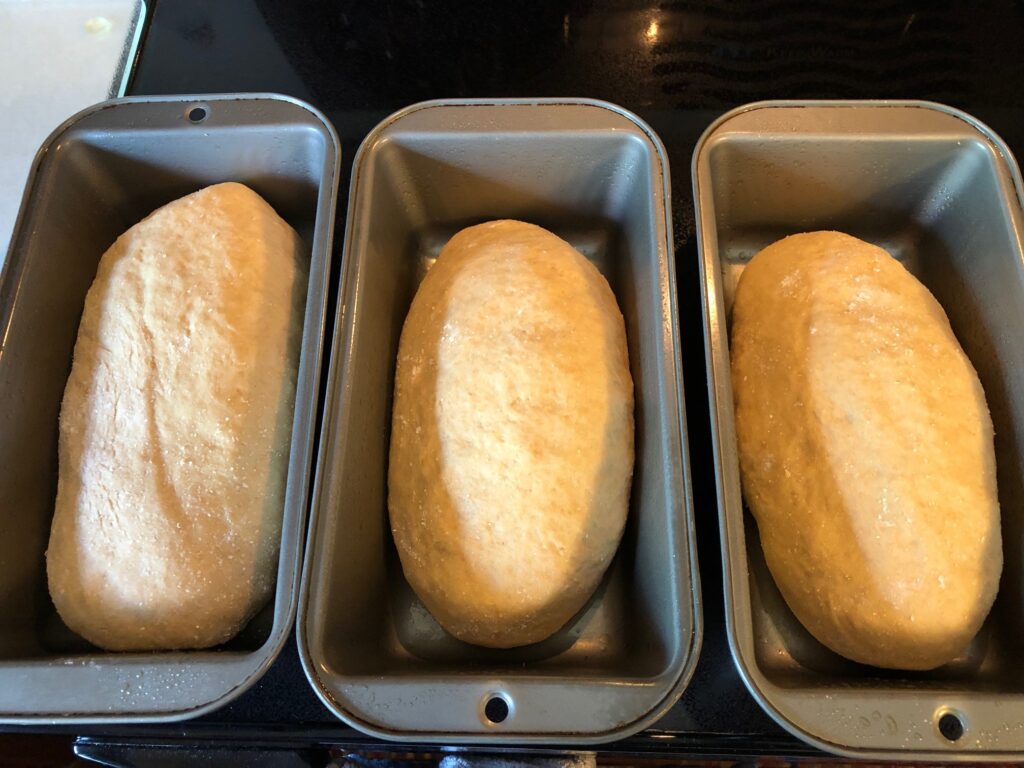
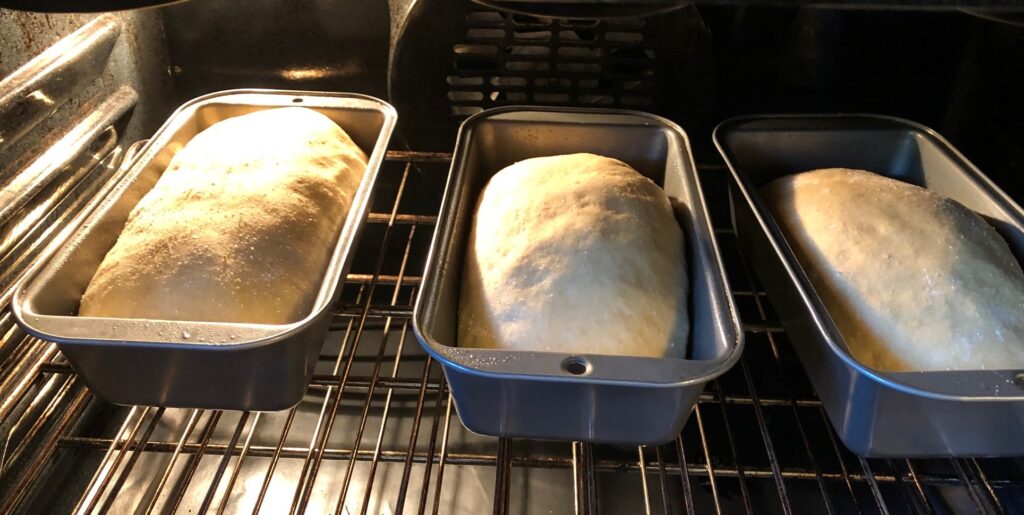
Steps 7-8: Grease 2-3 bread pans. Divide dough into three oblong loaves and put them in the pans. Preheat the oven to 350 degrees F. for one minute and then turn the oven off. Place the pans in the warm oven and allow them to rise for 20-40 minutes, until the dough is nicely domed above the tops of the pans.
Step 9: Without removing the pans from the oven, turn on the oven again to 350 degrees and set the timer for 30 minutes. The oven will go through the whole preheat cycle now, which sets the crust.
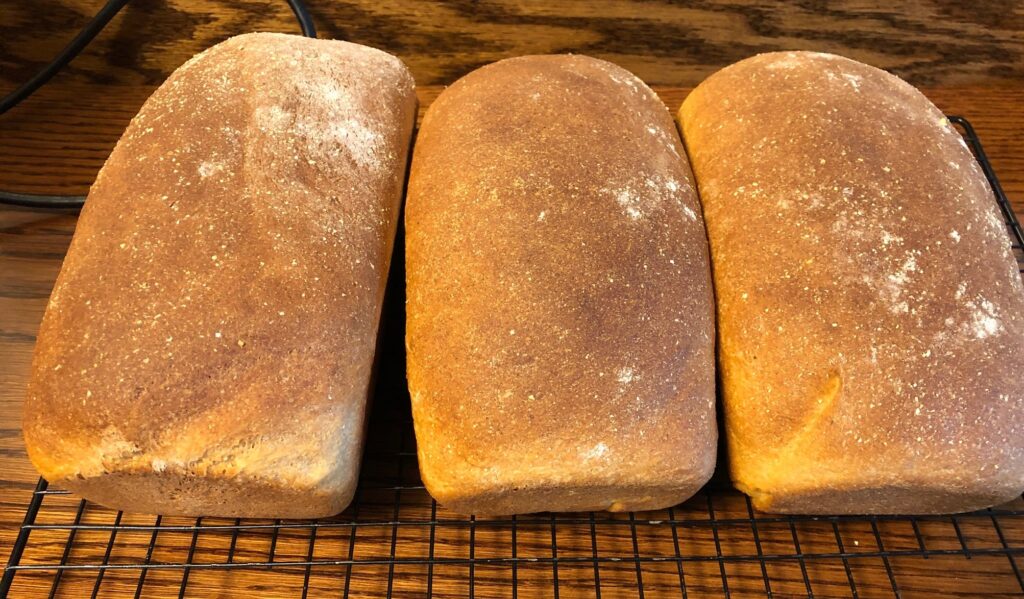
Step 10: The bread is done when the tops are golden brown and the internal temperature reaches 190 to 200 degrees F.
Step 11: Once the loaves are baked, immediately remove the hot bread from the pans to cool on a rack.
Delicious!
I think this recipe will be my go-to recipe for whole wheat bread. I was so happy with it that I ordered a 25 lb. sack of white whole wheat berries from Amazon! Beats trying to bag it up myself at the health food store.
As much as we’d like to think that Spring could emerge any time now, here in central Pennsylvania we hope it holds off a few more weeks. How many of us remember huge snowstorms returning mid-March and killing frosts in April. We all hope fruit blossoms are not fooled into opening too early…which would mean no apples, peaches or pears this year!
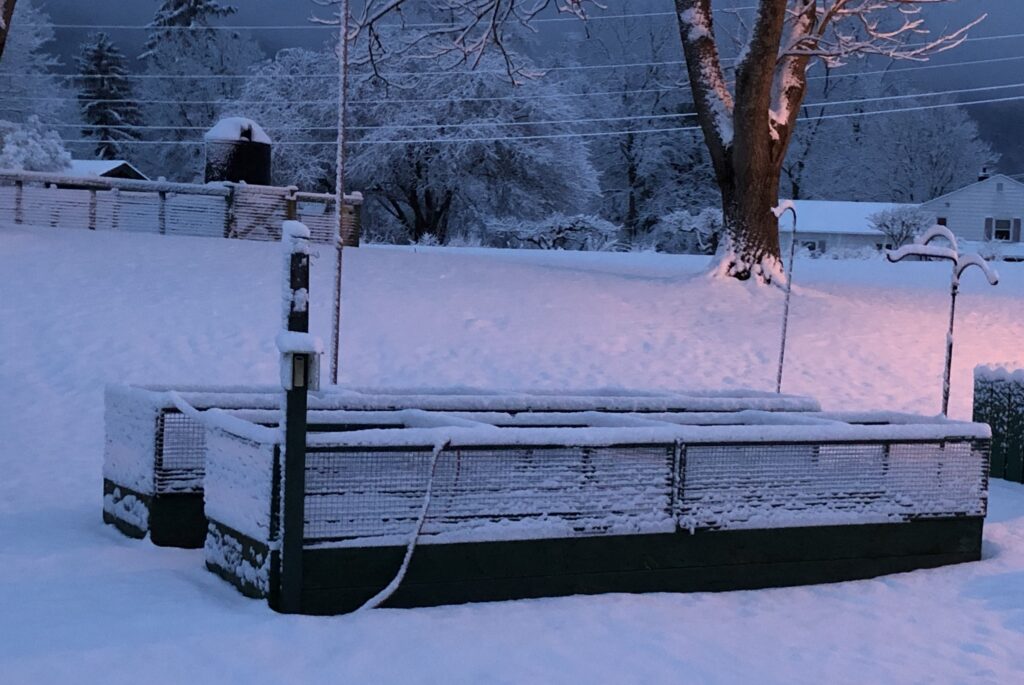
Two weeks ago, this was our backyard:
Today it was 42 degrees around lunch time and all the snow is mostly gone:
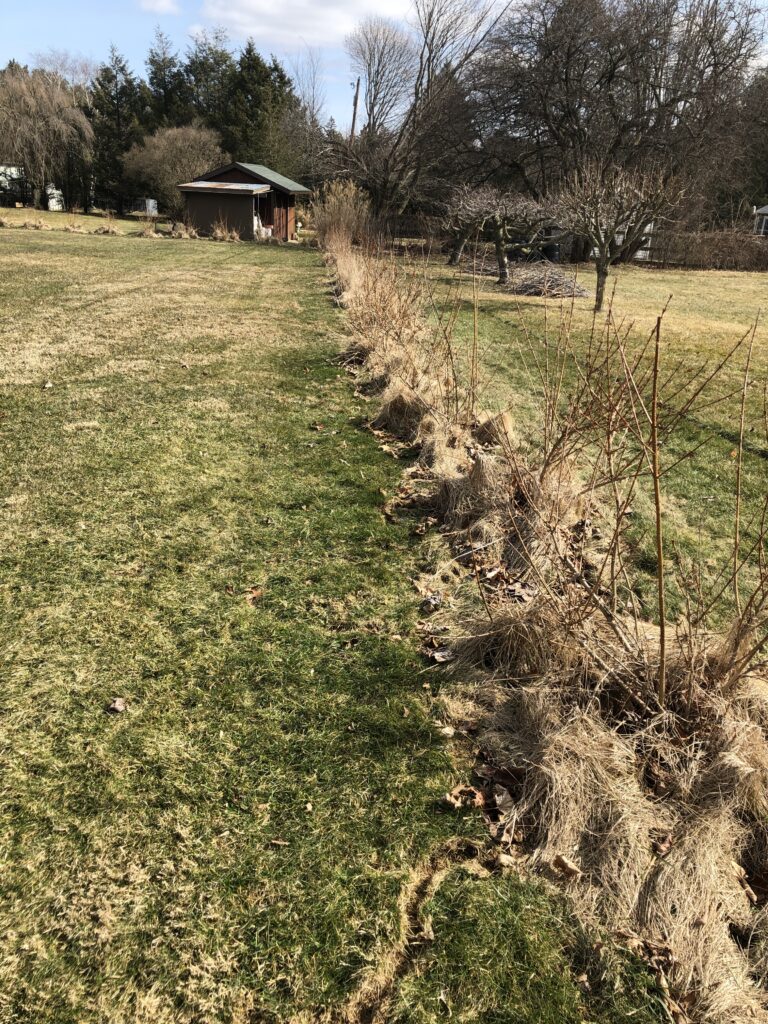
Even the grass is trying to turn green!
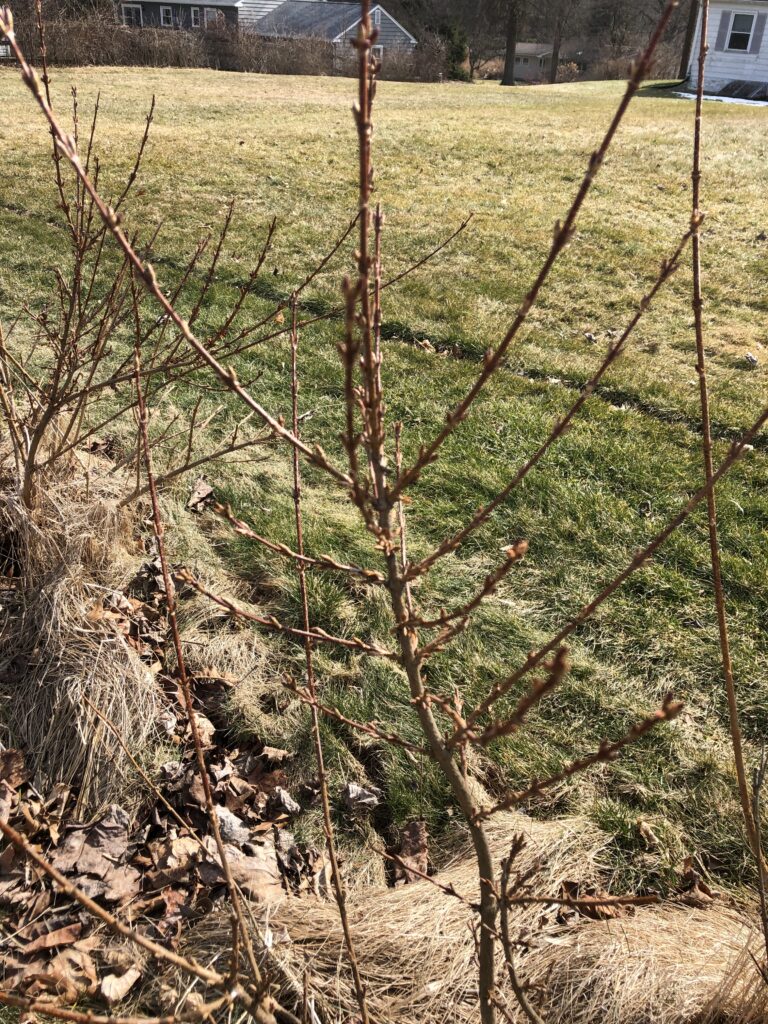
The forsythia bushes look healthy and have many buds ready to pop. We should have a beautiful border around the back of our property if a late frost doesn’t kill them before they open!
The lavender in the garden is a silvery green and looks like it did well this winter. Hopefully, it can hit the ground “running” this year! We’ve never had lavender plants winter-over and do well the next year.
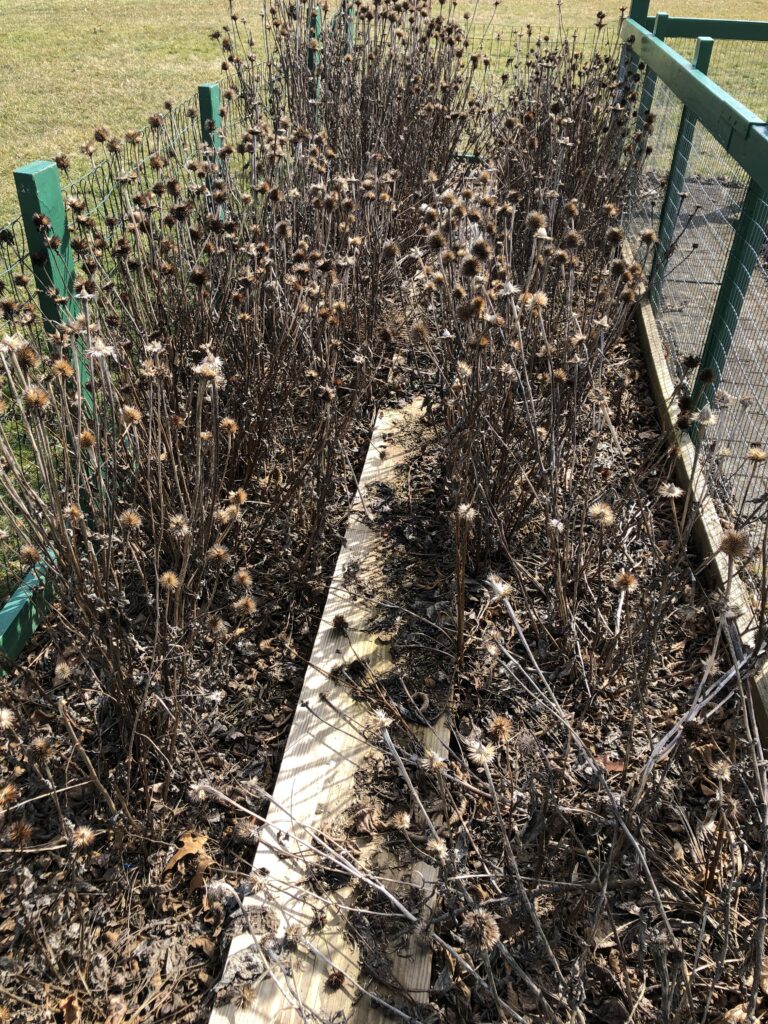
The echinacea is still dropping seeds. We’ll trim out the dried stalks in a few weeks.
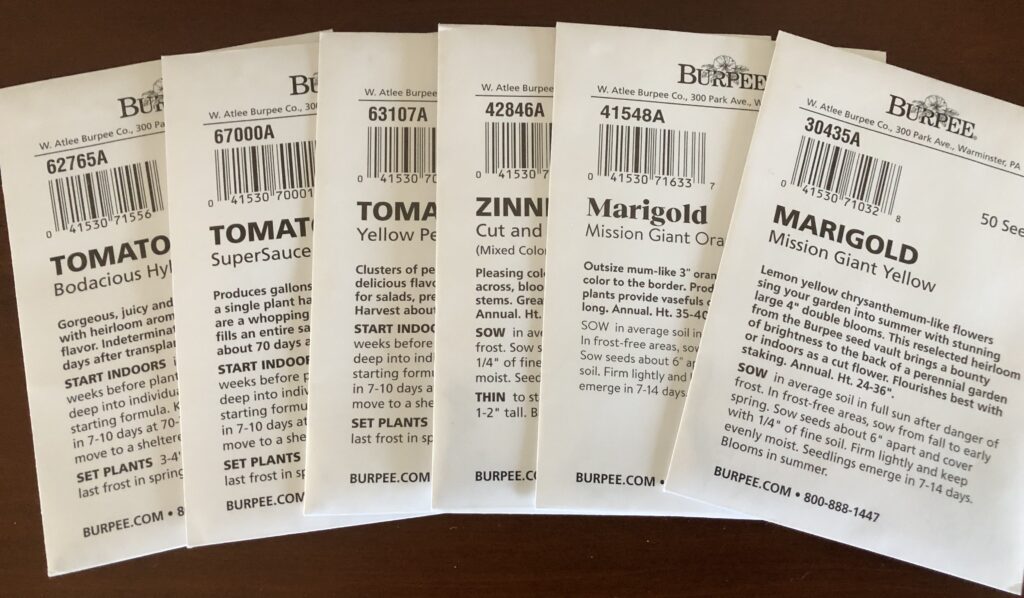
Bert pulled out the package of garden seeds for this year and separated the packets of seeds that he wanted to start early in the shop under grow lights. He’ll probably start them around mid-March.
We’ll try not to push Mother Nature…even a Spring on time is just fine. Every day it stays light just a little longer and that feels hopeful! Enjoy!
(This is a repost of a story from February 14, 2022. A few of you may have read it then, but when I saw it today I just couldn’t resist sharing it. I wrote it with my grandkids in mind.)
Ruth Lowry, 1930, 18 years old
Growing up, I had heard my mother share stories about her experiences being assigned to a rural one-room school for the 1932-33 school year. She had graduated from High School in 1930 and went on to get a teaching certificate. It was definitely culture shock for her. She grew up in “town” with the many conveniences of the times…like indoor plumbing and central heating (probably coal).
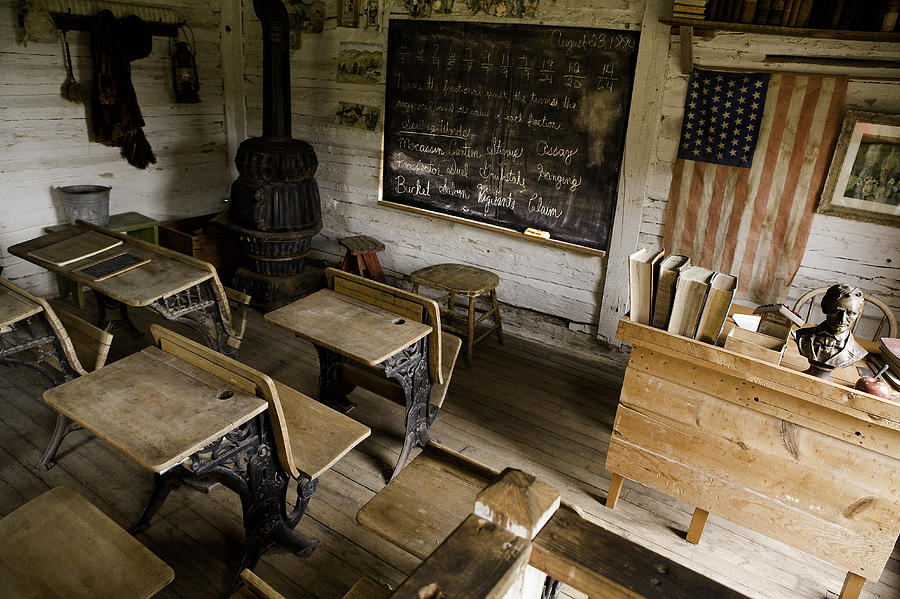
Besides having to live with a nearby family, she had to walk a distance to the school, start a fire in the stove, do general maintenance for the school building and get the classroom ready for 23 students from grades 1-8. The living experience by itself was new; then she had the challenges of her first year of teaching! She was a small, shy woman…barely 5’4” tall. The older students (boys especially) were tough farm kids who often didn’t want to be there. Learning to teach a class of mixed ages was a challenge in the first place. Over the years she would share little tidbits of experiences that wore her down by the end of the year. She taught only one year!
One room school house, stock photoby Wendy White
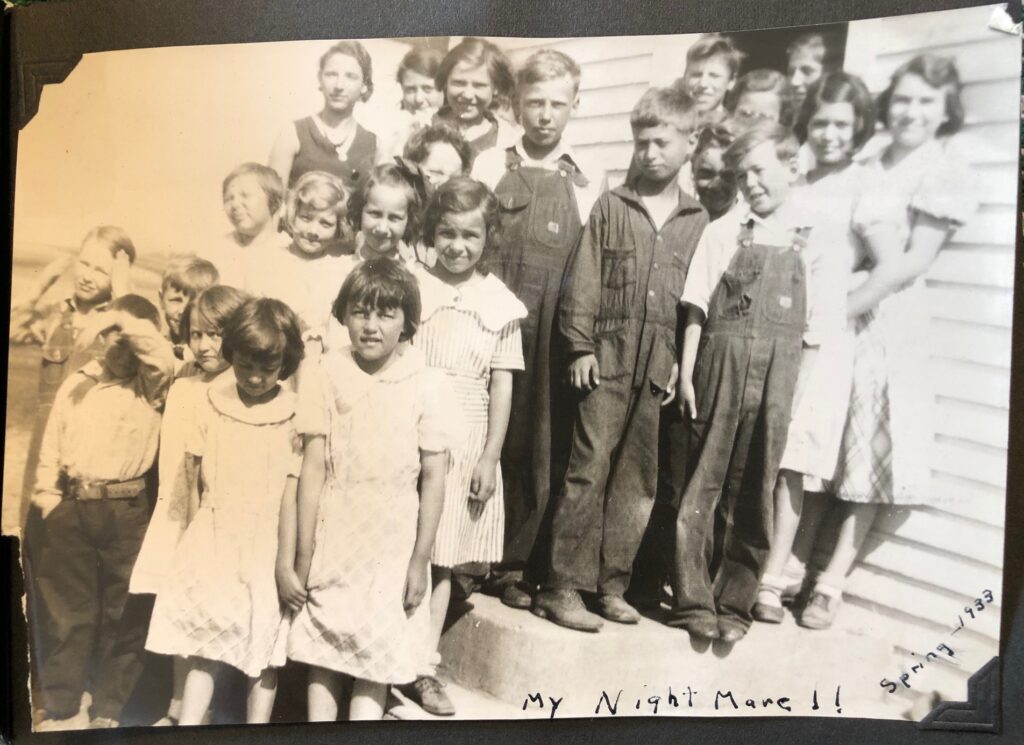
From my memory of her stories, the whole year was a traumatic experience for her. Recently, I was going through a small photo album of hers from that time and saw a photo of that class. Her note on the picture says it all!
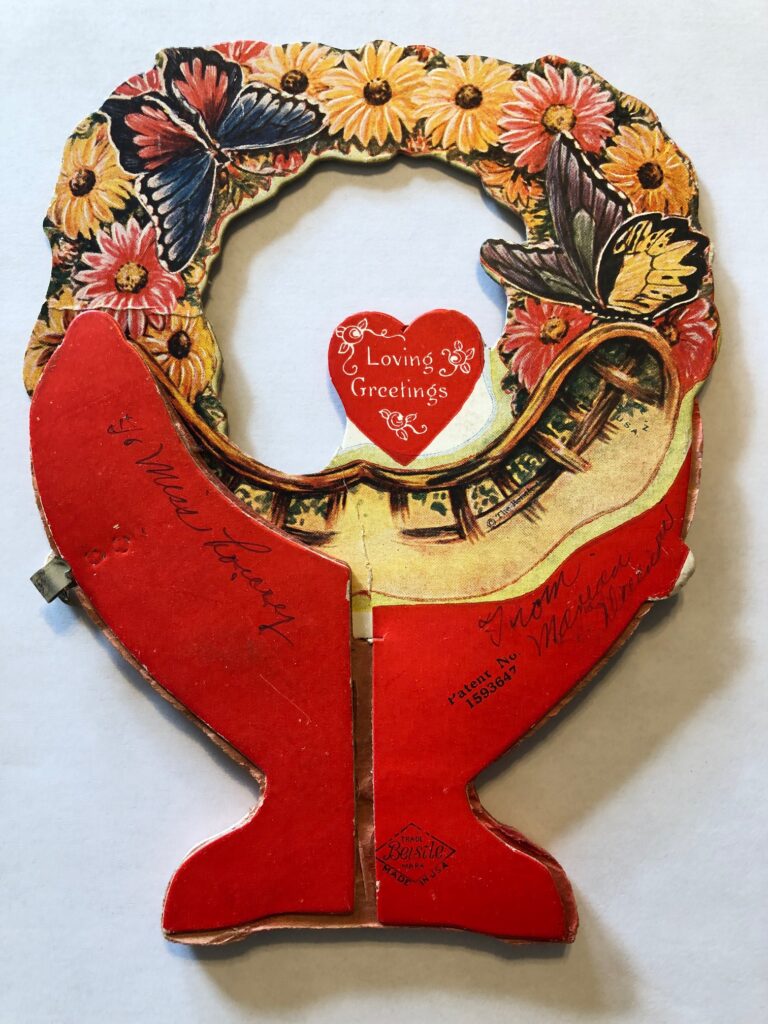
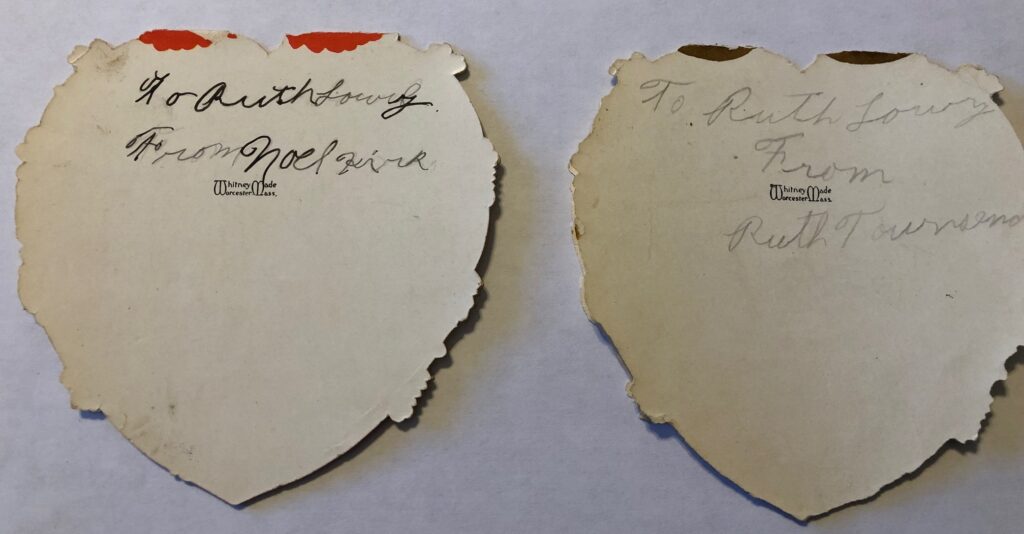
I also came across a box of valentines she had saved from that year…very interesting collection! Most of the valentines were signed politely on the back with, “To Miss Lowry” and signed with a full name, most in neat cursive writing! Maybe by February 1933 things had settled down in her classroom!
I thought you might like to see how clever some of the valentines were:
#1 Front
#1 Inside
#1 Back
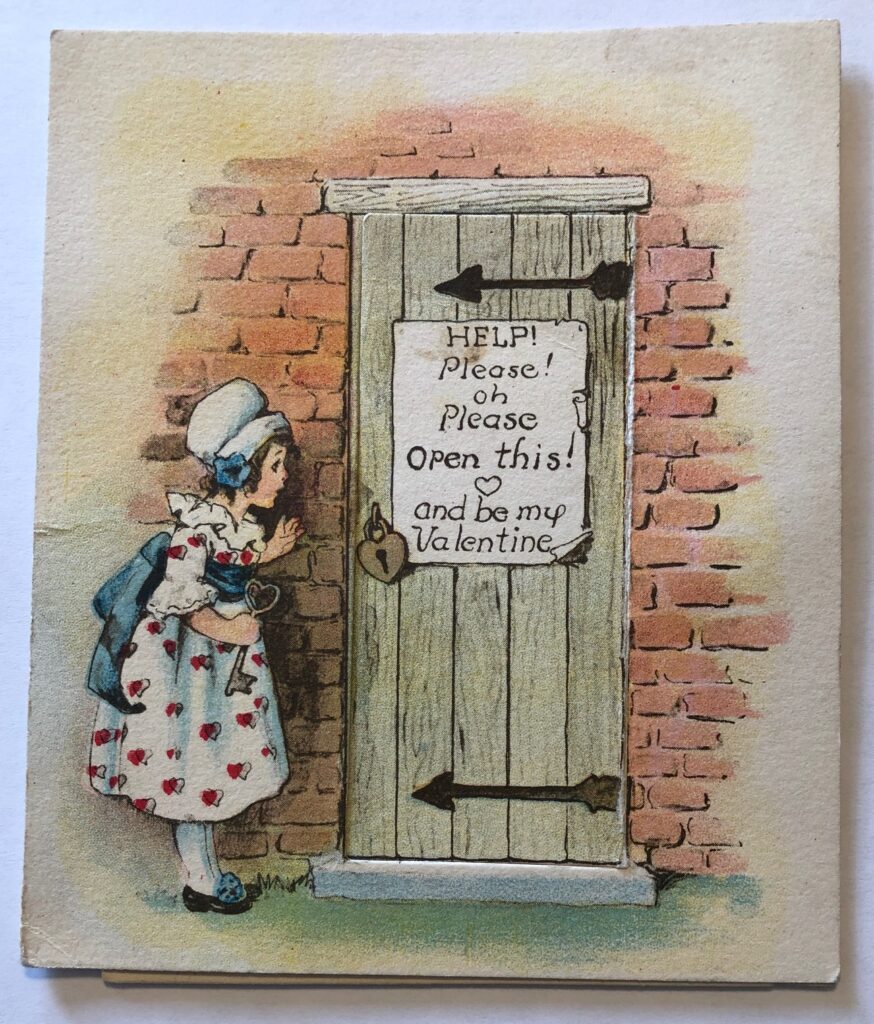
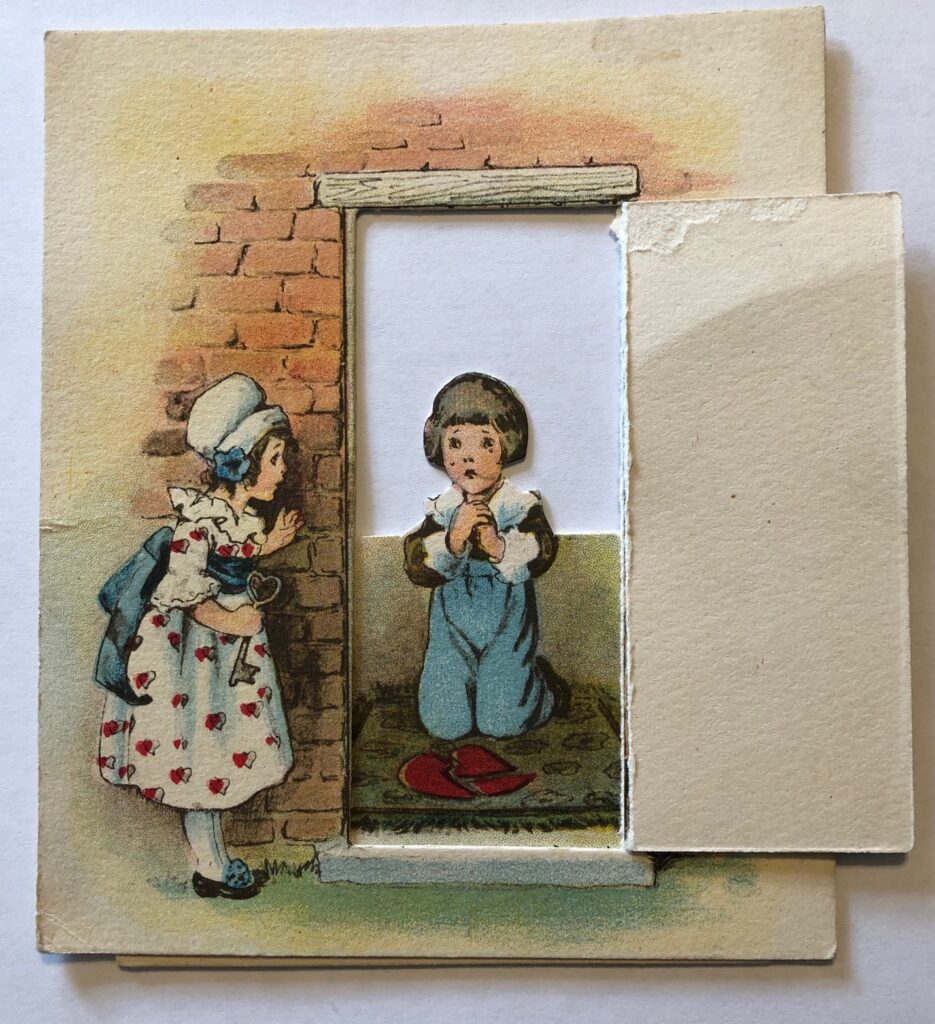
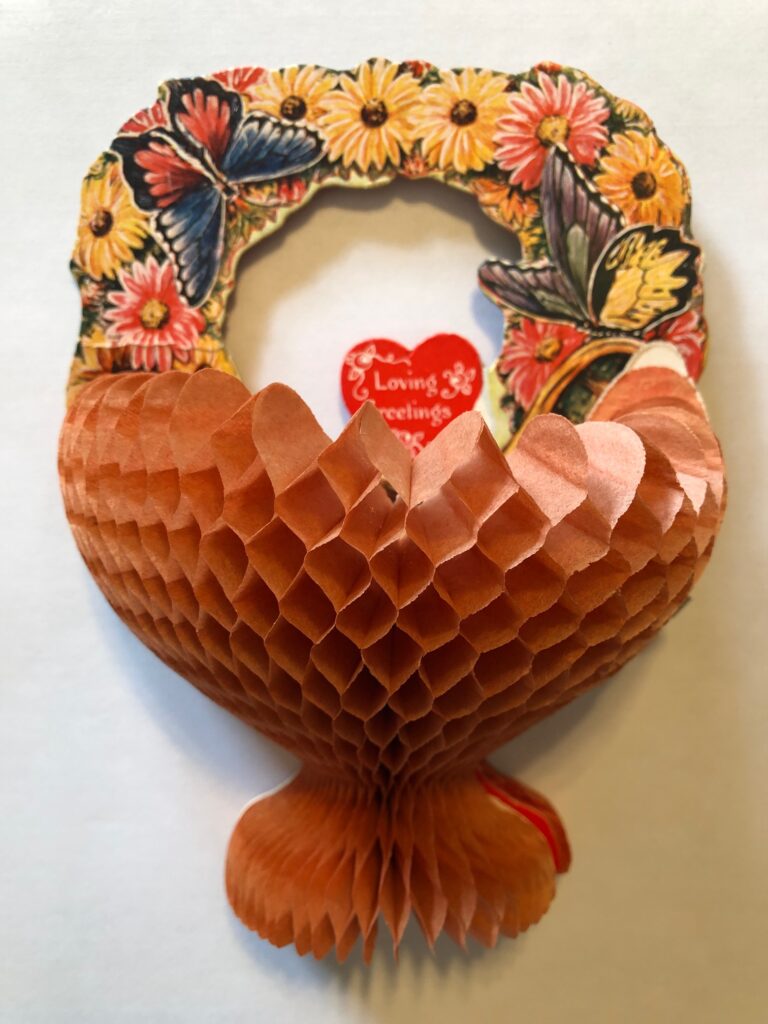
#2 This one came flat…
#2…and opened to be three-dimensional!
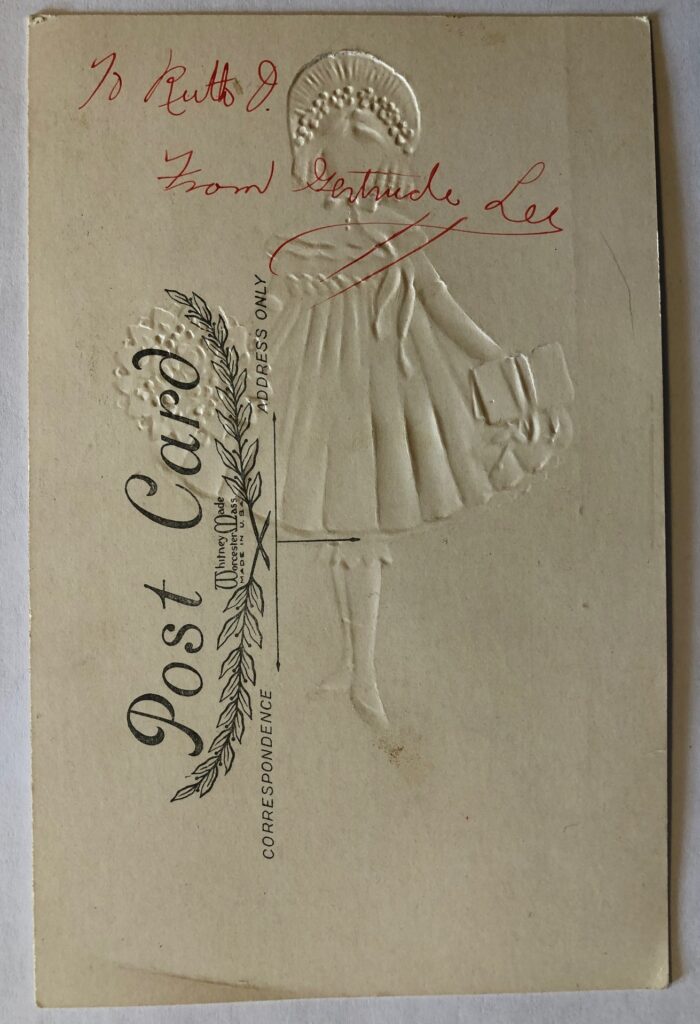
#3 This is signed by Gertrude Lee. She was Ruth’s best friend all through high school.
#3 Back
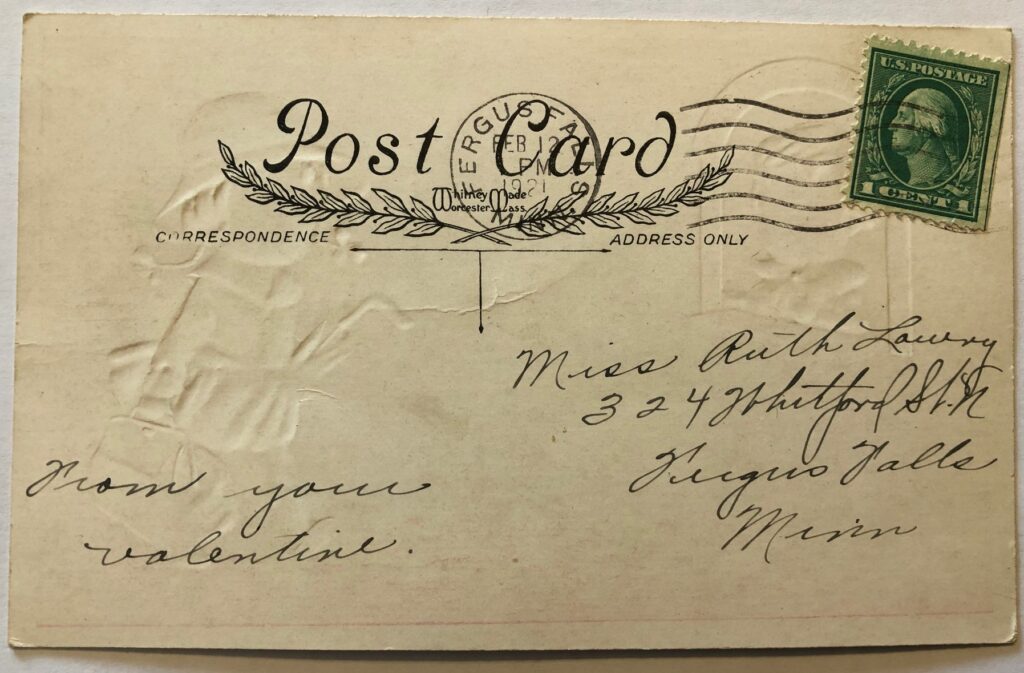
#4 Front
#4 Back. Maybe this one came from my dad who was teaching at a different one-room school in the area??
#5 Front
#5 Inside. No signature.
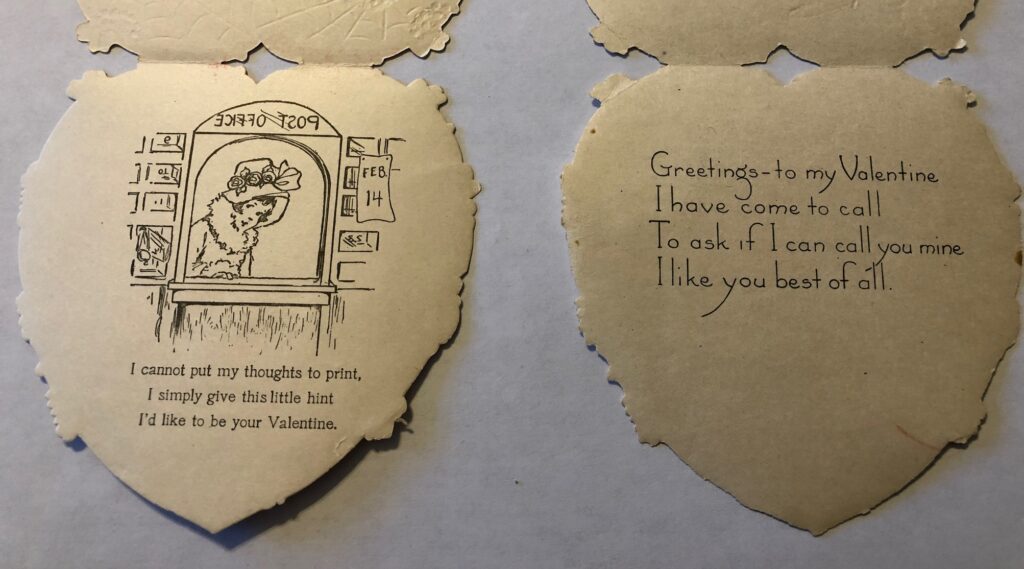
#6 and #7 Front
#6 and #7 Inside
#6 and #7 Back
It’s been a long time since I bought a box of valentines for a whole class, but I suspect none of them have such poetic ways to say, “Be My Valentine!” I wonder if kids today could write poems like these? What a treasured memory of my mother! Enjoy!
The weather folks sure had fun yesterday predicting up to 2 feet of snow for Central Pennsylvania! Of course, last night schools were cancelled for today (even Penn State classes were delayed), garbage pickup was delayed and my lunch with my high school friends was postponed. Not a problem, but we woke up to 3 inches of heavy, wet snow and 32 degrees. Made for some beautiful scenery in the trees in our backyard!
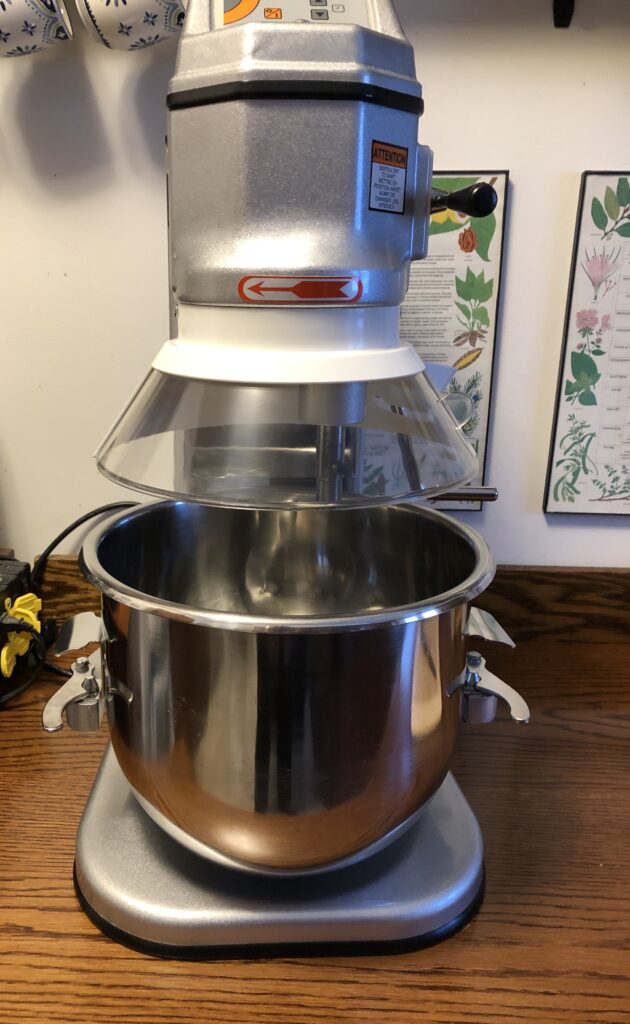
With a day to stay inside, what should I do? Our big mixer is still sitting on the kitchen table so I could make another big batch of Oatmeal Bread or sticky buns, like I did yesterday.
…or I could spend the day designing beaded bracelets that I hope to sell this summer at a craft fair;
…or I could read a good book; or I guess I could always clean the house (boooo…never my first choice!!).
So, you can see, on this EMERGENCY snow day, I have choices! I hope when you have to shift gears and change up your schedule for an “emergency day,” you have lots of fun choices ready to go so you aren’t stuck cleaning the house! (smile)!