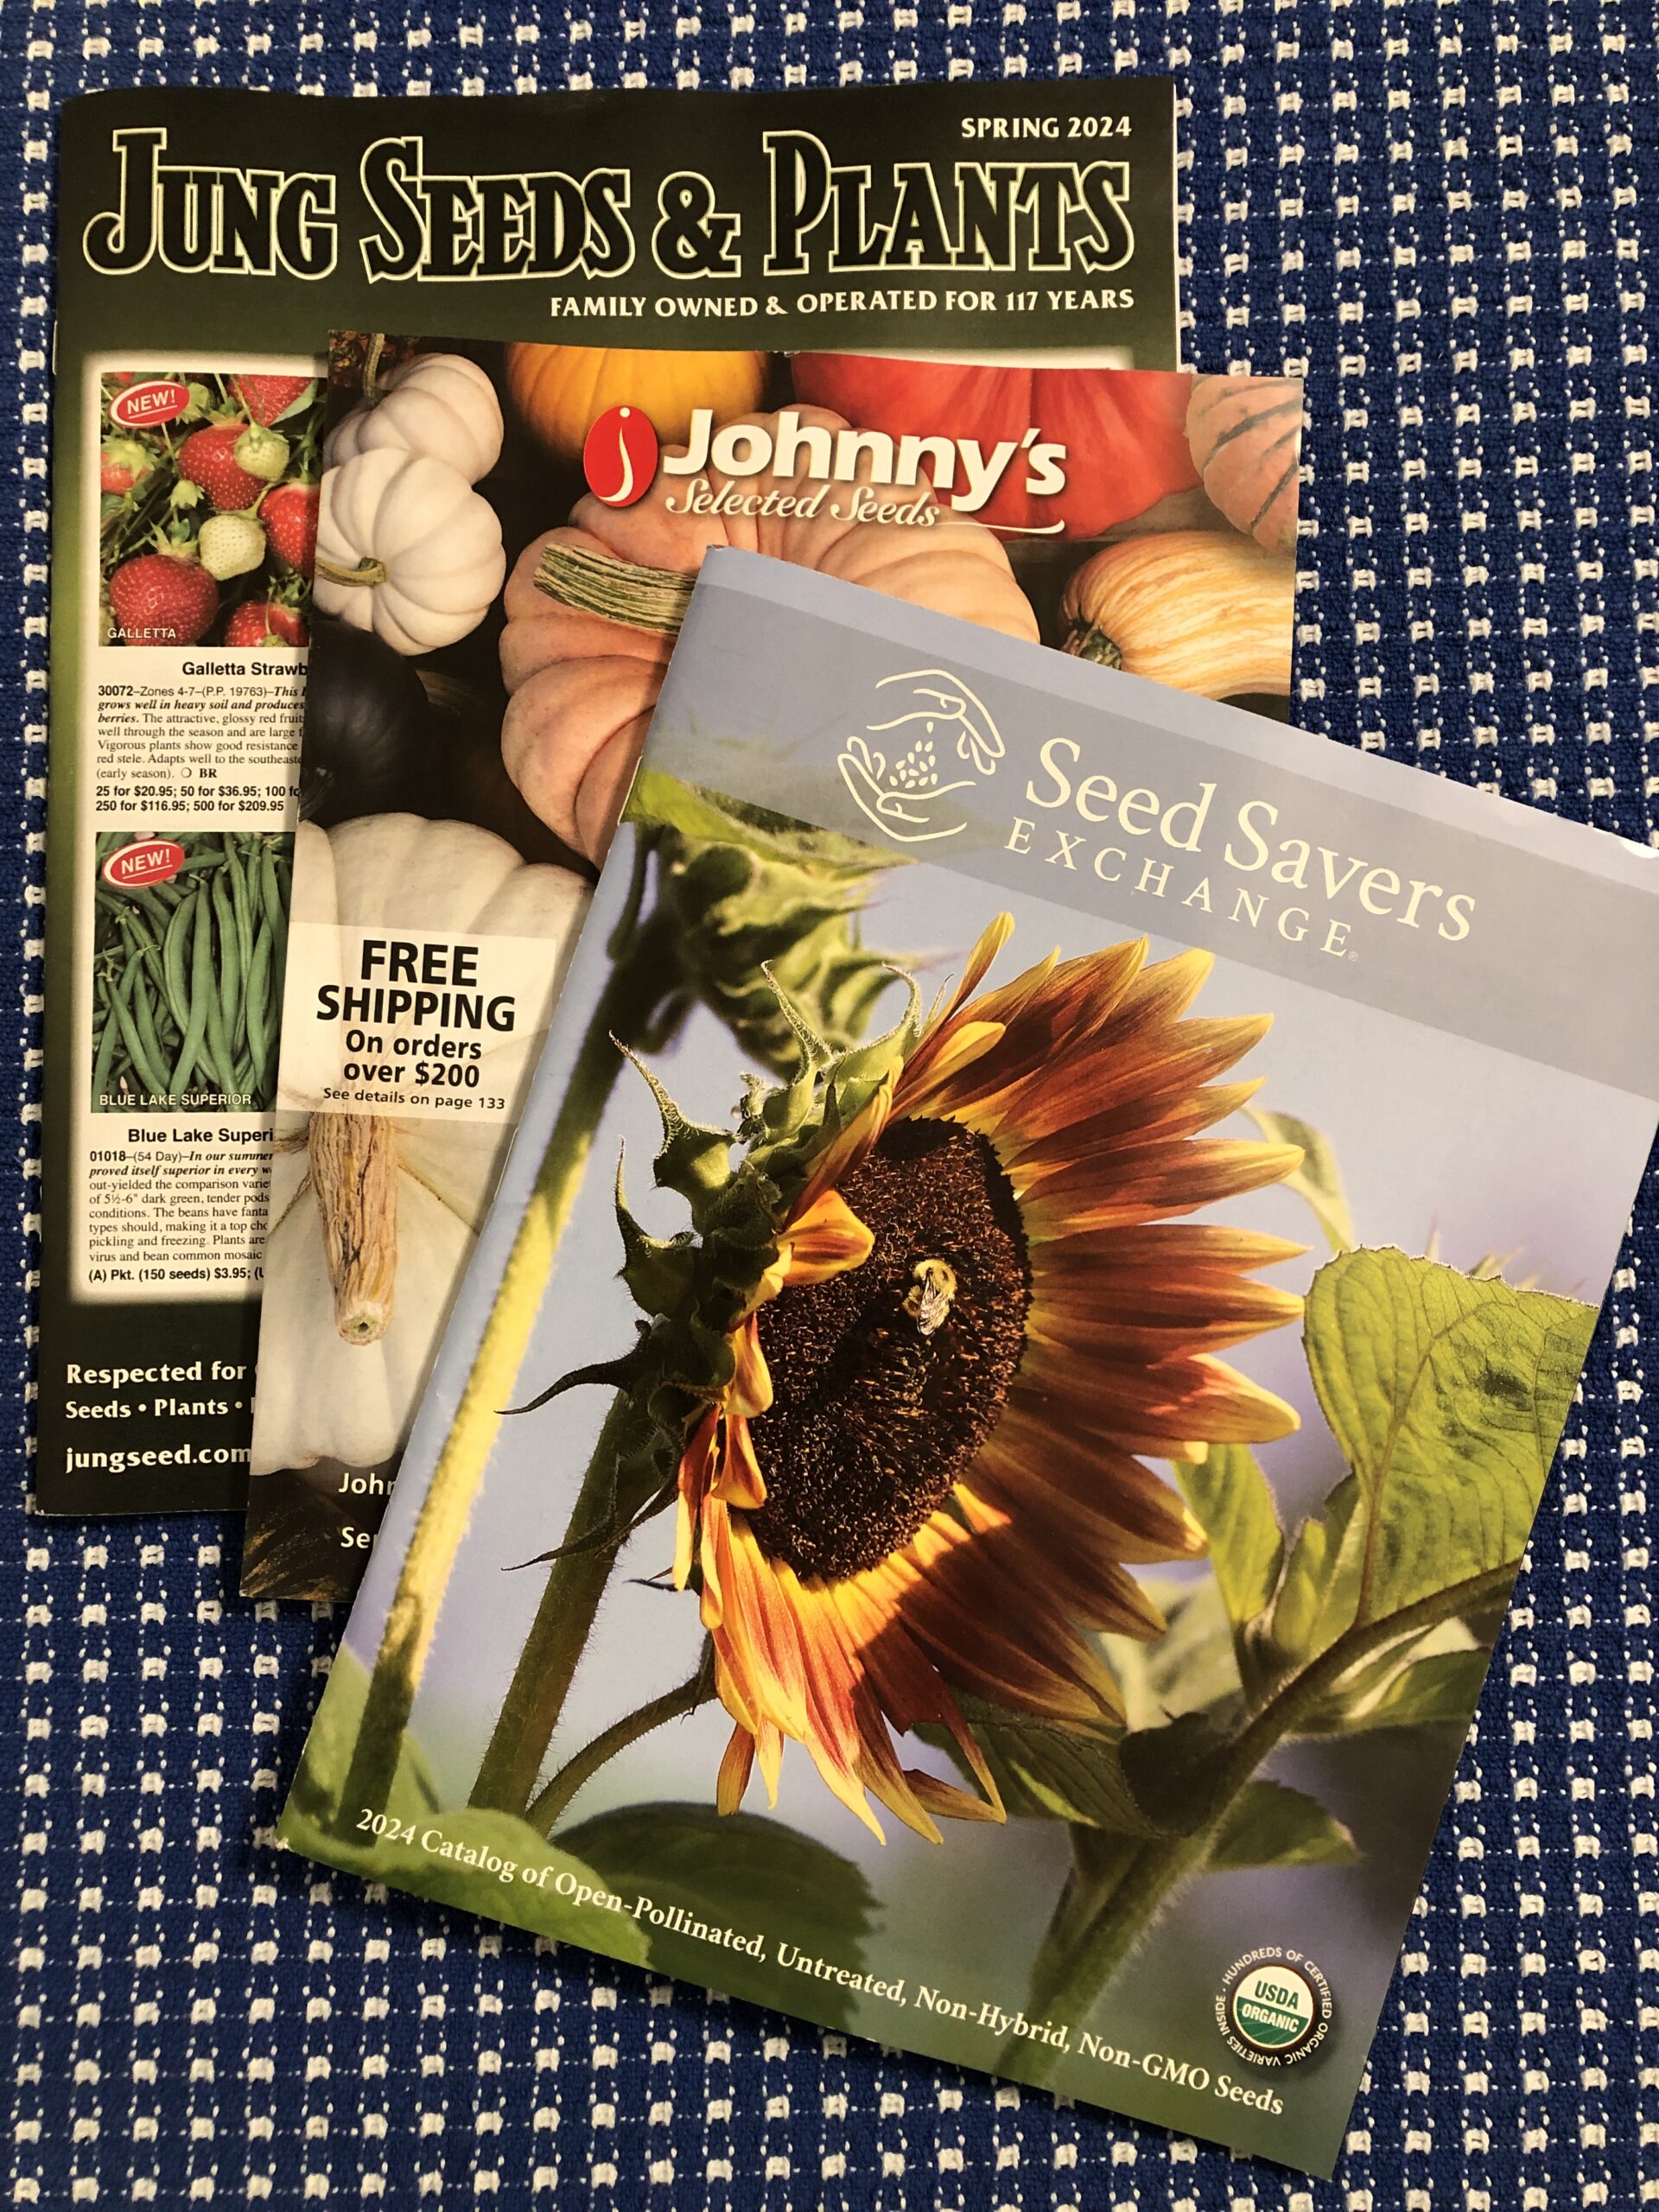
Over the last week or two we have received at least 6 seed catalogs. So many beautiful pictures! These three catalogs I saved because the covers were so striking. They are from Maine, Wisconsin and Iowa.
They were fun to look through, but we plan to stay with Burpee, which is located in Pennsylvania.
The garden spaces in our yard will remain the same as previous years.
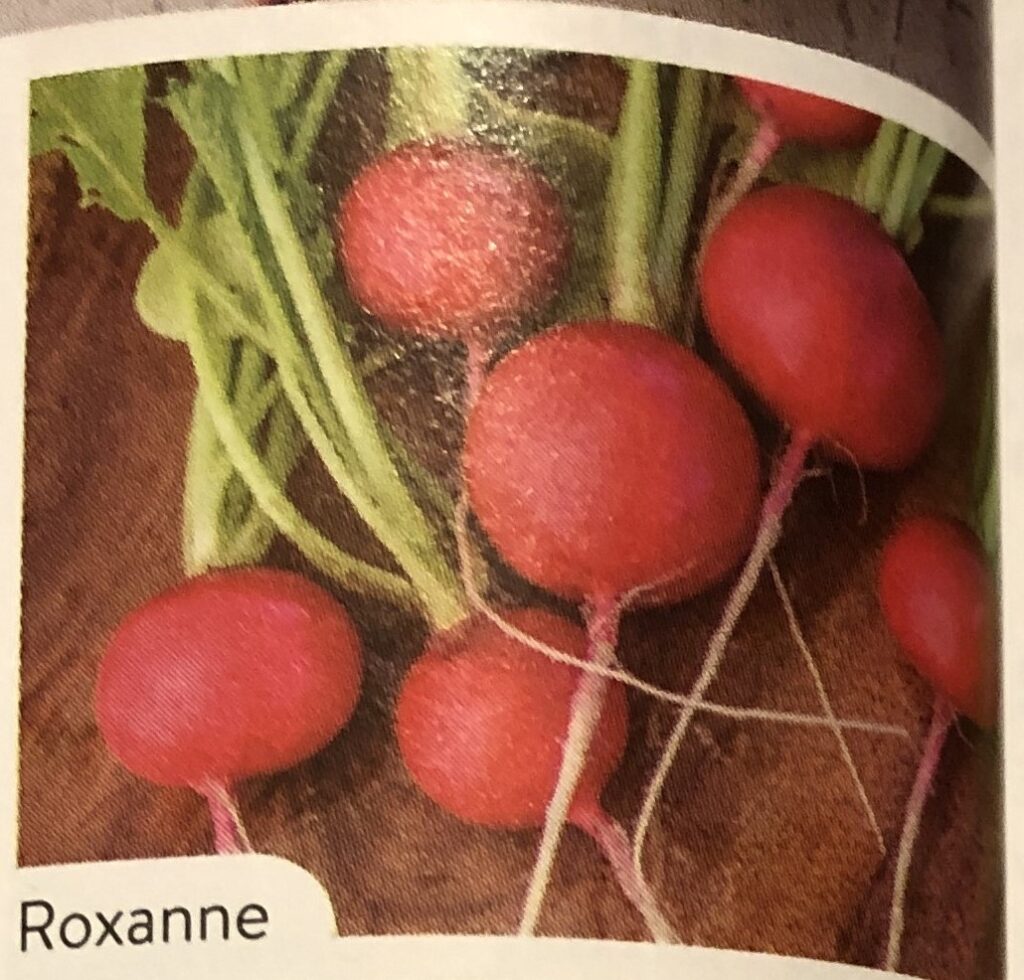
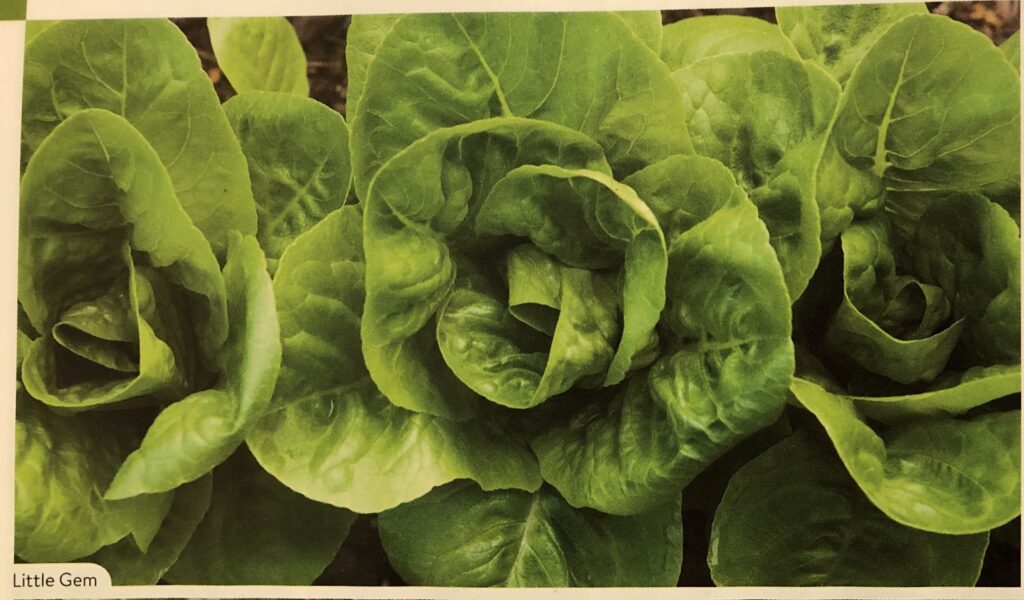
I have my raised planters on the patio that work best for lettuce and radishes. I may throw in some spinach seeds left from last year. We tried a sweet potato in a pot last year…the deer loved the vine and leaves. We did actually harvest a few sweet potatoes. I think if we decide to put something in the big pot, it might just be a chocolate mint.
2023
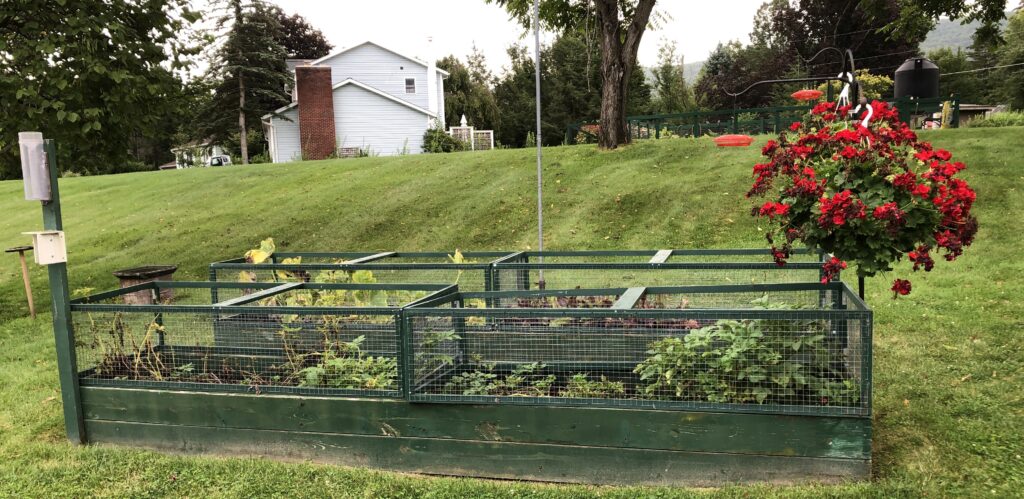
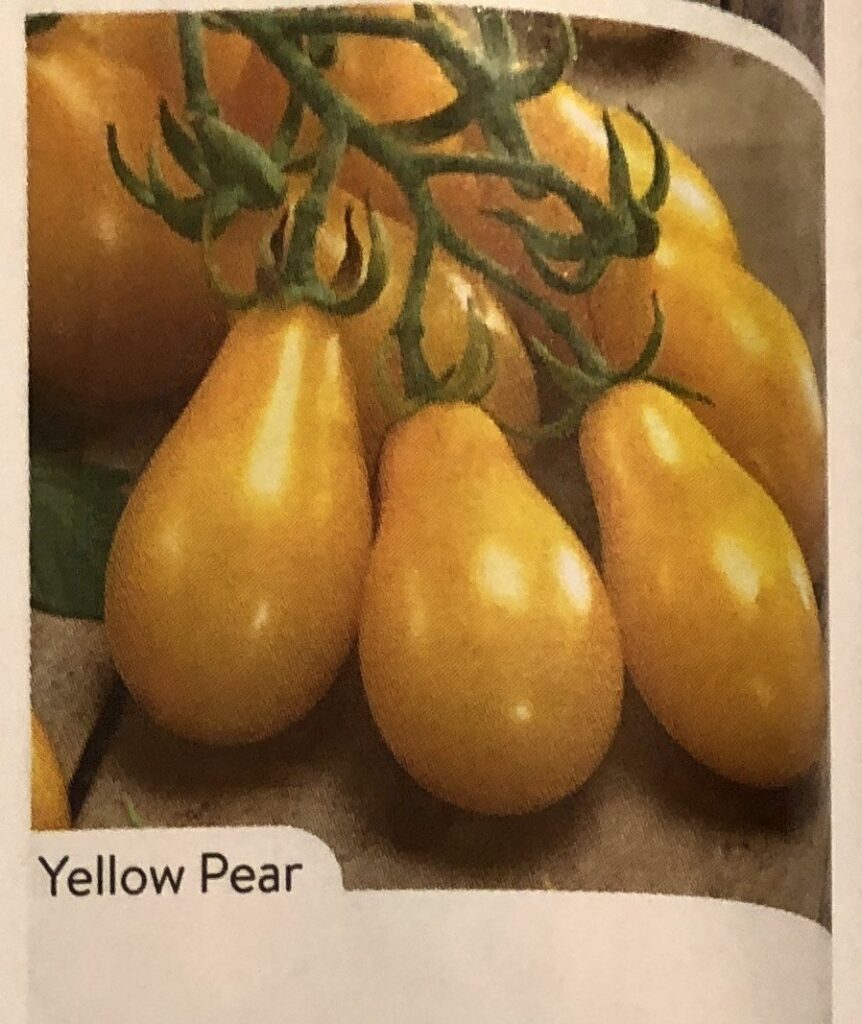
We have two fenced beds just off the patio. Last year we planted potatoes and beets. The potatoes did well…the beets did not. This year I think we’ll dedicate the space to flowers and a small yellow tomato plant.
By the end of the summer, the potatoes looked “done” and the beets did nothing after the deer grazed the tops down!
2023
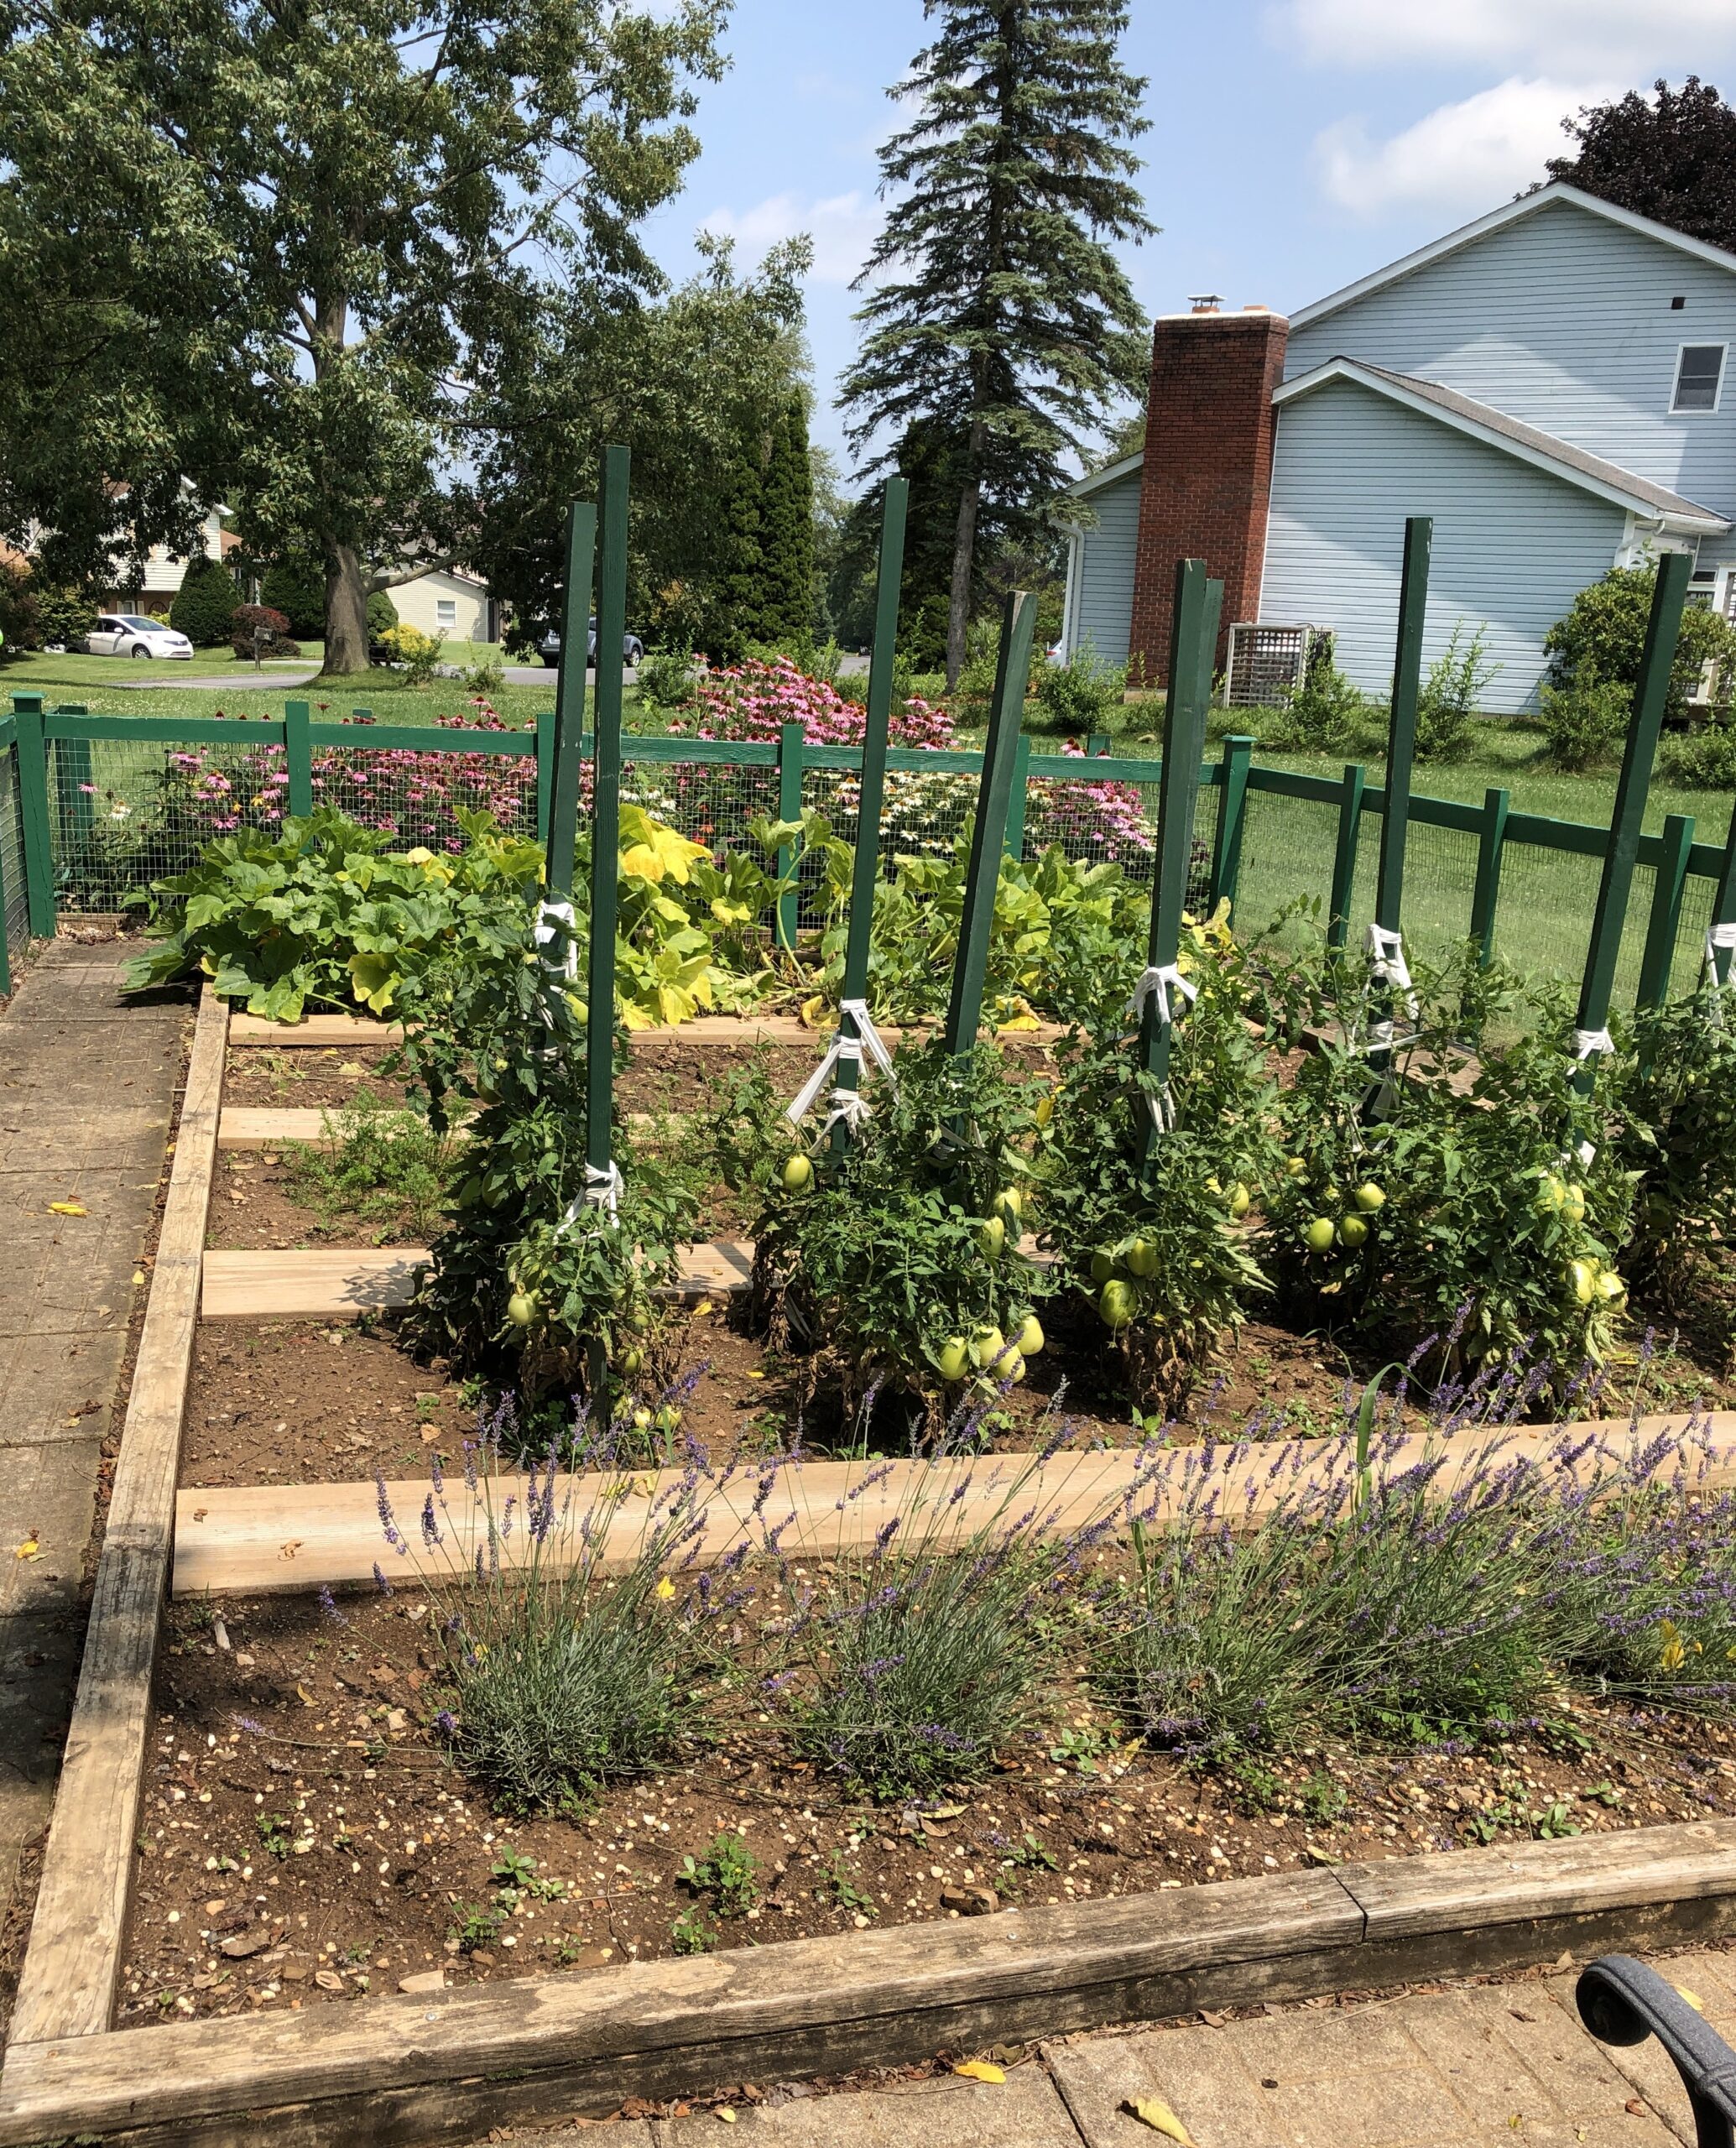
Up on the hill we have 4 rows available for planting…with a row of lavender at one end and a bed at the other end dedicated to the Echinacea.
2023
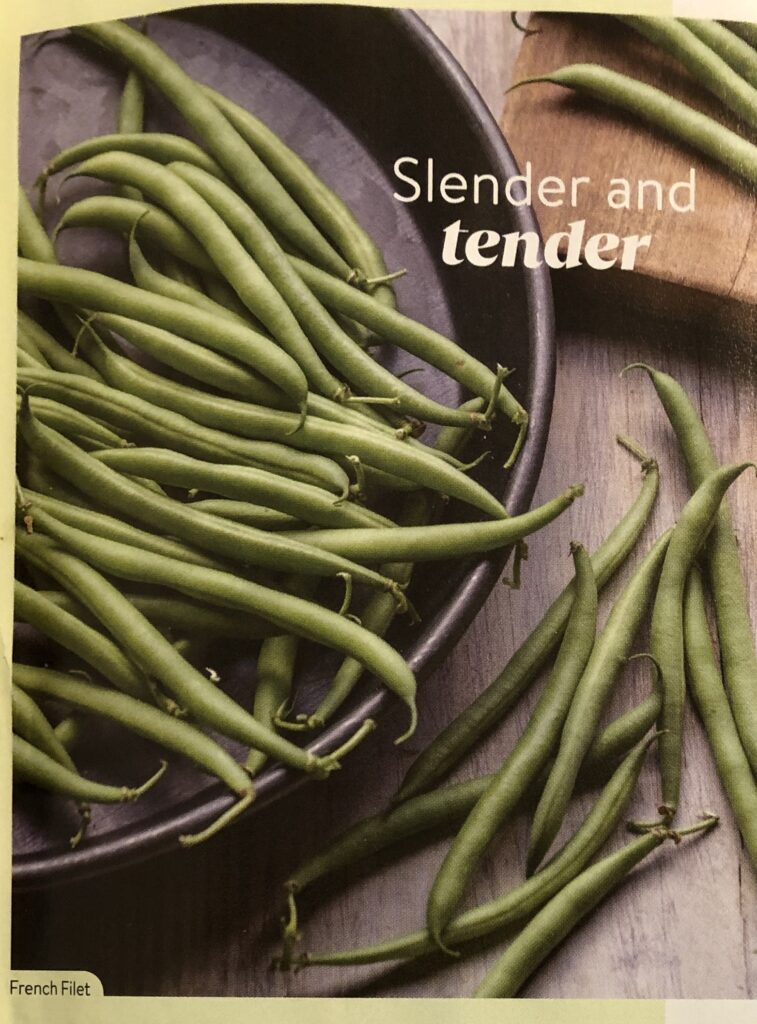
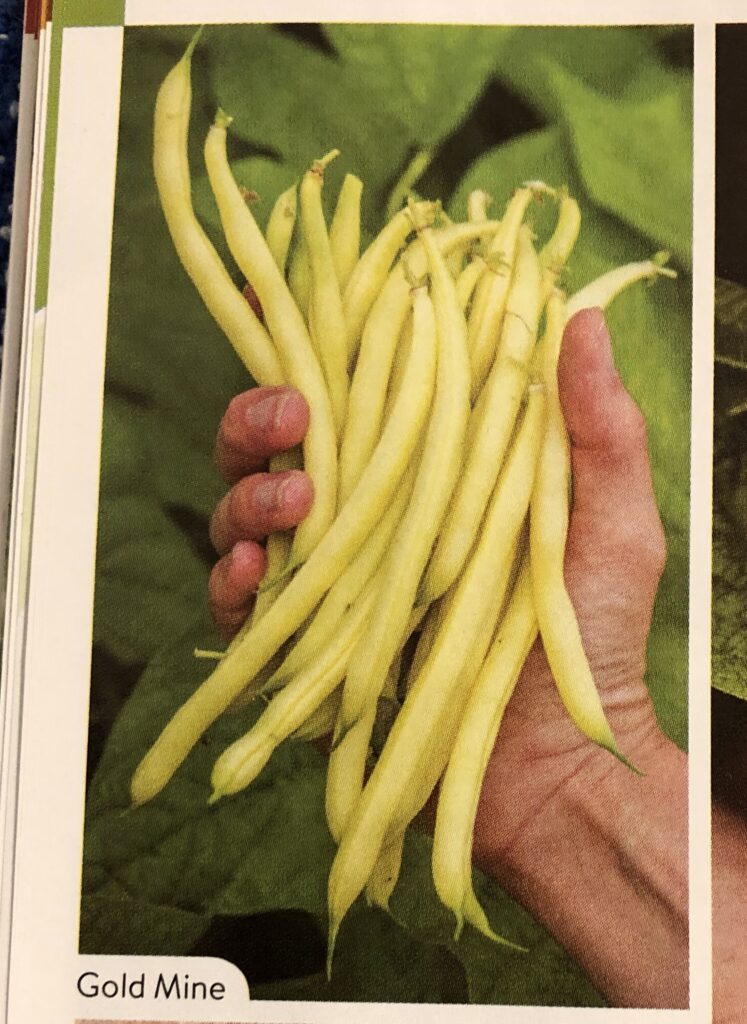
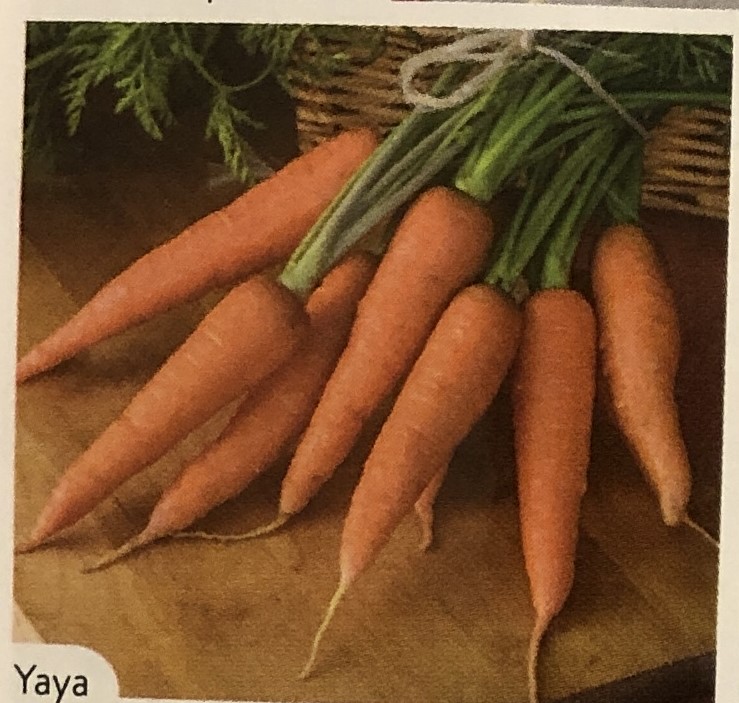
So, our seed hunting is pretty simple this year: green and yellow beans, carrots, tomatoes, radishes, lettuce and flowers. Bert will start the tomatoes and flowers in early March under grow lights in the shop. We really try not to plant tomato plants outside at least until the middle of May.
Our garden certainly is not a massive truck farm…just big enough to keep us busy enjoying the outdoors. I suspect a few years from now the whole garden will be planted in flowers!
The pictures in the catalogs really tease us…every picture promises our garden produce will be especially beautiful this year!
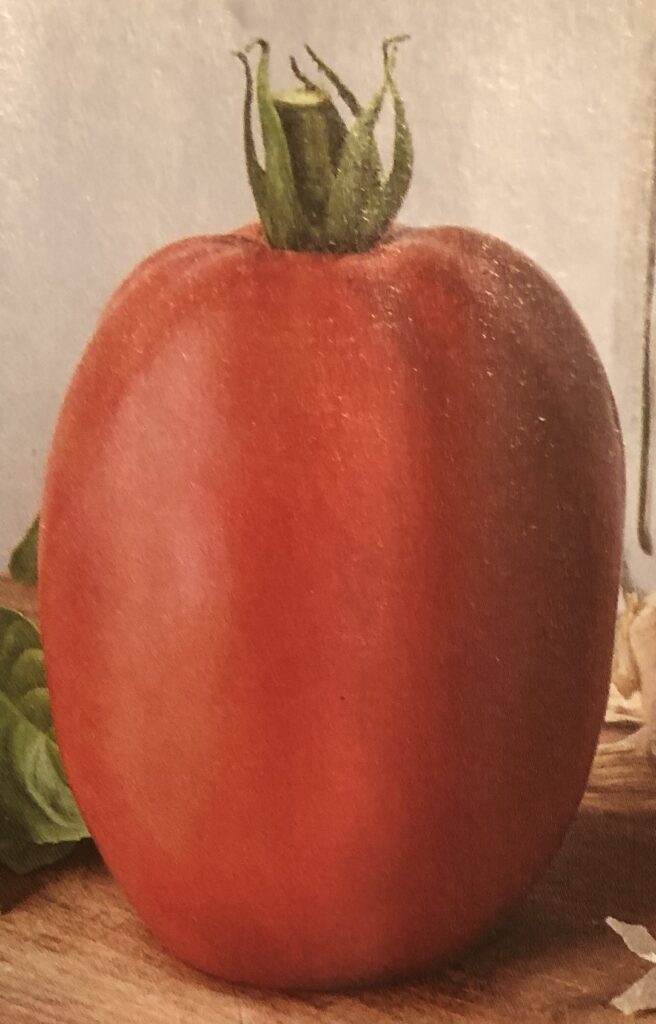
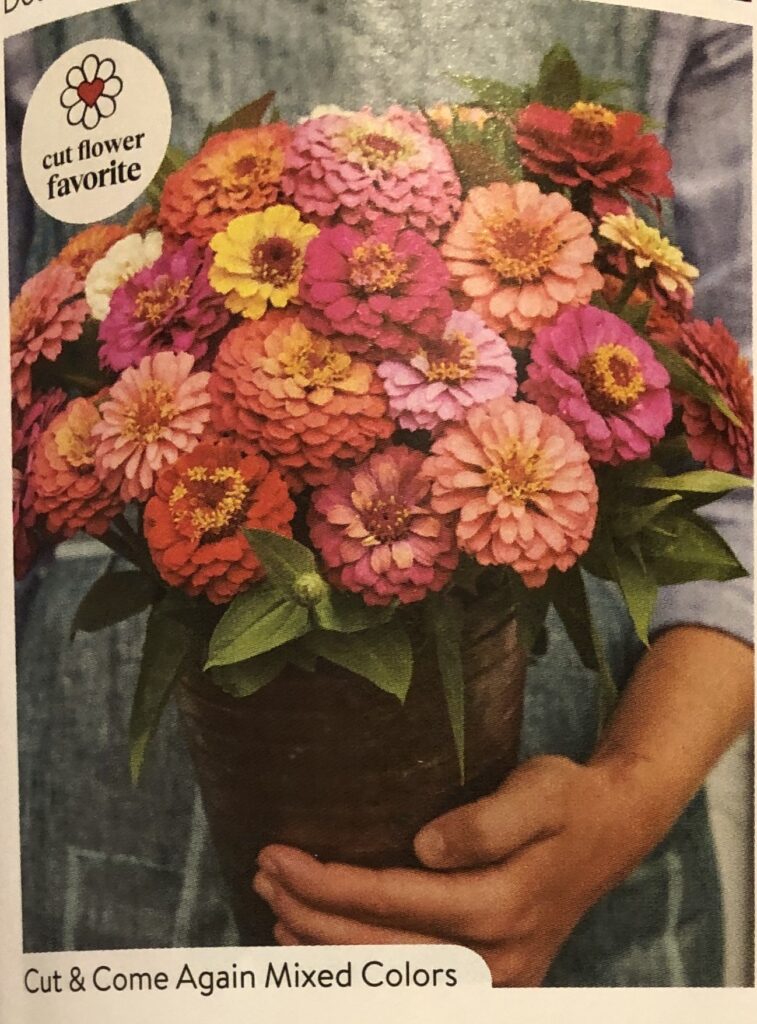
Here are the seeds we’ve chosen…don’t they look perfect! We’ll see this summer!
Super Sauce tomato
Baby Romaine
Marigold
Zinnias
I’ll start writing about the garden progress in April or May! Enjoy!
Looking for a fun activity to do with a group of people…kids, teens or adults? Making raised pretzels is pretty simple and you end up with a snack to share! Here’s one of my favorite recipes to make that is sure to get everyone involved!
This is a simple yeast bread recipe…great for new bakers to start with. It is a small batch recipe and can be mixed up by hand. My directions are pretty detailed because this recipe will be used by a few young people in the family that are new to baking yeast bread.
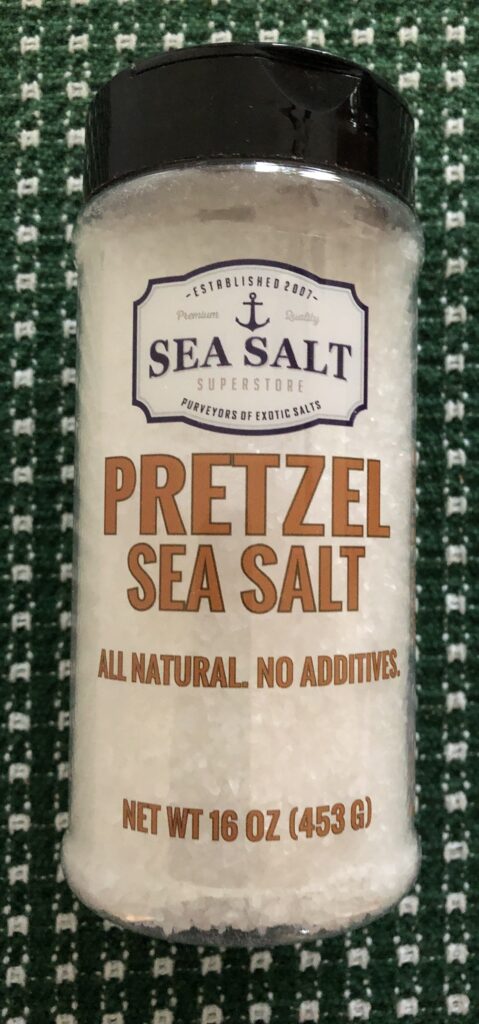
Most of the ingredients are pretty standard to have around, except maybe the Pretzel salt. I recently ordered some from Amazon just to have on hand.
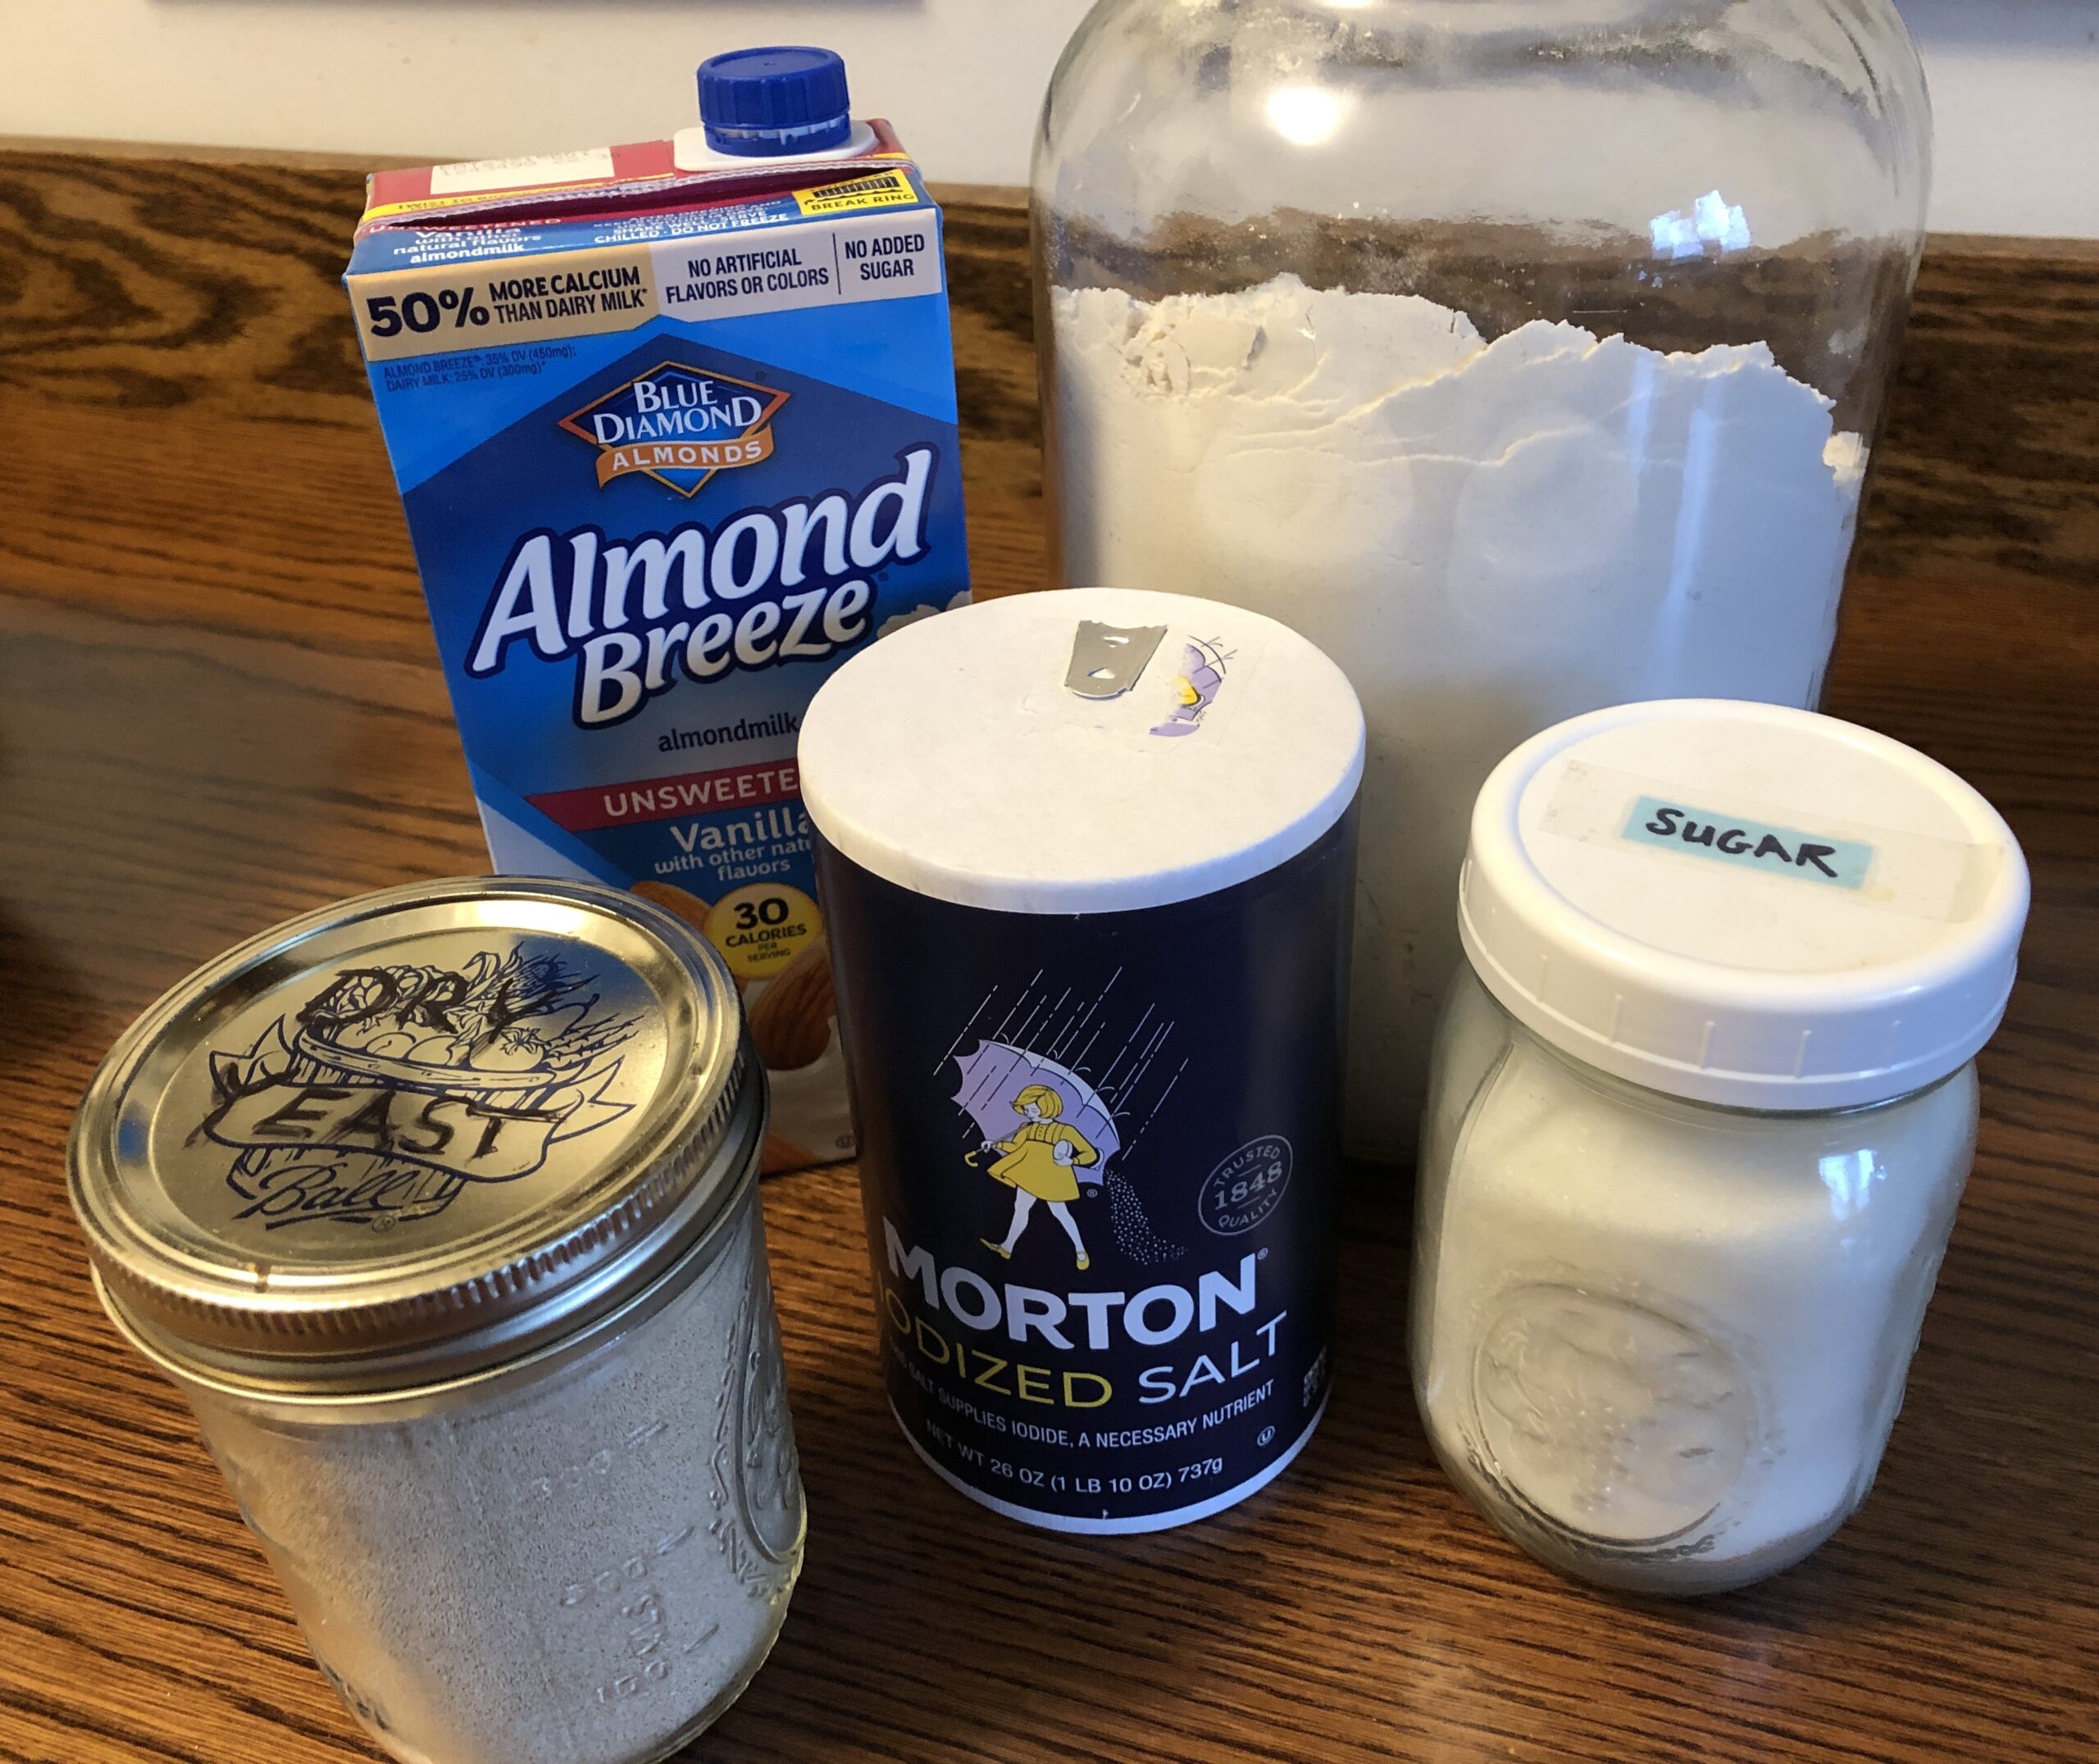
Collect the rest of the ingredients as shown below:
Making the Raised Pretzel Dough
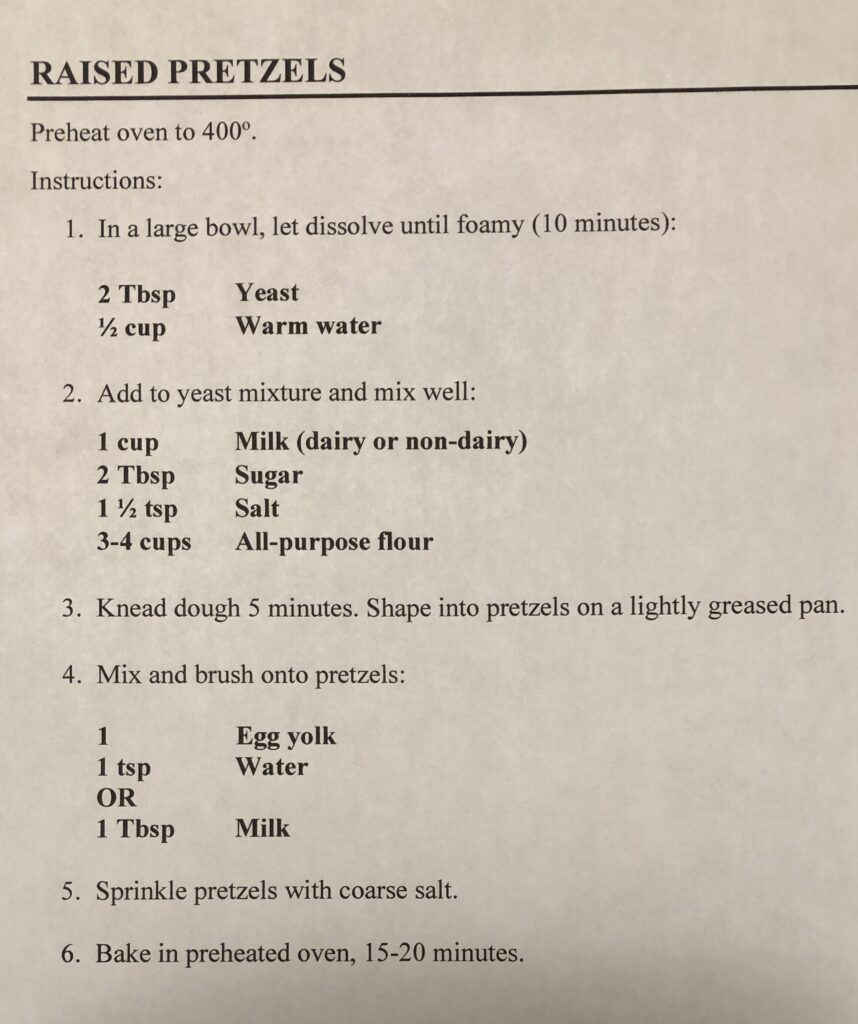
Step 1: Preheat the oven to 400 Degrees F. Spray baking sheets with oil (or use parchment paper or a silicon mat).
Step 2: In a medium bowl, measure out 2 Tablespoons of yeast (or 2 packages). Add 1/2 cup of very warm water and stir. Let it stand until dissolved and foamy (about 10 minutes).
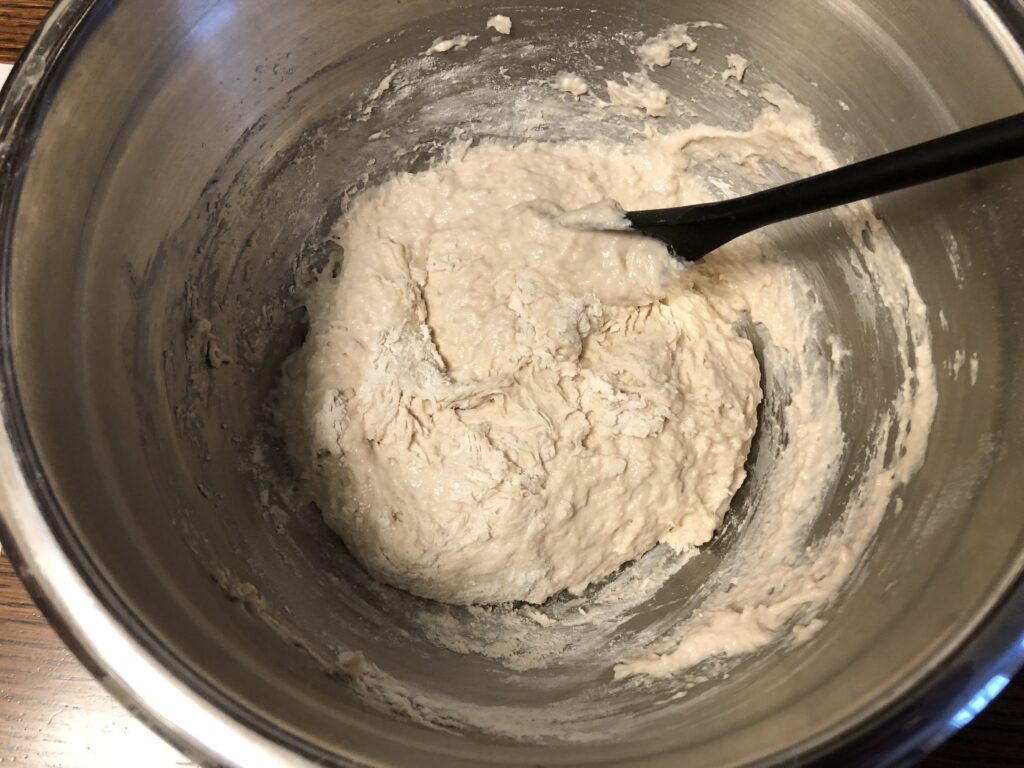
Step 3: Add the milk, sugar, salt and gradually add 3 cups of flour, mixing after every 1/2 cup.
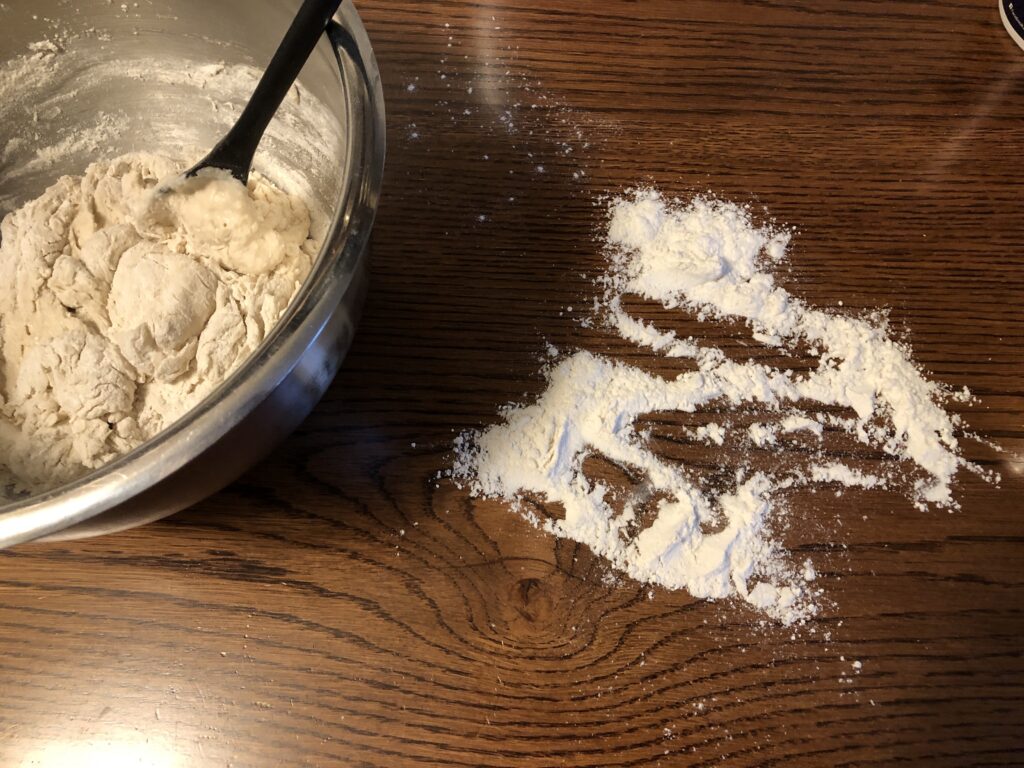
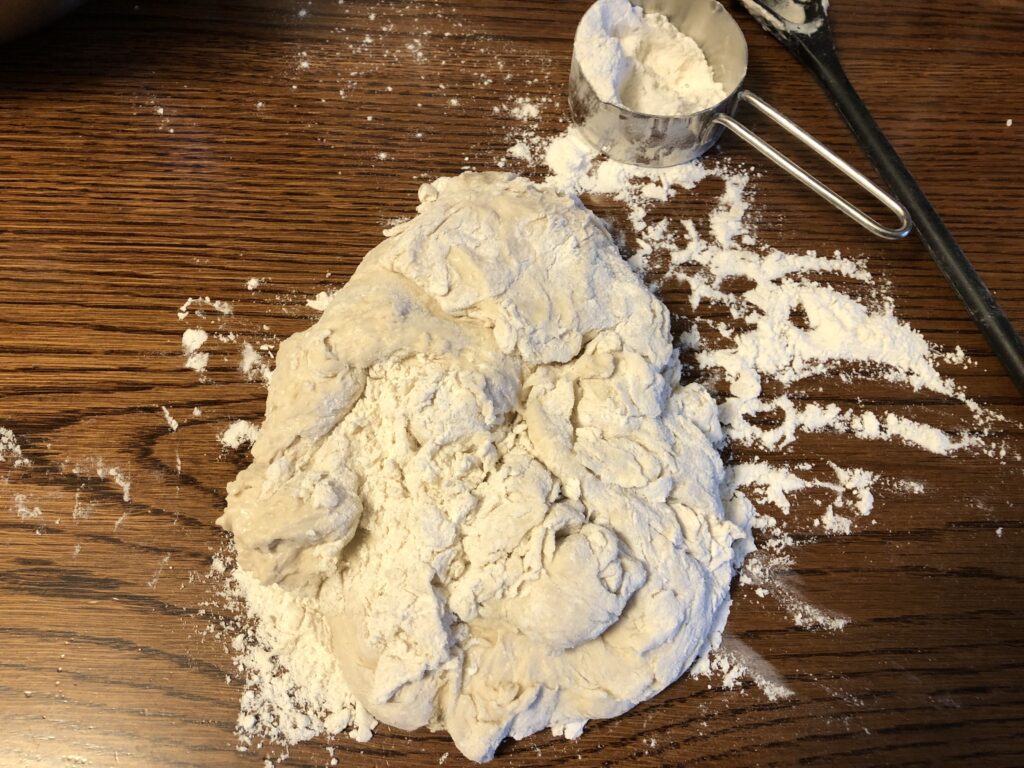
When the dough is too stiff to mix with a spoon, it will still be pretty sticky. Scrape it away from the sides and dump the whole pile out onto the floured surface. You will use about another cup of flour to knead the dough.
Step 4: Knead the dough. Make sure the pile of dough is sitting on about 1/2 cup of flour. The flour will be incorporated into the dough as you work with it. You can add more flour under the dough as needed to keep it from sticking to the table.
Carefully lift and pull the outer edges toward the center of the pile using the flat of your floured hand. Don’t poke into the dough…it will be too sticky.
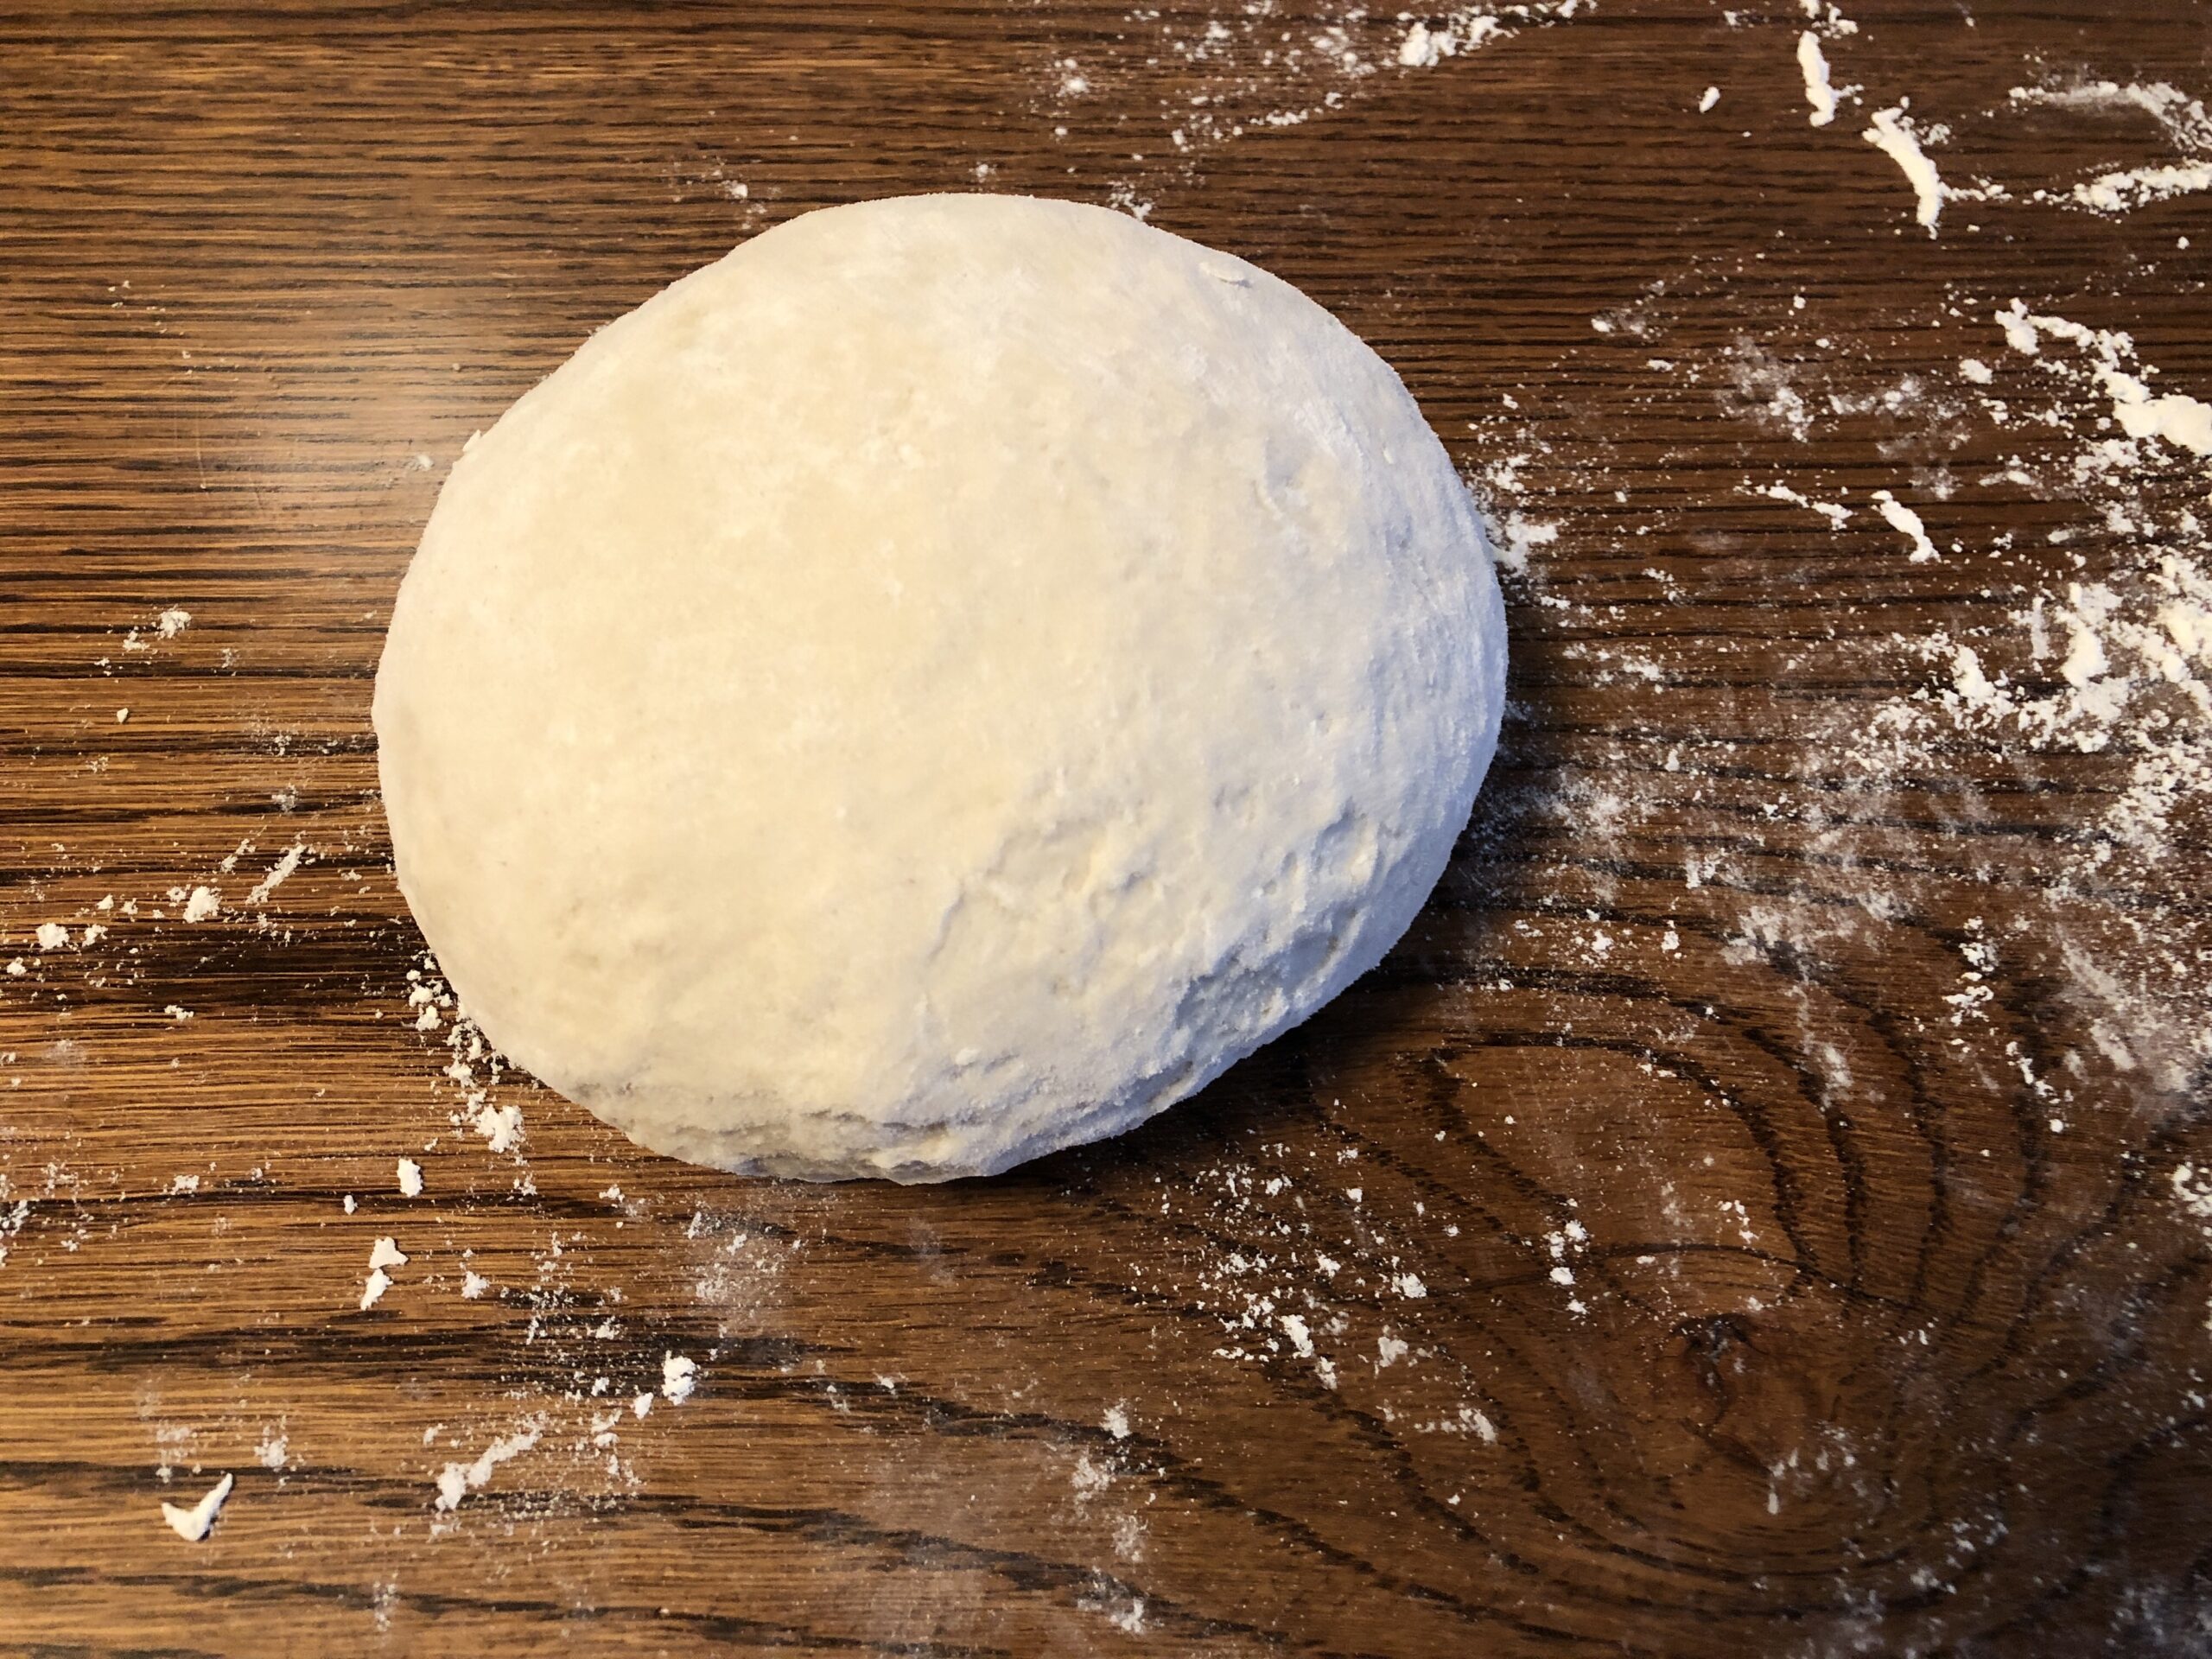
Continue to pull and press the edges of the dough into the middle of the pile, pressing down with the heel of your hand. You will be working your way around the edge. Soon the dough will look smoother, although it will still feel sticky if you poke your finger into the dough. Knead the dough like this for about 5 minutes.
After 5 minutes of kneading, tuck all the edges into the center and turn the ball of dough smooth side up. Let it rest on the table a few minutes.
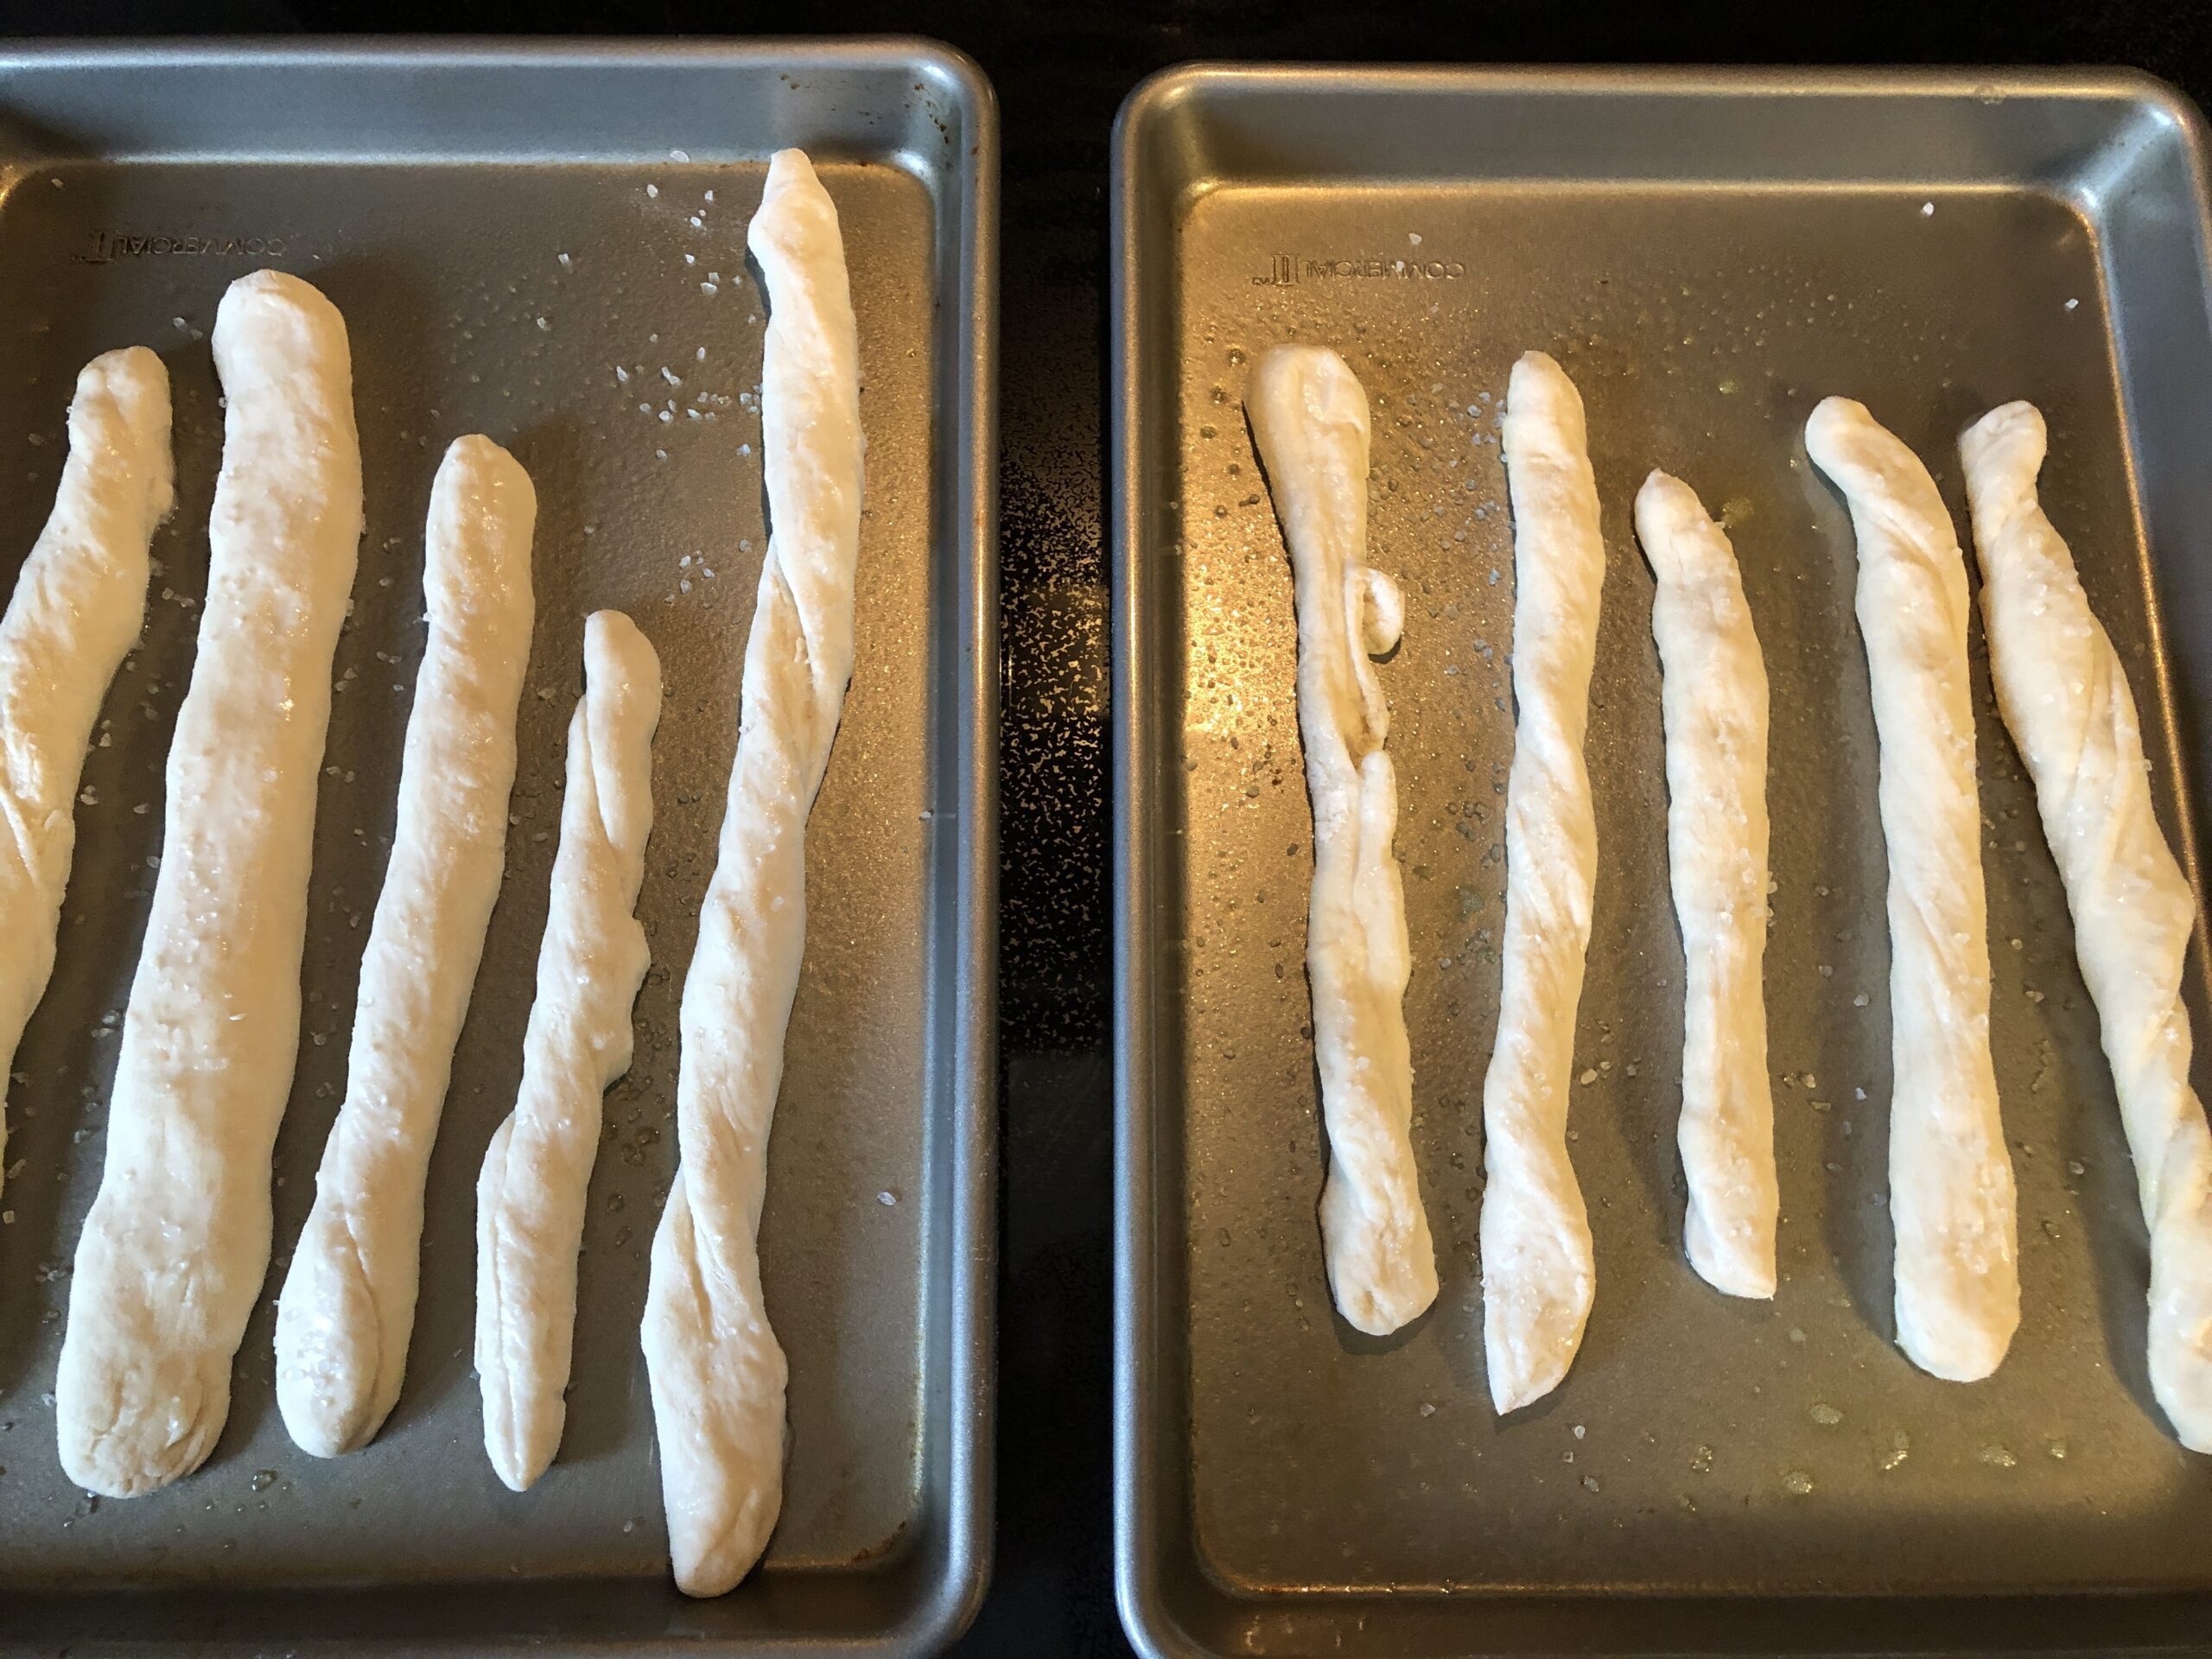
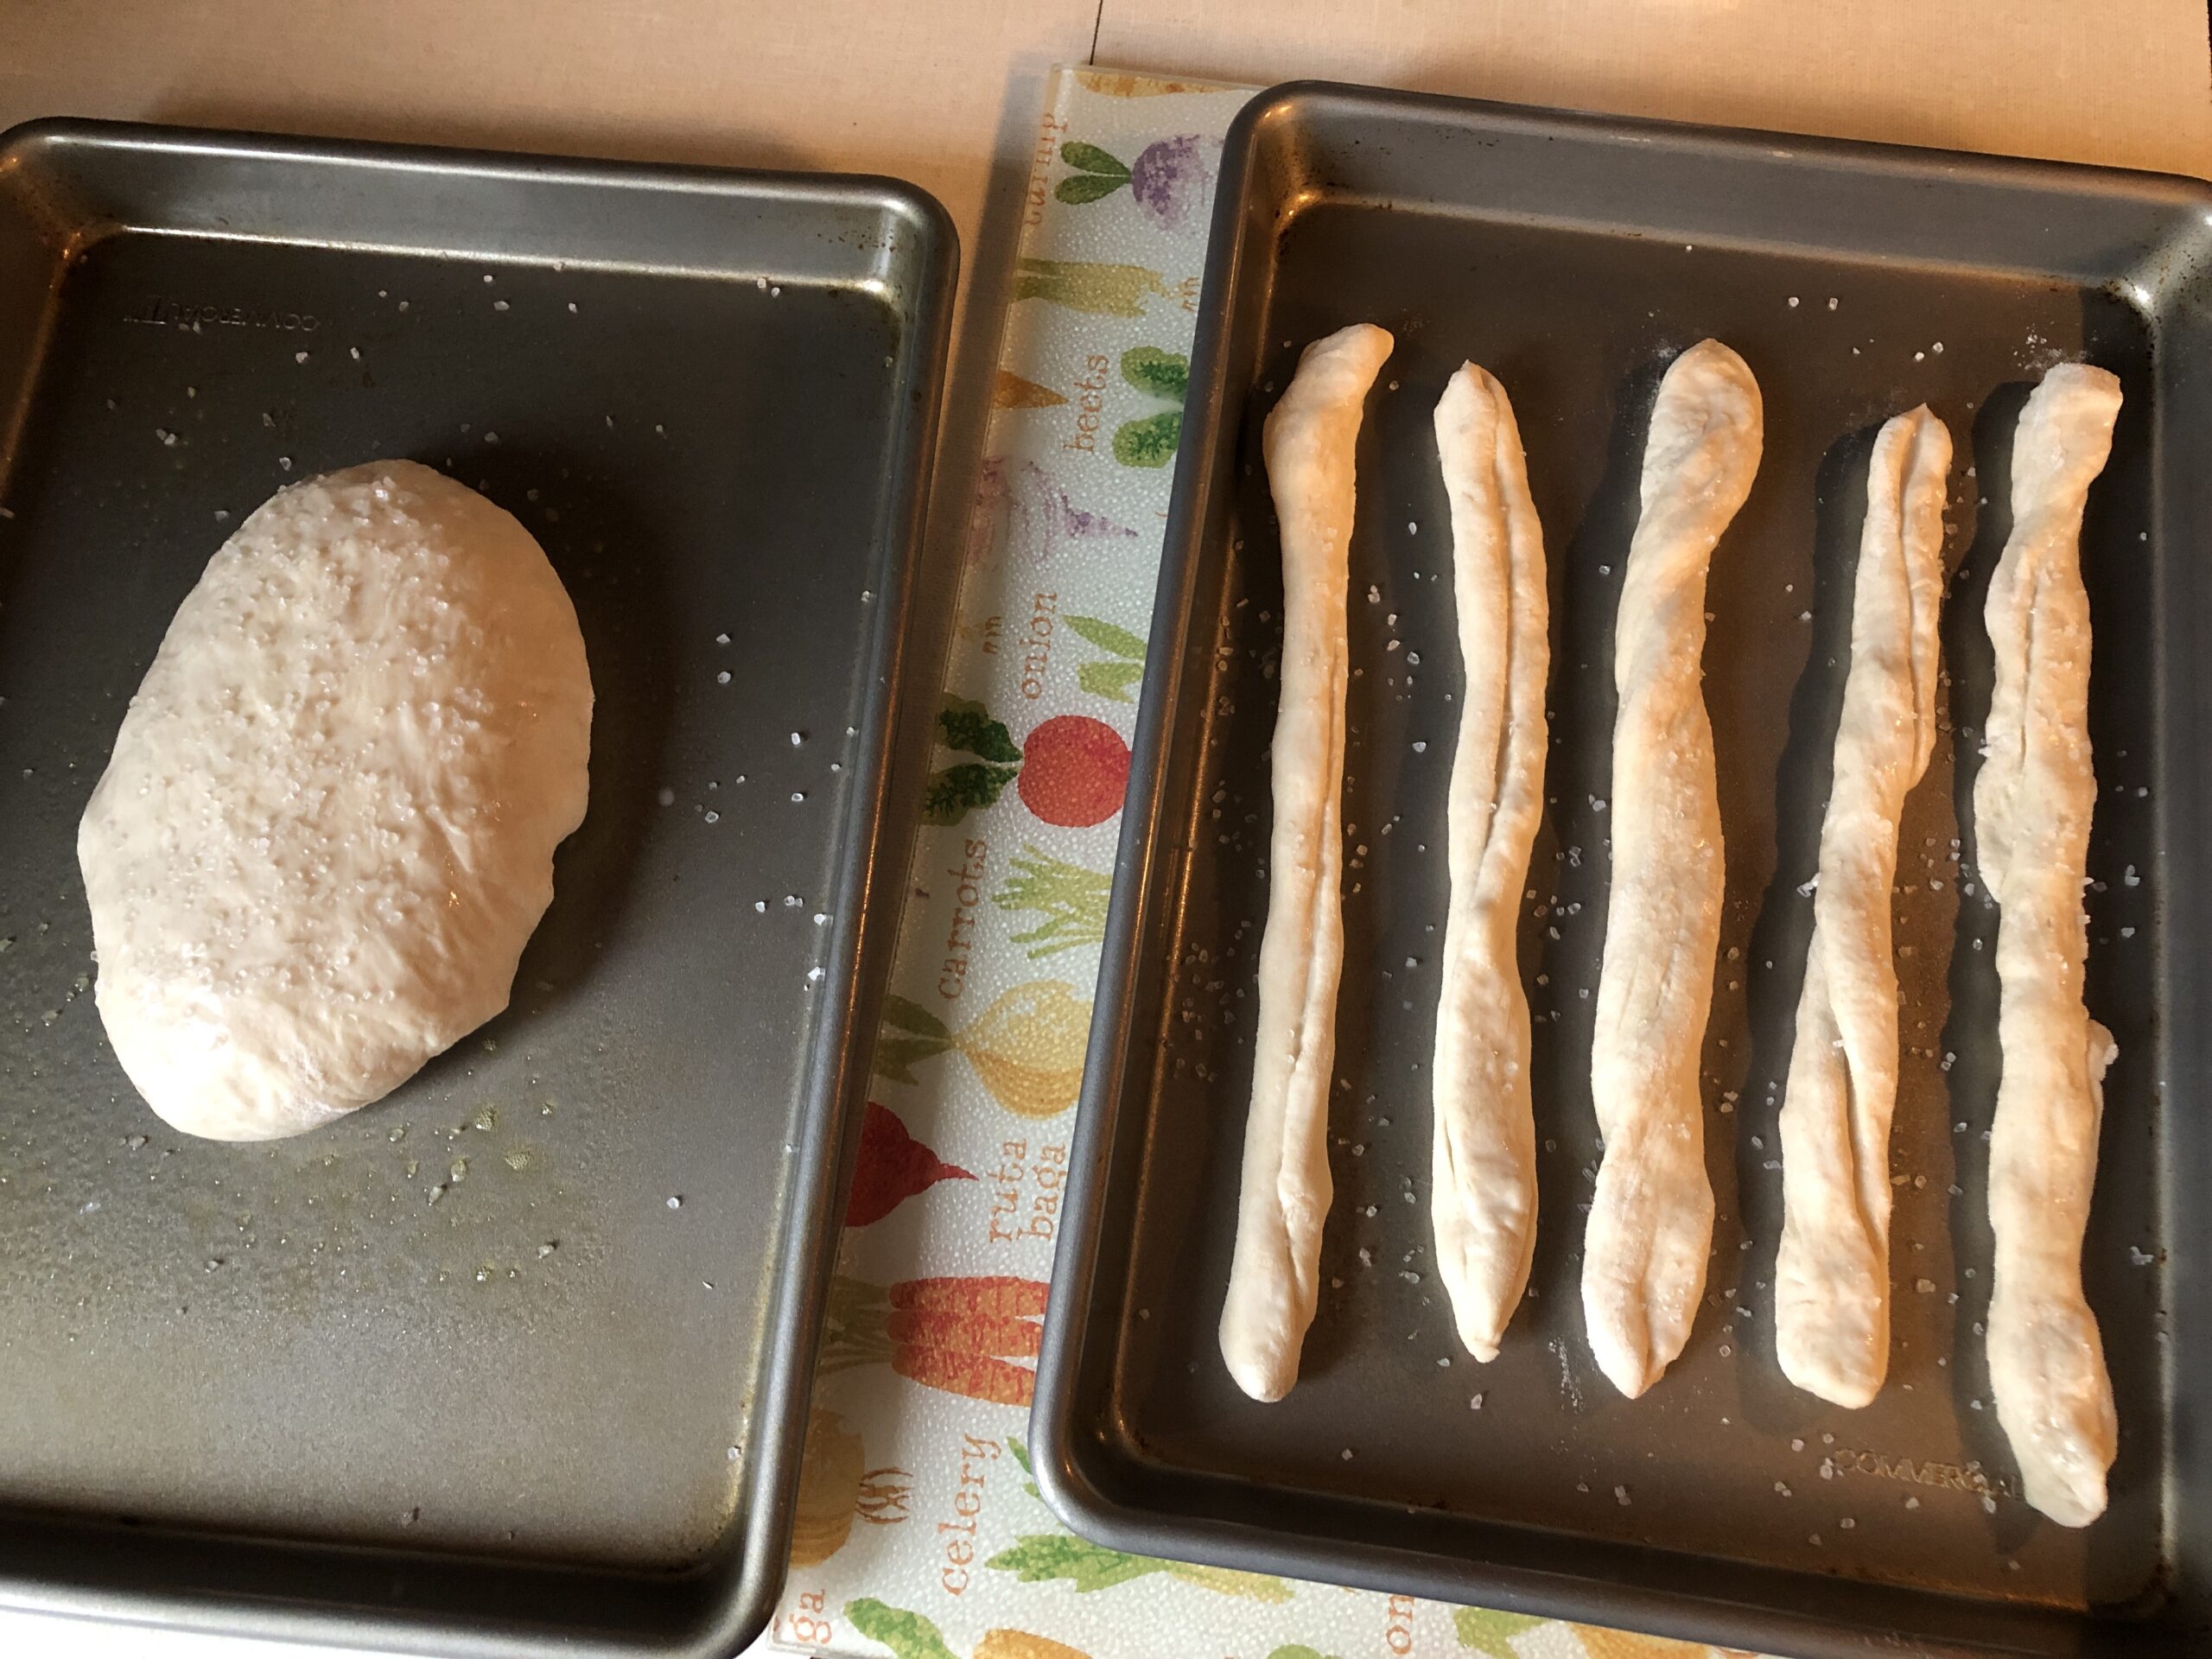
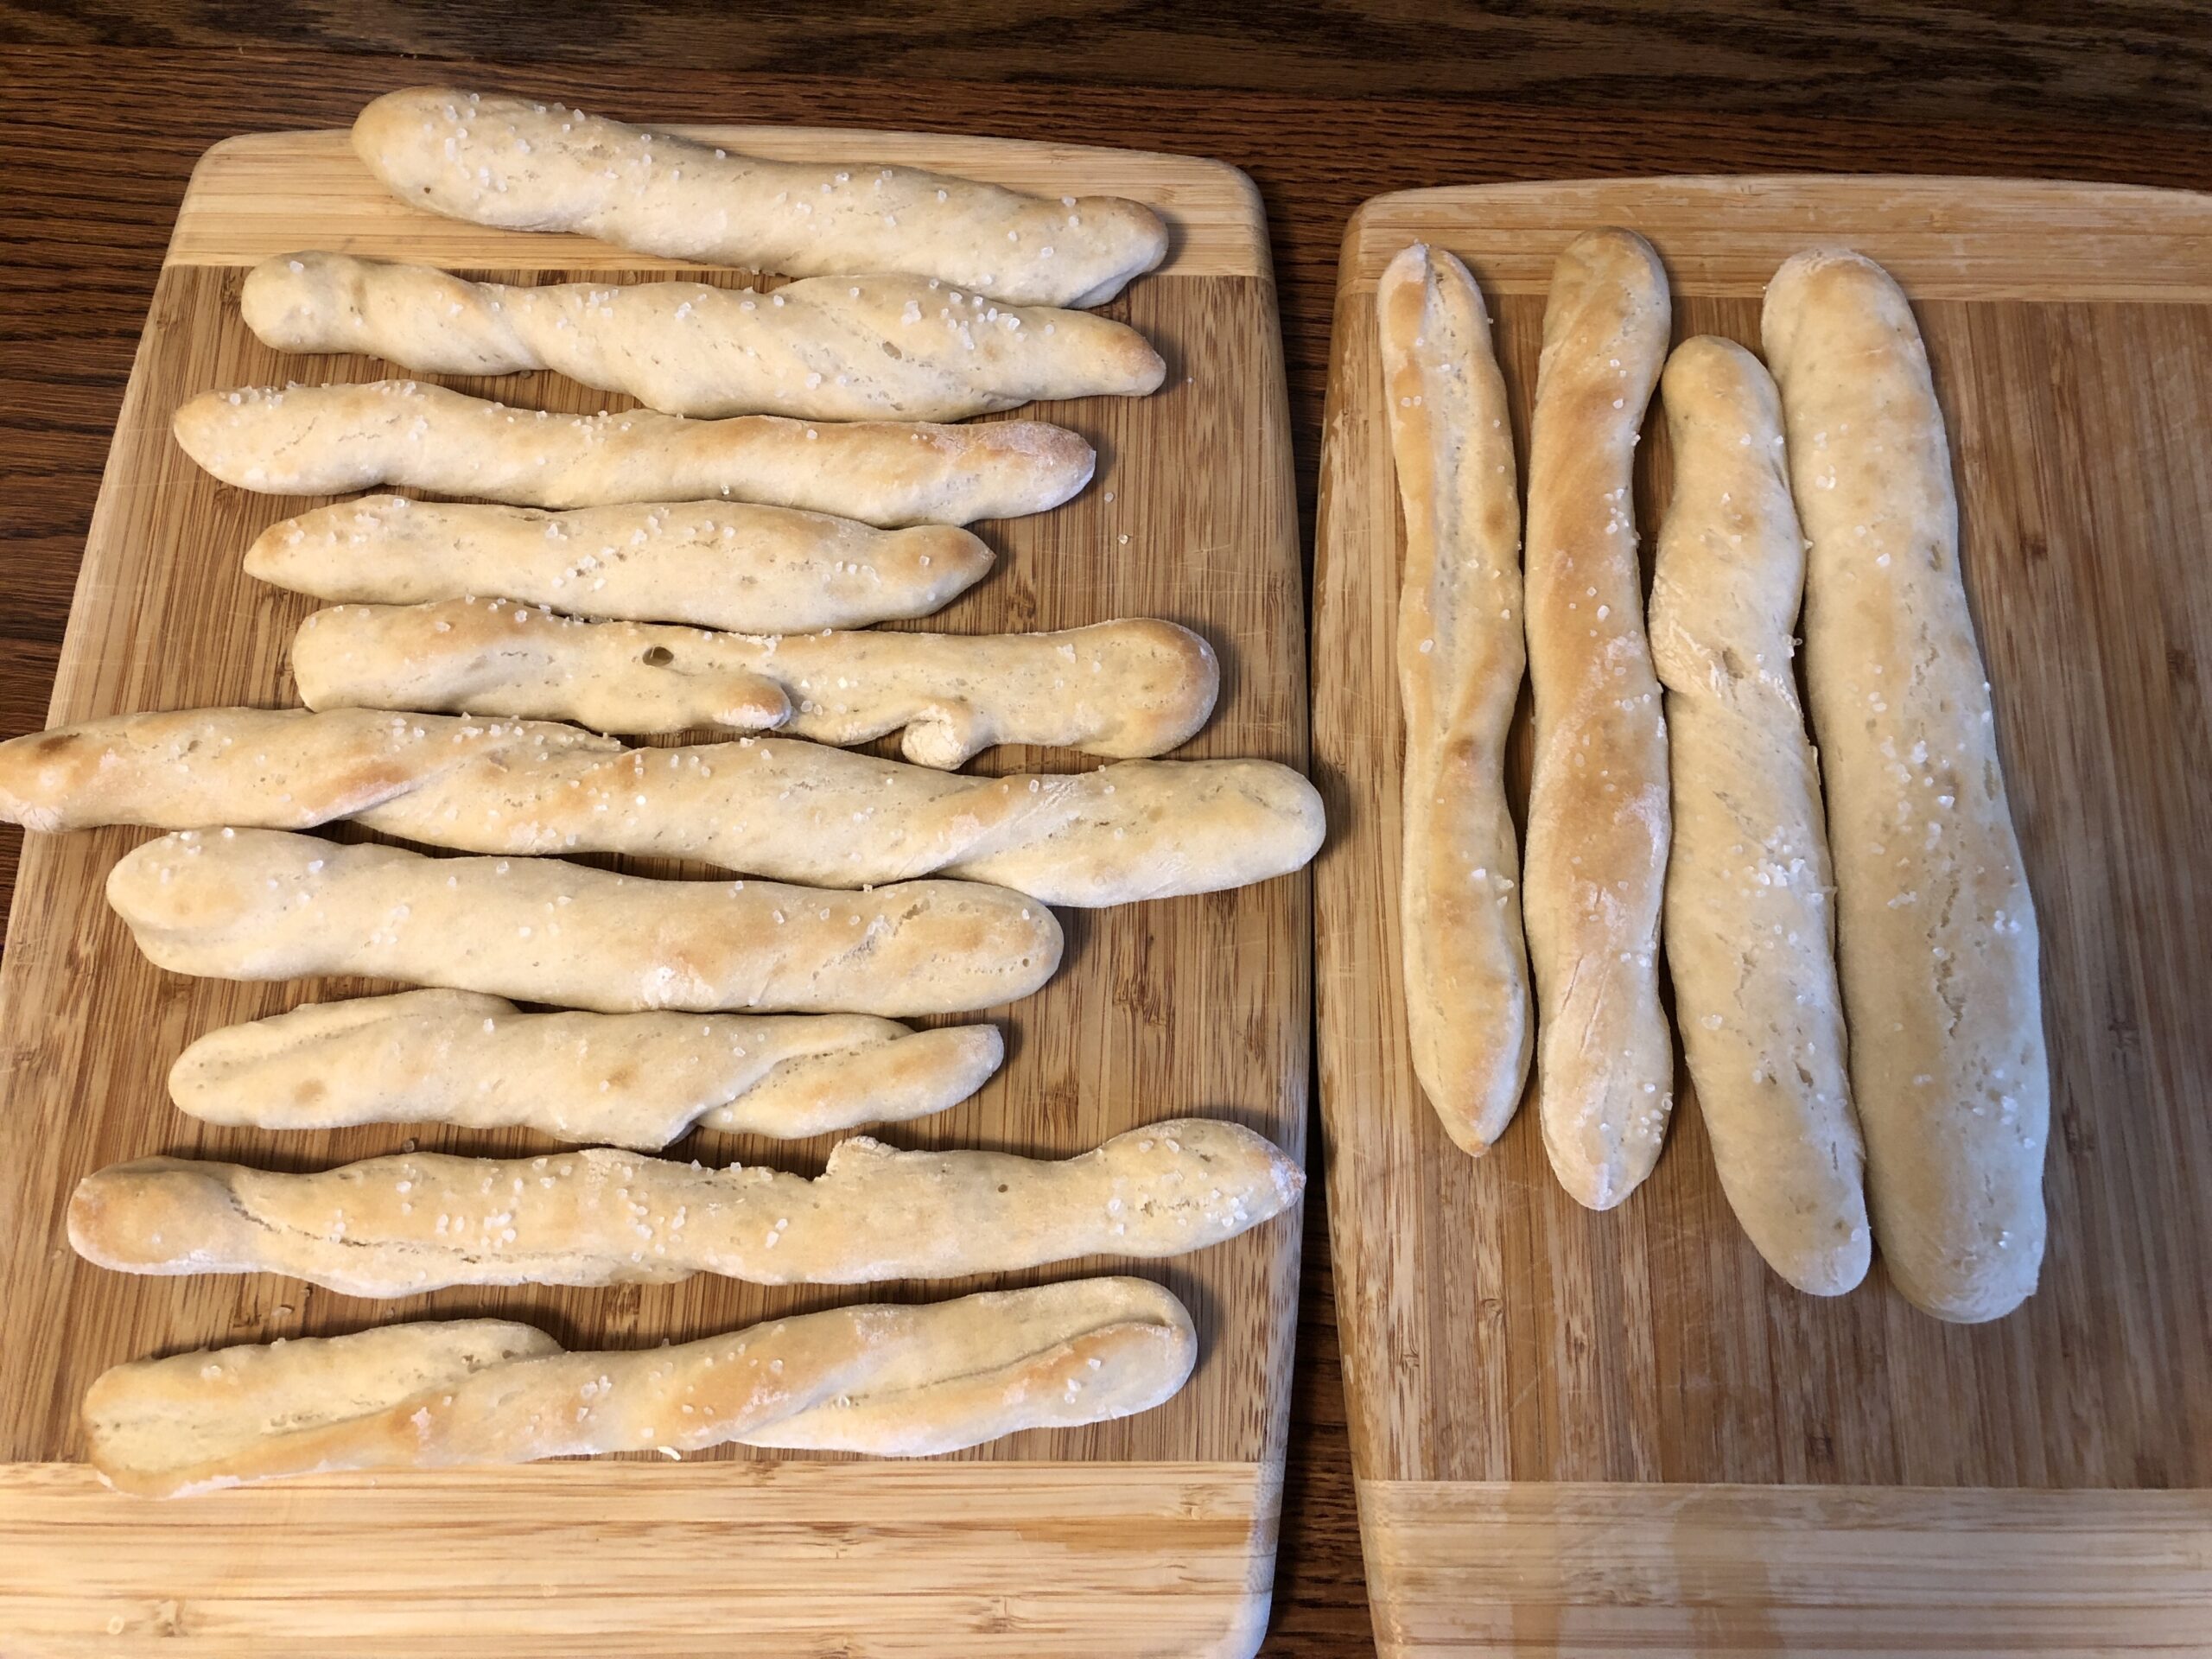
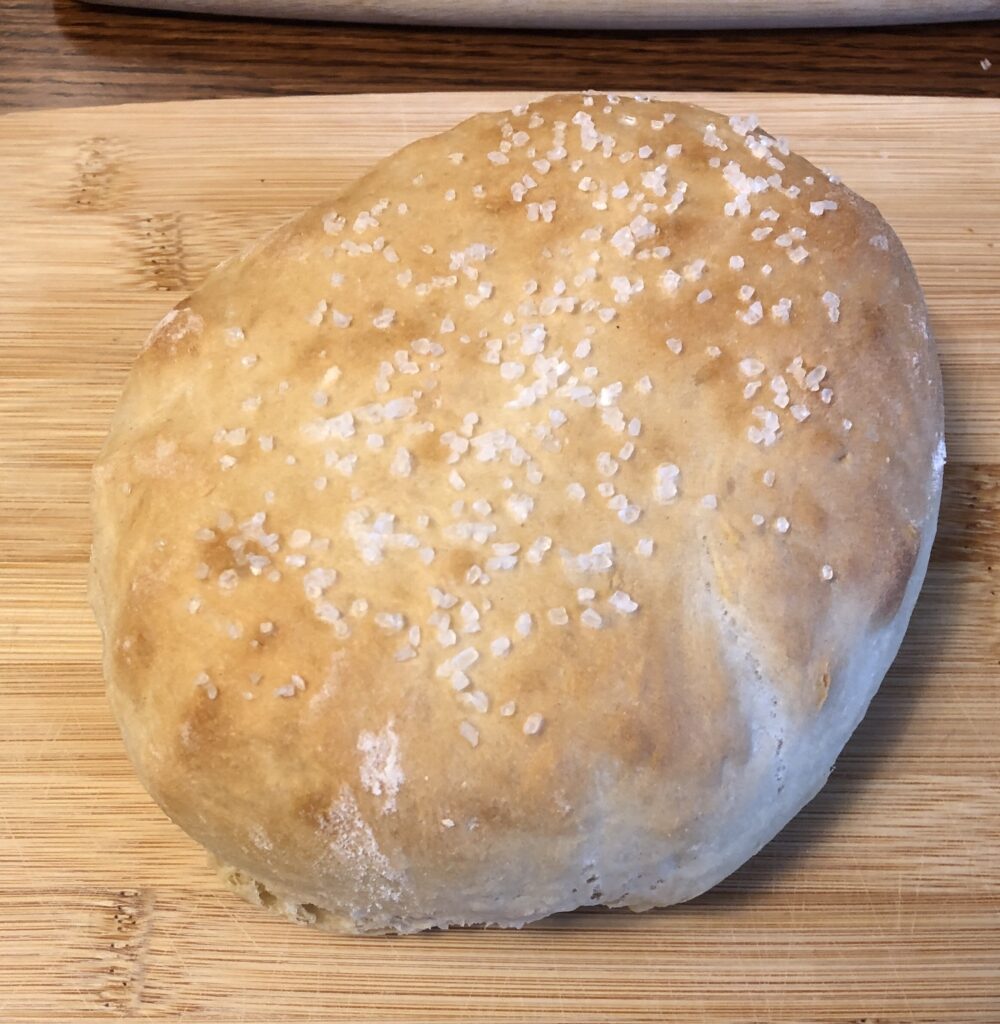
Step 5: Shape the dough. For this batch, I just made pretzel sticks. You could call them bread sticks. After cutting off chunks of dough, I gently stretched each piece, rolling them to make a long stick that fit on my baking sheet. After I made about a dozen sticks, I made a small round loaf of what was left of the dough.
Step 6: Finish the pretzels, by brushing them with milk and sprinkling salt on them. I did the same with the small loaf of bread.
Step 7: Bake 15-20 minutes until golden brown.
I’m sure anyone could do a better job of making pretzel shapes than me, but I think the “pretzel bread” could be interesting toast!
I hope these instructions are useful for Emily, Anna and others as a simple yeast bread recipe. Enjoy!!
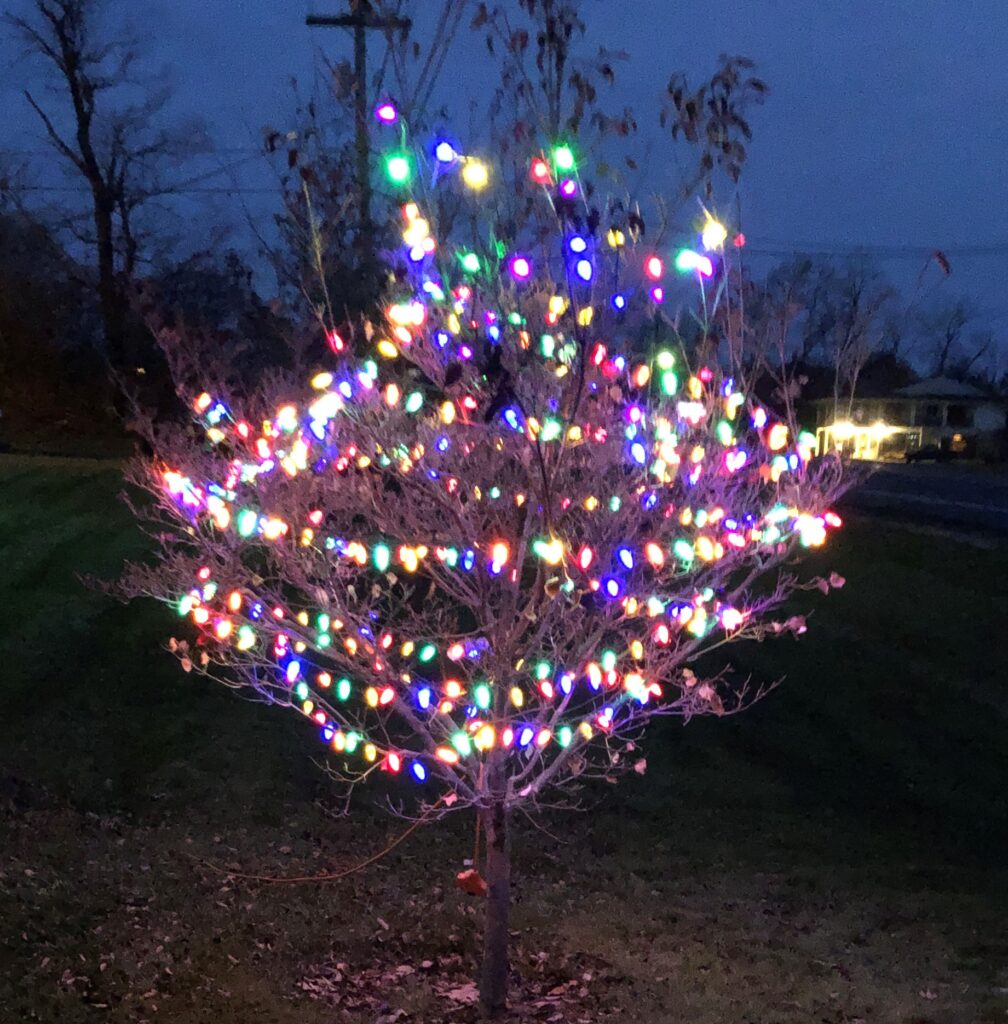
Christmas celebrations this year were spread out over several weeks with luncheons with my Fire Company Auxiliary friends and a group of my High School friends. Decorations in the neighborhoods were either understated or “over the top.” Ours were pretty simple outside:
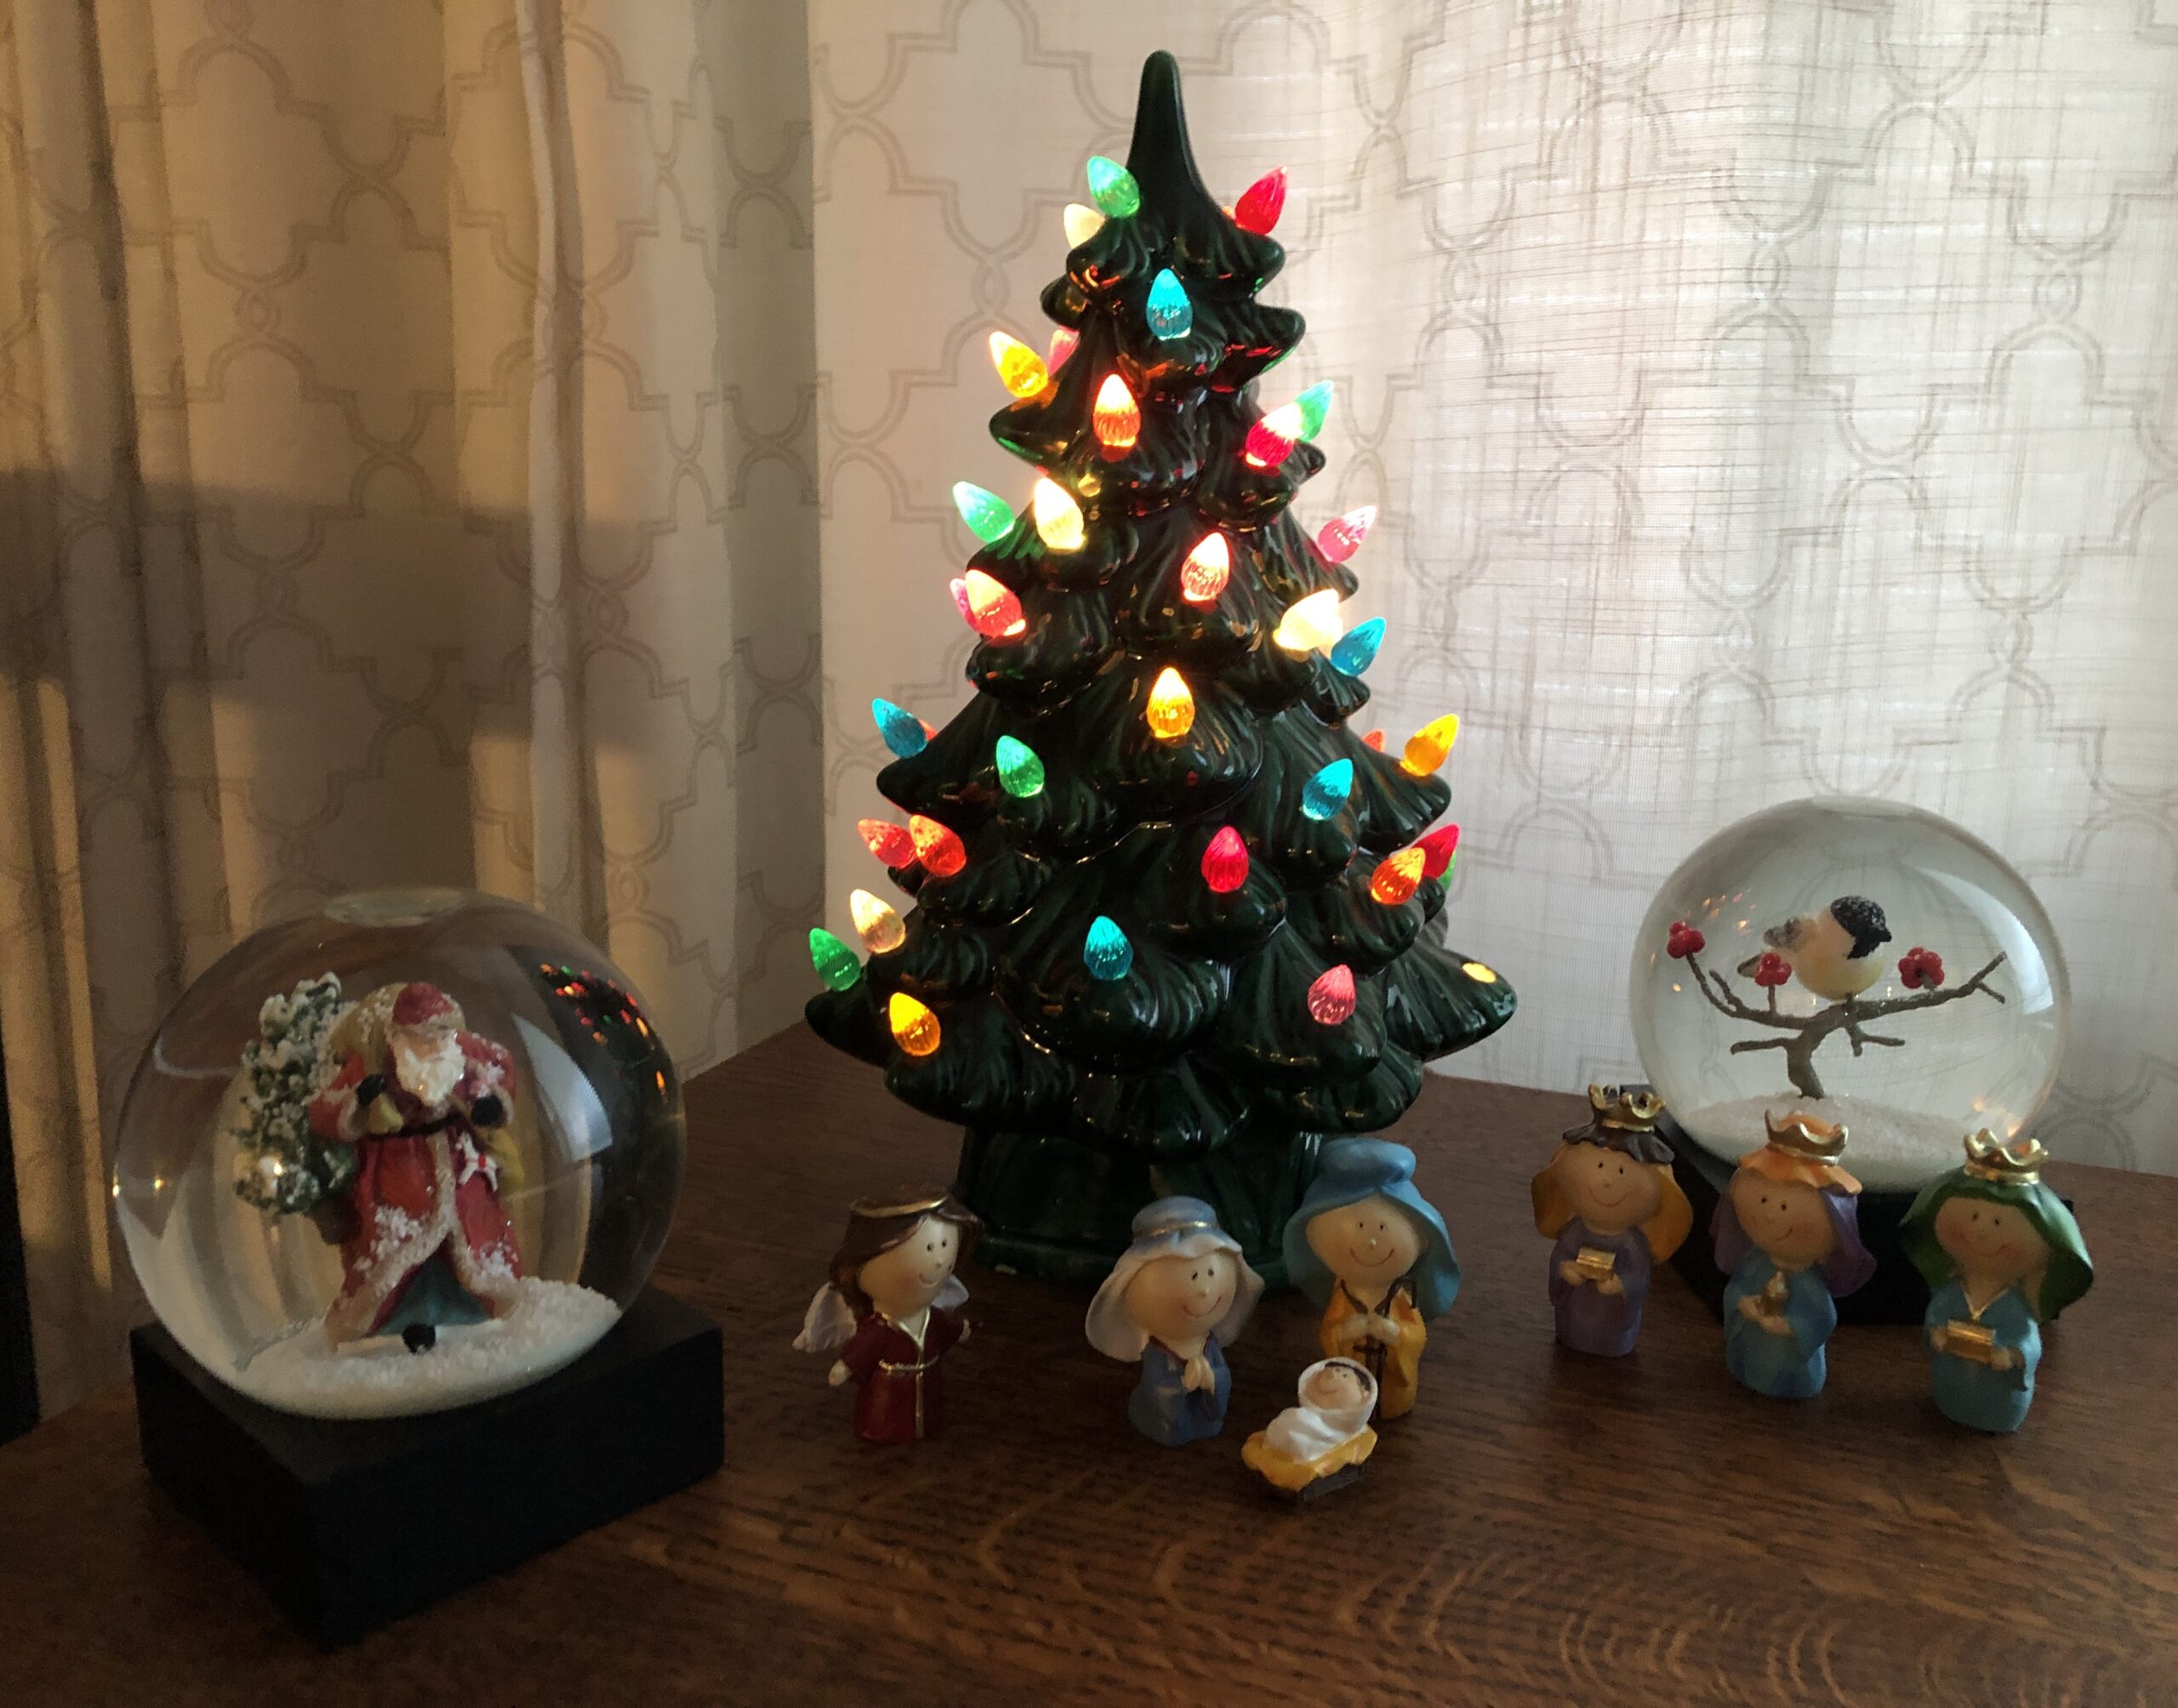
Even our inside decorations were understated:
When I’m asked if I decorate for the holidays, I usually mention that during the month of December I’m often sewing greyhound coats and other assorted Christmas gifts. I have the Hallmark Channel on while I sew. That means every two hours I have a chance to watch folks decorate a tree, sing Christmas carols and eat Christmas cookies. By the time Christmas rolls around, I’m decorated OUT!
Ted’s family didn’t travel east this year because he had a 3-week opportunity to fly to the Atacama Desert in Chile to help set up a telescope at the Simons Observatory. It’s at 17,000 feet, so everyone had to wear “oxygen concentrators” mandated by Chile’s equivalent of OSHA. Quite the adventure!
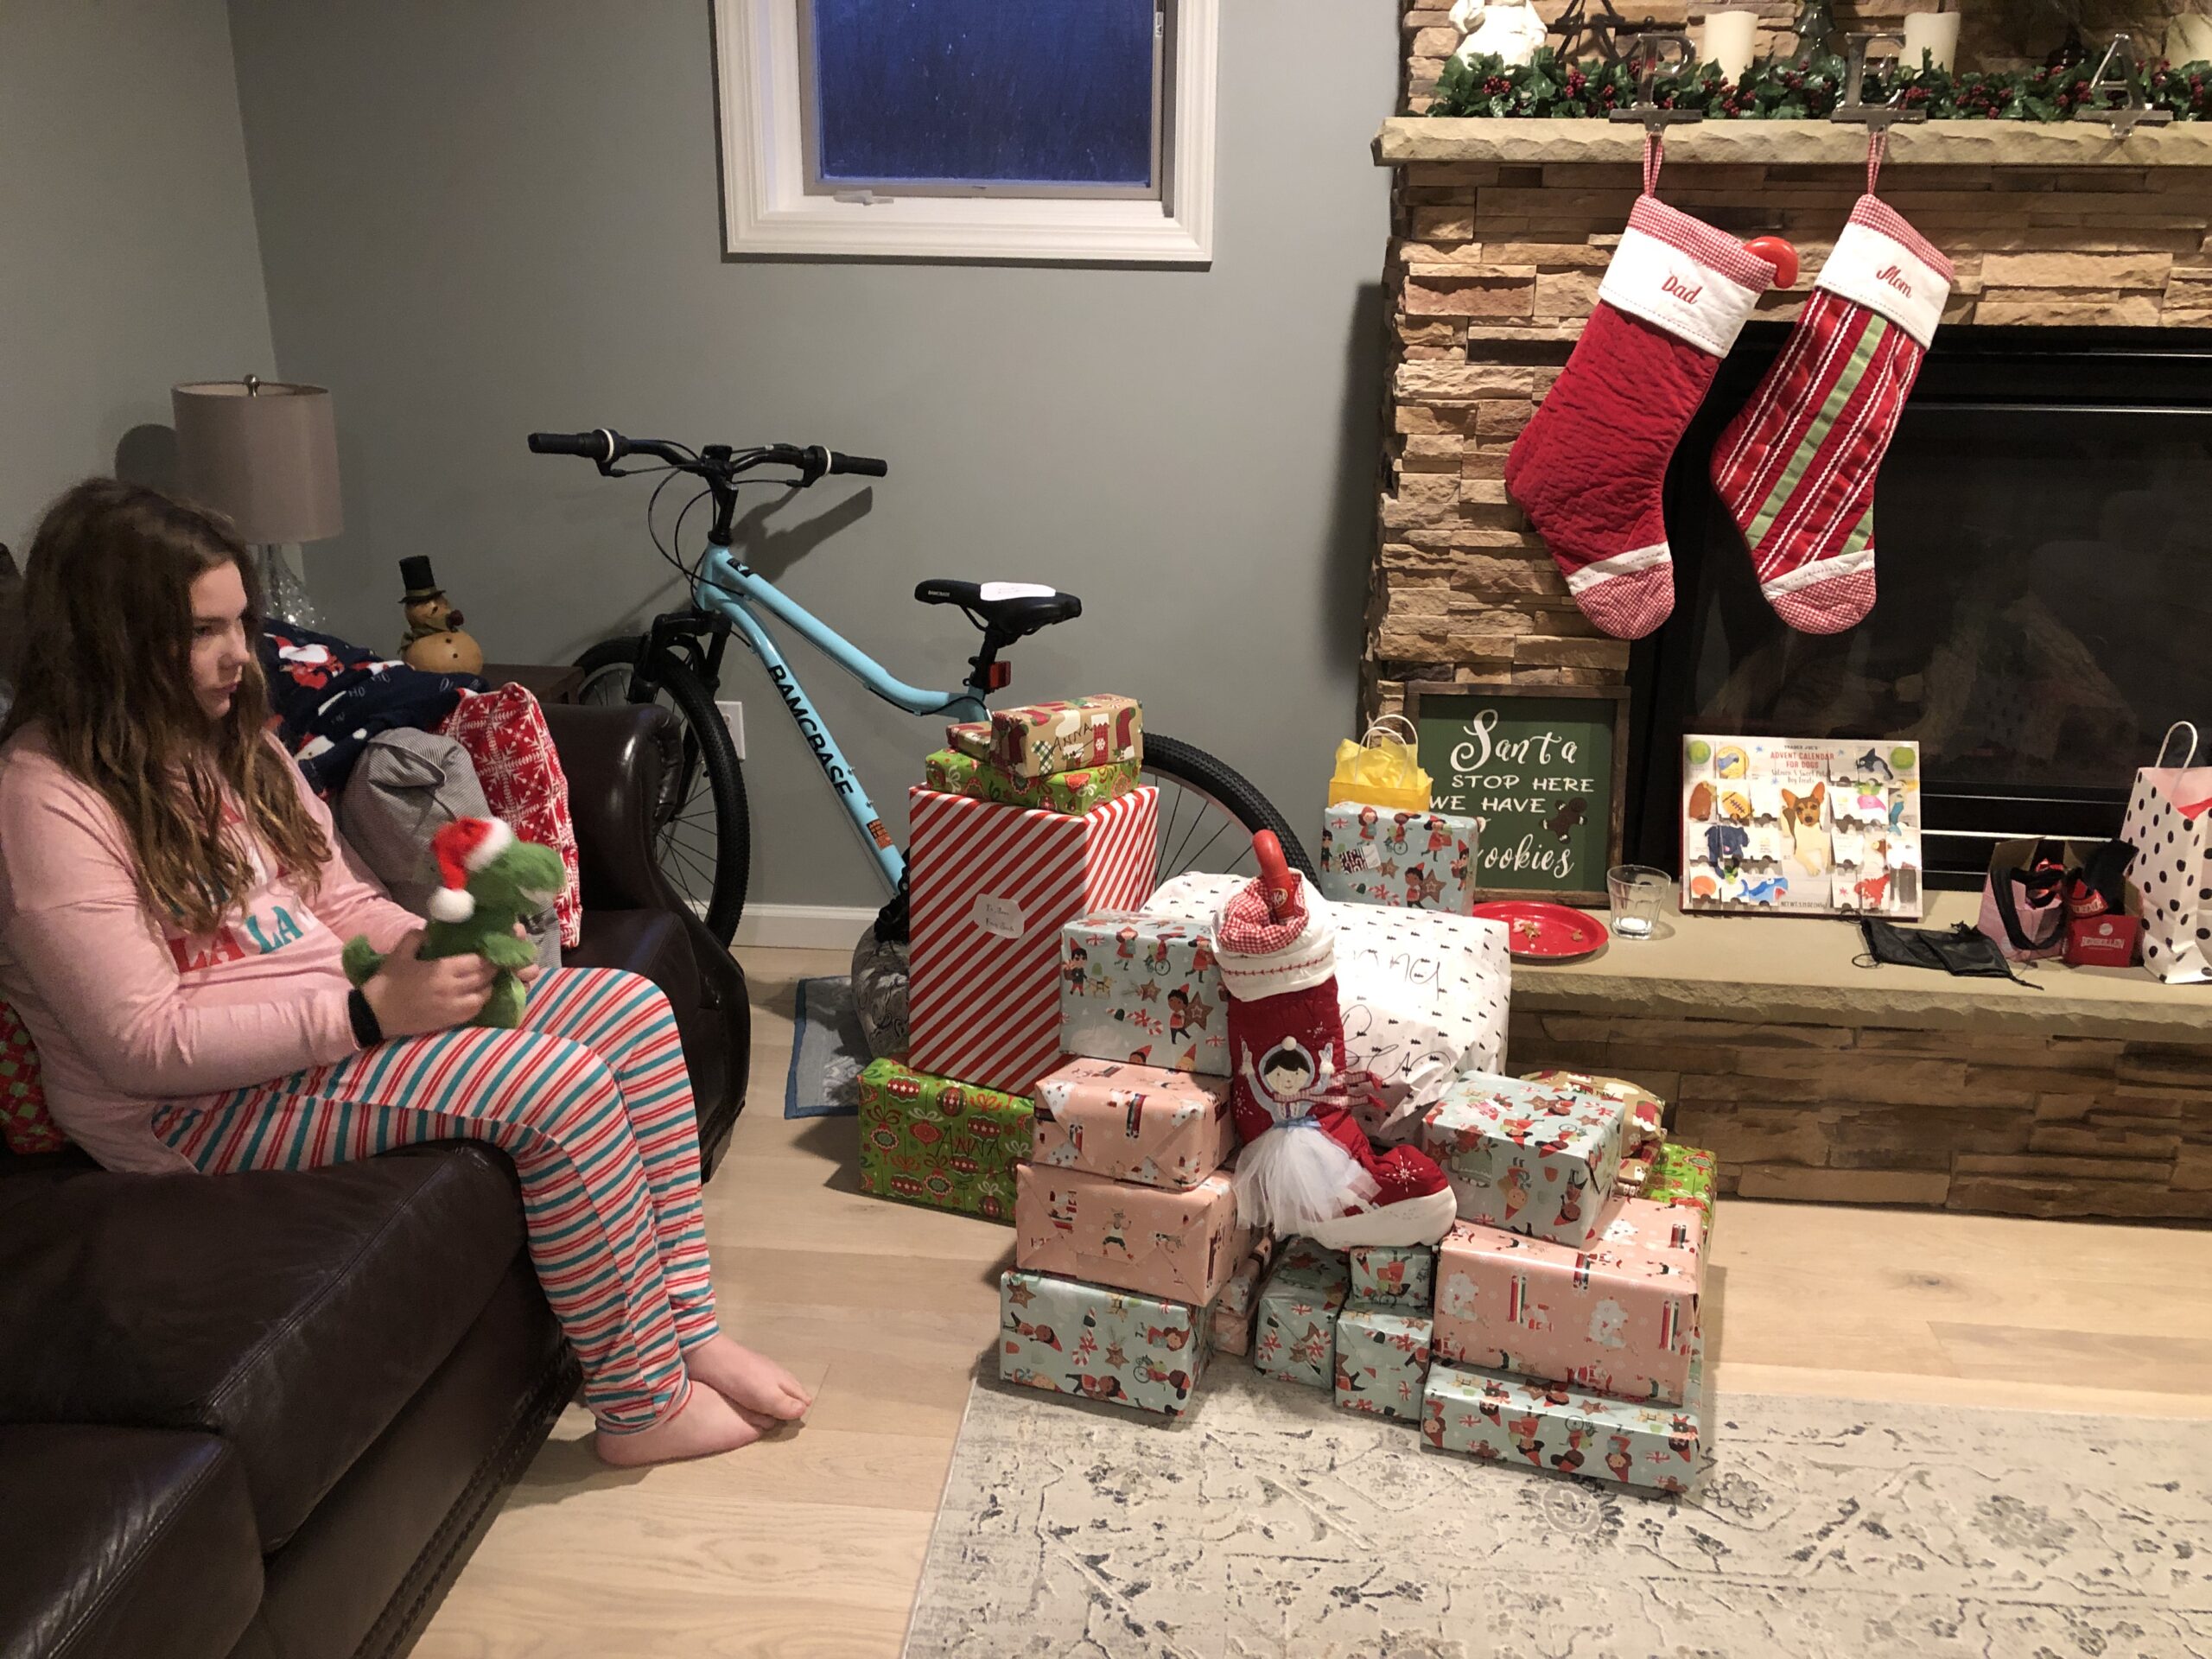
This year we drove to Kathy’s home on Christmas Eve day and enjoyed 24 hours with her family.
Anna was almost awake to notice her new bike!
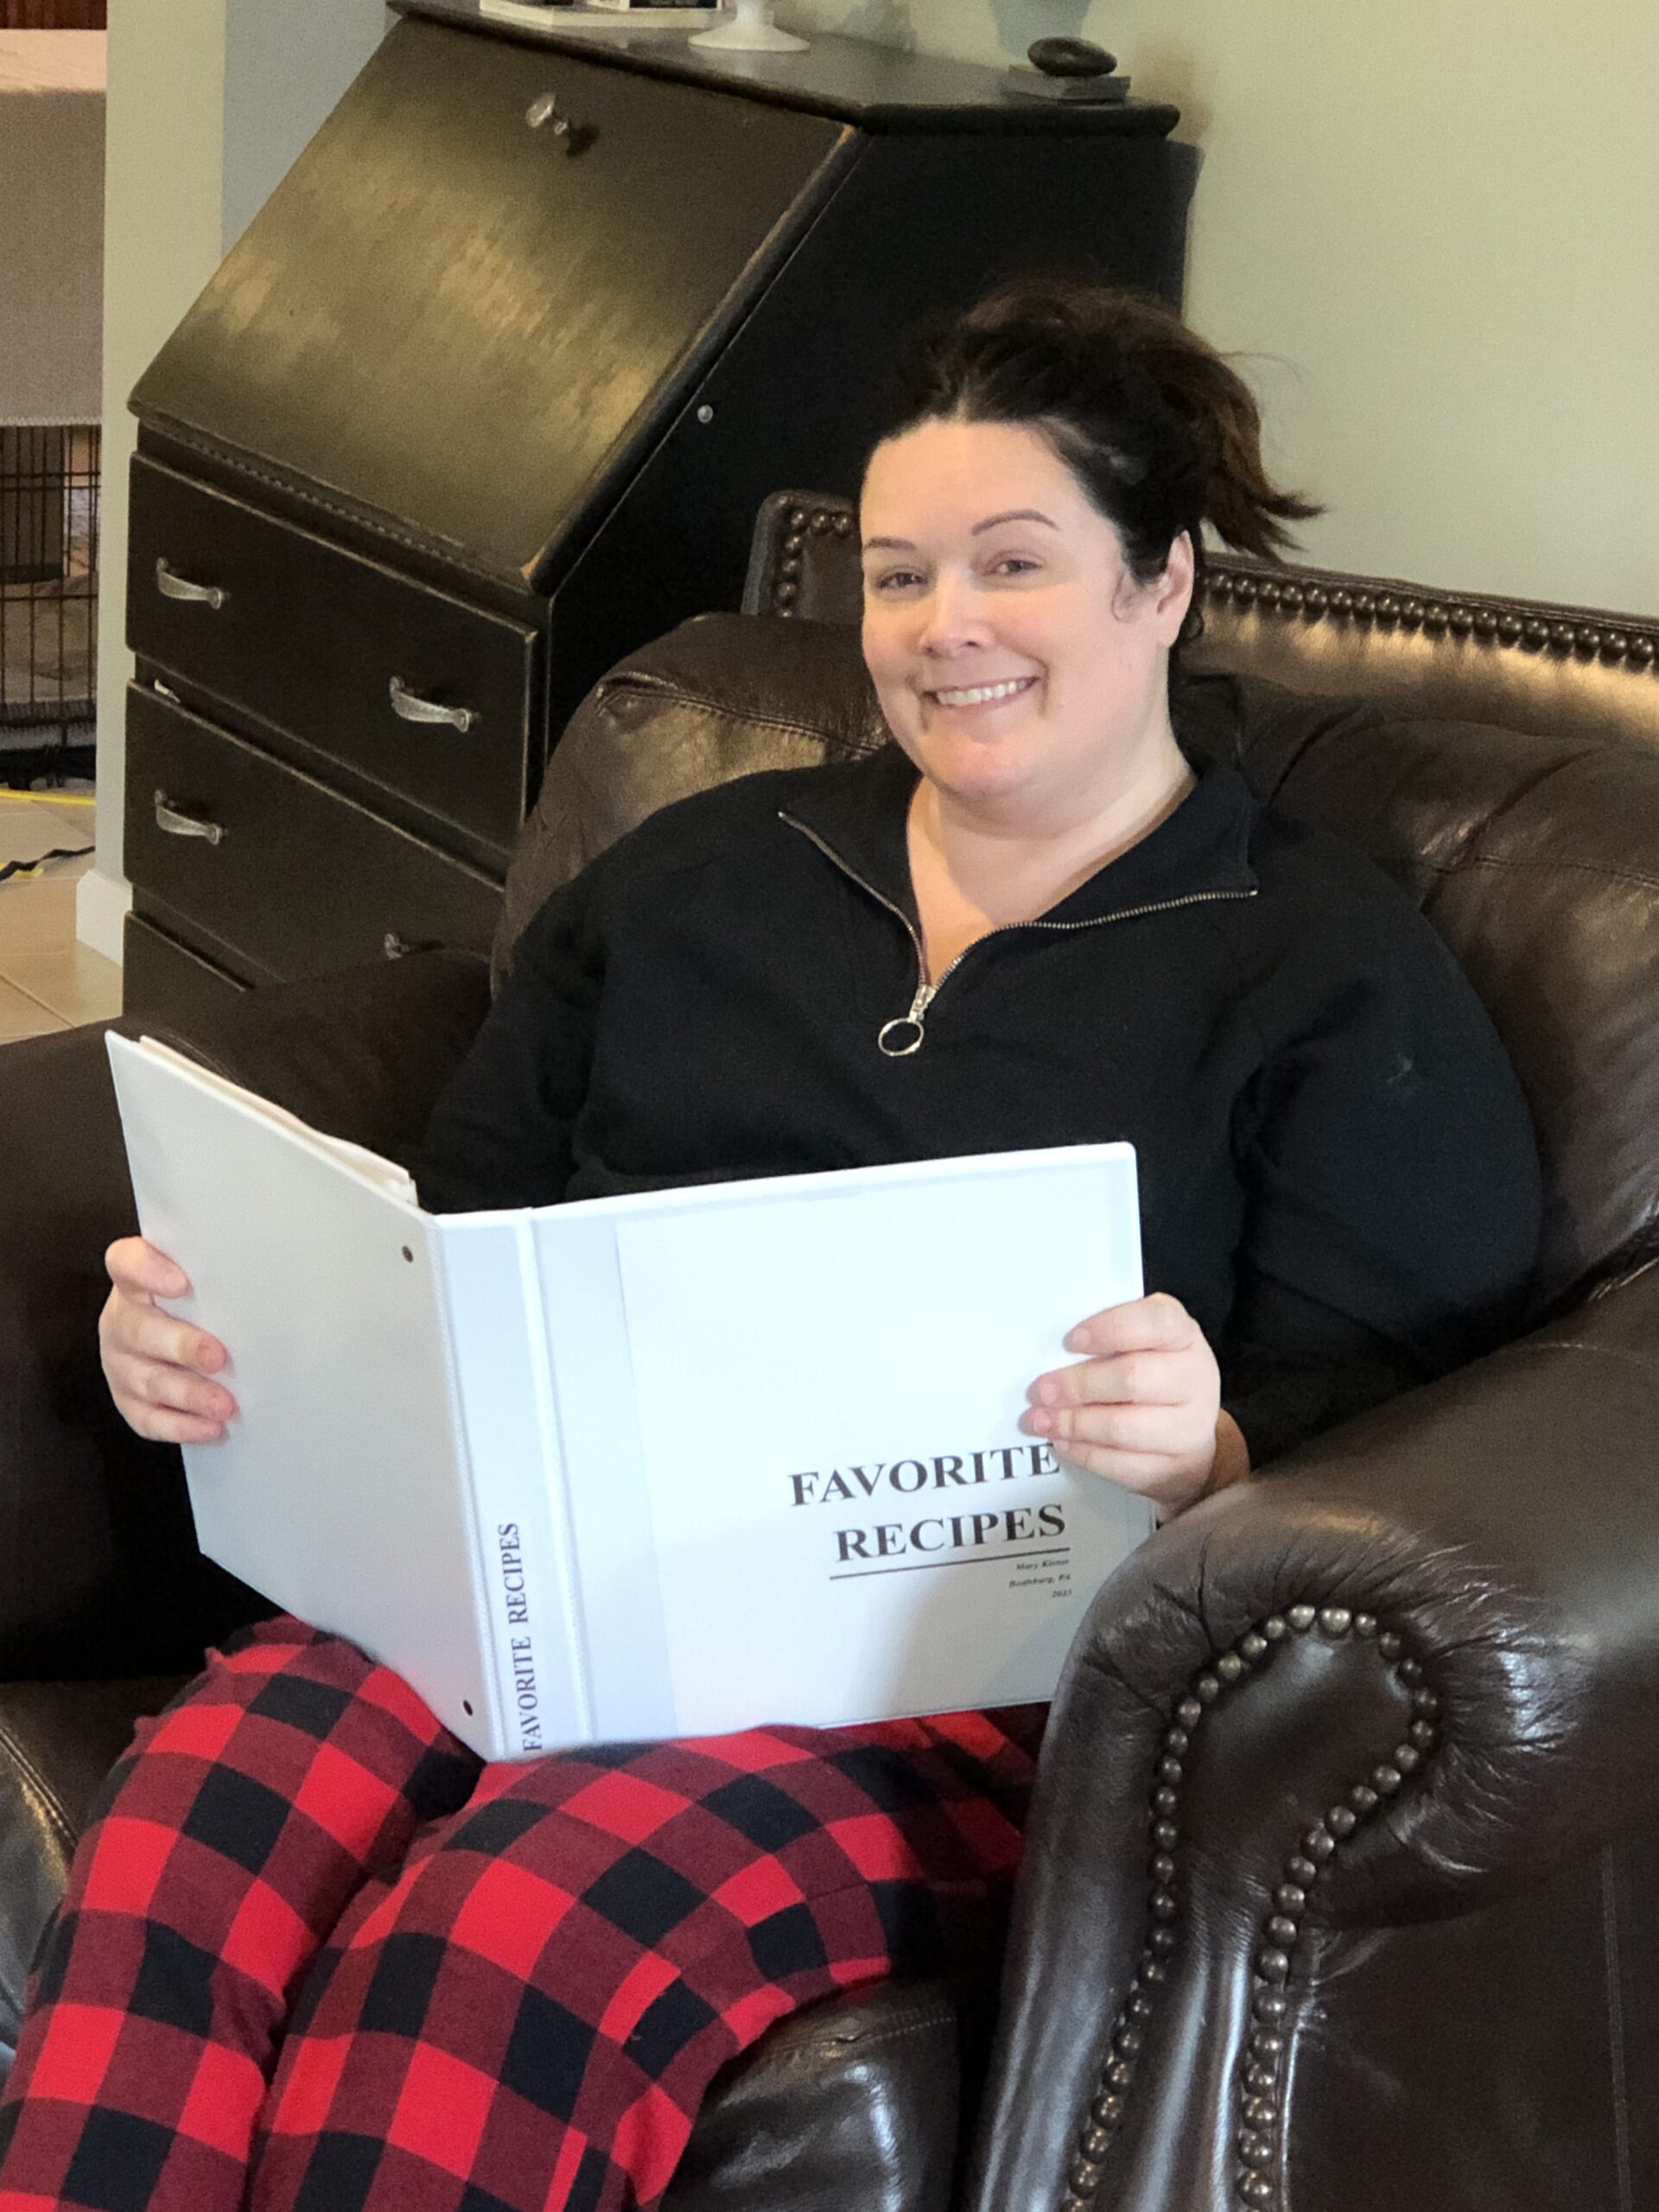
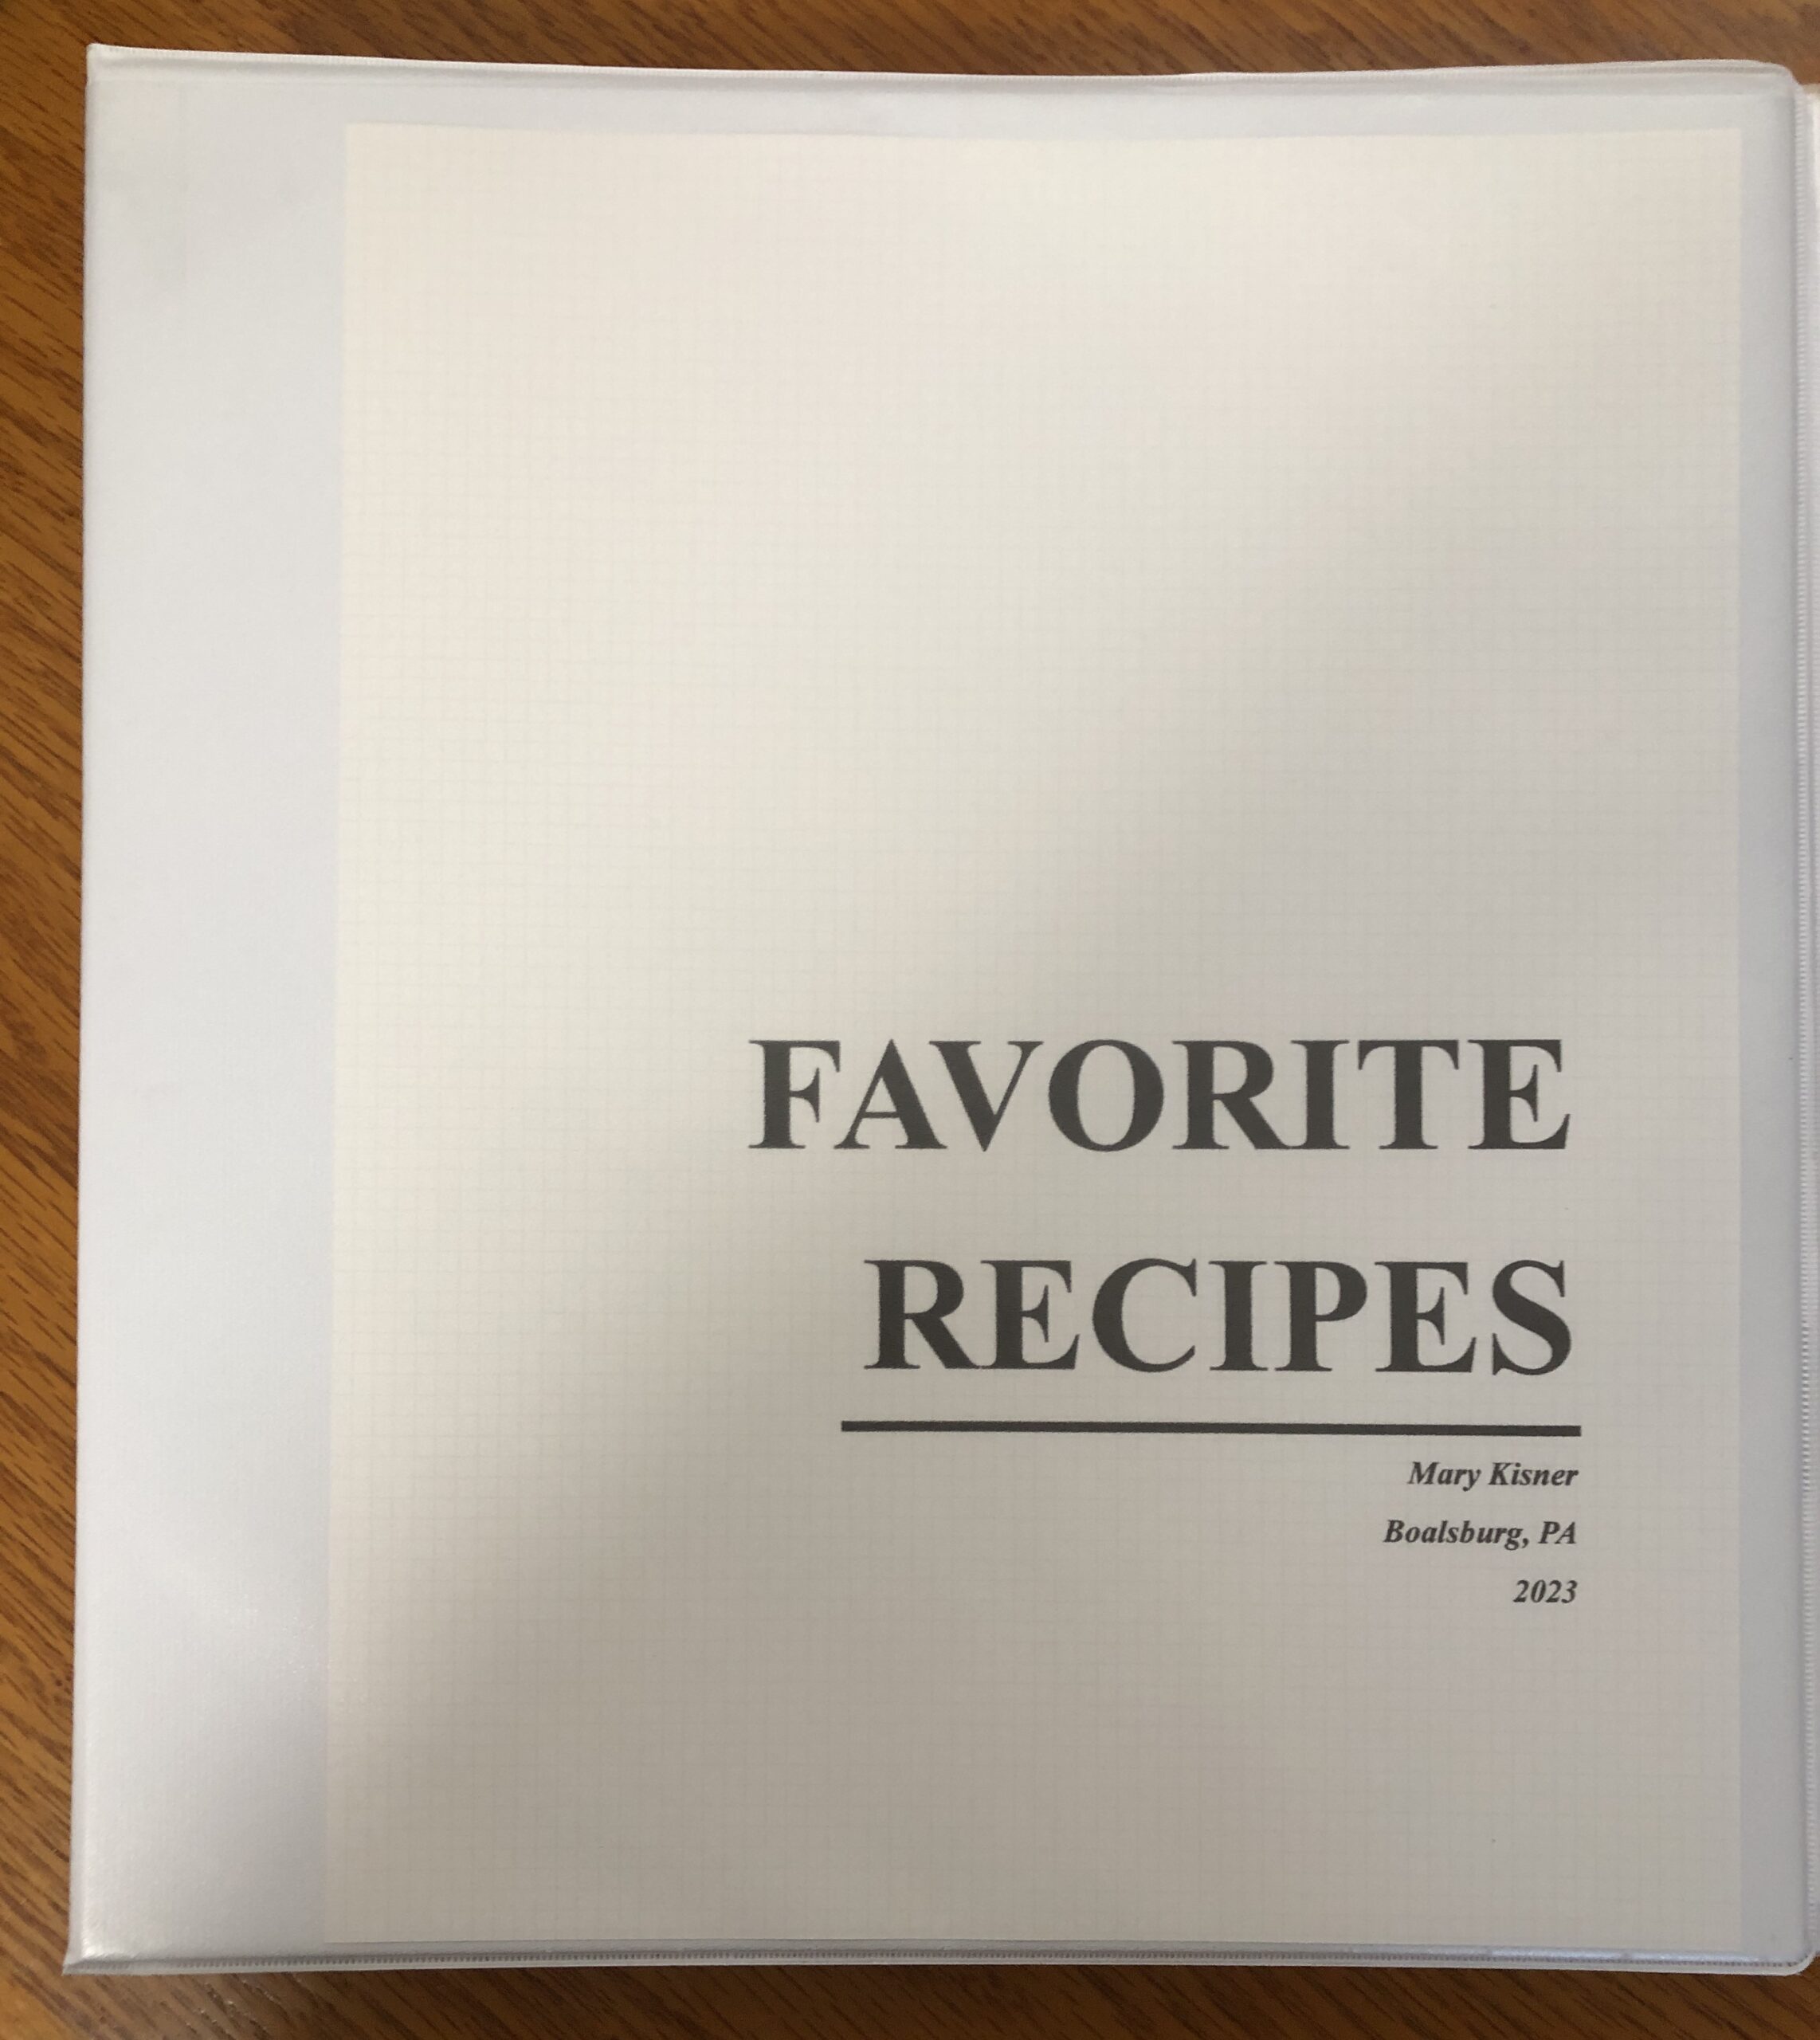
My notebook of Favorite Recipes was a hit!
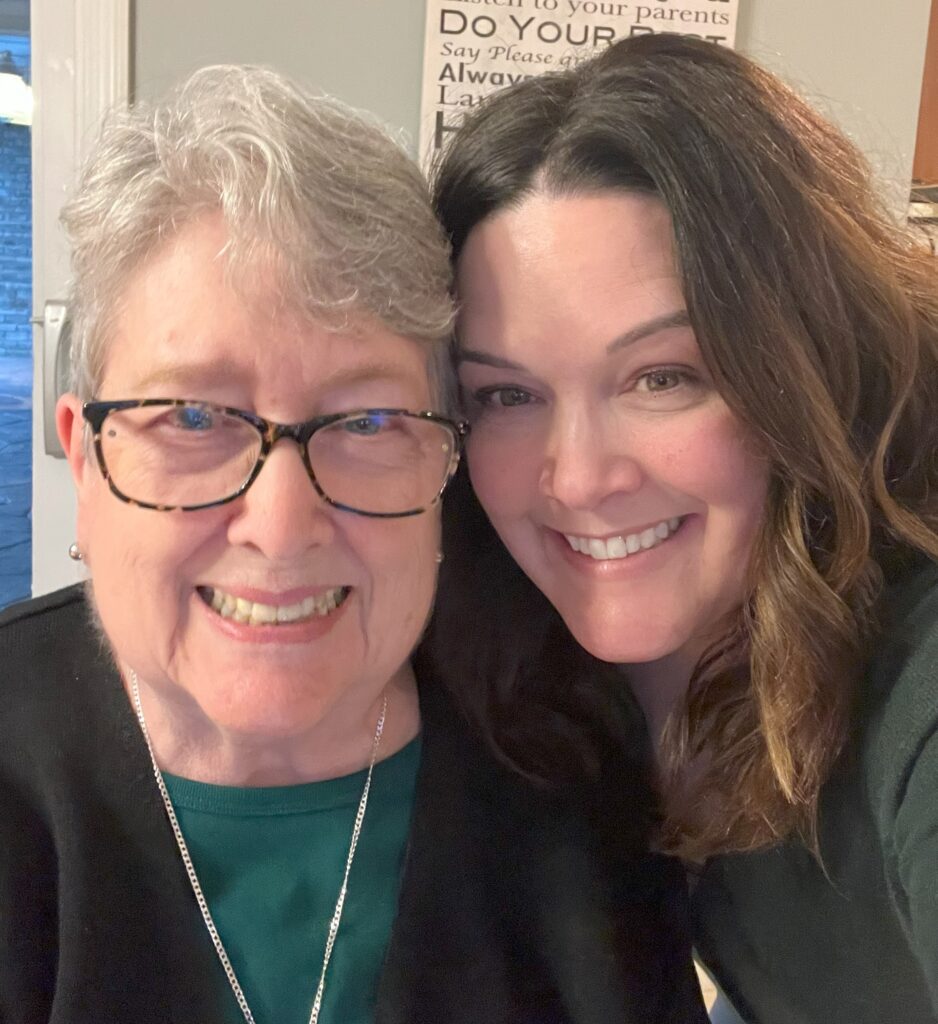
Kathy managed to capture “selfies” of us!
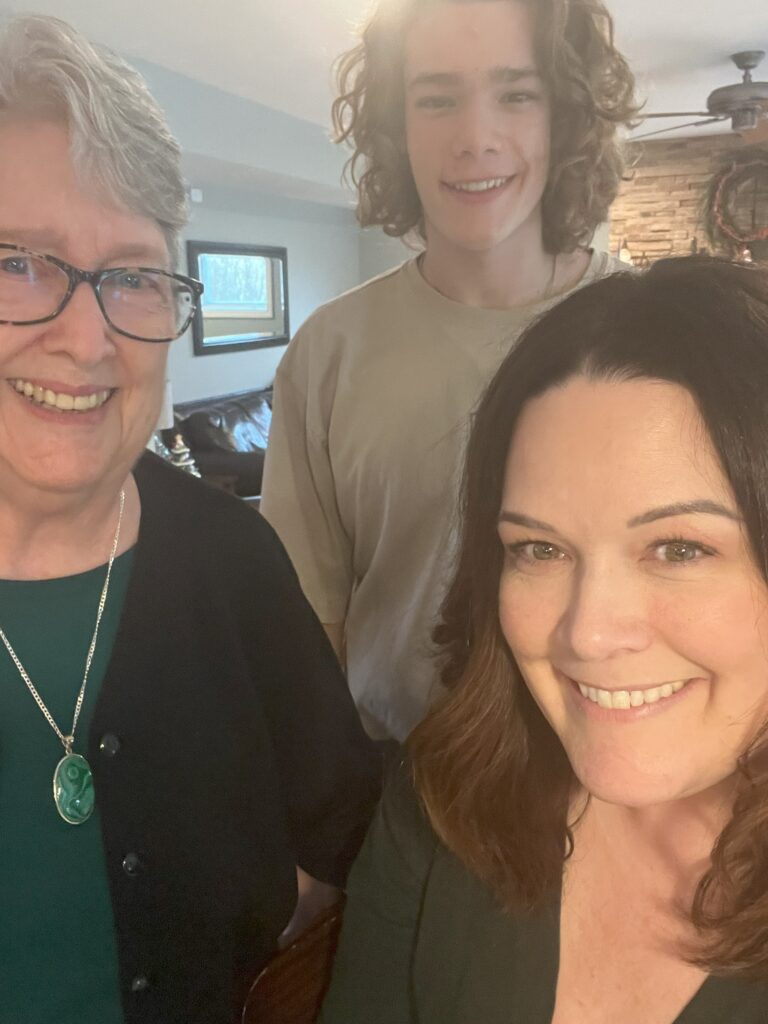
Of course, photobombed by Ben!
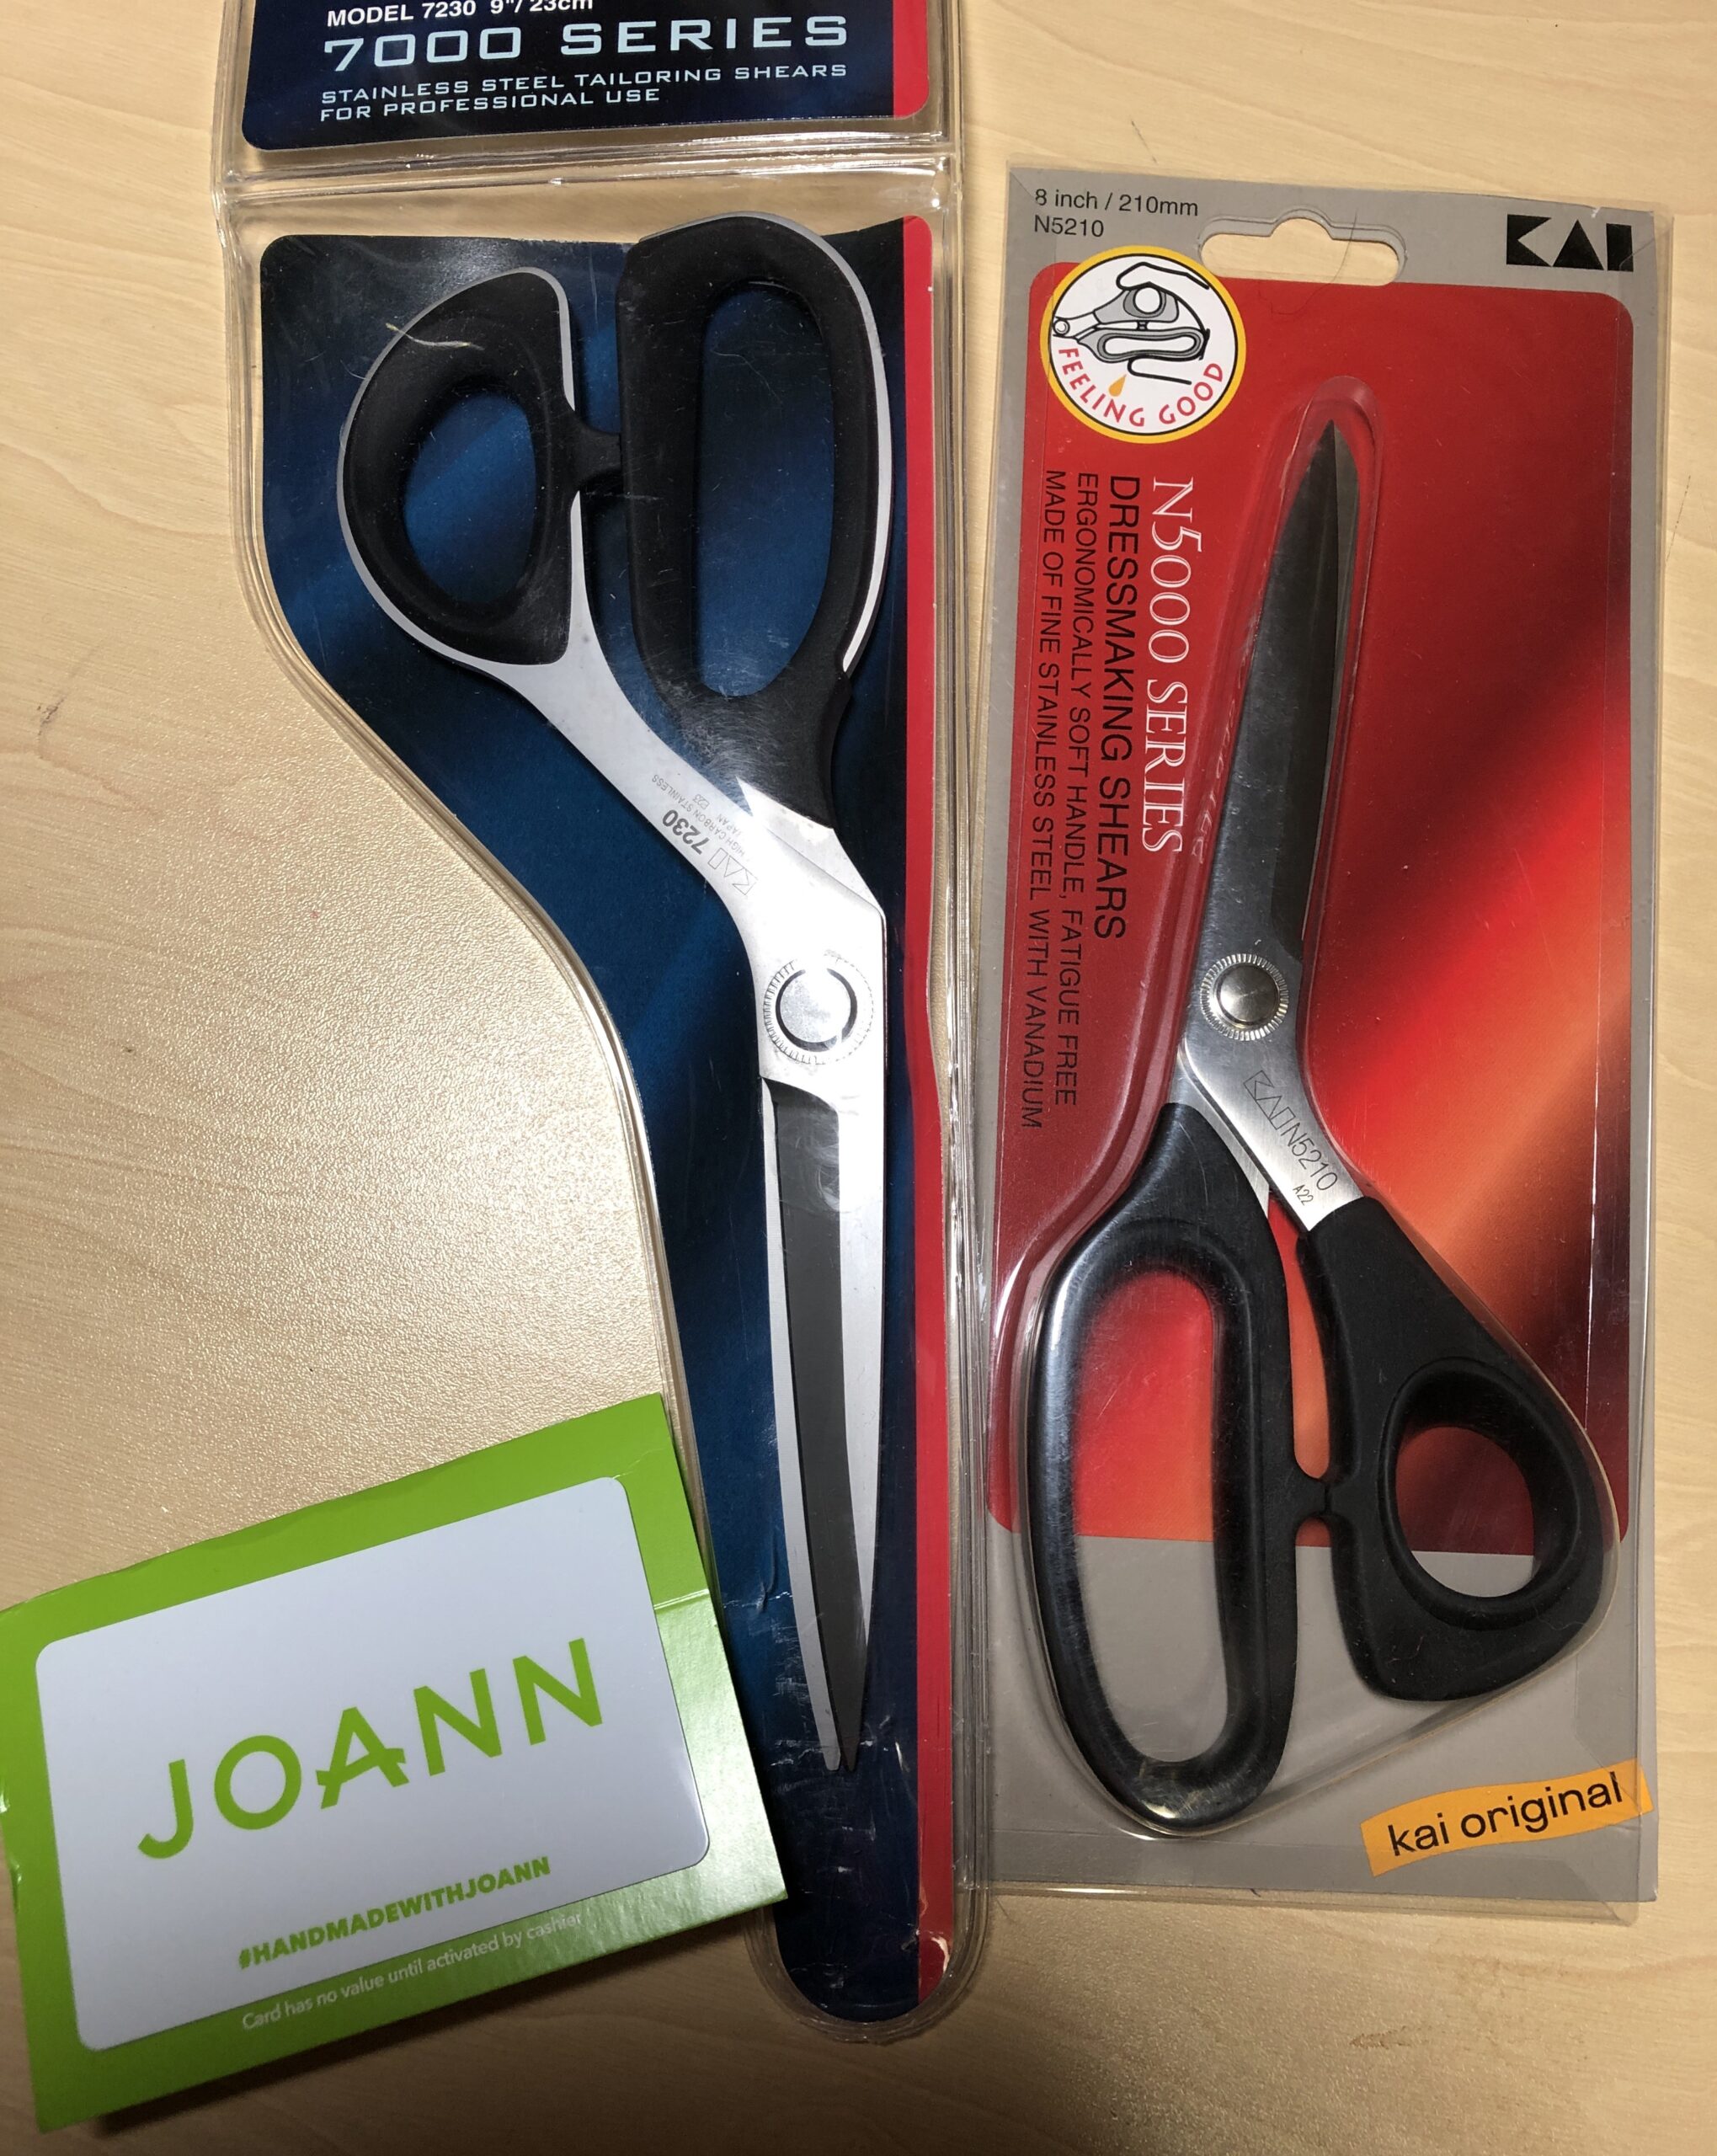
Perfect gifts for Grandma! New scissors and a gift card to JoAnn’s!
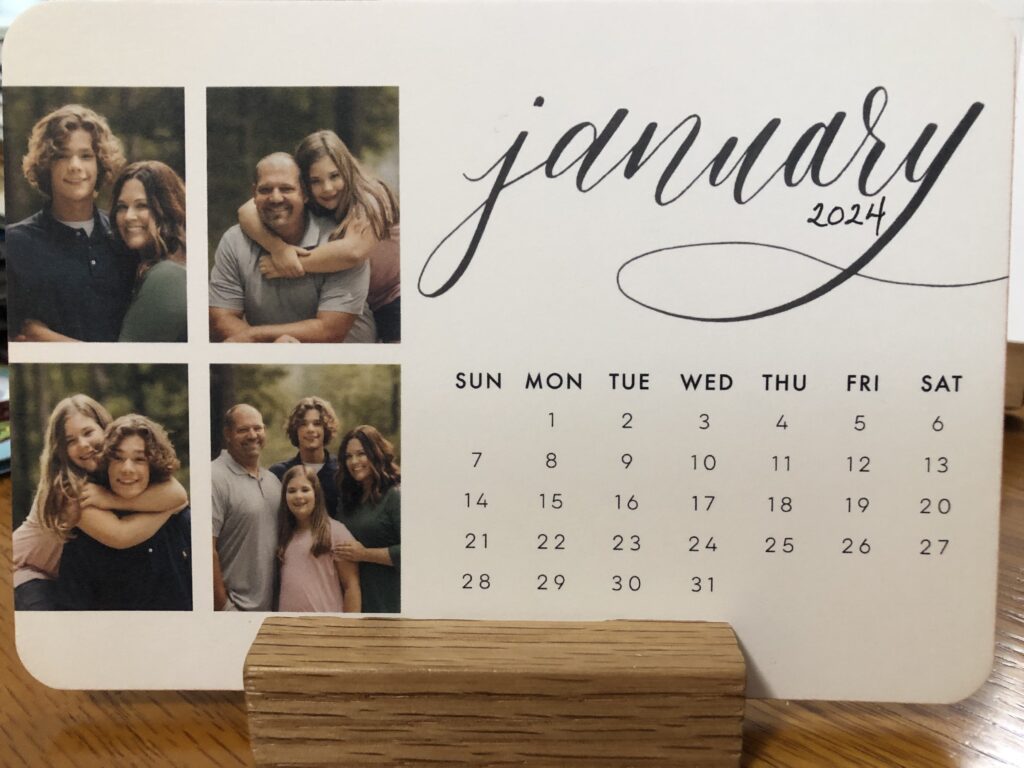
My usual request for a photo desk calendar came through!
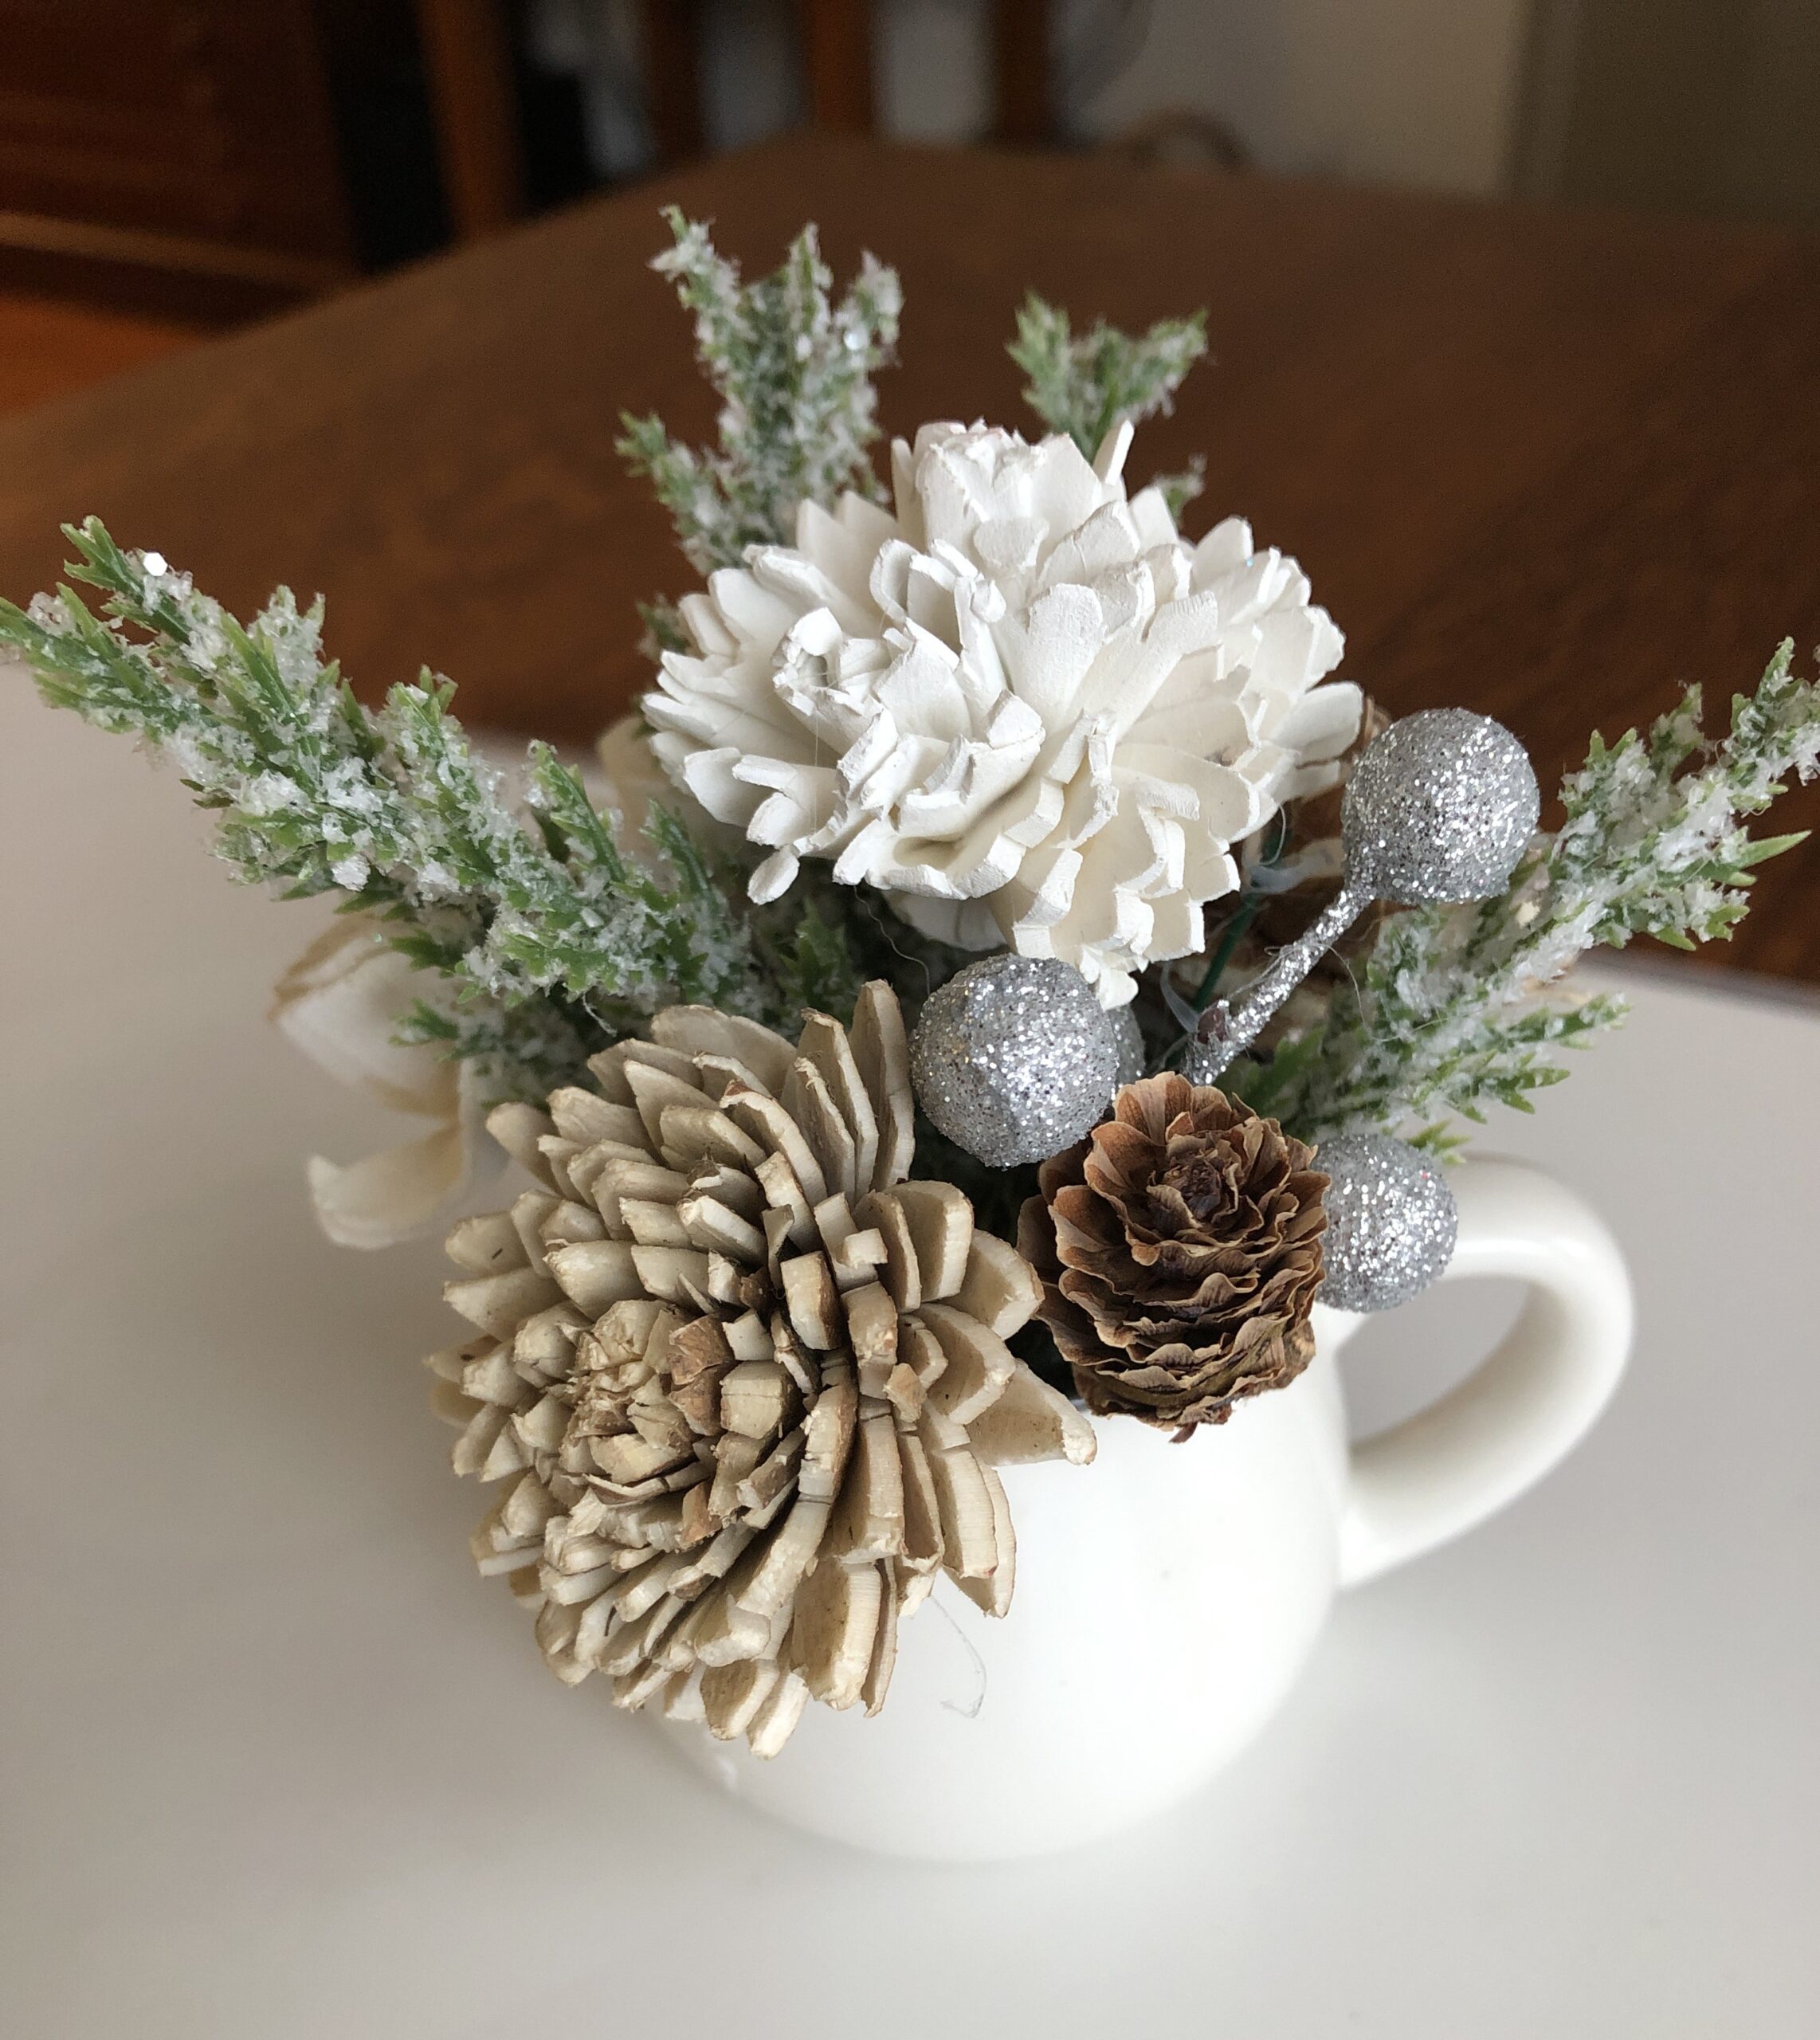
An adorable tiny arrangement with wood flowers from Anna!
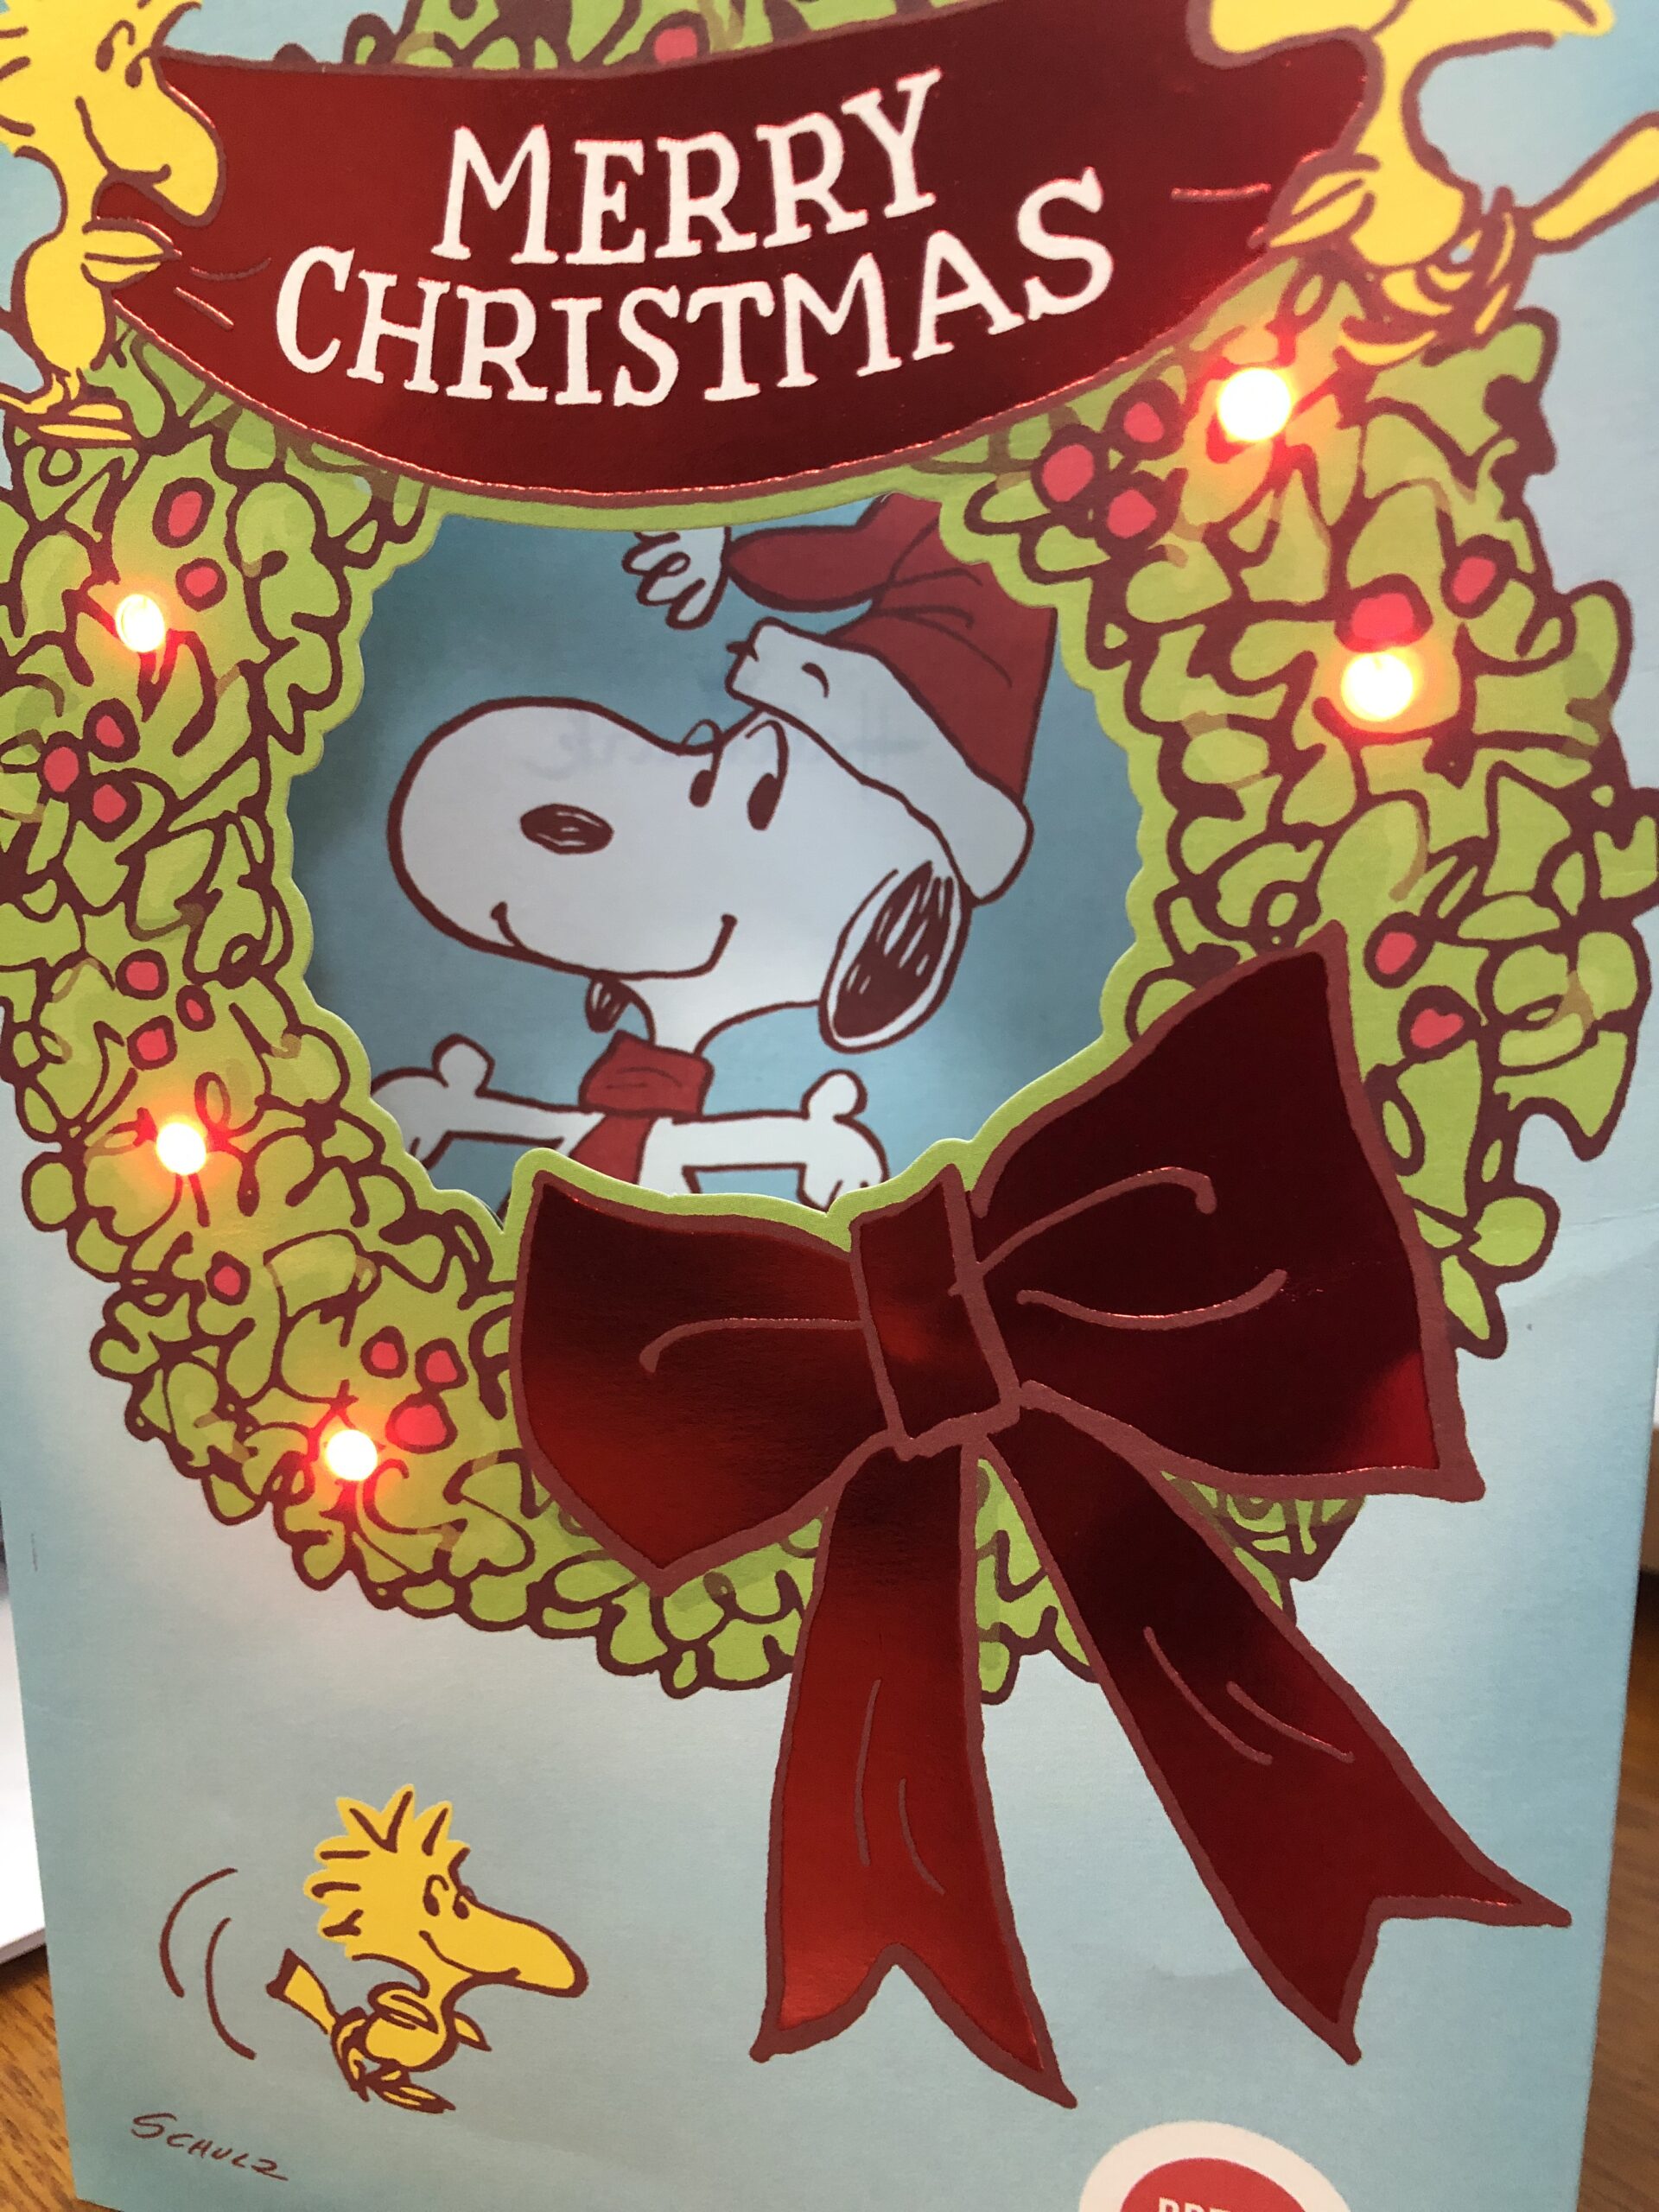
And of course, my Christmas card from Bert…plays the song from “A Charlie Brown Christmas!”…with cash inside…so it could be my favorite card!
I hope you had a wonderful time with family and friends!
Rest up for 2024! It’s predicted to be a wild ride!
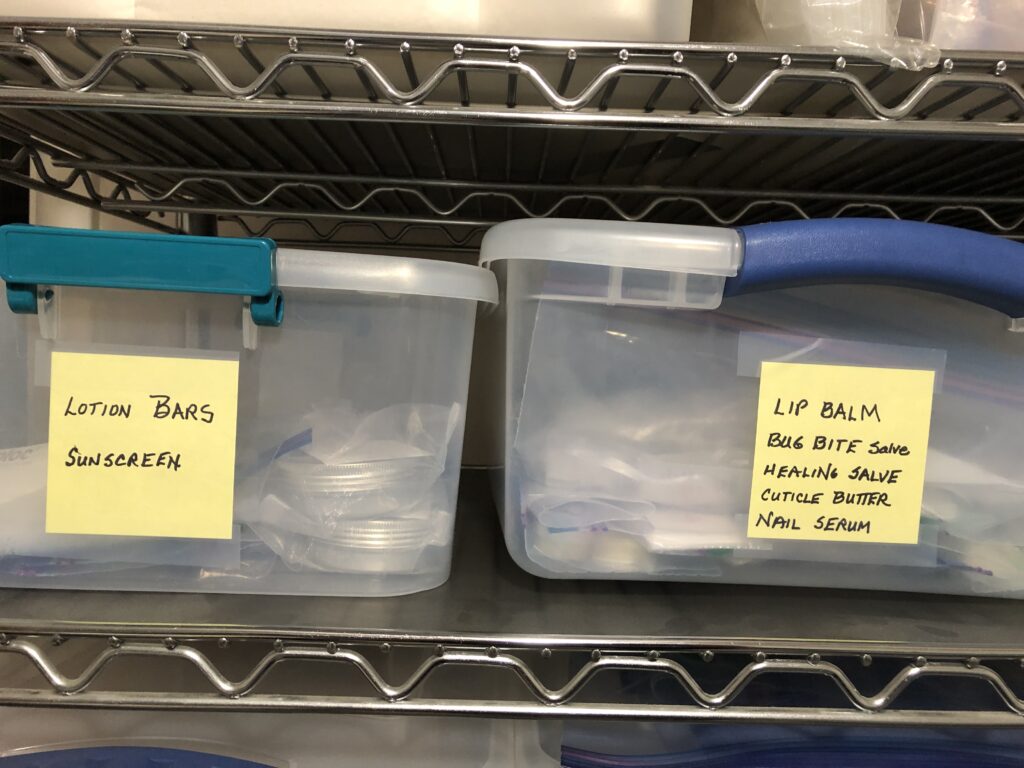
I’ve managed to give away most of the stuff I’ve made so it was time to see what I should make next. Here’s how I check my inventory…very low tech!
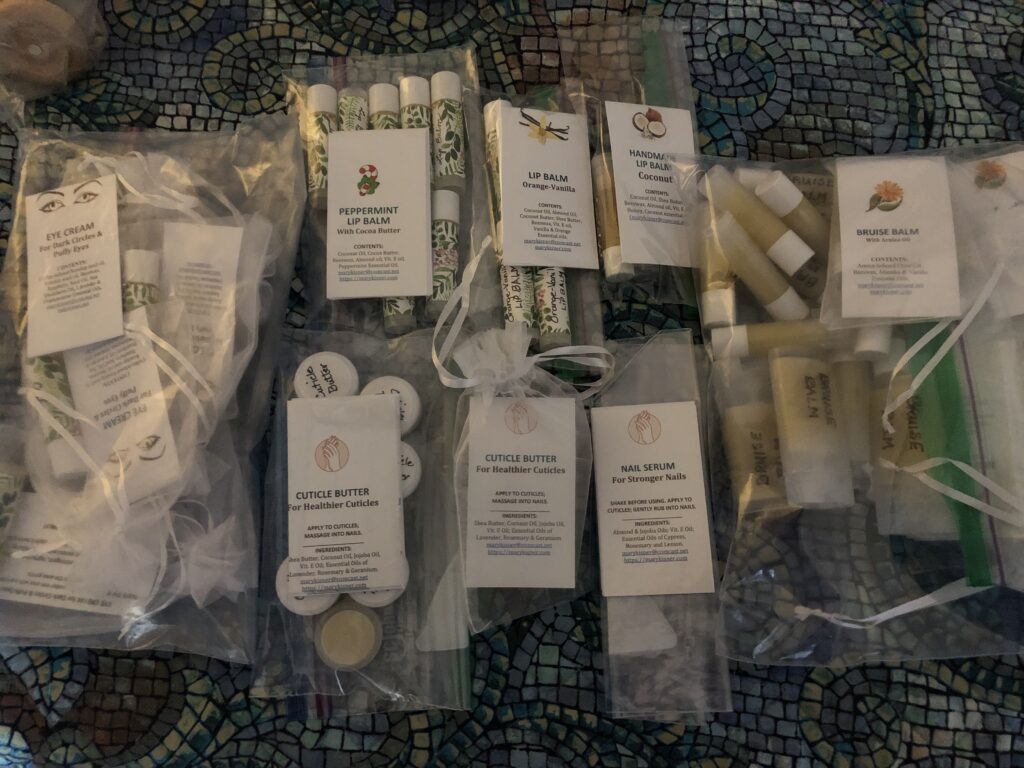
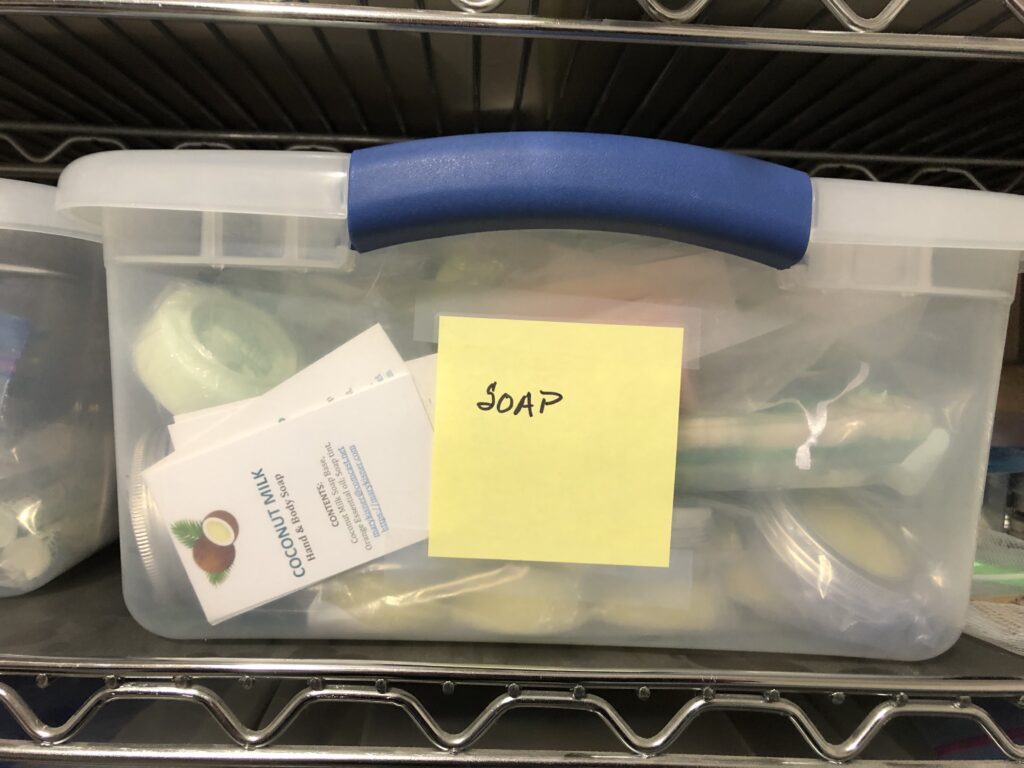
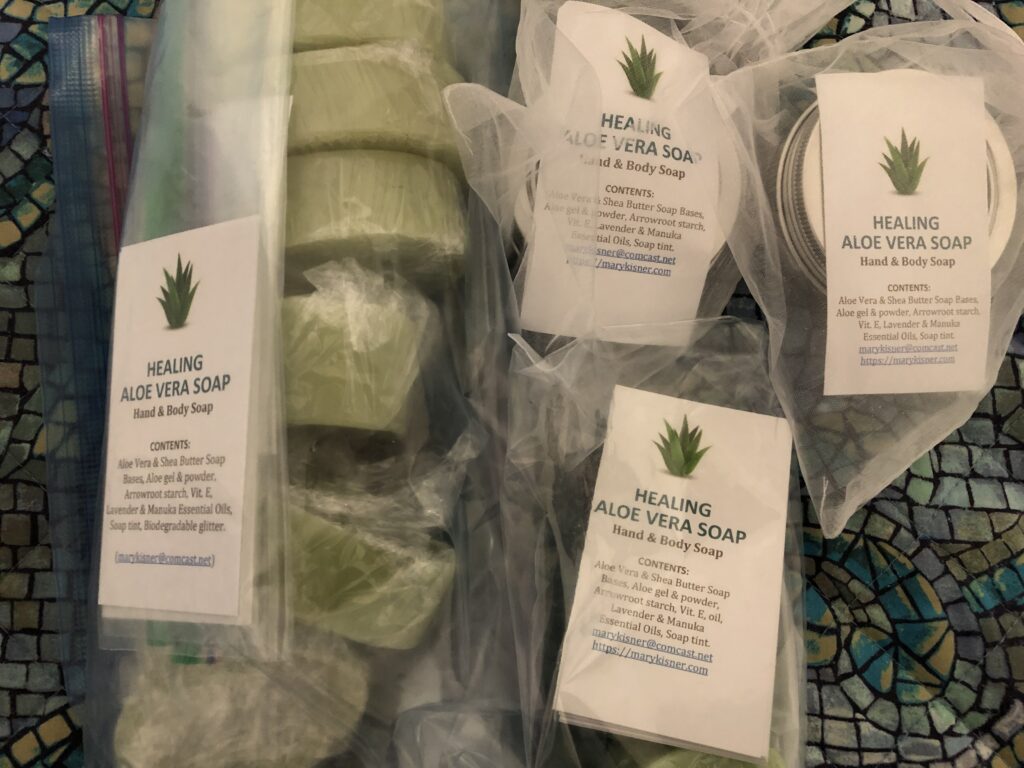
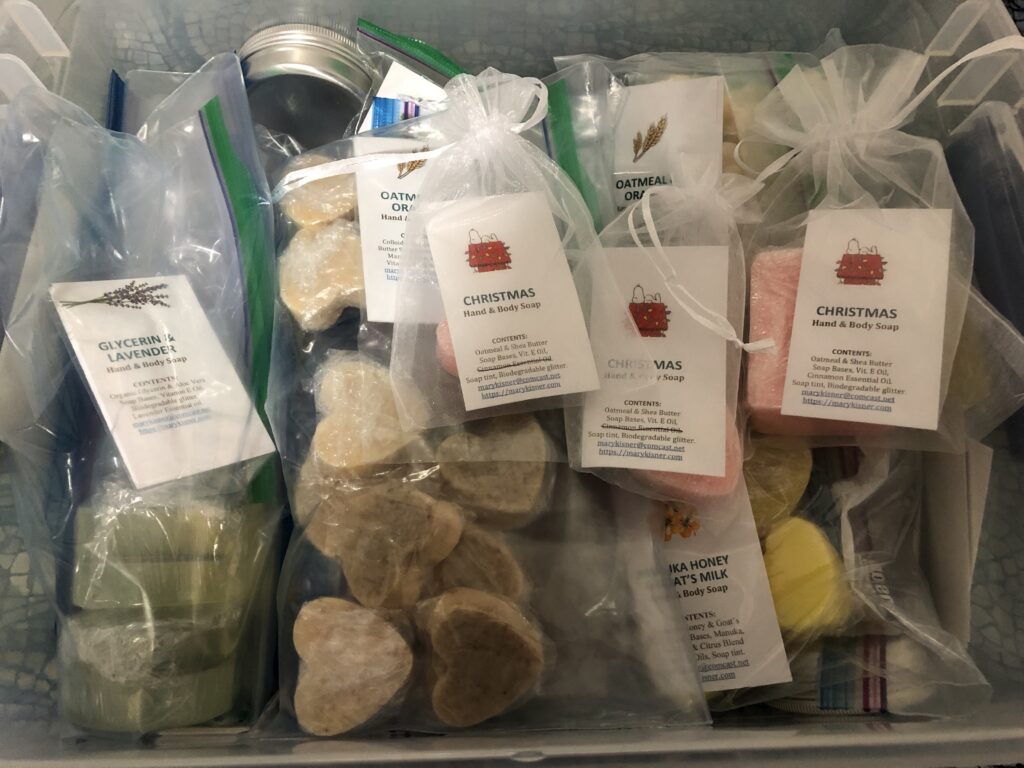
I basically have three bins on my shelf, one for lotion bars and sunscreen salve; one for assorted other stuff, like lip balm, cuticle butter, bruise balm and healing salve; and one bin for soap. When laid out, here’s what I have at the moment:
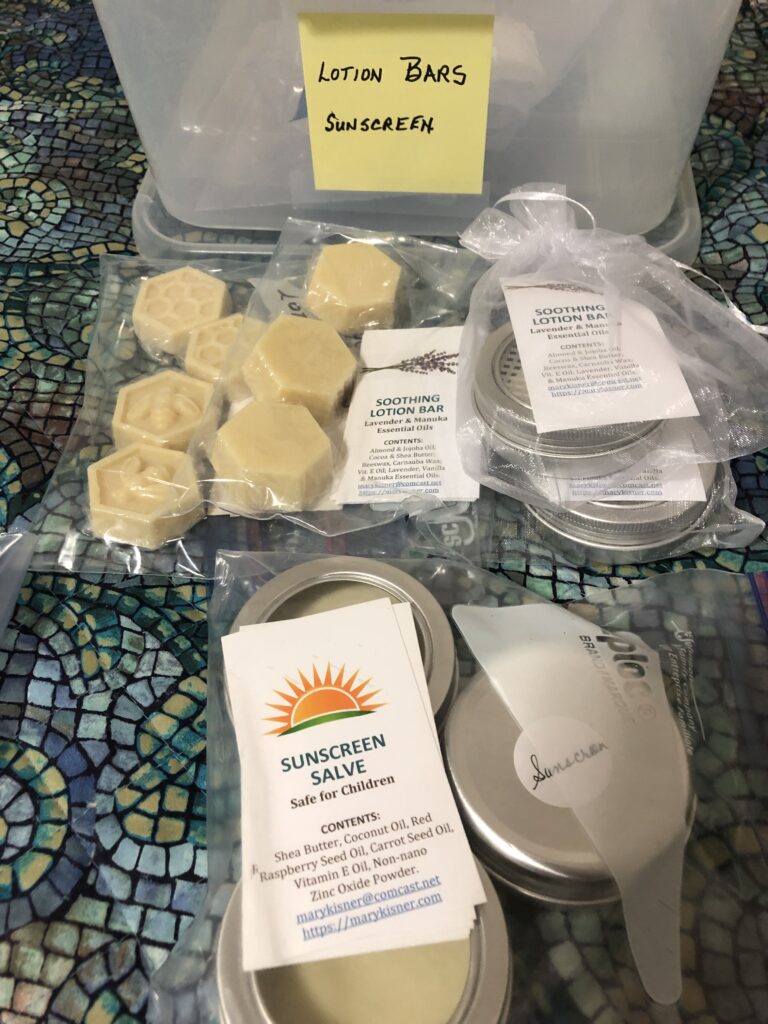
Bin #1…Lotion Bars and Sunscreen lotion
Looks like I have 9 lotion bars and three tins of sunscreen lotion. The sunscreen lotion will need to be pitched and attempted again…it was too firm to apply.
This is my favorite soap and a complicated soap to make so I’m pretty stingy with it.
Assorted individual soaps to share. These seem to be individual large and small soaps that I use for gifts when needed.
What to make next?
Now that I see what I have, after Christmas I’ll want to make some tinted lip balm, cuticle butter, nail serum and bug bite serum.
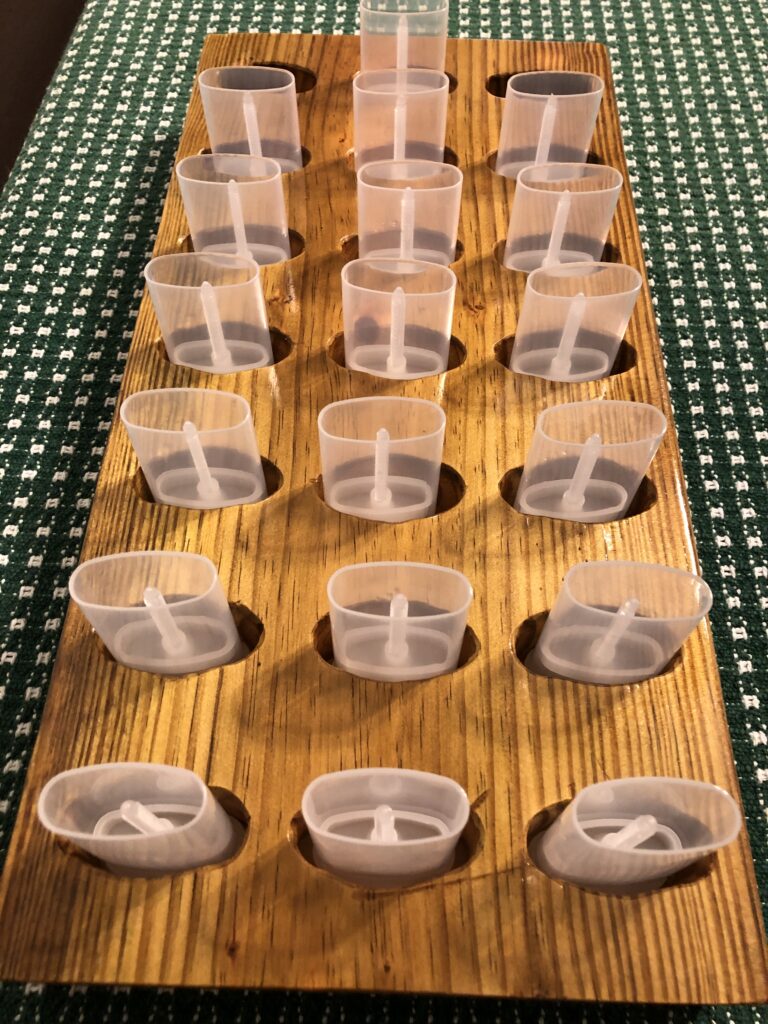
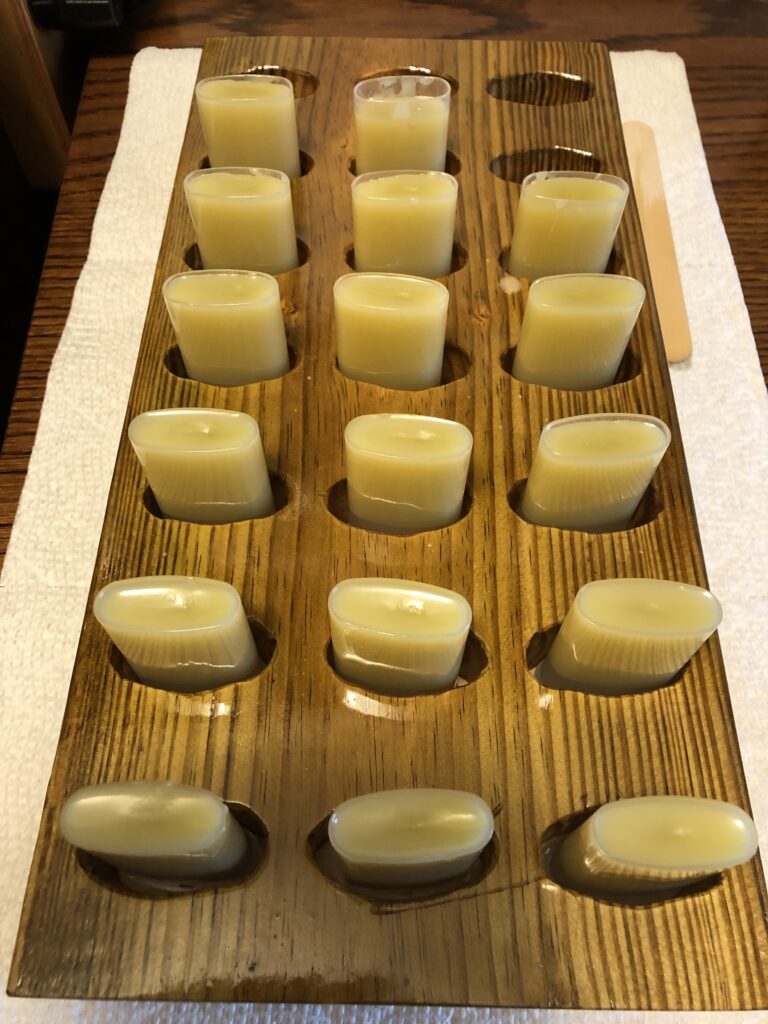
After I did my inventory, I had a request for some of my Calendula Healing Salve so I thought I’d make a big batch today. Bert took the time this week to make me a wooden holder to hold the small oval shaped containers I use. It sure made the process easier so the tubes didn’t fall down as I filled them. After Christmas I’ll post the details how to make the Healing Salve…great stuff!!
I sure hope everyone has a wonderful Holiday weekend with lots of hugs from family and friends! If you are traveling, I hope your travels are smooth and safe!
My family spent a year in the Philippines when I was 9 years old (1956-1957). When we returned and I went to 5th grade in our neighborhood school, I wrote this story about my Christmas in the Philippines. I think I was still learning how to write dialog!
By Mary Bixby
“Whoever heard of a hot Christmas?” moaned Mary. “Christmas just won’t be Christmas without cold snow and a Christmas tree!”
Mary and her family were spending a year in the Philippines because of her father’s work. Christmas came right in the middle of that year—when everyone, especially Mary, was quite lonesome for home.
They lived in a house that was much different from the one at home but was still nice. The weather was the one thing that made home seem so far away. It was so hot that Mary had school only in the morning and had to take a nap in the afternoon. This was very hard for Mary, because she felt that a grown-up 9-year-old shouldn’t have to take naps. But it was so hot that by afternoon she didn’t really mind.
As Christmas came closer Mary got more and more unhappy. She kept on complaining about what a silly Christmas it was going to be. It didn’t help that her older sister and brother had been invited to join other college students to spend Christmas on a southern island in a track and field competition. Mary was very sad to watch the inter-island boat leave that day.
Finally, Mary’s father had an idea. Since they couldn’t have cold snow and a live Christmas tree, why couldn’t they make some other family happy by surprising them with a Christmas basket!
Mary had never thought about that since she always had most any toy she wanted. The family they decided to surprise lived just down the hill and there were eight children in the family.
“With that many brothers and sisters I bet I wouldn’t get very many things for Christmas at all,” said Mary, thoughtfully.
“No, you probably wouldn’t,” said her mother, “but maybe we can help those children have a few new things to play with on Christmas morning.
So, Mary and her mother went to the store and picked out some toy trucks, a few dolls, coloring books and crayons, and candy, On the way home Mary had a special feeling inside, that was different from the lonesome feeling she had had before. When they got home, they started wrapping up all the presents. That took quite a while because there were so many little ones.
“When will we take the presents to the family?” Mary asked.
“Why not Christmas Eve after dark,” suggested Mary’s father. “That way they won’t see who you are.”
Mary could hardly wait until Christmas Eve, and the days went by much faster than they ever had before. She was so excited that the rest of her family started feeling the Christmas spirit, too.
Finally, the day arrived. Christmas Eve!
“Oh! It’s so hard to wait,” Mary said.
Right after supper, Mary and her mom and dad put all the presents into a big box and as soon as it was dark, they carried the box down the hill. Mary was so excited she would have run all the way, but the box was too heavy for that!
As they got close to the house they didn’t talk and tried to walk very quietly.
“Let’s put it on the front steps,” whispered Mary’s mother.
Mary nodded and carefully put it down. She thought how nice it was that they didn’t have to worry about snow getting the packages wet. Then she knocked on the door as hard as she could and ran up the hill.
“I hope they heard my knock,” Mary said when they reached the top of the hill. “Oh, I wish I could see their faces when they find it!”
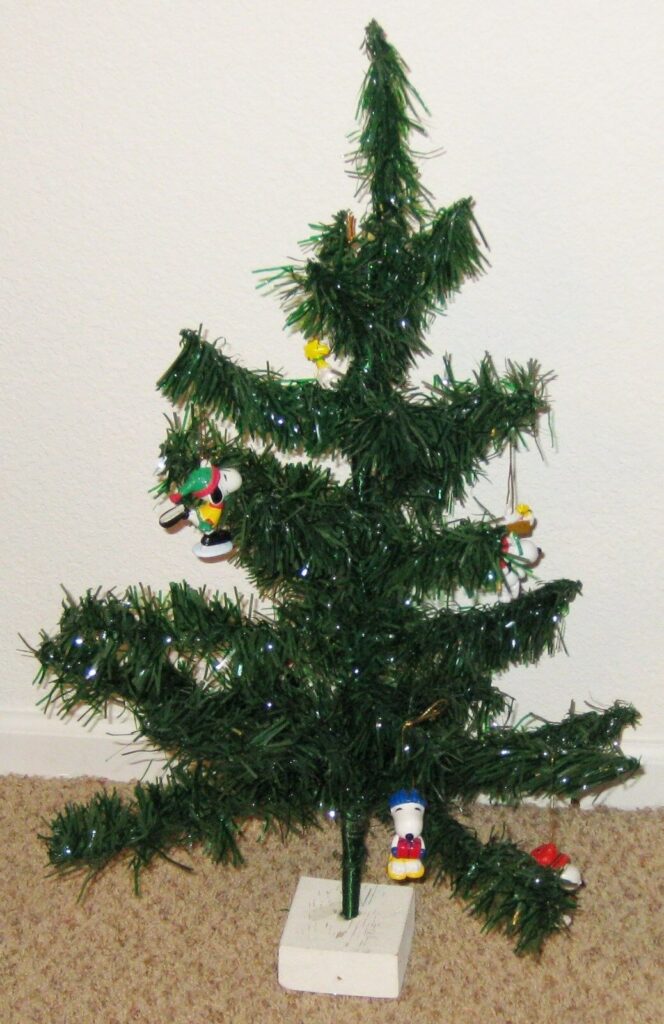
They walked home and went inside. Imagine Mary’s surprise when she saw a little Christmas tree all decorated with presents underneath it. It wasn’t a live tree, but a wire one. But it was green and it did remind Mary her of home. Then she heard carolers outside and the whole family went to the porch to hear their own familiar carols…although none of them were about snow!
When Mary went to bed that night she could hardly go to sleep. She was thinking how happy the children would be in the morning.
Then she thought of the Christmas tree out in the living room, and the carolers they had heard, and she said to herself, “I guess Christmas just wouldn’t be Christmas if you can’t make someone else happy, and Christmas can still be Christmas no matter where you are.”
And she fell asleep a very tired but happy little girl.
Almost THE END…
Epilogue:
The next Christmas Mary’s teacher in the Philippines sent a letter to Mary’s family in Pennsylvania. Some of the children from the surprised family were in her class that year. She had asked the children to write about their most memorable Christmas. Those children described that someone knocked on their door on Christmas Eve and when they opened the door a huge box of presents was on their doorstep. The whole family had the best Christmas EVER!!
THE END!
P.S. I have posted three other stories about my memories from that year. You can see them here:
Finishing my Favorite Recipes notebook took almost as long as deciding which recipes to include! The finished notebook includes 32 recipes that I have made over the years.
Several recipes were included by special request, like Deviled Eggs…I’ve never had a written recipe so I had to make them first and take pictures before I could write it down. For others, I had not looked at the recipe for many years and had to make sure I remembered who had given it to me. The recipe for Sloppy Joe came directly from my mother-in-law when we first got married!
Years ago, I gave up on a tiny recipe box. The recipes had to be handwritten and any notes I wanted to make just didn’t fit on the cards. My daughter showed me a 3-ring notebook where she saved recipes she had found on the internet. Each recipe was in a plastic sleeve. She could remove the recipe from the notebook while she cooked and the plastic sleeve kept the original safe from splatters. Great idea! I bought the plastic sleeves at Staples:
I now have several notebooks going, some with my own recipes, another with recipes from the internet I want to try. If I make a recipe and don’t like it, I can just remove it from the plastic sleeve and discard it. If I do like it, I retype it in the format I prefer and add it to my notebook.
Over the last month I’ve been collecting and sorting recipes I wanted to include in this notebook…with plans to send a copy to my son and his family in California, and a copy to my daughter and her family at Christmas. I haven’t made some of the recipes for years, so I took the time to make a few to make sure it was still a “favorite.”
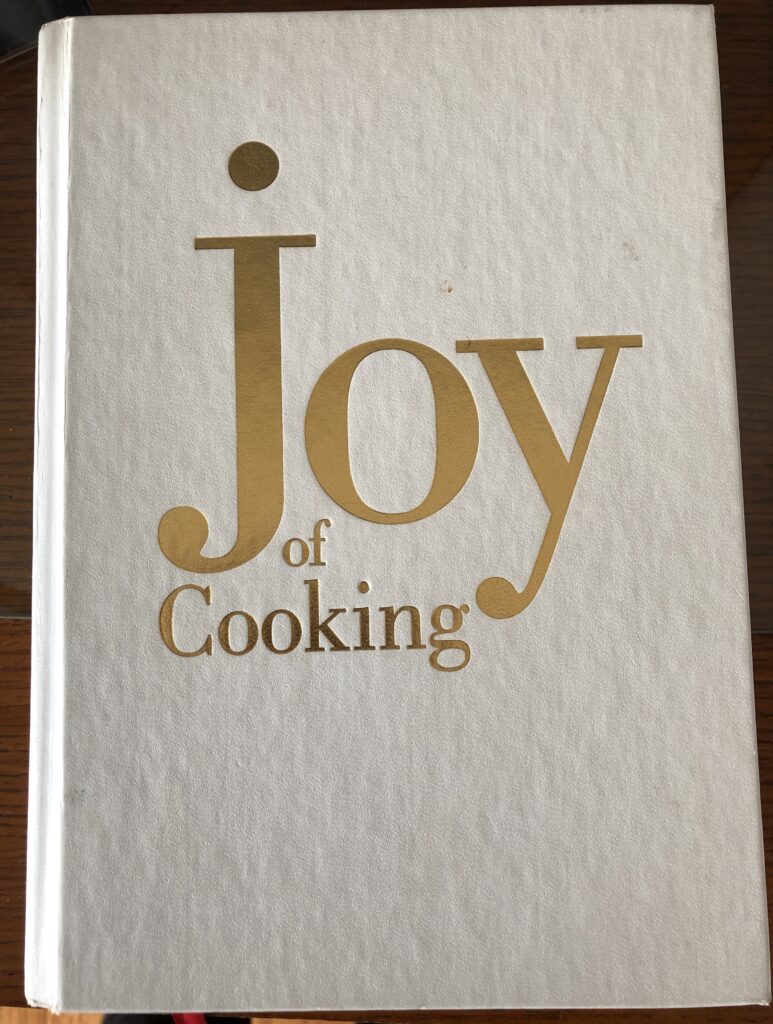
Once I decided on the 32 recipes, I made sure I had good instructions for someone else to follow. For example, I have a recipe from my mother that was in her recipe box with just a list of ingredients and an oven temperature. I had to look up a similar recipe in my Joy of Cooking (by Irma S. Rombauer & others) to see what they recommended for instructions.
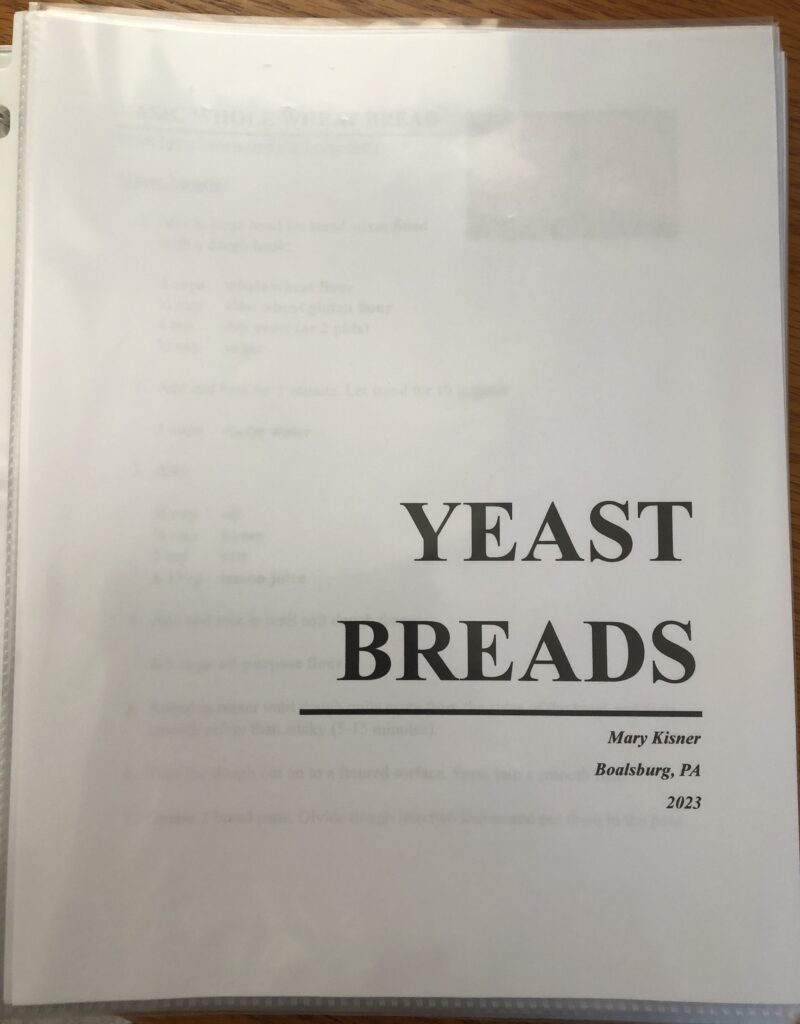
Organizing the 32 recipes into a coherent list led me back to my Joy of Cooking for ideas. I ended up with 5 categories: Yeast Breads, Quick Breads, Desserts, Cookies and Other Dishes. The recipes are listed in alphabetical order in each section. This became the Table of Contents.
Then I made another list of the 11 recipes that I’ve written about on my blog, with links to those posts. Sometimes seeing the step-by-step process in pictures is helpful. That list became the Table of Contents Tutorials.
After I assembled all the recipes in their plastic sleeves, I realized I needed some Section Dividers. Since the pages are not numbered, you just have to get the recipe back into the appropriate section to make it easy to find it the next time. I will also include a few extra sleeves in each notebook so folks can add their own recipes over time.
Finally, I had not planned to create more than 3 notebooks…one for me, one for my son’s family and one for my daughter’s family. Already, I have interest from a few nieces and nephews who would like the recipes. Rather than try to figure out how to post the whole pile on DropBox, especially since it’s a folder of separate PDF documents, I decided to buy a few 1 GB flash drives. When I need to share, I’ll just burn a flash drive and put it in the mail.
Sounds complicated, I know. I think I’m finally done “editing.” Now I can stop baking so much and get back to the greyhound coats! Enjoy!
I’ve been asked to find some cookbooks that would be appropriate for my 11 1/2 year old granddaughter for Christmas. She’s the one that helped make various dog treats for a charity sponsored by her school and made $700! She obviously has some interest in cooking! I have ordered several cookbooks aimed for young teens but I’m not sure if they will interest her (more about those books later). Most of the books, from what I can tell online, show a photo of the finished product but don’t show the steps along the way. Then, the instructions are written in paragraph form. I know written instructions are followed more easily if presented in short bulleted sentences. I also like showing the steps with a photo if possible. I can’t help myself! The format I’m using for my recipes is modeled after my Joy of Cooking cookbook.
I’ve never really written my Deviled Eggs recipe down but I wanted to include it in my notebooks for my kids/grandkids of my favorite recipes. I thought I’d see if I could write the recipe in a way my granddaughter could follow along and make them herself.
Since my WordPress web program won’t let me format in two columns, I’m going to post the recipe first; then I’ll treat each page of my tutorial as a photo so you can see what I’m trying to do. See if this makes sense to you!
Here is the recipe:
Here are the four pages of the illustrated version:
Pg. 1
Pg 2
Pg. 3
Pg. 4
Granted, this is a pretty simple recipe. Before I expand other recipes of her choosing, I’d love some feedback if you have access to a young teen. Does it make sense?
I’m thinking I could work with my granddaughter and try a recipe…take photos of her making the recipe and create an illustrated recipe for her to keep in her very own Favorite Recipes notebook. We’ll see if she’s interested at Christmas time!
Do you have a stash of recipes you refer to all the time? Think about sharing them with your loved ones this Christmas!
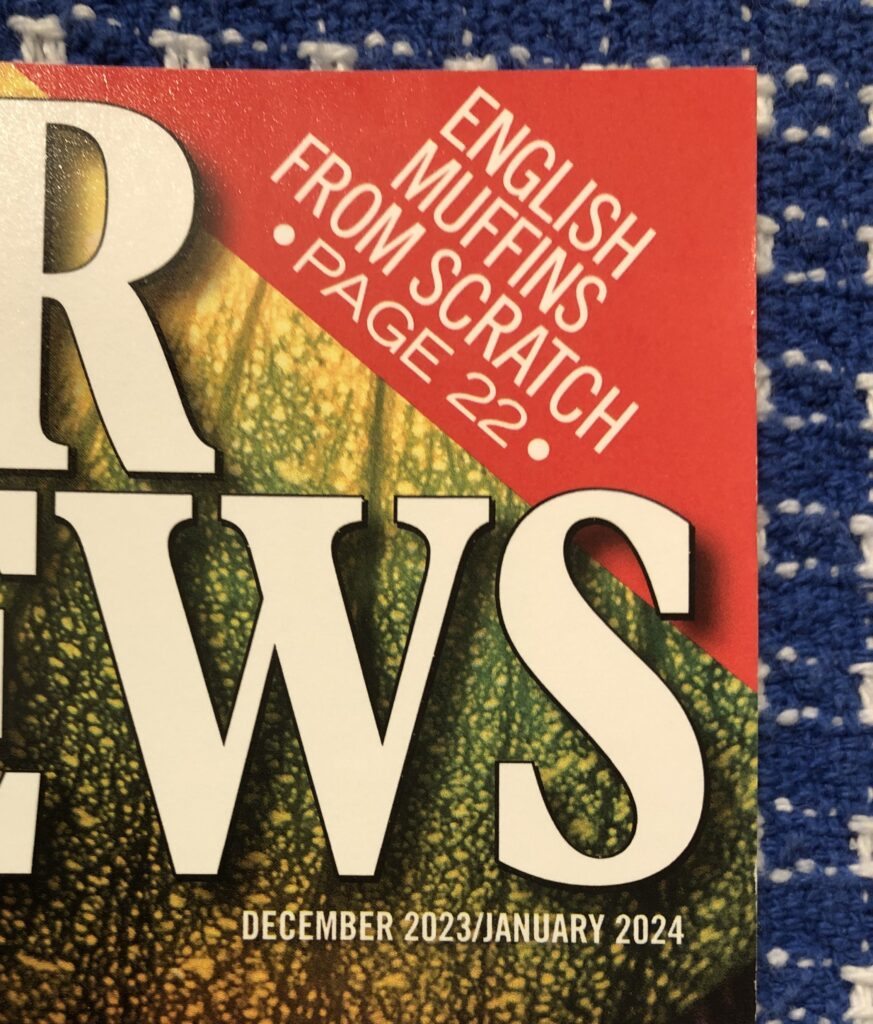
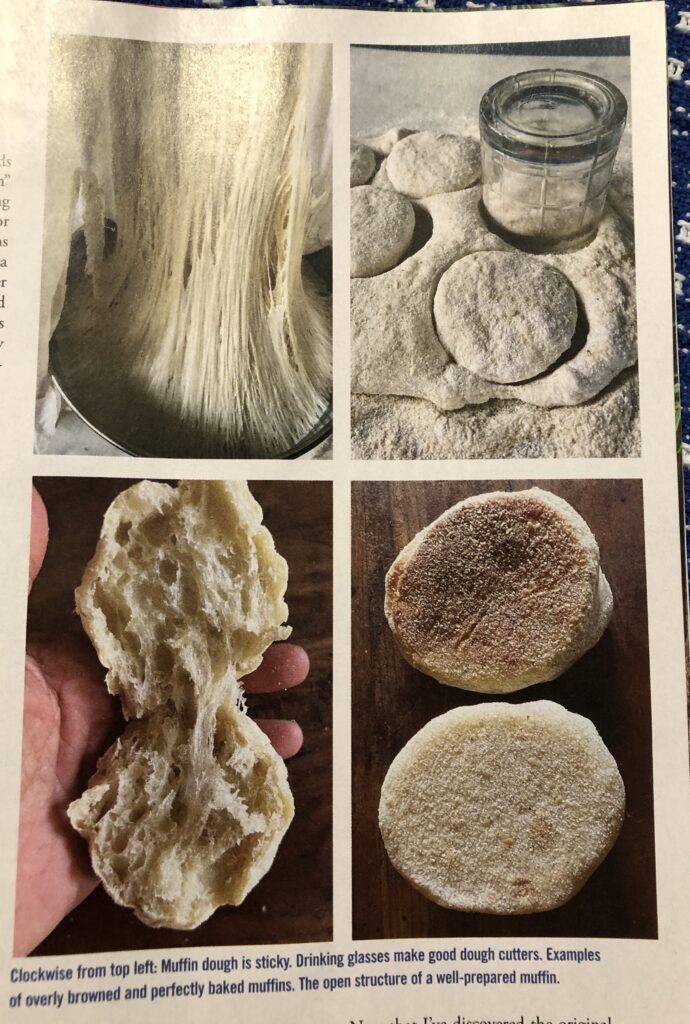
I’m sure many of you love toasted English Muffins. I was interested in trying to make my own when I read my latest Mother Earth News magazine. Right there on the front cover was a teaser…
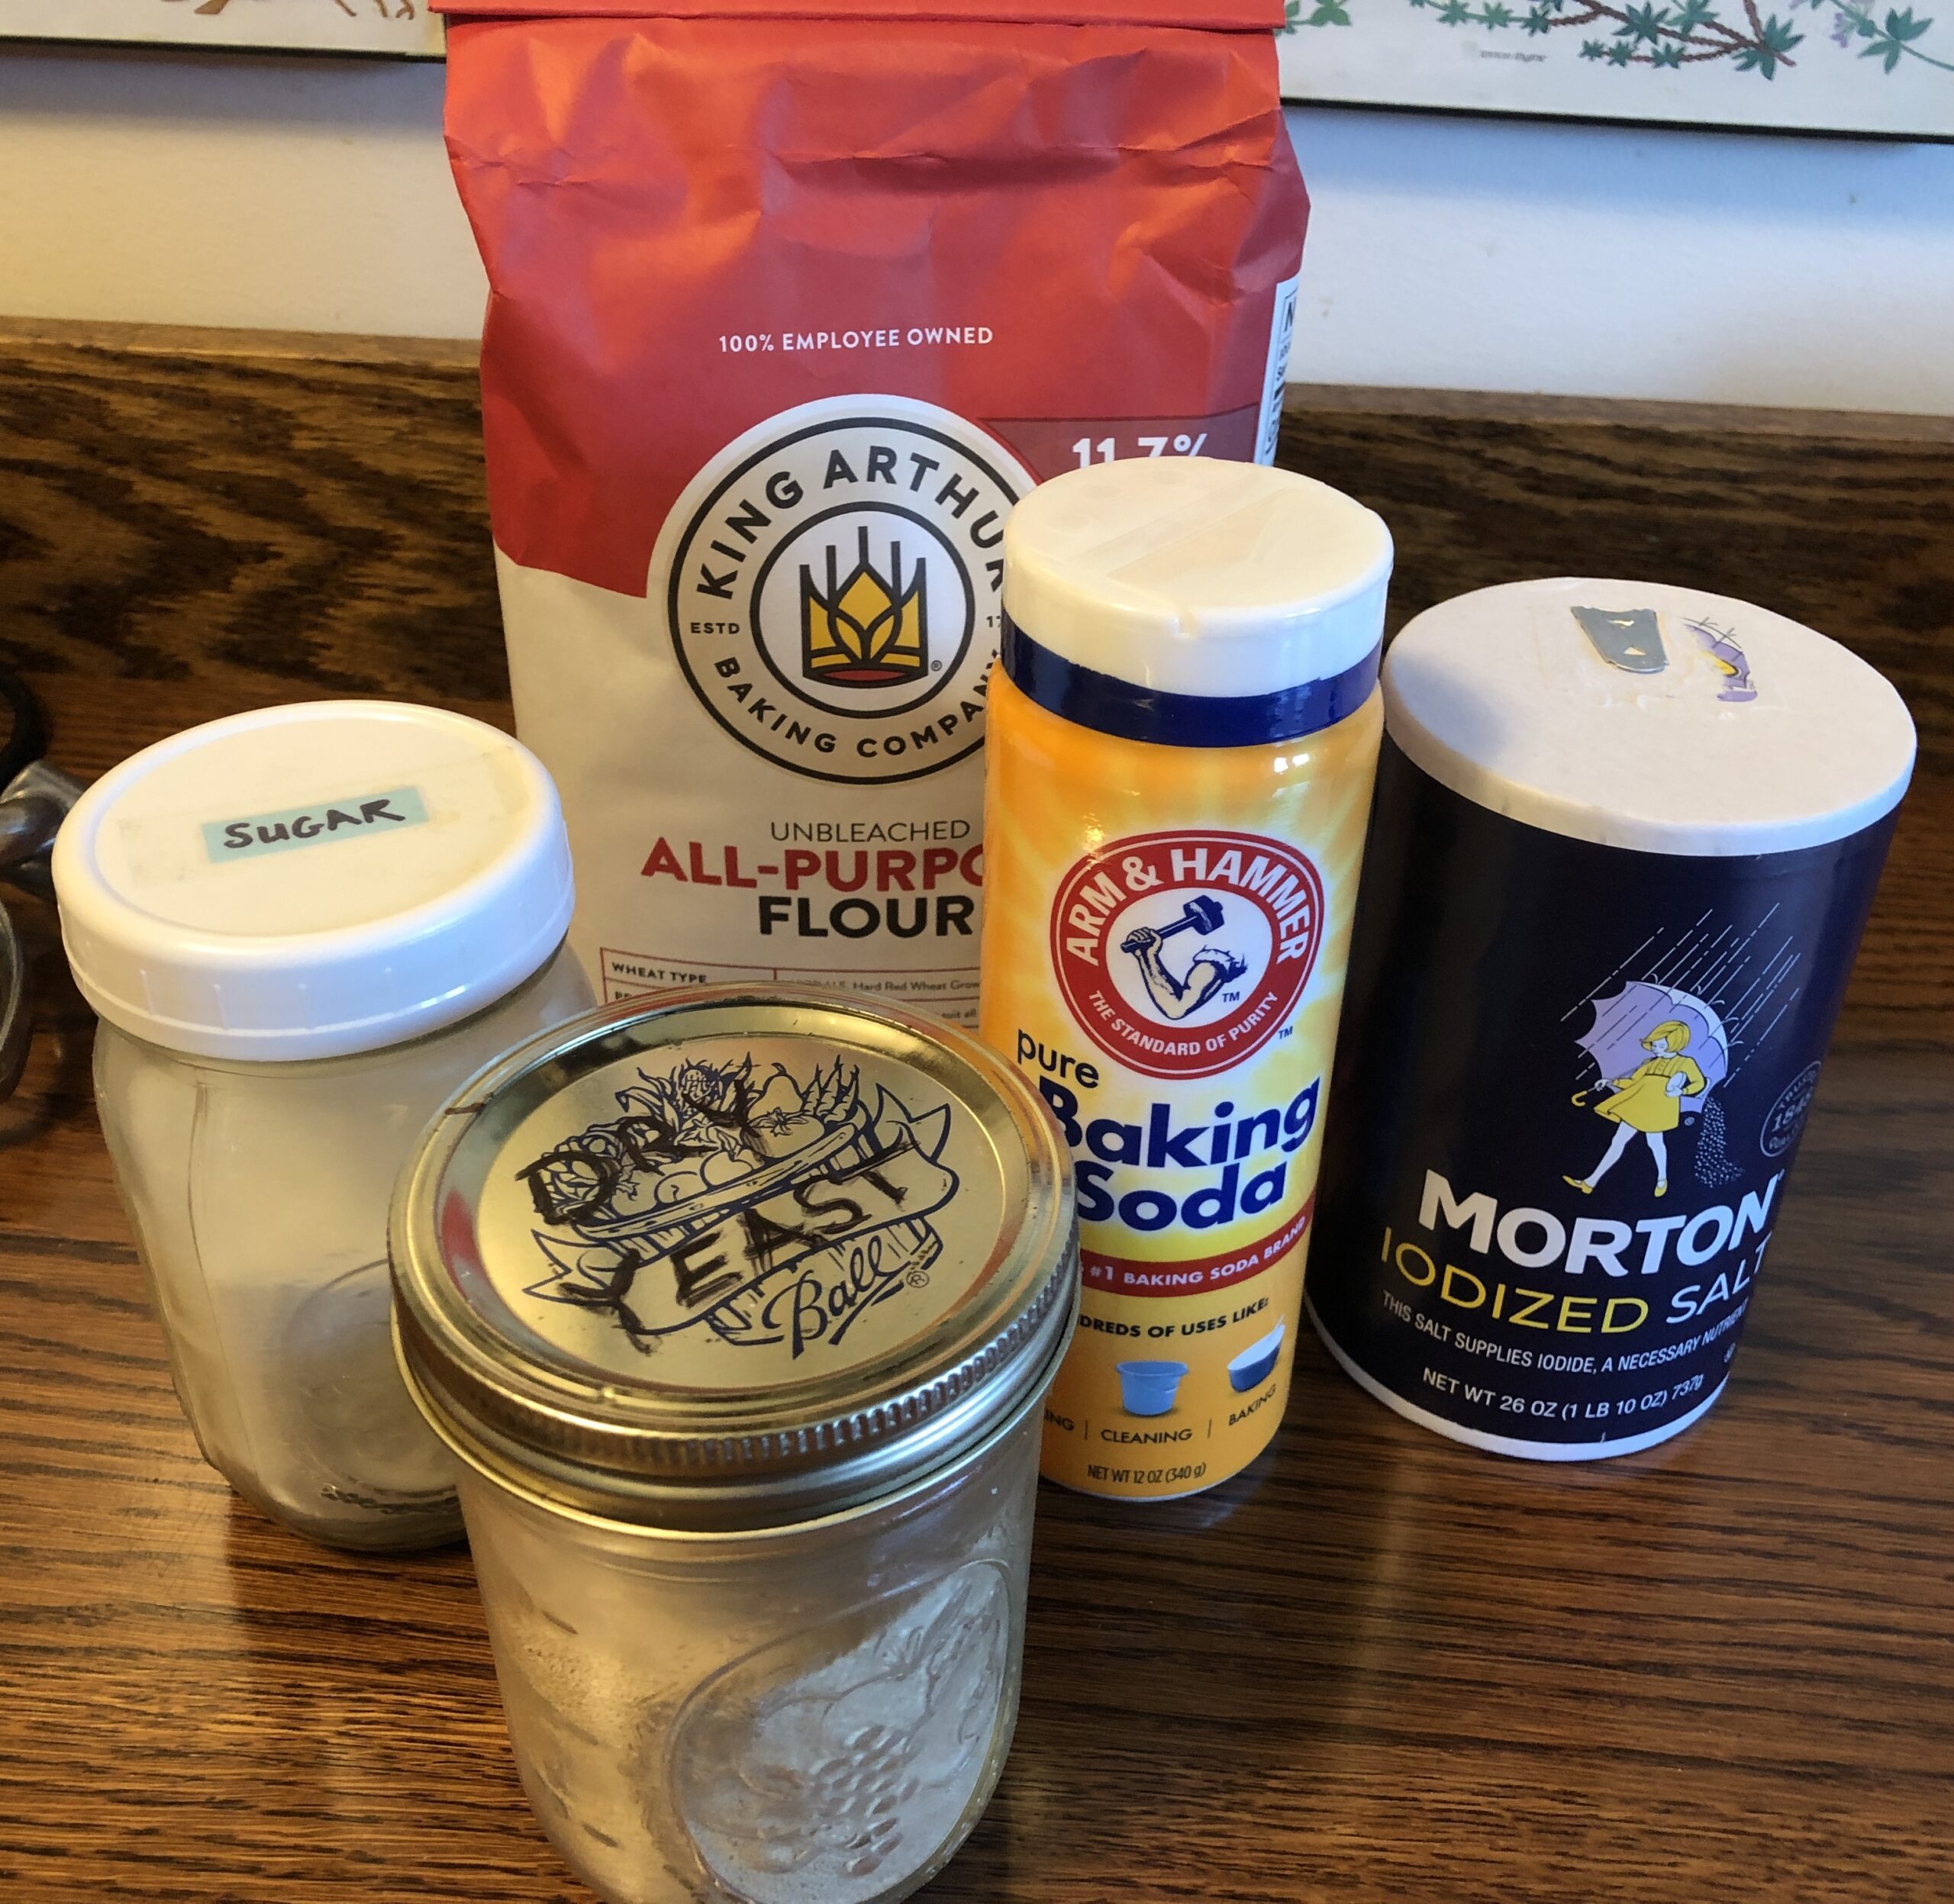
When I went through the article, I discovered why I haven’t managed to actually make English Muffins! The multi-step instructions seemed complicated. Then I remembered making English Muffin bread years ago that had many of the same ingredients. I found a recipe on the King Arthur Baking website that was pretty simple so I decided to try it before including it in my Favorite Recipes notebook I’m putting together for my kids for Christmas. Here is the recipe from that site: https://www.kingarthurbaking.com/recipes/english-muffin-toasting-bread-recipe/
Following the recipe, you’ll notice it calls for 1 cup of milk. I cannot have regular dairy milk…even in baked goods. So, I substituted almond milk. It worked fine.
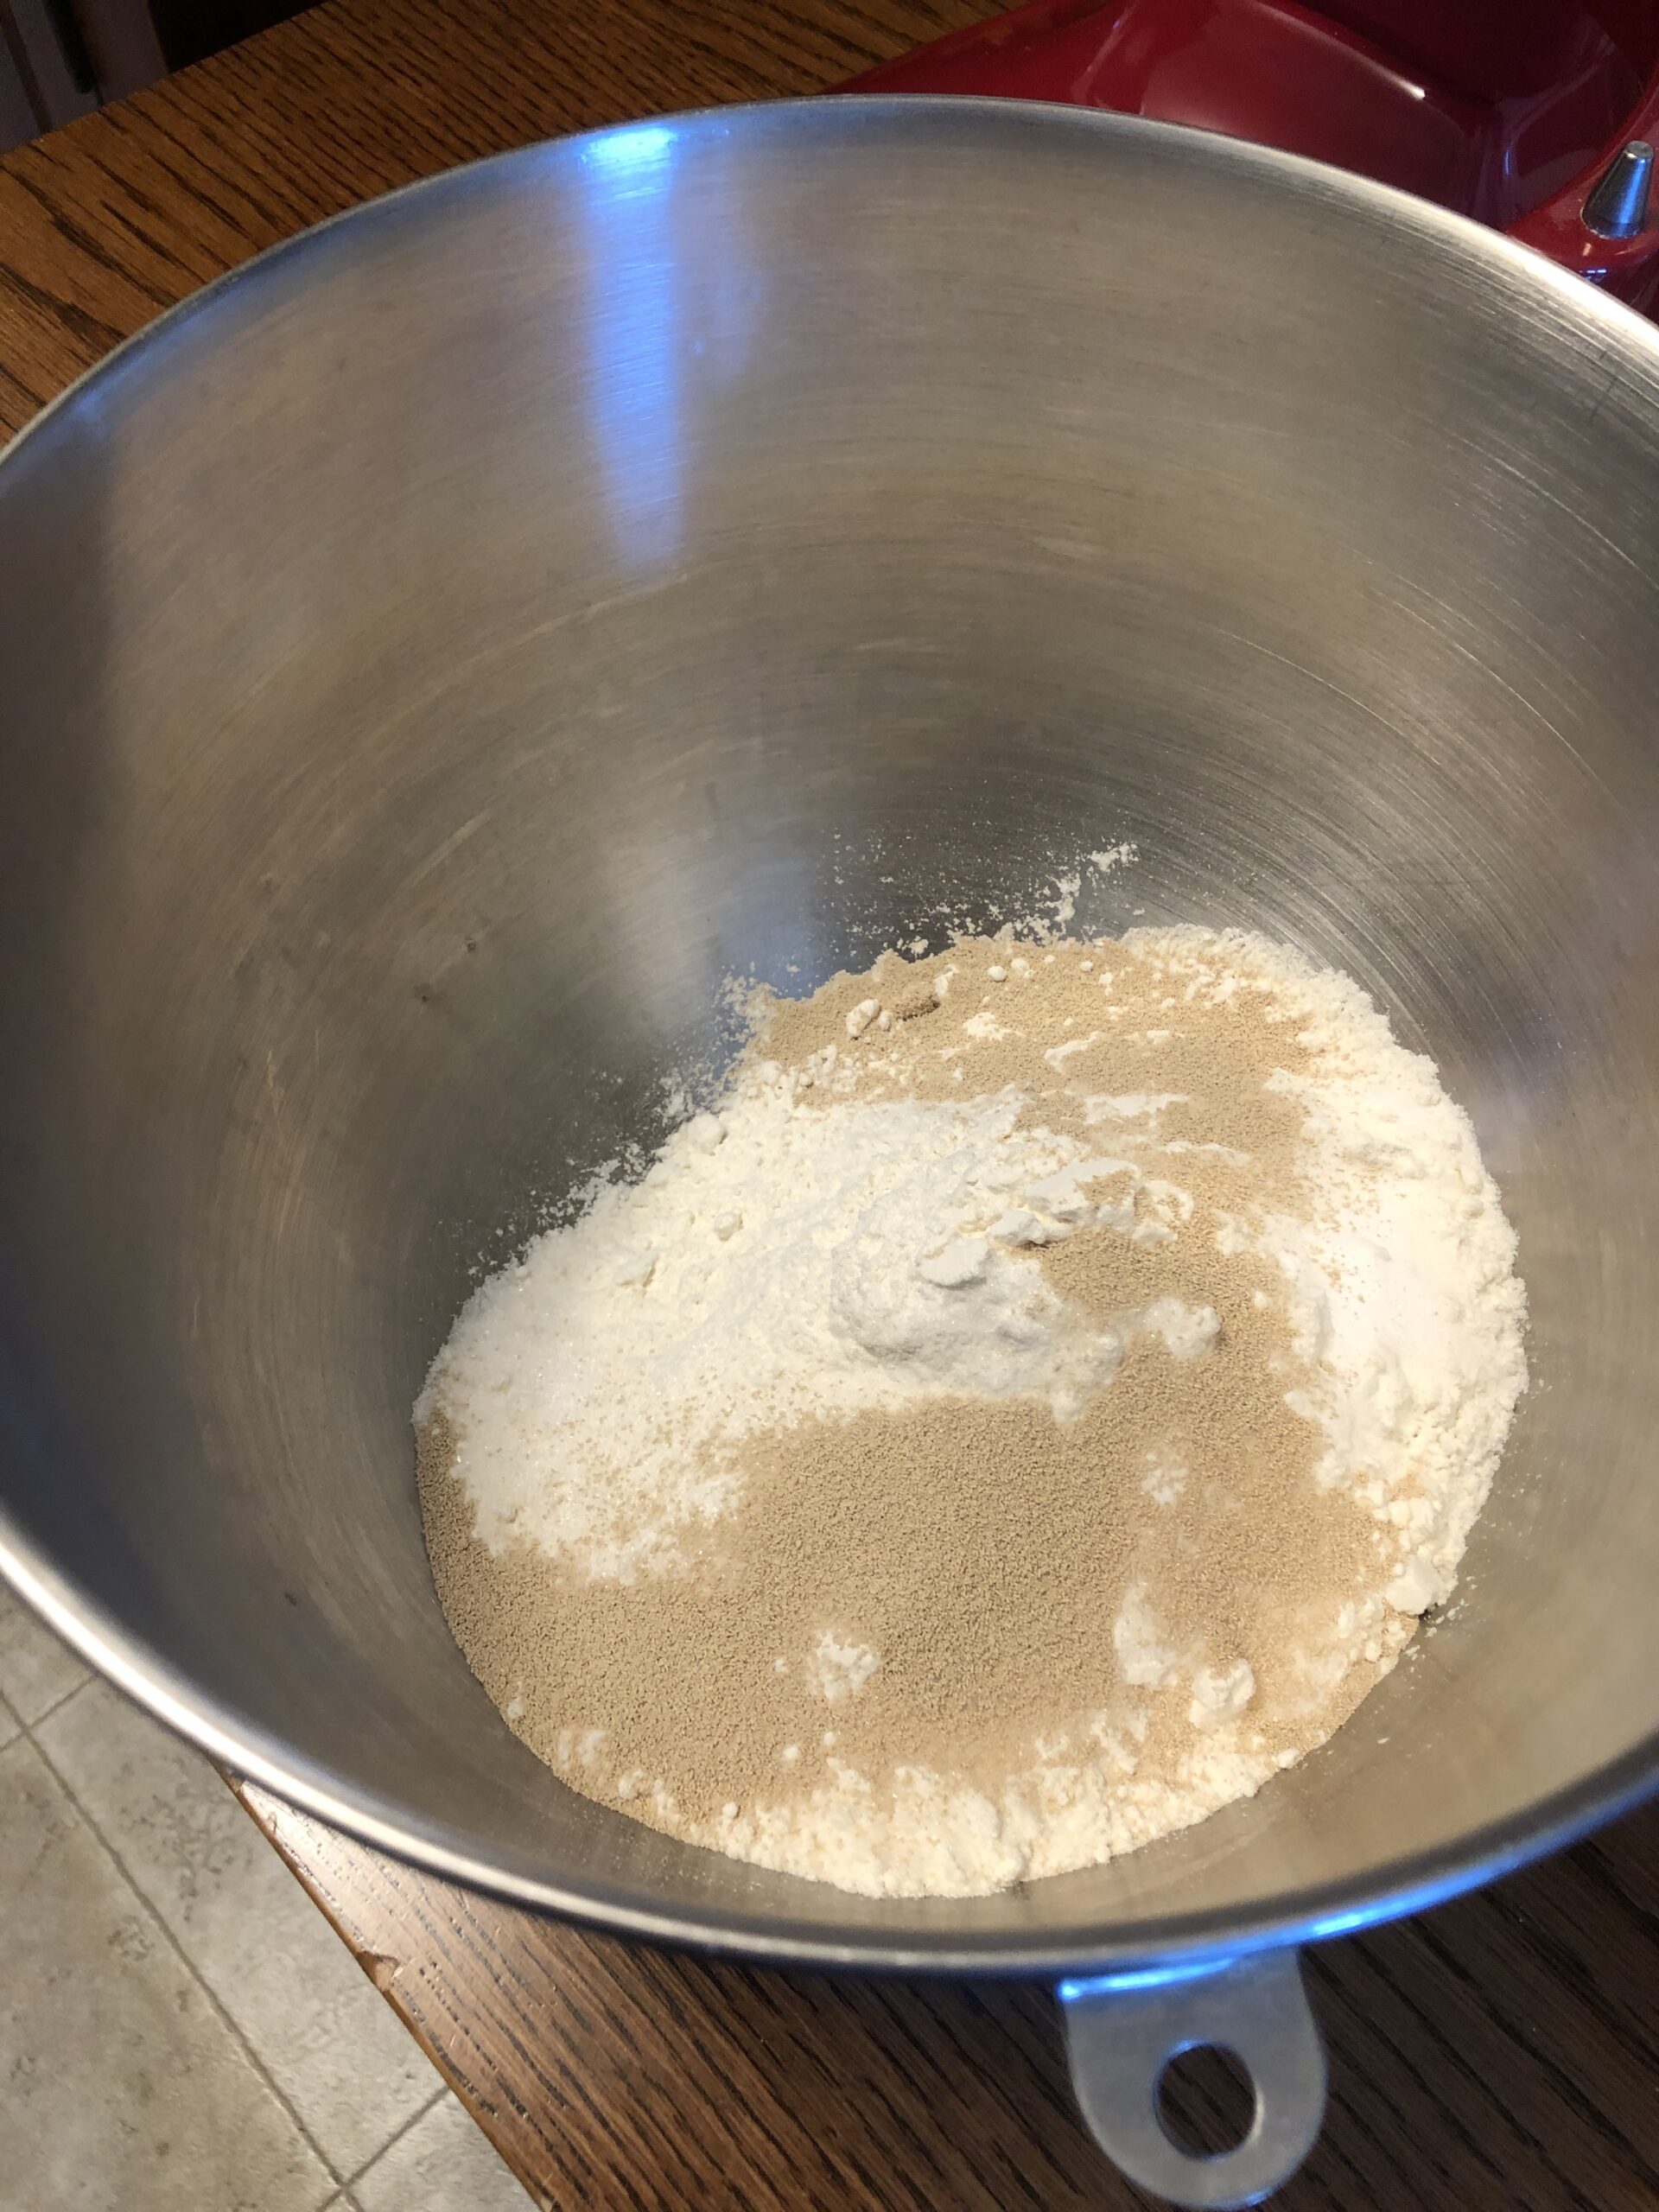
The dry ingredients were measured into my stand mixer bowl.
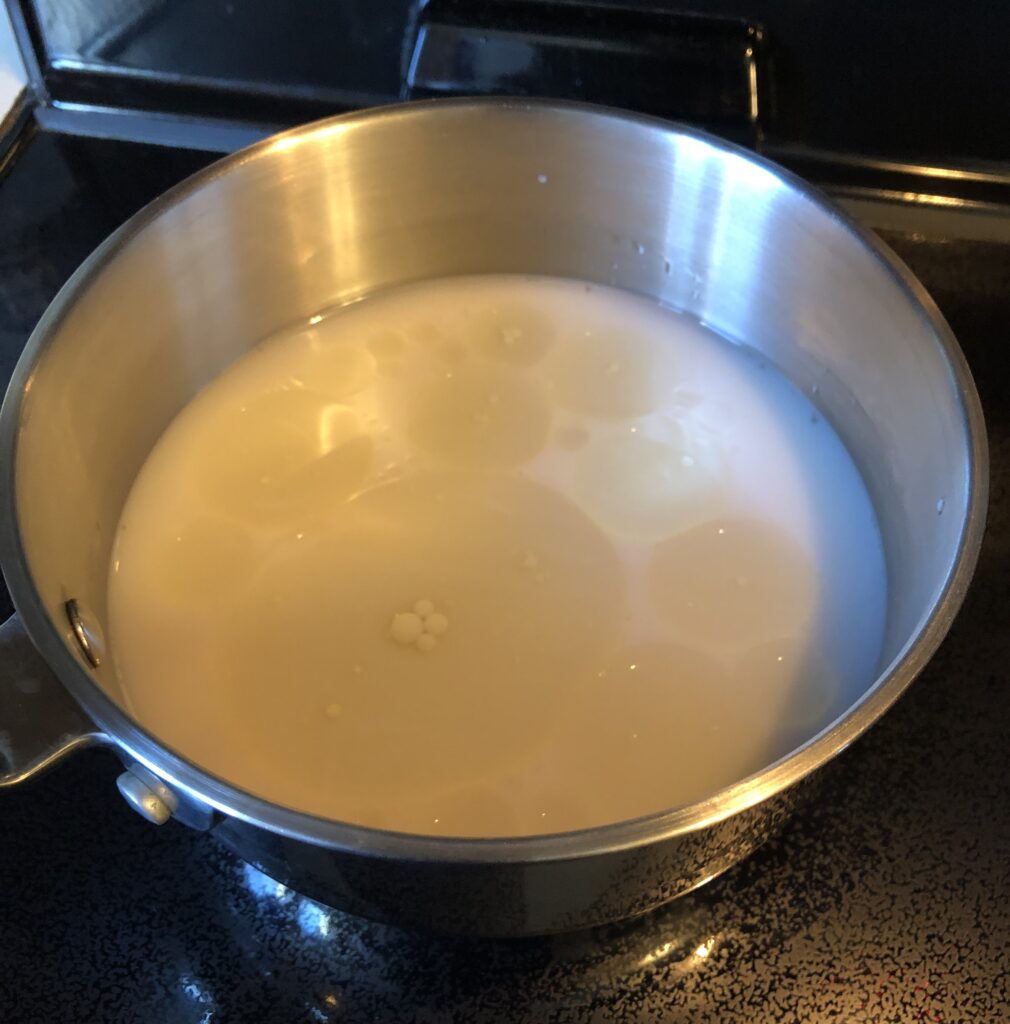
The wet ingredients were measured into a small saucepan and heated up on the stove. I love the way they said to test how hot it was…120-130 degrees F. “It will feel uncomfortably hot if you quickly dip your finger into it.” That worked great…with clean hands of course!
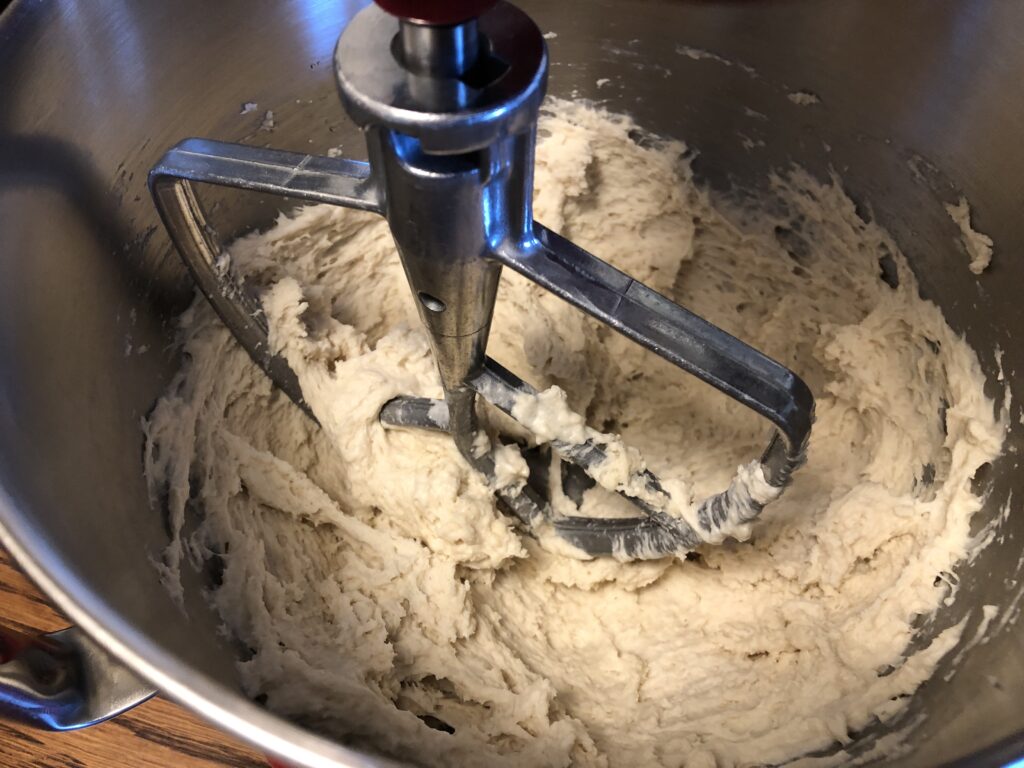
I poured the warm wet ingredients into the dry ingredients in my mixer bowl and mixed it thoroughly. Amazing, the dough was fairly wet and stretchy…it looked just like the picture in the Mother Earth News article:
Look at the picture below and the small one on the upper left. When the mixer was running it stretched the dough out like that! Success!
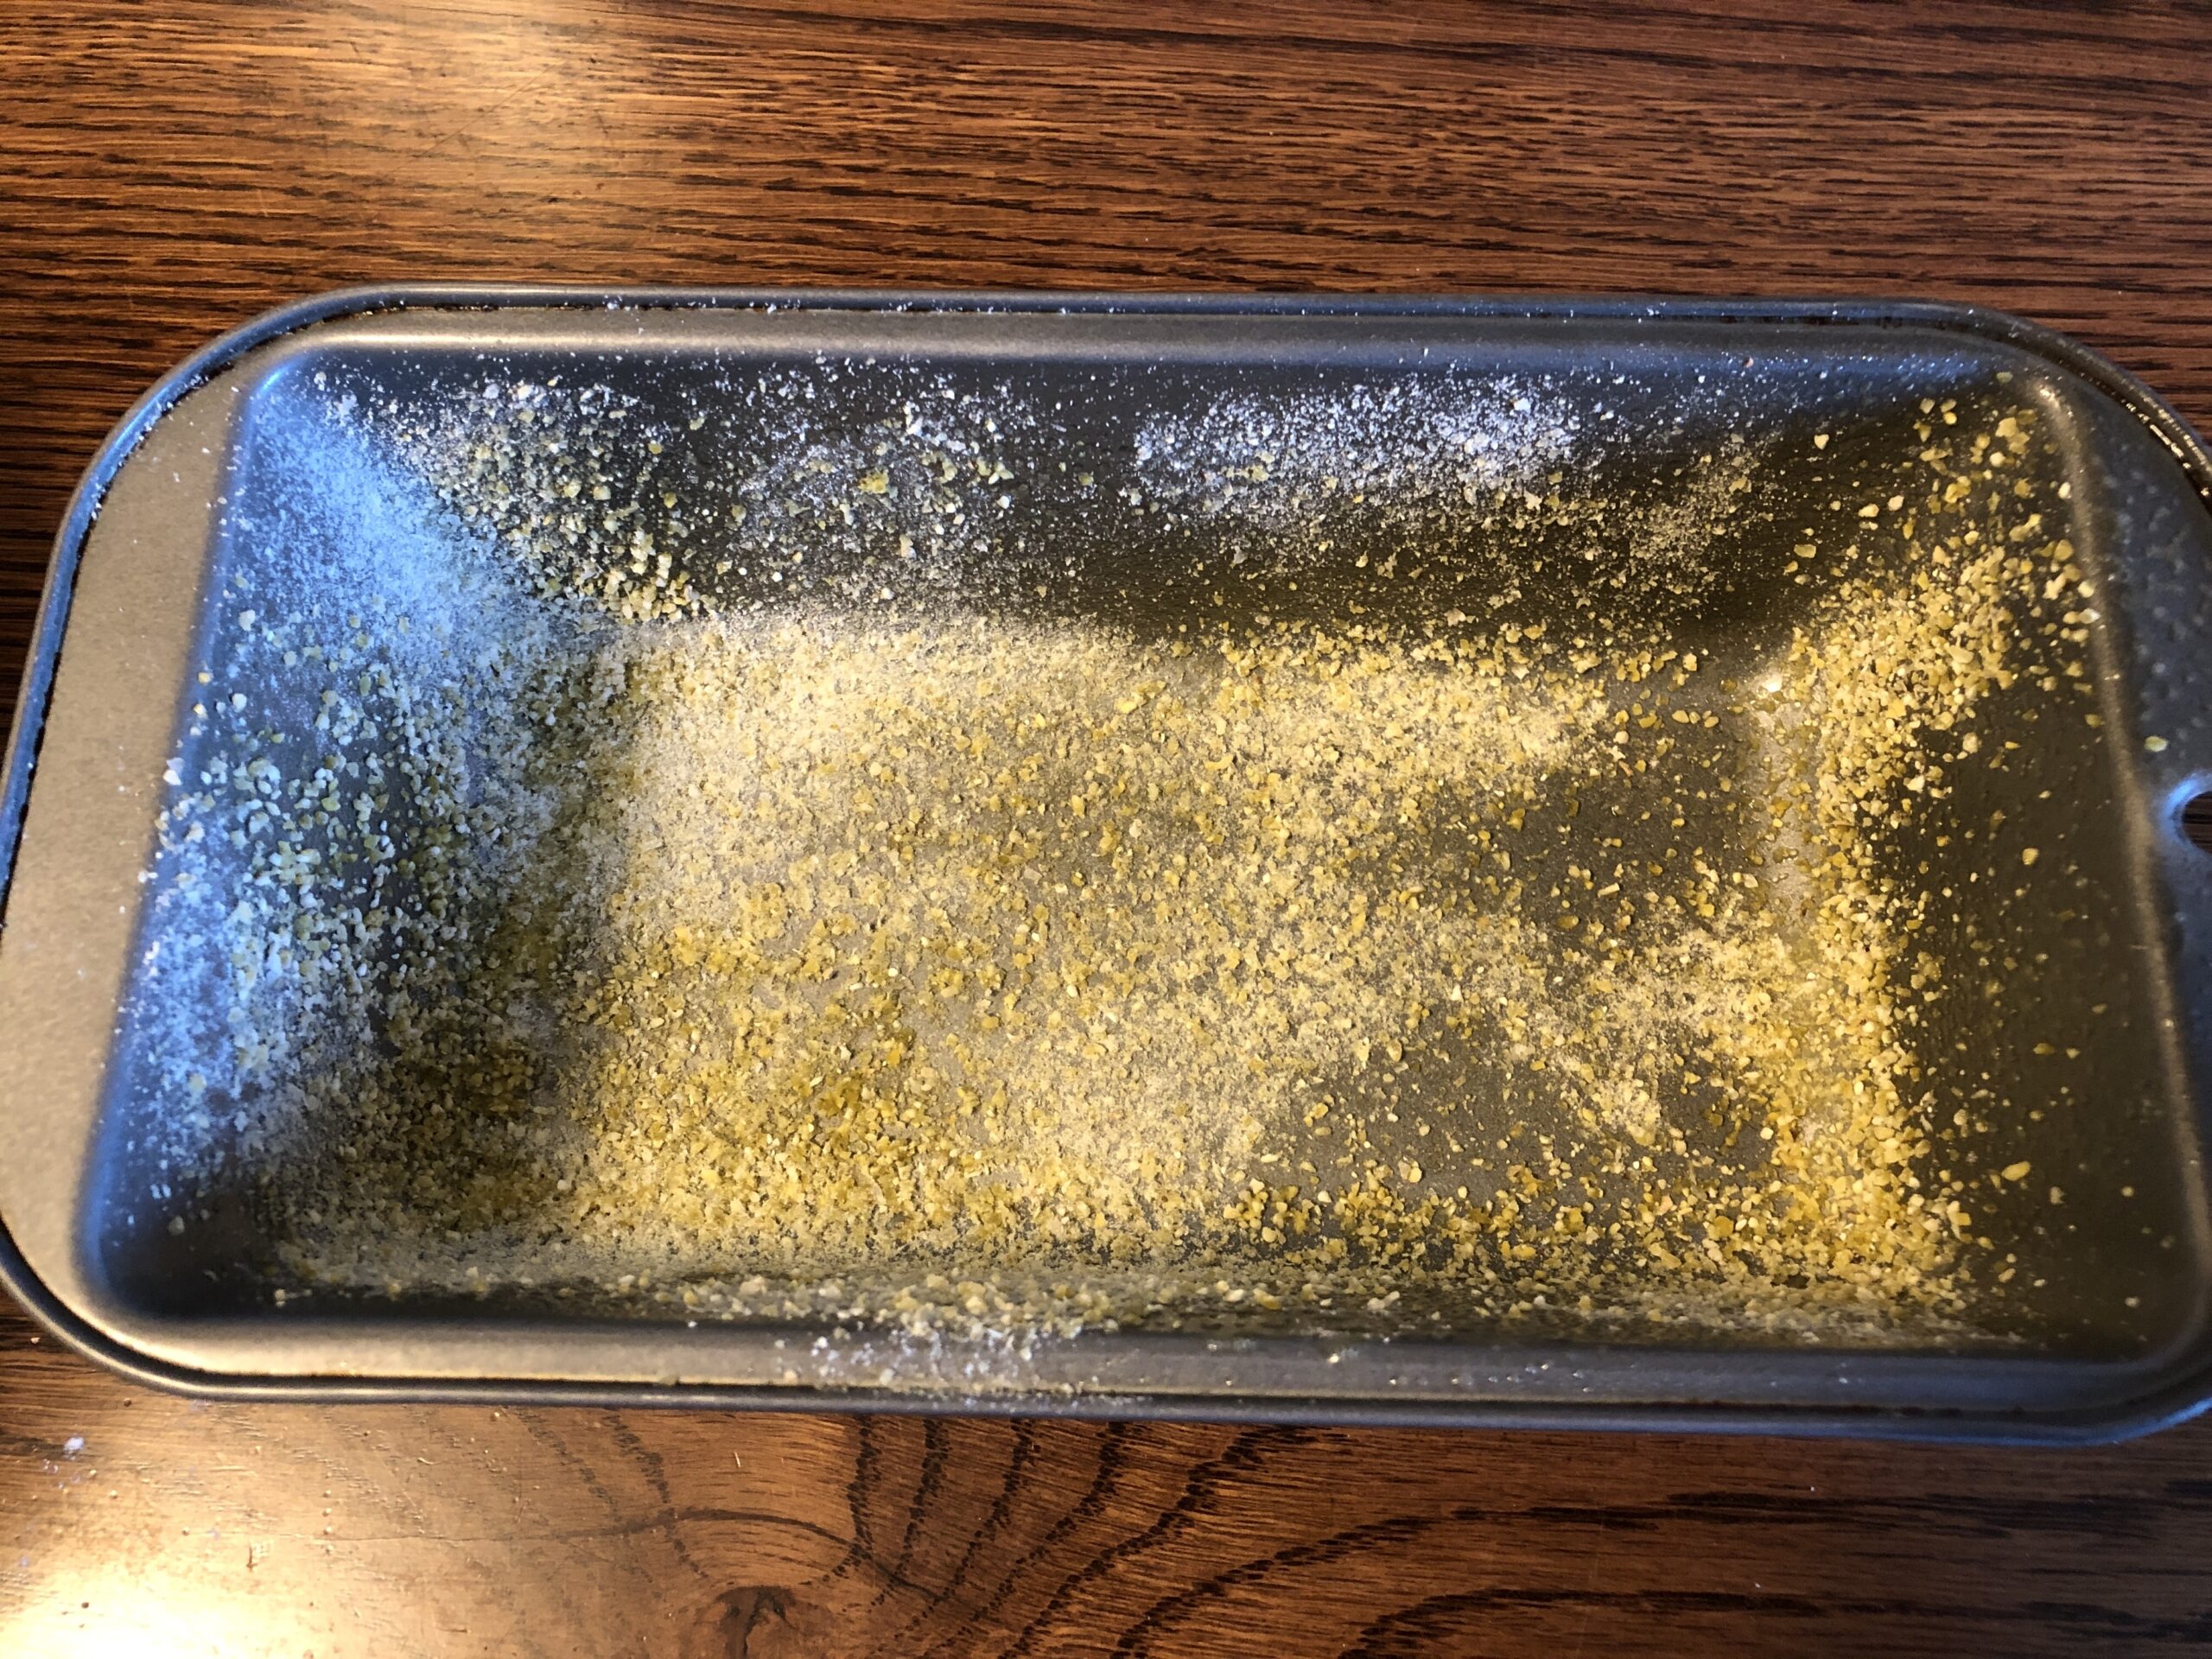
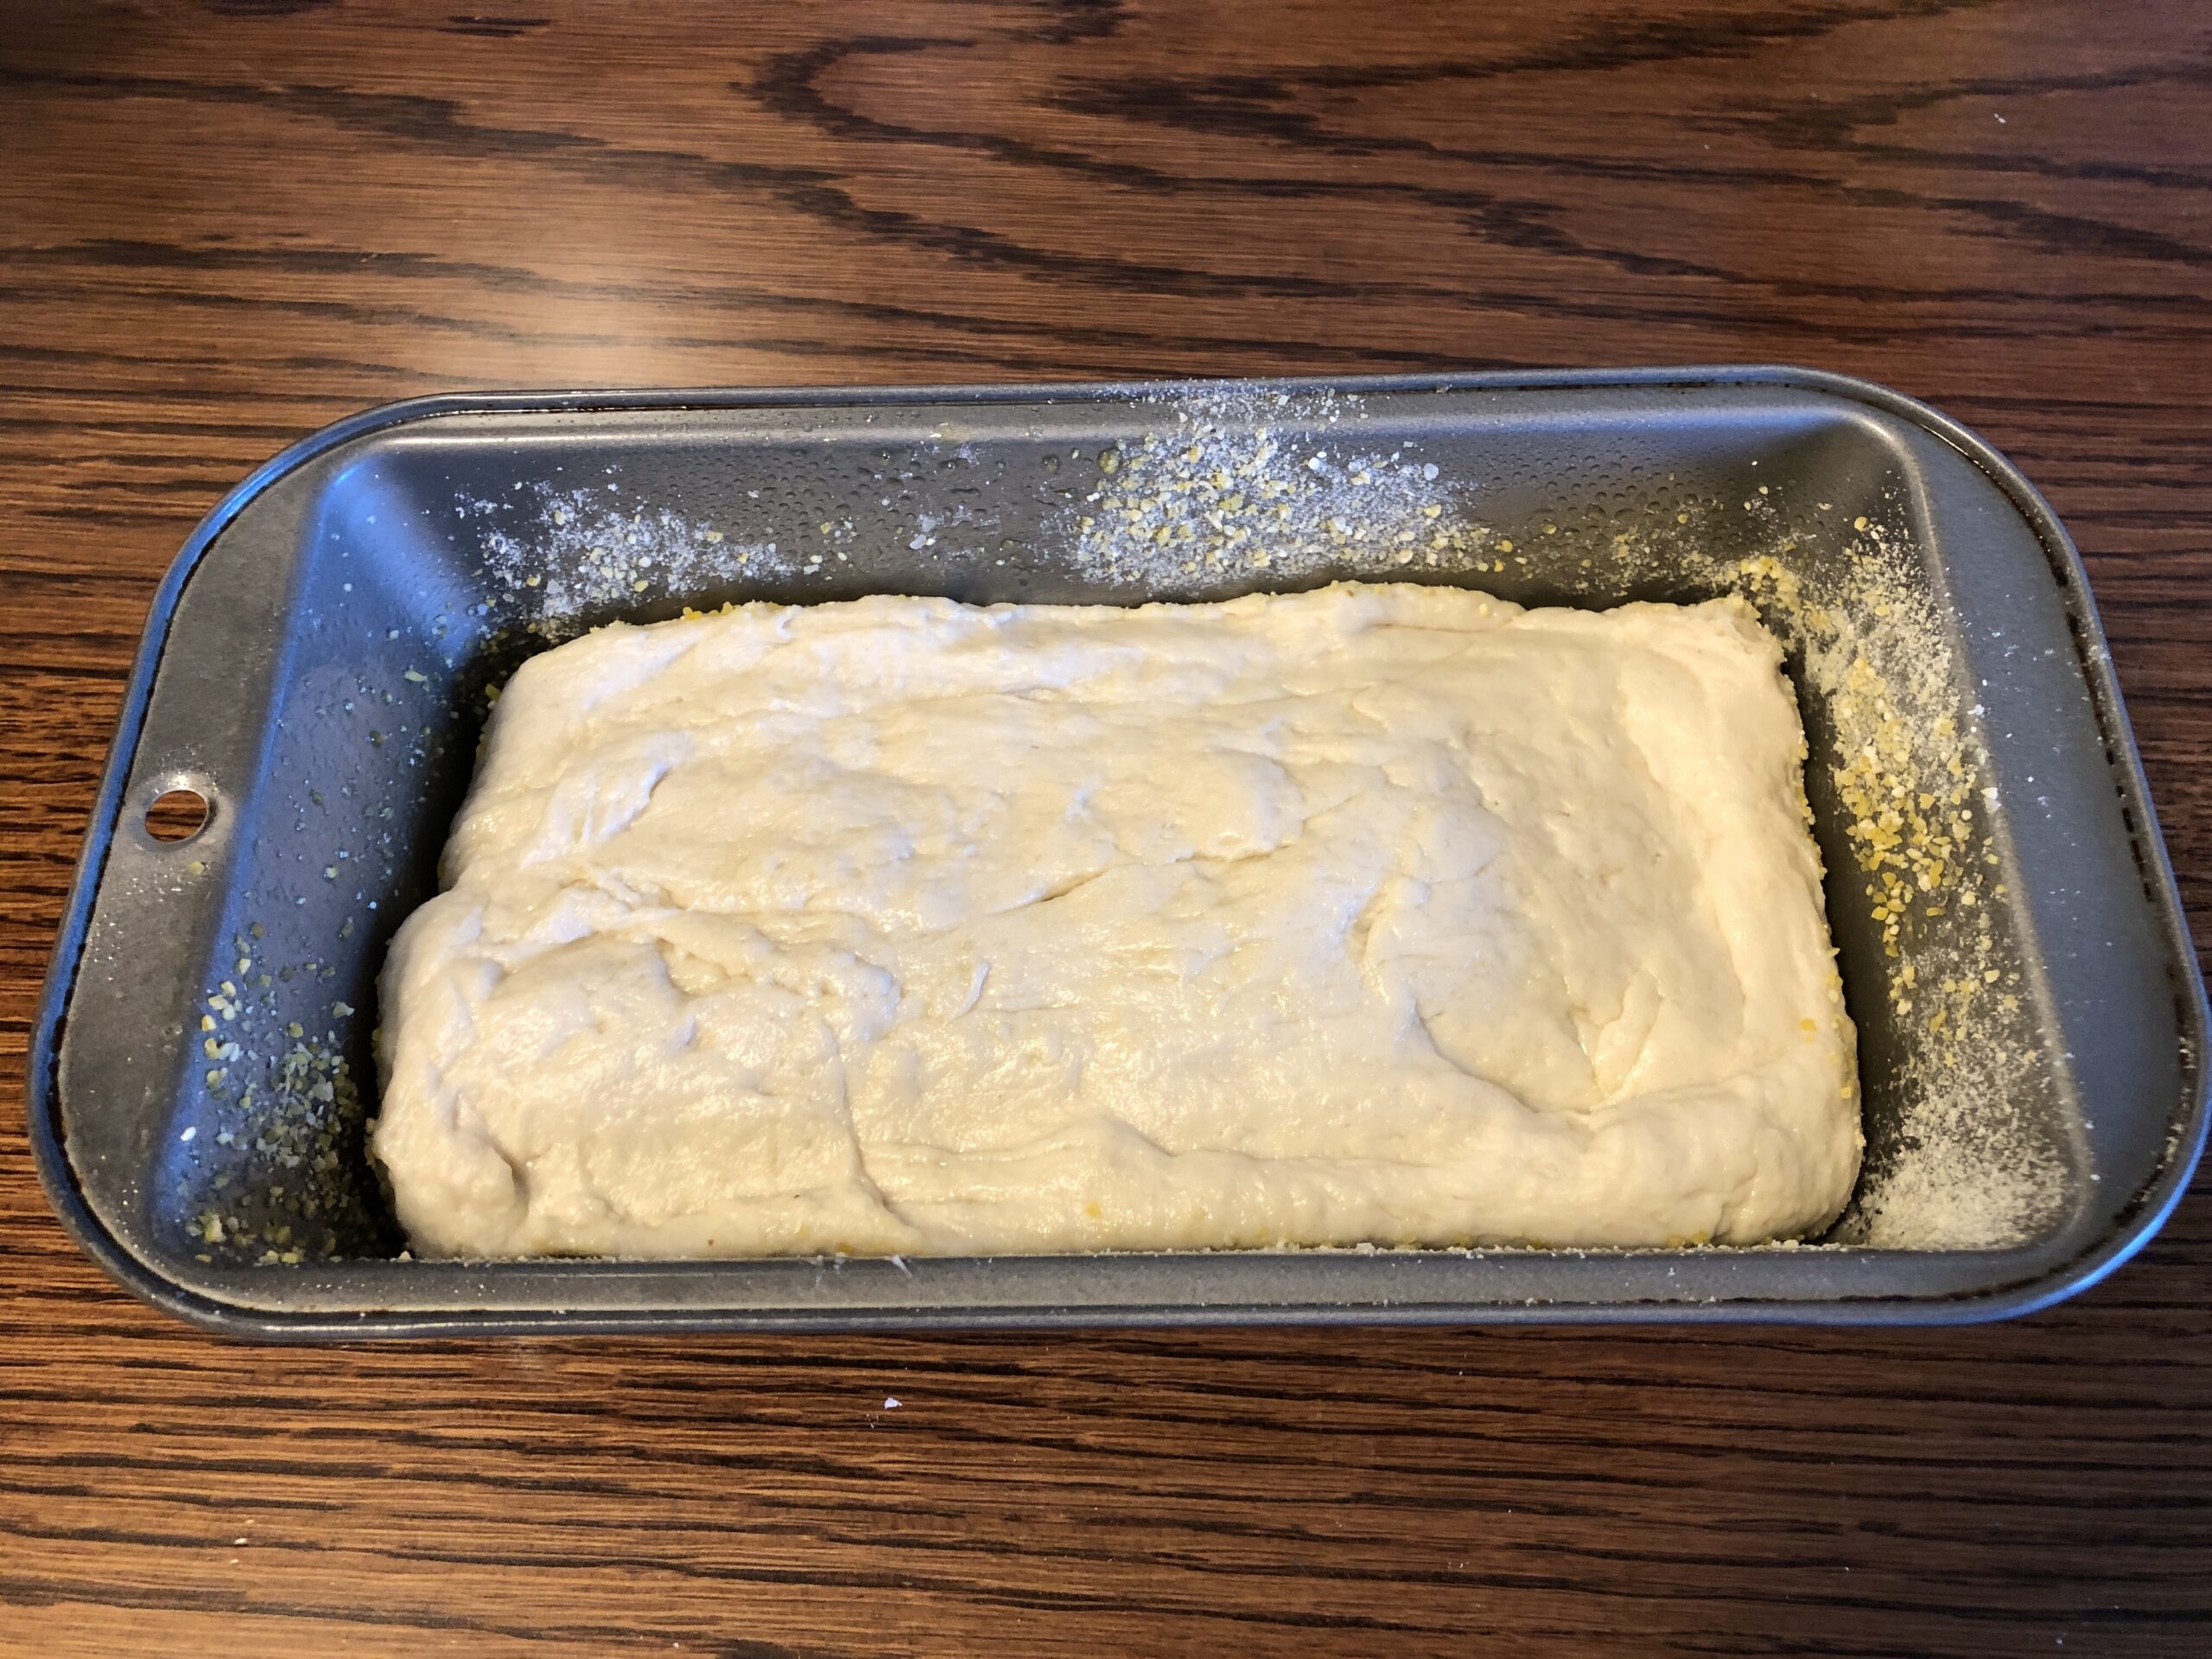
Then I greased a loaf pan and sprinkled cornmeal into it.
To scoop the sticky dough out of the bowl, I sprayed my spatula with oil. Then I pressed the dough into the baking pan.
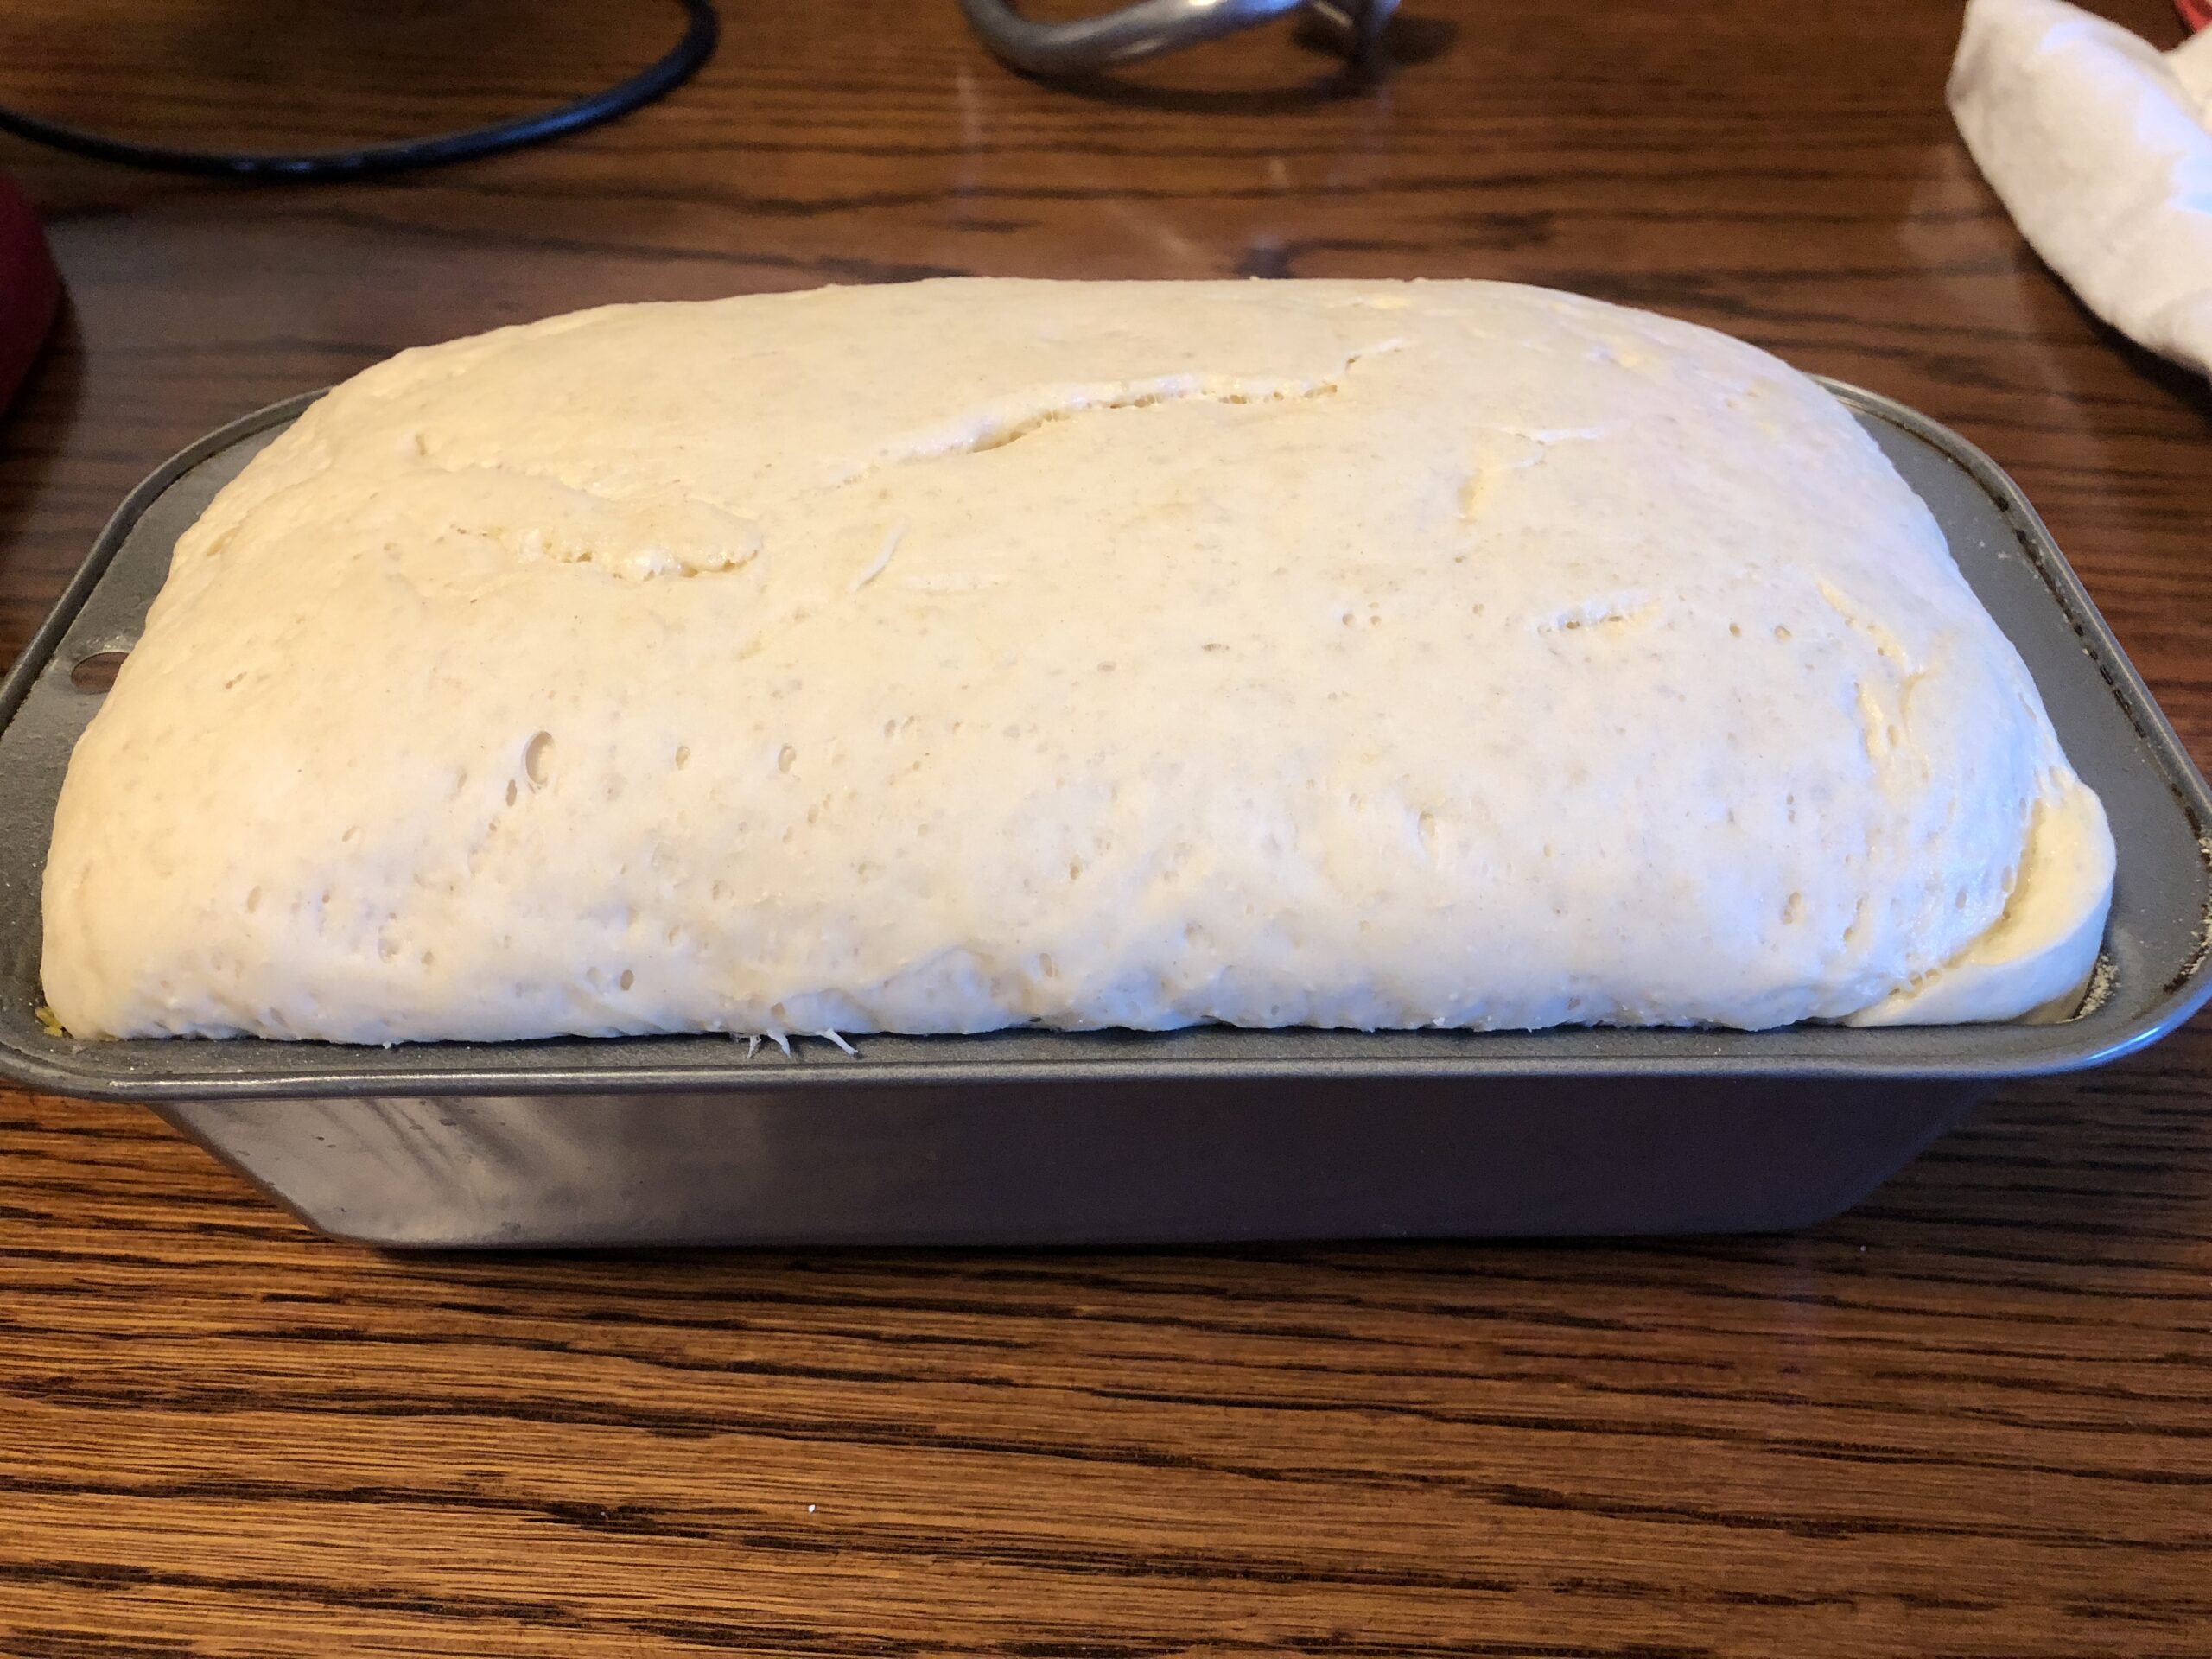
I covered the pan with a towel and let it rise about an hour. It rose just above the pan.
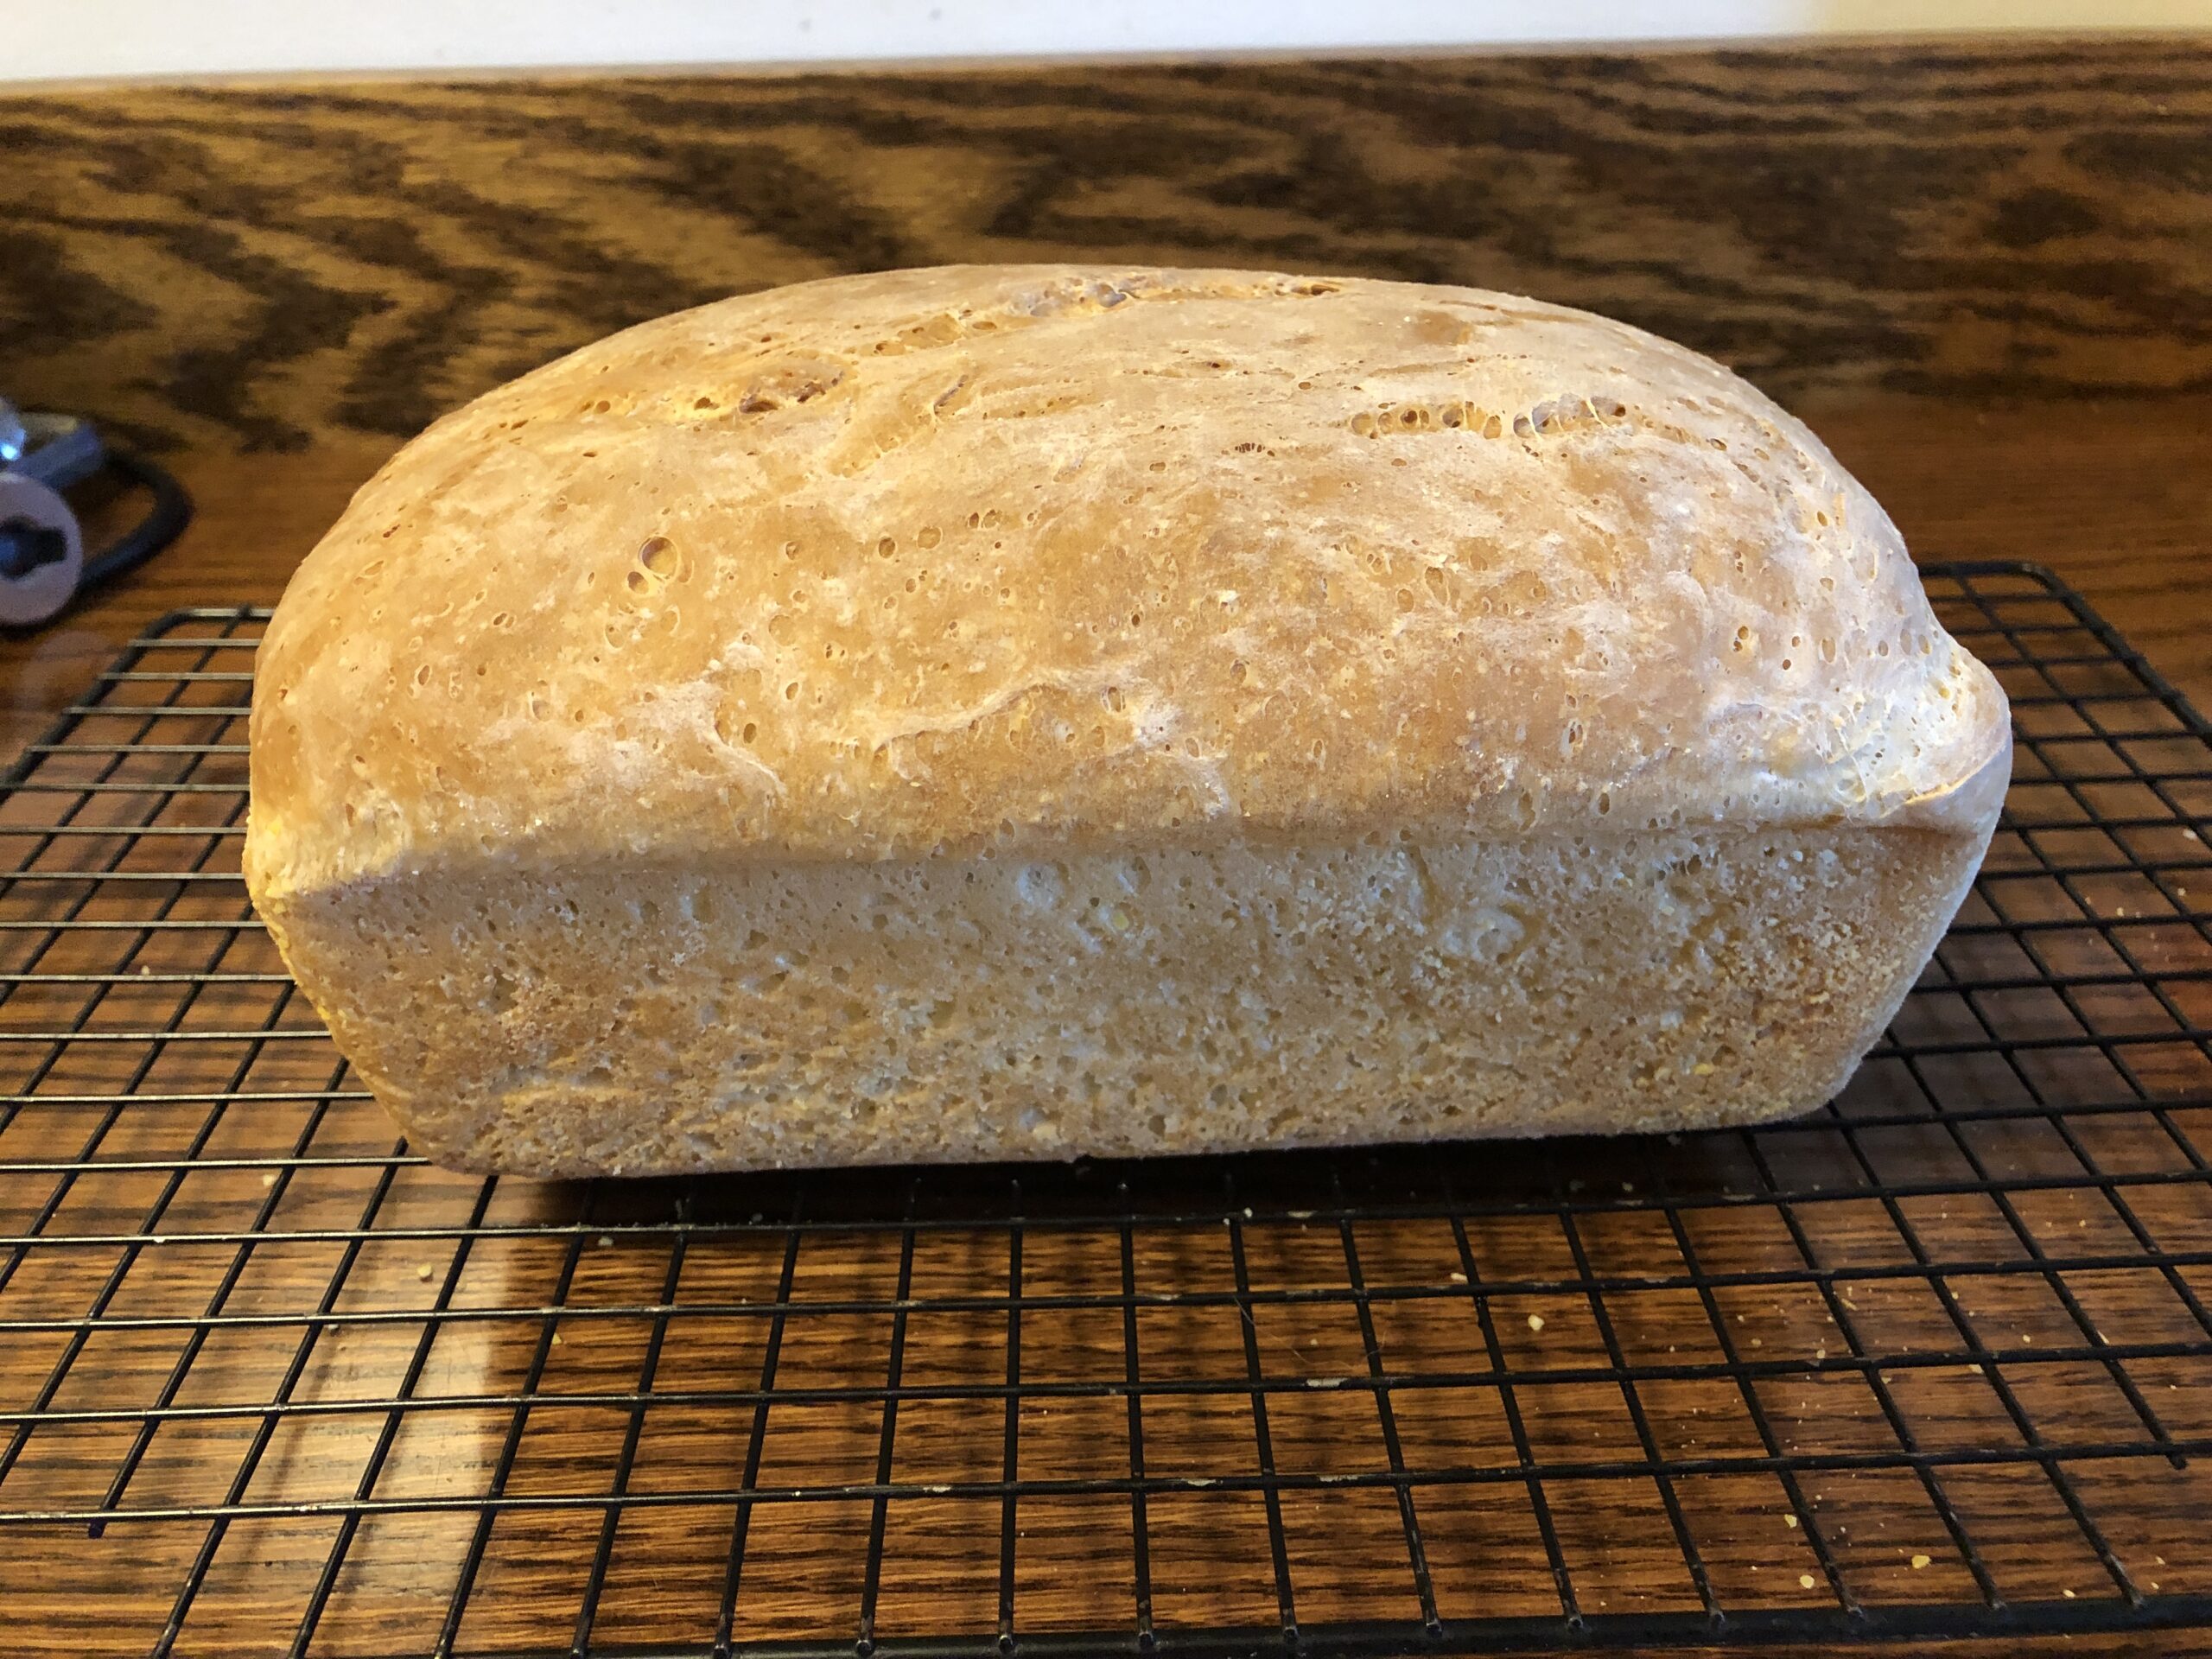
I preheated the oven to 400 degrees F while it was rising and baked the bread for 25 minutes. It turned out great!
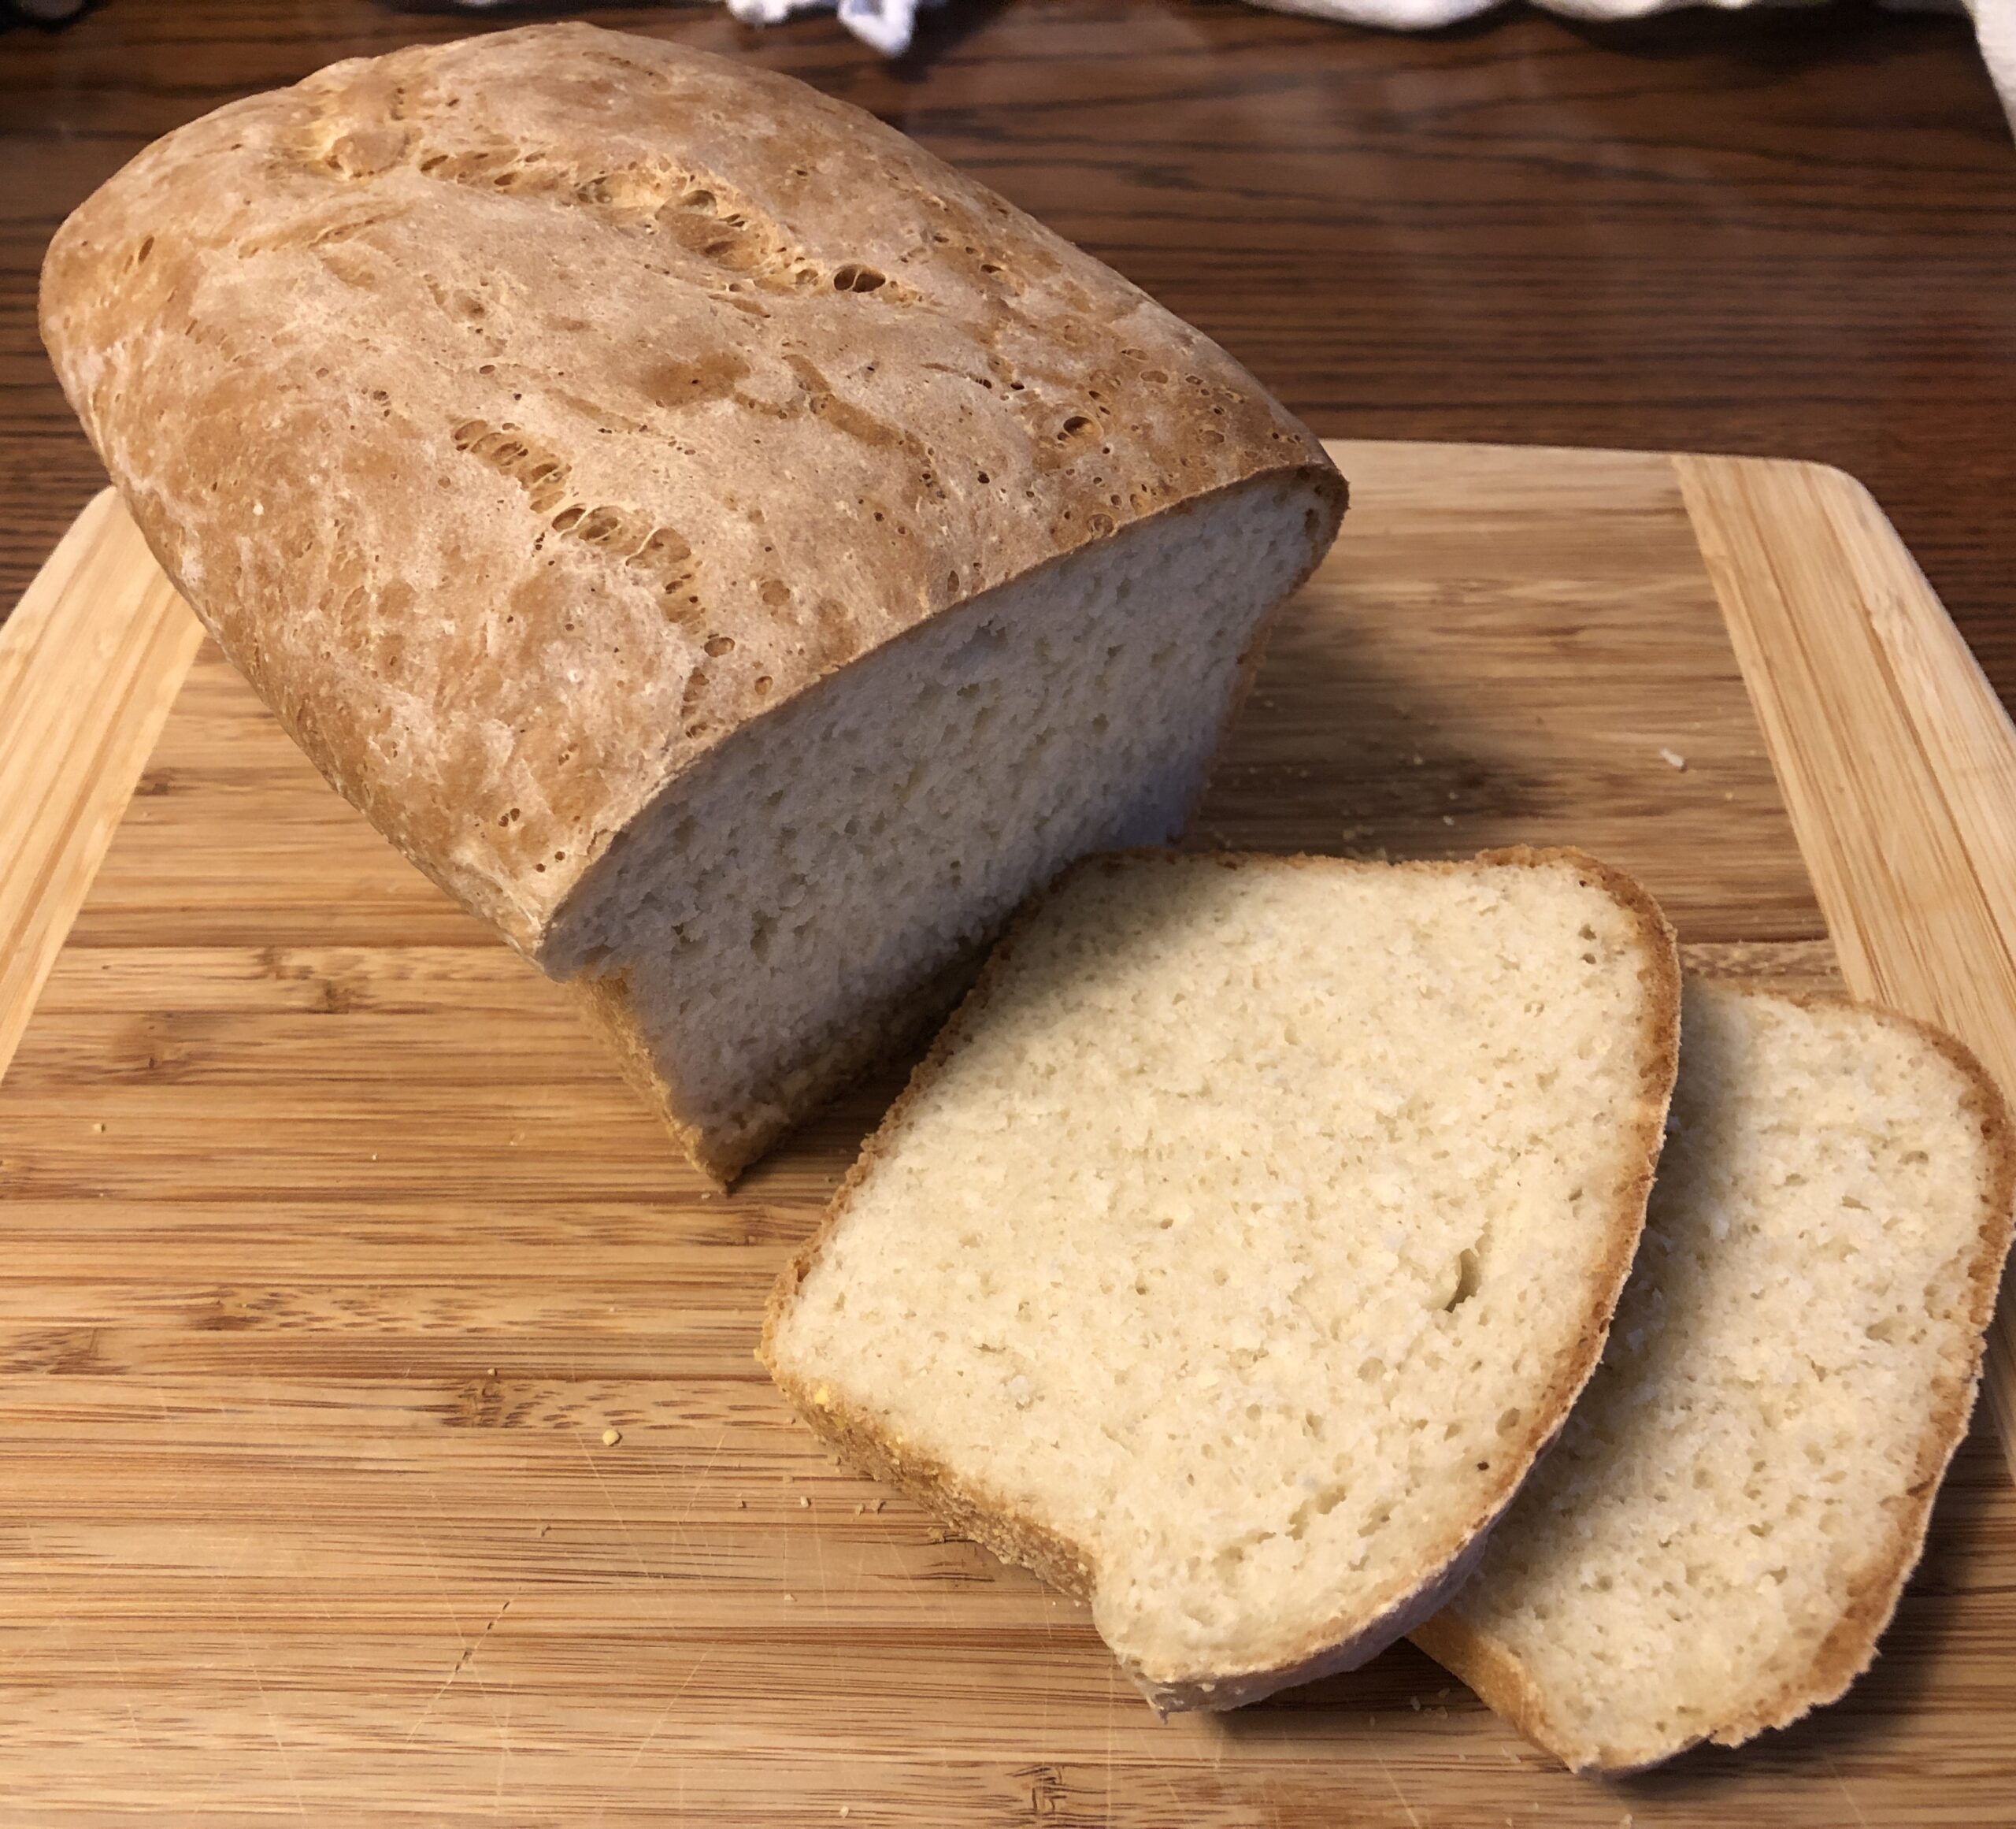
This bread was delicious toasted and even did well as a sandwich bread! This recipe will go in my Favorites book!
You may wonder why I’m interested in making dog treats! I don’t have a dog…but I do have access to a changing group of greyhounds that love treats! Of course, my grandpuppy Daisy is always available to try new treats when I visit.
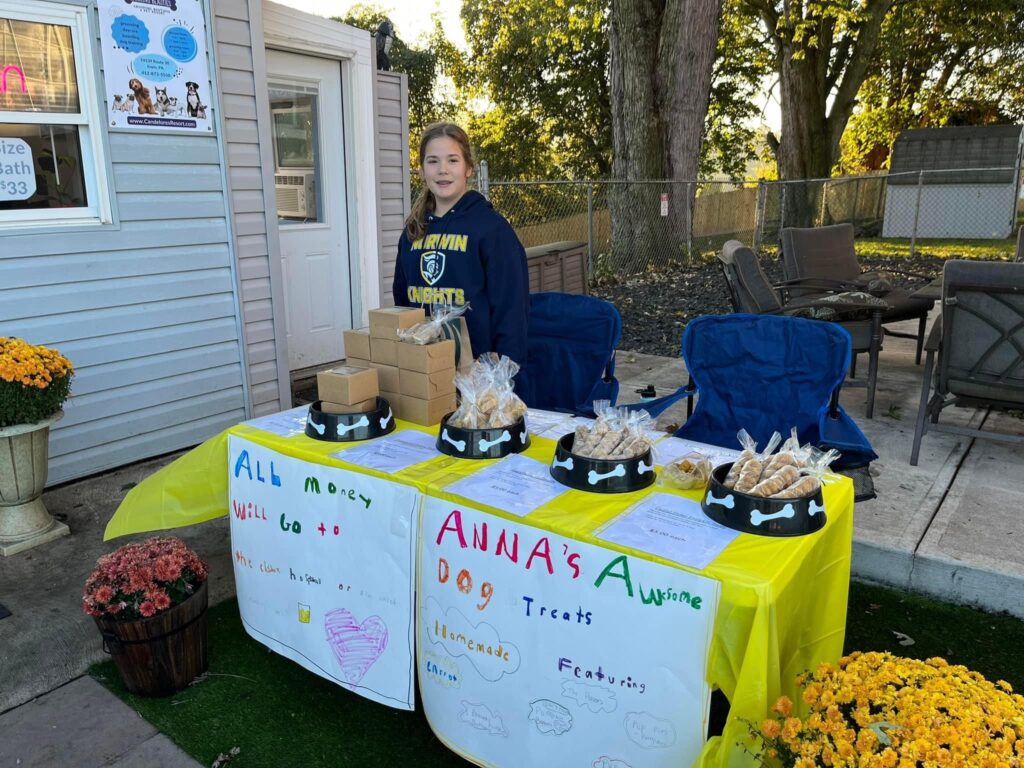
In fact, I’m motivated to make dog treats for two reasons. First, making these treats satisfies my need to create something new and useful. I could always make cookies for us, but then we’ll eat them! Second, I’m inspired by my daughter and granddaughter who made and sold bags of homemade treats as part of a fundraiser at their local elementary school last month. Anna worked hard to help make, package and sell dog treats over several weeks and raised $700 for a local charity! Very inspiring!
Anna and Daisy!
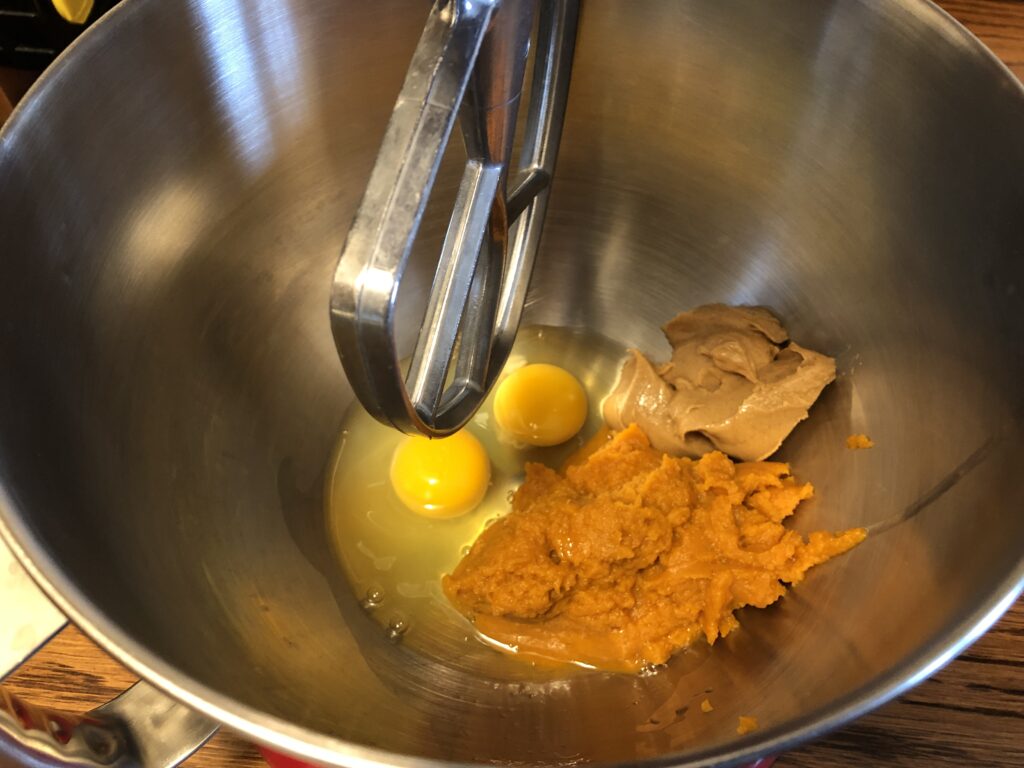
My first attempt to make treats started with a simple recipe I copied from online:
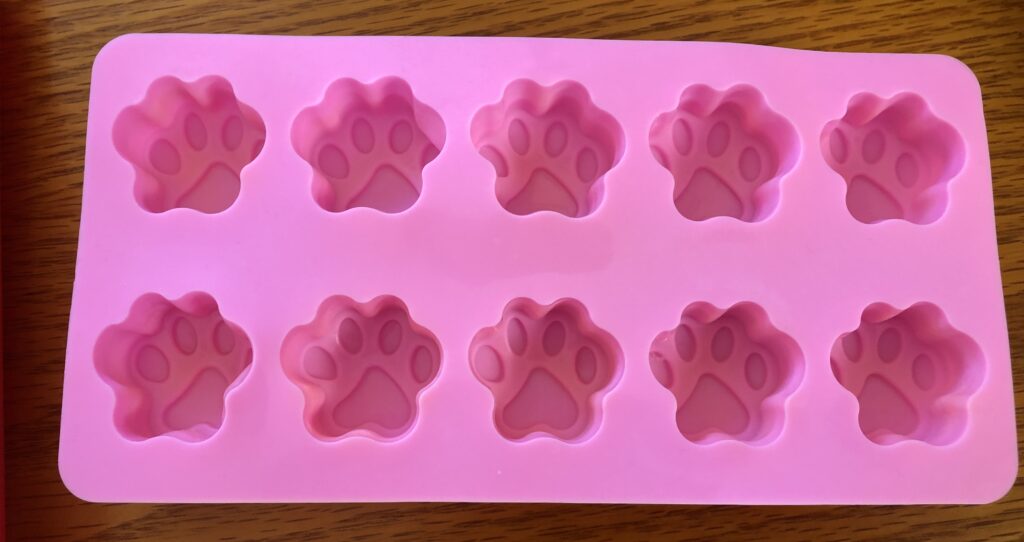
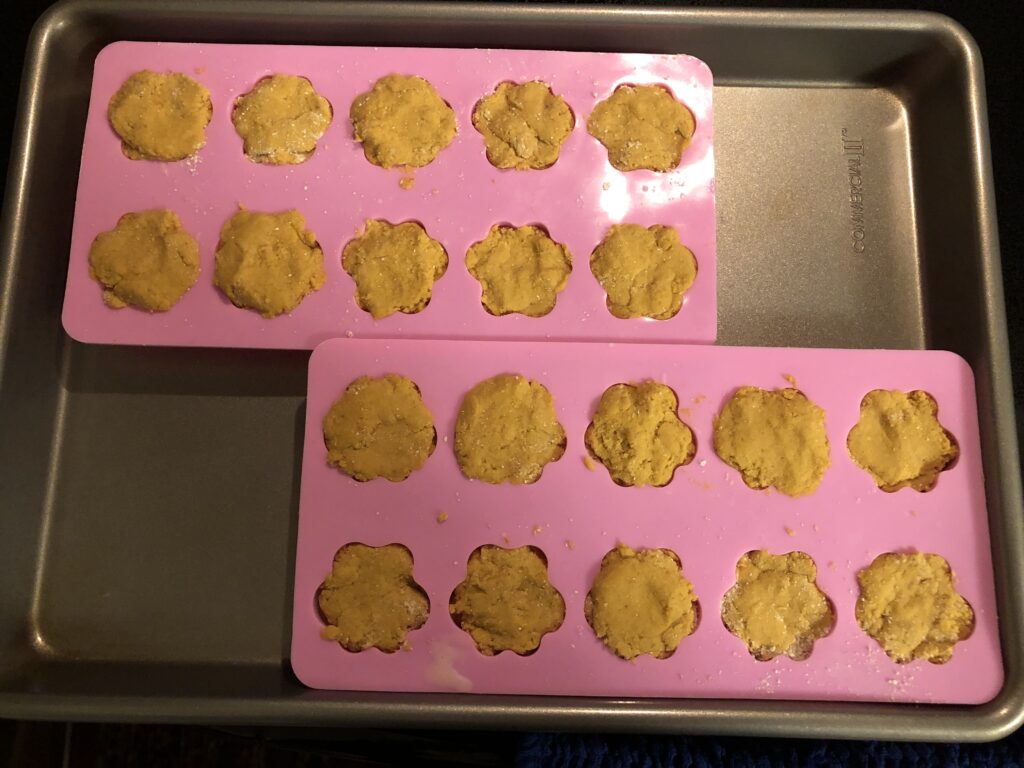
I had paw print molds. I mixed up the batch above and filled the molds…
…and baked them at 325 degrees F. They looked interesting and were scarfed up by the greyhounds. They disappeared so fast, I forgot to take a picture of them!
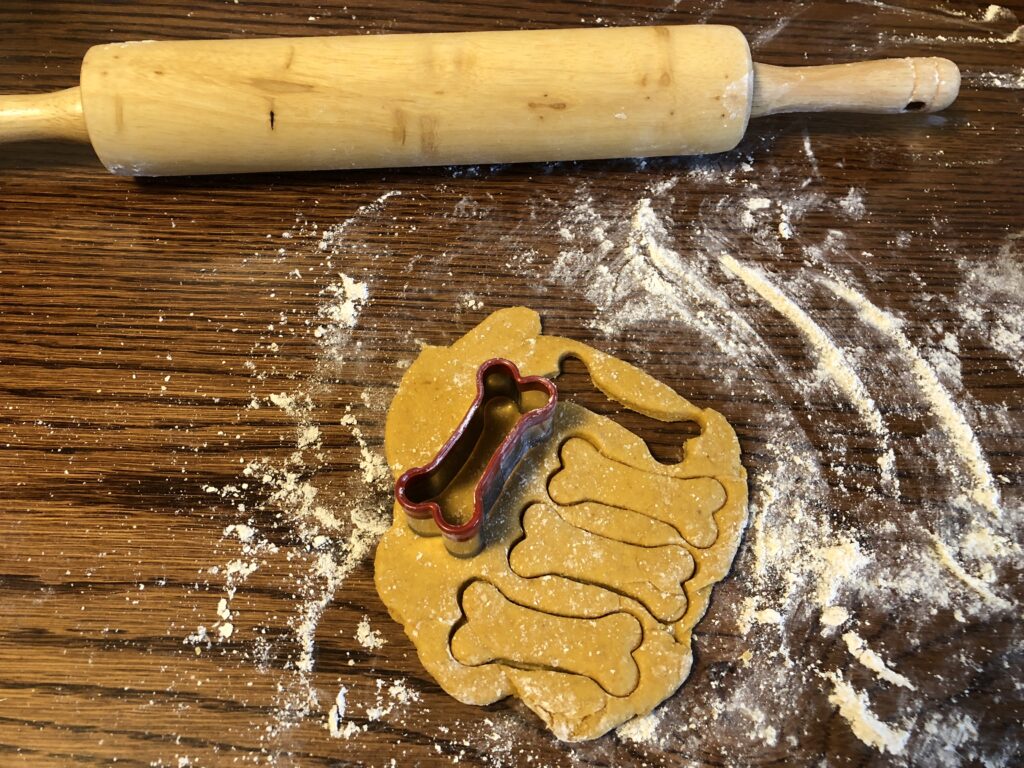
My next step was to get some sturdy bone cookie cutters. They came in the mail yesterday so I found another recipe for treats that could be rolled out. Here’s the recipe:
Mixing up the treats:
Adding the whole wheat flour made a nice dough:
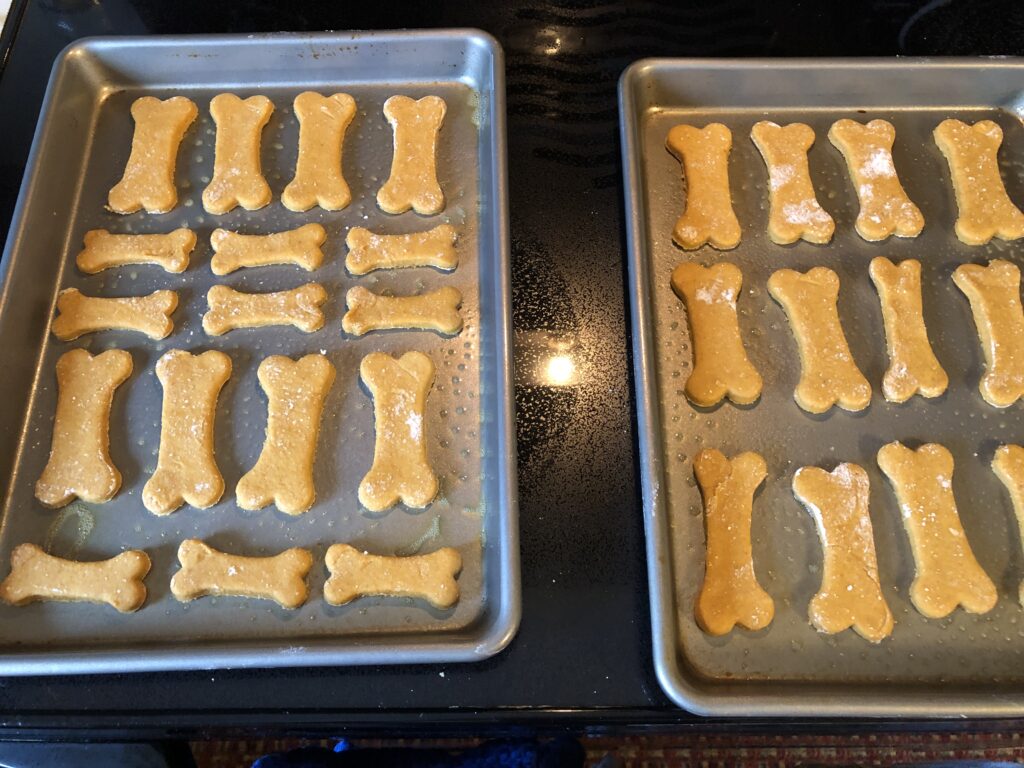
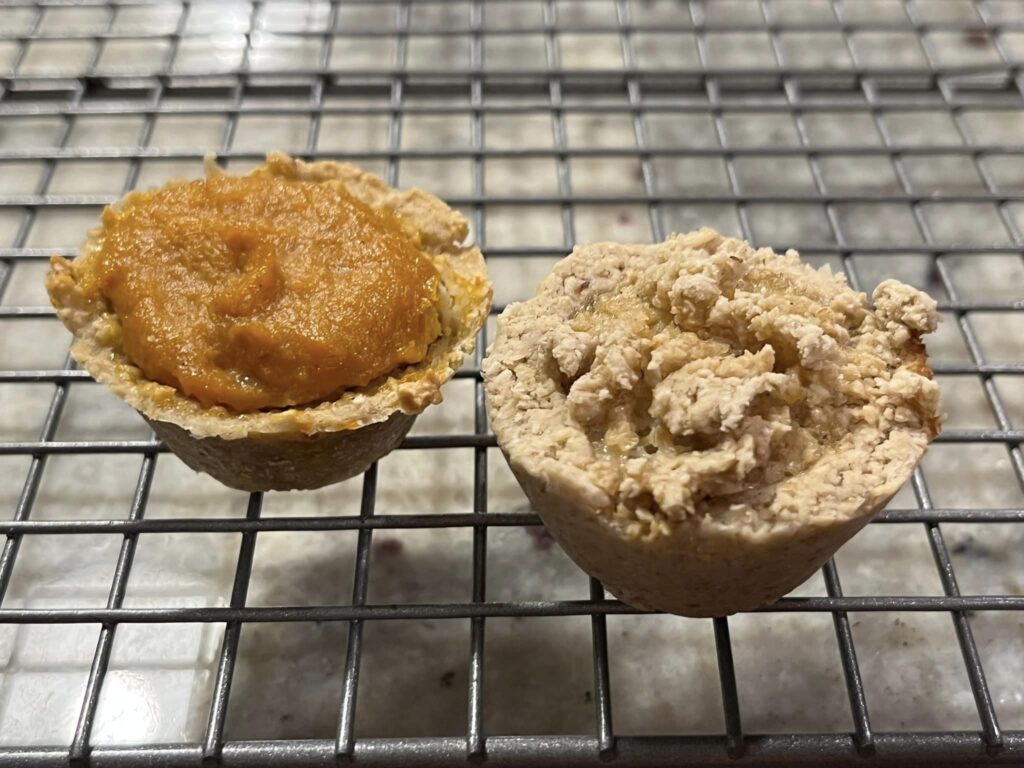
I filled four cookie sheets with “bones.”
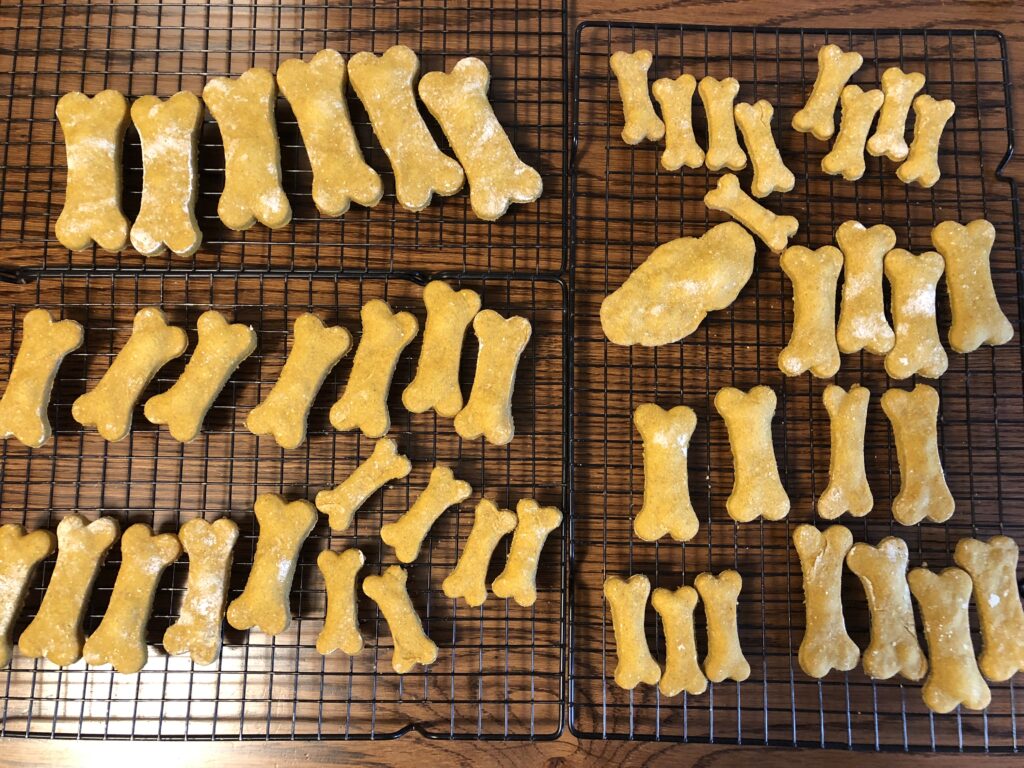
I baked them for 25 minutes. When cool they were still a little soft inside. Next time I think I’ll turn the oven down at the end to 325 degrees and give them an extra 10-15 minutes. The batch made about 40 treats. I’m sure they’ll be a hit!
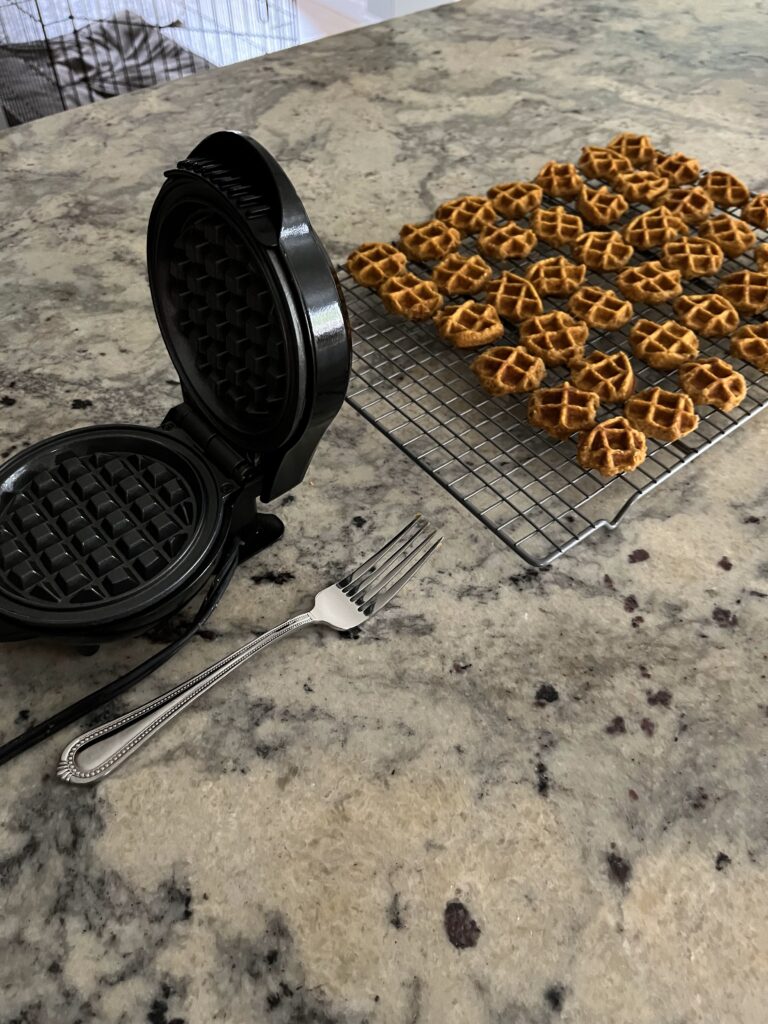
Kathy and Anna found several recipes for dog treats online, from tiny waffles (woofles) and tiny pumpkin pies! I’ll check out those recipes!
Just too adorable!!
So, thanks to my daughter and granddaughter, I have a whole new way to use my baking skills!
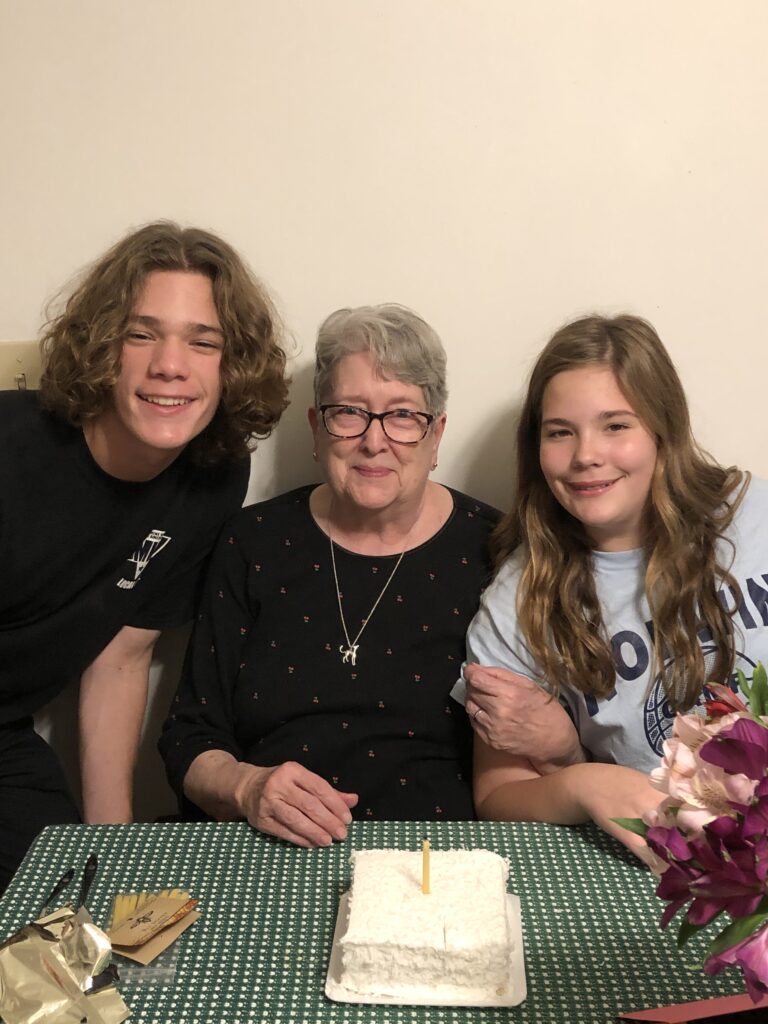
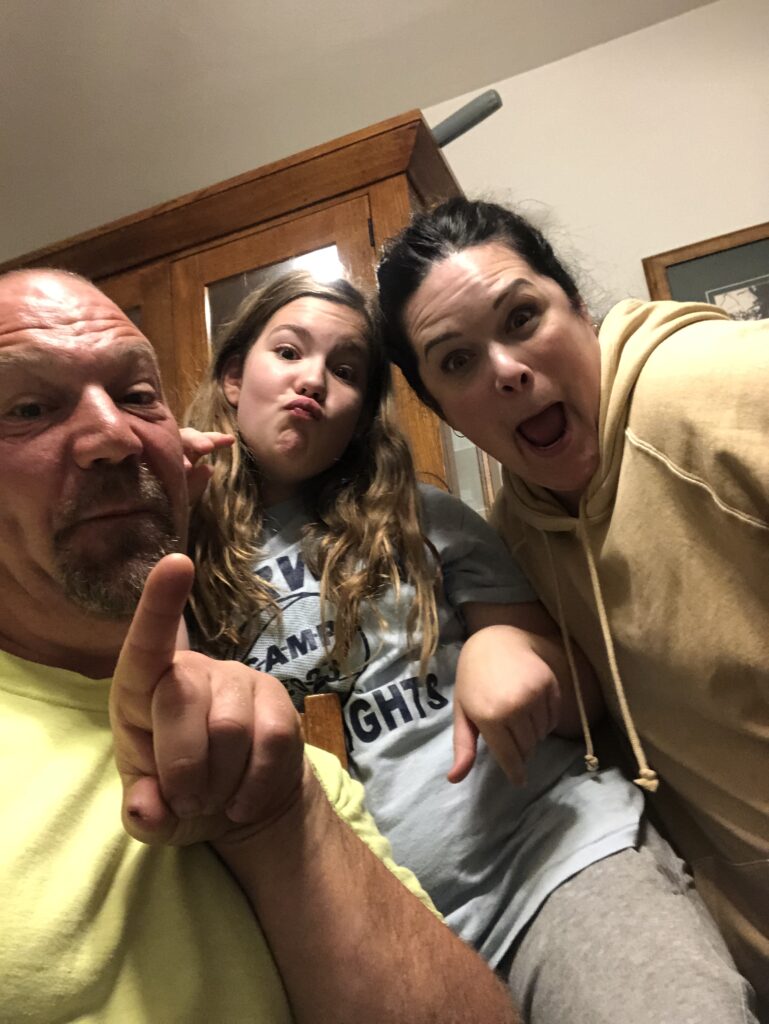
Hugs! Hugs and laughter! Hugs, laughter, cake and ice cream! By this age, these are the things that matter for my birthday celebration. Luckily, Kathy and family came for a visit Saturday and Sunday so we had all the most important elements…hugs, laughter, cake and ice cream! I was even blessed with a beautiful bouquet of flowers and cards that made me laugh. One work of warning to folks with visiting teenage grandchildren…don’t leave your phone unattended…you might be blessed with some unusual photos of silly faces!
Decided to skip 77 candles…probably drip all over the cake!
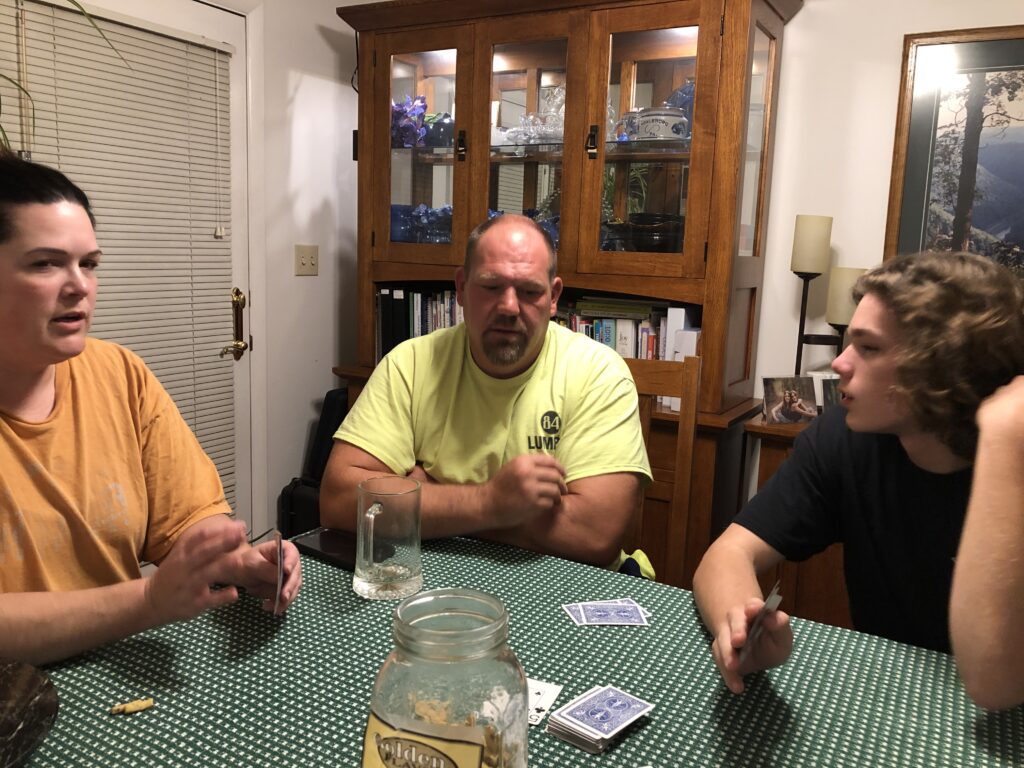
We played cards using snack sticks as our money.
My unattended phone picked up some sassy behavior…this was just one of many!
On Sunday, we went to Walmart to check out PSU t-shirts. We will be attending a Lady Lions basketball game in December. We have to be ready to look like fans!
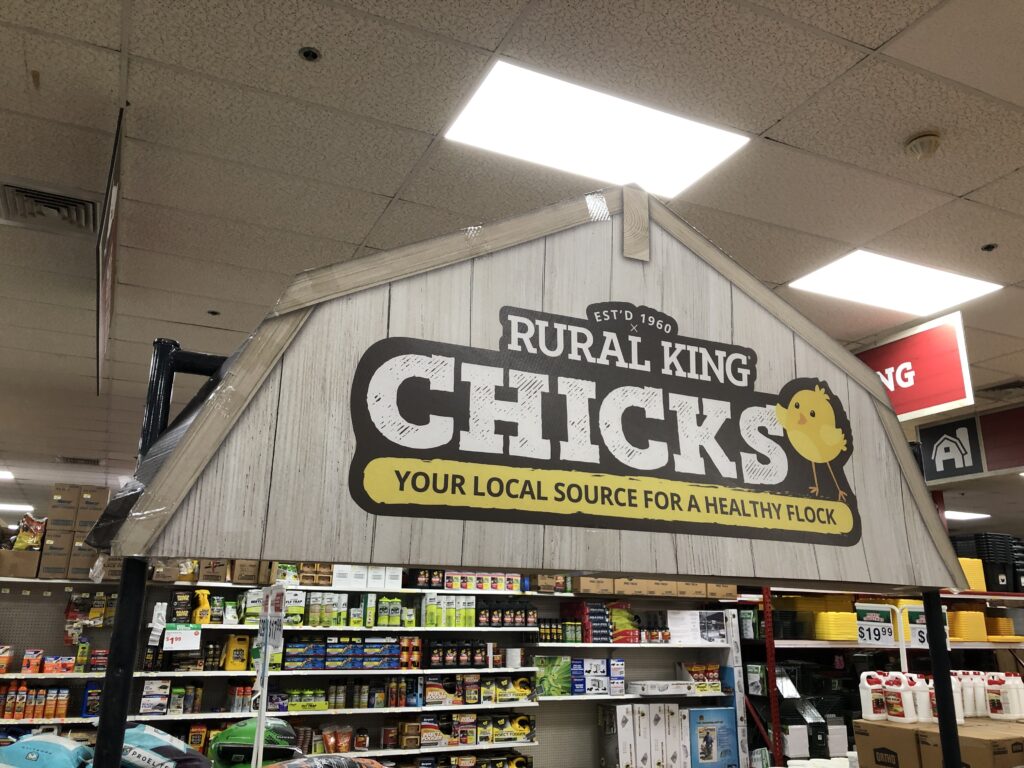
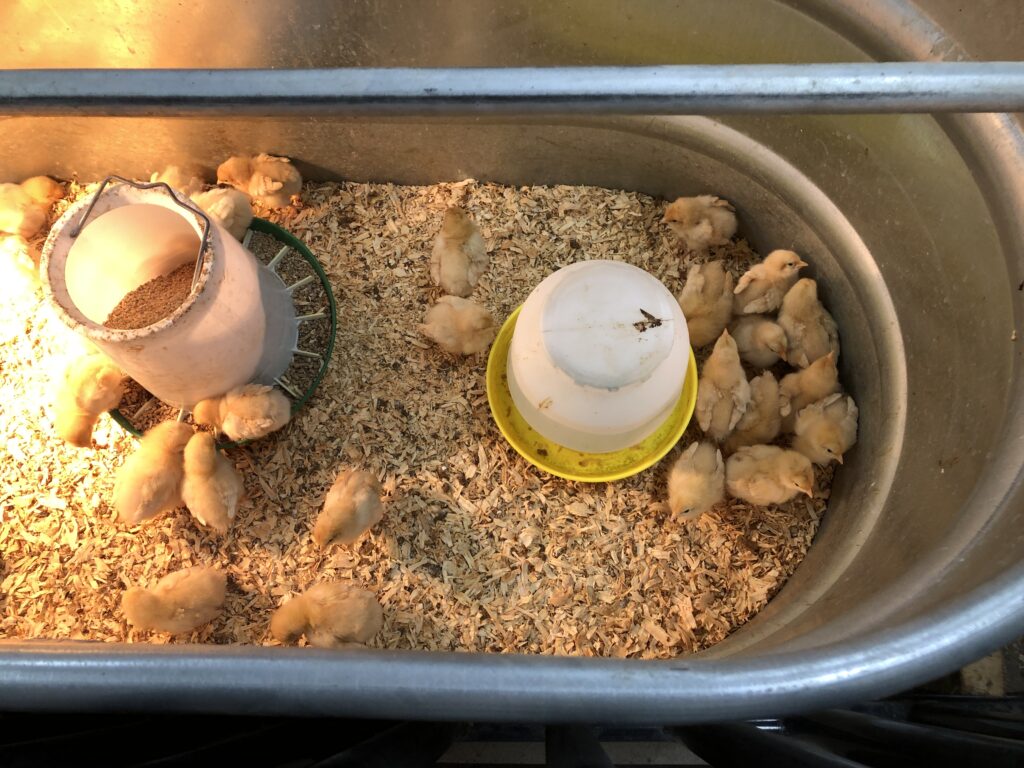
We also cruised around Rural King…a store located where Sears used to be at the Nittany Mall. Of course, the baby chicks and ducks were adorable. If you needed a flannel shirt or boots, this was the place to go! Also a great place to pick up canning supplies.
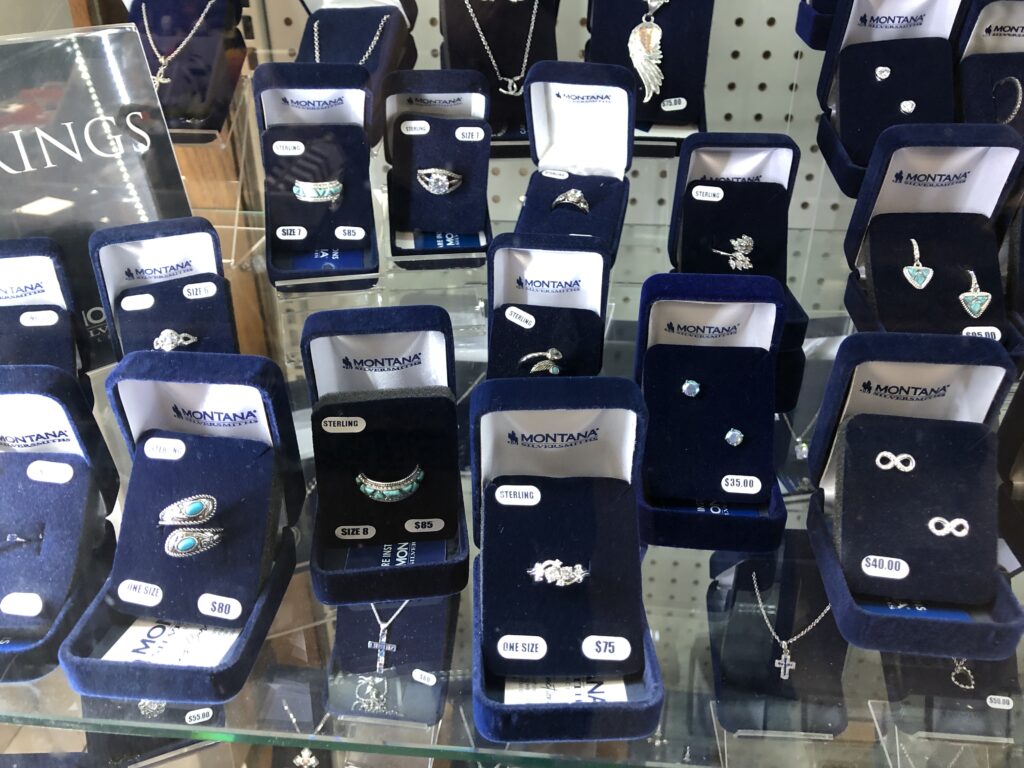
They even had a cabinet with jewelry!
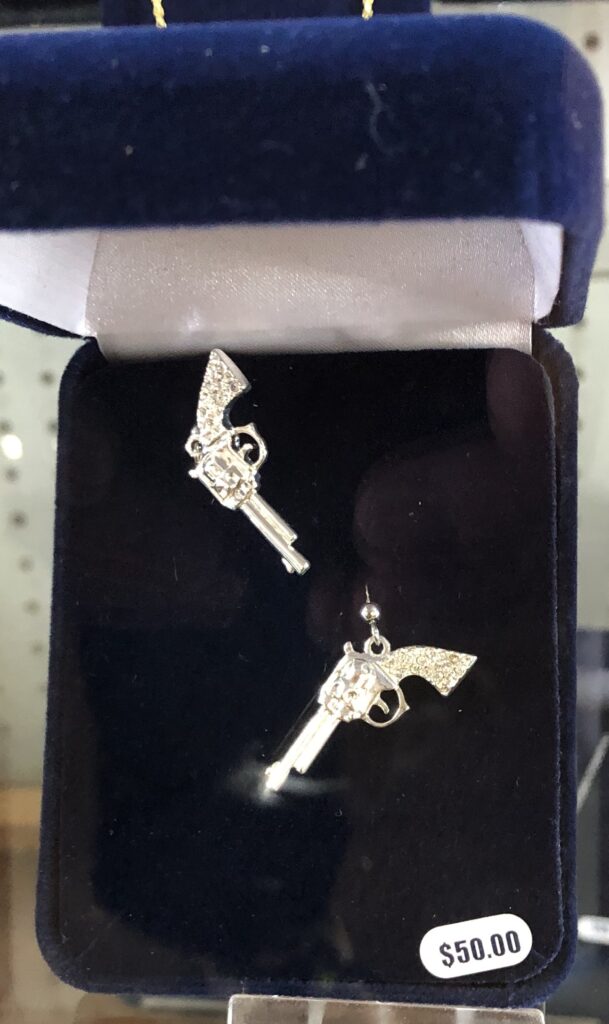
Of course, my favorite were these earrings (I wonder if they’d be considered concealed carry??)
So, another birthday is in the books! Whew! Time to clean up the leftovers and laundry!