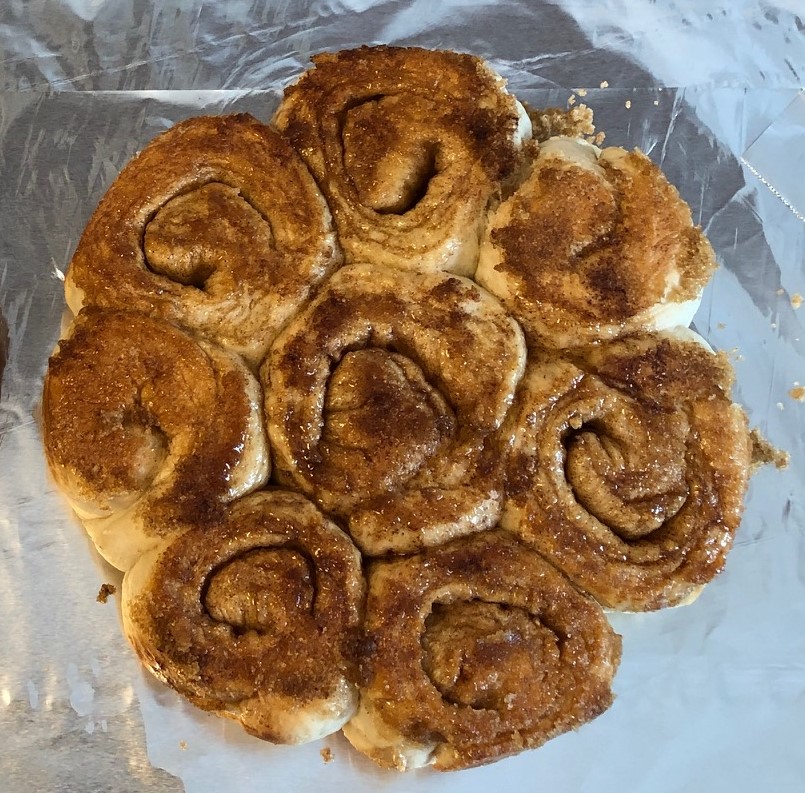
Baking bread has always been my favorite activity when I want to do something that reminds me of my mother. I learned the “feel” of a well-kneaded loaf of bread when I was young and carried that skill over to my family when I became a mother. When sticky buns made an appearance in my mother’s kitchen, I was always glad I had hung around and could try the first batch.
Fifty years ago, we had few choices at the grocery store…white bread was everywhere. There was much in the news about how white flour had lost much of its nutrition by sifting out the wheat germ and bleaching it with chemicals. Of course, then we used wheat germ in cookies and added the bran back to our diets with bran cereal! When I cruise the bread aisle today, I’m always struck with how many choices I have of whole wheat and multi-grain artisan bread and buns. However, I still enjoy the process of making my own bread.
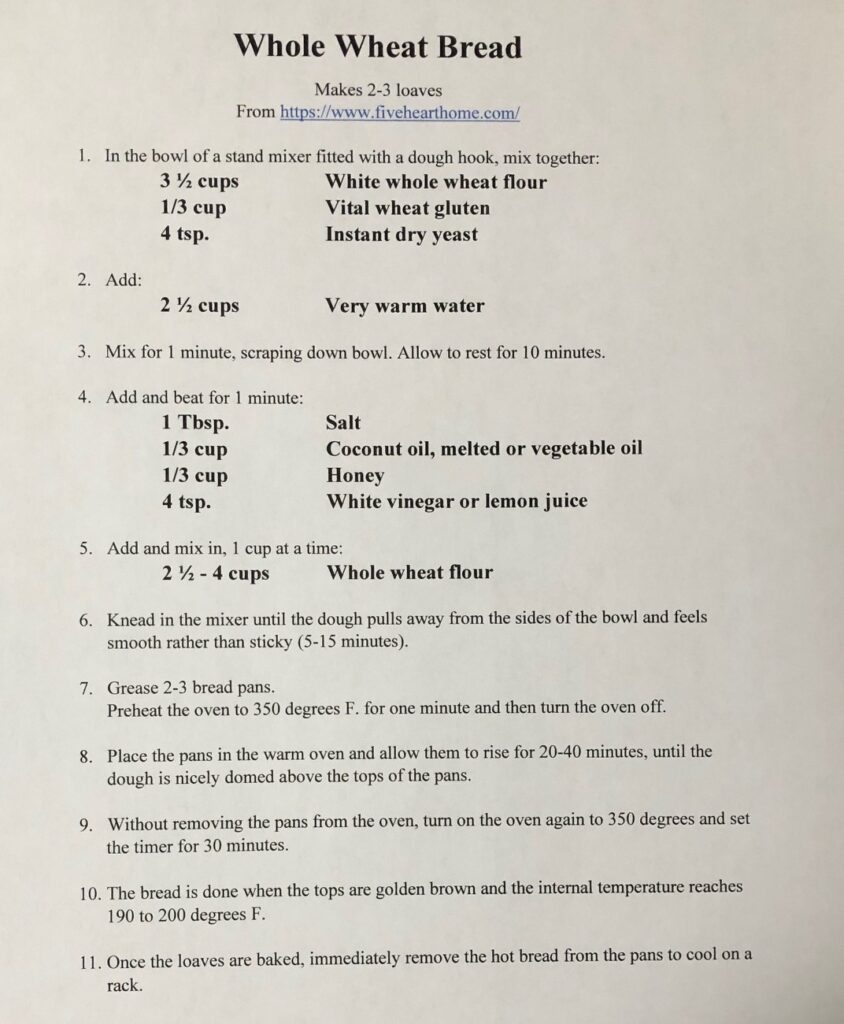
I’ve already shared my Oatmeal Bread recipe (https://marykisner.com/marys-oatmeal-bread/) but I’m still struggling to find a good whole wheat recipe that tastes good and isn’t as heavy as a brick. Last week, I did an internet search with “the best whole wheat bread recipe” to see what came up. Lo and behold, a recipe called, “The Very Best Whole Wheat Bread Recipe” was at the top of the list! The recipe was from https://www.fivehearthome.com/. It looked pretty simple so I thought I’d give it a try.
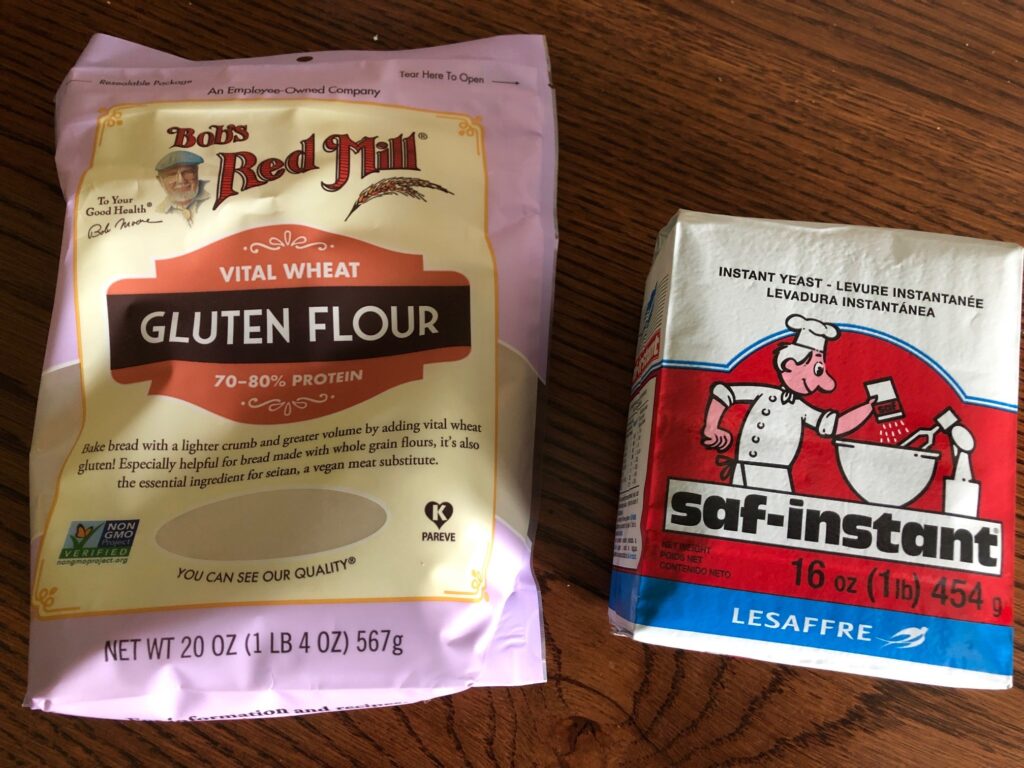
The day before I was going to bake, I went to the health food store and picked up about 10 lbs. of white whole wheat berries and a small bag of Vital Wheat Gluten. This powder will add more wheat gluten so the loaf sticks together better.
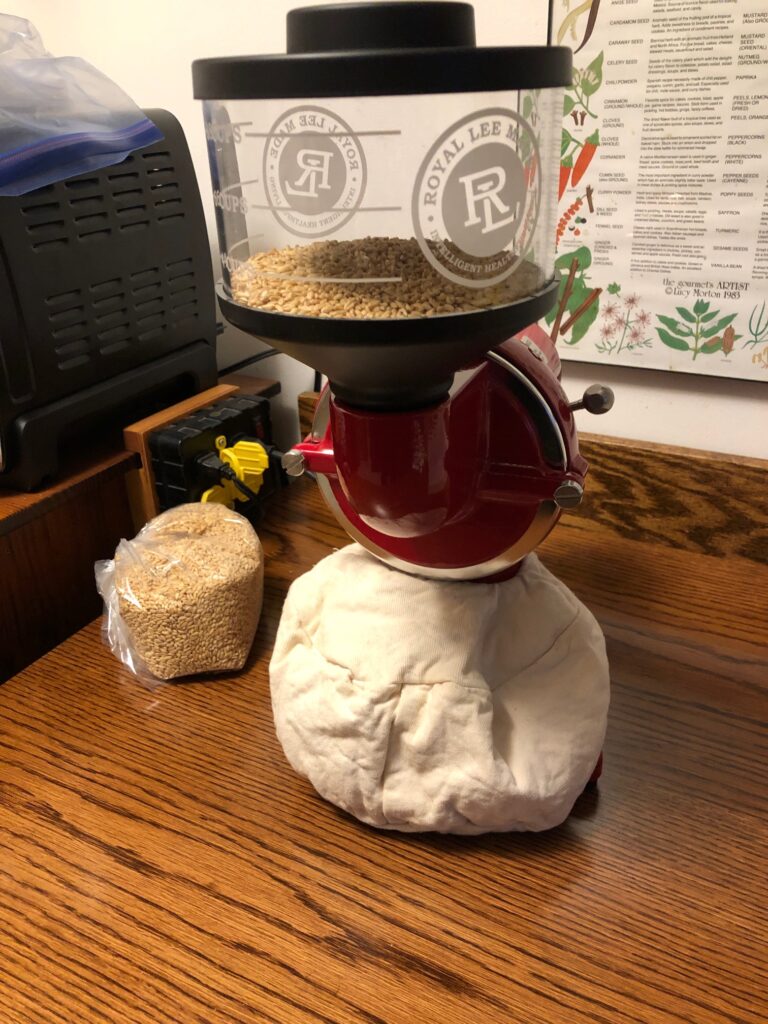
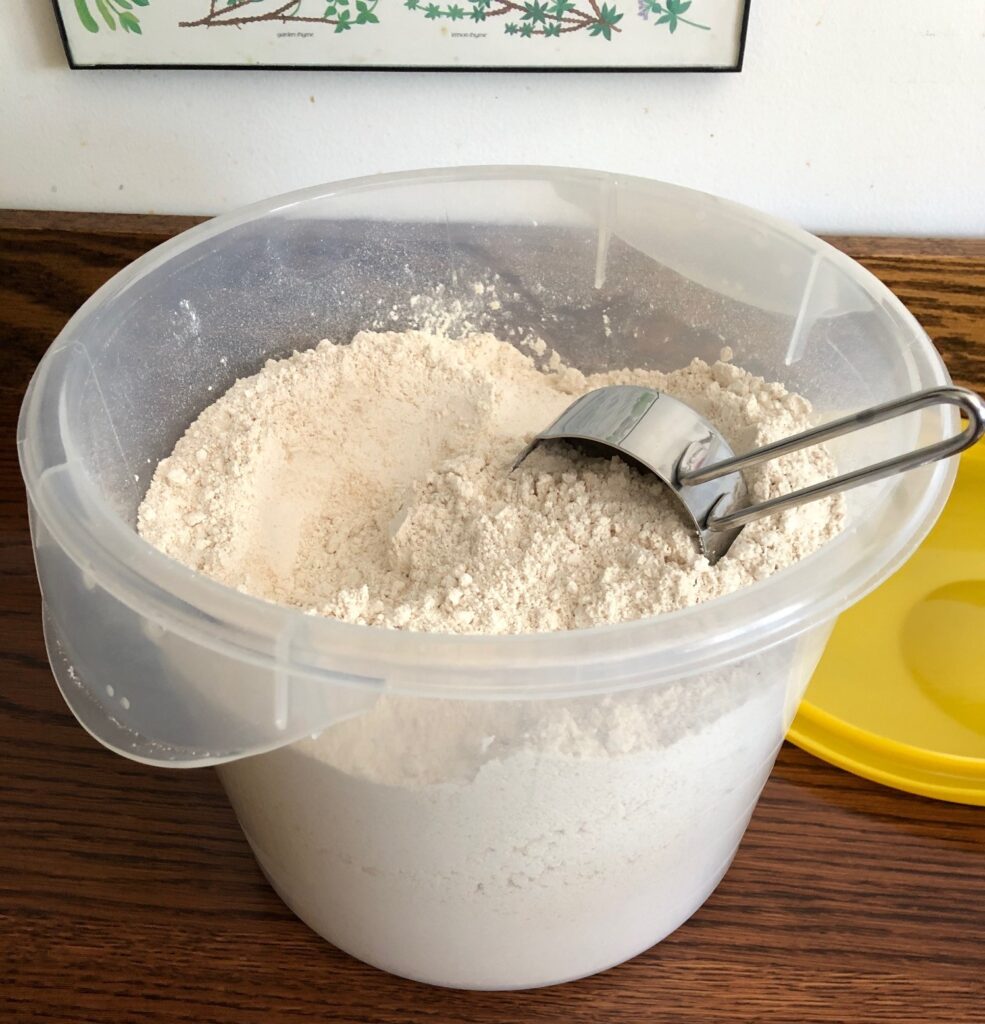
I set up my wheat grinder and got it running. Within an hour or so I had about 10 lbs. of beautiful flour ready to go.
Here is the recipe:
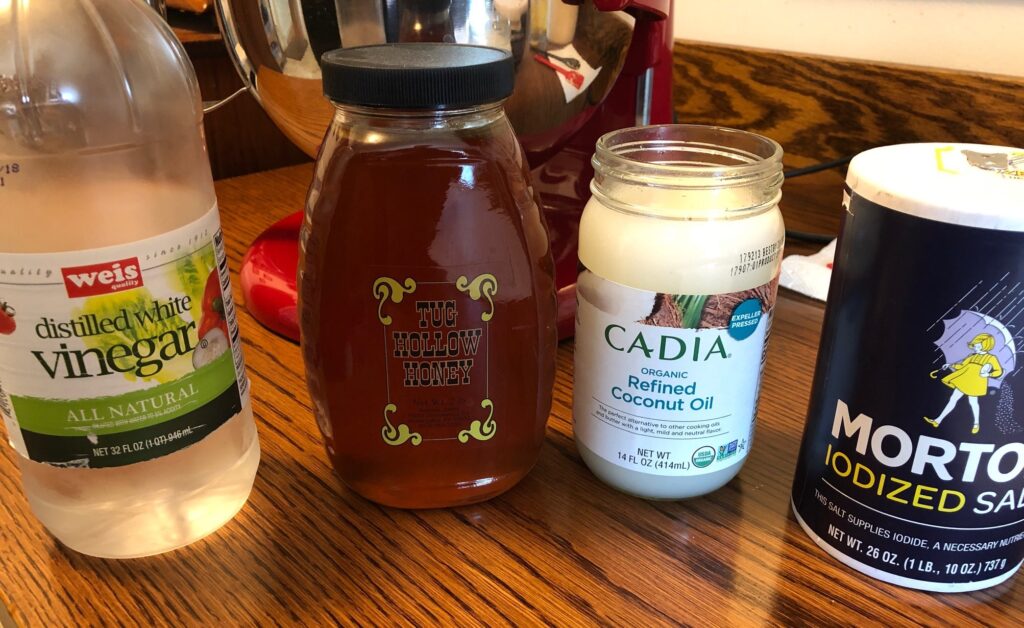
Here are the rest of the ingredients:
Directions:
Step 1: Measure out the flour, vital wheat gluten and yeast into the mixer bowl.
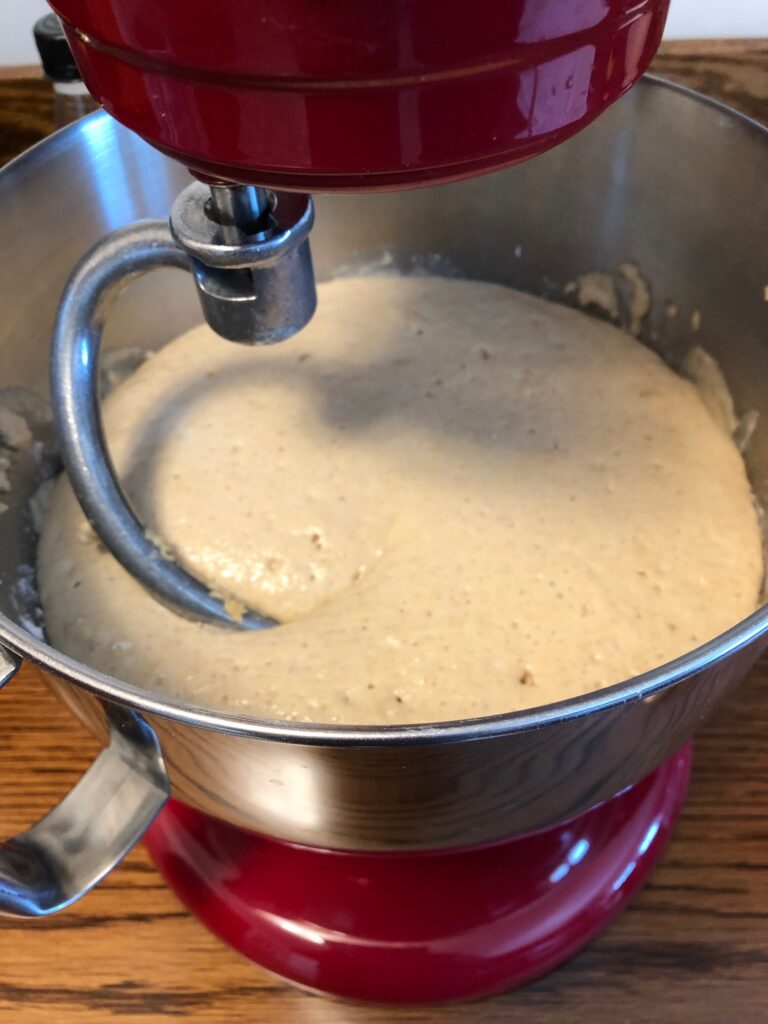
Steps 2-3: Add 2 1/2 cups of very warm water. Mix up for 1 minute (I did this by hand) and let rest for 10 minutes.
Step 4: Add salt, oil, vinegar and honey. Mix for 1 minute.
Step 5: Add and mix in 2 1/2 to 4 cups of flour, 1 cup at a time.
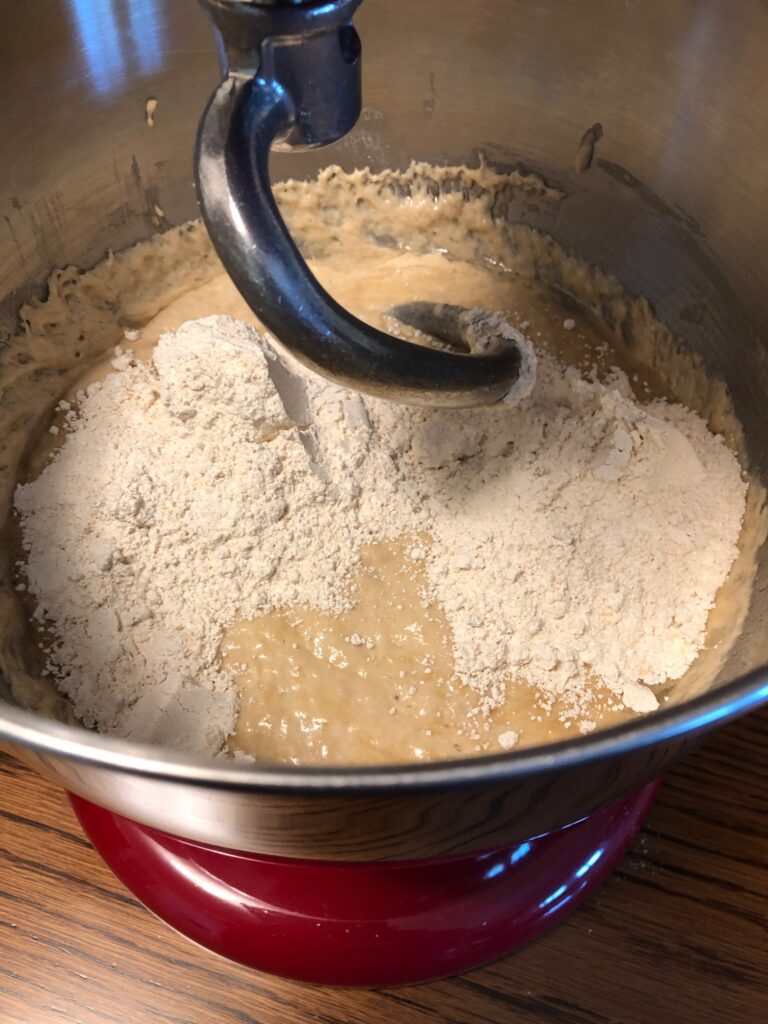
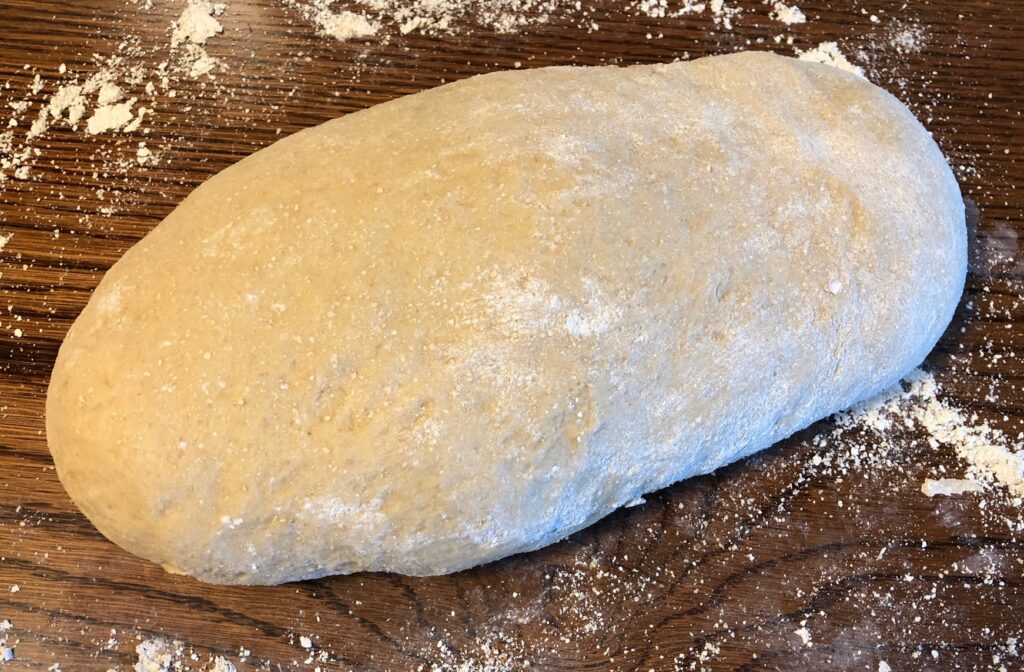
Step 6: Knead in the mixer until the dough pulls away from the sides of the bowl and feels smooth rather than sticky (5-15 minutes). Turn the dough out on to a floured surface. Form into a smooth ball.
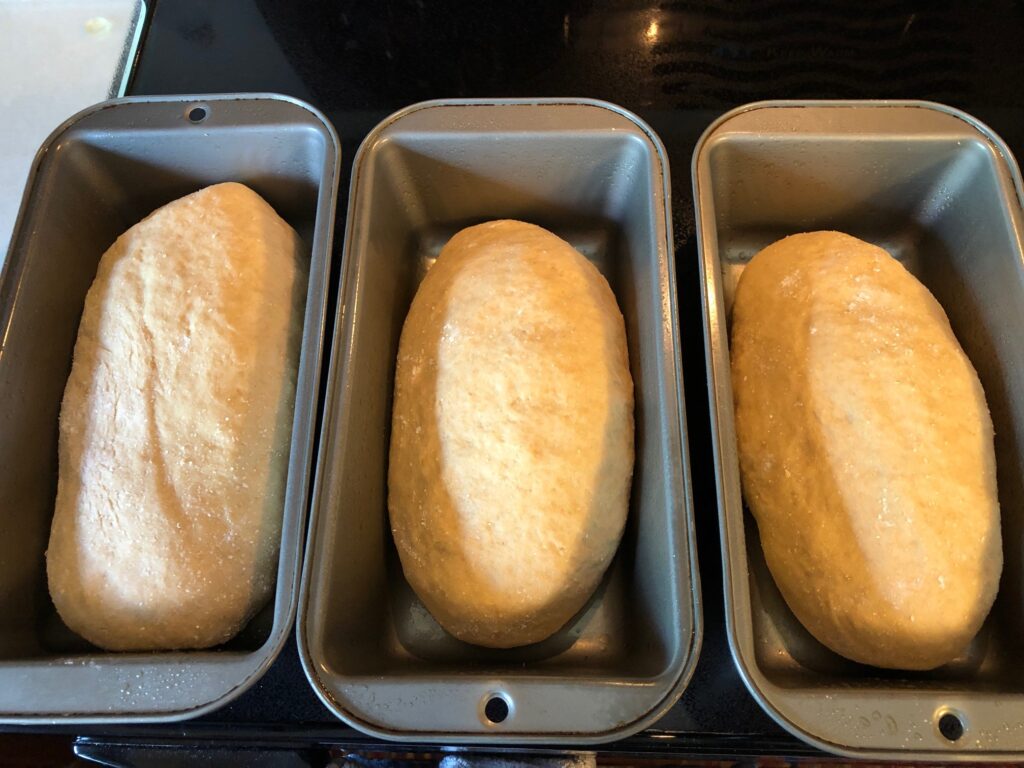
Steps 7-8: Grease 2-3 bread pans. Divide dough into three oblong loaves and put them in the pans. Preheat the oven to 350 degrees F. for one minute and then turn off the oven. Place the pans in the warm oven and allow them to rise for 20-40 minutes, until the dough is nicely domed above the tops of the pans.
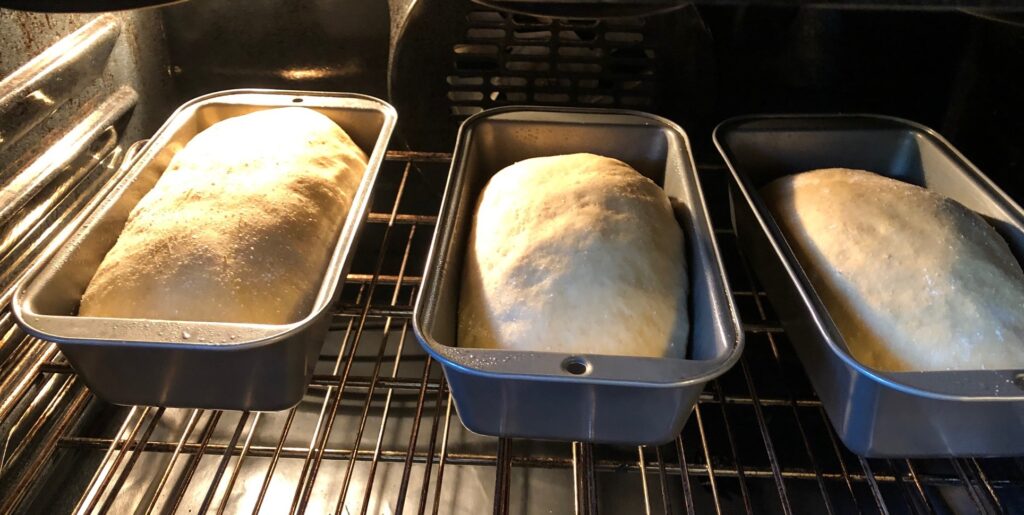
Step 9: Without removing the pans from the oven, turn on the oven again to 350 degrees F. and set the timer for 30 minutes. The oven will go through the whole preheat cycle now, which sets the crust.
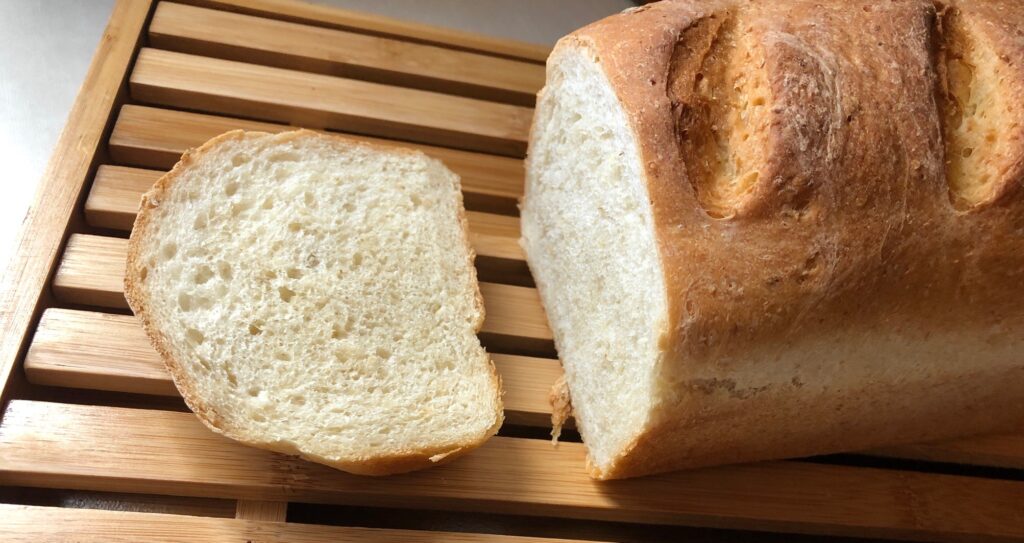
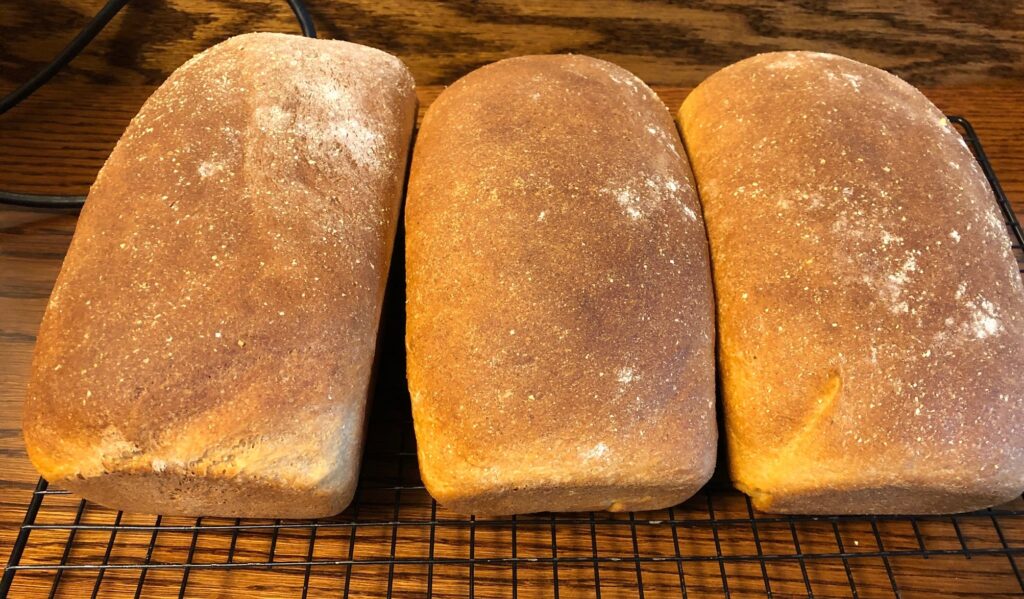
Step 10: The bread is done when the tops are golden brown and the internal temperature reaches 190-200 degrees F.
Step 11: Once the loaves are baked, immediately remove the hot bread from the pans to cool on a rack.
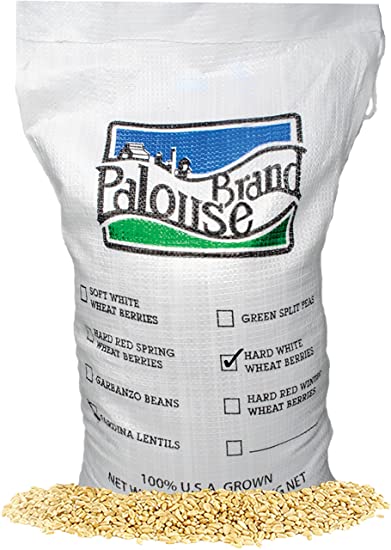
I think this recipe will be my go-to recipe for whole wheat bread. I was so happy with it that I ordered a 25 lb. sack of white whole wheat berries from Amazon! Beats trying to bag it up myself at the health food store!
Give it a try…even mistakes taste good! Enjoy!
Please leave a comment or email me directly at marykisner@comcast.net.