I pulled out my recipes today to make some Italian bread. It’s been a while so when I found the recipe I was reminded of my sister-in-law, Patty…my big brother’s first wife. She was a real sweetheart and my mentor when I started my own family.
Here’s an early picture with two of their kids, Eric and Pam. Paul, Todd and Teresa rounded out their wonderful family by the early 1980’s. We were sorry to lose her in 1984, but my memories keep her in my heart to this day.
In 1980, Ted, Kathy and I spent a few days with my brother’s family on the farm in northern Pennsylvania. We borrowed my sister’s motor home while she was out of town and had an adventure going to Uncle Mark’s farm.
Ted was four and a half and Kathy was three. Such sincere smiles!
We parked the motor home in the backyard of the farm house and enjoyed visits with the barn cats and the cousins. Early on the first morning, we were awakened by sheep sounds. What a surprise to look out the window and see we had been surrounded by a whole flock of sheep! That was the beginning of our adventure!
Of course, this post is about making Italian bread so let me just say every time I make this recipe, I’m reminded of those days visiting the farm. Patty was always baking something and I was inspired by her ability to whip out this Italian bread or homemade pizza crust in a flash. We had many conversations about baking with whole wheat flour and making our own yogurt. Great memories!
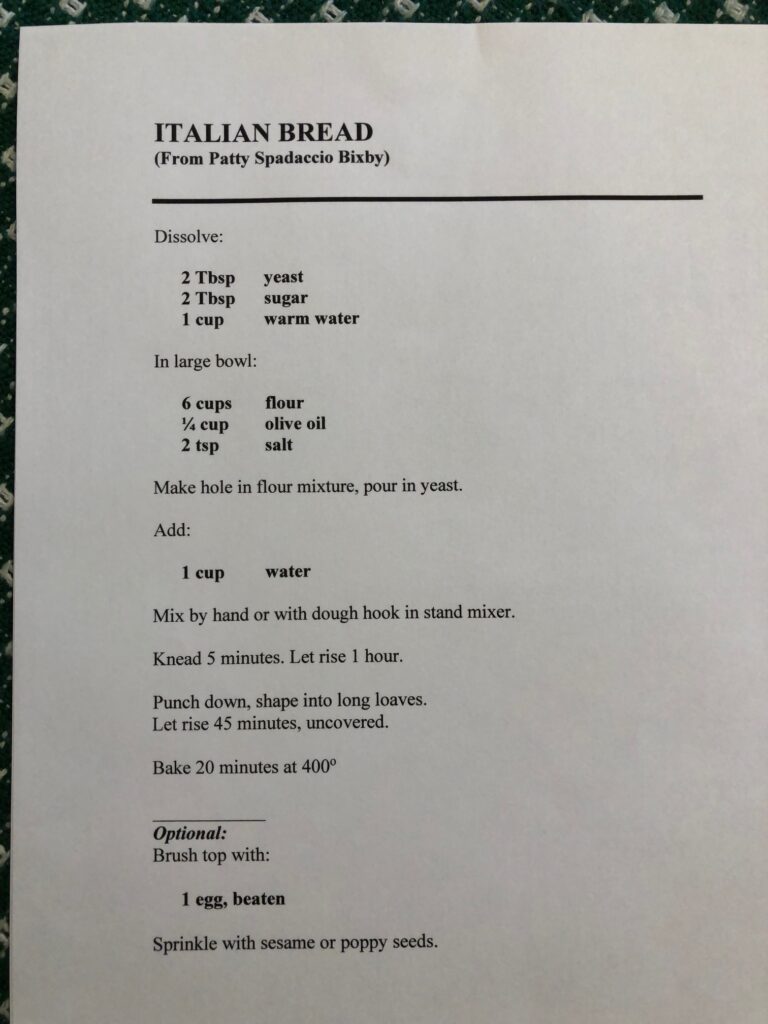
So…here is the recipe for her Italian bread:
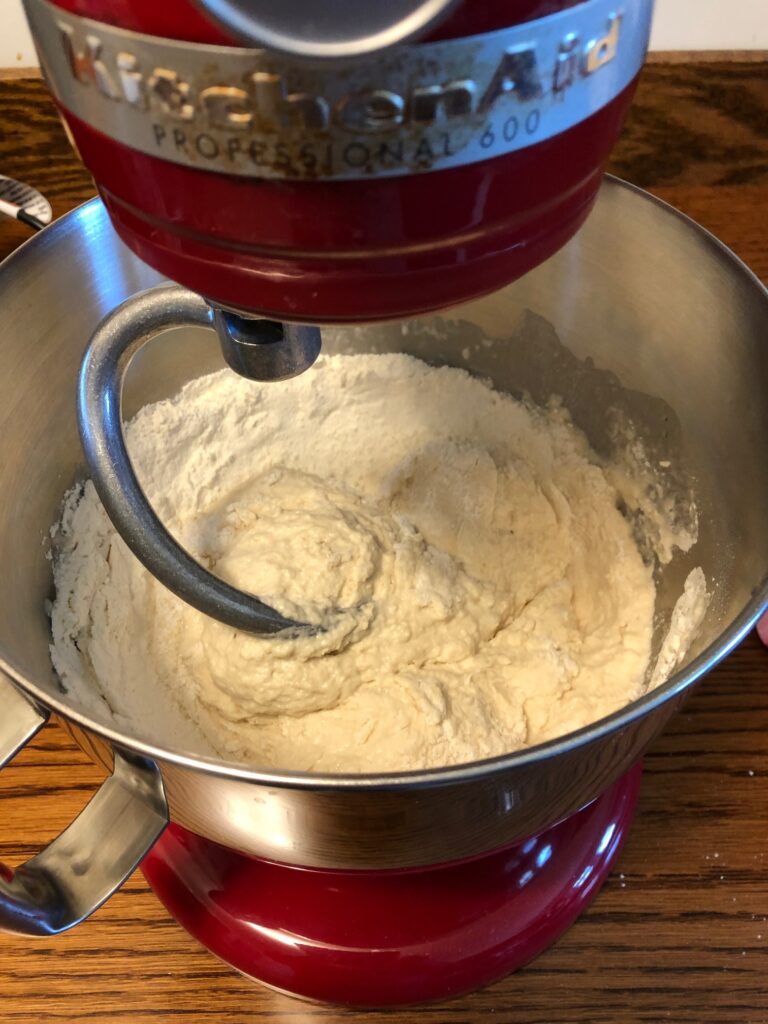
When I make bread, I often start with the liquid ingredients and then add flour. This recipe starts with all the flour in the bowl and then adds the liquid ingredients. I had forgotten this, but it worked out just fine.
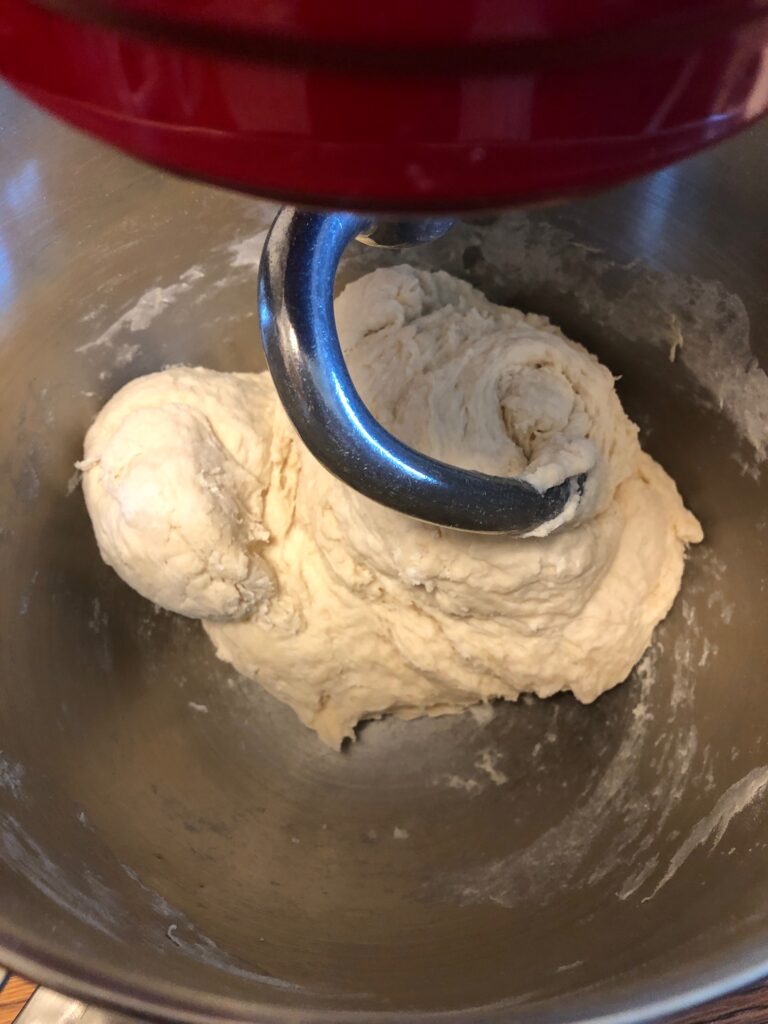
At this point, I dumped the dough out onto the floured table, gave it a few “kneads” and put it an oiled bowl to rise.
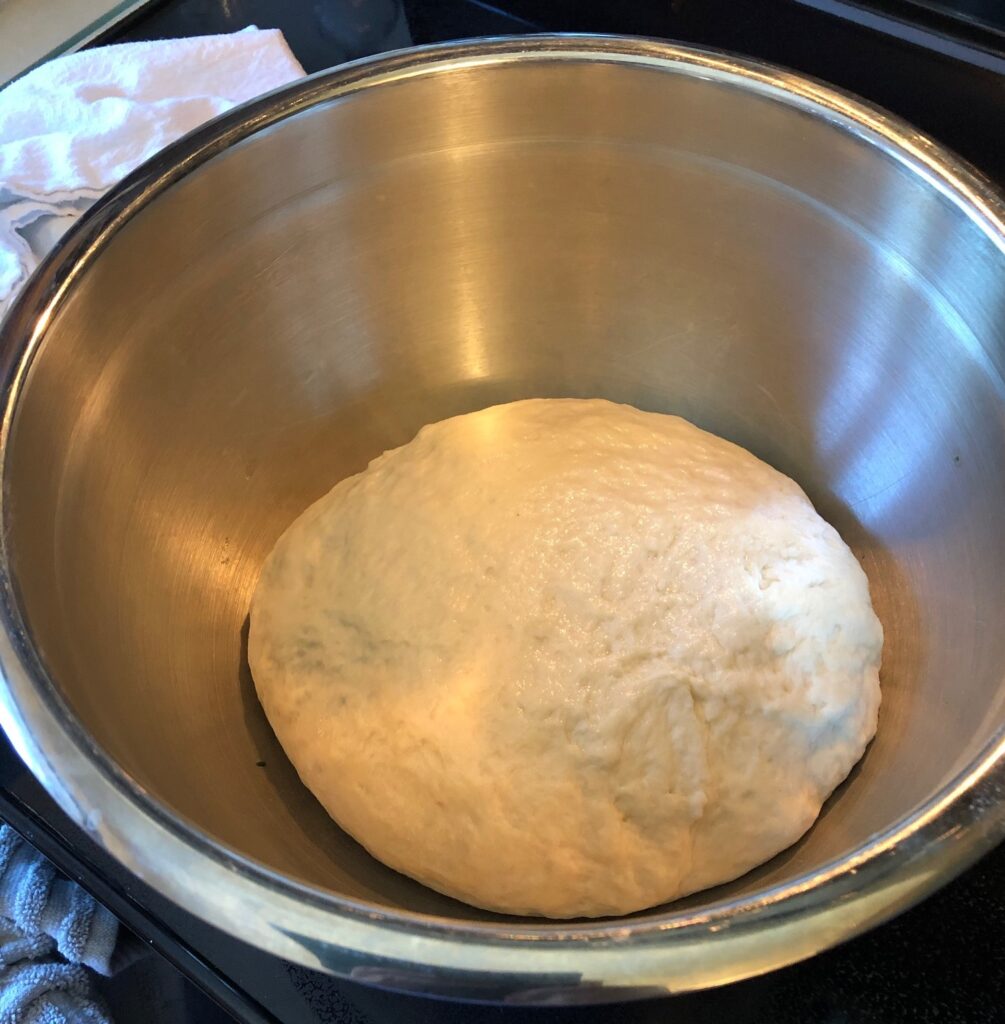
An hour later, the dough had raised to the top of the bowl.
I shaped it into two long loaves and let it raise on the pan.
After 40 minutes the dough was almost over the side of the pan so it went into a hot oven (400 degrees). In 20 minutes the whole kitchen smelled great!
Of course, before I could get a picture of the loaves, SOMEONE had to have a chunk!
So that’s the story of Patty’s Italian bread recipe, memories and all! Enjoy!
Fall is in the air! The garden is winding down, the evening dusk is coming earlier every day and school buses have started to roll by. The last of the garden produce is ready for harvest. Luckily, the echinacea flowers are still spectacular and the lavender flowers are going strong, so the garden doesn’t look abandoned.
Here’s the latest tour of the garden plots:
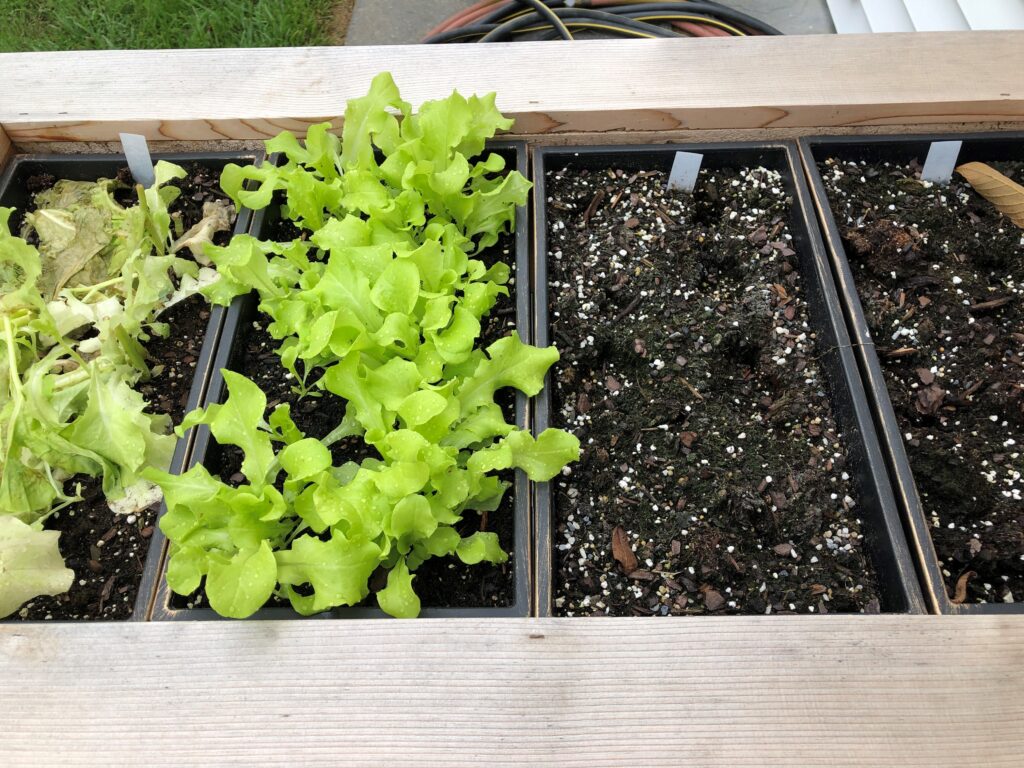
First, the raised planter still has one batch of lettuce growing well. The last radishes are in the refrigerator ready for the next salad. The lettuce on the left was cut a few days ago, but the roots are still there. We’ll dump the whole bin shortly.
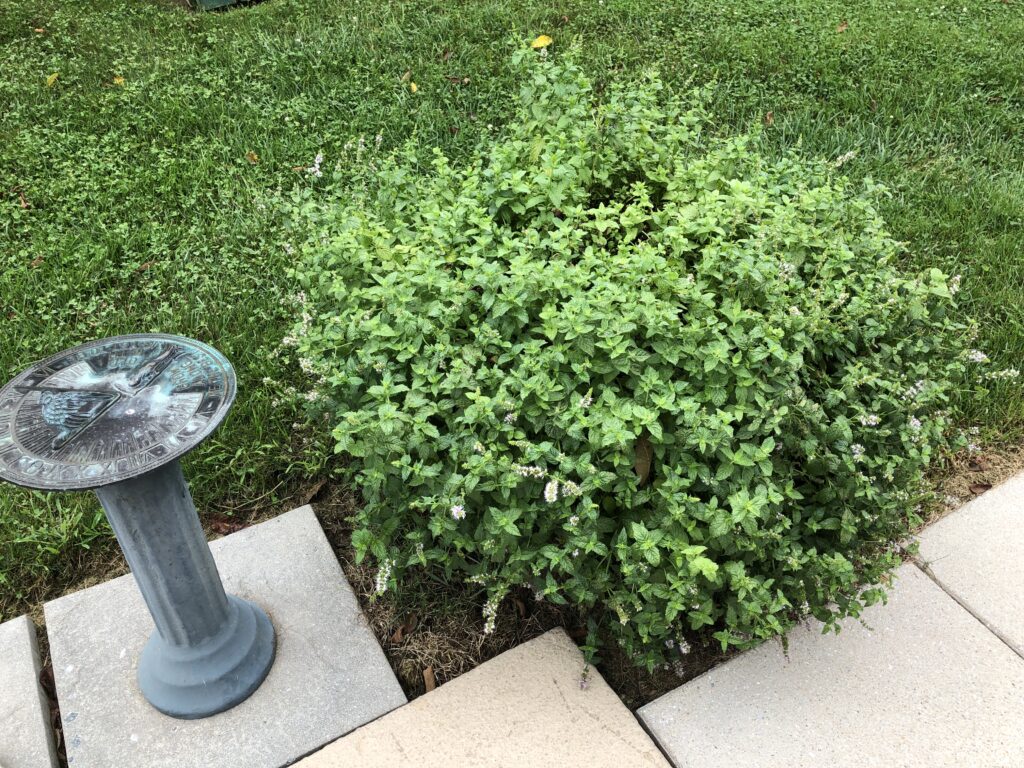
The spearmint is in flower and the bees are busy.
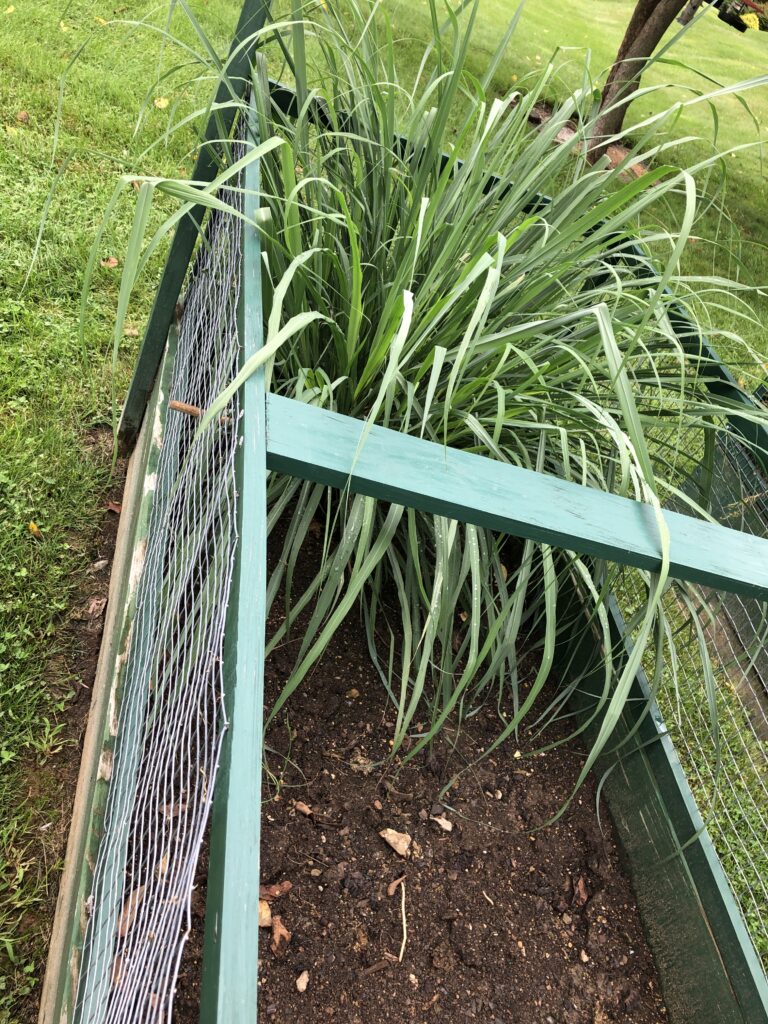
The cucumbers are long gone but just a month ago Bert planted a lemongrass plant, just to see how it would do. Pretty huge now, but I know it won’t survive the winter.
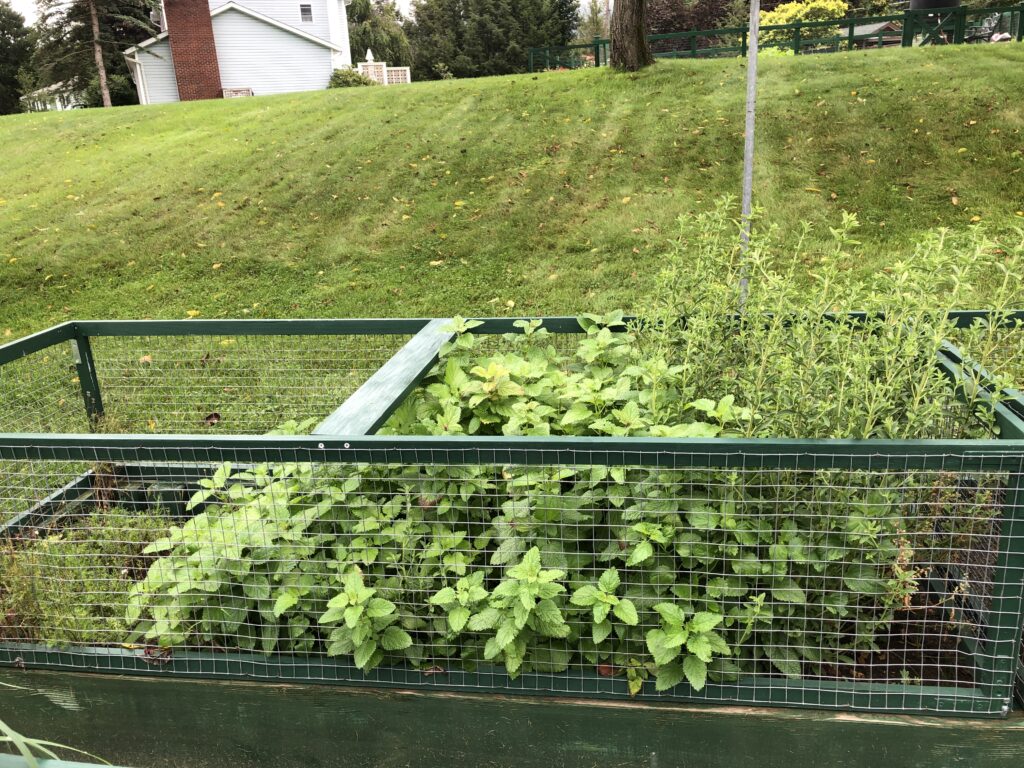
On the left the chamomile is pretty flat, but I was able to harvest some of the flowers for future use. In the center is lemon balm and on the right is stevia. Kind of got out of control with the heat, but the bees are loving the flowers.
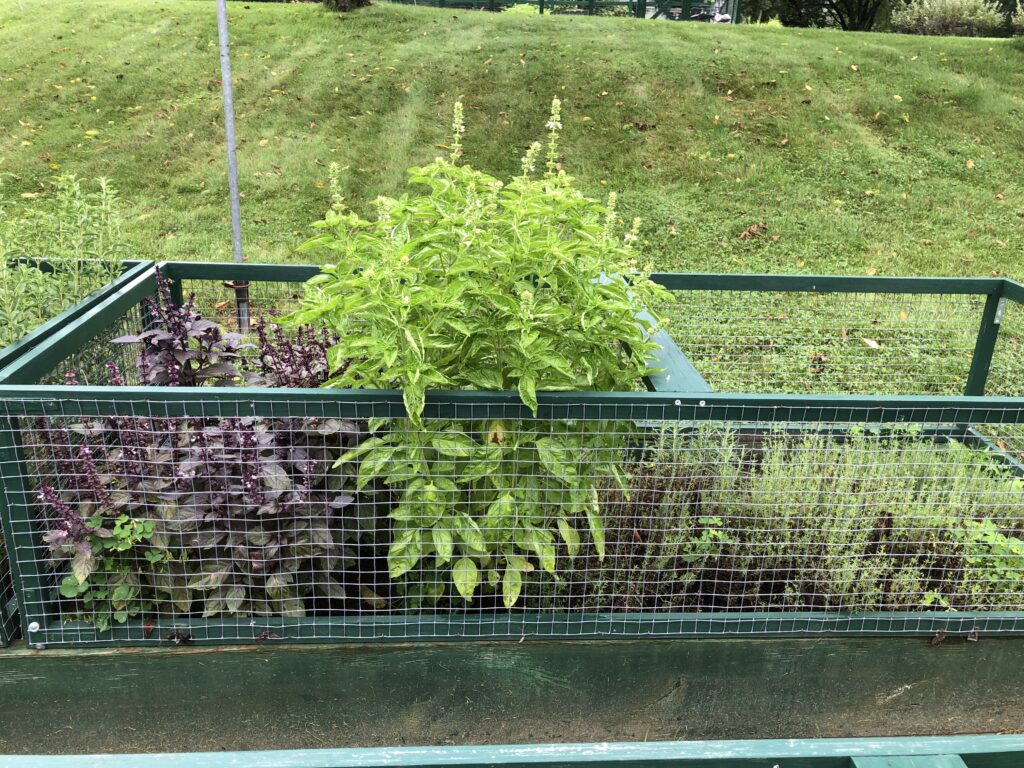
The red and green basil is crazy too. On the right is thyme. Time to cut it all back. The thyme and rosemary (hidden behind the basil) should come back next year if I mulch it over the winter.
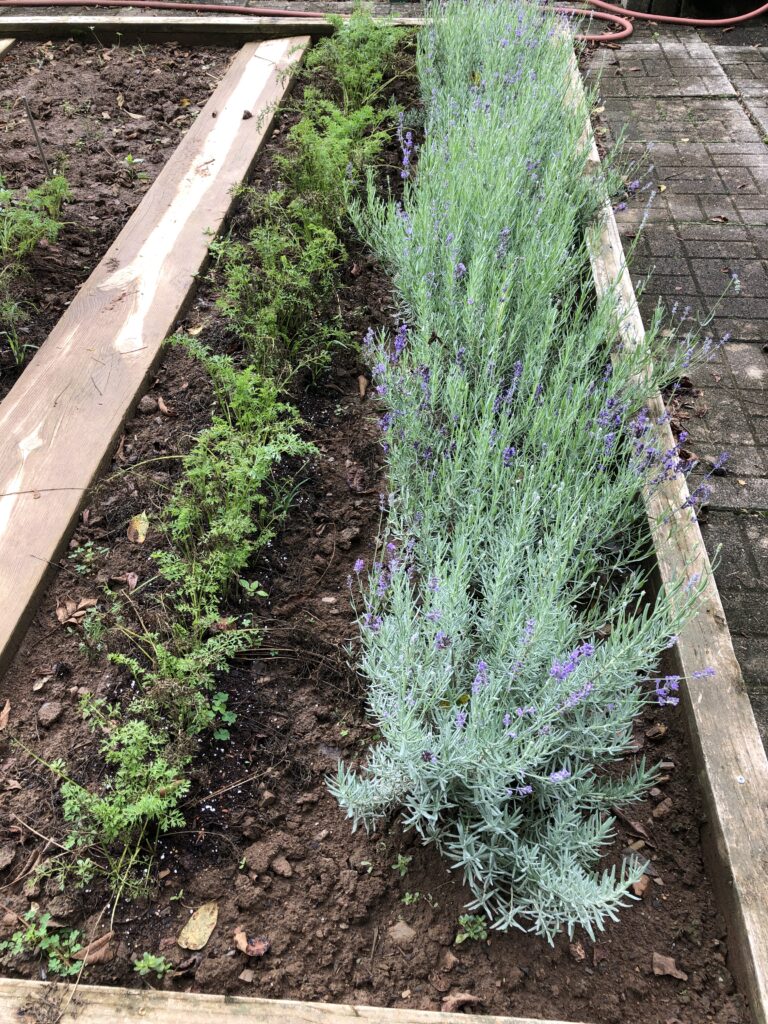
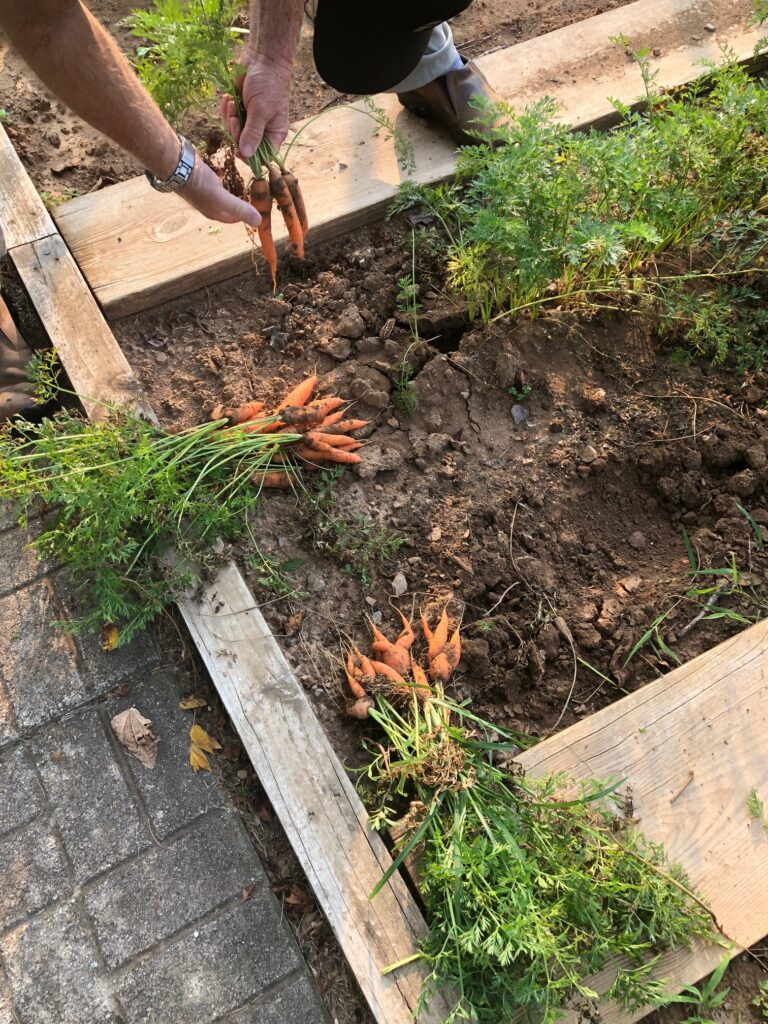
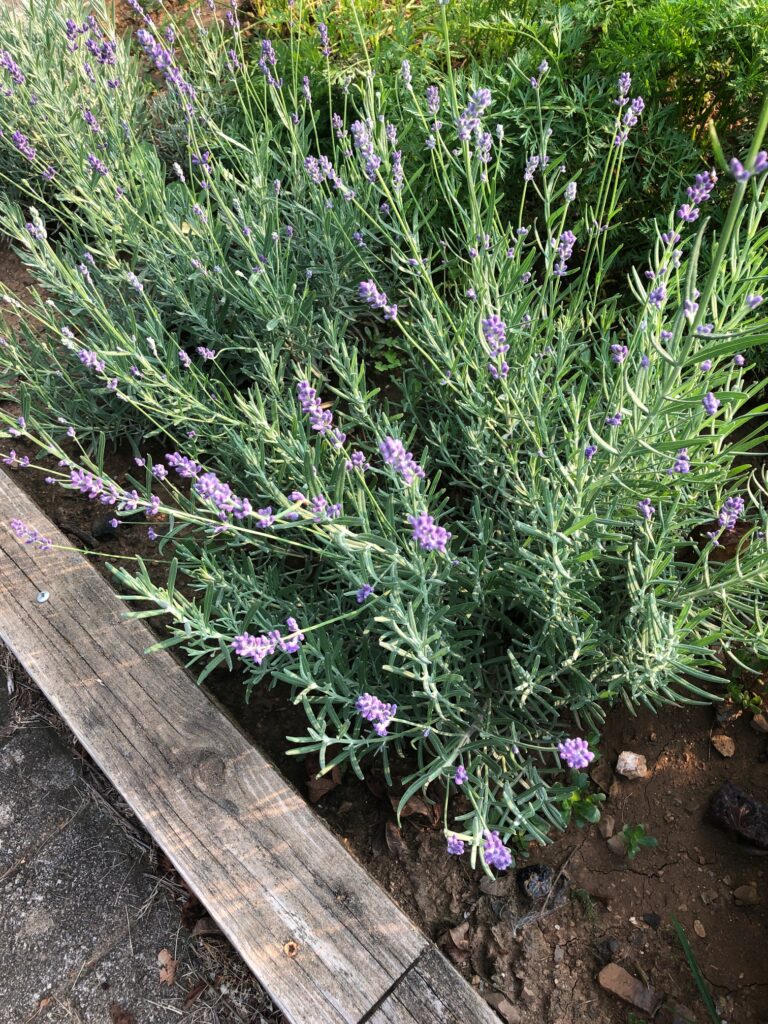
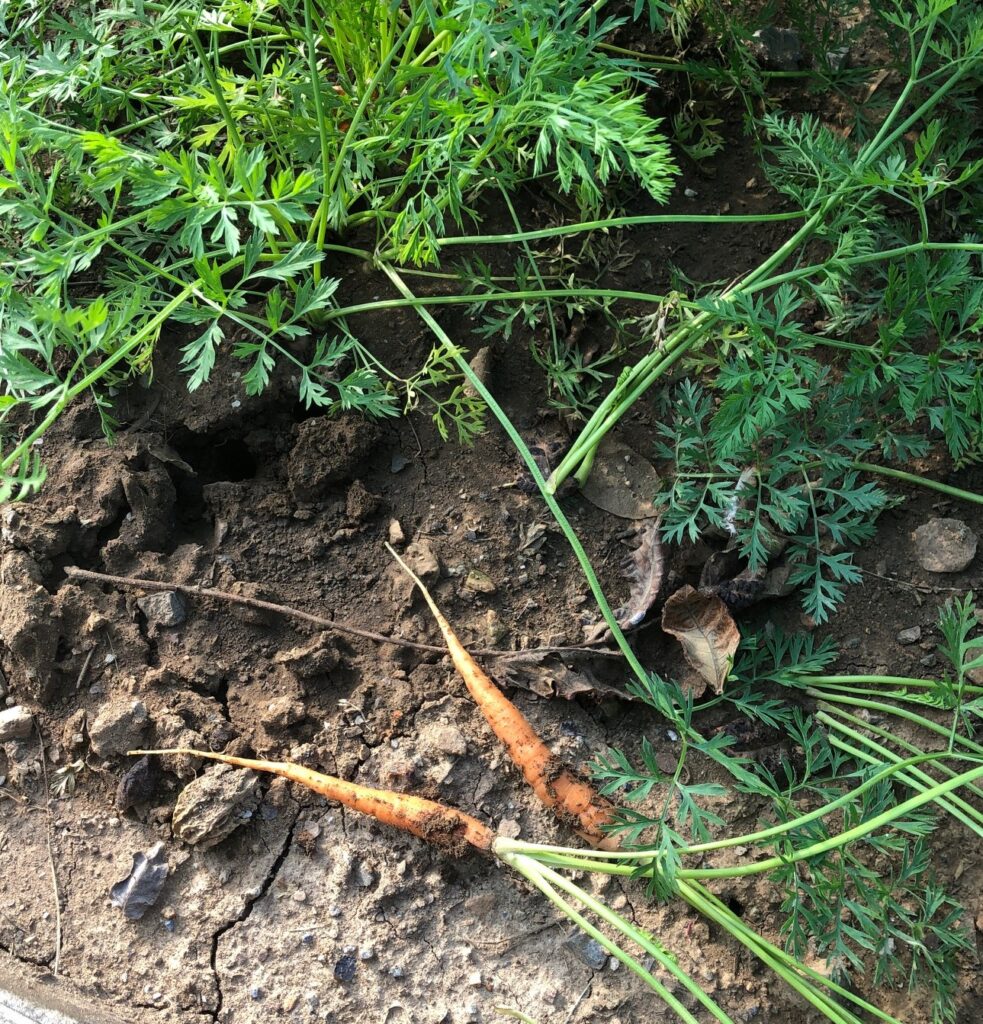
Up in the garden on the hill, the row of lavender is beautiful. I am cutting stems of flower buds to dry. The row next to it is carrots. They are pretty much done growing but we’ll leave them in the ground for another month or two. We’ll dig them up as we need them.
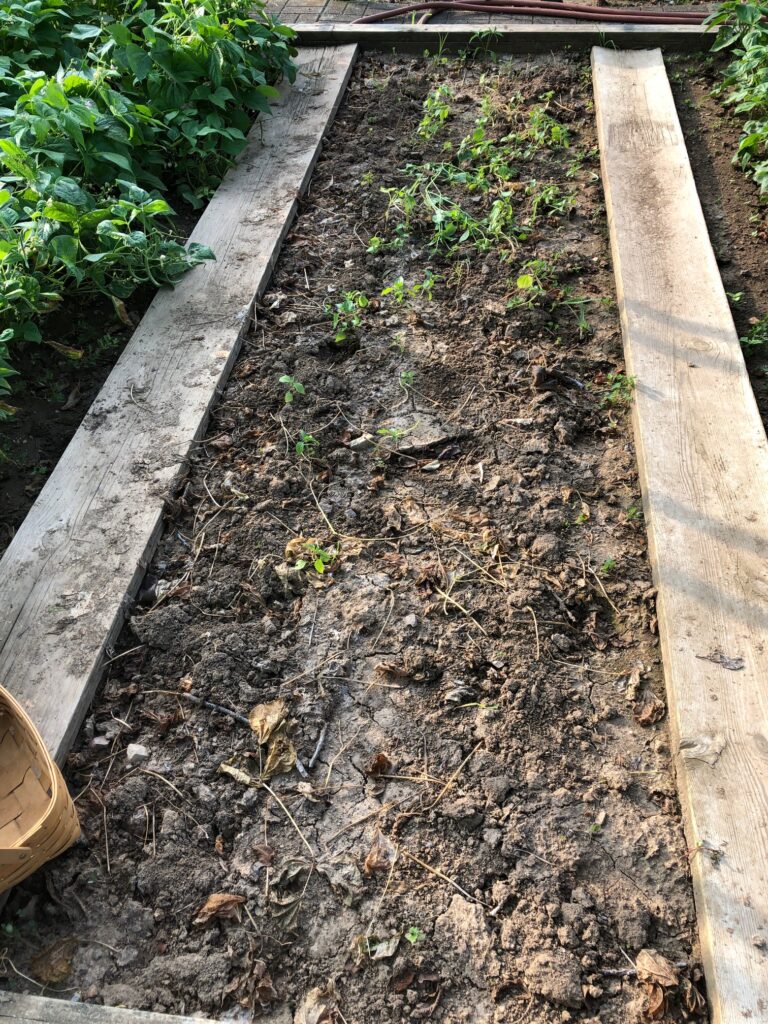
This section had two rows of carrots and two shorter rows of beans. We pulled the beans last weekend and dug up most of the carrots. (Remember that carrot cake I wrote about last week!)
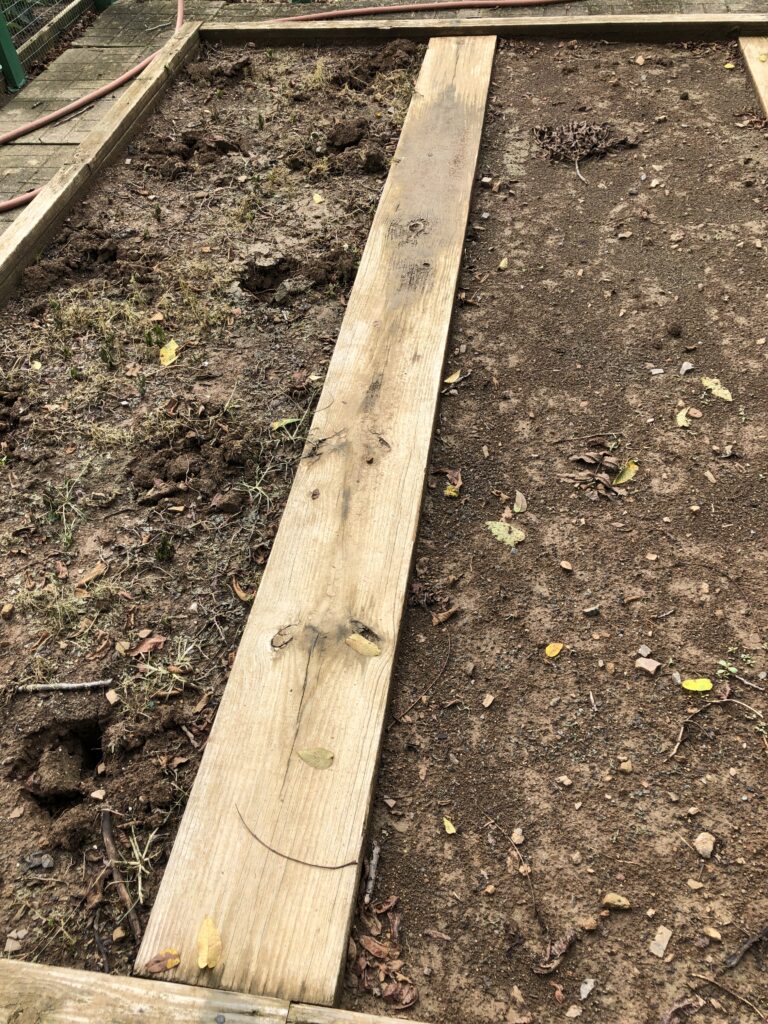
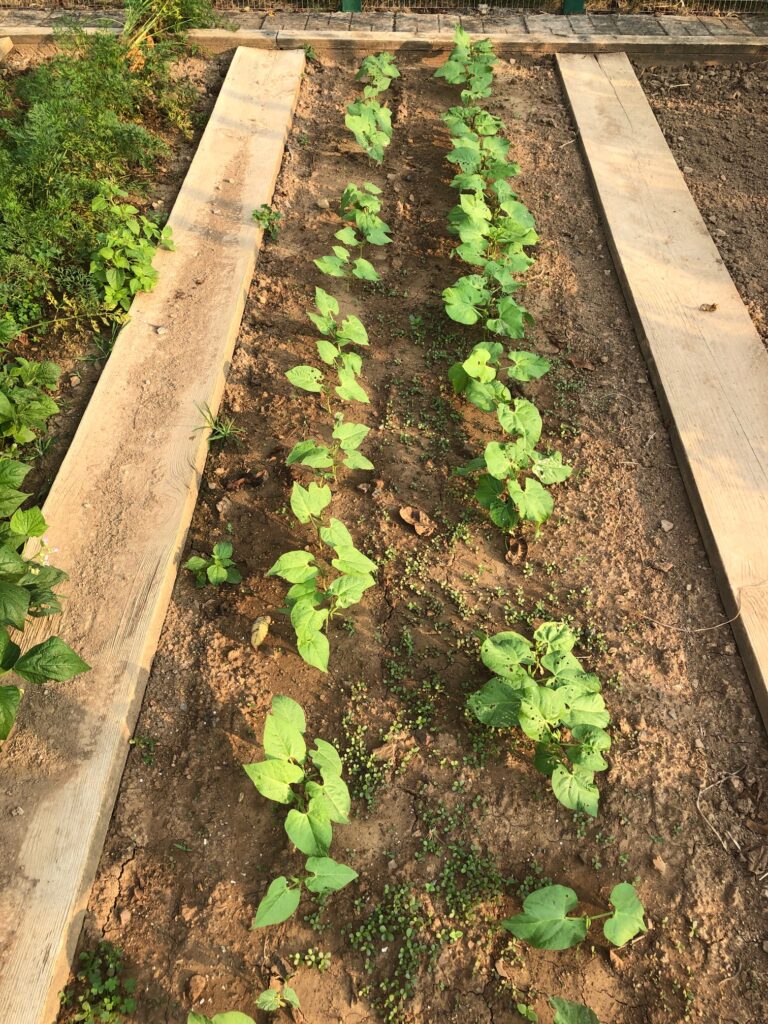
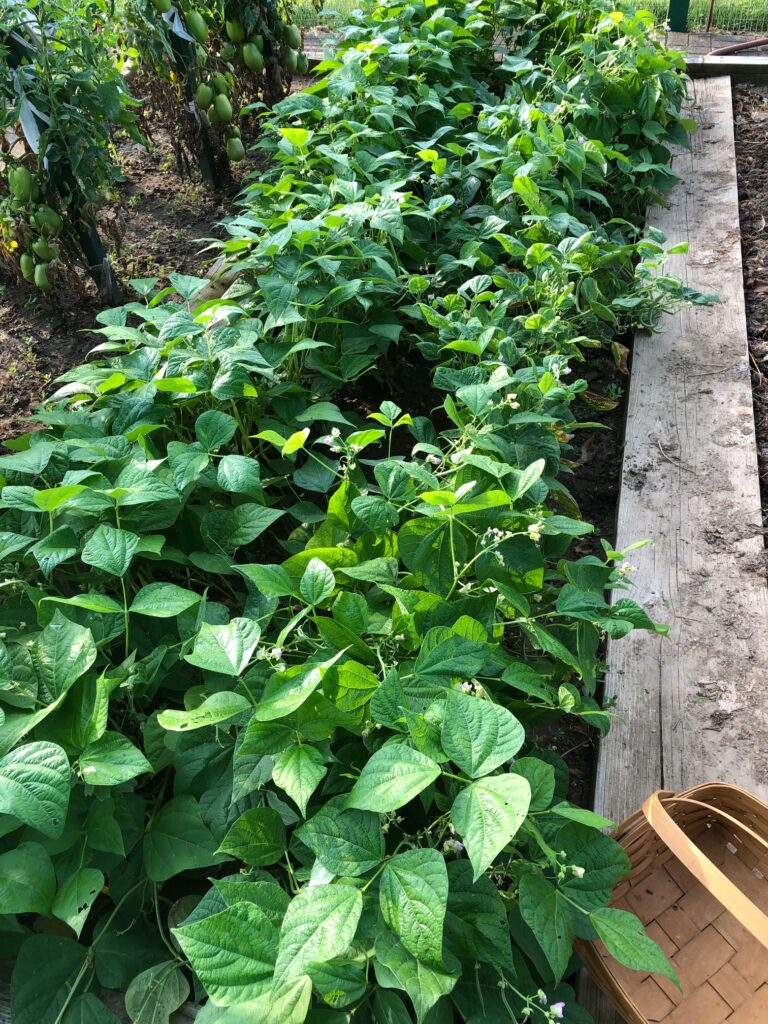
This section is green beans just beginning to flower. They were planted in late July and I wasn’t sure they would make beans before the first frost. We’ll see!
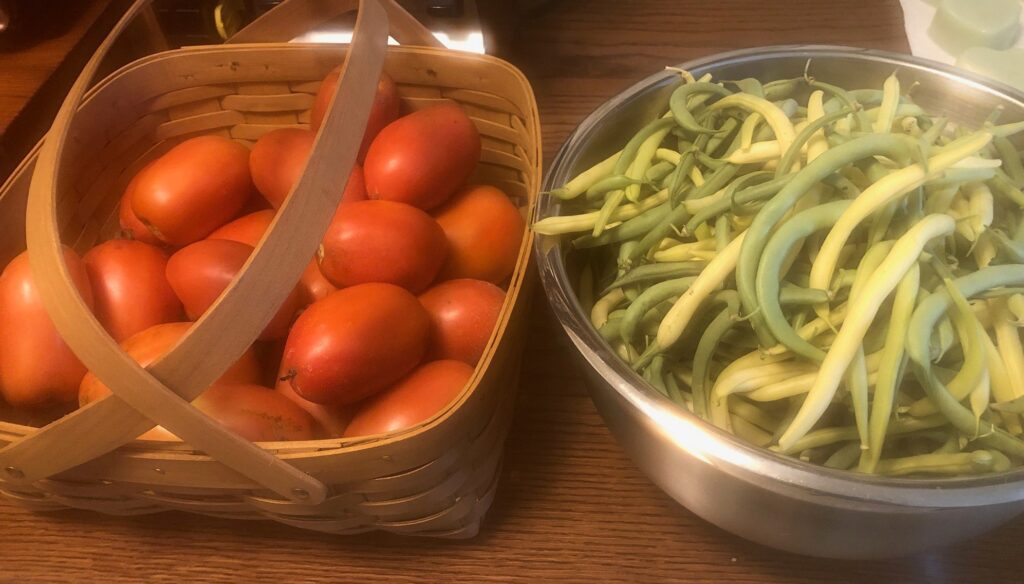
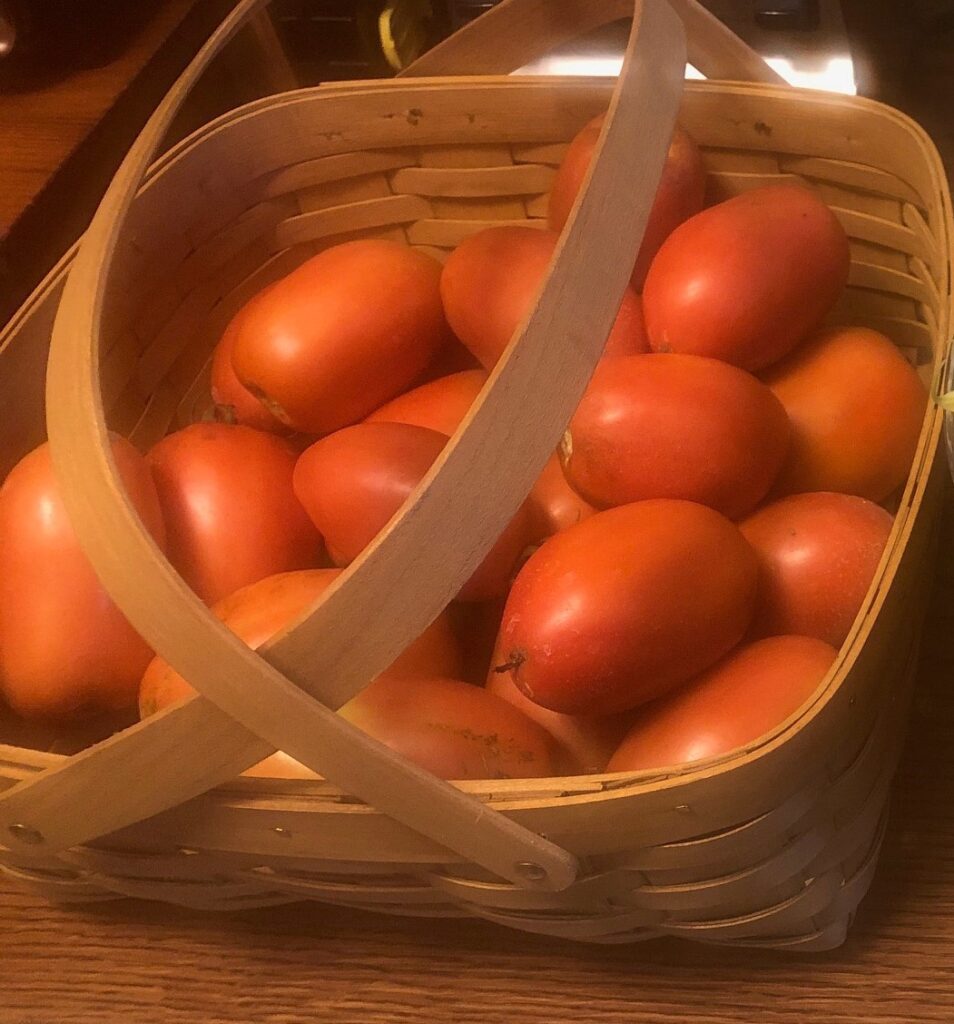
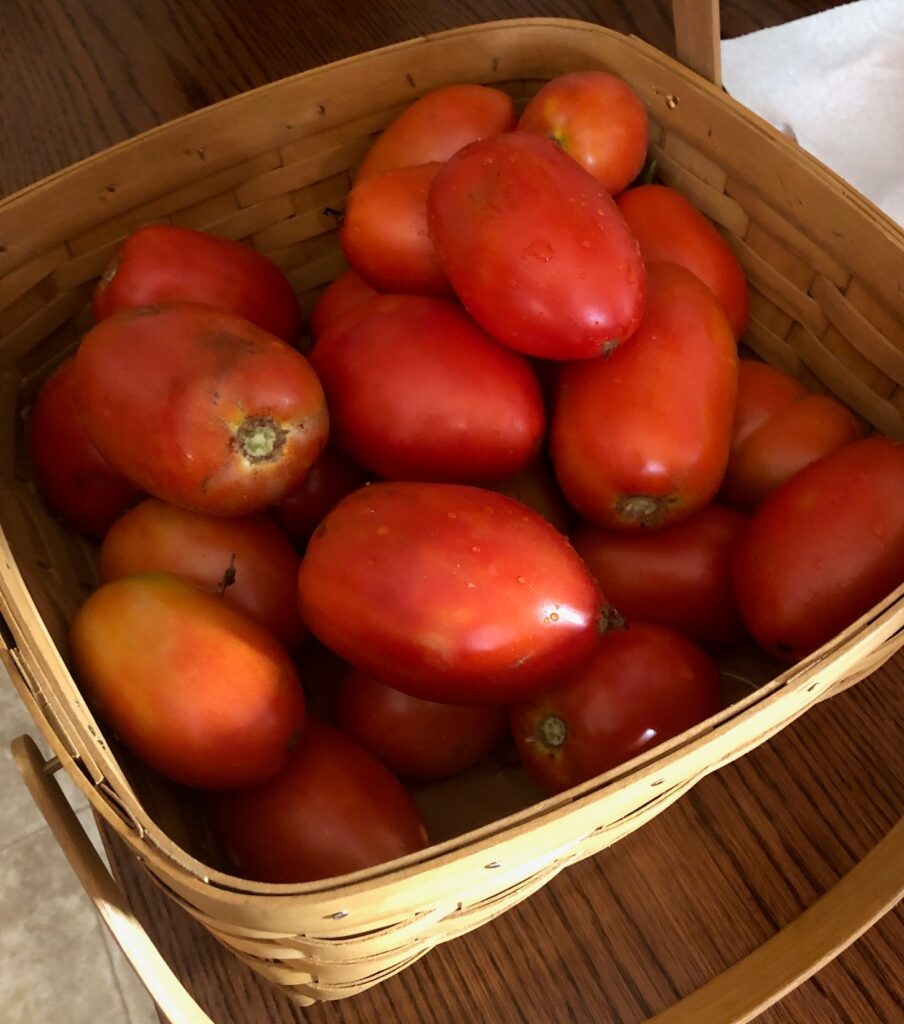
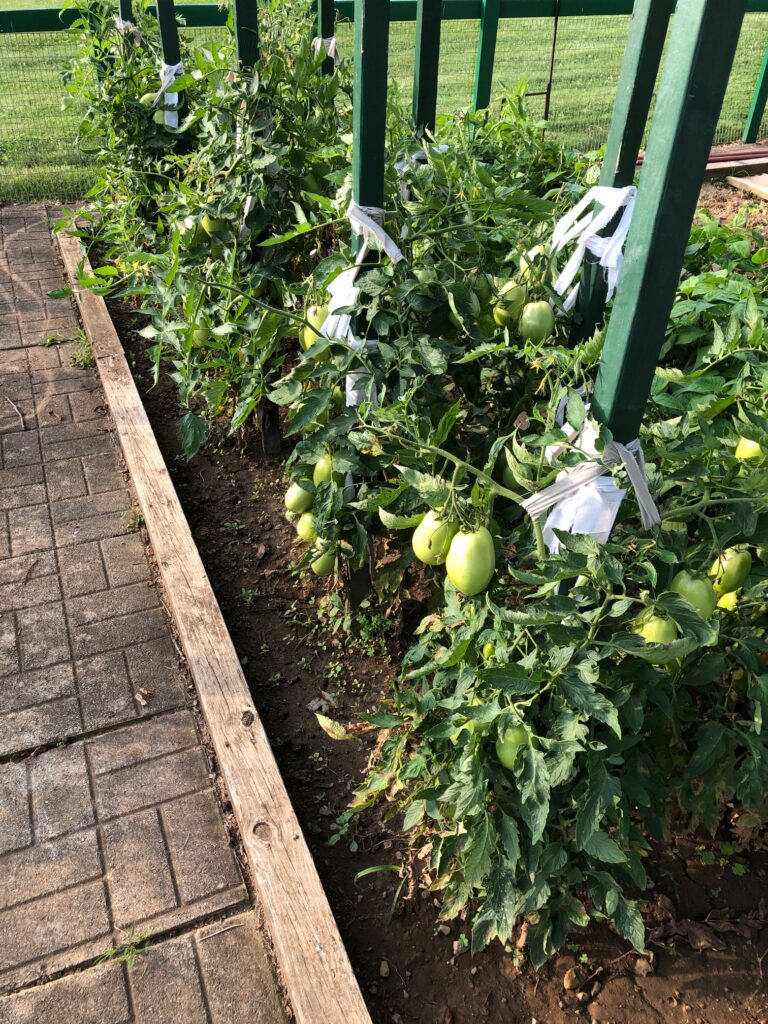
These two sections had tomatoes and early beans. Last weekend we pulled the tomato plants. A dozen tomatoes are on the kitchen table. We’re eating them every day. Delicious!
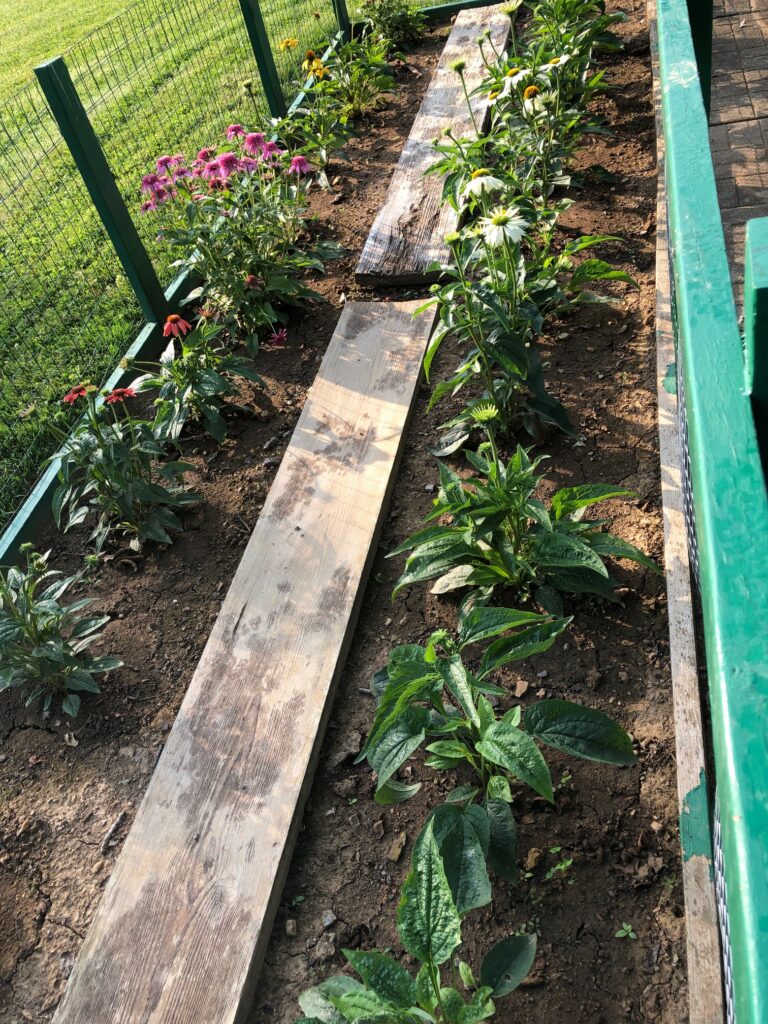
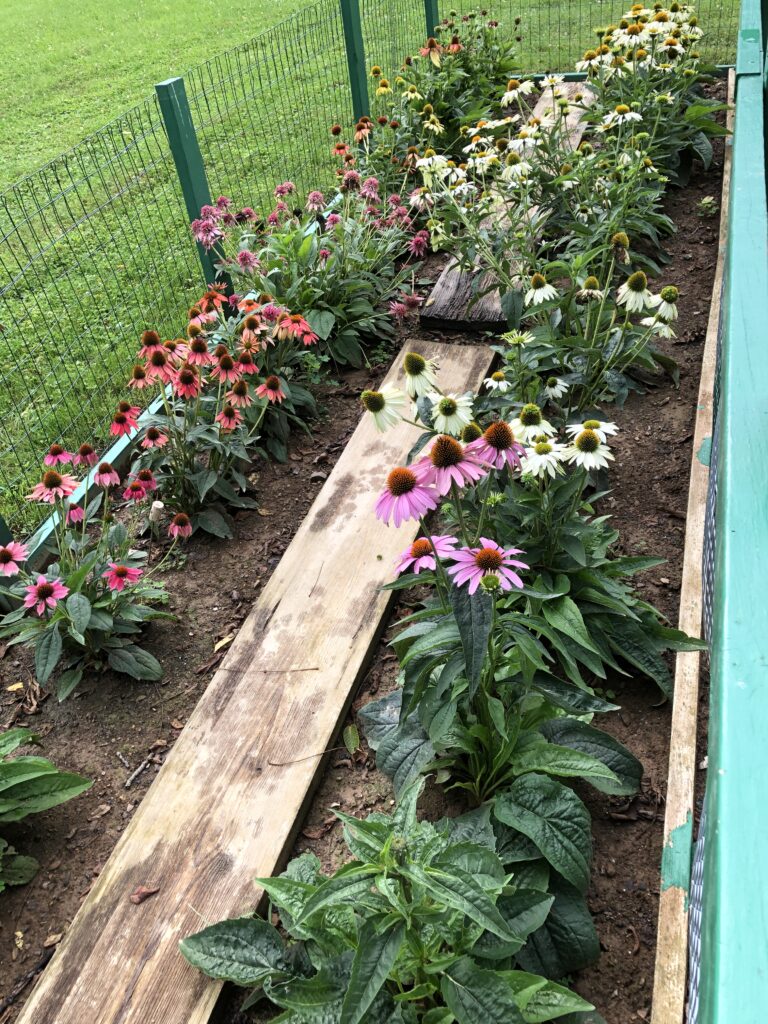
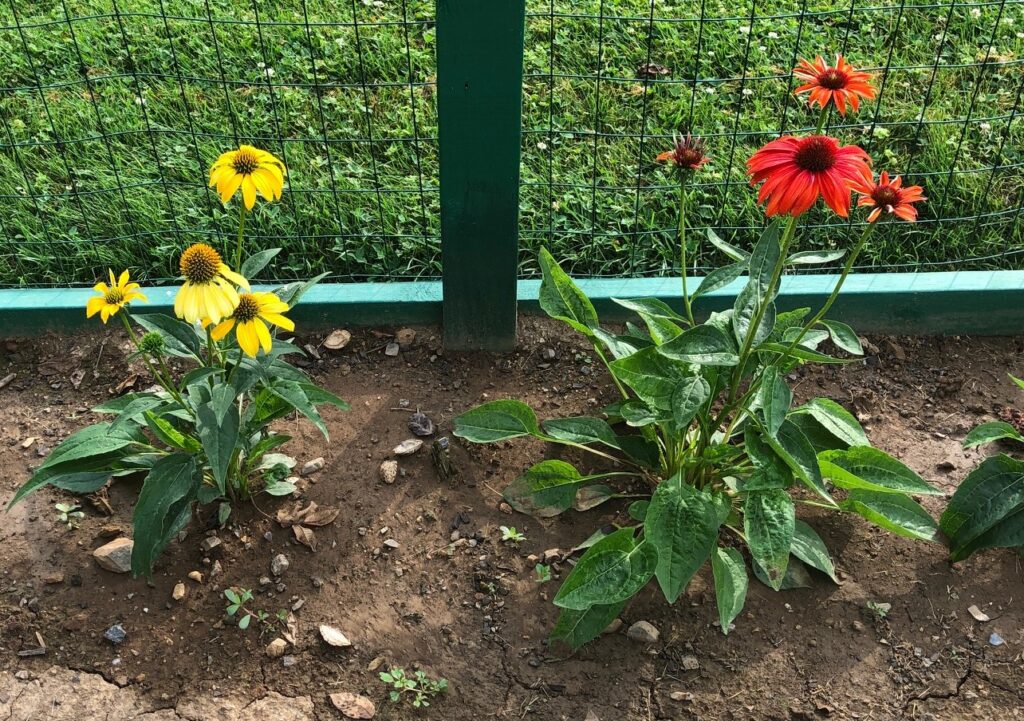
And the beautiful echinacea are blooming their hearts out. They should reseed themselves and come up next spring.
A few flowers have turned black, so soon I can cut them to save the seeds!
Another hint that fall is coming is the furious feeding frenzy of the hummingbirds. Usually they disappear around Labor Day, so each day we see them is a gift. Just as we were excited to be anticipating gardening season, something about the change of the seasons seems just right. Fall has its own beauty here in Pennsylvania. Time for pumpkins and apple butter! I’m ready to have cooler nights and fall colors. Enjoy!
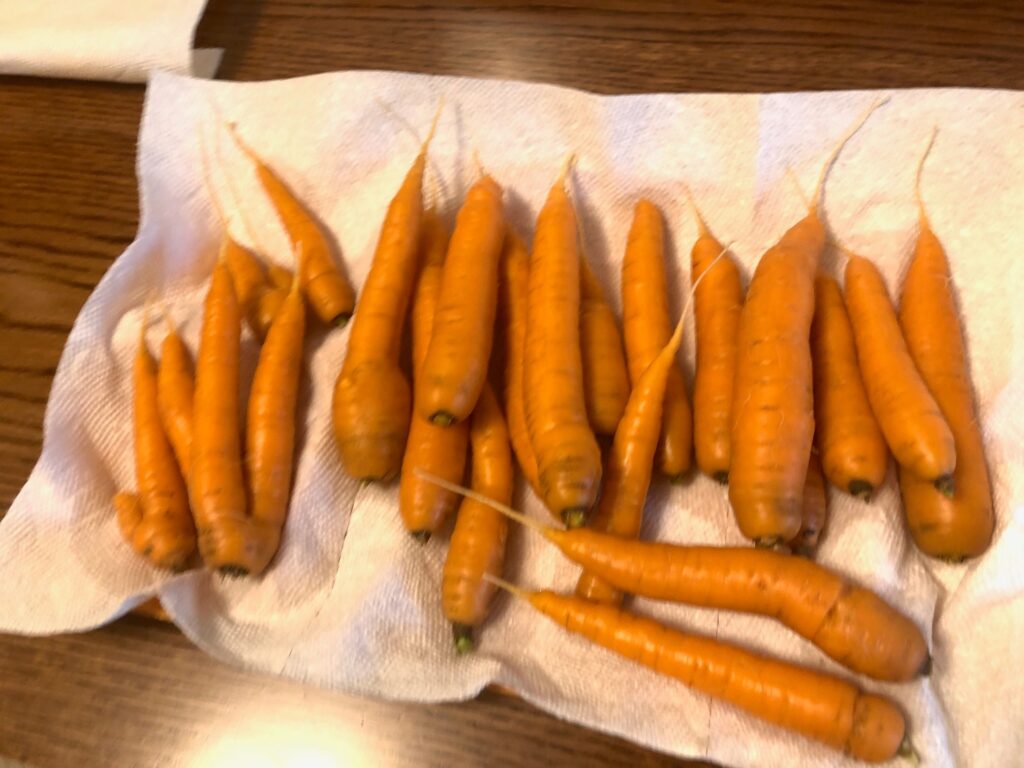
It’s been a while since I made carrot cake but a new pile of carrots from the garden was irresistible. A neighbor who was generous with her potatoes, which we didn’t grow this year, inspired me to make carrot cake, with an extra to share.
Since I knew the carrot cake recipe has many steps, including shredding the carrots, chopping the nuts and measuring out all the other ingredients, I figured it would be easier to just do both cakes at the same time.
Here’s the recipe:
Note: A little change to the recipe…this needs to bake longer than 45 minutes…probably 50-55 minutes. I usually make cupcakes and they cook through fine, but the center of these cakes was still too moist. The toothpick came out clean, but when cool the center was not cooked enough. I kept the cake in the refrigerator and that helped, but in the future, I’ll go back to making cupcakes.
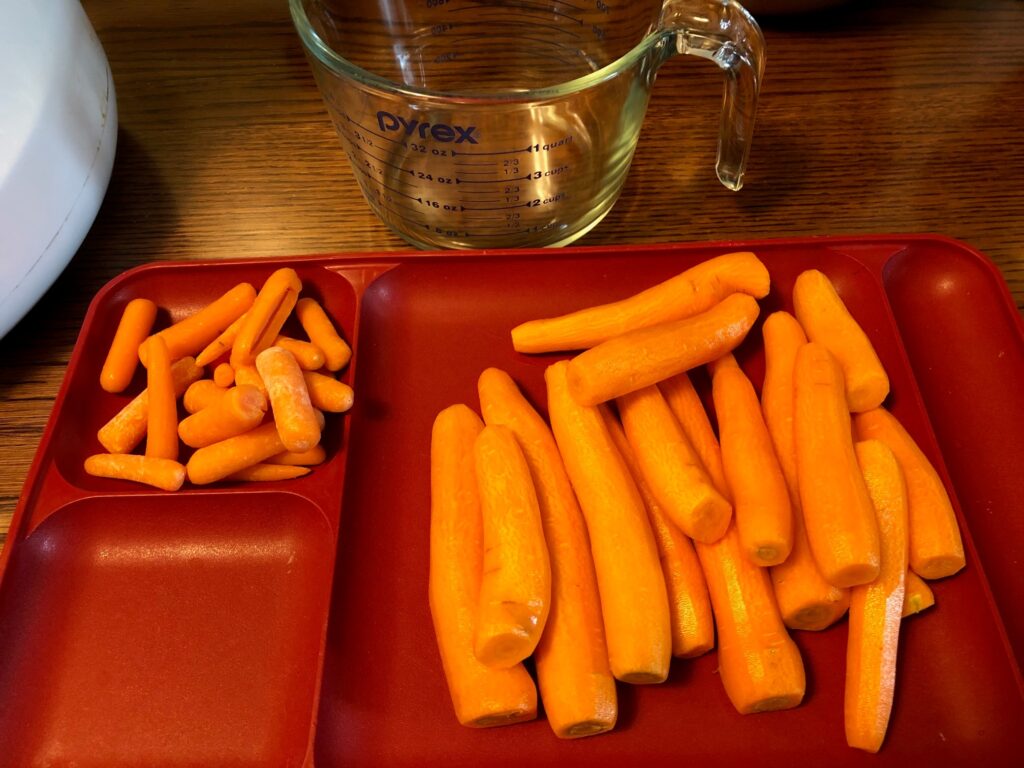
To make two cakes I needed a lot of carrots. Luckily, we had just dug some up from the garden. I still needed a few extra, but the little ones from the store didn’t shred very easily. I finally had to chunk them up before feeding them through the food processor shredding blade. (Note to self: start with more big carrots!)
(Sorry…I forgot to take a picture of the food processor working).
I measured out all the ingredients in matching bowls so I wouldn’t miss anything.
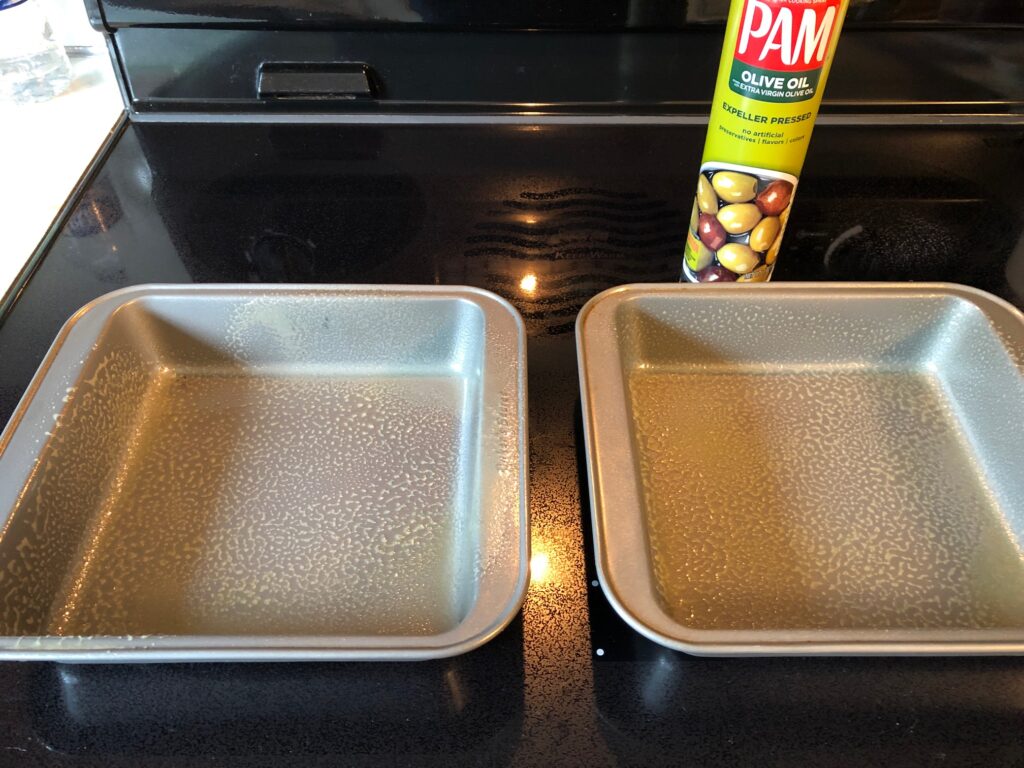
Before I mixed everything all together, I preheated the oven and sprayed the pans…
…and scooped the batter into the pans.
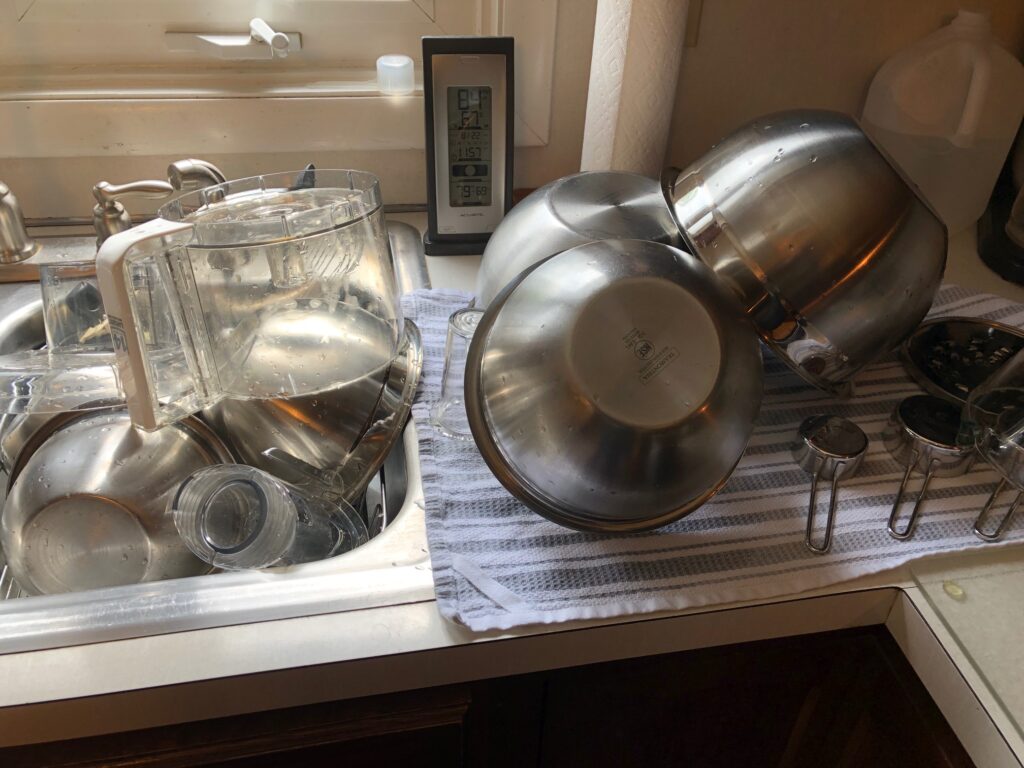
While the cakes were baking, I washed up all the dishes. I was amazed how many dishes I used to make this double batch. Whew!
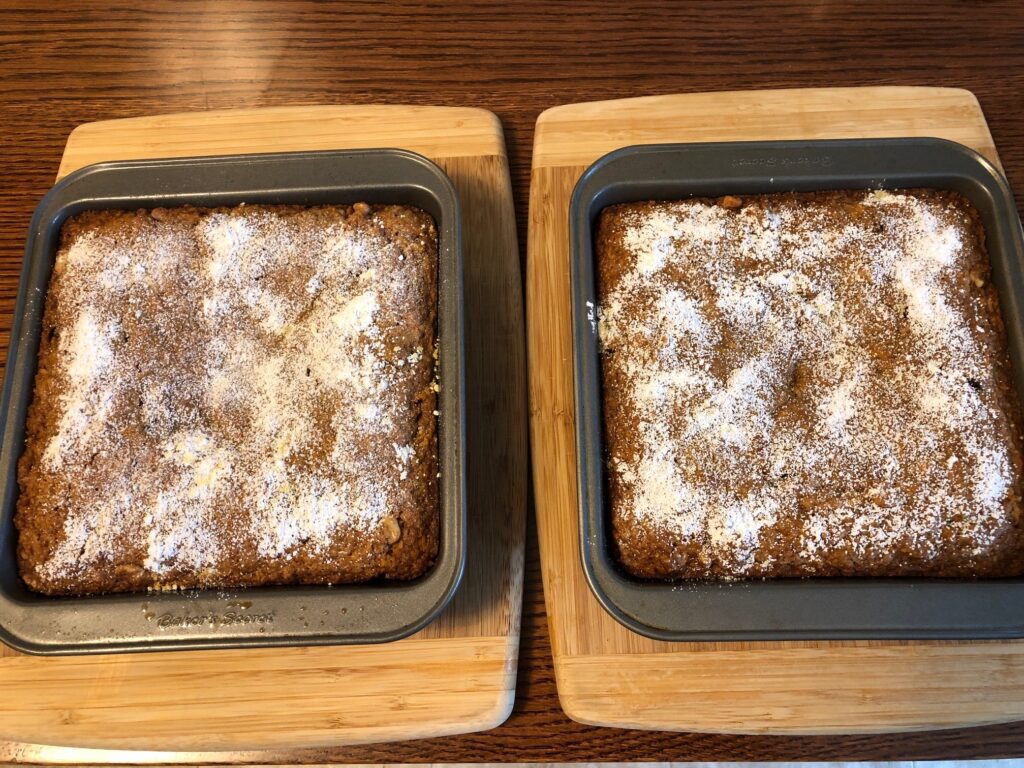
The cakes turned out just fine…but not quite cooked in the middle. I noticed that didn’t stop us from eating it!
A little sprinkle of powdered sugar dressed it up. My neighbor seemed pleased to give it a try! Enjoy!
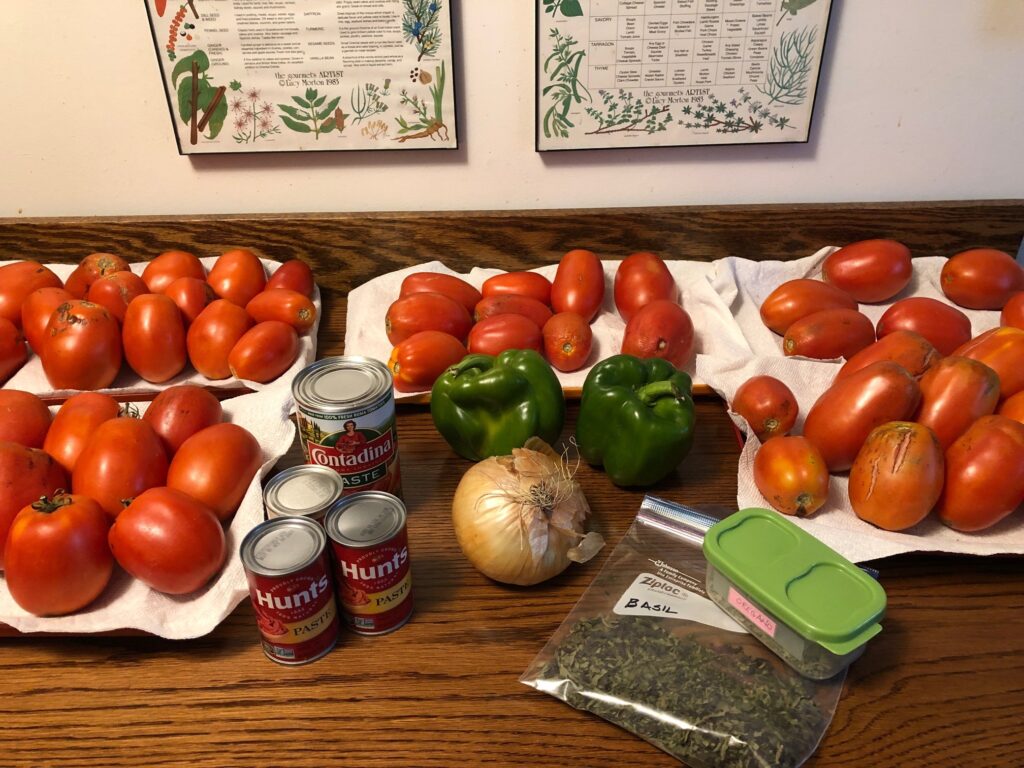
Tomatoes galore! I now had about 3 dozen tomatoes sitting on the kitchen table and a decision needed to be made…what should I make with them? While we don’t frequently have homemade pizza, I thought it was time for me to figure out how to make a good vegan (or at least cheese-free) pizza. I have not yet found a good vegan cheese that melts like mozzarella and actually tastes good. I’ll have to do without cheese, so that means the sauce had better taste good!
I decided to make a hearty sauce with the tomatoes plus green peppers, onion, garlic, basil, oregano, salt, pepper, sugar and canned tomato paste.
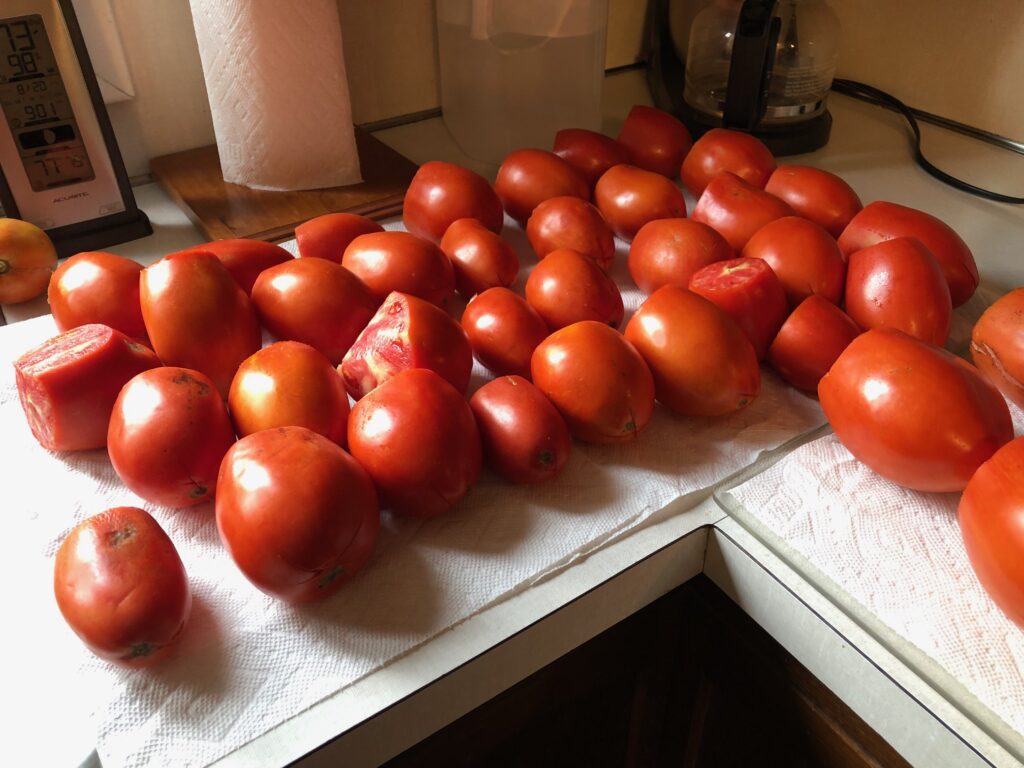
All my tomato recipes start with dipping the tomatoes into boiling water for about a minute and then shocking them in ice water. This loosens the skins so they are easy to peel. (If you want to see that process in detail, see the post at https://marykisner.com/garden-update-august-9-2021).
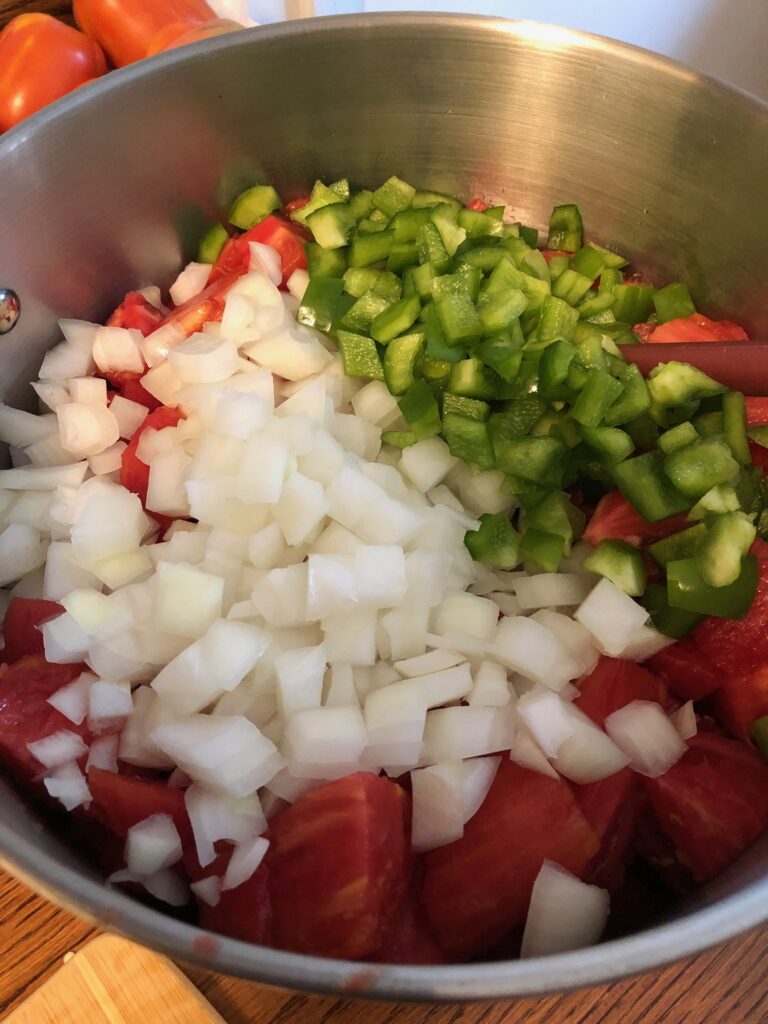
Tomatoes ready for their boiling water bath!Chopped tomatoes, onions and green peppers.
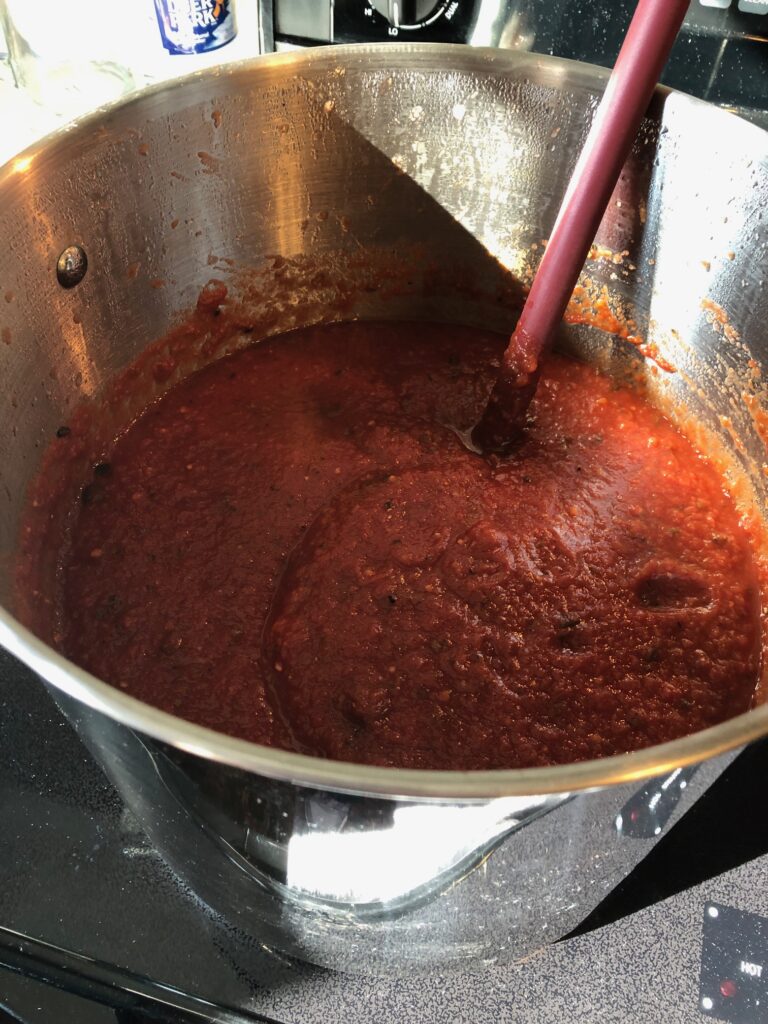
When the tomatoes were soft and bubbling, a lot of water had floated to the top. Without stirring the mixture, I was able to scoop off about 3 cups of watery juice so the whole mixture would be thicker.
When completely soft but still lumpy I put the mixture through the food processor to make it smooth. Then I added the tomato paste. This made a nice thick sauce. I added the dried basil, oregano, garlic, salt and pepper and about 1/3 cup of sugar.
This is a 12-quart pot and it was about half full.
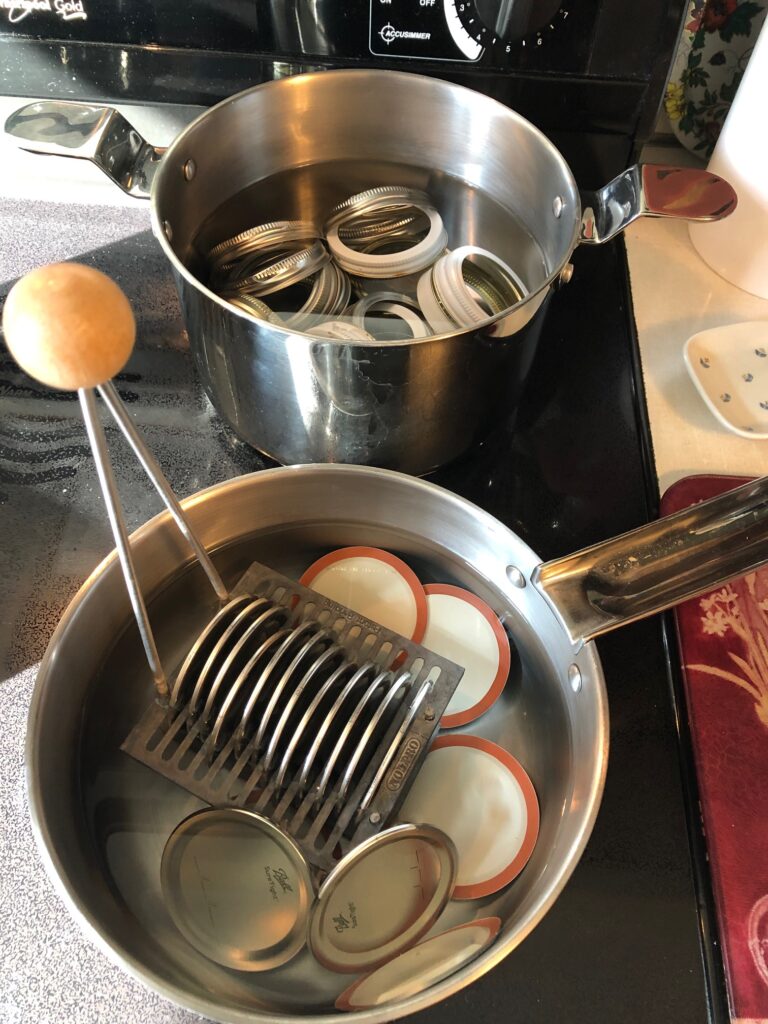
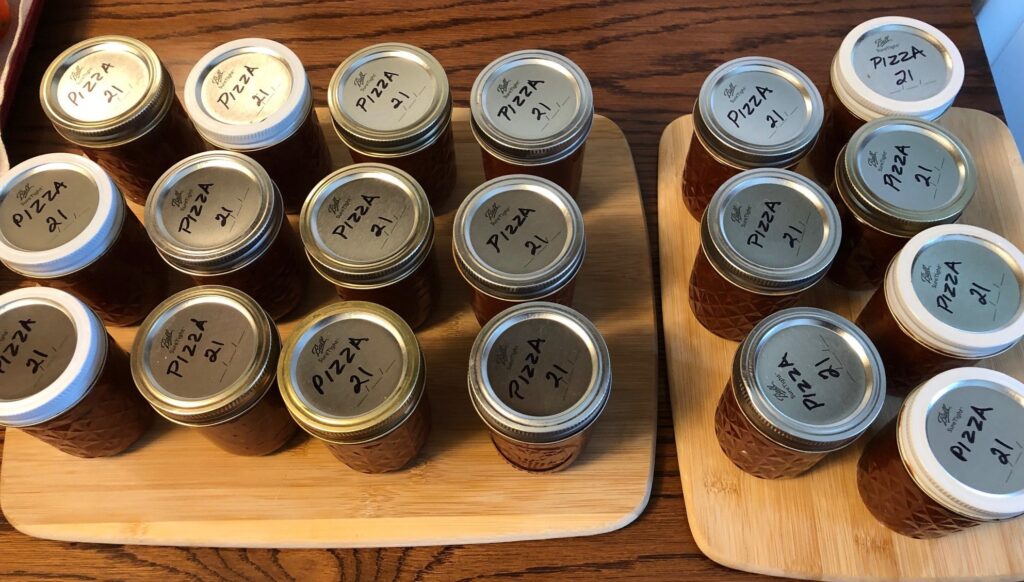
We took this whole pot of sauce and put it in the refrigerator overnight. This morning I ran the dishwasher with 19 half-pint jars. (Turns out the canner holds 19 pints, but 24 half-pint jars! Next year…). I froze a few containers that were left over.
Sterilized lids and rings.
Bert started loading the canner with filled jars. (Sorry, no pictures of that exciting process!) However, after a few jars were lowered into the hot water, one broke spilling out sauce all over the other jars. Bert had to start over…taking out the unbroken jars, dumping the hot water, carefully removing the broken jar, rinsing the canner, and adding water and vinegar back (we have hard water and vinegar keeps the sediment off the jars). Luckily, I had an extra jar ready to go so 19 jars went back into the canner.
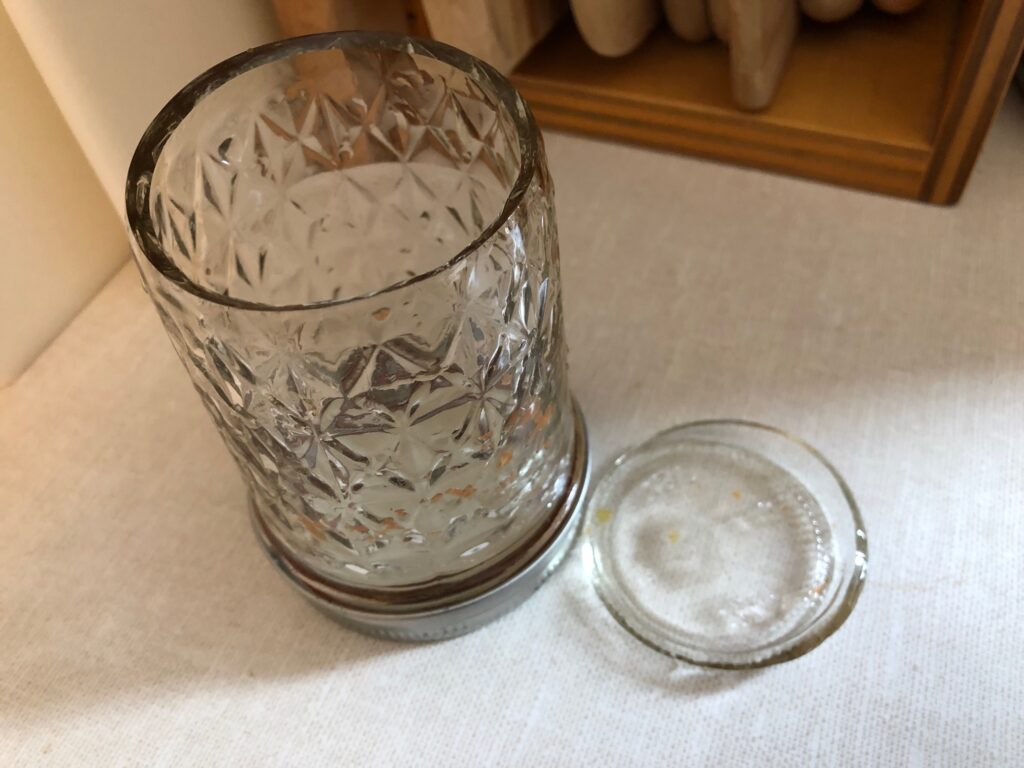
The jar broke right along the bottom…looked like a clean break. I’ve never had a jar break…ever!
The bottom broke right out!
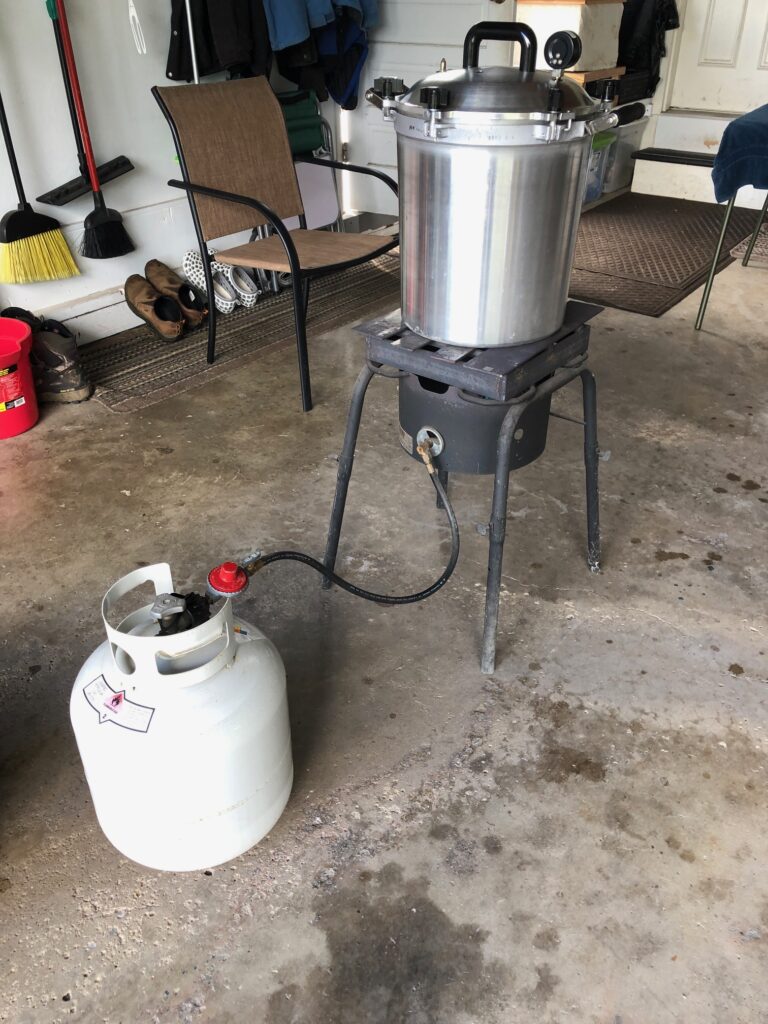
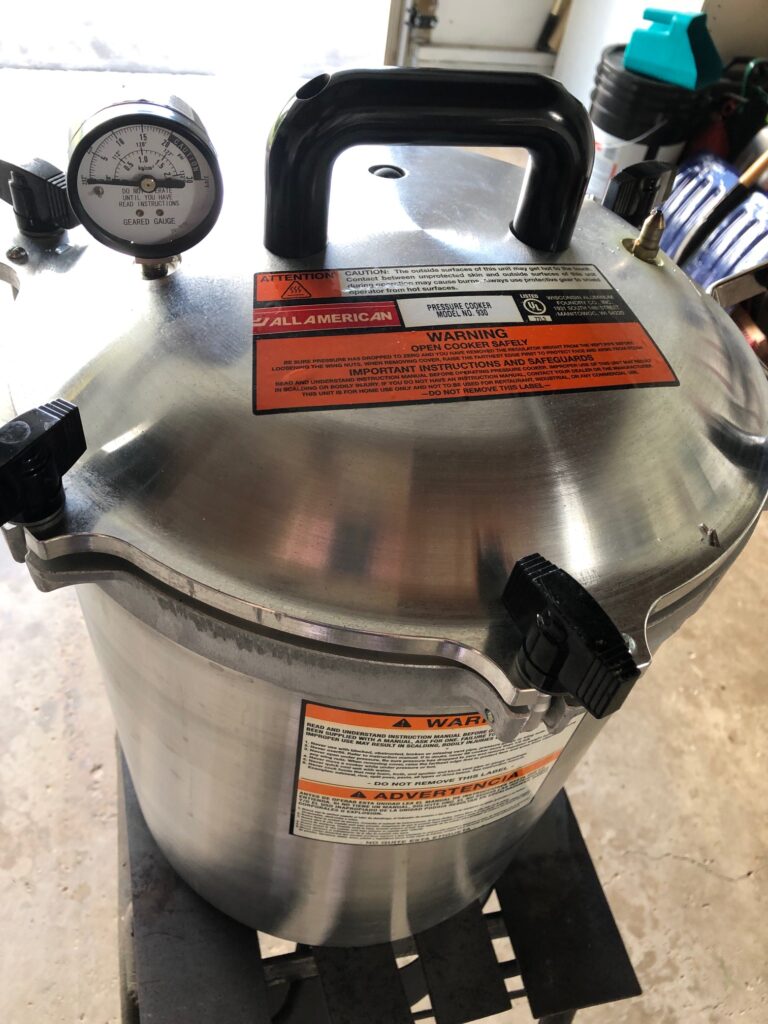
Now the pressure canning process: Bert has rigged up a burner with propane that we use in the garage. The canner is too big to fit on our glass stove top.
Tomato sauce with additional stuff like peppers, onions and garlic is processed at 10 lbs. of pressure for 30 minutes. It always takes longer than that because the canner has to be vented first, then brought up to pressure, held for 30 minutes and then cooled down until pressure is back down.
So…we sit in comfortable chairs in the garage and visit or read while we wait. Occasionally, neighbors will drop by to see what we’re doing since the garage doors are open and we look open for a visit!
Finally, the jars are ready to come out of the canner. They will sit on my kitchen table for a few hours to cool down. I’ll write on the lids what they contain and the year. After that, they go to the basement shelves…ready for Pizza! I’ll let you know when I give that a try…maybe I’ll find some vegan cheese to try too. Enjoy!
August is the month when the garden comes to fruition! Yesterday, the kitchen was hopping…and warm! Time to process the last of the beans and deal with the pile of tomatoes that are ready now.
Luckily, the carrots have just begun to fill out. We’ll munch on these for a while and let the rest get bigger.
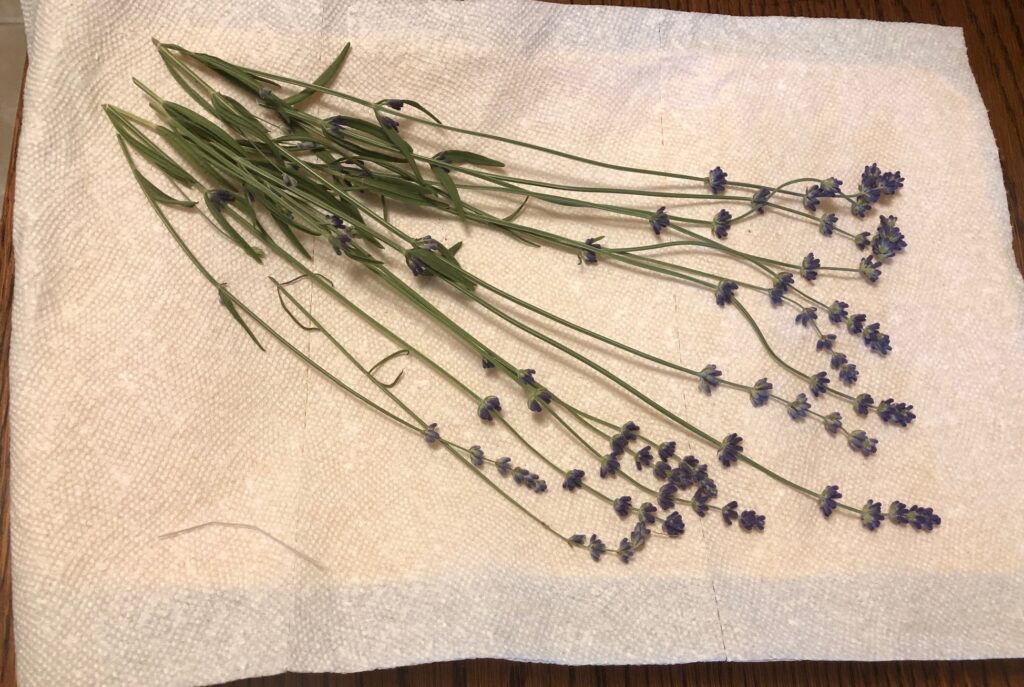
Lavender
The lavender is finally flowering so I’ve begun cutting a few of the stems. A tray of lavender will be sitting around for the next few weeks as they dry. When dry, I’ll rub off the flower buds and let them dry some more. They’ll be useful when I make lavender-infused olive oil.
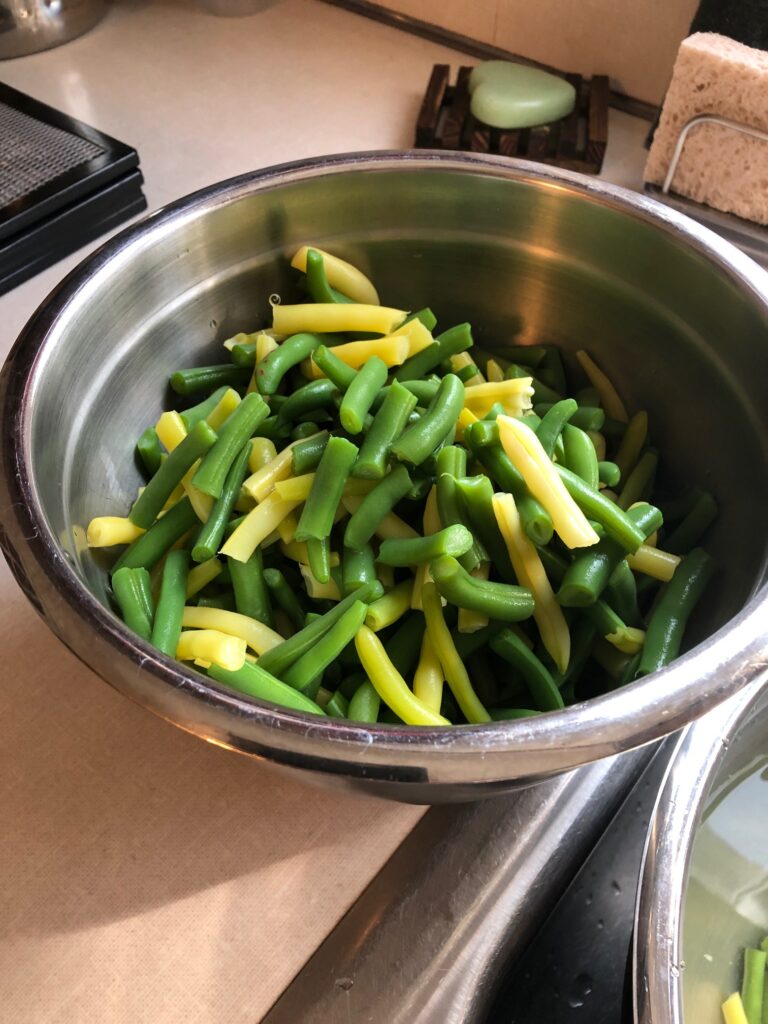
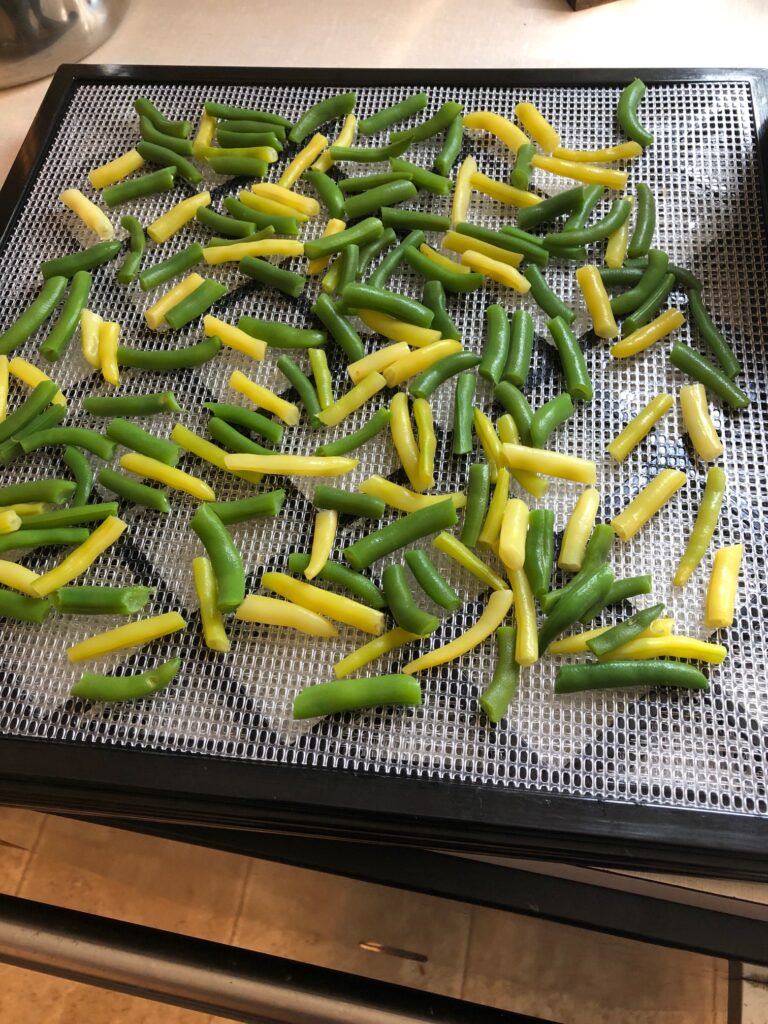
Dehydrating Beans
This was the last picking for this second planting of beans. We pulled the plants as we picked. I snapped the beans, blanched them and chilled them in ice water.
Then I laid them out on the dehydrator trays. They filled 4 trays.
And 10 hours later…
It always amazes me how little space dehydrated beans take up, compared to putting them in the freezer. Since I use them mostly in soups and stews it’s a very efficient way to store them.
Cooking Tomatoes
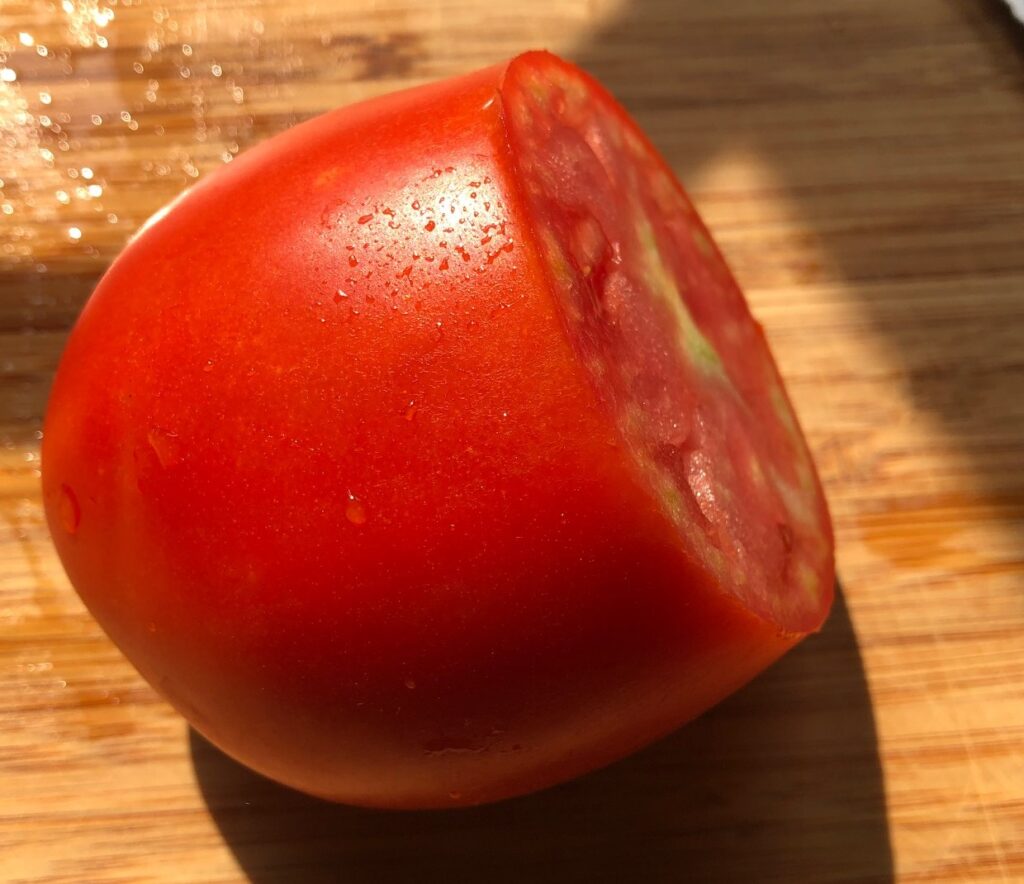
We have eaten the first tomatoes to ripen. This larger batch of tomatoes will be cooked enough to soften them but I won’t put them in the food processor to make them smooth. I’ll use these in vegetable soup.
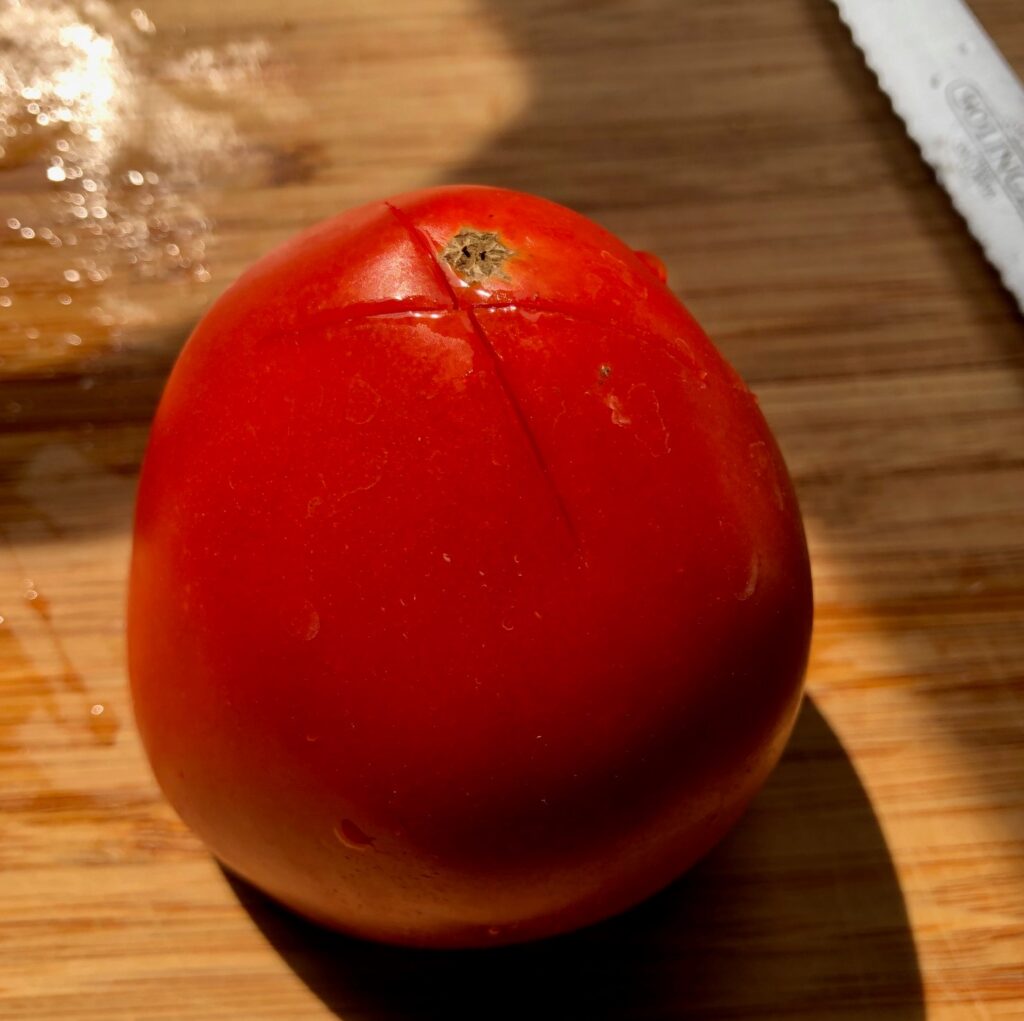
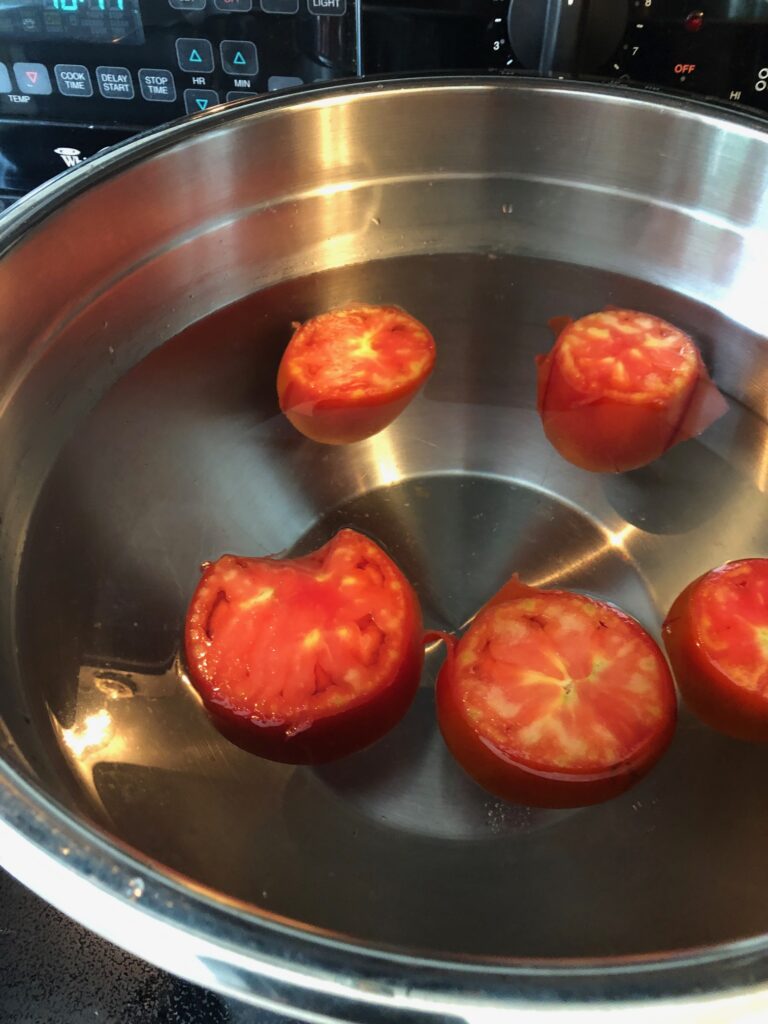
The tomatoes are washed. I cut the tops off to get rid of any ugly stems. Then I turn each tomato over and cut an X on the bottom.
Next, I bring a pot of water to a boil and drop a few at a time into the boiling water. In less than 1 minute the peel starts to split and separate from the tomato.
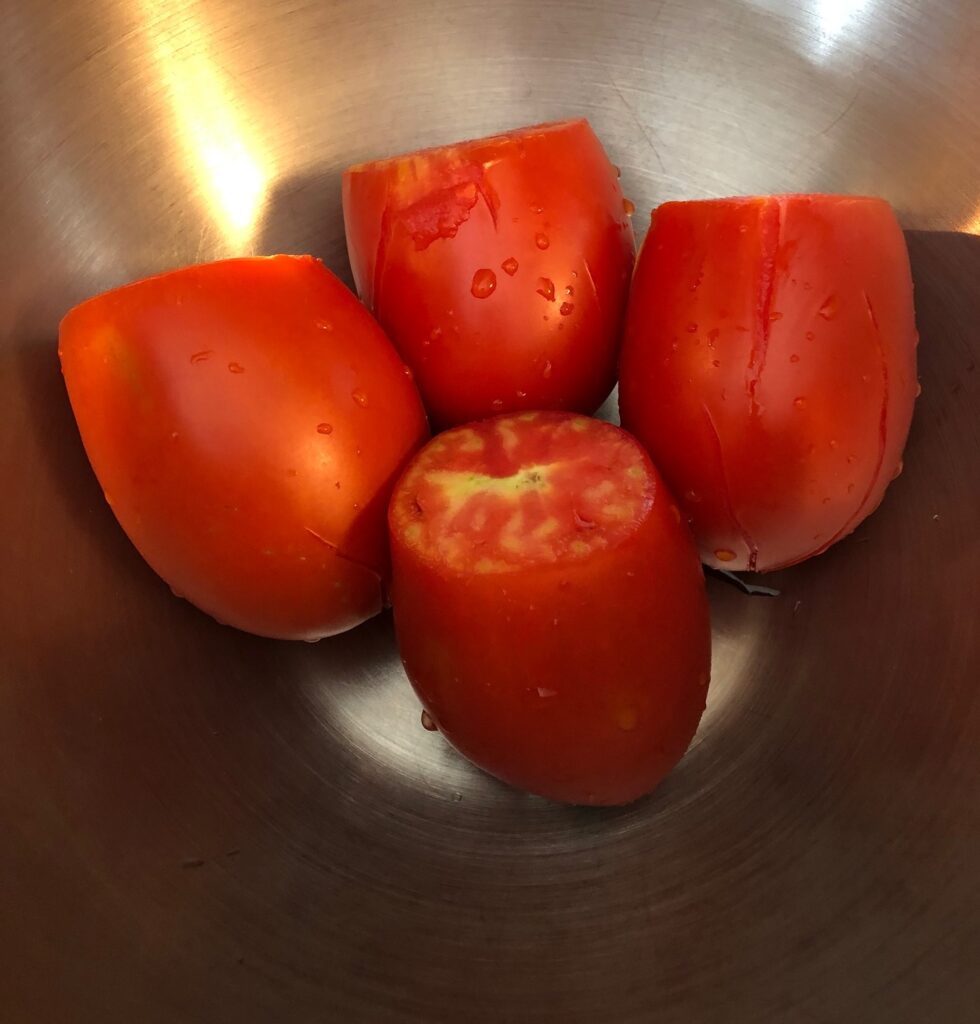
Then, I quickly transfer them one at a time to a big bowl of cold water with ice cubes. That helps loosen the peel.
Then, I stack them gently into a bowl until I’ve done them all.
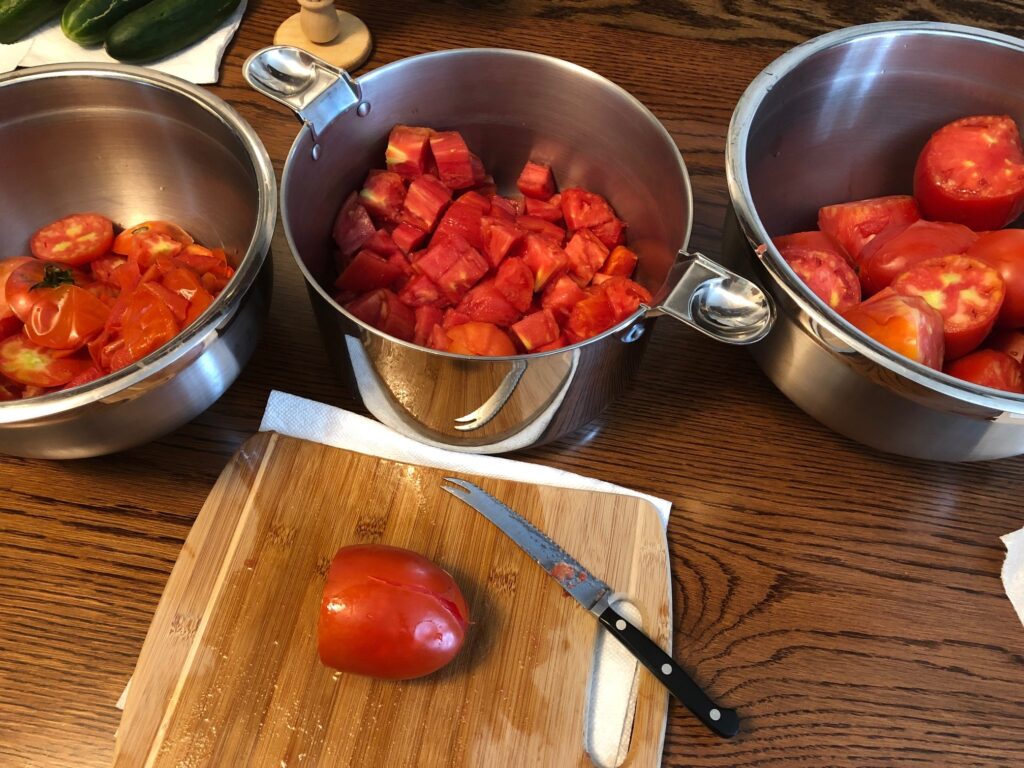
Now, I sit down at the kitchen table and take each tomato, remove the peel and cut the tomato into smaller pieces. These go into a pot that will go back on the stove to simmer until the mixture is soft and some of the water is boiled off. The time depends on if I’m going to run them in the food processor or not. I like a chunky mixture for my vegetable soup. If I’m making spaghetti sauce, I’ll cook them longer uncovered and let more water boil off.
They really are quite easy to peel at this point!
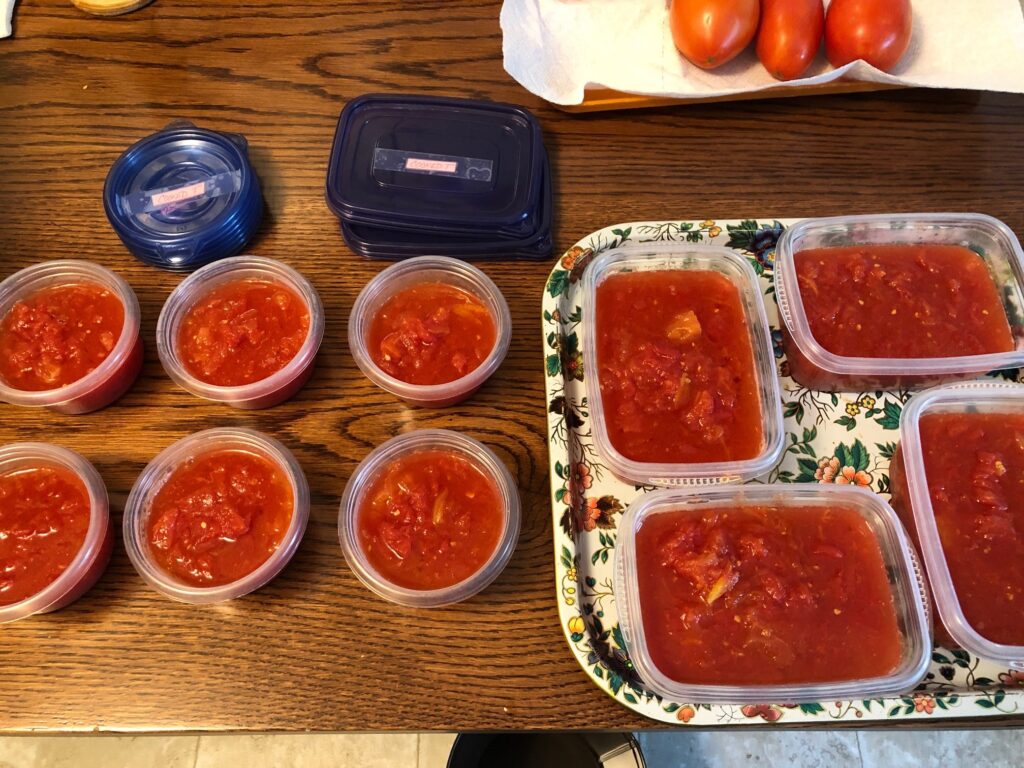
This is how much I put in the freezer yesterday…and the tomatoes are just starting to ripen! It’s going to be a busy August!
Bert just came in with more tomatoes! Yikes!
More Beans?
The next planting of beans is still pretty small, but they look good. I’ll be watching the weather in early September to see if we get any beans before the first frost.
So that’s what’s happening in my kitchen the second week of August! I know I’ll appreciate it in the winter when I want to make soup! Enjoy!
The Echinacea plants in the garden are looking very pretty, especially because we have several different varieties. Three plants I purchased at a local plant sale. Bert started the rest from seed indoors in the early spring. A friend asked if I would save some seeds for her so I decided it was time to research how to do that.
I found a wonderful site online where the author walked through the steps to saving the seeds. It even had an embedded video clip of him putting the dried seed heads into a coffee can and shaking them hard to loosen the seeds! I won’t try to embed videos in my blog, but I will post a link to the article I found helpful.
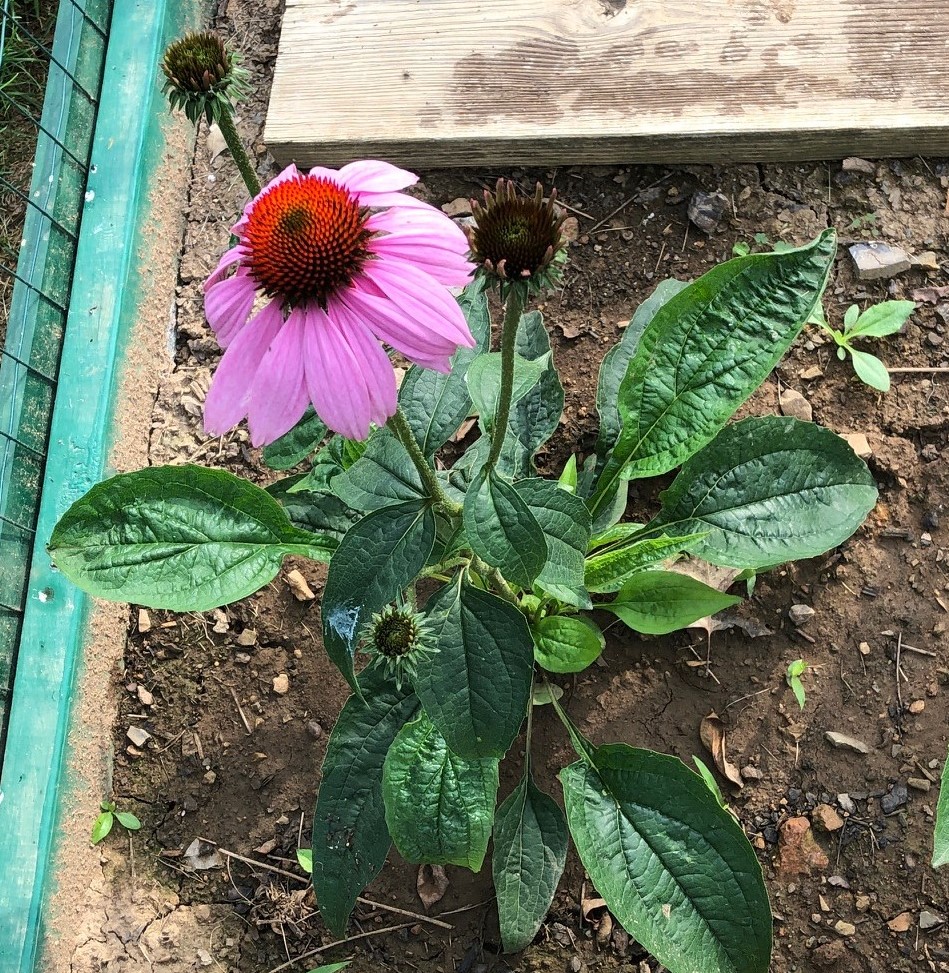
Step 1 said to cut off the seed heads when the blooms have faded and turned brown. Already I could see I would have a problem, because I have several different colors…when they are brown how would I know which is which?
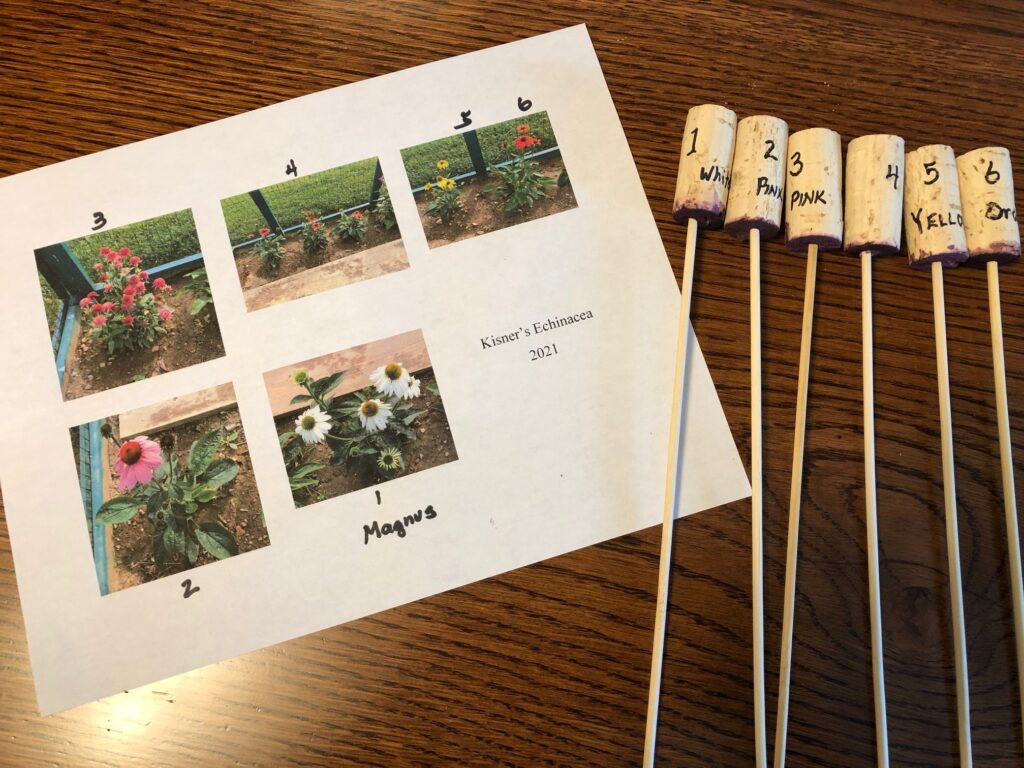
So first, I went out to the garden and took some close-up pictures of the plants. Then I numbered them on the picture and made markers to put beside the plants. In the fall, when they are all brown, I should be able to keep the seeds I collect separated by color (theoretically!).
The markers I made out of skewers for the grill and wind corks we had saved. I wrote the number and color on the cork with a marker.
Then I went up to the garden and placed the markers beside the plants. I did not mark every plant, because the way we planted them and where the picture shows them along the fence should be enough.
Anyway, at least now I don’t have to remember what color is where. When they start turning brown, I’ll continue with Step 2!
Step 2 said to store and dry the seed heads in a paper bag. Great…I’ll have to go get some paper bags…maybe lunch bags??
Step 3 said to knock the seeds off the heads. The author did this by putting several seed heads into a coffee can and shaking vigorously. This should release the seeds from the seed heads.
Before storing, the seeds should be allowed to dry another week or so exposed to the air. They can then be tossed gently in a strainer to separate out the chaff that gets mixed in.
Step 4 said I can then store the seeds in an envelope for several years.
The only issue is…I don’t know if the original seeds we bought were hybrid seeds, in which case they will not necessarily reproduce the same plant when grown the second year. If they don’t, oh well…at least I’ll know how to do it for the future!
So, while I’m waiting to continue this process, I’ll just enjoy the colorful flowers in the garden! Enjoy!
Two years ago, we invested in an air fryer. We thought it might keep the house cooler in the summer instead of turning on the oven. Who doesn’t love crispy foods without all the oil? Most of the folks we talked with said they were great to prepare frozen French fries so they turned out crispy. Very few people we knew actually prepared recipes from scratch. Our daughter also uses hers as a toaster!
We have a great toaster/oven we use all the time, so we didn’t think we would replace that appliance. We really don’t buy or eat frozen French fries. Most of the recipes I found started with a breading of some sort made with eggs and seasoned bread crumbs. Since I avoid coatings like that because of my allergy to eggs, I first tried making chicken “nuggets” by cutting up boneless chicken breasts, coating the pieces with oil and seasoning and cooking them in the air fryer. That worked well, but certainly made a mess inside the fryer. Too much oil! Broiling them in the oven on foil was much easier to clean up! Needless to say, storing the air fryer was a real pain! It was finally relegated to a cupboard in the garage.
Fast forward to today. We recently enjoyed veggies that were skewered and cooked outside on the grill (thanks Todd!). We love grilled vegetables! How could we get them more often? There are just two of us and we usually don’t bother firing up the grill for a quick meal. We wondered if the air fryer could be useful?
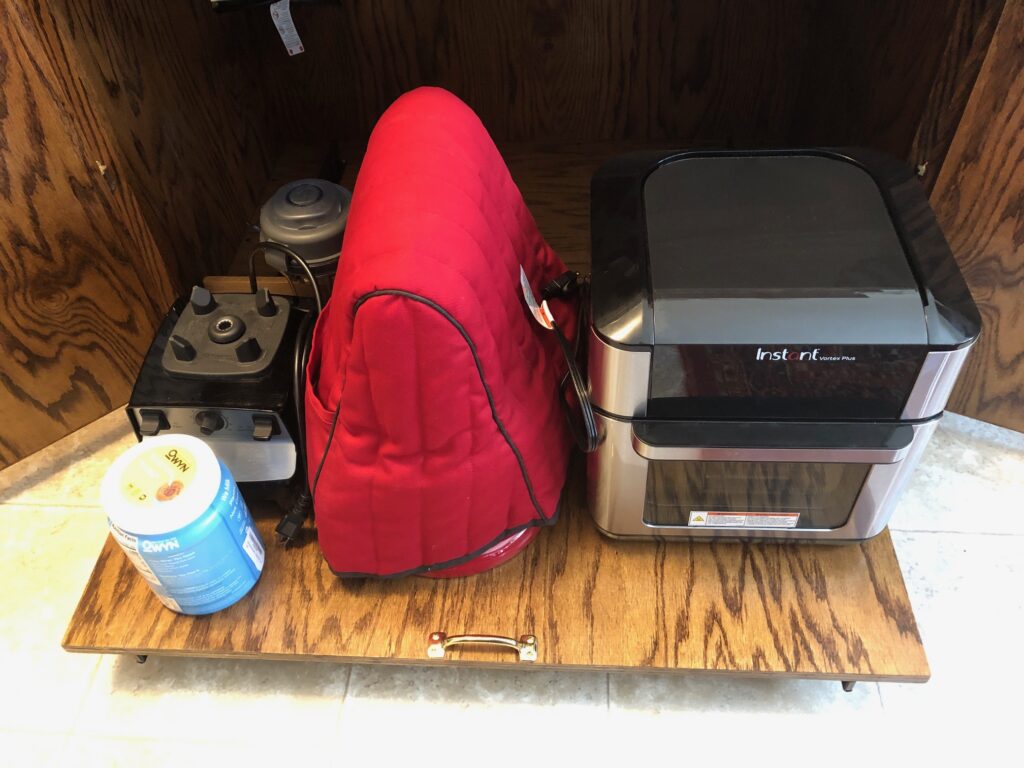
First, I had to locate the air fryer in the garage cupboard and figure out where to set it up. I have a small kitchen without a lot of counter space. Before the Pandemic I had just a table for a work surface in the kitchen. During the Pandemic, Bert stayed busy by building me an enclosed table/cupboard that was just the right height to knead bread…my main request.
This table/cupboard has a shelf that slides out so I can store three large appliances. I rearranged appliances and made room for the air fryer. I can move it to the table when I want to use it. (see the pictures below)
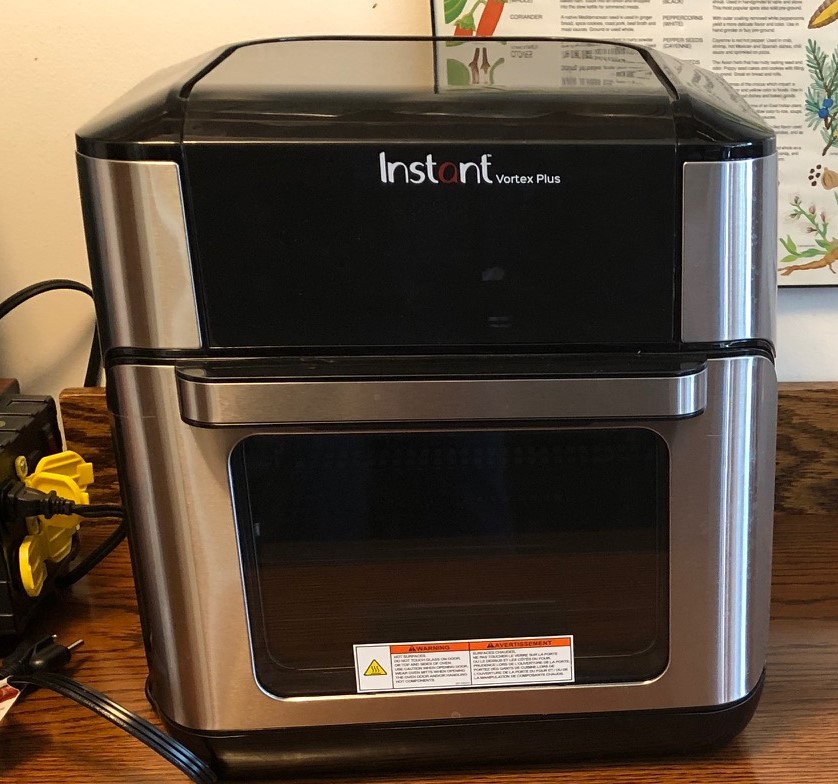
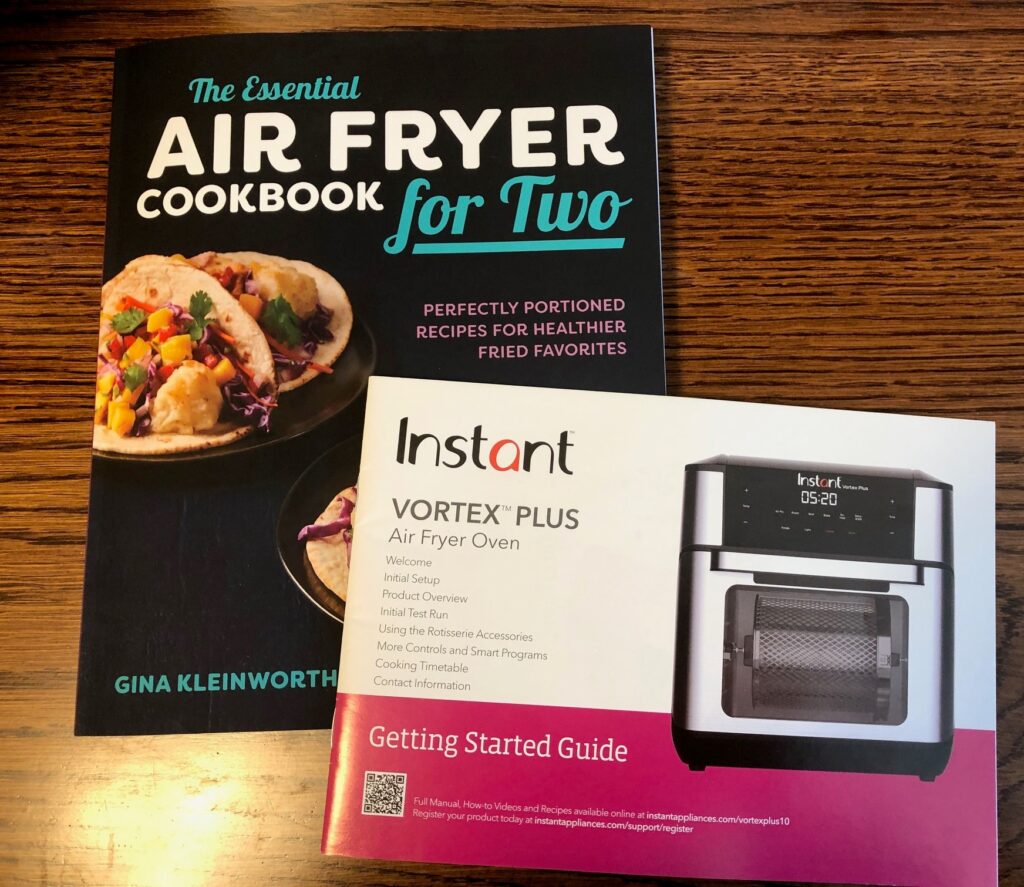
Our air fryer is called the Instant Vortex Plus. I think it’s made by the folks that made the original Instant Pot popular.
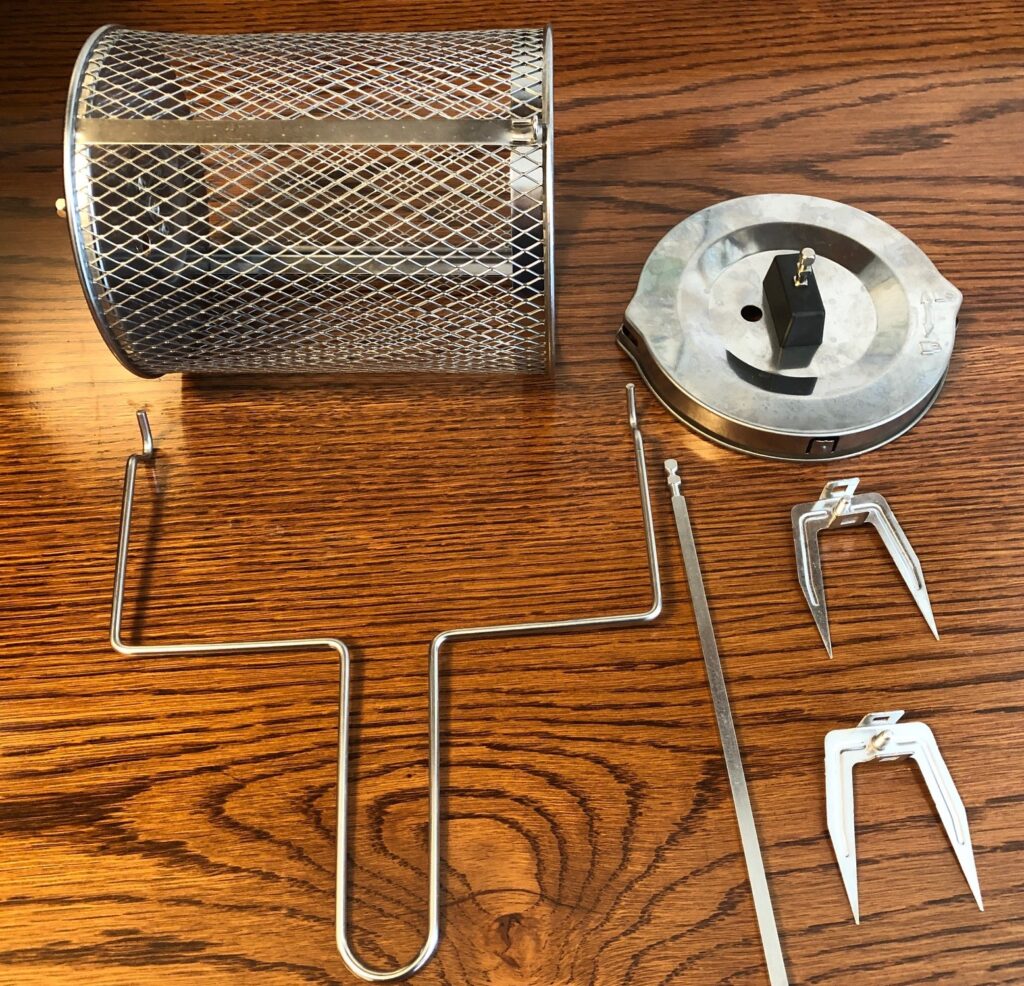
Our air fryer comes with two shelves and a rotisserie basket. It rotates as it cooks so I don’t need to flip foods halfway through the cooking time. I guess I could also use the long skewer and do a whole chicken or roast, but I’ve not tried that…yet.
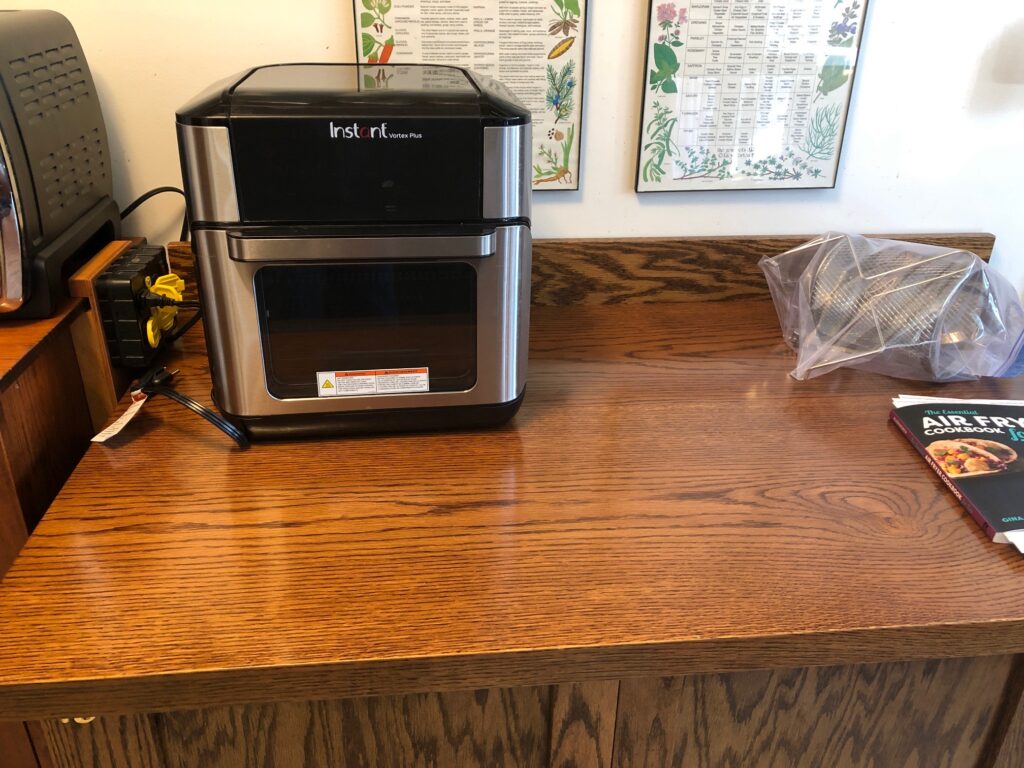
I found the instruction manual and picked up a new cookbook that looked like it might have smaller portion sizes. Turns out, much hasn’t changed about air frying…most all the foods needed a batter of some sort, which won’t work for me. I did find two recipes online that sounded like what I had in mind: one was for air frying vegetables, another was for baking a potato with a crispy skin.
I could see the basket would be helpful for the veggies…I wouldn’t have to flip anything halfway through the cooking time.
Air Frying Vegetables
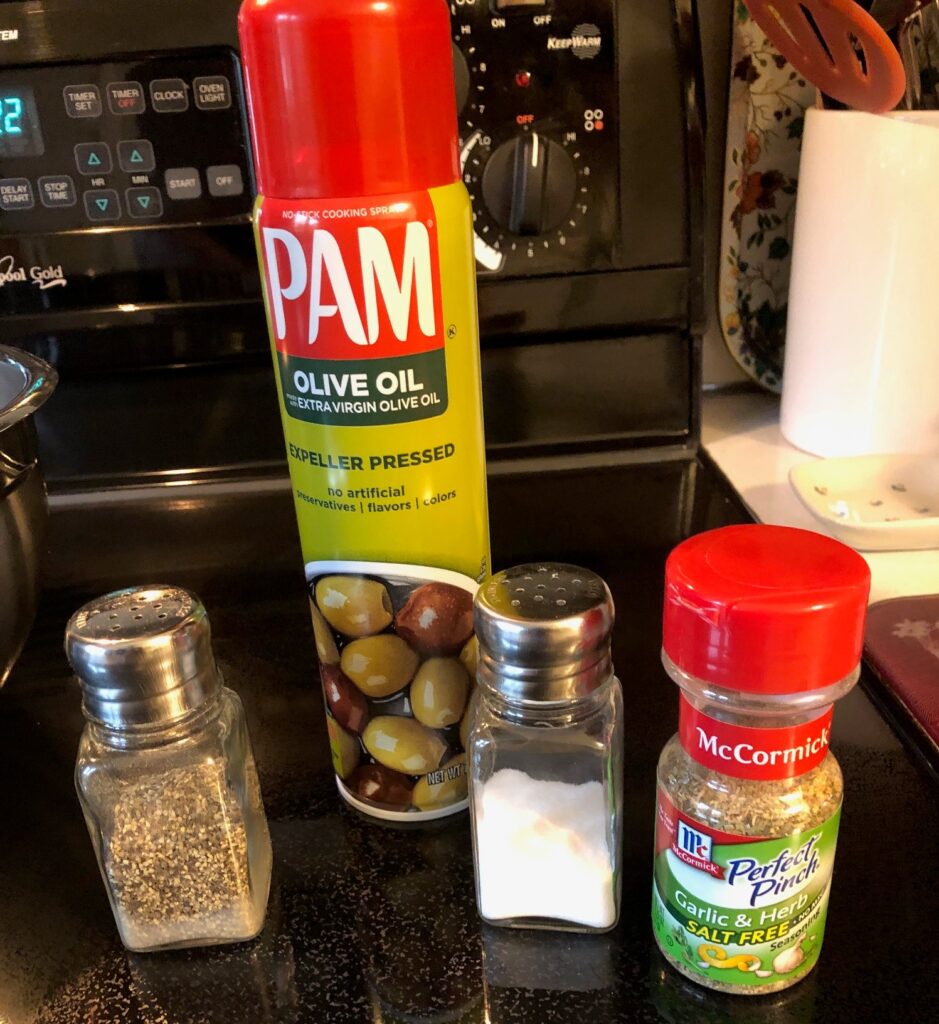
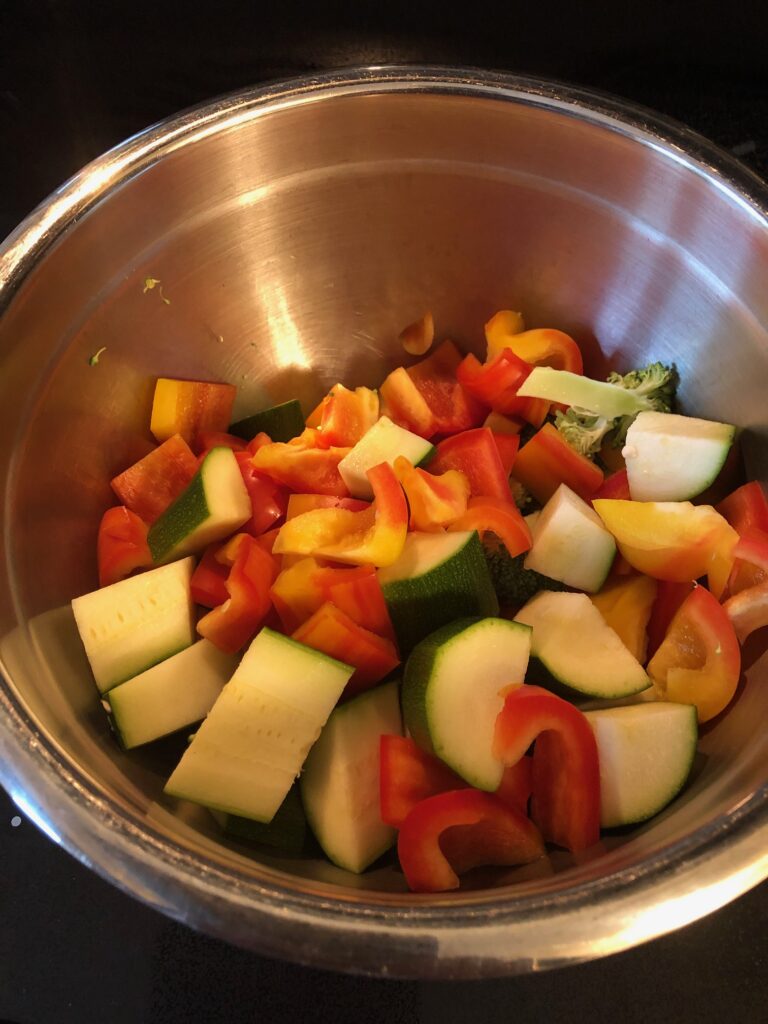
The first thing I noticed in the recipes was foods were sprayed with spray oil, like PAM. I think that would cut down on the drippy mess of too much oil. I didn’t need a lot of seasoning, so we started with salt, pepper and a simple Garlic & Herb Salt Free seasoning (from McCormick).
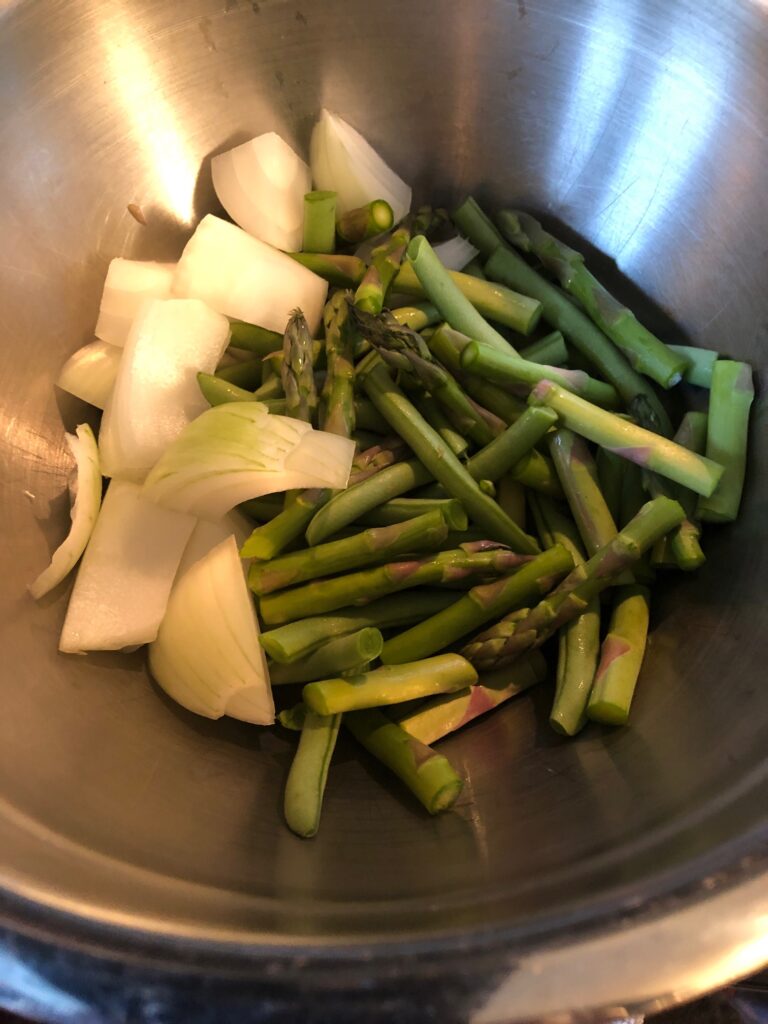
The first batch had green beans, asparagus tips and onion. The second batch had red sweet peppers, broccoli and zucchini.
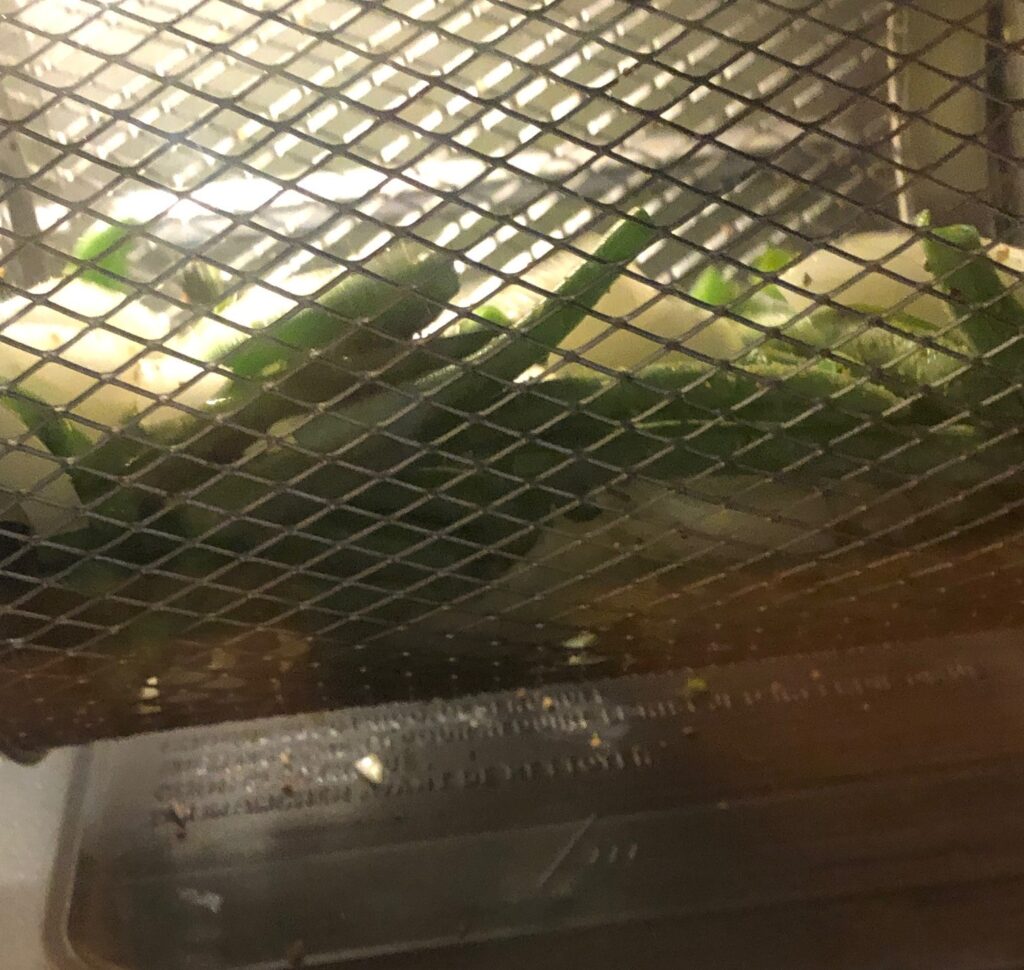
We preheated the air fryer to 360 degrees (took about 4 minutes) and put the vegetables into the basket, one batch at a time. When the air fryer beeped to tell us it was preheated, we put the basket in and set the timer for 7 minutes. I tried to take a picture of the basket rotating…but obviously it’s a still picture. Haha.
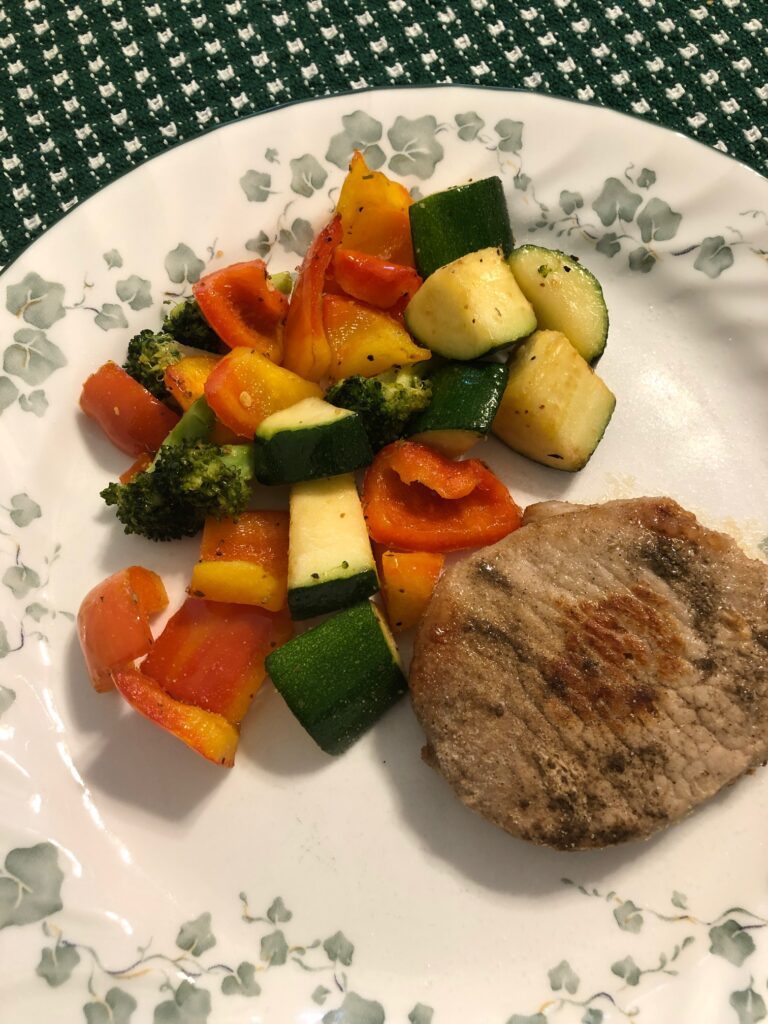
The basket was a little awkward to open when hot, but it worked great!! Just perfect with our pork chops for dinner.
Now that I have a place to store the air fryer in the kitchen, and have figured out the details, I think we’ll do this more often. It’s great for just one or two servings without heating up the oven or the grill. I consider my experiment with the air fryer a success! Enjoy!
Notes:
–An air fryer with a non-rotating basket or drawer should work just as well. You will have to take the basket out about halfway and give it a shake.
–Next time I think we’ll increase the temperature to 370 degrees and give it about 8-9 minutes to crisp up the edges.
The garden is going into production mode! With over 6″ of rain this month so far I’m just grateful the garden drains well and the sun comes out once in a while. Time to show you how things are growing.
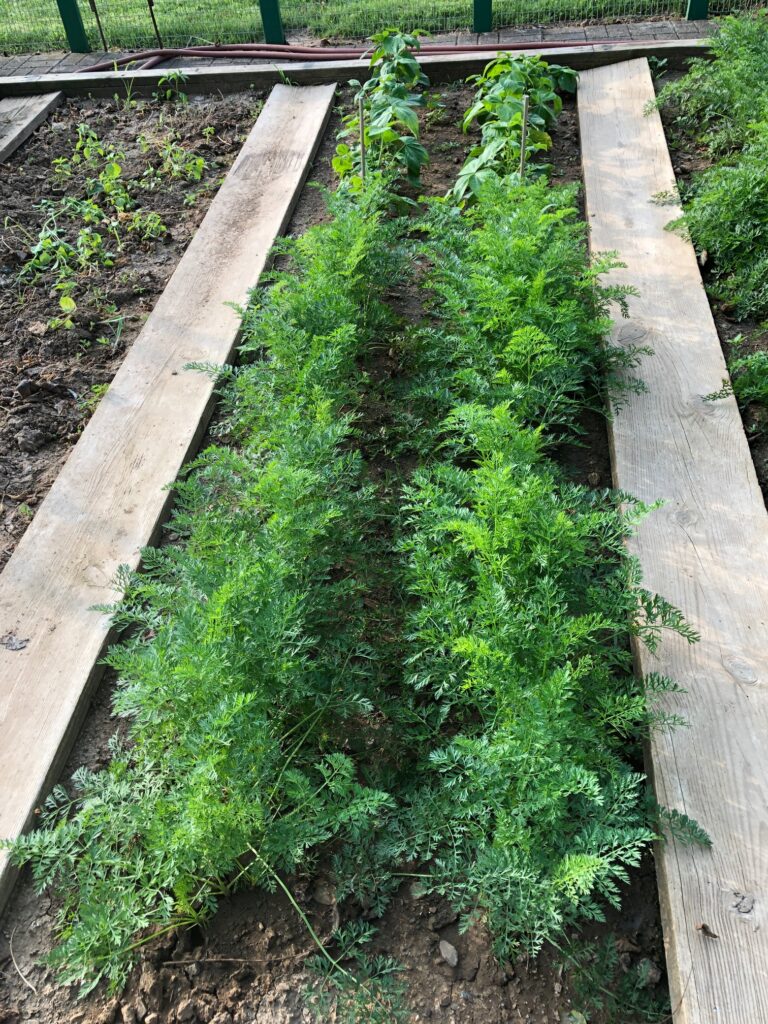
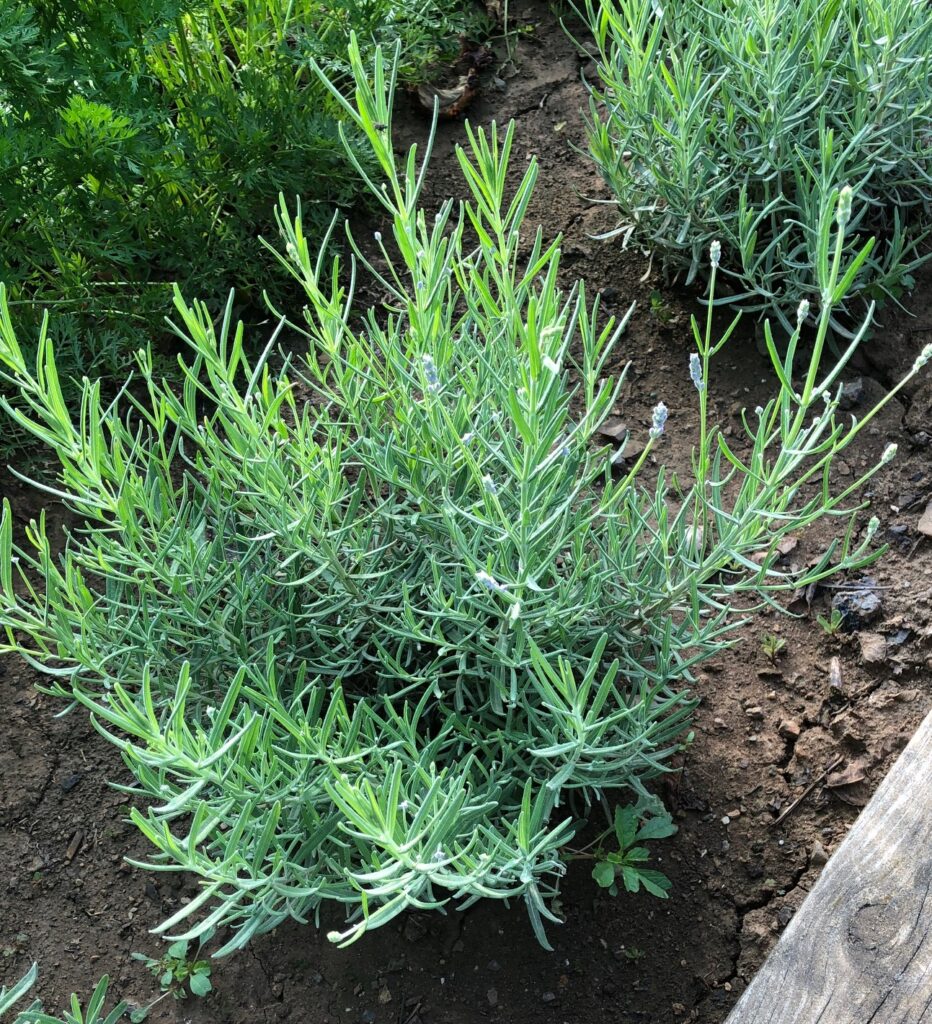
First, we have the row of lavender and the first row of carrots. Hope you can see the lavender buds ready to pop. I’m so hoping the whole row will eventually be in bloom at the same time. I have memories of the lavender fields in California that were so impressive. Plus, I can dry the buds and use them in my soaps and skin care products.
The second planting of carrots are doing well. The end of that row has a few late green bean plants. That’s where we tried to grow beets, but nothing came up. Must be the seeds. Oh well…I can buy beets at the Farmers’ Market.
I couldn’t resist pulling a few carrots just to see how big they were.
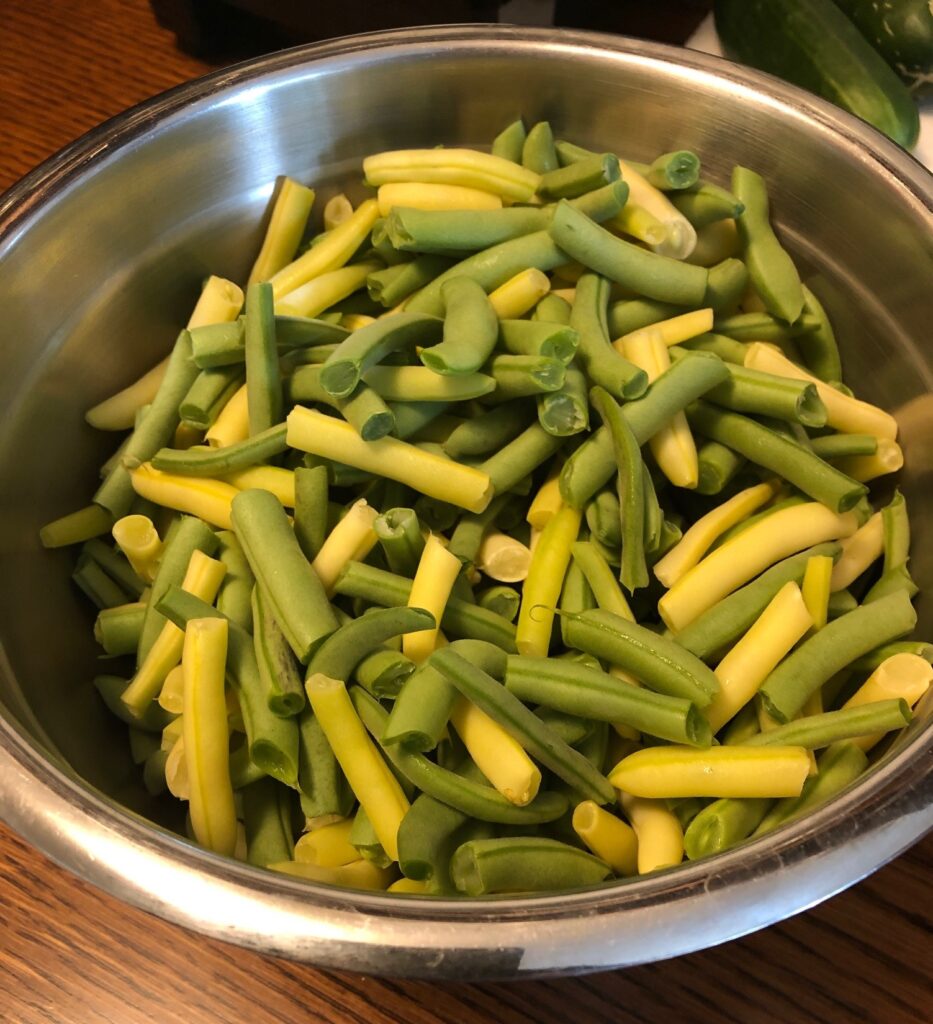
This section had two rows of green and wax beans. My California granddaughters helped me pick them and we ate them right away! Very tasty!
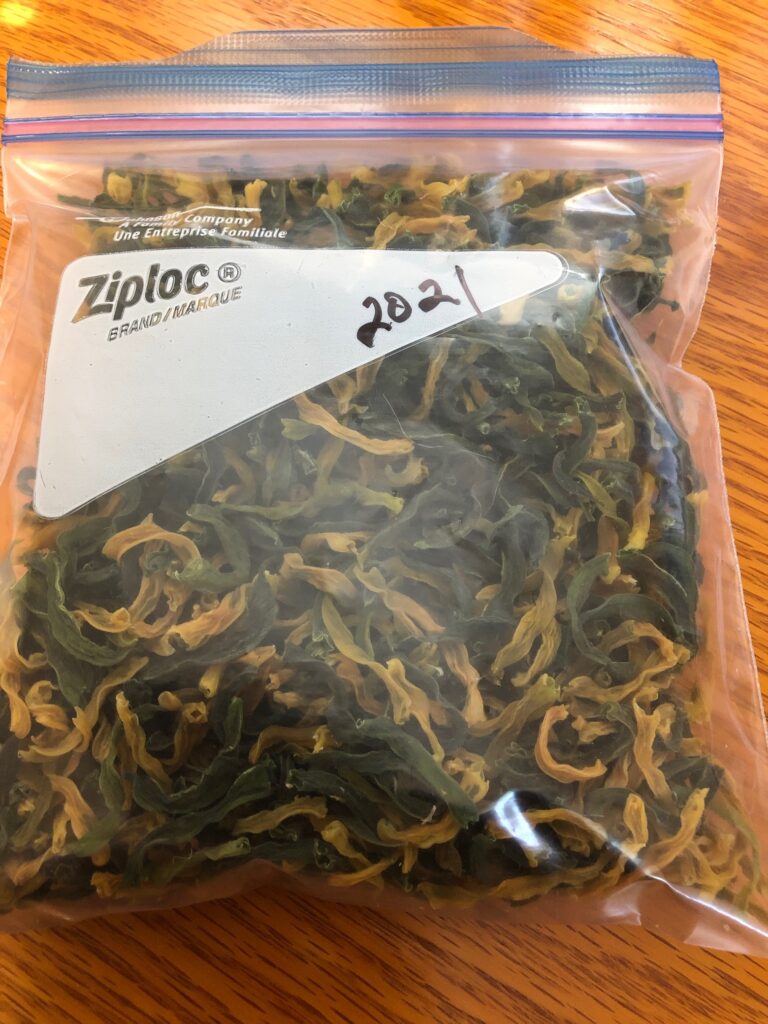
The extra beans went into the dehydrator and now fit in this little bag. Storage is easy and they are ready to toss into soup anytime.
These two rows were the second planting of green and wax beans. Yesterday I picked the largest green beans. Today, the largest wax beans were picked. By Monday many more will be ready to pick.
We have lots of tomatoes…only one was ready to pick.
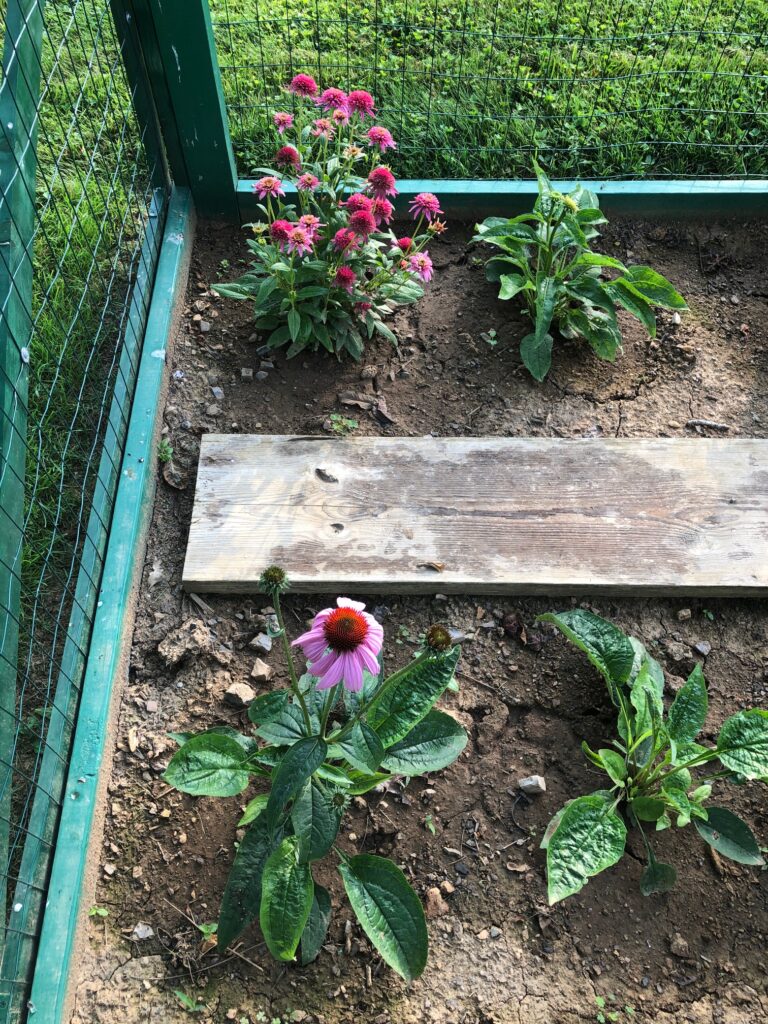
The echinacea is finally making flowers. Who knew we had such a mix of colors? I hope the bees enjoy them.
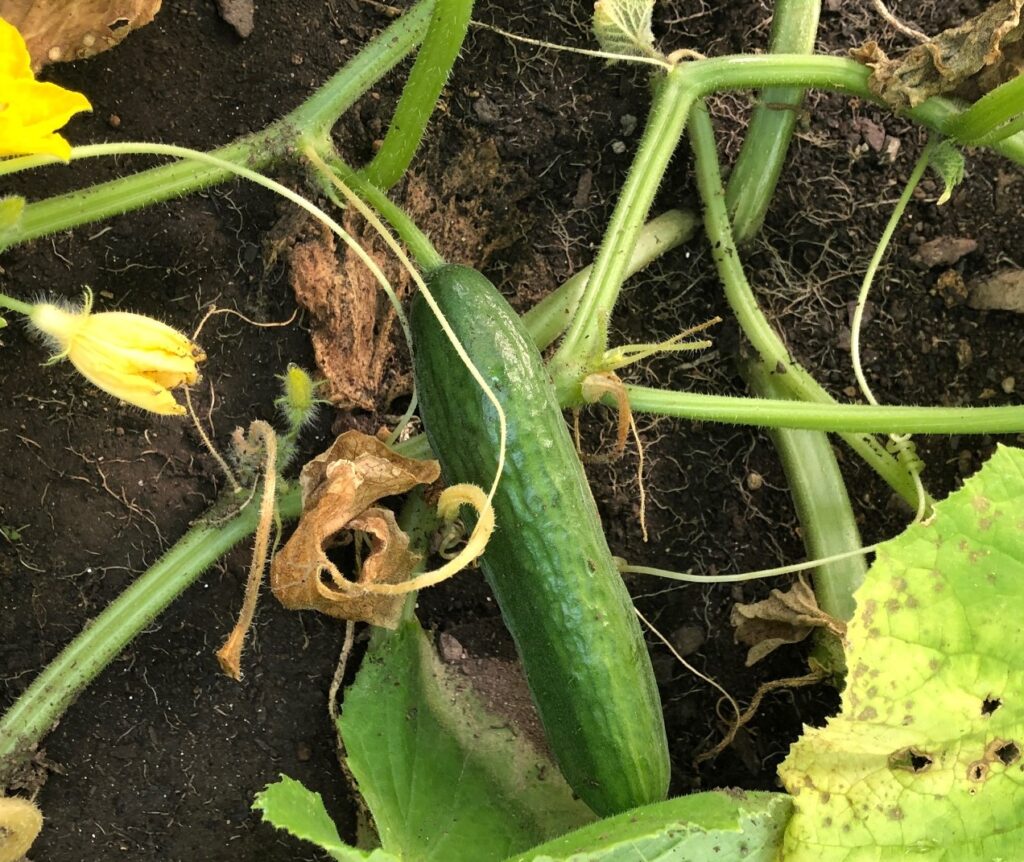
As I walked down the hill, I passed the cucumber plants and peeked under the leaves. Surprisingly, the few plants that are left are making cucumbers!
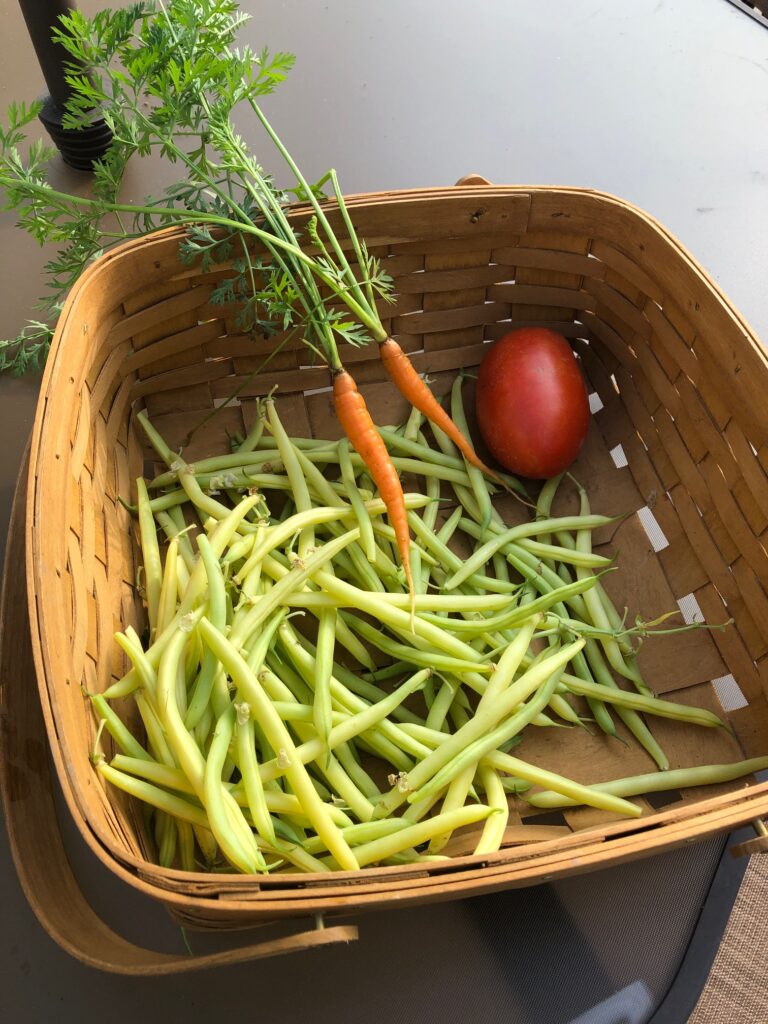
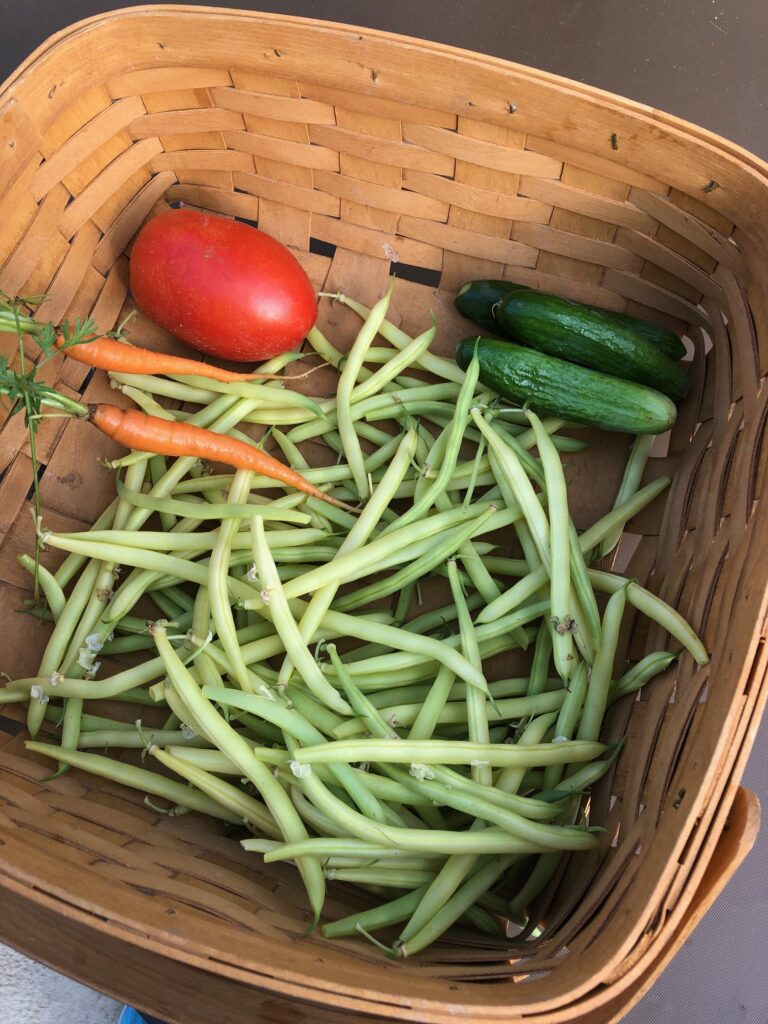
So, this is my early morning harvest today! There are still some hot days ahead this week so things will start ripening faster.
We do not have a huge garden this year, but it is fun to check it out each morning. If I really want a quantity of produce, the Farmers’ Market is still my best choice. At the end of each season, I can usually get large bags of cucumbers or tomatoes to make into relish or spaghetti sauce for a good price. Enjoy!
I just finished posting pictures of the garden today and when I check, only the title is there! Yikes! I’ll work on figuring out what’s going on but know that the garden is doing well. Hopefully this will post!
The garden is going into production mode. With over 6″ of rain this month I’m just grateful the garden drains well and the sun comes out once in a while! Time to show you how things are growing.
First, we have the row of lavender and the first row of carrots.
Hope you can see the lavender buds ready to pop. I’m so hoping the whole row will eventually be in bloom at the same time. I have good memories of the lavender fields in California that were so impressive. Plus, I can dry the buds and use them in my soaps and skin care products.
The second and third partial row of carrots are doing well. The end of that row has a few green bean plants. That’s where we tried to grow beets, but nothing came up. Must be the seeds. Oh well. I can buy beets at the Farmers’ Market.
I couldn’t resist pulling a few just to see how big the were.
This section had two rows of green and wax beans. My California granddaughters helped me pick them and we ate them right away! Very good!
The extra beans went into the dehydrator and now fit in this little bag. Storage is easy and they are ready to toss into soup anytime.
These are the second two rows of green and wax beans. Yesterday I picked the largest green beans. Today, the largest wax beans were picked. By Monday many more will be ready to pick.
We have lots of tomatoes…only one was ready to pick.
The Echinacea is finally making flowers. Who knew we had such a mix of colors? I hope the bees enjoy them!
As I walked down the hill, I passed the cucumber plants and peeked under the leaves. Surprisingly, the few plants that are left are making cucumbers!
So, this is my early morning harvest today! There are still some hot days ahead this week so things will start ripening fast.
We do not have a huge garden this year, but it is fun to check it out each morning. If I really want a quantity of produce, the Farmers’ Market is still my best choice. At the end of each season, I can usually get large bags of cucumbers or tomatoes to make into relish or spaghetti sauce for a good price. Enjoy!


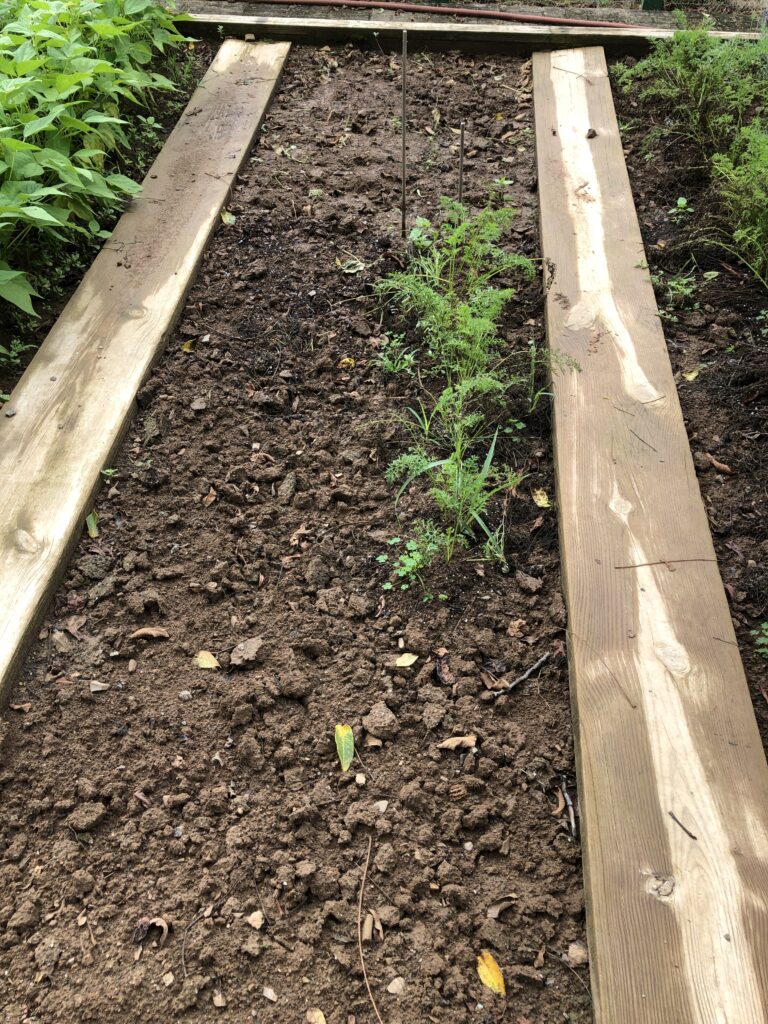


 The second and third partial row of carrots are doing well. The end of that row has a few green bean plants. That’s where we tried to grow beets, but nothing came up. Must be the seeds. Oh well. I can buy beets at the Farmers’ Market.