Over the last 5 months I’ve had the opportunity to consider my health in depth. I’m 78 this year and this was the year I thought I was certainly old enough maybe I didn’t need to do mammograms anymore. I’ve never had a negative screening, so of course I wouldn’t live long enough for anything to be a problem! Haha! Never say never! Of course, my yearly check up was my wake up call.
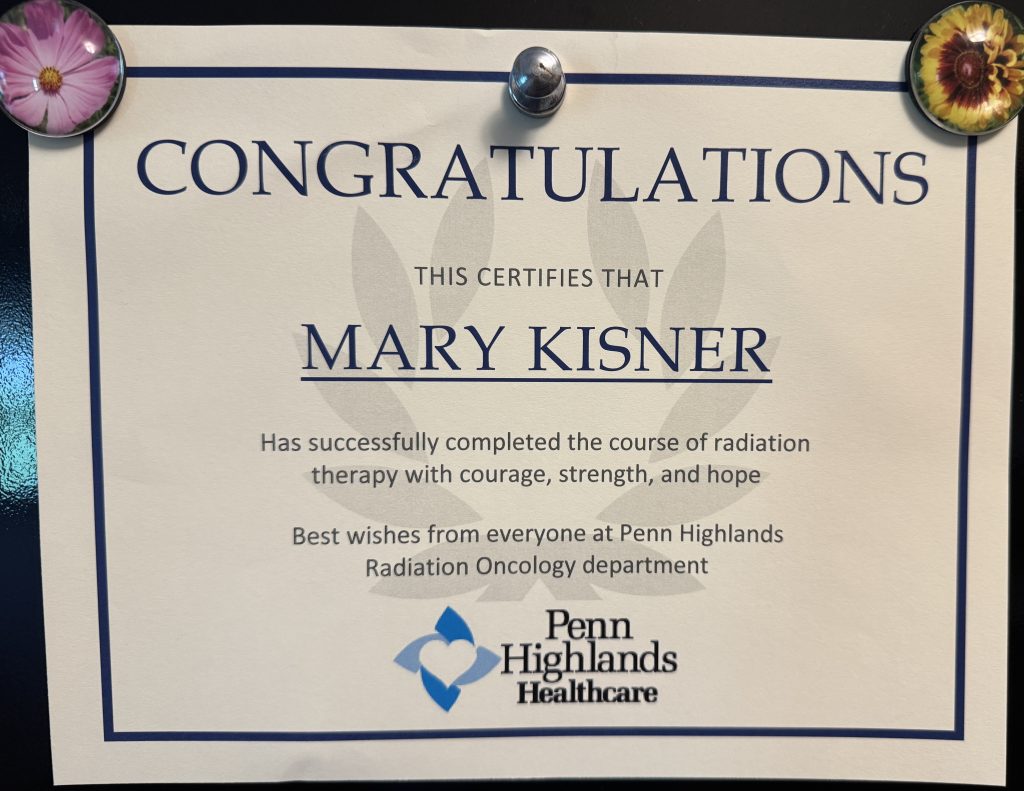
January and February was spent with multiple mammograms to study a suspicious spot on the Xrays. In March, I had a “lumpectomy.” Surgery was successful and recovery was not too bad (just don’t ask Bert about all my complaints!). In April, I started on an estrogen-blocking pill (that will continue for the next 5 years). No side effects from the pill so far. Now in May, I just completed 7 radiation treatments. I guess I’m good to go on living! The details of all this are not necessary for me to describe, but I thought some of you might like to know what’s been happening over the last 5 months. No one really needs to know all the nitty-gritty…just know that the little round stickers they use to protect all those permanent ink marks they made on my body to line up for radiation were the most painful part of the radiation treatment! Must be the old, thin skin in a sensitive area that was the problem! Now that they have been removed, I can start healing!
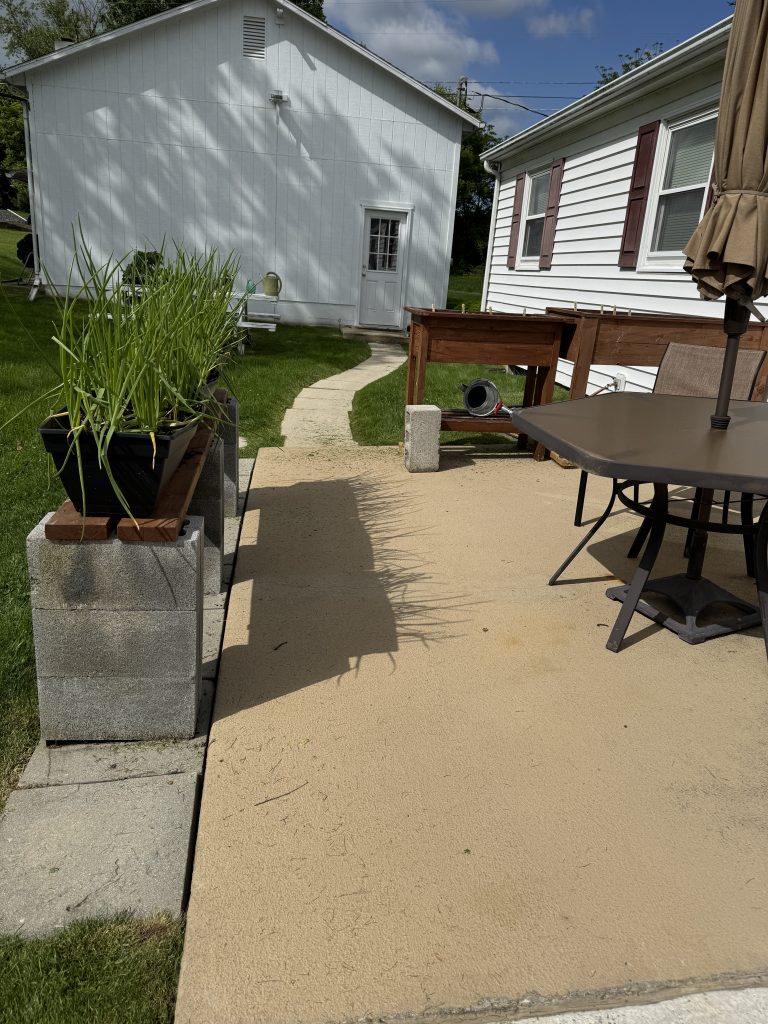
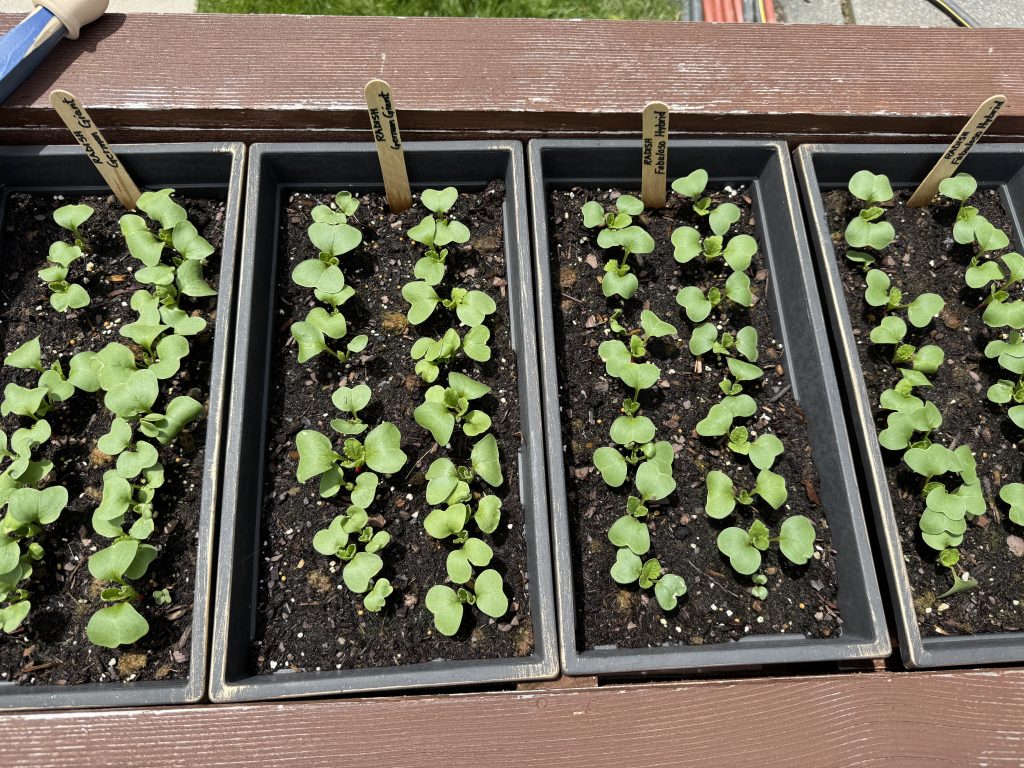
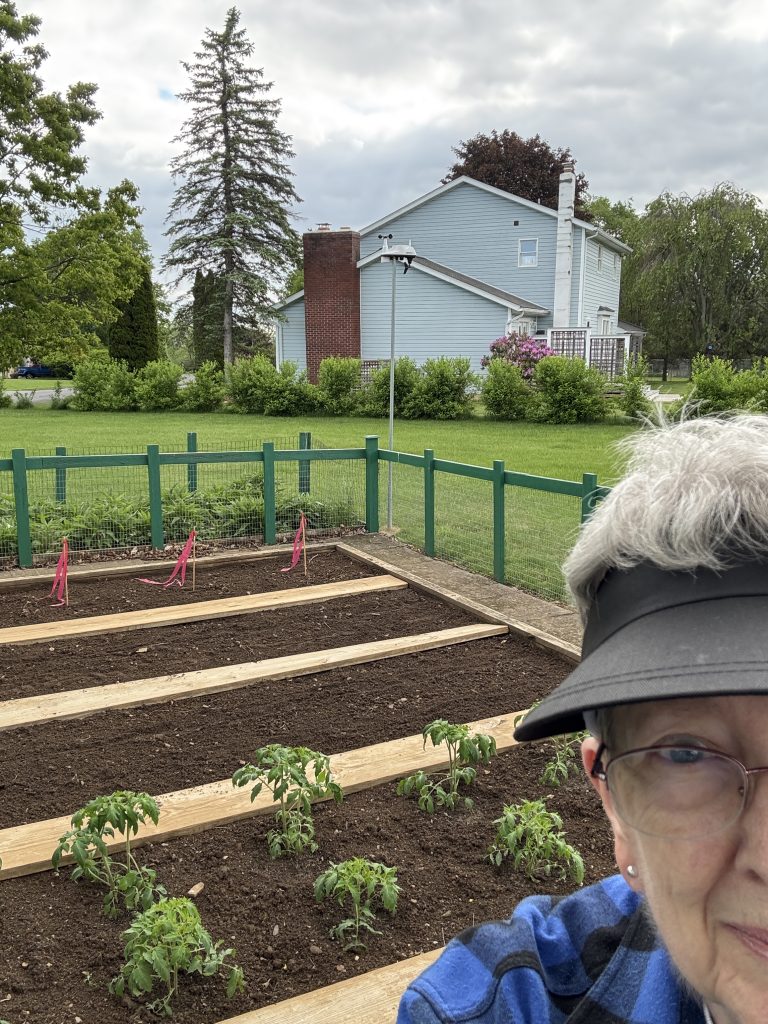
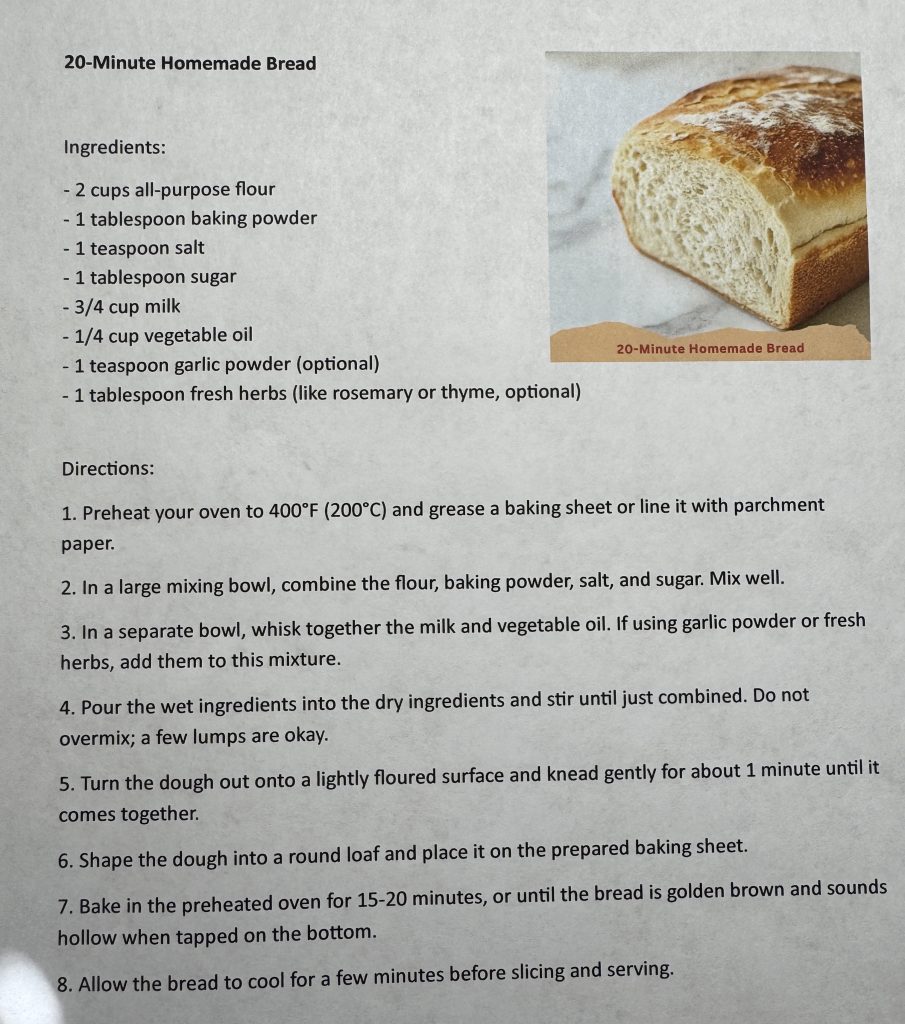
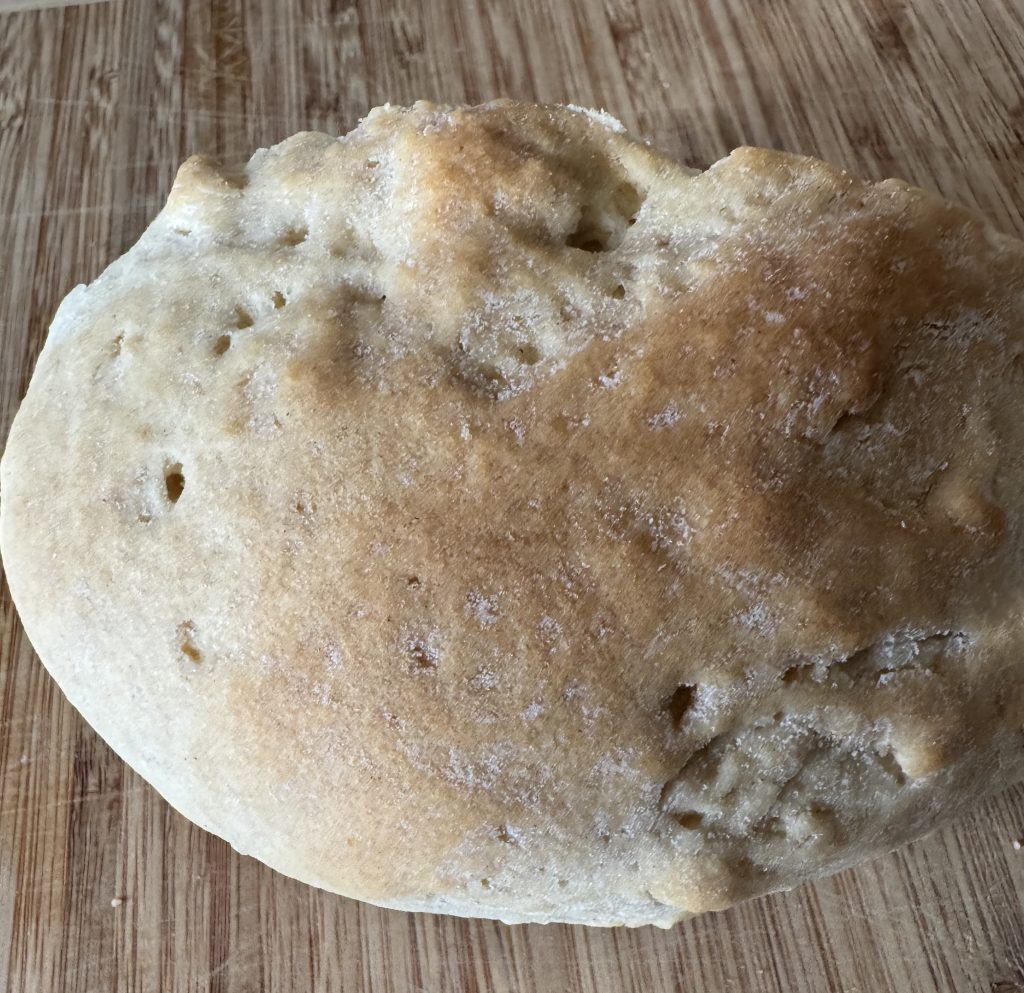
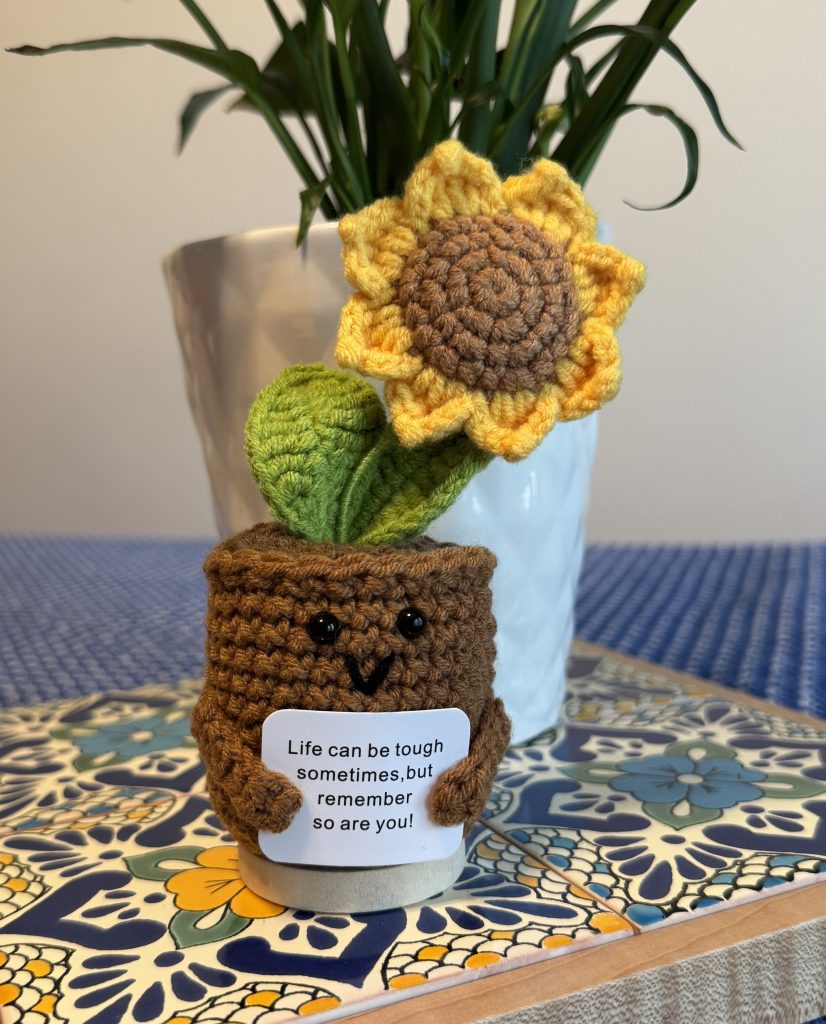
Much of the last 5 months has been “hurry up and wait.” While I was waiting, I tried to stay busy and if you’ve been following along you’ve seen my activities with various projects. Making/baking things has filled my time around all the appointments. Many of you have blessed me with flowers, cards and sweet calls. Thank you so much! Just as radiation treatments started, I got a mystery box in the mail from my niece…my very own Emotional Support Sunflower! Really made me laugh!
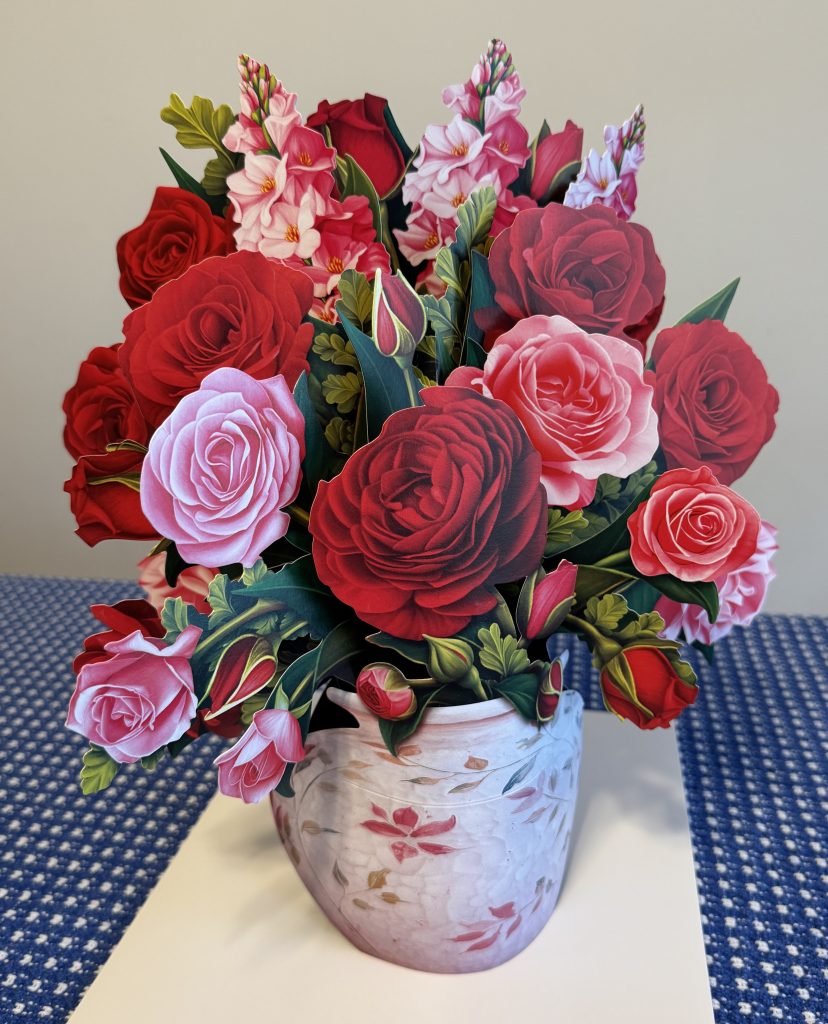
Along the way I had flower surprises from many friends…even a pop-up card of flowers that looked almost like the real thing! My thanks go out to all of you that were thinking of me. I discovered a lot of my friends have gone through similar health issues, so if you are a woman…or have a mother, wife, sisters or daughters in your life, I encourage all of them to continue routine screening for health issues!
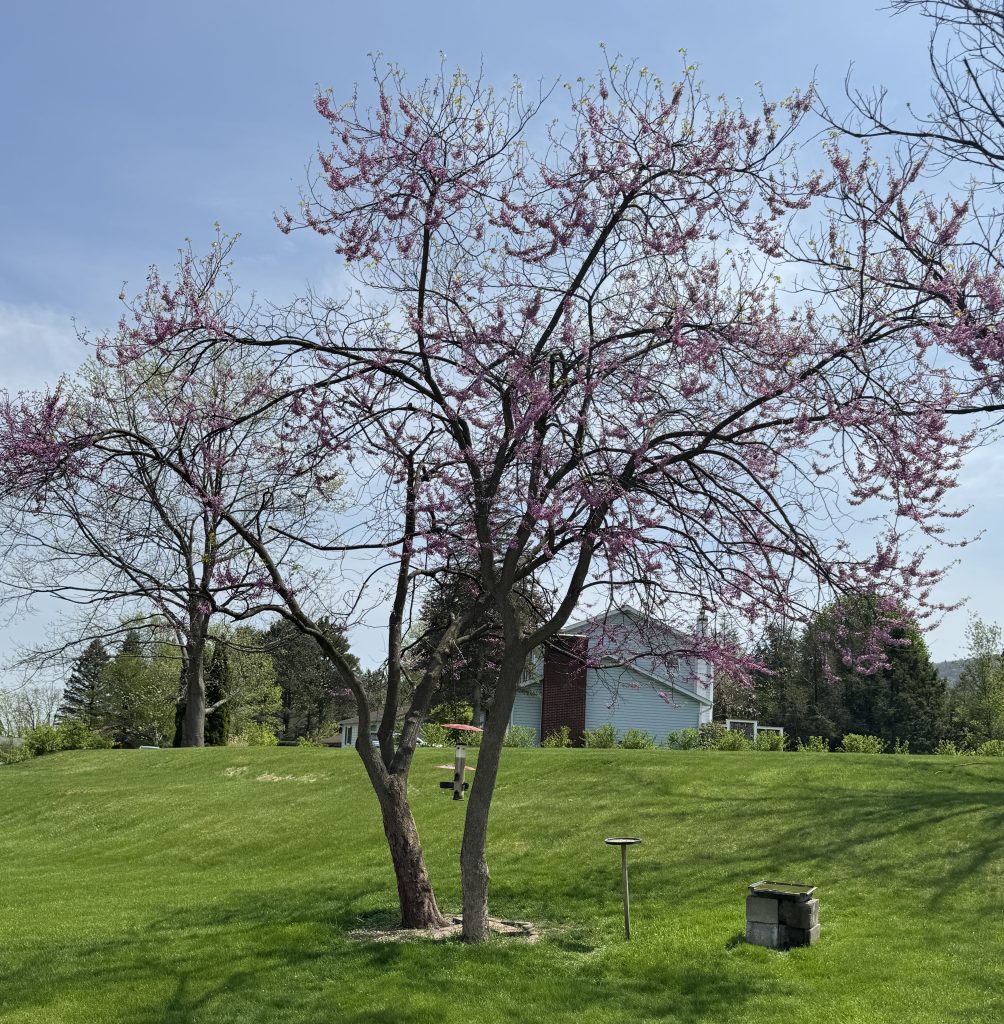
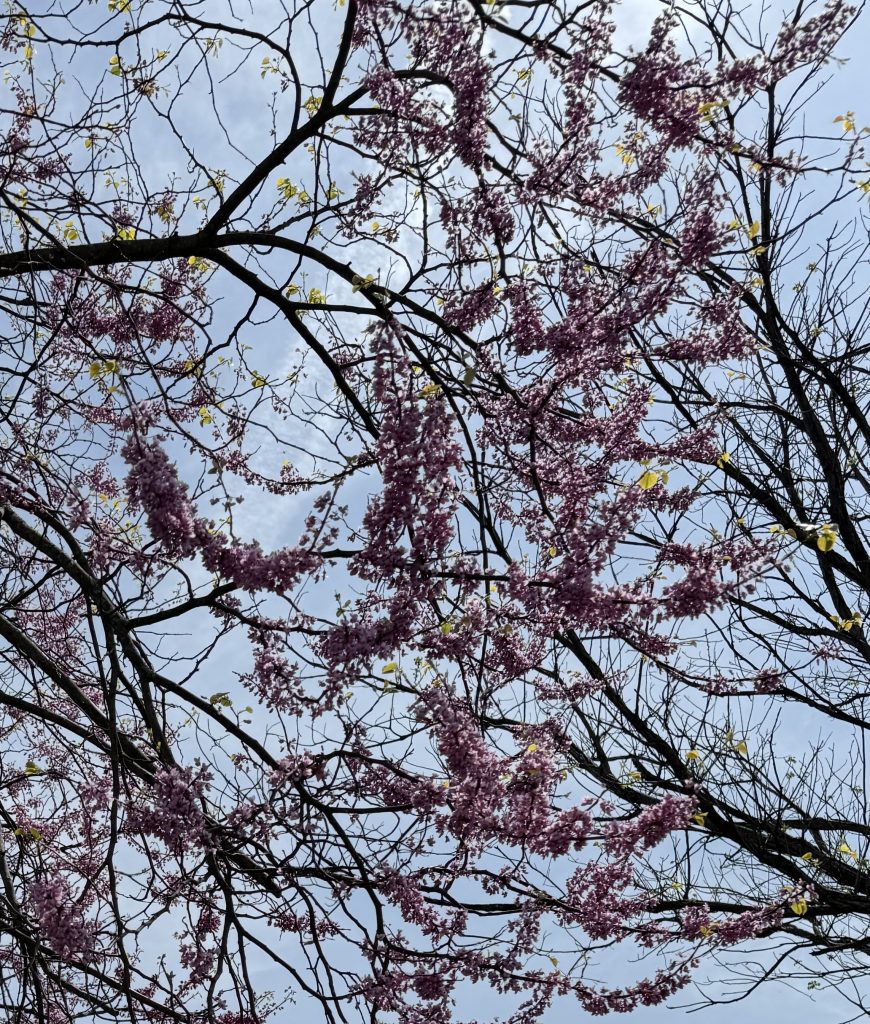
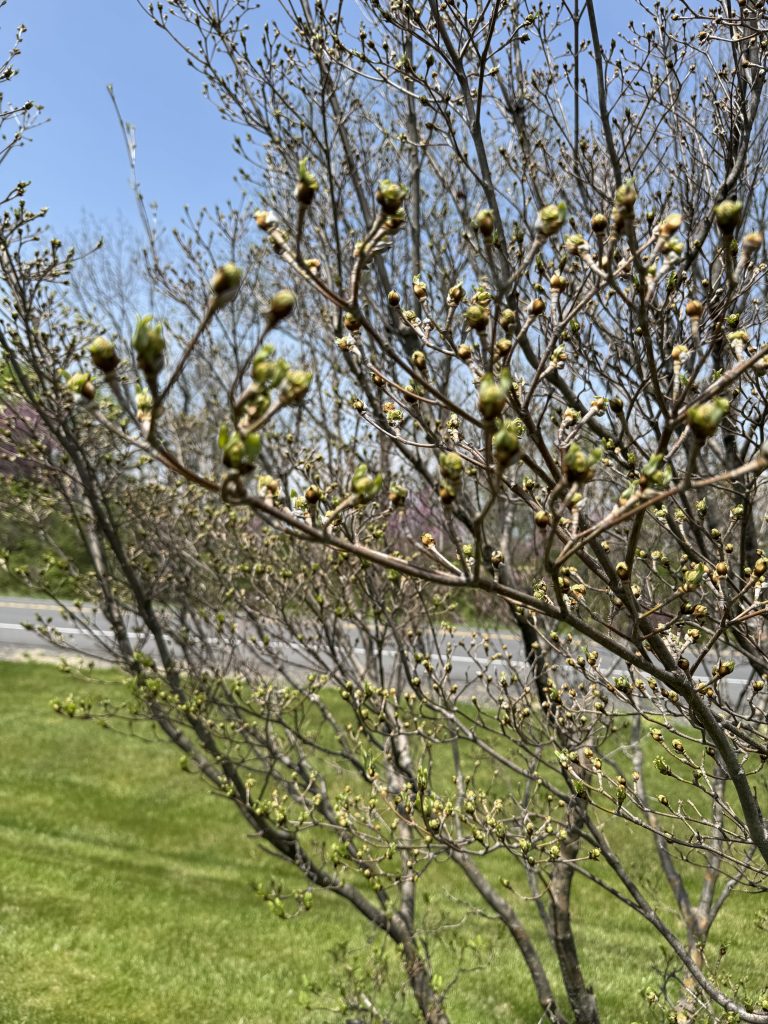
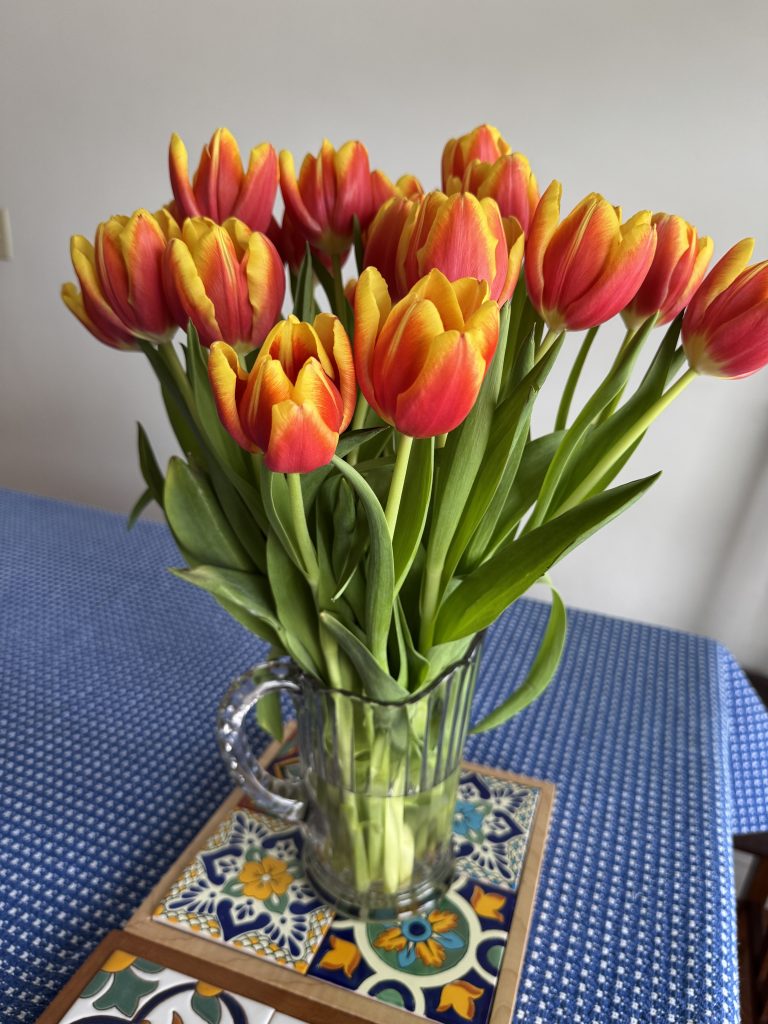
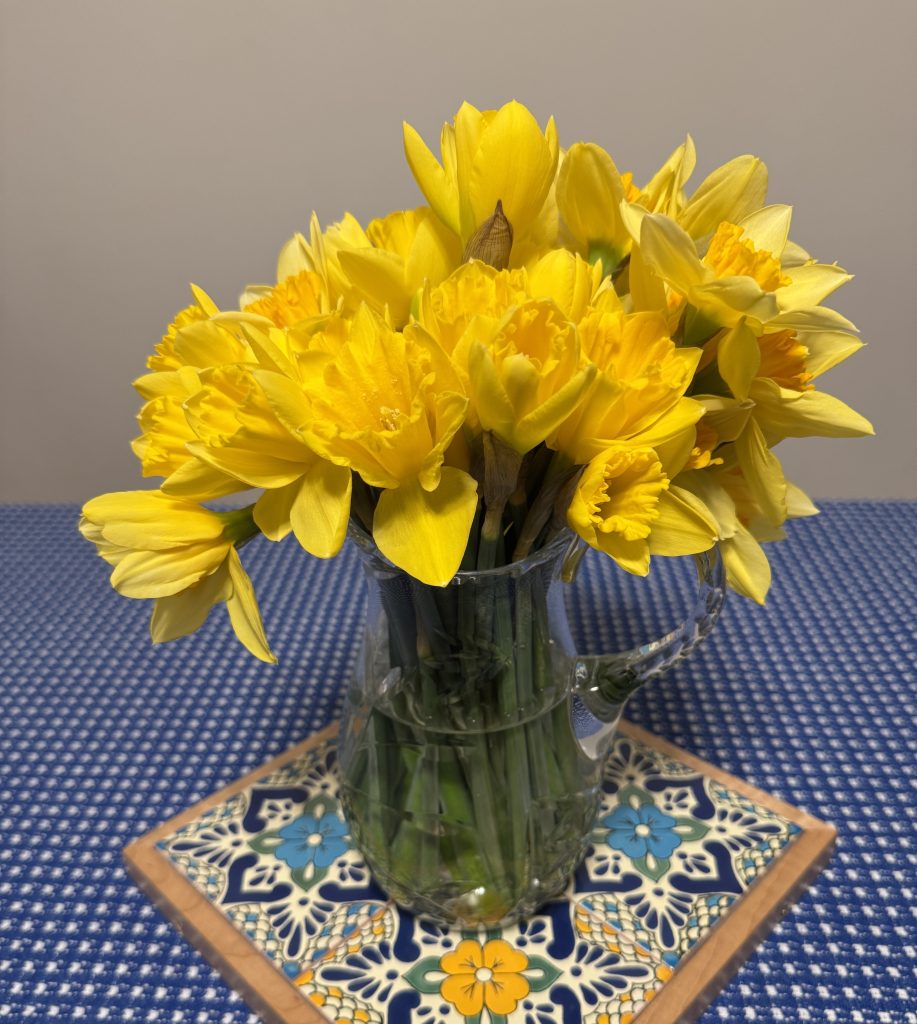
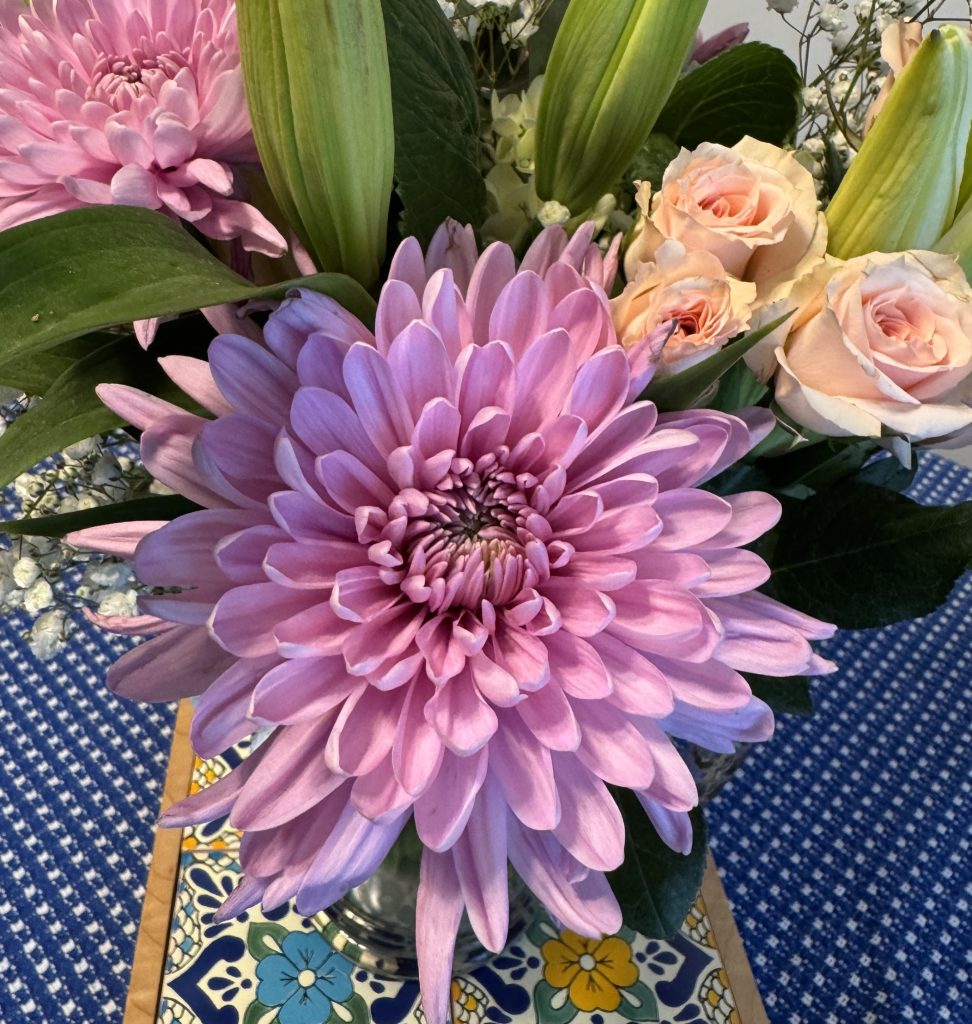
Here are some of the lovely flowers I’ve enjoyed these last few months. Thanks to all!
And this card of roses that looks almost real!