This recipe for Cinnamon Apple Cake looked easy but the recipe was not in my preferred format. The ingredients were not even listed in order of use so I ended up having to search the list of ingredients at every step to confirm amounts. When I was done mixing and put the pan in the oven…I realized I didn’t measure out the brown sugar correctly! No problem. The cake was delicious with less brown sugar so I corrected my recipe.
Here is my version of this recipe:
Here are the steps to make this delicious cake.
In a medium bowl, whisk 2 eggs and 1 cup of oil.
2. Measure out the cinnamon, white and brown sugars and vanilla extract. Add them to the bowl. (Original recipe called for 1 cup of brown sugar. I used 1/2 cup.)
3. Measure out the flour, salt, baking soda and baking powder and add to the bowl.
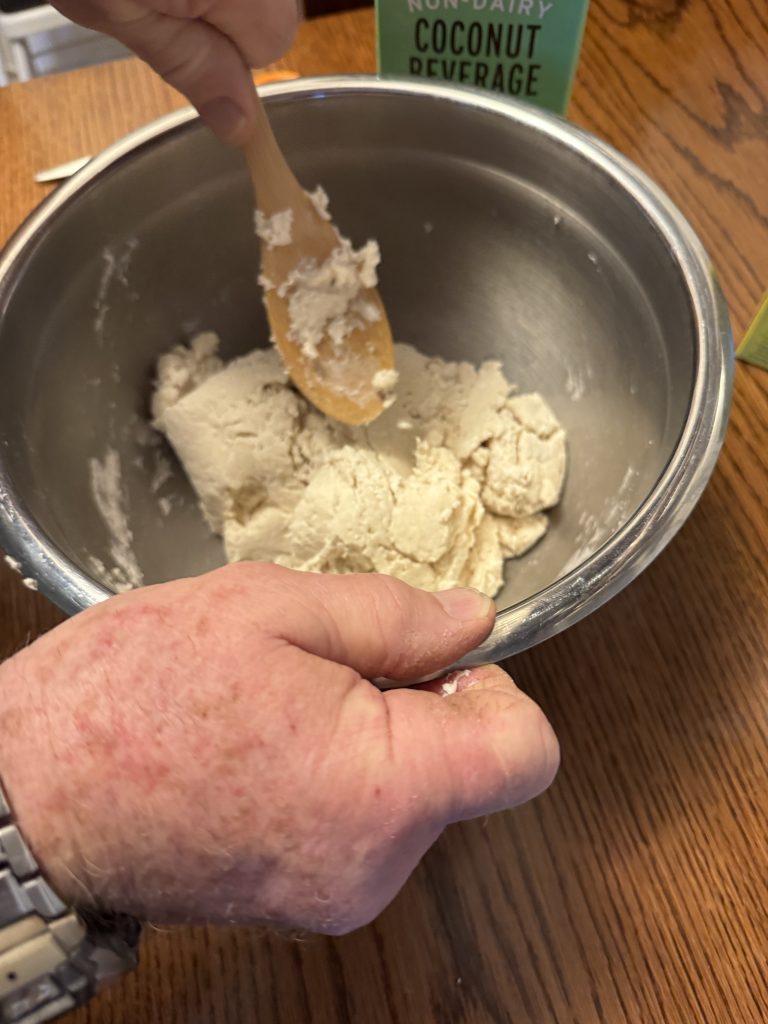
4. Chop 1 large apple (I had two small ones) and 1/2 cup of walnuts. Fold into the batter. This made a VERY stiff batter. Using a spatula, press the mixture into a round 9″ pan (sprayed with PAM).
5. After baking for 45 minutes, here is the cake! It obviously didn’t rise very much but it sure smelled up the house with cinnamon!
The directions said, wait 15 minutes to cut…but I will tell you…wait a little longer! The first piece sort of fell into crumbs when cut while warm:
When the cake was cool, it was much easier to cut!
This is when I knew I didn’t need that extra half-cup of brown sugar…it was sweet enough! I think this recipe for Cinnamon Apple Cake is a winner! Enjoy!
This is a repost of a story I wrote at the very beginning of my blogging days (2021). I’ve had requests from some family members who would like to see these photos again. Quite a journey for all of us!
One of the things I treasure from my parent’s generation was their foresight to save many written stories of their lives. Sometimes it was an envelope of letters from a loved one overseas; or stories they wrote for historical societies documenting life “back in the day” like my grandfather did.
As I get older, I feel like I’ve let the next generation down. Somehow, I was never able to document my life adventures as it happened with daily journals. I did discover I had saved about 12 years of Christmas letters I had written over the years. What a treasure! And this week, while sorting through photographs and computer files, I found my first attempt at my own autobiography. In 2013 I had written several letters to my grandchildren which summarized my early life. I needed the focus of who was going to read the letters and since my grandchildren were just learning to read, I thought about them as I wrote.
I started with an assortment of photographs, hoping to show how as the youngest, I was joining a “family” that already had had many experiences. For a long time that was confusing to me. My sister would say, “Don’t you remember when…?” and it turned out it was before I was born!
I’d like to share that first letter I wrote to my grandchildren.
________________________
April 17, 2013
Dear Aislinn, Annika, Ben and Anna,
My life story started when I was born in 1946 in New Jersey. Since I don’t remember those early years, thank goodness I have a few pictures of me when I was very small. I was born into a family that had been around for quite a few years already. My parents had been married for 11 years and already had two children. They had already lived in Minnesota and New Jersey and apparently had a cat!
Before I was a year old, we moved to State College, Pennsylvania. I don’t remember anything my family did before I was born. I had seen pictures of my sister and brother with grandparents and uncles and aunts that I had never met.
Here is a picture of my sister and brother with our Grandma Cora Bixby. She was my Father’s Mother. This Grandmother died before I was born.
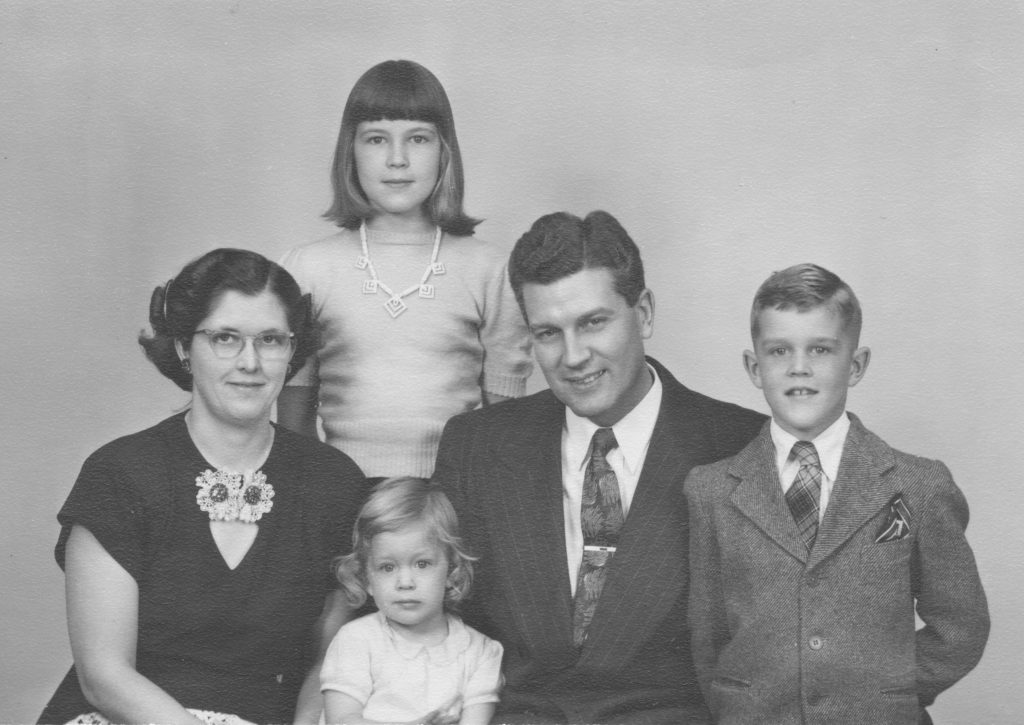
All this is to remind you that your family (your parents, their parents, and their brothers and sisters) had adventures long before you were born. Have them tell you stories about some of those adventures! It took me a long time to realize that I had joined the family somewhere in the middle of the story. I have some pictures of me as a baby but I don’t remember much of anything before I was 3 years old. I think I remember the tricycle I got for my third birthday.
Here are some other pictures that show my sister feeding me and my brother playing with me on my new tricycle. Even today…both of us over 70 years old…my sister sometimes calls me her “baby sister.” That used to make me so mad because I’m all grown up now. She remembers me as a tiny baby and thought I was cute. So, I guess that’s OK.
Mark, Jean and baby Mary
Mary, about 1 year old
Mary, at 3 years old
Mark and Mary
Paul Bixby family around 1950
So…do you remember any early events in your life? Sometimes you can remember a feeling but sometimes you only remember seeing the picture. Don’t feel bad if you don’t remember things like your parents do. Ask them what they remember from being a baby. And then ask your Grandma or Grandpa to tell you a story from when your parents were a baby and see if your Mom or Dad remembers that story. Sometimes all they remember is seeing the picture and hearing the story! Your parents were born in the middle of a story too!
Here is a picture of Ted and Kathy playing with a laundry basket. Kathy was 1 year old and Ted was 2 ½. Ask them if they remember doing this, or if they just remember seeing the picture.
Never forget your life story started when you were born. You might not remember the first few years, but pictures can reassure you that you were part of the family from the beginning!
Love,
Grandma K.
_________________
So, don’t worry if you haven’t kept a daily journal. You can begin documenting your life story. Start with some pictures and create a story around them. Your children and grandchildren will treasure them forever.
My mother was the queen of depression-era cooking. Her meals weren’t fancy but they were frugal. She was married in 1935 and raised two kids during lean times while my dad was in college and finances were very tight. By the time I was born in 1946 our family was preparing to leave dad’s teaching job in New Jersey and move to State College and Penn State.
The lean times were finally in the past but my mother never let go of her efficient recipes and could make a meal out of a few leftovers. To this day, my favorite dish was her casserole that had some meat chunks, leftover vegetables and gravy topped with biscuits.
The Paul Bixby family around 1950
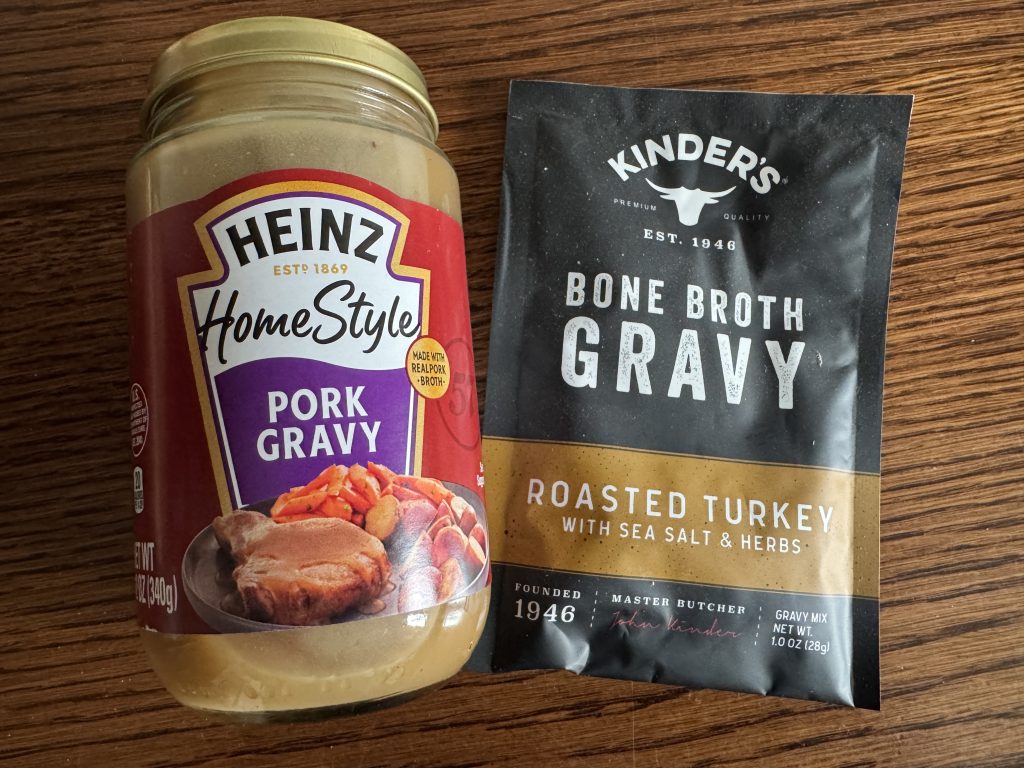
Somehow, I never watched how she made the gravy and I spent many years of my married life trying to duplicate those casseroles. I usually ended up with vegetable soup but could never seem to figure out how to make the broth into gravy. I often gave up and opened a jar of pre-made gravy or used a dry packet to make a cup of gravy.
A few years ago, I finally looked up on the internet how to make gravy and I’ve enjoyed being able to produce a nice gravy with juice left from cooking a roast in the crock pot or roasting chicken in the oven. Last week, I made a delicious chicken vegetable soup and wanted to convert it to my mother’s familiar casserole. I’d like to share the simple recipe with you.
1/4 cup all-purpose flour (or 2 tablespoons cornstarch)
2 cups chicken, beef, turkey or vegetable broth (or pan drippings…strained to remove gristle or fat)
Instructions:
In a medium-size saucepan, melt butter (or other fat) over medium high heat.
Whisk in flour (or cornstarch) until well combined and no white specks remain. Cook 2 minutes.
Slowly pour in broth and whisk well.
Bring to a simmer and heat until thickened to desired consistency, about 2 minutes, whisking constantly.
Making Gravy Out of Soup Broth
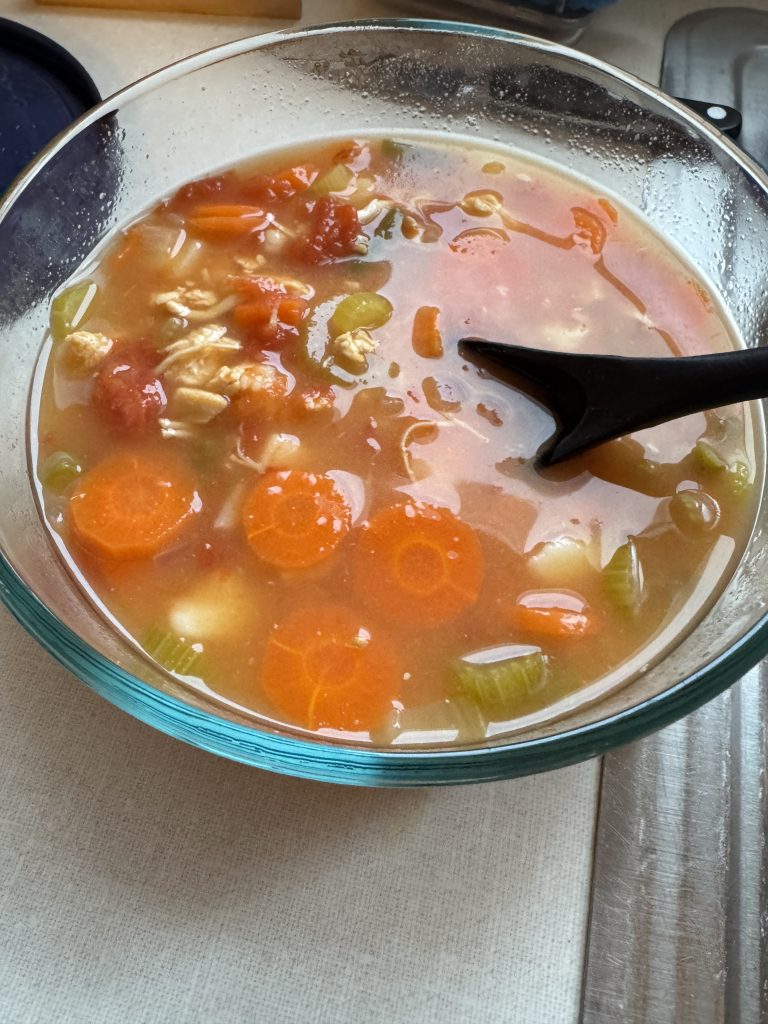
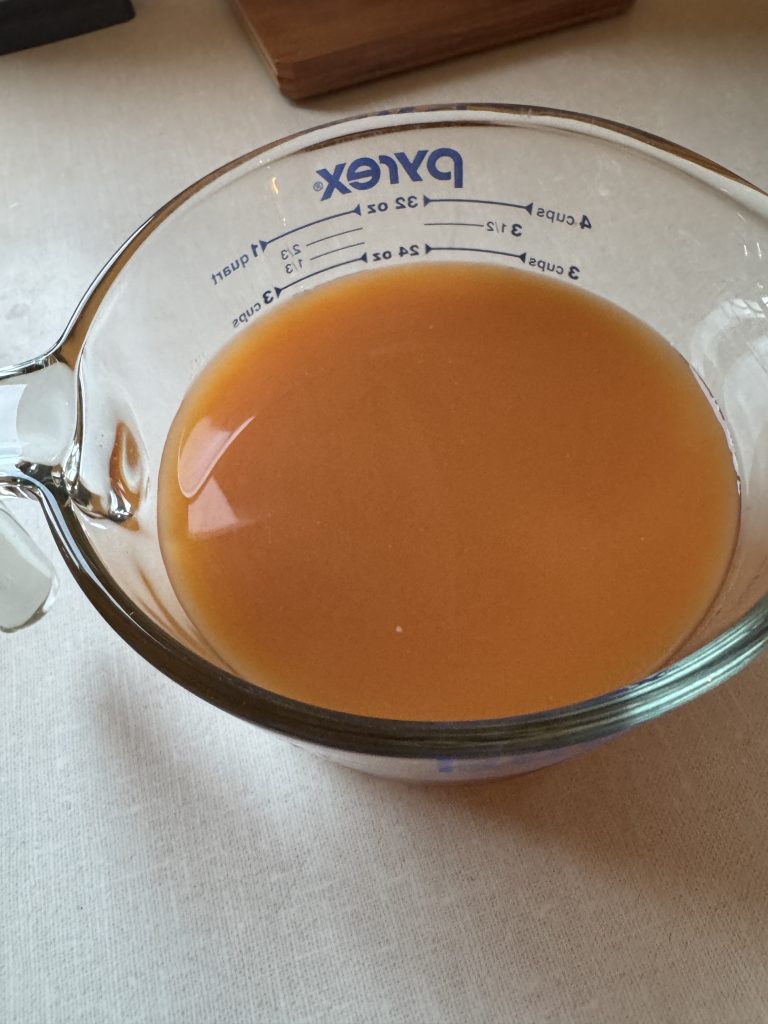
I started with a big bowl of my homemade chicken vegetable soup.
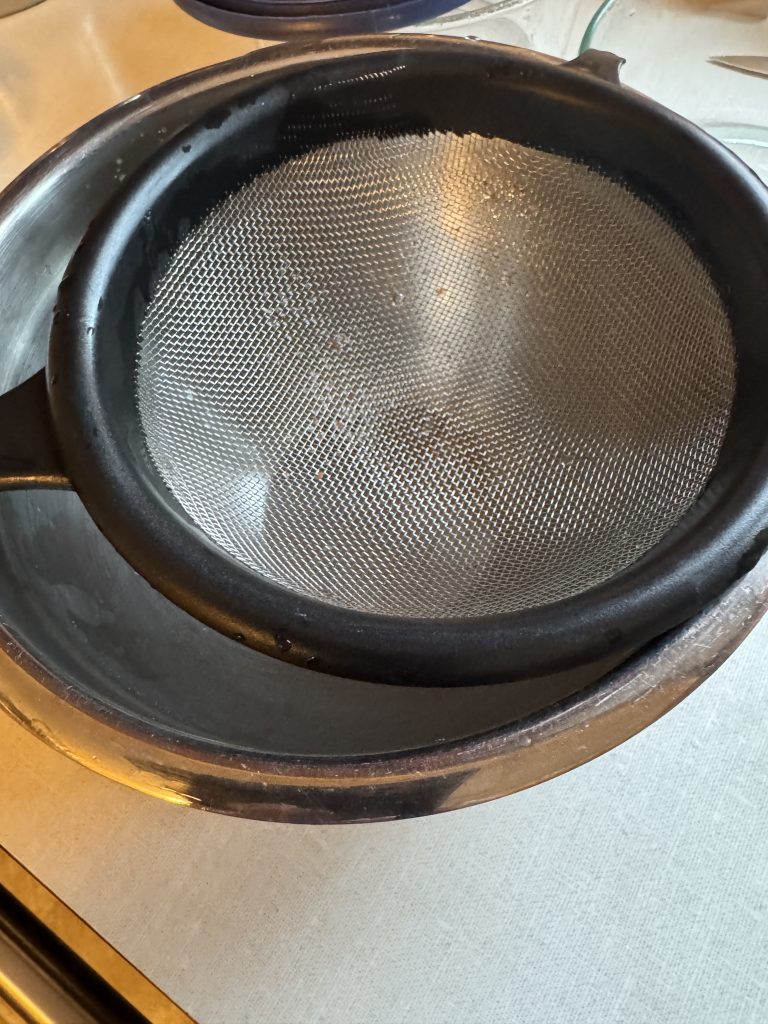
I pulled out my strainer and dumped the soup in to strain out the vegetables.
The recipe above is based on 2 cups of broth. You can see I had 3 cups of soup broth. So, I just increased the measurements of the fat and flour to make sure it would thicken properly.
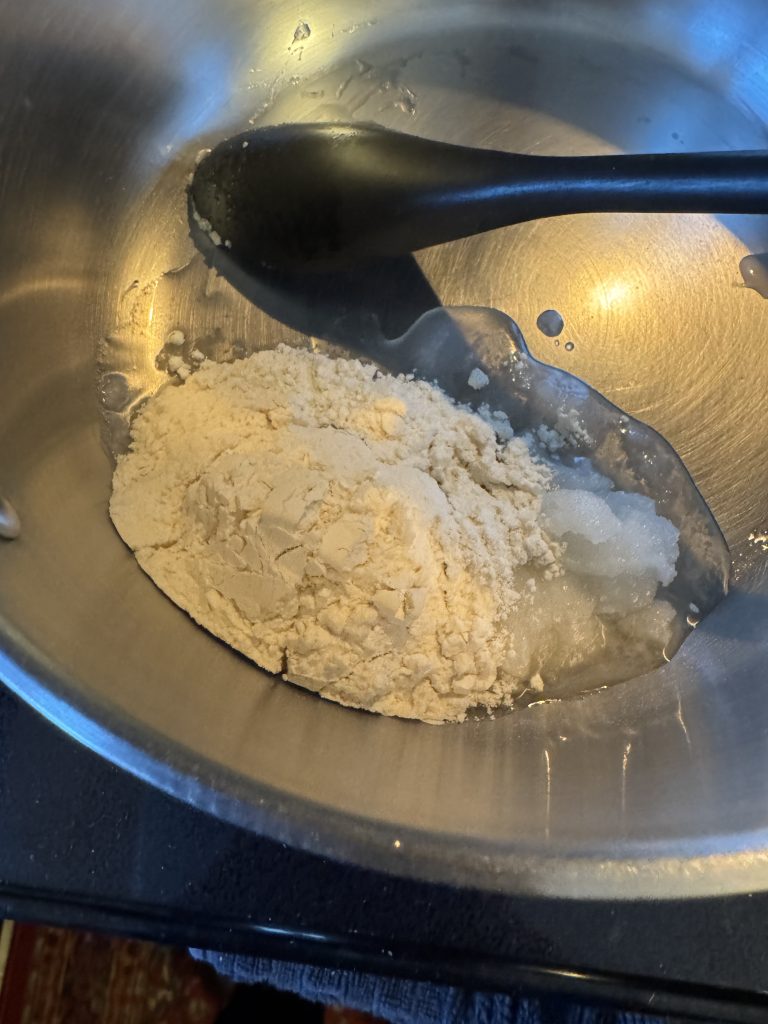
I like to use coconut oil and all-purpose flour to make this gravy.
I measured out 3 tablespoons of coconut oil and melted it in the pan.
Then I added about 2/3 cup of all-purpose flour and stirred them together until all the flour was absorbed by the coconut oil.
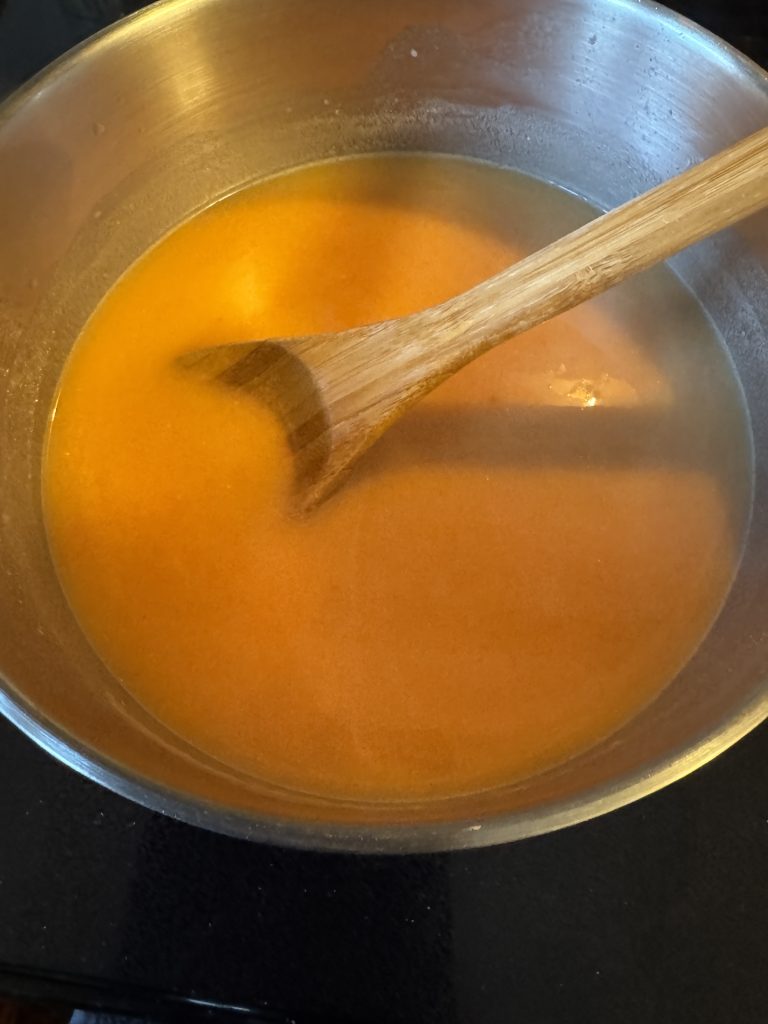
Then, I added the soup broth to the oil/flour mixture and whisked until it was all combined. On medium heat, I stirred until it came to a boil, turned the heat down and stirred until it thickened…about a minute or two.
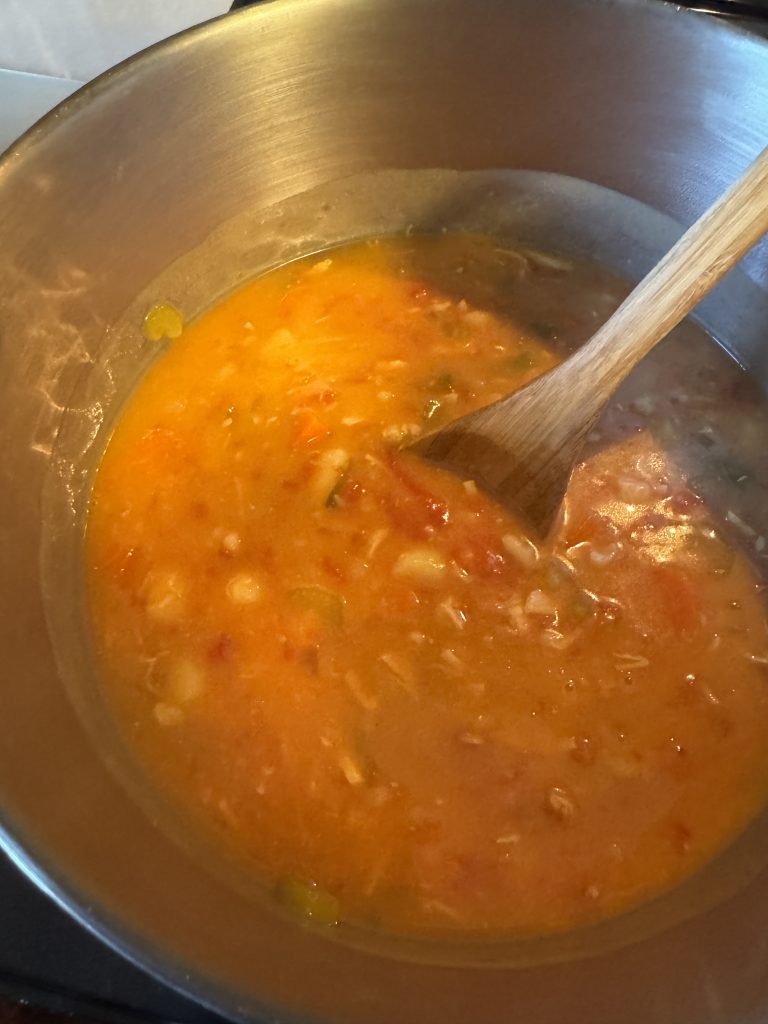
Finally, I added the gravy back to the vegetable soup and had the base for a chicken vegetable casserole!
Now for the biscuits! Of course, I had to try Bisquick like my mother used. She reminded me back then that in her high school Home Economics class she had memorized the ingredients to make biscuits from scratch and had usually done so. By the time I was born, she was thrilled to use Bisquick…such a time saver!
Luckily, I could use coconut milk (or almond milk) to make the biscuits. Of course, with the arthritis in my right hand, I had Bert mix up the biscuits. I just formed them into biscuit shapes and put them on a cookie sheet.
My mother would have spooned the raw biscuits on top of the gravy and vegetables and baked the casserole in the oven. I broke up a biscuit and spooned the hot gravy and vegetables on top of the biscuit. Worked for me!
Save this recipe and make your own gravy anytime! Enjoy!
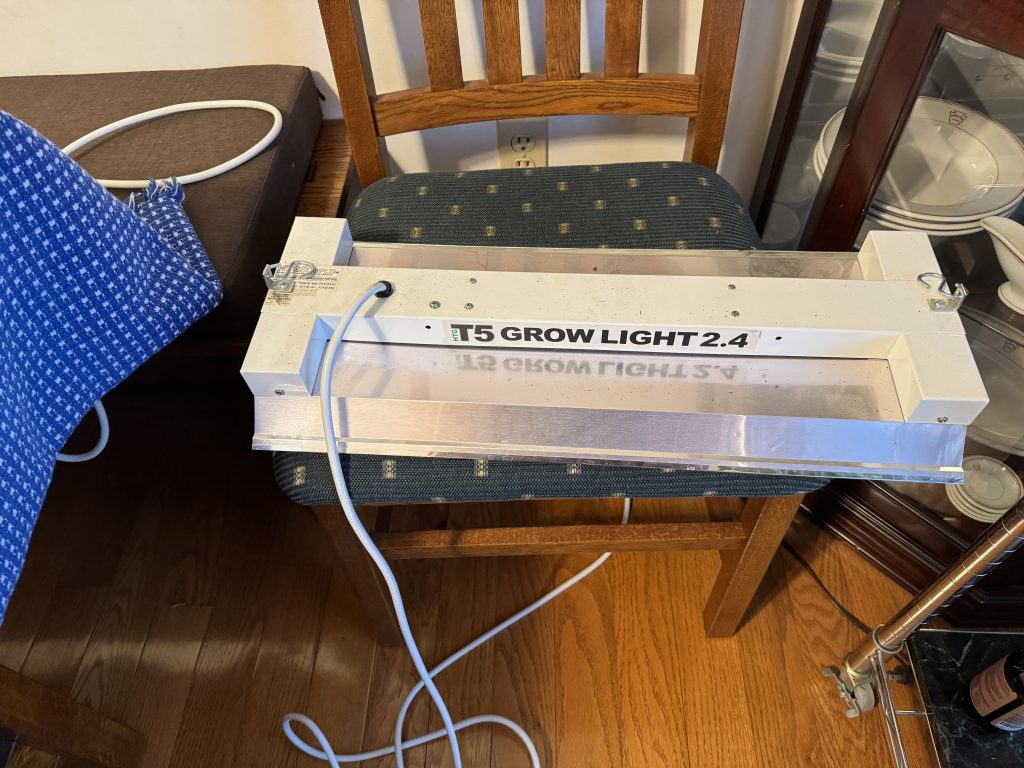
It was time! Time to repot some plants, rearrange some other plants and put away the grow lights. It’s also too soon to even think about outside planting. First, I had to dismantle the grow lights that I used for the microgreens. They will be stored until I need them again.
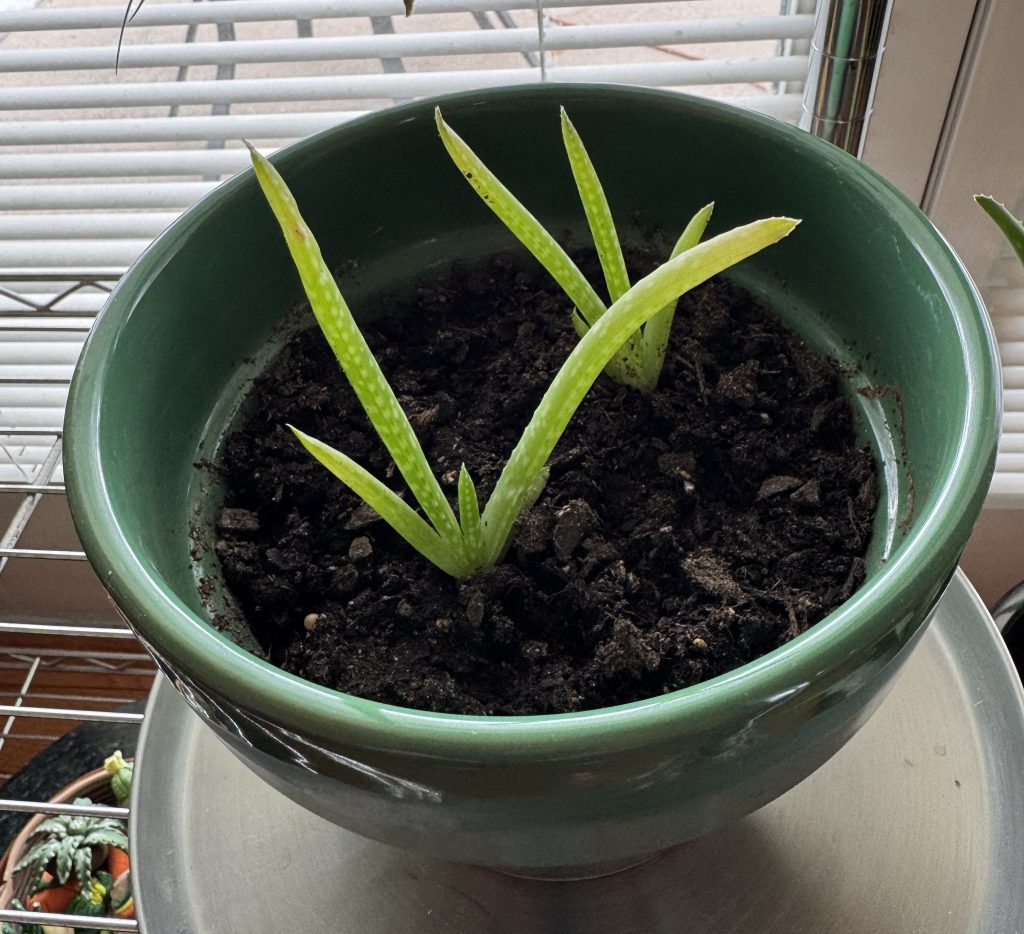
Bert started by repotting the aloe vera. It was in a tiny 4″ pot and had two baby plants trying to hang on in the crowded space. That gave the mother plant room to grow and the babies their own pot.
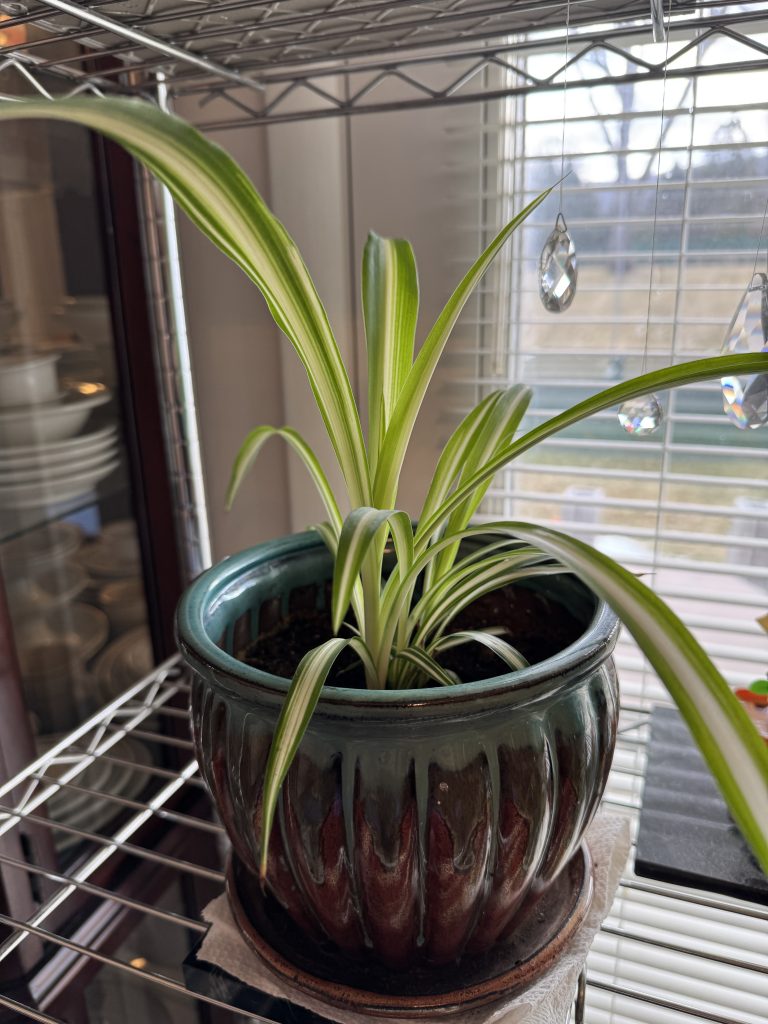
The spider plant is determined to send out long shoots that will make new plants. Bert keeps cutting them off (he really doesn’t like the spider plant…too unorganized…it’s the engineer in him!) We did let one baby grow and it’s now in its own pot. I’m sure the main plant feels stymied but we’ll keep it a while longer.
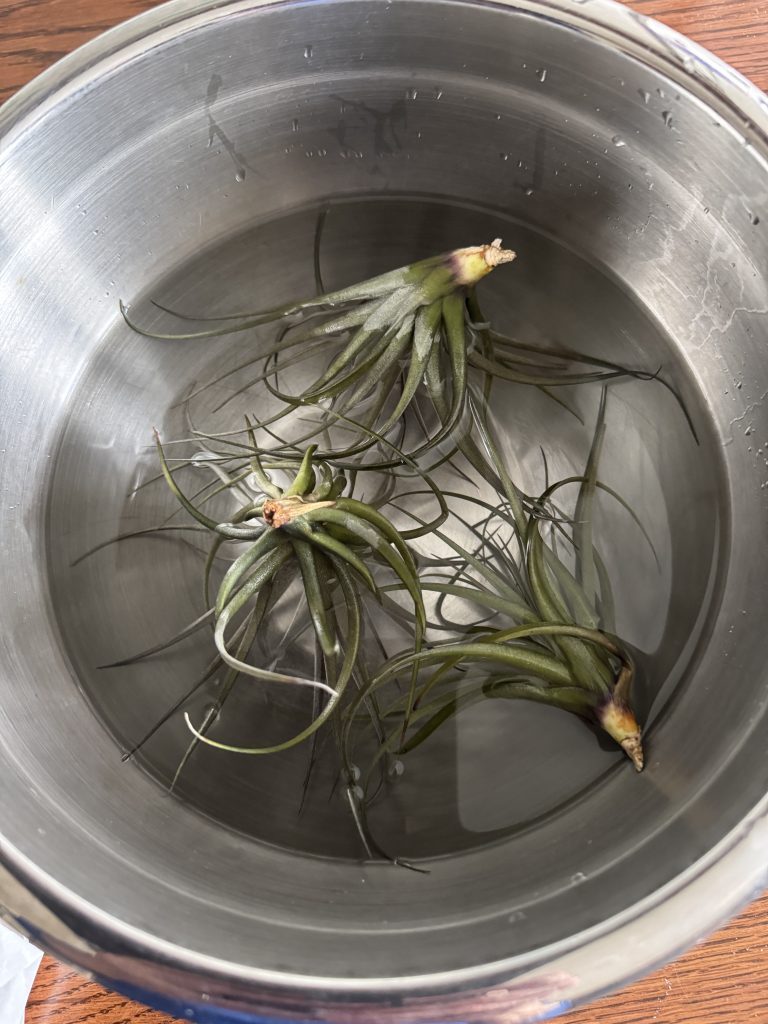
I saw an article in a magazine about “air plants” and wondered if they would give us the feel of the small spider plant but grow differently. The article confirmed that they grow slowly and have interesting blooms. Air plants, otherwise known as Tillandsia, are native plants to the southern United States, Mexico, Central and South America, and have the ability to thrive in the warm temperatures, despite neglect. (That last statement is very important!)
With over 650 types of Tillandsia, these unique-looking plants survive without soil or water. Air plants use their specialized leaves to obtain from the air the water and nutrients they need to survive. The roots of the air plant are simply used for attaching themselves to rocks, trees, shrubs and the ground. They are easy to maintain but need a humid environment. So, I can either soak them in water once a week and/or mist them daily. (Not sure that can be called neglect…)
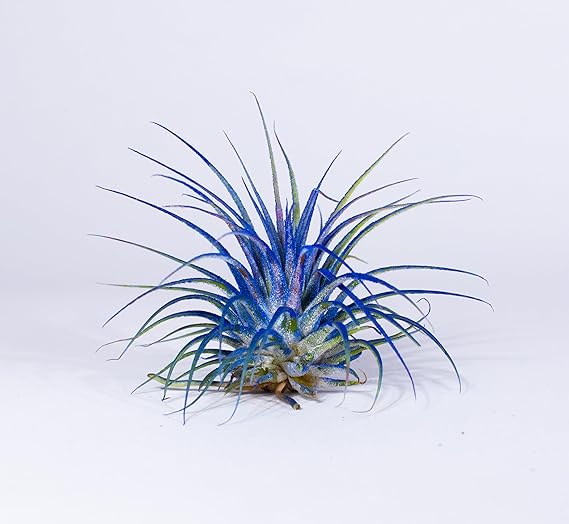
Bert thought they sounded interesting so he went on Amazon and ordered three plants. We saw pictures of pink ones and blue ones and learned that the color is applied and slowly fades away. They really didn’t look REAL.
This is what we ordered:
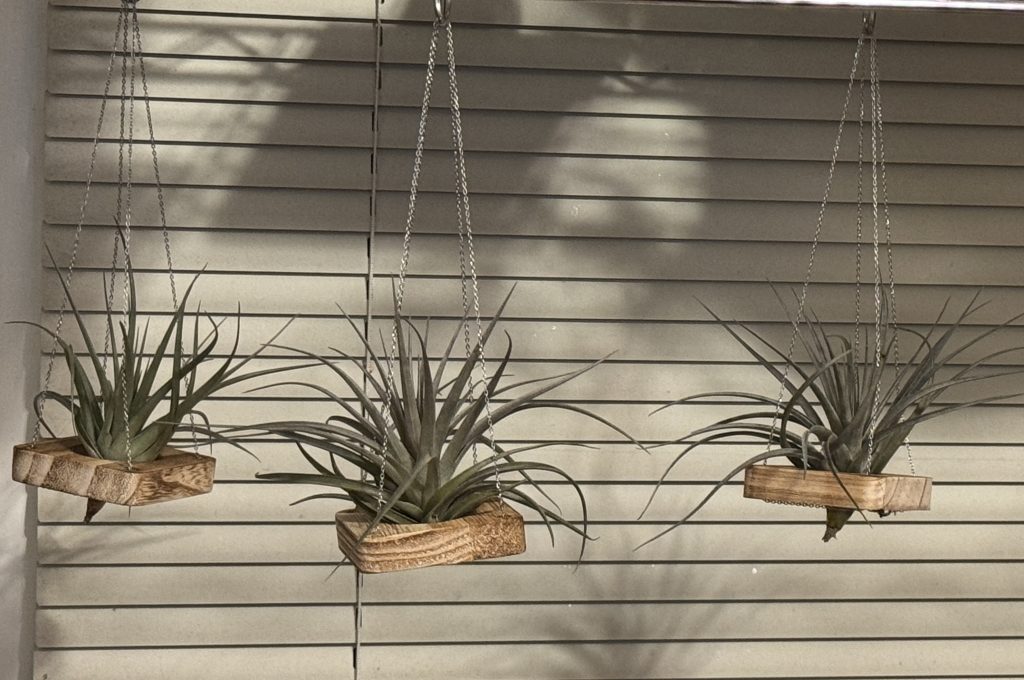
He also ordered a spray bottle of fertilizer and tiny hanging holders for the plants.
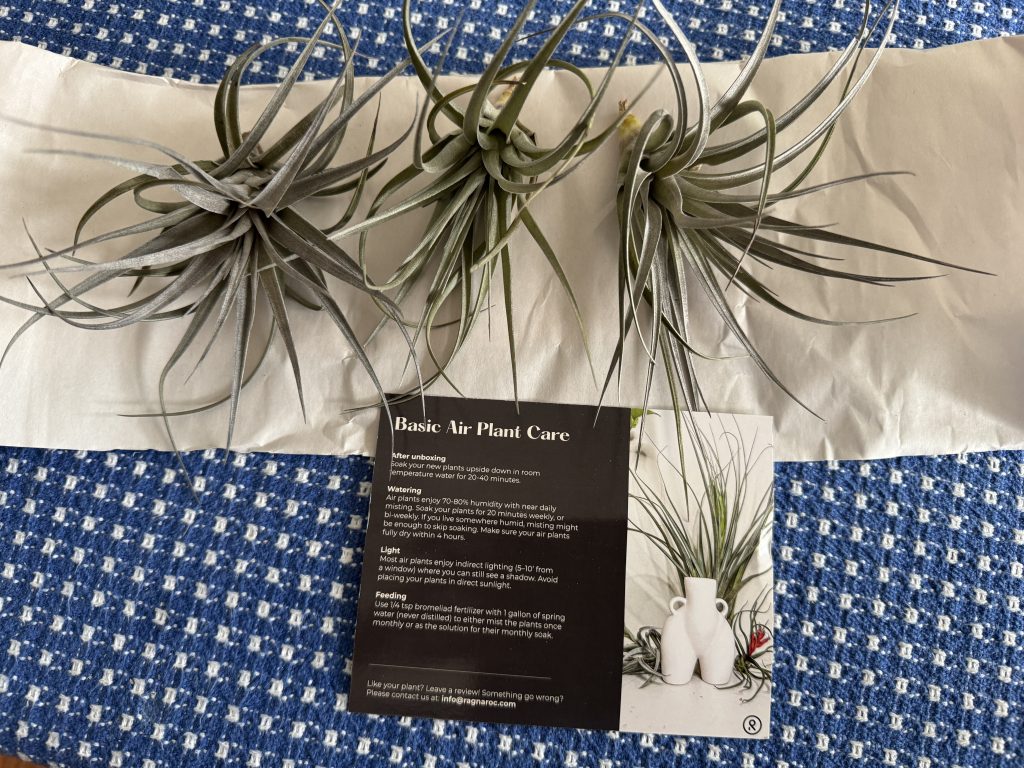
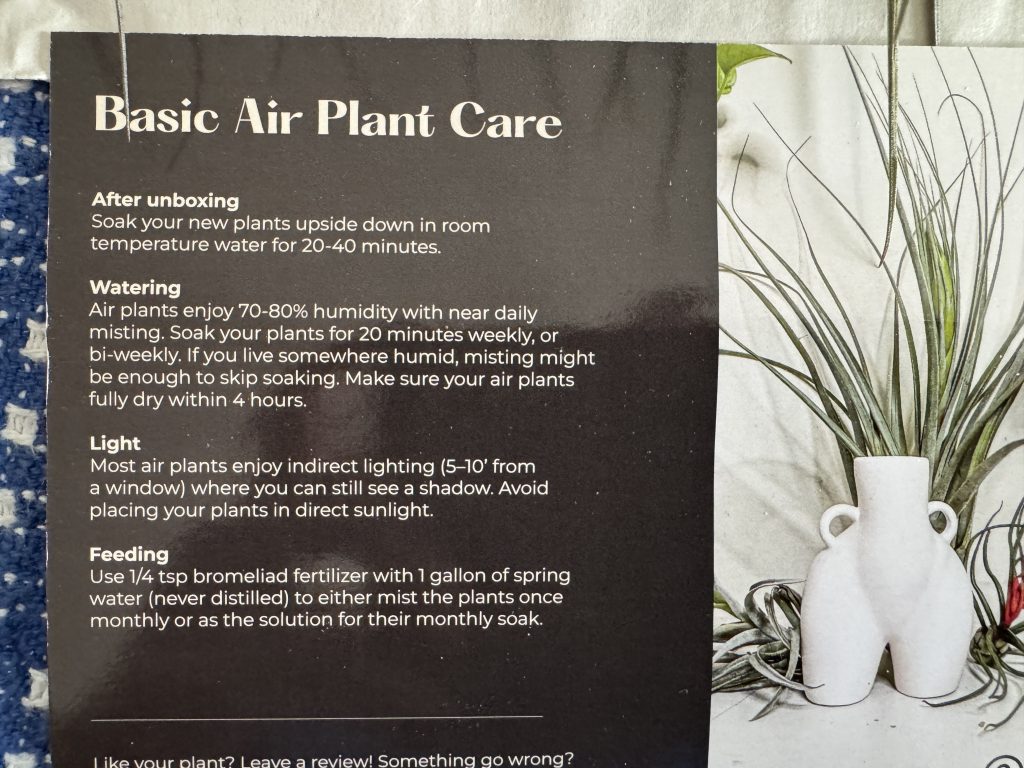
I followed the instructions that came with the plants that said to soak the plants first in room temperature for 20 minutes.
I laid them out on a paper towel while I got the holders ready.
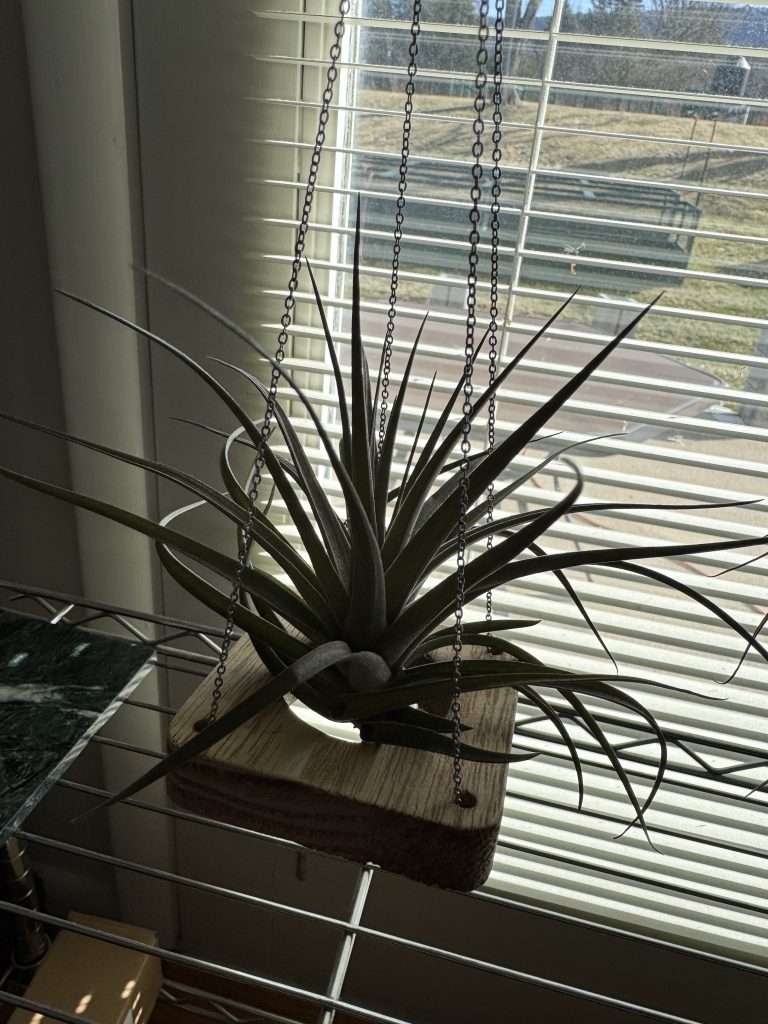
I can see I might need to rearrange the plants on the shelves at some point, but at least now I can mist the air plants. We’ll see if I can remember to mist them every day!
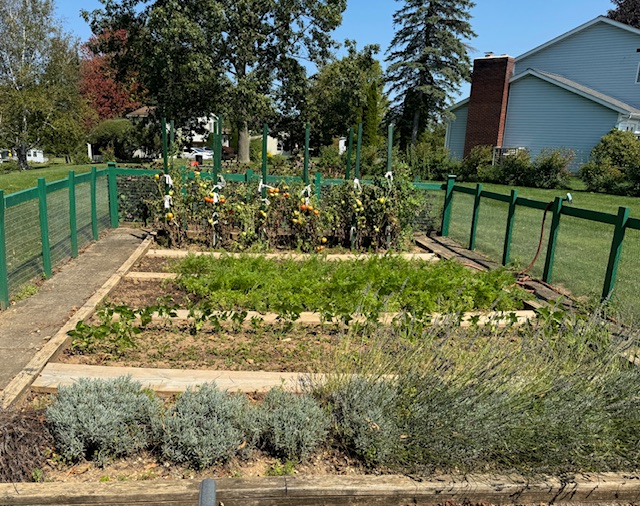
Those of you that follow this blog may remember last fall when we had harvested most of the produce in the garden. We had a few tomatoes left to pick (in the last section) and the carrots were still in the ground (middle section). We had begun trimming the lavender in the first section.
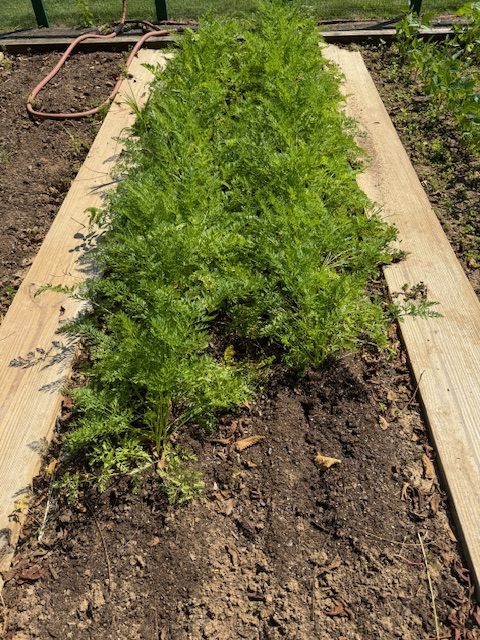
By September, the only plants left were the carrots. We planned to leave them in the ground as long as possible.
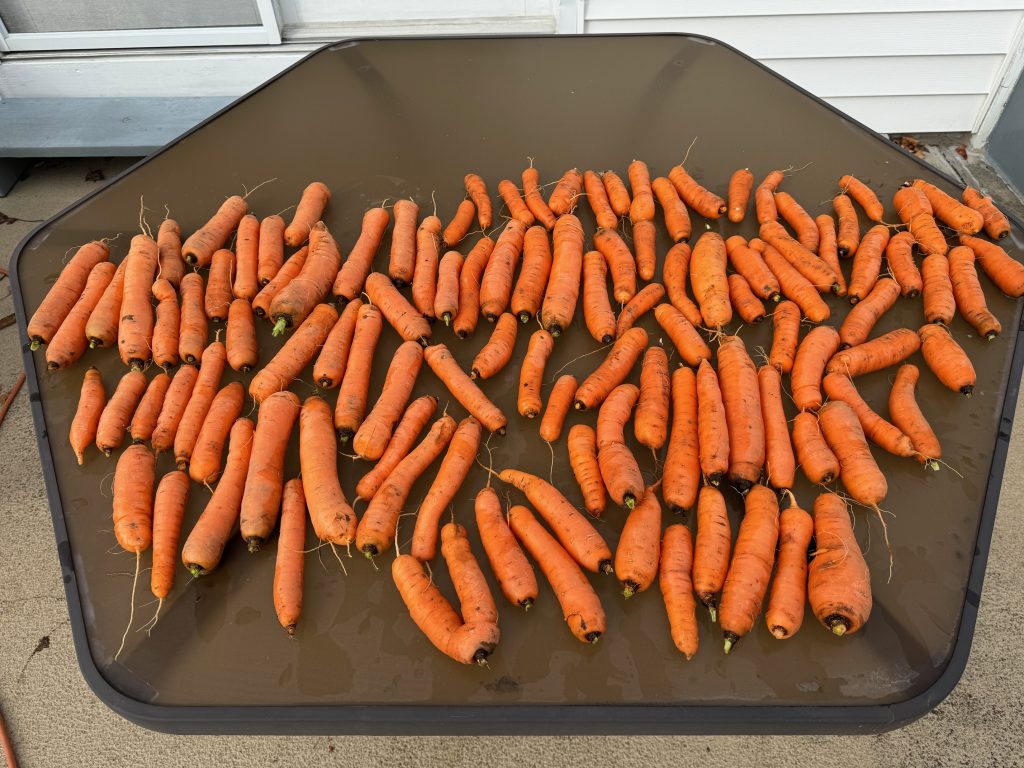
In late October, we dug up all the carrots. They were beautiful!
The extra little carrots with tops were rinsed off and given to a friend’s pet rabbits.
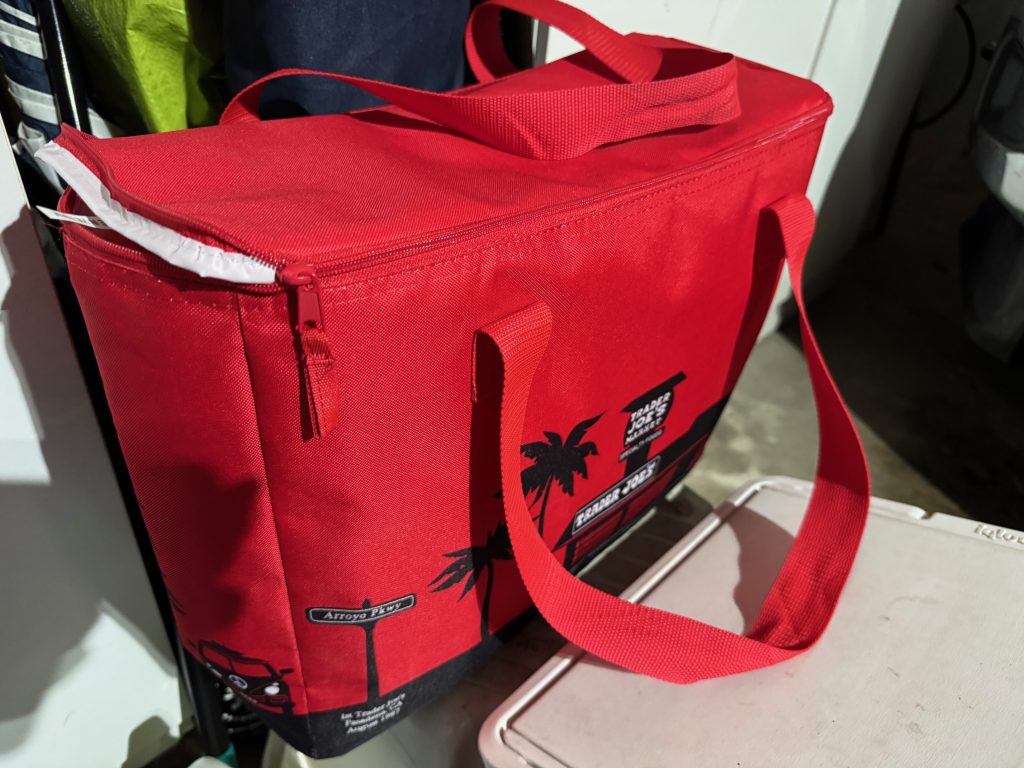
When the carrots were dry, we put them into gallon zip bags without closing them and put them in a large insulated bag. This sat in the garage for months and when we wanted carrots, I could just grab a few for dinner or salads.
During the cold freeze a few weeks ago, the garage got below freezing for several days so I set the bag of carrots in the kitchen. When it warmed up, I moved the bag back to the garage…sort of a traveling “root cellar.”
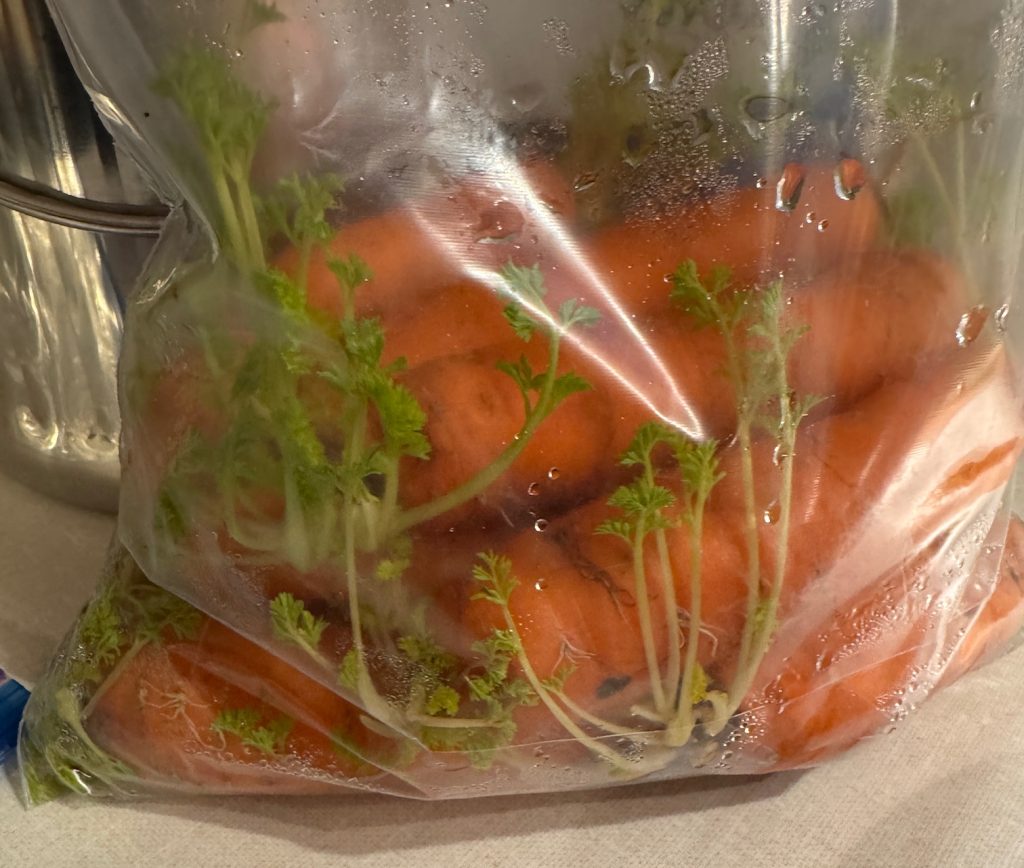
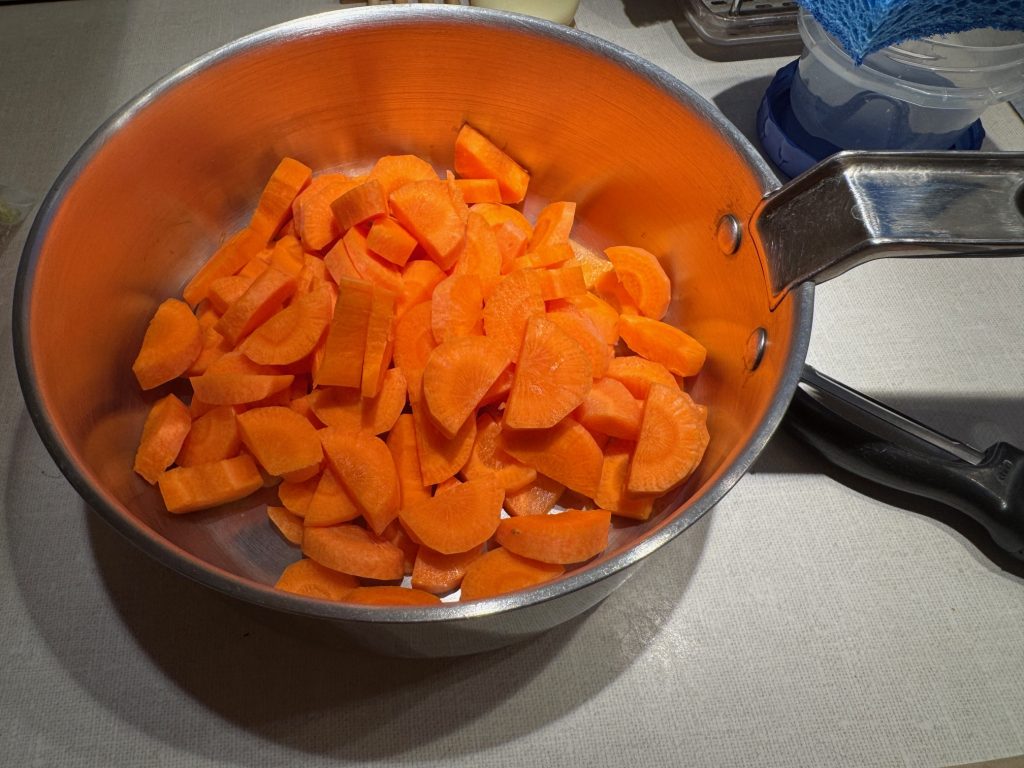
Yesterday, we wanted cooked carrots for dinner. I grabbed a bag of carrots out of the insulated bag. Too funny…they were starting to grow!!
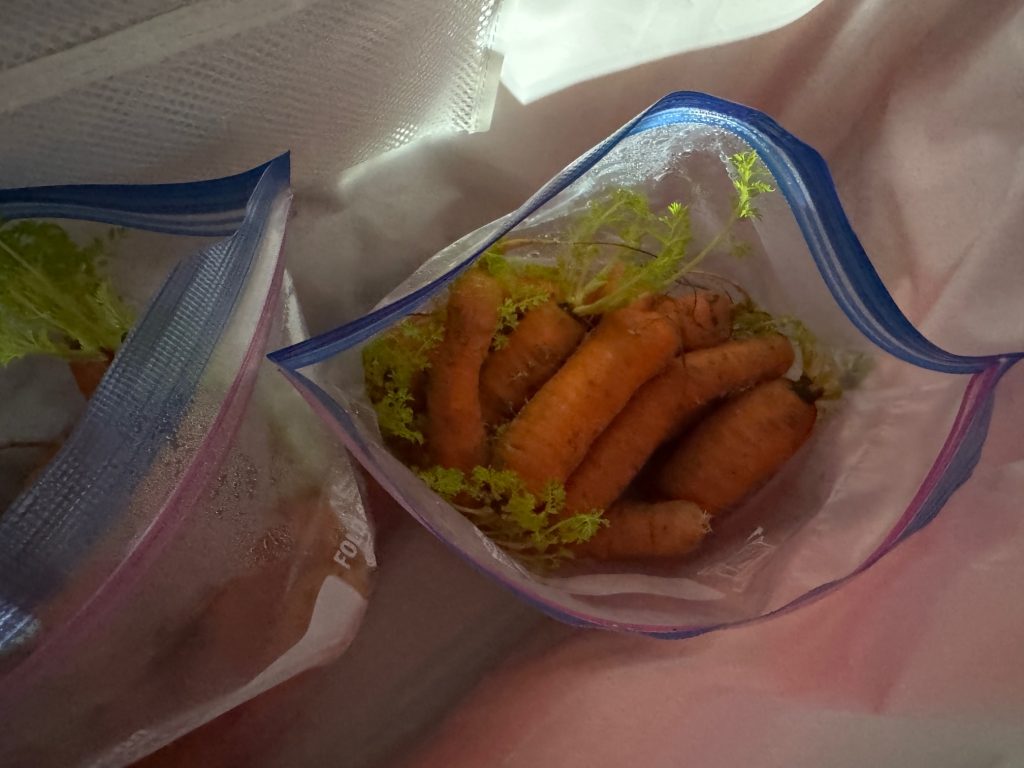
So, I’ll begin by trimming up all the carrots. They should keep another month or so in the refrigerator. They’ll be ready for salads and dinners.
After 4 months in the garage, they are still tasty, crunchy and very orange!
It’s very nice to be reminded how much we enjoy the garden produce all year long! Our canned 4-bean salad, pizza sauce and pickle relish are frequent treats all winter!
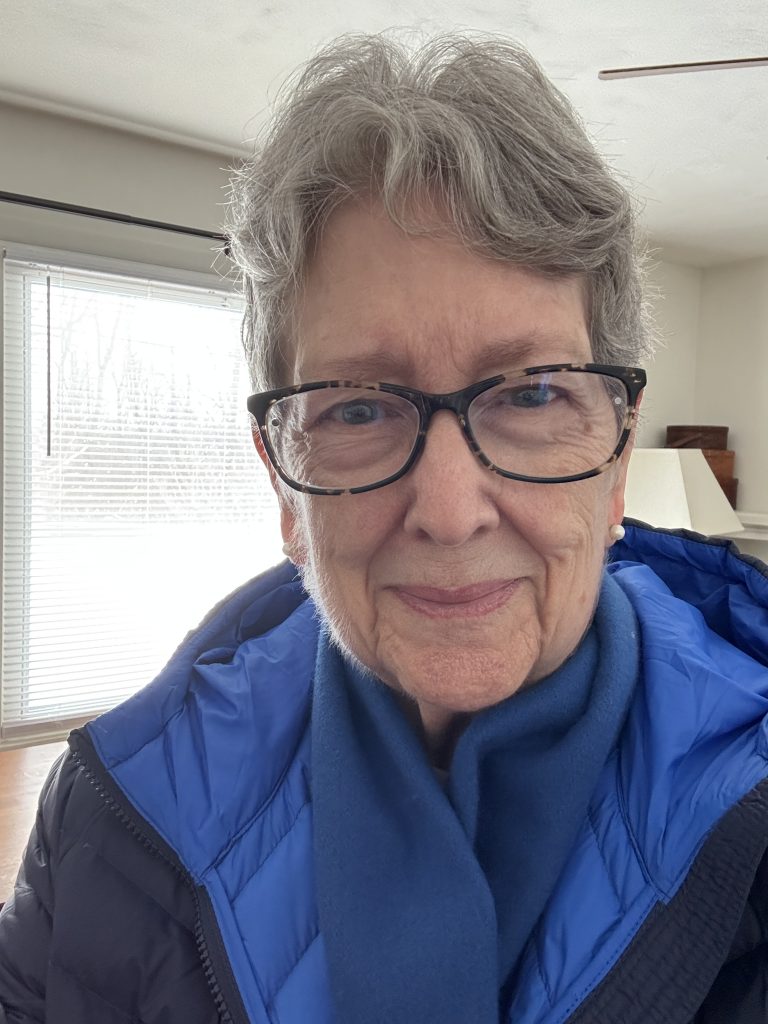
This new year is the END of my drab wardrobe! Famous last words! For a long time, I’ve managed to coast along, work from home and live in sweats and t-shirts! My goodness, I’m 78 years old! I can risk trying some new colors! I have lived in black and navy blue with an occasional purple for years. Why!
For a while, as my hair turned gray, it felt like the dark colors looked best. Then I discovered I managed to spill or drip something right on the front of most of my shirts. Sometimes my cooking projects enhanced any design on any shirt I had! That didn’t show as much on dark colors! Plus…I’m home most of the time, so who cares if I’m in t-shirts. I seldom spend much time staring at myself in the mirror!
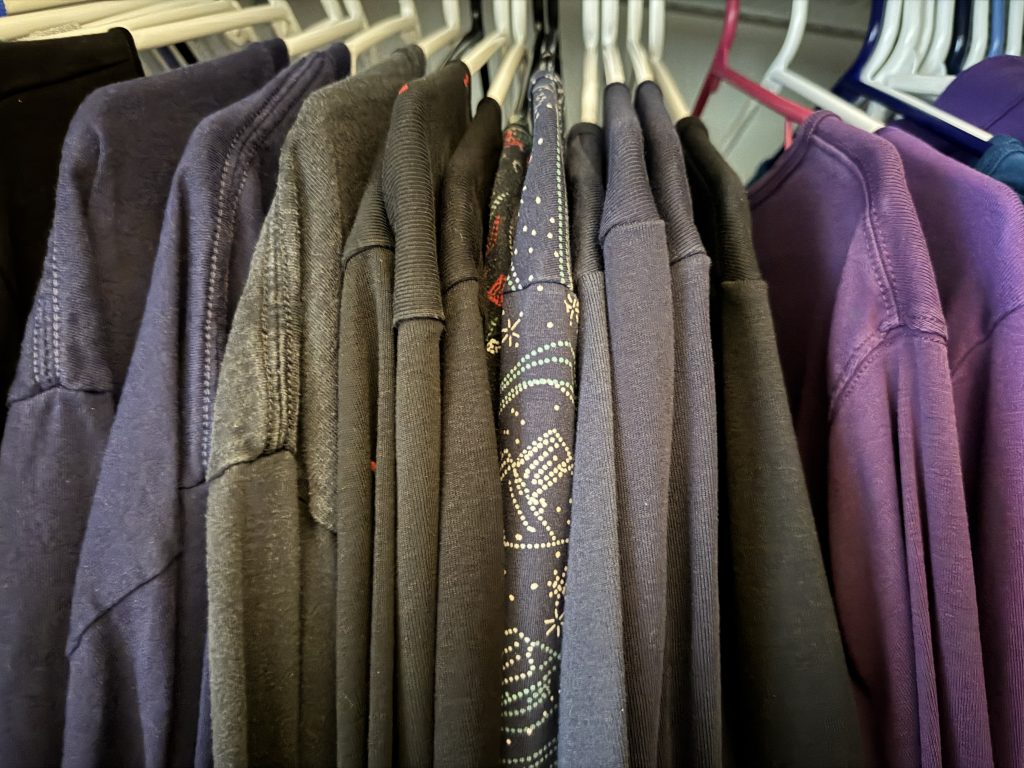
My closet is pretty dark and boring with all my dark shirts!
I occasionally wear a red raincoat…but only when it’s raining! Most of the time I’m in black jackets.
Anticipating Christmas gatherings, I managed to buy a green sweater and a red one. I really fit into our Christmas pictures…instead of all black with a red scarf!
I needed a new mid-weight coat this year. Lands End was having a sale! Yea! I ended up with a navy coat (of course) that was great for those days when I was running around town. I wore this coat to Kathy’s house on Christmas Eve.
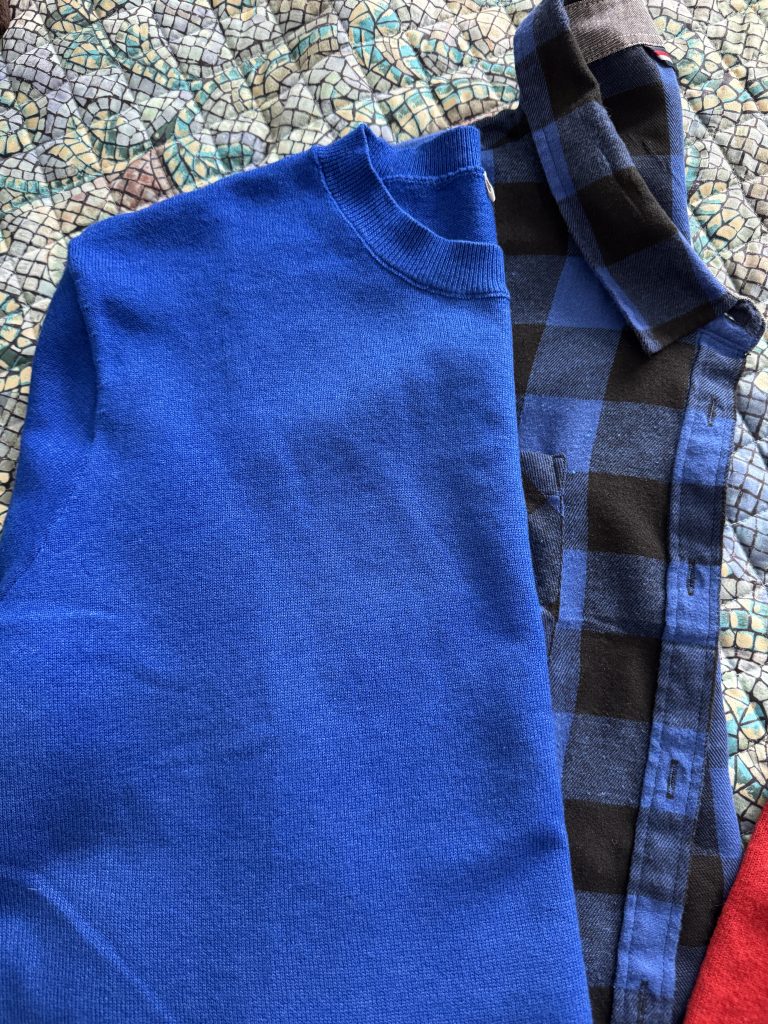
While we’re driving I noticed in the car mirror that the lining was a lovely cobalt blue.
Thinking to myself, “What a great color! Why don’t I have more of that in my closet?” So, while Bert was driving past Ebensburg I pulled up Amazon on my phone and in a few minutes I found a sweater, a scarf, a t-shirt and a plaid flannel shirt in this lovely color! Merry Christmas to me!
So that’s the story of adding color to my wardrobe! I’m going to do better from now on!
I have only a few memories from the year my family spent in the Philippines in 1955-56. I was 9 years old and I’m sure my memories were influenced by my mother, who I spent most of my time with…compared to my older brother (15) and sister (18), who enjoyed the freedom to explore a new country without too much supervision. I have shared a few of my memories in this blog. You can read them here:
For some reason, today I was reminded of the experience of carolers coming to our door in the week before Christmas…1955 in the Philippines. I probably watched too many Hallmark movies this week where groups of folks were wandering the streets and neighborhoods in their fictional towns singing Christmas carols. If the snow was drifting down in the movie, the songs were about Dreaming of a White Christmas, and sleigh bells ringing.
I thought back to the songs I heard outside our door in the Philippines. You can be sure there were no drifting snow flakes or sleigh bells on horses on our street! The weather was warm and sultry…not cold and snowy! We heard traditional religious carols, like O Little Town of Bethlehem and Away in a Manger. The most common song…in my 9 year old memory…was Whispering Hope! I don’t recall ever hearing that song before or since…especially at Christmas. I barely remembered the tune.
Time to do a little research! First, I looked up the history of the song. It was written in 1868 by Septimus Winner (1827-1902). This article, by Pam Griffin, summarizes his life as follows:
STORY BEHIND THE SONG: From folk tunes to jail to ‘Whispering Hope’
“What could the comforting hymn “Whispering Hope” have to do with well-known little ditties such as “Listen to the Mockingbird,” “Where, Oh Where Has My Little Dog Gone?” and “Ten Little Indians?” They were all written by Alice Hawthorne, one of the pseudonyms used by the 19th century songwriter Septimus Winner. The famous poet, composer and violinist, born in 1827 in Philadelphia, Pennsylvania, was the seventh child of Joseph Eastburn Winner and Mary Ann Hawthorne, a relative of Nathanial Hawthorne.
Winner, a self-taught musician, did study violin briefly around 1853 with Leopold Meignen, a former bandmaster in Napoleon’s army and a composer and conductor. Winner could play a variety of instruments, including the guitar and banjo, and became proficient in the violin by the age of 20. After graduating Philadelphia’s Central High School, he opened a music shop and gave lessons on a number of instruments and performed locally with the Cecillian Music Society and the Philadelphia Brass Band.
From 1845 to 1854, Winner and his brother, Joseph, formed a music publishing business, Winner & Shuster, which Winner continued with various partners and names until 1902. During this time, he wrote or edited 200 volumes of music for more than 20 instruments and produced more than 2,000 arrangements for violin and piano plus more than 1,500 easy arrangements for a number of instruments.
Winner, who died in Philadelphia from a heart attack in 1902 at the age of 75, was a frequent contributor to Graham’s Magazine, then edited by Edgar Allen Poe, and was the founder of Philadelphia’s Musical Fund Society. He was inducted into the Songwriters Hall of Fame in 1970.”By Pam Griffin (pgriffin@thedestinlog.com)
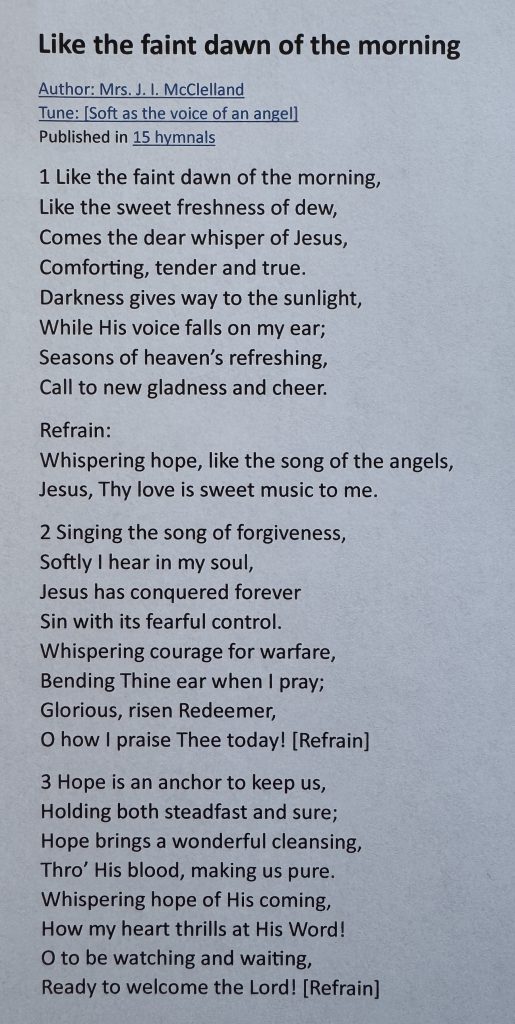
So, how about that! Next, I looked up the lyrics of the song. That helped me understand how it could fit into the Christmas spirit and the recent end of World War II. In 1955, we weren’t too far away from the end of that conflict. I found two versions of the lyrics…the original and a second version that was published as a hymn.
Original lyrics:
Lyrics published as a hymn:
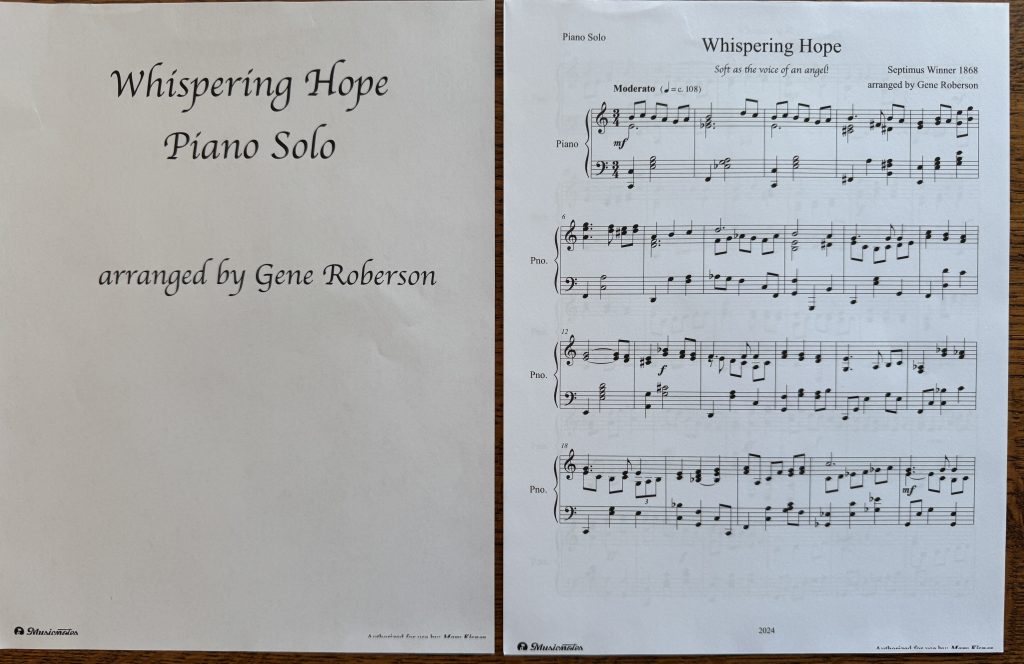
Sheet Music
Finally, I went to musicnotes.com to find the easy piano version of sheet music for Whispering Hope, thinking maybe I could take it with me to our Christmas gathering at our daughter’s house. My grandson might be able to play the tune on the piano. It cost only $5 to print a copy from that website.
So, that’s the story of the song, Whispering Hope, from my memory in 1955. I found a recording of the song by Anne Murray on her album, Amazing Grace: Inspirational Favorites and Classic Hymns. I purchased the album on iTunes and will enjoy the song this season! I’ll add this song to my Christmas playlist.
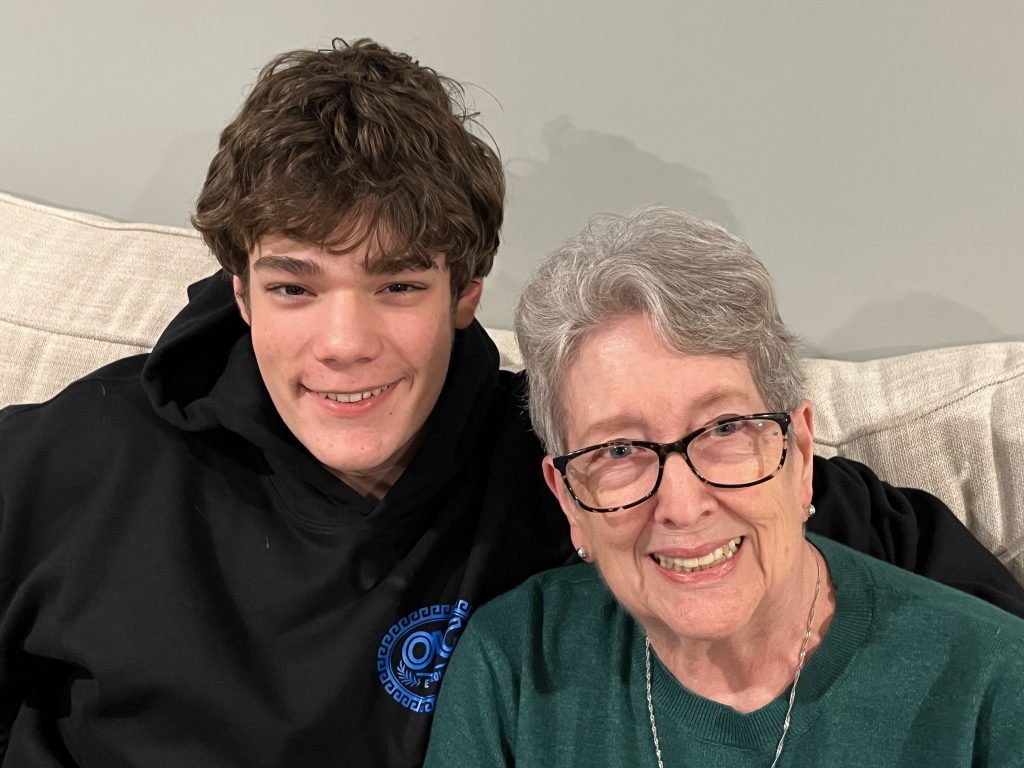
Follow up
My grandson, Ben, tried to plink out the melody but he had no reference…he had never heard the song. He tried to quickly find the song on his phone so he could hear it. Not much luck! I also had trouble trying to fit the lyrics into the notes on the sheet music. He eventually lost interest in trying to help me…Christmas activities won the day! I’ll have to tackle this myself at my own keyboard.
That’s OK. He tried to help!
This weekend I’ll spend some time with my brother and Lita (his wife is from the Philippines). She should remember that Christmas long ago. Hopefully, she will remember that song too!
This Sunday I’d like to wish my Dad a Happy Birthday! He would be 111 years old (he made it to almost 99, so he hasn’t been gone too long!) I thought I’d share with you the story he wrote as he reflected on his childhood in his later years. It certainly explained why over the years he didn’t want us to make a big fuss over his birthday. Enjoy the story with me!
_____
BIRTHDAYS
My birthday was never celebrated. My Dad gave me a rational explanation in 1917 when I was four years old but the idea never reached me through the fog of psychological and theological mystery involved with the arrival of a baby sister Ruth in October. Sister June joined the family in the month of June when I was six and sister Lois, again in October, just before I was nine. It seemed clear to me and surely evident to Dad that birth events delivered girls to our family.
Dad and I were both born too close to the birthday of baby Jesus. Jesus was a boy but it was clear to me that his birth was one of a kind and not to be generally expected. Dad’s birthday was December 26 and mine was December 22. Probably our birthdays got lost in all the fuss about the baby Jesus celebration. The only firm conclusion I seemed able to make was that birthday celebrations were girl-things and that boys like Dad and me were out of the loop.
In successive years that conclusion was confirmed in practice. At supper on the 22nd mother would suddenly announce that the day was important in her life. After some moments while we all kept on eating and mother mused, she would say to her daughters: “Oh yes, now I remember. December 22 was the date Paul was born.”
Then Dad, also speaking to the girls, would continue: “Santa always helps with Paul’s birthday present. In fact, I think I saw his name on a package under the tree. Should Paul get it now so we can all see?”
All the little sisters would of course squeal “yes.” I would go into the cold, unheated parlor where the Christmas tree was always placed, choose a package with my name on it and come back to the supper table to open it. Usually, it was something I knew I was going to get because for weeks I had watched Mother making it in her spare time. Then the little sisters would plead for a chance to also get packages, but Dad would insist they must wait until the day after the day after tomorrow to see what Santa had brought for them. There was always some whining, but on balance the scheme worked.
Right after sister number 3 arrived, Dad and I seemed to recognize a mutual awareness. “Birthdays are for girls.” In our mature years that assumption has served well for both of us by freeing us from tedious secretarial tasks and the cost of mailing commercially produced, generic messages to friends and relatives.
Did I have a birthday, or did I have a diluted Christmas? When I wondered about it, Dad helped me see that his situation was even worse than mine. By the 26th there was never anything left under the Christmas tree. Dads’ birthday party always had a special name…“clean up time.”Paul W. Bixby
_____
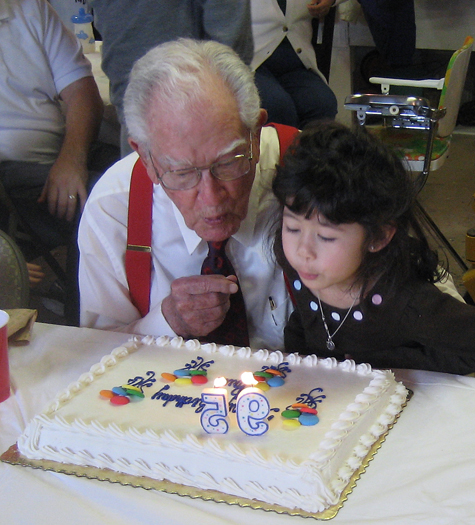
We made sure to celebrate his birthday with as many kids and grandkids as we could. Luca helped him blow out the candles at his 95th party.
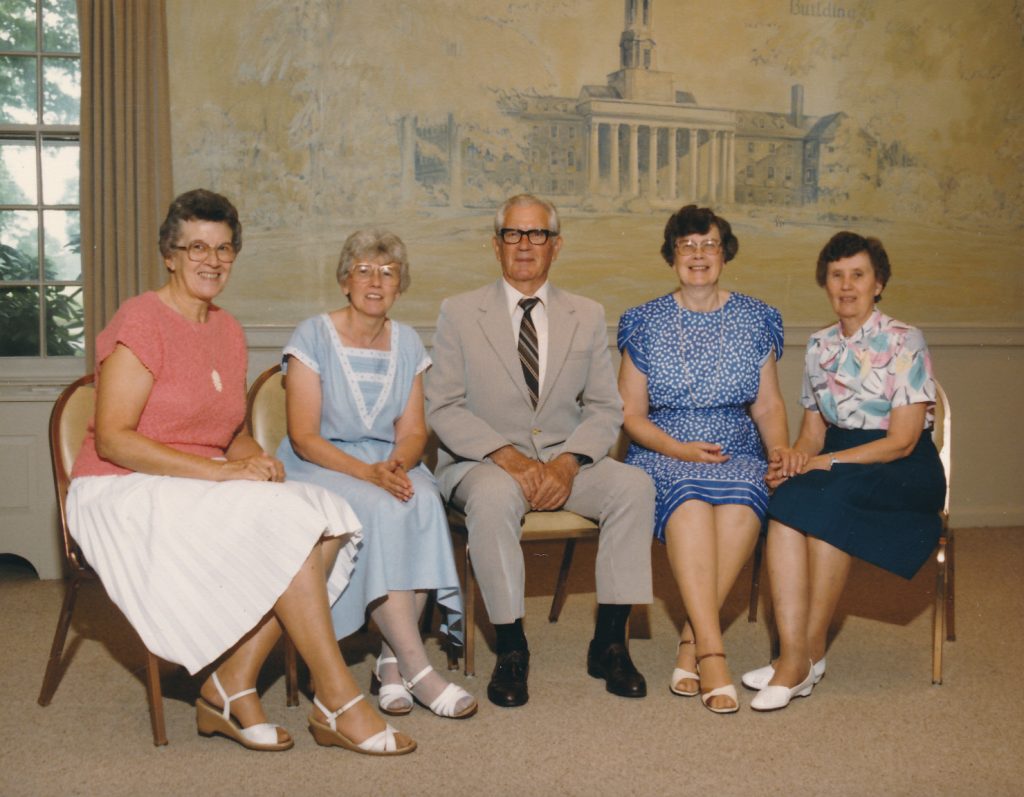
My Dad with his siblings. He was proud to be a big brother to them all!
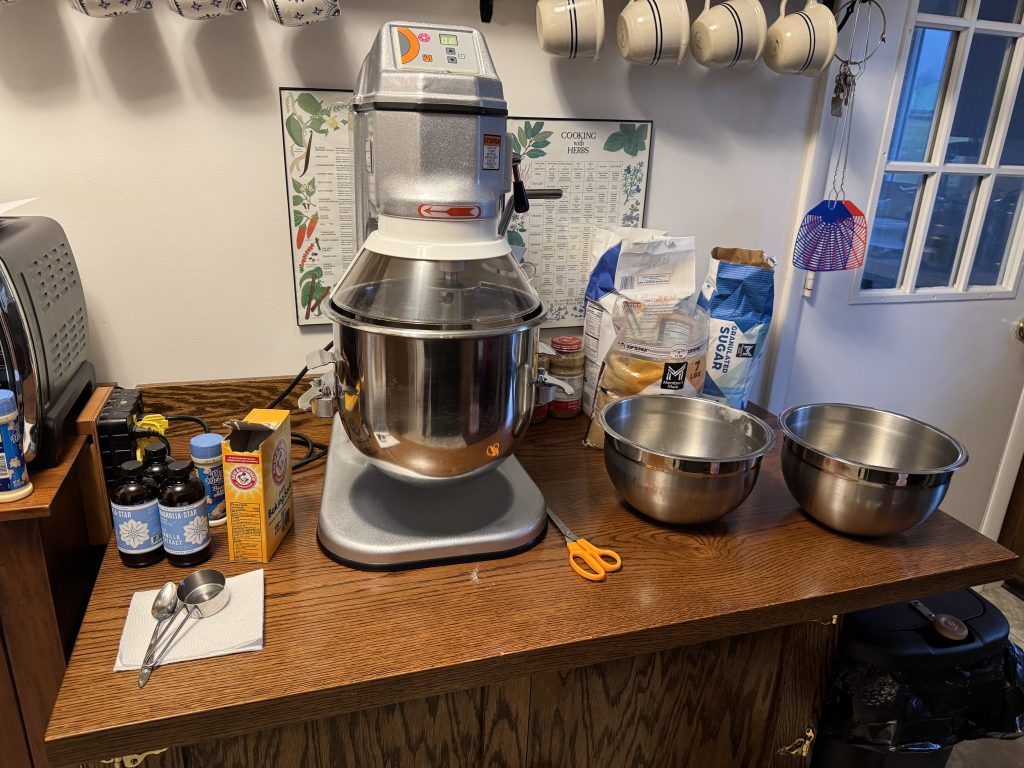
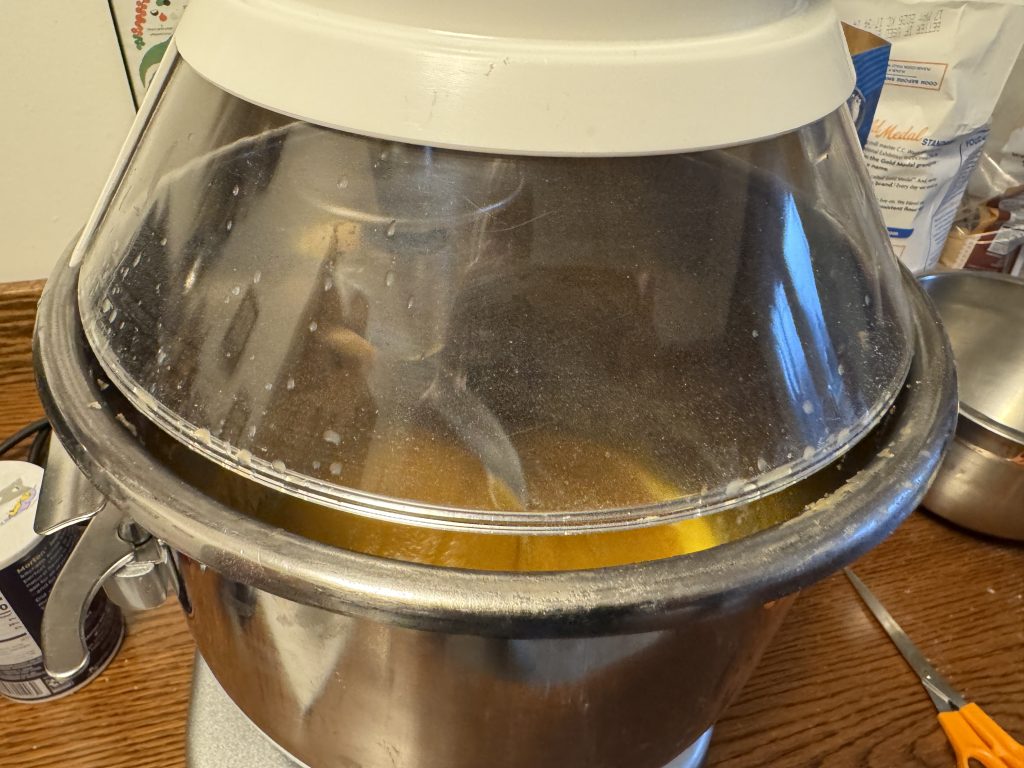
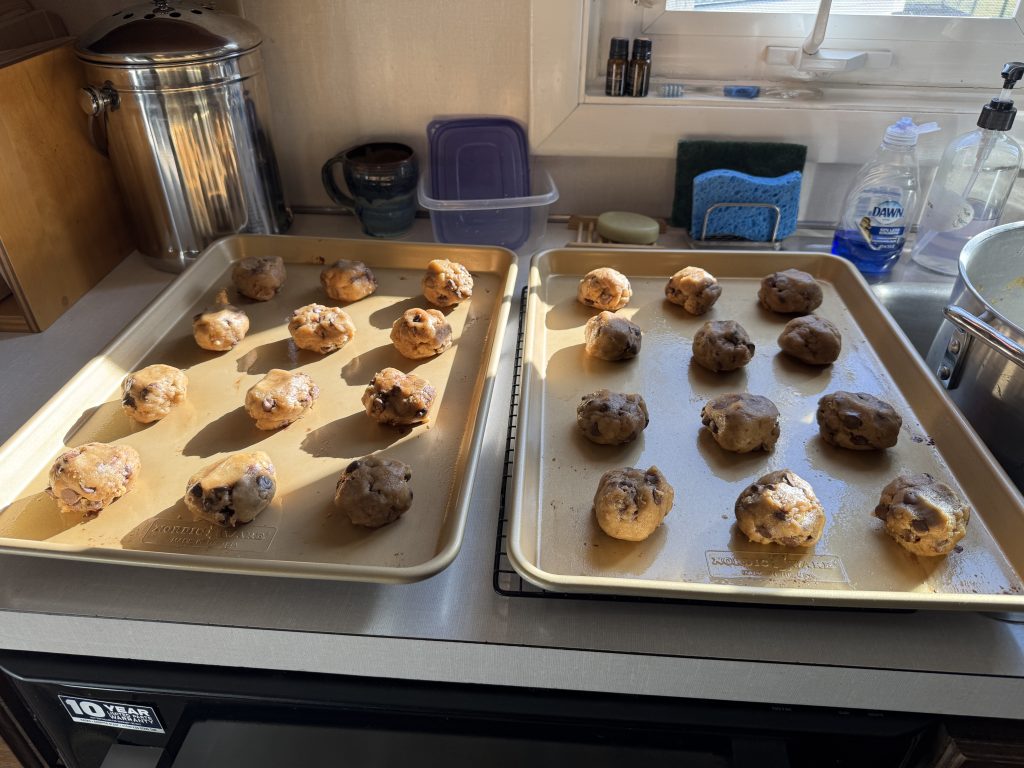
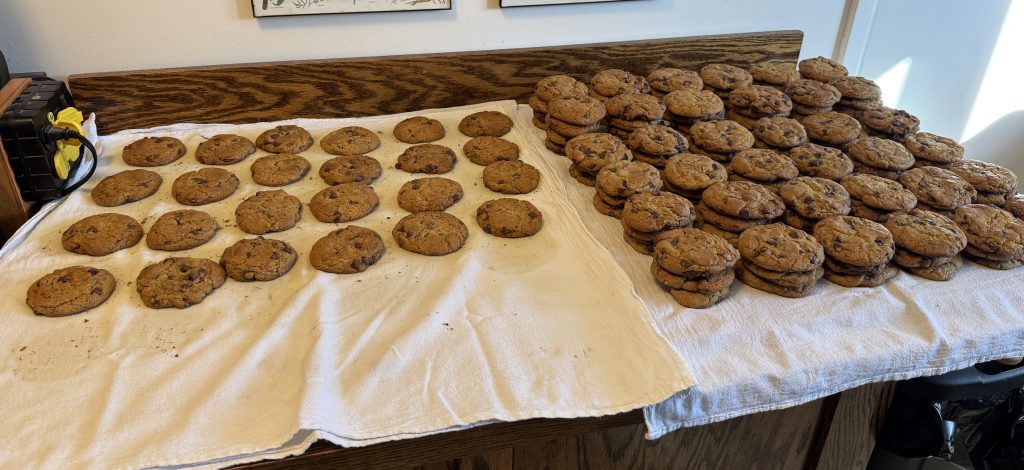
Yes! It’s that time again! For at least a week each December the kitchen is tied up with Bert’s marathon cookie baking! He makes about 170 pounds of dough and bakes about 140 dozen chocolate chip cookies. Of course, the refrigerator in the kitchen, the extra refrigerator in the basement and various tubs in the garage are packed with dozens of eggs, butter, flour, sugar and chocolate chips for a week before the mixing and baking begins.
Bert has been doing this for the last 60+ years so this is just a normal December for me. You can see the recipe and more photos in the two other posts I wrote about his yearly project:
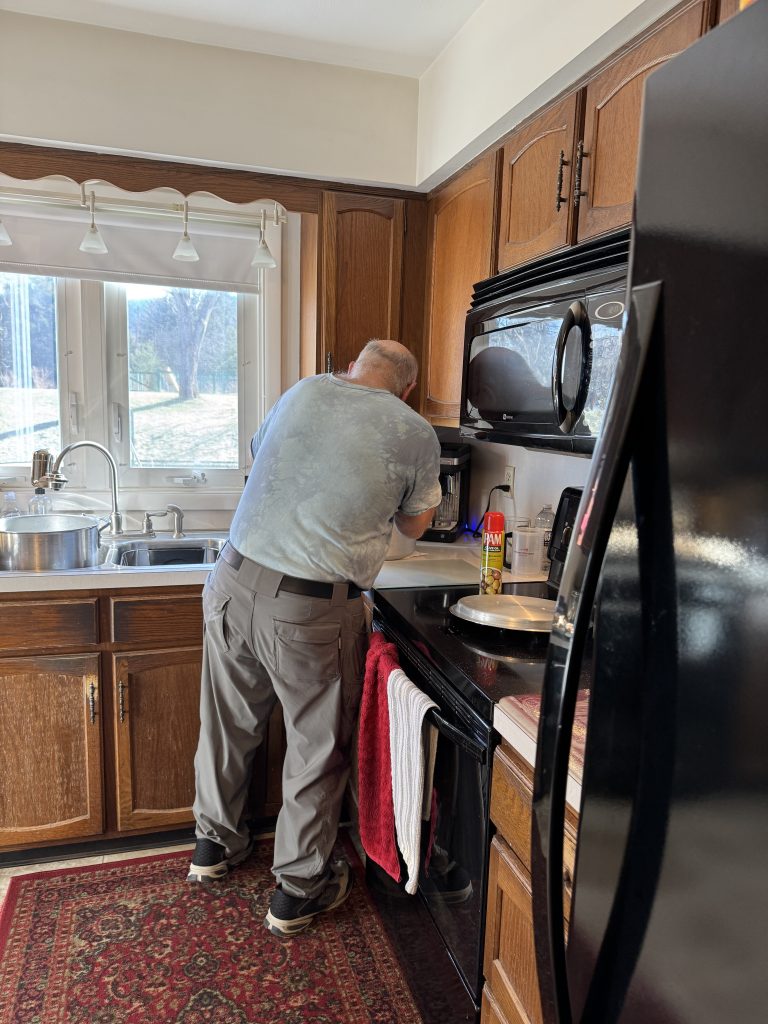
Before I got out of the way this time, I planned ahead and made a batch of chicken salad and egg salad and got a loaf of bread out of the freezer so we could grab food for lunches around all the baking activities! There is no counter or table space available once he gets started!
While the kitchen is off limits for any baking I want to do, I took a few pictures of my ongoing projects in other spaces in the house.
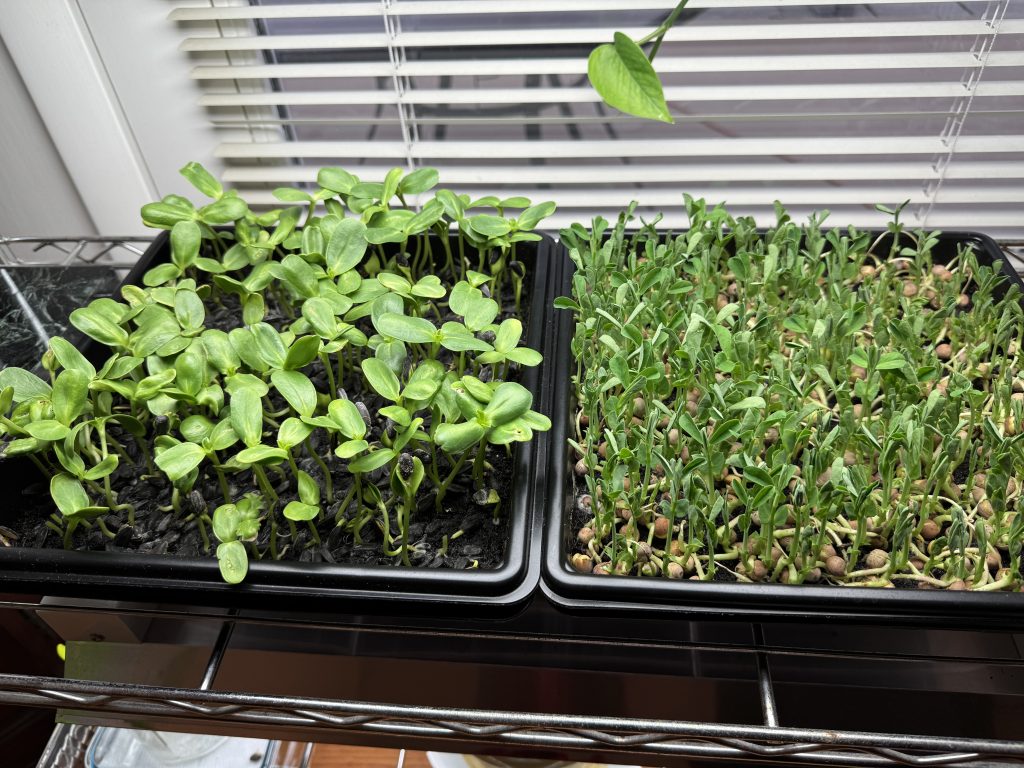
In the dining room I’m keeping my microgreens growing. This batch of sunflowers is about ready to cut. They are not very thick because many of the seeds did not sprout. The seed was saved from last year and it is probably time to order some new seed. The peas (on the right) need a few more days to fill out.
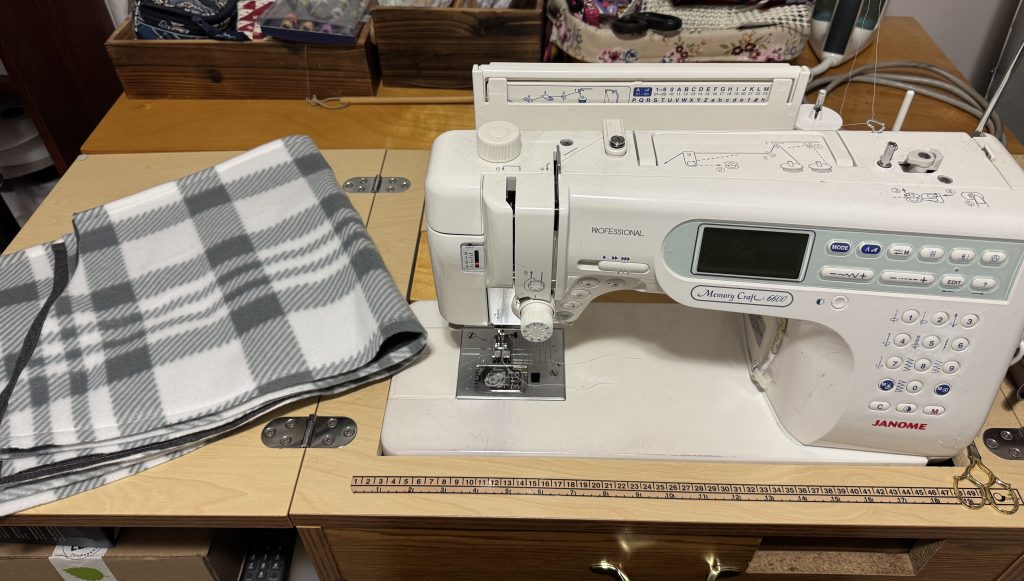
In my sewing room, I have 4 greyhound coats to finish before Christmas. I have a TV to entertain me with the latest Christmas Hallmark movies!
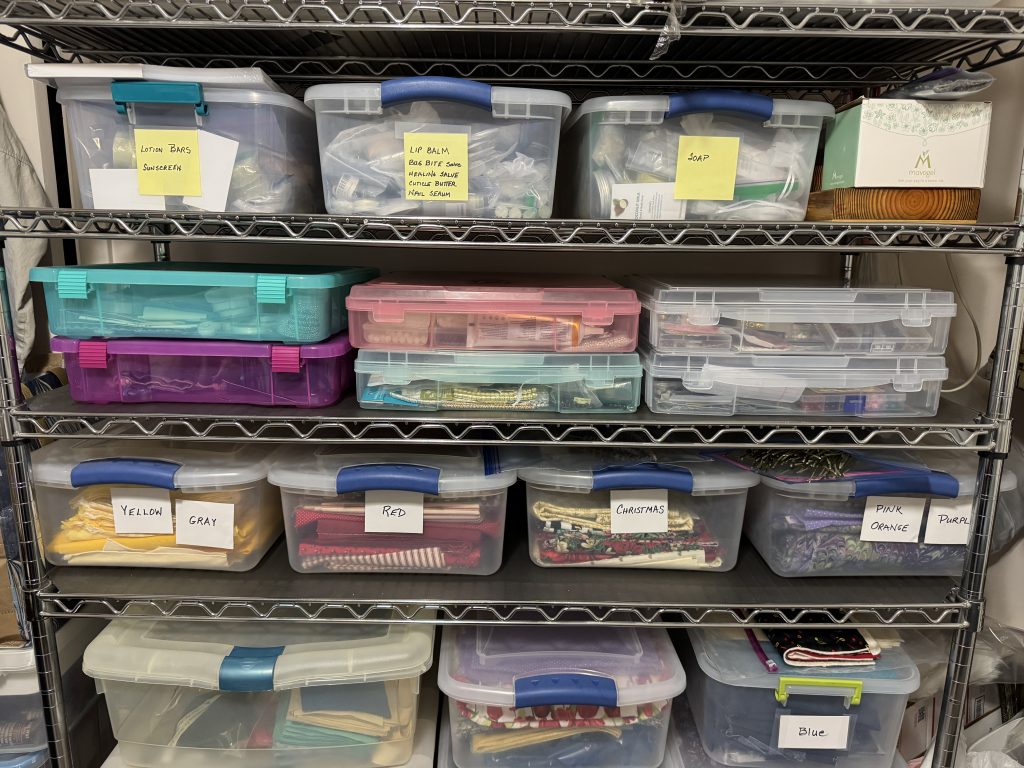
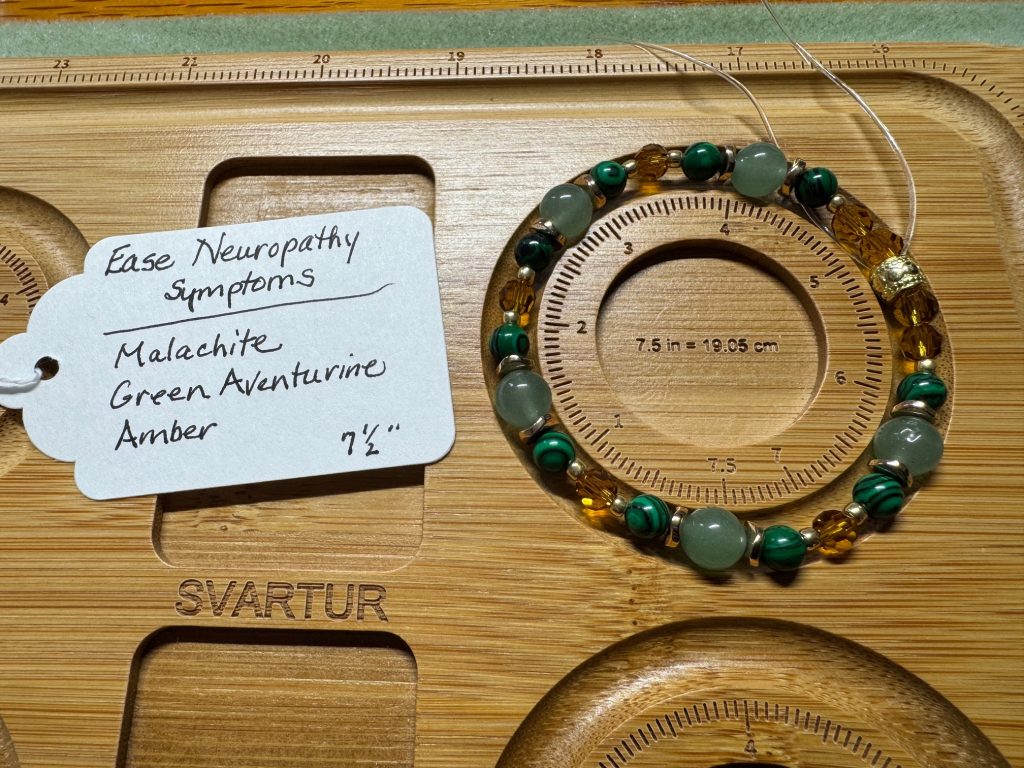
In my sewing room, I also have my beads stored ready to finish a few bracelets. Can you see the second shelf down with flat boxes? All my beads fit in those 6 flat boxes! Of course, when I want to work with them, I lay them out on the bed and choose the beads I need. Work on the bracelets has to happen at my desk in the office.
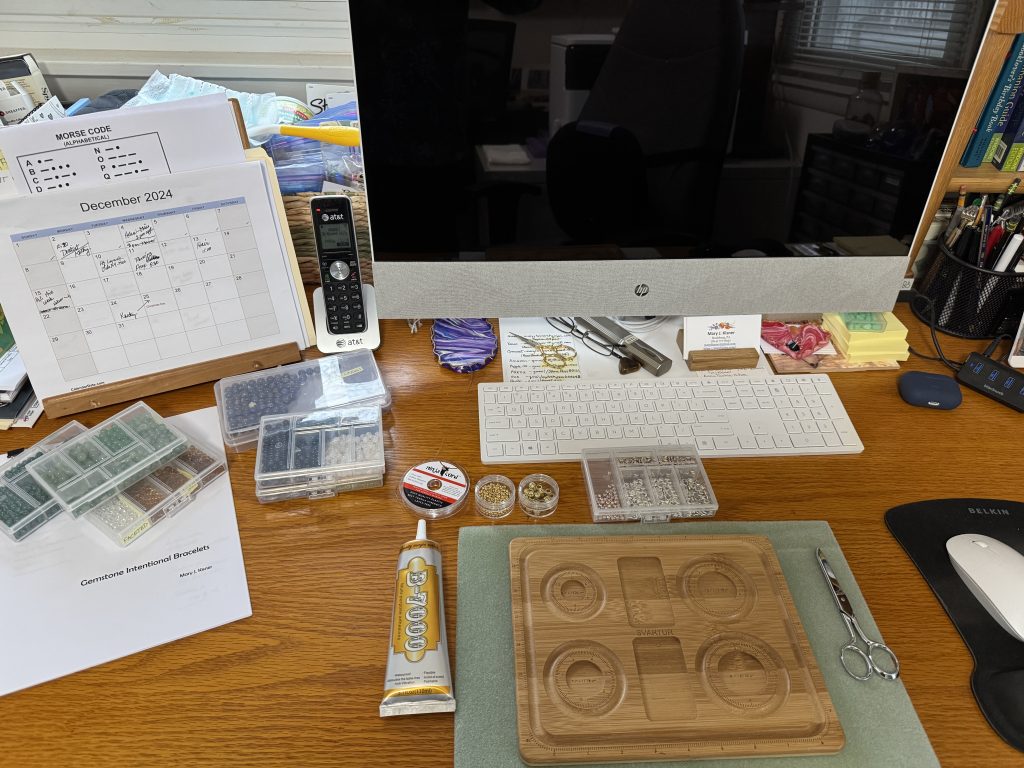
In the office, I can write my posts OR I can make bracelets! Such a multipurpose desk with a good light!
Here’s the latest bracelet I finished today!
So, you can see I have many choices of things to do when I can’t get into the kitchen! I can always do laundry around my projects…but you’ll seldom see me choosing to clean or dust or vacuum! Just too many fun projects to distract me! Haha! Enjoy!
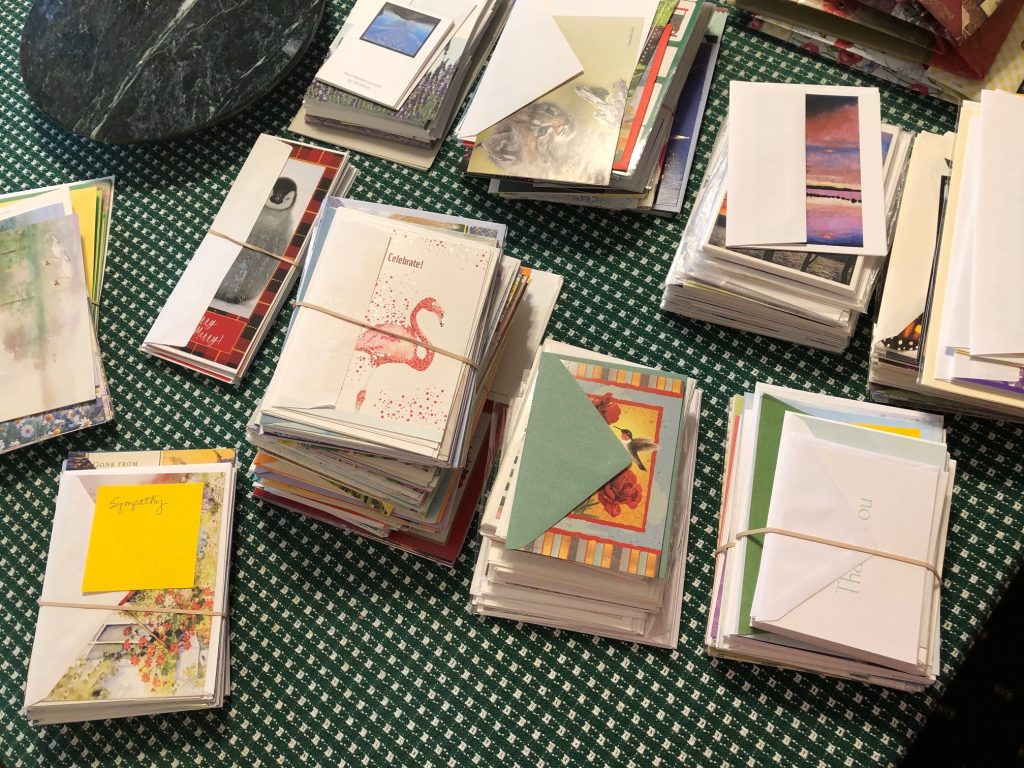
In the fall, we start receiving packets of greeting cards from various organizations…usually with an appeal for donations. Each packet ight have 4-6 cards with envelopes. By December, I may have accumulated over 100 assorted Christmas cards. Some are quite unusual; others are just tacky. Most of the time I don’t even send Christmas cards because I write a family letter that really doesn’t need a separate card. However, I have trouble just throwing all these cards away.
Of course, in the spring we get another pile of cards along with a renewed request for donations. These cards are for birthday greetings, get well and sympathy cards. I don’t send very many cards in the first place, but now I have another pile of cards to store.
I’m always on the look out for craft projects that would use recycled greeting cards. I do reach for an occasional small gift bag, so I’m often checking Pinterest for new ideas.
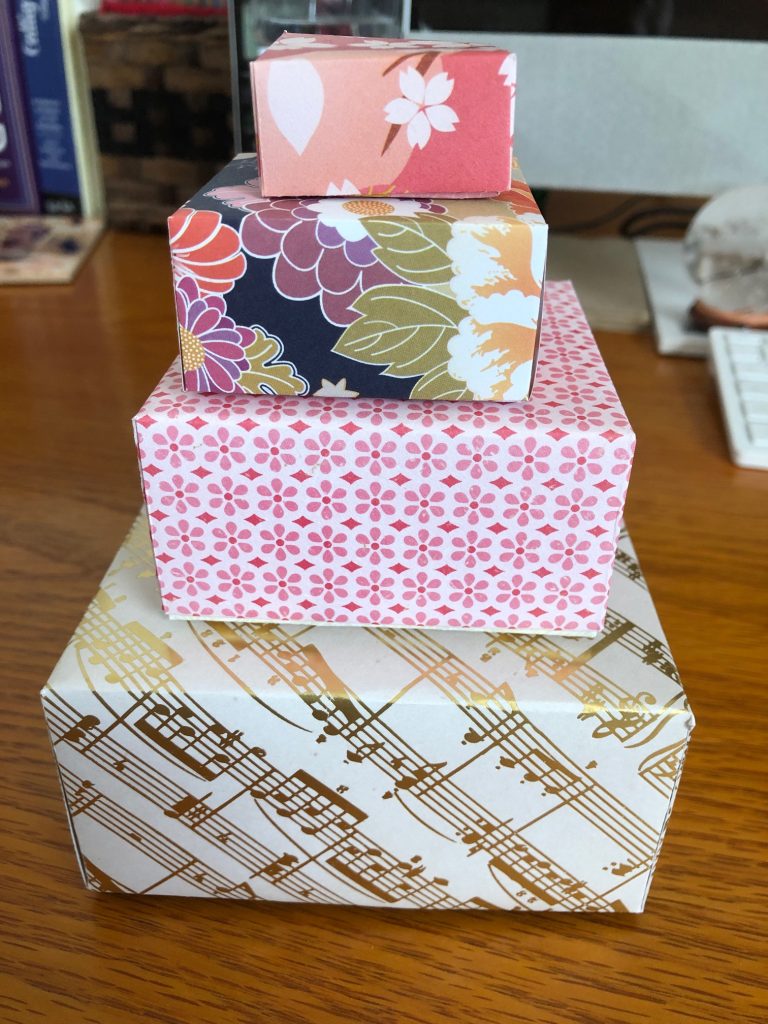
I’ve already written about using origami paper, calendar pages and greeting cards in the past. You may remember the folded paper gift boxes from origami paper…
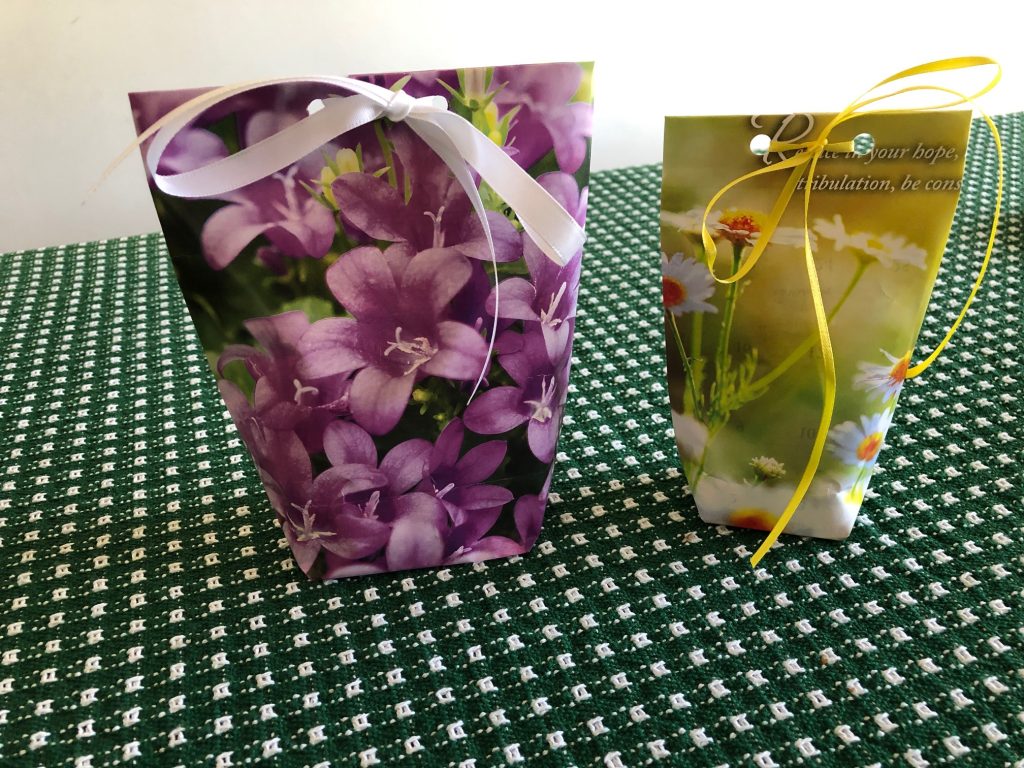
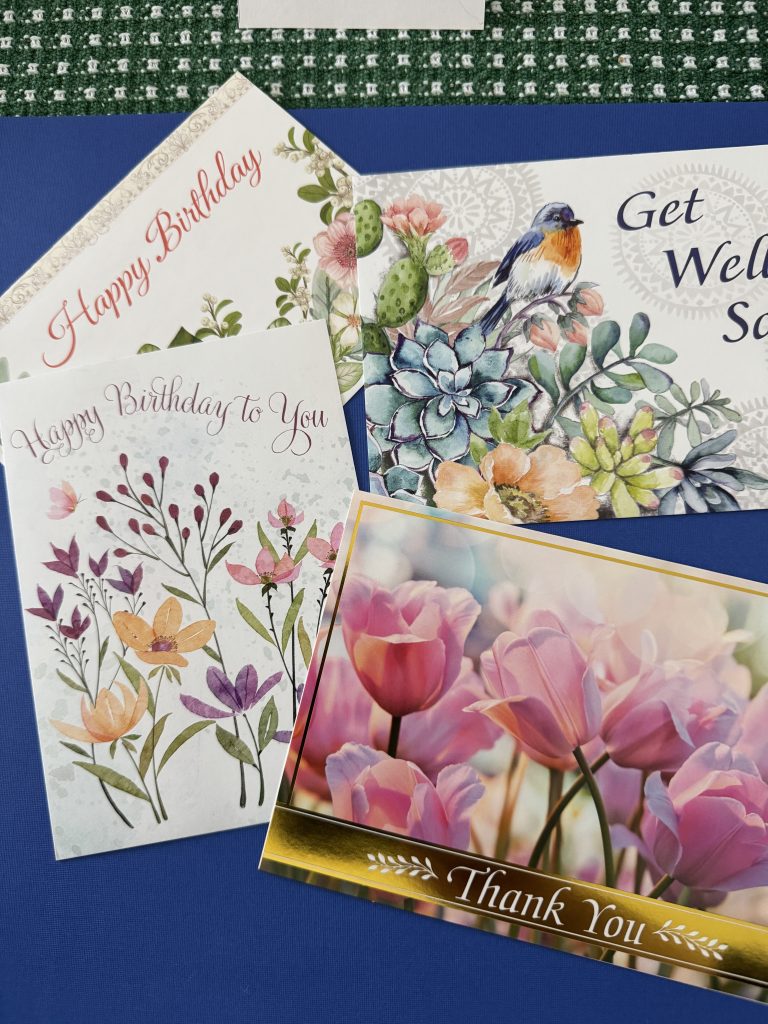
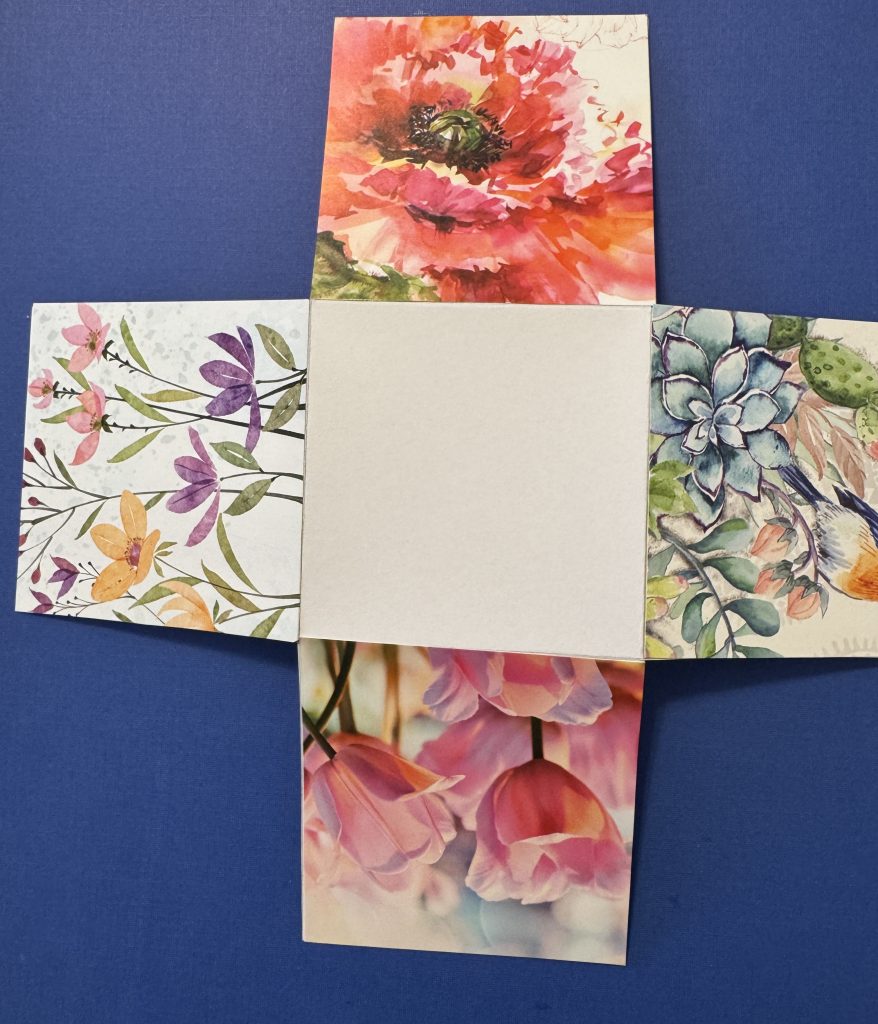
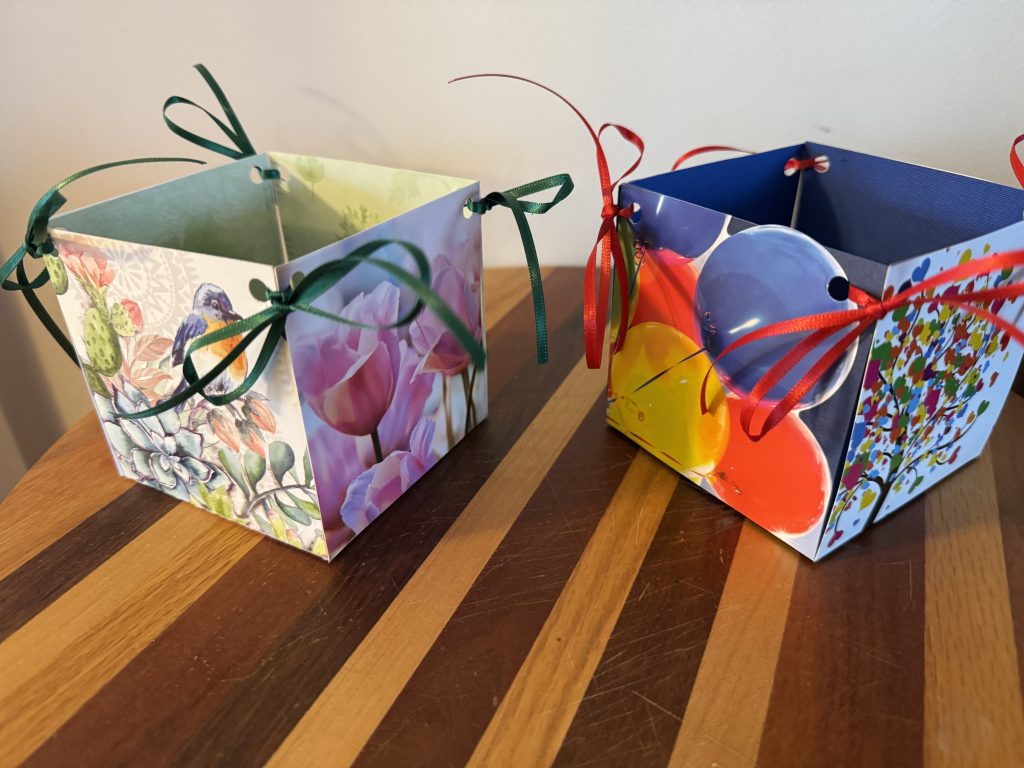
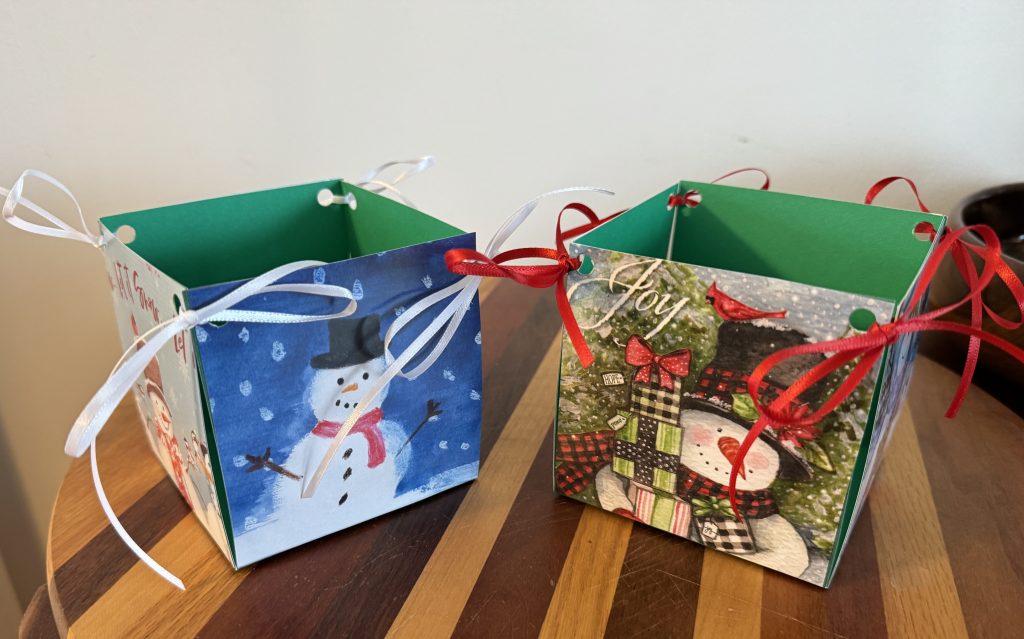
All of those ideas were great, but I needed a new idea! Here are some samples of the latest gift boxes…two for Christmas and two that could be for birthdays. To save space, I’m thinking I could make these and store them flat until needed.
Making These Gift Boxes
To make these boxes you will need:
4 greeting cards; 1 sheet of cardstock, about 12″ square; 4 pieces of 1/4″ ribbon (about 14″ long each); Ruler; multipurpose glue (I used B-7000); Single hole punch; Scissors.
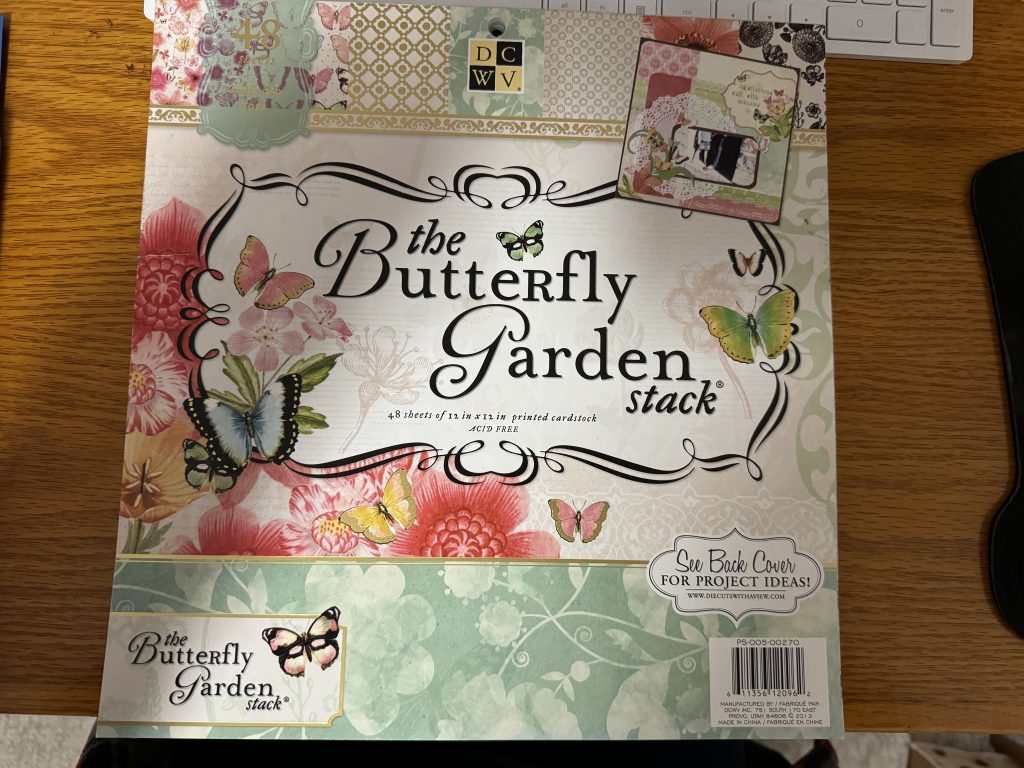
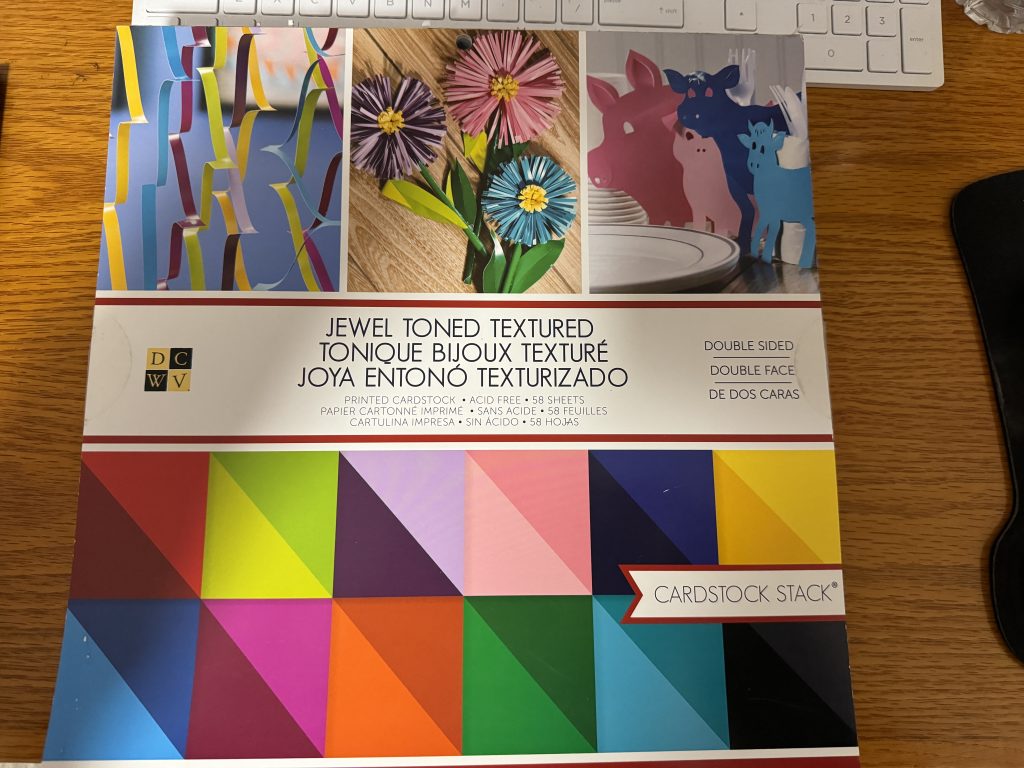
The base of these boxes is a single sheet of cardstock, about 12″ square. They come in a tablet of solid or decorative colors. They can be found at Michaels Craft Stores, JoAnn Fabric Stores or any craft store that caters to scrapbooking crafters.
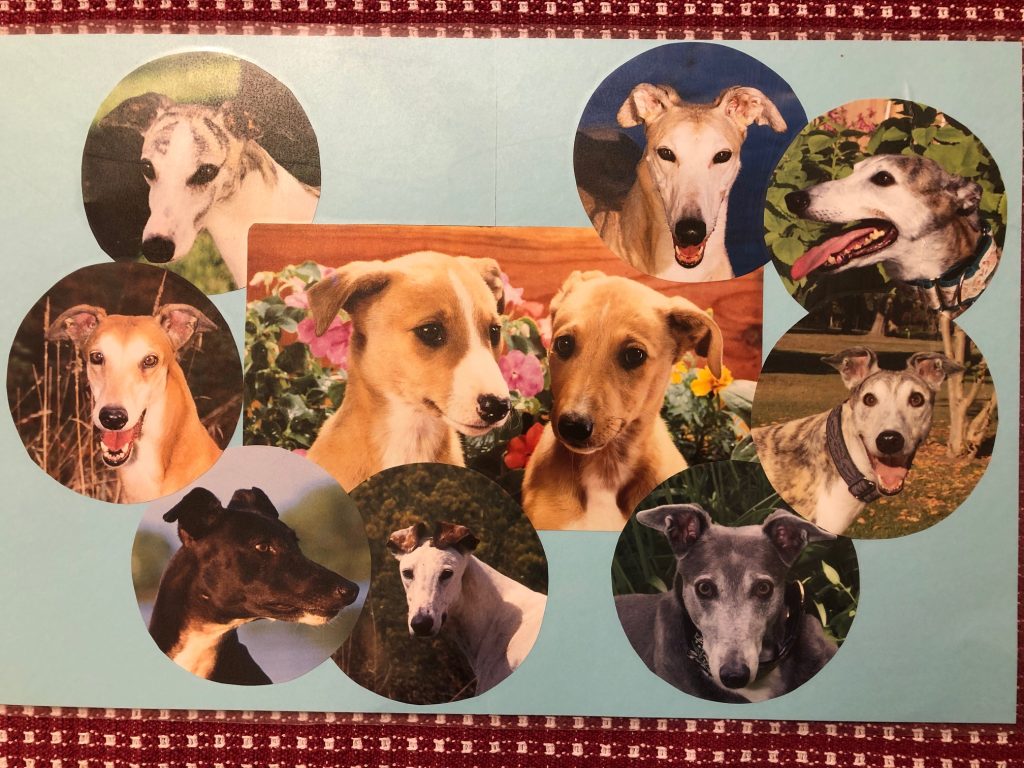
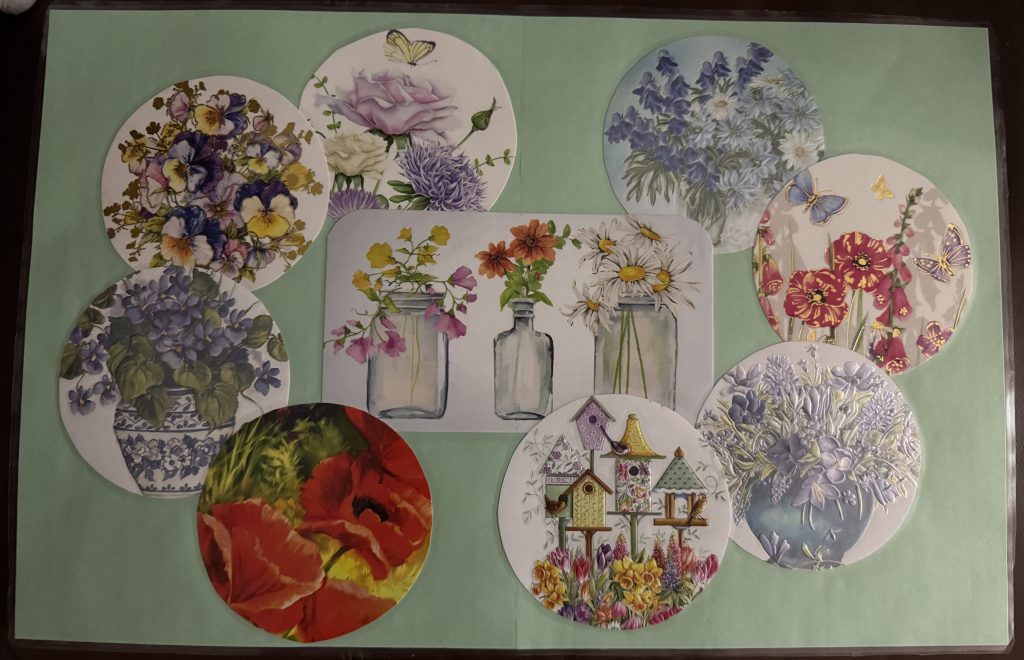
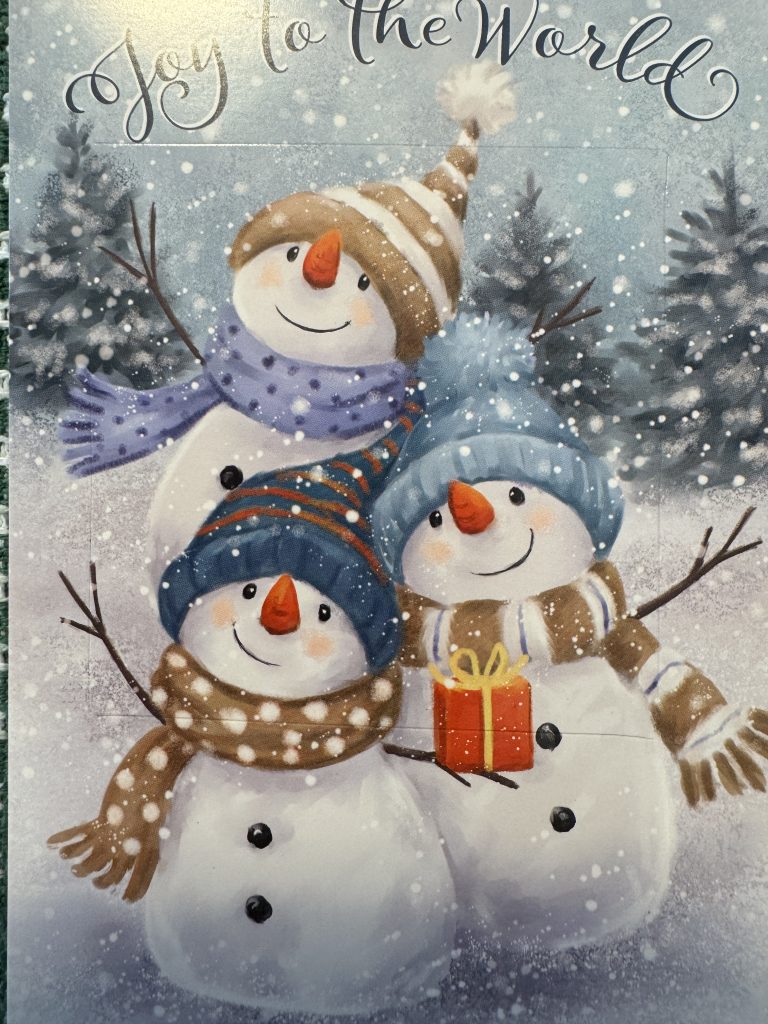
First, I chose four cards that would go together…a floral theme.
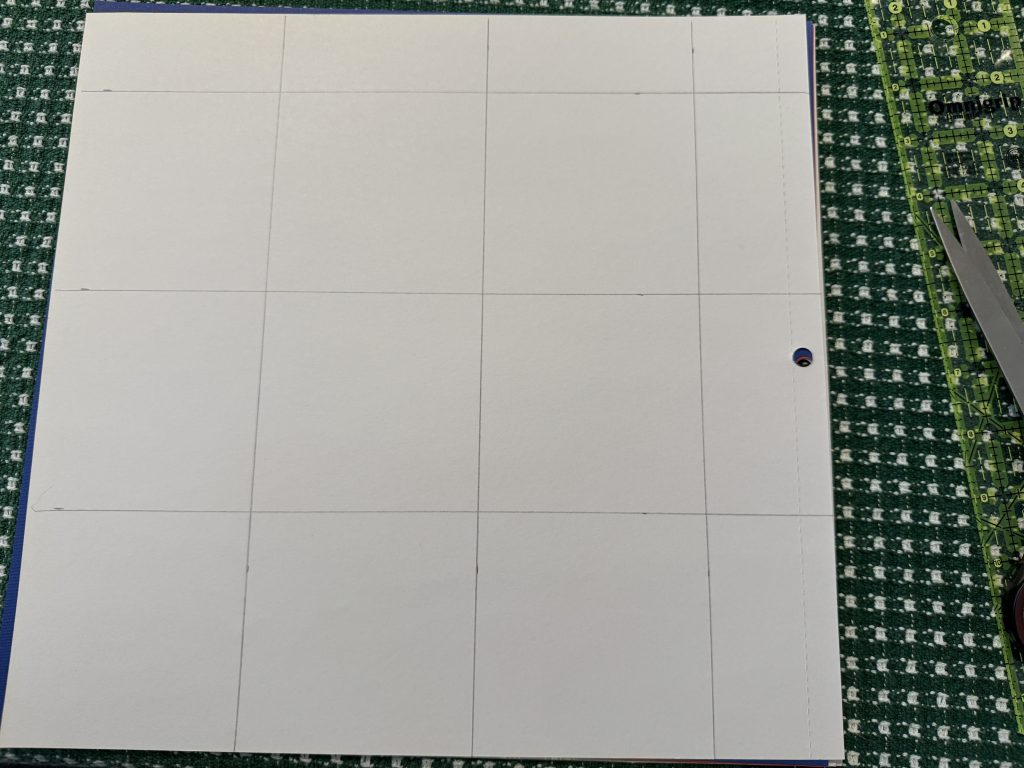
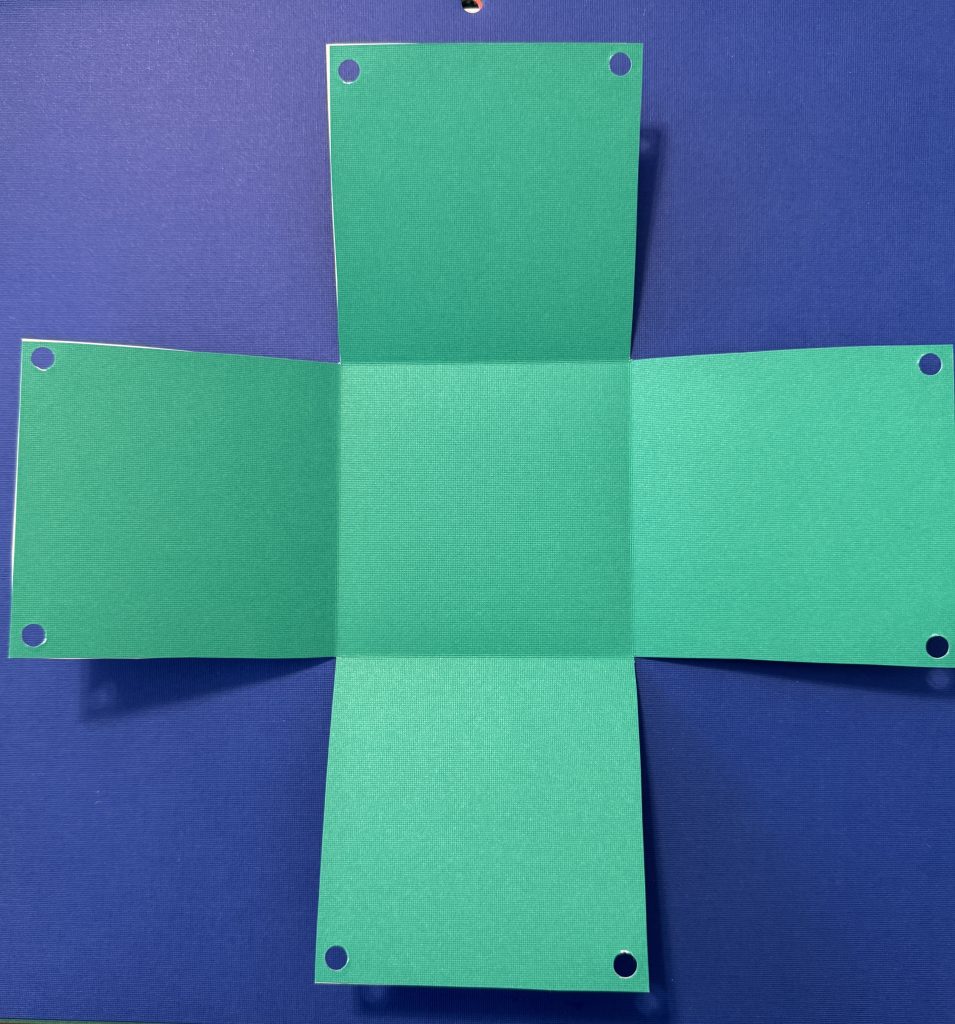
I pulled out a sheet of decorative green cardstock…white on the reverse side. The decorative green side will the inside of the box. The cardstock was not exactly 12″ x 12″ so instead of 4″ squares I had to make them 3 1/2″ squares. Here’s how I measured out the template:
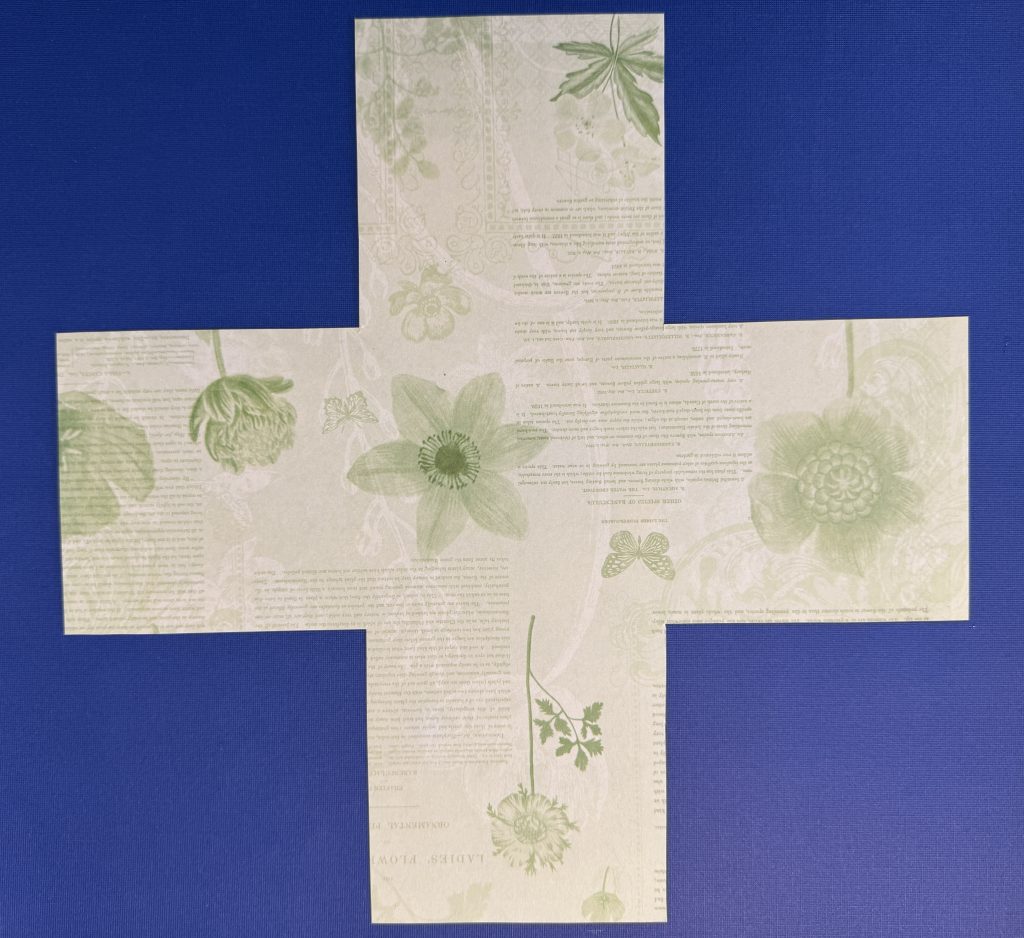
I trimmed off the top and side, then cut away the corner blocks. I saved a corner block to use as a template to mark the greeting cards. Here is what it looks like after cutting it apart:
Here is the reverse, which will be the inside of the box:
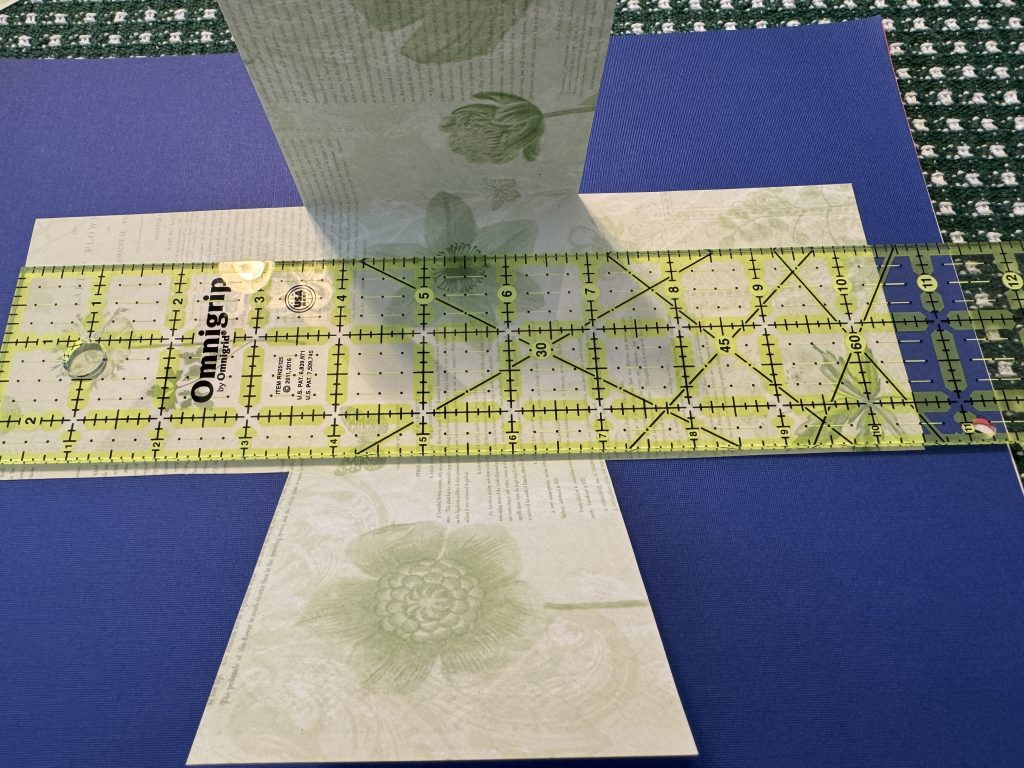
Next, I used my ruler to help me fold the four sides up:
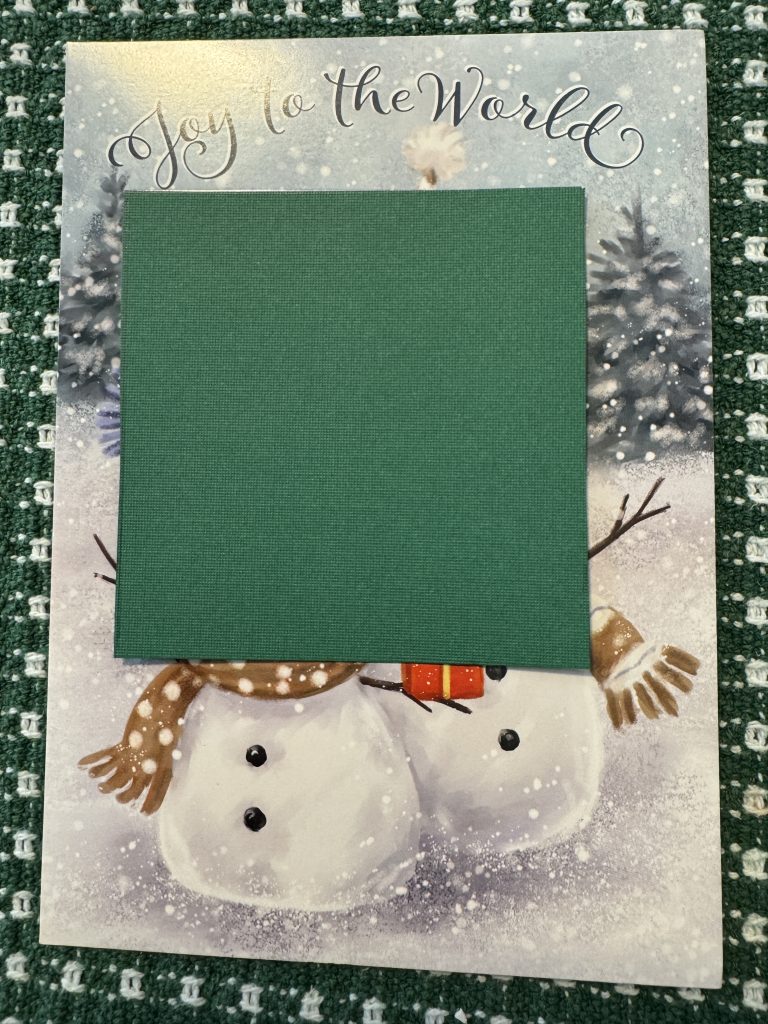
One of the corner pieces you cut out can be your template to draw the cut line on the pictures on the cards. Here’s an example from the snowman card I’ll use in the Christmas box:
Once you have all four cards/pictures cut, place them on the outside of the base cardstock, turning the pictures so they are right side up when you fold it into a box. Glue each picture down with a quick drying glue…I used my jewelry glue (B-7000 multipurpose glue).
When the glue is dry, punch holes in the top corners of each side:
Using a 14″ piece of 1/4″ skinny ribbon, tie each corner together to make the box.
This project looked like it would be a good way to use up my stash of greeting cards…these four boxes used 16 cards! If I waited to tie them into boxes, I think I could store them flat until I needed a box. I’ll add this project to my list of ways to make gift boxes! Give it a try! Could be a project for kids and grandkids and you could recycle all those cards that come in the mail! Enjoy!