This is a repost of an article I wrote exactly 3 years ago today. I would not have remembered it but Facebook reminded me about it! The pictures were just too cute to not share again!
September 18, 2021
I pulled out my recipes today to make some Italian bread. It’s been a while so when I found the recipe I was reminded of my sister-in-law, Patty…my big brother’s first wife. She was a real sweetheart and my mentor when I started my own family. Here’s an early picture with two of their kids, Eric and Pam. Paul, Todd and Teresa rounded out their family by the early 1980’s. We were sorry to lose her in 1984, but my memories keep her in my heart to this day.

In 1980, Ted, Kathy and I spent a few days with my brother’s family on the farm in northern Pennsylvania. We borrowed my sister’s motor home while she was out of town and had an adventure going to Uncle Mark’s farm.

Ted was four and a half and Kathy was three. Such sincere smiles!
We parked the motor home in the backyard of the farm house and enjoyed visits with the barn cats and the cousins. Early on the first morning, we were awakened by the neighbor’s sheep. What a surprise to look out the window and see we had been surrounded by a whole flock of sheep! That was the beginning of our adventure!
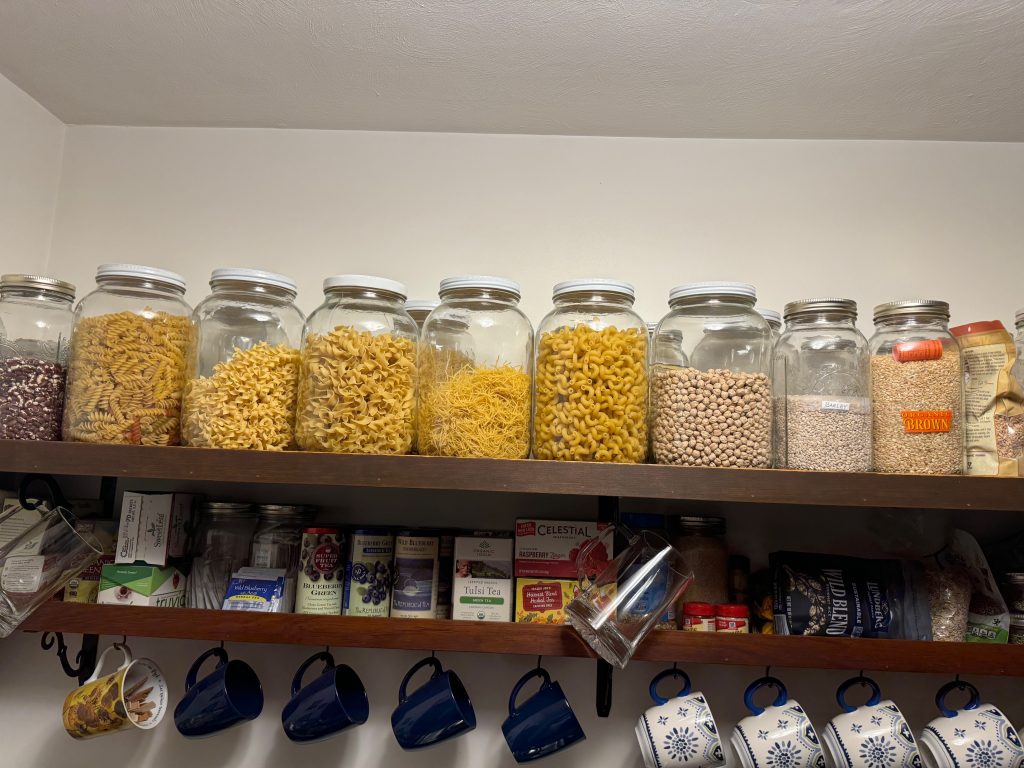
Of course, this post is about making Italian bread so let me just say every time I make this recipe, I’m reminded of those days visiting the farm. Patty was always baking something and I was inspired by her ability to whip out this Italian bread or homemade Pizza crust in a flash. We had many conversations about baking with whole wheat flour and making our own yogurt. Great memories!
So, here is the recipe for her Italian bread:

When I make bread, I often start with the liquid ingredients and then add flour. This recipe started with all the flour in the bowl and then added the liquid ingredients. I had forgotten this, but it worked out just fine.
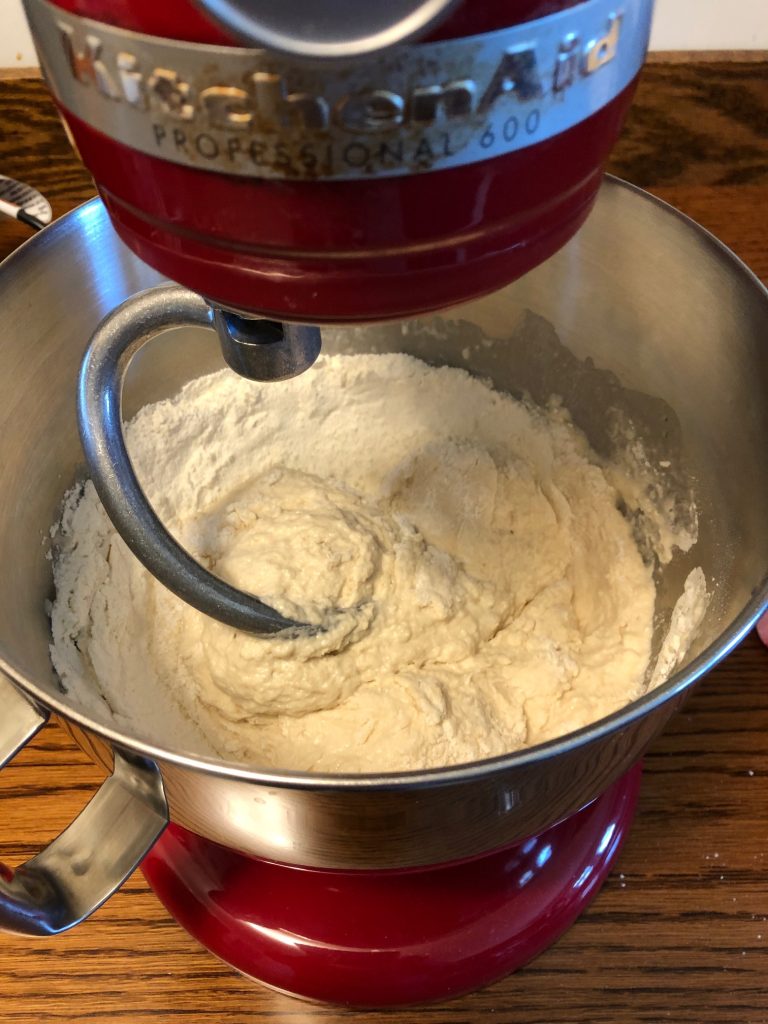
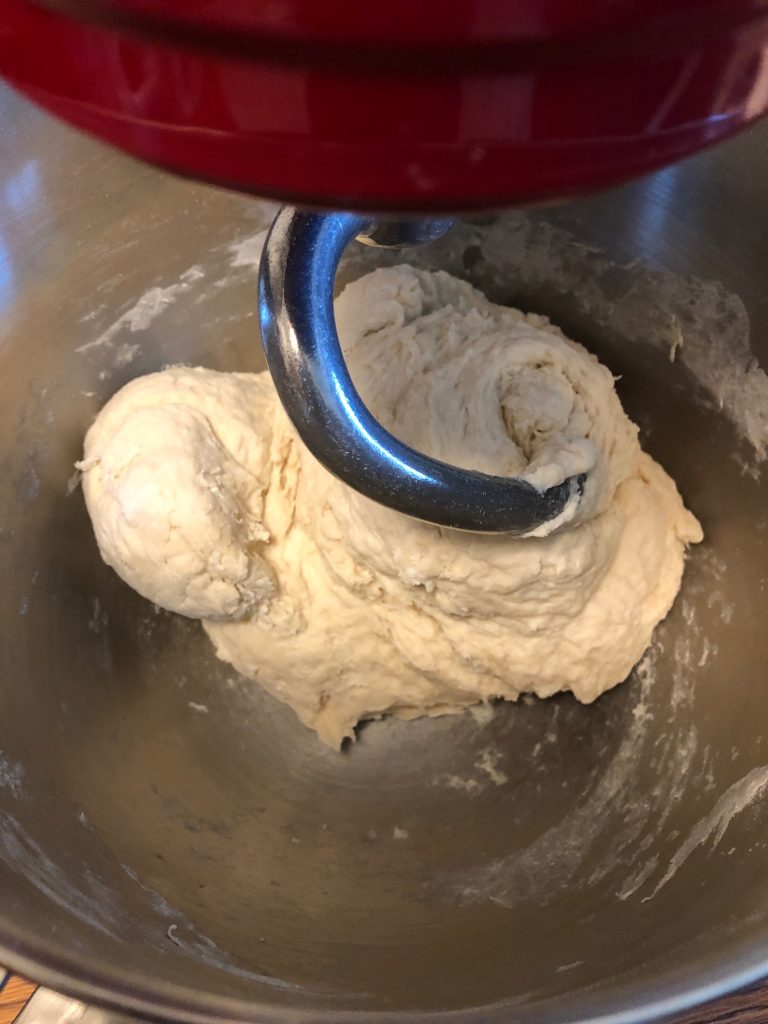
At this point, I dumped the dough out onto the floured table, gave it a few “kneads” and put it in a bowl to rise.
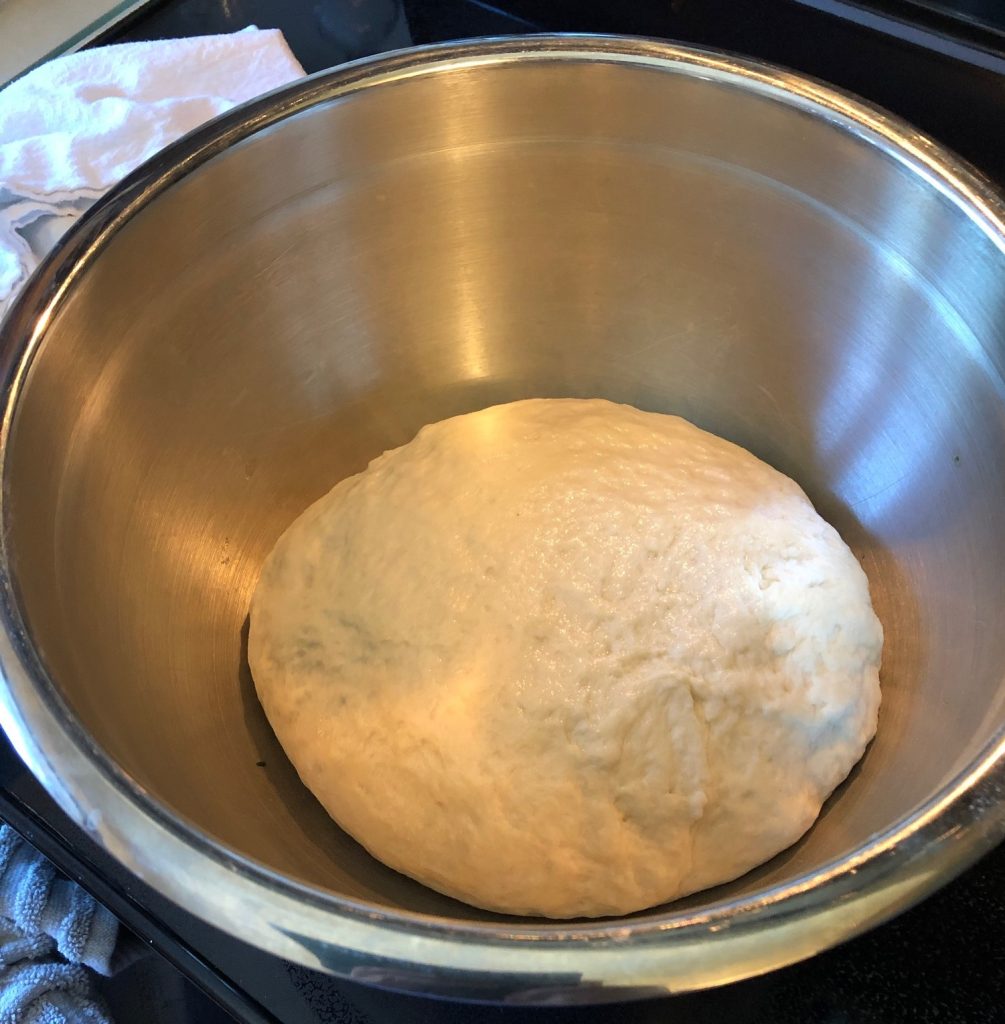
An hour later, the dough had raised to the top of the bowl.

I shaped it into two long loaves and let it raise on the pan.

In 20 minutes the whole kitchen smelled great!
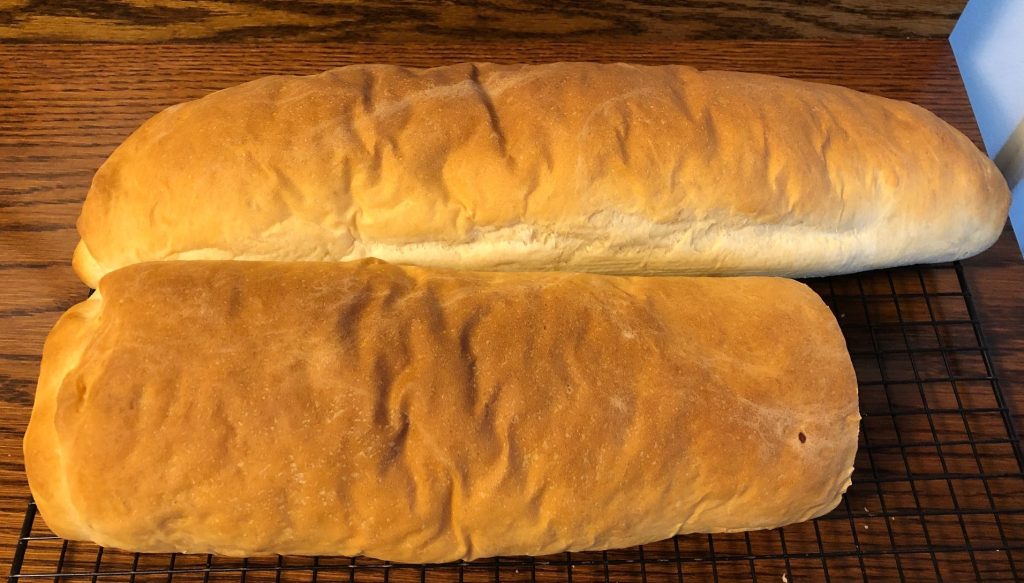
Of course, before I could get a picture of the loaves, SOMEONE had to have a chunk!
So that’s the story of Patty’s Italian bread recipe, memories and all! Enjoy!