Now that I’m searching for recipes using zucchini, I notice I’m hearing from friends that Zucchini Bread is something I should try. I found the following recipe on https://www.allrecipes.com. Of course, I had to reformat it into my favorite layout (which is based on the layout from Joy of Cooking). Instead of a list of ingredients at the beginning, the ingredients are listed as part of the instructions. With a glance down the recipe, I can see the list of ingredients in the order they are needed.
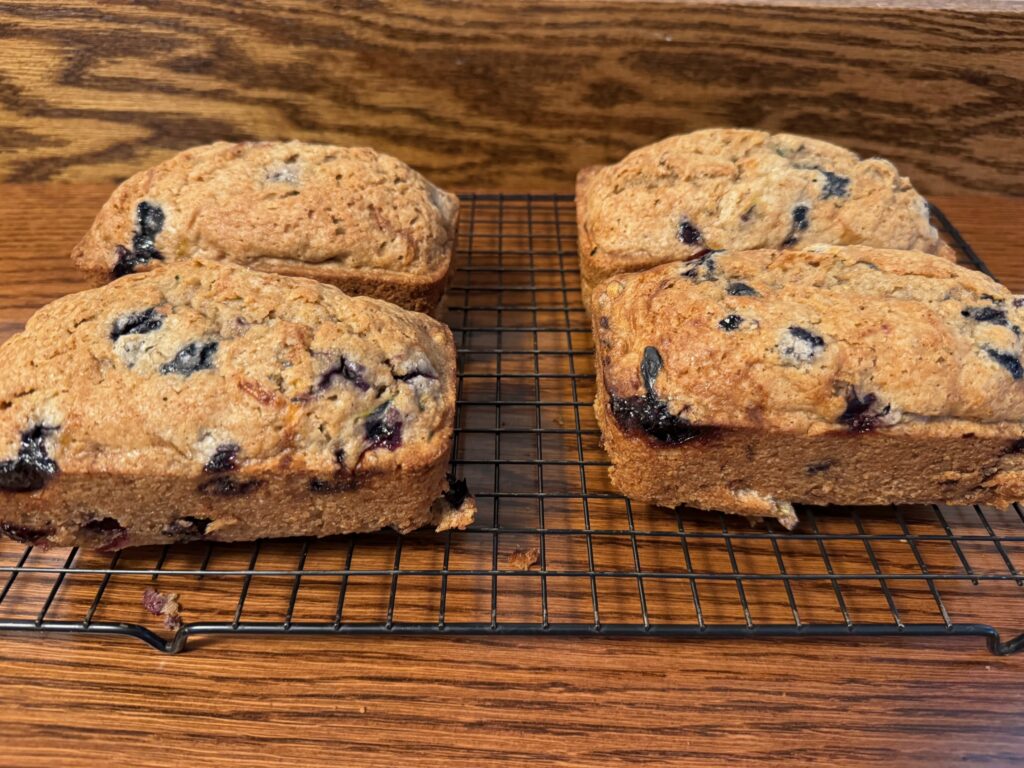
This recipe made 4 mini loaves of bread. The first time I made the recipe I tried muffins. That worked great, but I baked them about 5 minutes too long and they were pretty firm. Luckily, they still tasted great!
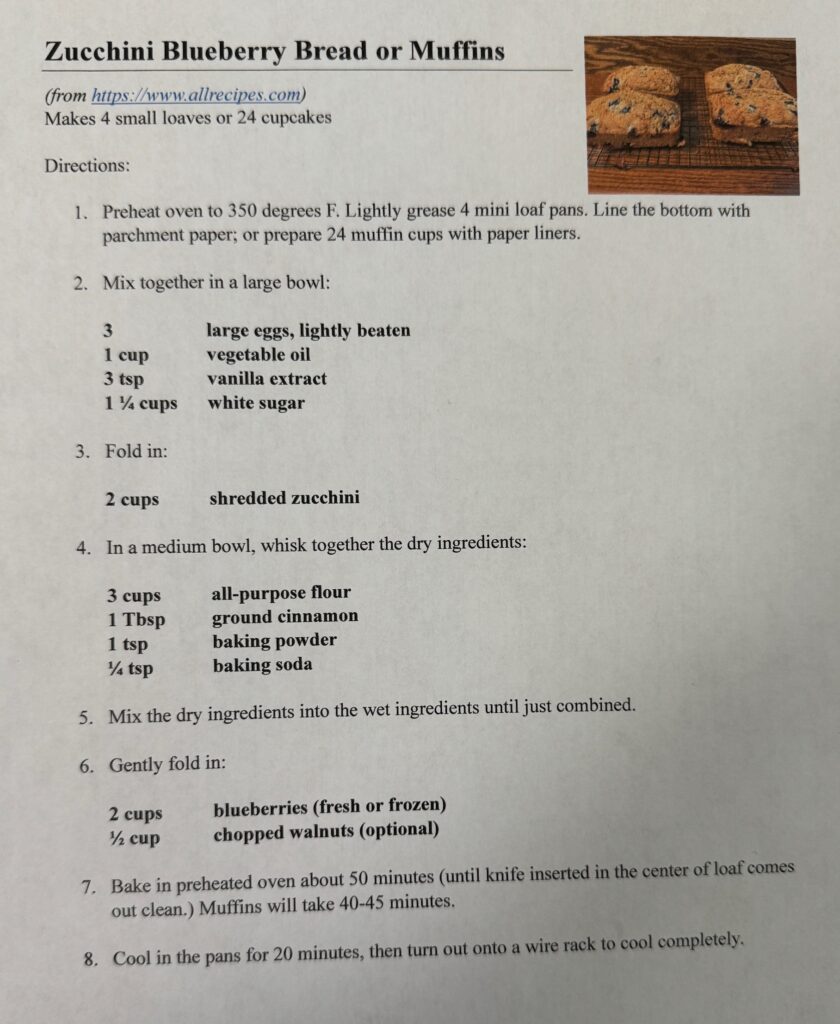
Here is the recipe:
First, I usually preheat the oven just as I begin assembling the ingredients. I did spray the mini loaf pans with oil (after baking I discovered the bottom of the pans really needed parchment paper to keep it from sticking). Muffin papers in the muffin pan really helped too.
Prepping Ingredients
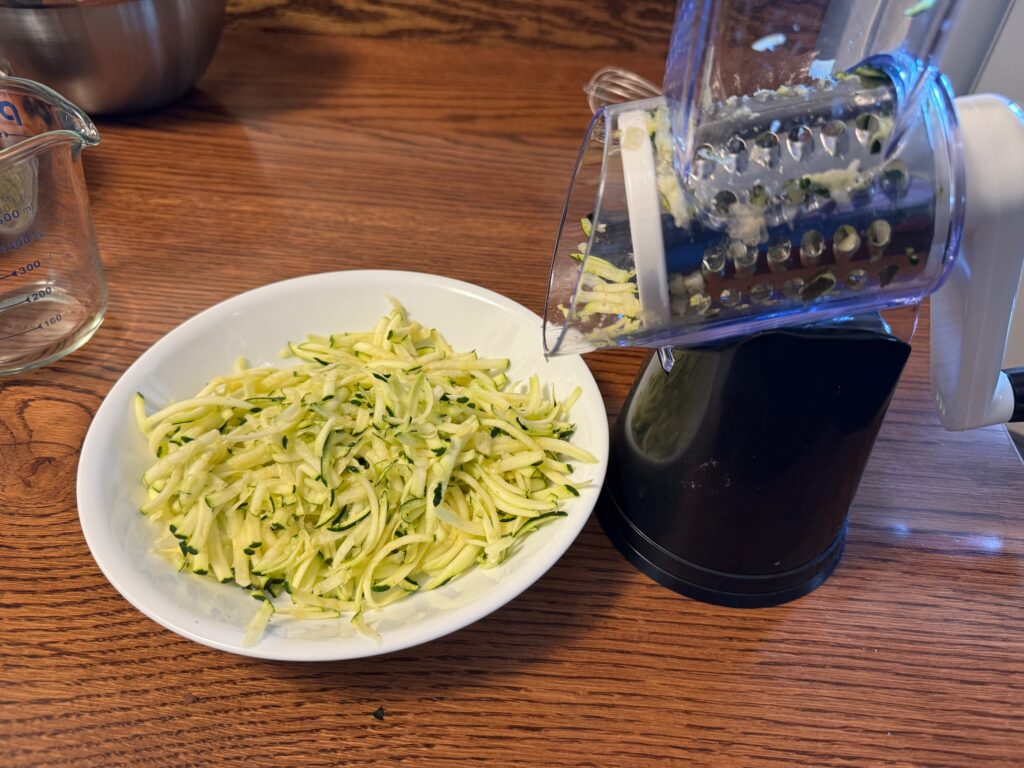
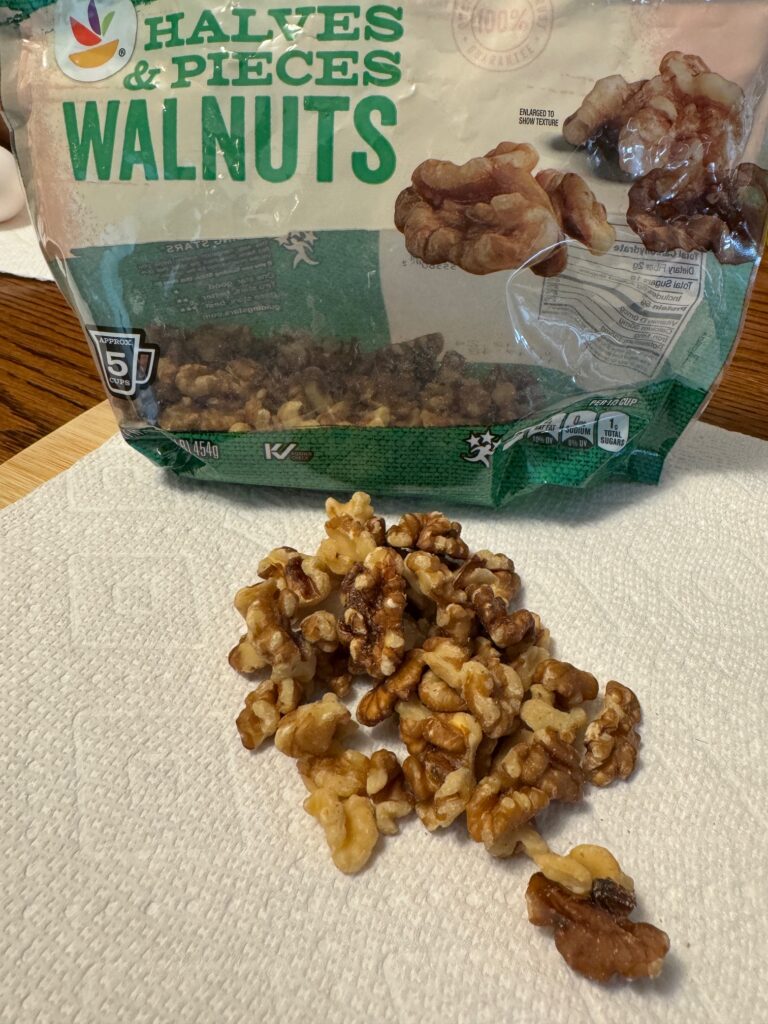
When I look at a recipe like this and glance down the ingredient list, I see I’ll need to have 2 cups of shredded zucchini and 1/2 cup of chopped walnuts ready to go. I end up prepping them before I begin assembling the recipe.
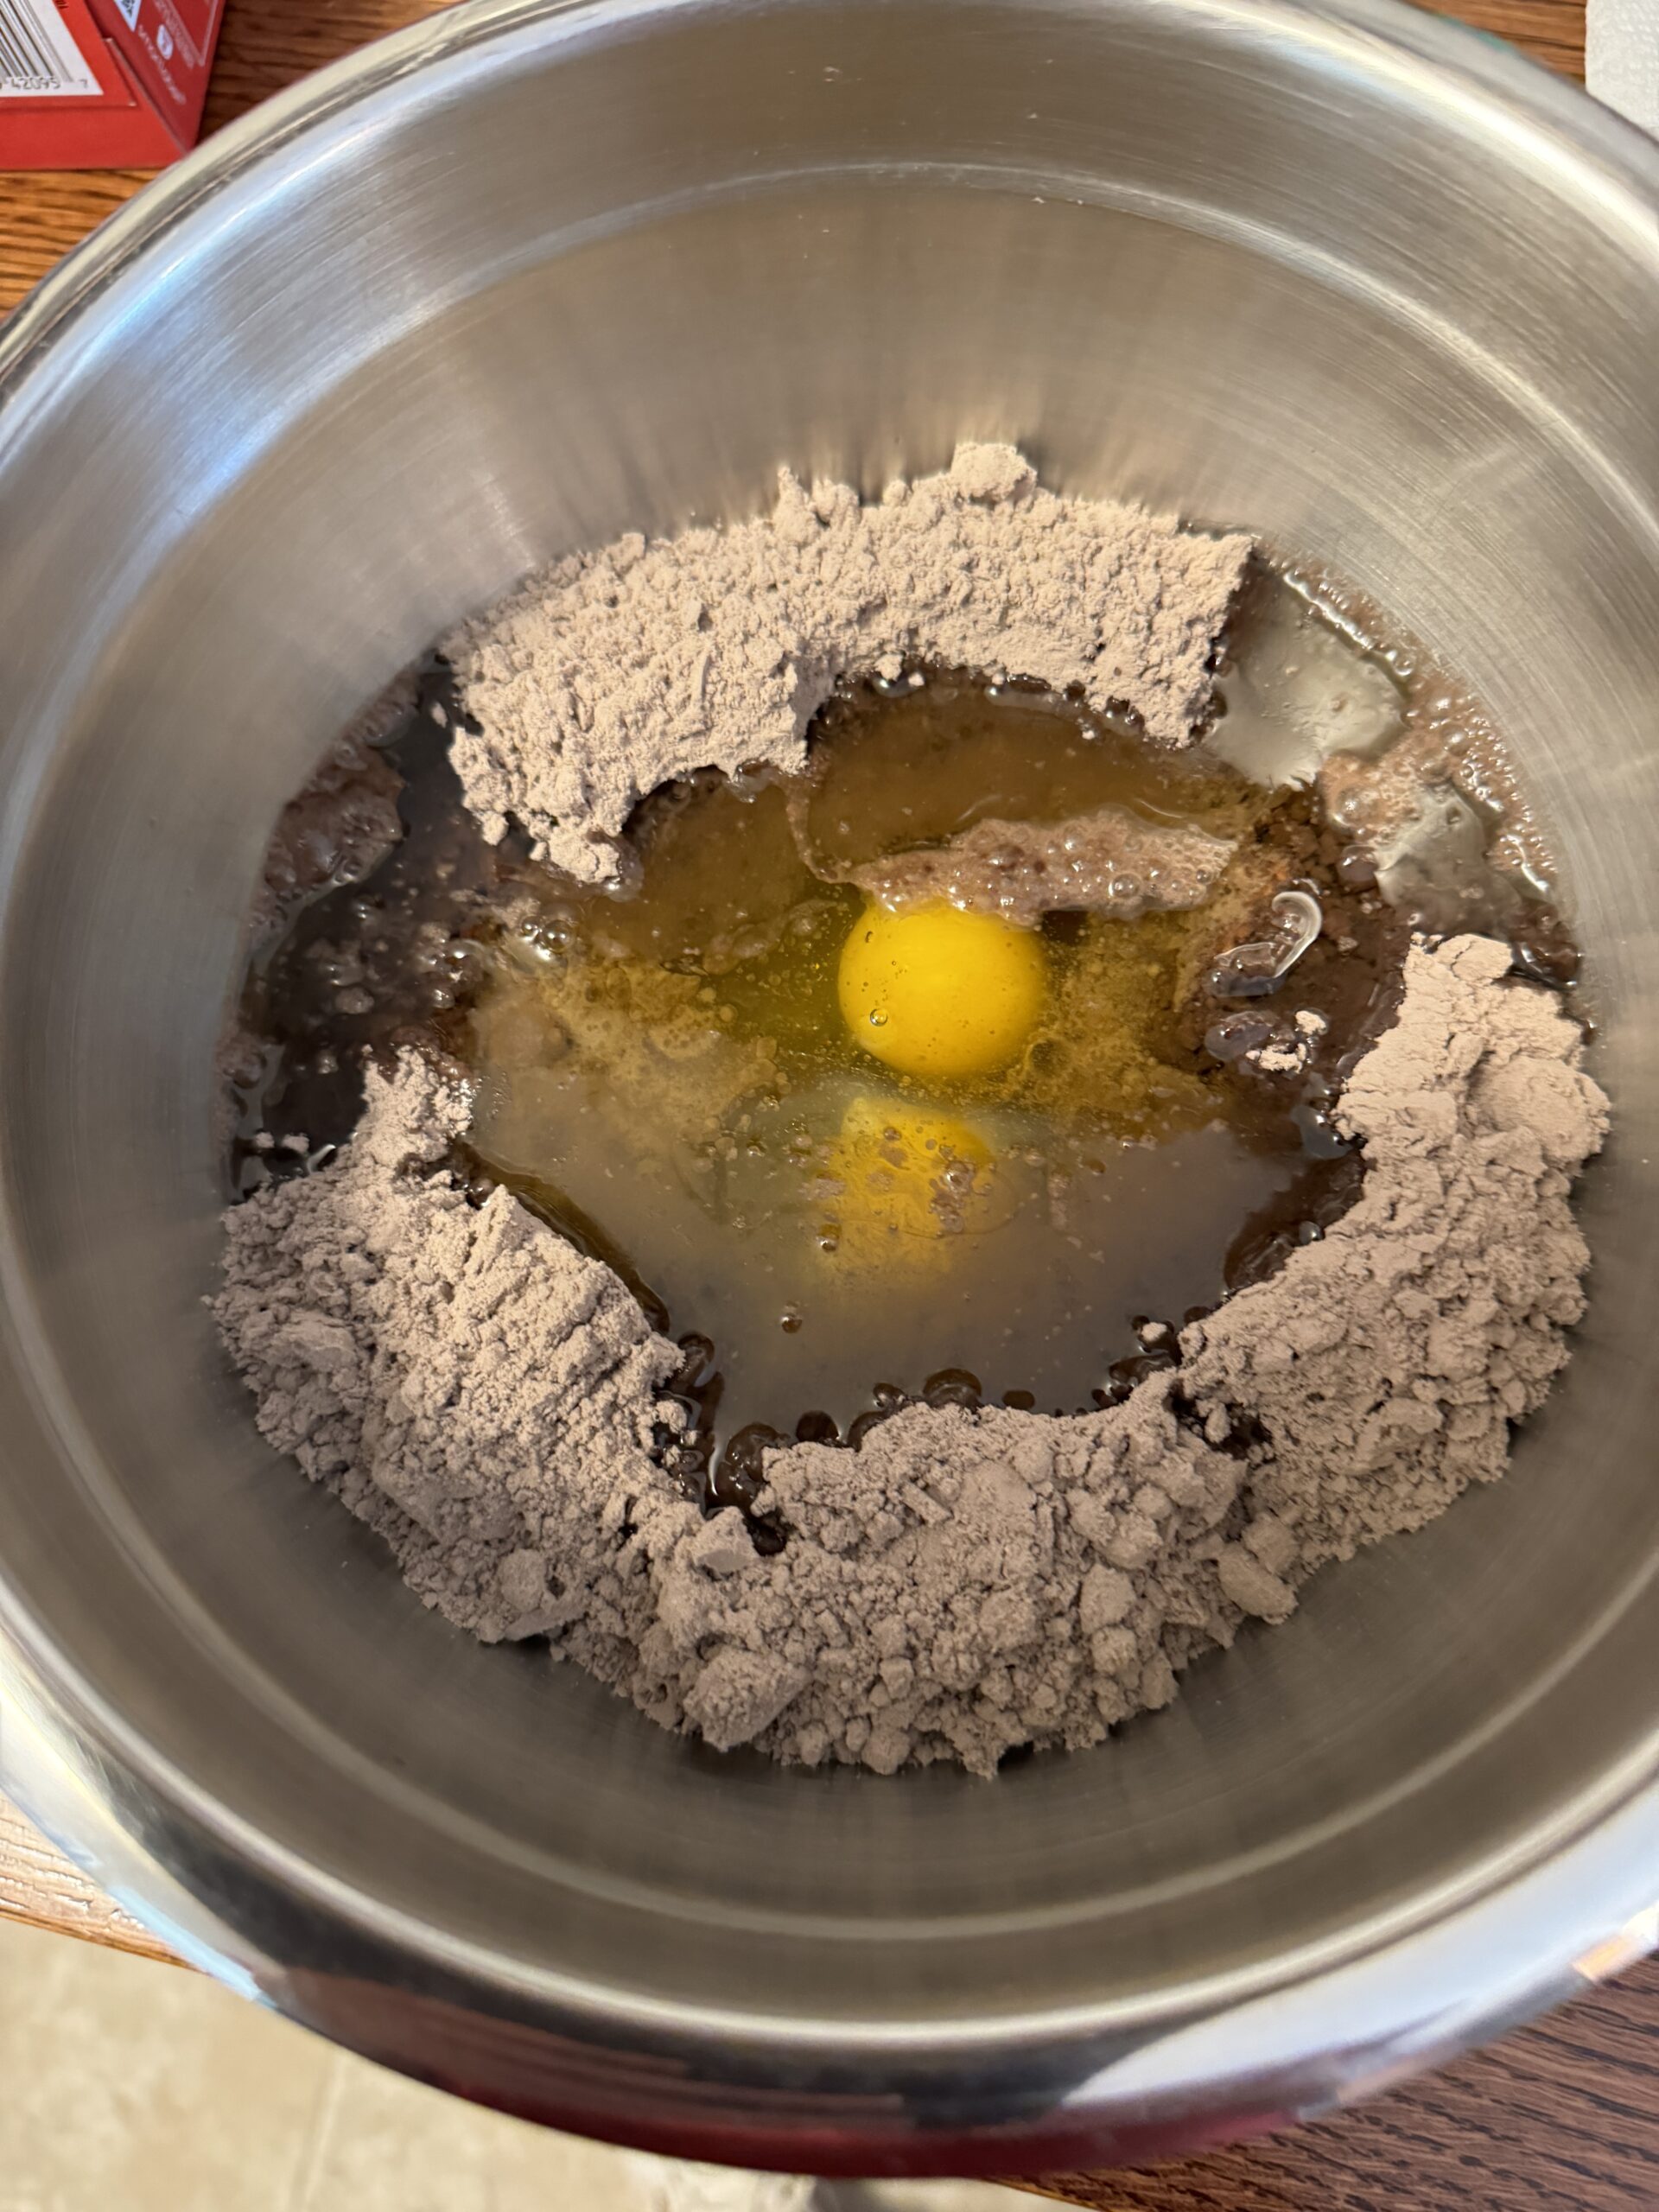
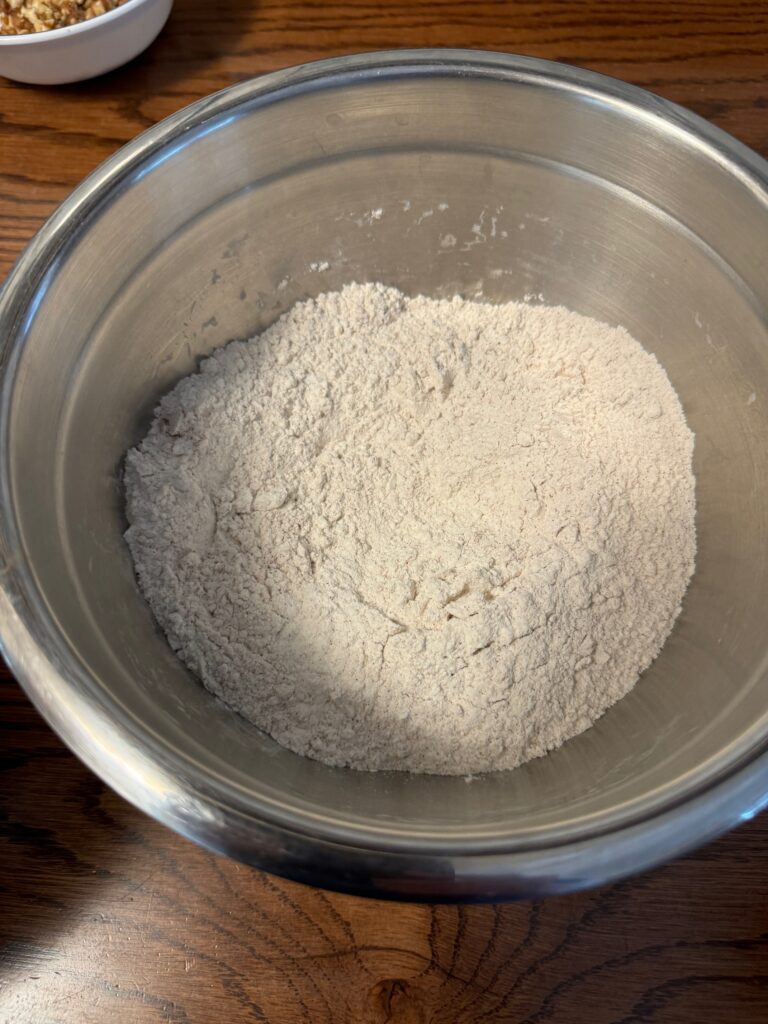
Next, I assemble the dry ingredients in a separate bowl:
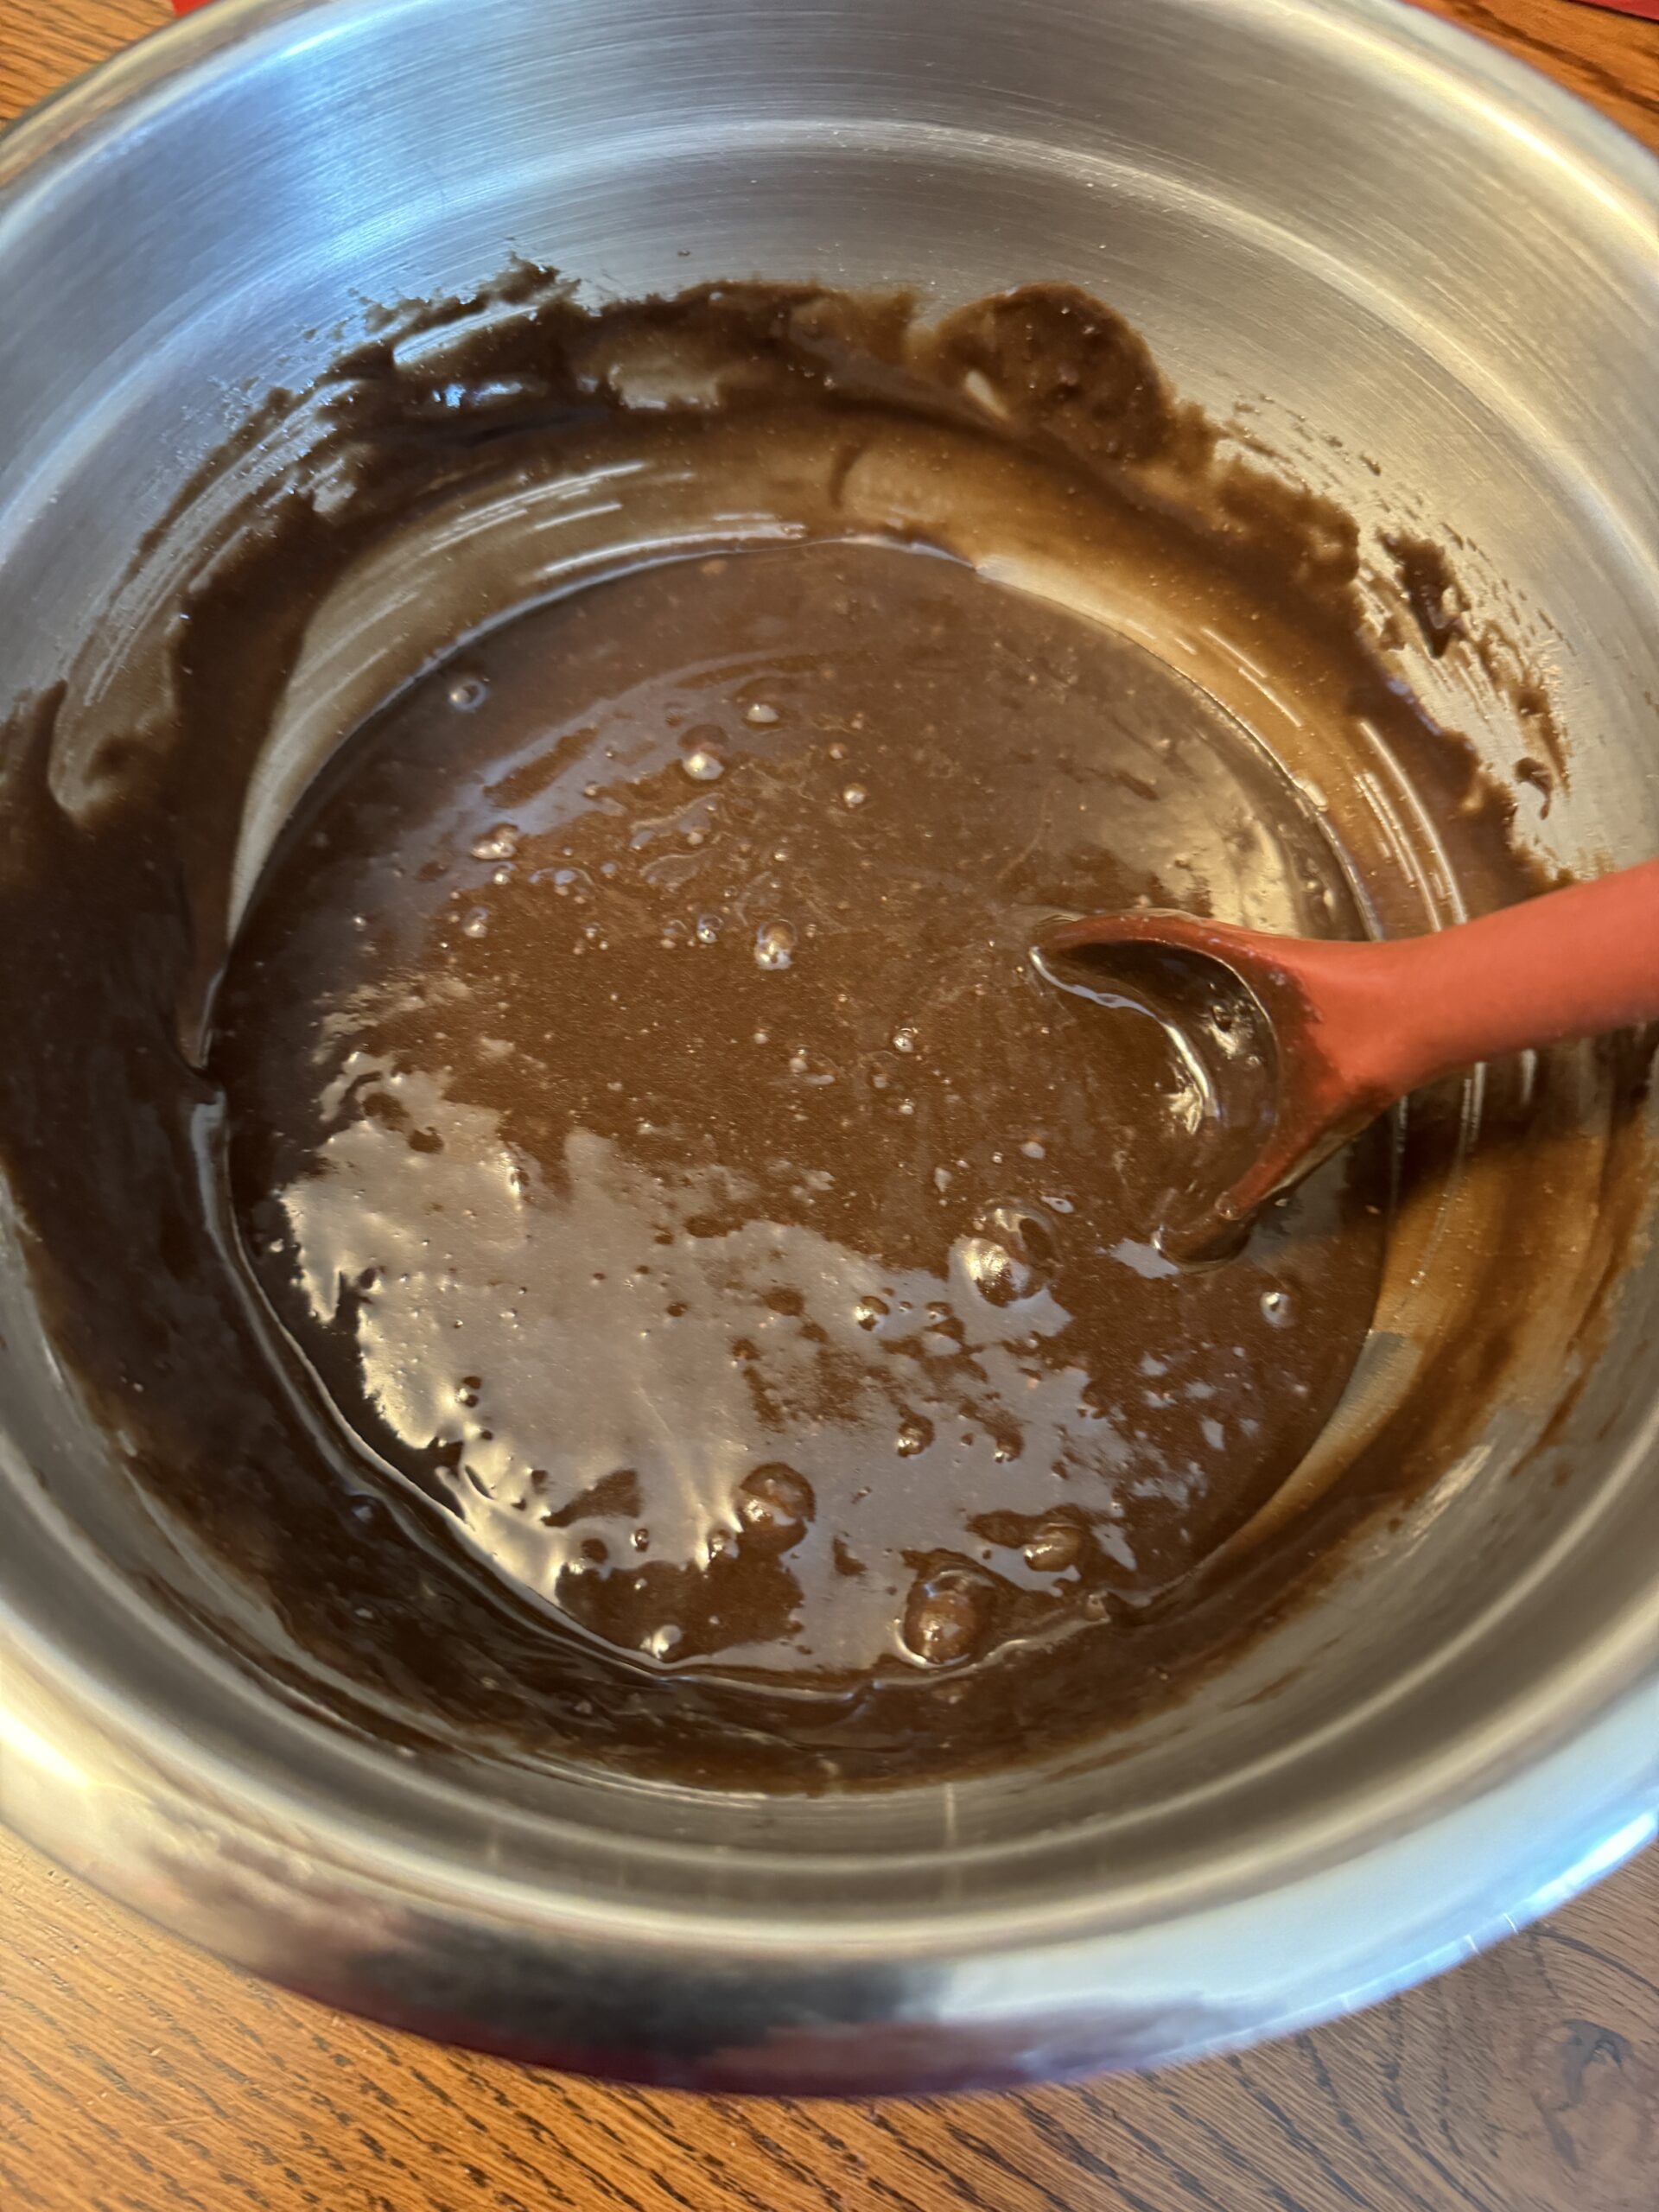
Mixing Up the Batter
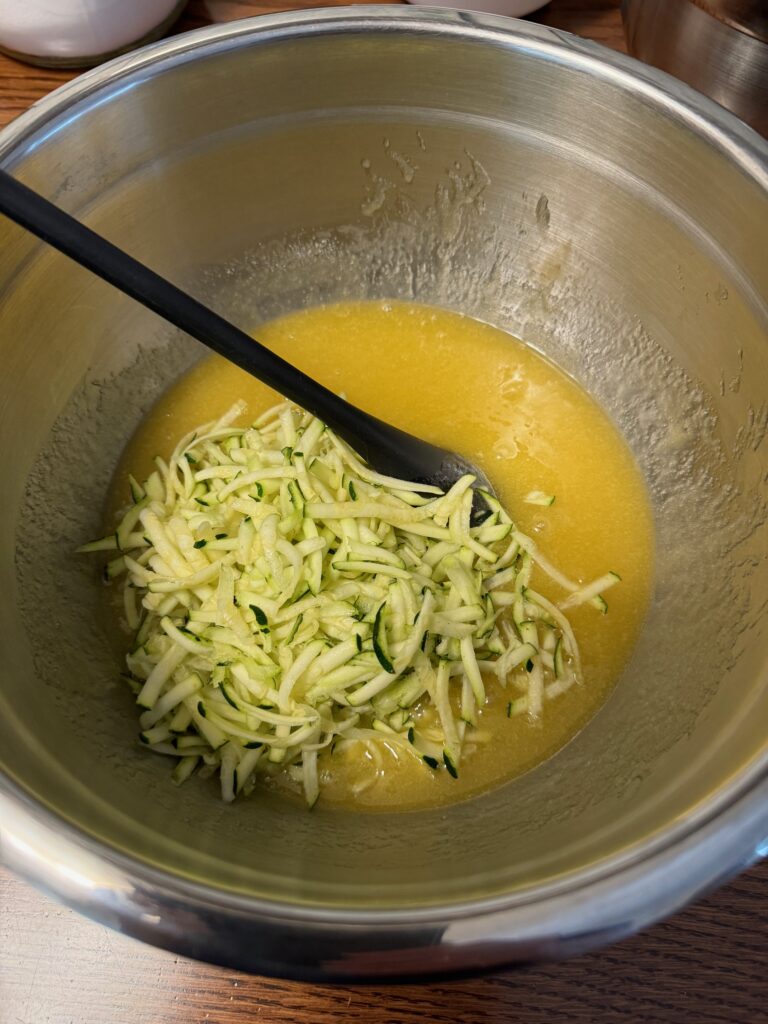
I now continue with Step 2…assembling the wet ingredients…eggs, oil, vanilla and sugar. (This is when I preheat the oven.)
The zucchini is prepped and ready to fold in:
Dry ingredients are ready to mix in also (see bowl above).
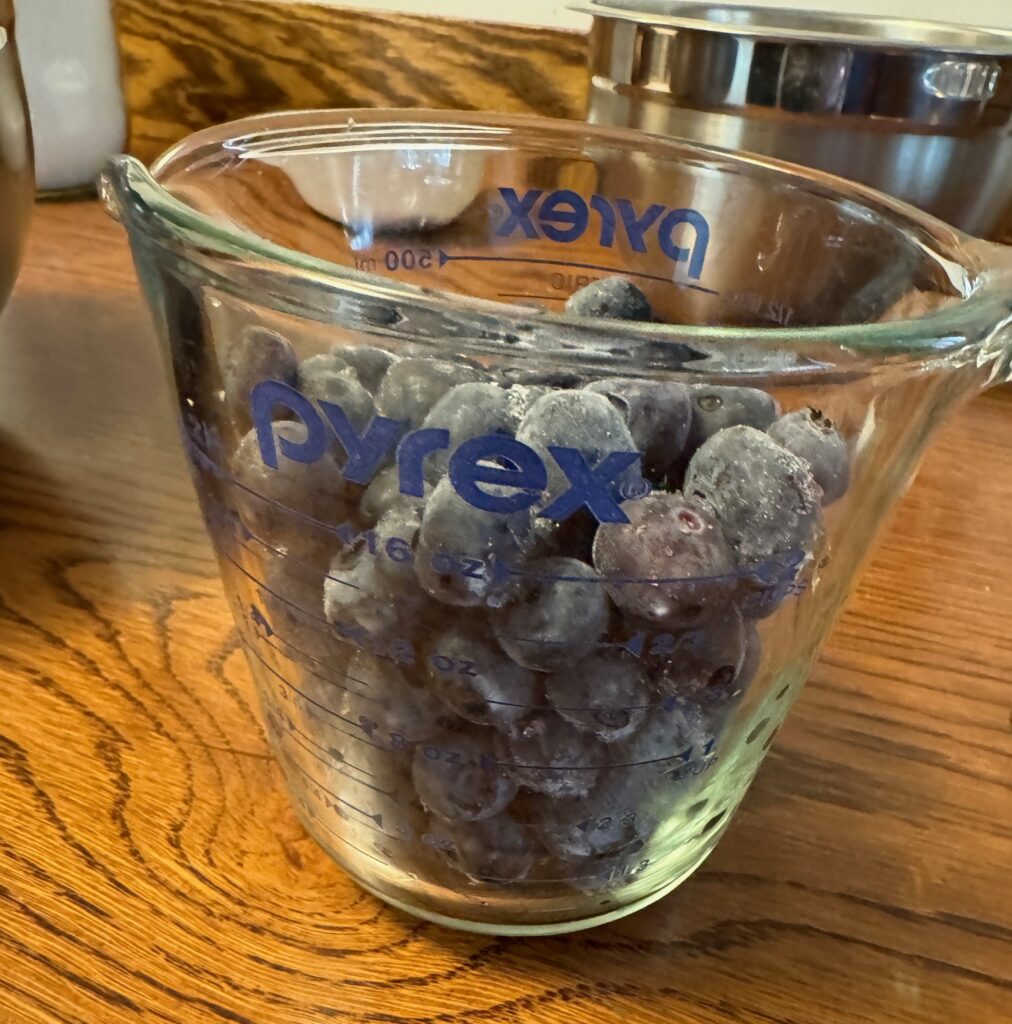
Finally, I pull the frozen blueberries out of the freezer, measure 2 cups and mix them into the bread…still frozen. Fresh berries are fine also but when they are frozen, they are not as delicate and I can really mix them in.
(NOTE: Walnuts are added last (or not at all!) I love them, but not everyone can eat them. When I make bread where I know I’m going to gift it to a neighbor who can’t have nuts, I measure out their loaf or muffins first, then add the walnuts for the rest of us.)
Finally, I spoon the thick batter into the mini loaf pans or muffin cups and bake the bread about 50 minutes. Muffins will probably be done in 45 minutes.
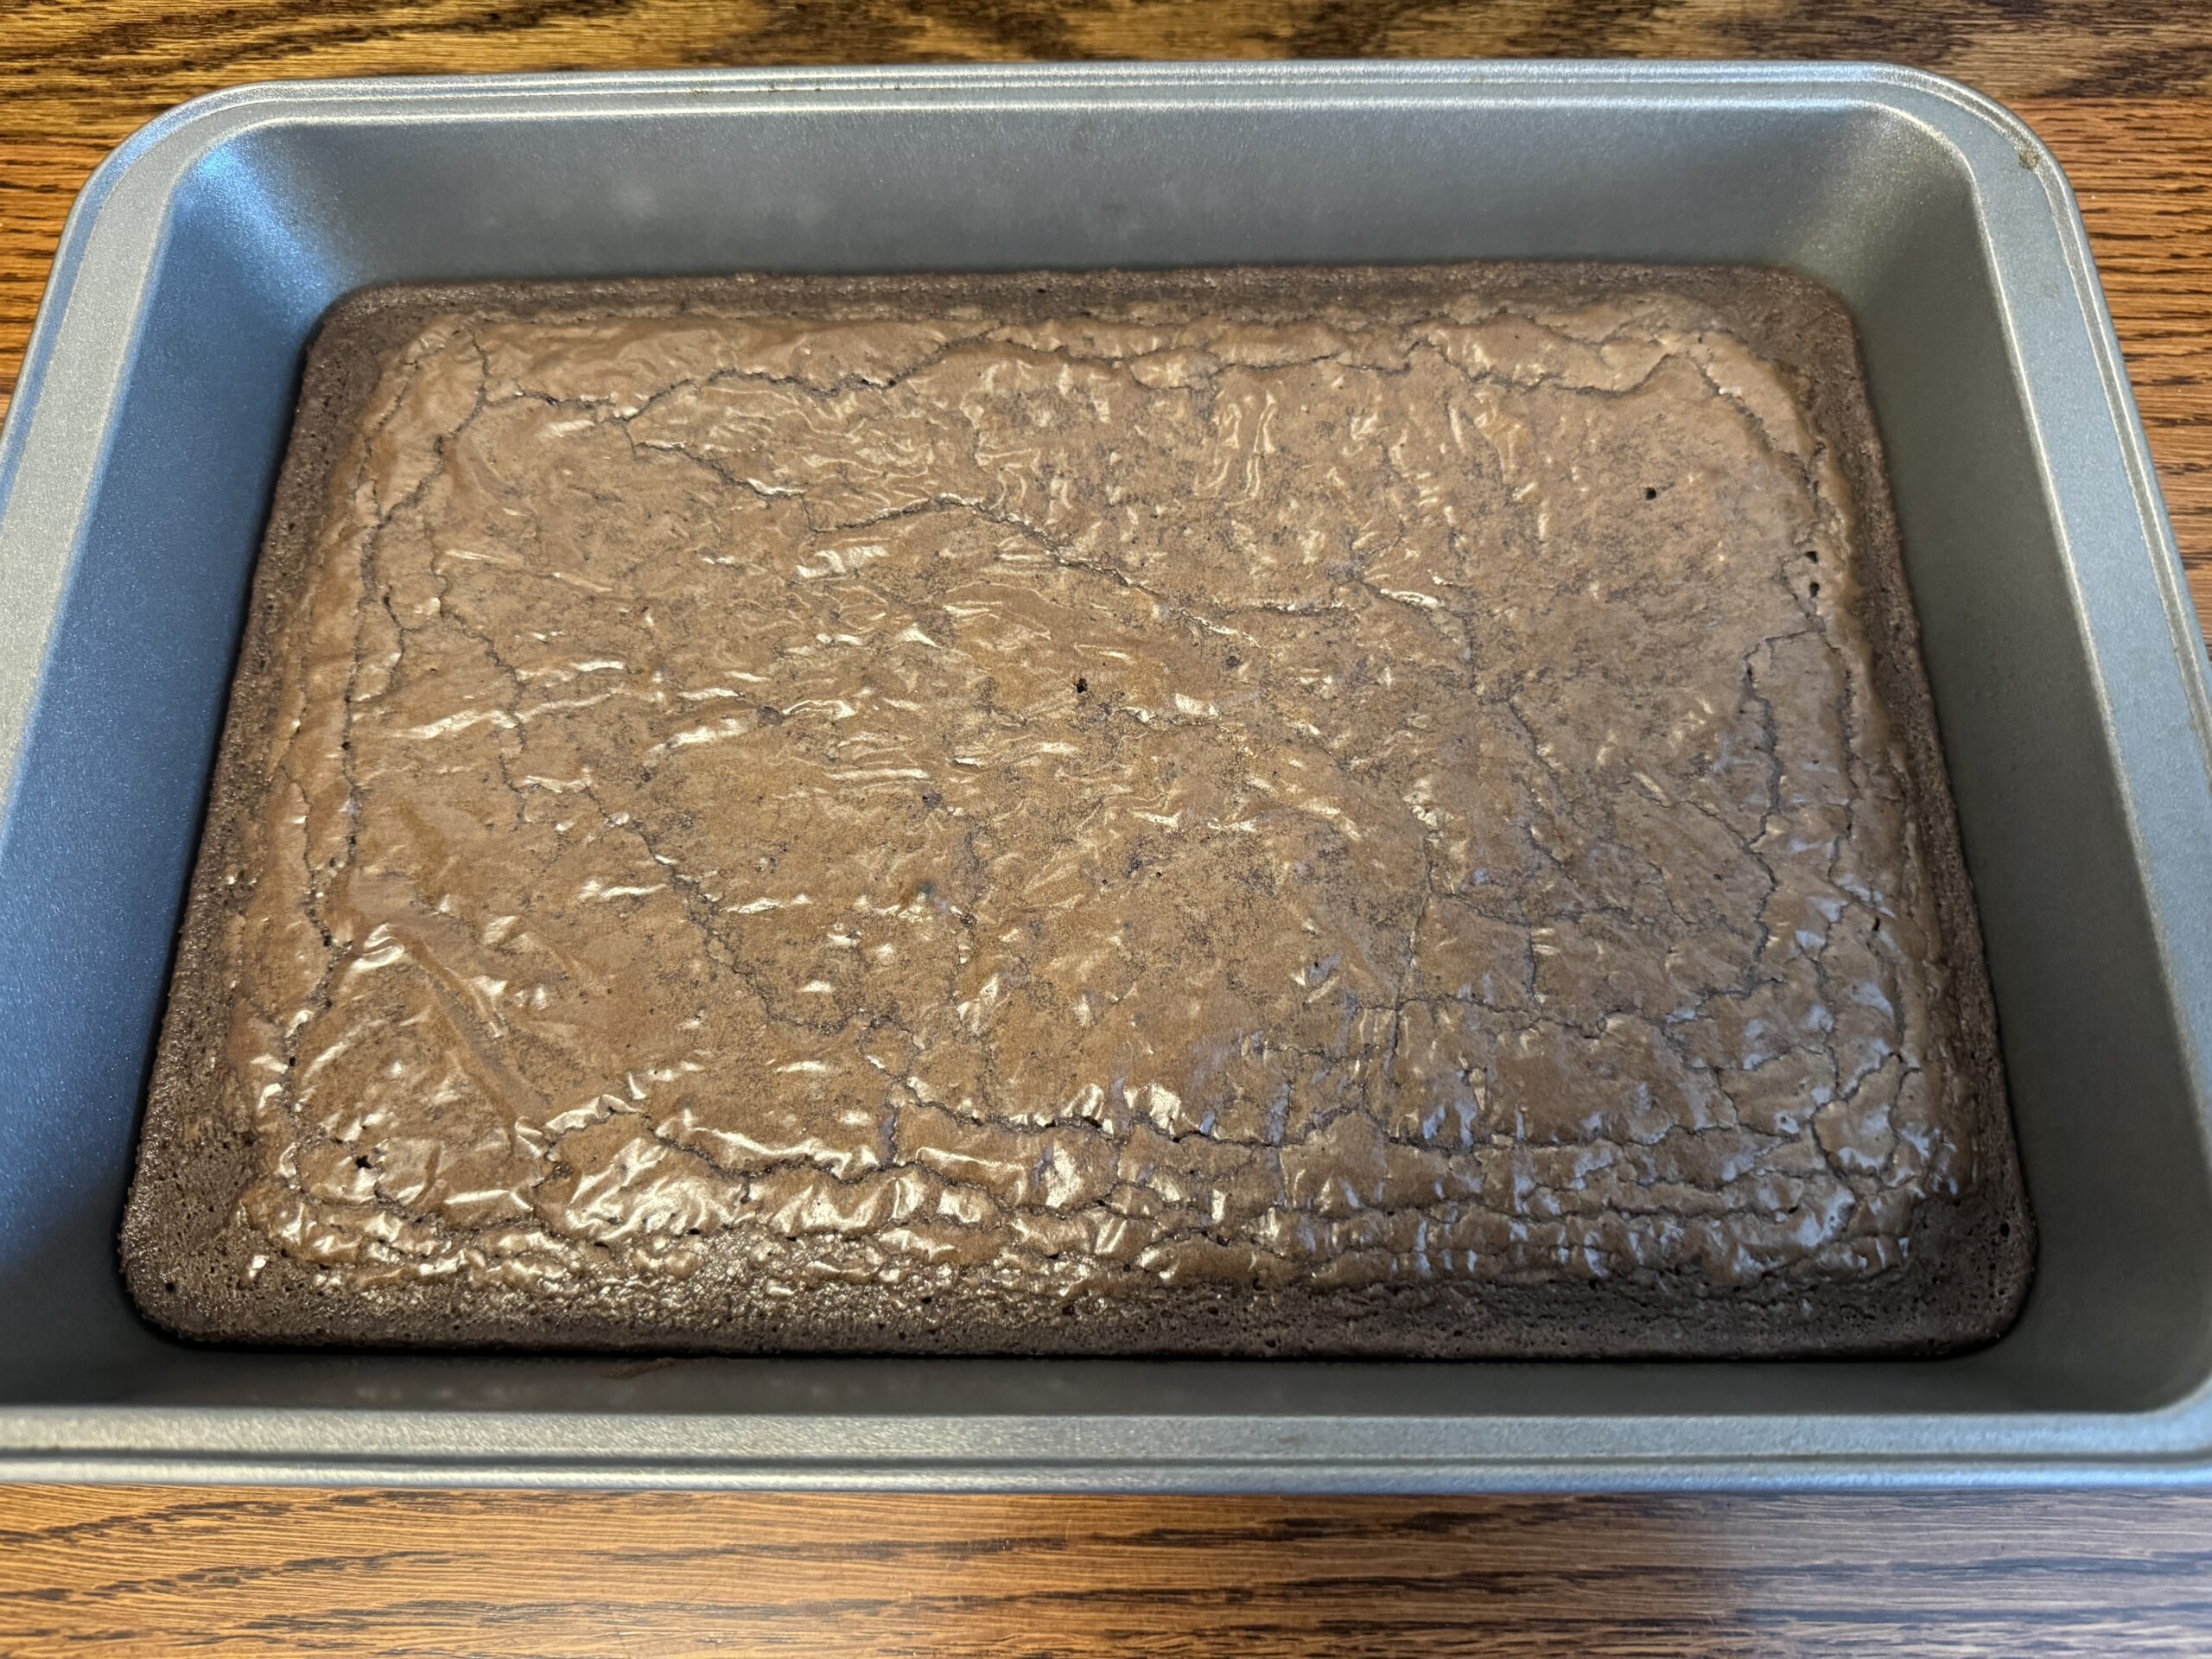
FYI…this is what happened when I tried to get the bread out of the pan (thus the suggestion to also use parchment paper on the bottom):
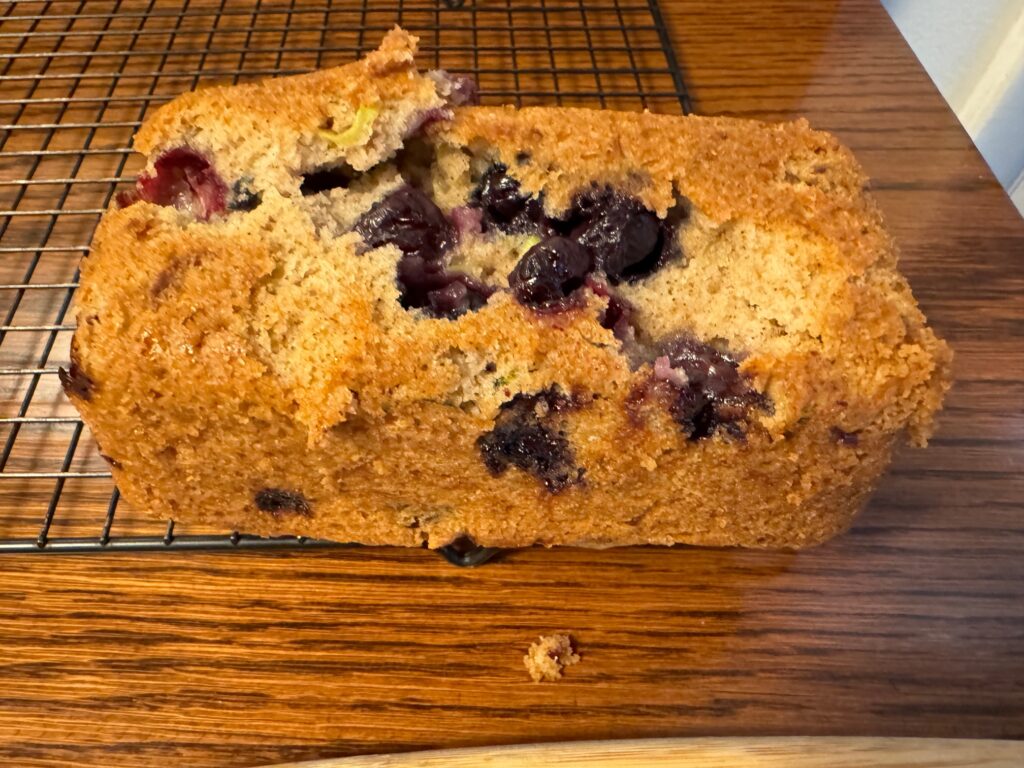
Luckily when I turned them over, they didn’t look too bad from the top! And they tasted great!
I think I’ll stick with muffins! Of course, in my quest to find ways to use up zucchini, this recipe used only ONE zucchini, but made 4 loaves of bread or 24 cupcakes!! Enjoy!