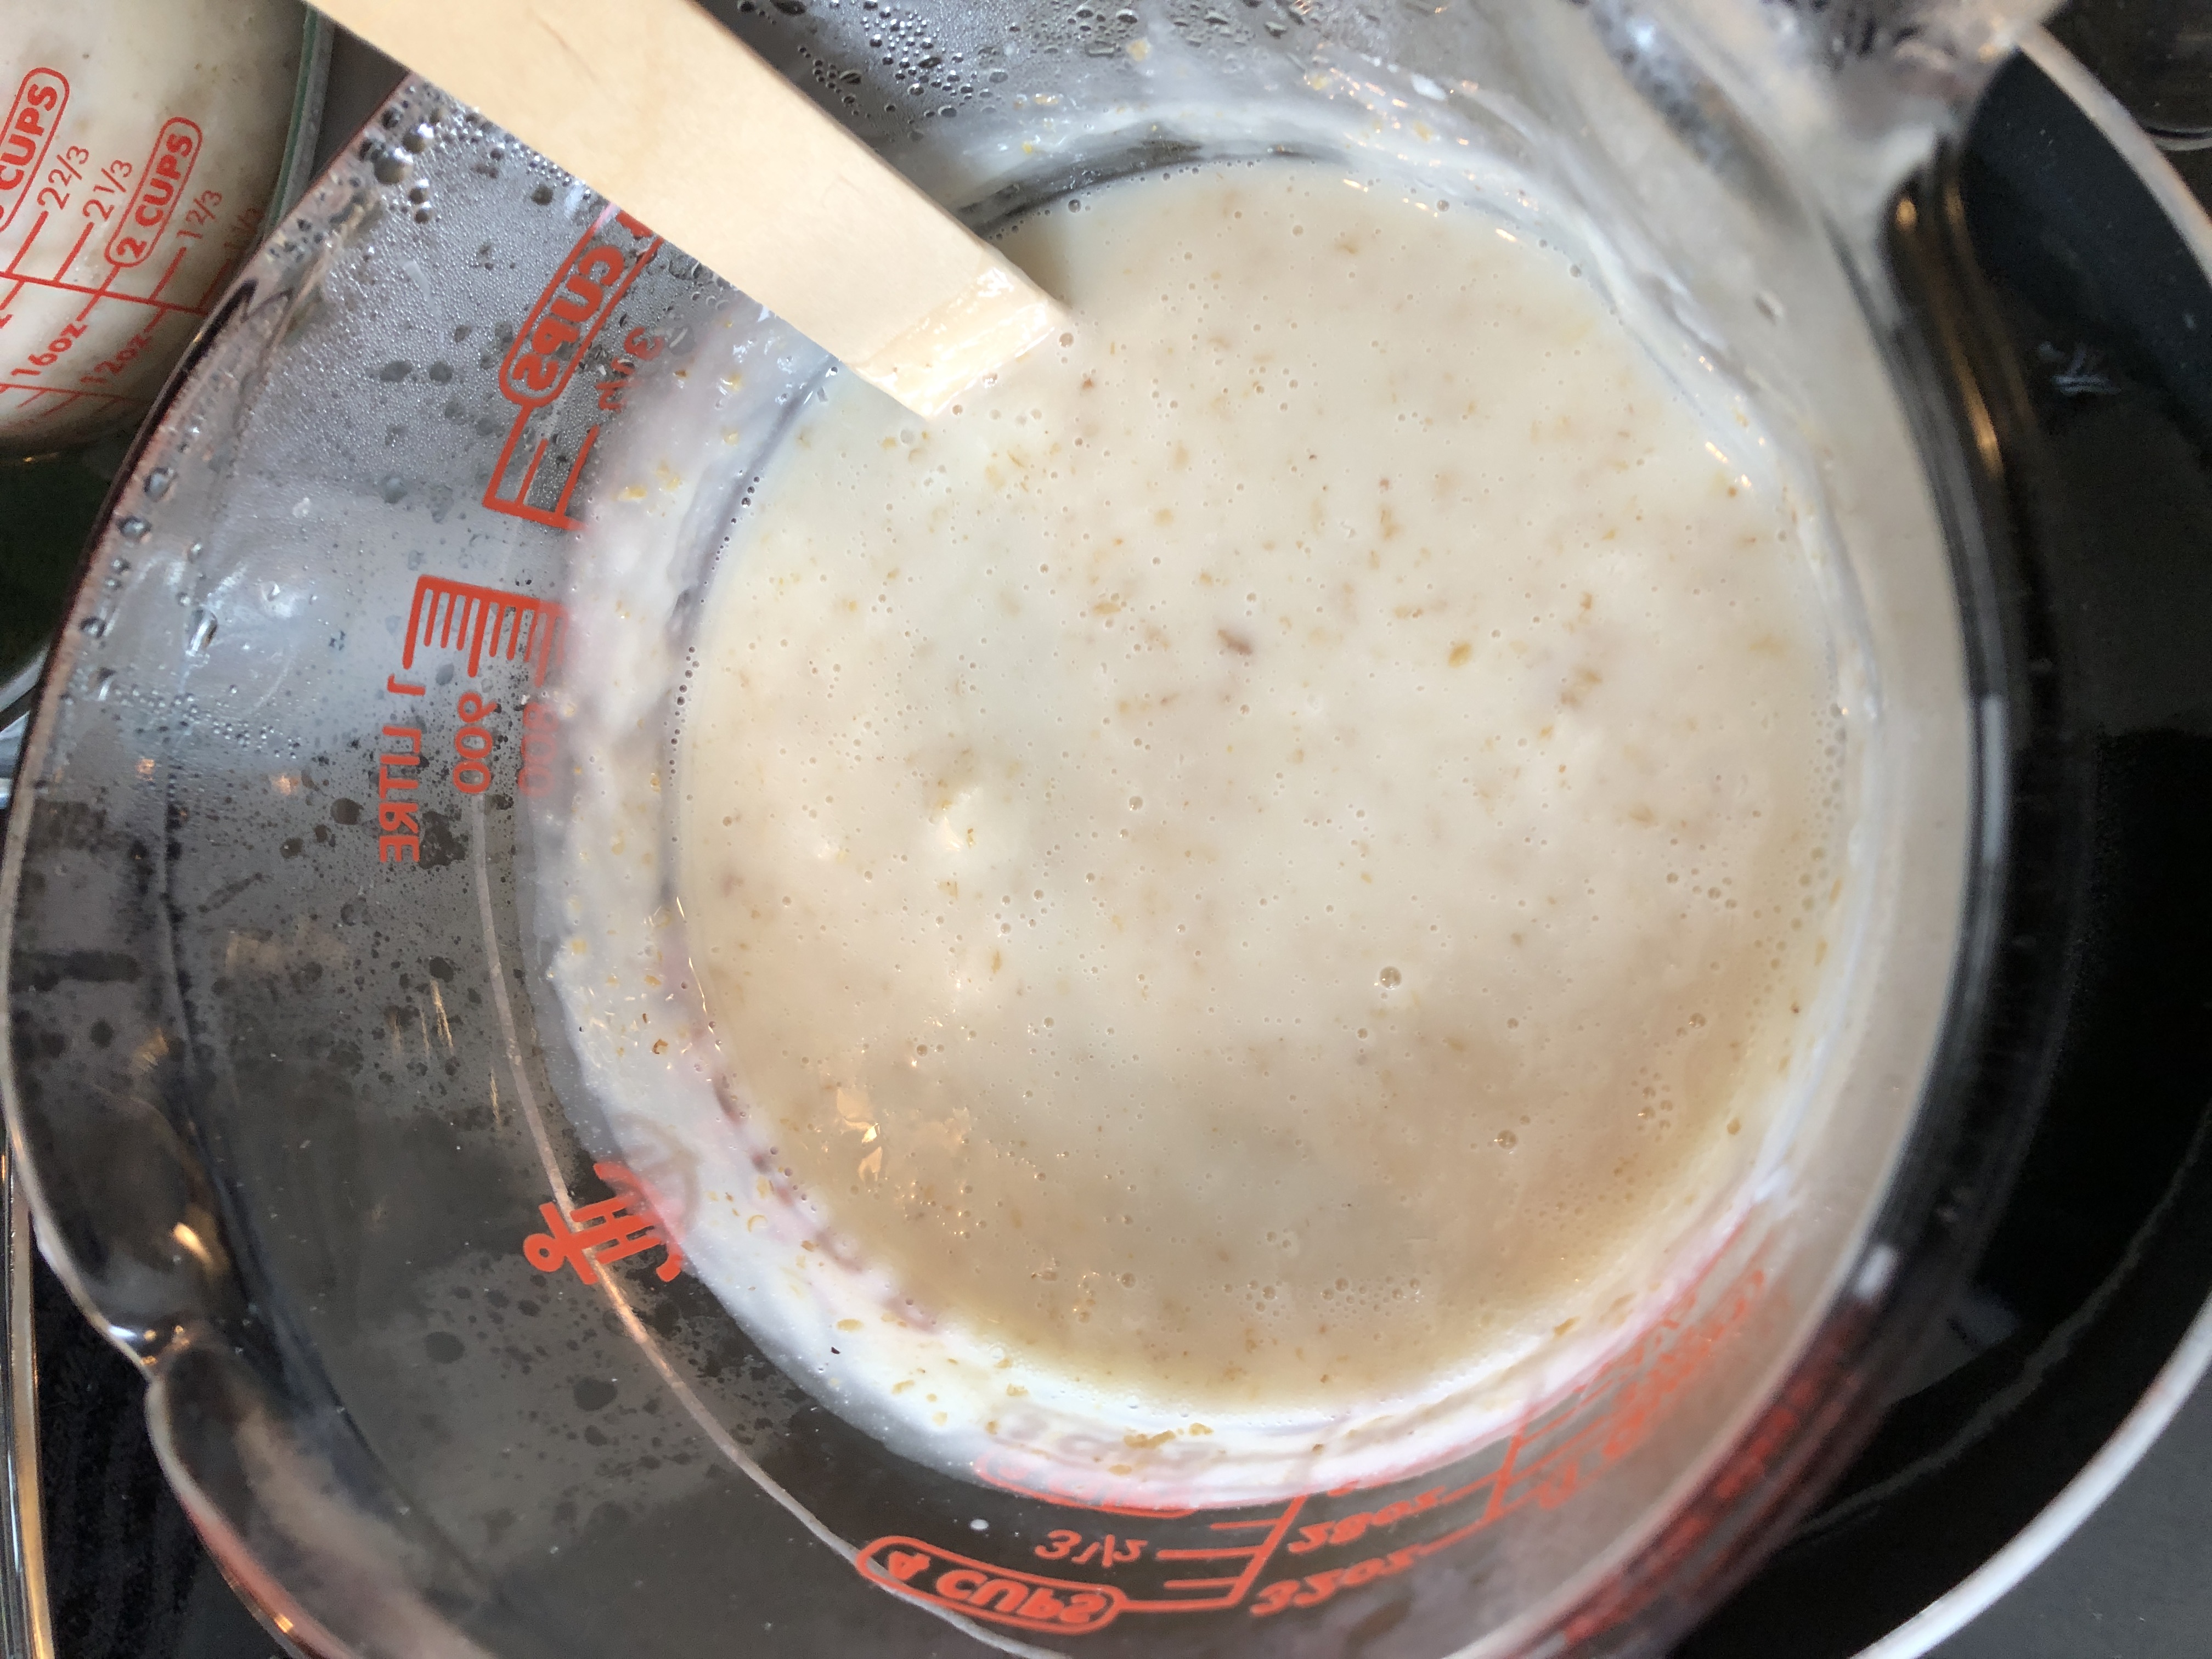
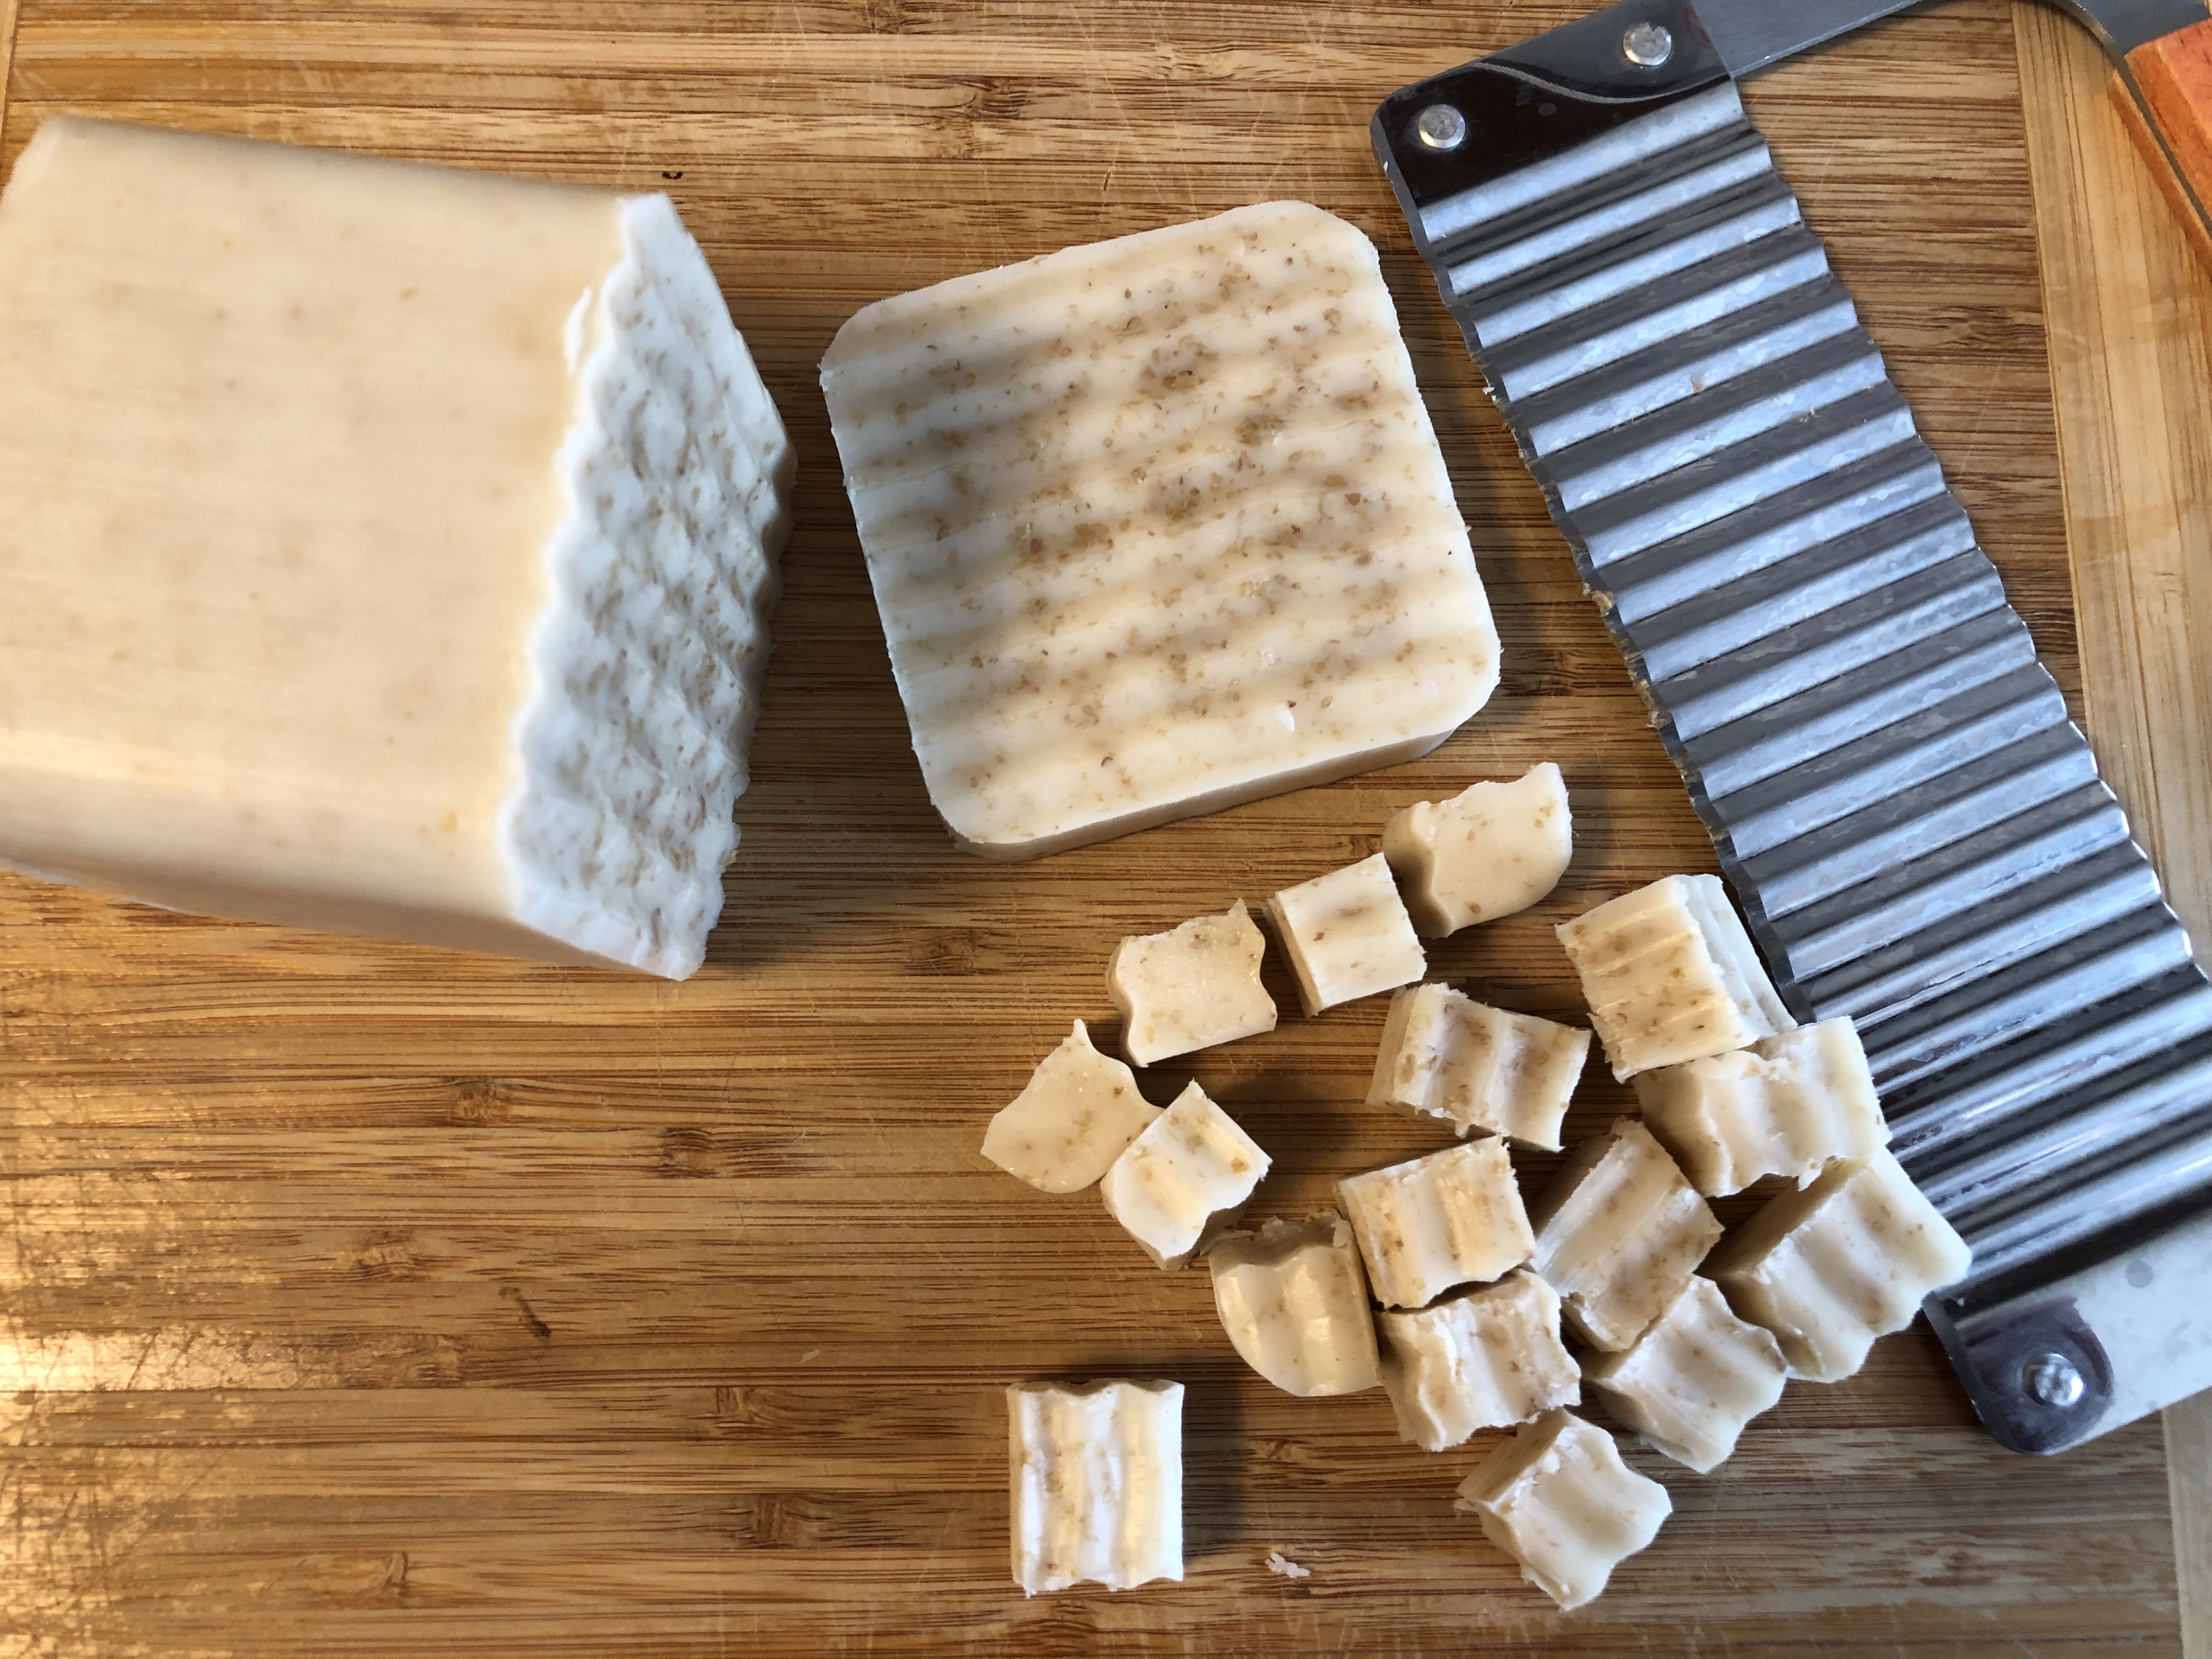
It was obvious the block of soap base had bits of oatmeal mixed in. When melted, the soap got much thicker, just the way cooked oatmeal would. It made a hefty bar of soap.
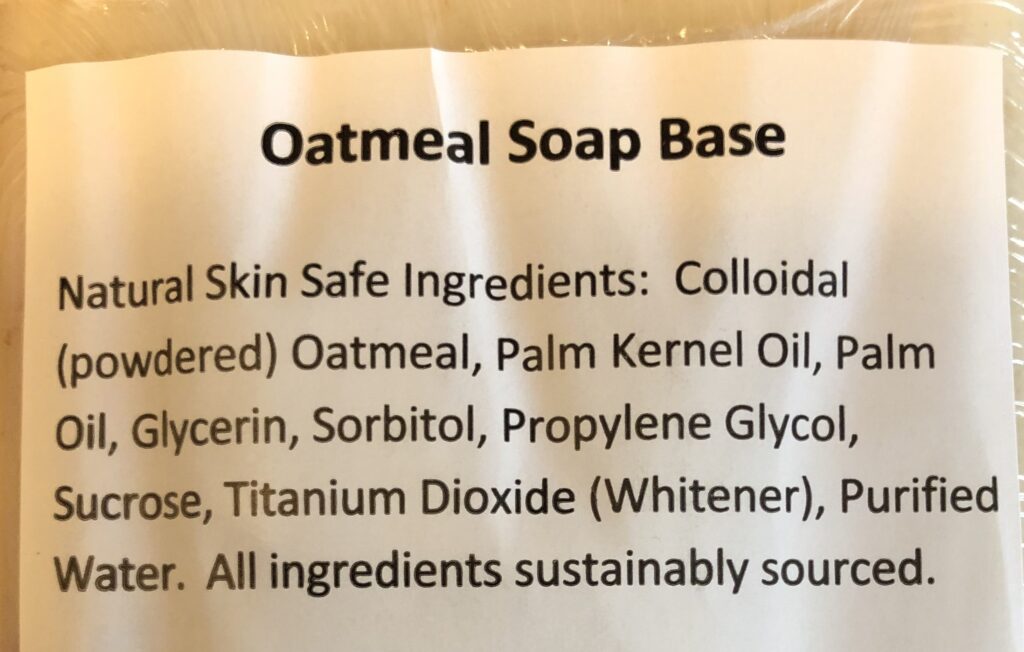
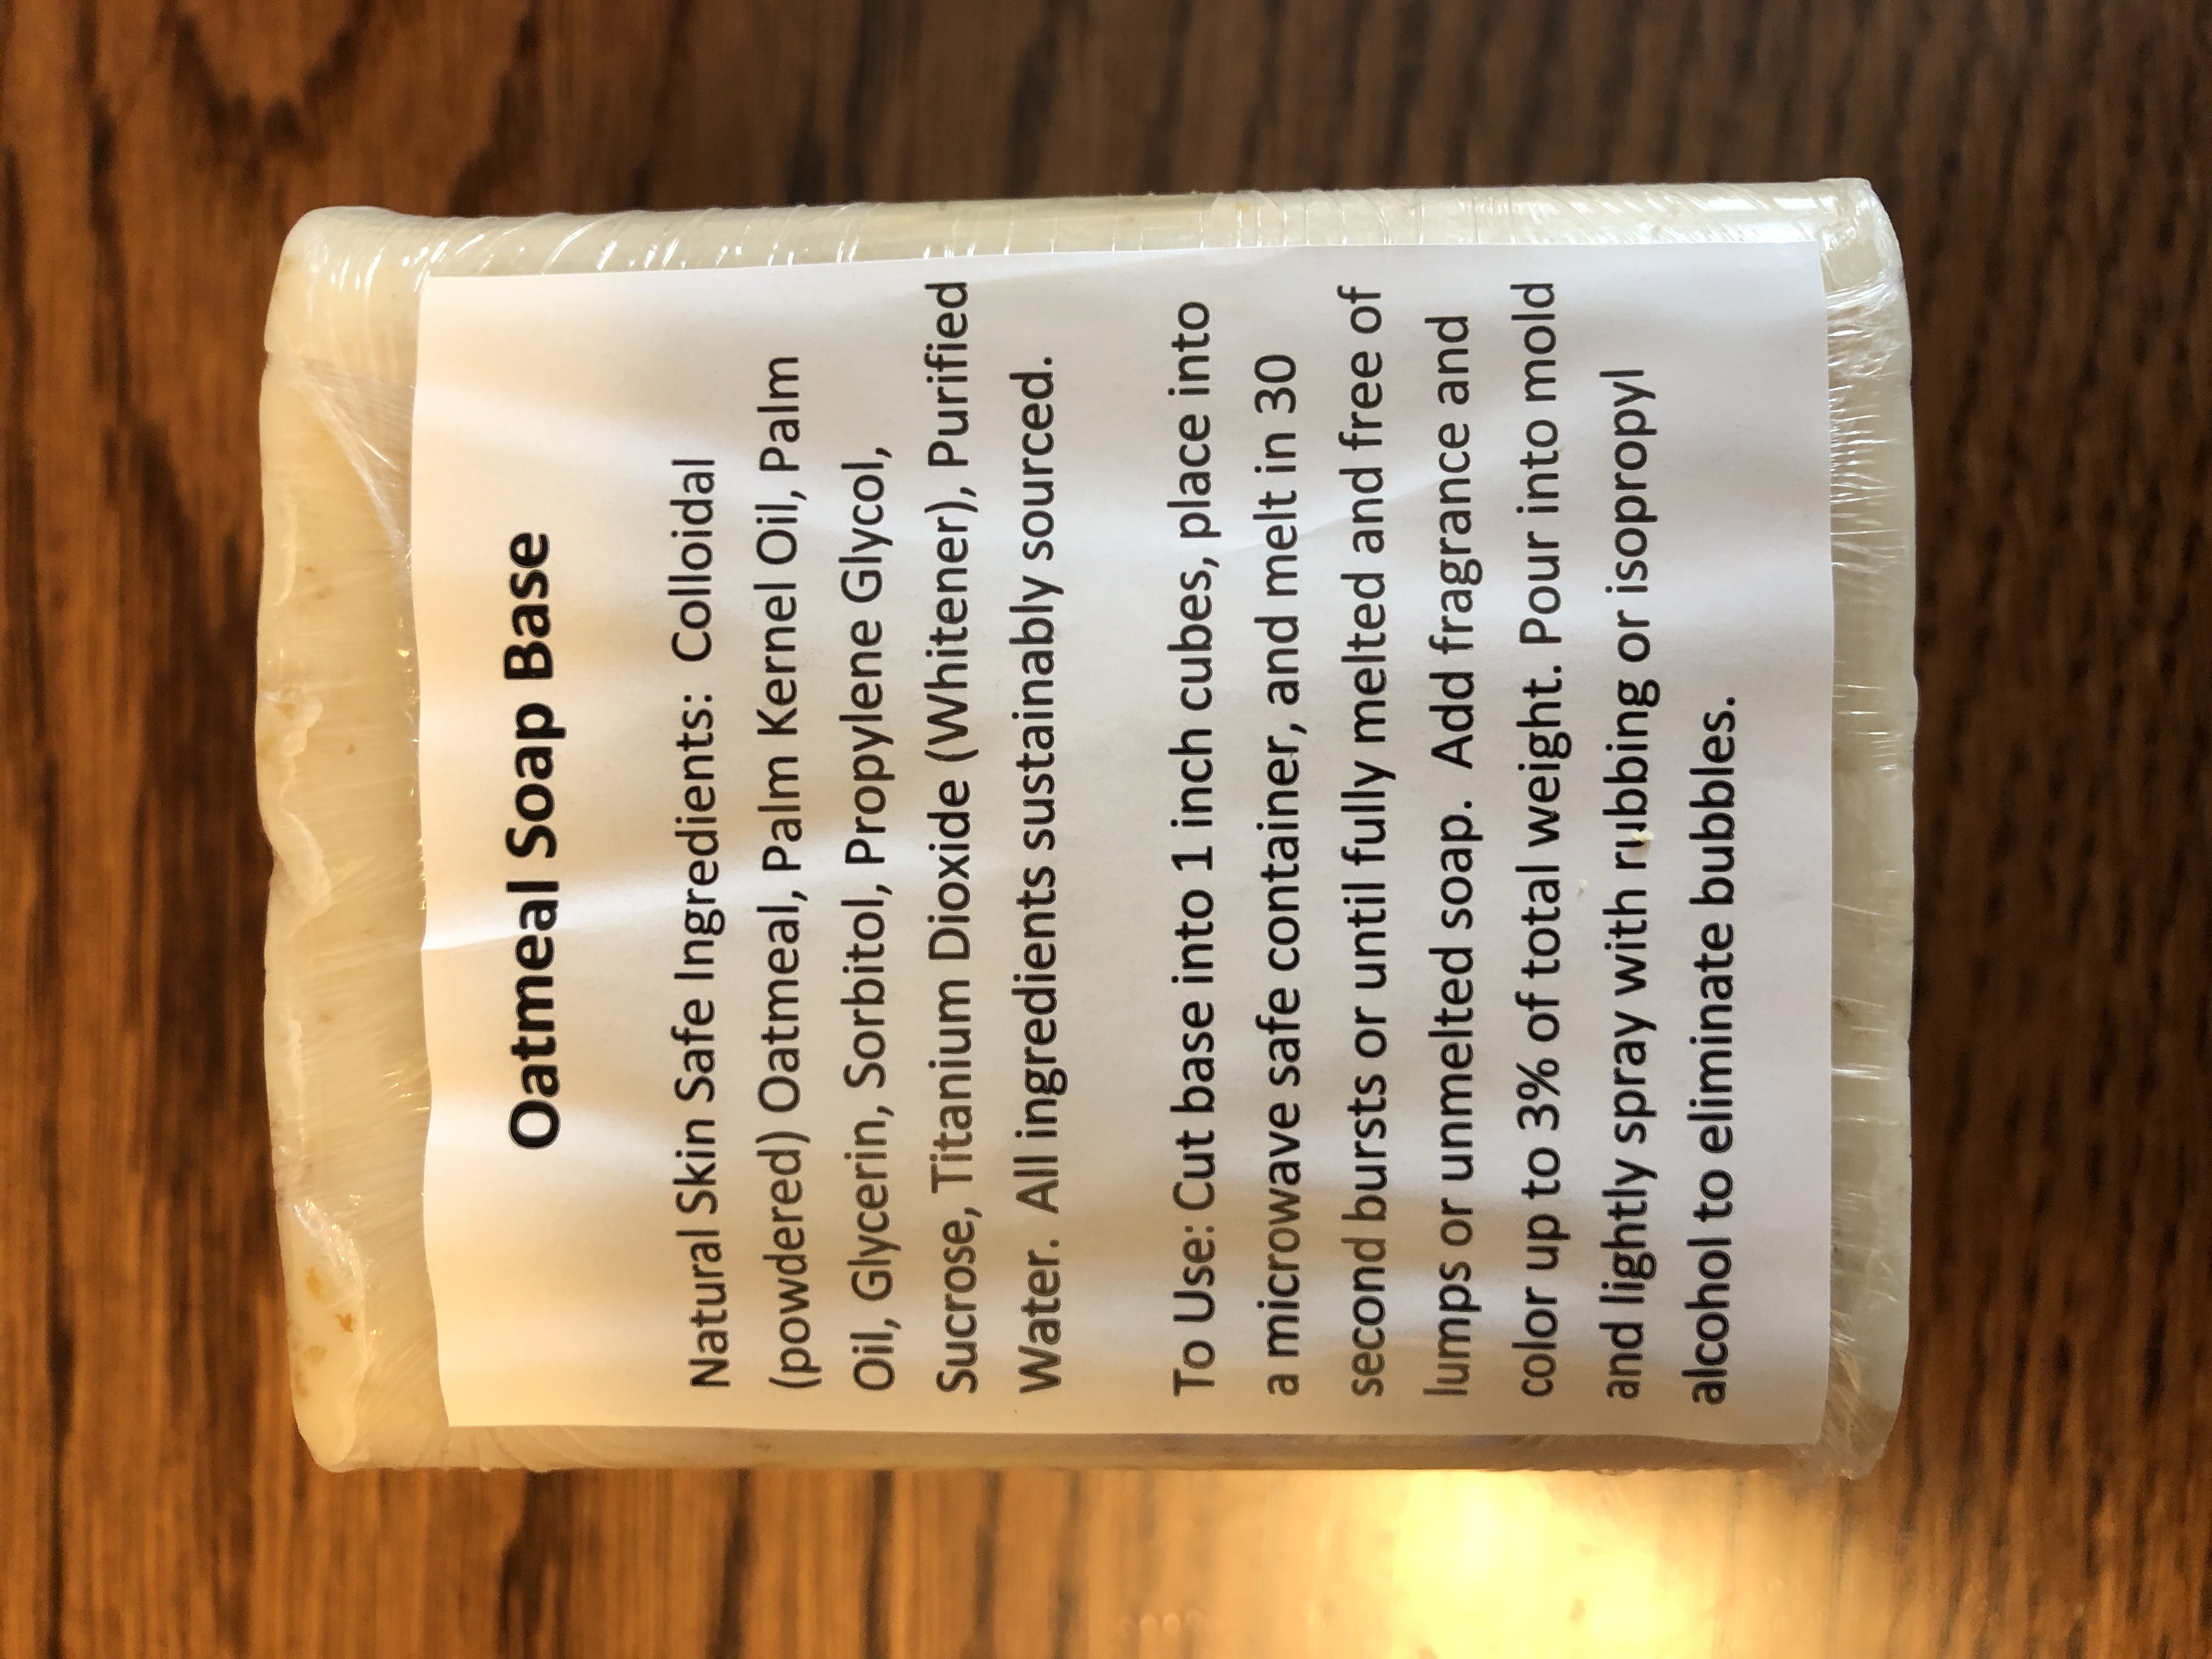
You can see colloidal oatmeal is the first ingredient on the block of soap base:
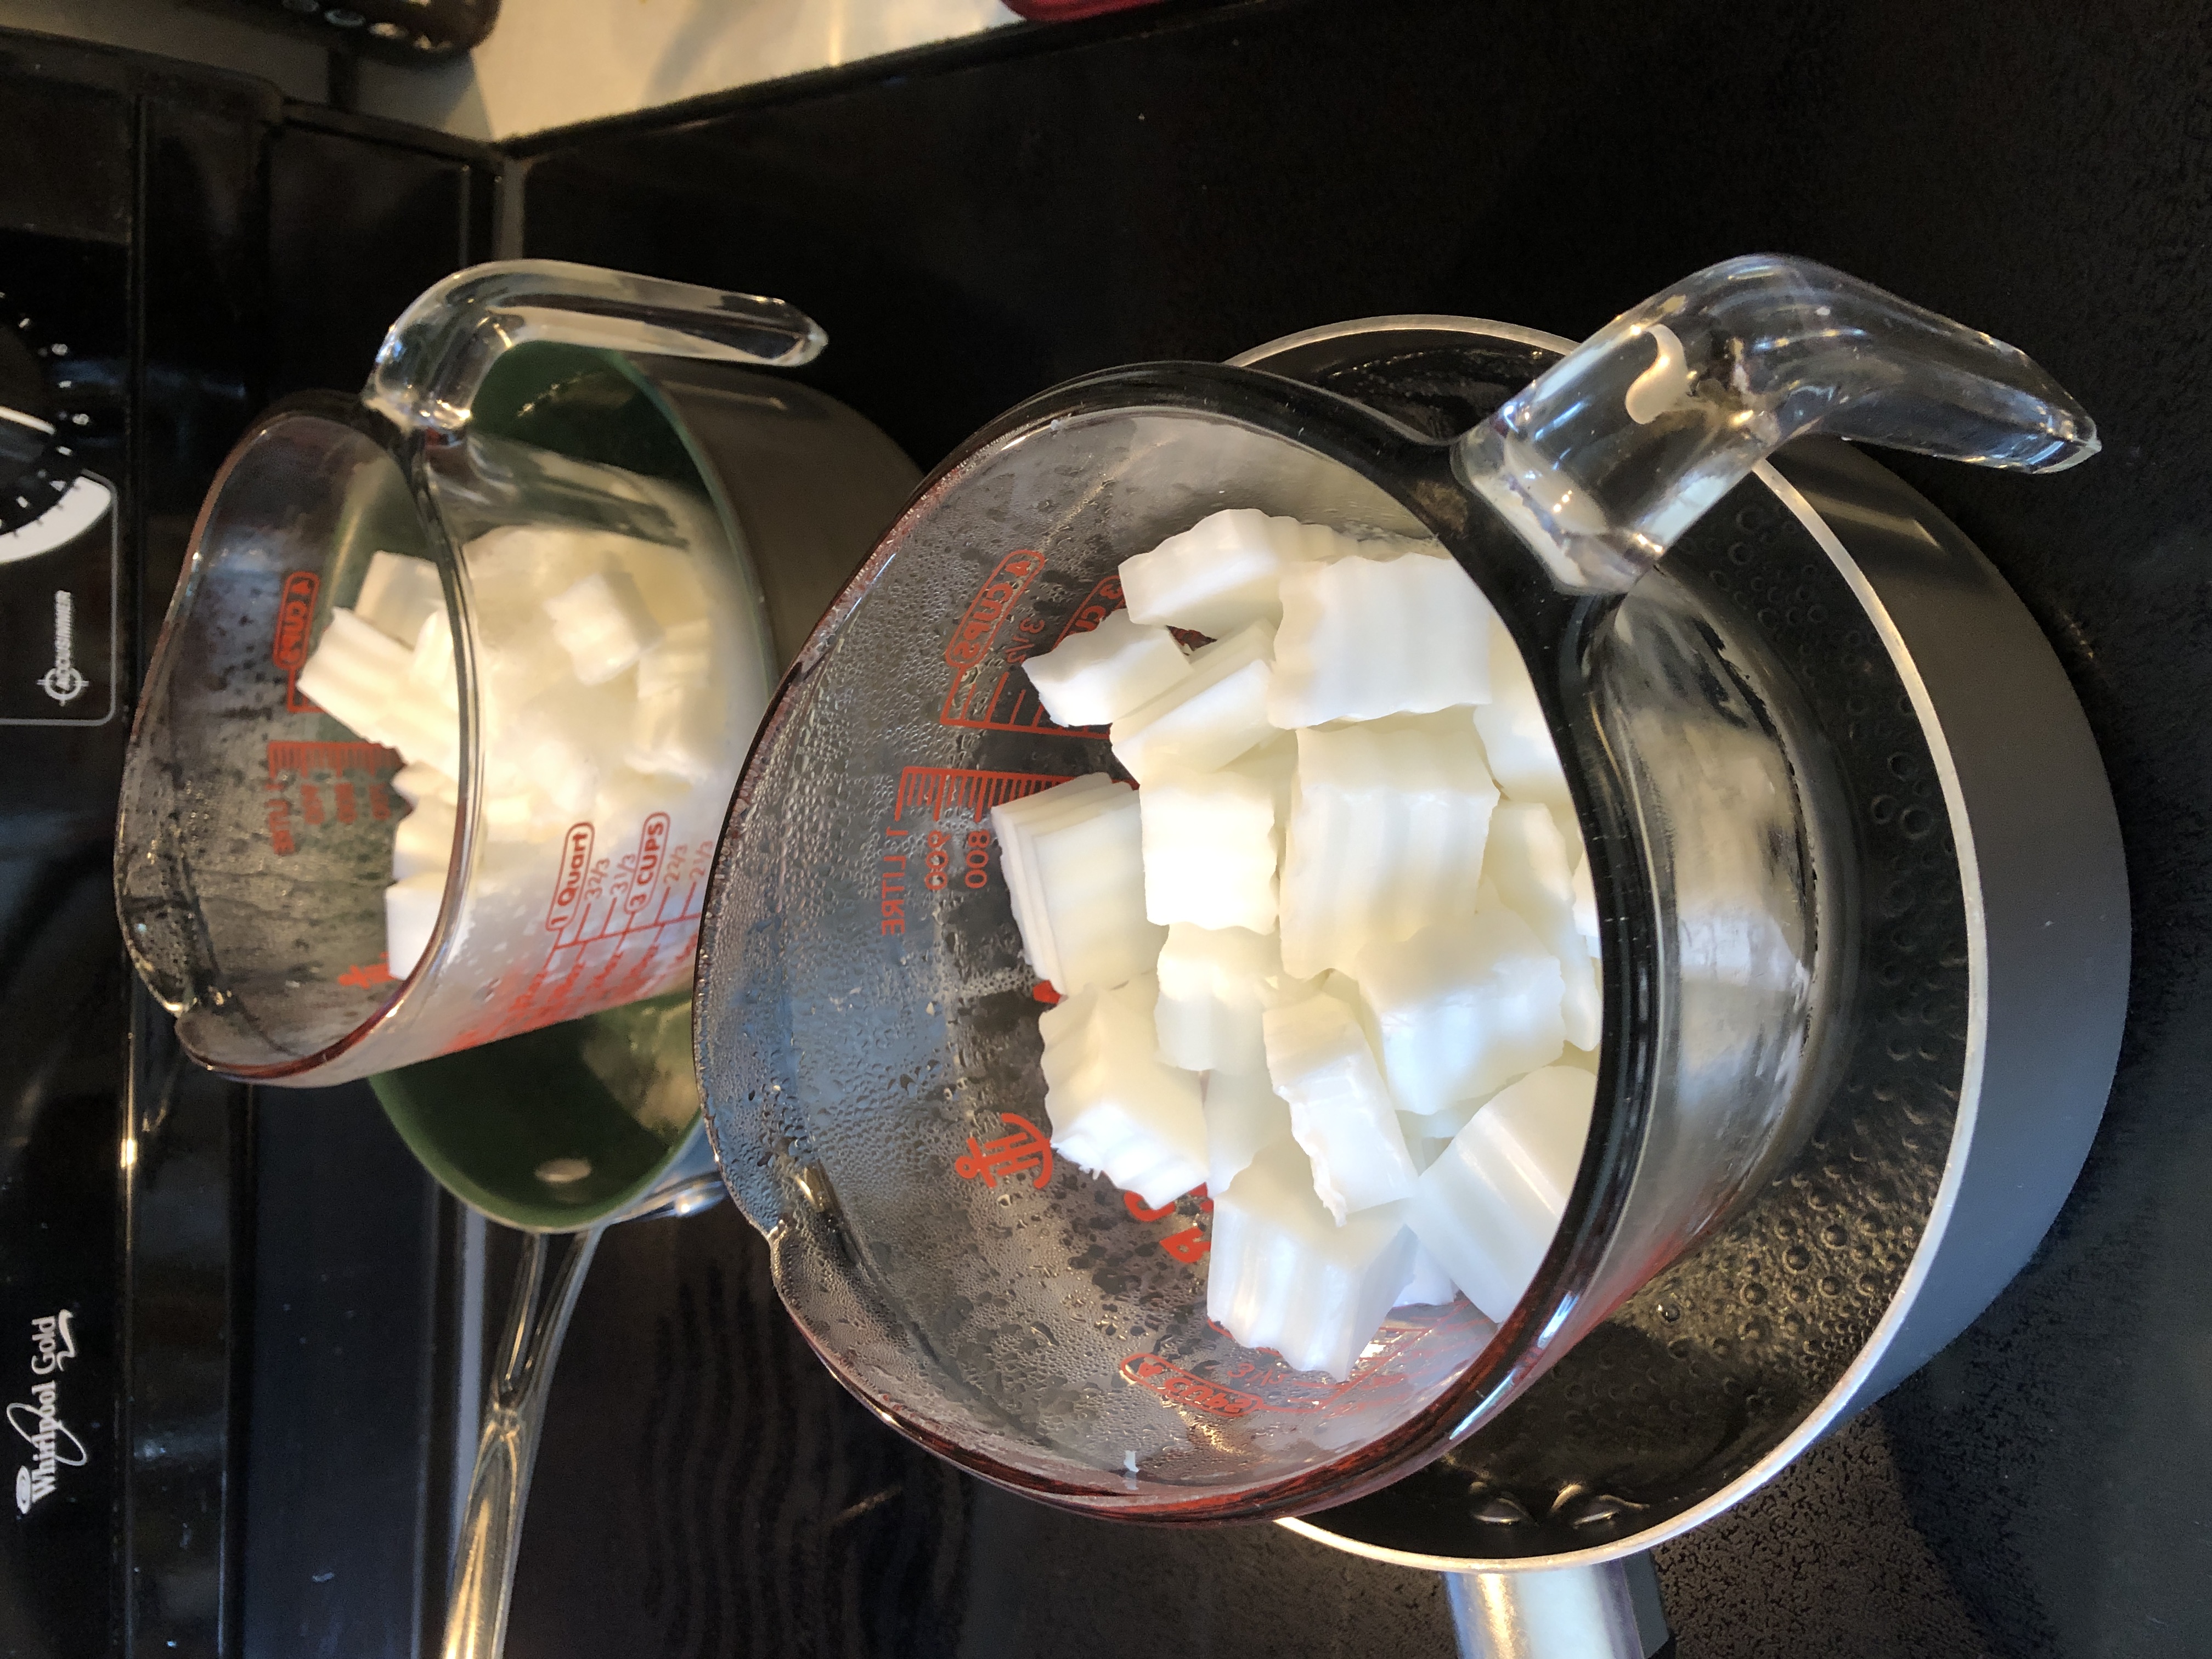
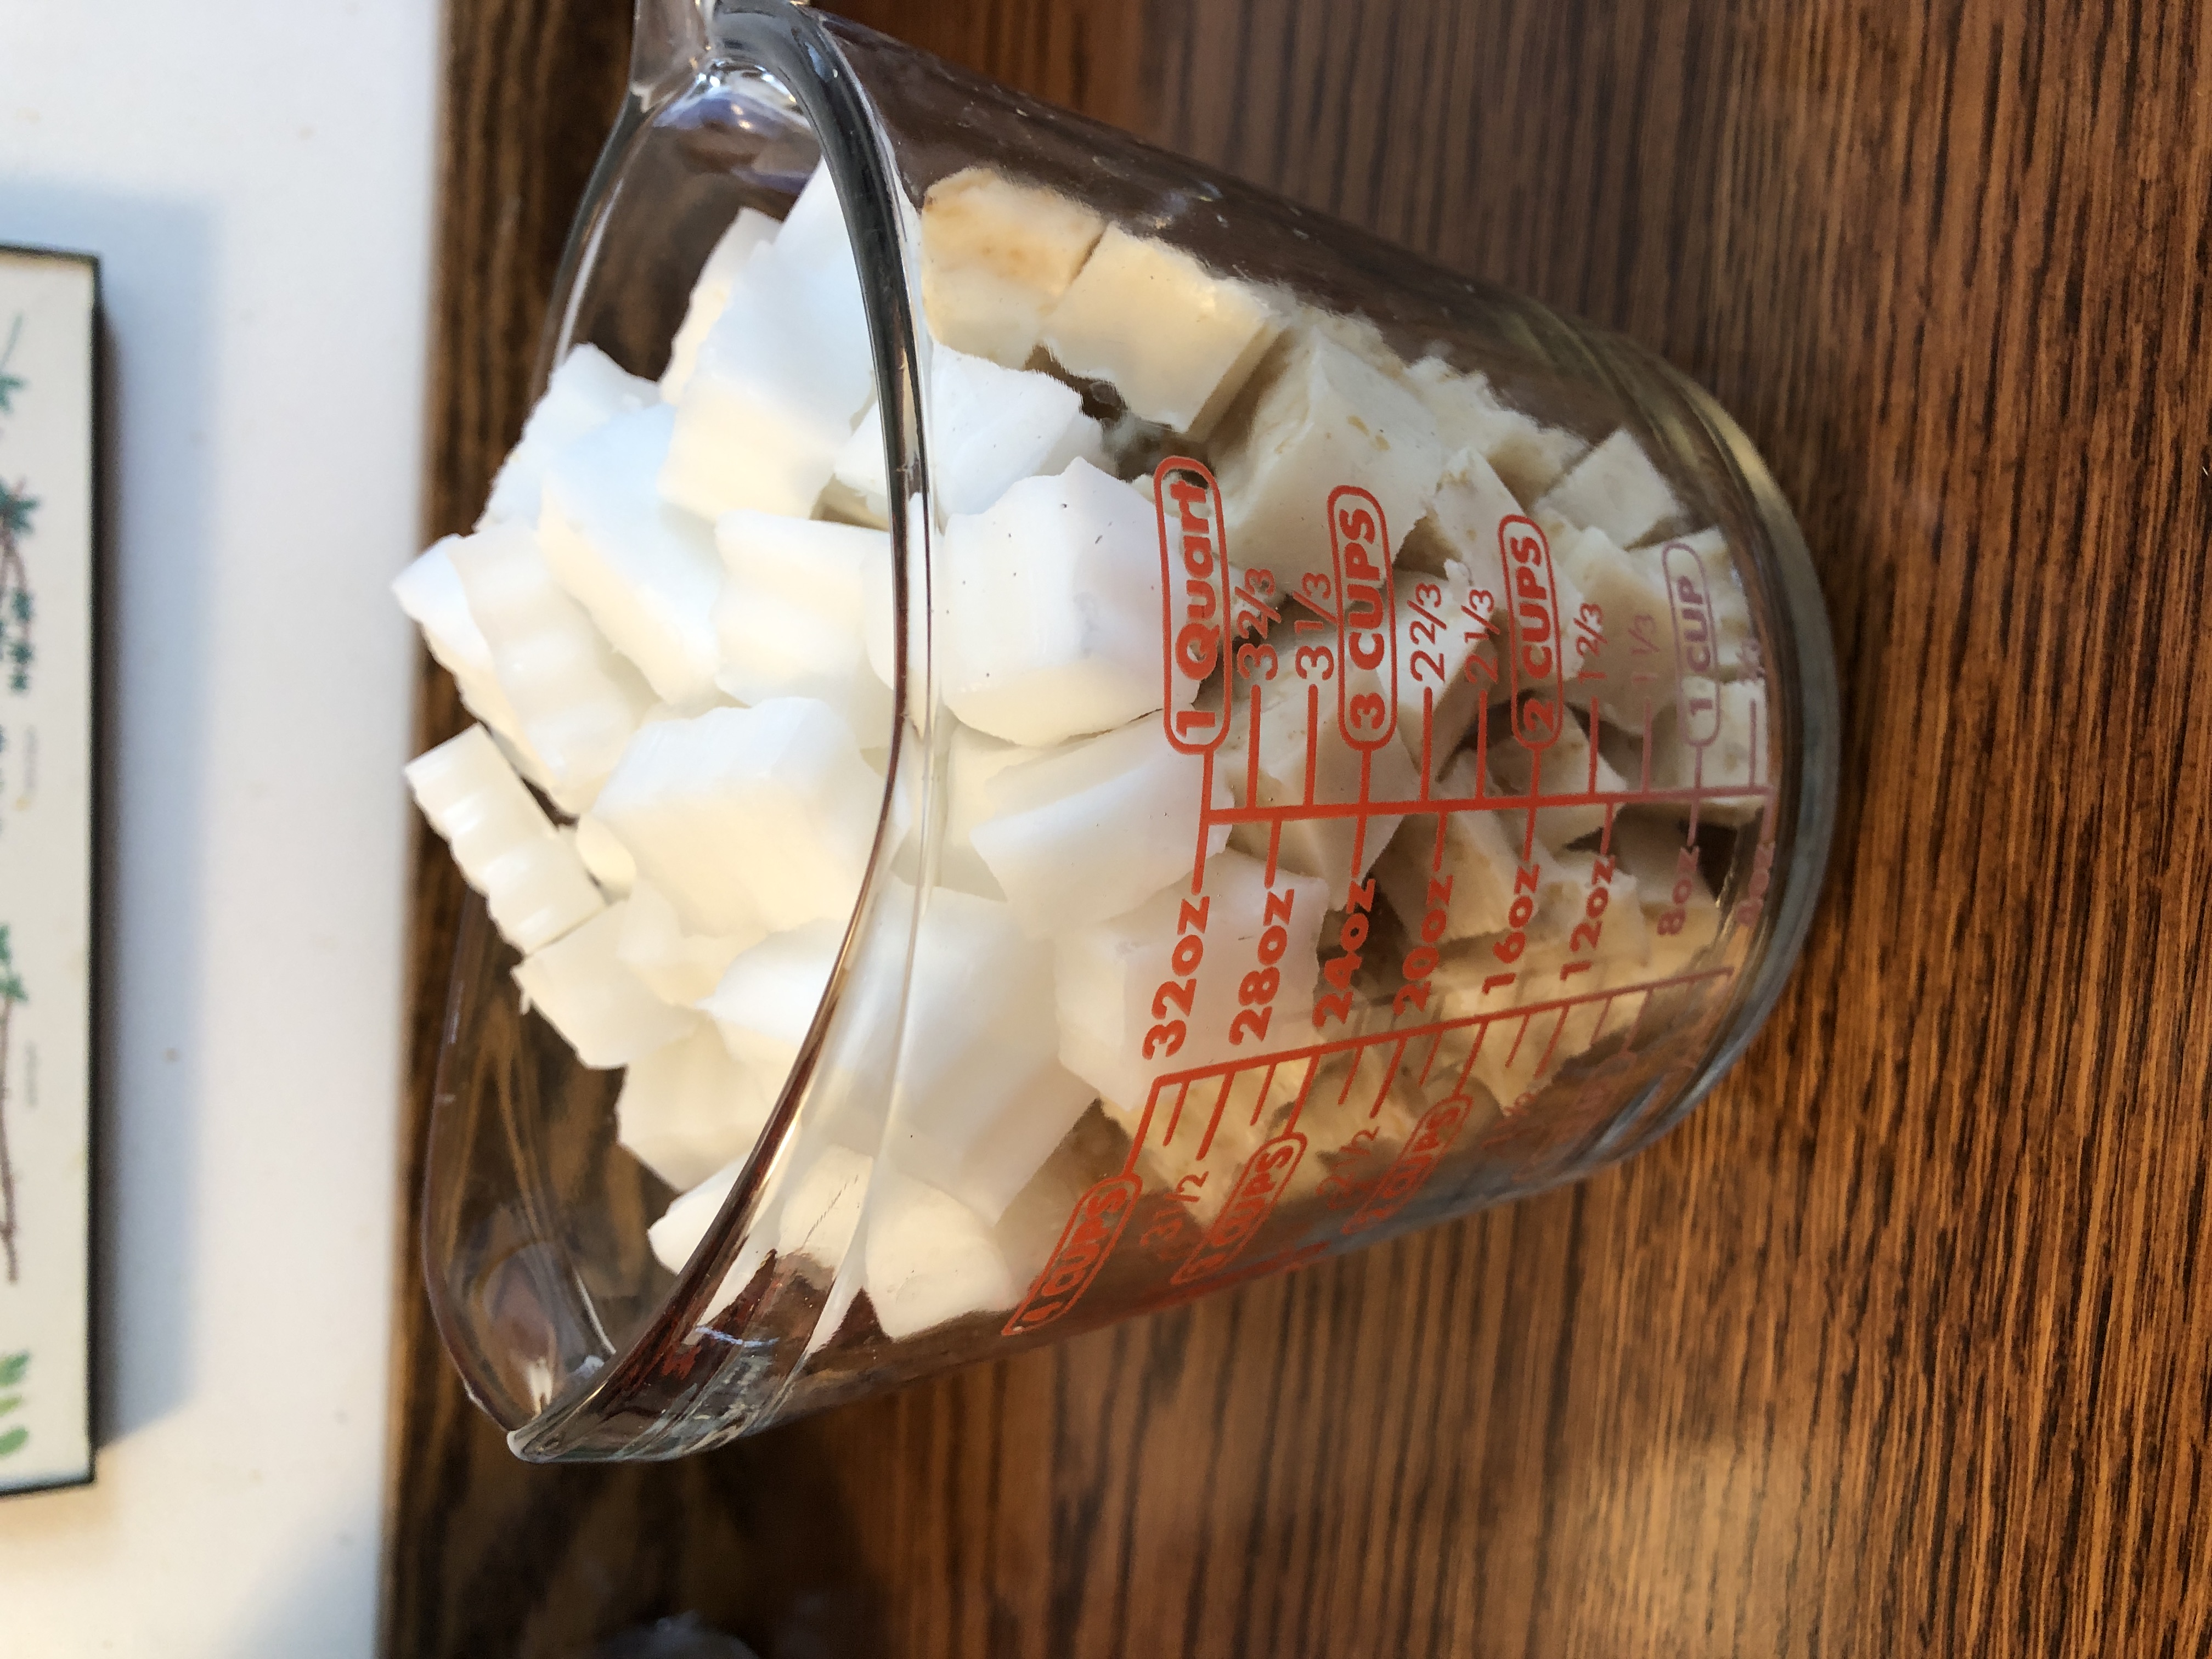
The colloidal oatmeal is obvious when I cut it into cubes:
The mixture got thicker as it melted:
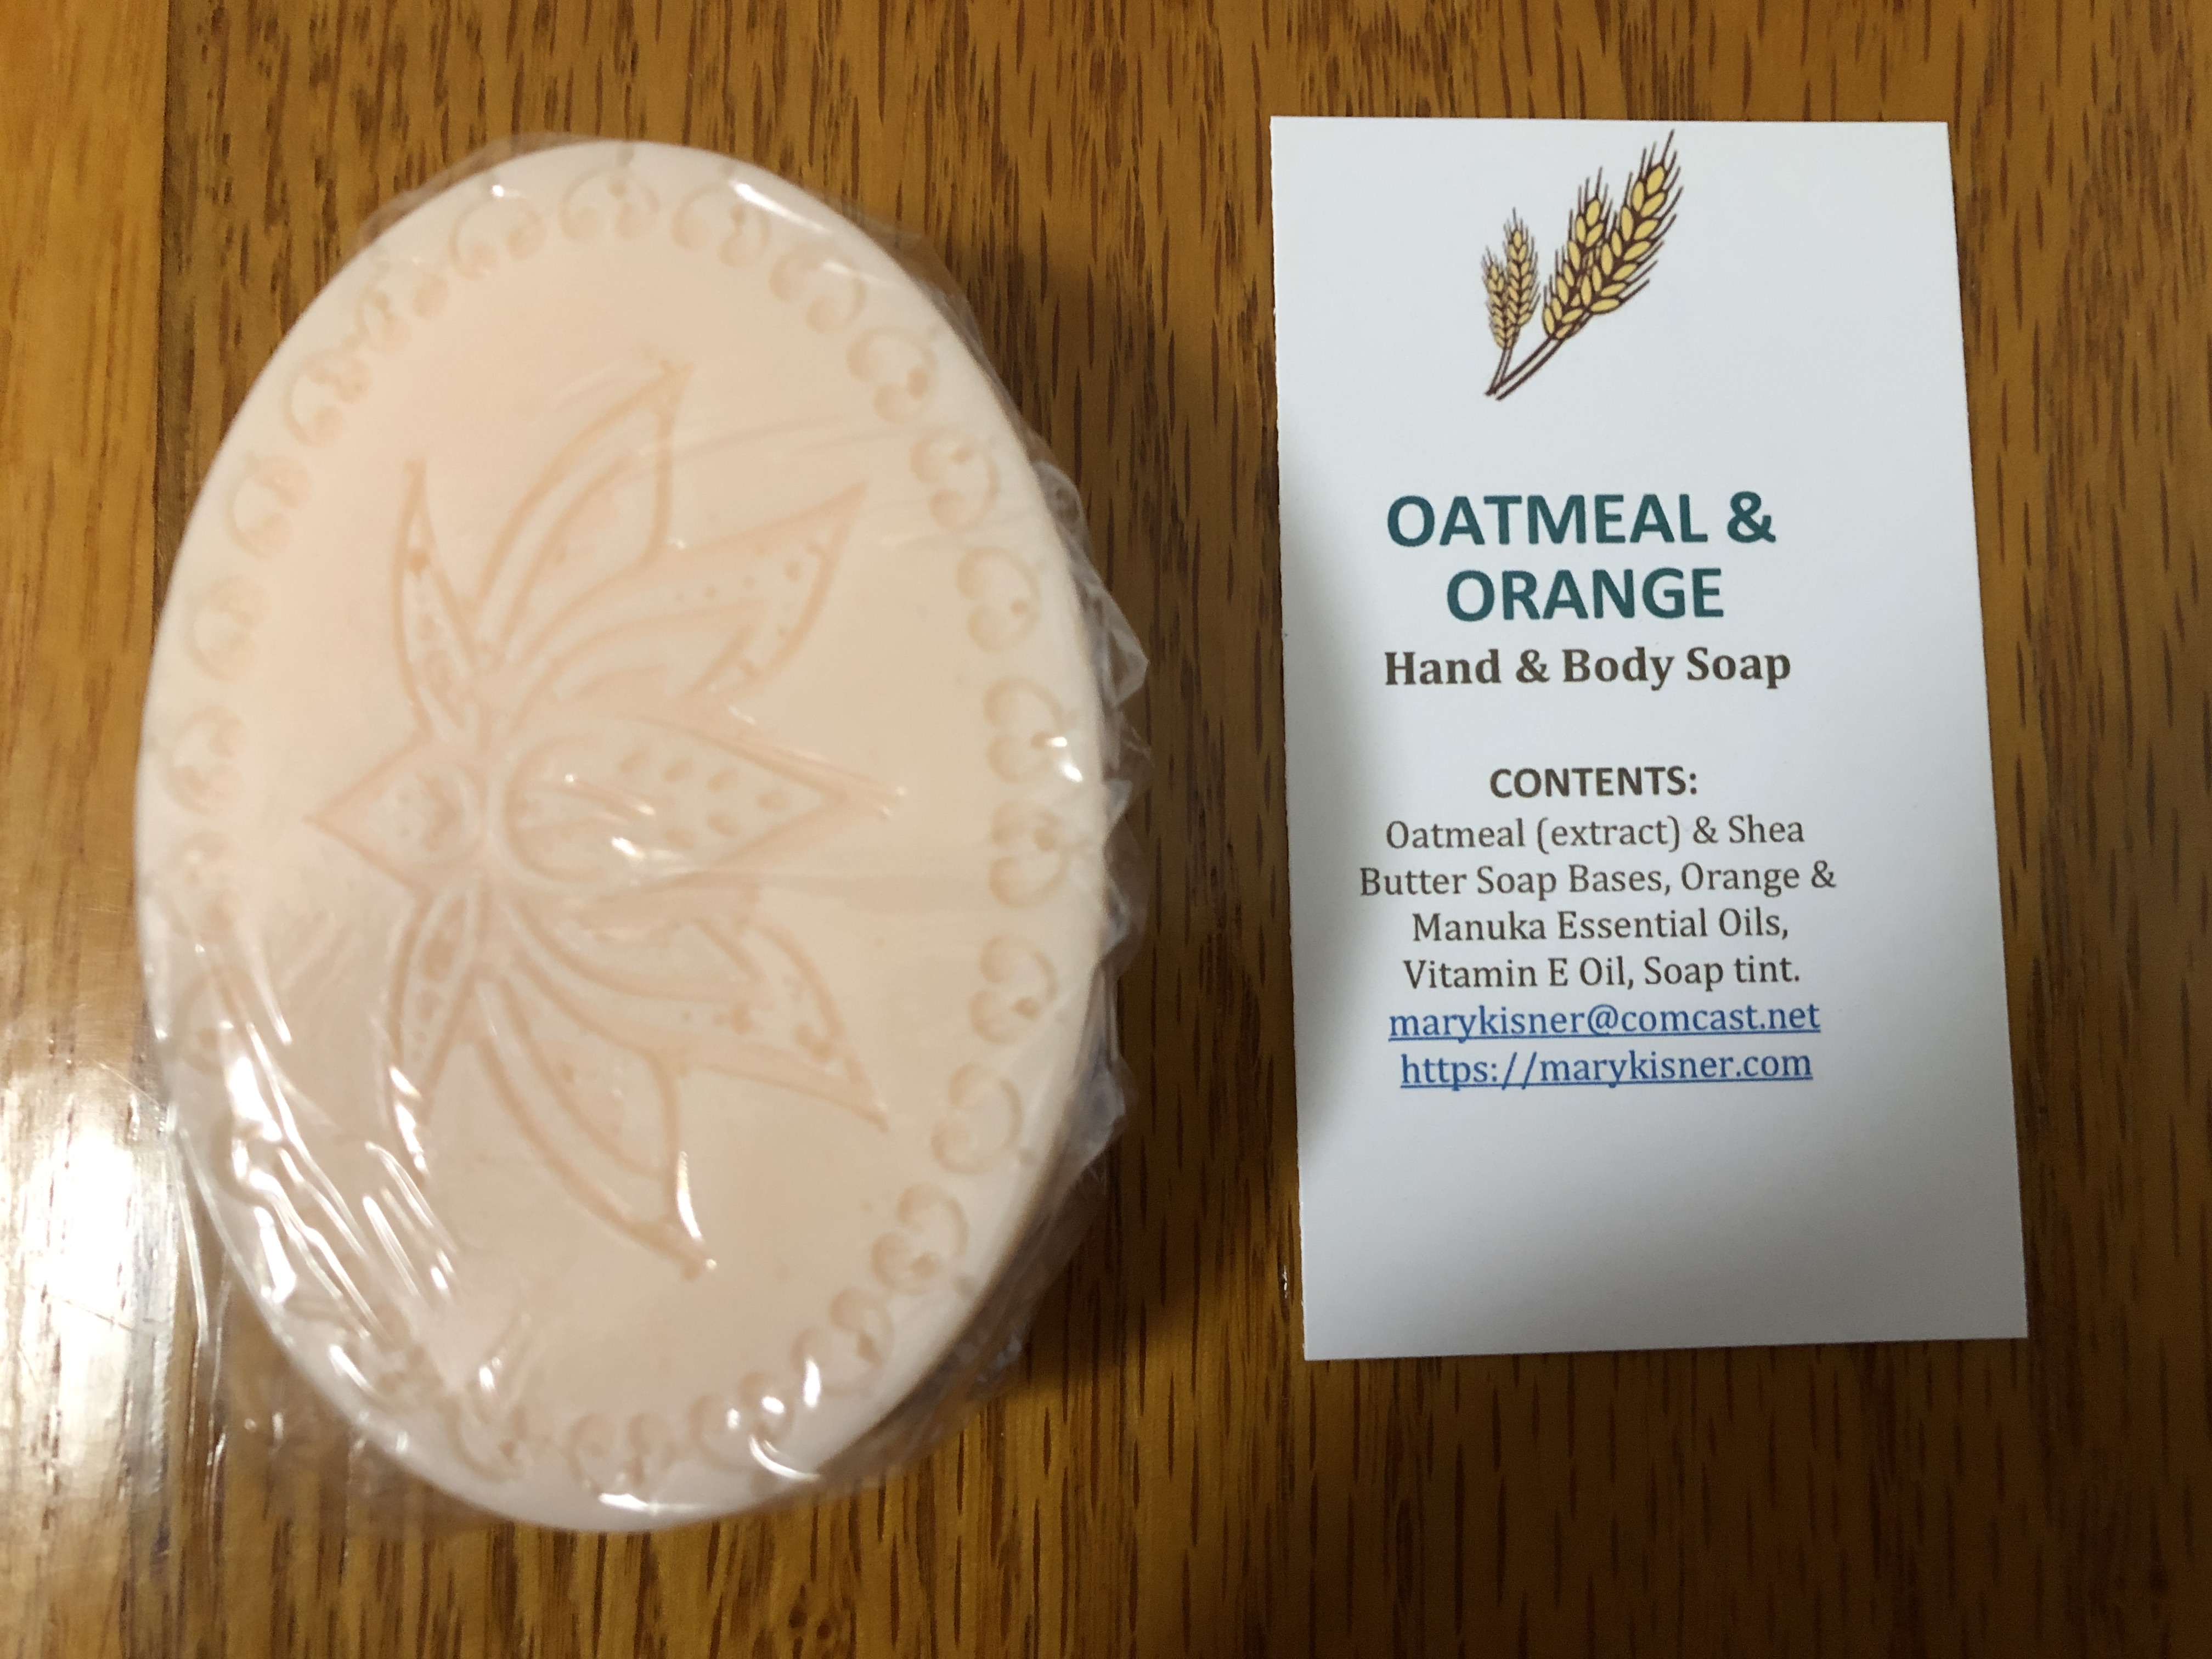
I listed Colloidal Oatmeal soap base as the first ingredient on the card.
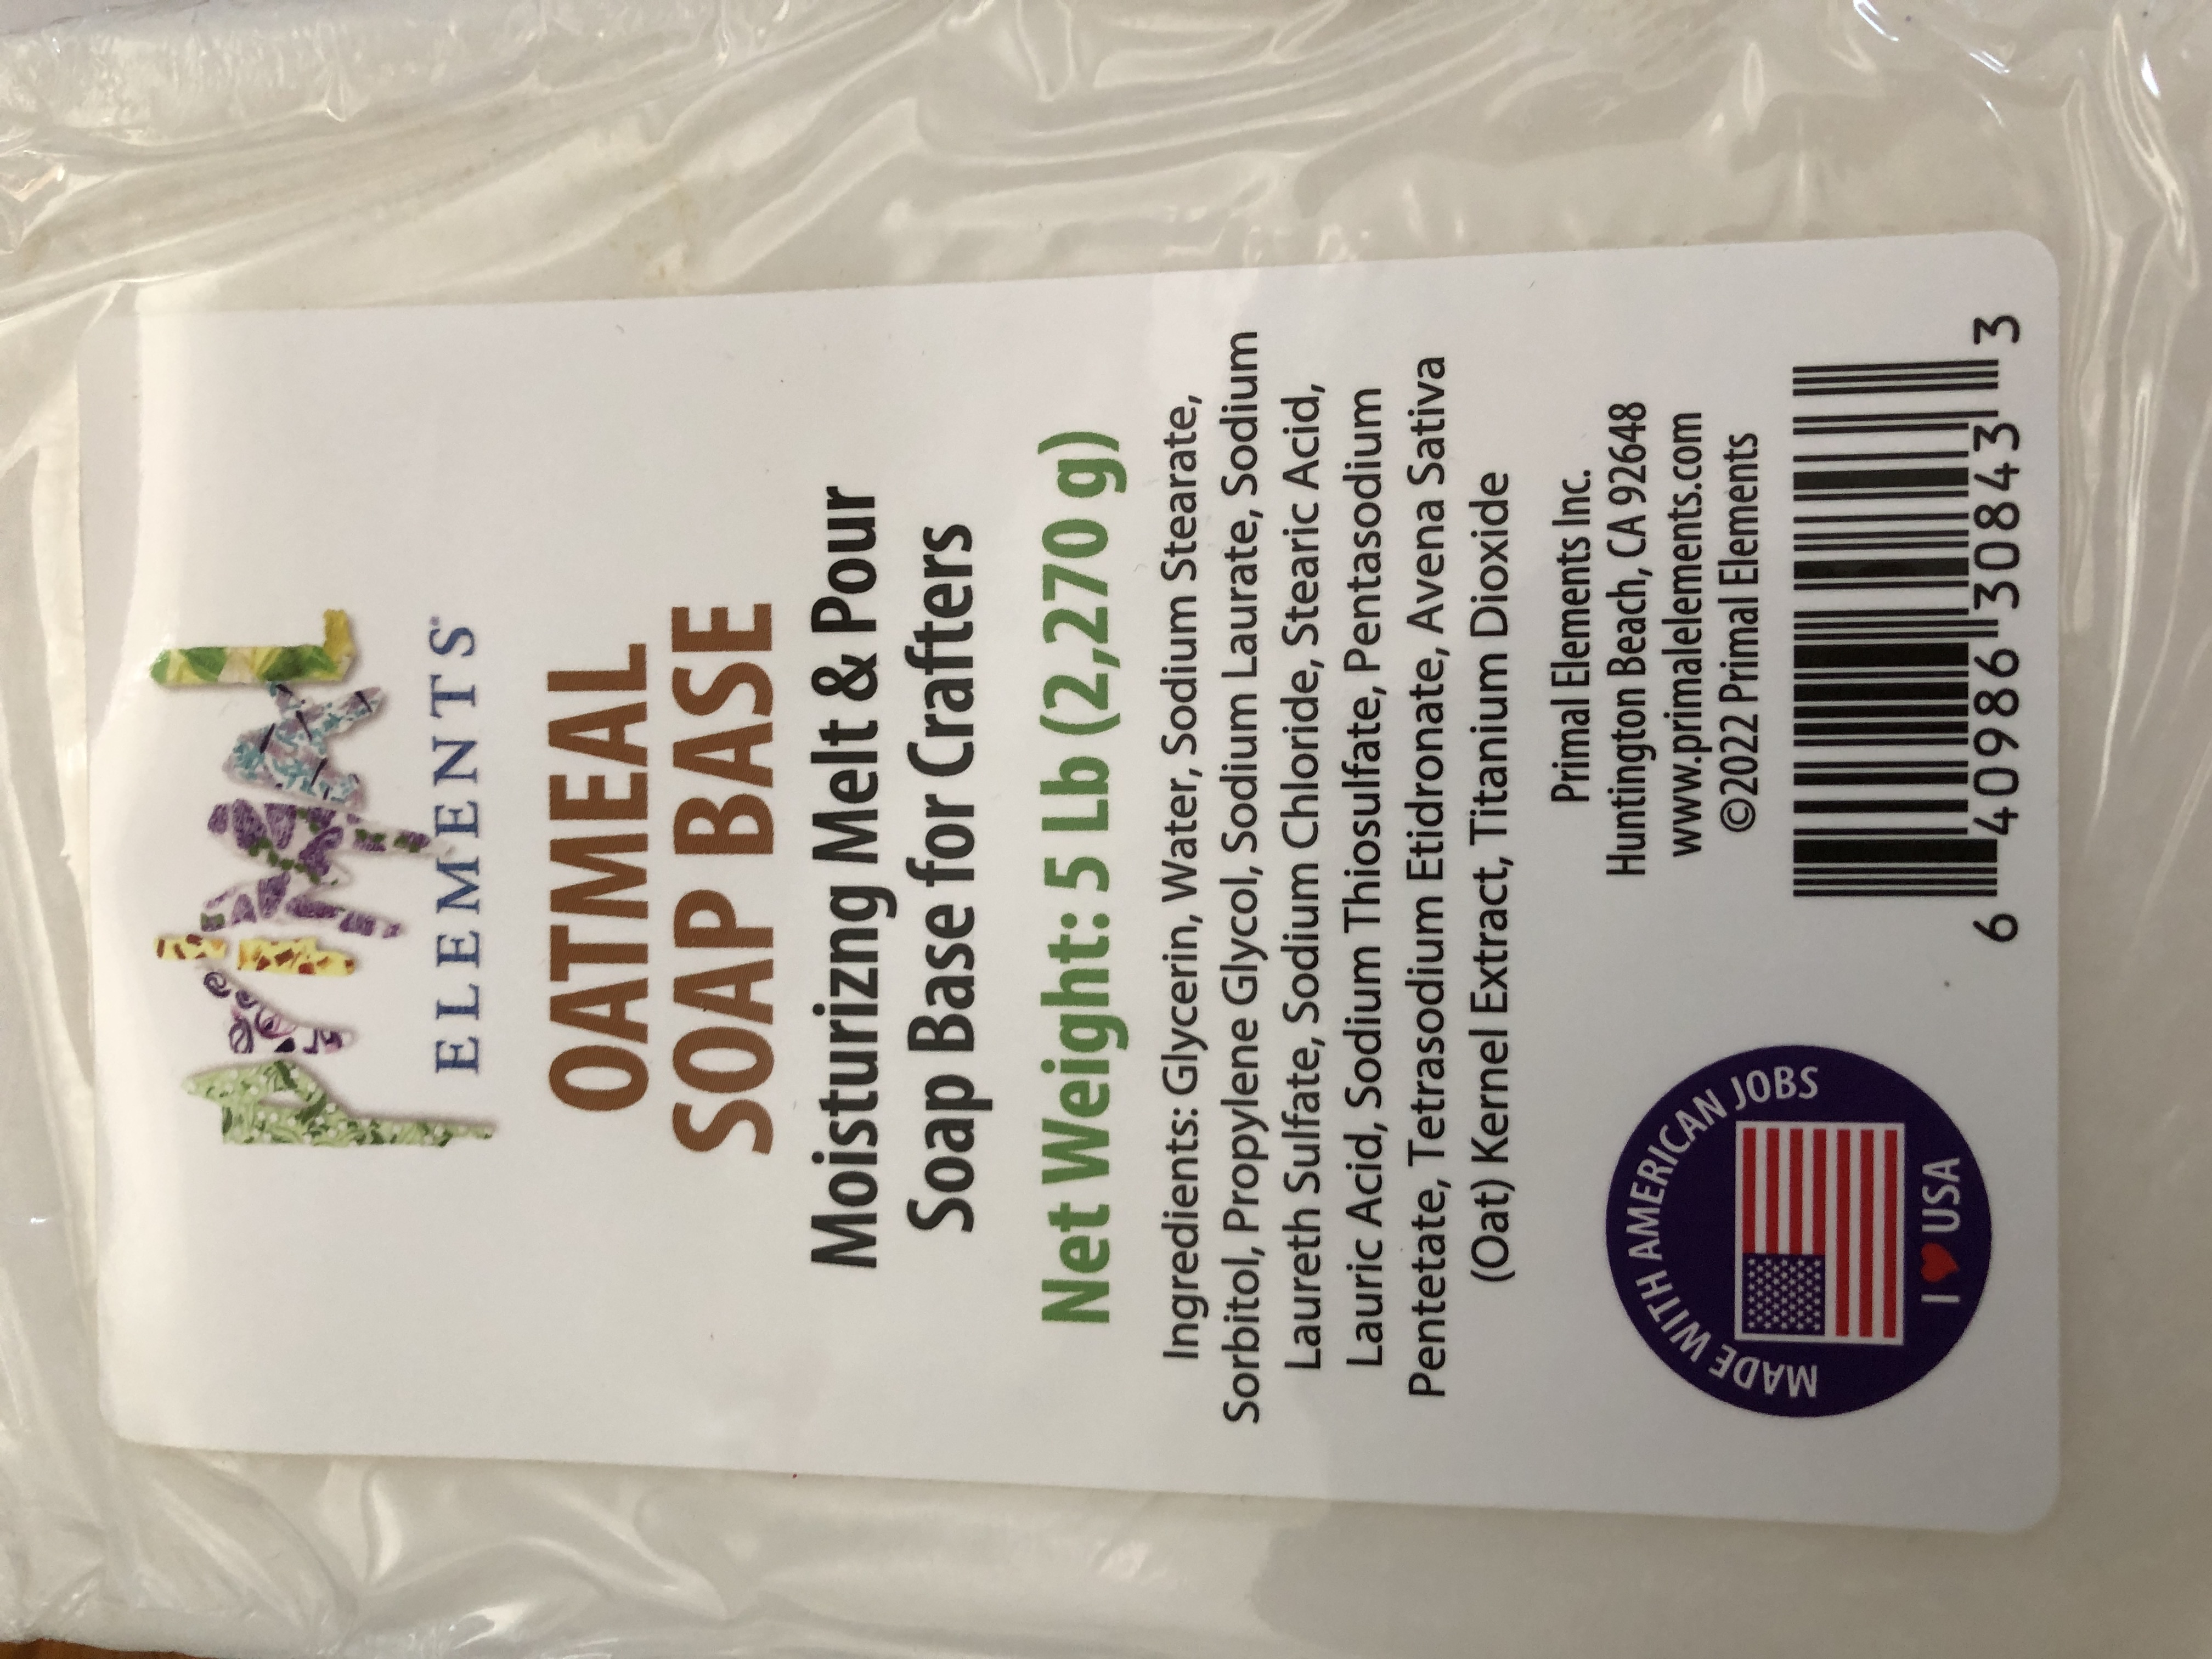
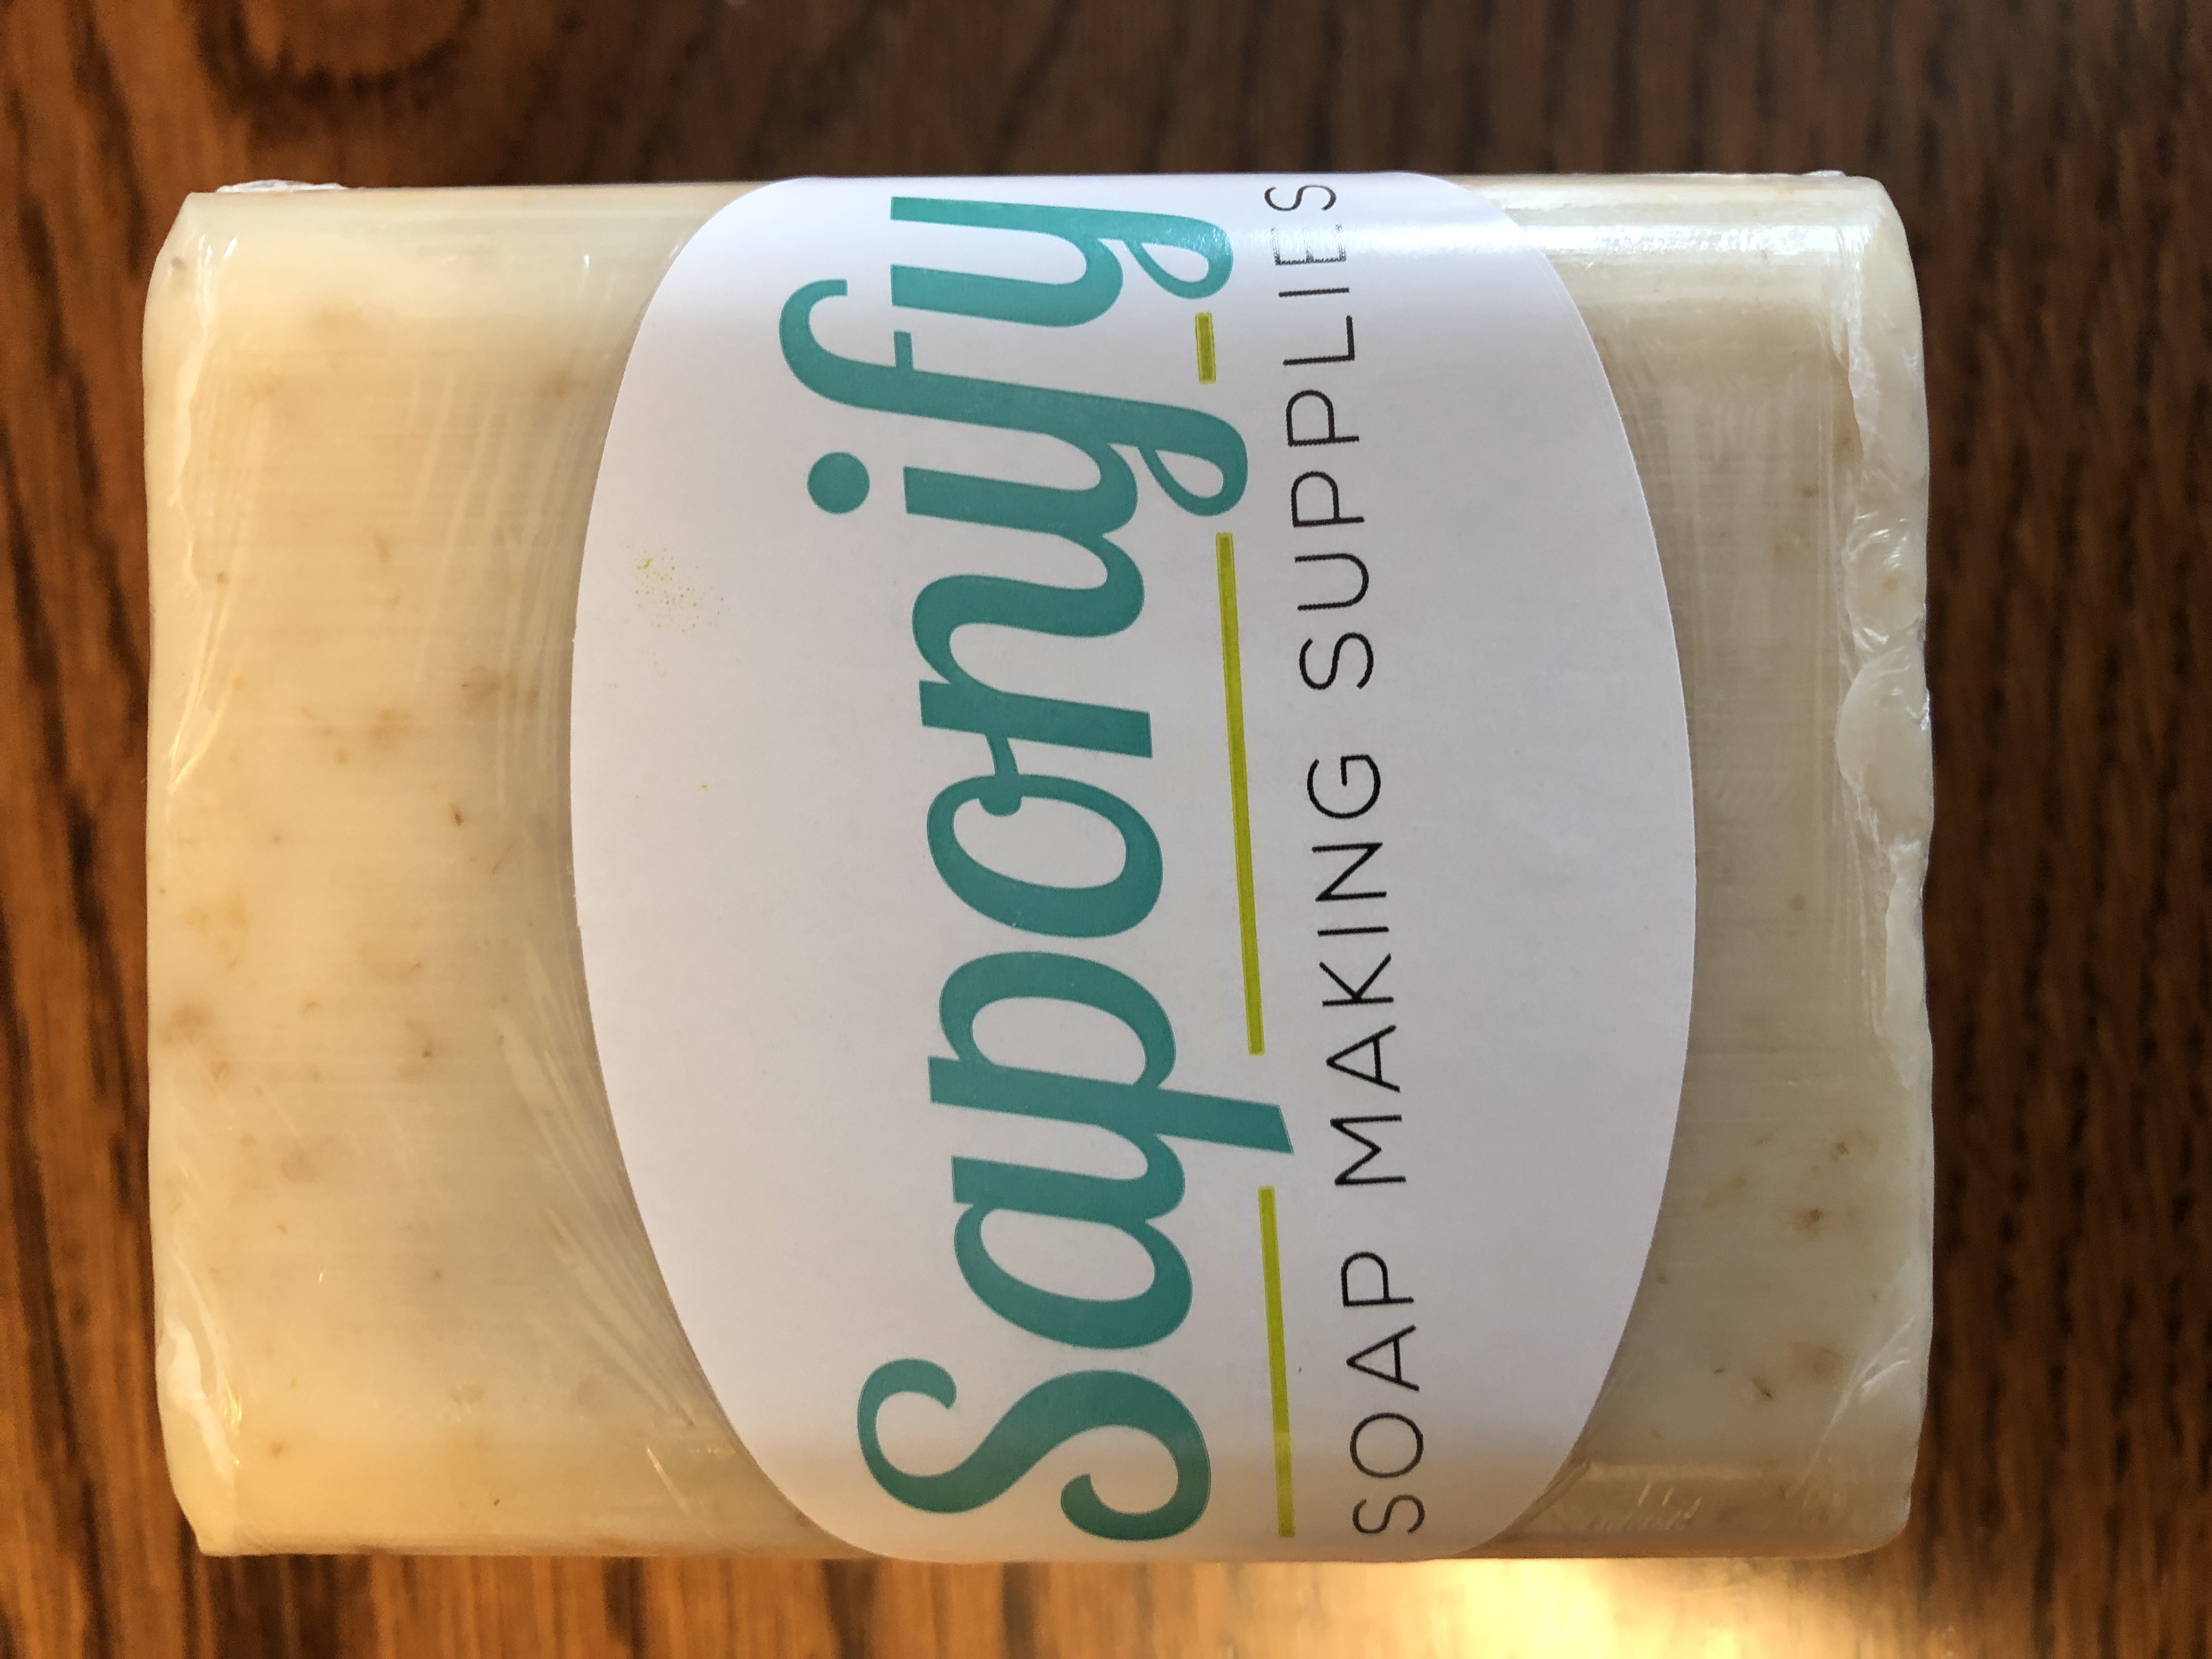
This week I wanted to make another batch of oatmeal soap, so I ordered another block of oatmeal soap base. When it arrived, I was convinced they sent me the wrong soap…it was a white soap base with no evidence of bits of oatmeal!!
The package said “Oatmeal Soap Base” but there was no listing for Colloidal Oatmeal, which is the flaked/rolled oats ground fine and embedded when making the soap base.
A closer look at the ingredient list showed Avena Sativa (Oat) Kernel Extract.
Hmmm. Time to do a little research!
According to Dr. Tess Mauricio, a board-certified dermatologist, colloidal oatmeal and Avena Sativa extract are two ingredients that are derived from the oat plant and are clinically proven to protect our skin from environmental stressors and other concerns.
Colloidal oat is found in the bran of the plant, while Avena Sativa extract comes from the stems and leaves. Colloidal oatmeal seems to be best used for more serious skin concerns like eczema, rosacea and dermatitis. Avena Sativa extract is better suited for more general dryness or irritation.
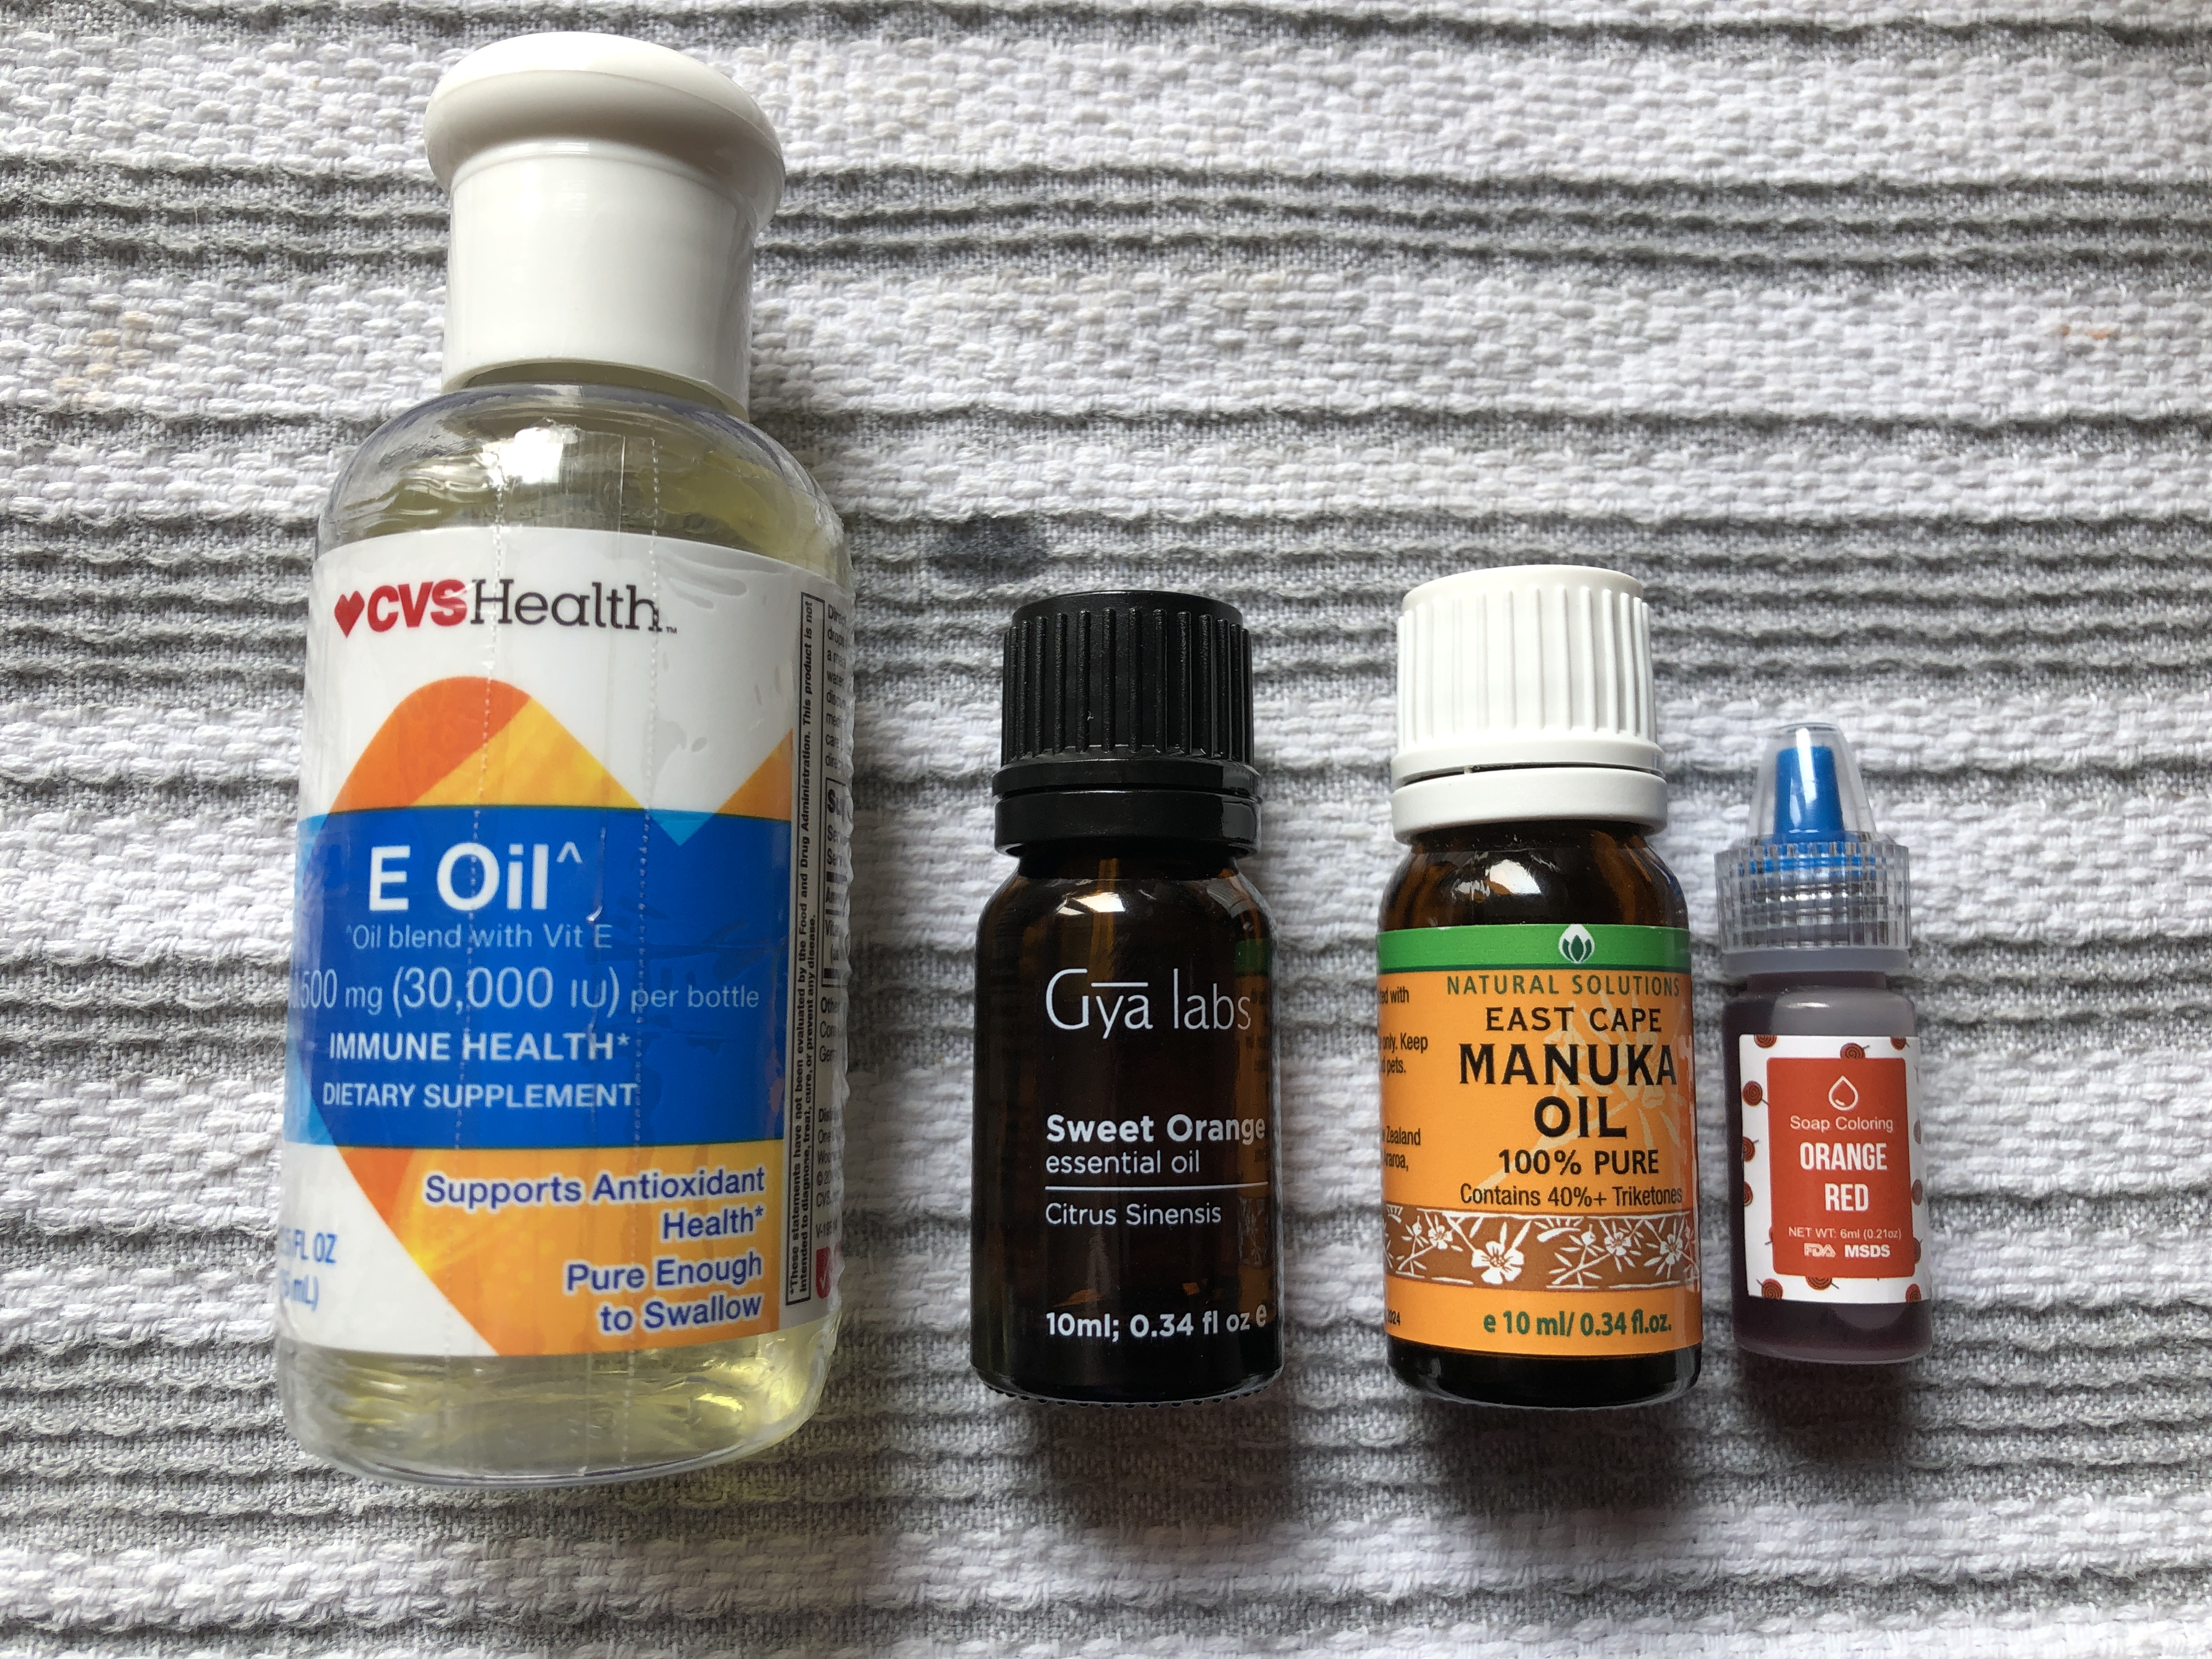
It was time to make another batch of “oatmeal” soap to see the difference. I added the same Vitamin E oil, Orange and Manuka Essential oils and the same color tint (2 drops).
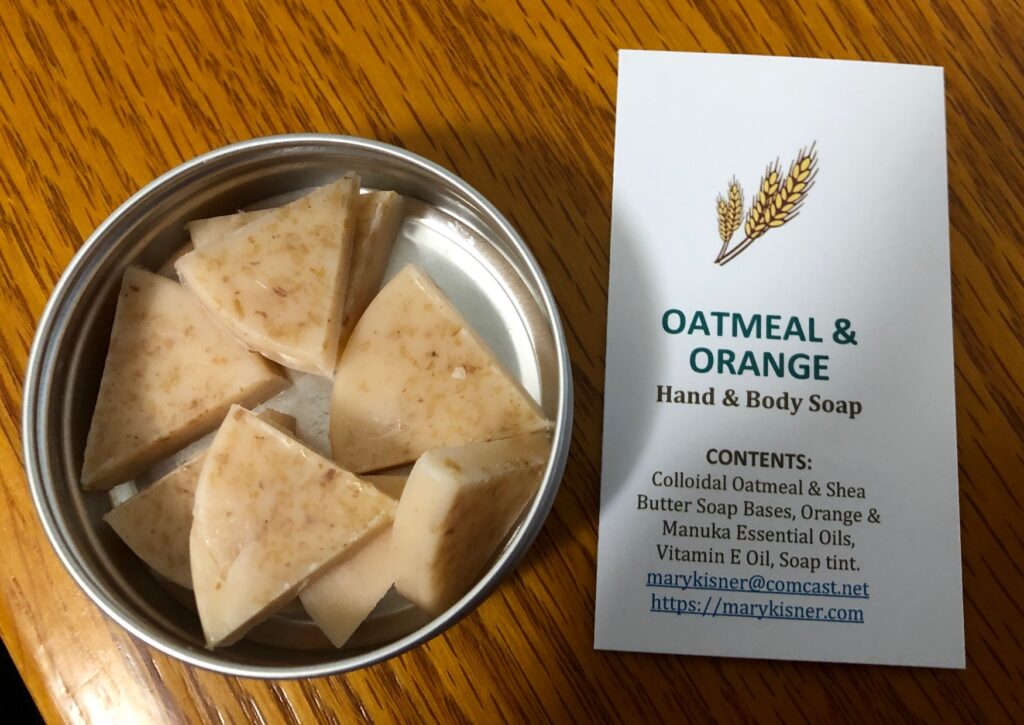
Of course, the card to go with the new soap had to be changed:
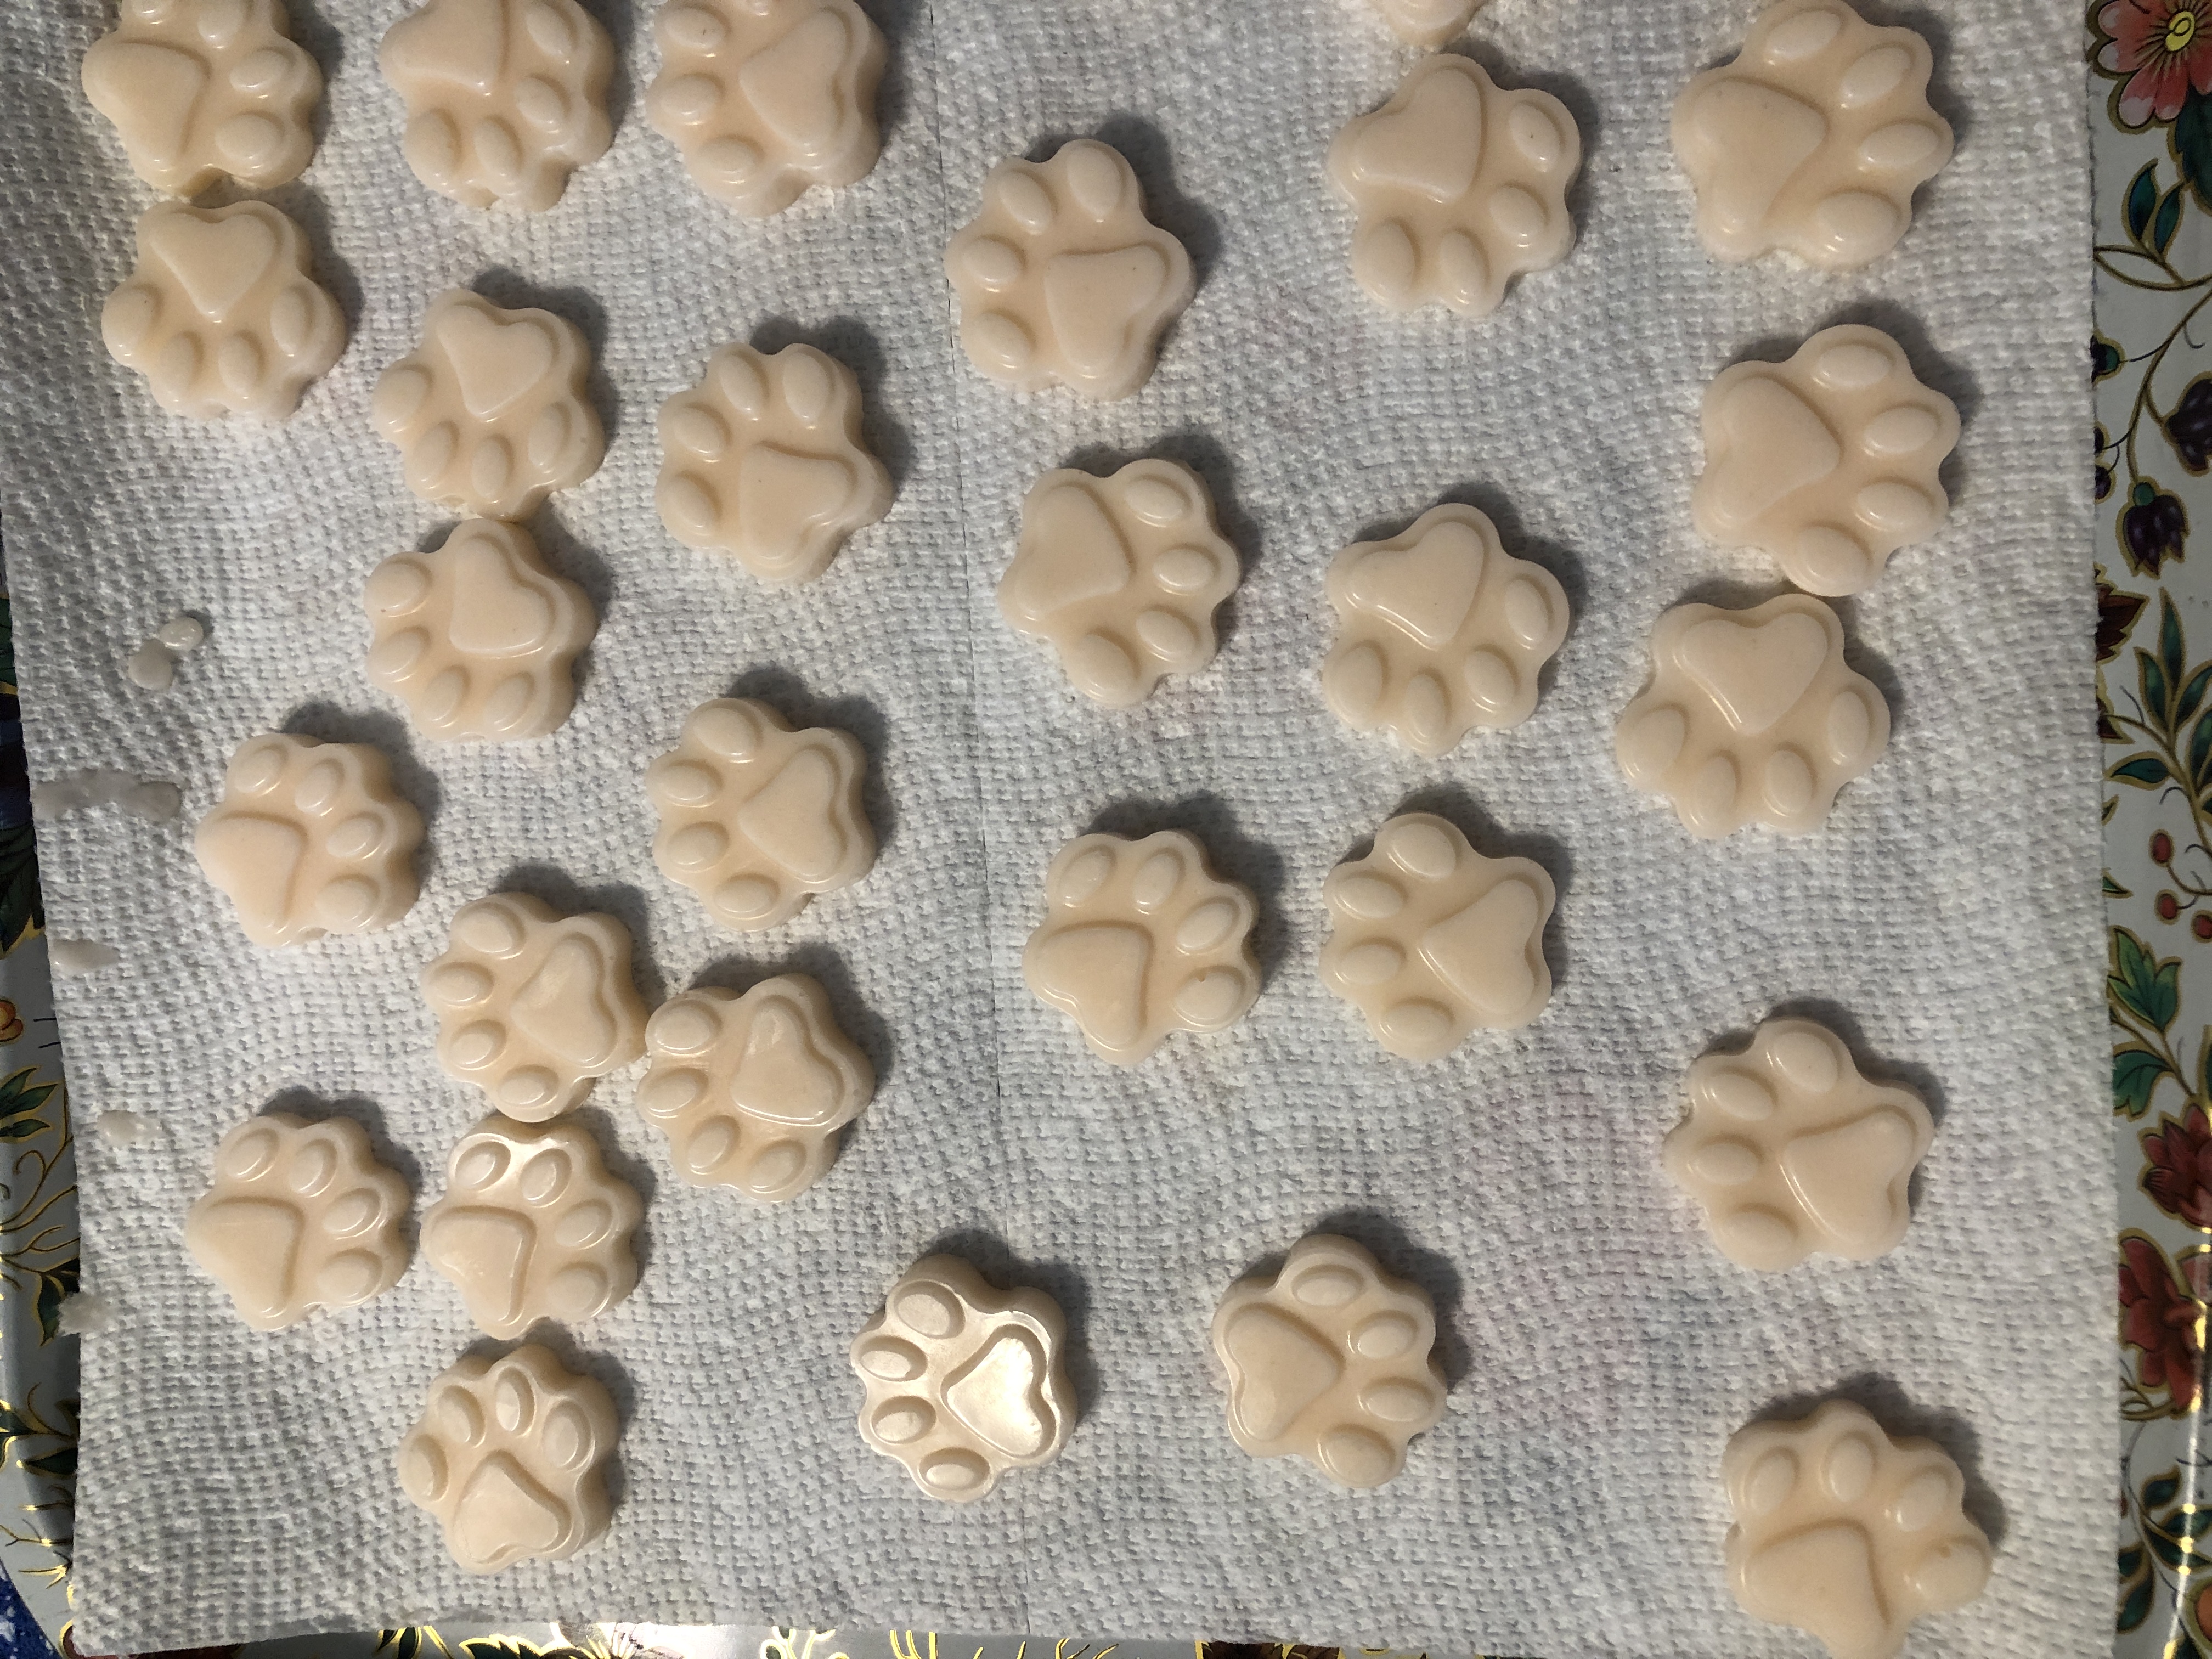
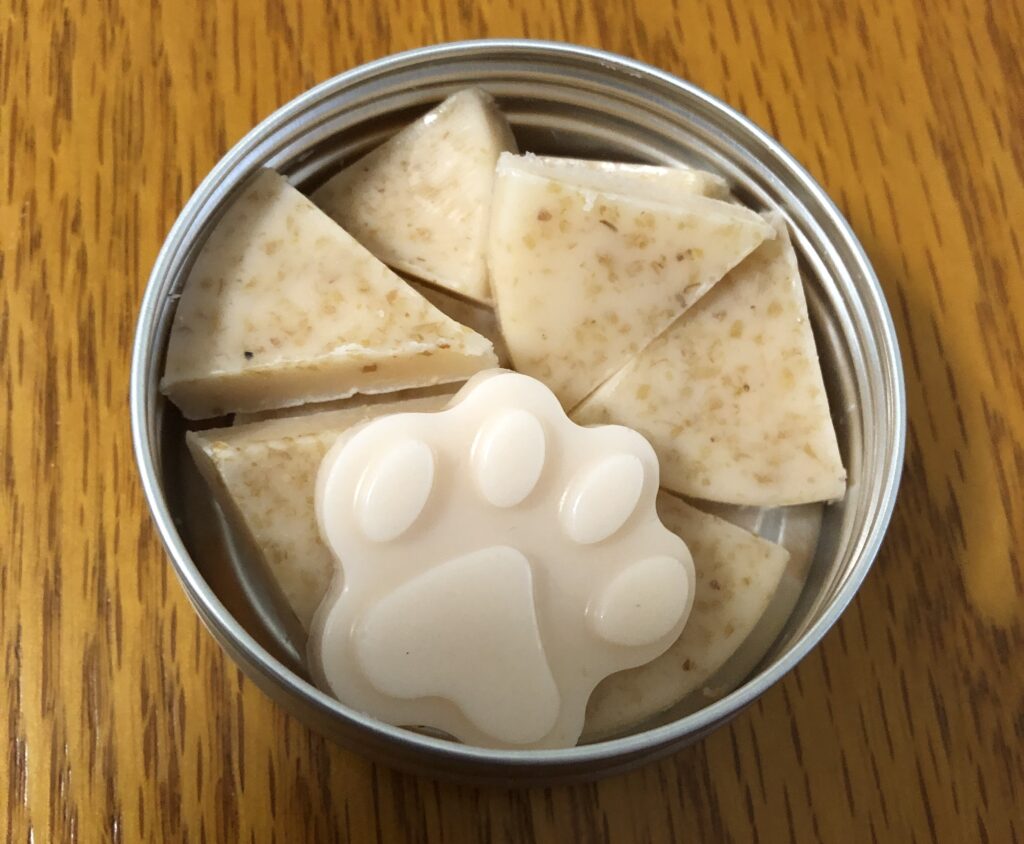
My plan is to add a paw-shaped soap to each tin of single-use soap and see if folks prefer one over the other. Now I have two choices when I want to make oatmeal soap!
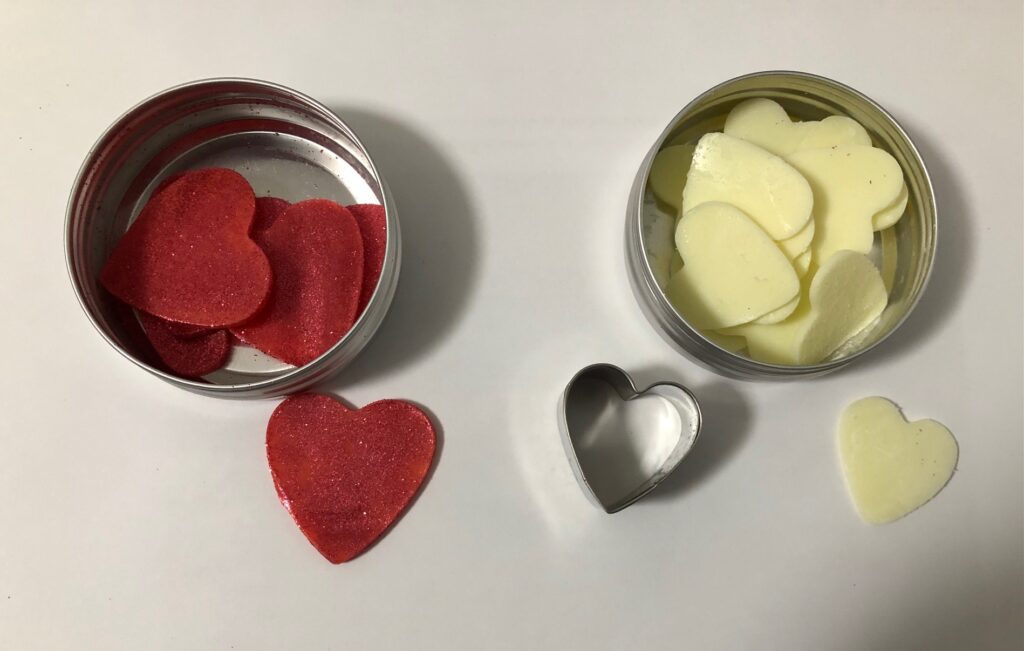
Three years ago, at the beginning of the Covid lockdowns, I was focused on making single-use soap that I could carry in my purse in case I needed it. I came up with several options…and then many public places closed and I wasn’t going anywhere anyway. Oh well!
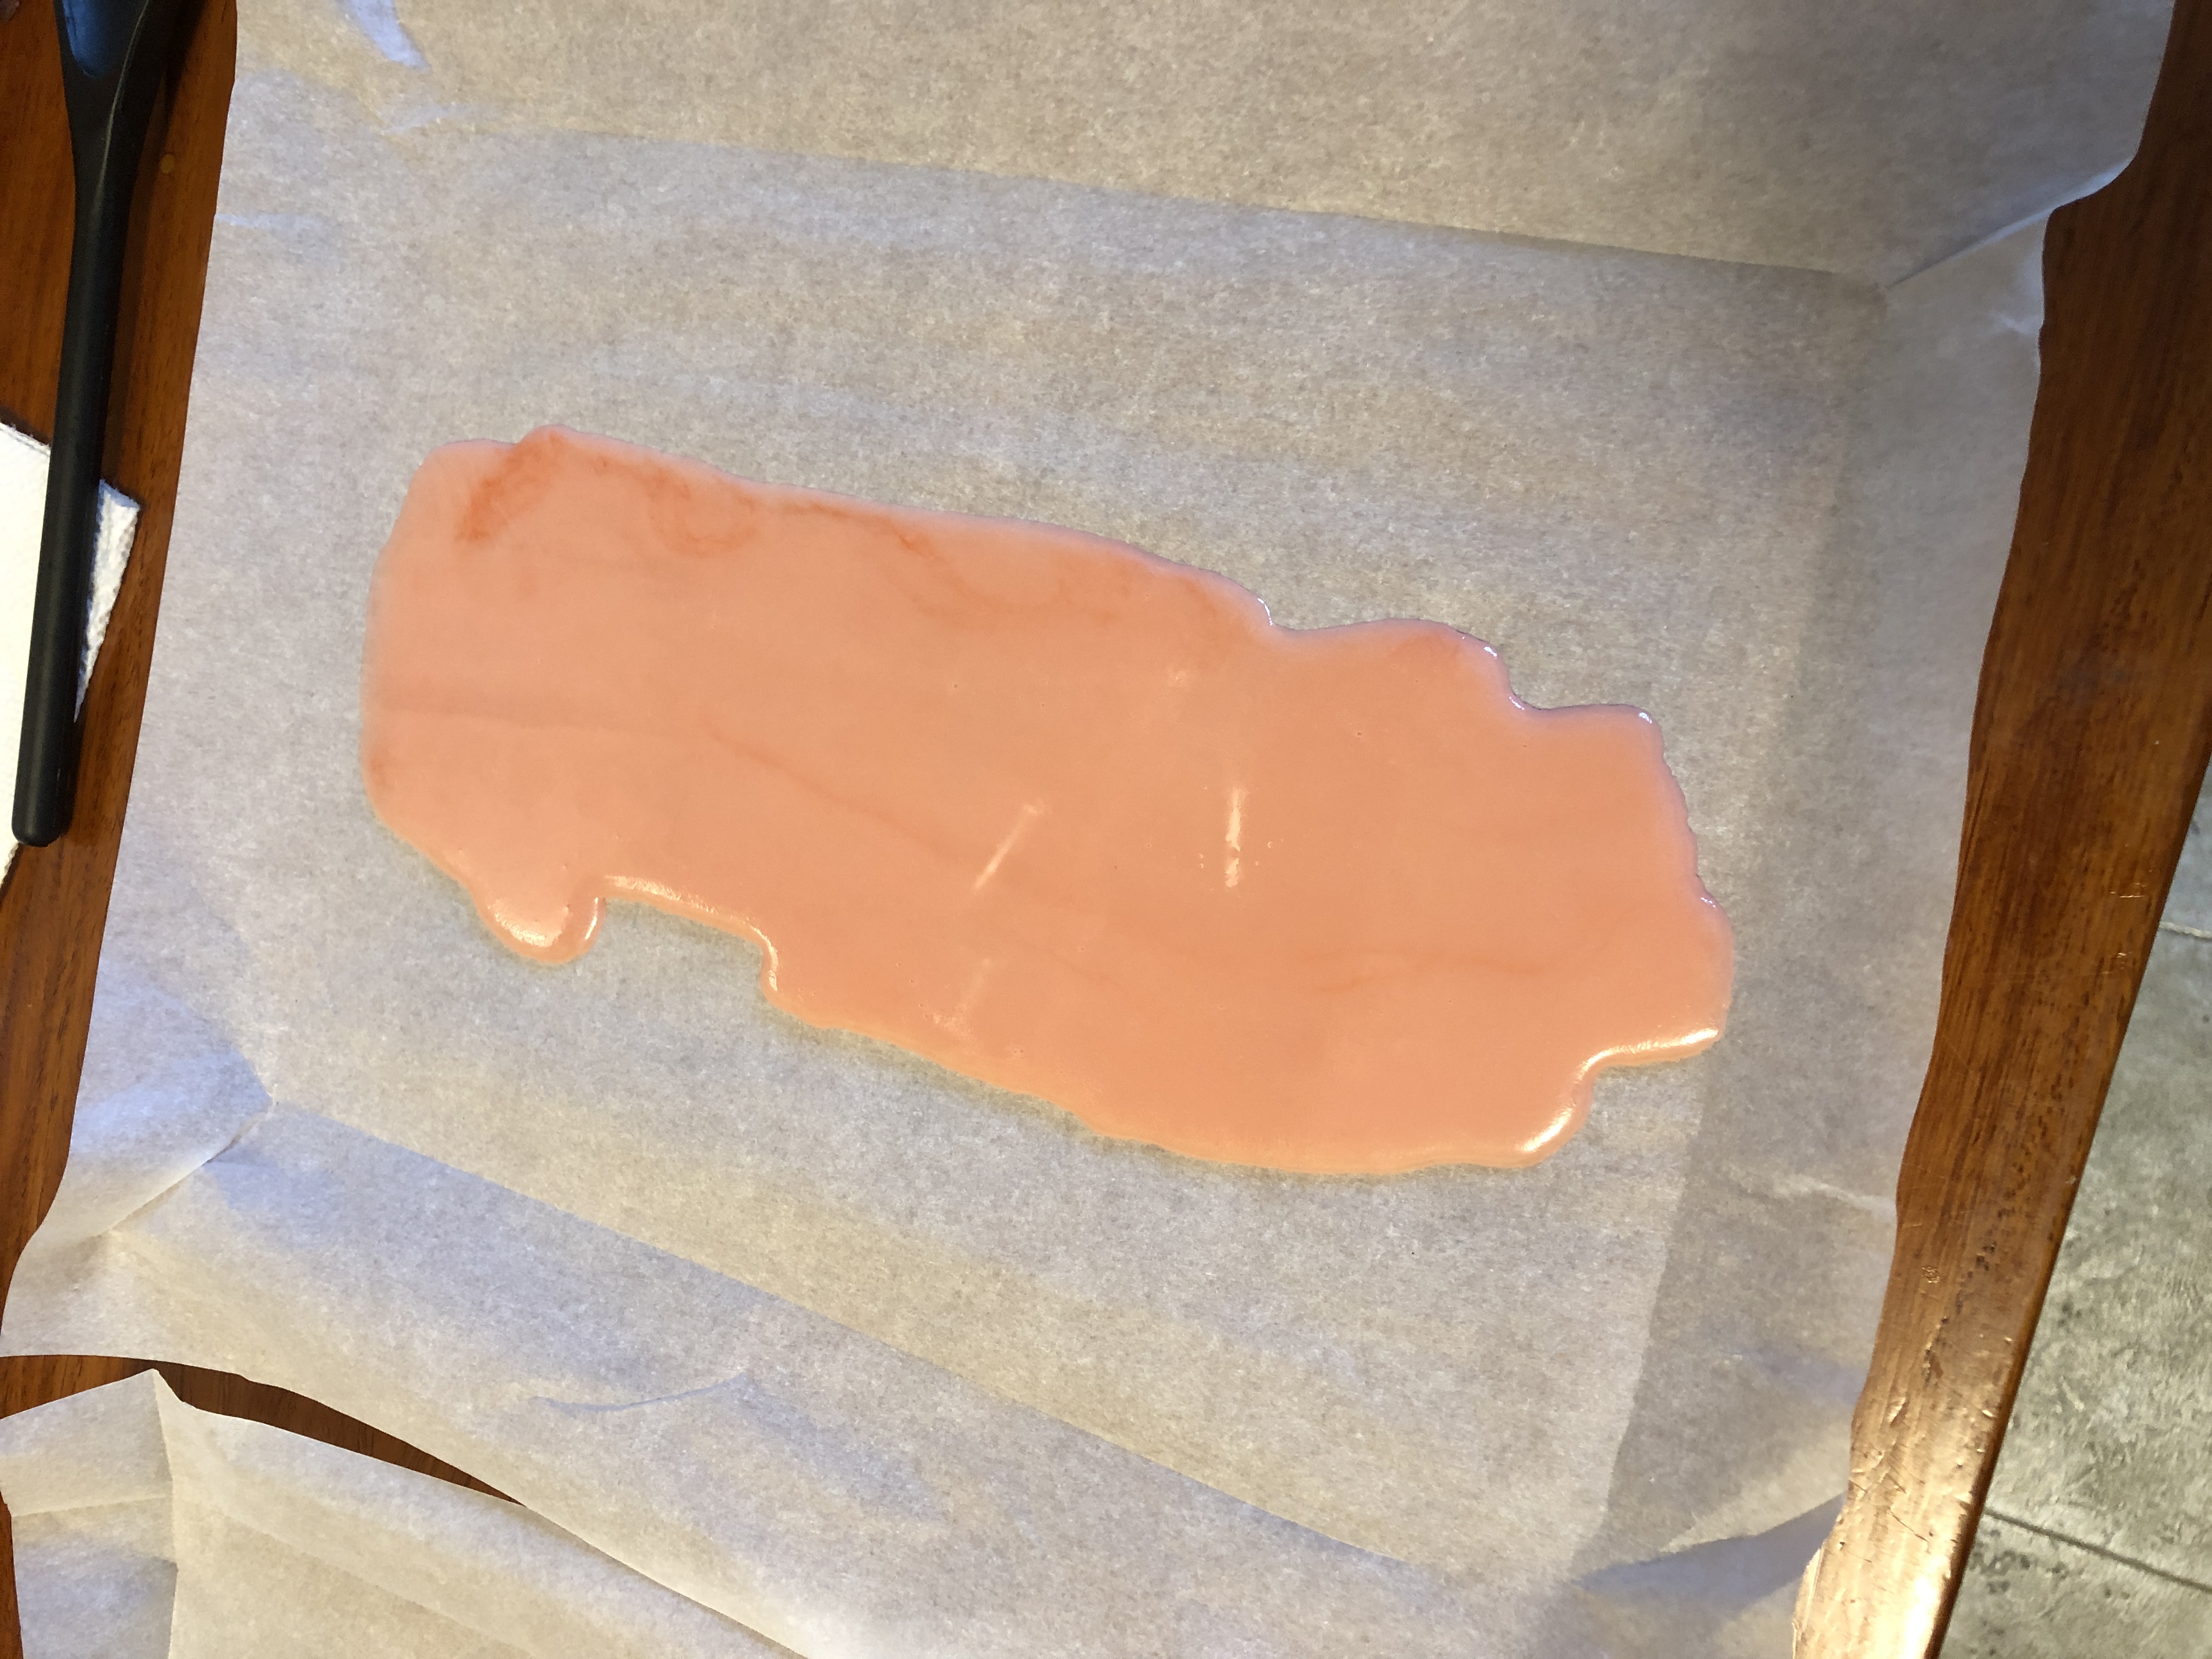
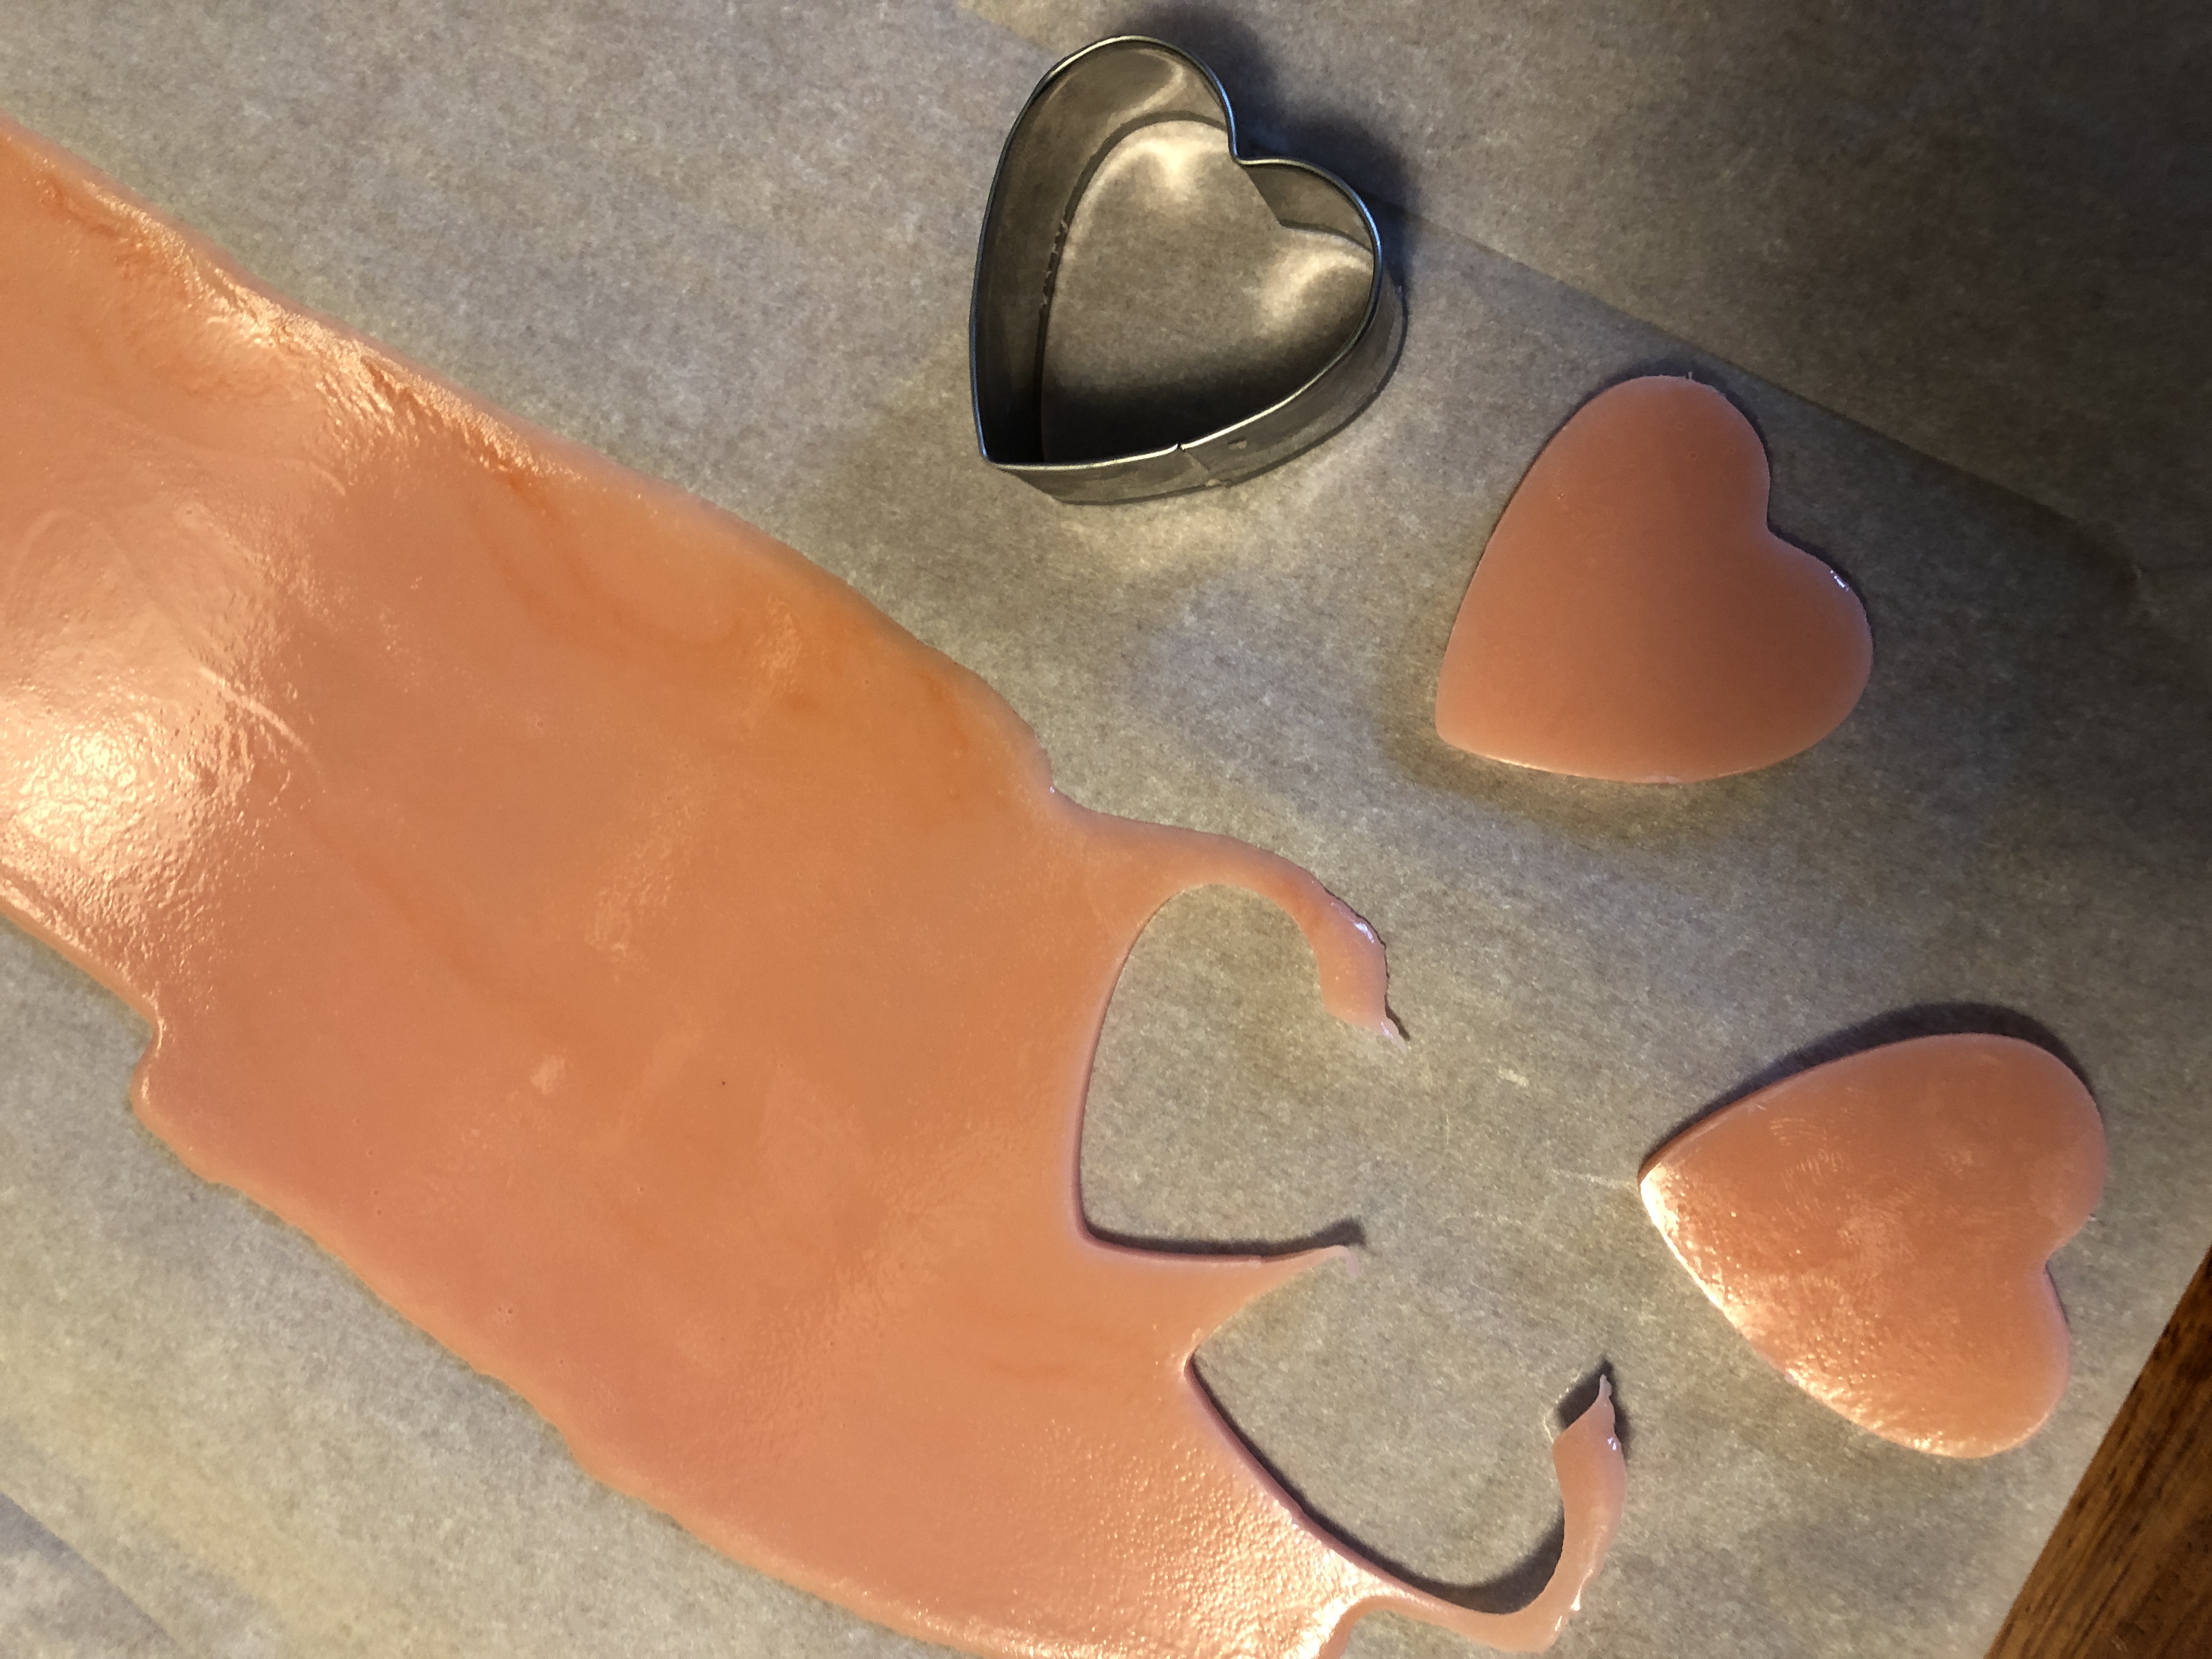
Those first attempts were made by melting Melt & Pour Soap, pouring it onto wax paper, letting it cool and then cutting out hearts with a cookie cutter.
This was a test of patience and I ended up with a few tins of single-use soap that I tucked away just in case.
Recently, I was reading an article about Cheryl Hines. Cheryl is an actress and is married to Robert Kennedy, Jr. She and her daughter, Catherine (Cat) have started a beauty products line that focuses on using less plastic waste. Apparently, plastic waste in the beauty industry is one of the highest contributors to plastic pollution in the world! The company, Hines+Young (see www.shophinesyoung.com) makes high-end products with less plastic waste. Products are packaged in recyclable glass and aluminum tins.
I was interested to read about this company and found one of their products was a tin of single-use soap! How about that!
I can’t seem to post one of their pictures here, but the pieces of soap look like they were poured into a round mold and then cut like a pizza. That made sense! It would be quicker and easier to pour with less waste.
Of course, the website included the ingredients in the soap! They listed:
Oat protein, vitamin-rich sustainable palm oil, hydrating coconut oil and an invigorating blend of clove, sweet orange, and tea tree essential oils.
OK. I could do something similar…
Colloidal Oatmeal and Shea Butter Melt & Pour Soap Bases, Sweet Orange and Manuka Essential Oils, Vitamin E oil, soap tint. (I prefer Manuka Oil to Tea Tree Oil).
I started with a brand I frequently buy:
I chopped up 1 pound of Oatmeal Soap Base and 1/2 pound of Shea Butter Soap Base.
I put the chunks in my 4-cup heat-safe glass measuring cup.
Then the cup is placed in a saucepan with water. Water is brought to a simmer and the soap melts without getting too hot.
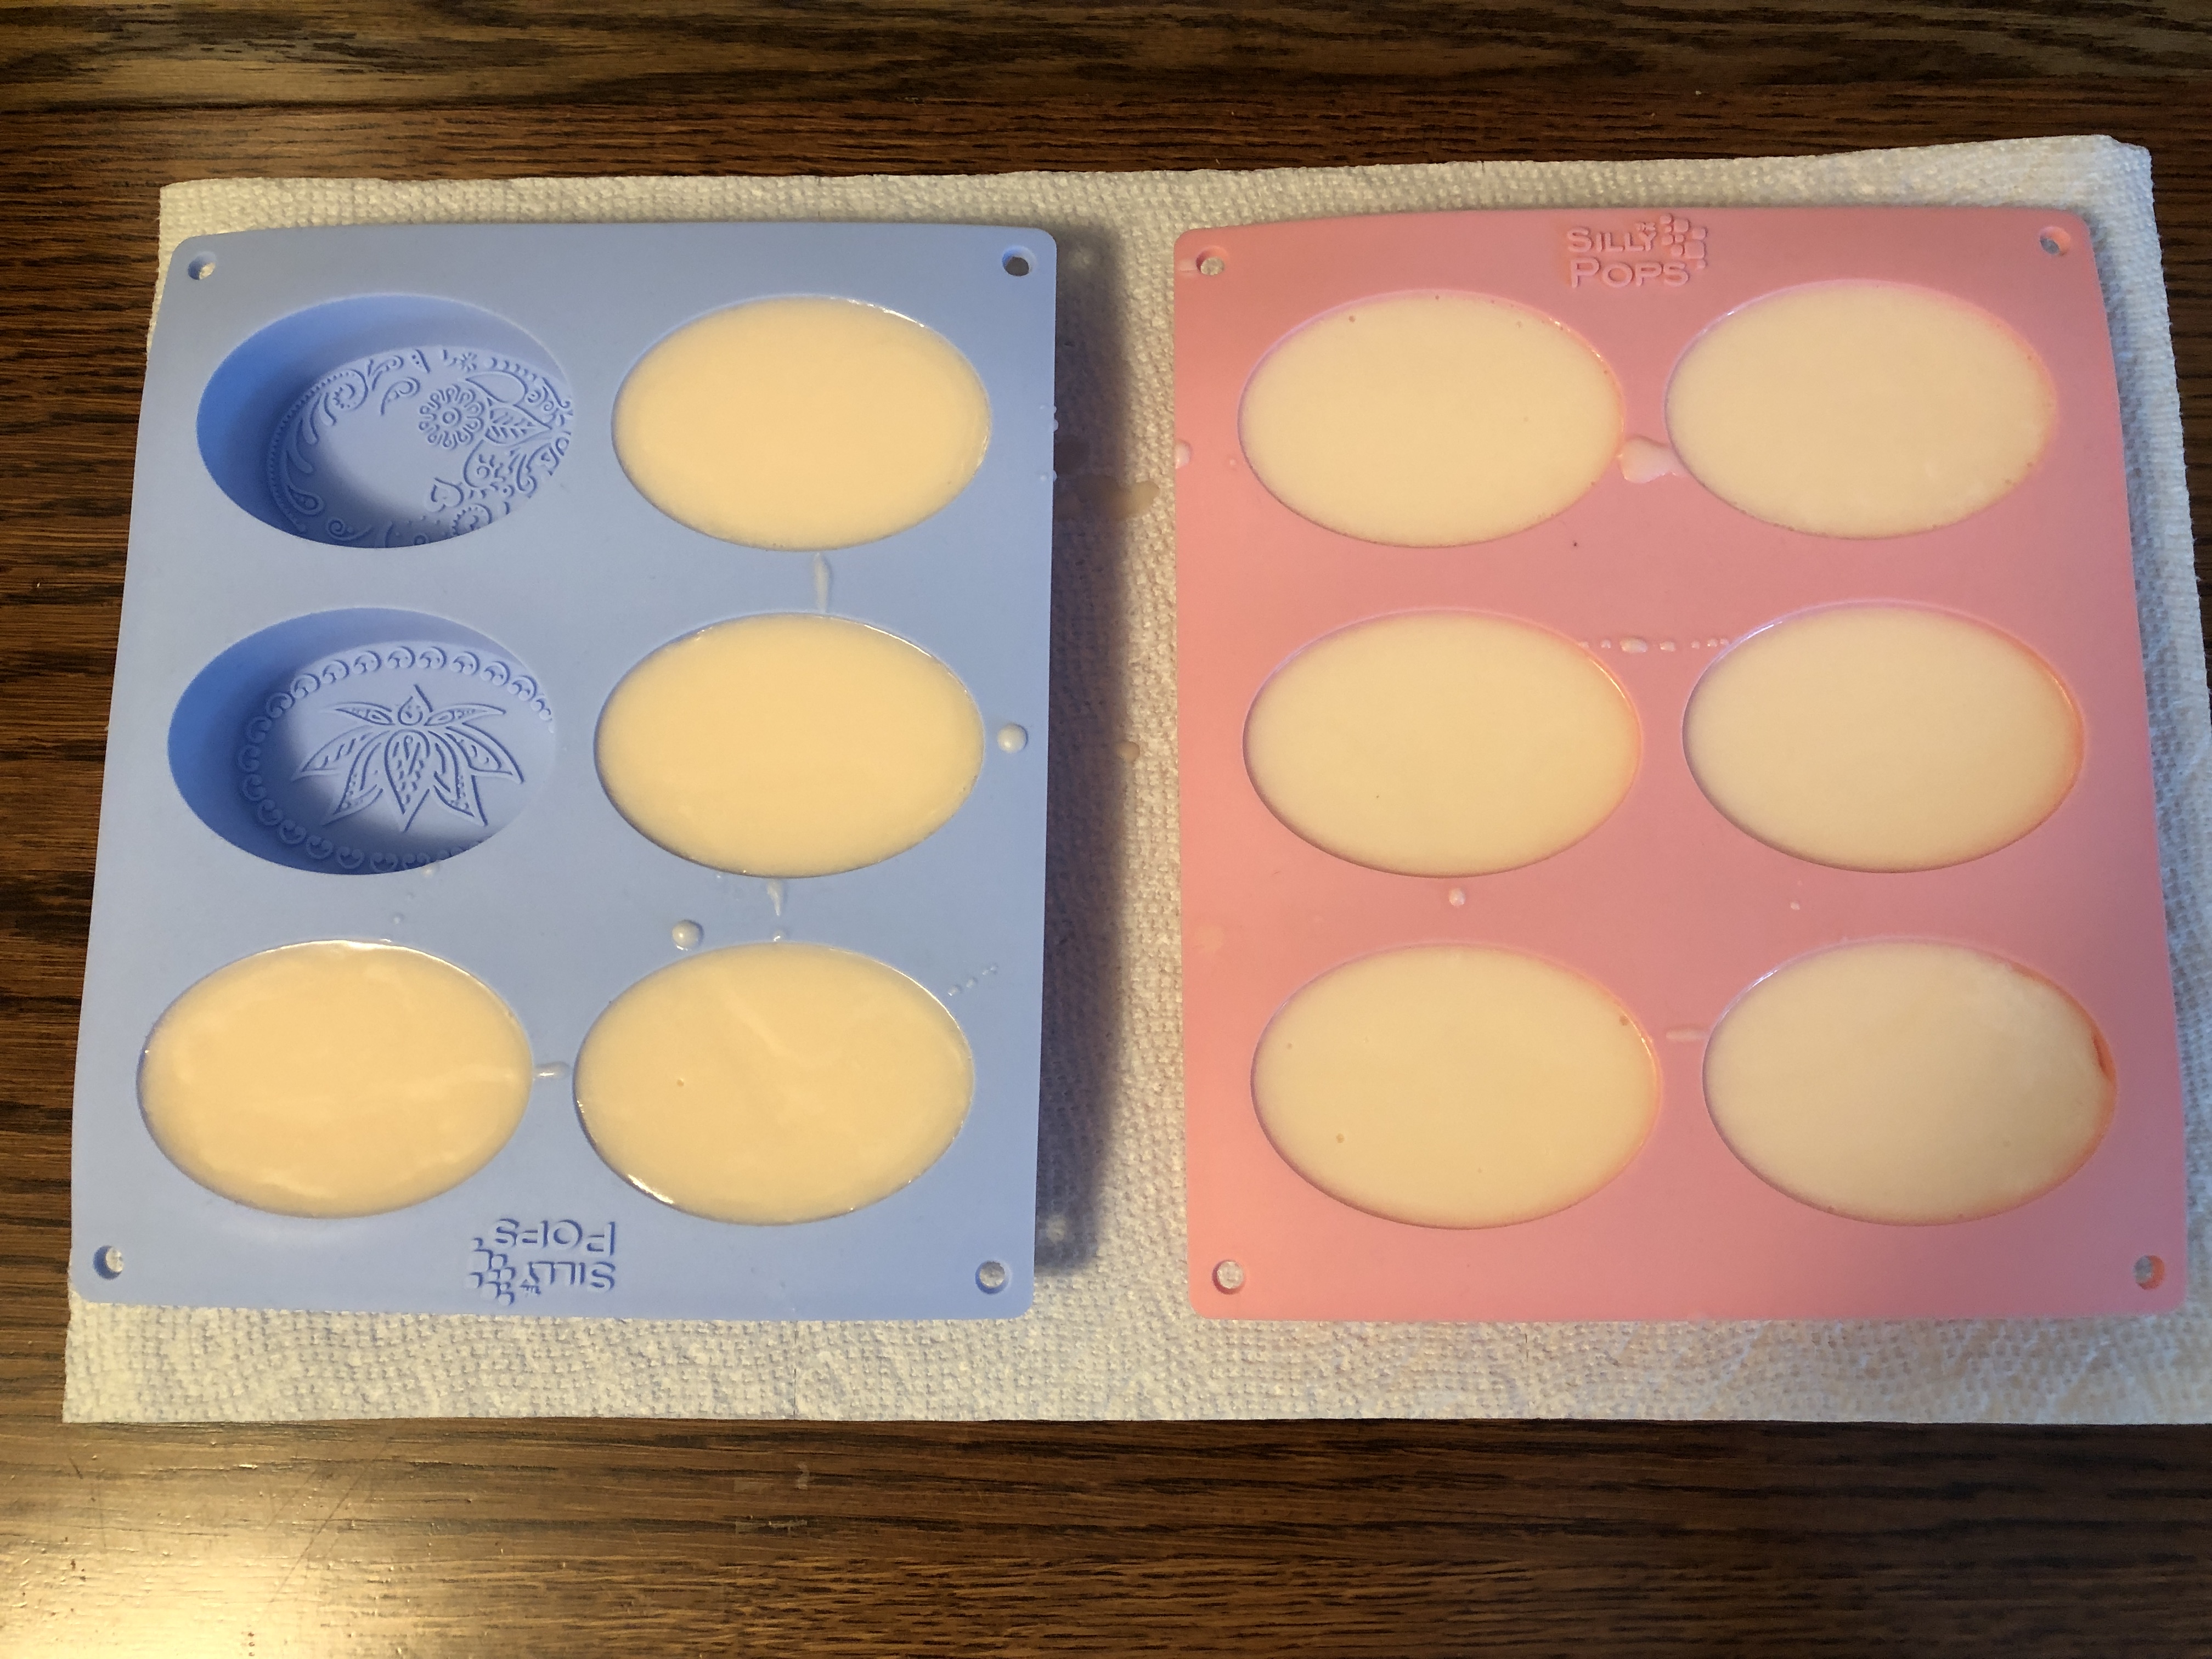
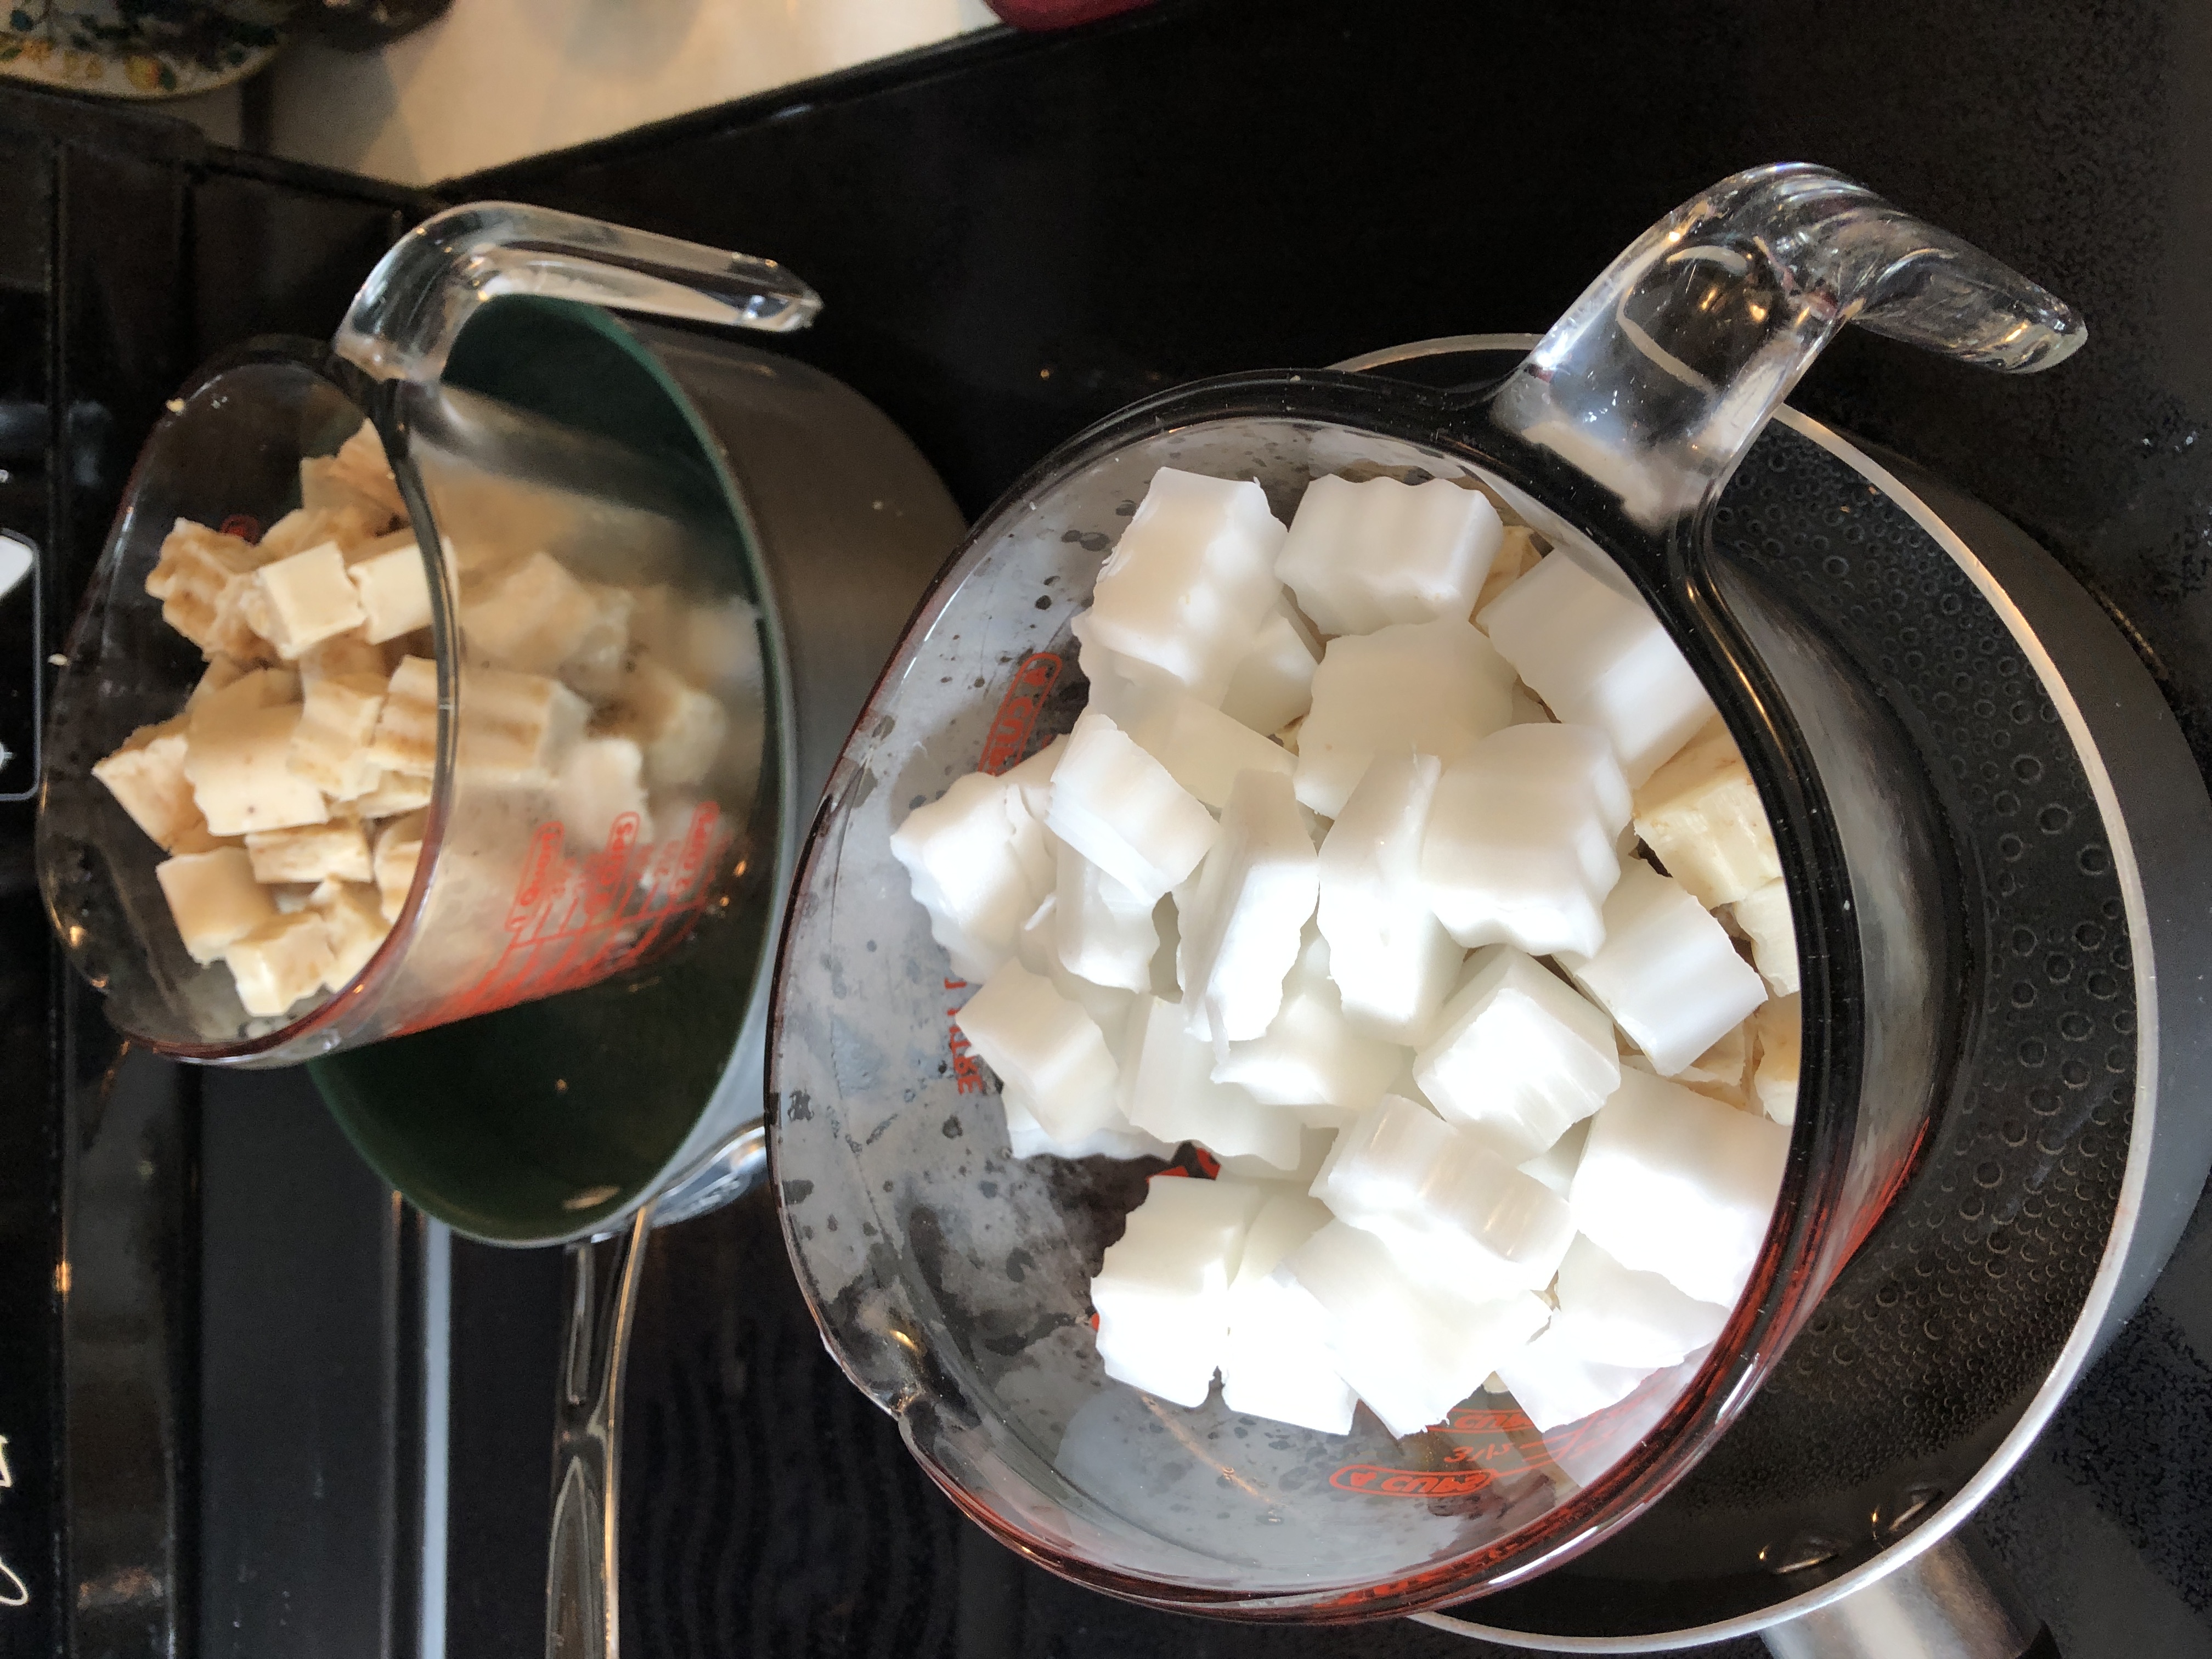
Of course, I usually make two at a time:
It made a lumpy mixture because of the oatmeal.
When melted, I added 1/2 tsp. of Vitamin E oil, Sweet Orange and Manuka Essential Oils. One drop of soap tint made the soap a very light orange color.
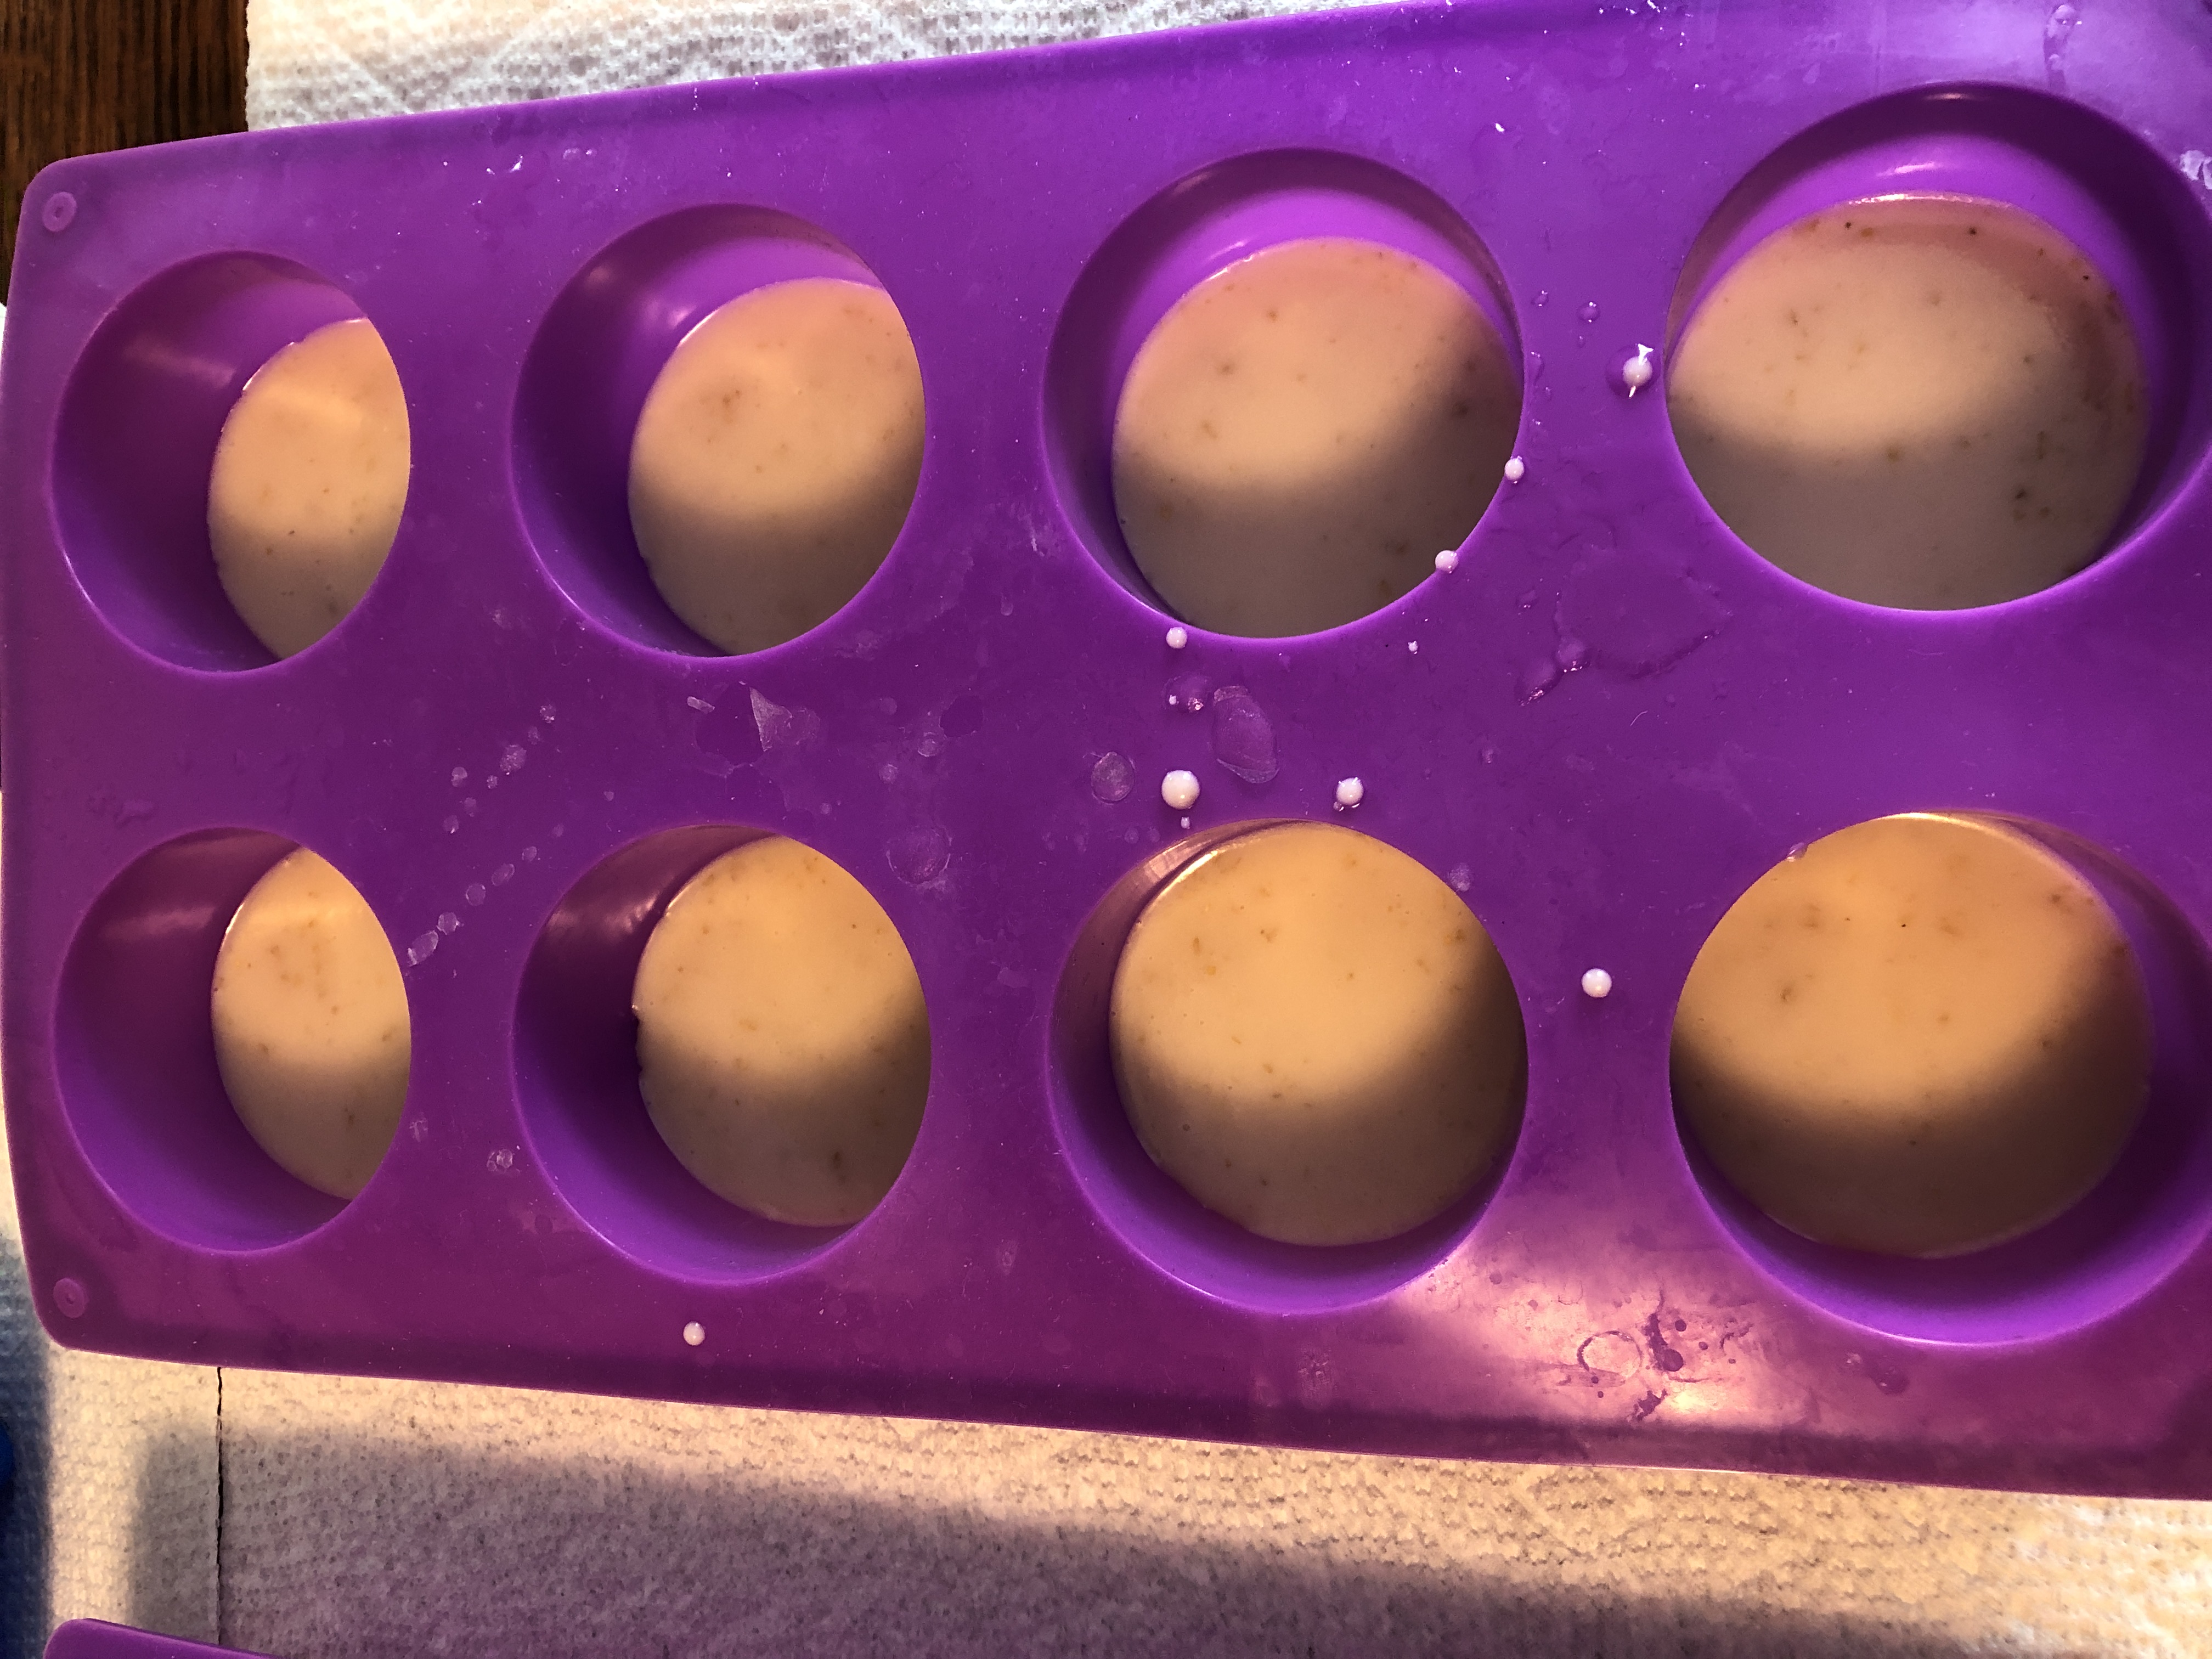
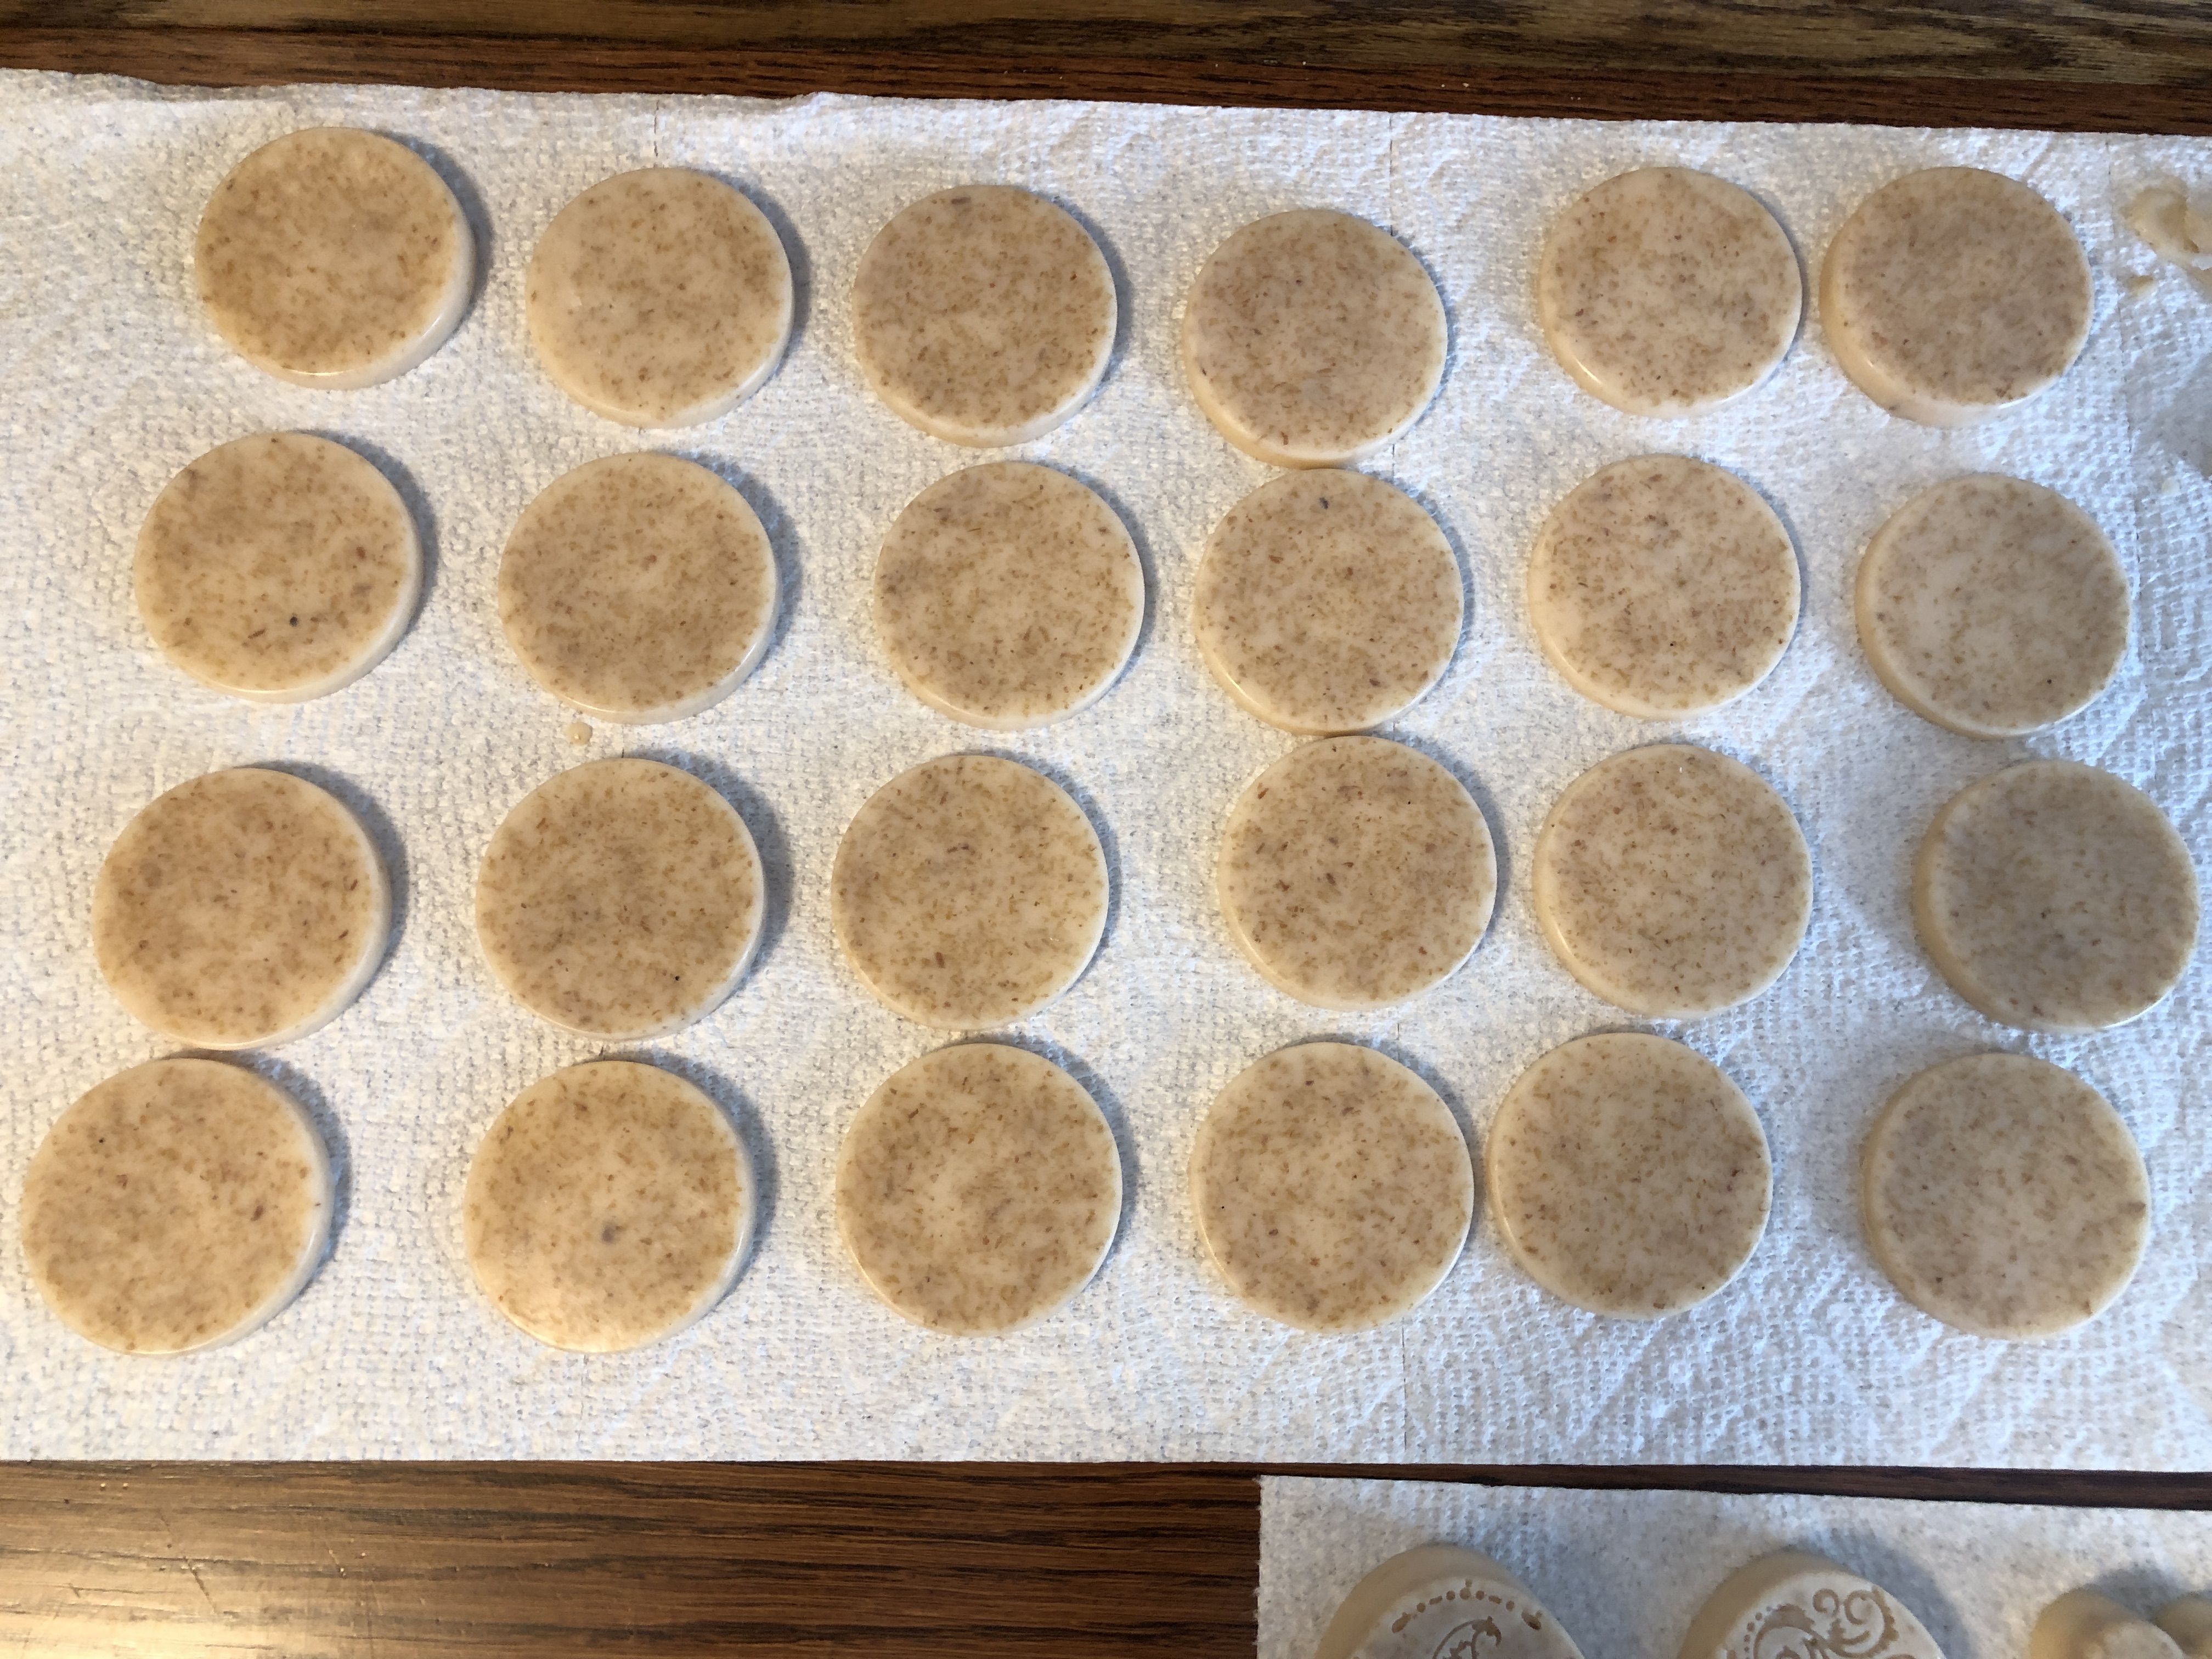
Pouring into the mold was the hardest part. I wanted a thin circle, however, the oatmeal soap got thicker as it cooled and by the time I was done pouring it made circles about 1/4″ thick.
I made a total of 32 round disks of oatmeal soap, each about 1/4″ thick.
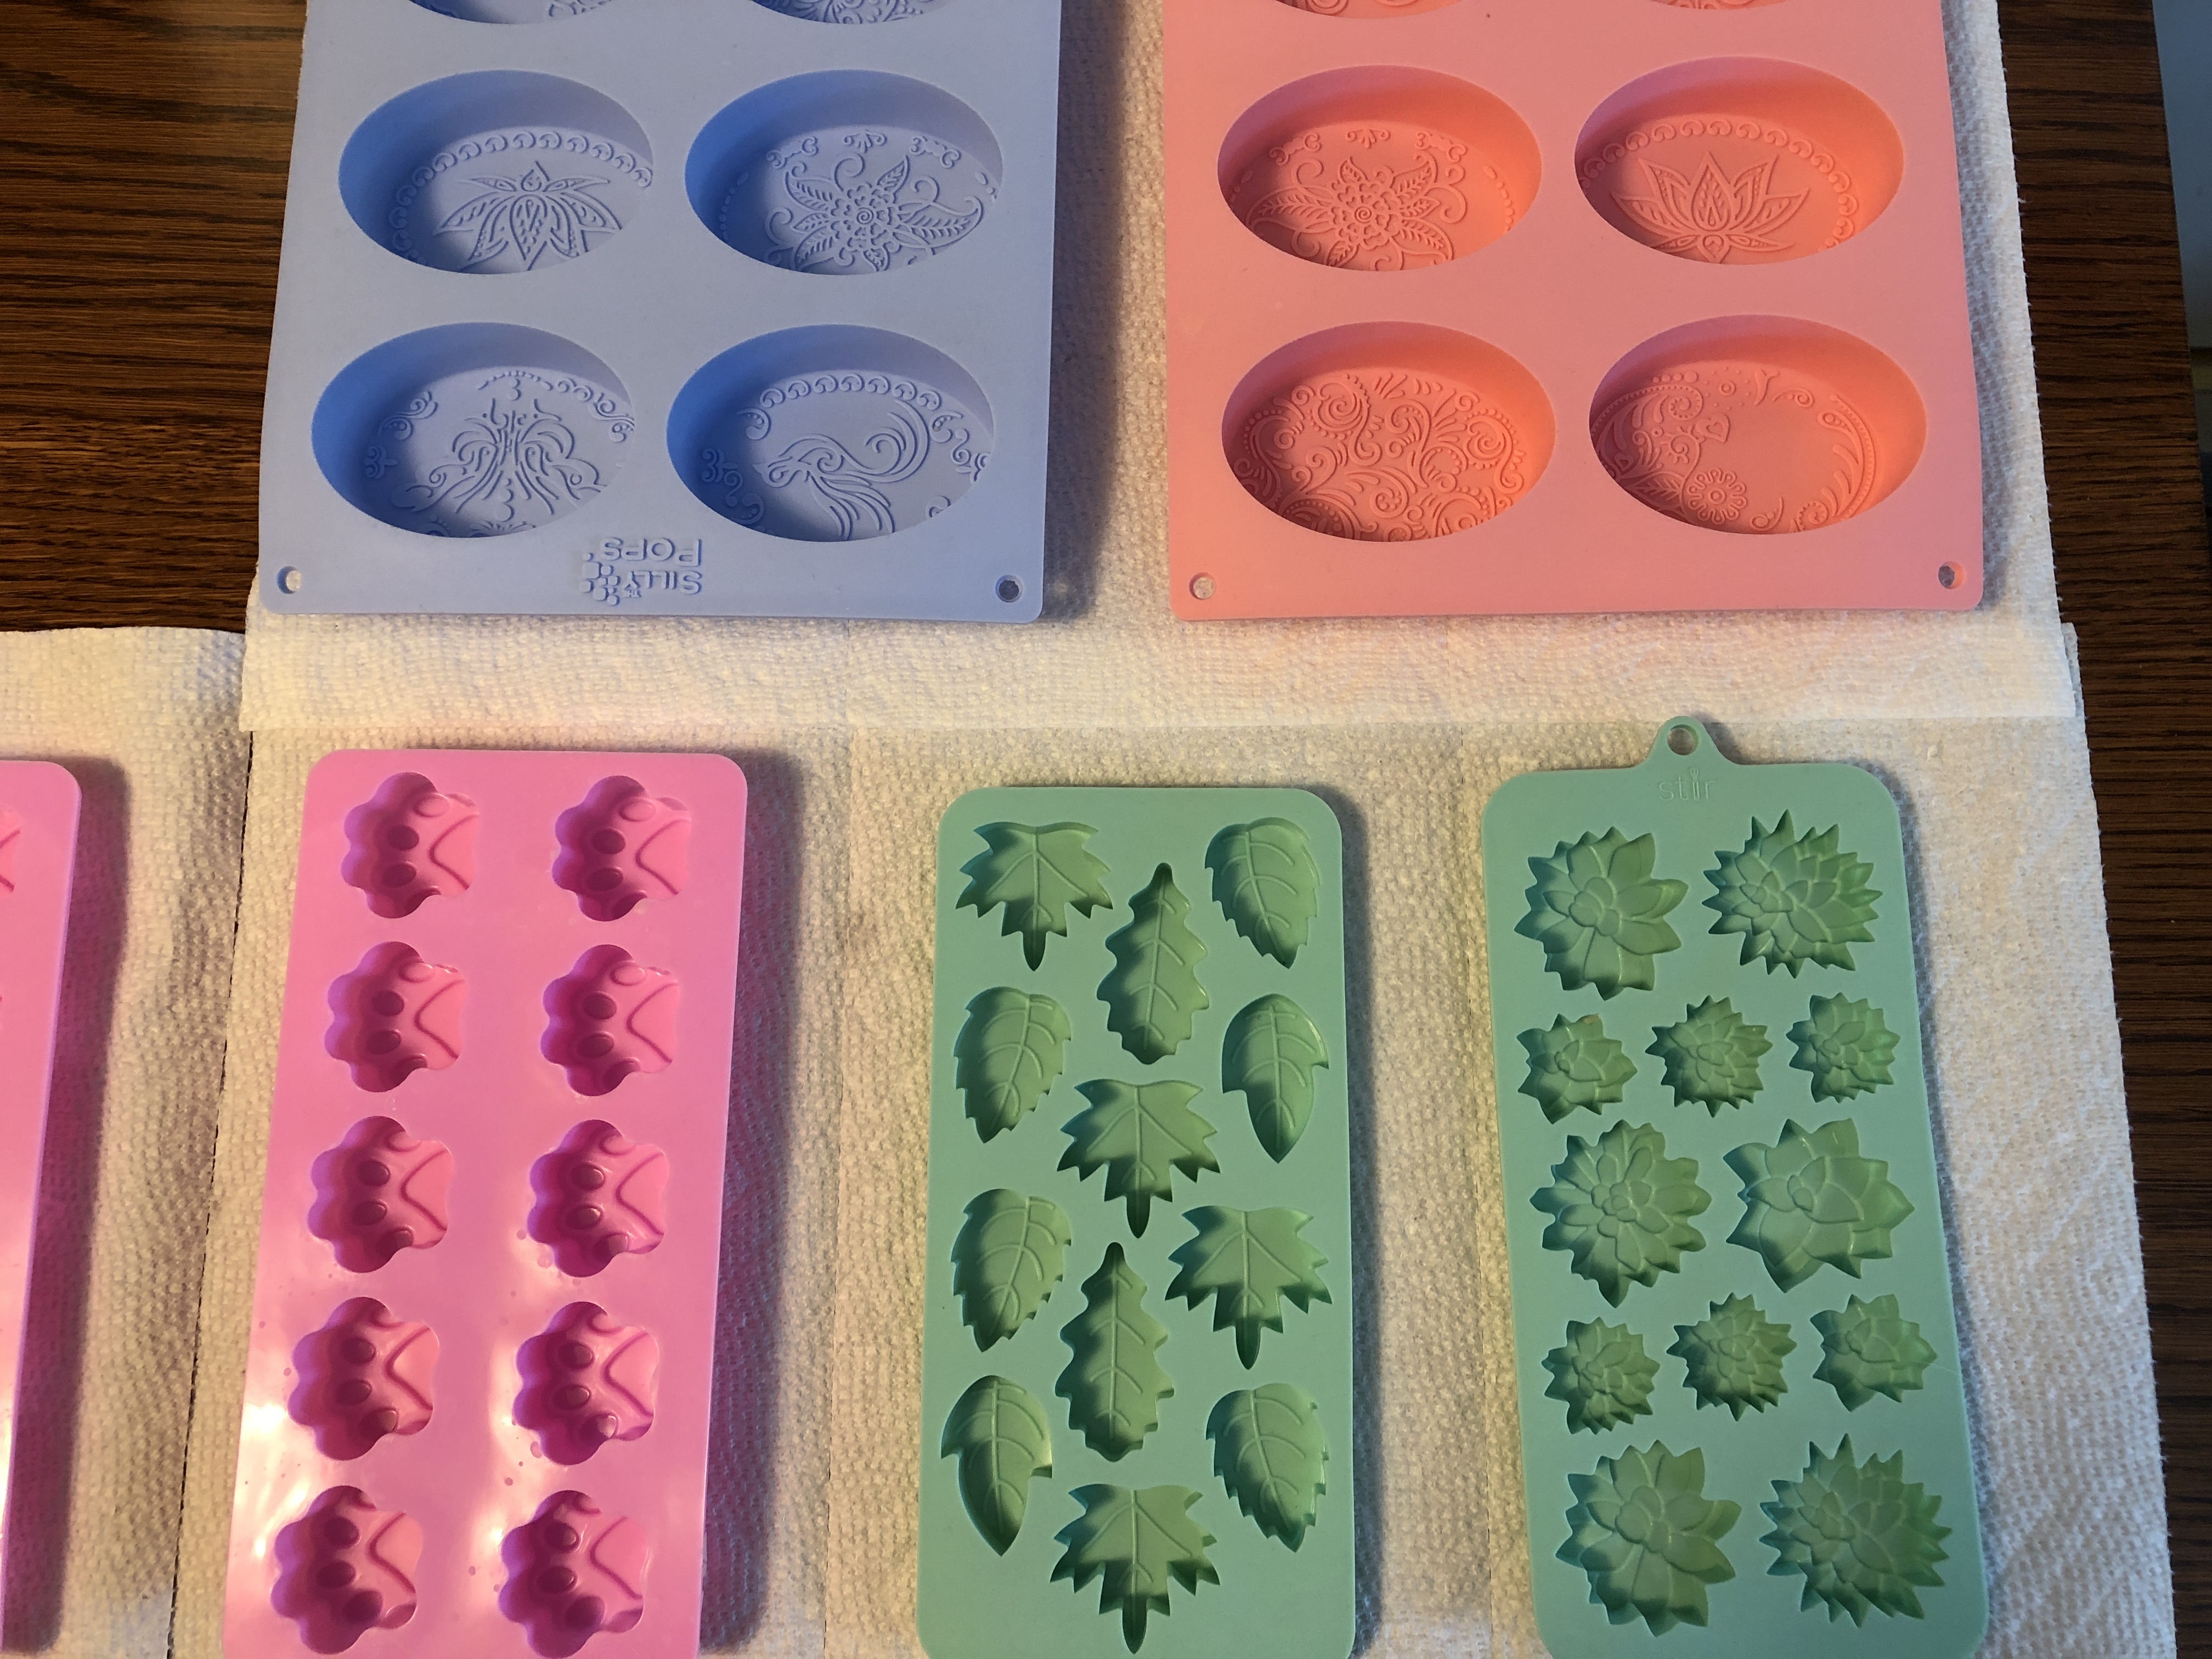
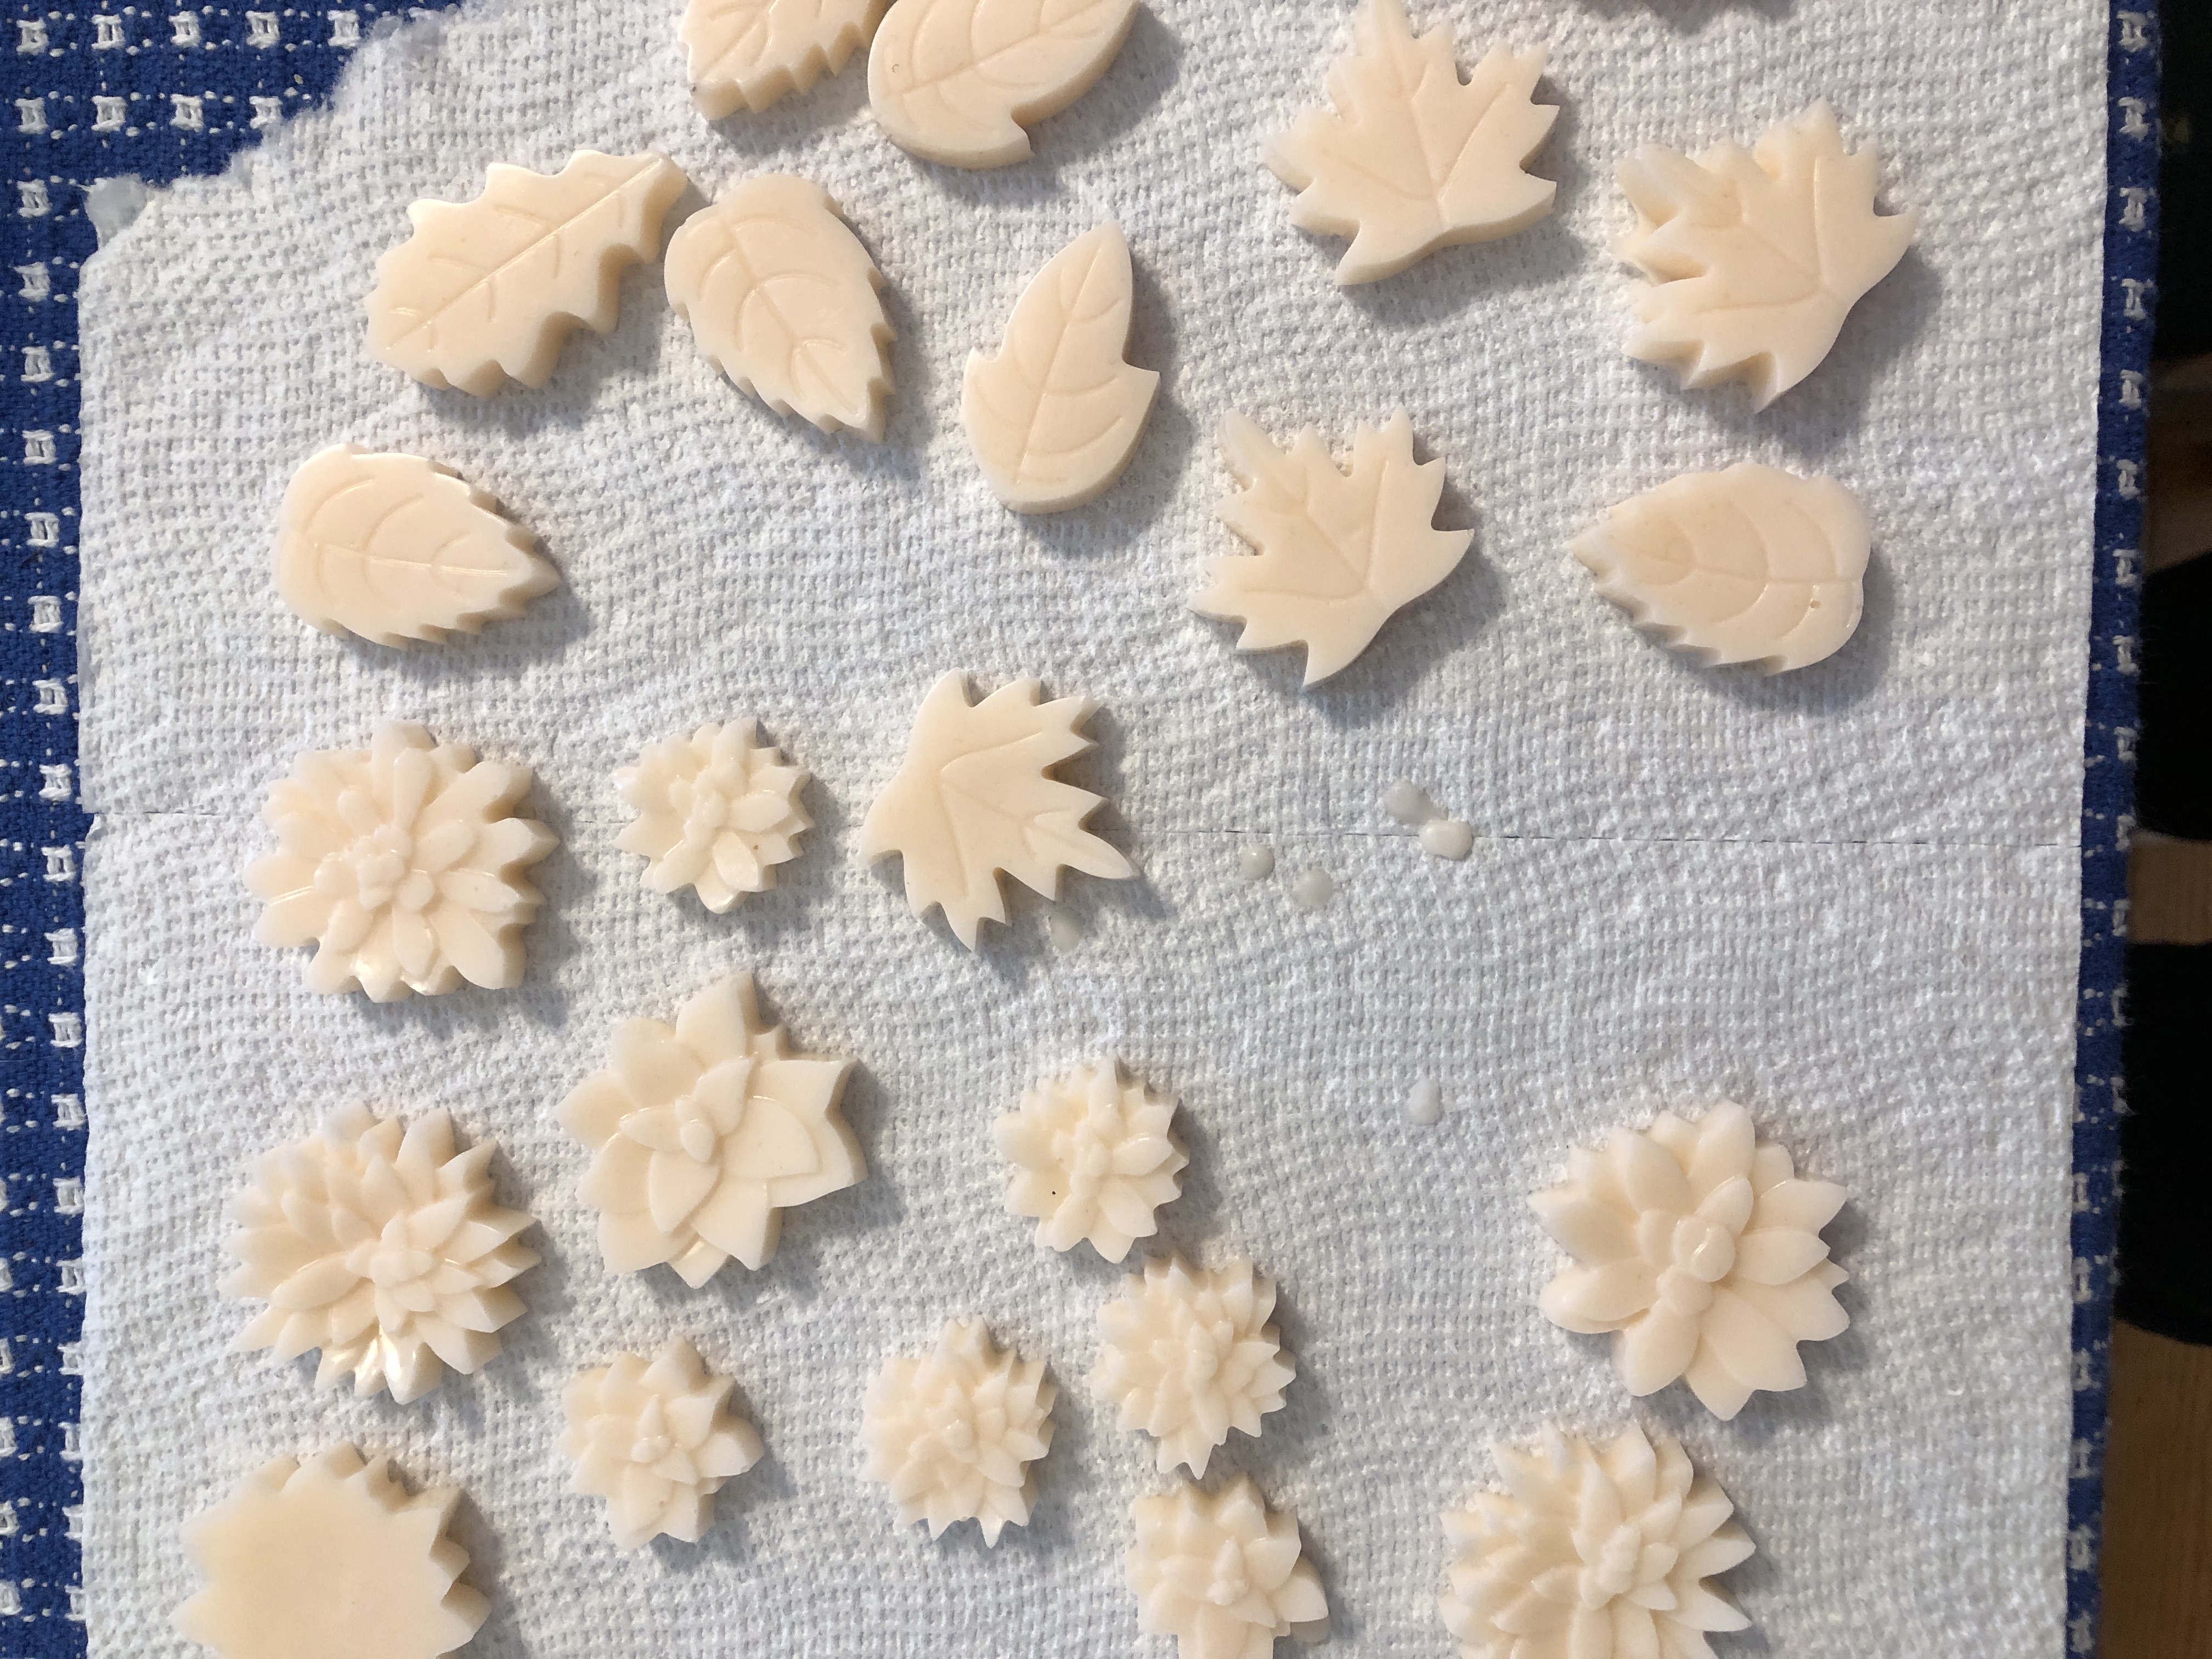
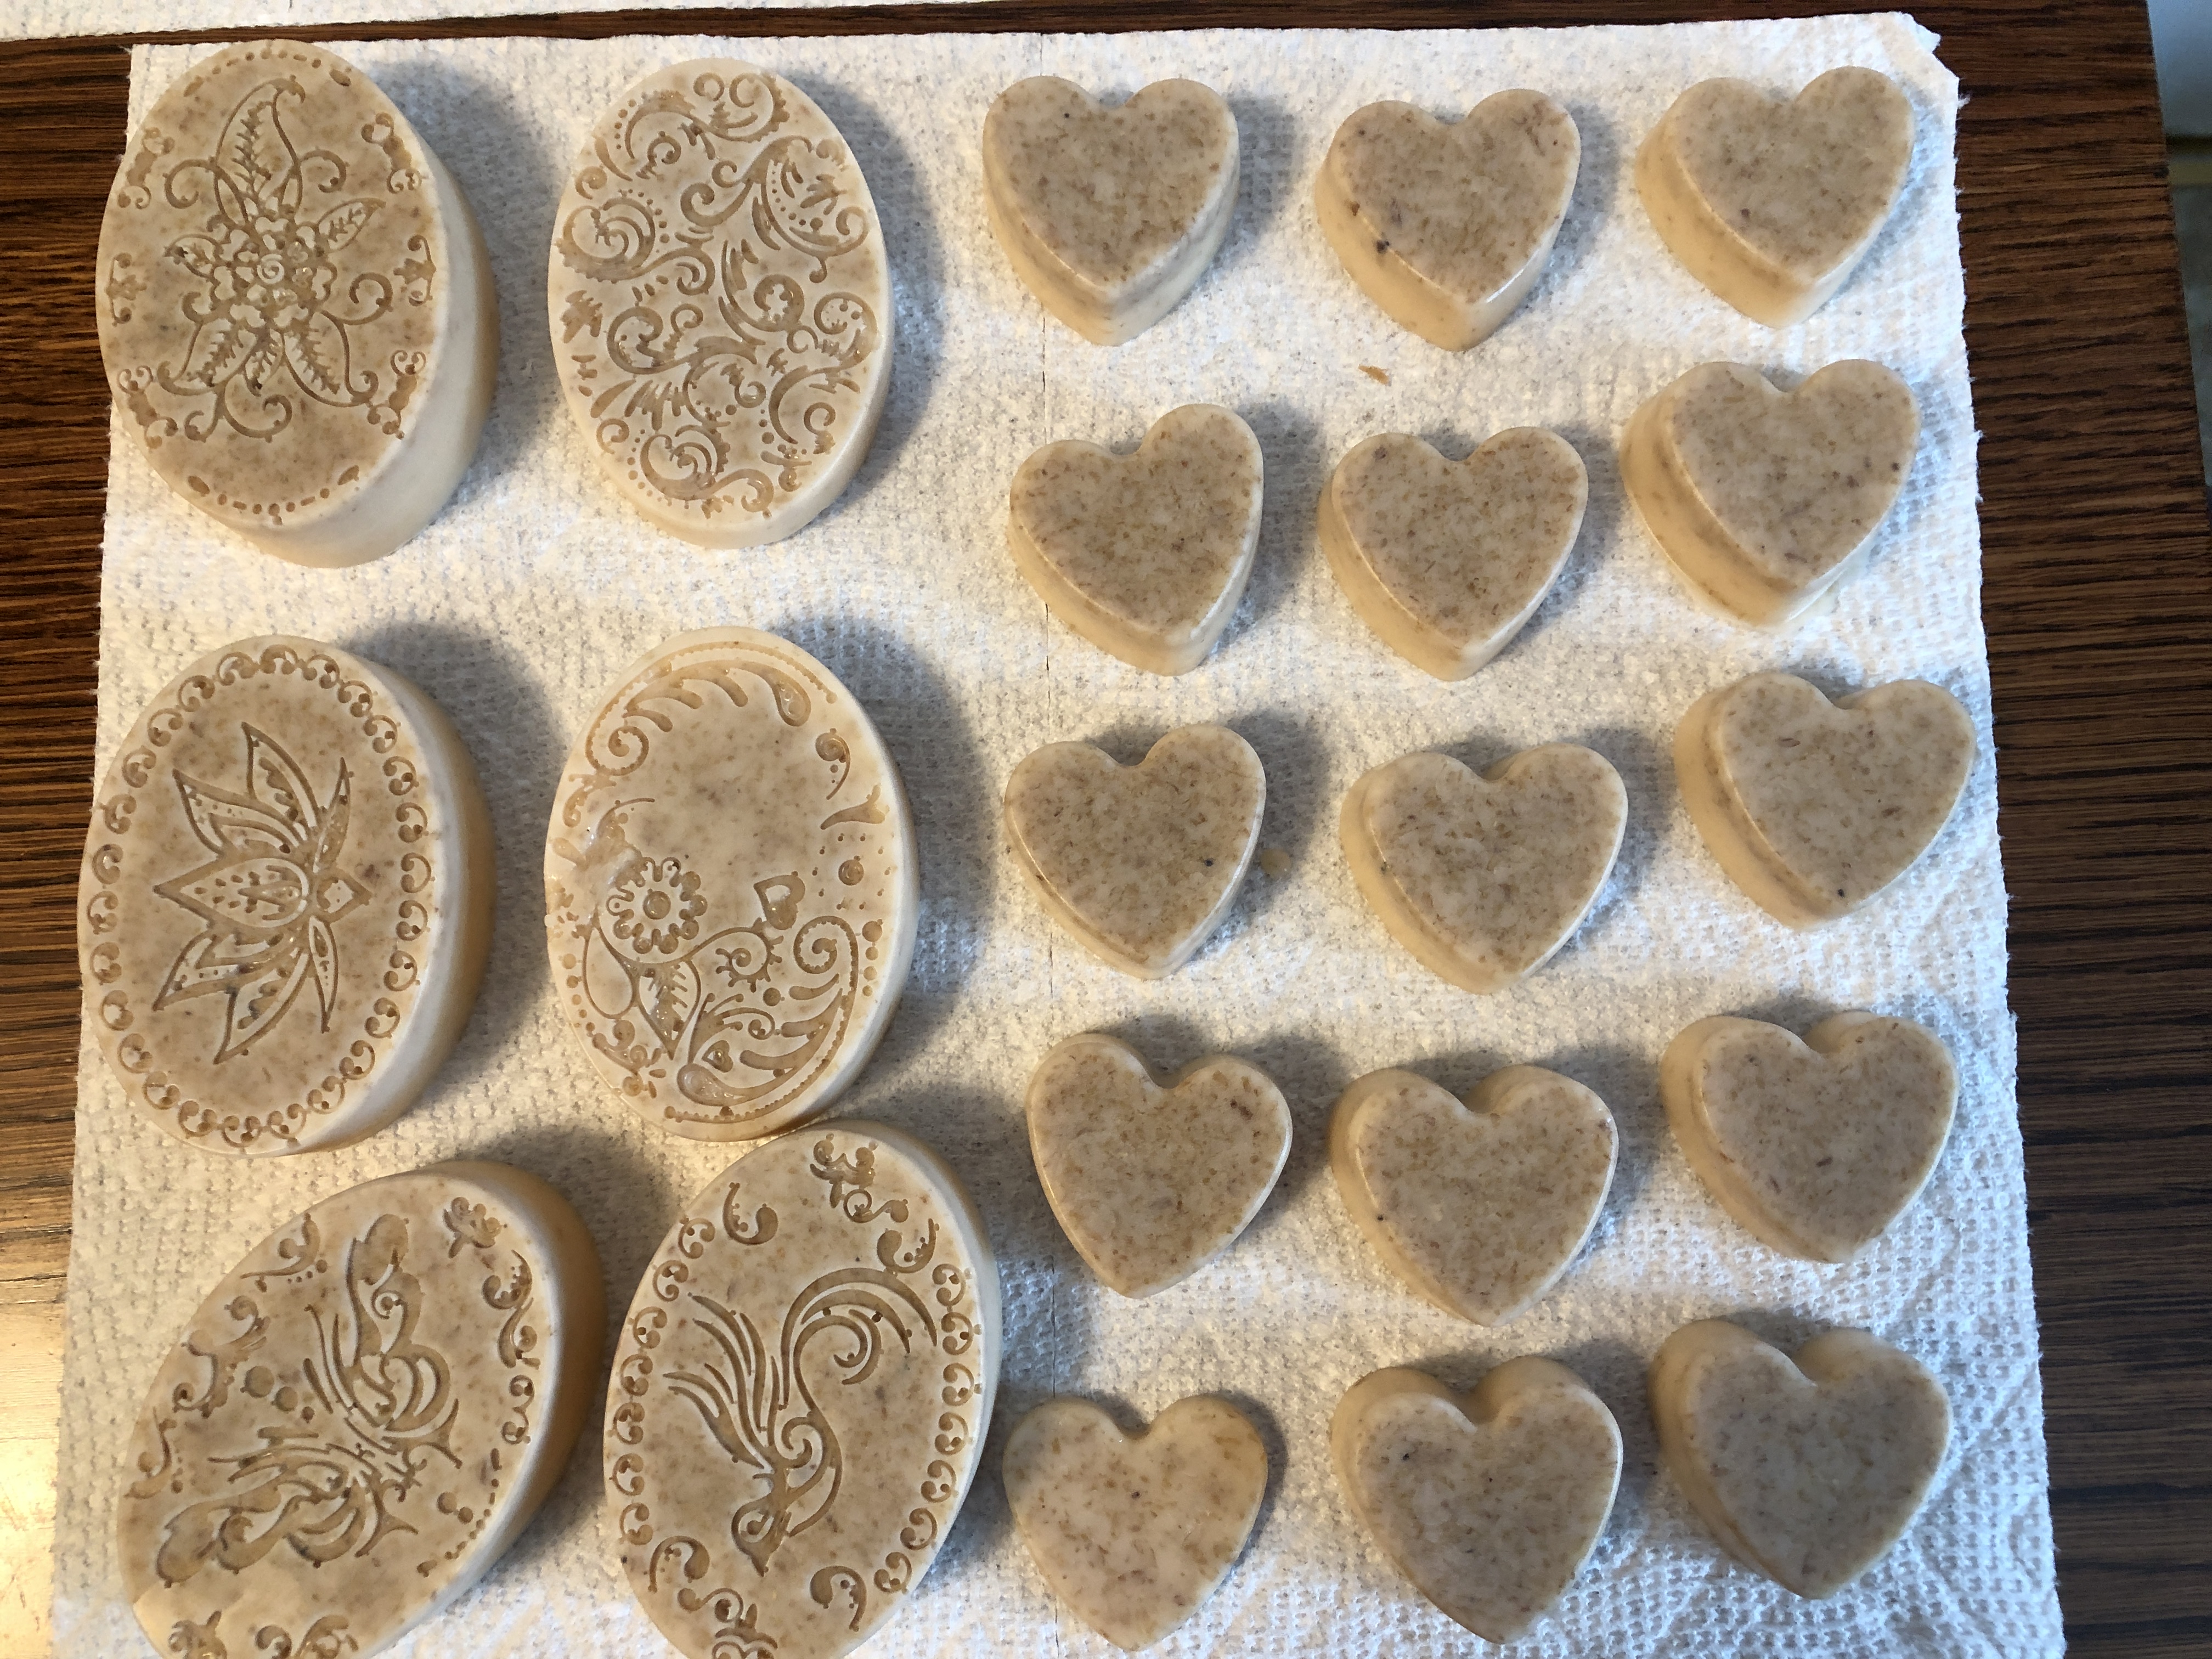
The rest I poured into regular molds and my travel size heart shapes.
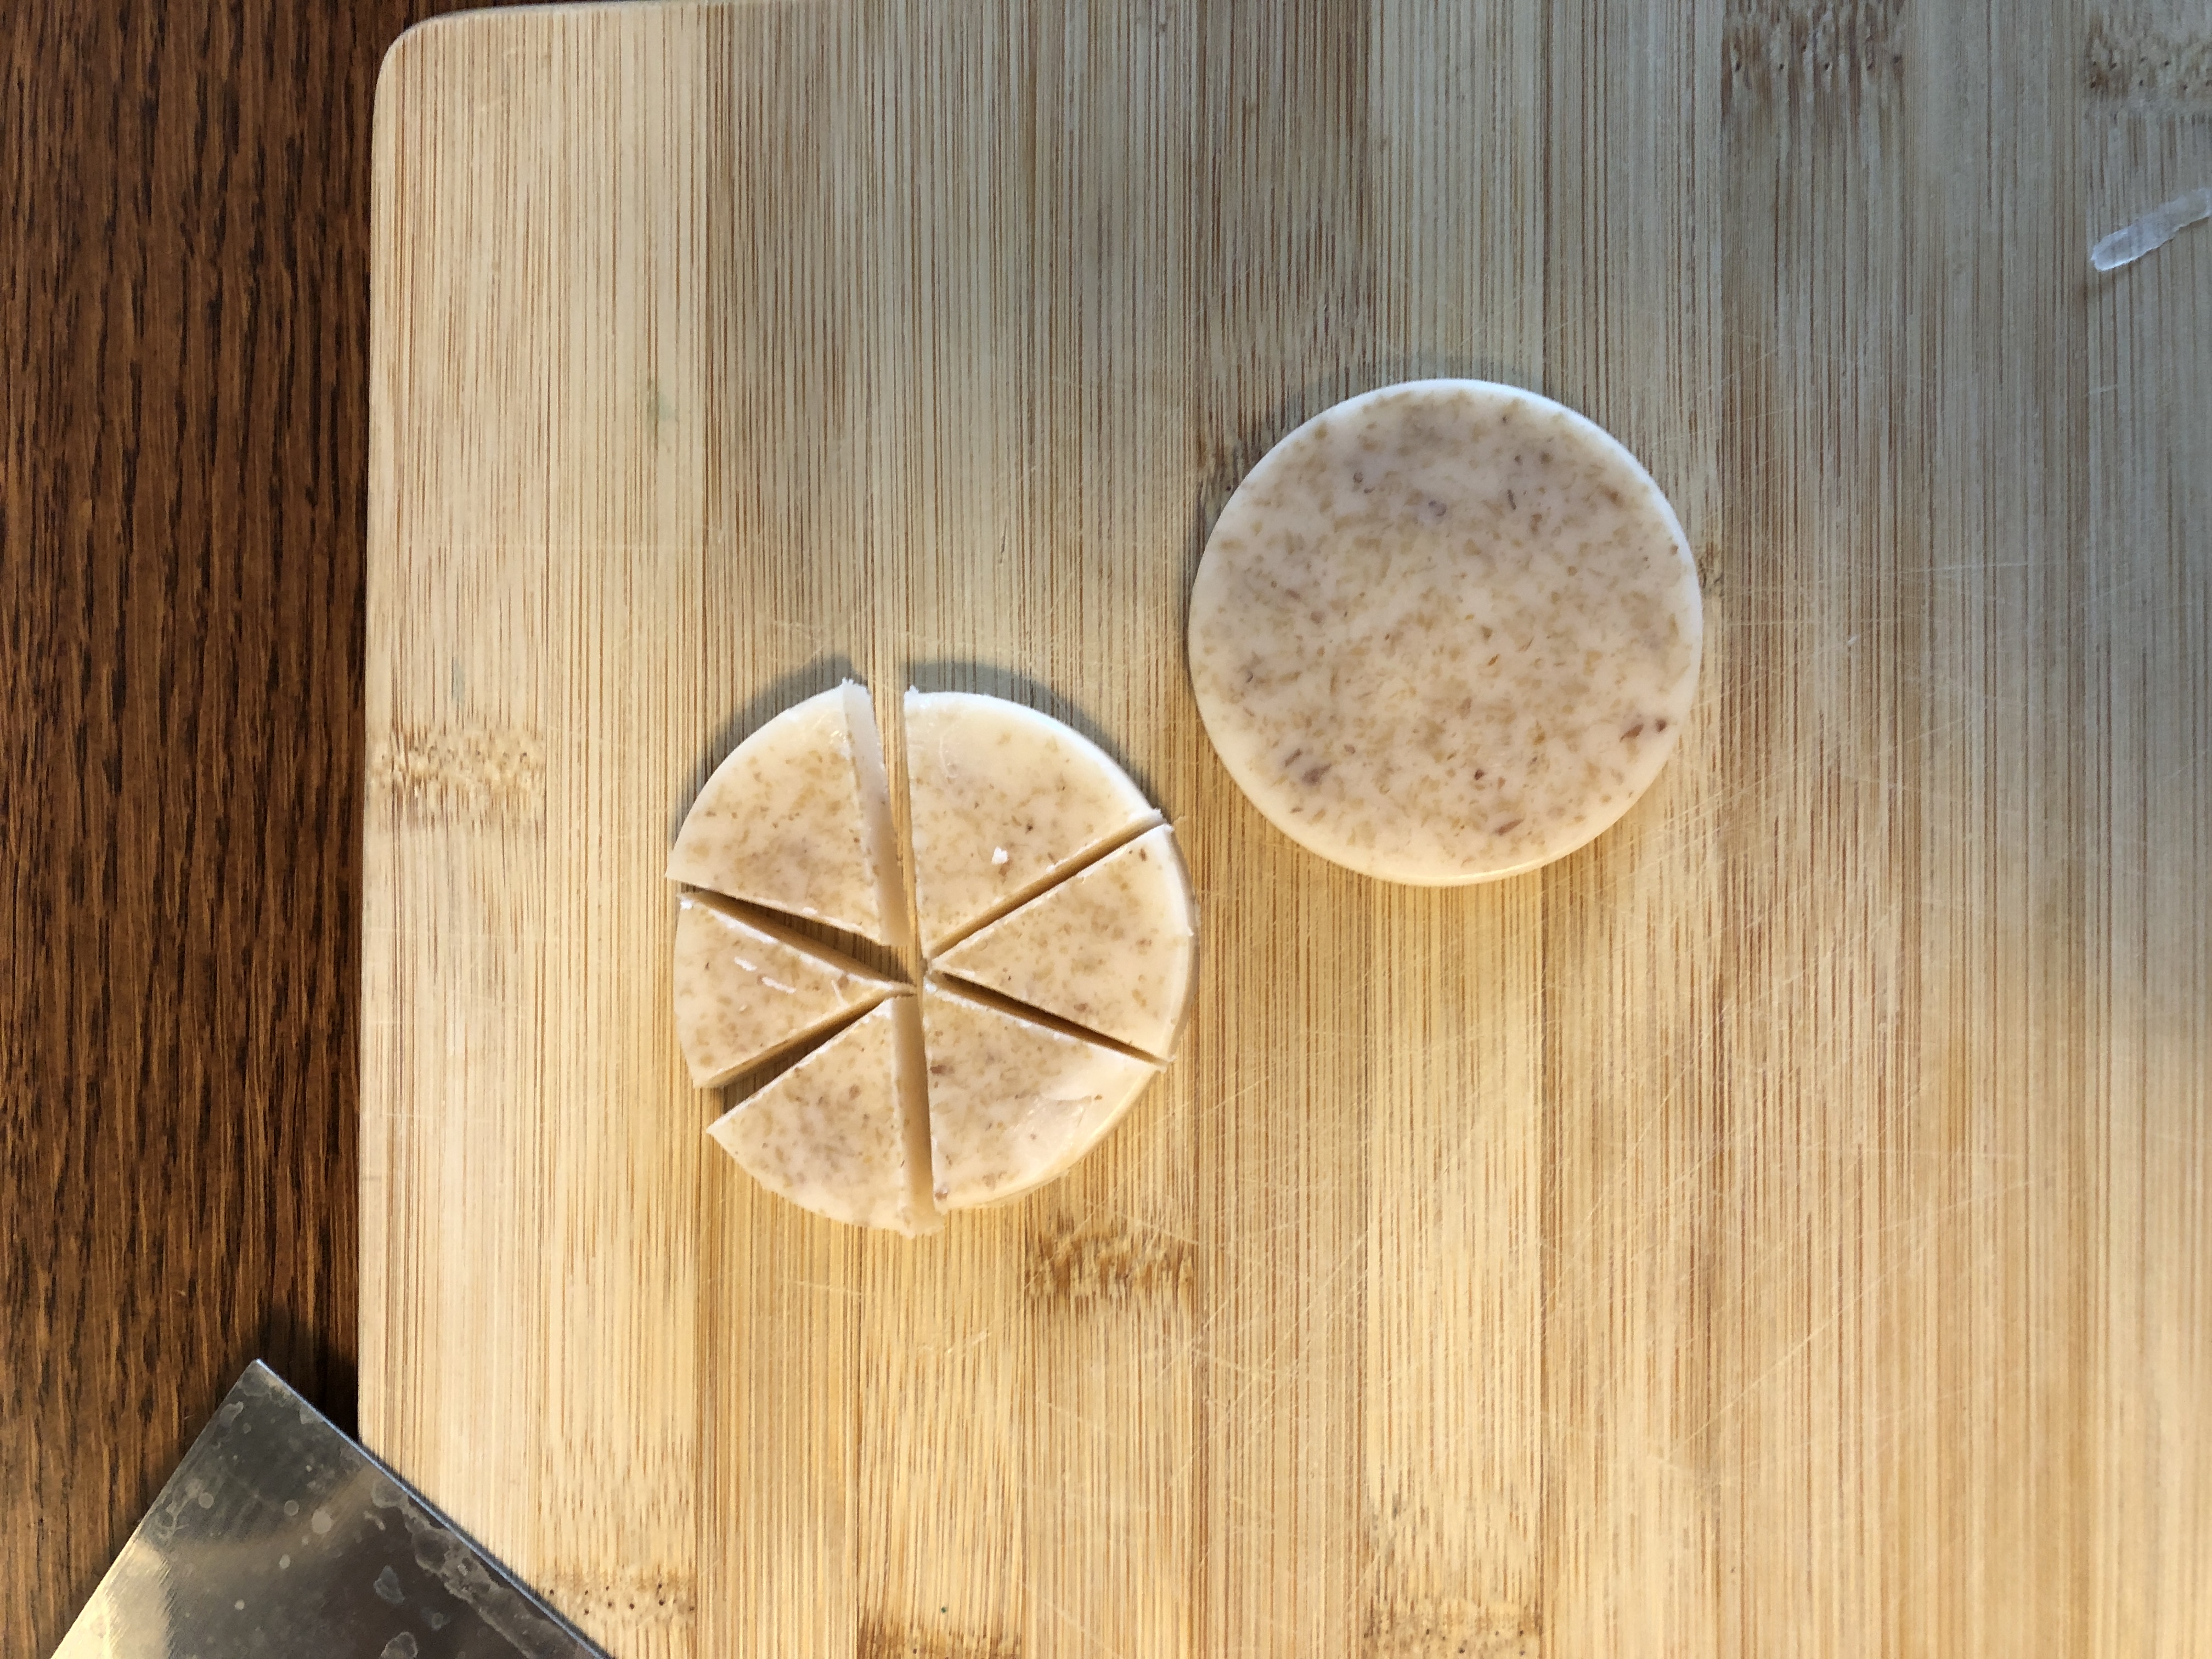
Next, I took my soap cutter and cut each circle into 6 pieces:
Each piece seemed about the right size to wash my hands. About 8 pieces fit into one of my 2 oz. tins:
I made 20 tins with about 8 pieces each. Perfect to share with my high school friends at our next luncheon to see if the size of each piece is right to wash hands. I’ll also see if the Oatmeal/Shea Butter is popular. I suspect a thinner piece would work better…I used one piece all day in the kitchen before I wanted to throw away what was left! Enjoy!
Last year I made a salve with arnica-infused olive oil. Arnica is an ingredient that is added to salves to help relieve aches and pains, bumps and bruises! Look for it in your over-the-counter salves. You can read about making the oil here: https://marykisner.com/making-arnica-infused-oil-for-tropical-salves/.
I shared the salve with just a few people because I didn’t know how effective it was; I wanted to give it a try first. I’ve used it for the last 6 months with some success in reducing small bruises, if used right after they appear.
About Arnica
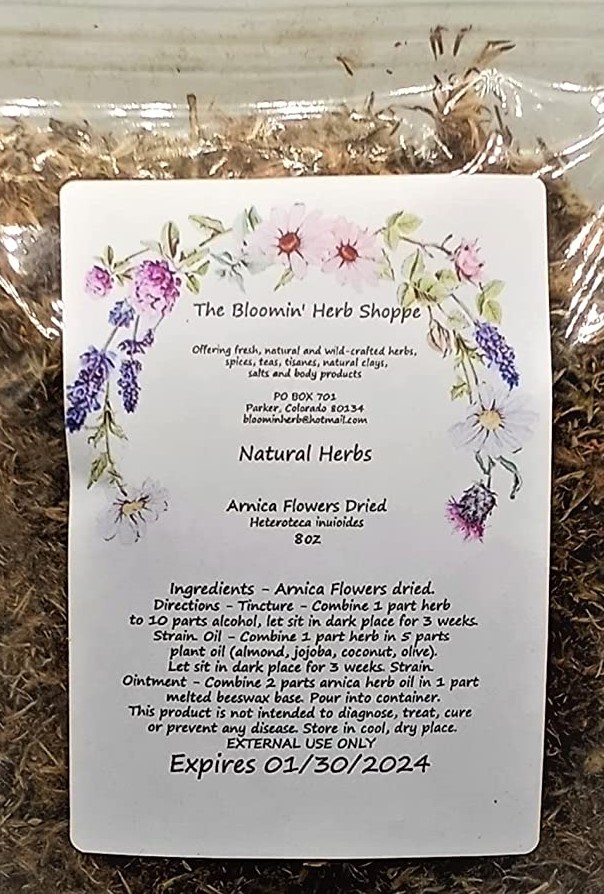
Arnica is not as well-known as lavender and calendula and is sometimes included in over-the-counter ointments and creams sold to soothe occasional aching knees, joints and muscles. It is often used in homeopathic remedies, which means the products contain very small amounts of the active ingredients. Making infused oil with dried arnica plant material is a great way to incorporate these ingredients into body care products. I purchased a bag of the dried flowers on Amazon.
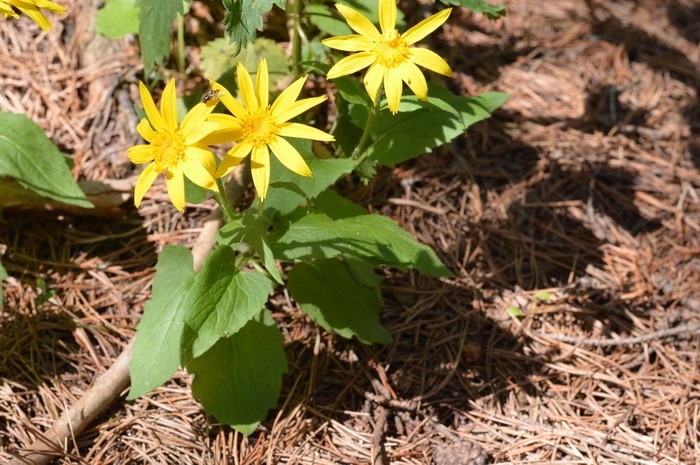
The dried flowers aren’t as pretty as the fresh ones!
Arnica comes from the perennial herb Arnica Montana. It is a yellow-orangish flower that grows in the mountains of Europe and Siberia and the mountains of northwestern North America. It is sometimes called the “mountain daisy,” because its color and petals look like the familiar flower. It yields an essential oil that is appreciated for its ability to reduce pain in osteoarthritis joints and reduce bruise discoloration.
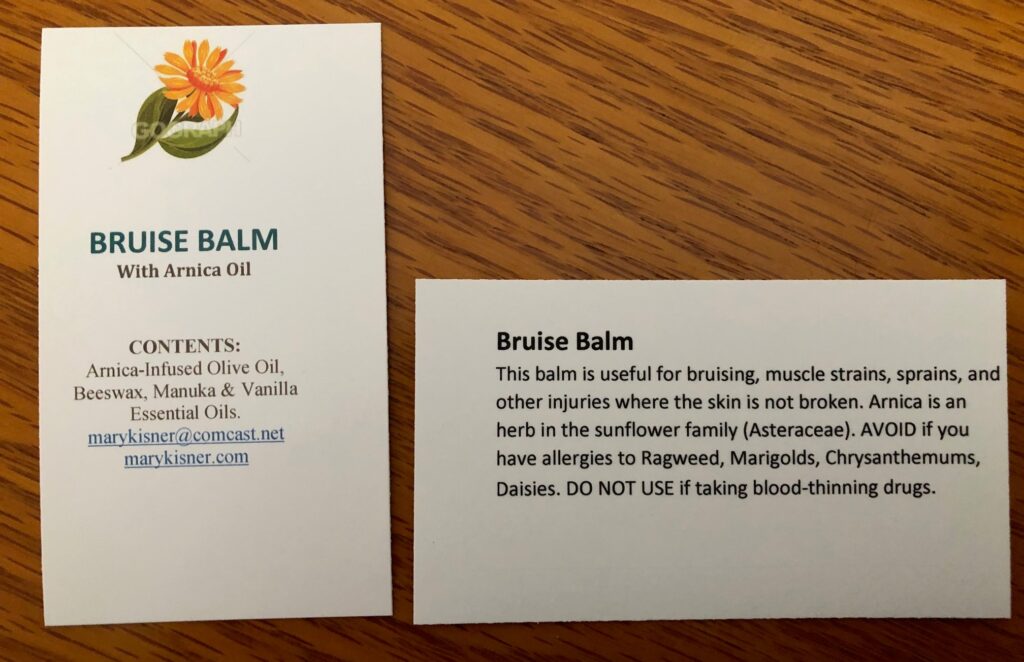
NOTE: This plant does have some drawbacks or cautions for people that are allergic to certain plants of the Asteraceae family…like ragweed, marigolds, chrysanthemums and daisies, or are using blood thinning medications.
Please do your own research about any plant material you might work with, but this process of infusing oil with any plant material would be the same.
I still had some infused oil left from my first project; it kept well in the back of the refrigerator.
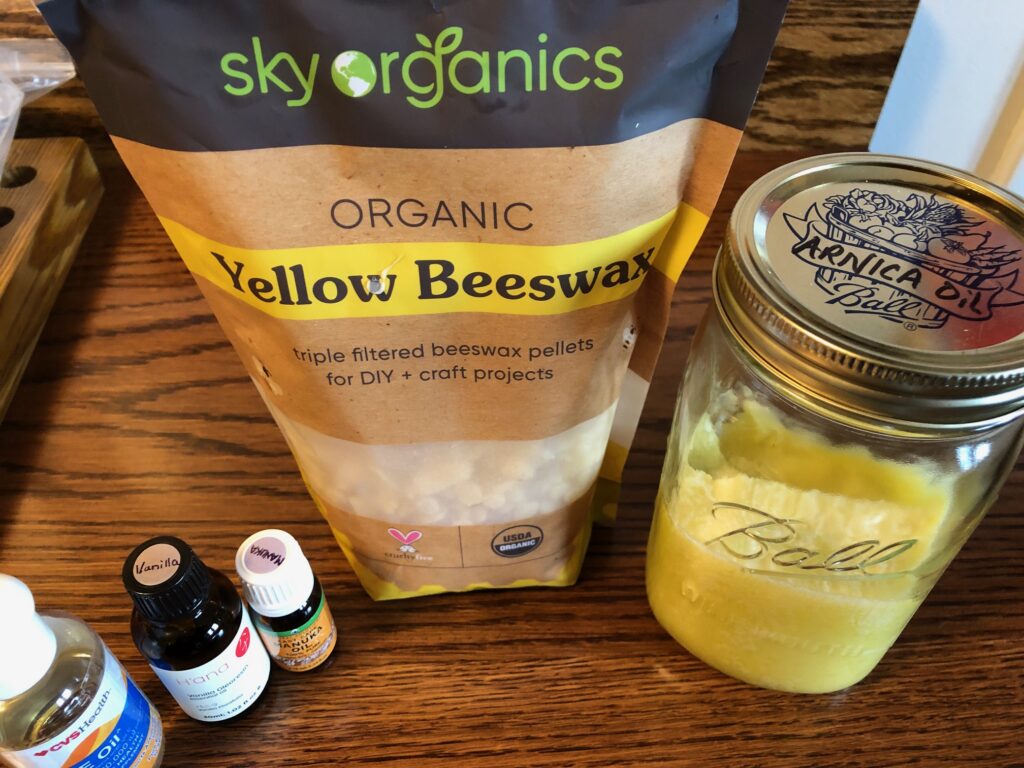
The ingredients in this Bruise Balm
I scooped out 1 cup of infused oil and weighed out 32 gm of beeswax into my 4-cup heat-safe measuring cup. The cup is placed in a saucepan of water. I brought the water just to a boil and turned the burner down so the water stayed simmering.
When melted and removed from the stove, I stirred in 1/4 tsp of Vitamin E Oil and 20 drops each of Vanilla and Manuka Essential Oil.
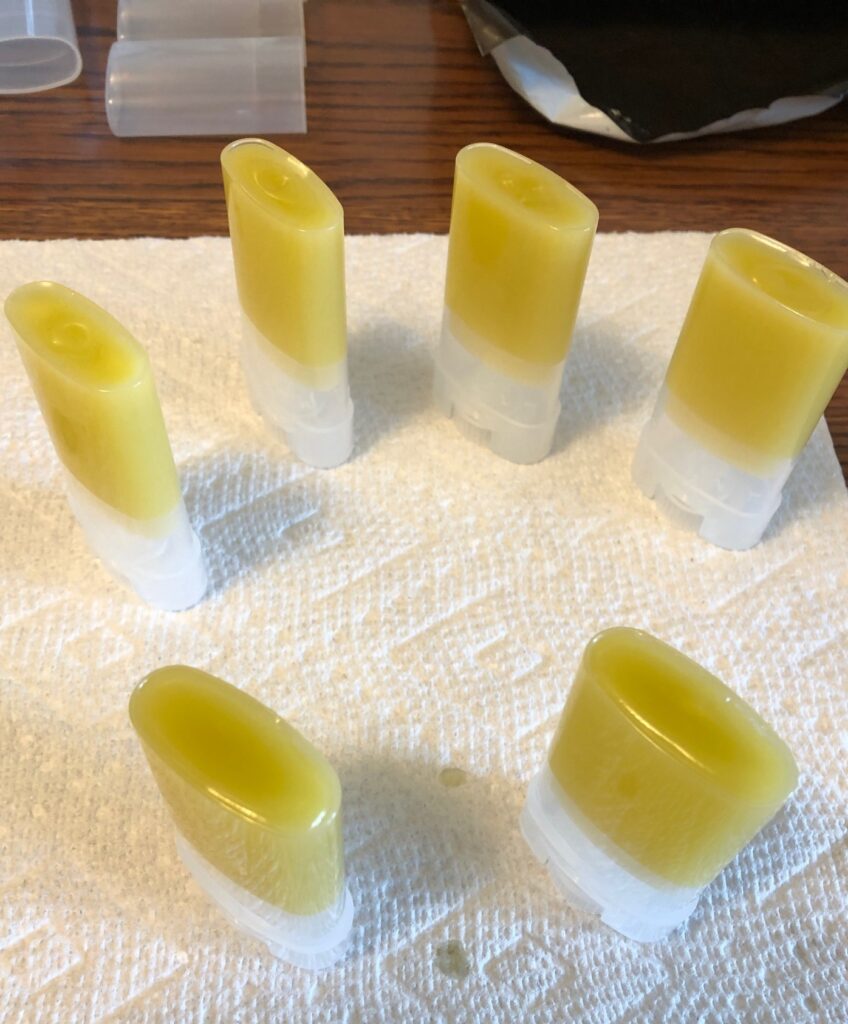
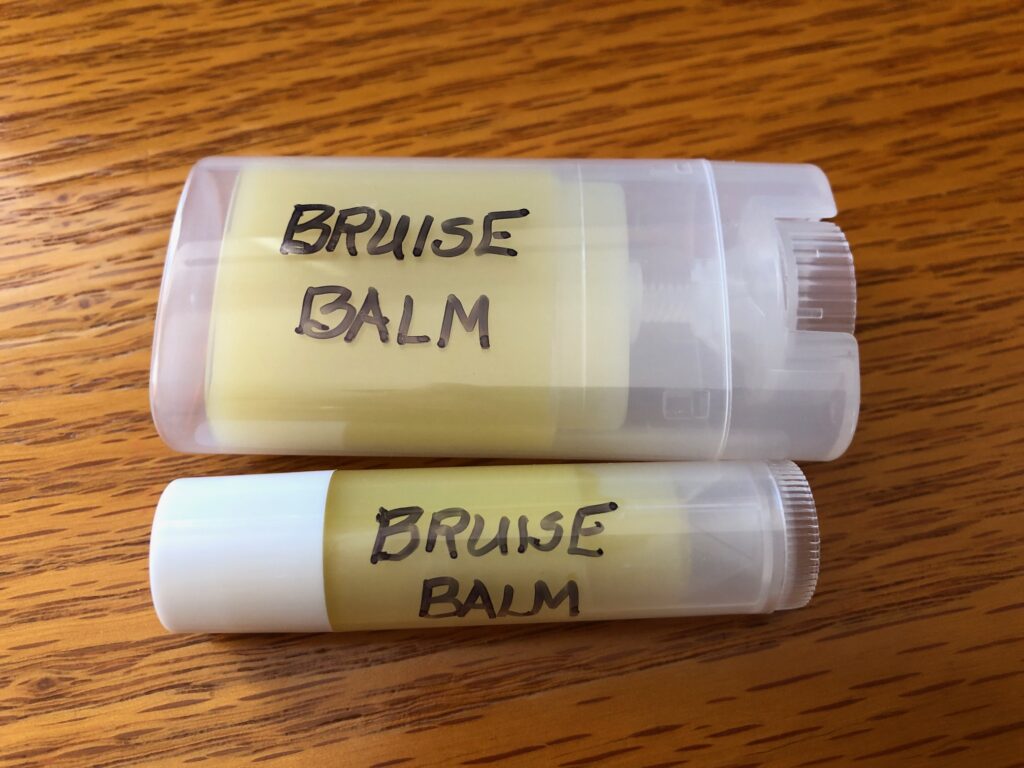
Using a disposable pipette, I filled 36 small tubes and 6 larger ones.
I decided to just hand write the label…nothing fancy. I don’t want folks to get them mixed up with lip balm!I try to label everything I make so the ingredients are clear.
I hope to share these with my high school friends at our monthly luncheon… built in guinea pigs! Try it yourself! Enjoy!
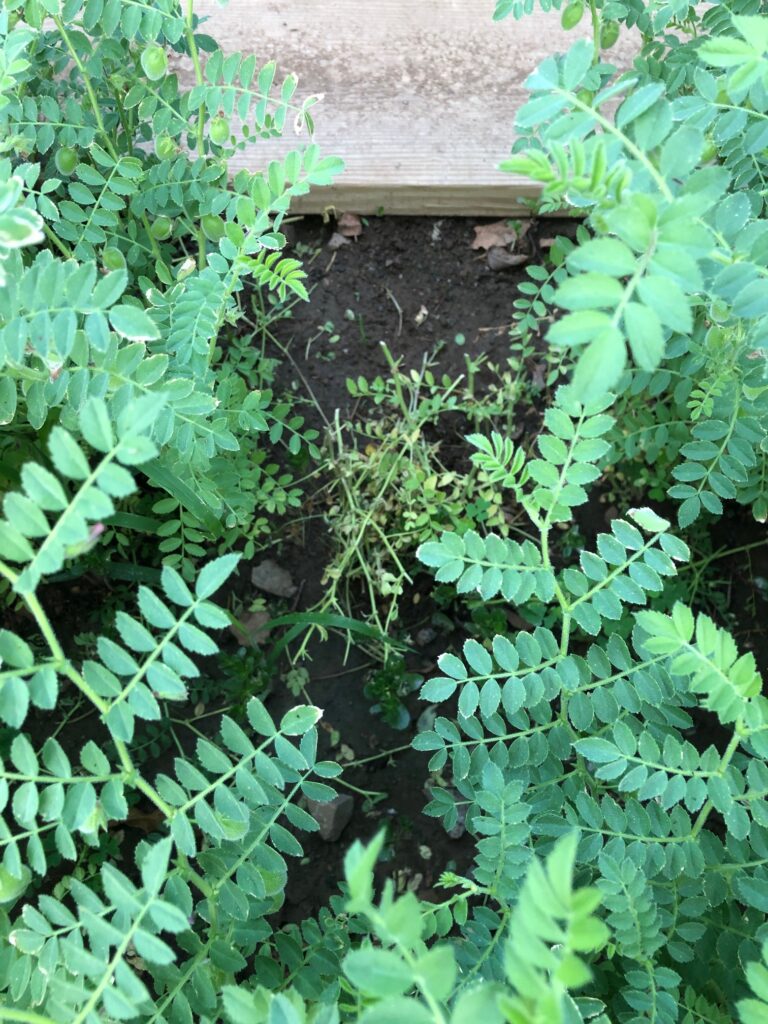
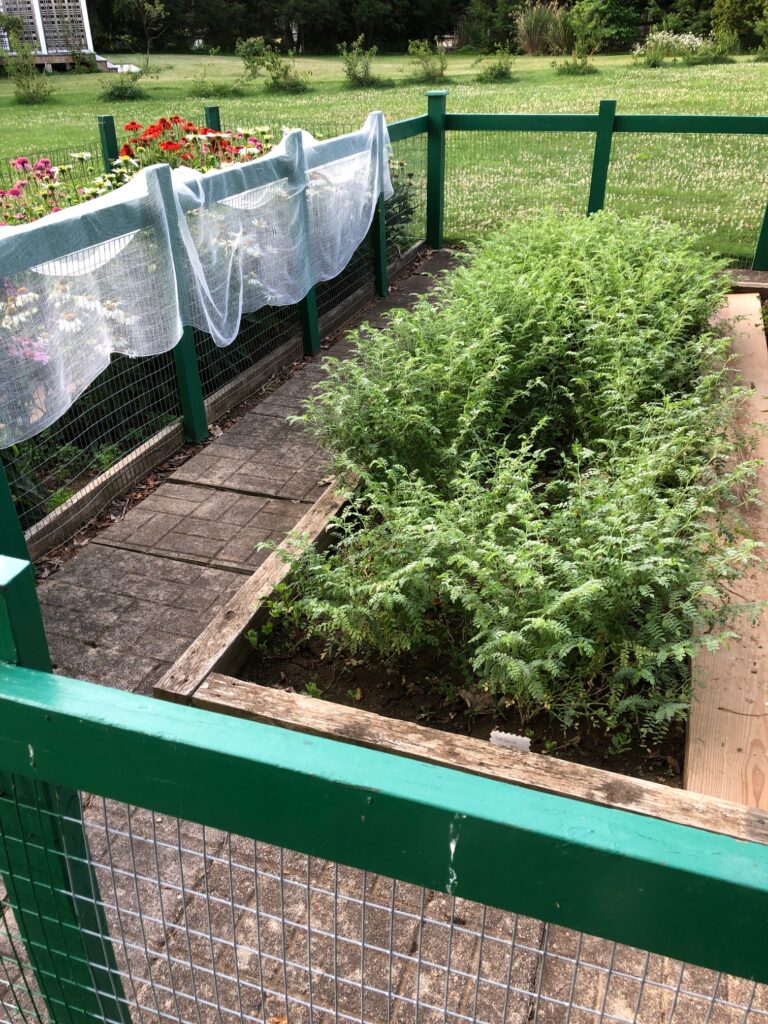
There is nothing more frustrating than finding a deer decided to use the garden for their salad bar! We have invested time, energy (mostly Bert’s) hopes and dreams (mostly mine!) in the garden this year. The Garbanzo beans have been especially fun to watch.
Can you see the tiny marble-size garbanzo bean pods?
I am so looking forward to seeing how they were going to turn out and yesterday morning Bert said ne noticed a few places where the plants had been chomped right off! Oh no!
They were not chomped off at ground level and there was no evidence of an animal coming from underground like a ground hog or vole. Rabbits cannot get through the fence but a deer could probably jump over the fence. We do have a walkway between the fence and the garden which keeps deer from just leaning over the fence for a snack. We’ve never had a problem before but who knows! Nothing else in the garden was bothered so far.
We do have lots of deer wandering through the yard at night and we often see them at the bird feeder, cleaning up what has spilled underneath. If a deer decided to jump over the fence for a snack, I would have thought other plants would have been damaged.
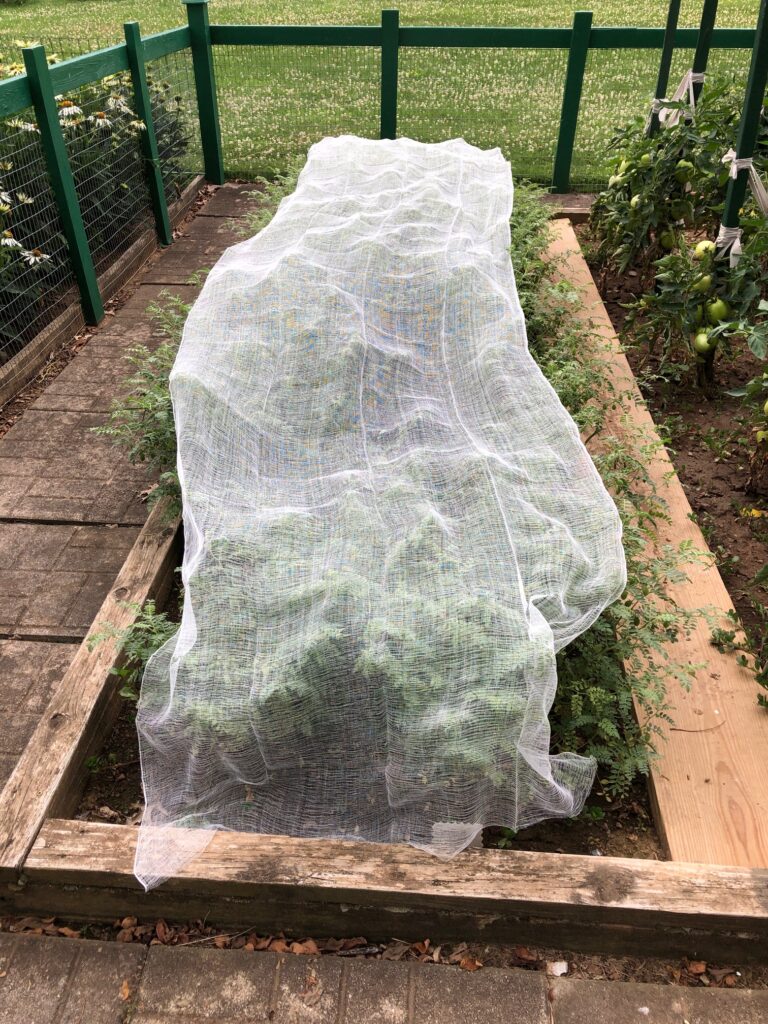
So…we have no idea what we’re dealing with. Last night, I just wanted to deter any animal from causing more damage, so I grabbed some extra cheesecloth I had and spread it on top of the plants. At least if it happened again, we’d see some damage to the cheesecloth. If this continues, Bert will set up his trail camera to check it out at night.
If the damage is being caused by something at ground level or from underground, there might be more damage without bothering the cheesecloth. This morning, I lifted off the cheese cloth and set it aside to see how the plants are this morning.
So far, no new damage.
I really hate the idea of putting poison around the garden when I don’t know exactly who the culprit is, so I did a search online to see if any of my essential oils could help.
I found one very helpful article about using essential oils to deter deer. After describing the many ways to protect garden produce from deer, like having a 7-foot-high fence to having a dog wander around the garden fence and mark (pee) on the posts, the article clearly identified scents that deer don’t like…peppermint (actually any of the mints), lavender, thyme and oregano. At the opposite end of the garden is my whole row of lavender in bloom…maybe that kept animals away from the plants at that end.
Since I don’t have a dog and don’t want to count on my neighbor’s dog to be available, today I’m going to mix up a spray with water, lavender hydrosol, lavender oil and peppermint oil and spray it around the garden fence and garbanzo beans. At least it isn’t poison and maybe it will help keep animals away.
I’ll continue to cover the plants at night…at least until it rains and I’ll spray around the fence and plants. Here’s hoping my dreams of garbanzo beans will continue!
If you have any suggestions, please comment or email me directly at marykisner@comcast.net.
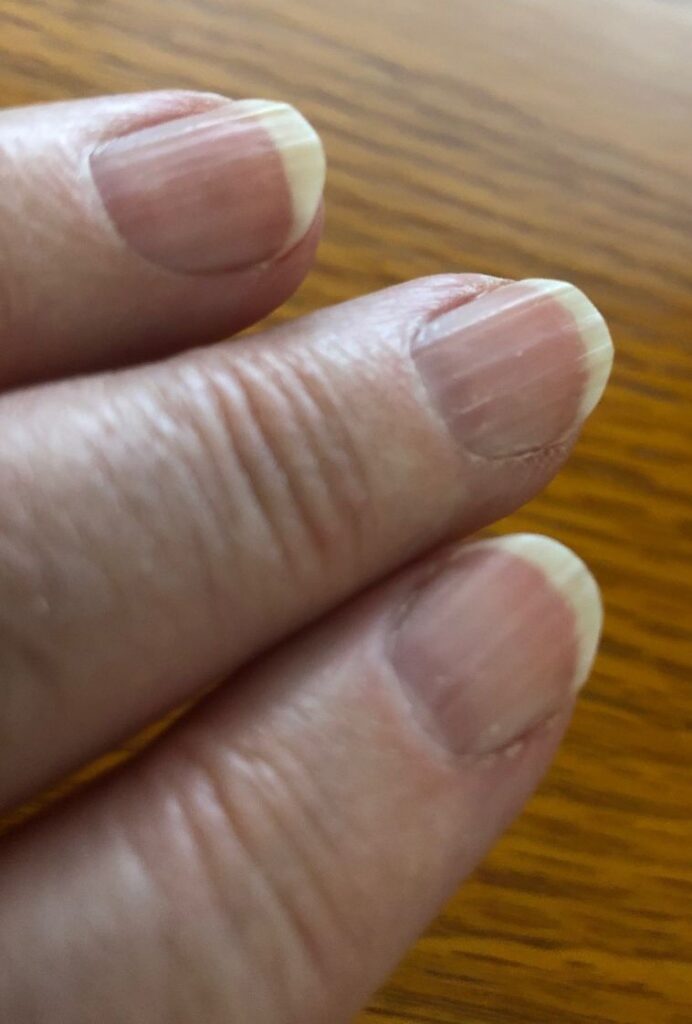
I’m always looking for new ways to experiment with essential oils. I now have enough supplies to try almost any recipe I come across. It wasn’t until I was cutting my fingernails the other day that I realized I needed something to help them be stronger and less ridged. I wasn’t familiar with even commercial products out there. I always just used hand cream to help dry, cracked cuticles, hoping the nails would benefit. I started researching products to help my nails.
I read an article from one of my favorite websites: https://strategiclivingblog.com. Gaye Levy is the author and she has been blogging since 2010. Her philosophy of life really appealed to me and I check in with her website frequently. She recently posted an article called, DIY Nail Serum for Damaged Nails. This serum is applied right to the edge of the cuticle where it meets the nail. She came up with a simple serum to help her nails grow stronger. With her background as a licensed manicurist she knew that, “the issues with my nails stemmed from the nail matrix. This is the area underneath and below the cuticle and this is where all the nail bed and nail plate nourishment comes from.”
Then I came across a recipe for a Cuticle Butter with essential oils that also might help. I’m not sure where the recipe came from, but it was probably one of the following sites: https://joybileefarm.com or https://www.pinterest.com.
I decided to make both of these products to see if I liked the way they felt and if they worked for me.
NAIL SERUM
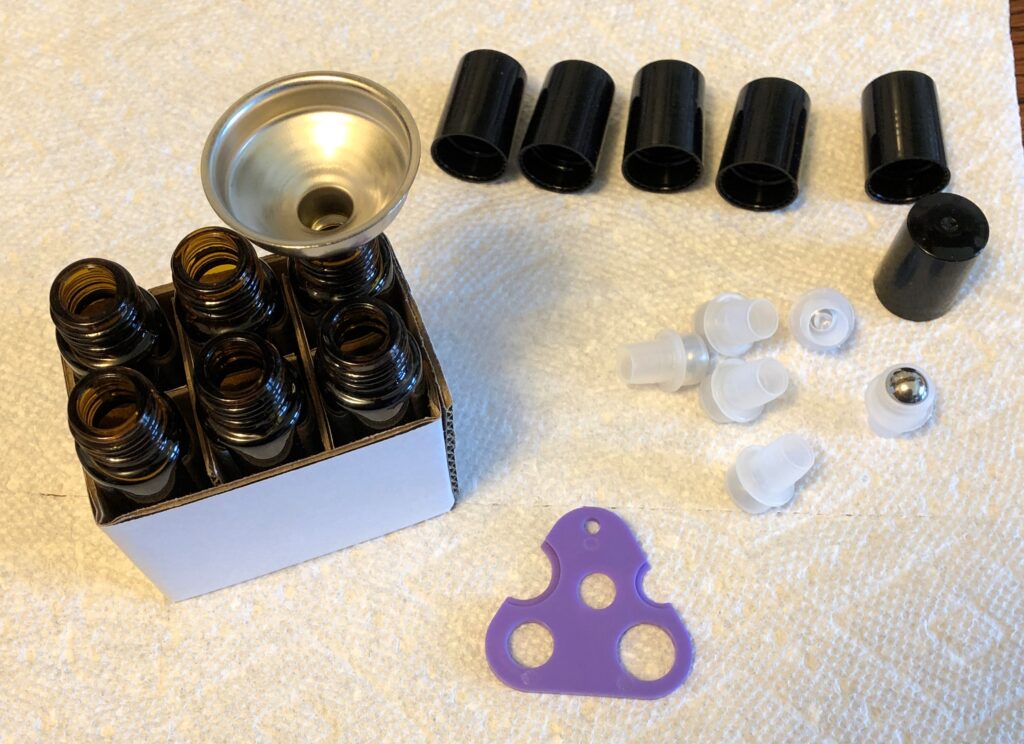
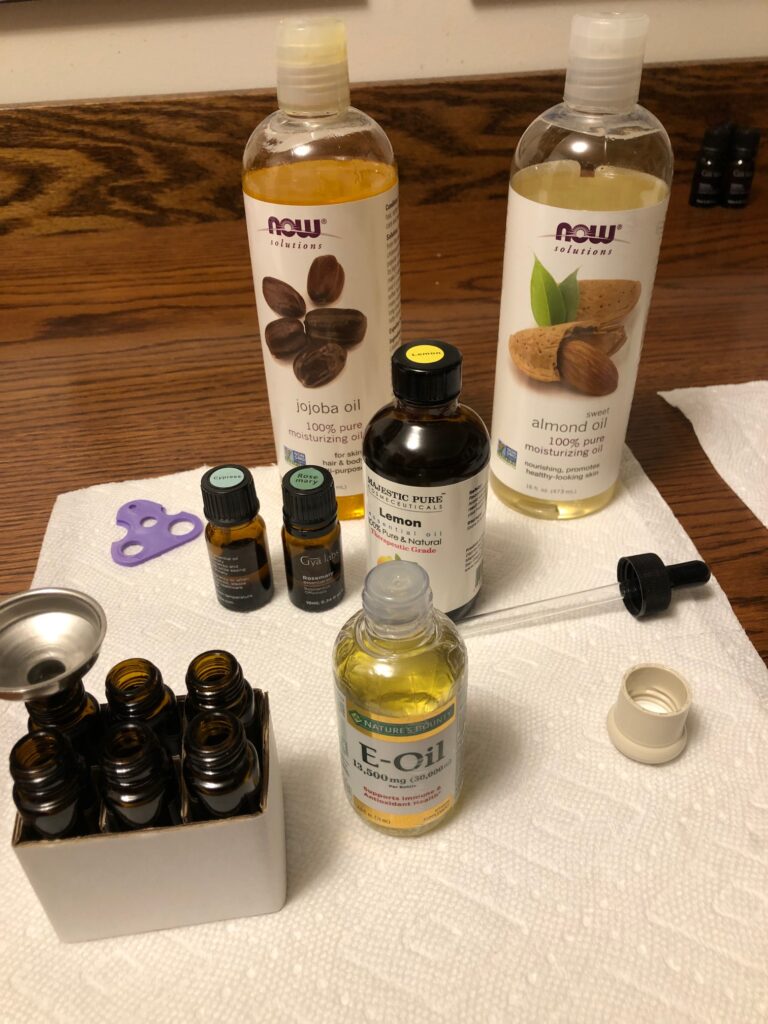
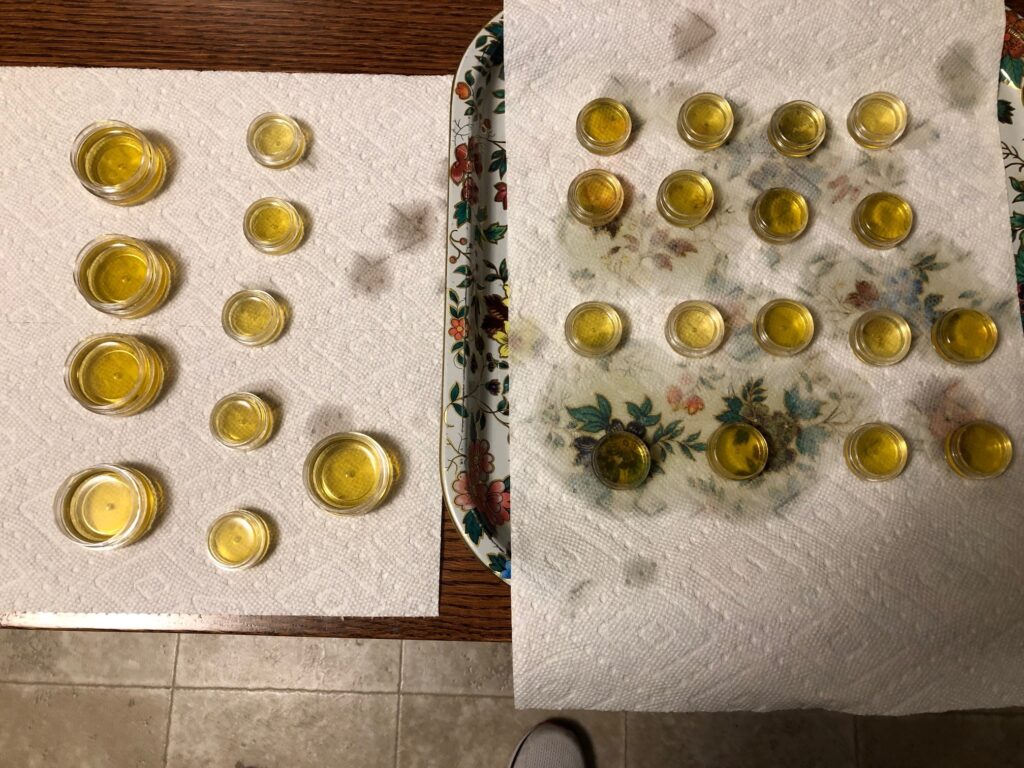
This product is mixed up directly in a roller ball. I ordered them from Amazon, and luckily, they came with a tiny funnel, labels and a plastic tool that helps to lift the roller ball out of the glass bottle. I had never worked with roller balls before so these were very helpful. I have since ordered a packet of six tiny metal funnels, seen in the picture below:
I used the box the roller balls were packaged in as my holder while I added the oils. It kept them from falling over as I worked.
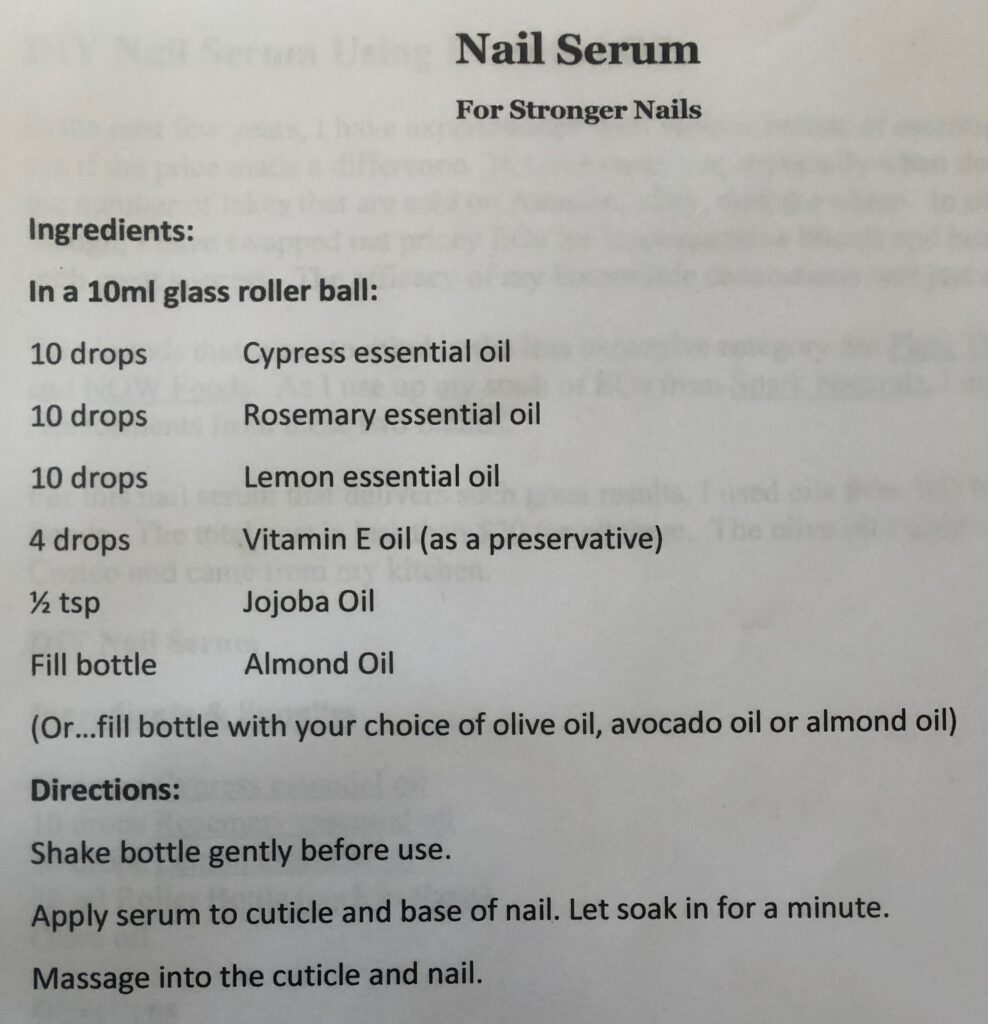
The ingredient list was pretty simple:
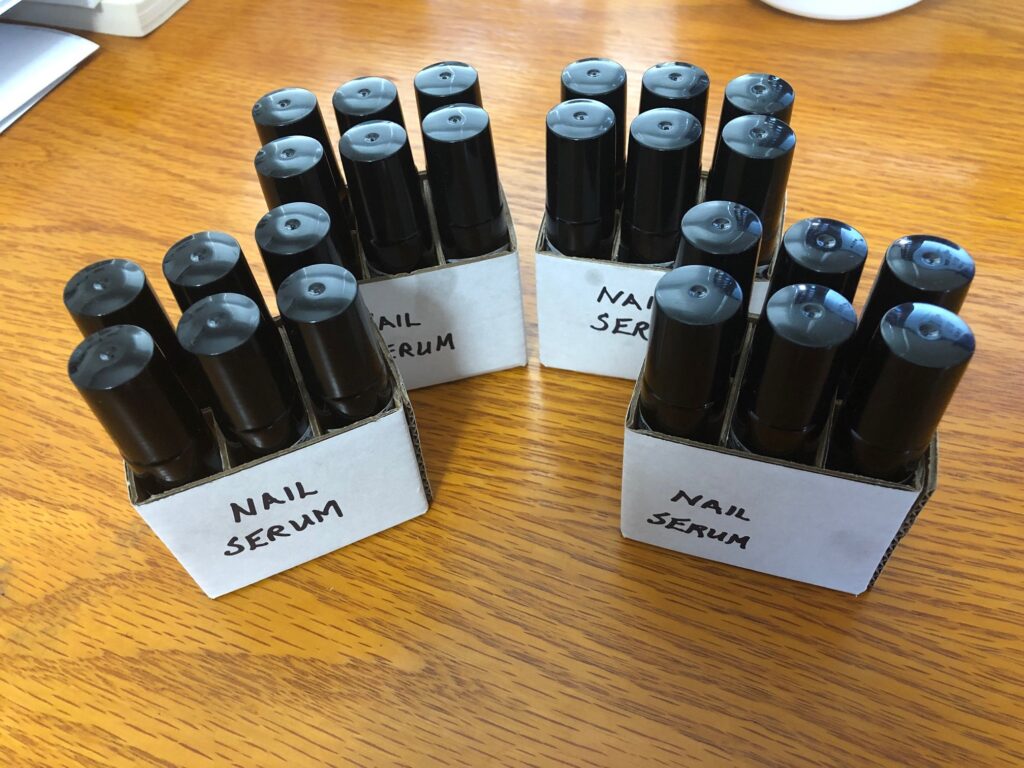
I just added the drops of oil to each bottle. I did six at a time, so I added the 4 drops of Vitamin E oil to each roller balls; then I added the lemon essential oil…10 drops to each bottle; etc. In the end, I had 24 roller balls filled with the Nail Serum…enough to share!
CUTICLE BUTTER
This recipe is also pretty simple:
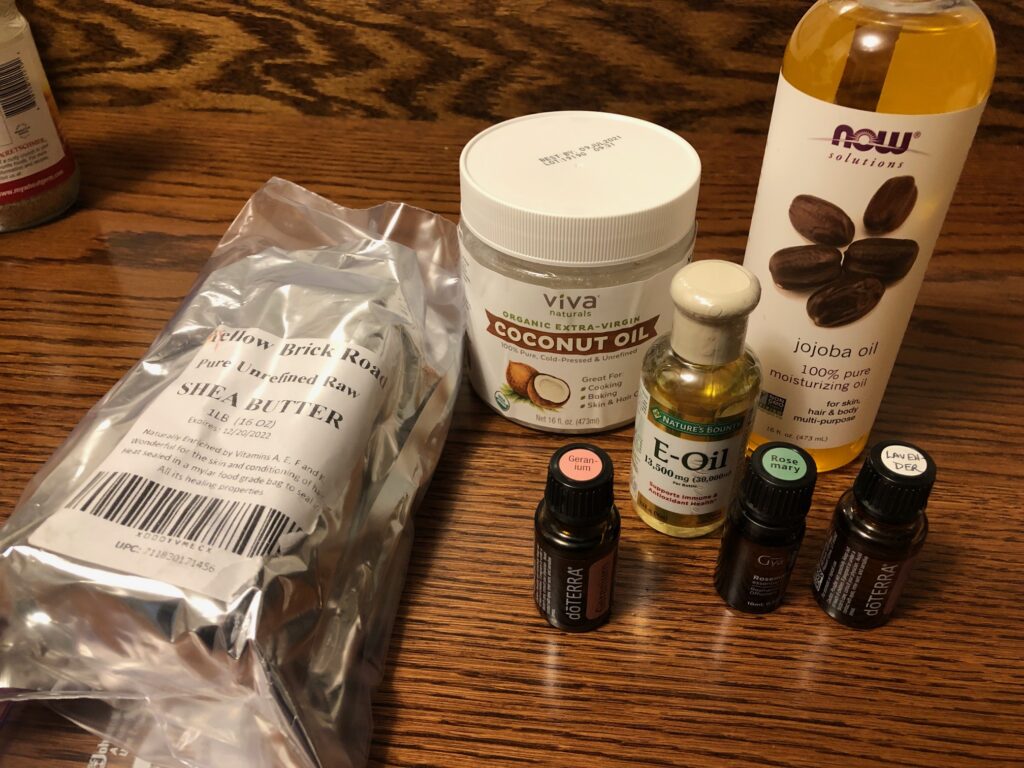
Step 1: Melt the Shea Butter and the Coconut Oil.
Shea Butter and Coconut Oil
Step 2: Add the Jojoba Oil, Vitamin E Oil and Essential Oils of Lavender, Geranium and Rosemary, and stir well. Pour into containers.
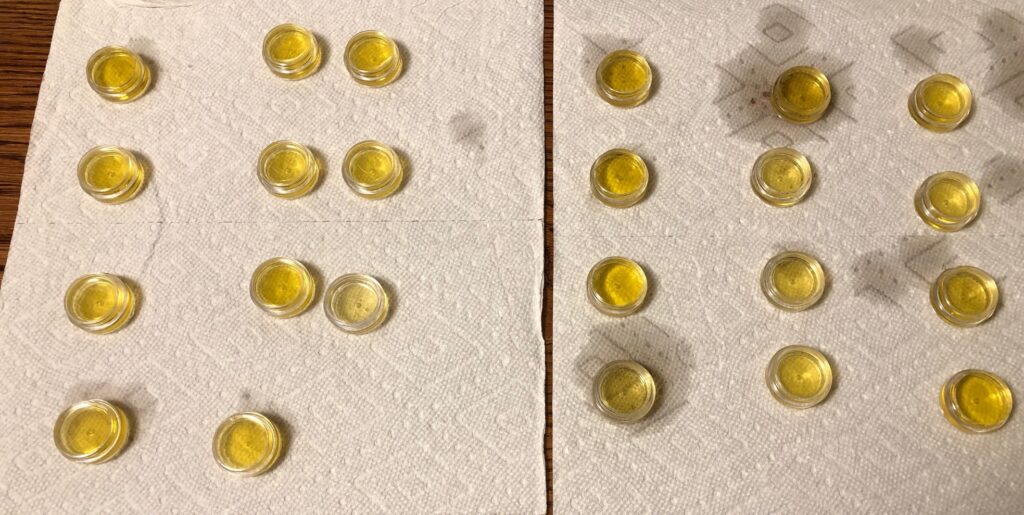
This was a messy process! The containers I chose were just 1″ across. They filled up so quickly I couldn’t stop pouring in time!
Then I waited for it to set up…which was…never! I guess over two days or so it might, but basically it stayed liquid. I tried pouring one into a roller ball, but that was a waste because it did finally get thicker and then wouldn’t come out of the roller ball. I threw that one away!
Second Try
I poured all of the oil from the tiny containers back into the measuring cup, put it back on the stove and added more Shea Butter (you can see the recipe above has 1/4 cup crossed out with 1/2 cup penciled in).
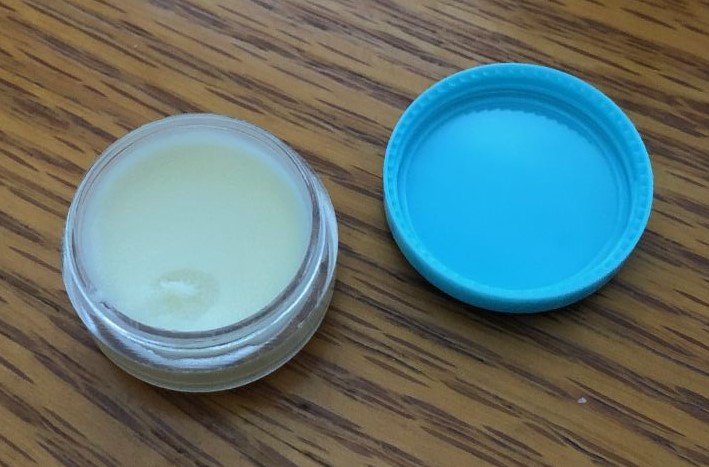
The next time I poured, I set the tiny containers on a tray so I could slide them into the refrigerator. I hoped that would help them set up more quickly. It wasn’t pretty the second time I poured!
Increasing the Shea Butter and setting the tray in the refrigerator made all the difference. It made a very soft salve that melted in nicely to my cuticles. You can see how soft it is…my finger just barely touched the top of the salve and it left a dent. On a hot summer day I might want to keep it in the refrigerator.
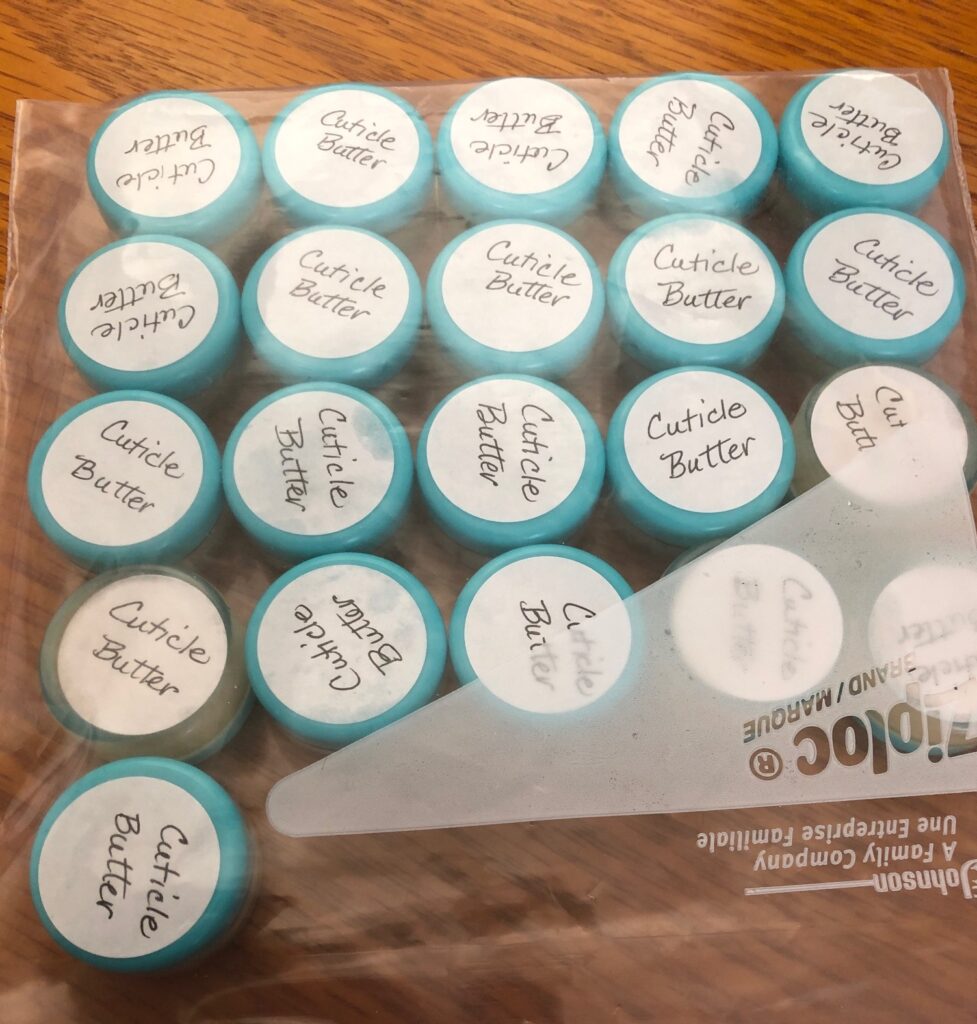
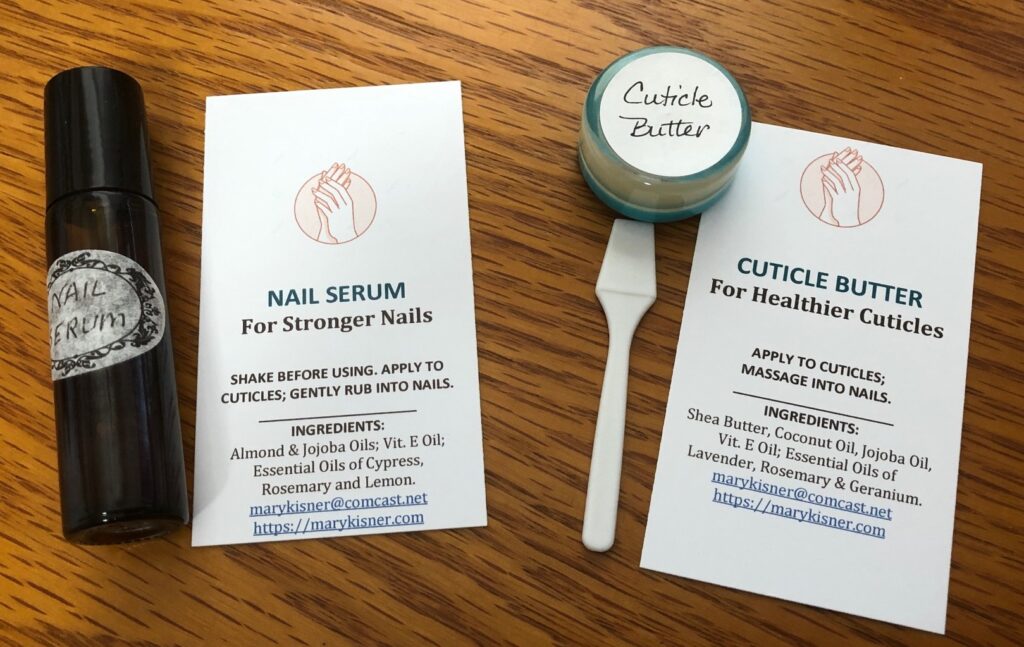
My next step is to share these two products with friends to see if helps our nails. I’ll package them together and ask for feedback on which product is easier to apply.
As always, I include a list of ingredients so folks know what I used.
I’m not sure if I’ll have great nails by Christmas, but maybe by Spring I’ll know if they work! Enjoy!
I’d like to share what I’ve learned about Manuka Essential Oil. This article is a summary of several research papers about Manuka essential oil. (See additional resources listed at the end of this article). I use Manuka essential oil in almost every soap and body product I make to enhance the product’s healing properties. I thought you might like to know more about it.
What is Manuka?
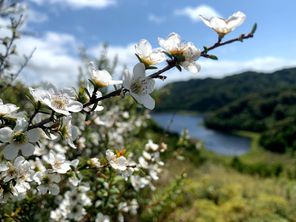
Manuka is a fast-growing evergreen shrub that is quite hardy and can grow up to 12 in height. Its deep green leaves are set off by small flowers that blossom either white or pink from September through February.
Manuka (Leptospermum scoparium) is native to New Zealand. It is a member of the Myrtaceae family of plants, which includes tea tree (Maleleuca alternifolia). In fact, manuka is considered to be the original tea tree, as the Maori people have long used it medicinally. Manuka essential oil smells like earthy camphor while being slightly sweet balsamic. You may notice it being herbaceous and the sweetness almost honey-like.
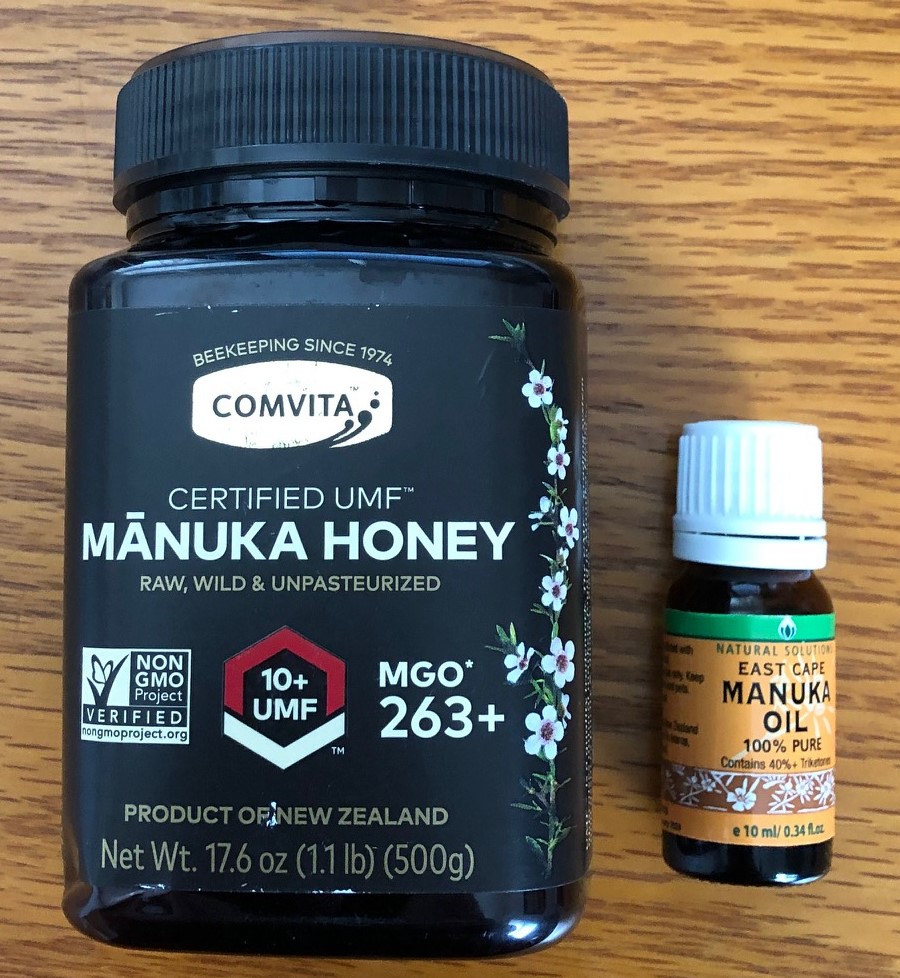
What is the difference between Manuka Essential Oil and Manuka Honey?
Both products are made in New Zealand. Manuka honey comes from bees pollinating the native Leptospermum tree. Manuka essential oil, on the other hand, comes from sustainable harvesting the leaves of the Manuka trees/flowers and extracting the oil through steam distillation. Manuka essential oil has antibacterial benefits that are about 100 times stronger than Manuka honey when compared gram for gram! Manuka essential oil is 100% vegan, while Manuka honey is an animal byproduct.
How does Manuka Essential Oil compare to Tea Tree Oil?
Manuka essential oil has tons of phytonutrients that make it one of the most potent essential oils available on the market today. According to one study, Manuka oil has stronger antioxidant activity than tea tree oil, giving it more fighting power against free radicals. It is also less irritating than tea tree oil when applied in small amounts to the skin.
Benefits of Manuka Essential Oil
In lab research out of a university in Italy, several essential oils were tested against 14 different strains of Staphylococcus aureus bacteria (including Methicillin-Resistant…or MRSA), which causes staph infections. After oregano oil, the one that exhibited the highest antibacterial activity was Manuka Essential Oil.
Uses of Manuka Essential Oil for Humans
With all the encouraging research on the effectiveness of using Manuka essential oil topically, many companies are working on formulas to incorporate this oil into skin care products. Athlete’s Foot, dandruff, eczema and acne are all conditions that may be helped with this oil. Internal use of essential oils is still being studied. These oils are also being considered as components in outdoor products to prevent mold and mildew and aphid infestations.
Uses of Manuka Essential Oil in Canine Care
Fleas and ticks are a huge problem for our canine friends. One solution is to give your dog a pill that works systemically…the flea bites the dog and then dies, often leaving an irritating bite or wound on the dog’s skin. To avoid having to give your dog a medication, it would be nice to keep the fleas and ticks away from the dog in the first place.
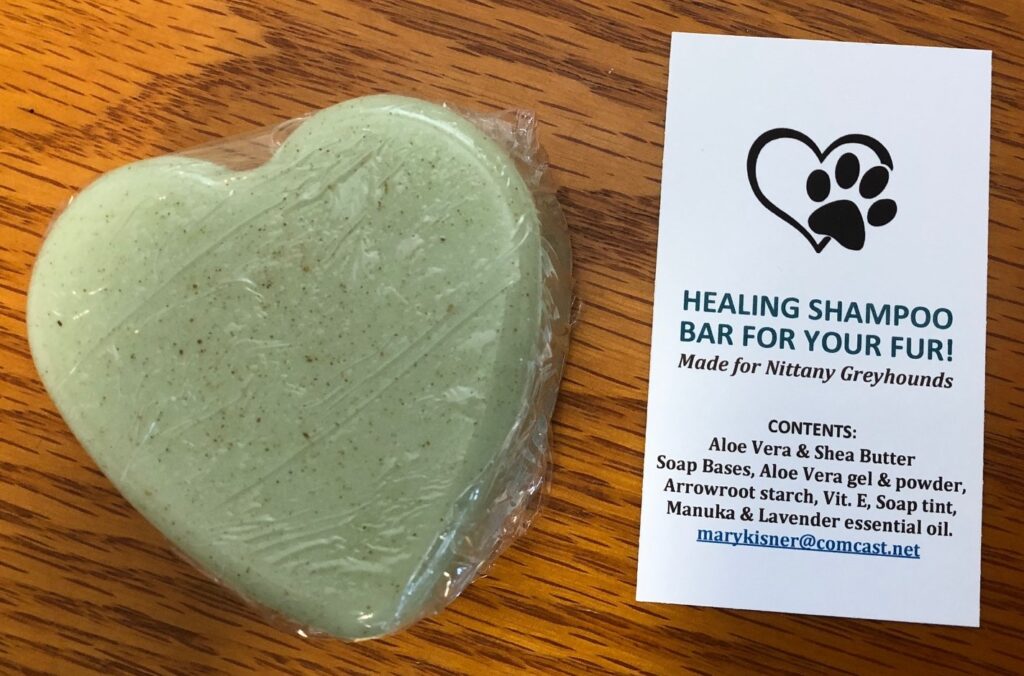
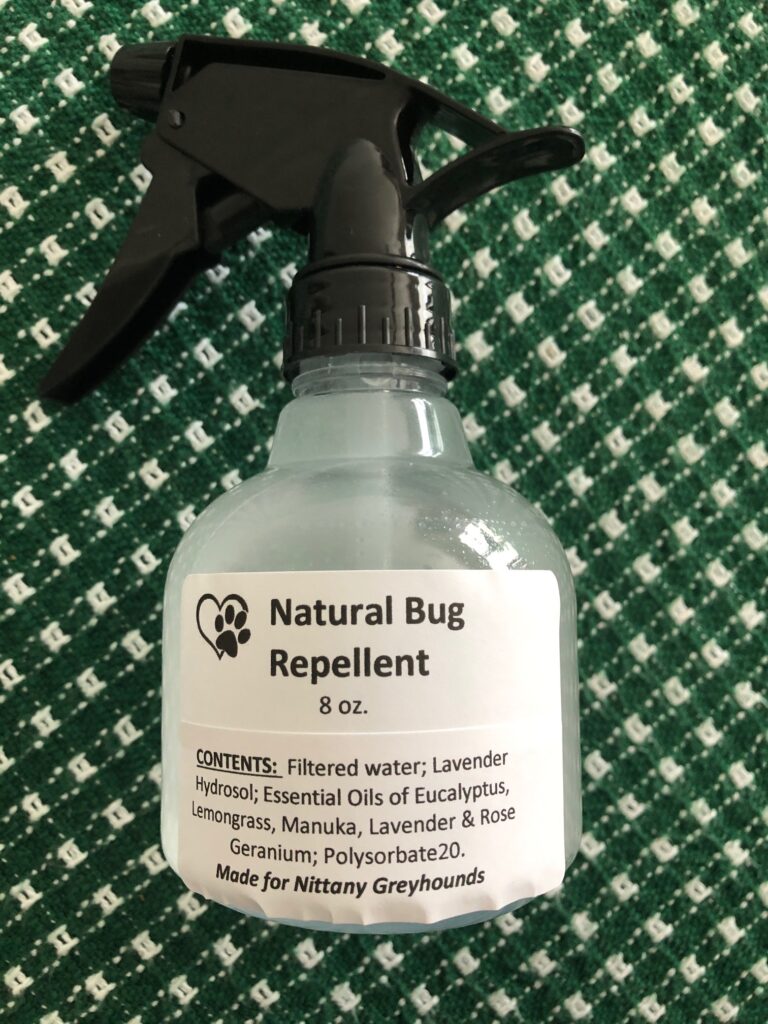
A few drops of Manuka essential oil can be incorporated into three ounces of chemical-free shampoo to remove fleas and ticks before they bite. To soothe irritating sores from bites, a drop of Manuka essential oil (diluted with a teaspoon of a carrier oil like grapeseed oil or sweet almond oil) may be applied directly to their skin. To help deter the fleas and ticks from even landing on their fur, a natural bug repellent spray made with various essential oils, including Manuka, may help between shampooing. I have added Manuka essential oil to my aloe vera soap/dog shampoo to strengthen its healing properties. Manuka essential oil is also a major component to my natural bug spray. (see https://marykisner.com/greyhounds-still-in-my-heart/)
I’m sure you’ll be hearing more about the healing properties of Manuka honey and Manuka essential oil in the next few years! Enjoy!
GENERAL SAFETY INFORMATION
When used according to instructions, this essential oil is generally well-tolerated, however adverse reactions are possible: (1) It may cause skin irritation (2) If you are allergic to bees, you should avoid Manuka honey, while the risk of a separate allergy to the Manuka essential oil is possible but not common, (3) There is unknown safety during pregnancy and breastfeeding.
Do not take any oils internally and do not apply undiluted essential oils onto the skin without advanced essential oil knowledge or consultation from a qualified aromatherapy practitioner. If you are pregnant, epileptic, have liver damage, have cancer, or have any other medical problem, use oils only under the proper guidance of your medical professional.