My volunteer work making coats for adopted greyhounds has dwindled over the last year to an occasional special-order coat. Fleece fabric by the yard has been difficult to find, now that JoAnn Fabrics is out of business. Making many greyhound coats required an ongoing source of affordable fleece. Of course, Amazon has fleece fabric by the yard, but at $16.90/yard it’s incredibly expensive. To make 4 coats I need 6 yards of fabric, 3 yards for the outsides and 3 yards for the linings. It would cost over $100 just for the fabric alone!
Recently, I had an email from a greyhound owner asking if I still made coats. I had to share my difficulty finding fabric. Finally, today Bert and I took a drive to Surplus City…about 40 minutes from here…down I-99 toward Altoona, PA. They used to carry lots of giant rolls of fabric, many of them fleece. I was hoping to see what was available and how much it would cost. I figured I’d pick up some fabric…if it was available and affordable!
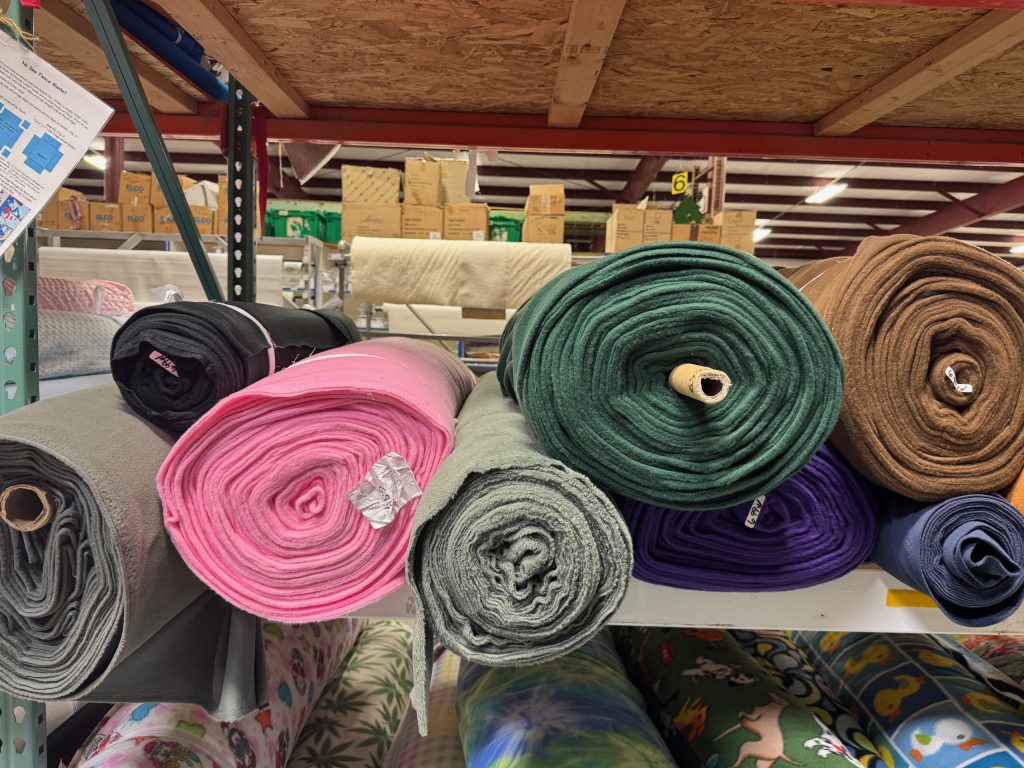
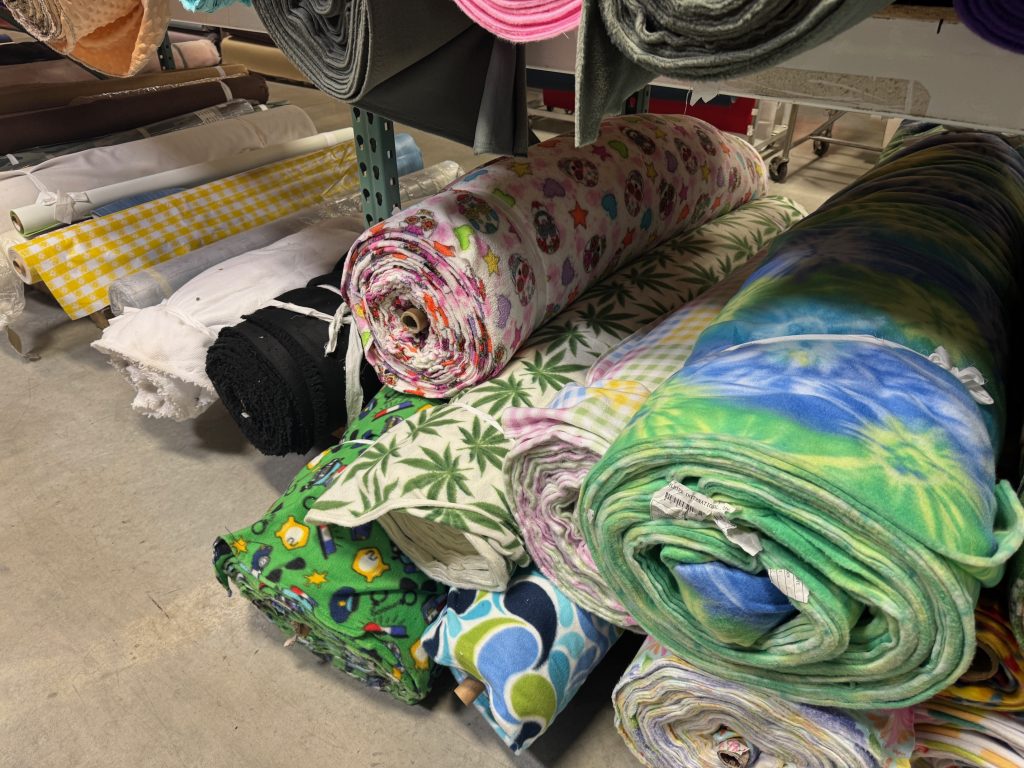
The rolls of fleece were limited, compared to how much they had several years ago. The fleece was pretty thin but at $6.99/yard I could at least make a few lightweight coats. They would work for spring or fall weather but would not be warm enough for a cold Pennsylvania winter! Here are the shelves of fleece rolls:
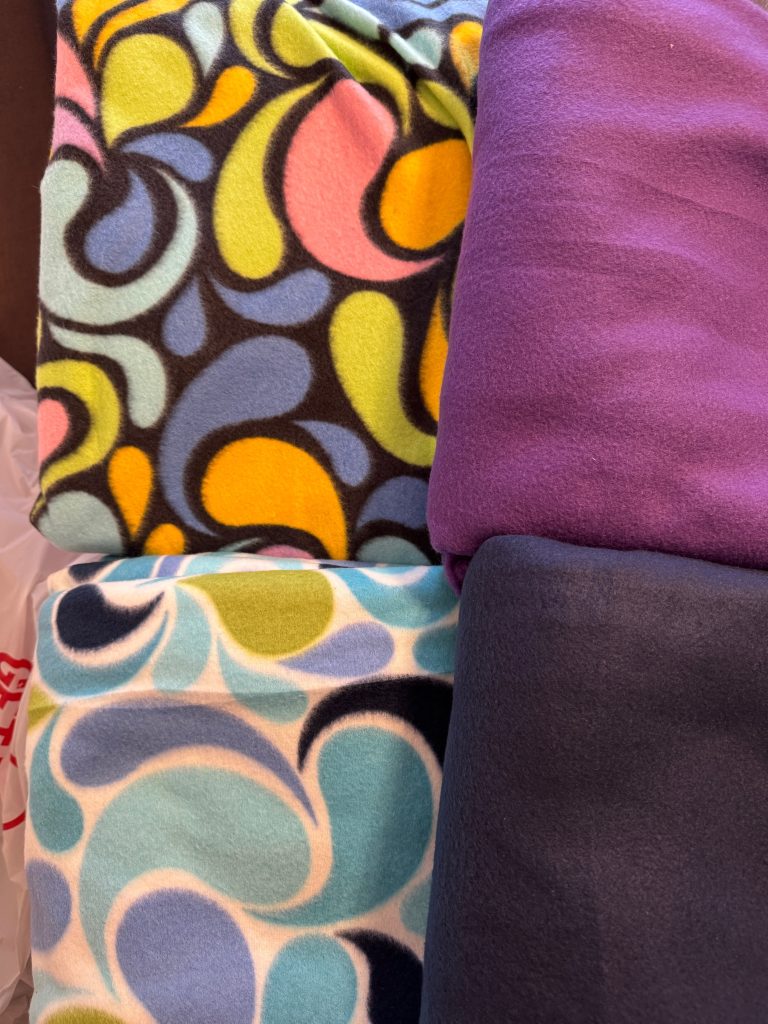
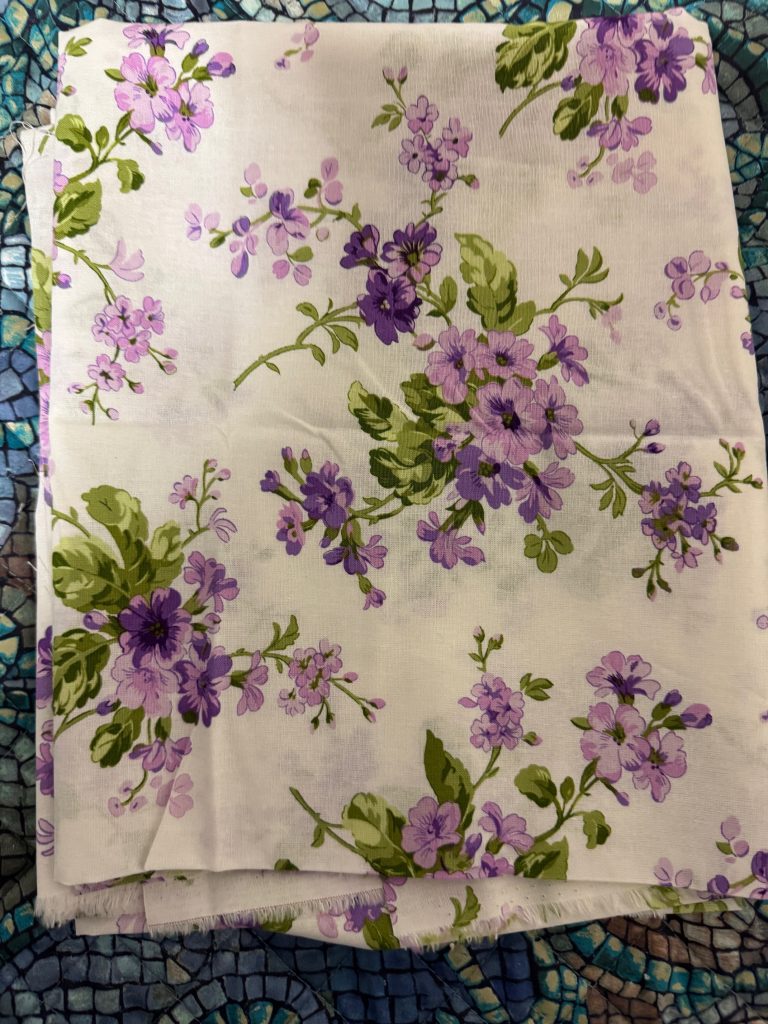
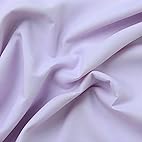
Some pretty weird colors, but I finally decided to buy 3 yards each of these colors:
I really thought I was picking colors that would go well together, but the lighting was not very good. I think the prints could be the outside or the lining of the solid colors. I’ll have to wash them before working with them…they were pretty dusty.
So, at $6.99/yard I bought 12 yards of fabric…enough to make 8 coats! How about that! I’ll offer to make one for the person inquiring about a coat and make the rest for Nittany Greyhounds. That made me happy today!
Maybe there’ll be a few cozy greyhound coats for spring!
If you have comments or questions, please email me directly at maryjkisner@gmail.com.
Thought it was time to wrap up my story about making Christmas favors for two groups of special folks. The first is the lovely group of about 14 women in the Ladies Auxiliary to the Boalsburg Fire Company. We will have our Christmas dinner next week at a local restaurant. The second group is from the State College High School class of 1964. Our group varies from month to month depending upon who is in town…often six to twelve folks. Next week we will have lunch at a local restaurant.
Obviously, many of these folks read my blog, so if you will be attending those events next week…shhh…please be ‘surprised’ when I hand out your favors. (smile)
I decided to aim for 30 gift bags total to make sure I had enough. Each gift bag would have a small mesh bag of 3 small soaps, an eye pillow filled with flax seeds, a small bag of green and red M&Ms and a battery-operated votive candle. Just enough to take a relaxing break over the holidays! This was not an expensive gift bag…what I’m really giving is my time to make the soaps and eye pillows to some special folks. If nothing else, the items can be used up or re-gifted to someone else!
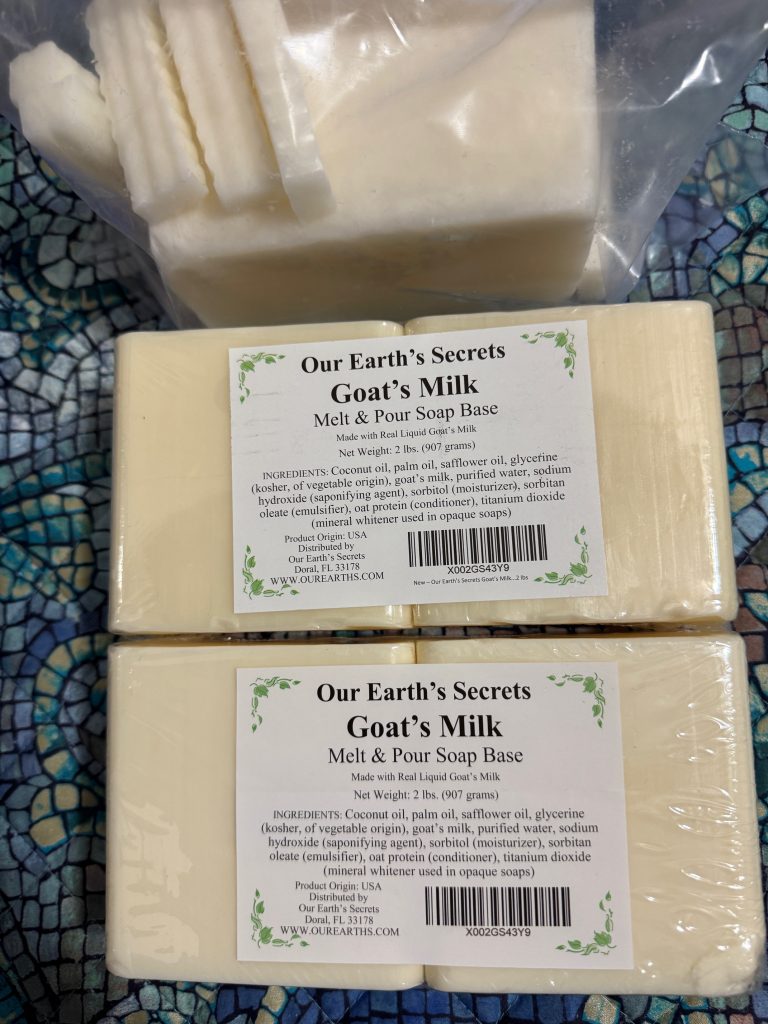
The Small Soaps
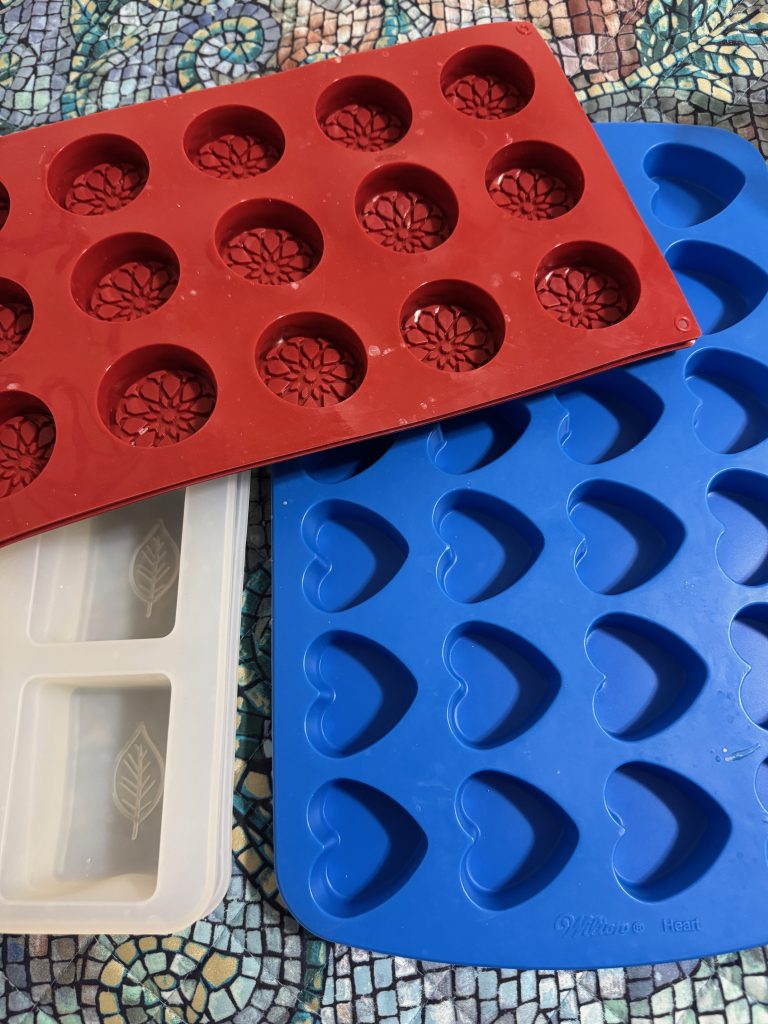
The first item that triggered my thinking for these gift bags was my extra Goats Milk Melt & Pour soap. The small soaps make great guest soaps and are easy to make. Most of the time is used waiting…waiting for the soap to melt and waiting for the soap to harden in the molds. Yes it’s a little tedious wrapping each tiny soap with plastic wrap, but it’s a necessary step. FYI…Melt & Pour soap is hydroscopic…and will eventually absorb moisture from the air and soften. Therefore, each tiny soap needed to be protected. (Regular hand-made soap bars made from scratch need to be open to the air to harden over a few weeks.)
The Melt & Pour soap just needed to be chopped up, melted over boiling water and poured into molds. The small molds worked well, but I had to make 90 individual soaps. That took a full day to melt the soap, pour it into molds, wait for it to harden and then pop out the soaps and wrap them individually in plastic wrap. Then I started over when the molds were free.
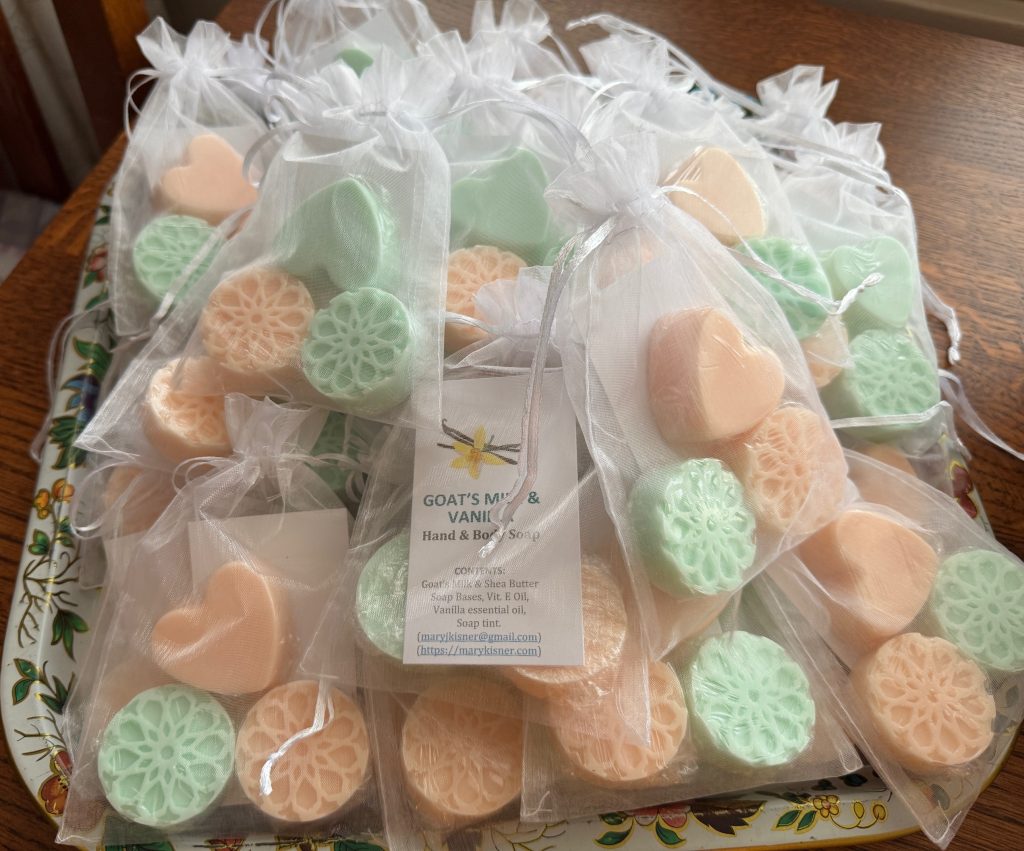
Here are the soaps ready for the gift bags:
When I was all finished, I had this pile of soaps left over. They may find their way to other gifts or Christmas stockings!
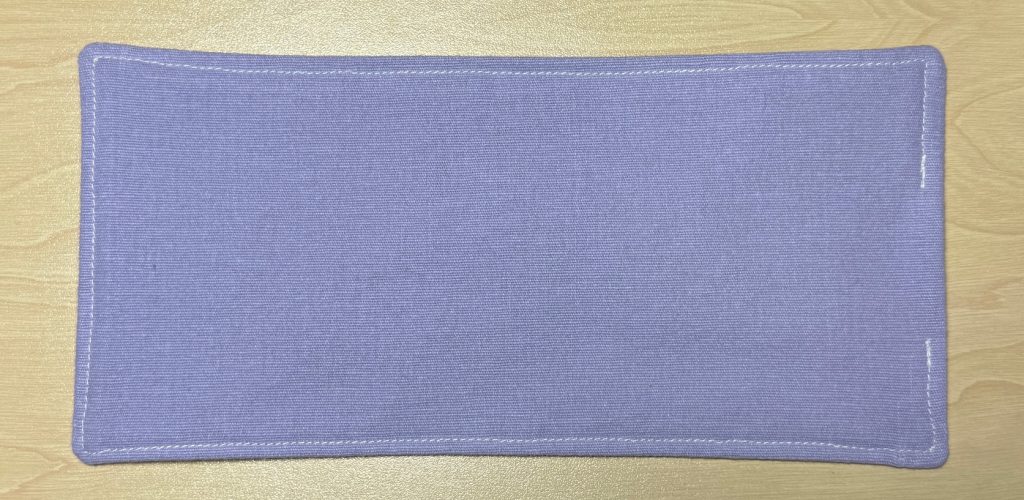
The Eye Pillows
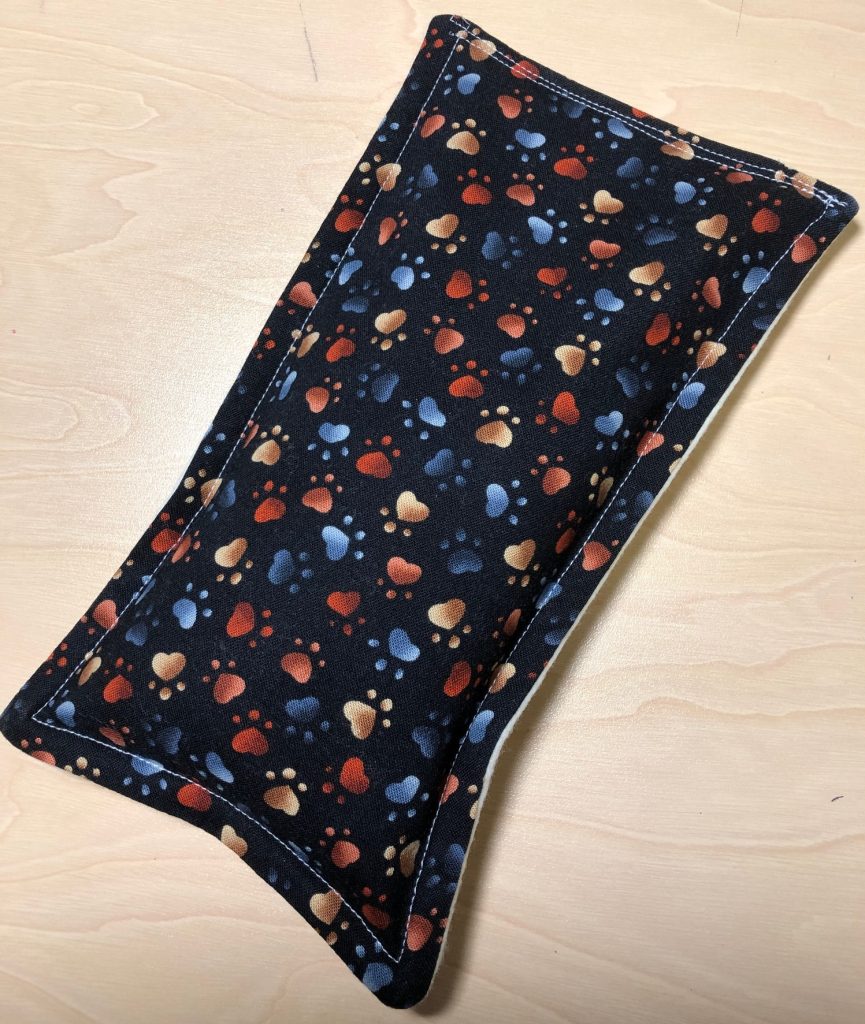
The flaxseed-filled pillows can be heated in the microwave or put in the freezer. Very handy for tired eyes. I found cotton fabric at Walmart, but I had to order flannel from Amazon.
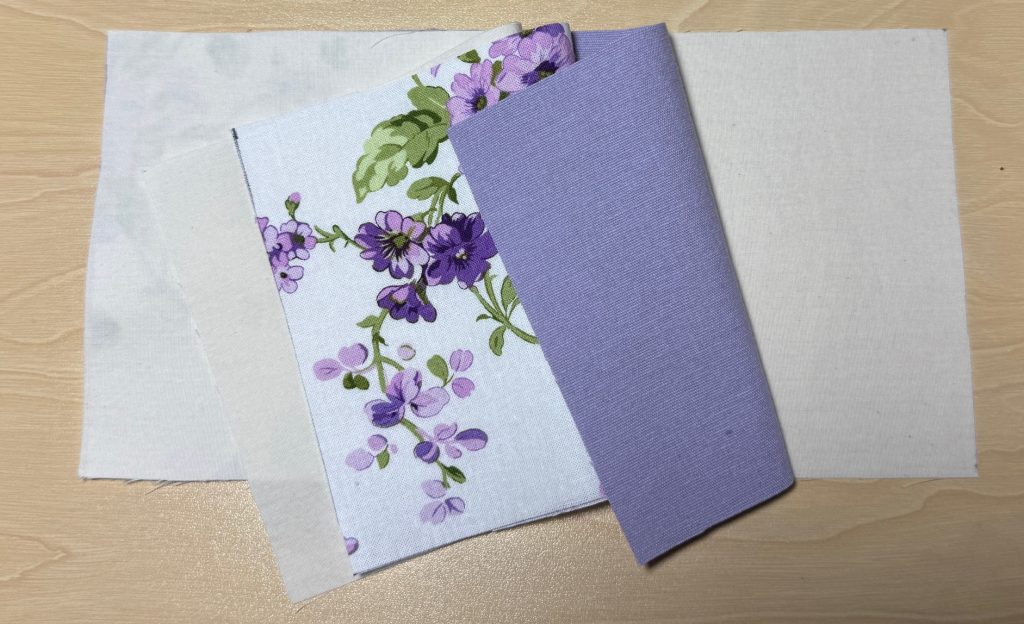
First, I cut out 30 sets of pillows…one front, one back and two muslin pieces for lining. The flax seeds have sharp points on each end and would poke right through the flannel without the lining.
The four pieces stacked like this:
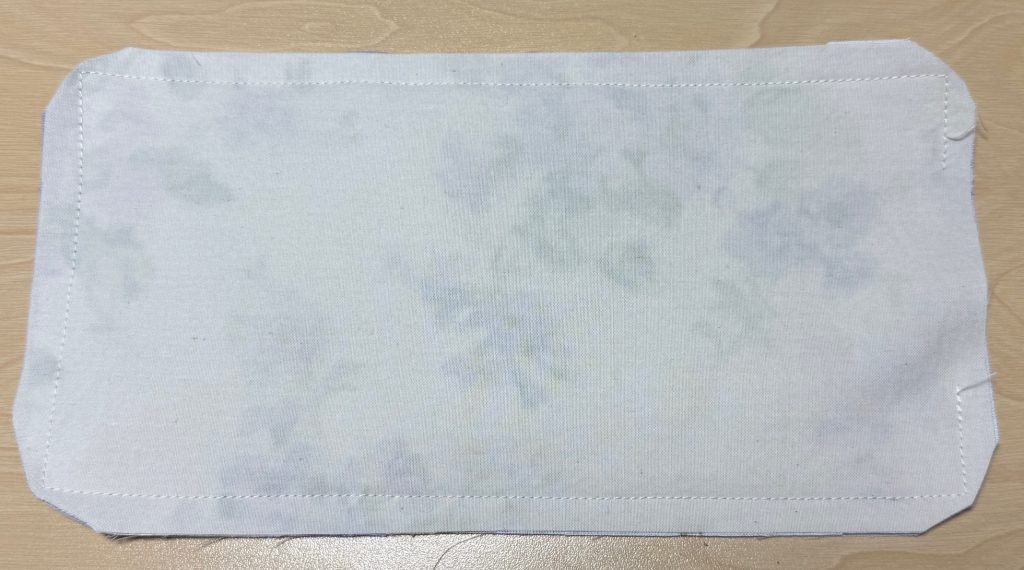
I stitched around the rectangle leaving an opening on one end.
Turn the pillow right side out.
Top stitch all the way around the pillow…leaving the small opening. I used a funnel and a 1/4 cup measure to pour in the required 1 cup of flax seeds. Then, after shifting all the flax seed to the far end, I quickly sewed the opening closed.
I also wanted to keep each pillow clean in the gift bag, so I put each one in a gallon zip bag. That would help it stay nice between use, and would keep it clean if used as a cold pack when placed in the freezer.
The process to make 30 pillows took more than several days to complete. Thank goodness for Hallmark Movies to keep me entertained!
The Battery-operated Votive Candles
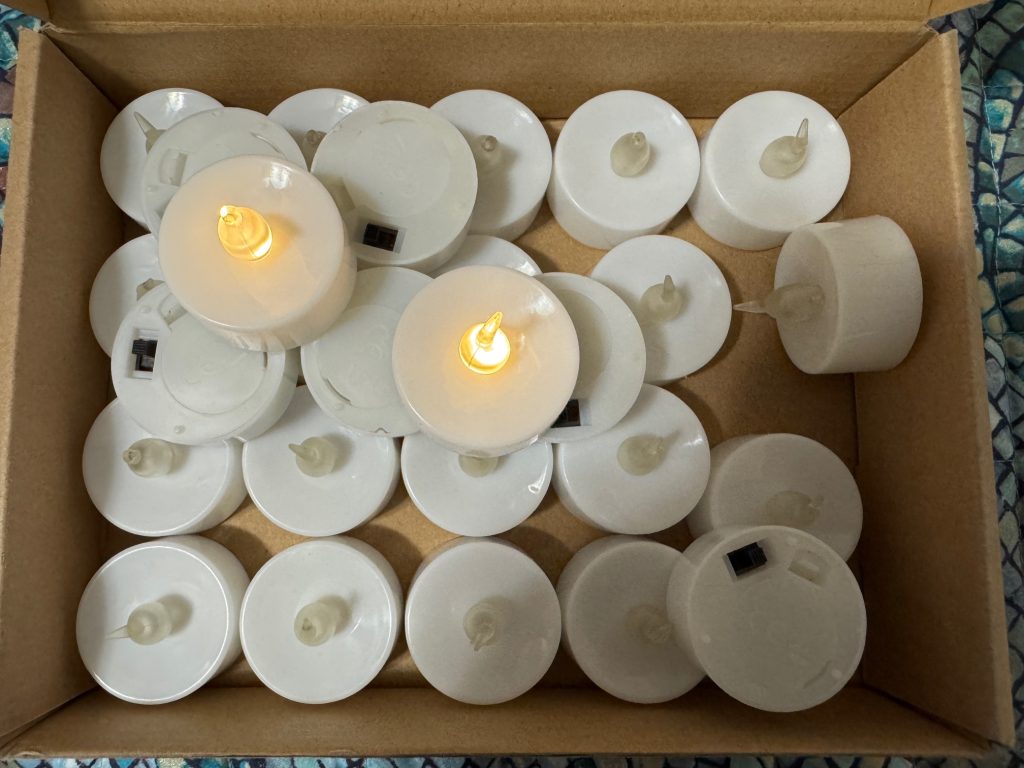
I’ve had this box of votive candles for several years. I used a few to put inside some clay candle holders I made out of polymer clay. So much for that project! I made a few and decided I didn’t need more than three…thus, there sat a box of candles on my shelf! (I did make sure they would still work before I put them in the gift bags!)
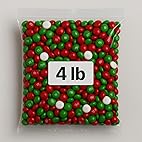
Red and Green M&Ms
I’m sure the M&Ms were not necessary but they just seemed like the perfect touch! This 4 lb. bag of M&Ms just made 30 tiny bags…one for each gift bag!
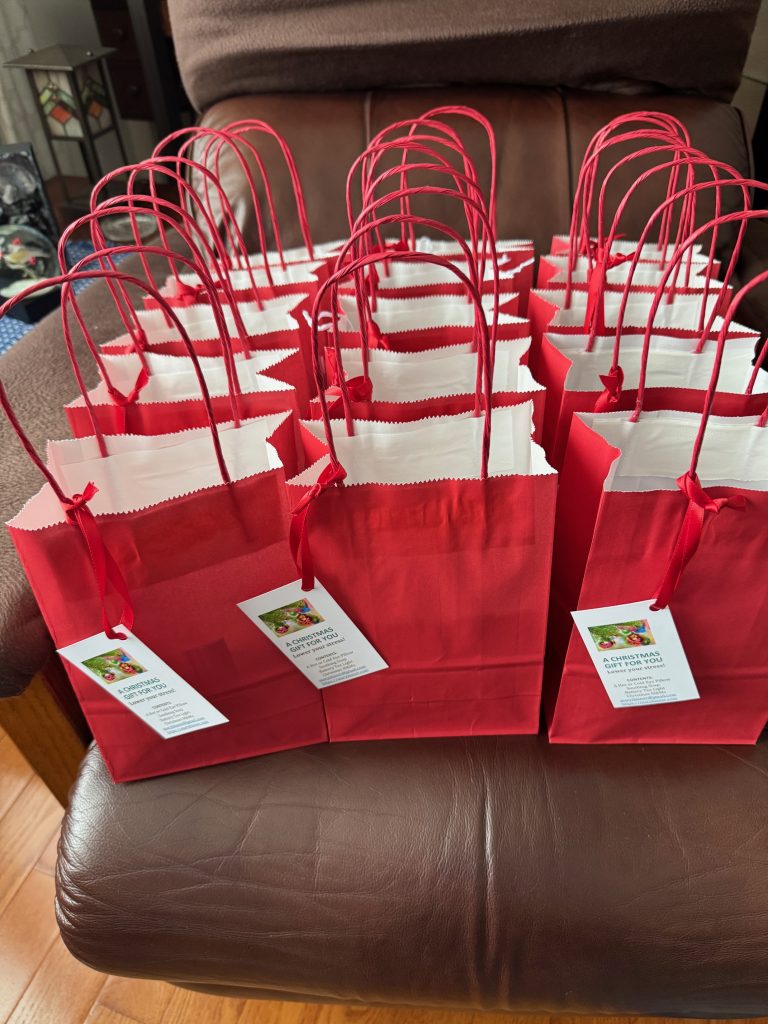
Time to fill the bags!
I think this display will count as my Christmas decorating for the season! Enjoy!
I’ve spent this whole week brainstorming what to make for favors for a group of 14 women from the Ladies Auxiliary to the Fire Company at our Christmas party in December. I have 4 weeks until I need them, but I need to decide soon exactly what I will put together. As I brainstormed, I ran all over town to see what I could get. Did I say how much I miss JoAnn Fabrics and how much I hate shopping?!?
I started with the container…I found small red gift bags at Michaels. I had to go to Walmart to get enough white tissue paper.
Looking around my various project supplies, I first started with soap. I have enough Goats Milk melt & pour soap base and small molds to make an assortment of small soaps. Two or three in a mesh bag will the first item in the bag of favors and suggested a gift bag for a ‘spa’ day.
Next, I found a box of tiny tea lights (battery-operated) that would be a perfect addition to the gift bag.
This is what they look like…cotton on one side and flannel on the other. I have plain muslin for the liner (to keep the flax seeds from poking through the outer fabric.) I think I’ll have enough time…if I can get the fabric, flannel and flax seeds in time!
I found some nice 100% cotton fabric at Walmart but alas…no cotton flannel!
I even tried Michaels…no flannel of any kind! Luckily, Amazon came through and 2 yards of flannel will be delivered tomorrow!
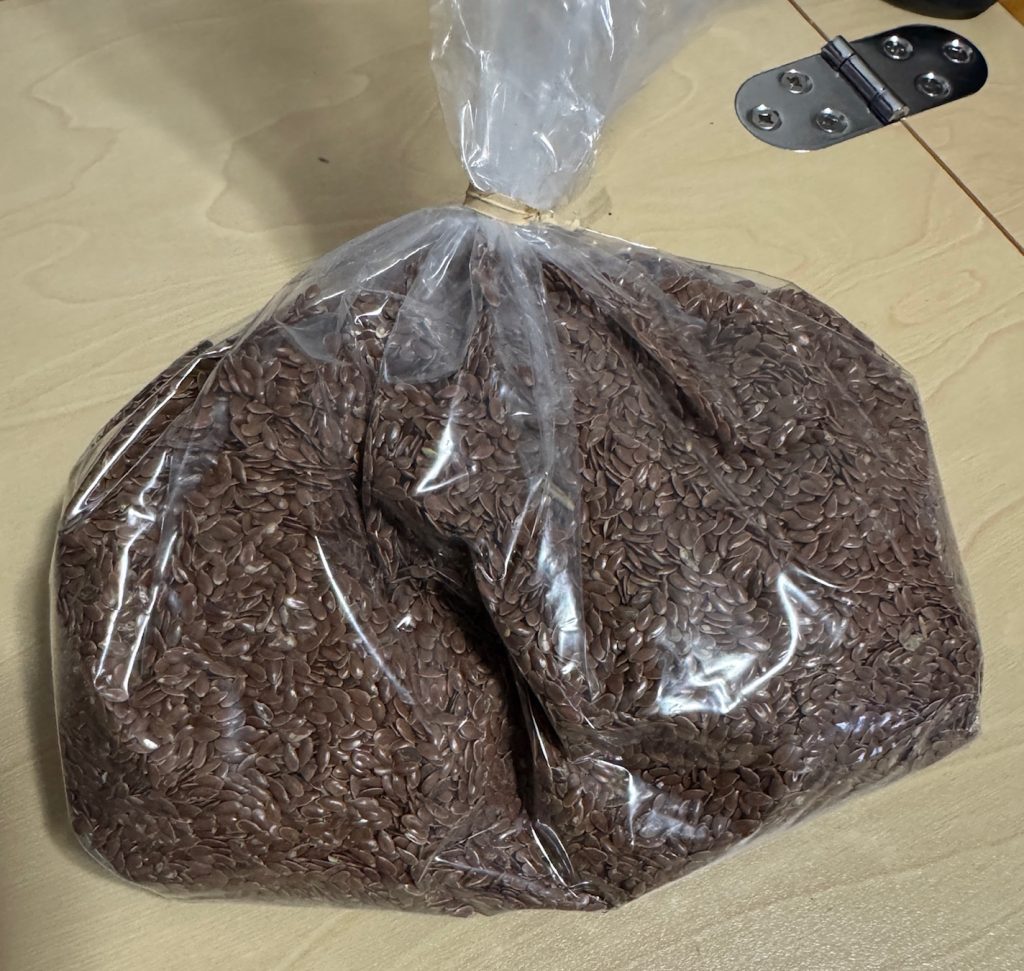
Of course, the eye pillows will need flax seeds for stuffing…but 14 of them will require about 8 pounds of flax seeds (1 cup in each pillow). I had a small bag, but not 8 pounds!
Thank goodness, I could order a 10-pound bag from Amazon. It arrived today!
When I have all the components, I’ll get an assembly line going to crank out 14 eye pillows!
Last, but not least, how about some Christmas M&Ms to snack on while relaxing with a warm eye pillow! Amazon came through again! This bag will show up in a few days.
You can see that preparing these 14 gift bags required some lead time to assemble all the components! Just the brainstorming, sorting through my stash of supplies and running around town took several days. Now, I wait for things to arrive from Amazon so I can start making the eye pillows.
I really like how the focus is around being handmade. I don’t think I’m giving any useless stuff to my friends…the soap can be used, the M&Ms can be eaten and the eye pillow might be soothing during the Christmas season! If nothing else, the bag can be ‘regifted’ to someone else who needs it.
If you plan to have a handmade Christmas, plan ahead so you have time to enjoy the holidays yourself! Enjoy!
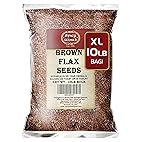
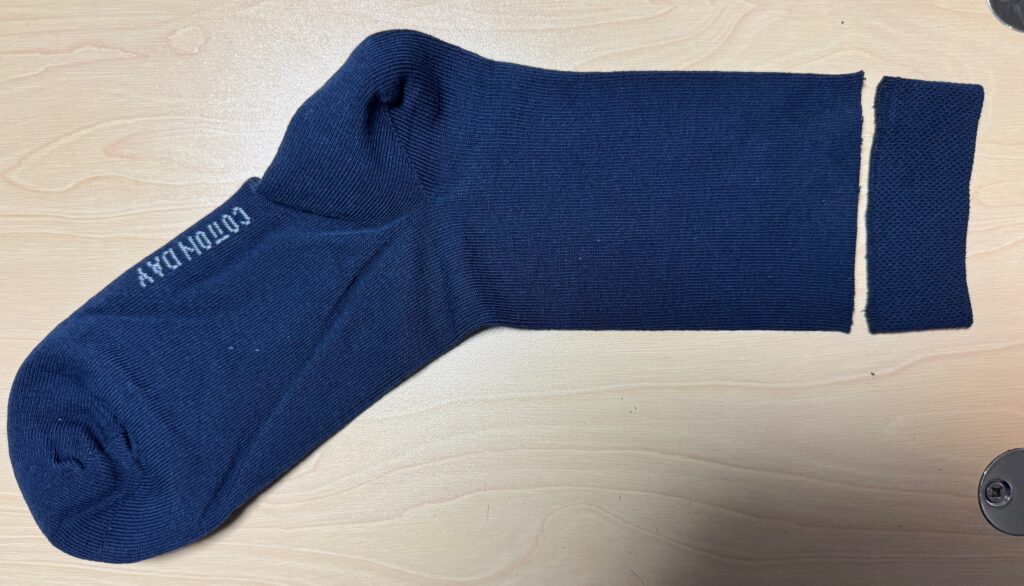
It’s the little things that can be annoying! I have yet to buy a new pair of socks that are comfortable right out of the package! I have a whole drawer full of socks that are almost OK. Since I don’t like tight socks…at my toes or my ankle…I try to buy a bigger size. However, then my feet slide around in my shoes. If I buy the correct size, the top of the sock usually has a ‘hem’ or several strings of tight elastic that drives me nuts. Here are two socks that show the tight hem at the top. I have yet to fix these so I can wear them.
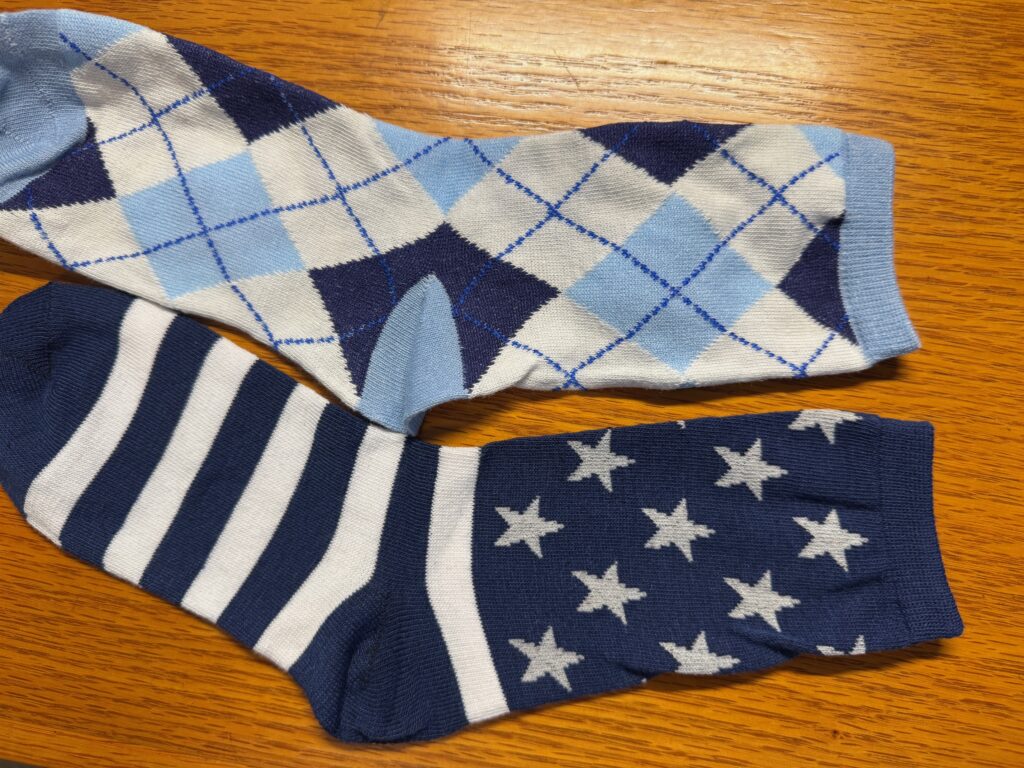
I just ordered new socks that did have mostly cotton with added stretchy fibers. They looked (online) like the top might lay flat.
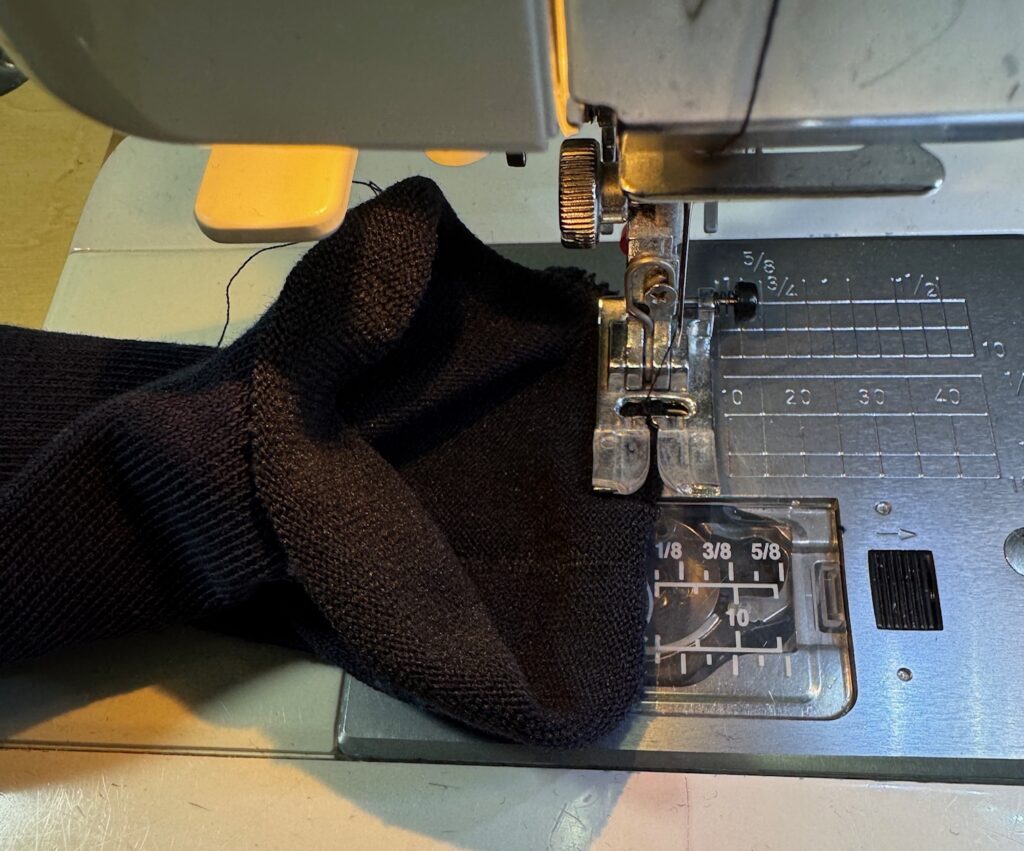
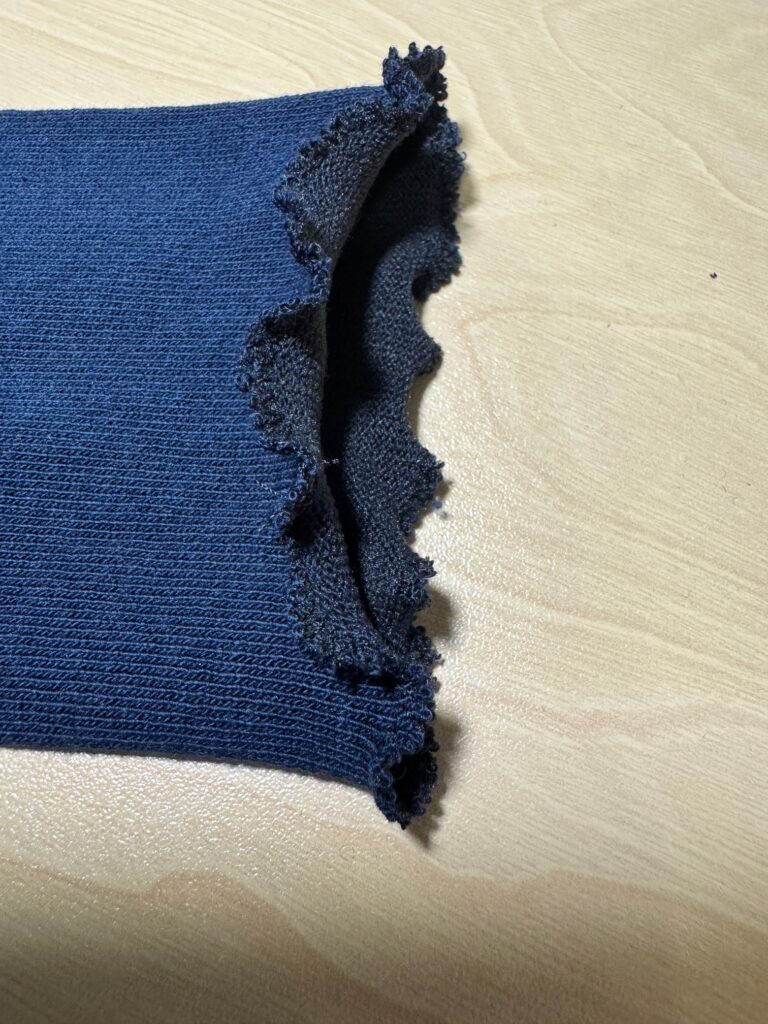
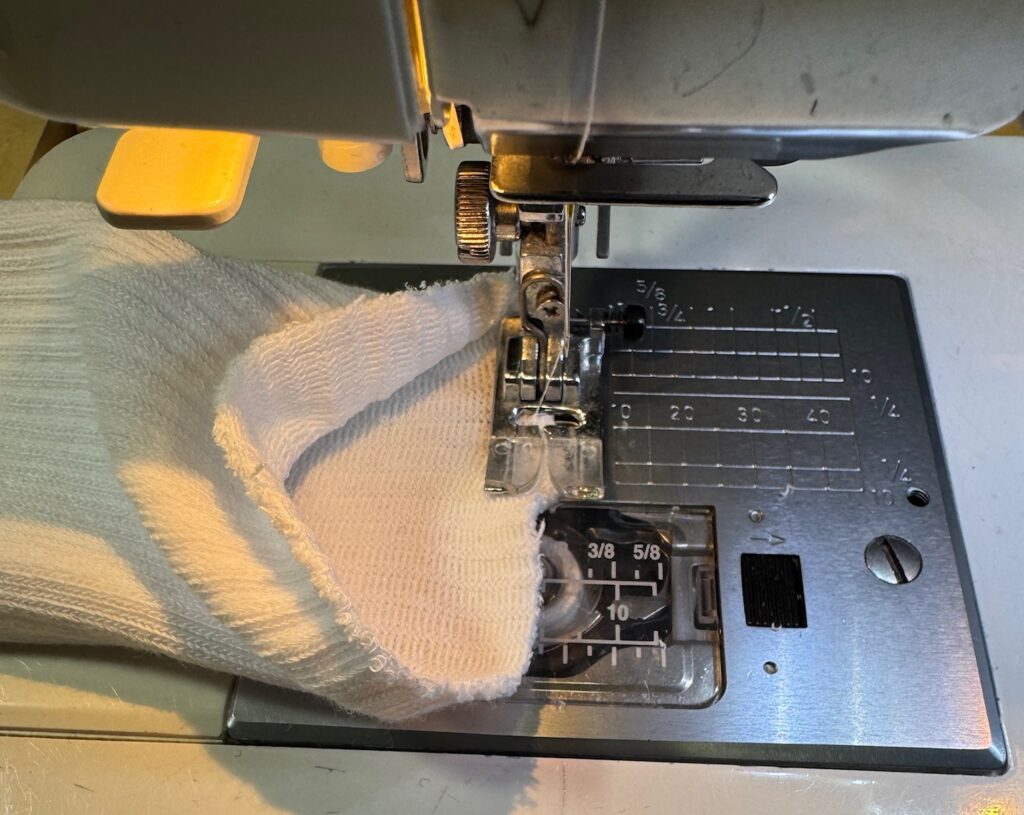
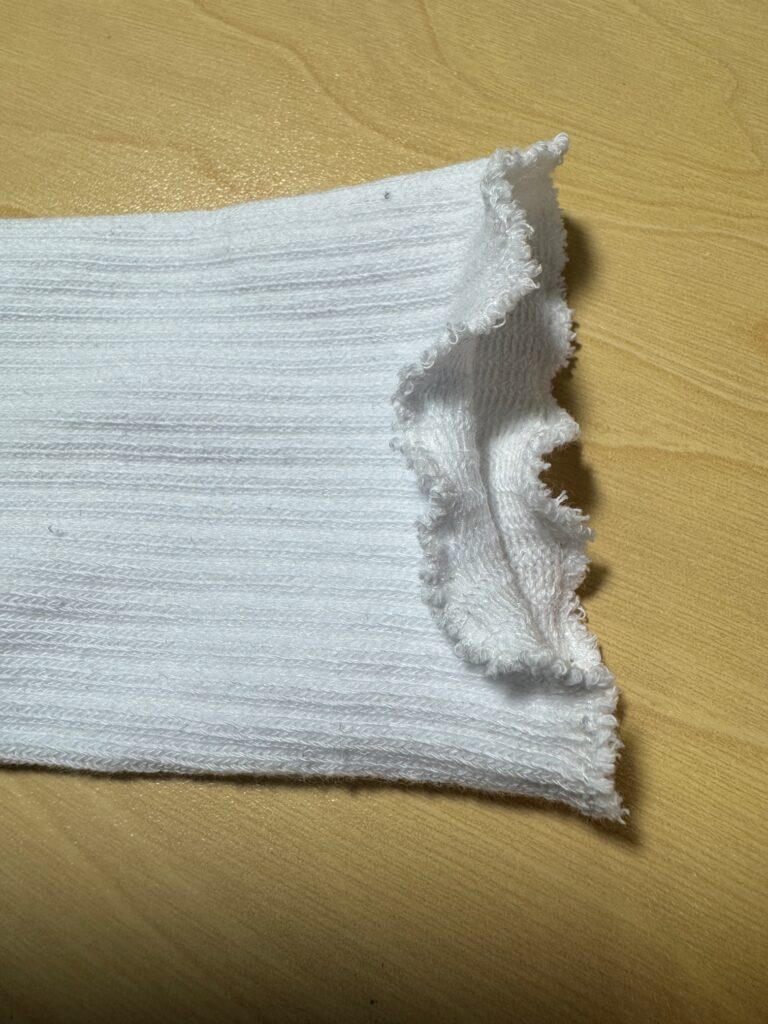
Amazingly, the socks fit well but, of course, the band at the top was too snug for me. So, I did what I usually do to make them more comfortable…I cut off the band and zigzagged the edges. When flat, the top looks ruffled, but when I put them on, they lay flat on my lower calf. The sock has enough stretch to stay up and top doesn’t drive me nuts! I ended up cutting the top band off all 9 pairs of socks and zigzagged the edges. Here are the pictures…pretty simple and worked great! Time to clean out my sock drawer and fix all the ones driving me nuts!
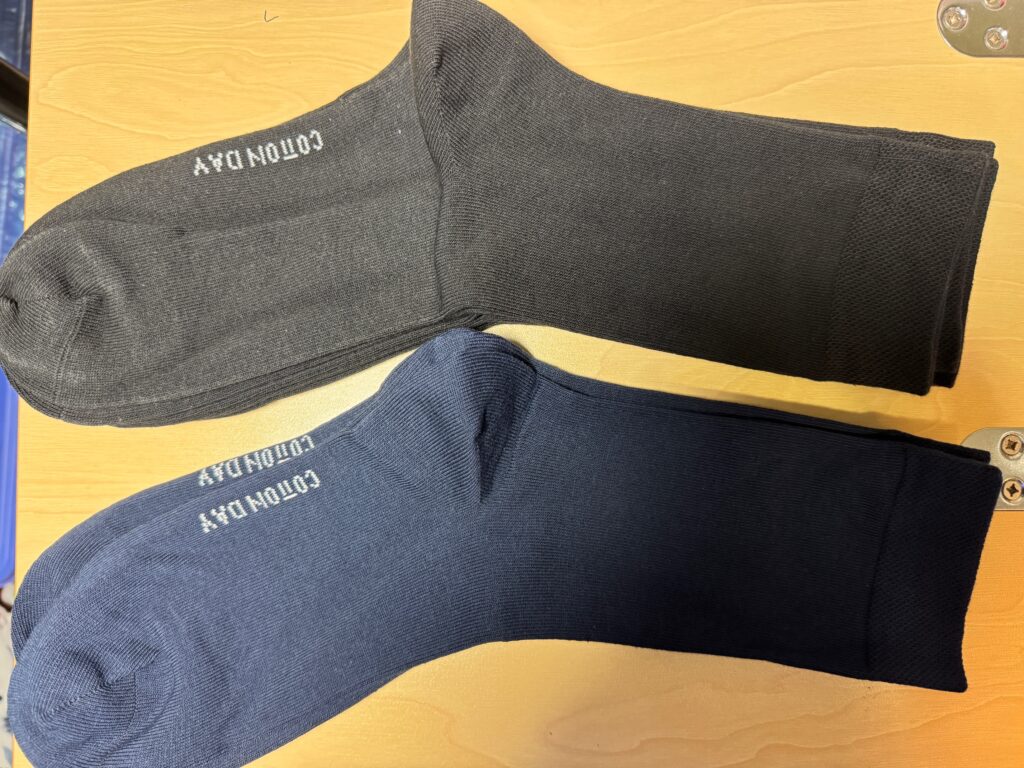
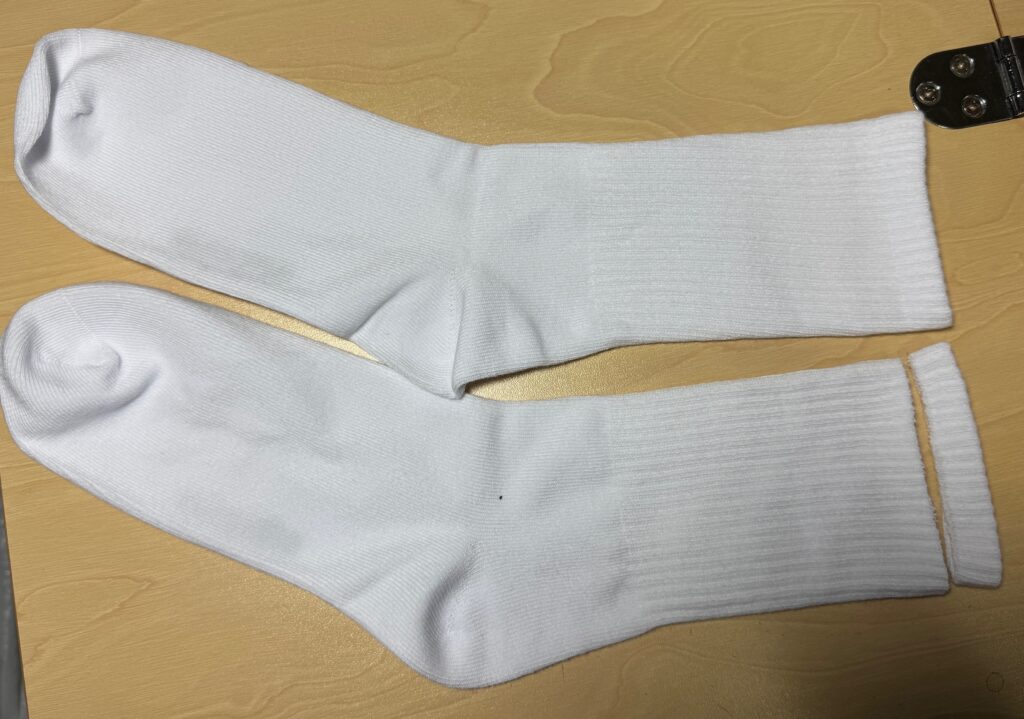
Here are better pictures with the white socks.
Nothing better than socks that fit AND are comfortable!
If you have questions or comments, please email me directly at maryjkisner@gmail.com.
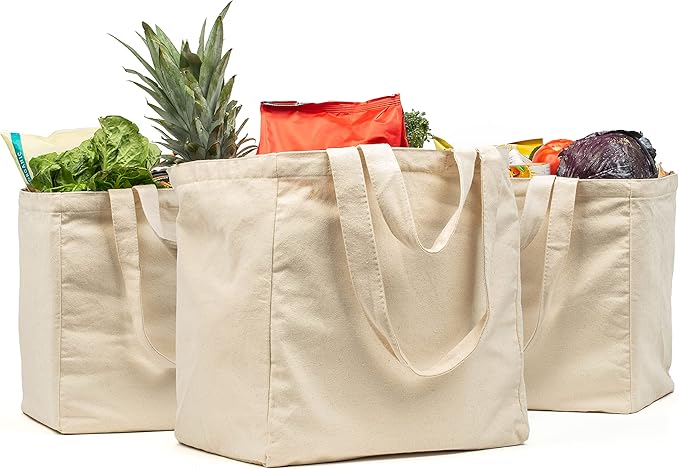
I know it’s hard to believe, but 10-15 years ago it was not common for most folks to bring their own reusable grocery bags to the store. I did have a collection of off-white canvas bags back then but they ended up being used all over the house for other things…like library books or beach towels. However, they are still available for sale on Amazon.
Plastic bags (single use!) were everywhere and stores printed store names on the bags for advertising. Many of the first reusable grocery bags also had store names and colorful pictures on them. I had quite a collection of those, but I was always uncomfortable taking my Giant bag into Wegmans and my Trader Joe’s bag into Giant (why, I don’t know!). I ended up with quite a pile of store-specific bags cluttering up the car. Recently, I bought 5 matching bags with the Penn State logo on them…no store name (even though I got them at Wegmans!) I’m happy using them everywhere!
Then, around the same time as reusable grocery bags became popular, the trend was to always carry a thin nylon tote bag that would fit in my pocket…just in case I needed one. They were very thin often with uncomfortable handles. I could never get them folded up back into their little pouches and they never quite made it back into my purse! Very frustrating!
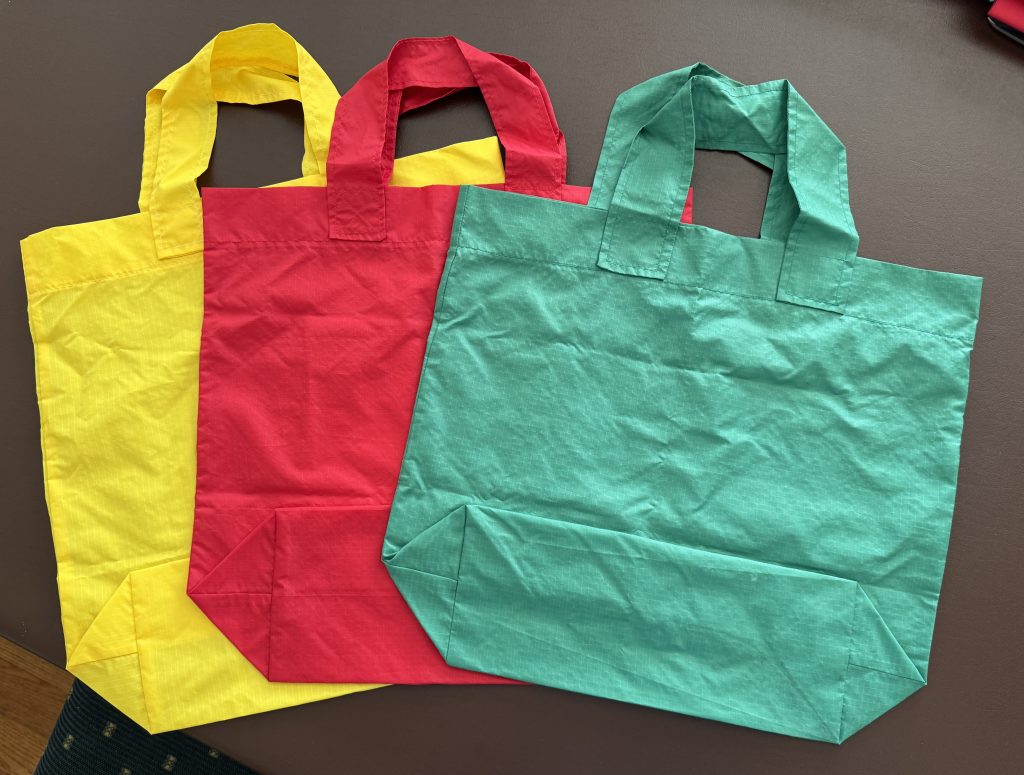
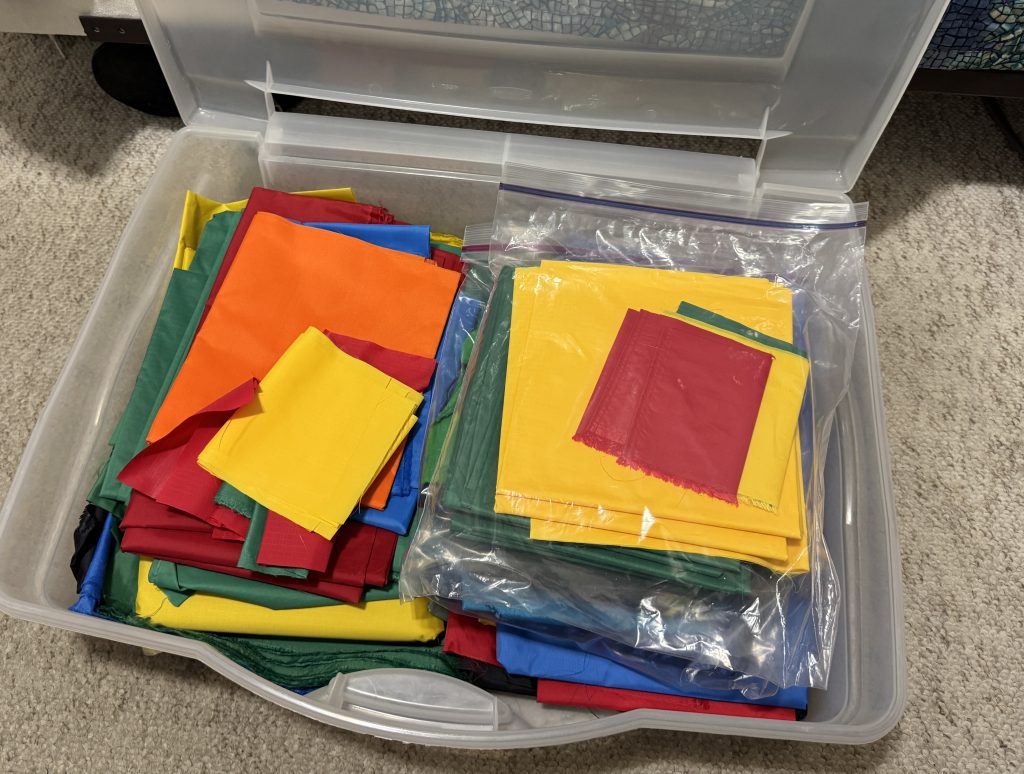
Finally, years ago I decided I could make my own nylon tote bags…even a bunch of them…to use as reusable grocery bags. I have carried at least one in my purse since then. I made them in four colors and ended up giving most of them away. Recently, I gave some garden vegetables to my brother and his wife in one of the bags I had in my purse. When I came home to grab a replacement to put in my purse, I realized I had only 3 left! Yikes! Time to find my stash of fabric to make some more!
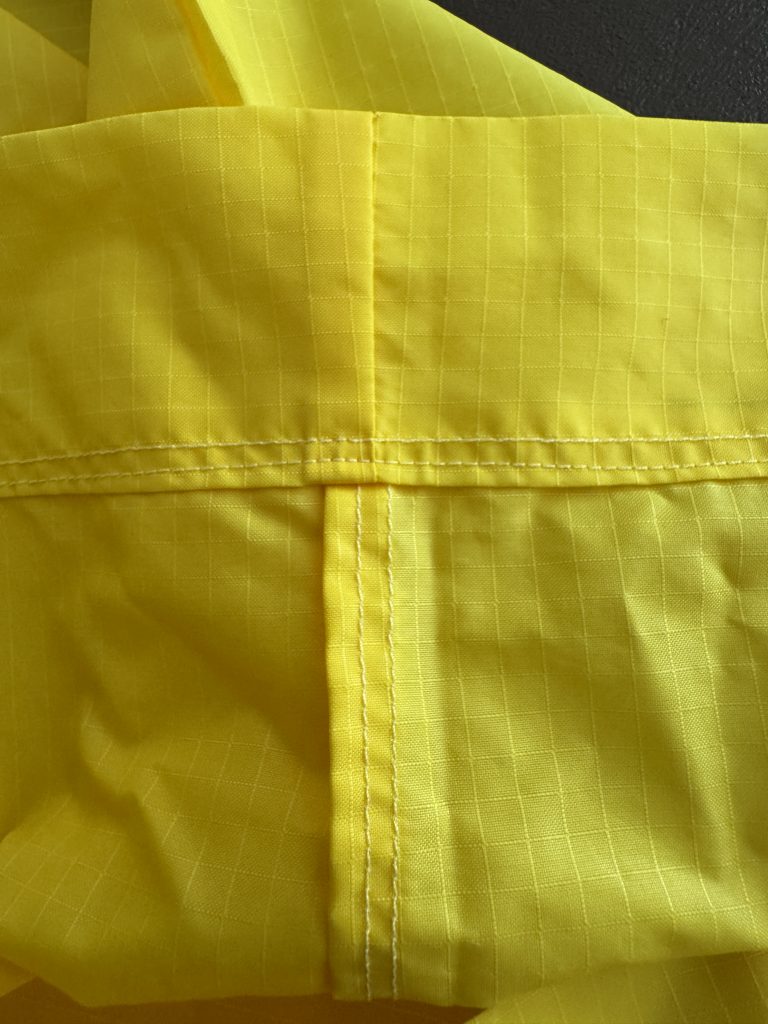
All this time, I’ve had a bin under a guest bed with my stash of rip-stop nylon fabric.
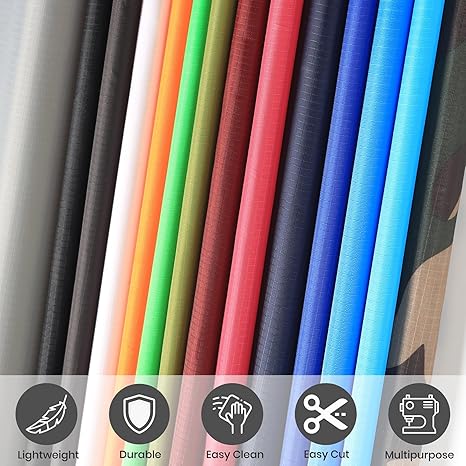
This is considered a utility fabric with a strong thread running through the fabric. If you get a tear in the fabric it doesn’t run like a nylon stocking. That’s why it’s called “rip-stop” nylon. Here’s a closeup of the fabric…I hope you can see the grid of strong threads:
This fabric is available at Amazon in many colors. It comes in precut 2-yard pieces for about $11. (I can make four tote bags out of 2 yards of fabric.)
Figuring Out the Pattern
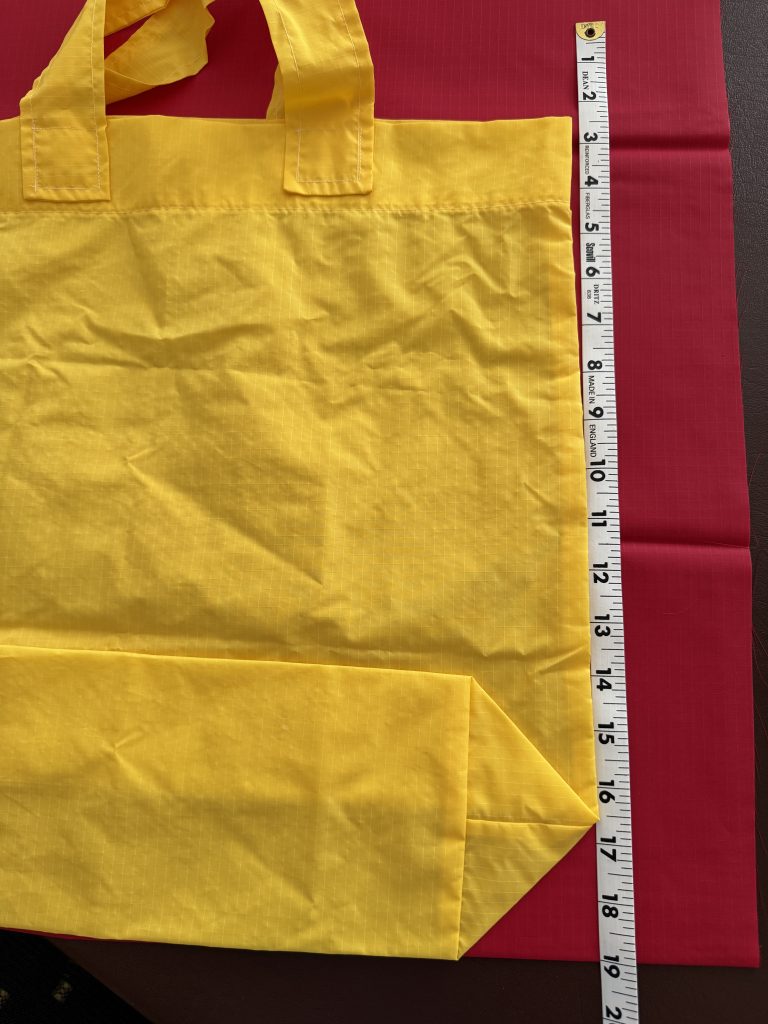
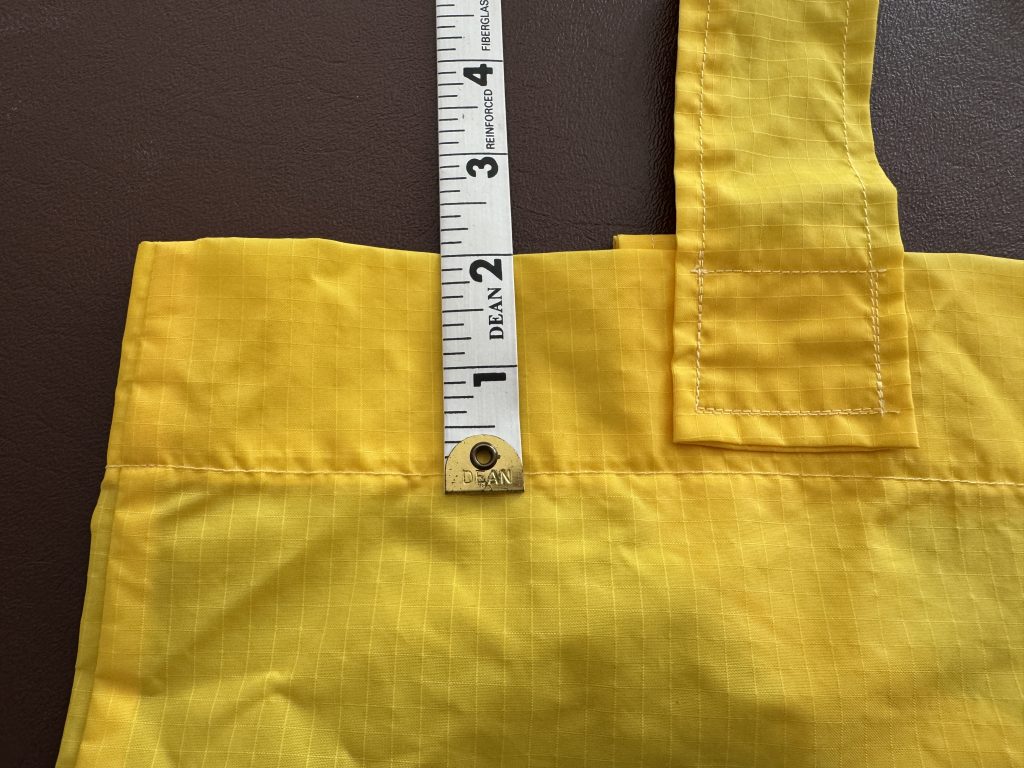
Keep in mind, I’ve made a LOT of tote bags in the last 20-30 years. I just couldn’t remember EXACTLY how I made the rip-stop nylon ones…and of course I never did have a pattern. Luckily, I still had three tote bags left so I measured a bag. Then I made this drawing. Don’t you just love how I make a pattern! (smile)
The bag measured 19″ from the bottom fold to the top…allowing 2″ for the top hem.
The top hem was 2″ finished.
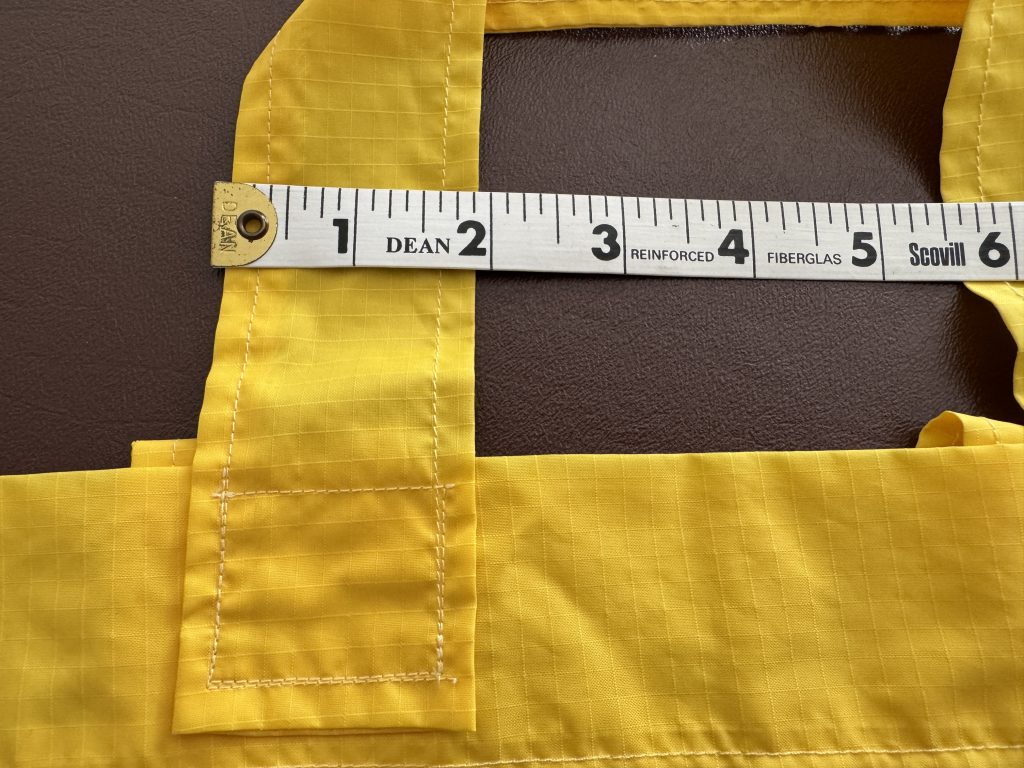
The handles were 2″ wide by 18″ so they were cut 5″ wide by 18″.
Then I checked inside to jog my memory…it appears I sewed up the side seams first and then folded down the top. Every seam was stitched and then folded over and stitched again, just to keep the fabric from unraveling (funny…it doesn’t tear but it will unravel!).
Finally, the bottom measured 5″, so I’ll remember that when I make a new one.
Making a New Grocery Bag
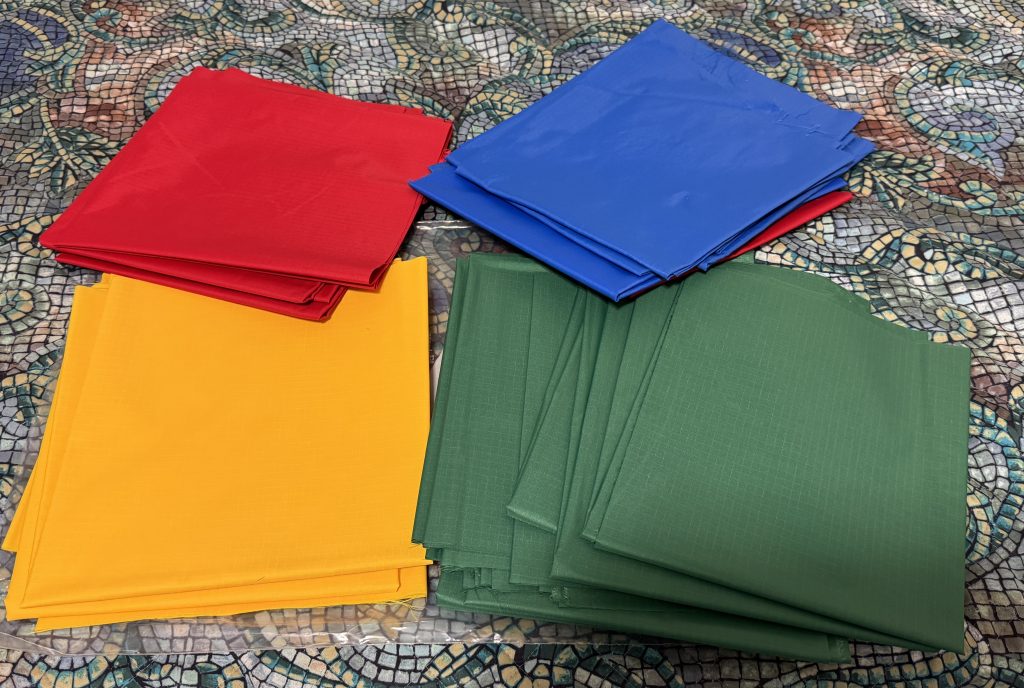
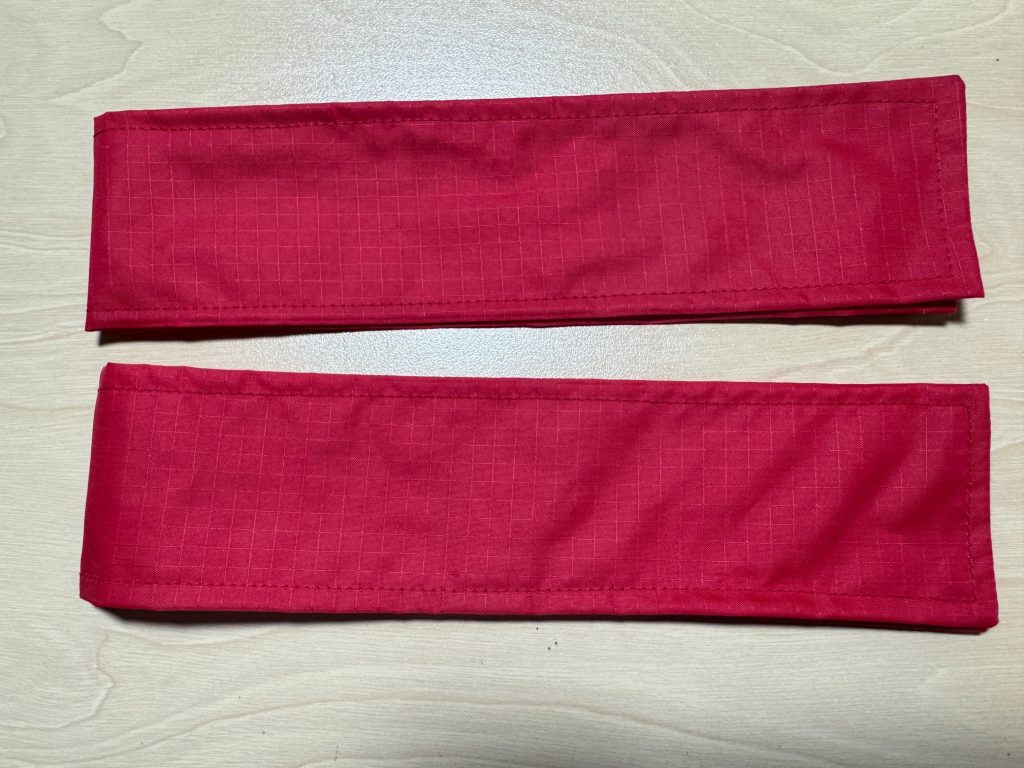
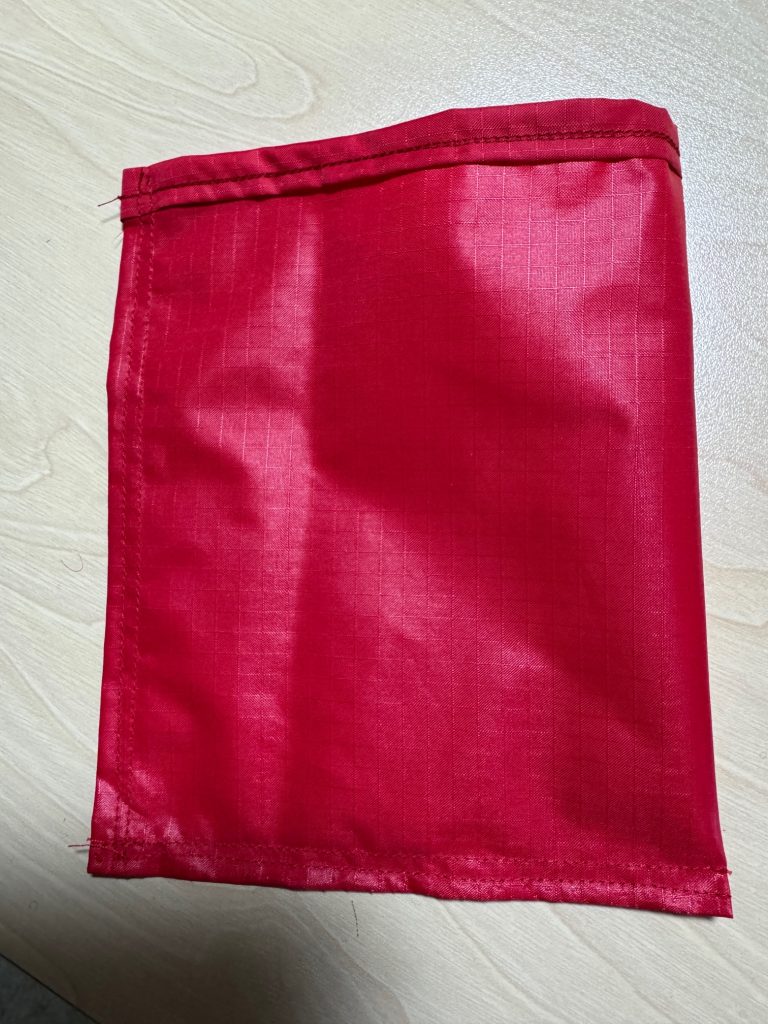
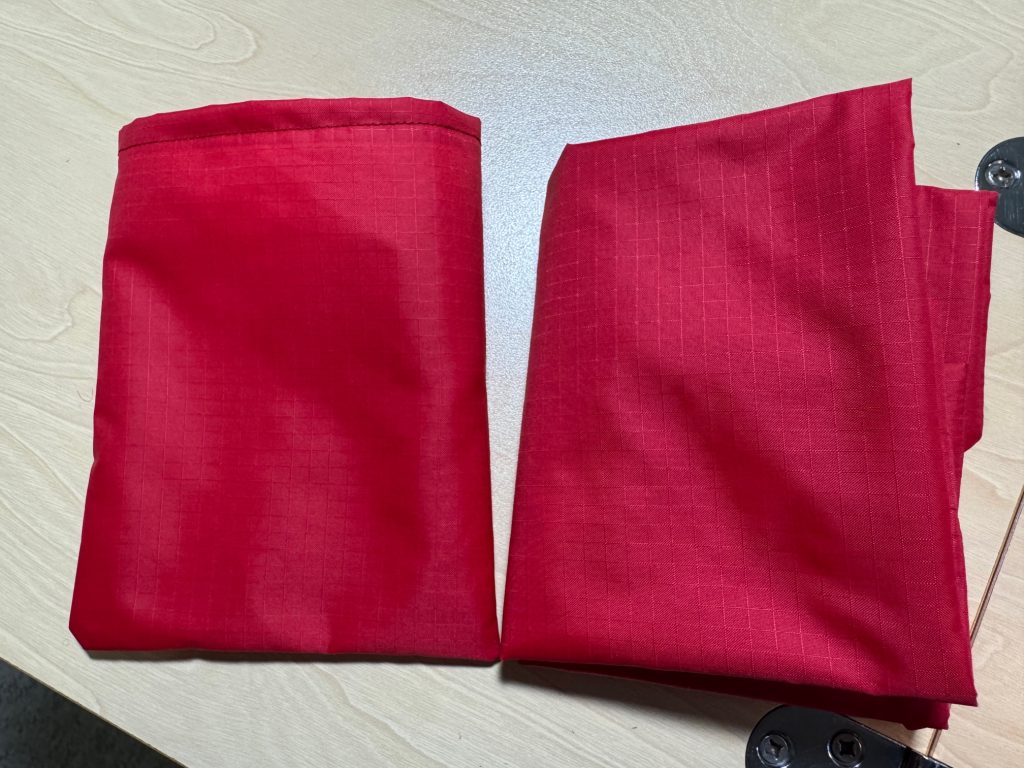
In my stash, I discovered I had already cut some of the fabric into 18″ wide strips along the fold. I decided to start with the red fabric.
Following my hand-drawn diagram above, I cut a 19″ piece measured from the fold and an additional piece 5″ (which was 2 pieces) for the handles.
Making the Handles
With right sides together, I stitched along one end and down the length, leaving the bottom open.
Then I used a stick to turn the handle right side out.
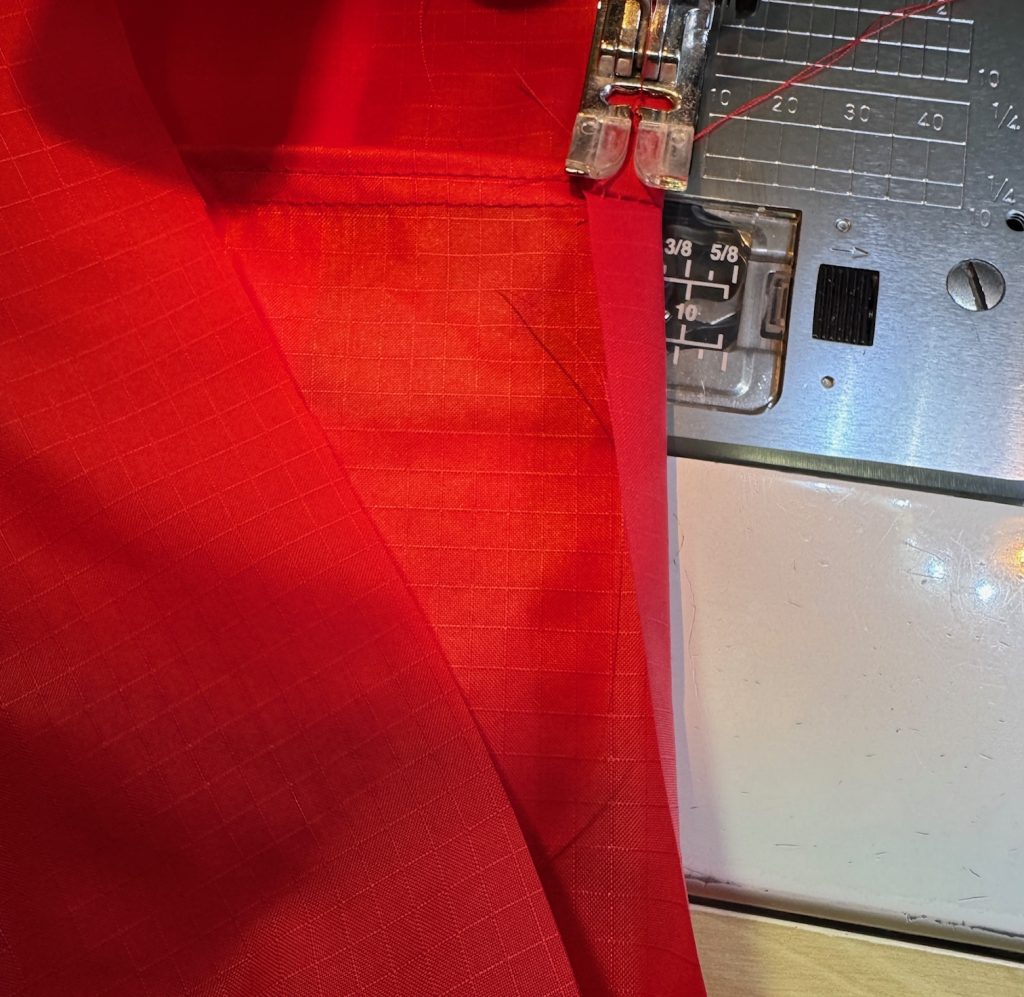
Finally, I top stitched all around the handle, folding in the open end.
Making the Bag
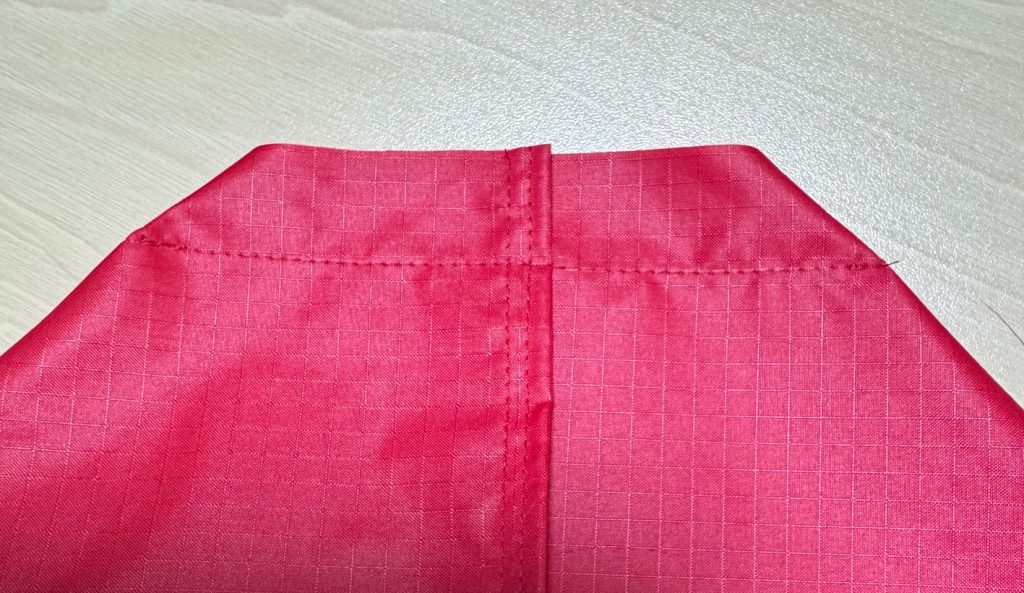
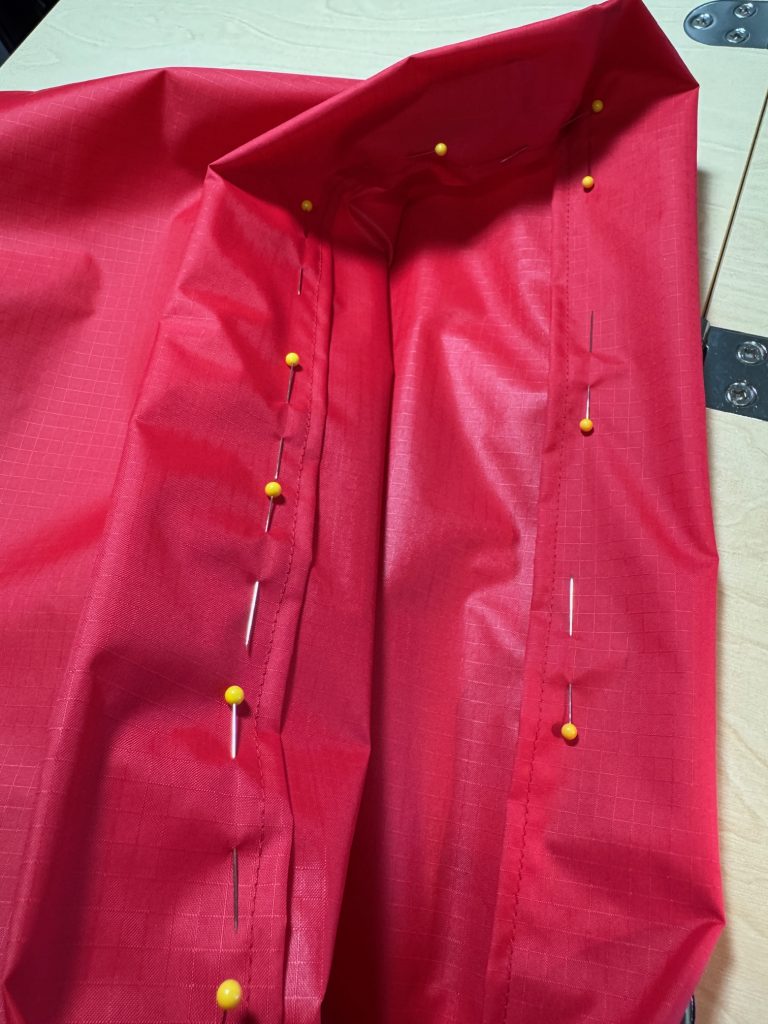
I stitched the side seams of the bag; then folded each seam over and stitched again. It could be zigzagged if you prefer.
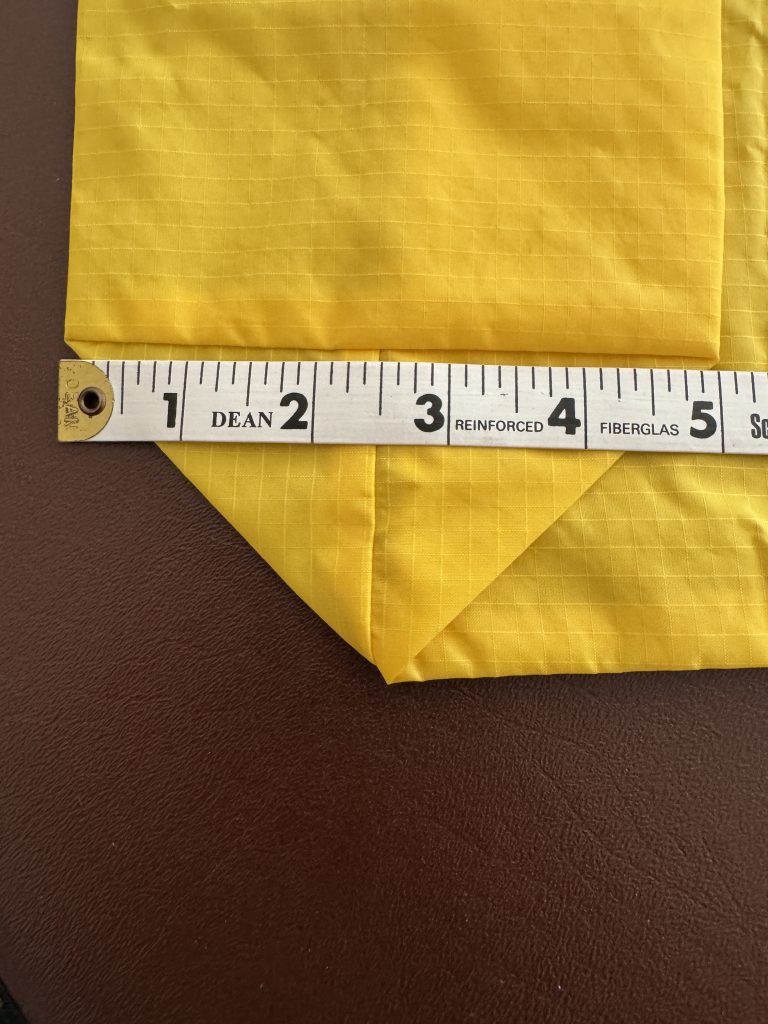
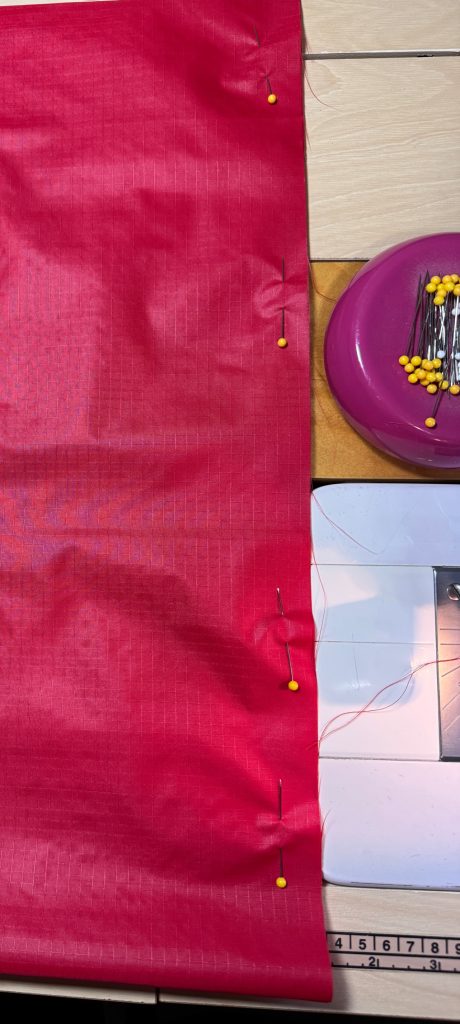
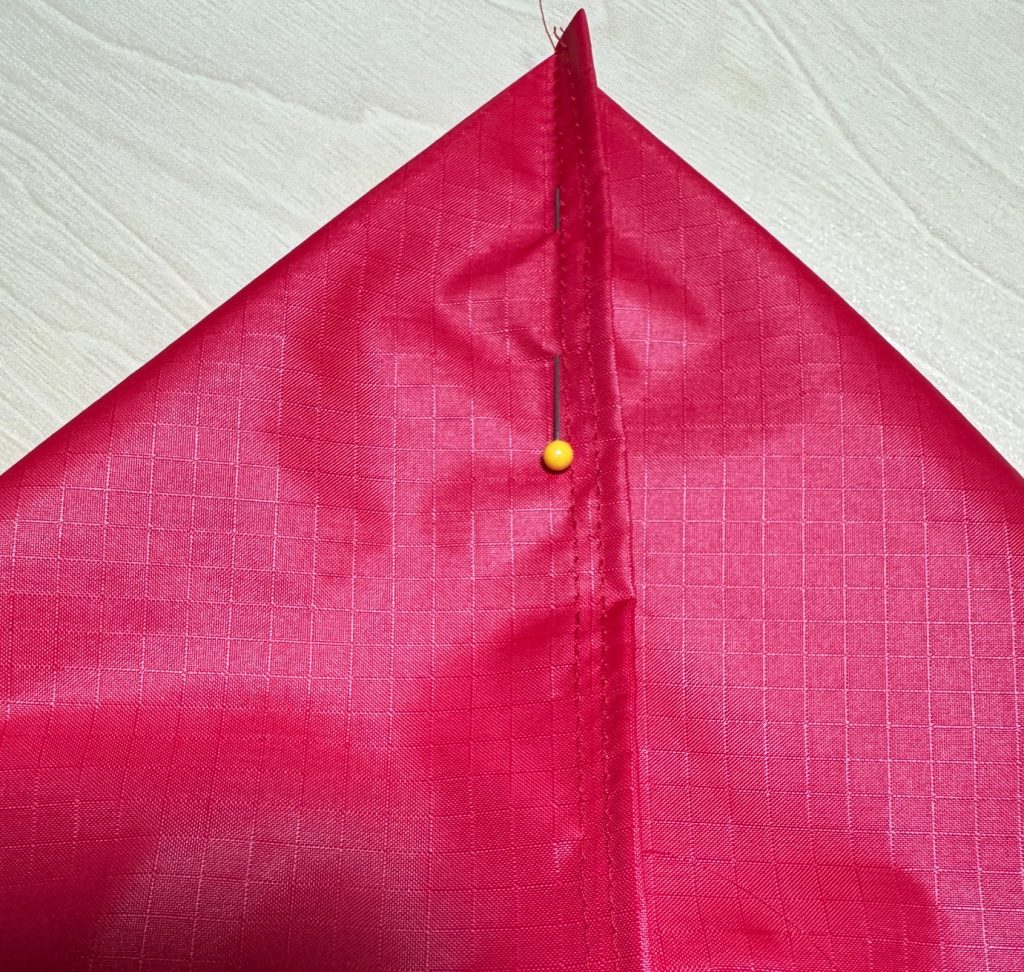
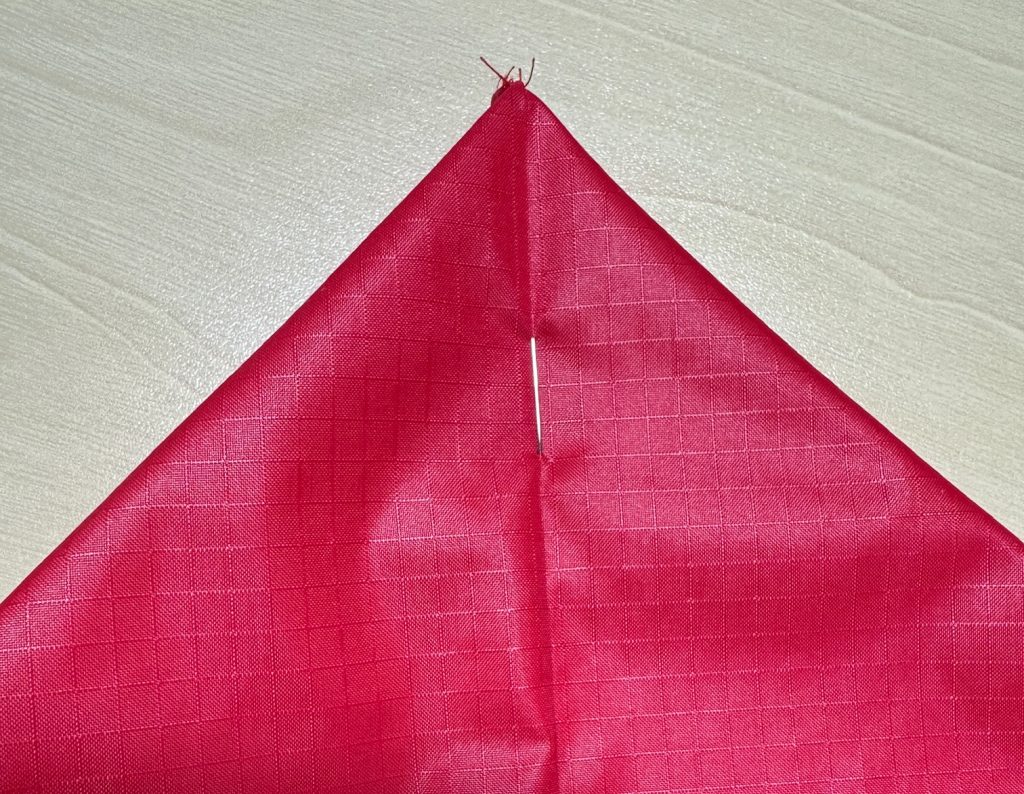
With the bag inside out, take one corner and flatten it out, matching the seam with the bottom fold of the fabric. Check by putting a pin along the seam and turning it over to make sure it lines up with the bottom fold.
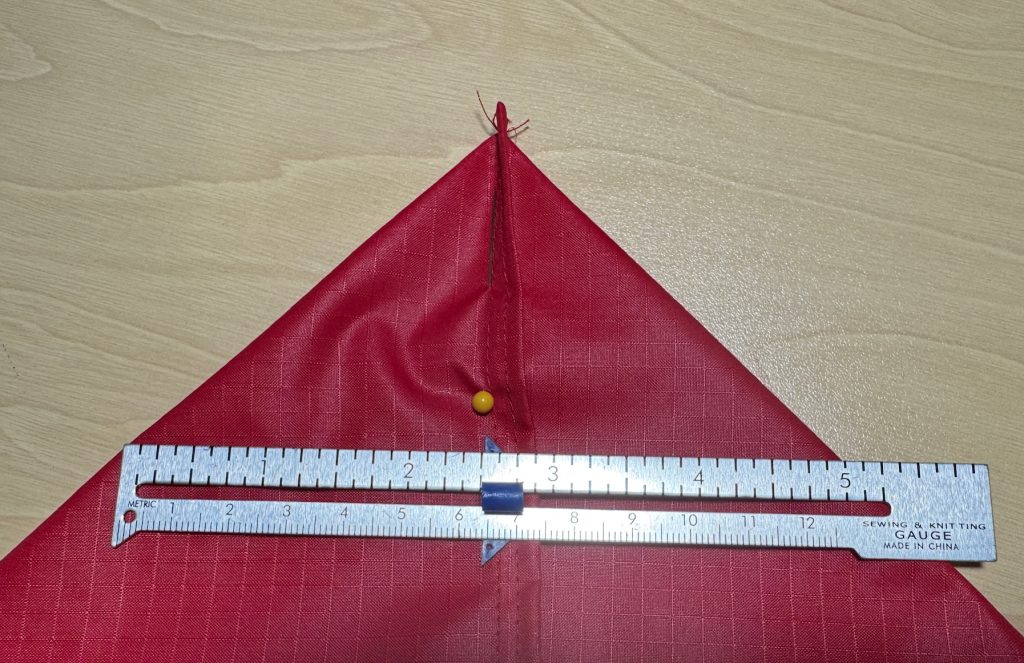
Now, lay a ruler along the flat corner. My measurement of the old tote bag showed the bottom was 5″ across. Lay the ruler with the center at 2 1/2″ with the ends at 0 and 5″ and mark the fabric:
That is your stitching line.
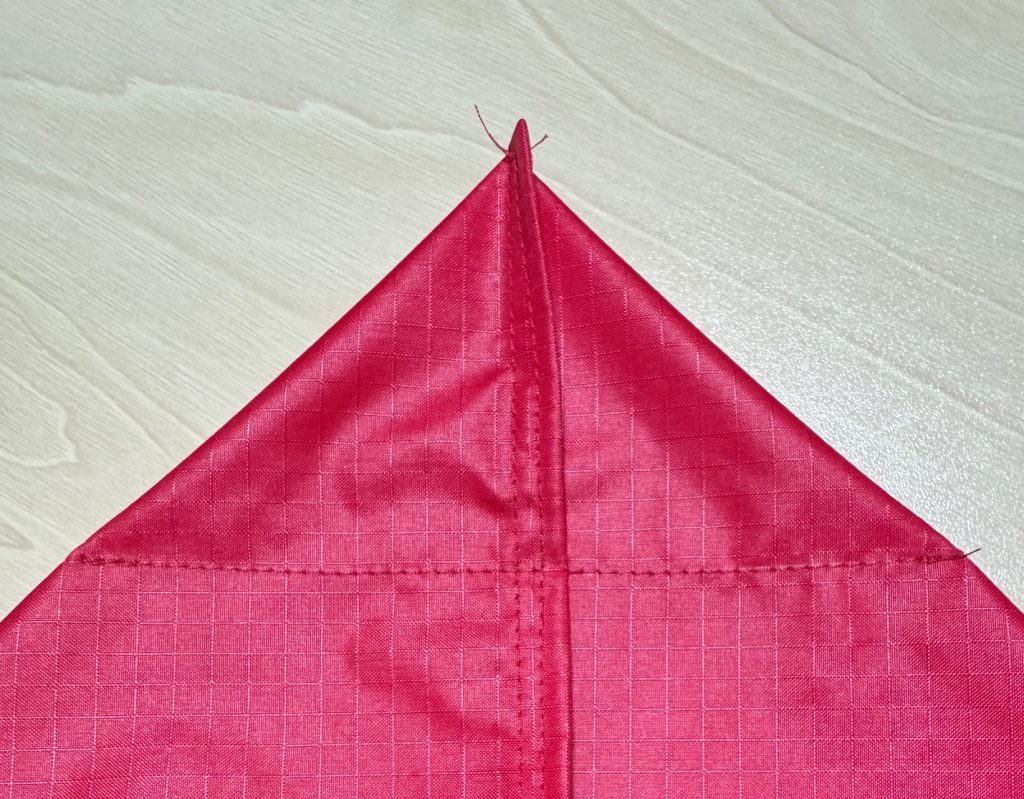
Cut off the point of the corner, leaving enough to fold and stitch the cut edge.
Repeat with the other corner.
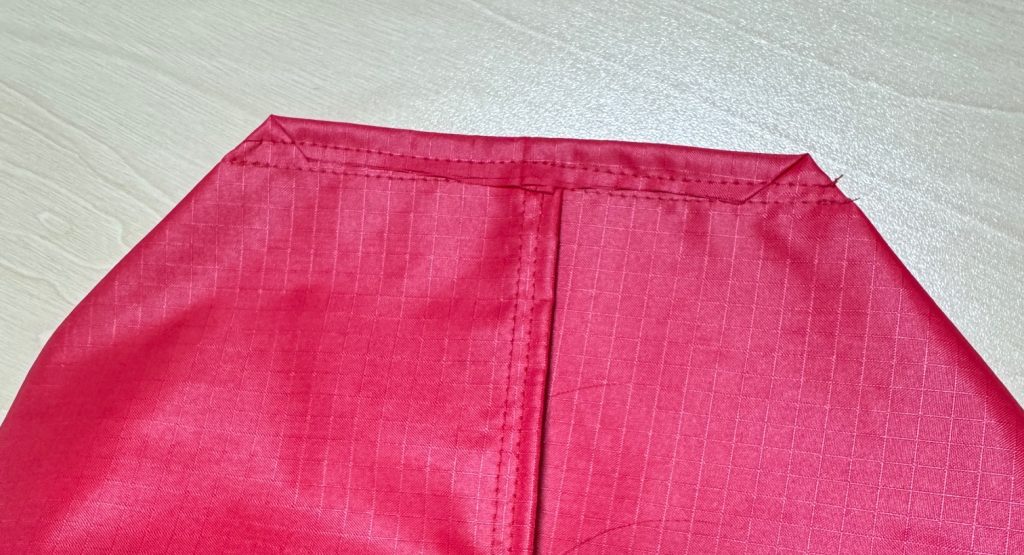
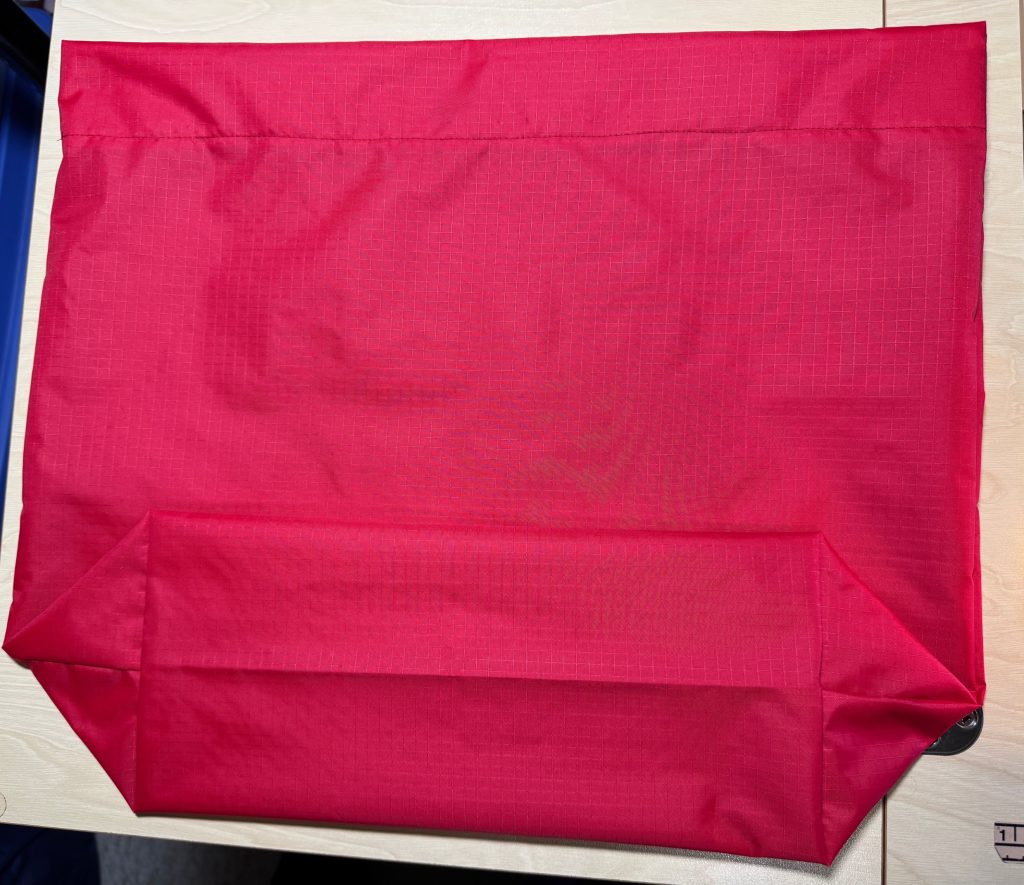
This is what the bottom of the tote bag looks like when it’s inside out.
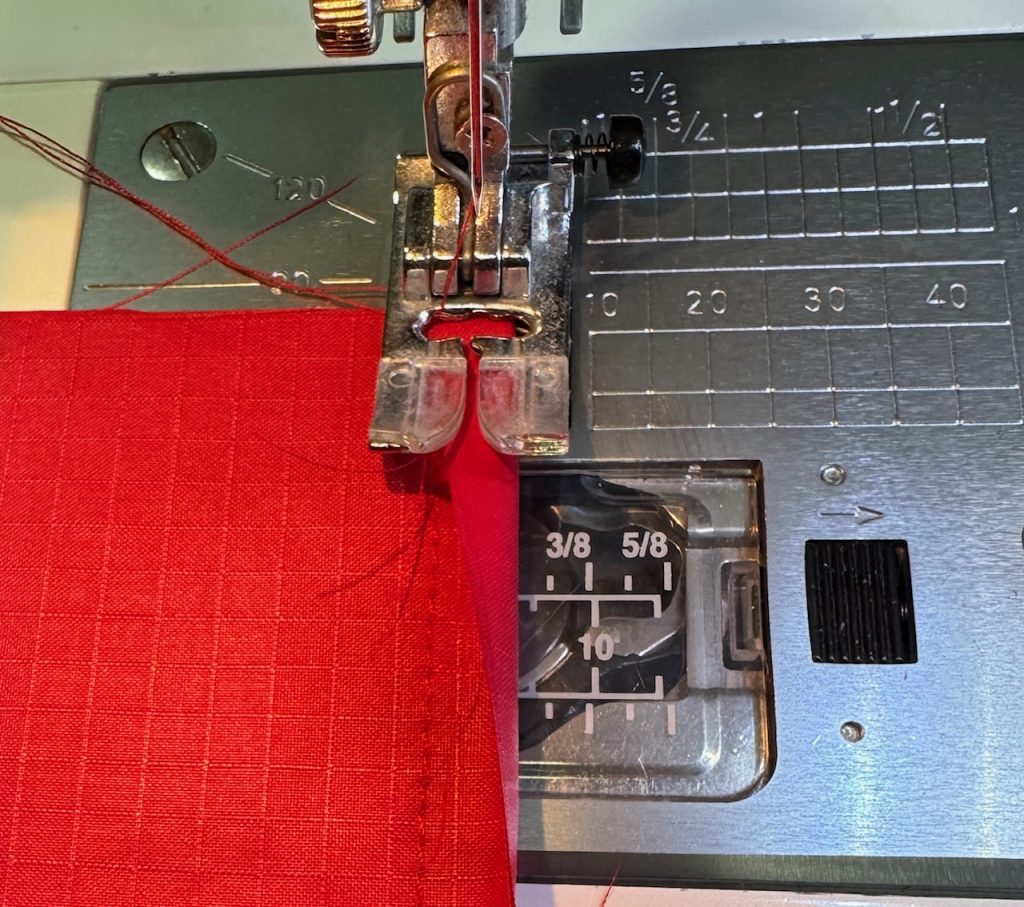
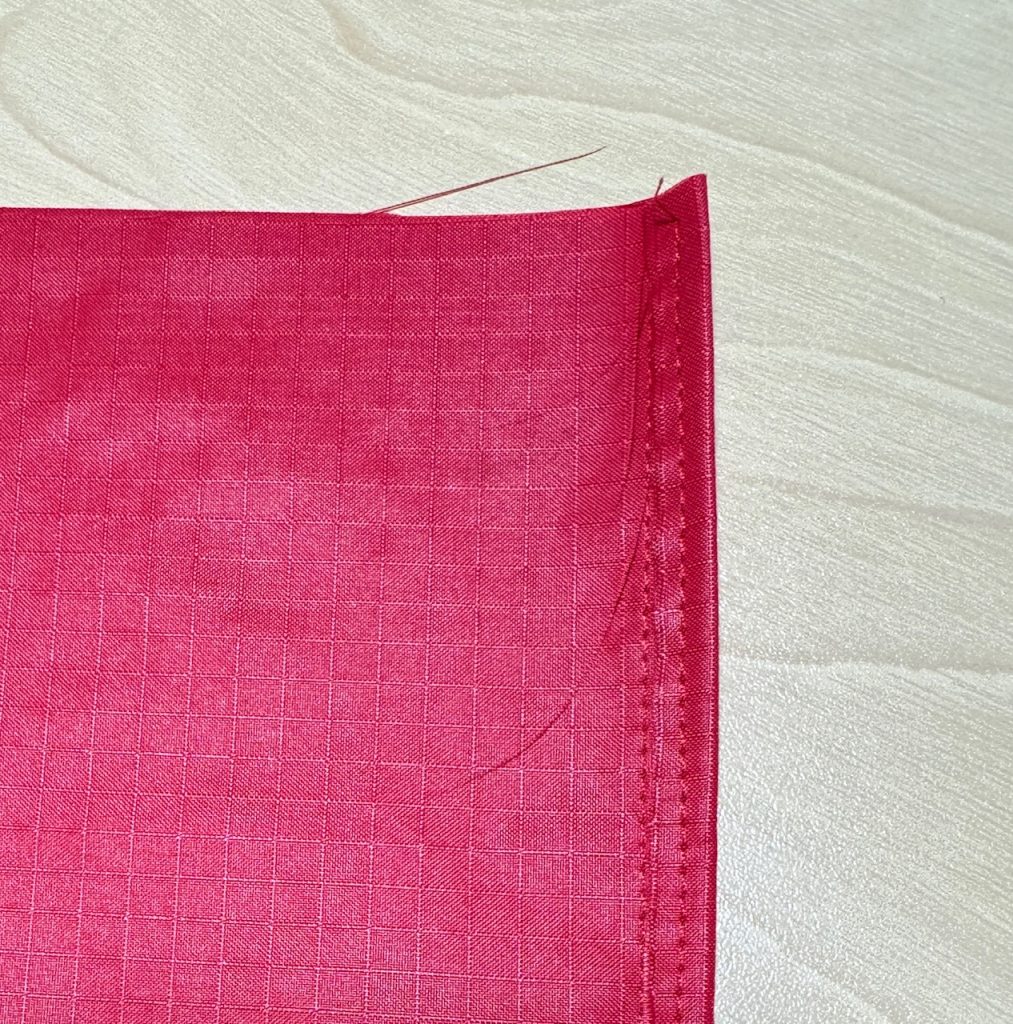
Turn the bag right side out and stitch the top of the bag with a 1/4″ to 1/2″ fold.
Fold the top of the bag down 2″ and stitch again.
The bag is now ready for the handles.
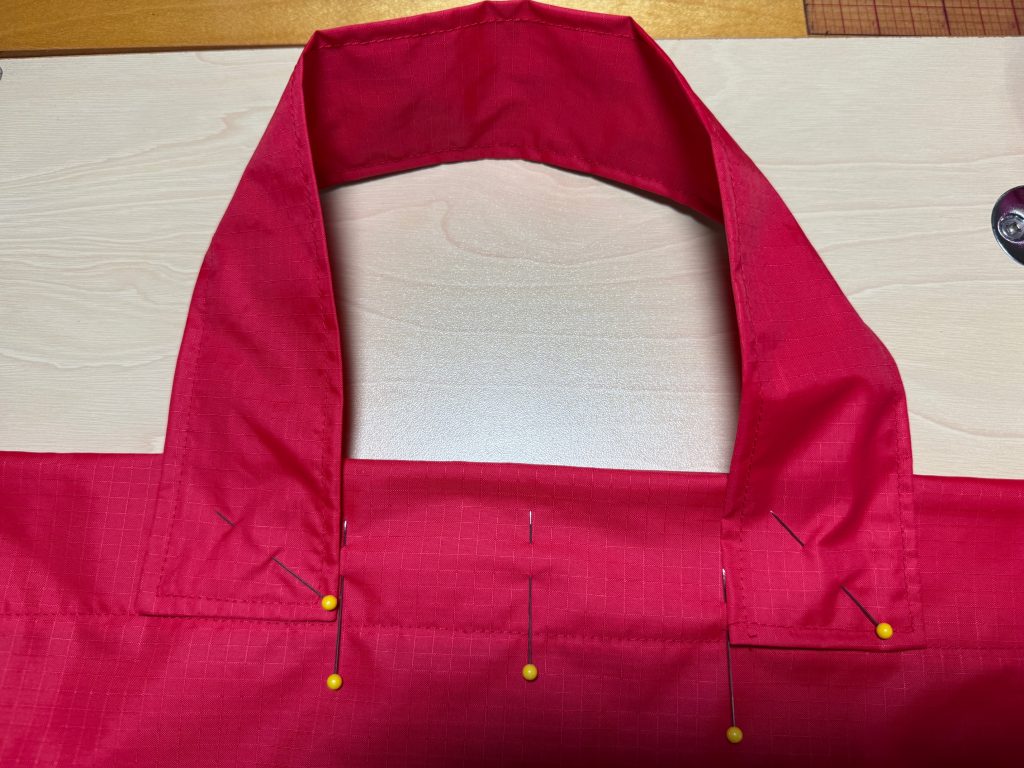
Find the center point along the top edge. Measure 2″ on each side and mark. That’s the inside mark for the handles.
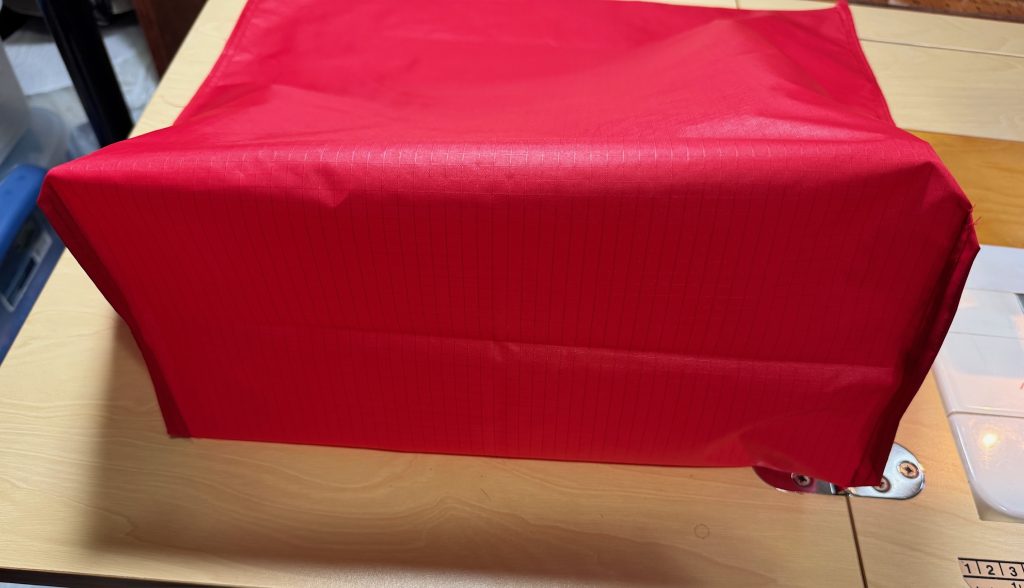
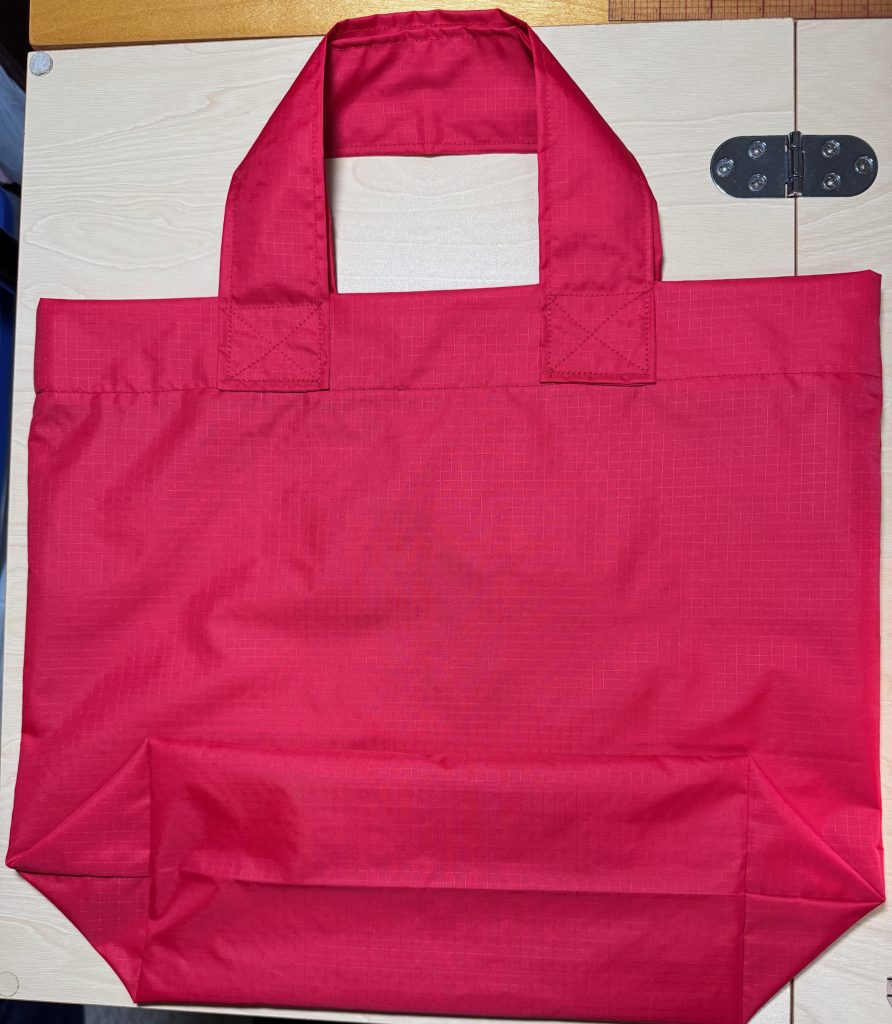
And…the bag is done!
The little strip of leftover fabric was just enough to make a little case for the bag.
Now I just need to whip up a few more so I won’t feel bad if I end up giving them away! Try it yourself! Enjoy!
If you have comments or questions, please email me directly at maryjkisner@gmail.com.
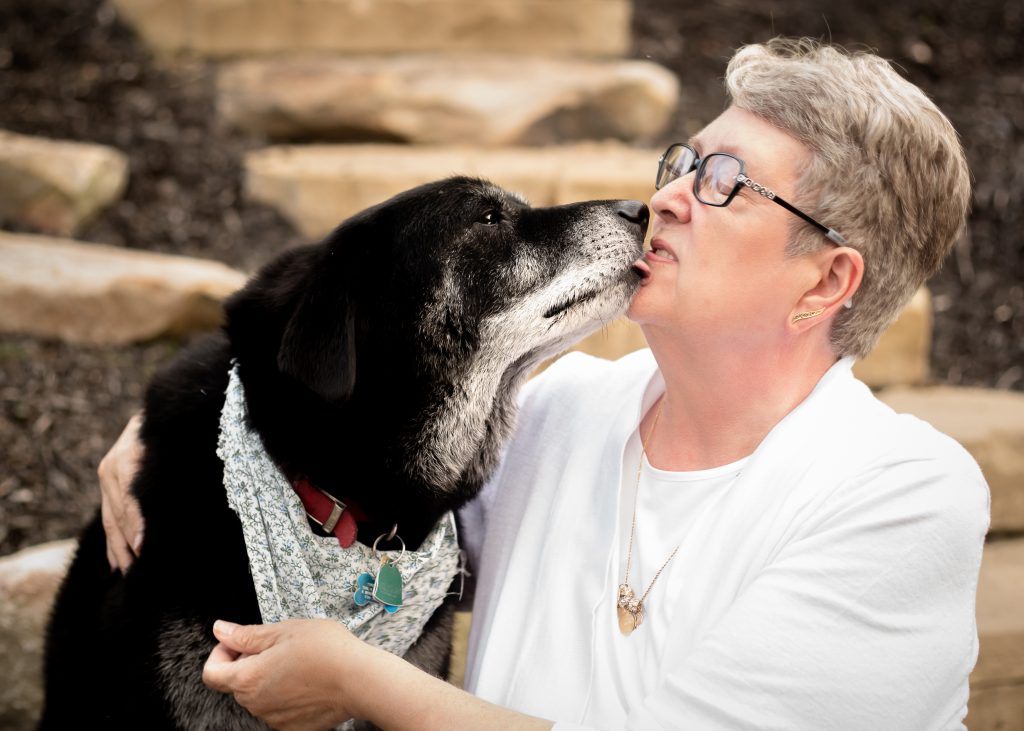
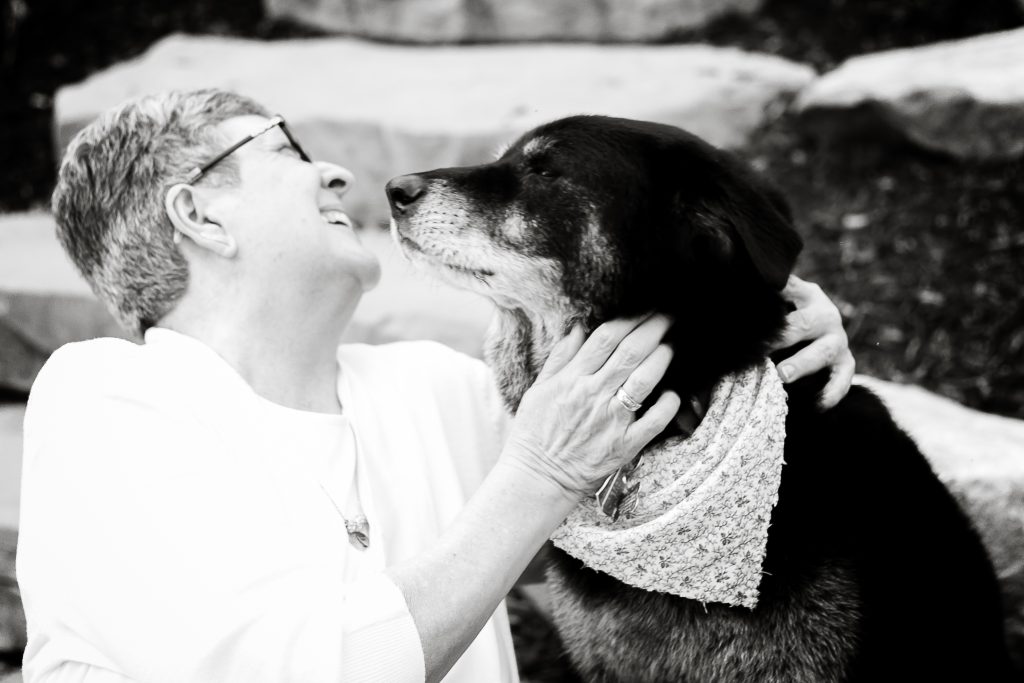
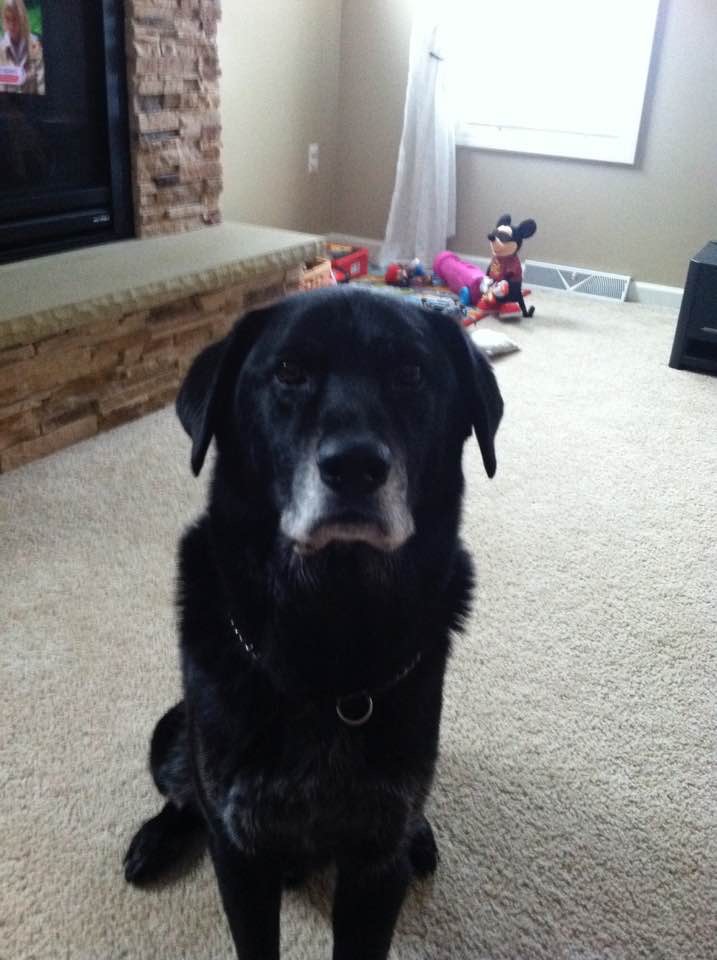
I recently used my Facebook Cover Photo to share my memory of two special dogs…my grandpuppy Otis and his buddy Max. Max belonged to my daughter’s mother-in-law and Otis and Max spent a lot of time together. Otis was just a puppy when Kathy and Steve were first married and I had the privilege of driving to their house on the other side of town to let him out during the day. He was exuberant and playful…often running off when it was time to come inside. He became a loving friend when I was thinking about quitting my job at the time…his hugs were so special! I would stop at McDonalds on my way to let him out and of course I’d share a few chicken nuggets with him. He seemed willing to come inside more quickly. I guess I didn’t hurt his health too much…he lived over 16 years!
“Yes…I’m thinking about you Otis!”
When Kathy and Steve moved closer to Pittsburgh and his mother, Max became a frequent companion for the whole family. Unfortunately, Max was older than Otis and passed away first.
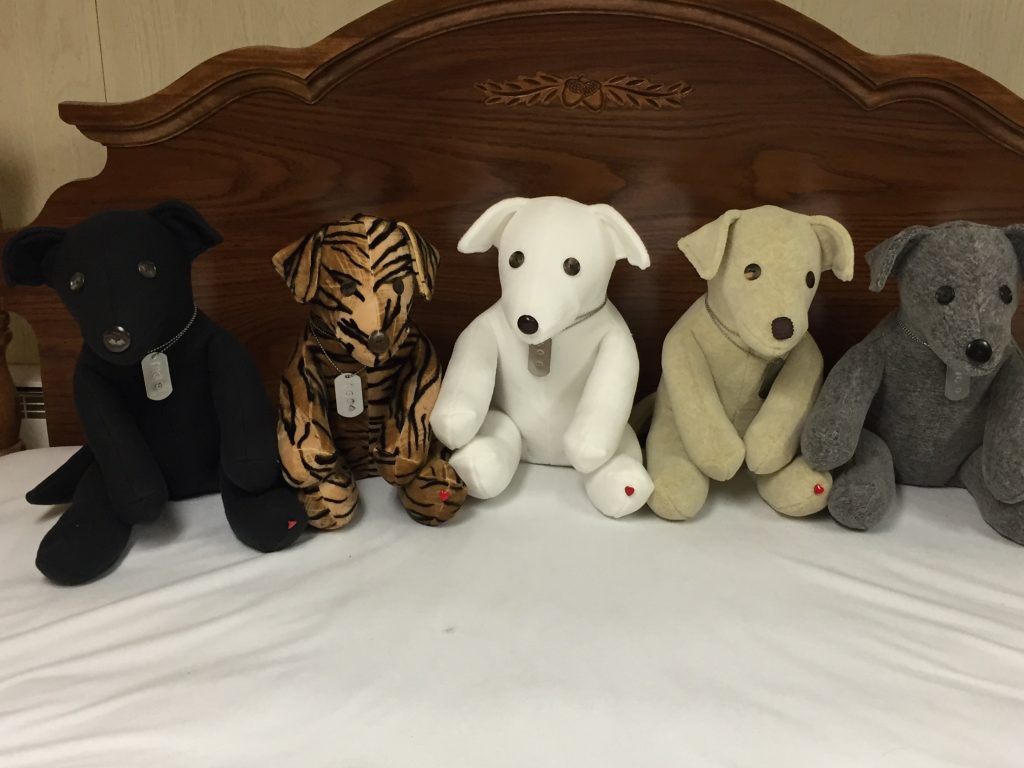
At the time, I was making stuffed dogs for Nittany Greyhounds and trying to alter the pattern to get the greyhound nose shaped just right. Here are a few of the stuffed greyhound dogs I made at the time:
Making the nose longer and the ears shaped differently helped it look more like the greyhounds.
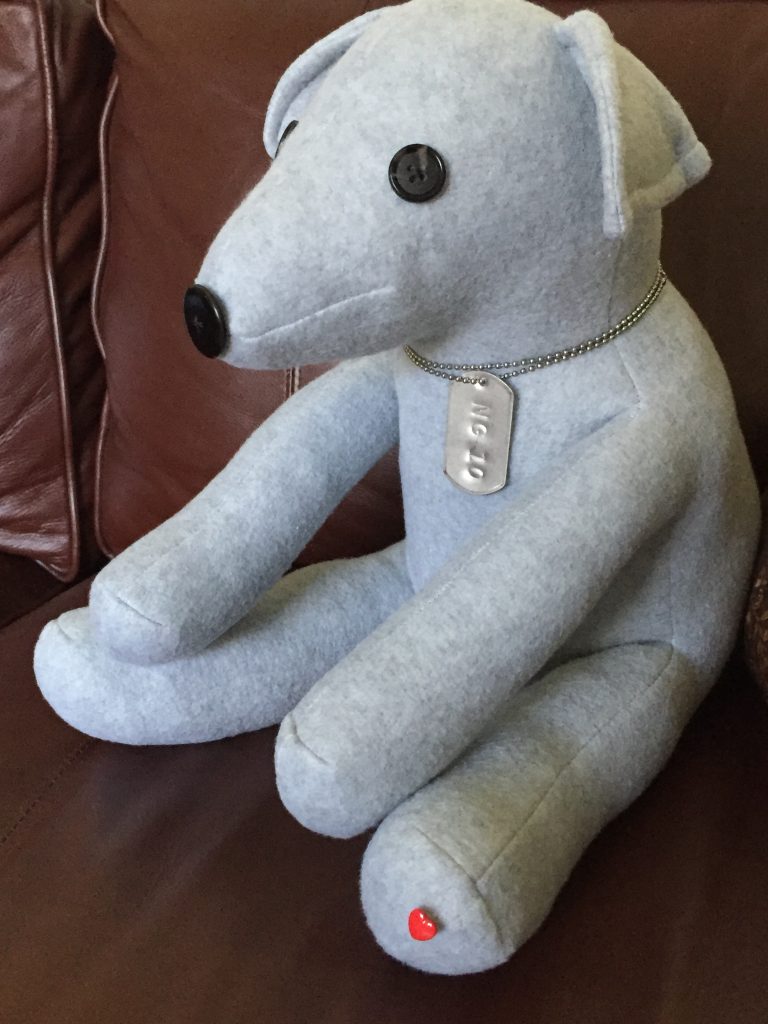
When Max passed away, I wanted to make a memory dog for all of us. I modified the pattern so the ears would be closer to a regular dog shape. Compare the shape of the stuffed Max with his photo above:
I made three of these…one for Kathy’s family, one for her mother-in-law and one for me. Max had meant a lot to us all.
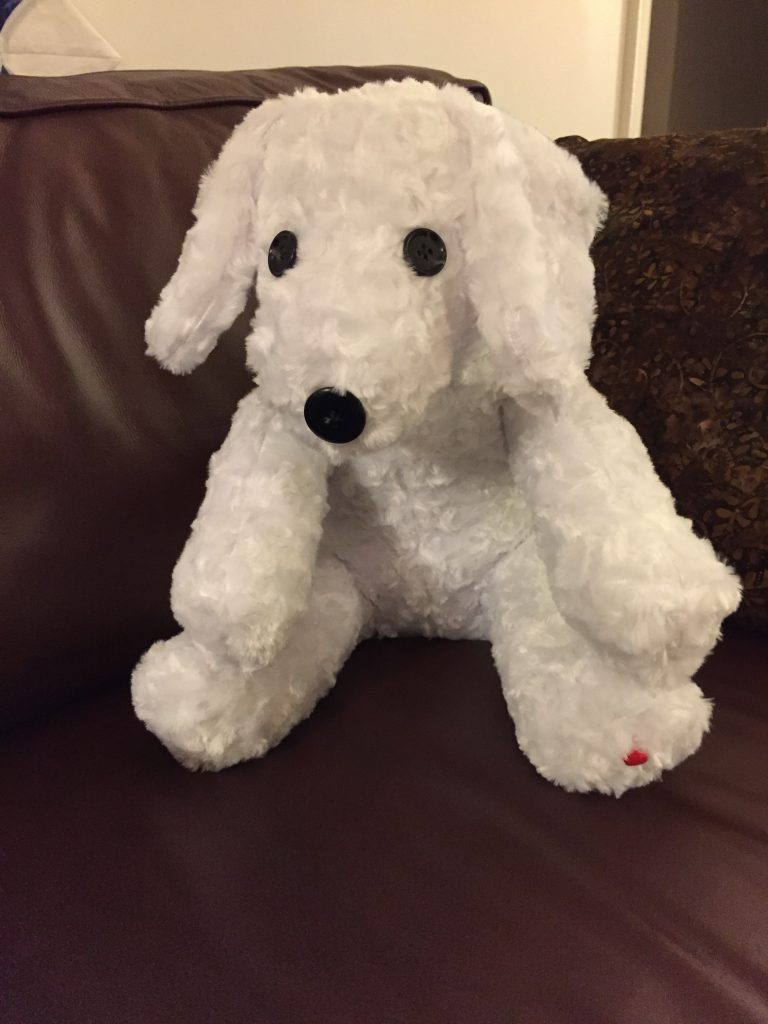
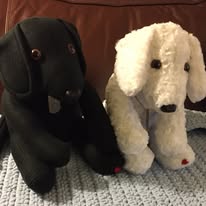
Shortly after that, before Otis passed away, I made black stuffed dogs for all of us. It wasn’t exactly a “memory dog” but a few years later it was perfect. I put away my “Max” and “Otis” at that time, but I think of them frequently.
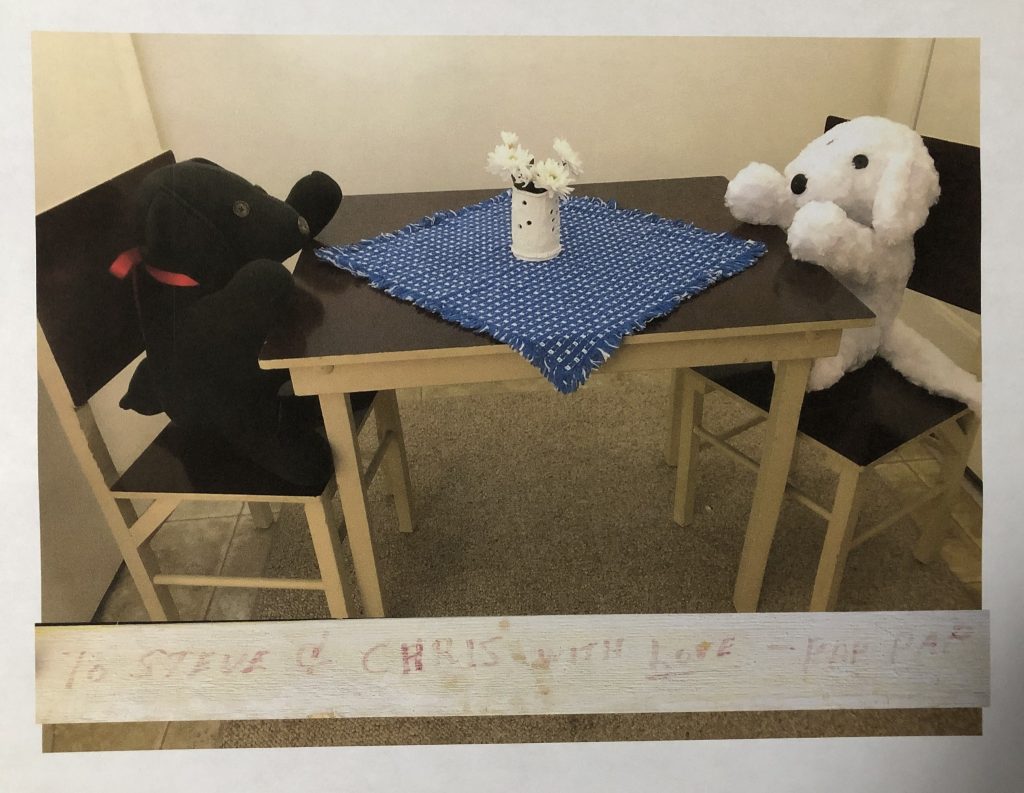
Two years ago, Kathy’s mother-in-law was cleaning out stuff for a yard sale and wanted to let go of a small child-size table and chairs. Before I put it out for sale, I arranged the two dogs at the table like they were having a tea party. Such fun! You can read about that story here: https://marykisner.com/preserving-a-memory-of-a-childs-table-and-chairs/
I had the photo enlarged and framed for Kathy’s mother-in-law. A great way to preserve the memory without having to keep the table and chairs!
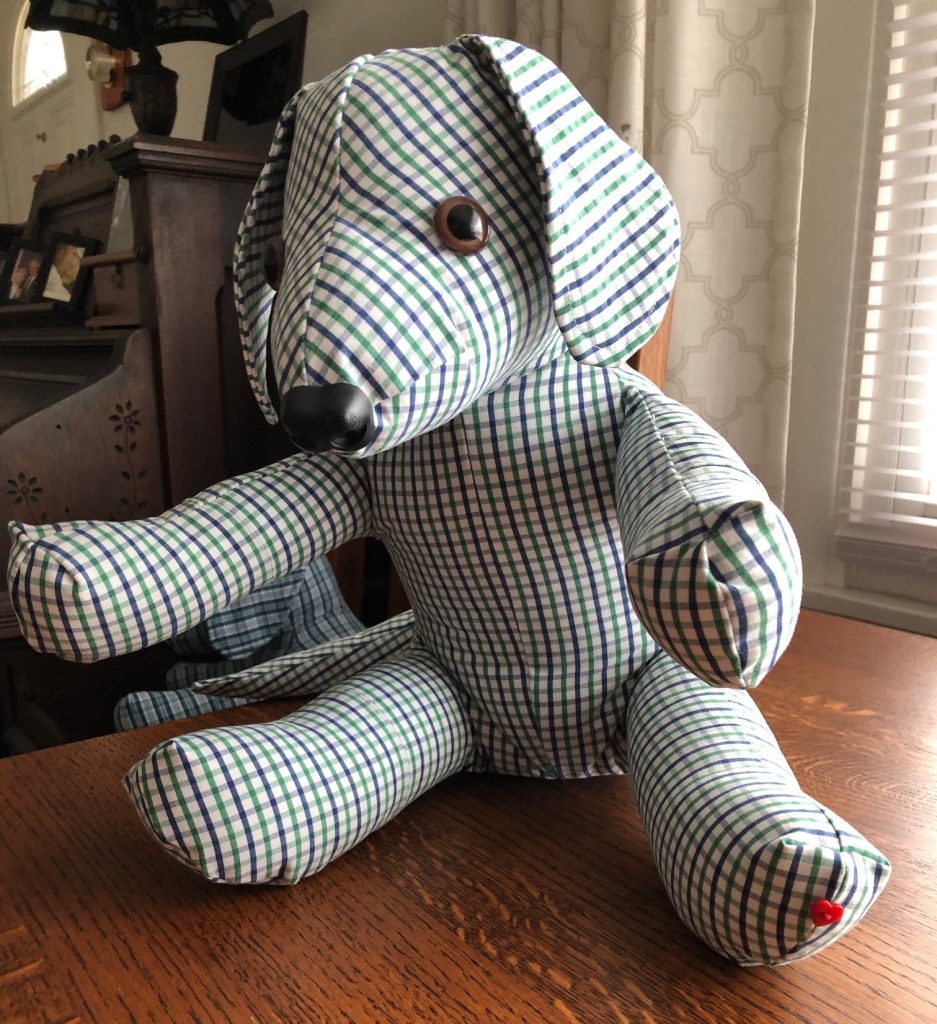
I’ve also used the pattern for the regular-shaped dog to make a memory dog for another family. Using a standard cotton shirt instead of fleece made a whole new challenge. You can read about that here:
So that’s the story behind the picture of the stuffed dogs on Facebook! There are many ways to preserve a memory…sometimes just photos will work. In my case, I seem to enjoy making memories that are soft and huggable! Enjoy!
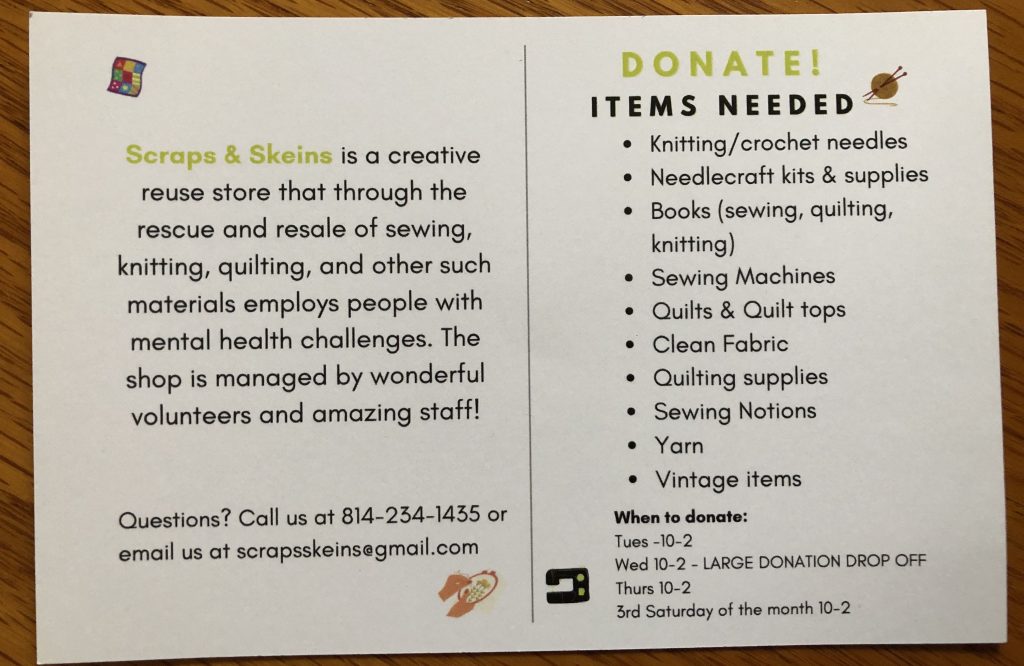
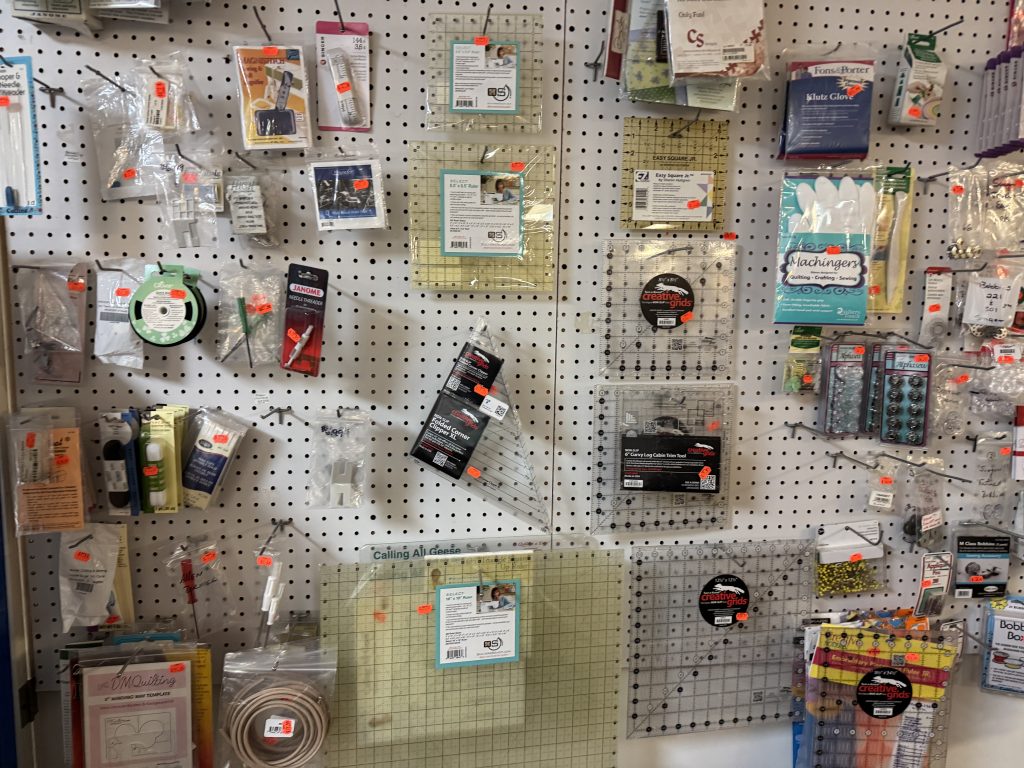
I posted over a year ago about the Scraps & Skeins Shop with an eye out for a place to donate items as I started thinking about downsizing. It looked like the perfect place…when the time comes to donate my various sewing supplies, fabric and yarn. Now, I’m considering how this shop can fill a need with the closing of our local JoAnn Fabric store.
Their printed literature says Scraps & Skeins is a creative reuse store…meaning they accept donated items such as fabric, yarn, quilting supplies, knitting needles, books, patterns and even refurbished sewing machines! These items are organized and repackaged for resale to the public. This store provides employment opportunities for adults with mental health challenges. This is a win/win as far as I can see!
Scraps & Skeins was officially opened in 2015 under the umbrella of Strawberry Fields with the mission to create employment opportunities for adults with developmental delays, intellectual disabilities, and mental health issues. All proceeds support Strawberry Fields Inc., a United Way affiliate.
Since 2015, Scraps & Skeins has grown from a single showroom and storeroom into the six-room shop and workspace located behind the Strawberry Fields’ administrative office. It now employs a store manager and multiple employees.
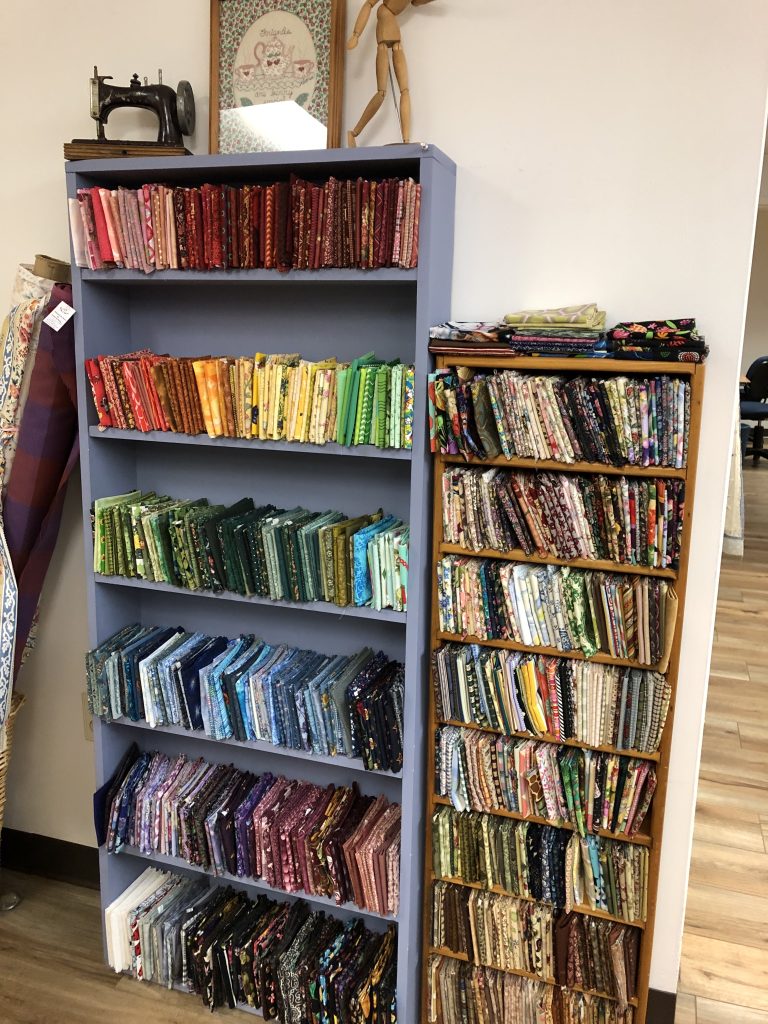
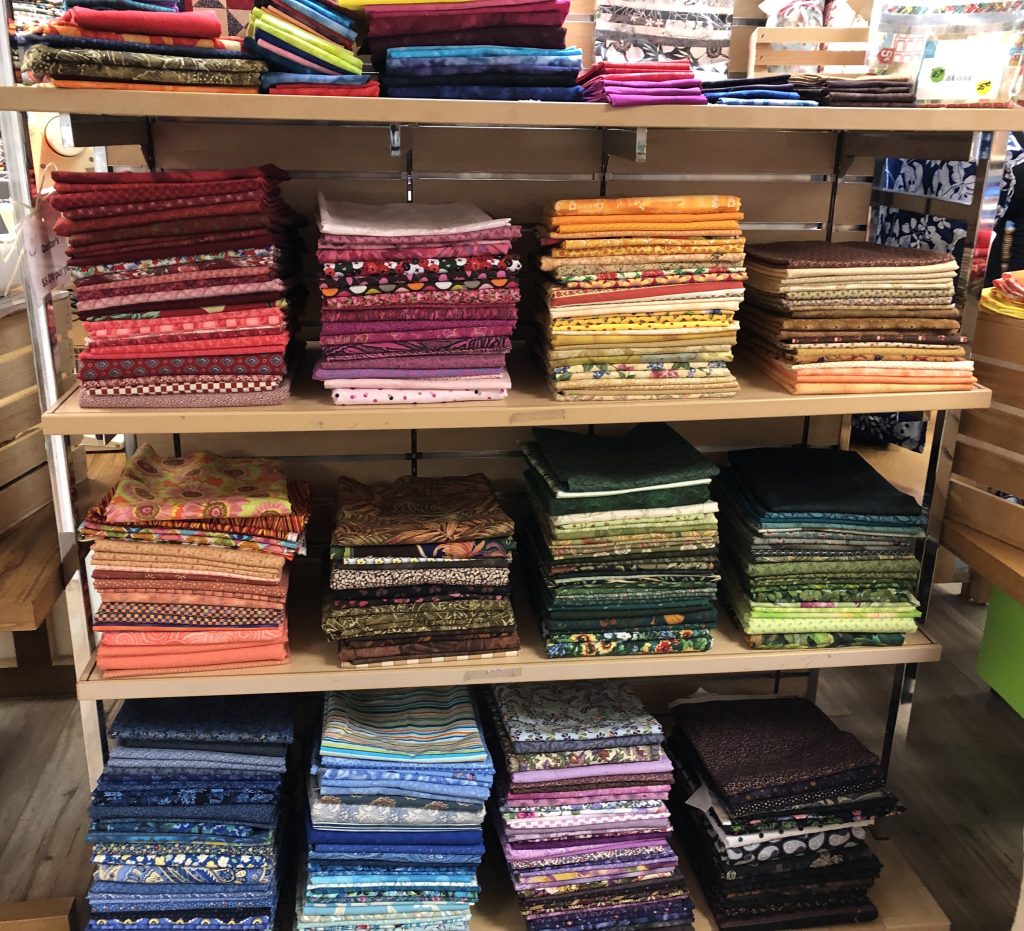
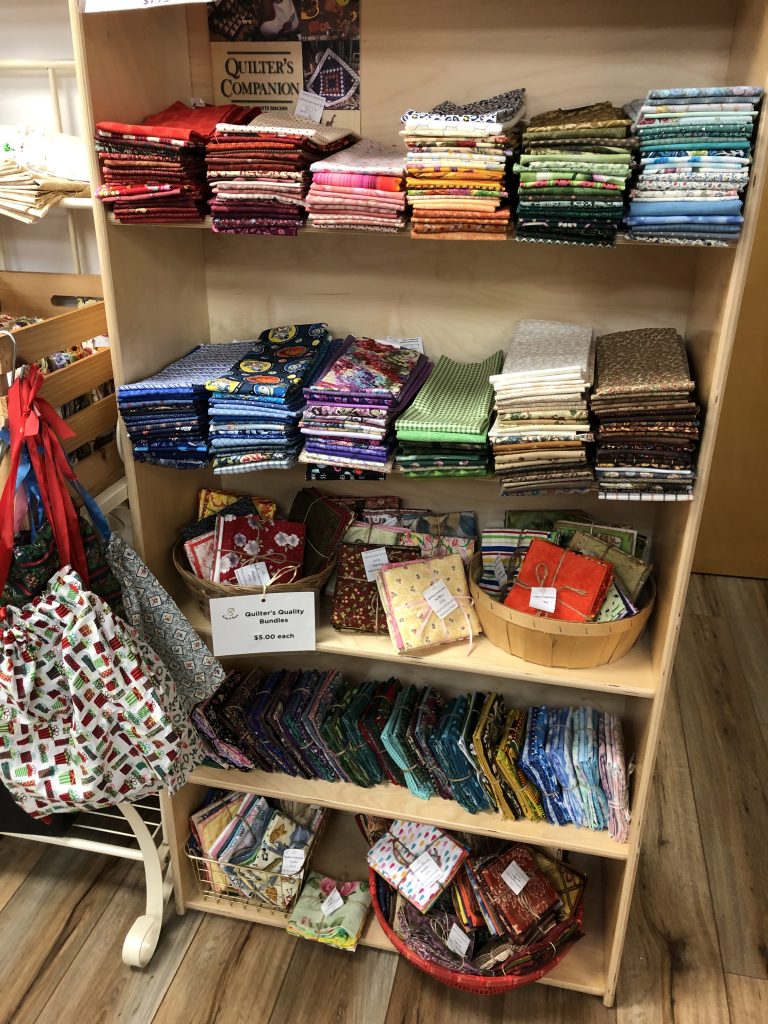
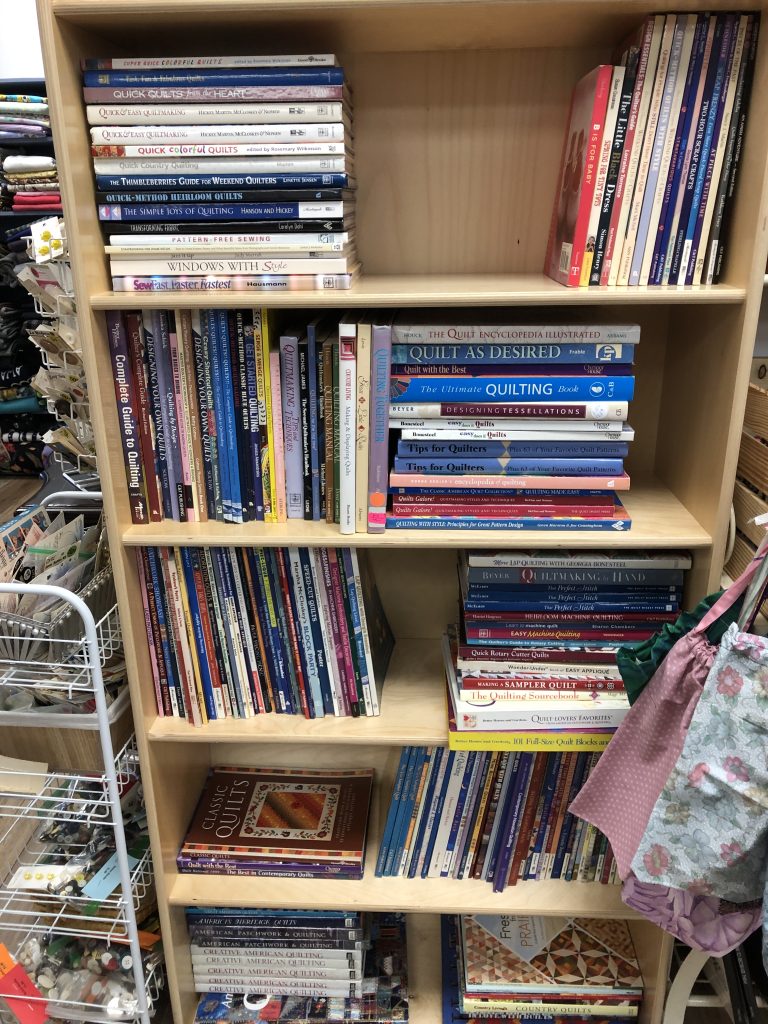
When wandering around the shop, the colorful displays of fabric are enticing! It feels like a fabric store! All the fat quarters, 1/2 yard and full yard pieces make an organized explosion of color!
There are many books available for sewing, knitting and crafts projects.
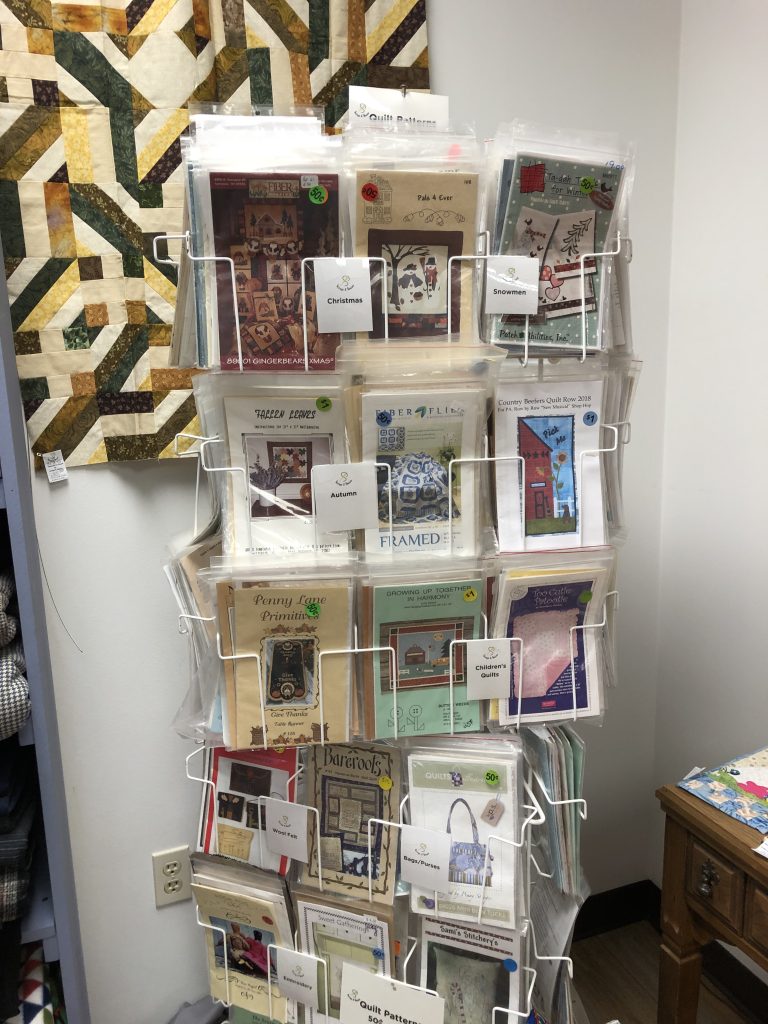
They even have some patterns available!
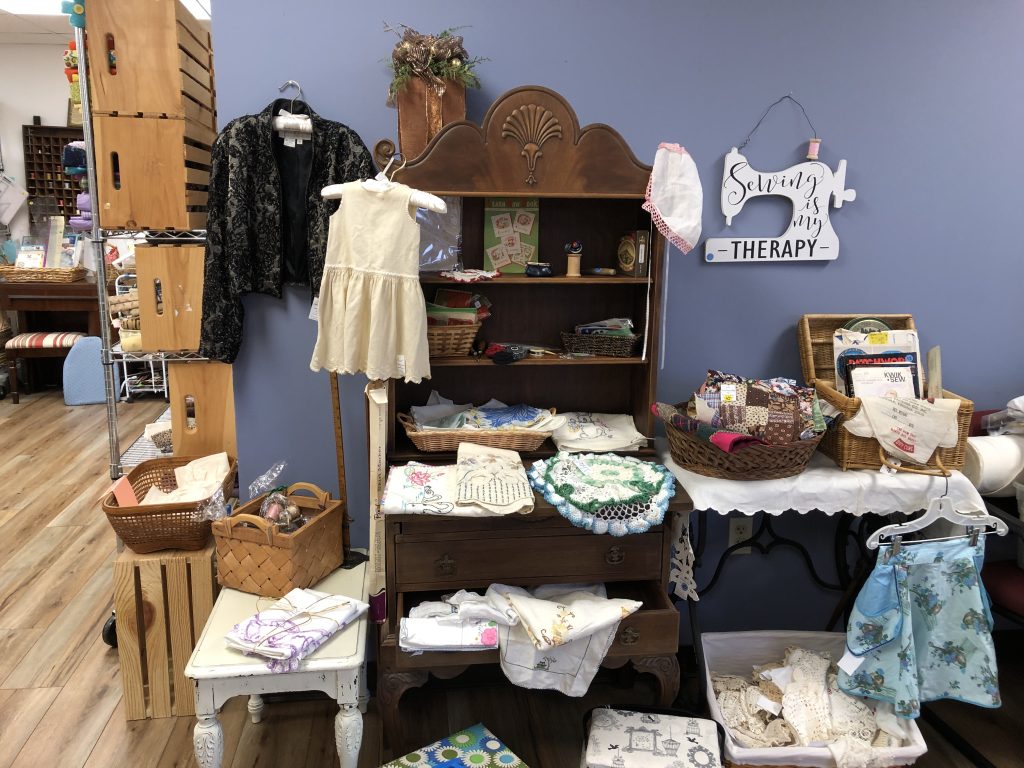
They had a display of various vintage fabric items for sale!
They also had a whole room filled with notions…like thread, sewing needles, knitting needles and a lovely selection of yarn. (The room was crowded so I didn’t try to get pictures.)
Finding the Scraps & Skeins Shop
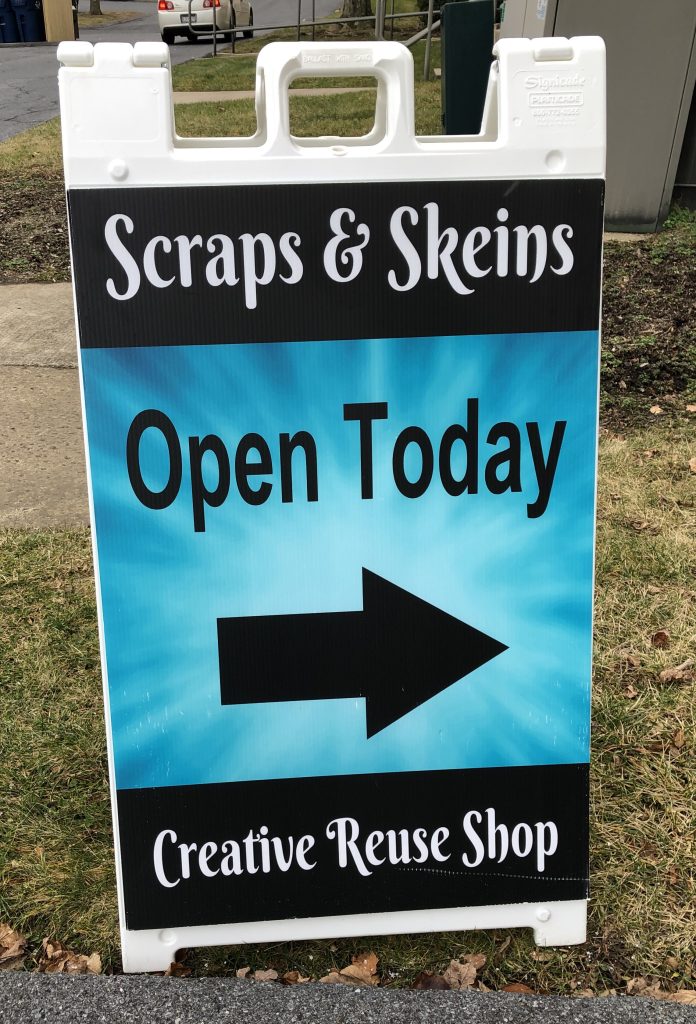
Their store is a little difficult to find the first time, but when you find it…you’ve found a treasure! Their address is 2766 West College Ave., State College, PA 16801…but to get there I find it easiest to turn off West College Avenue onto Bristol Avenue and then turn right onto Enterprise Drive. The first right takes you behind and between the buildings and when they are open, they put out a sign that really helps.
The store is open Tuesdays, Wednesdays and Thursdays, 10 a.m. to 2 p.m., and every third Saturday of the month from 10 a.m. to 2 p.m. You can reach them at 814-234-1435 or email at scrapsskeins@gmail.com.
Helpfully, they also post regularly on Facebook and remind you of their hours and new stuff they have! They even offer select items on their website that can be ordered online! (https://scrapsskeins.shopsettings.com)
Because their offerings come from donations, their inventory is always changing. Stop by frequently to check them out! If you don’t live nearby, check out what’s available for purchase at their website.
Of course, if you’d like to donate YOUR extra fabric and yarn, here are the kind of things they accept! Know that your donation will keep the good stuff in circulation for the rest of us! Enjoy!
With the reality of JoAnn Fabrics stores closing all over the country, those of us that actually sew are looking for new sources of fabrics…especially where we can touch and feel the fabric. In my area, central Pennsylvania, JoAnn’s has been the go-to source for many years. Recently, I really haven’t needed much except fleece for the greyhound coats. Now that I’m not making as many coats, and my other sewing projects involve using up the fabric I have, I realized I didn’t know what my other choices were.
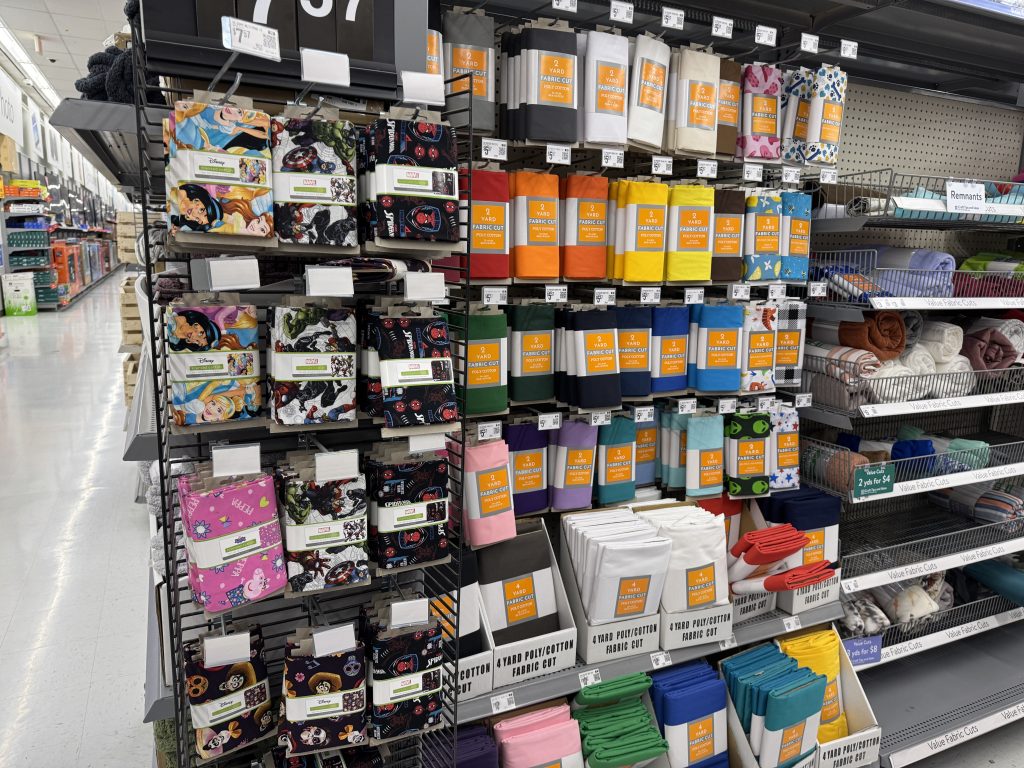
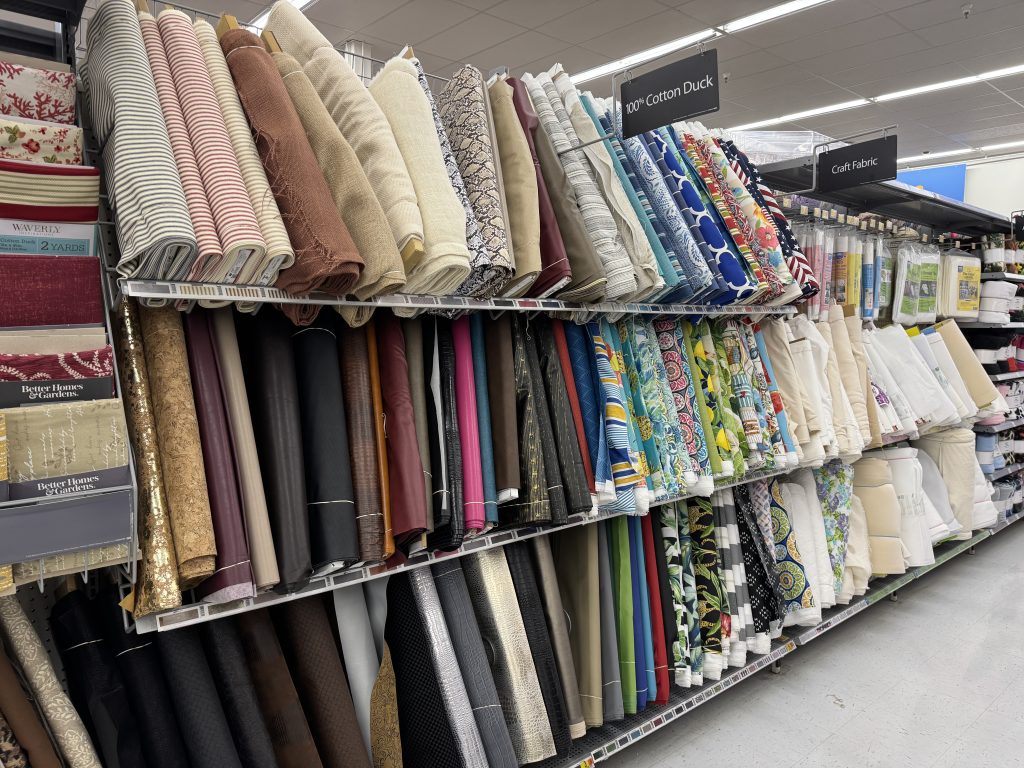
Today I’d like to share what I found at my local WalMart for fabric and sewing notions. A store near you may have other choices.
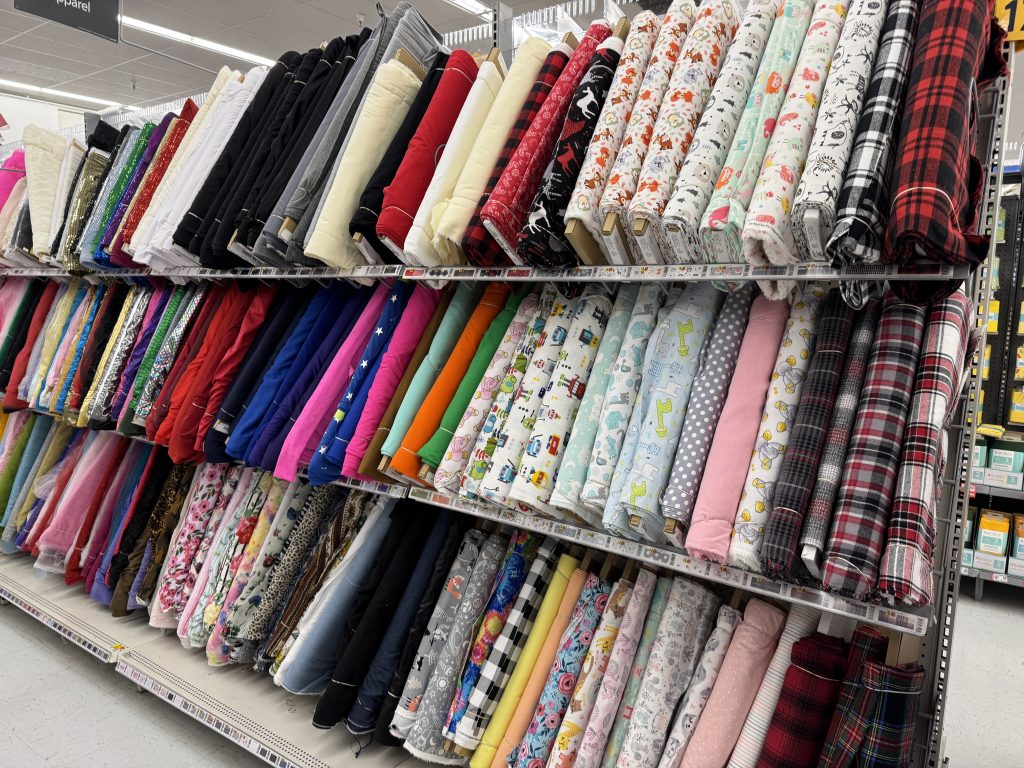
I found many prepackaged yards of fabric…mostly 1-yard and 2-yards…of poly/cotton blends and 100% cotton. Prices were pretty standard.
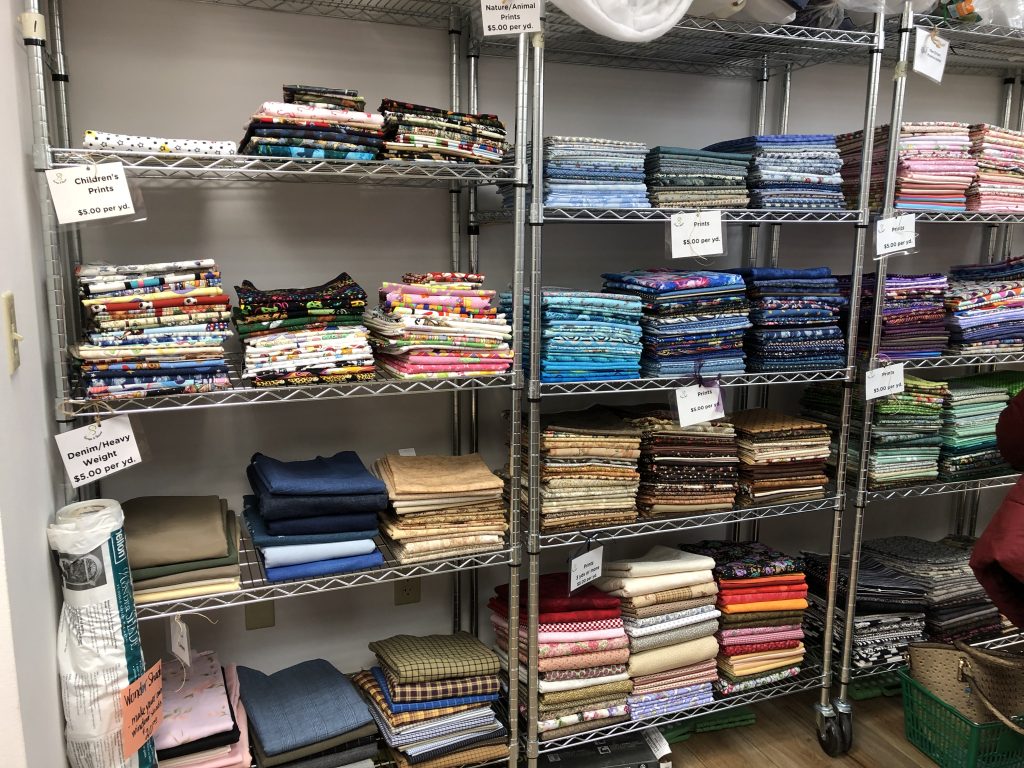
They offered a section with utility fabrics, ready to cut to length…assuming someone was nearby to do the cutting.
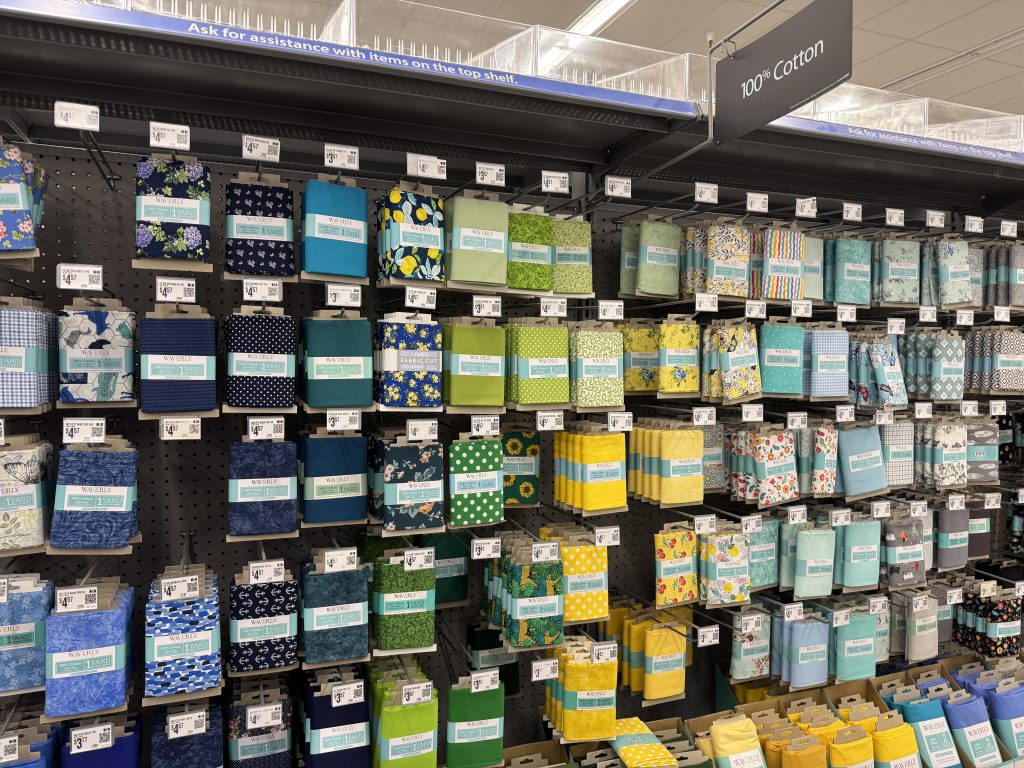
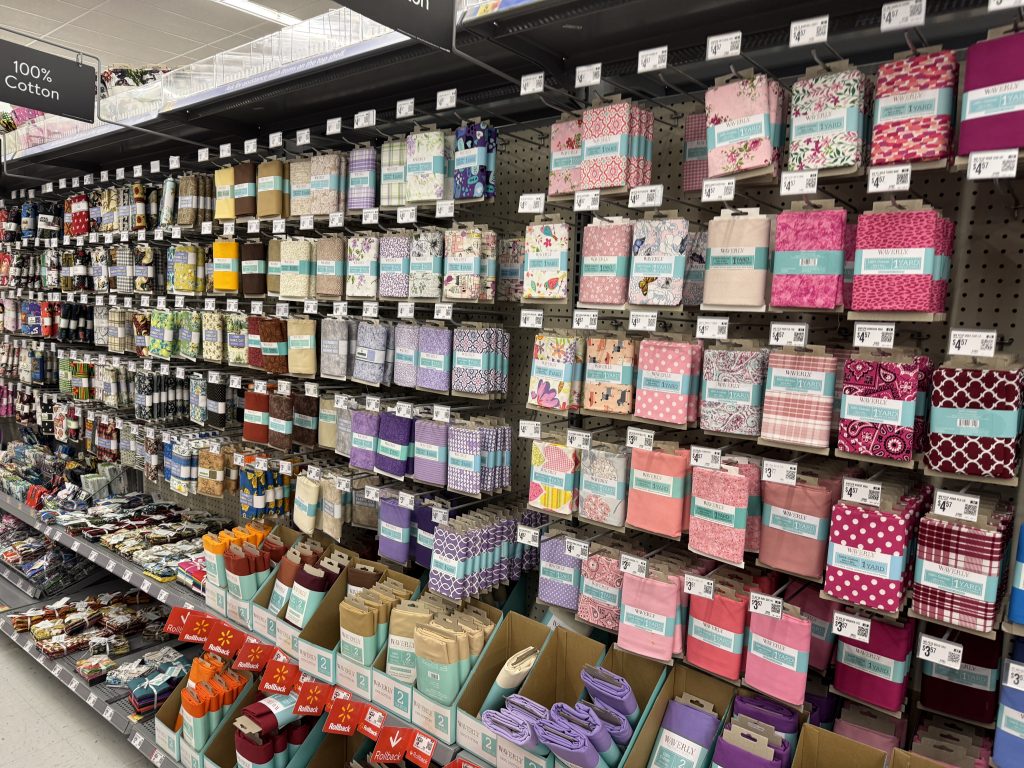
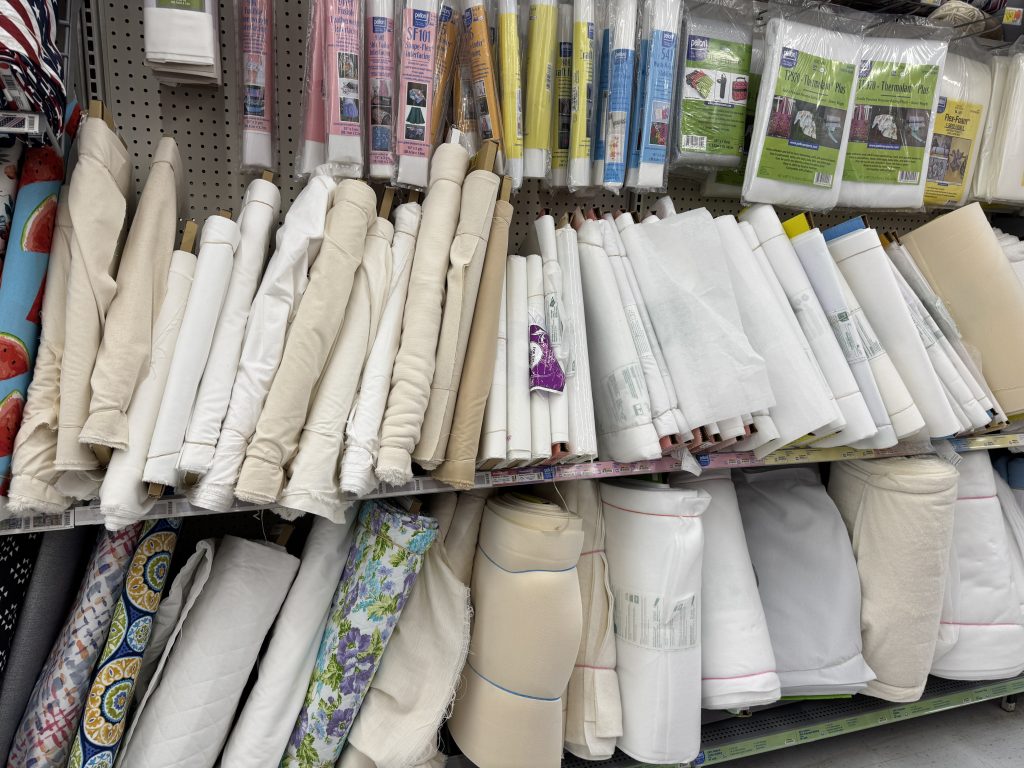
A whole section of cotton fabric, ready to cut, was available.
Muslin and interfacing were available.
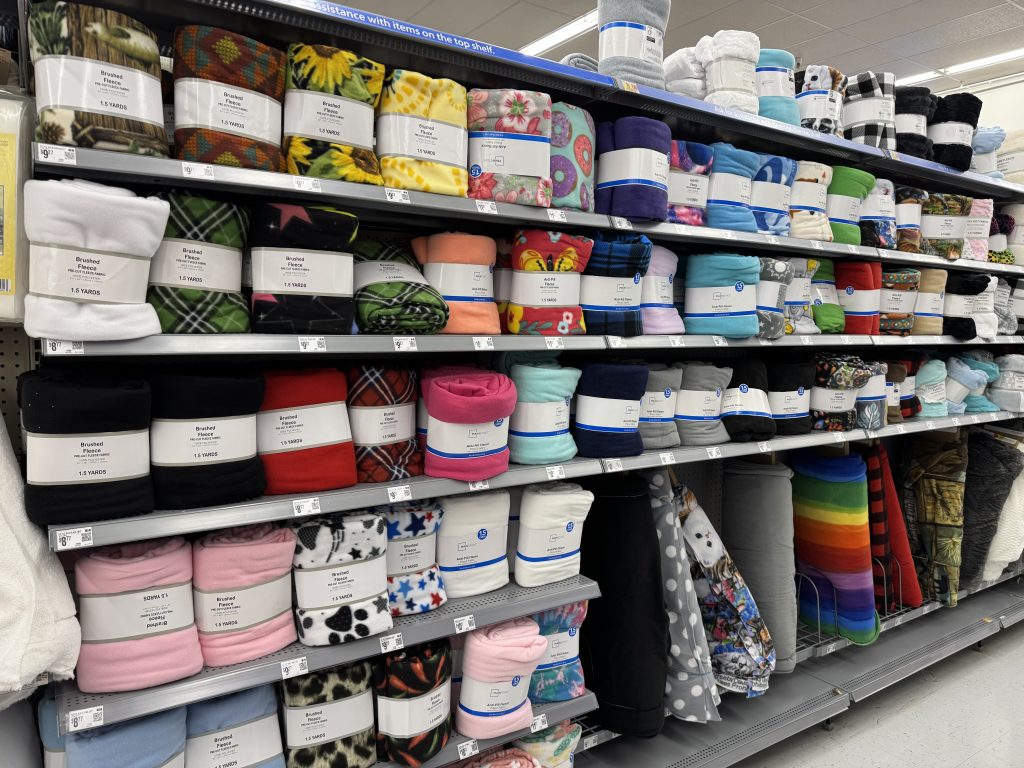
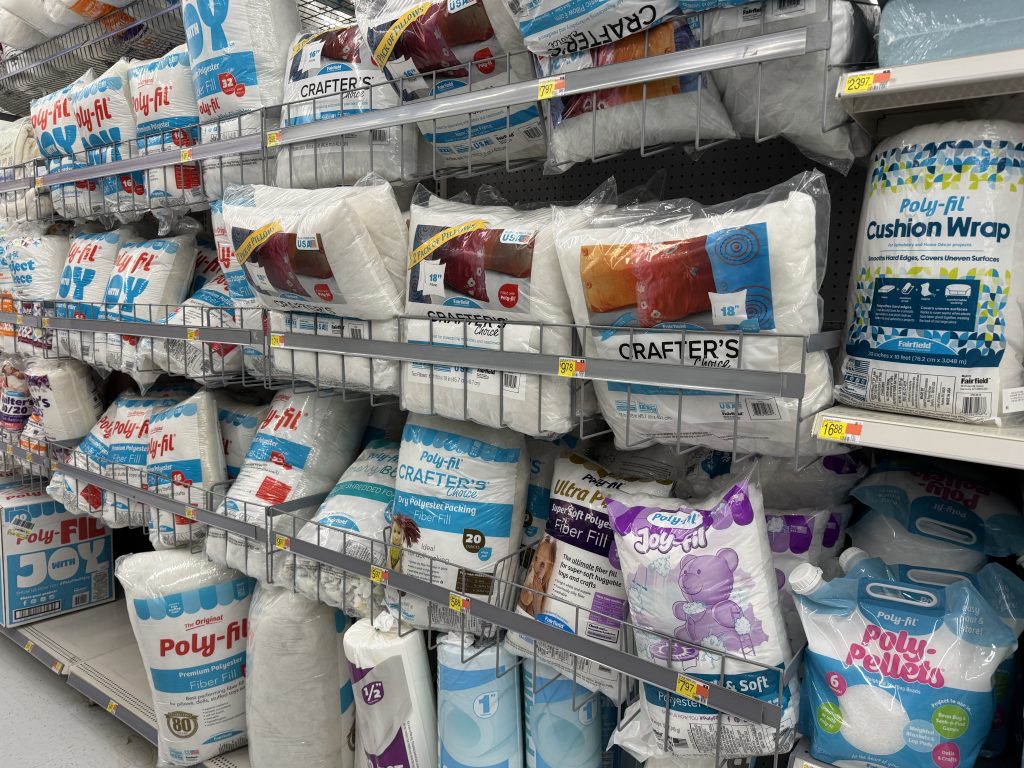
Fleece, prepackaged into 1 1/2 yards was available. I could make two coats out of one package, plus the linings out of another.
Poly-fil stuffing and pillow forms are stacked up.
The price of patterns in stores and online are crazy now! The display at WalMart seemed to be focused on the needs of families…clothing for children, costumes, etc., and ranged from $2.97 to $4.97!
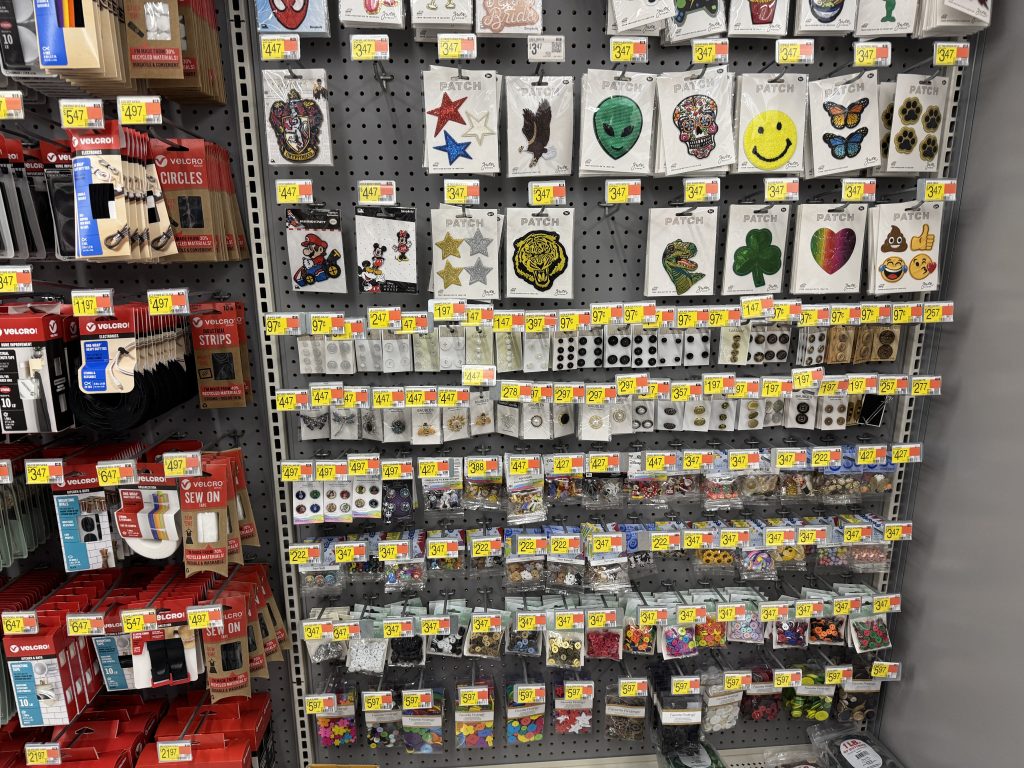
The offerings for appliques and buttons were pretty sparce, but I can see those can easily be sold online…probably even at WalMart.com.
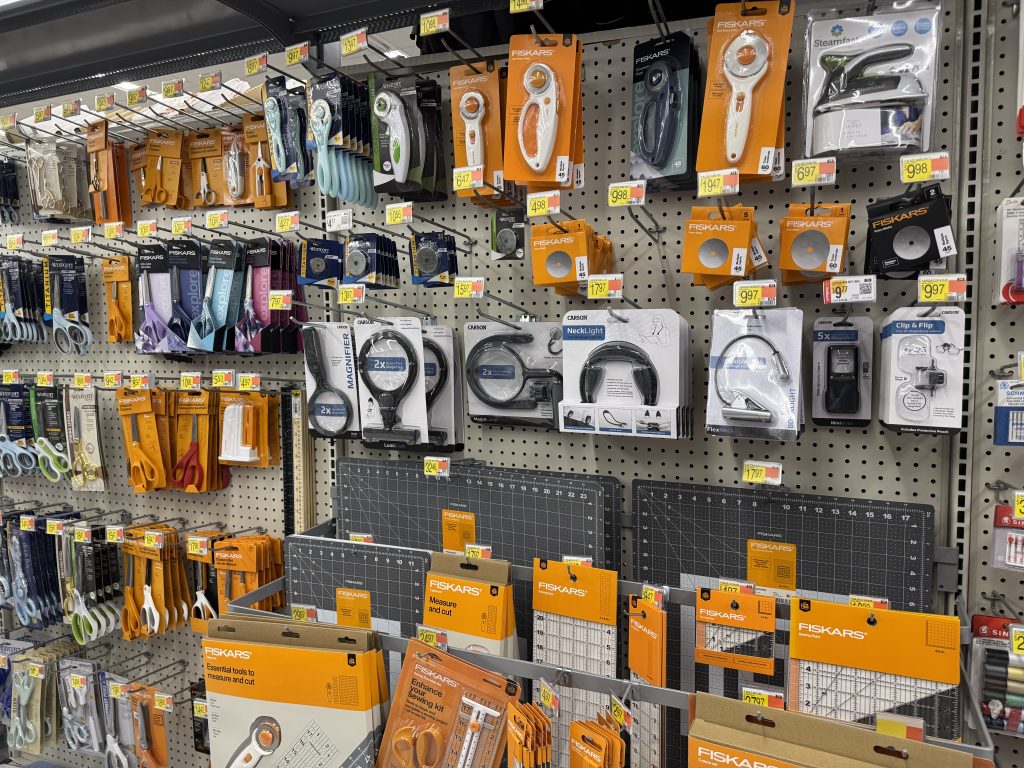
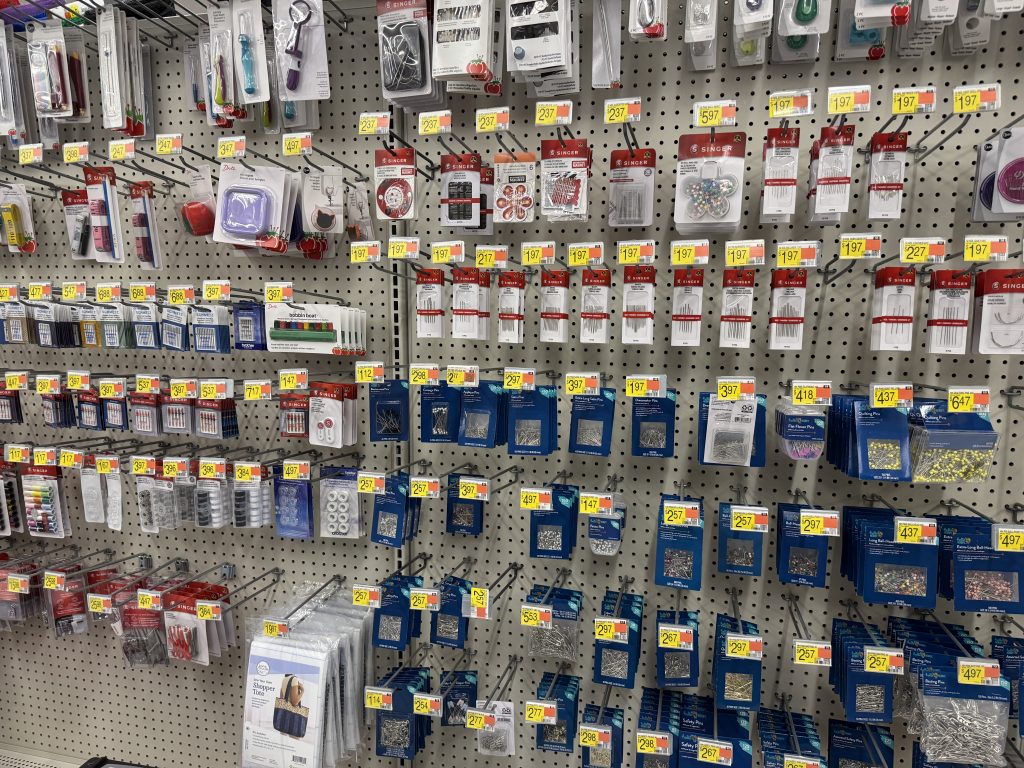
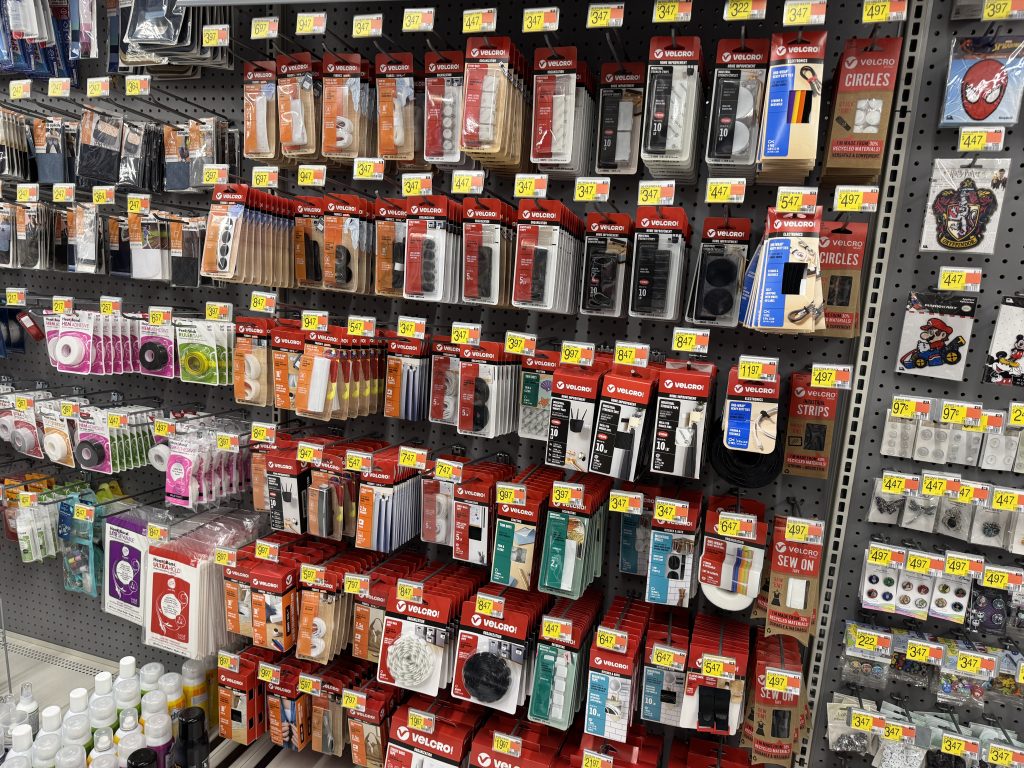
The rest of the items for sale were tools and other notions that could be useful to folks that sew or craft…scissors, rotary cutters, magnifying lights, Velcro, needles, rulers, safety pins, etc.
WalMart’s offerings of sewing fabric and supplies can certainly fill a need for those many useful items that you might need right now when you’re in the middle of a project. If you’re looking for specialty fabric, or high-quality fabric for clothing or quilting, you may want to find another source for that. I’ll continue exploring resources in the area for those projects.
Today I’m going to start a series of posts highlighting stores around my area that sell fabric and sewing supplies. If you sew, or if you ask others to sew for you, you might be interested in places around your area that sell fabric and sewing supplies. Look for the hidden gems that cater to quilters in your area, even if all you need is fabric for curtains. Here in central Pennsylvania, we are dealing with all of the JoAnn Fabric stores going out of business. Since this is a nationwide chain of stores, we can’t just drive 40 miles to the Altoona store…it is also closing!
Granted, we all have access to Amazon for internet sales. However, buying fabric online is difficult when I need to feel the fabric and see the true colors of the prints. Sometimes I’m restricted to buying a minimum of 2 yards…when all I need is half a yard. Internet buying for fabric is at least tedious and sometimes unreliable.
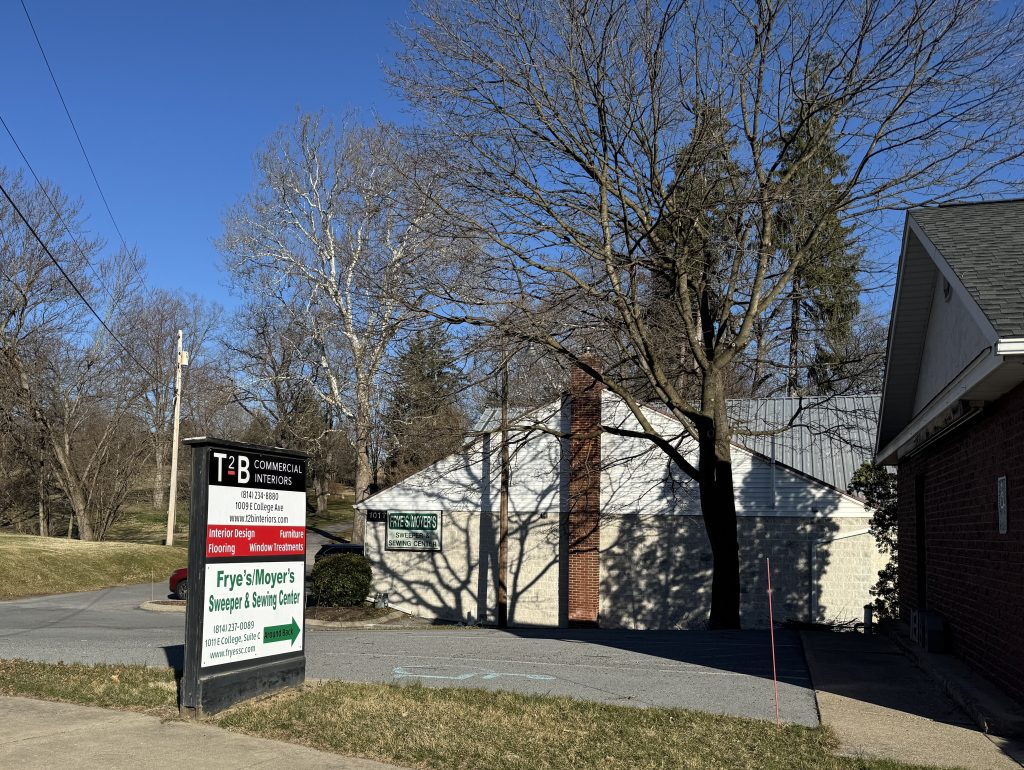
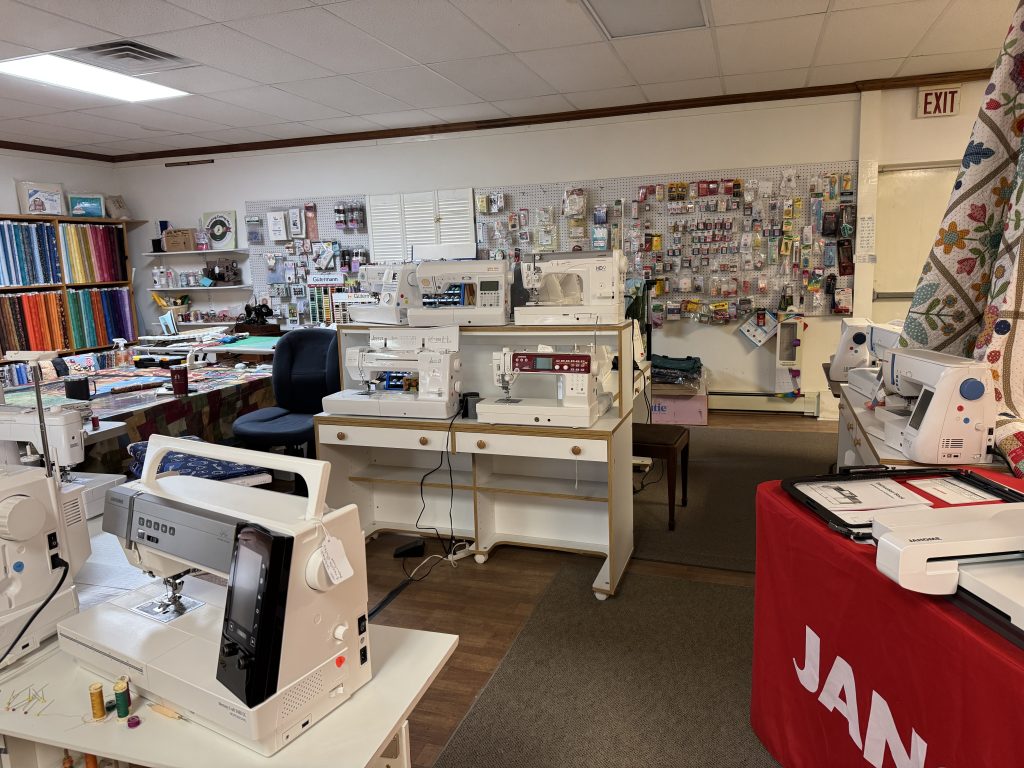
I will write more about resources on the internet in future posts, but today I’d like to profile a local retailer that is a hidden gem…Frye’s/Moyers Sew and Vac in State College. The main store is located in Altoona and has been in business over 70 years! The State College store is smaller, but it has a beautiful collection of quality cotton fabric available. I say it is a hidden gem, because if you don’t know where it is it might be hard to find. The local quilt guild members have long treasured the quality fabric and personalized quilting instruction from the employees.
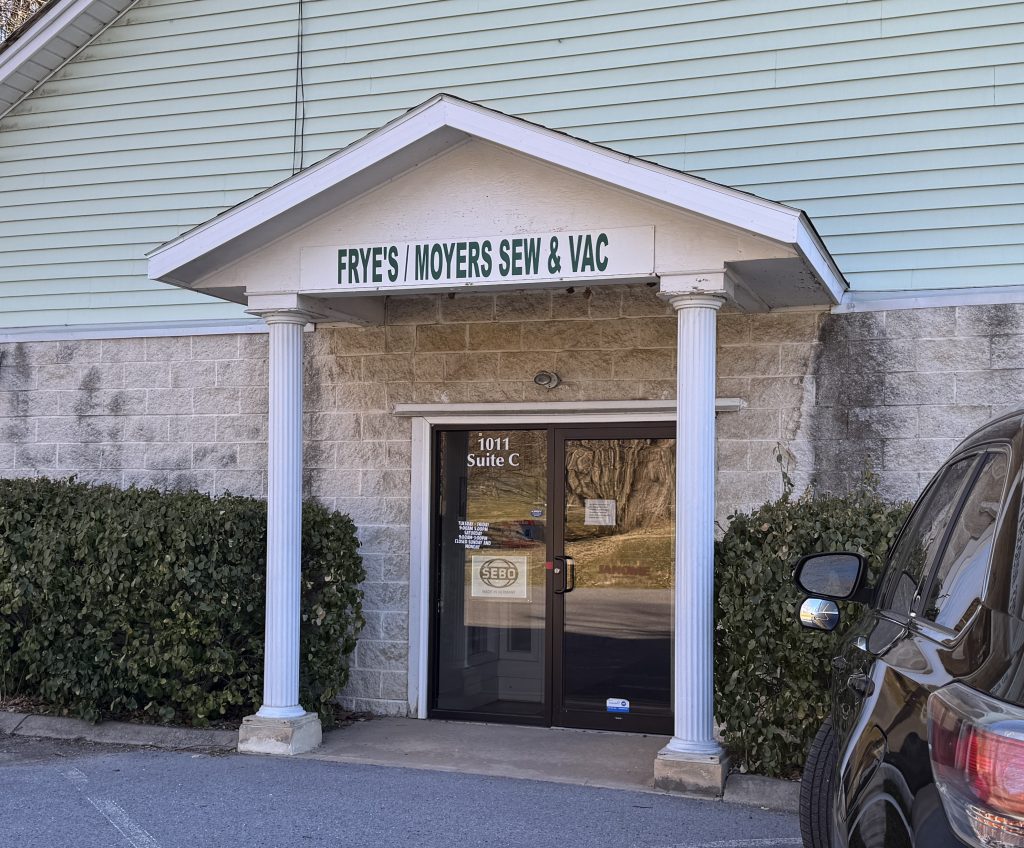
First, how to find the store! The address for the store in State College is 1011 E. College Avenue. It is located just outside State College on College Avenue. Coming from State College, it is on your left. The sign is right along the road and directs you down a short side street. That short street continues up a hill to the Centre County Historical Museum building. You can read about their hours and available services at their website: https://fryessc.com.
This small store is divided into two areas…the fabric and sewing machine sales and repair, and the vacuum sales and repair. This is the only place I know in town to get my sewing machine serviced…and they can answer my questions when something malfunctions. Of course, should I need a new machine…they know all about them! I can also try them out right there!
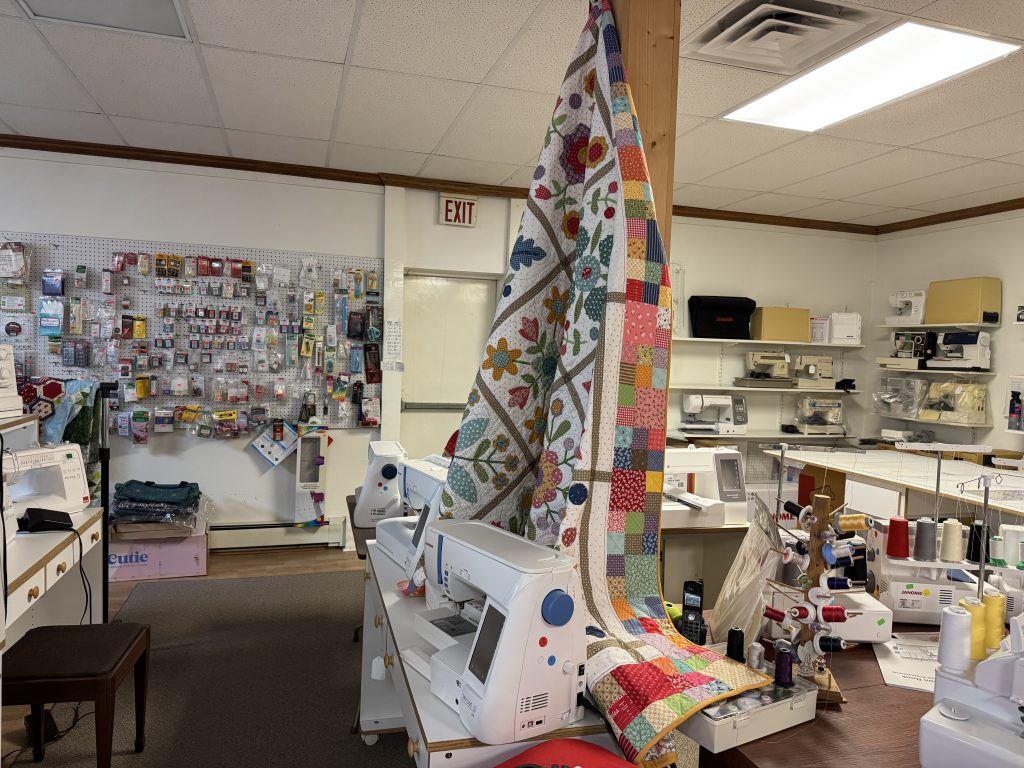
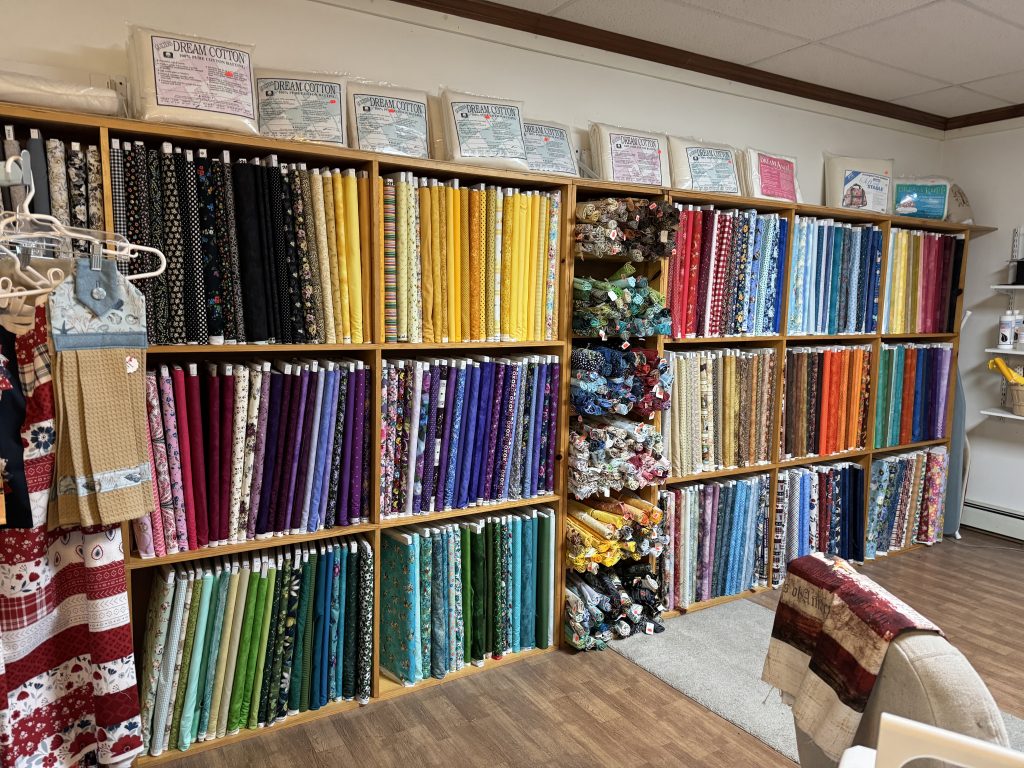
The combination makes for a lovely store with various quilting projects displayed.
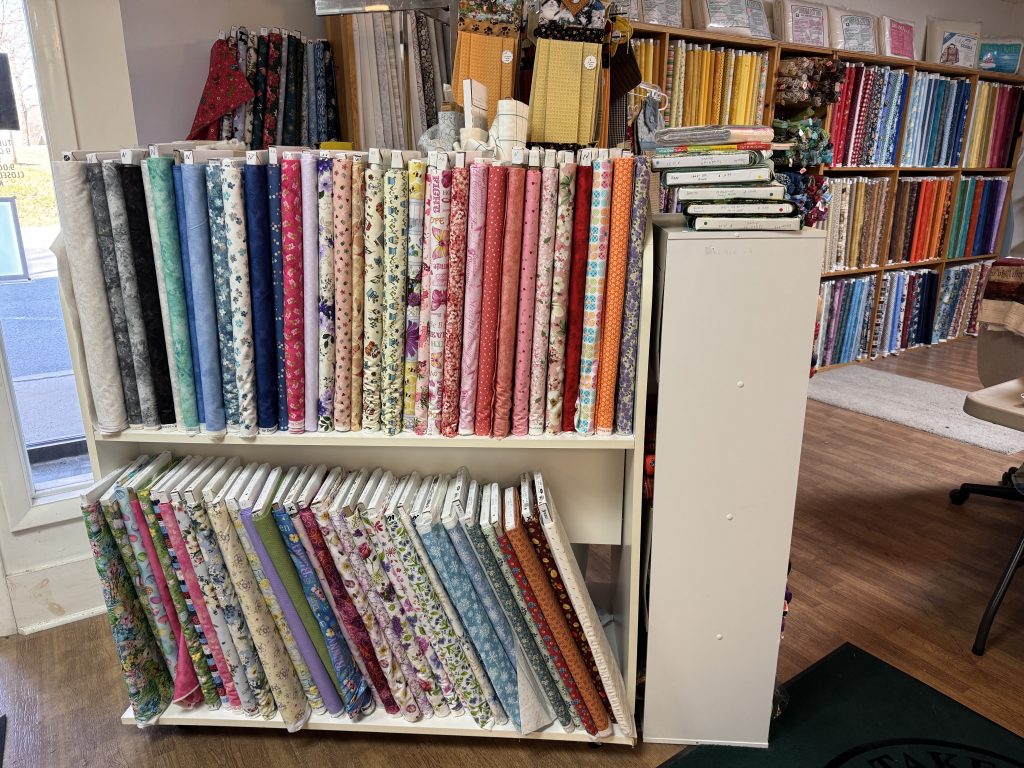
The fabric is just so beautifully displayed!
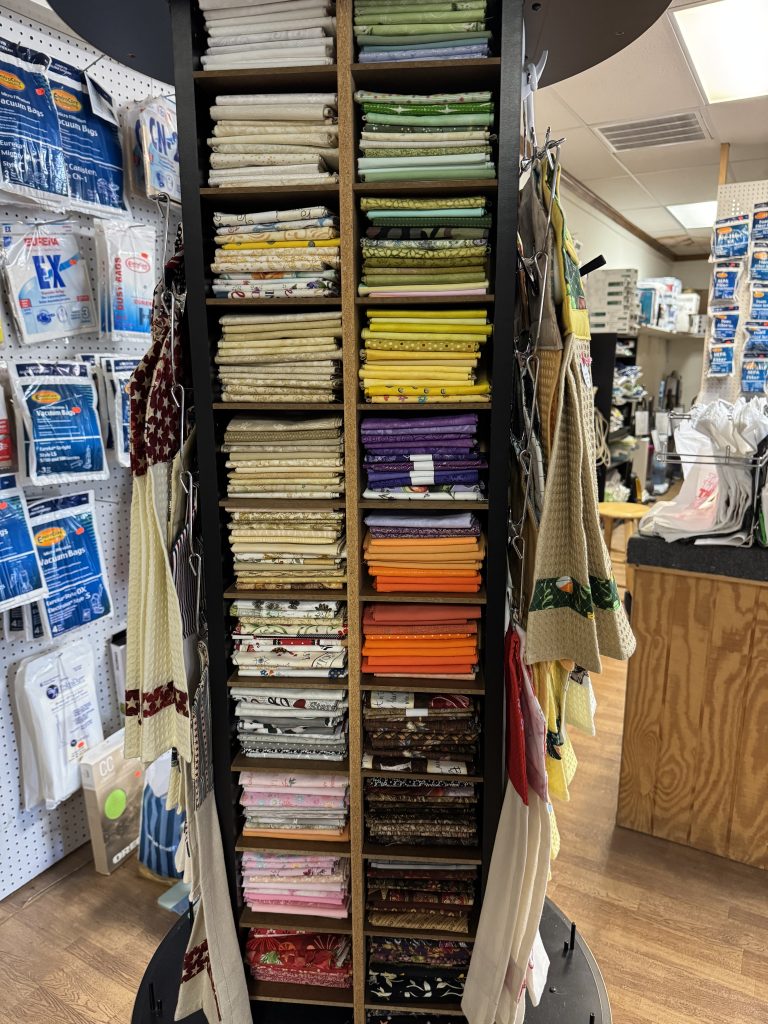
Even the fat quarters are all lined up!
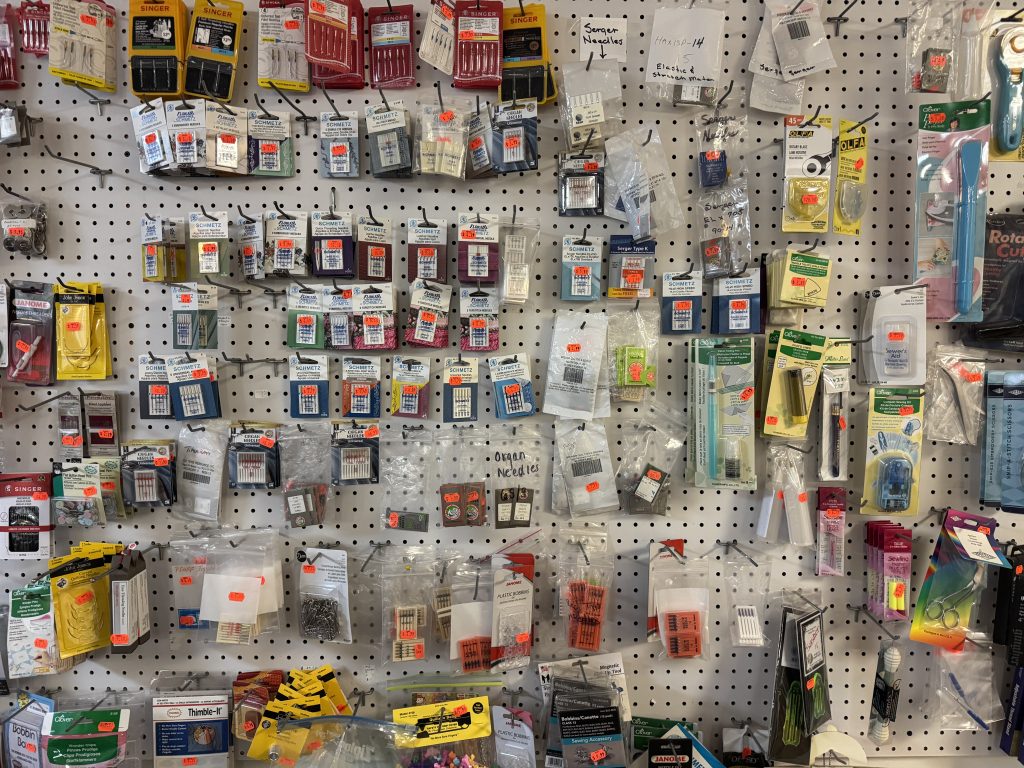
All the notions are displayed on pegboards:
Needles and bobbins and rotary cutters…oh my!
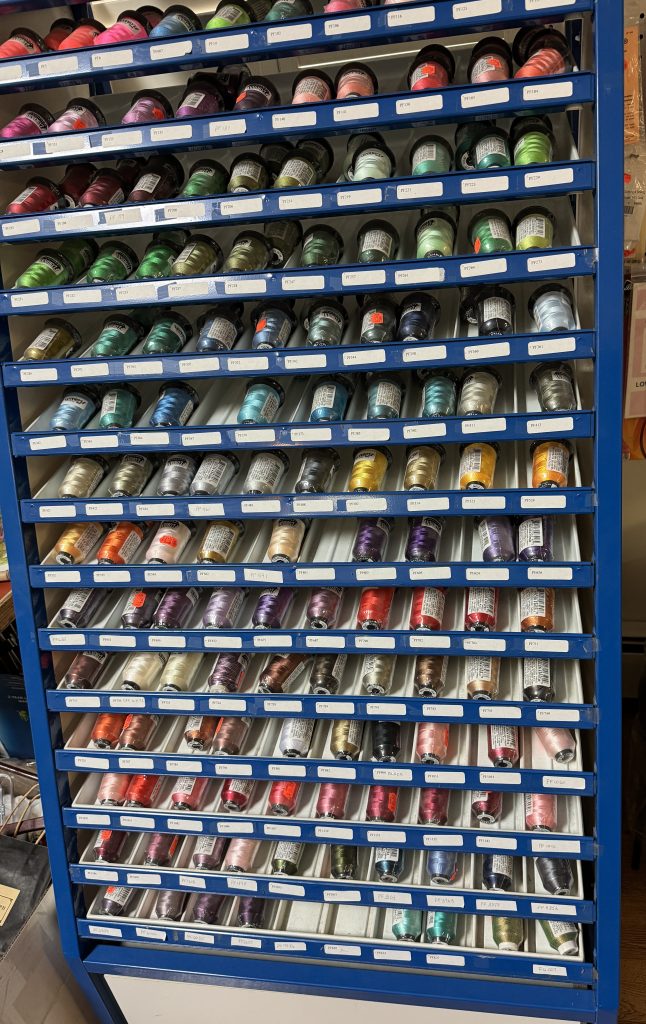
Specialty thread makes a colorful display:
So, if you’re looking for top quality fabric and specific sewing supplies, this hidden gem of a store is ready and waiting to help you find what you need for your next project. Check in your area for small stores that combine sewing machine sales and service to see if they also have quality fabric for sale!
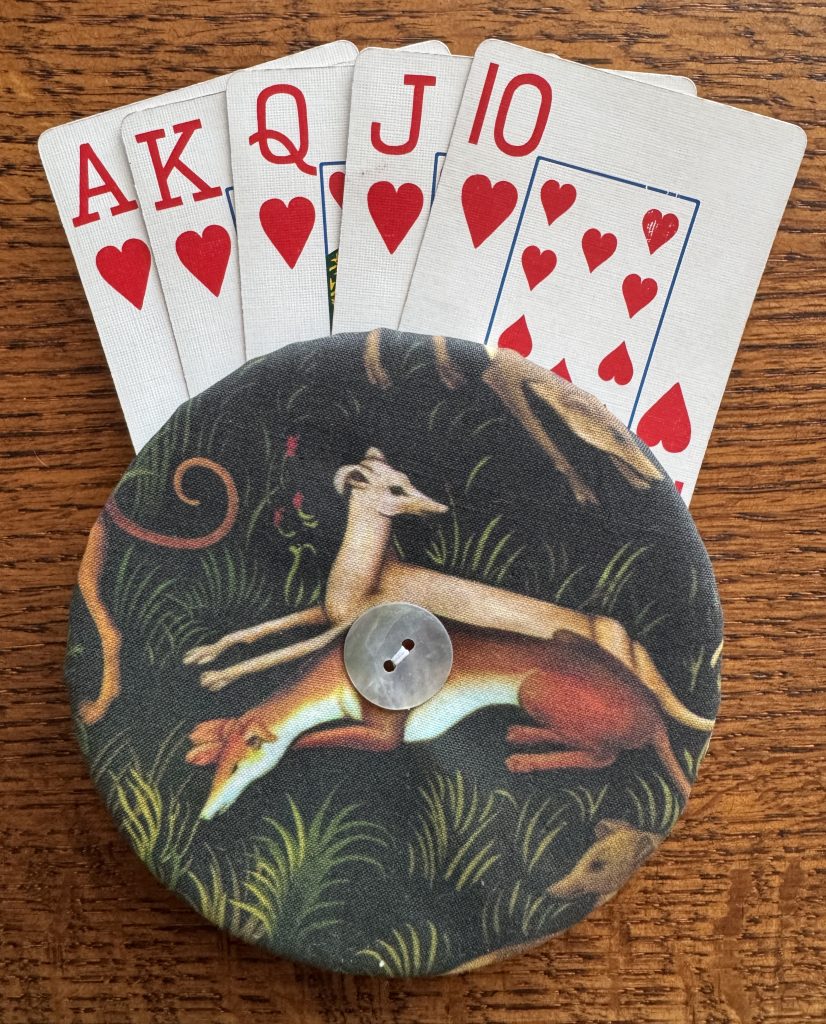
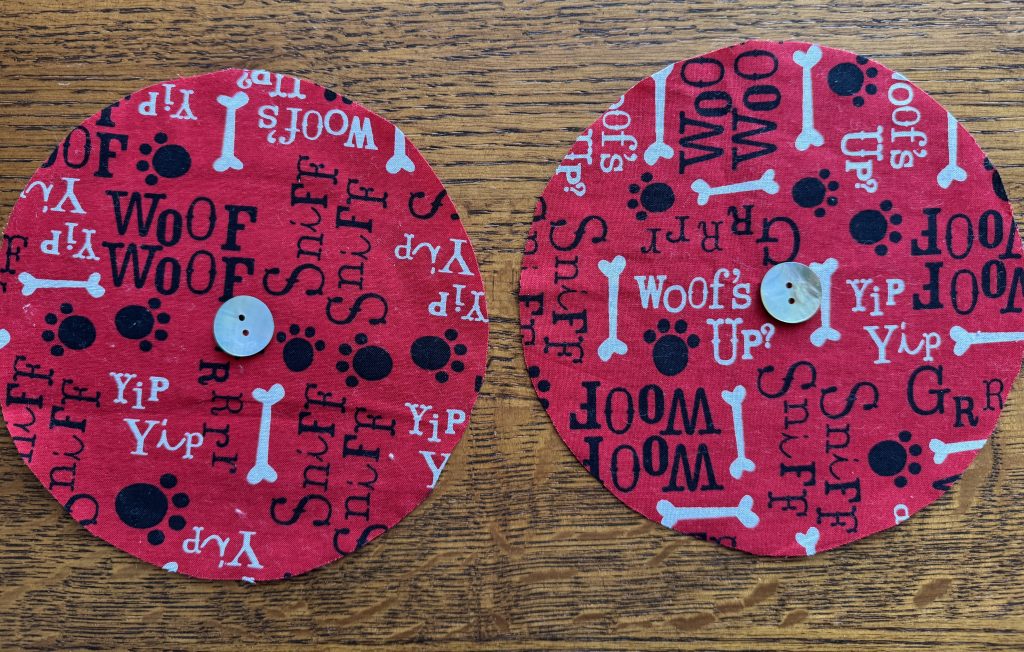
Playing card games can be fun for young and old. We probably started our kids with Go Fish and progressed to Rummy. Part of learning the rules of the game was learning how to hold the cards in their hands. Of course, it got easier as they grew up…their hands got bigger! Now, for us older folks, various arthritis issues sometimes makes it difficult to hold a handful of cards. I was asked if I could try to make some card holders with greyhound fabric for an upcoming conference, but I started with some animal fabric scraps I had…I didn’t want to waste the expensive fabric! Here’s a picture of a finished card holder in the greyhound fabric (of course with a winning hand!):
I had never seen or used a card holder so I started with Pinterest. I found quite a few places that had them for sale but I explored the DIY sites that would show me how they were made.
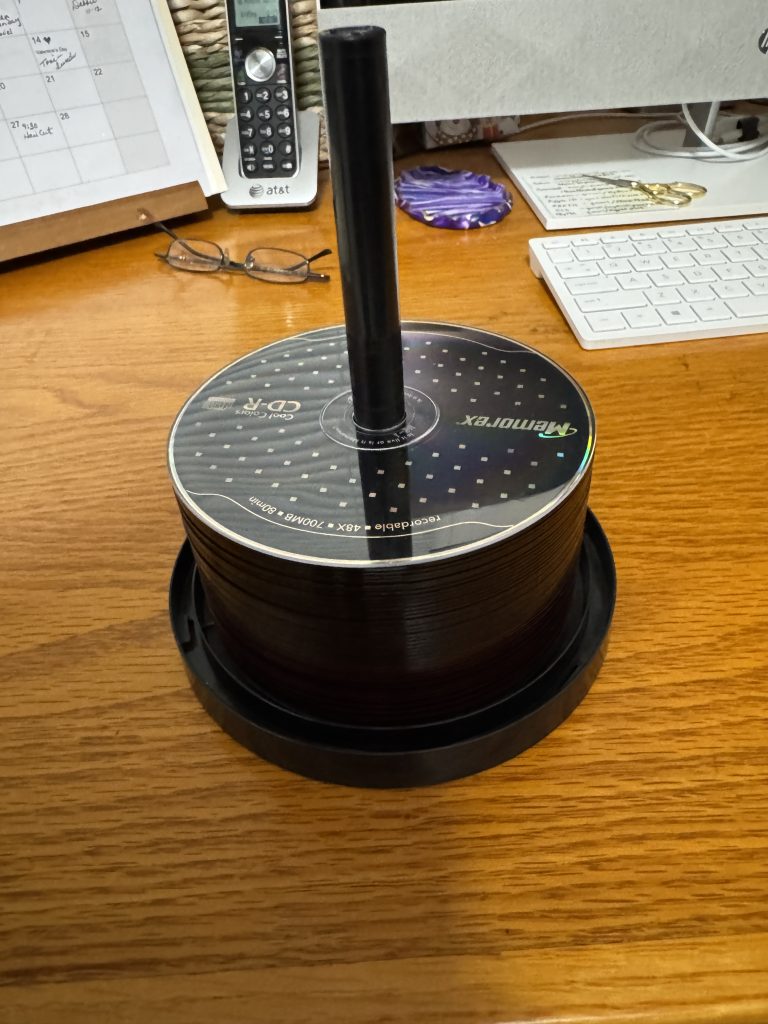
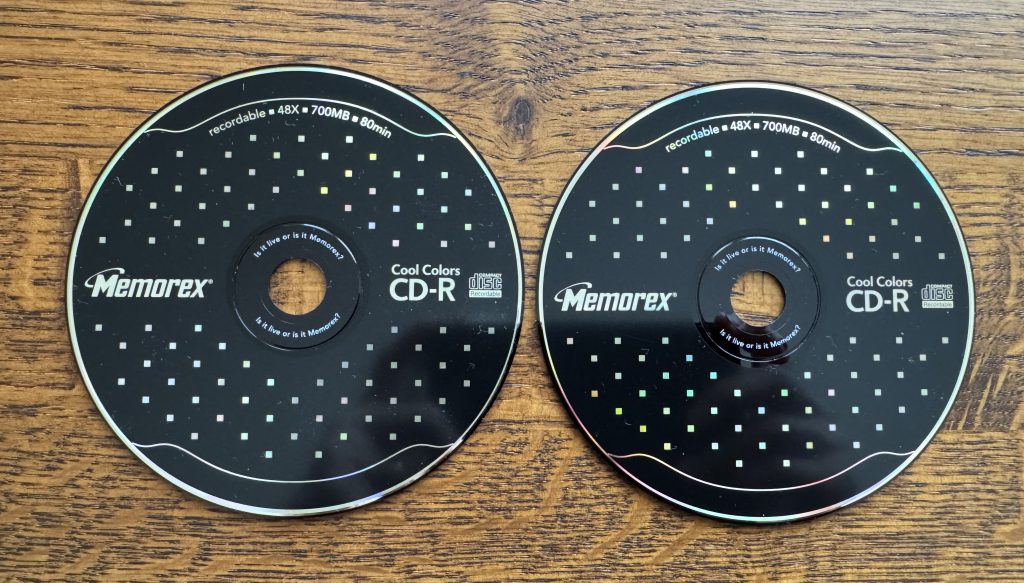
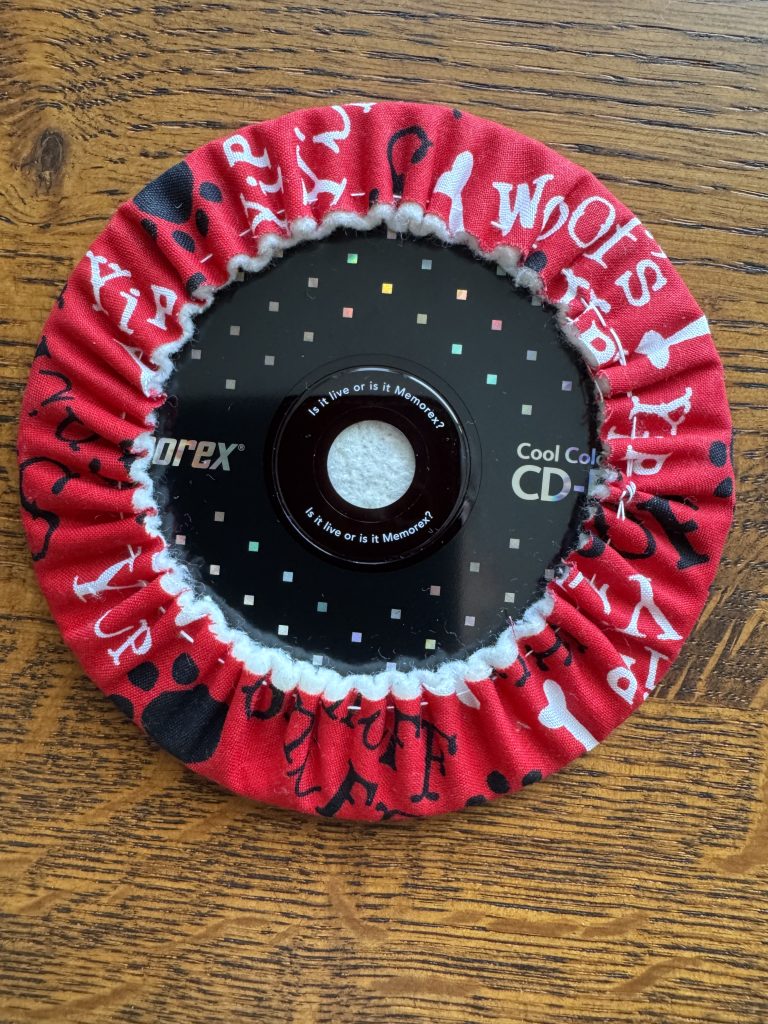
Handmade card holders seemed to be based on recycling a CD. Luckily, guess what I had in my office closet! I haven’t used a CD since small jump drives became available. What a great resource to recycle!
Making a Pattern
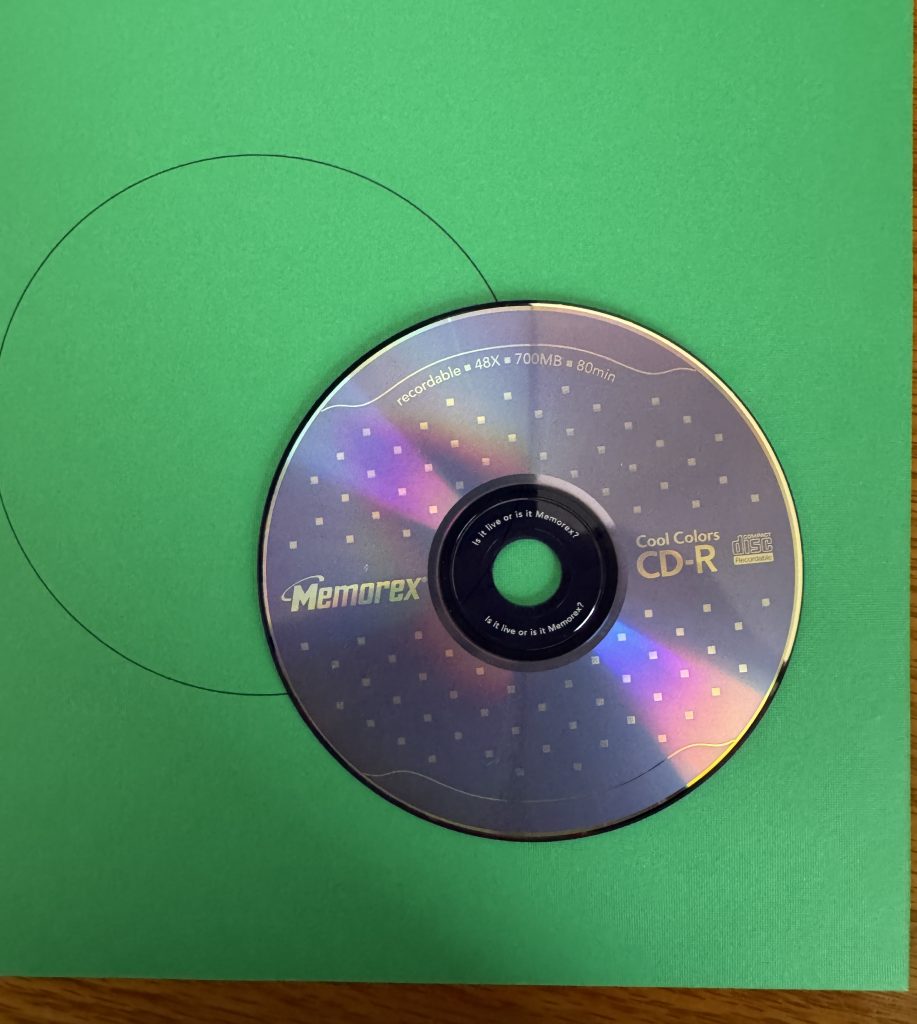
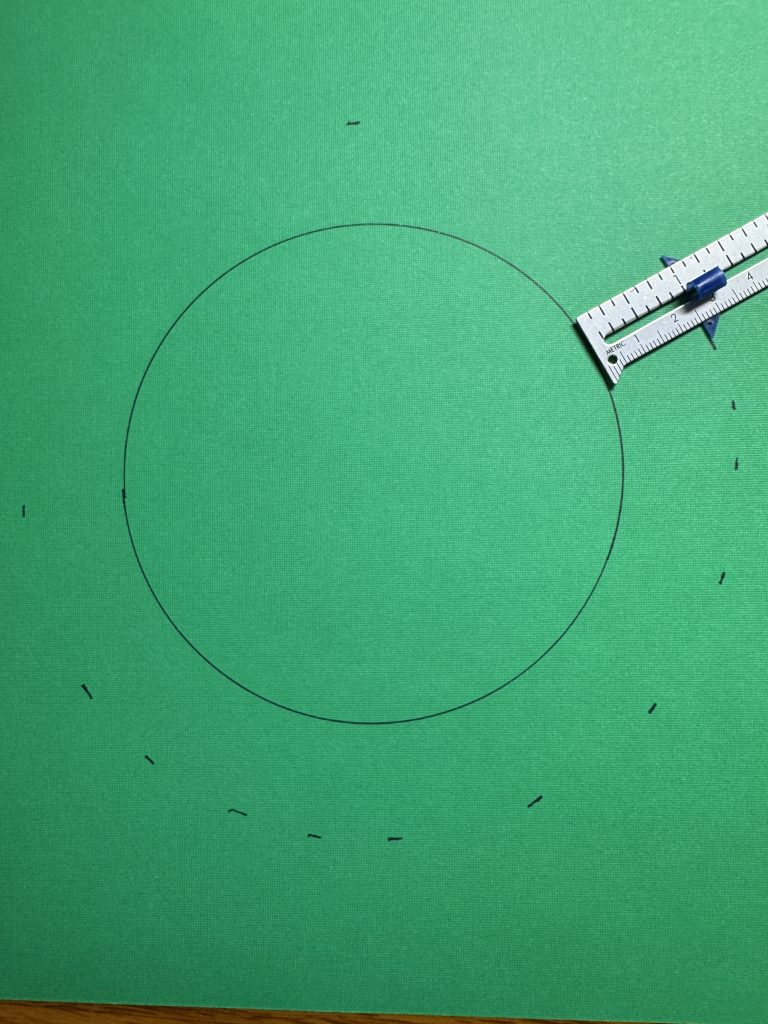
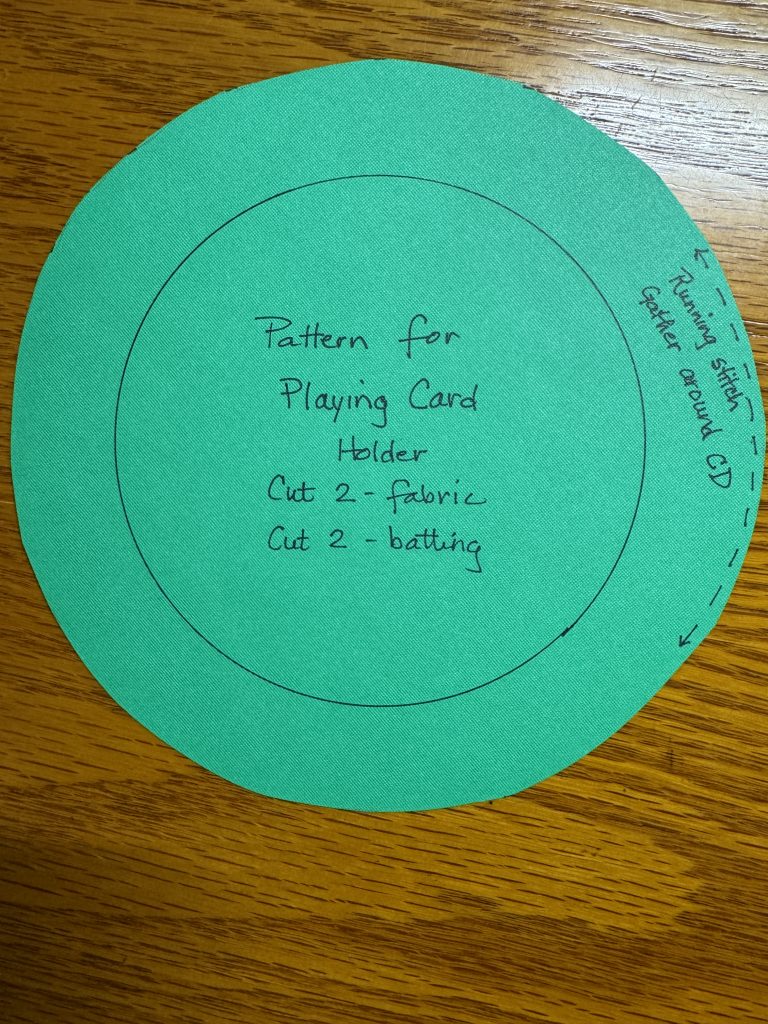
I needed a pattern to cut out the fabric circles. It needed to be the size of the CD with an additional 1″ of fabric all around. I found a piece of heavy paper and traced around the CD. Then, I added 1″ all around by marking 1″ about every inch and connected the dots with a pencil. Good enough!
Cutting the Fabric and Batting
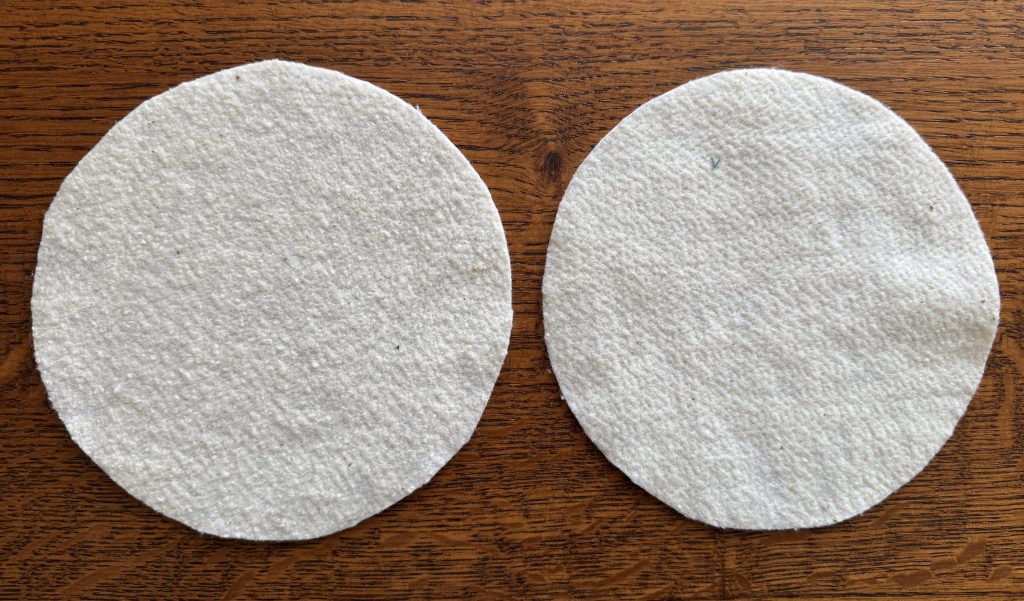
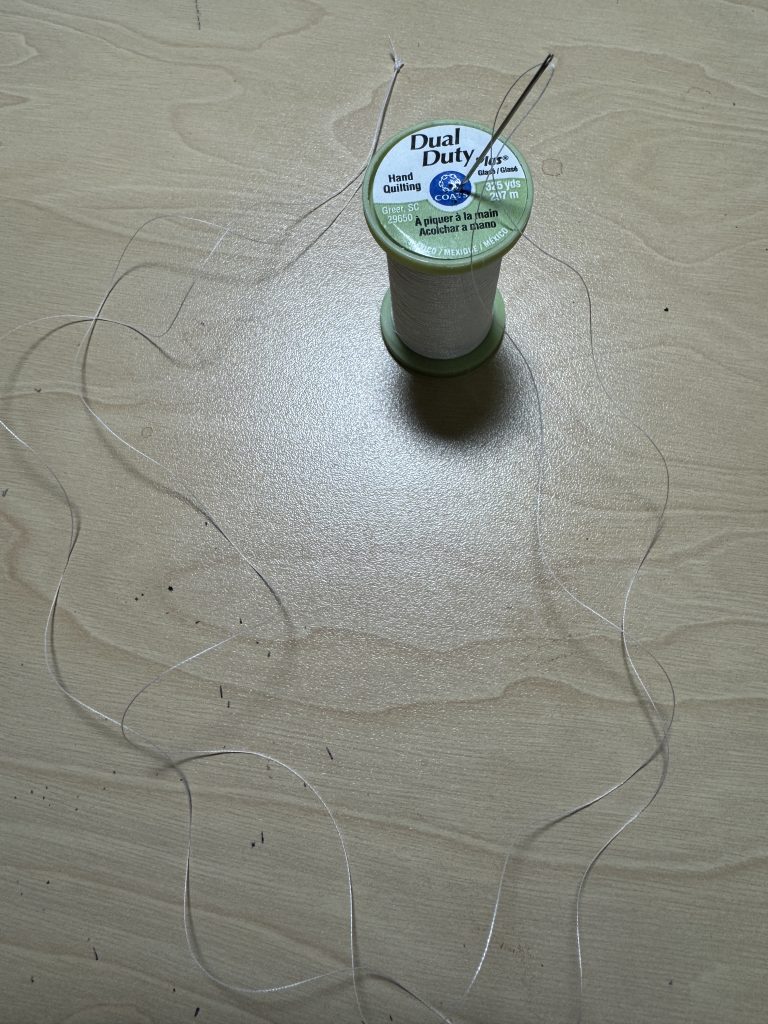
My instructions are using scraps of fabric appropriate for my grandkids. For each card holder, you will need two circles of fabric, two circles of batting, two CDs, two buttons (about 3/4″) and a sewing needle with sturdy thread (I used about 48″ of hand quilting thread, doubled in half and knotted. You don’t want to gather the fabric as you sew.)
Assembling the Card Holder
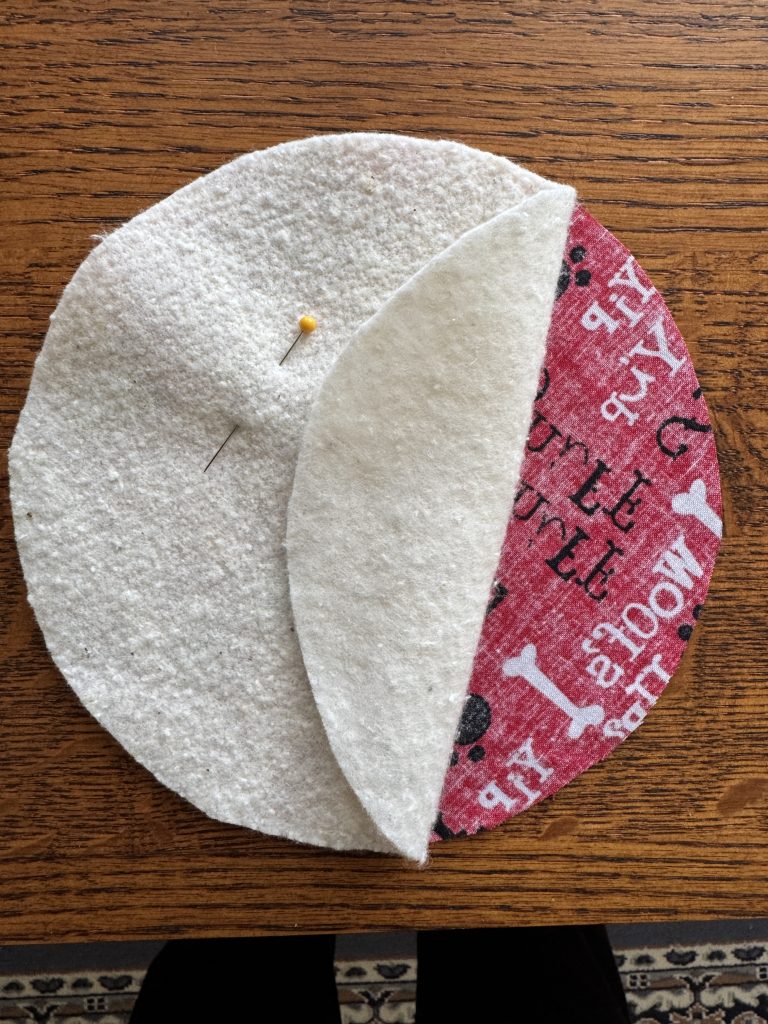
Place a circle of batting to the wrong side of the fabric circle.
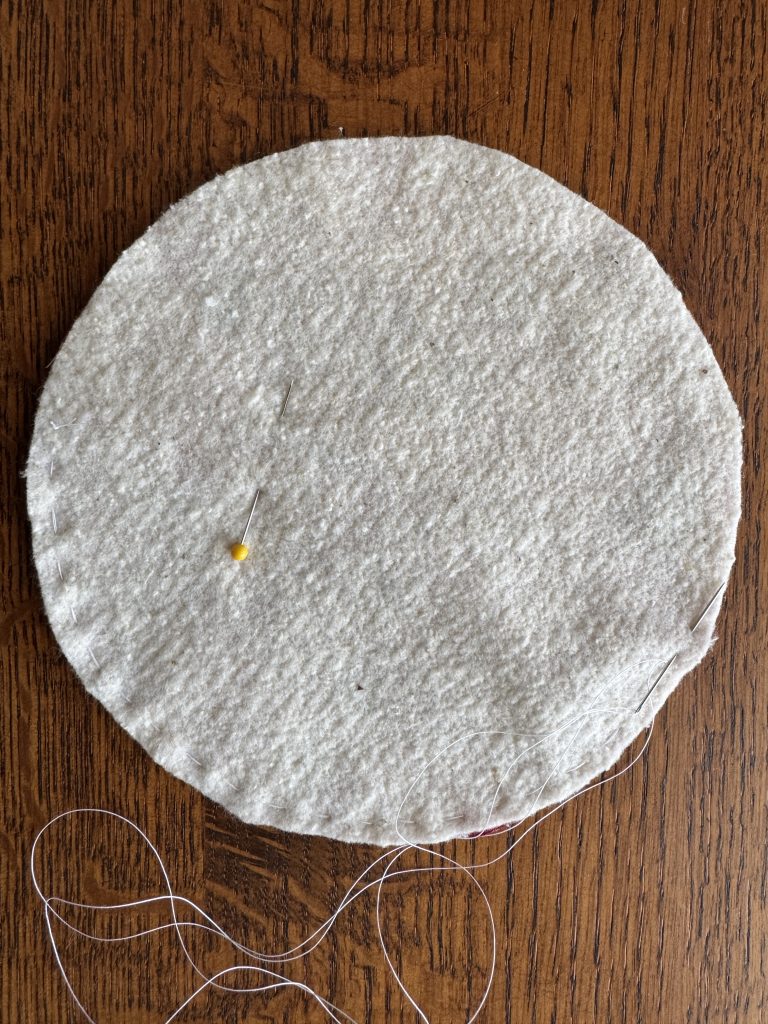
2. Hand stitch with a long running stitch around the circle, about 1/4″ from the edge…DO NOT finish with a knot or cut the thread off.
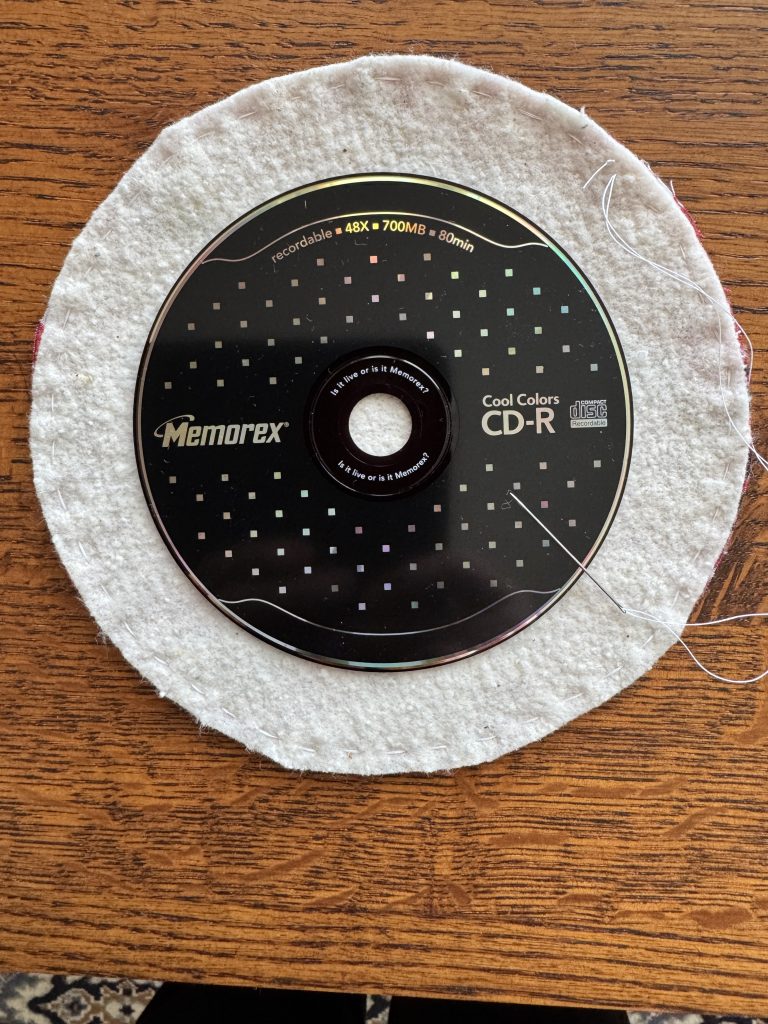
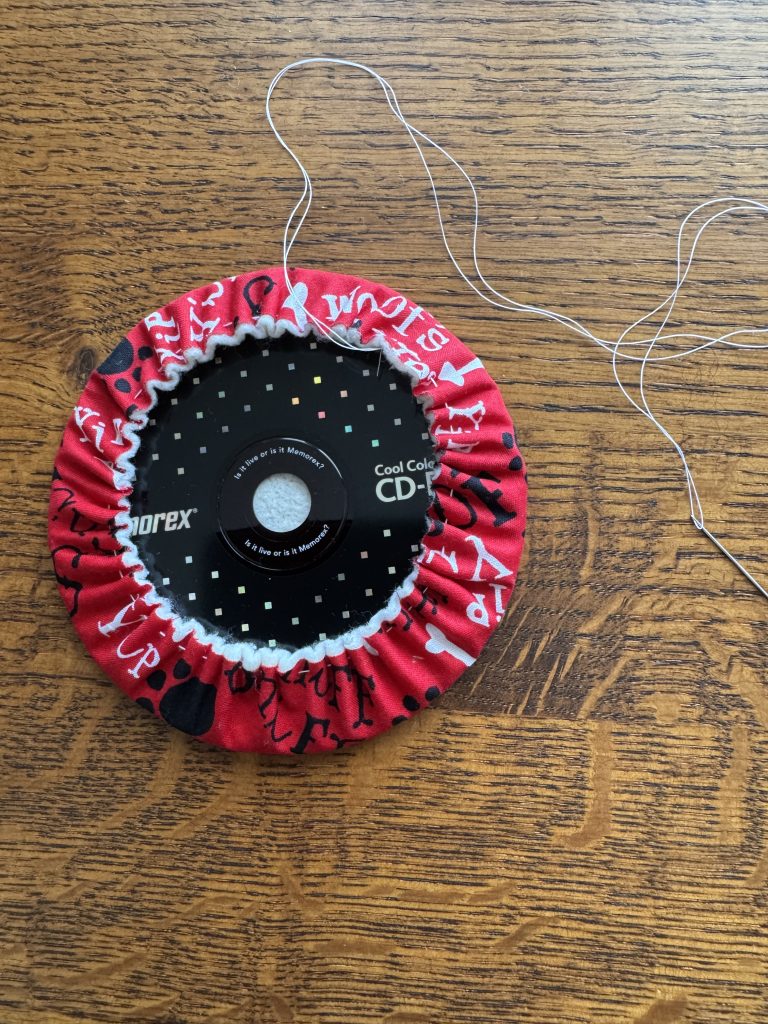
3. Place the CD in the center of the circle on a hard surface. Press down on the CD with your left hand and with your right hand pull on the needle and thread to gather the edges around the CD all at once. A firm hard pull will gather most of the circle around the CD. With your fingers, help distribute the gathers and tie off the thread.
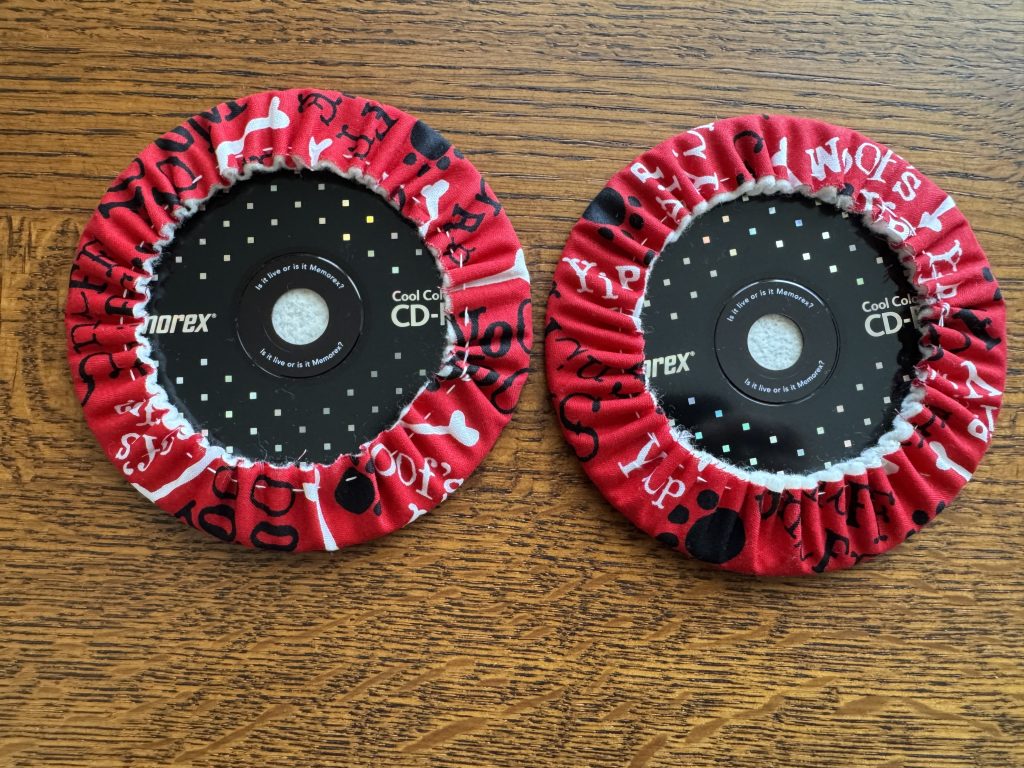
4. Repeat with the second circle, batting and CD.
5. Place the two finished circles together, gathered edges touching.
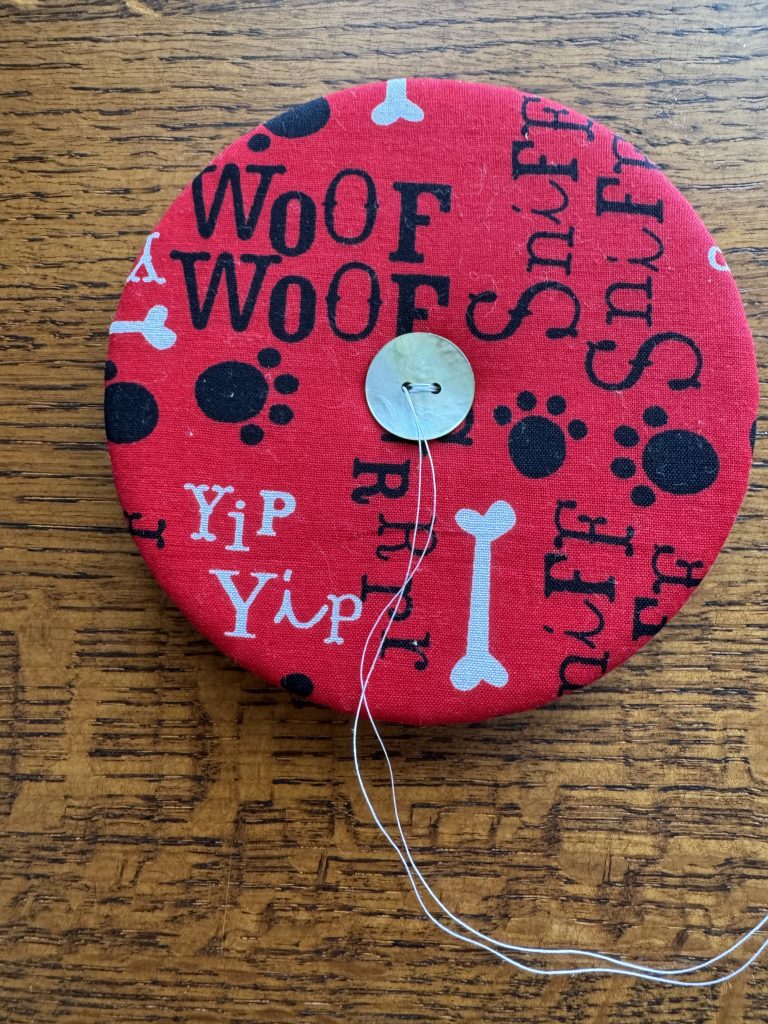
6. Sew a button through each side, sewing the two circles together snugly.
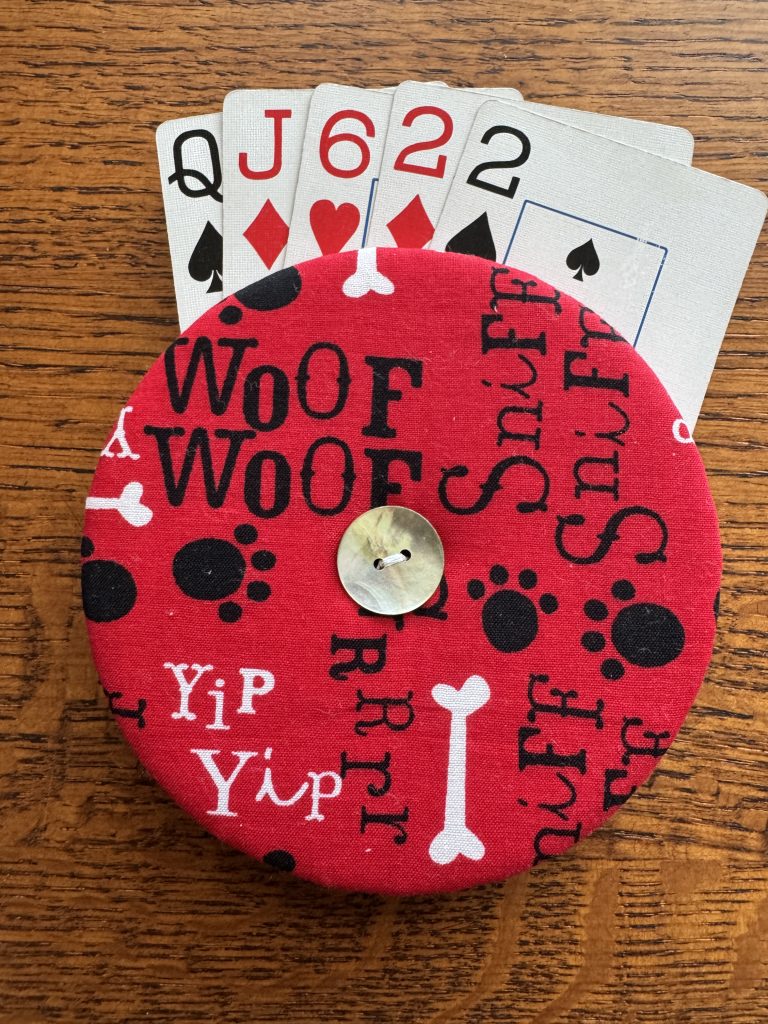
Your card holder should easily hold 5-10 cards. Great for young and old alike! Enjoy!