Spring is the time to start thinking about finding a good bug repellent for you (and your dog). Four years ago, I was deep into learning about how essential oils could be used, and one of the first products I made was a natural bug repellent for my greyhound friends (human and dog!).
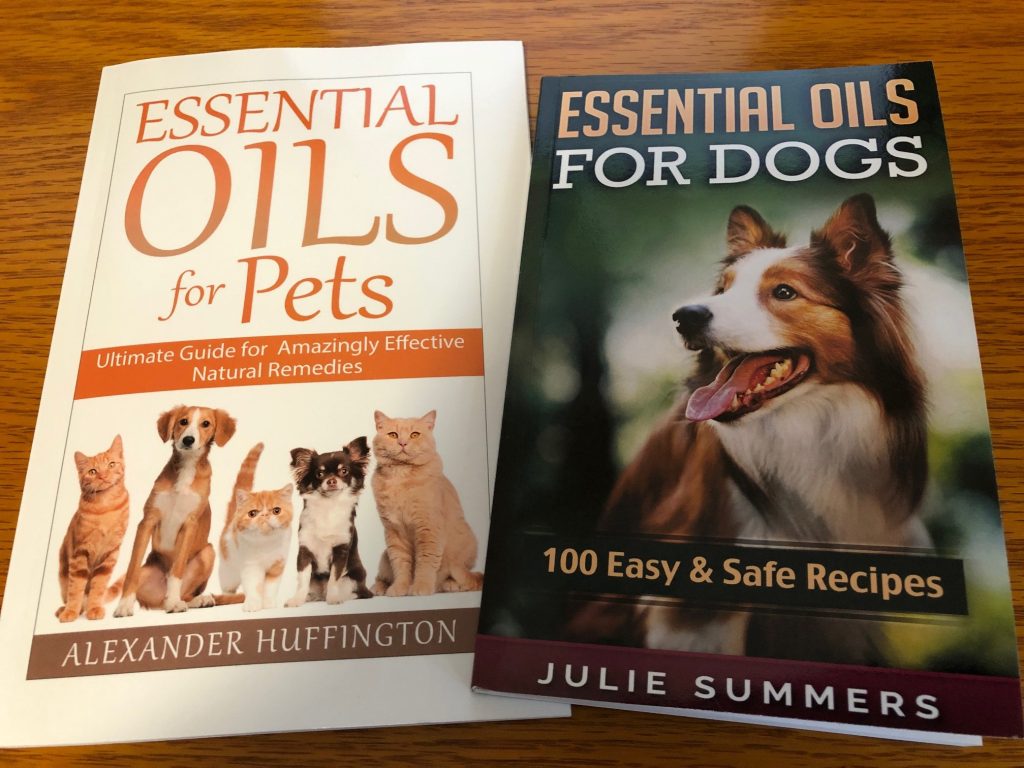
My research started with making sure that the essential oils I used were safe for the dogs. Here are two books I started with, along with research on the internet.
Most recipes for a natural bug repellent had pretty similar ingredients…water, essential oils and an emulsifier to disperse the oils. The most important issue was making sure the specific essential oils were safe for your pets. Amazingly, most were fine for dogs, but only a few were safe for cats! I suspect this is because cats will lick their fur and ingest the essential oils.
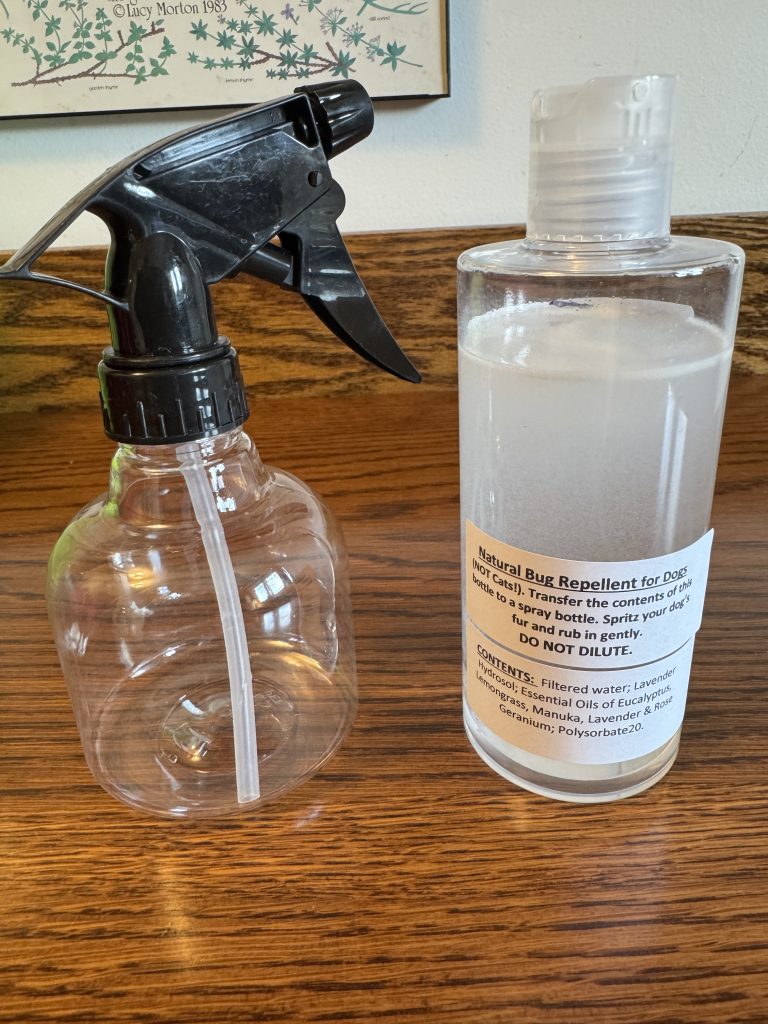
You can read more about using essential oils with your pets at the end of this post. For today, I wanted to share the natural bug repellent spray recipe that I’ve found to be effective for you and your dogs! Once you’ve sprayed your dog and rubbed it into its fur, you’ll have it on your hands. Rub your hands on your arms and legs. An extra spray on your clothing can keep the bugs away from you too!
This bug repellent is safe for you and your dogs. It is not necessarily safe for your cats! Please check with your veterinarian for a safe repellent for your cats!
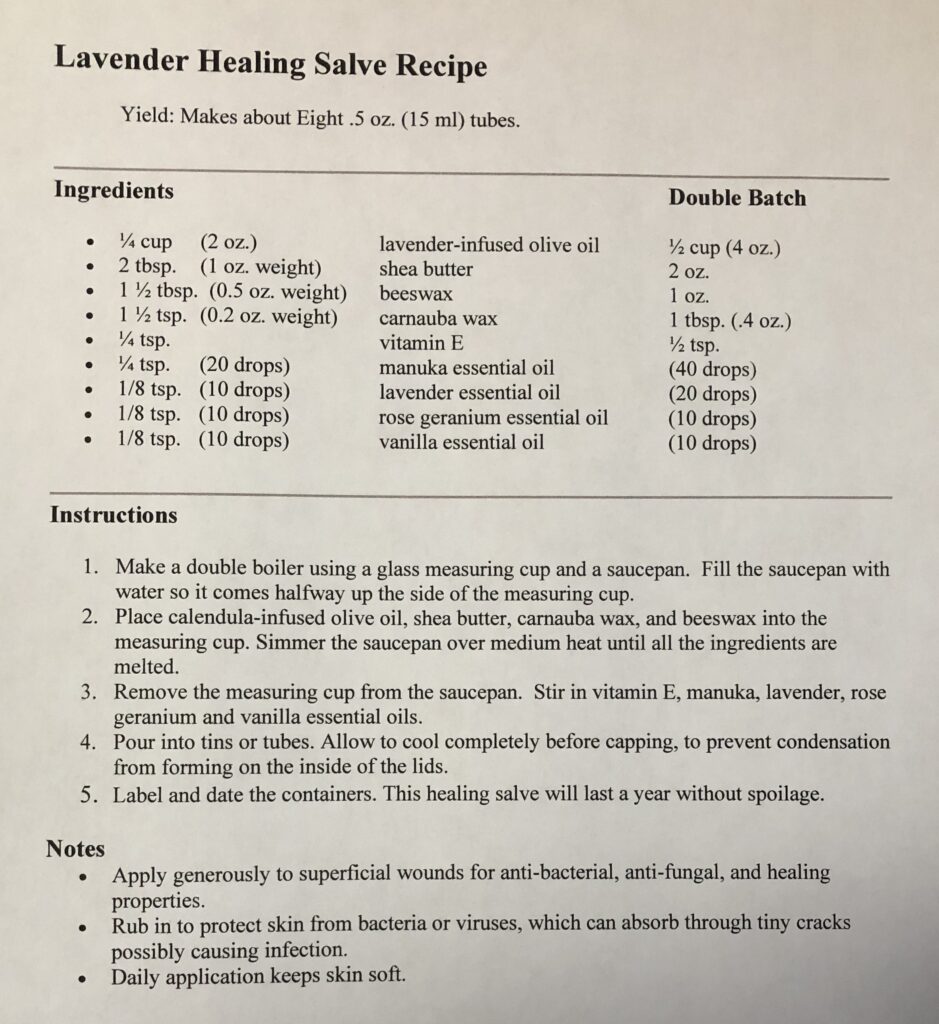
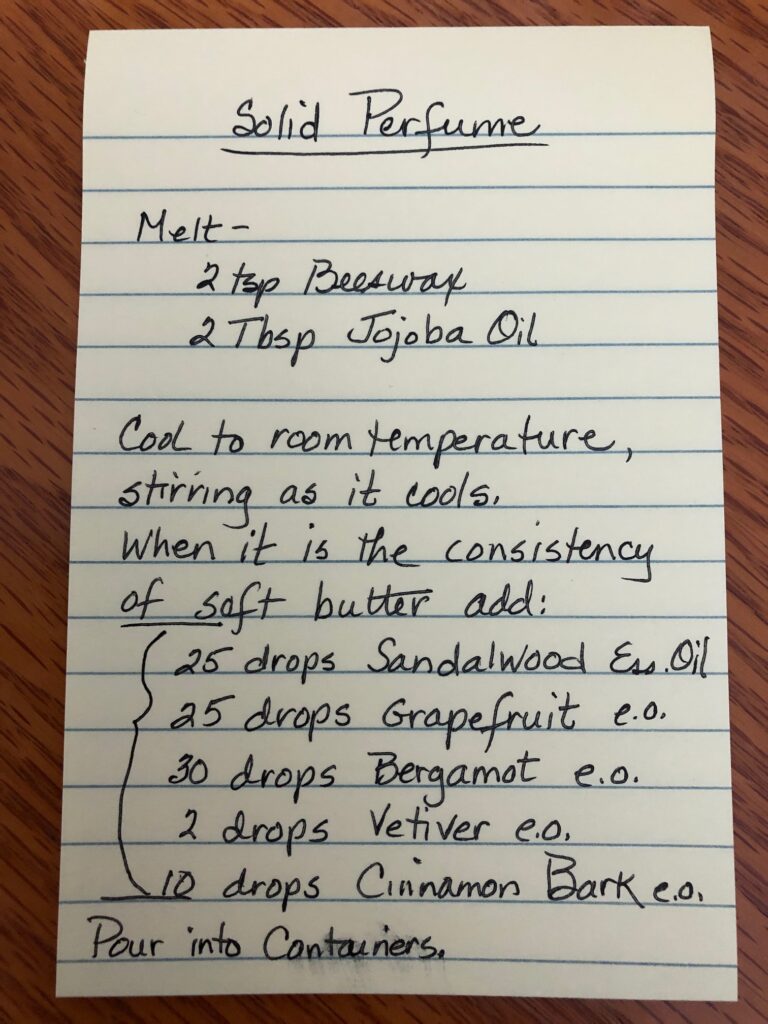
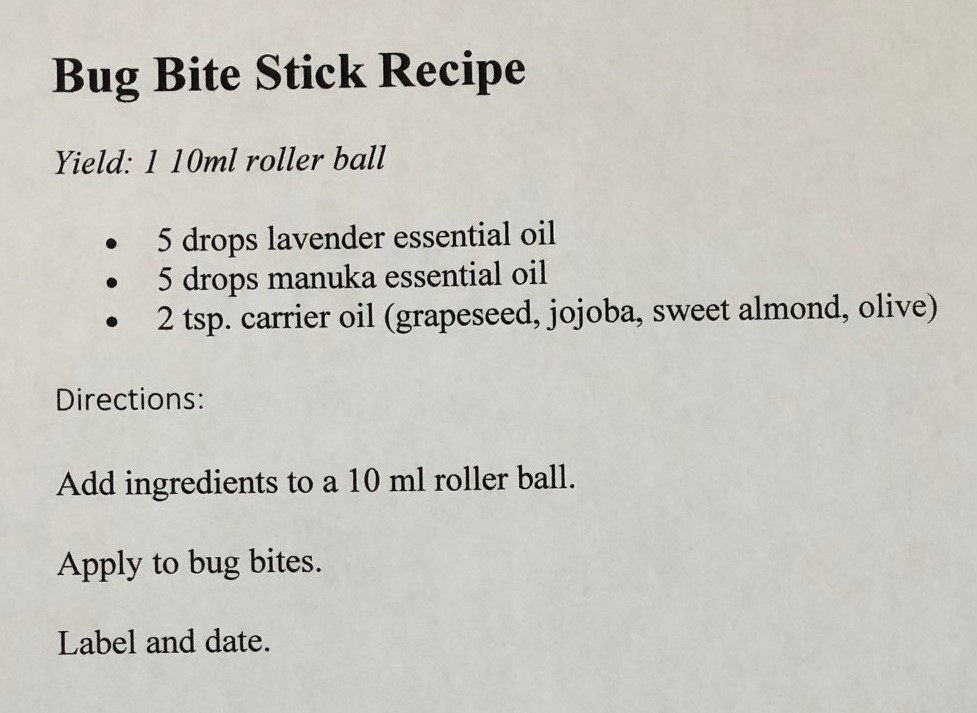
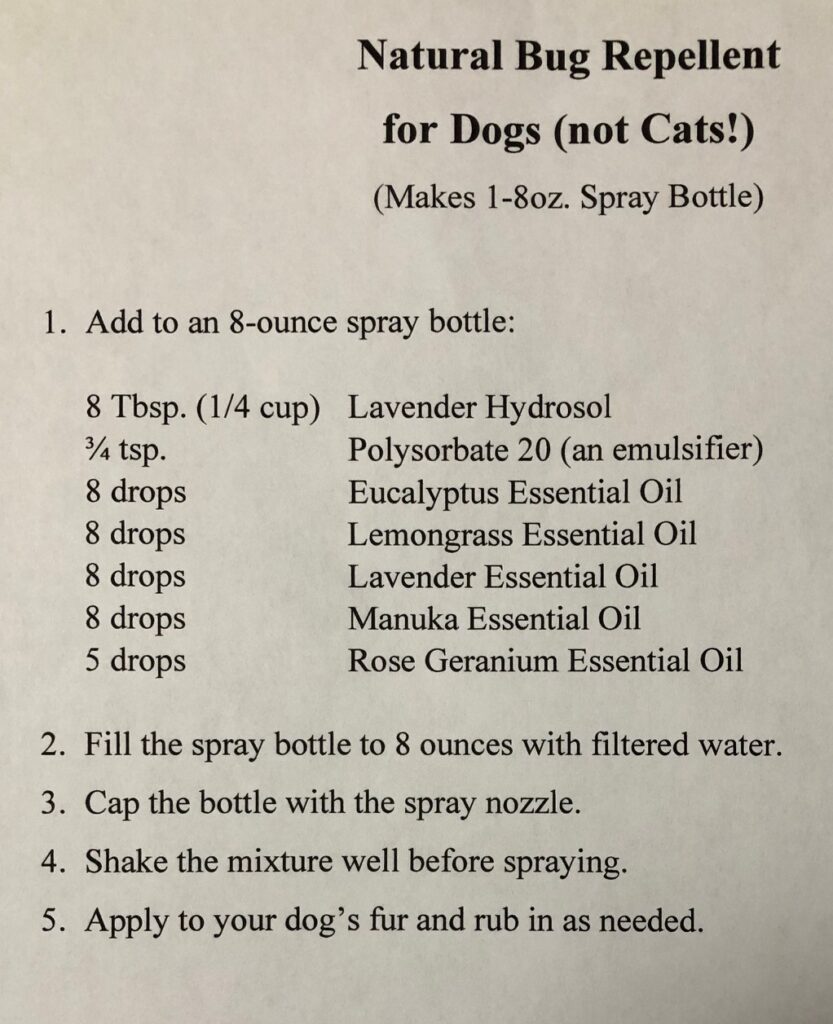
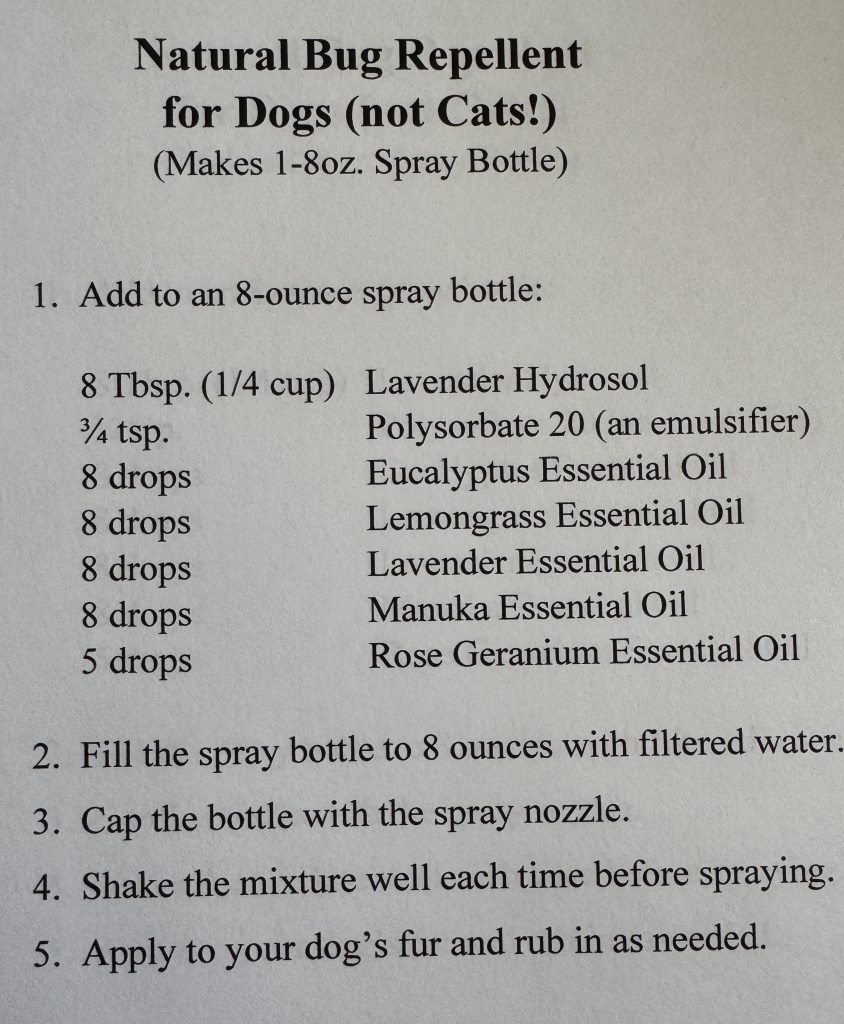
Here is my recipe for a natural bug repellent:
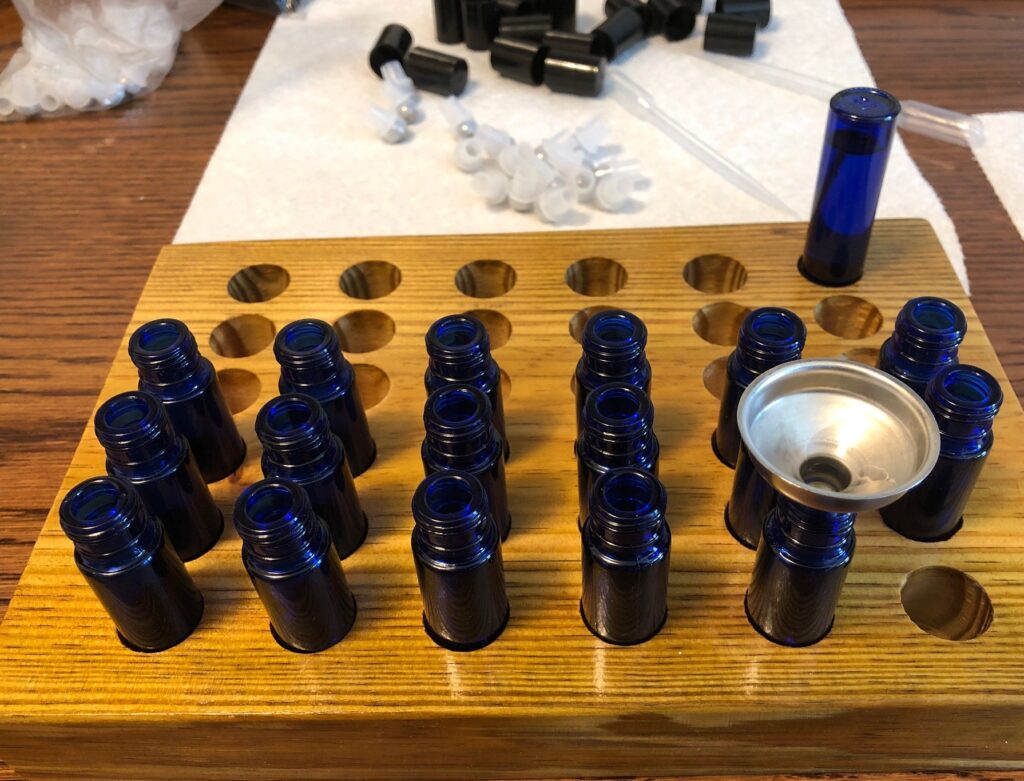
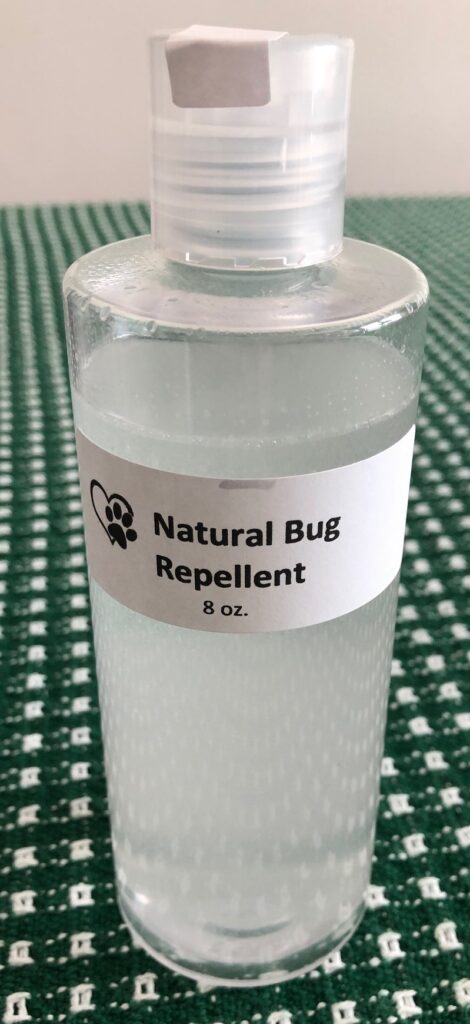
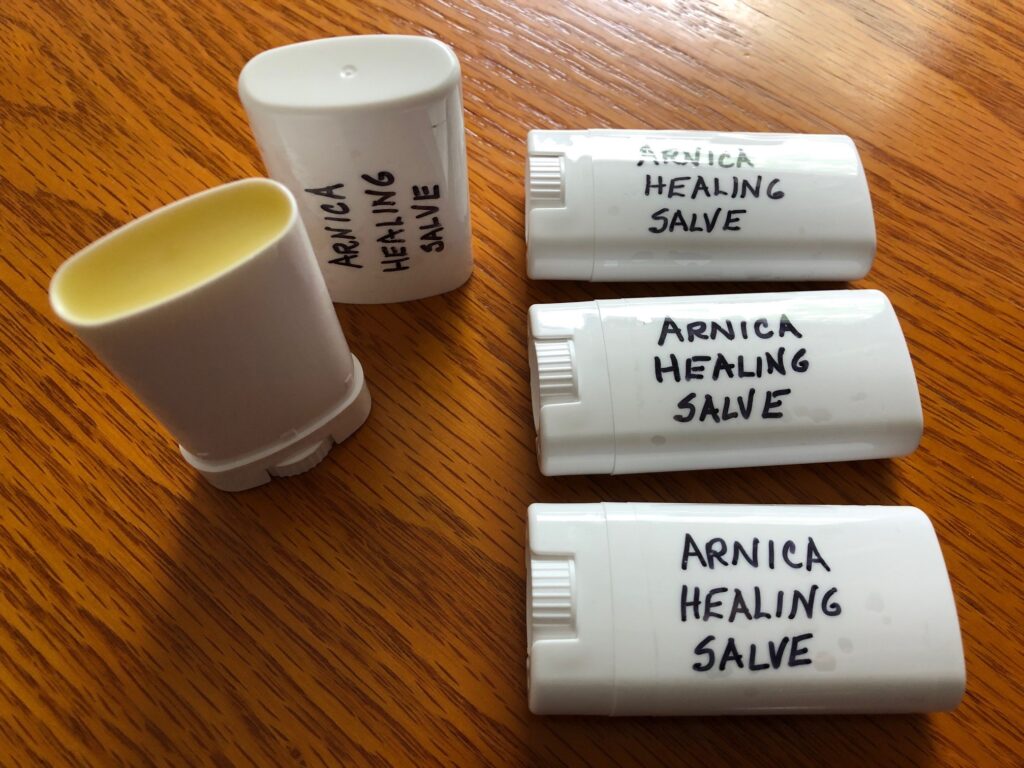
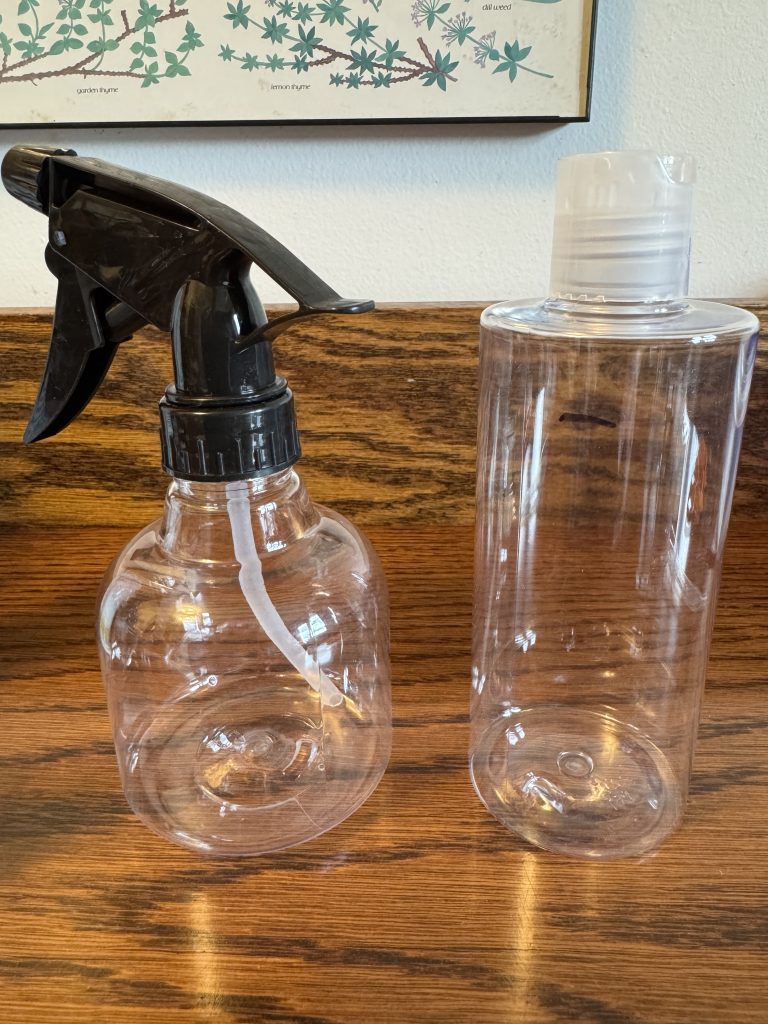
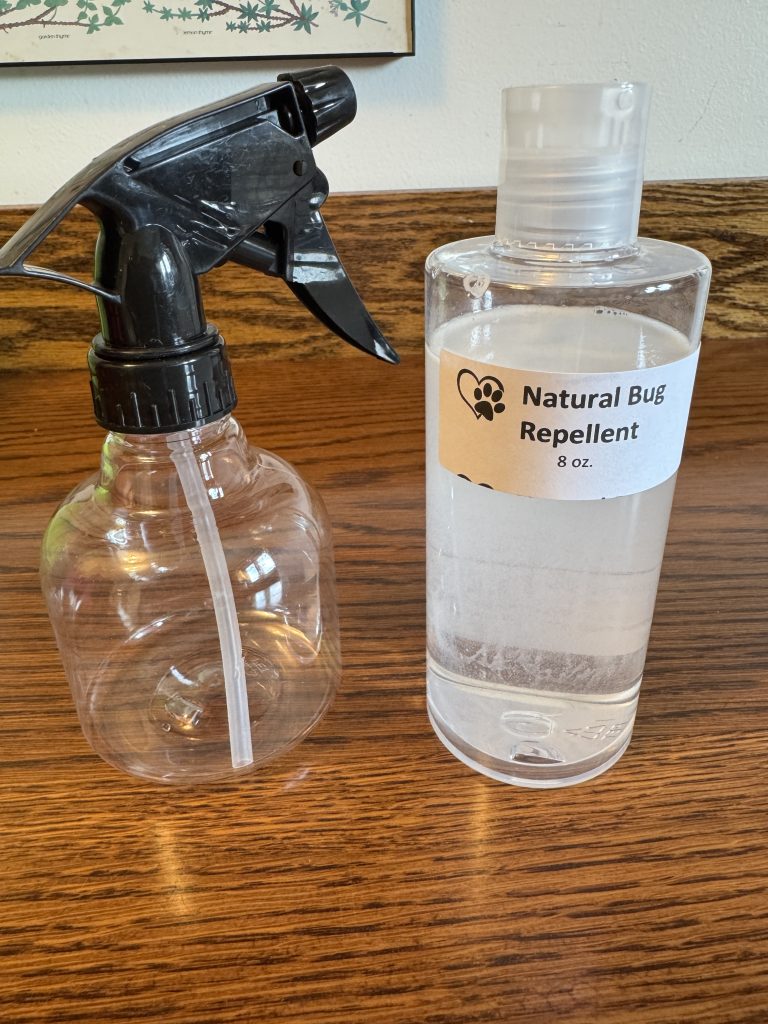
All of the ingredients in this recipe are available at Amazon. You can mix this up directly in an 8-ounce spray bottle. I’ve been mixing it up in an 8-ounce bottle with a screw top lid so I can more easily share it without having to worry about the spray bottle leaking in transit. I just include the empty 8-ounce spray bottle.
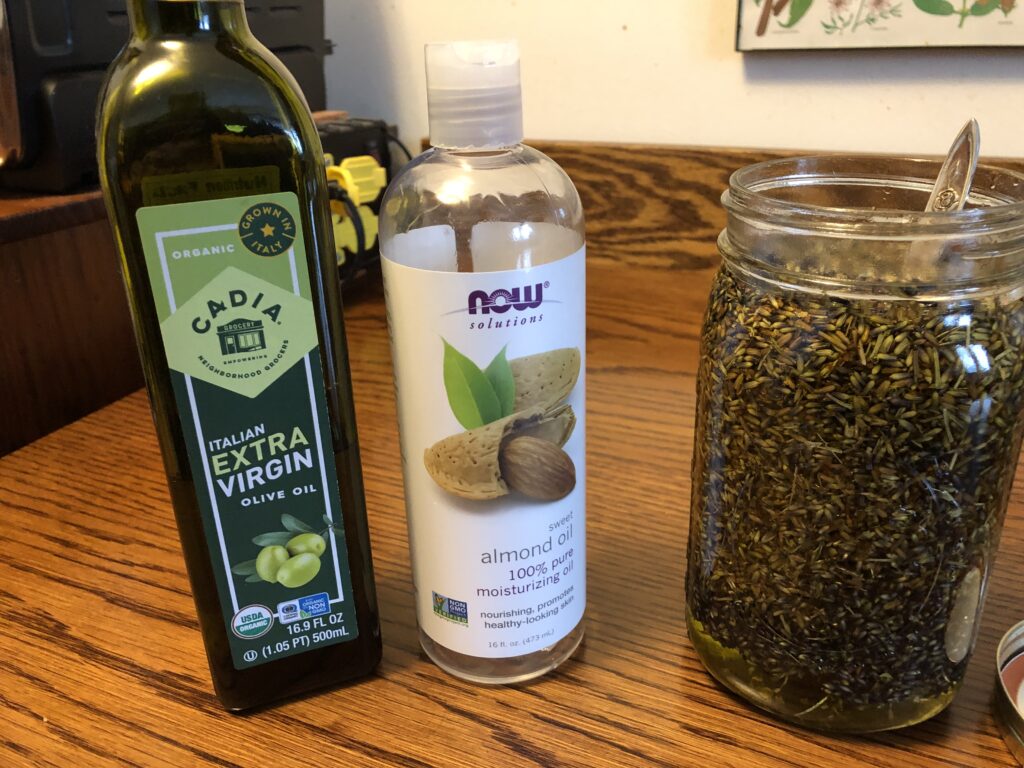
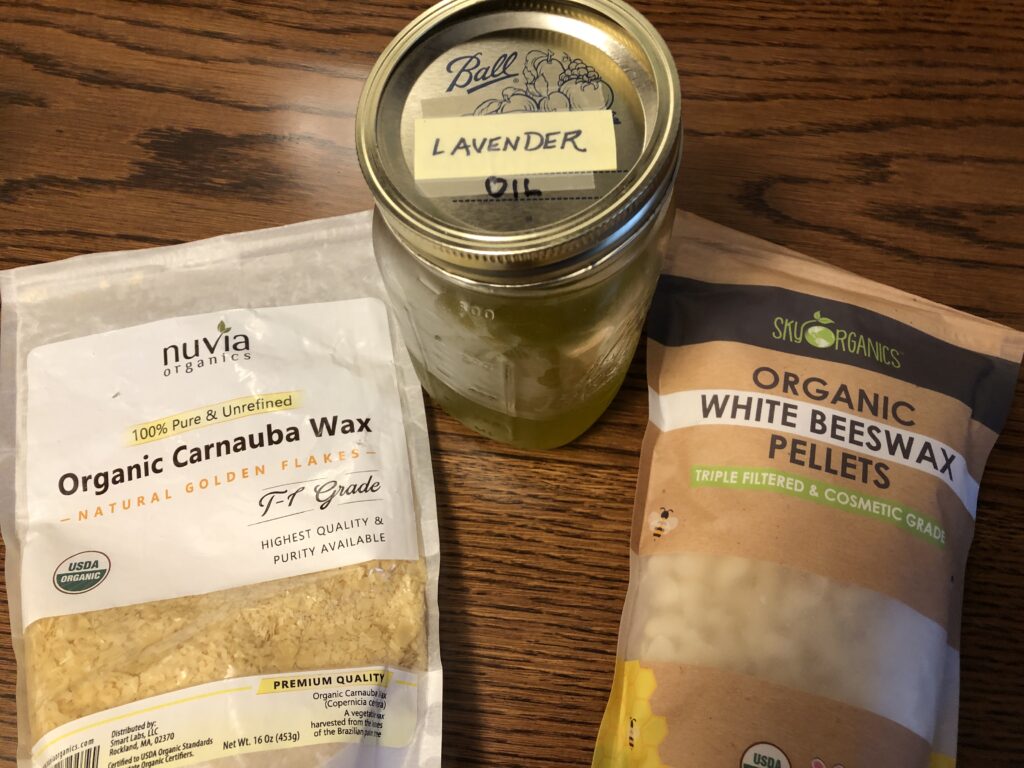
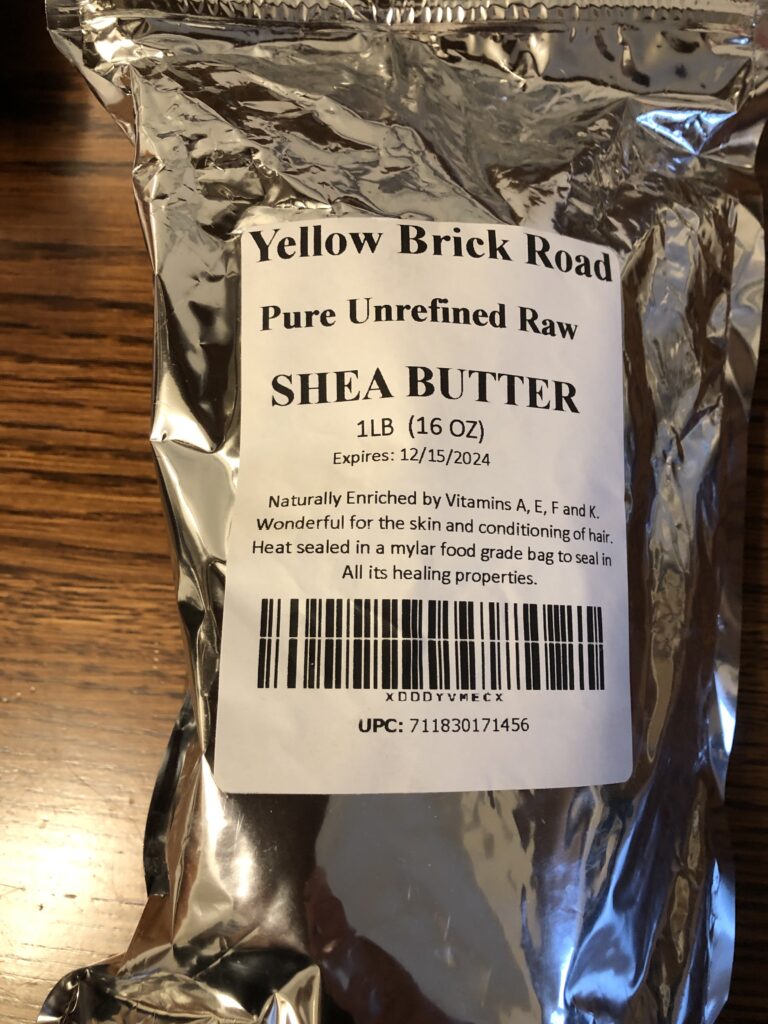
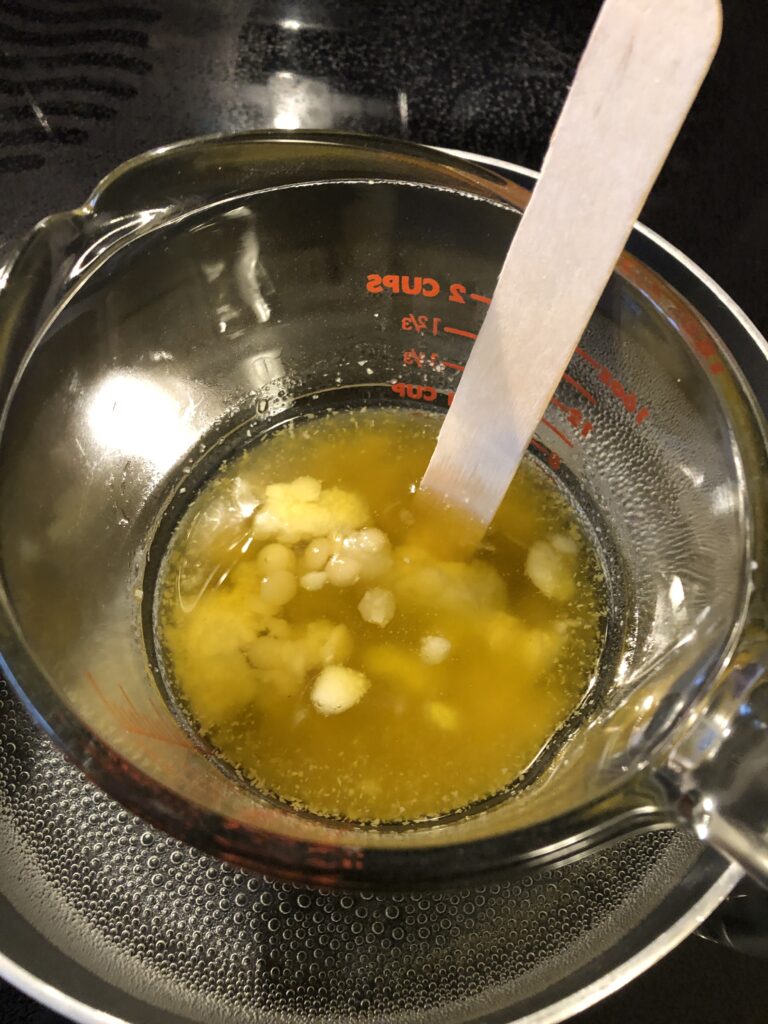
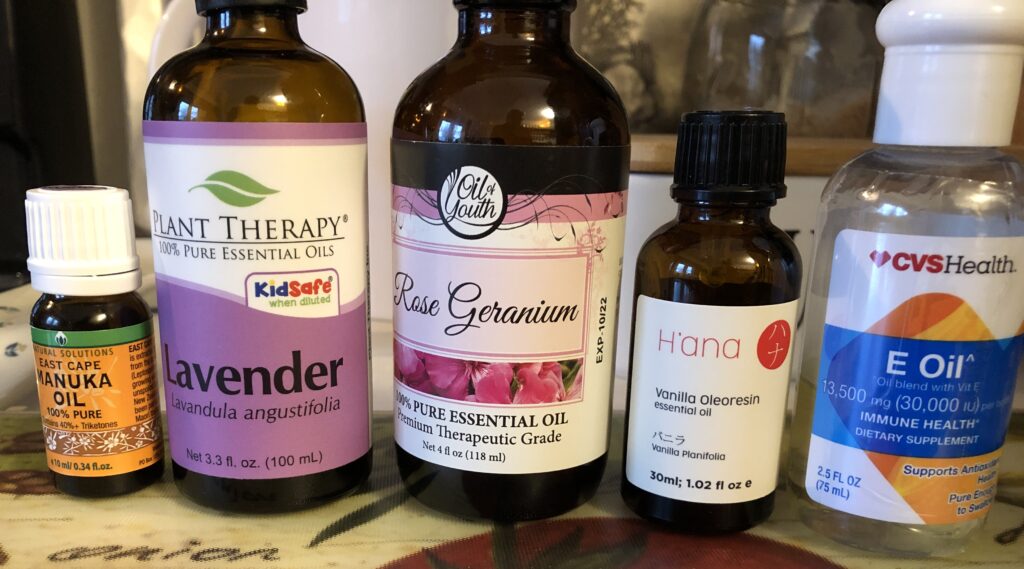
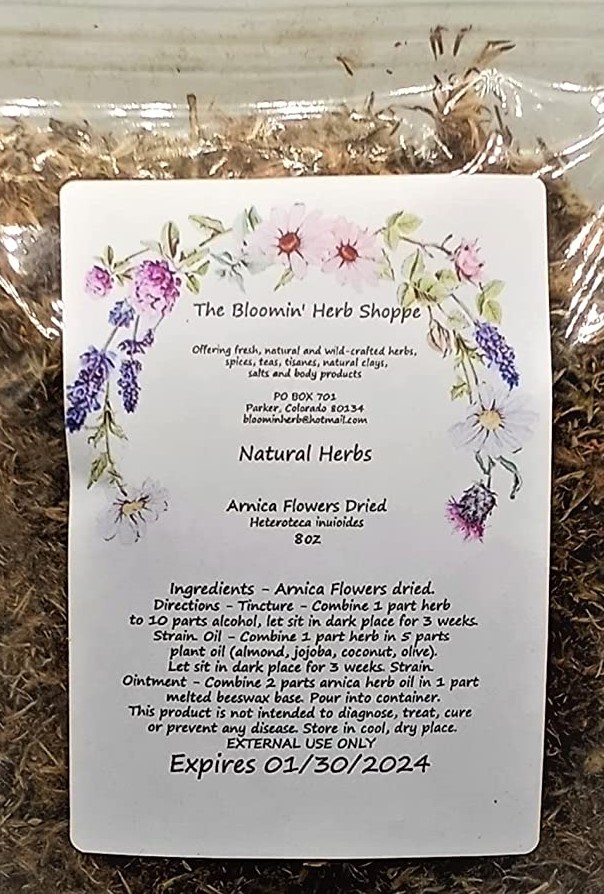
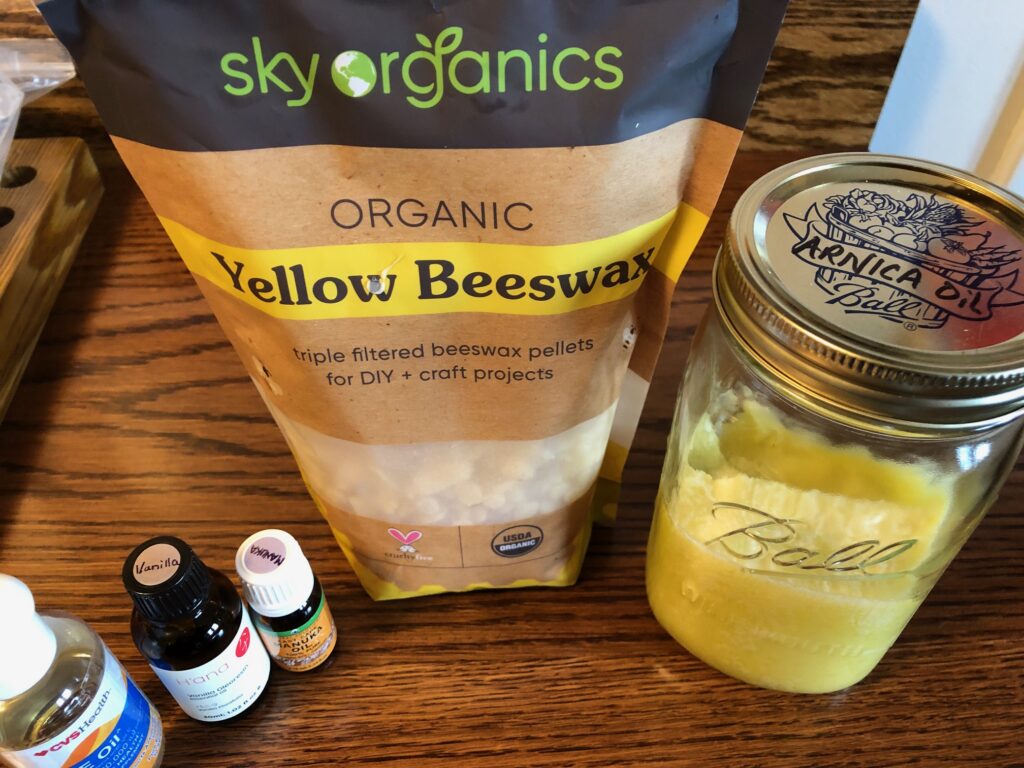
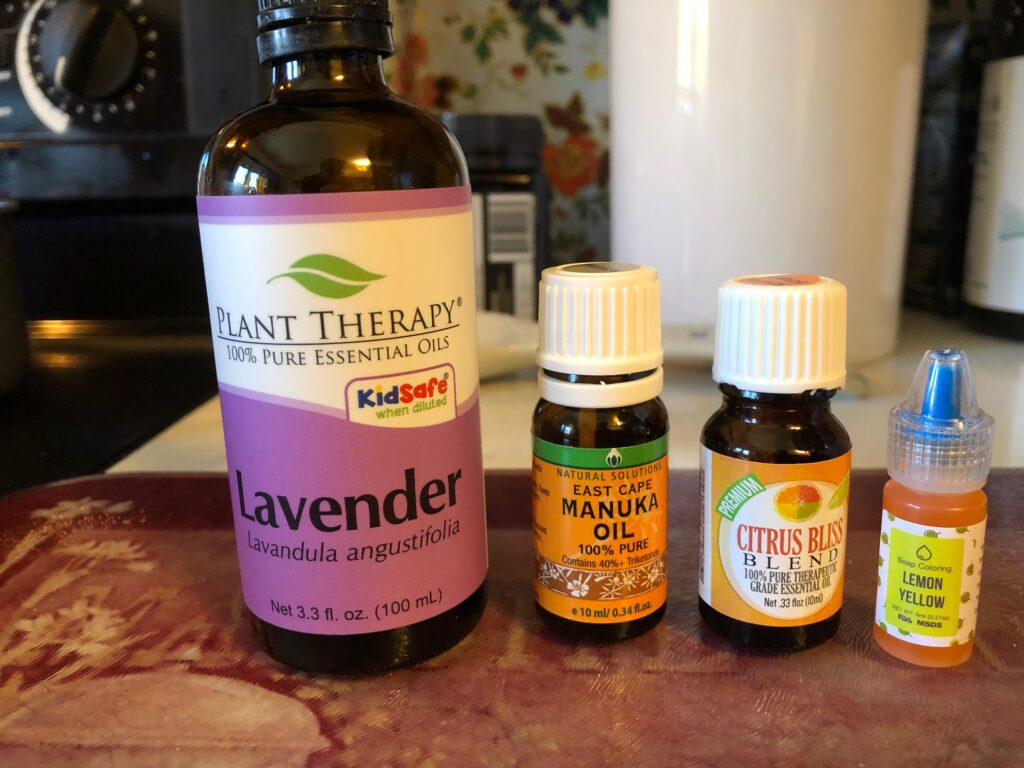
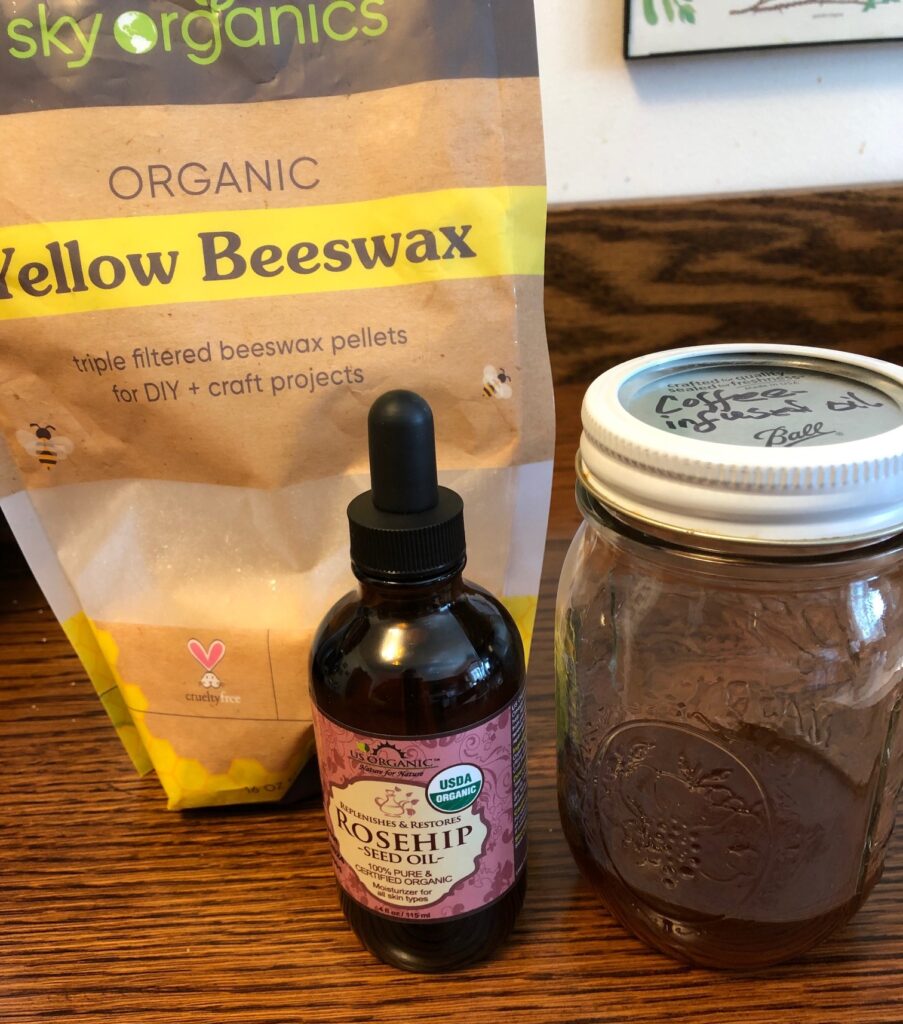
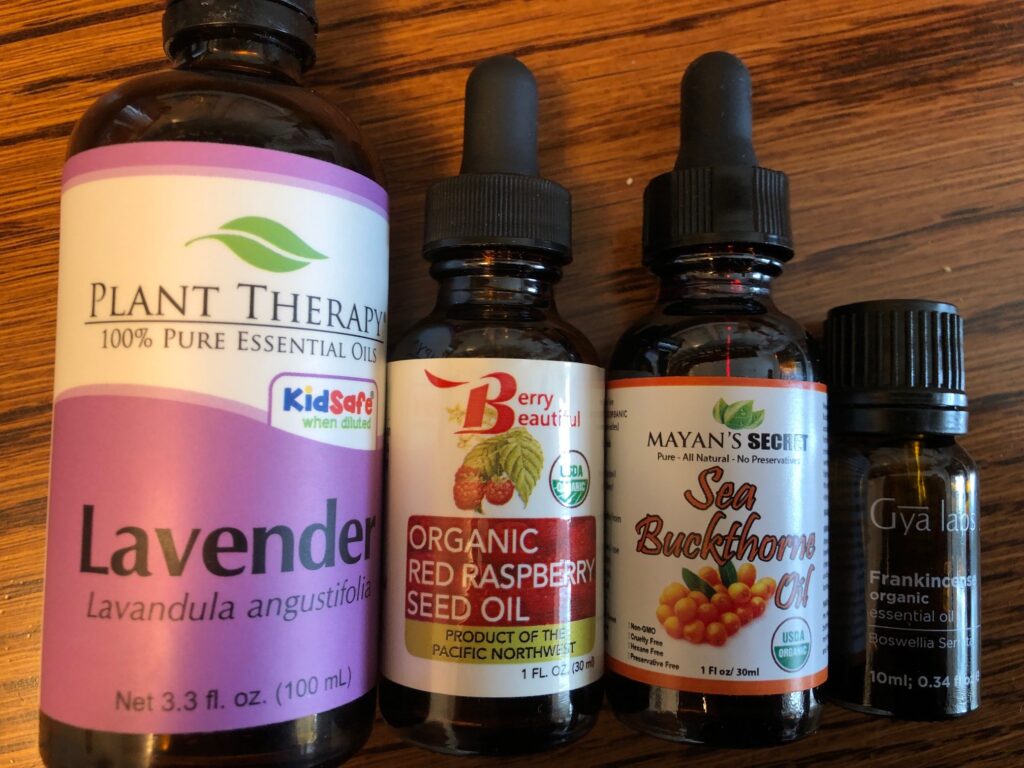
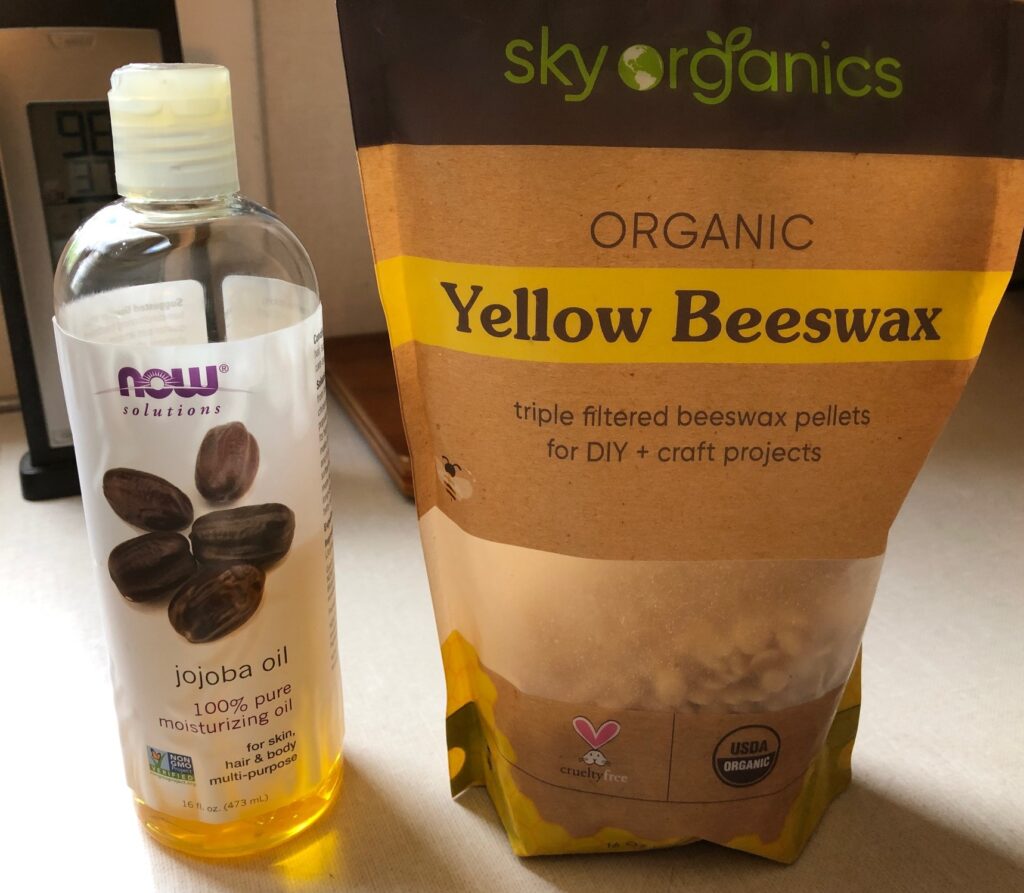
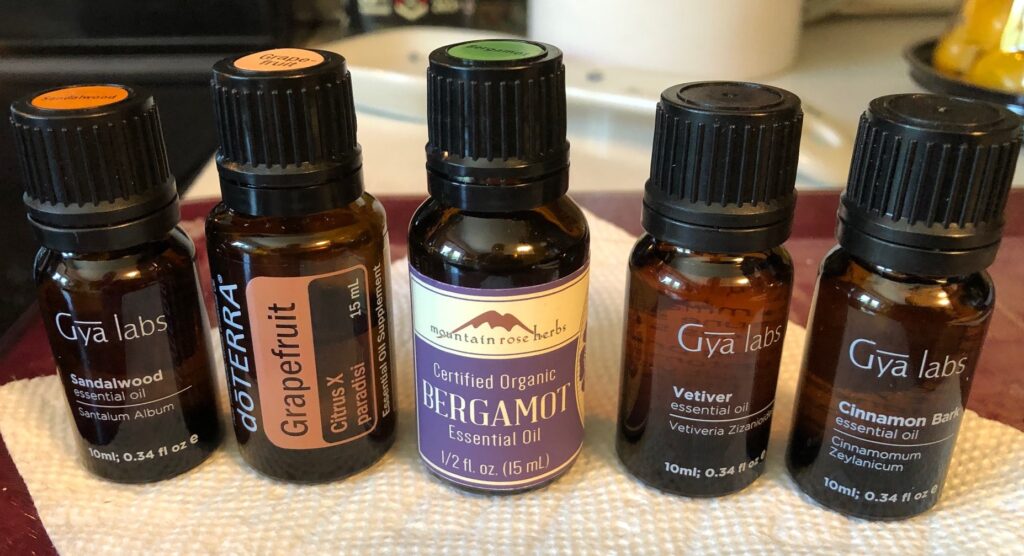
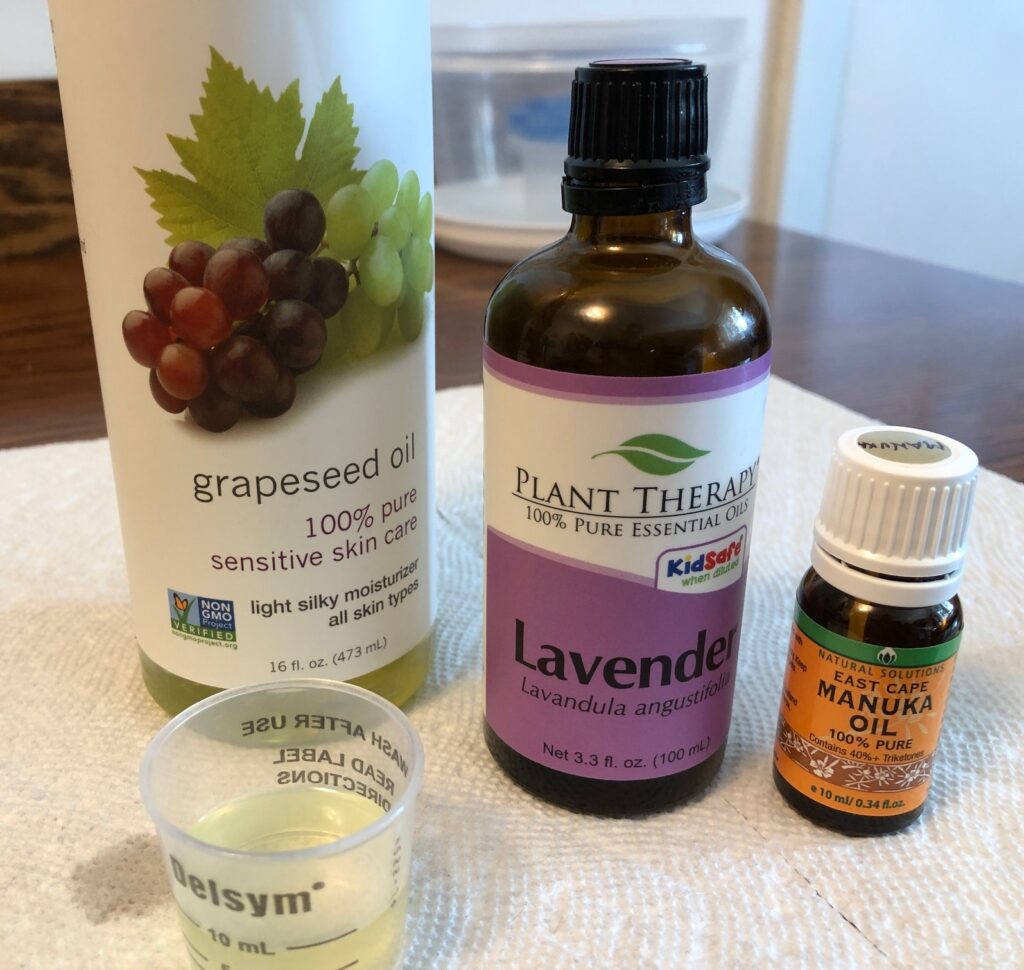
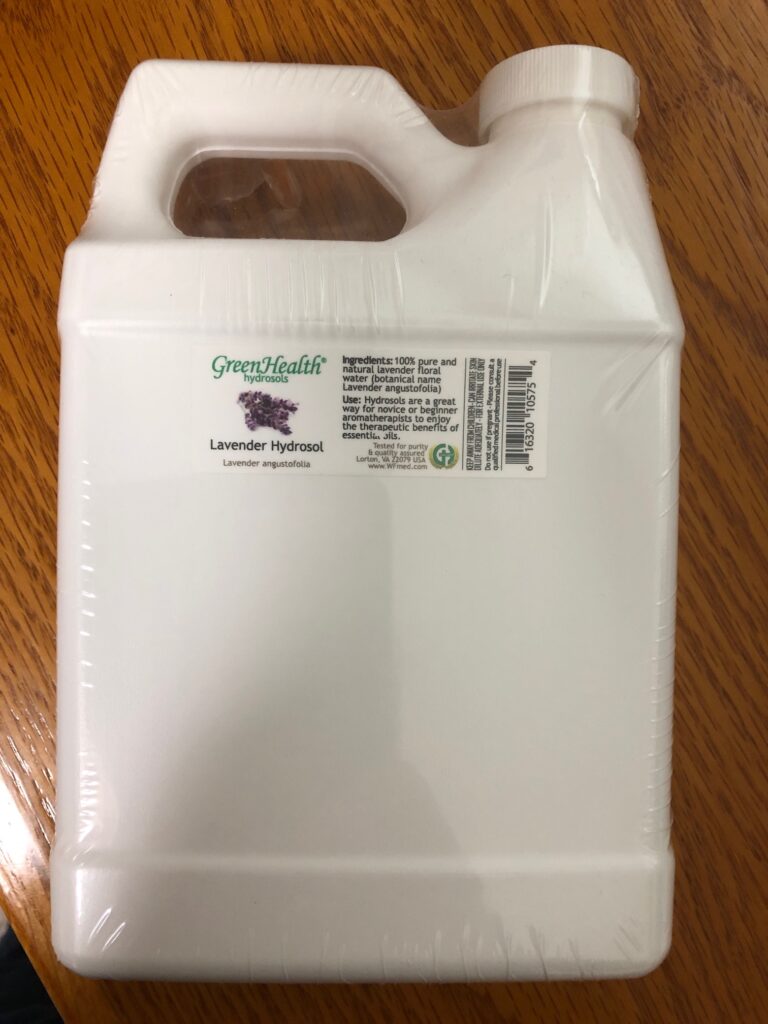
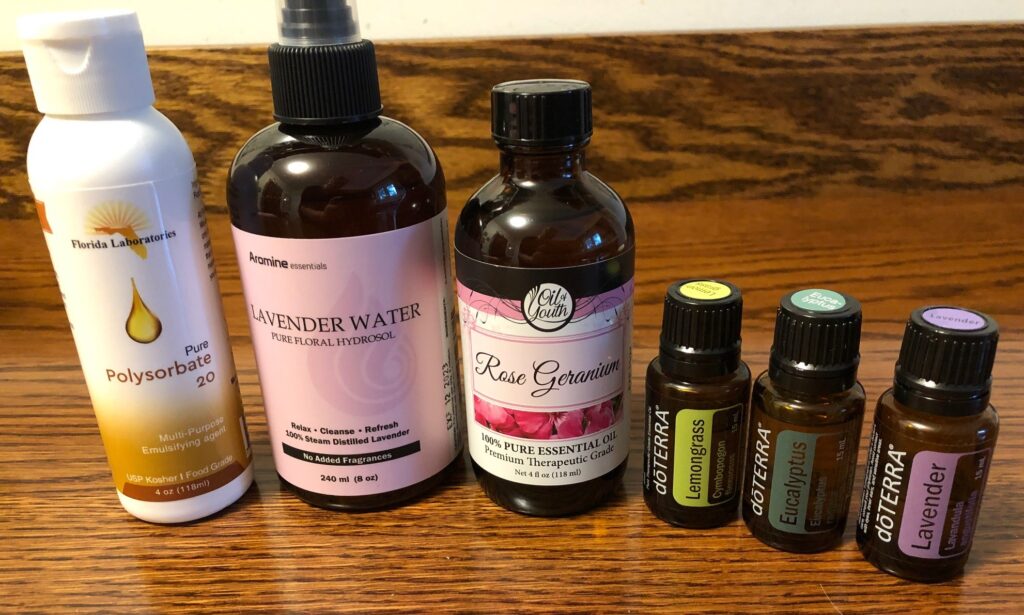
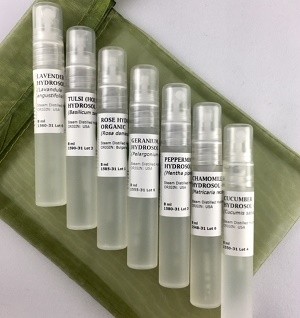
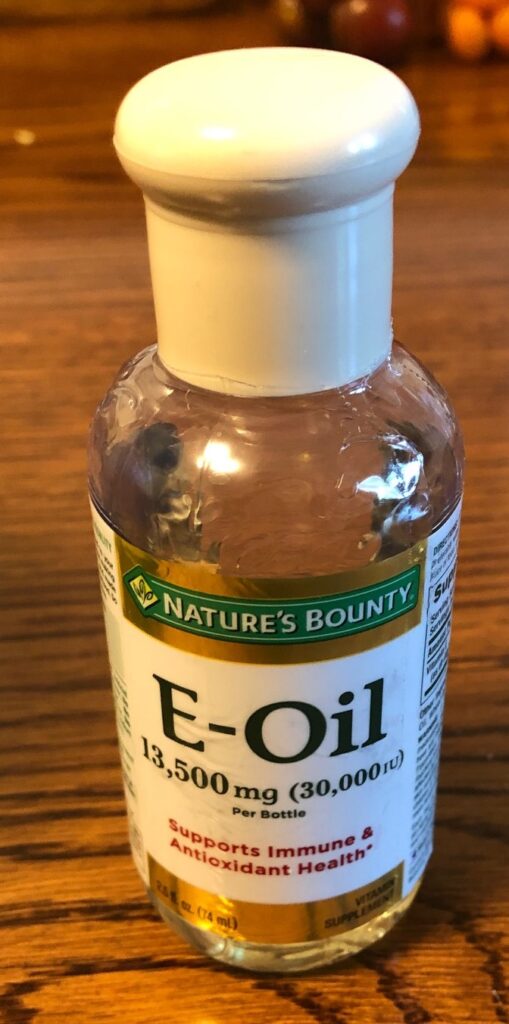
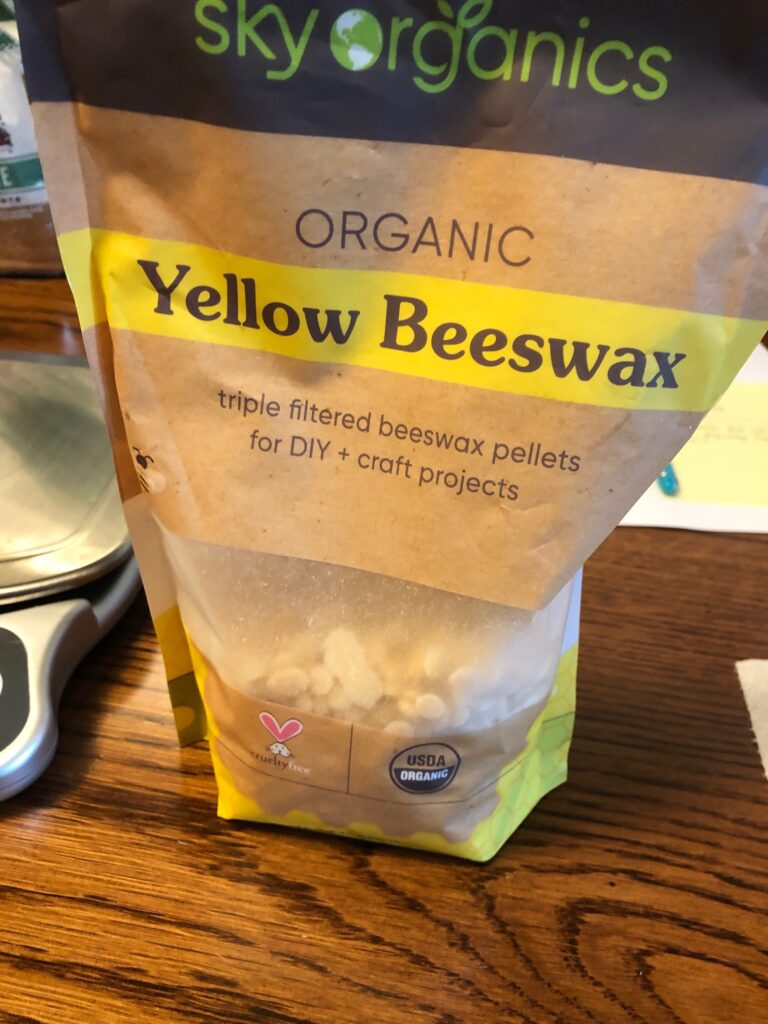
Here are the ingredients I use:
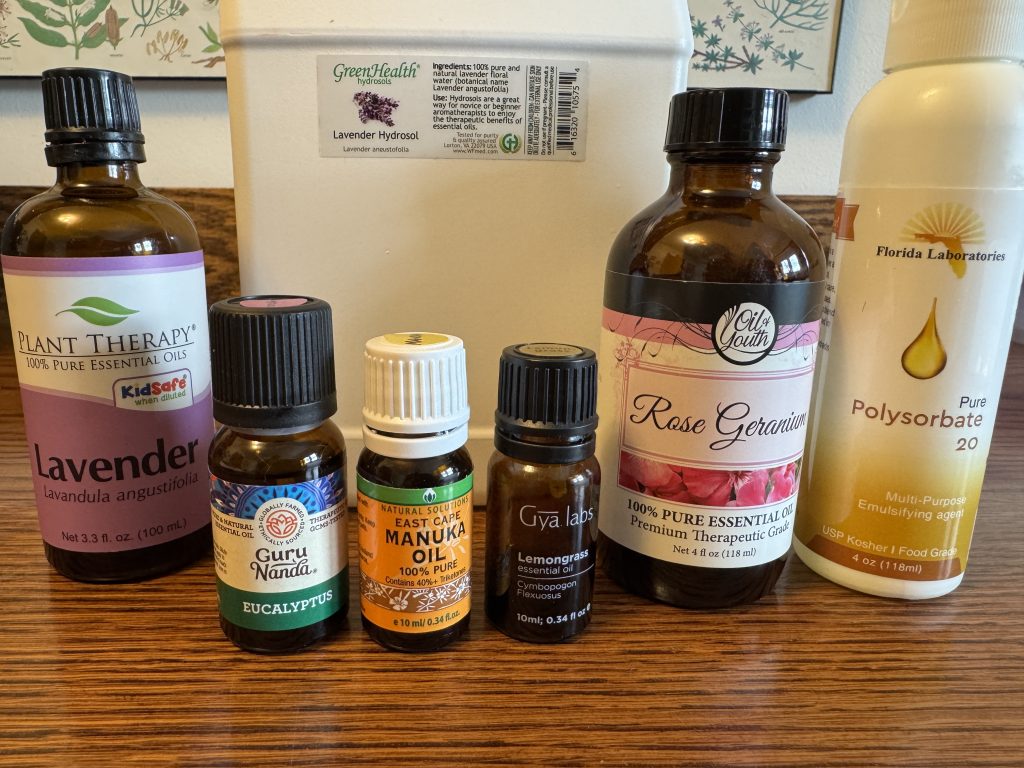
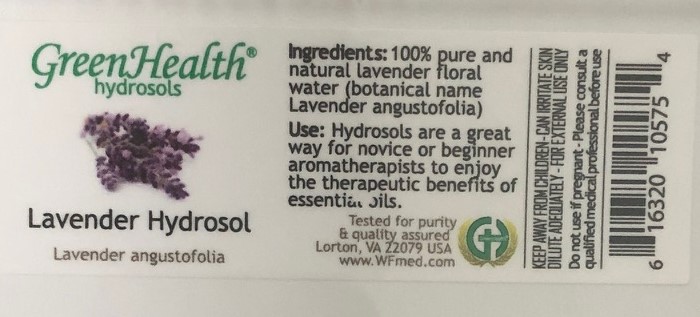
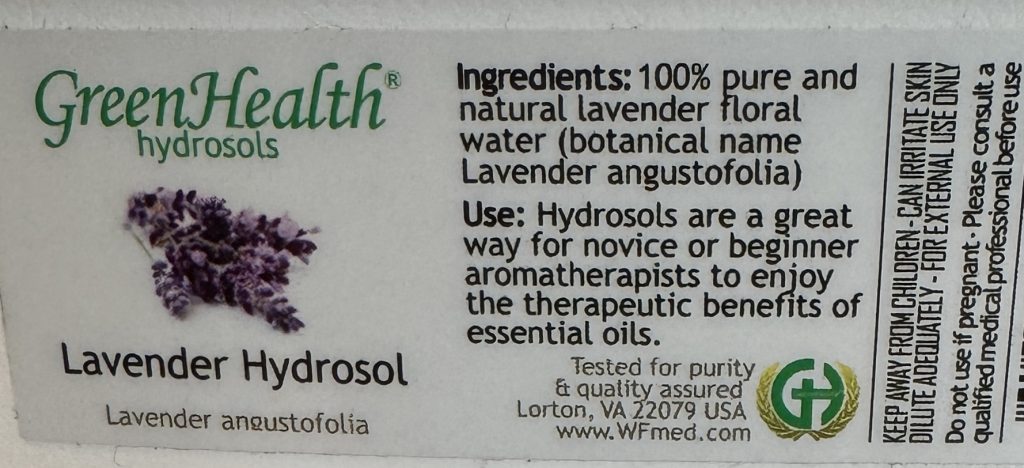
Here’s a close up of the Lavender Hydrosol label on the jug in the back row:
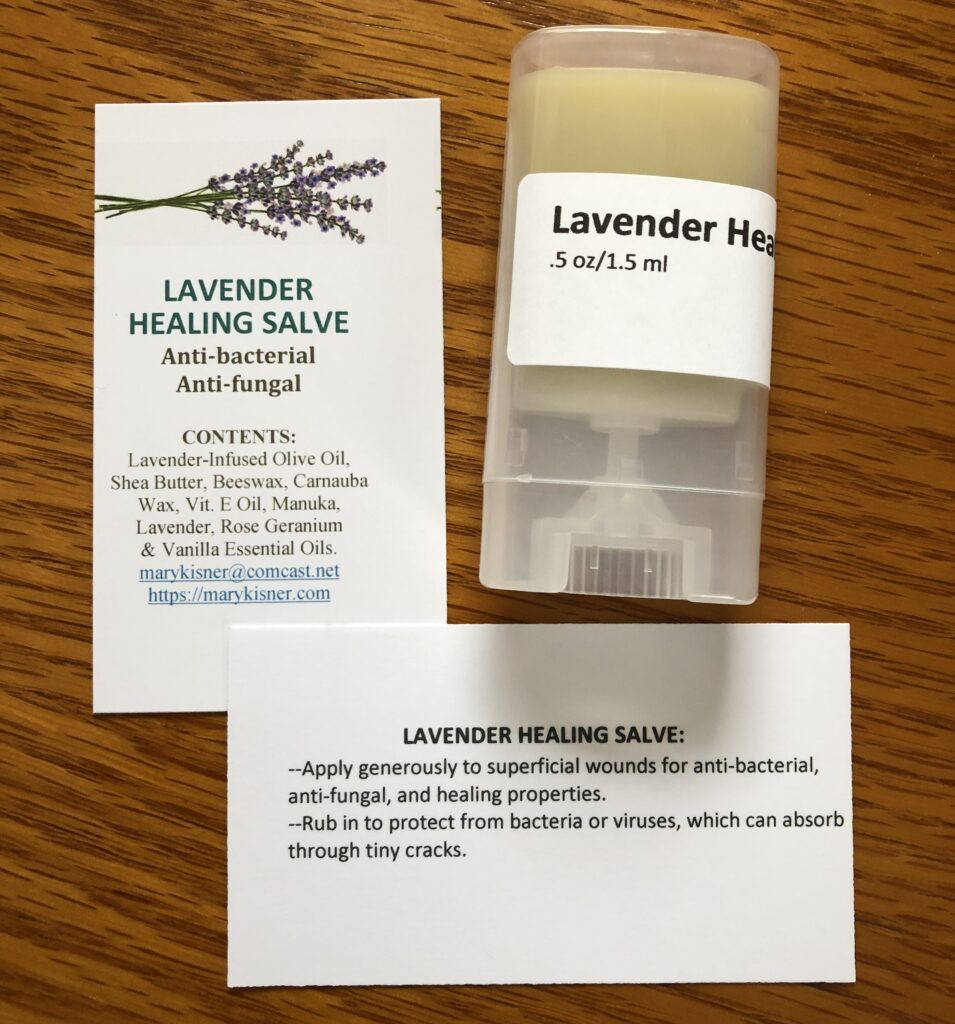
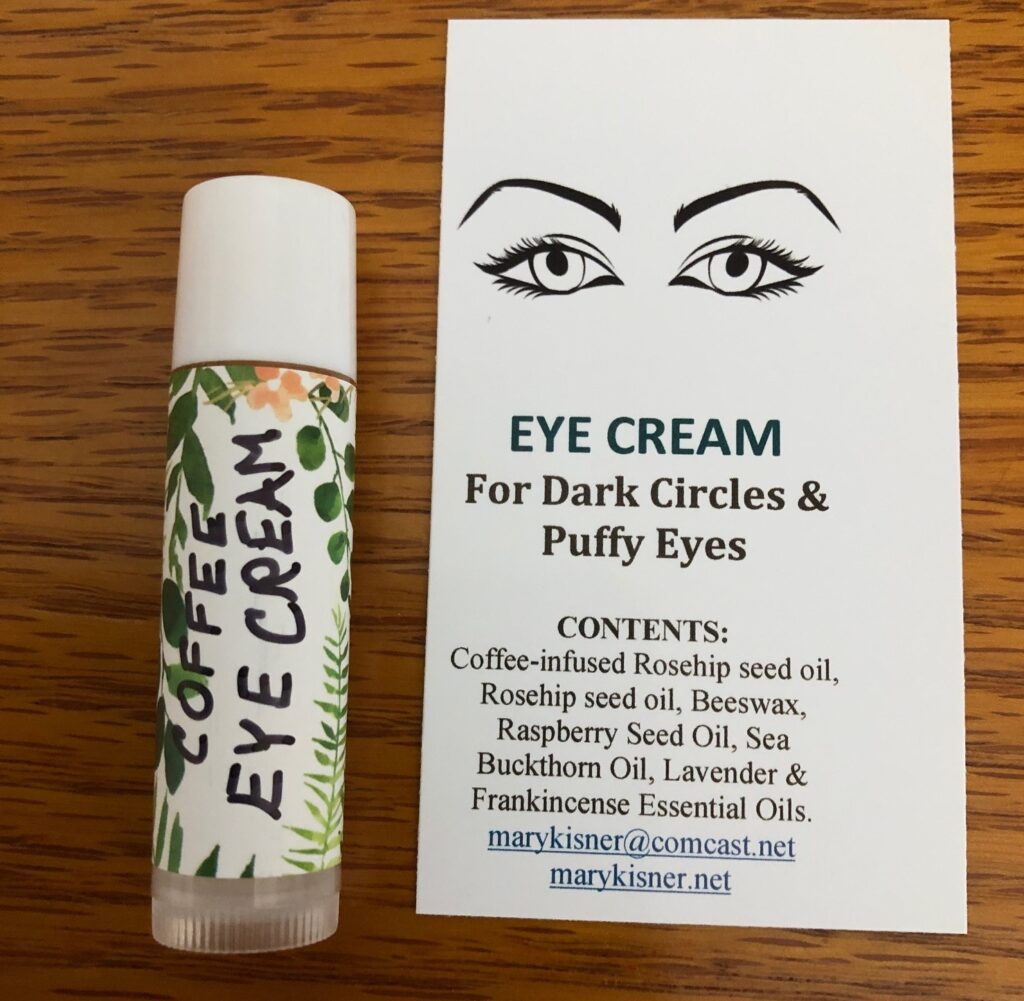
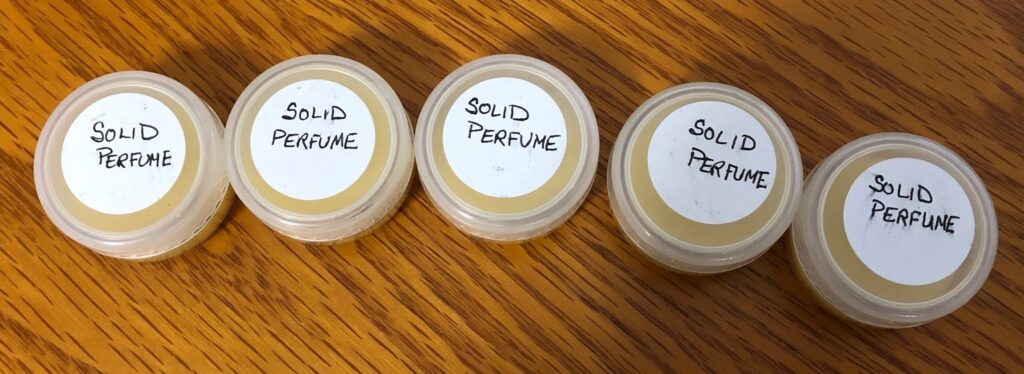
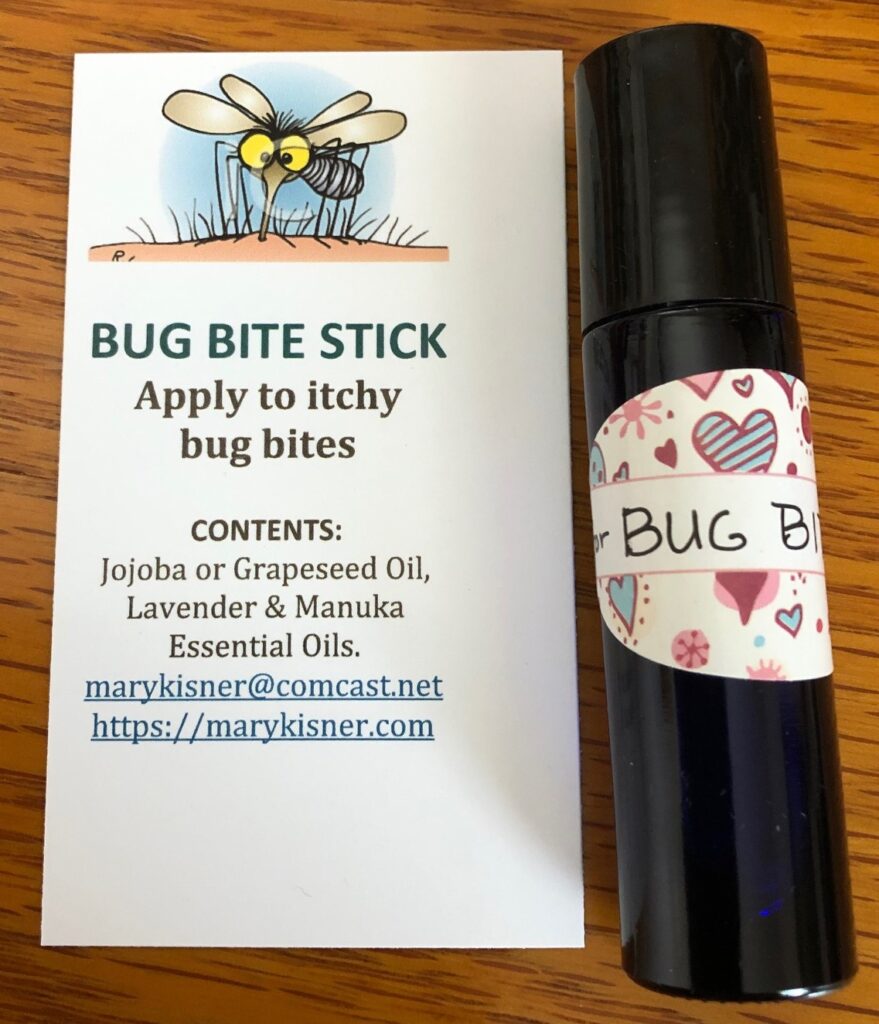
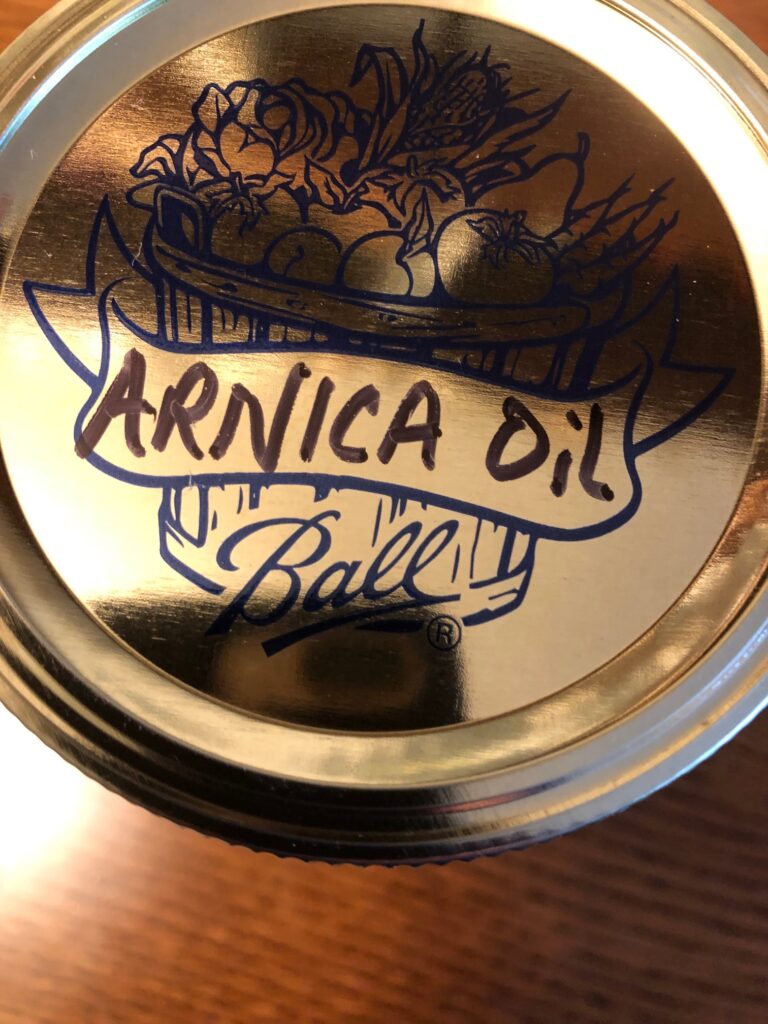
Labeling the bottle and/or spray bottle is important.
So try this recipe yourself! Enjoy the warm weather without the bugs or harmful chemicals!
ABOUT USING ESSENTIAL OILS WITH YOUR PETS
I found great information online from Dr. Maranda Elswick, who is a licensed veterinarian in Florida and Virginia. (For more information about Dr. Elswick see: https://iloveveterinary.com/blog/the-meowing-vet-dr-maranda-elswick/)
In another article, she provided a list of essential oils that are safe for dogs and a separate list for cats. Her information also included how to treat essential oil poisoning in dogs and cats. If you use any product with essential oils in them on your pets, please keep these lists nearby!
Essential Oils Safe for Dogs:
Cedarwood oil; Chamomile oil; Citrus oils (including lemon oil and orange oil); Eucalyptus oil; Fennel oil; Frankincense oil; Lavender oil; Lemongrass oil; Peppermint; Spearmint; and Rose Oil.
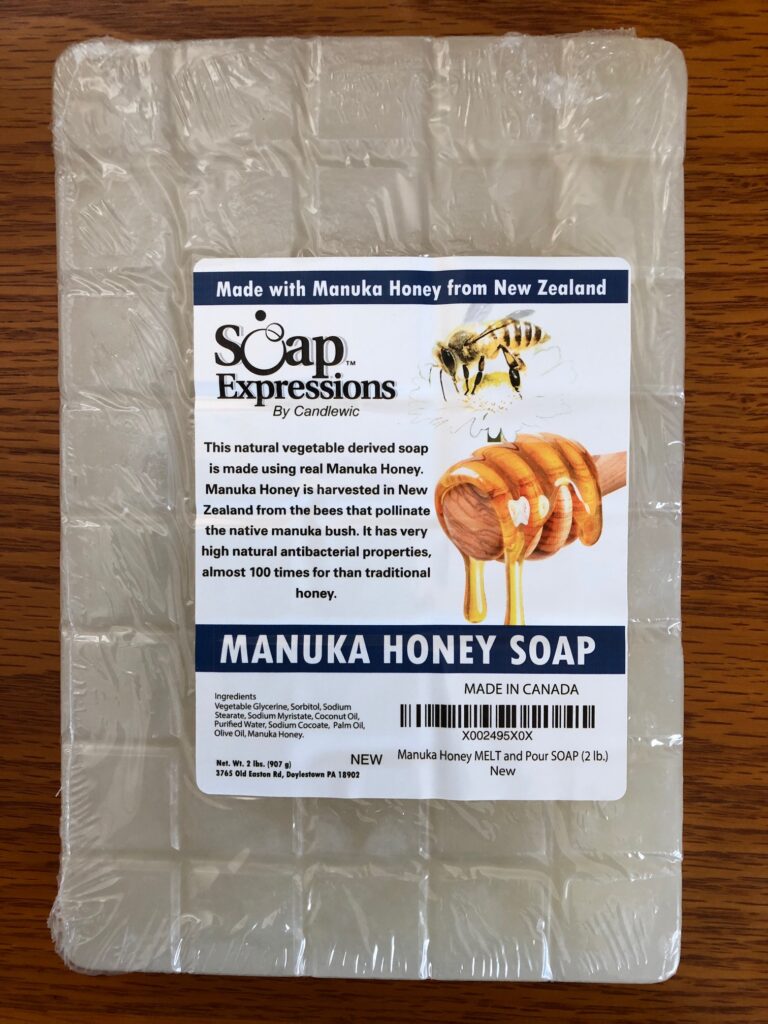
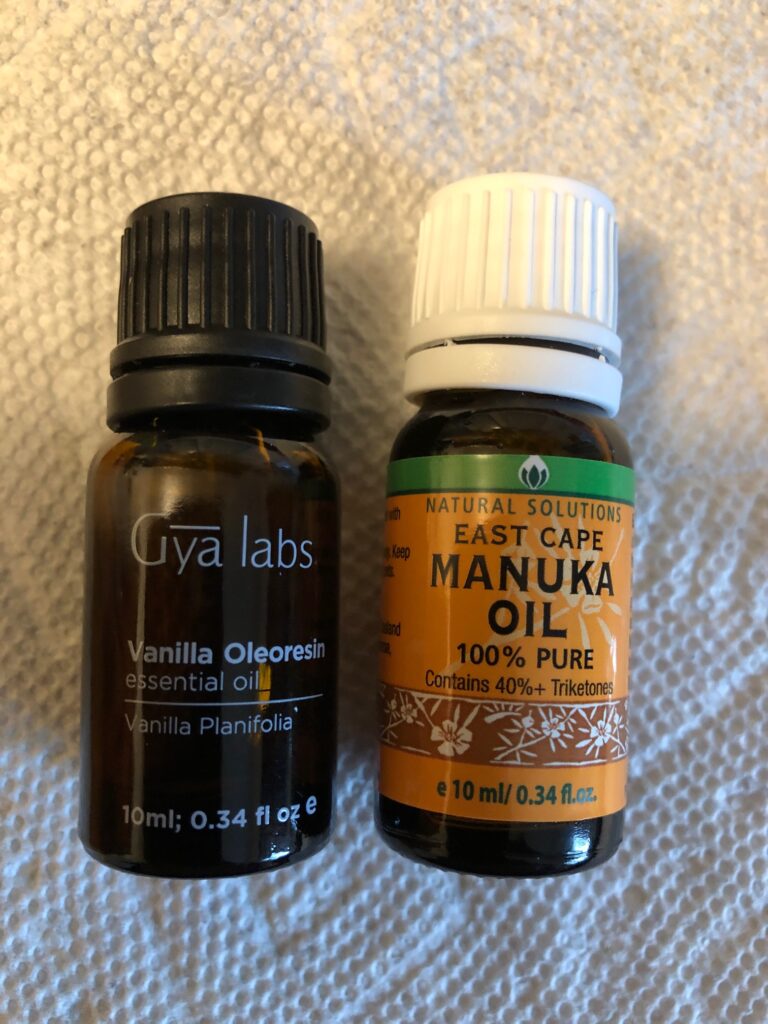
(I also researched Manuka Essential Oil and it was found to be safe for dogs. If you’d like to read more about Manuka Essential Oil see https://marykisner.com/manuka-essential-oil-fact-sheet/)
Essential Oils Safe for Cats:
Chamomile oil; Jasmine oil; Lavender oil; and Rose oil.
How to Treat Essential Oil Poisoning in Dogs and Cats:
If your dog or cat is experiencing mild respiratory irritation after inhaling an essential oil, move them to an area with fresh air.
If a concentrated essential oil came in contact with your pet’s skin or fur, wash the area with a pet-safe dishwashing liquid, such as Dawn.
If your dog or cat ingested an essential oil, consult with your veterinarian or poison control center immediately. Do not induce vomiting.
Essential Oils and Pets: Tips and Advice
Fortunately, the majority of essential oil toxicity cases carry a good prognosis with prompt detection and veterinary treatment. However, prevention is key. Pet parents can reduce the risk of harm to their dogs and cats by following these safety tips when using essential oils at home:
SAFETY TIPS FOR USING ESSENTIAL OILS AROUND PETS
Only use pet-safe essential oils from reputable brands, and dilute appropriately with a pet-friendly carrier oil before administering to your dog or cat. Avoid use around animals more susceptible to ill effects. Never feed a highly-concentrated product to your pet or apply it topically.
Never force an essential oil on your pet…even those deemed pet-safe…if they don’t appear to like it. Try the “smell test” to introduce your pet to the oil first.
Do not add essential oils to your pet’s food.
Keep essential oil bottles and products out of your pet’s reach or locked in a cabinet. This includes the reservoirs for diffusers and liquid potpourri, which pets can easily knock over if left unattended. Ingesting large quantities can be fatal!
If using a passive diffuser, make sure your pet can get away from the area. Avoid use around birds.
Avoid using an active diffuser when your pet is in the room, especially around birds and pets that groom frequently, such as cats.
Limit your use of diffusers, sprays, and other essential oil products to a short period of time, and air out the room before allowing your pet inside.
Avoid combining different oils (which can inadvertently raise the concentration), and avoid using pure products or blends in which the concentration is not specified on the label!
STAY SAFE WITH YOUR PETS!