I recently came across an article about making aromatherapy soap dough. This project sounded like such a neat idea! The article was written by Jan Berry who has written my favorite book about working with melt and pour soap:
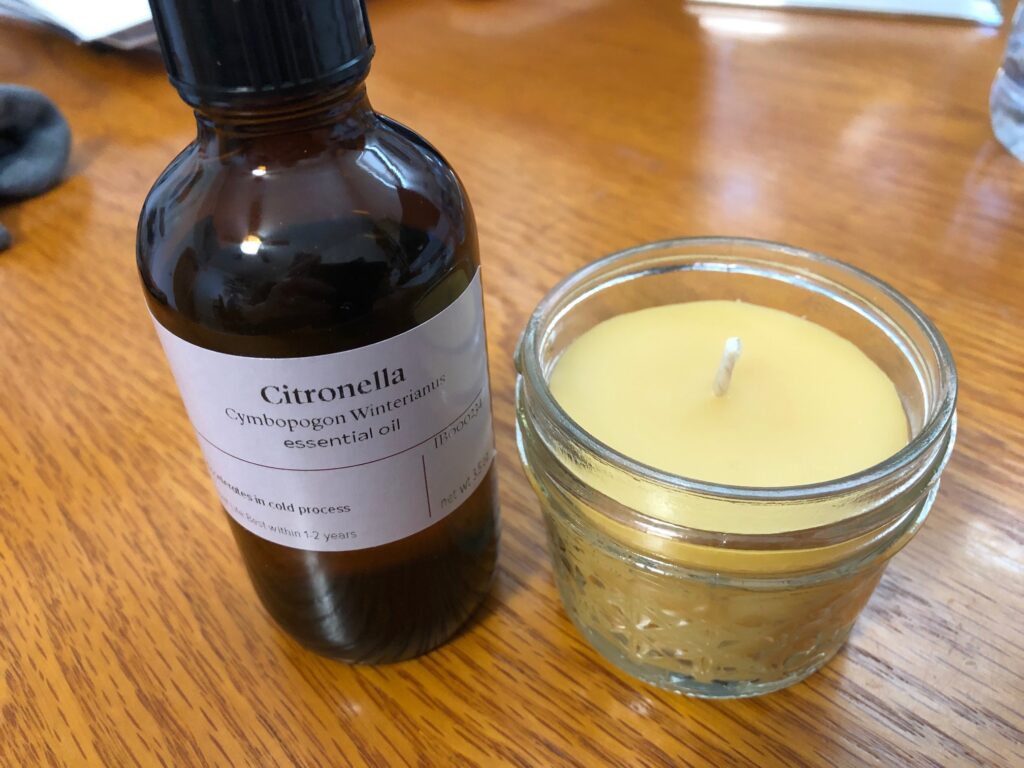
The focus of this aromatherapy project had to do with the various scents and how working with dough that had a specific scent could, for example, calm the child (lavender), brighten their mood (lemon), or even soothe overexcitement (Himalayan cedarwood). Therefore, the amount of scent in each batch was quite strong. The recipe called for 1/8 plus 1/16 tsp. of essential oil. Since most essential oils are measured by the drop, 1/4 tsp. of essential oil represents 20-30+ drops in 5 oz. of soap.
For this project, you melt the soap of your choice, add soap tint and essential oils, and then stir in 3-4 tablespoons of cornstarch until it makes a soft dough. The pictures in the article showed a small ball of tinted play-dough-type clay that kids could roll out and cut out shapes, let them dry and then use them to wash their hands.

After giving this recipe a try my final recommendation is…this project was more trouble than it was worth. I can’t imagine trying to make enough of this dough for kids to play with. You might have a better result than I did, but I don’t plan to spend any more time trying to get it right!
Making the Soap Dough
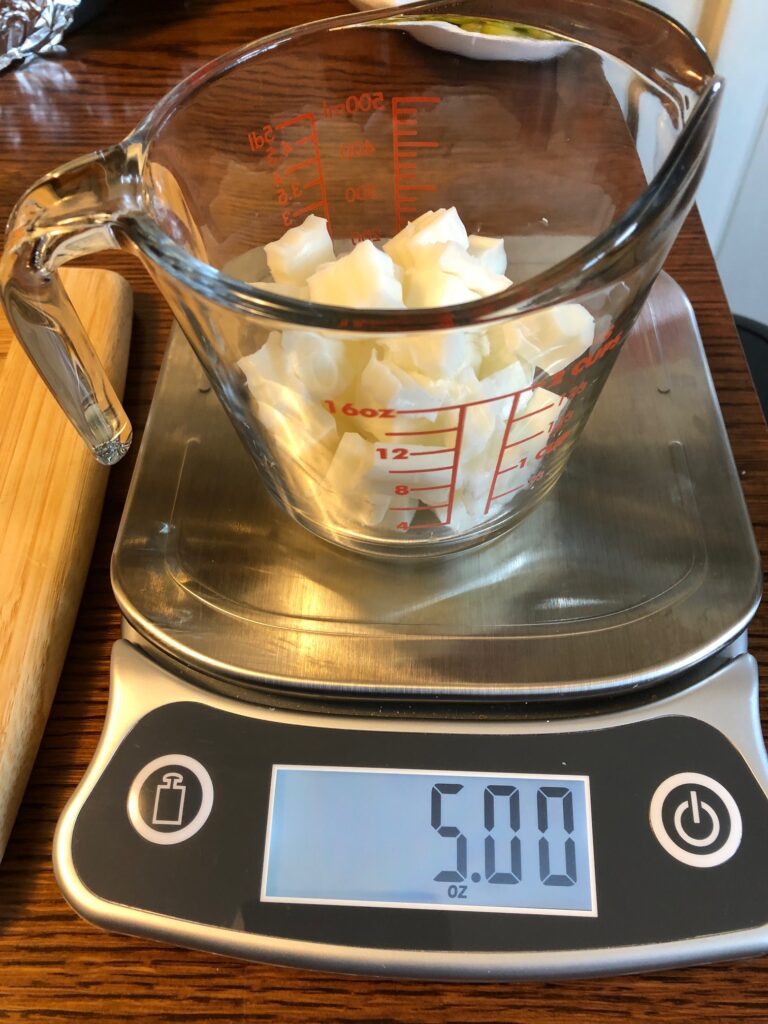
Step 1: Melt the Soap
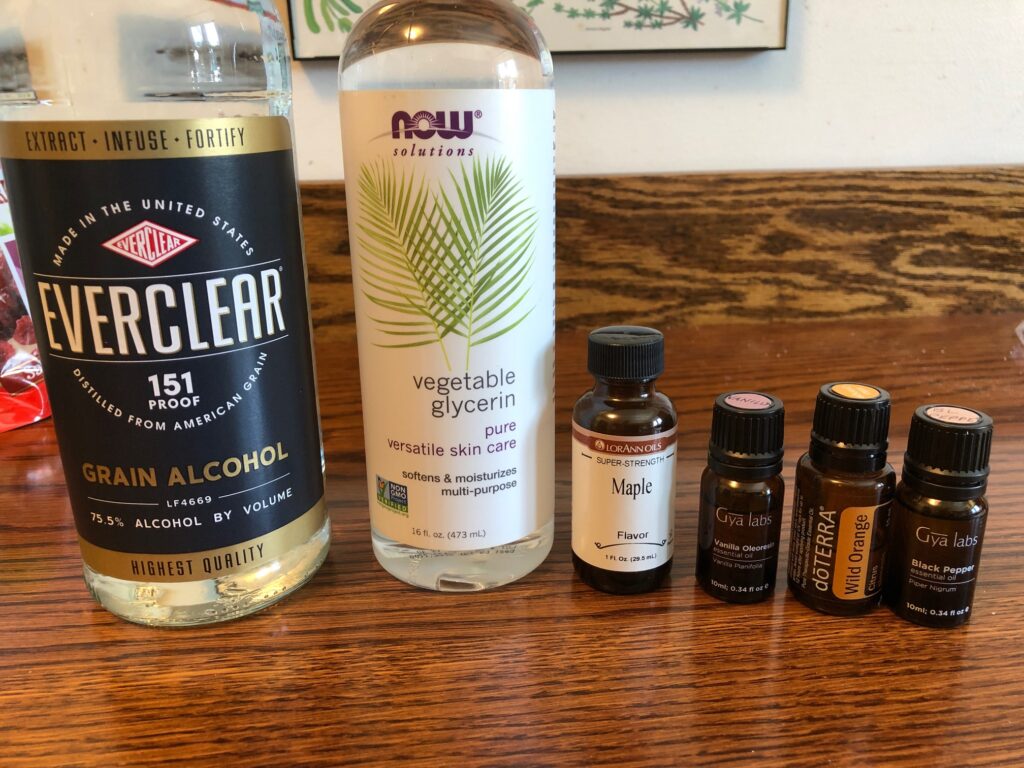
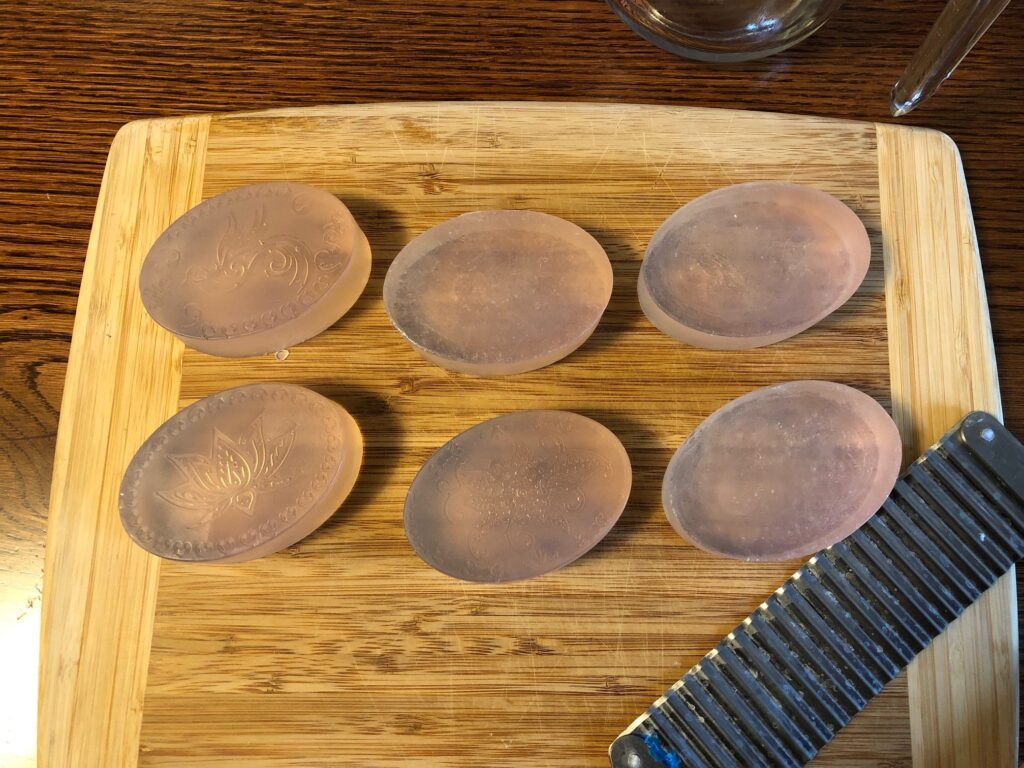
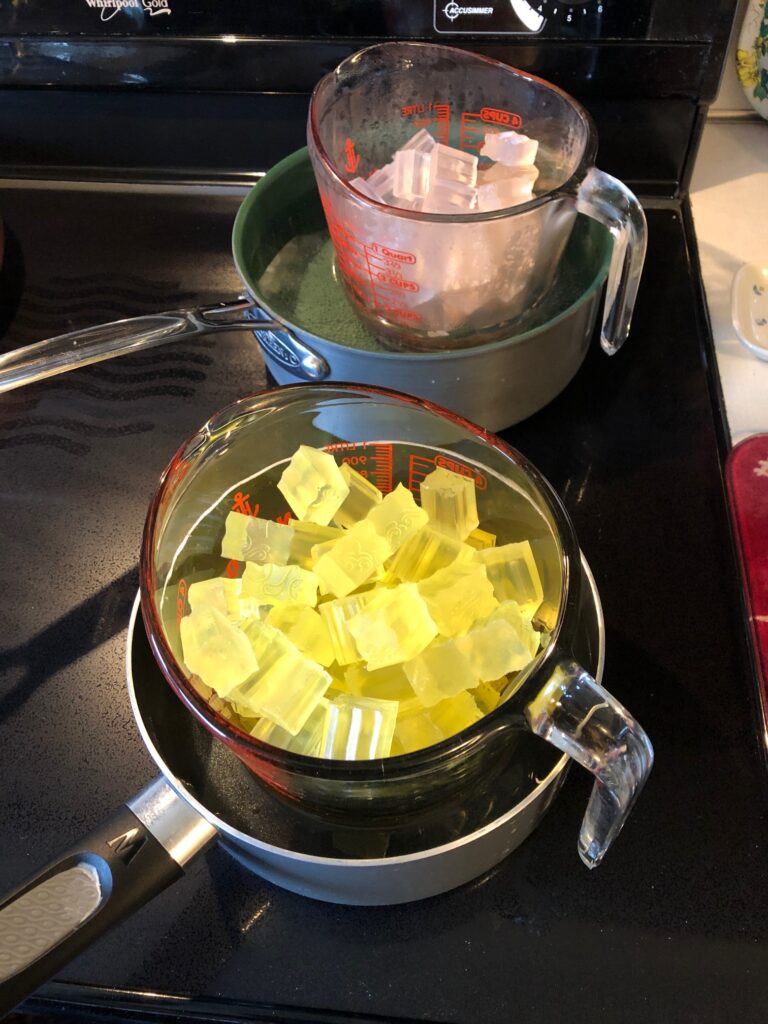
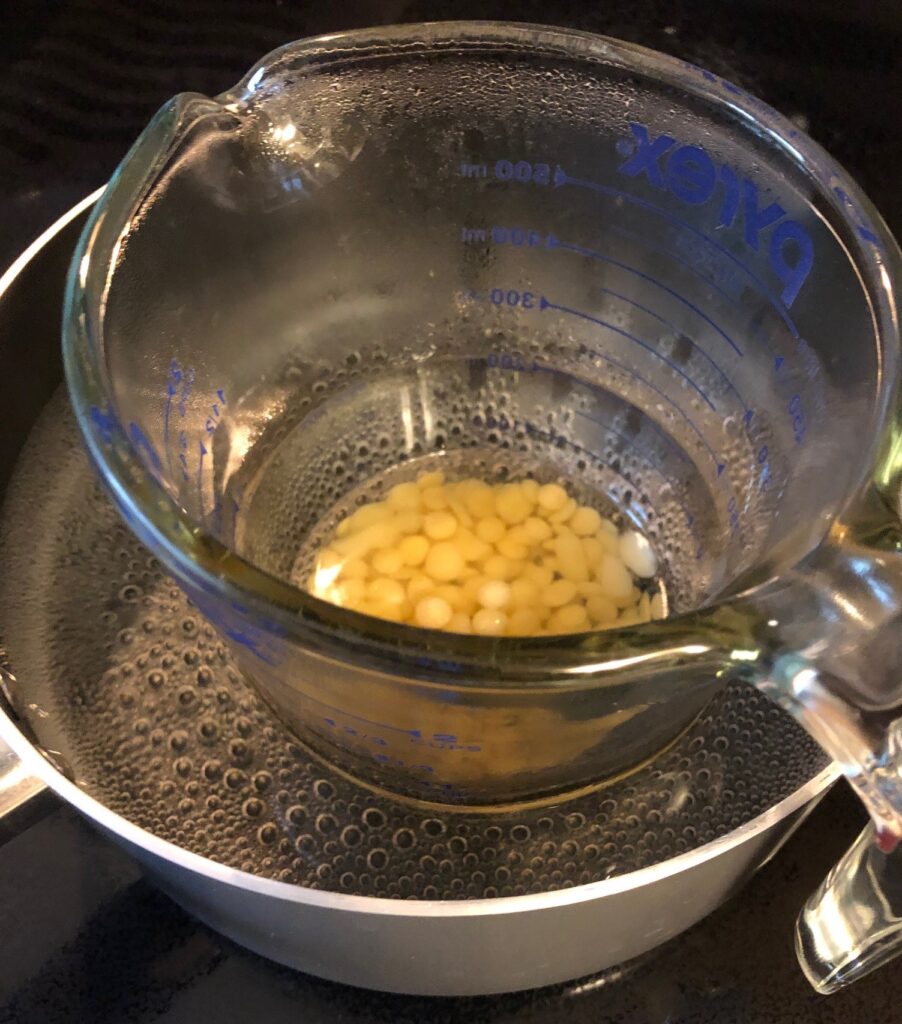
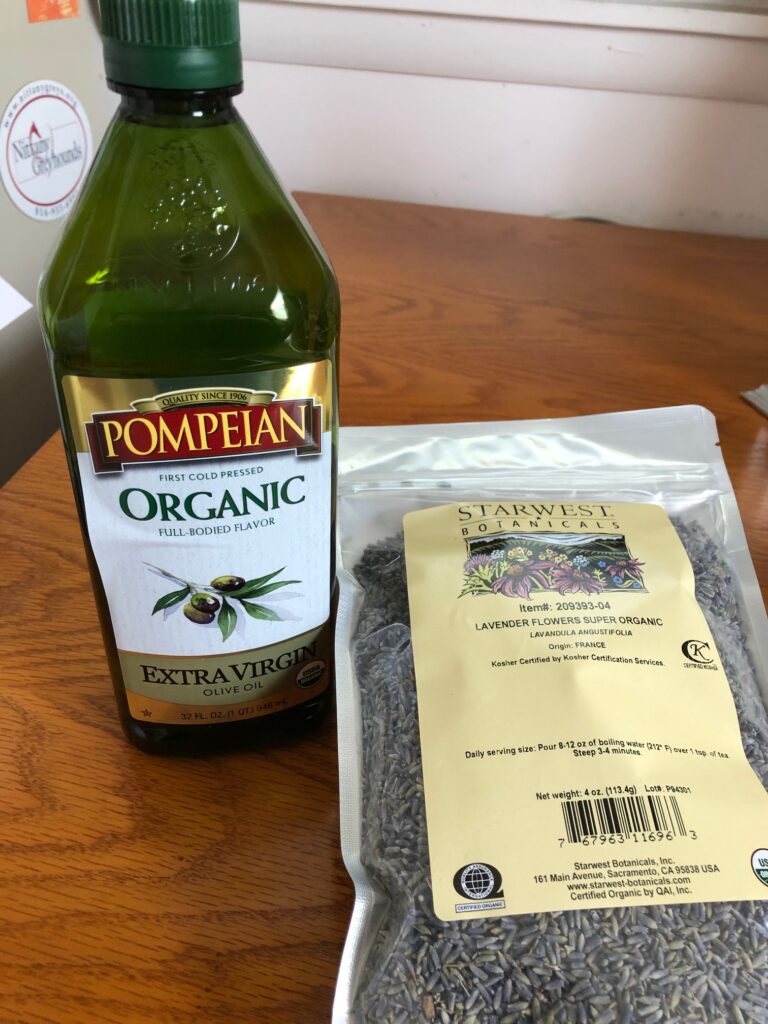
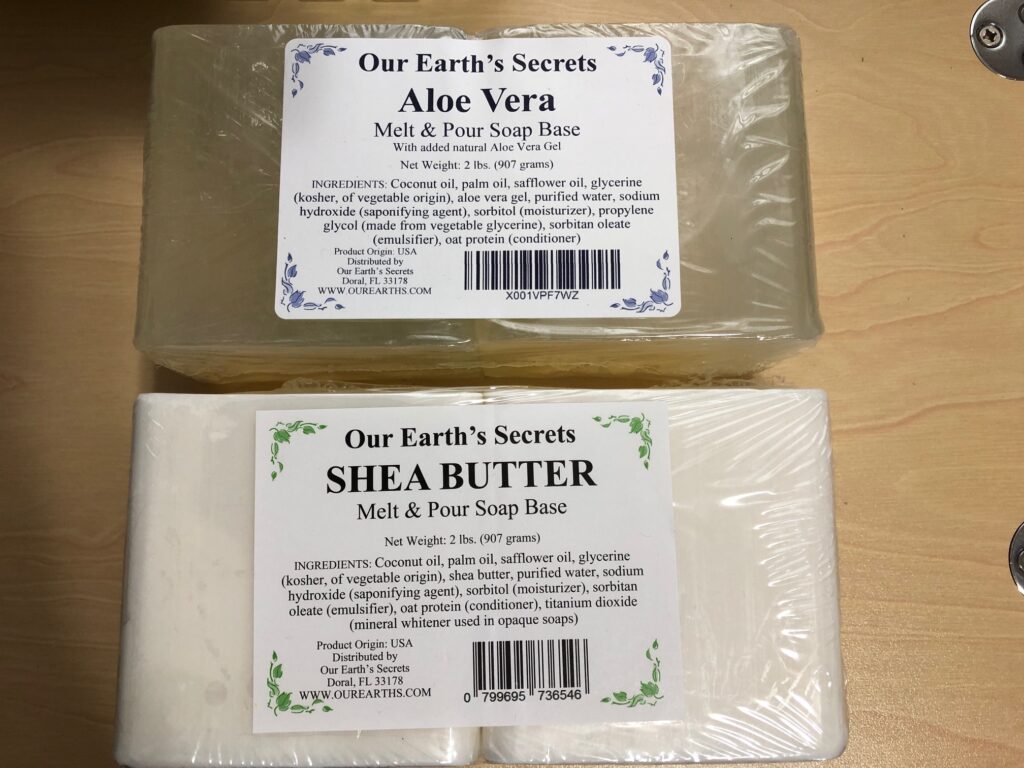
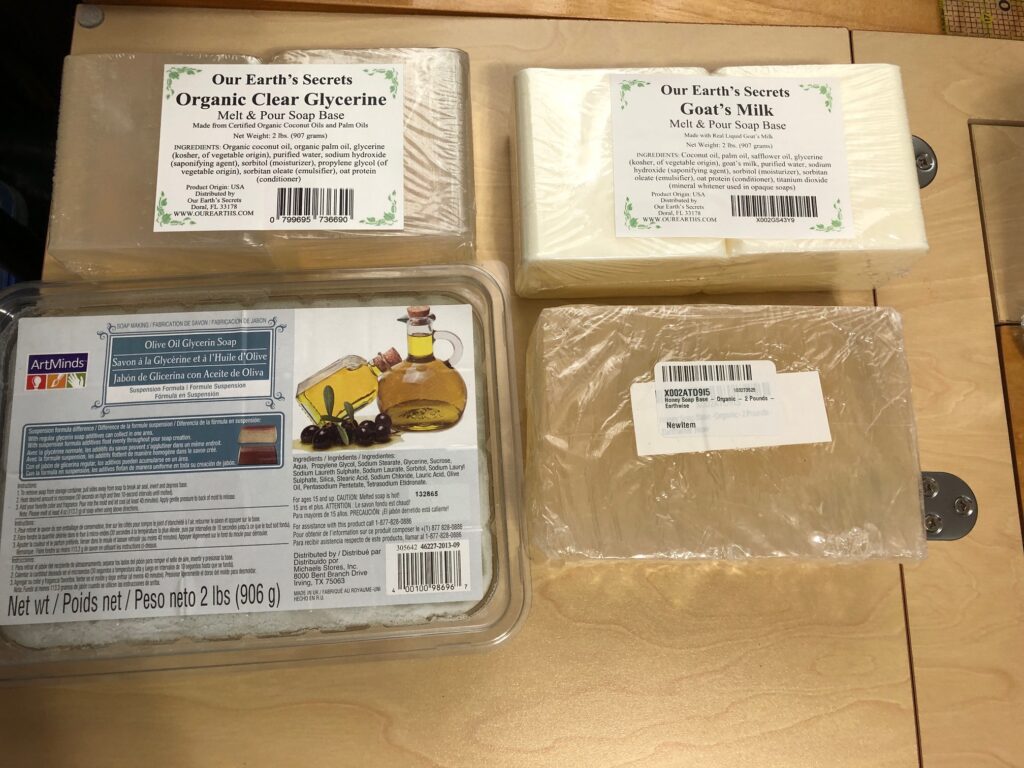
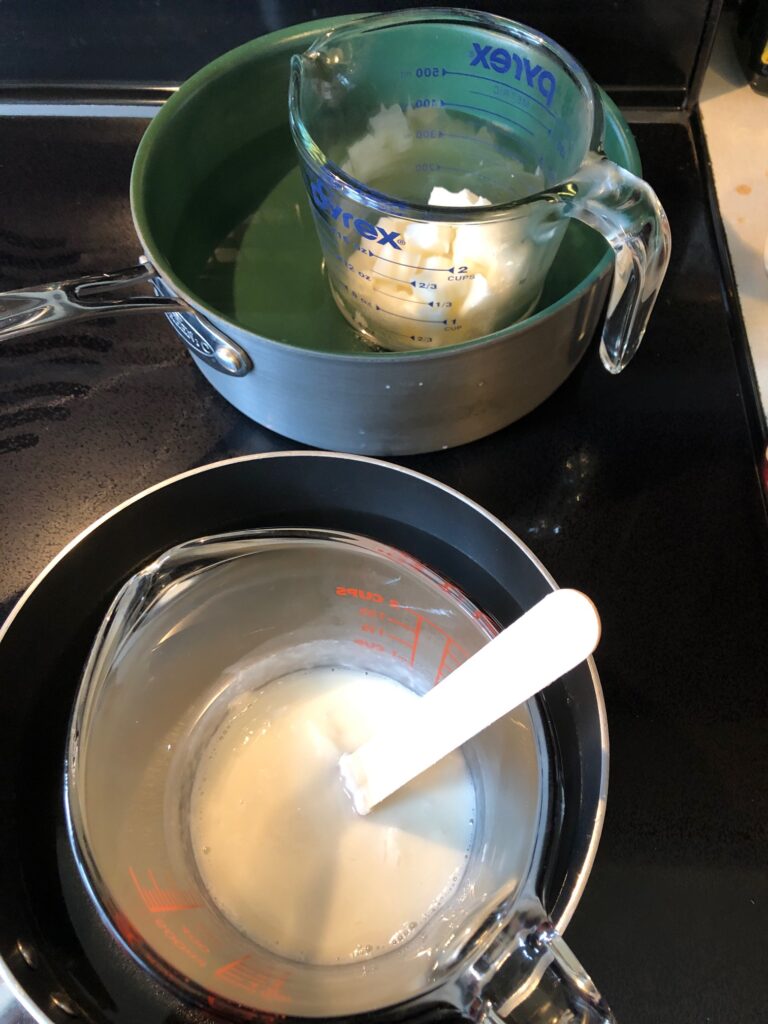
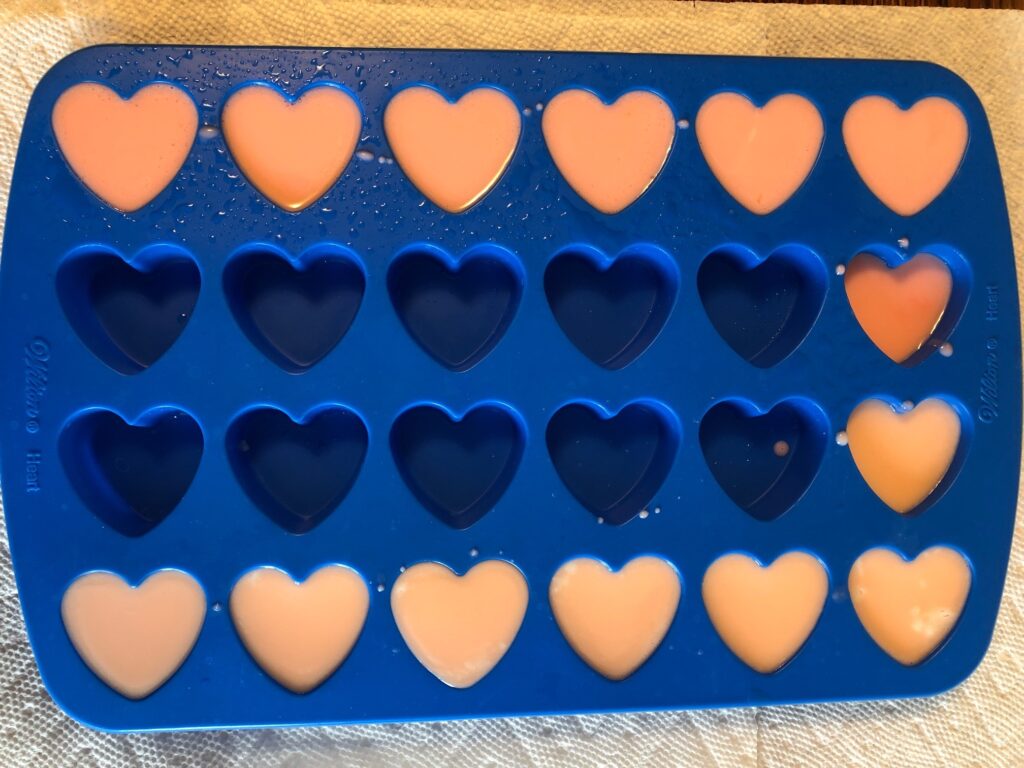
I started with 1 lb. of Goats Milk melt & pour soap base. I divided the pound into 3 glass measuring cups by chunking it up and weighing each cup. I needed 5 oz. in each cup.

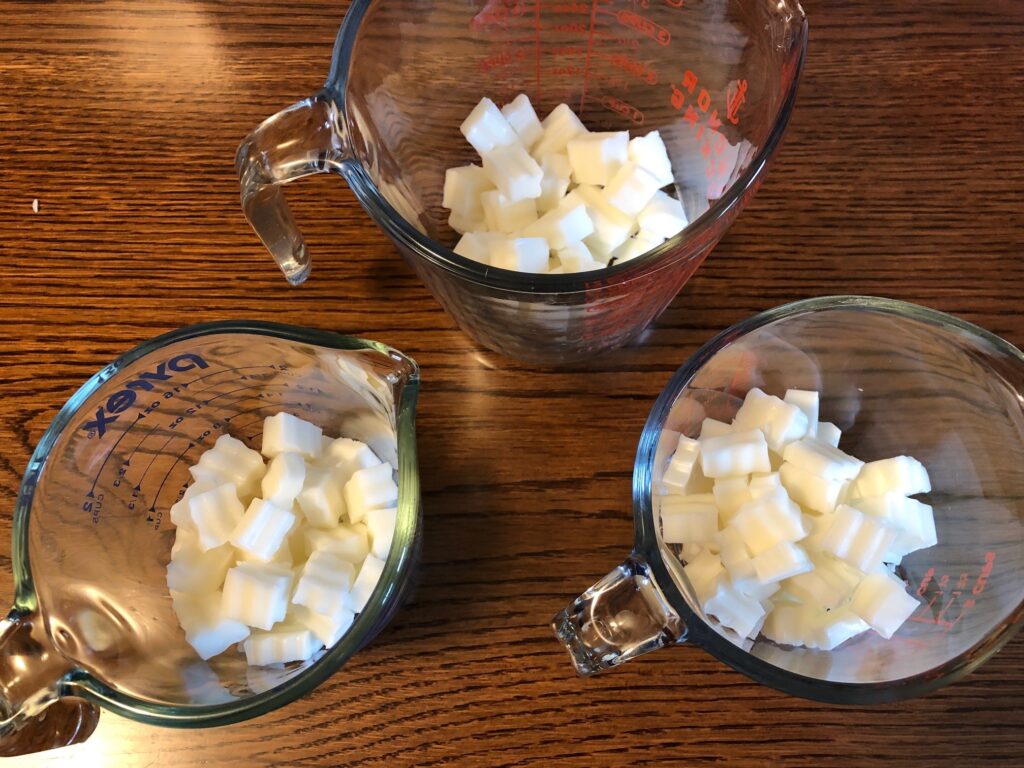
I put two of the cups into saucepans with water on the stove and started them melting.
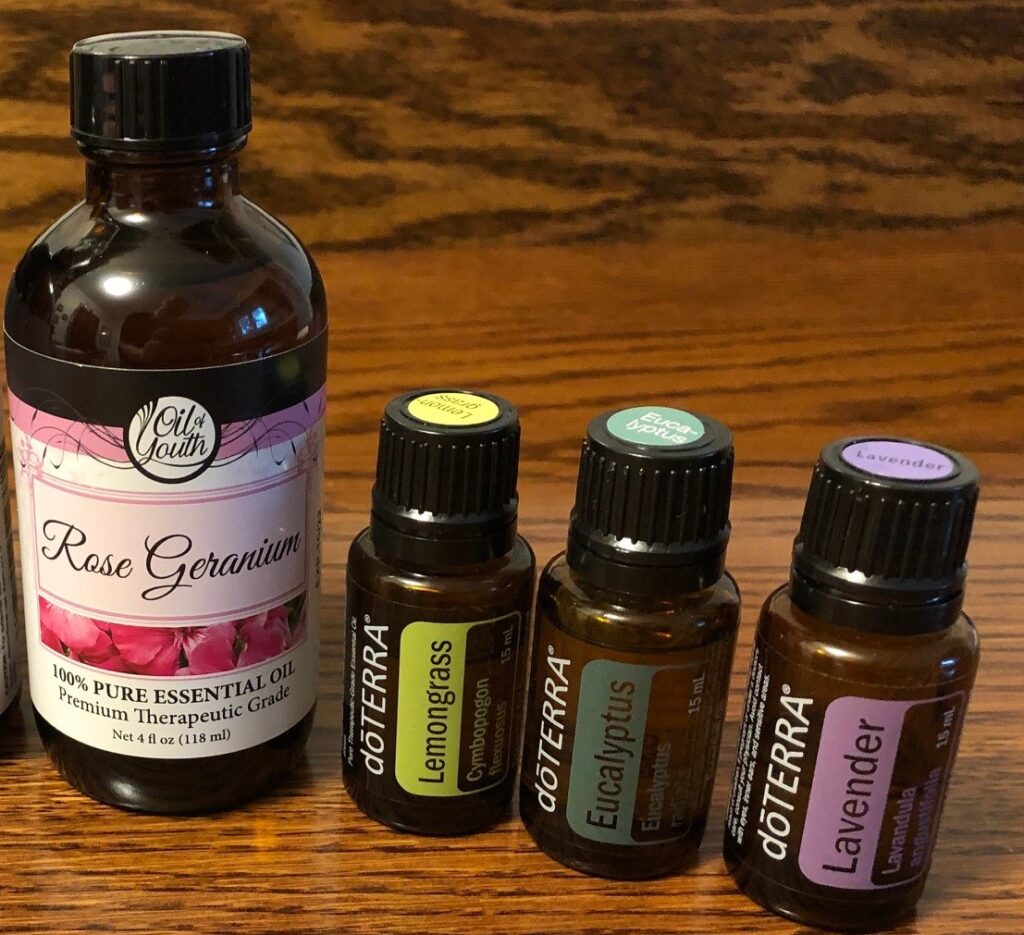
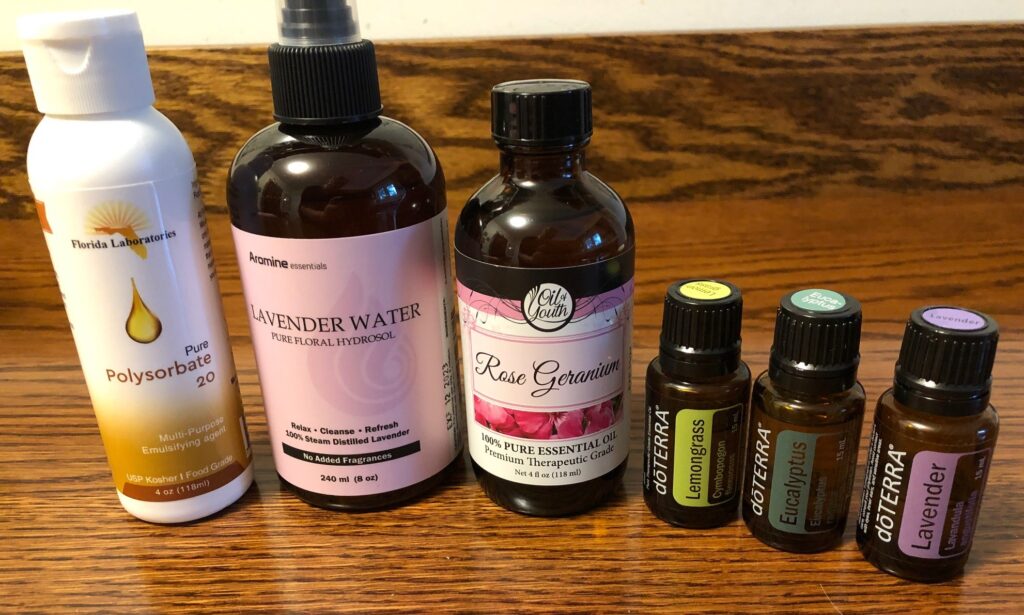
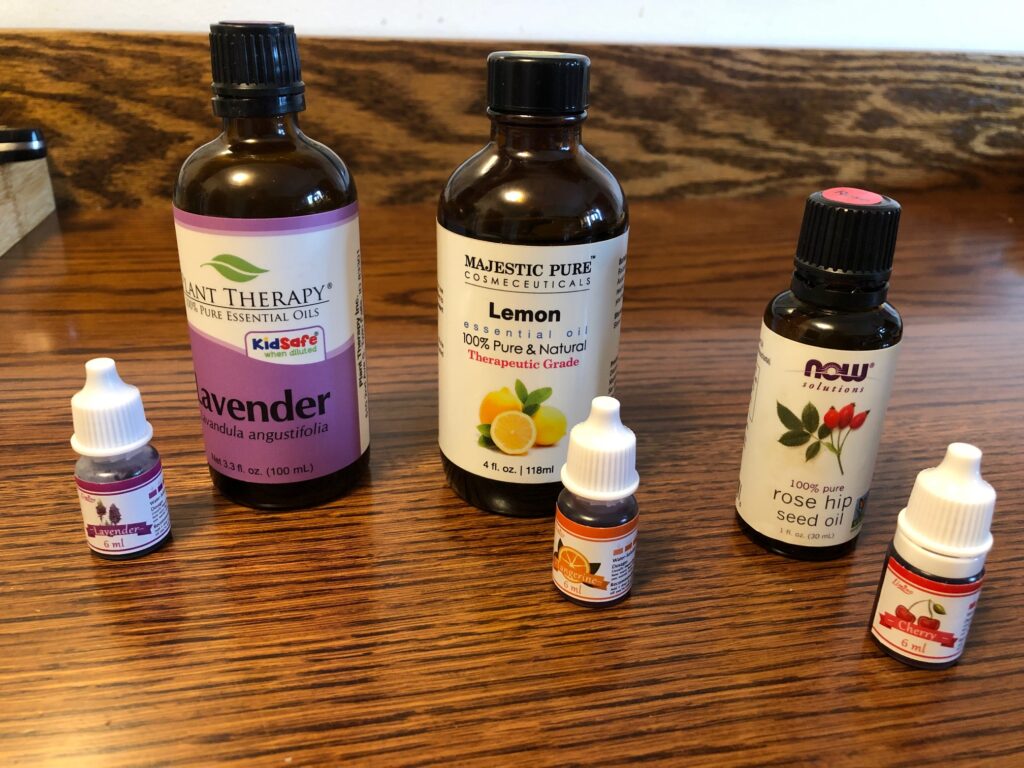
Optimistically, I had three sets of tint and essential oils ready for three colors/scents of soap dough.
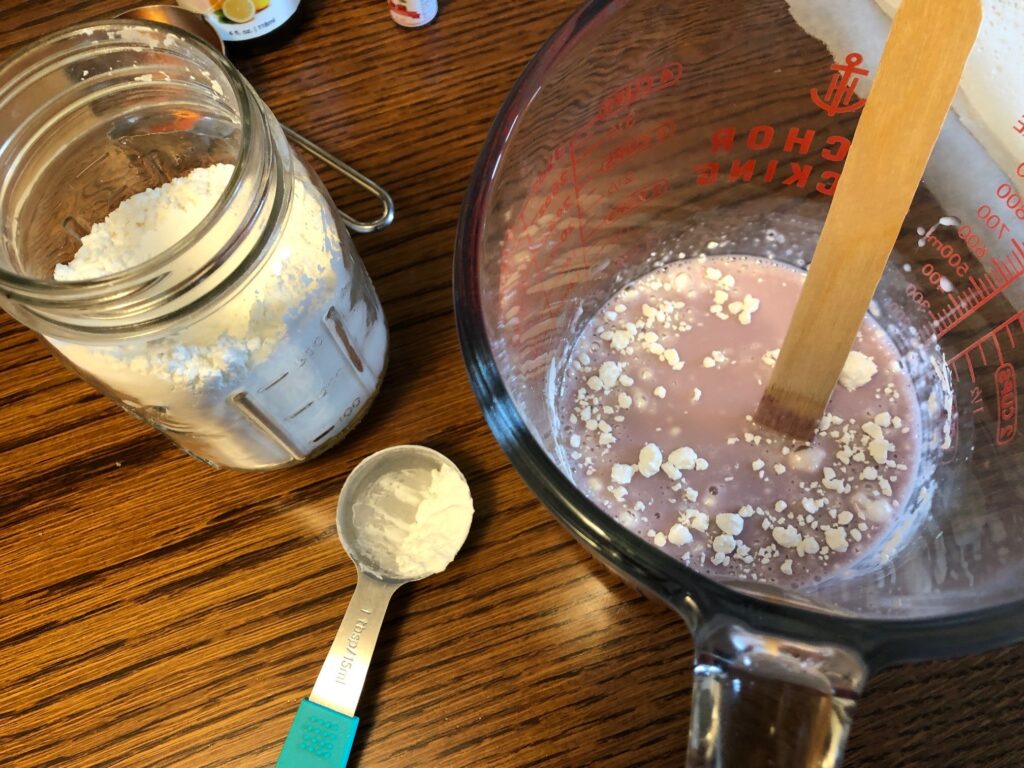
Step 2: Add tint and scent
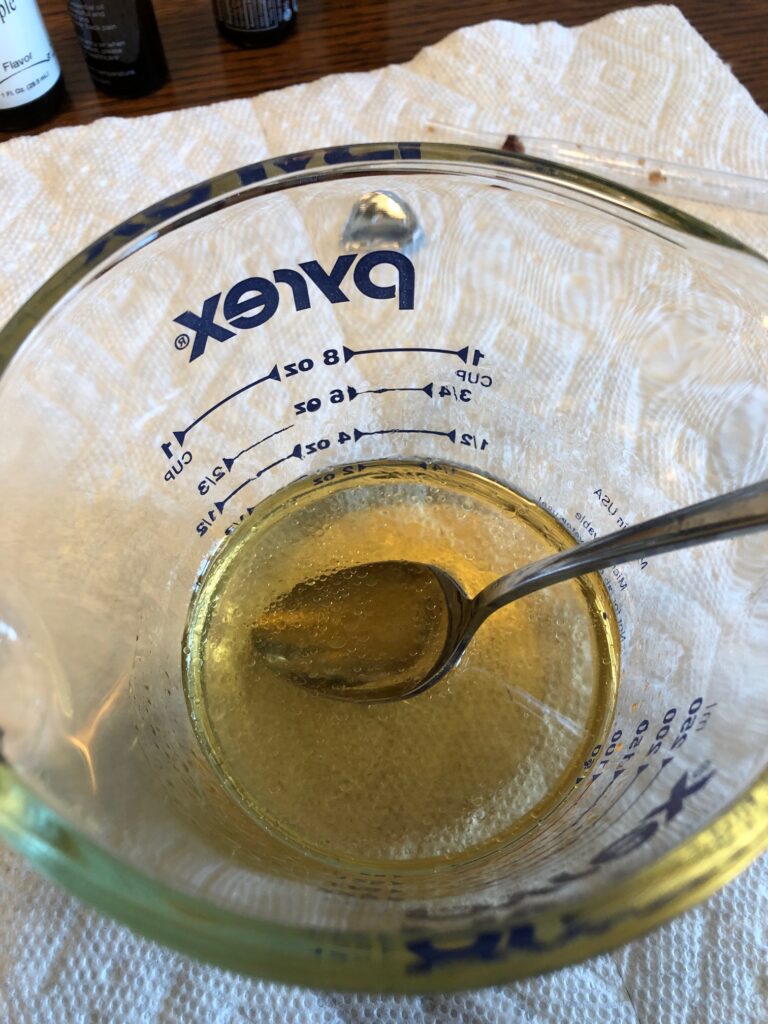
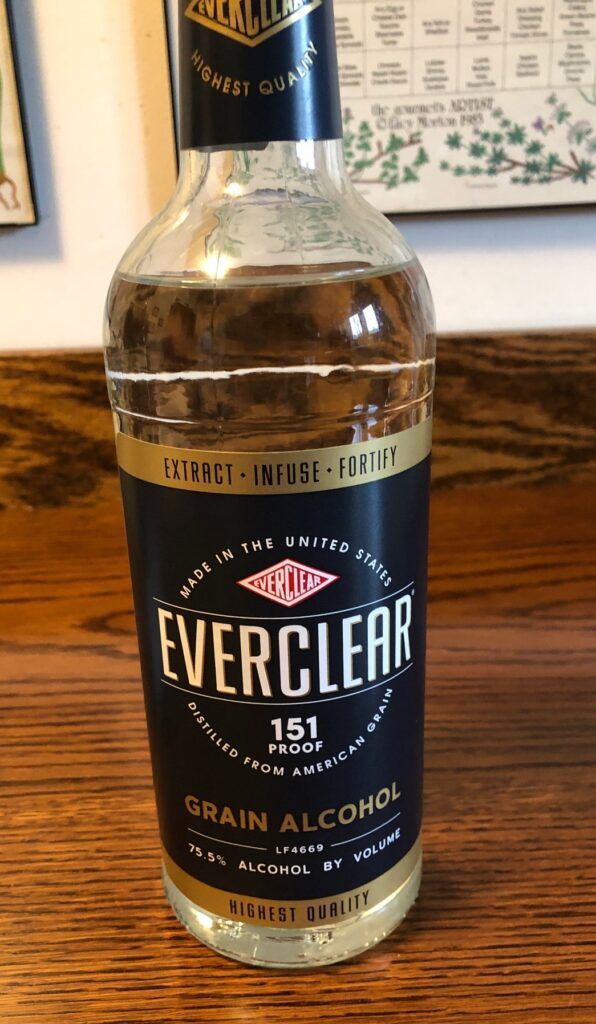
When the first cup of soap was melted, I added the purple tint (directions said to mix the tint with twice as much rubbing alcohol). I’m not sure why that was important, but I mixed a few drops of tint in a metal measuring cup with a teaspoon of Everclear alcohol and then added it to the soap.
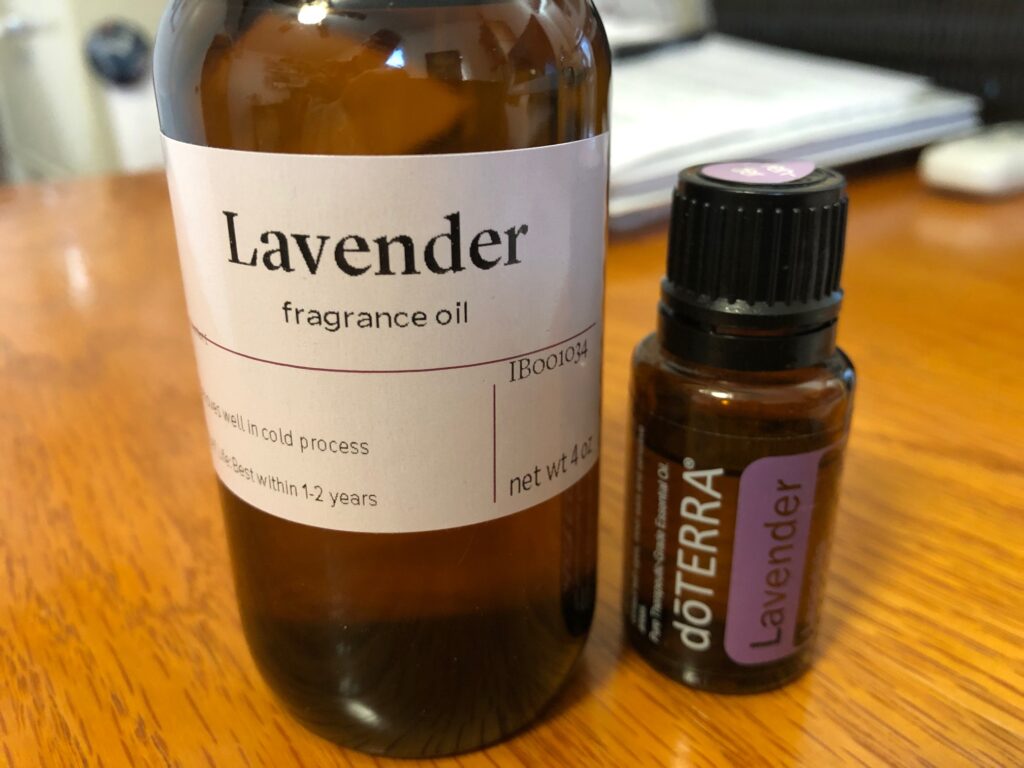
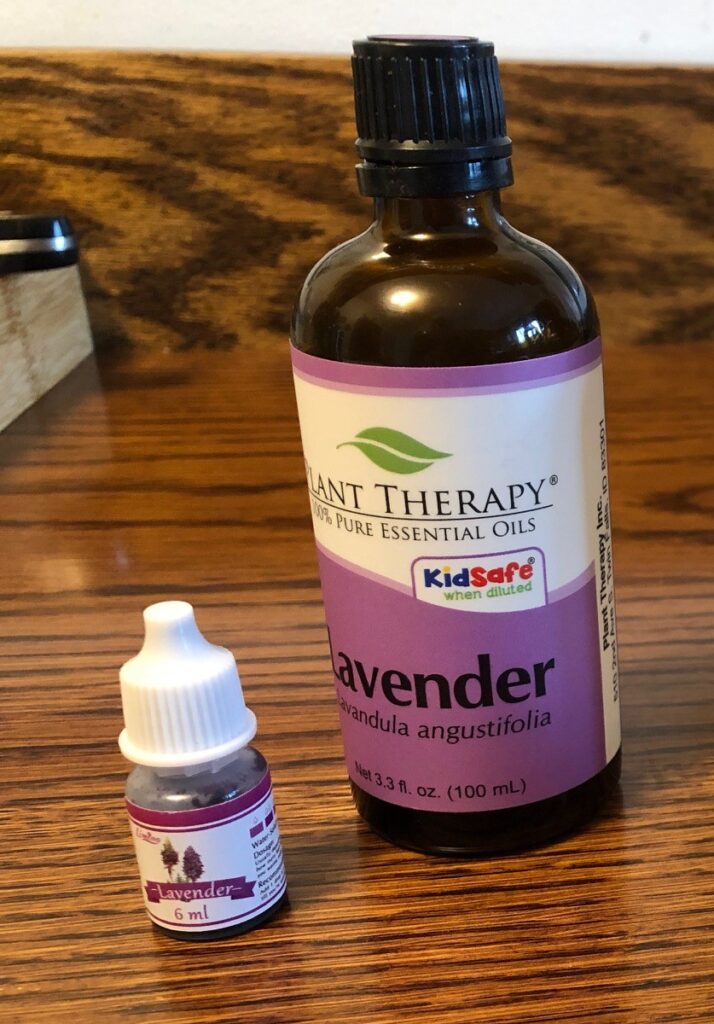
Then I added about 20 drops of Lavender essential oil. I would never use that much in such a small portion of soap but I did in this first batch.
Step 3: Add cornstarch.
Next, the recipe said to begin adding 3 to 4 tablespoons of cornstarch a little at a time.
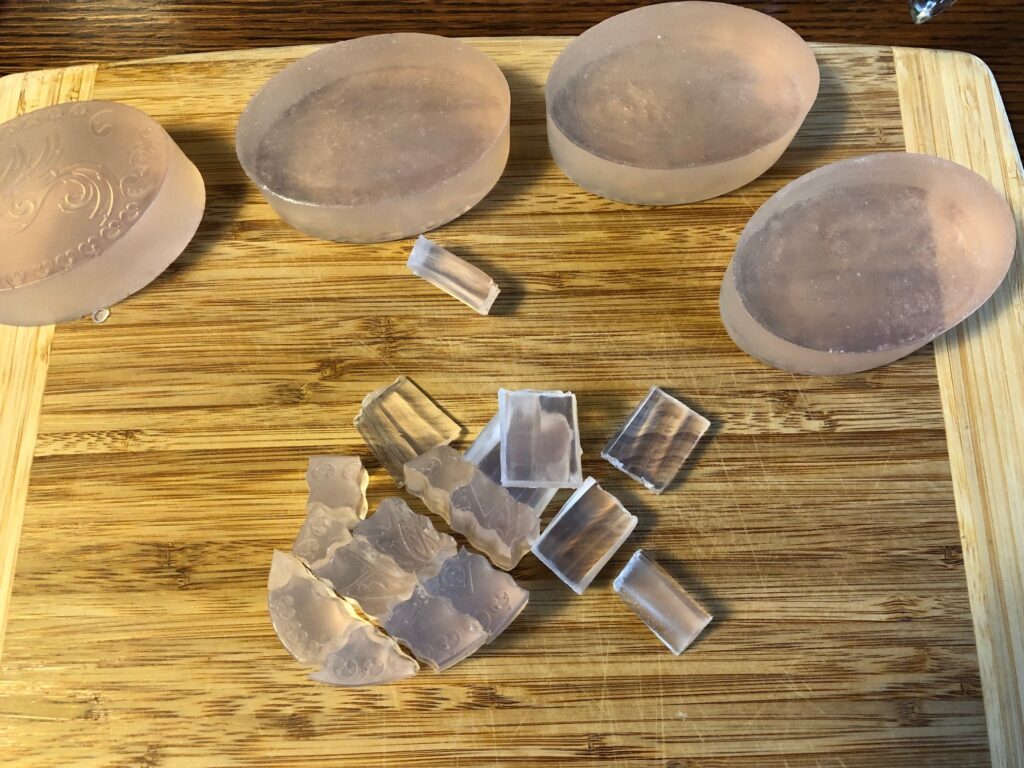
I was to keep stirring as the soap cooled. By the time I had added 4 tablespoons of cornstarch the soap was making a sticky ball in the cup.
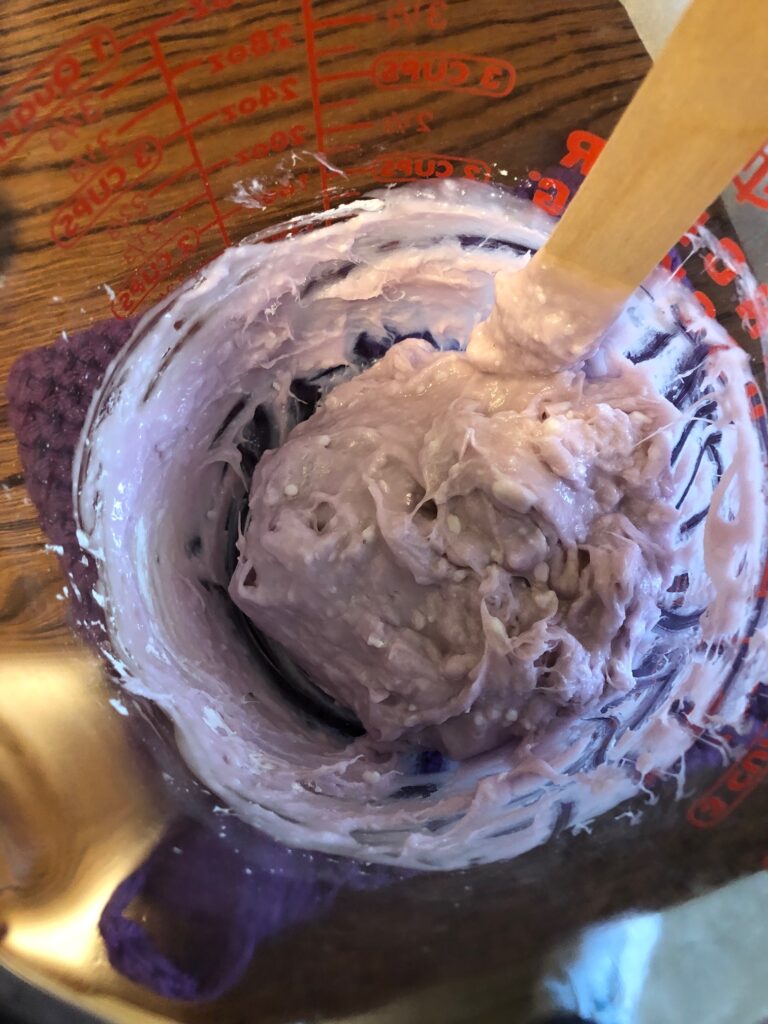
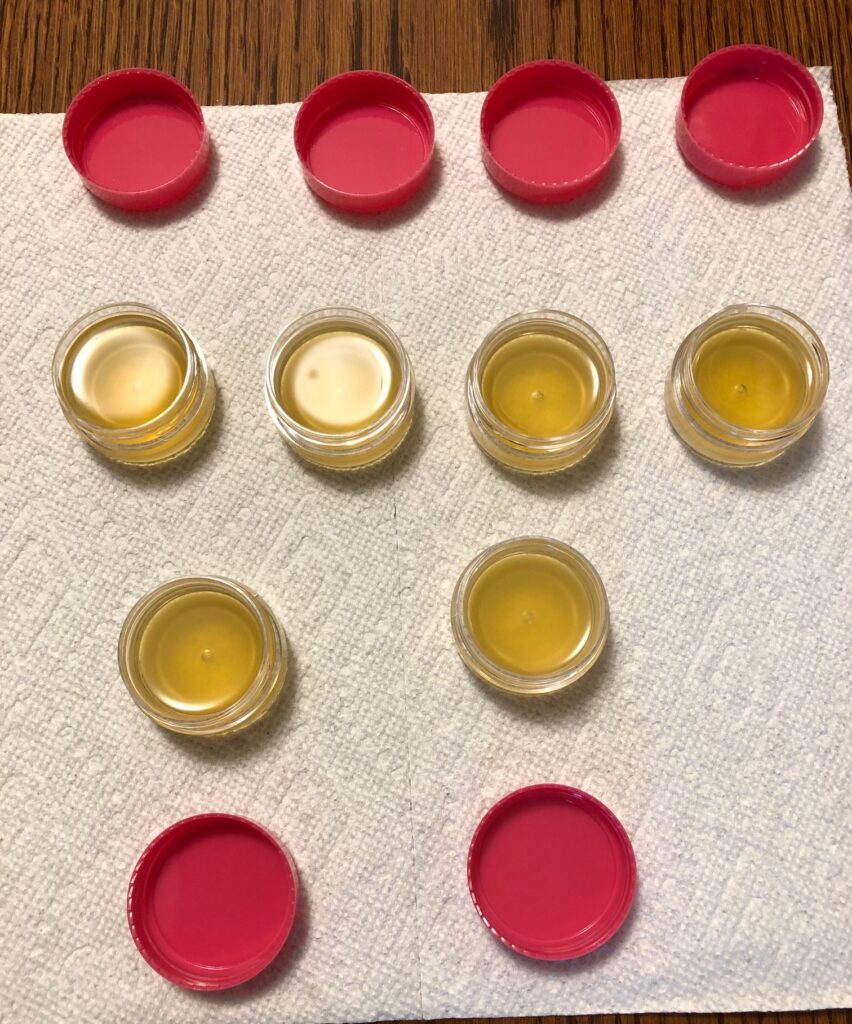
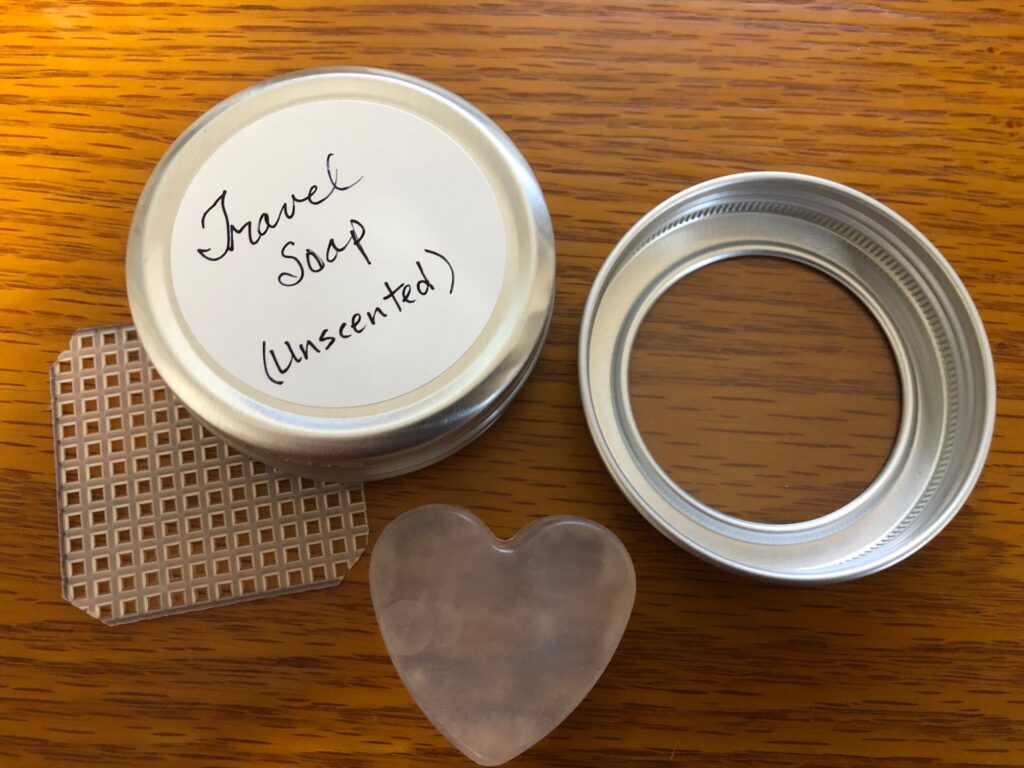
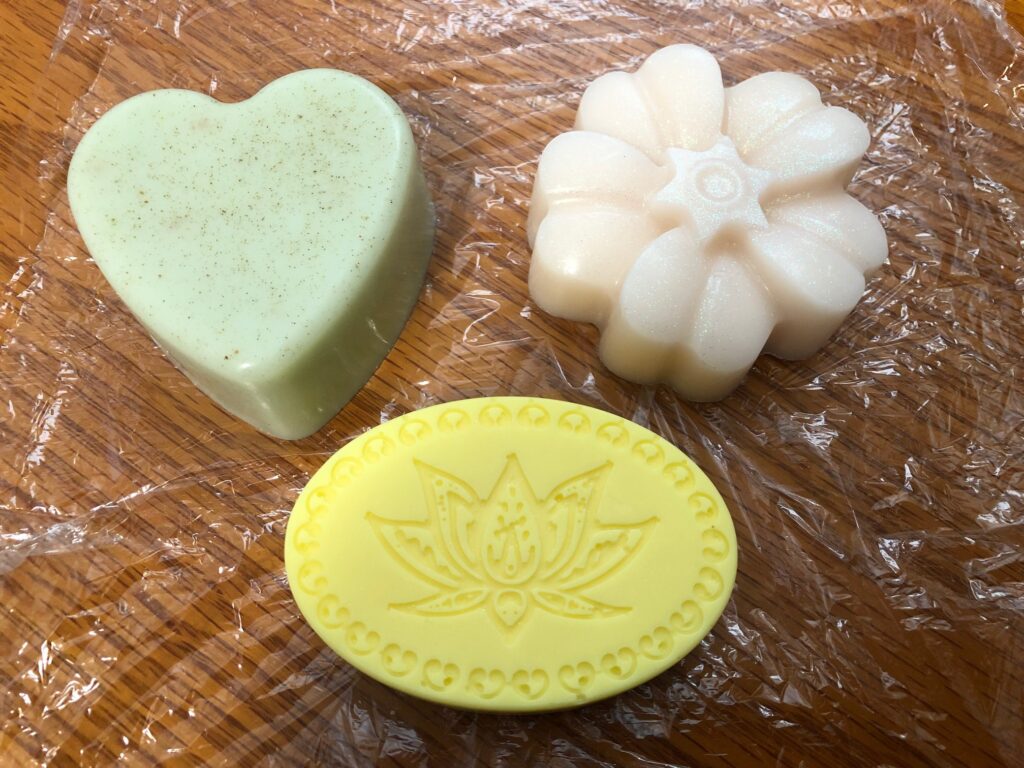
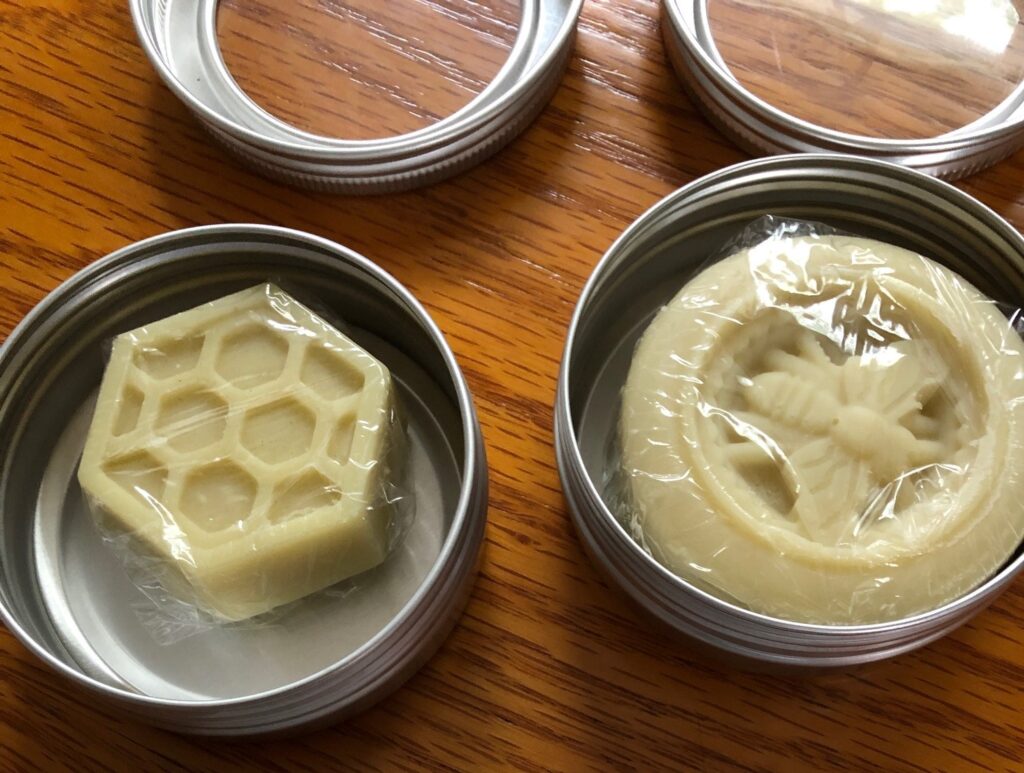
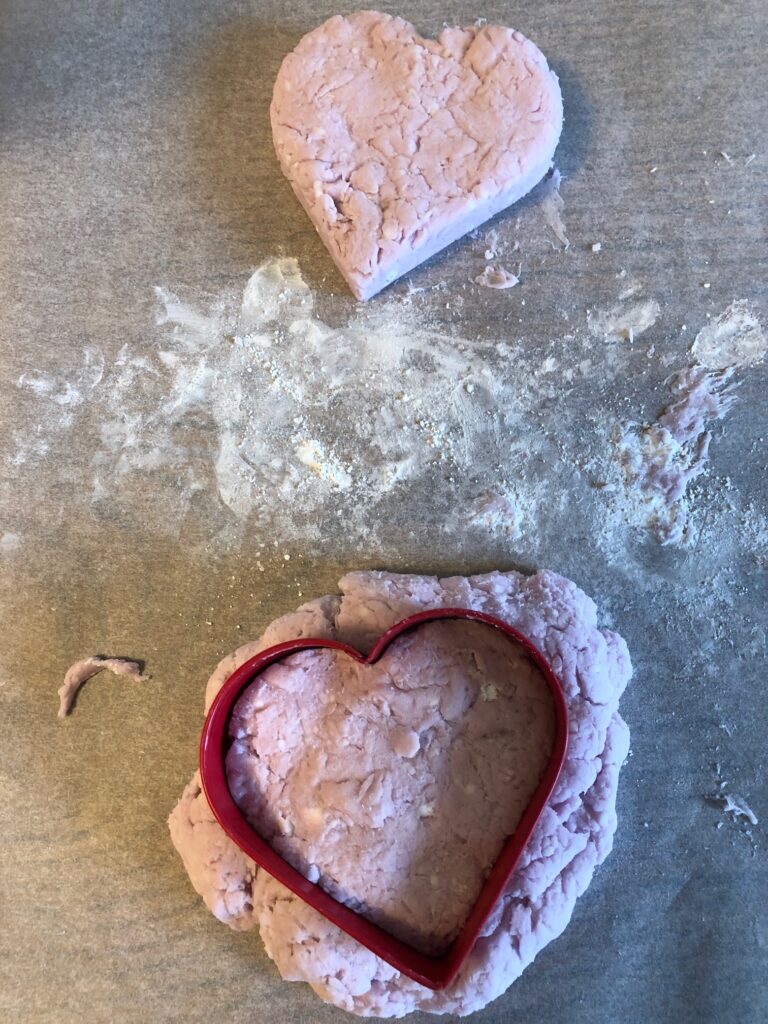
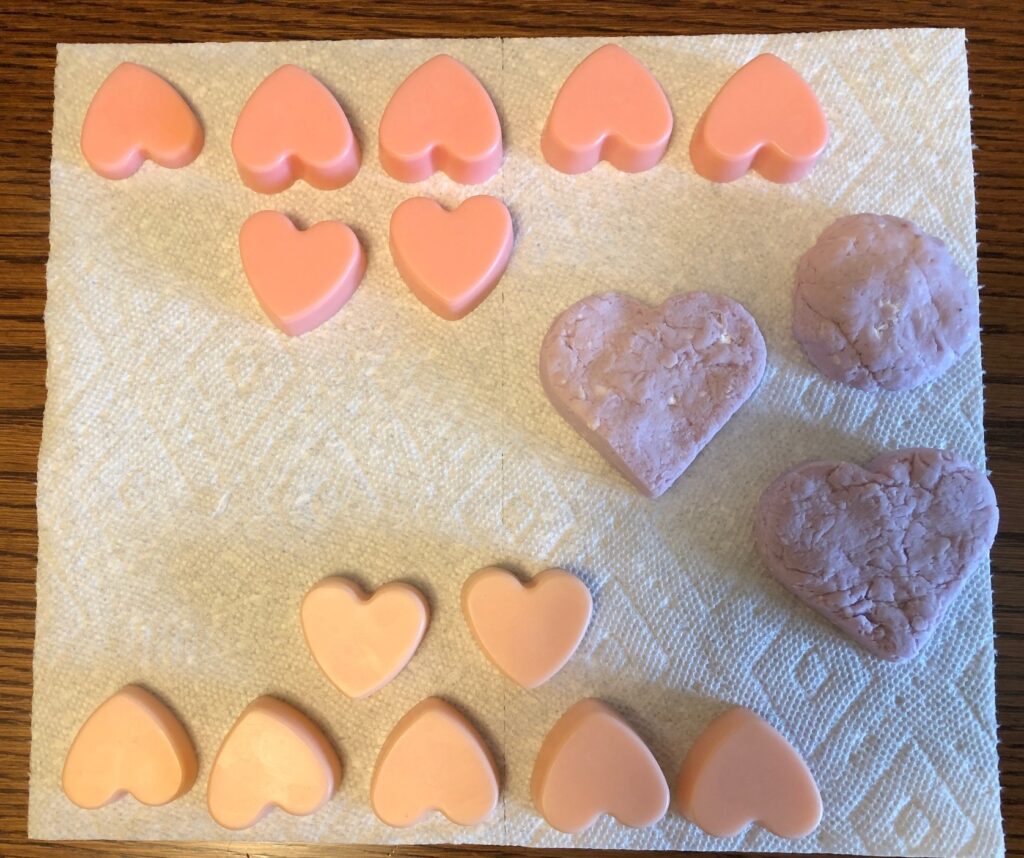
I dumped it out onto parchment paper and tried to make it into a ball of dough. It stayed lumpy with the cornstarch that didn’t mix in. I finally pressed it flat and tried to use a cookie cutter to make a heart. It sure didn’t look pretty!
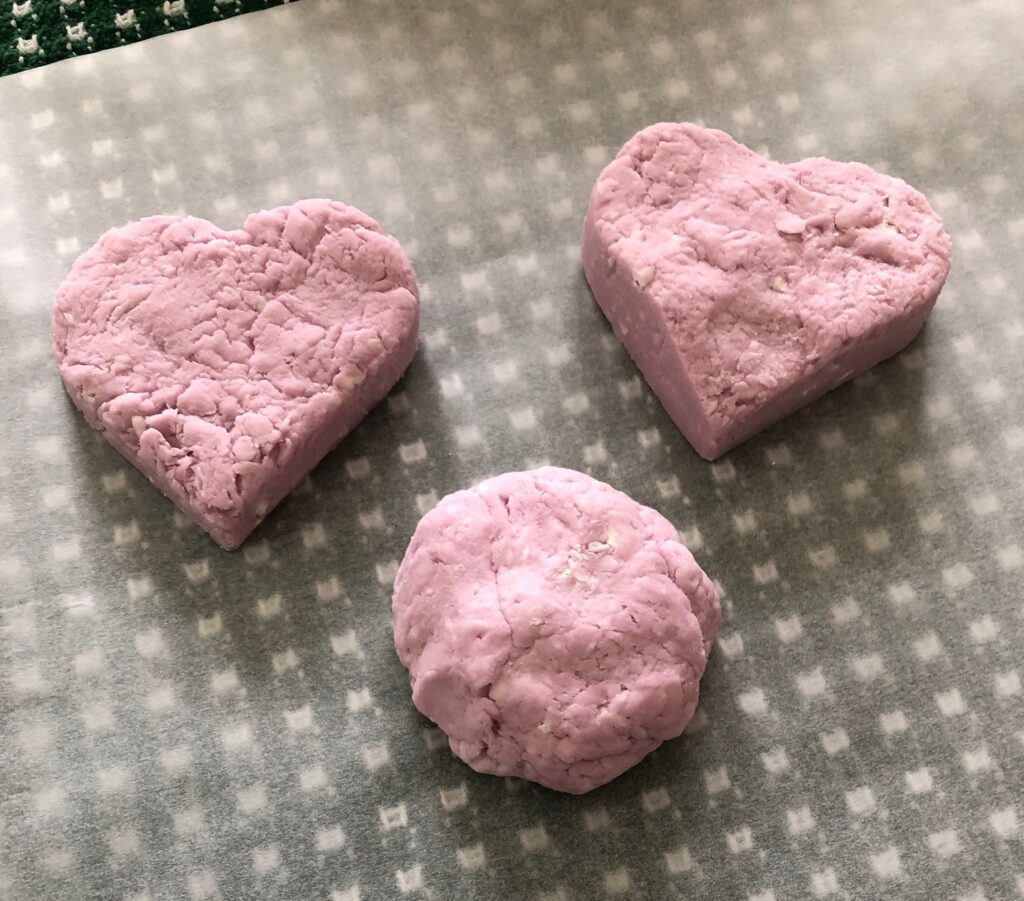
The final chunk I just patted into a circle and called it quits! Now they are supposed to dry for a few days. Then they can be used to wash hands.
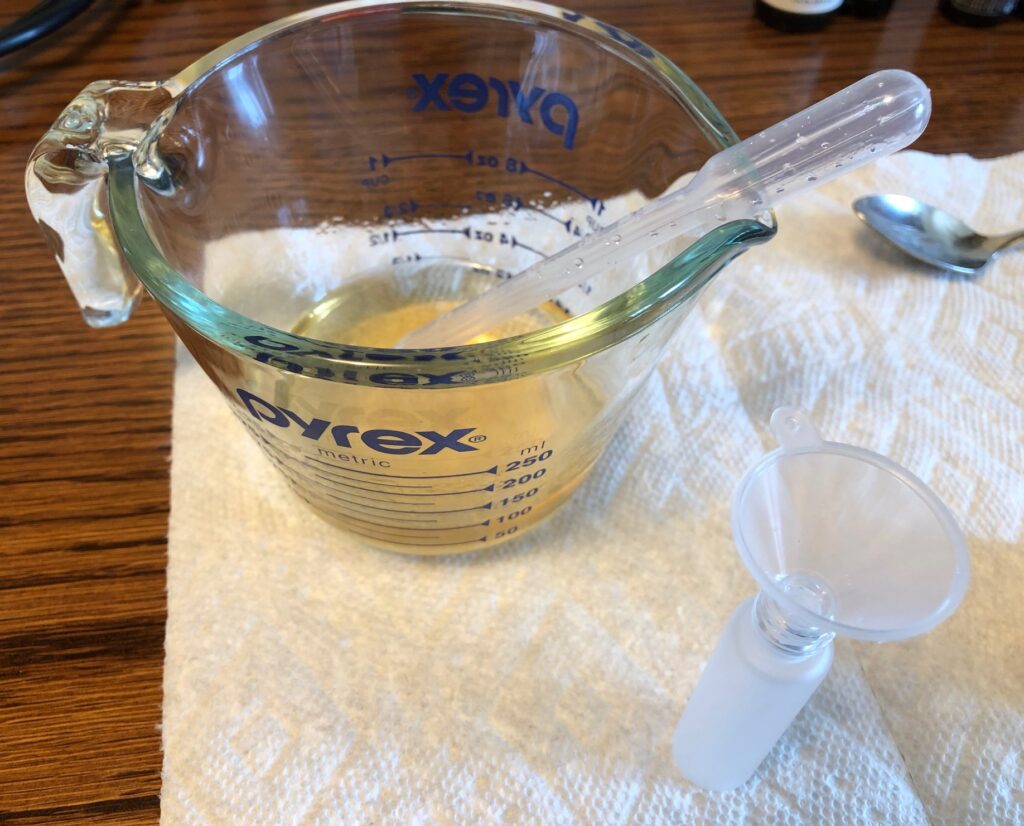
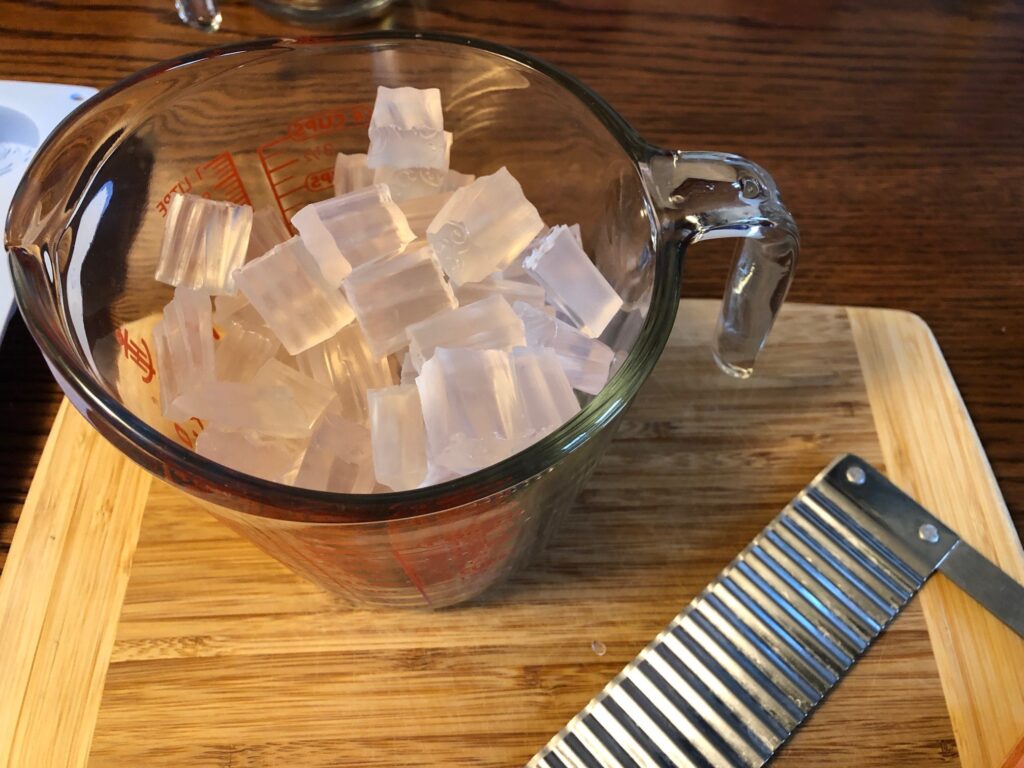
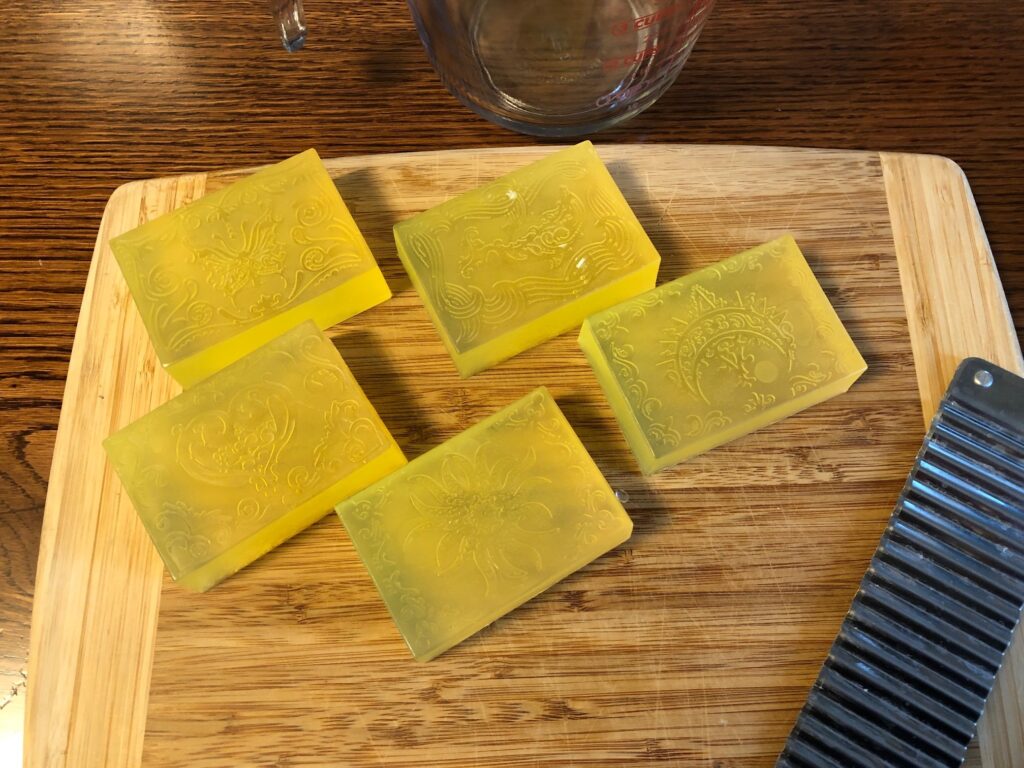
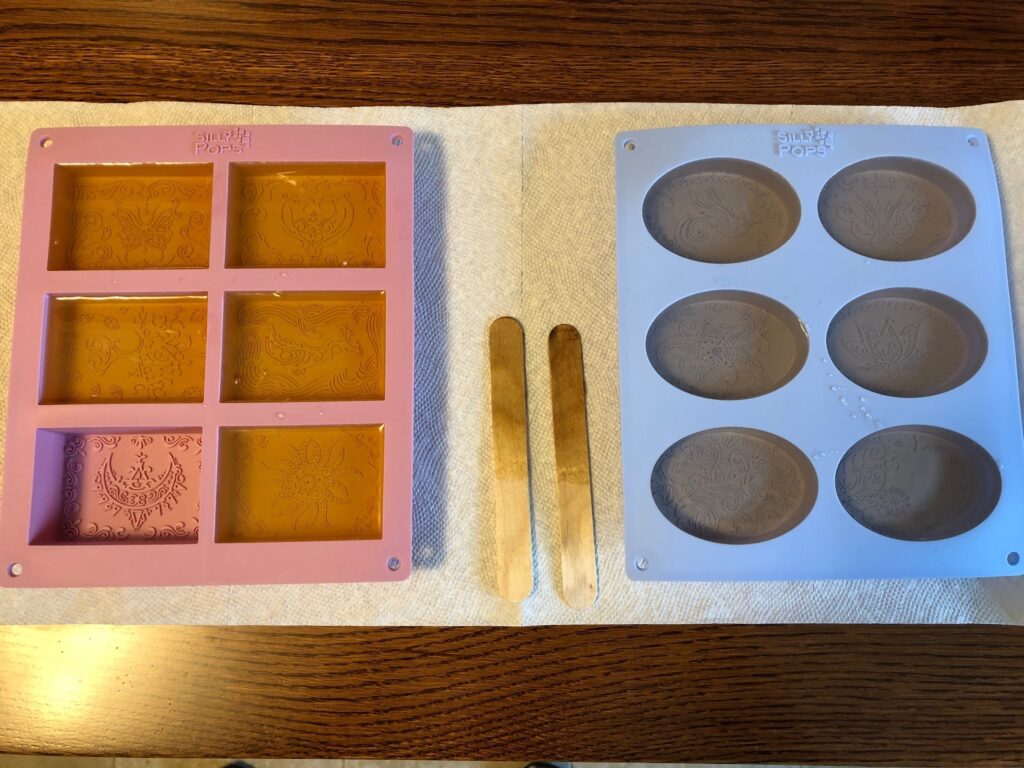
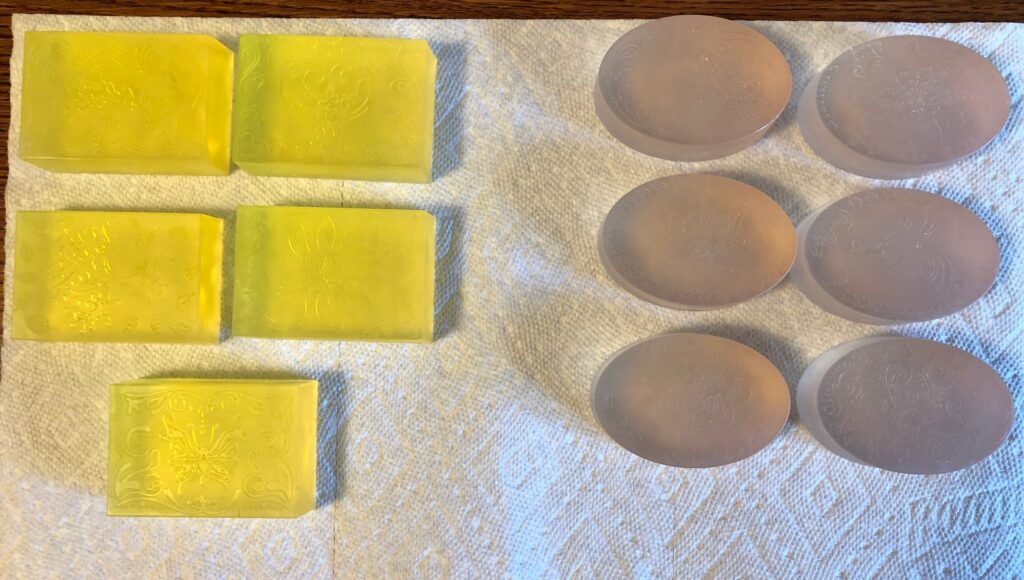
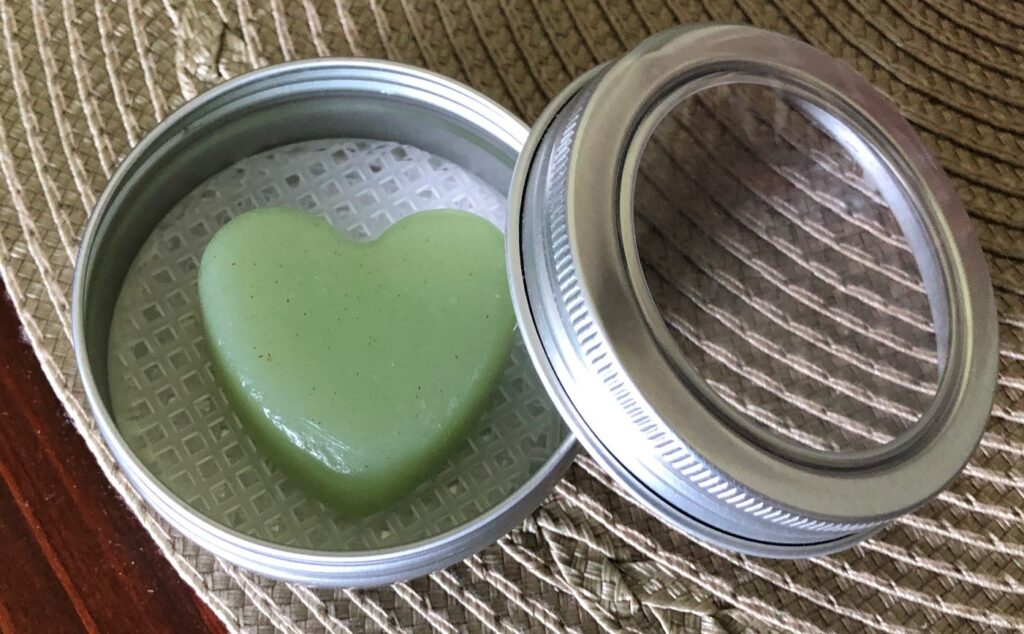
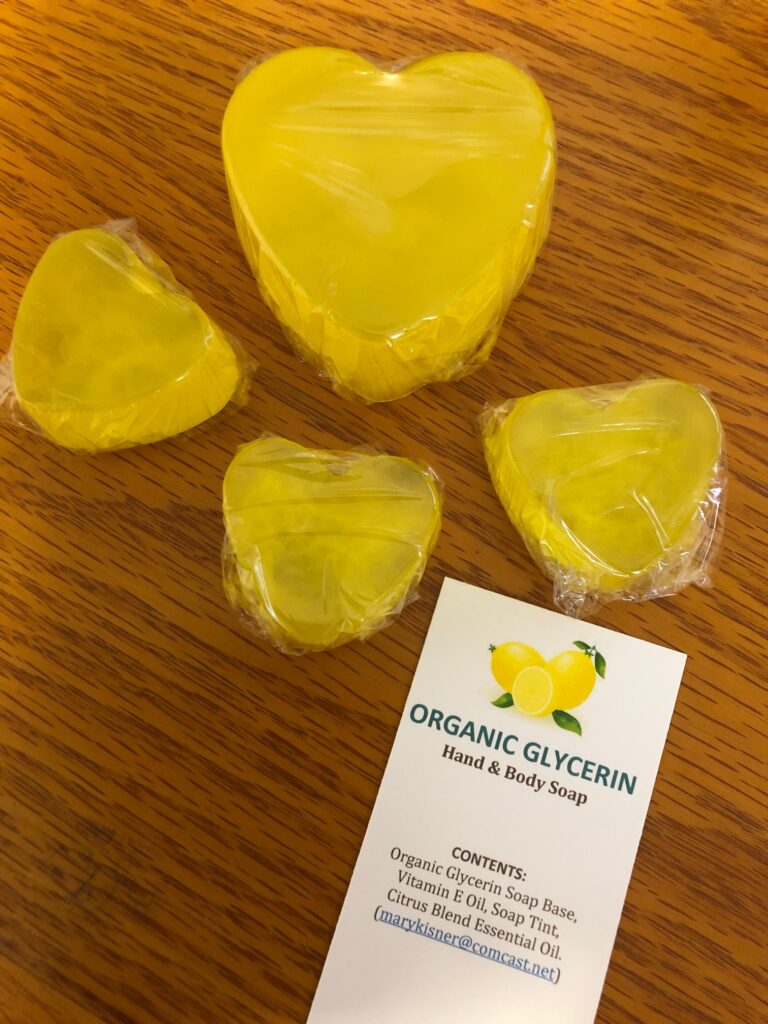
At this point, I decided to just melt down the soap in the other two cups, add tint and essential oils, and pour them into my heart molds. These heart soaps, scented with Lemon and Rose essential oils can be used in a few hours. Much simpler!
In a few days I’ll see if the “aromatherapy soap dough” hearts work well for hand washing. However, I think the small molded hearts have enough scent to be useful as good smelling soap.
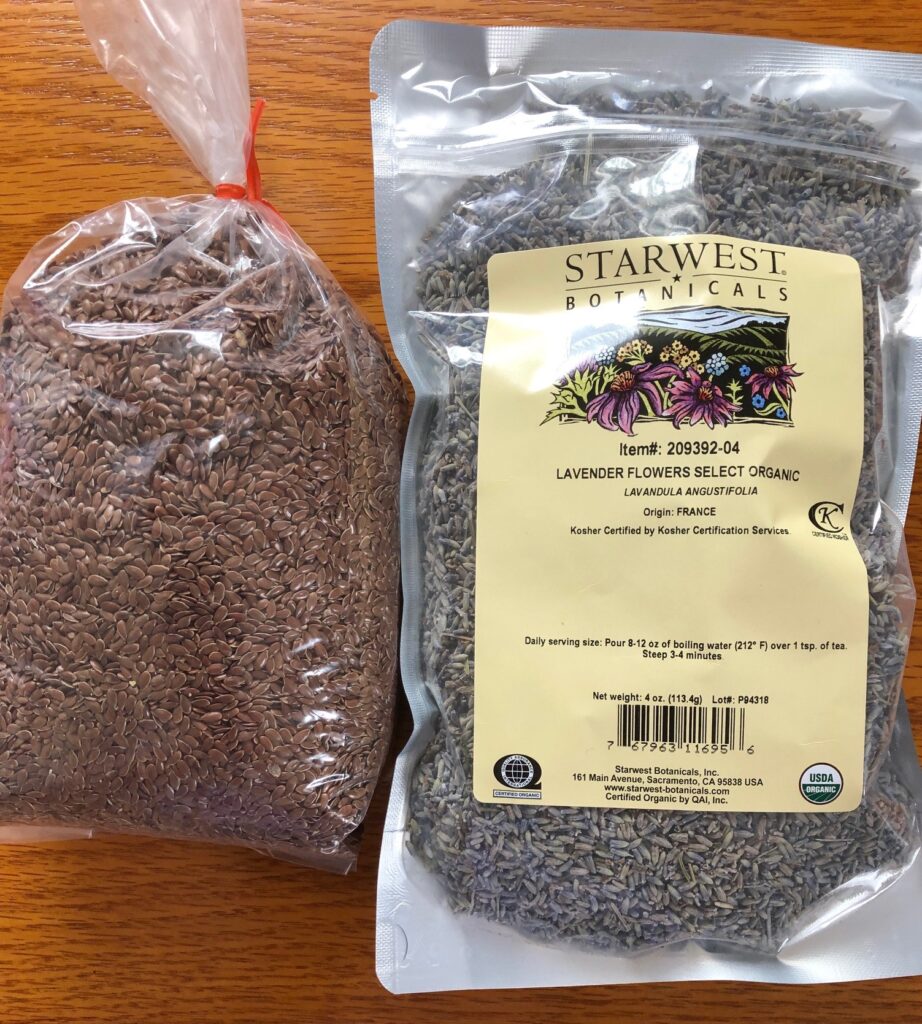
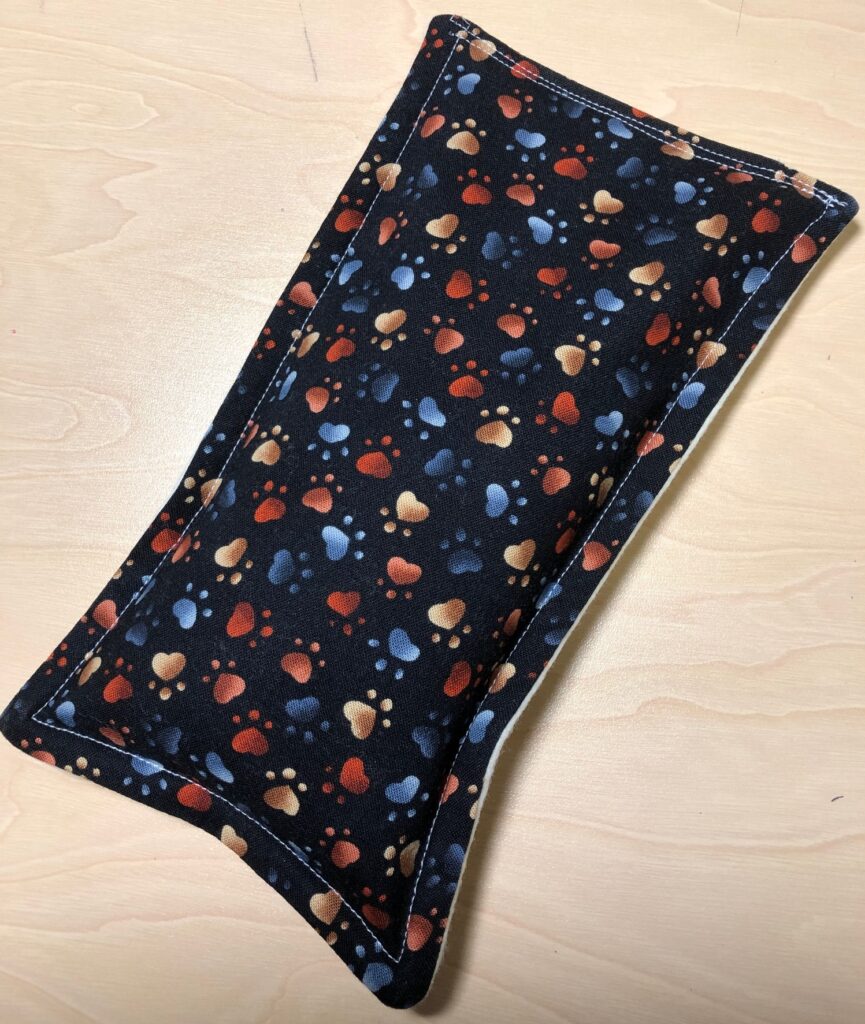
If I really want to calm down a child with lavender scent, I think an essential oil diffuser in the room where they are playing might be more effective and much less messy! Even a small pillow stuffed with dried lavender buds would work well. Give it a try! Enjoy!
Please comment or email me directly at marykisner@comcast.net.