Over this past weekend I drove to Pittsburgh for the Bead Mercantile Show (and to spend time with Kathy’s family, of course). Kathy, her mother-in-law, Anna and I made the 30-minute drive to the Show location. I was so glad to not have to worry about getting to the show…Kathy knew exactly how to get there!
I had no idea what the show would involve but I was hoping to find a few beads for my bracelets. Turns out, beads were just part of the offerings!
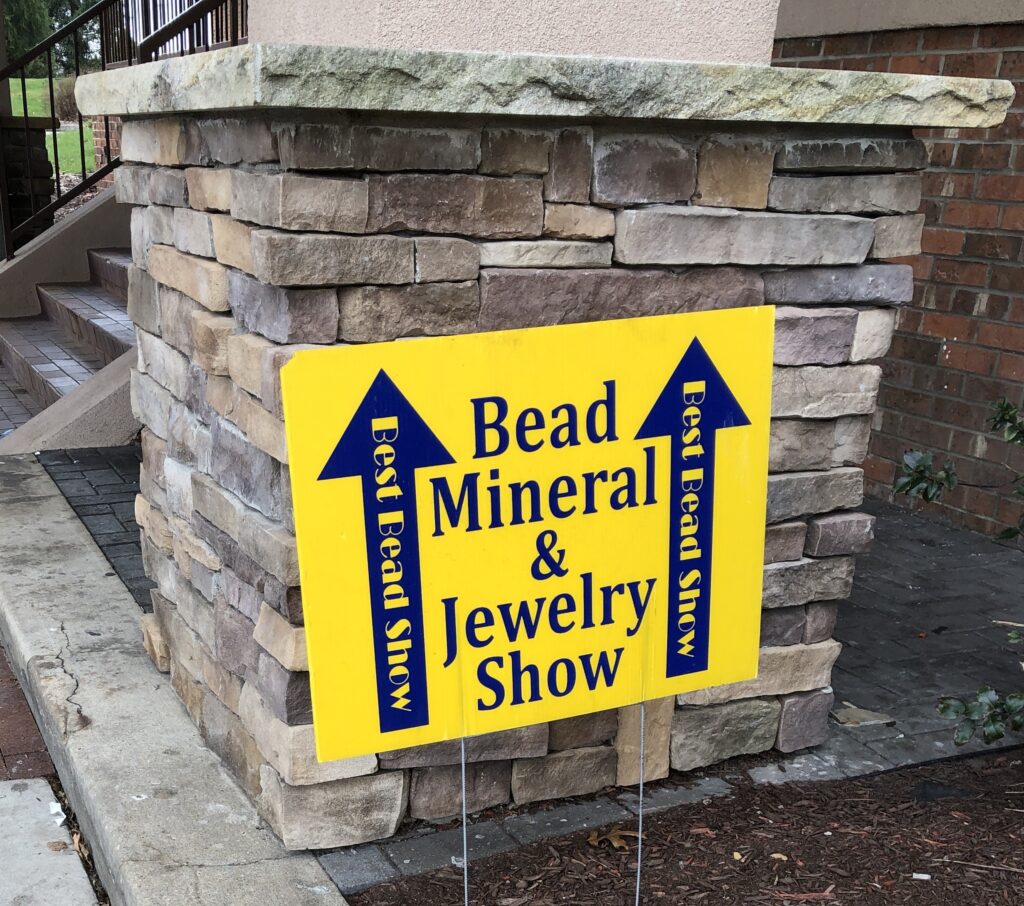
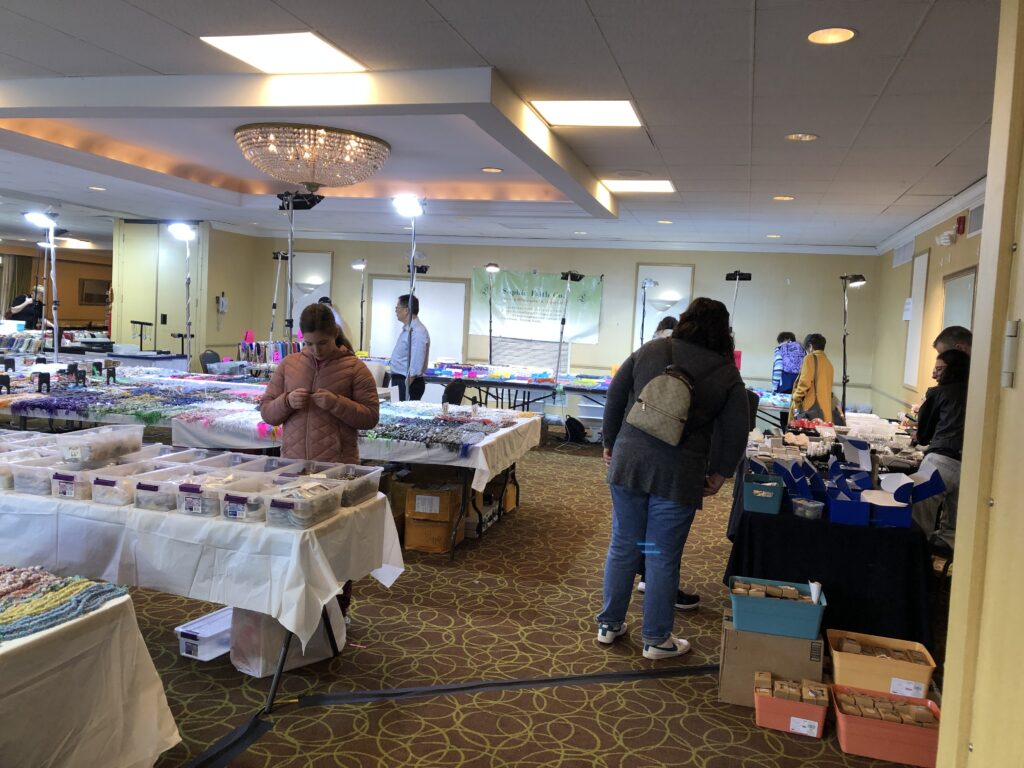
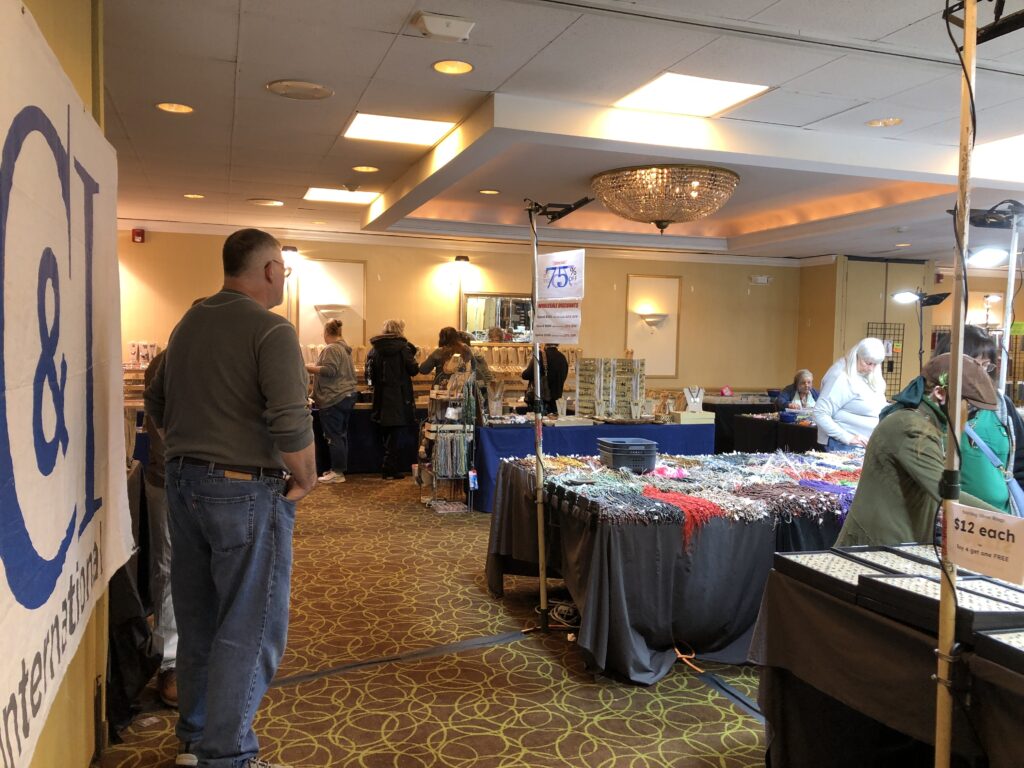
The location was in a ballroom of a Comfort Inn & Suites south of the city. I believe the next show will be in the fall. There were at least 15-20 venders with everything a bead-lover could need.
At the registration table, the woman collecting the $3 entrance fee was also a vendor. We got to see amazing works of art made with beads before we even got inside! The display was definitely inspiring!
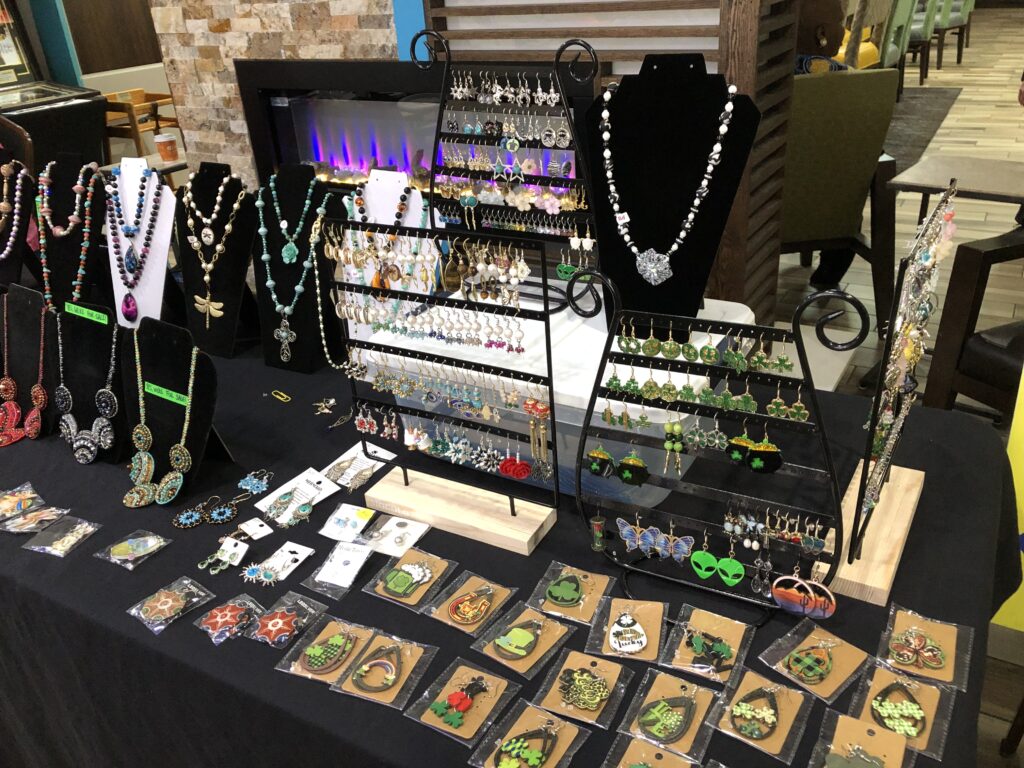
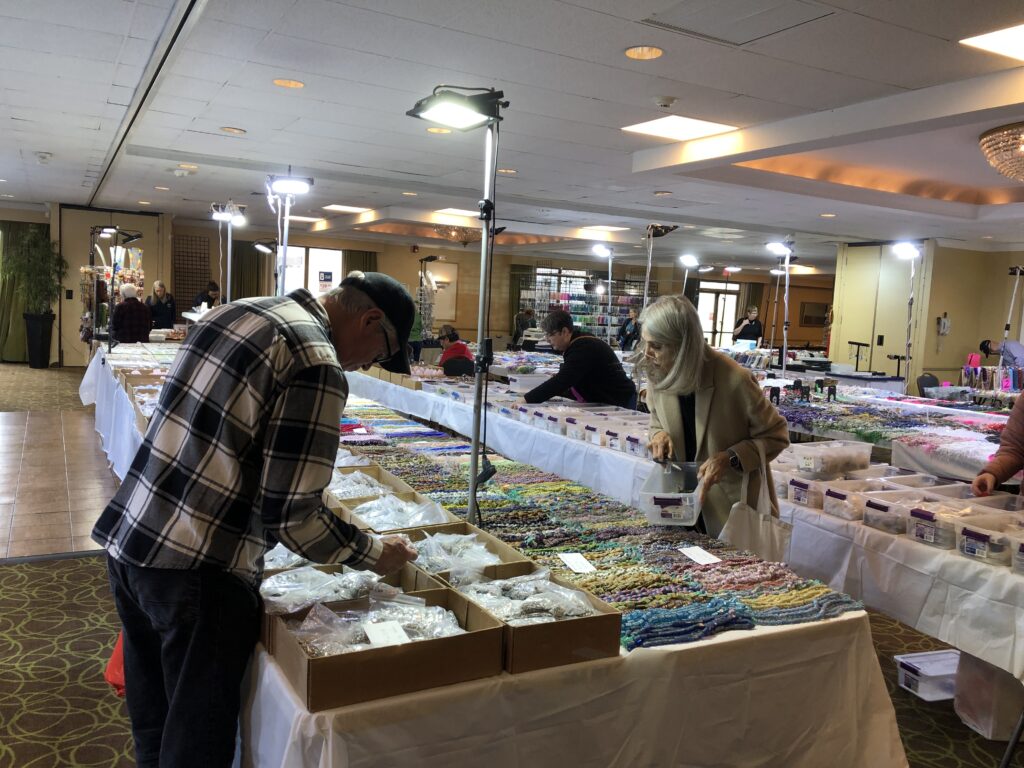
Entering the large room, I was overwhelmed by the choices! Luckily, I had a list of the specific beads I was looking for.
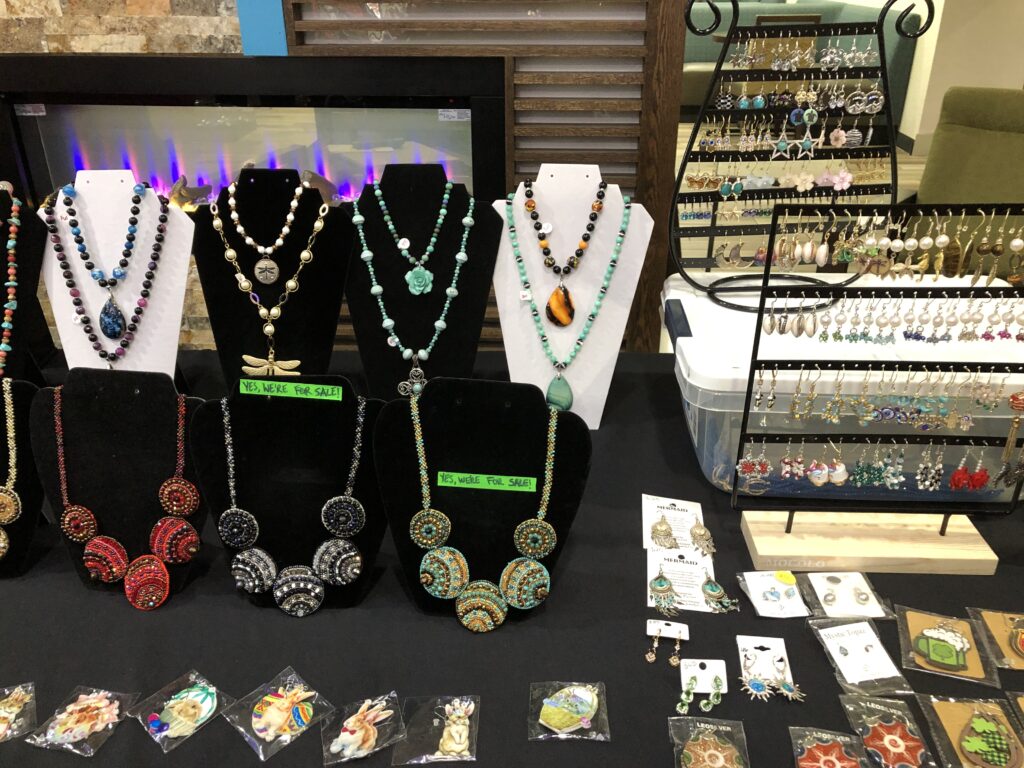
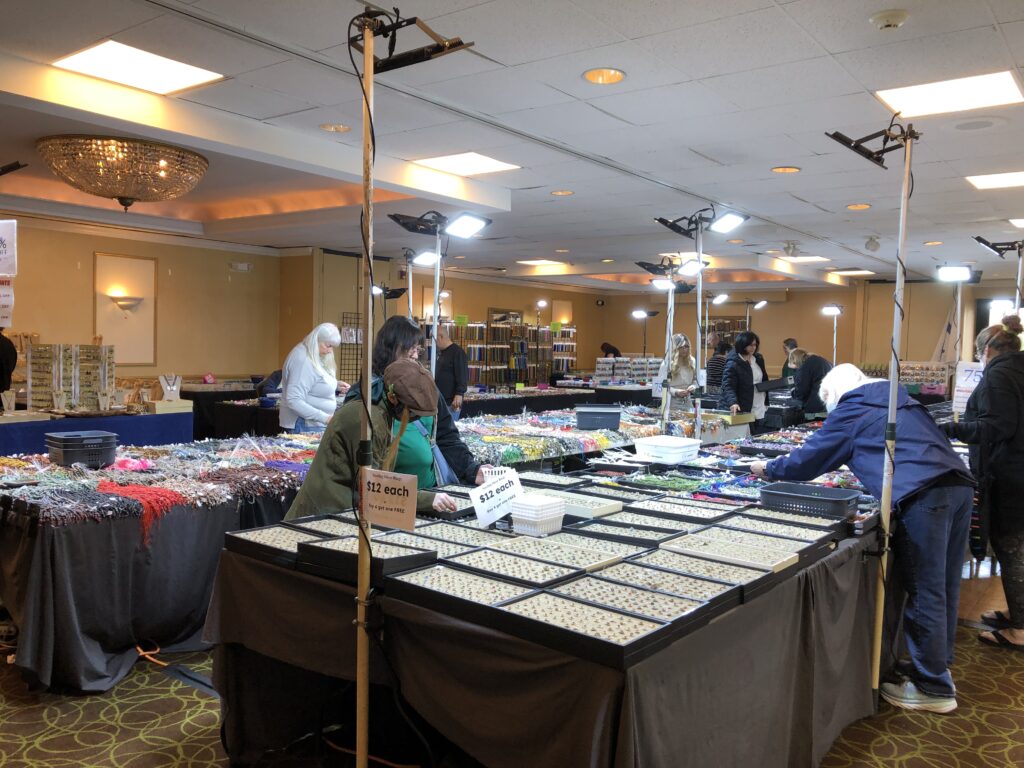
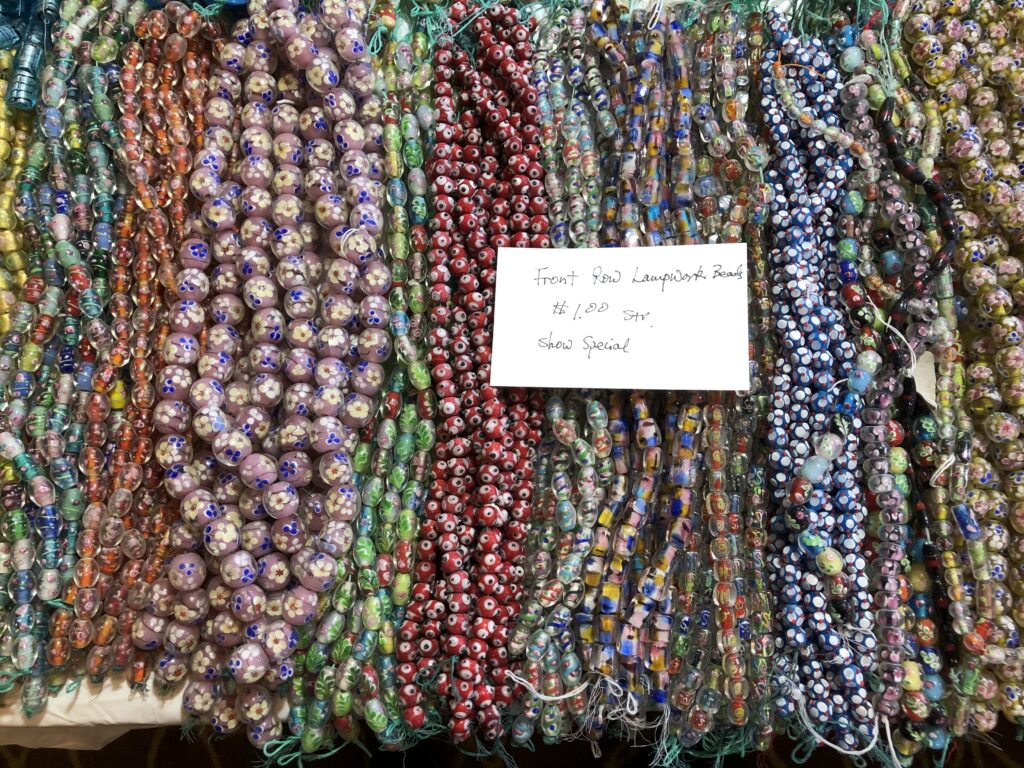
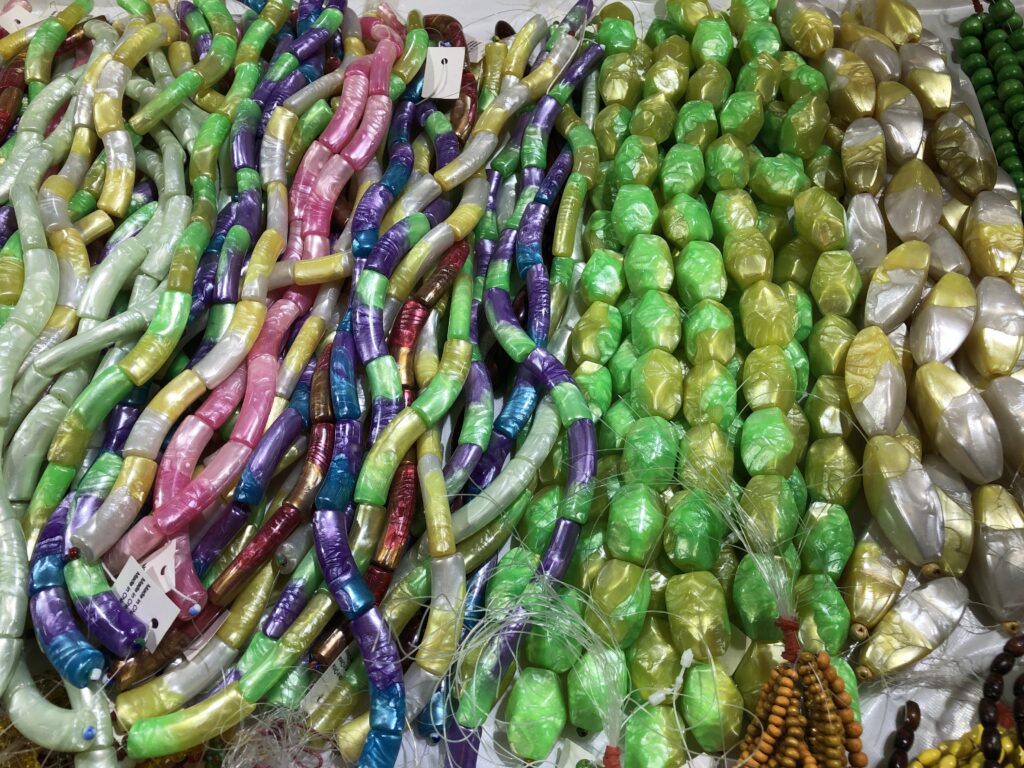
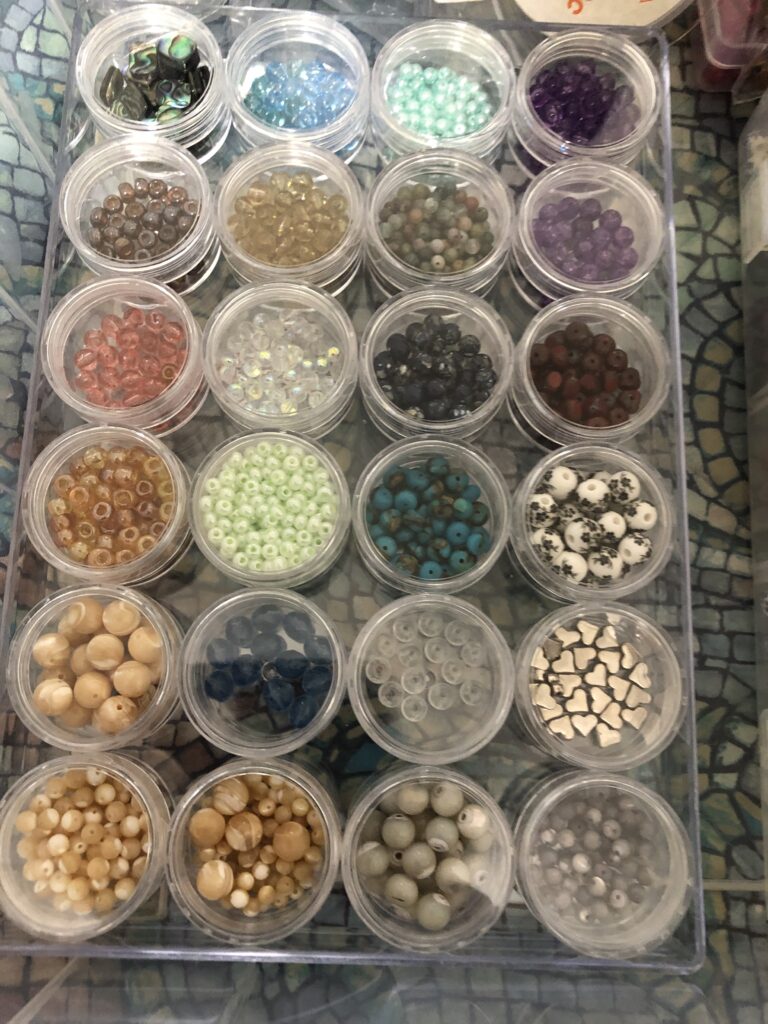
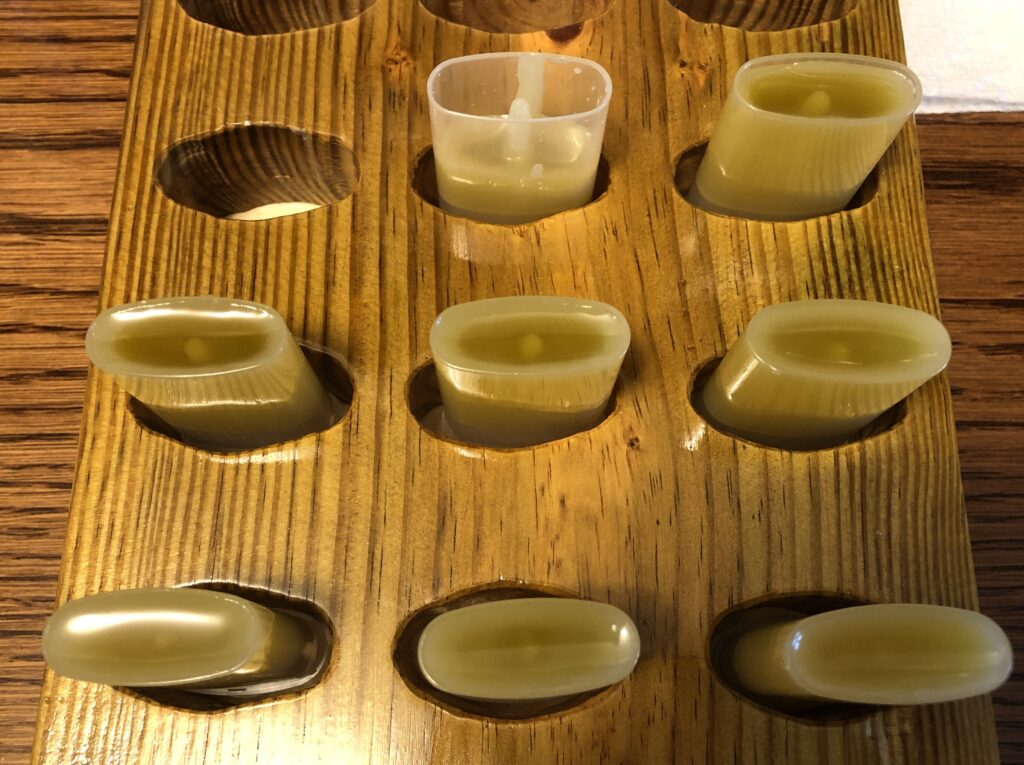
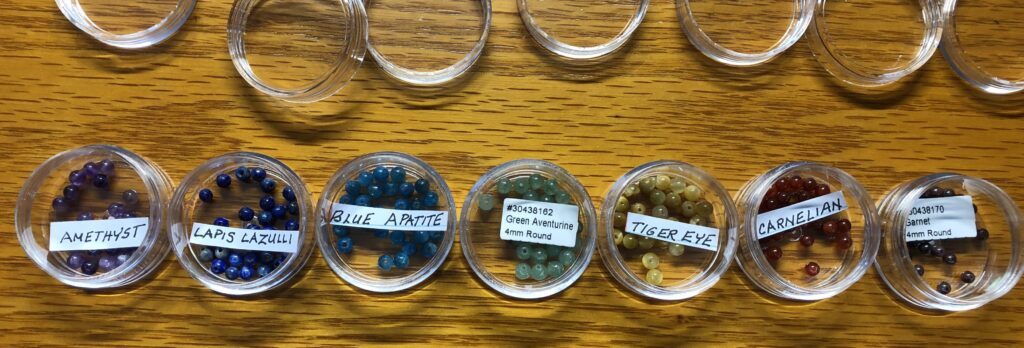
My first encounter was an assortment of large beads…very unusual and interesting, but I had my best friend Toni in mind. She uses beads like this and could not make it to this show. I wanted to pick up some for her. Here are some of the beads I had to choose from:
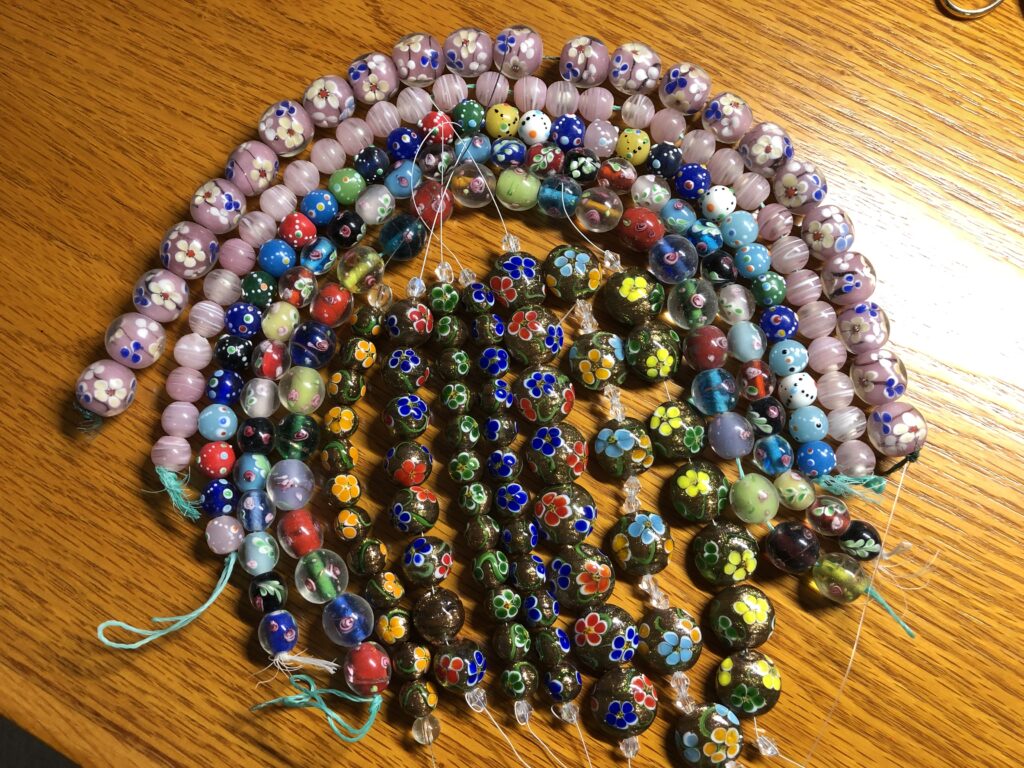
These are the beads I picked up for Toni…a total of $12.00!
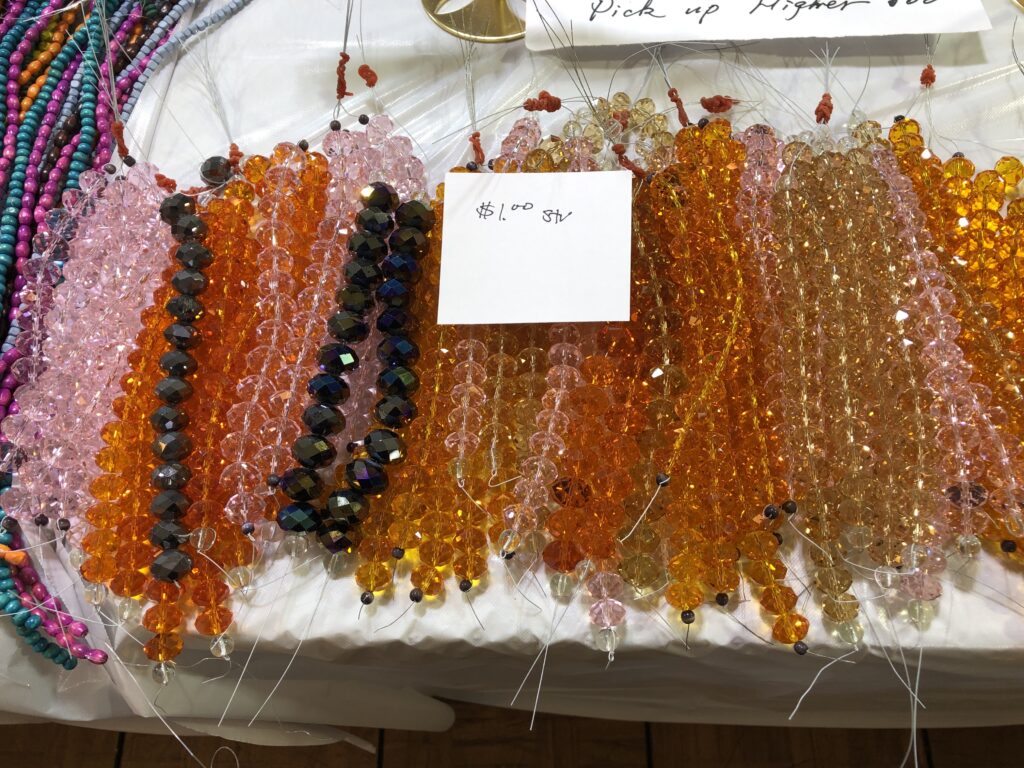
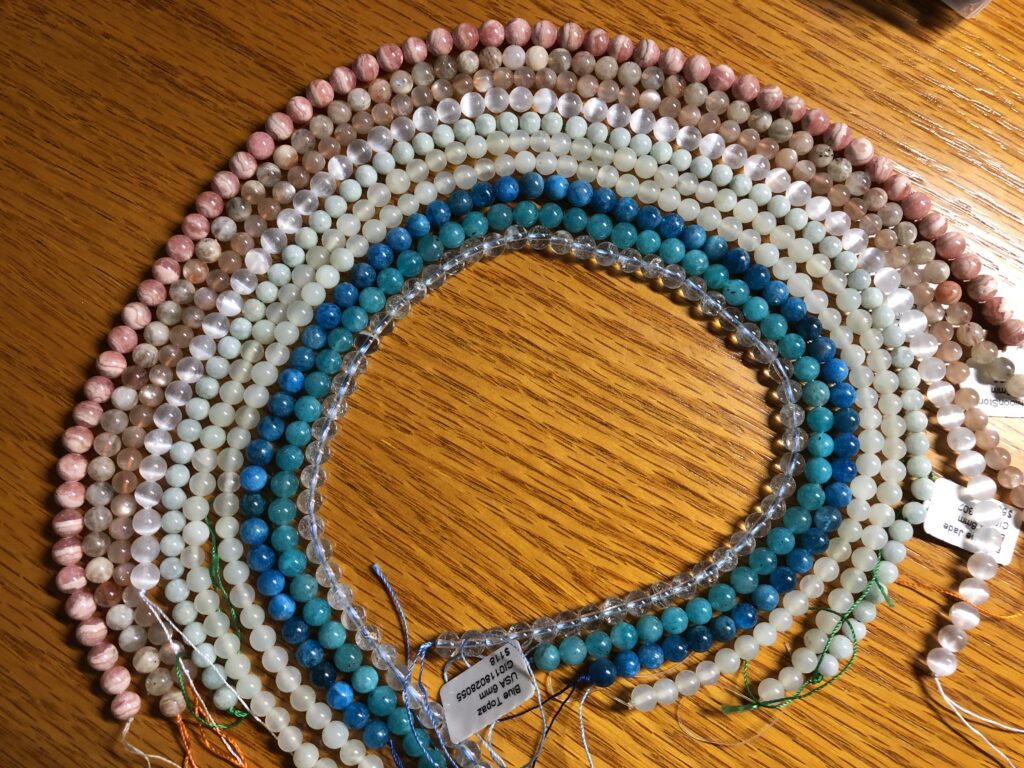
Unfortunately, the beads I was interested in were more expensive, of course! My strings of beads were $8 to $30 each.
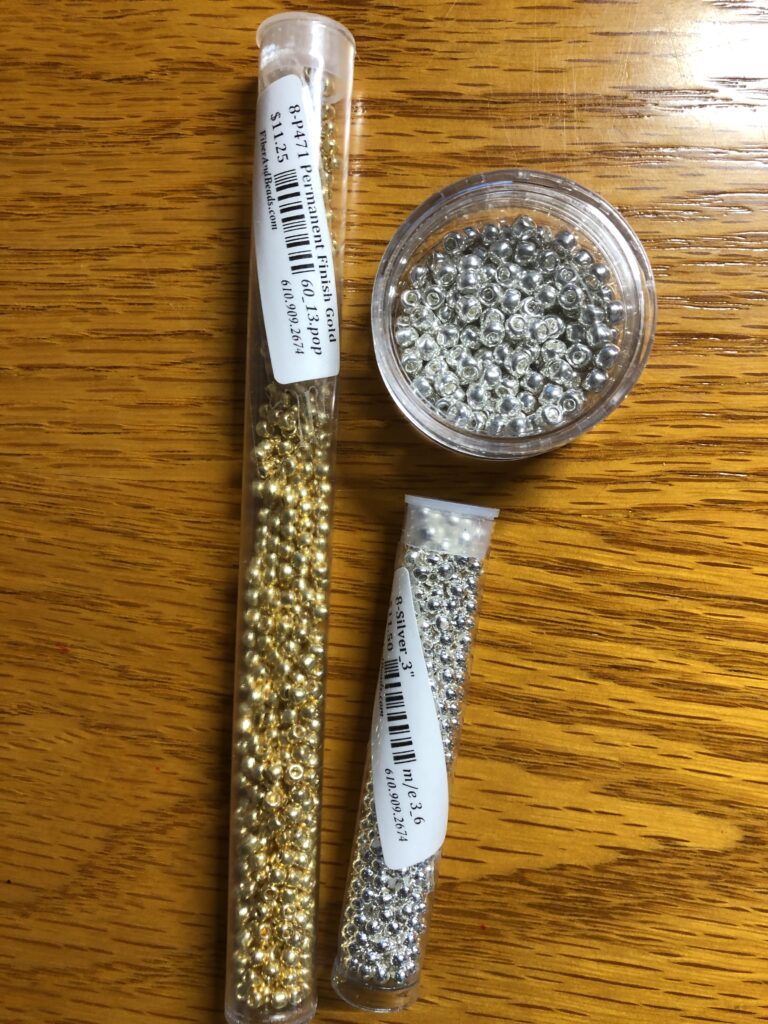
I was also able to pick up some tiny spacer beads in gold and silver plated…the three tubes of beads shown here were $30!
I’ve been saying this hobby of making beaded bracelets was expensive…now I’m convinced that I’d better find places to sell them! I certainly can’t wear them all!
With all the supplies available at Jo-Ann’s, Michaels Craft Stores, Amazon and other online companies, it is a very satisfying hobby. I would recommend giving it a try if you’d like to make them yourself.
Please email me directly if you’d like me to write tutorial piece on how to make them (marykisner@comcast.net). If there is enough interest, I’ll put that together. Enjoy!
Over the last 3 years I’ve been making assorted quilt blocks to decorate my front door. I started with actual fabric quilt blocks. They solved my dilemma of the small space between the door and the screen door that routinely smashed any wreathe I tried to hang on the front door. With 6 quilt blocks, I could change them out about every two months.
Unfortunately, after two months in the sun their color faded and by the second year, I was a little disappointed with using them. You can read more about my transition to painted quilt blocks on wood here: https://marykisner.com/lavender-inspired-quilt-block-on-wood/
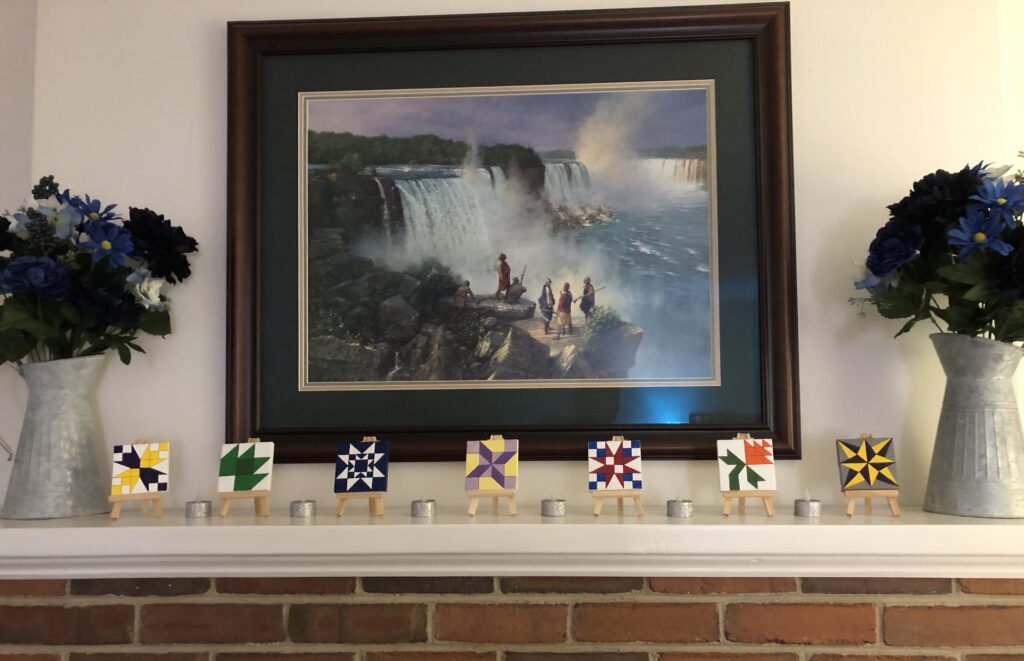
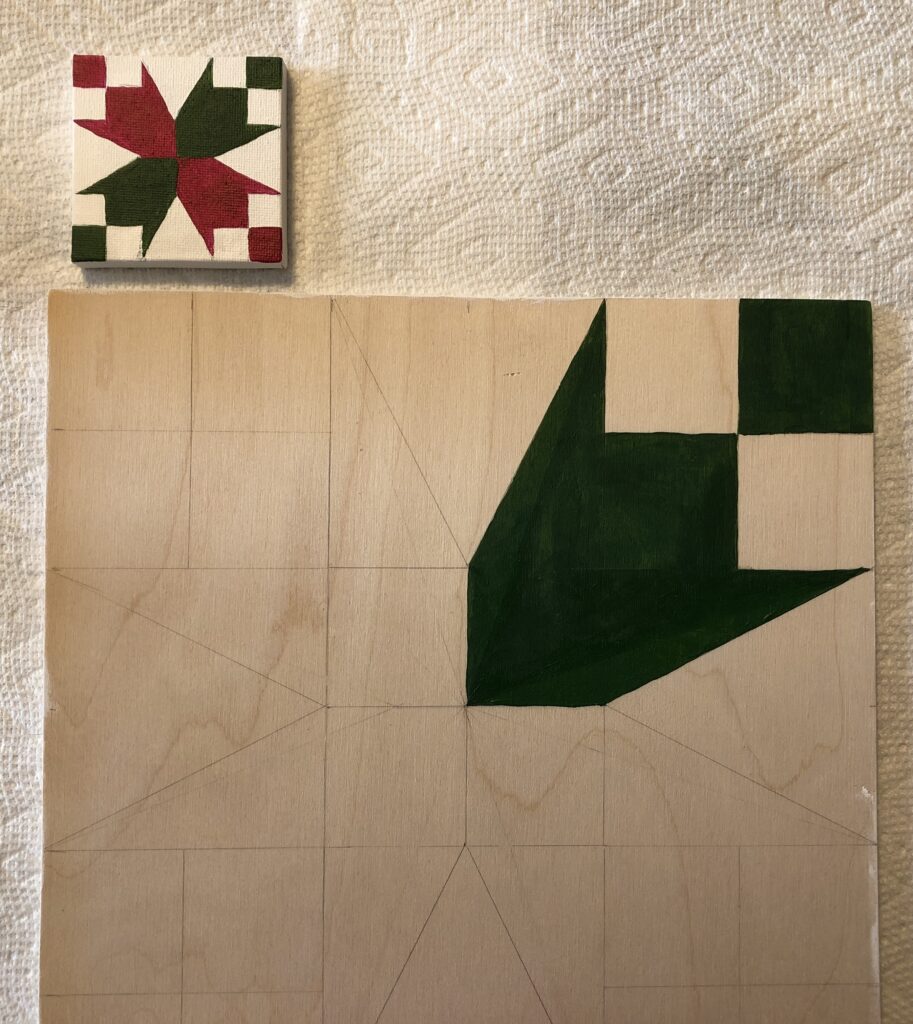
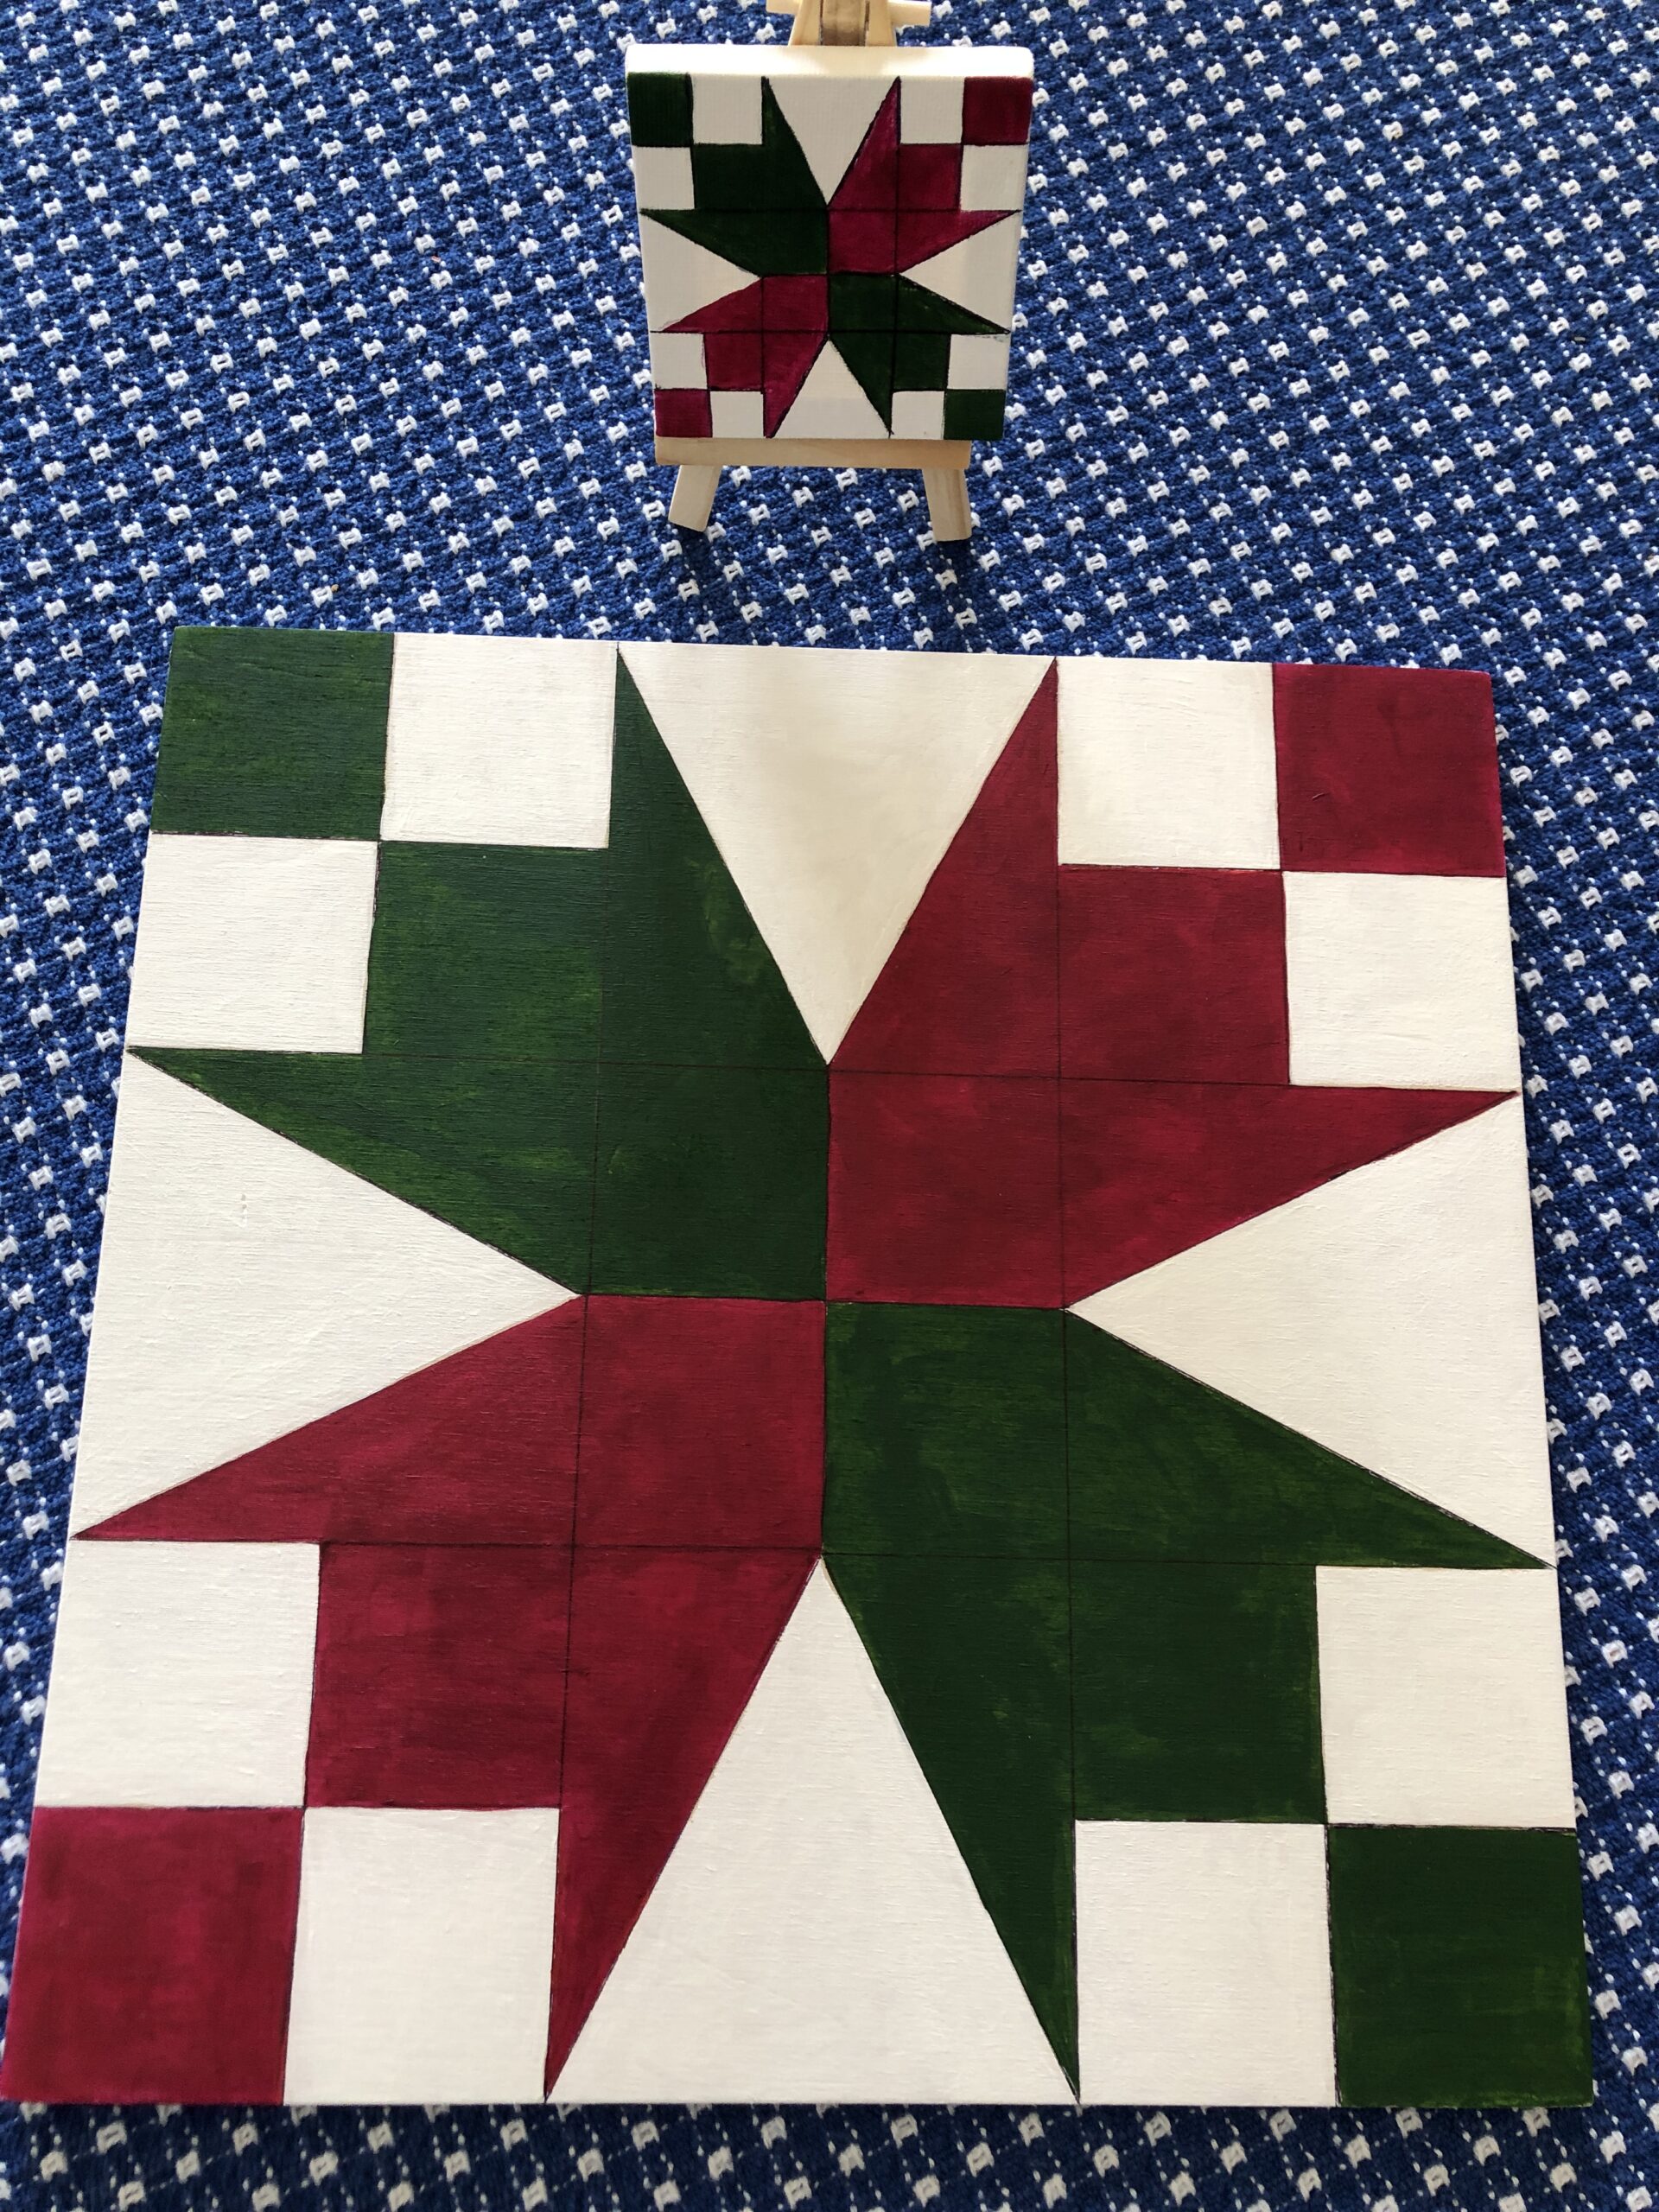
The process of painting a quilt block on wood involves first painting a miniature of the chosen quilt block before starting on the full-size (12″ square) block. While the full-size blocks decorate my front door, one at a time, the miniatures are an interesting decoration for my mantle.
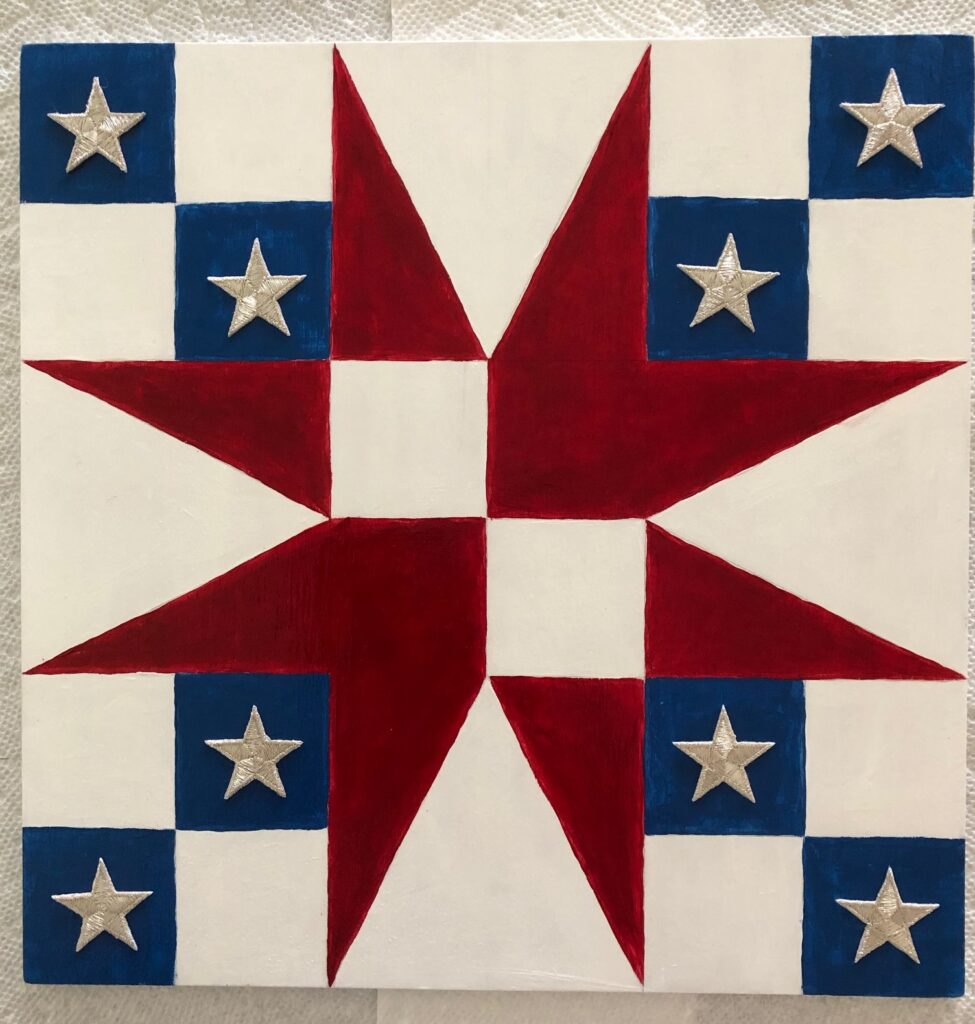
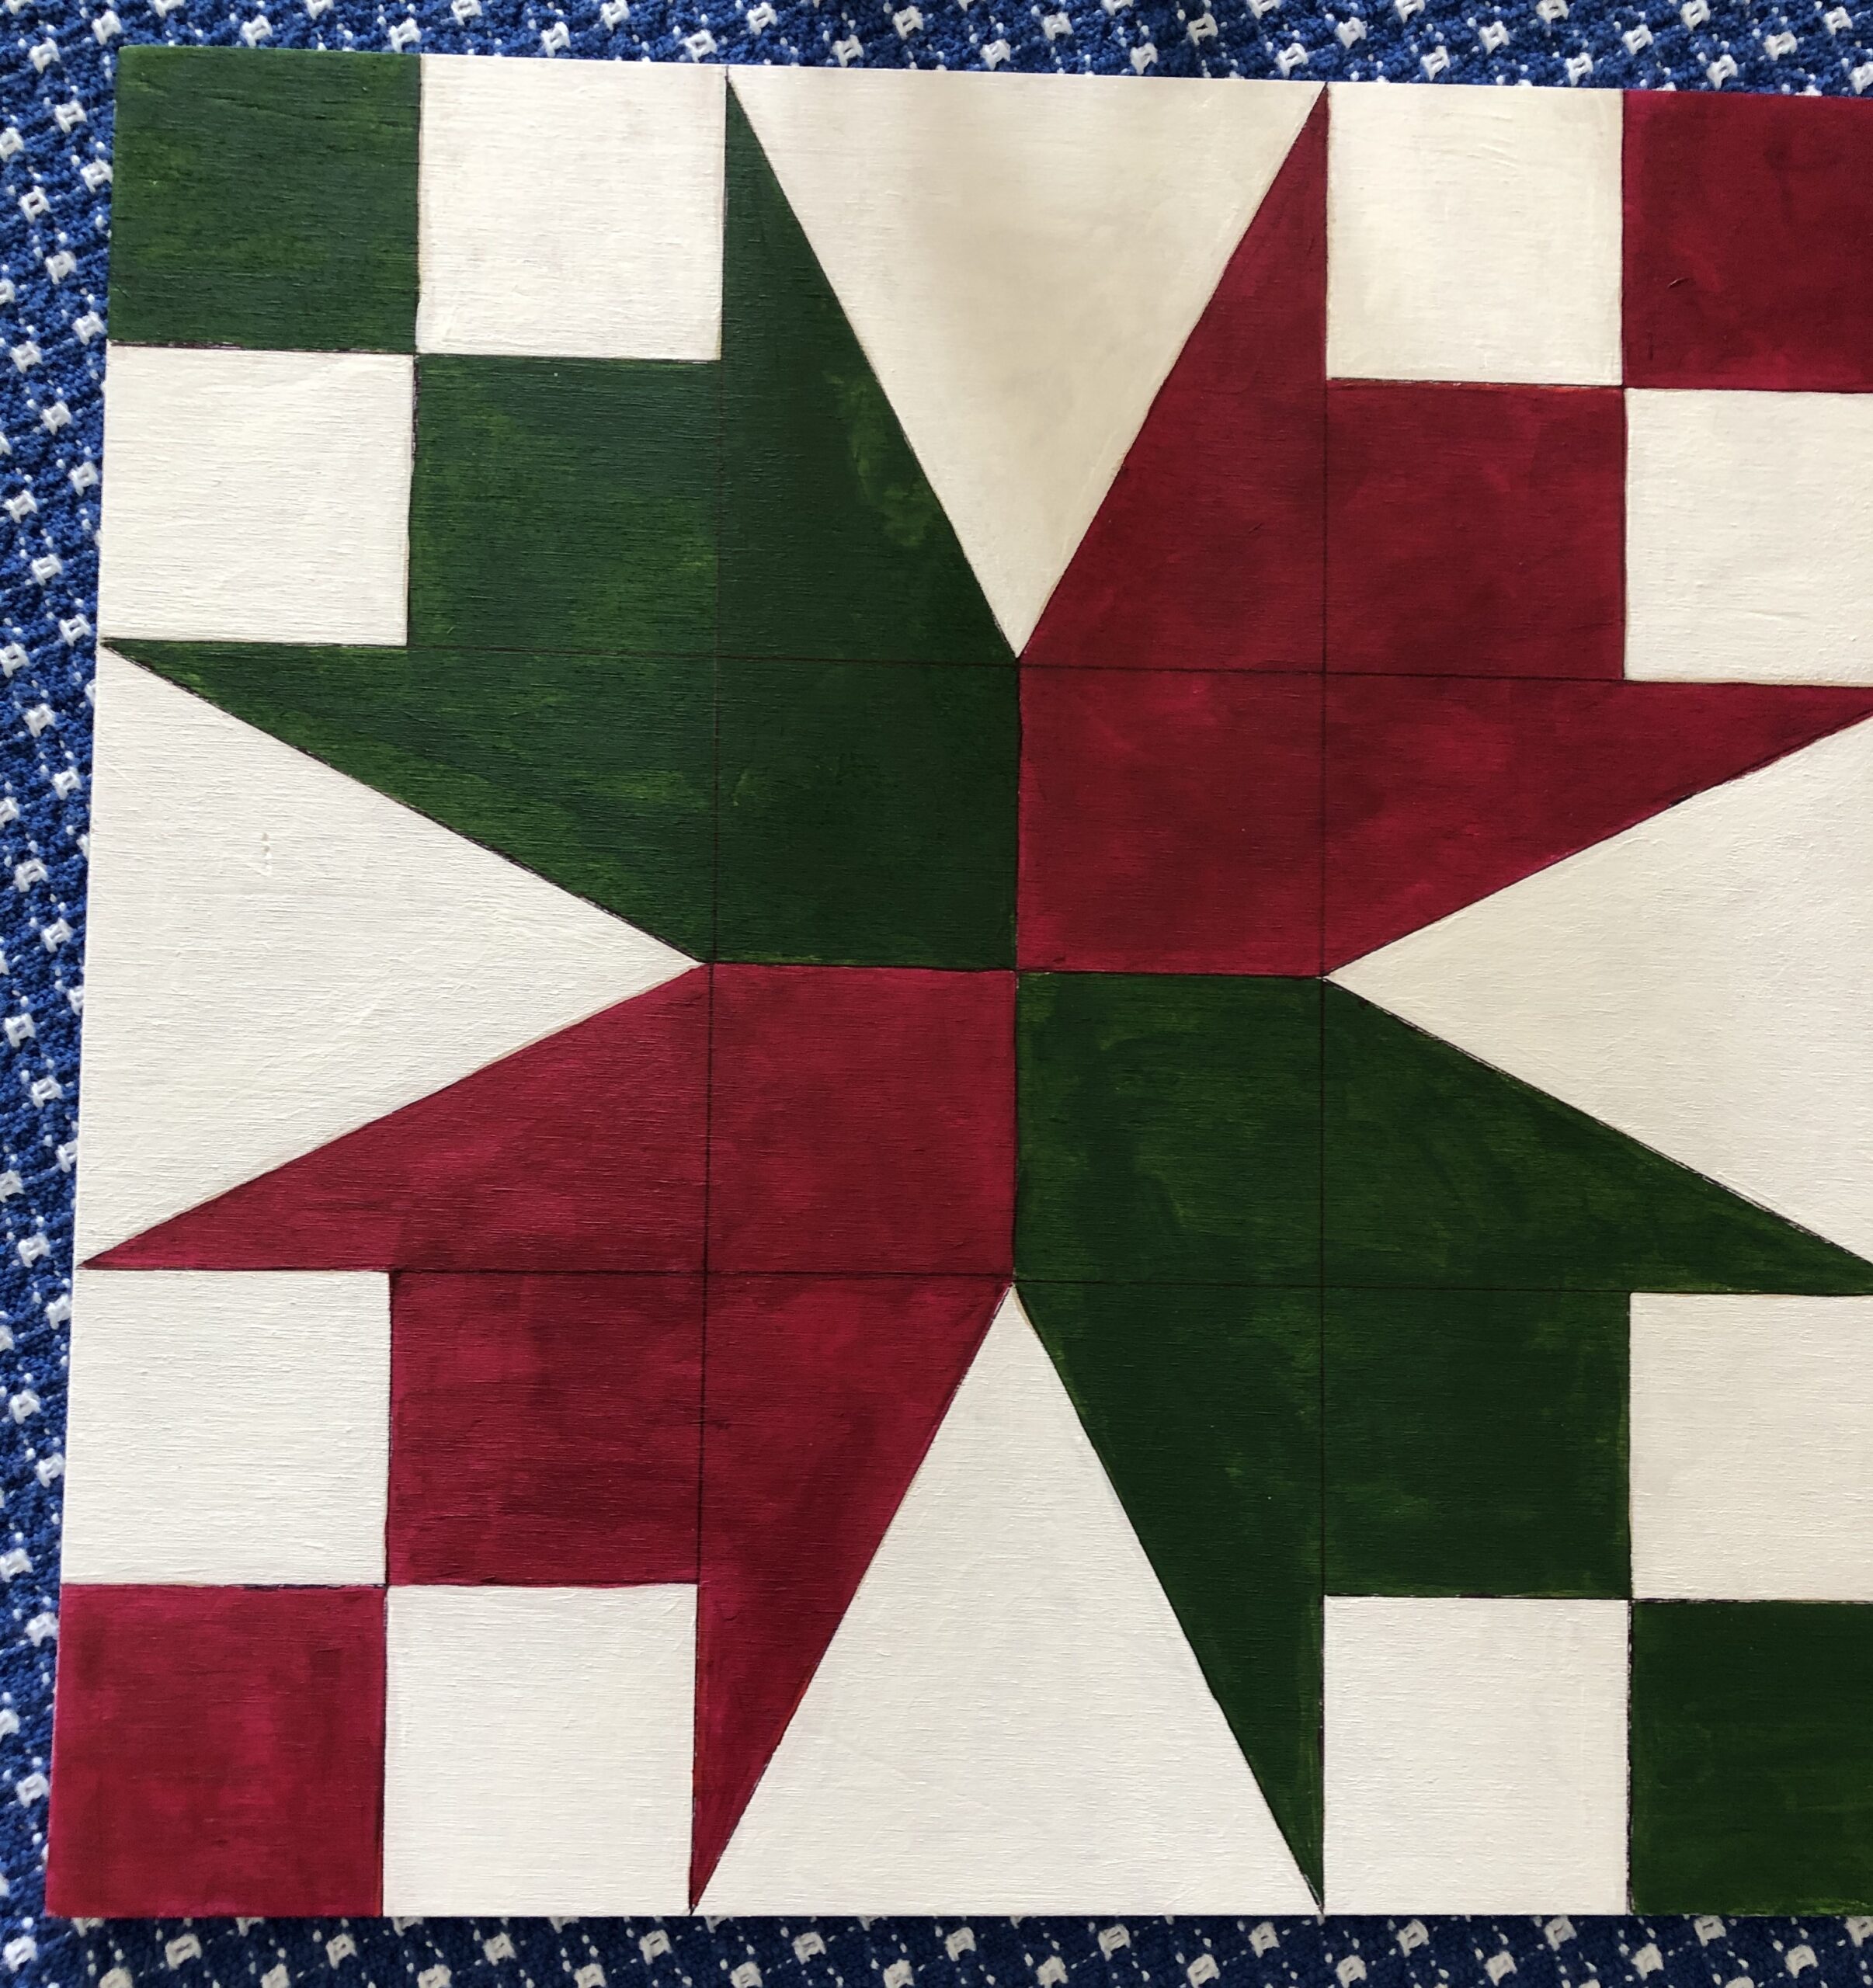
To make my new spring quilt block on wood, I first chose a pattern. I have used this same pattern several times…by changing the colors and their placement I was able to use the pattern below (called Fifty-Four Forty) that I made with patriotic colors and change it into the variation that almost looks like tulips!
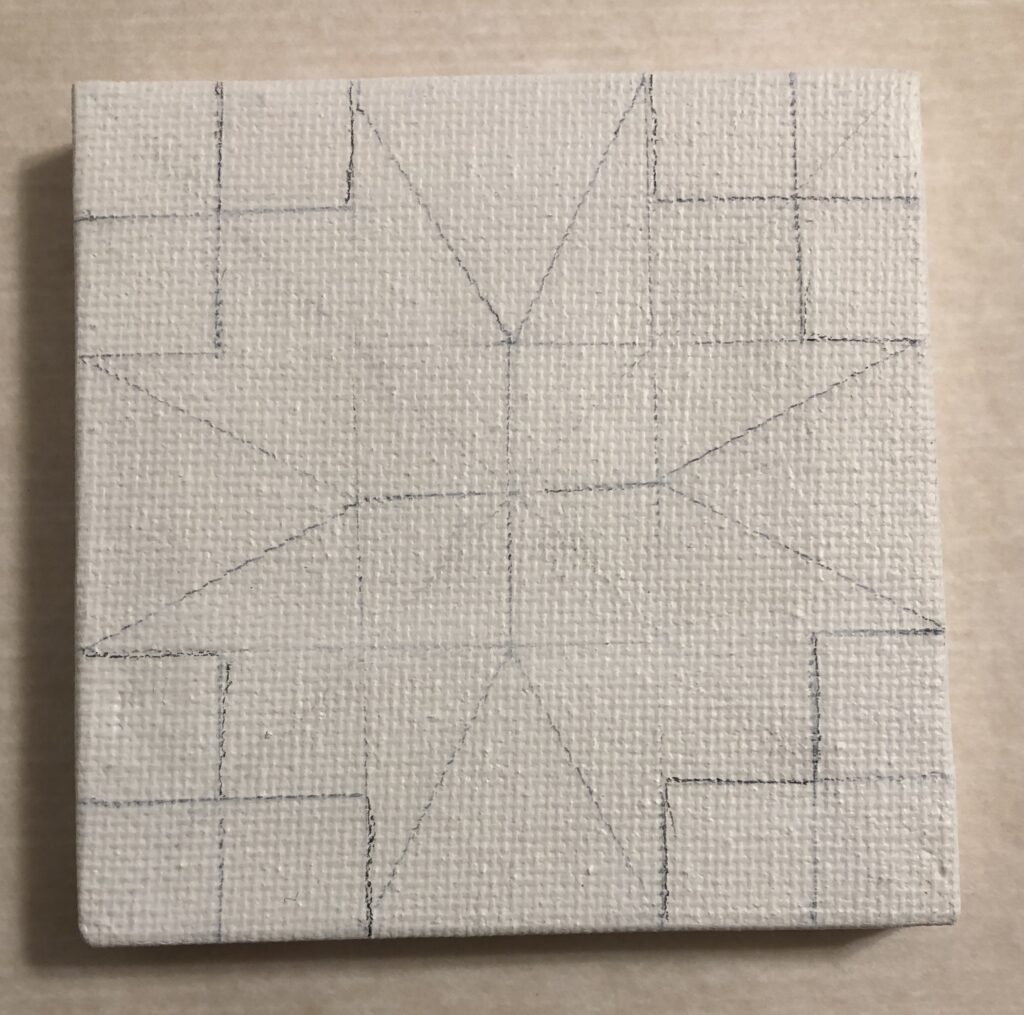
I always start with sketching the design on a 3″ x 3″ canvas. That lets me see which lines should be erased so the pencil doesn’t show through the paint. Then, I’m careful when drawing on the wood so the pencil lines are faint and won’t show through.
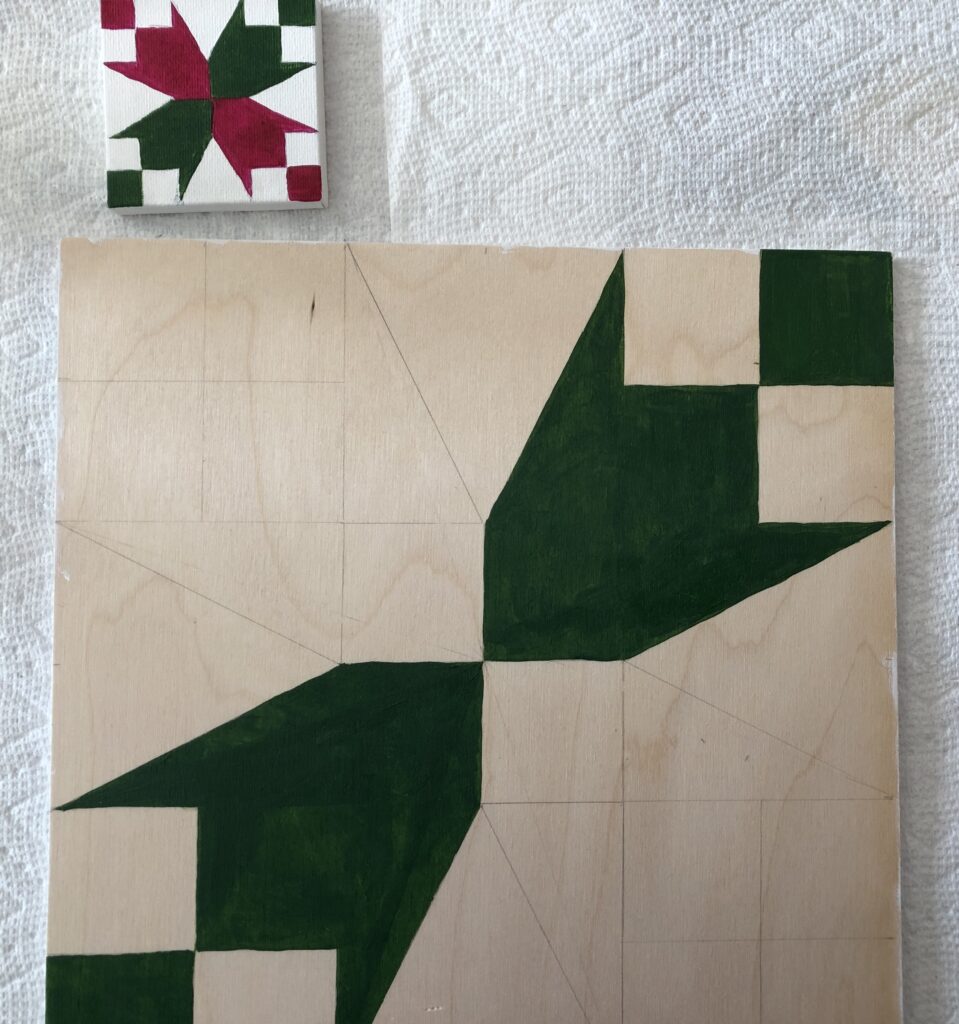
Let the painting begin:
It takes several days to finish a project like this. The final step is to take clear acrylic spray and give it a nice weather-proof finish…all with waiting times between coats. Bert will attach magnets to the back that will stick to our metal front door. In the end, I’ll have a new spring door quilt and a new miniature for the mantle!
I truly have been busy this last week! However, I have been deep into making gemstone bracelets and finally feel confident that I can now explain some of what I’ve learned. I do believe it would be worth your time…if you think you might enjoy learning how to make them yourself. Making things with beads is the hot craft at the moment. The youngest kid (that can safely not put them in their mouth!) can make bracelets out of inexpensive plastic or ceramic beads and trade them with friends. They can stack them up their arms and show off the variety of novelty beads available…from sports to animals to letters. I started with some letter beads illustrating a poem (see https://marykisner.com/making-bracelets-with-words/). That was fun but didn’t satisfy my interest in using gemstones. The hardest part was tying the knot of the elastic string and figuring out how to hide the knot in a spacer bead. A spot of jewelry glue really helped keep it tied!
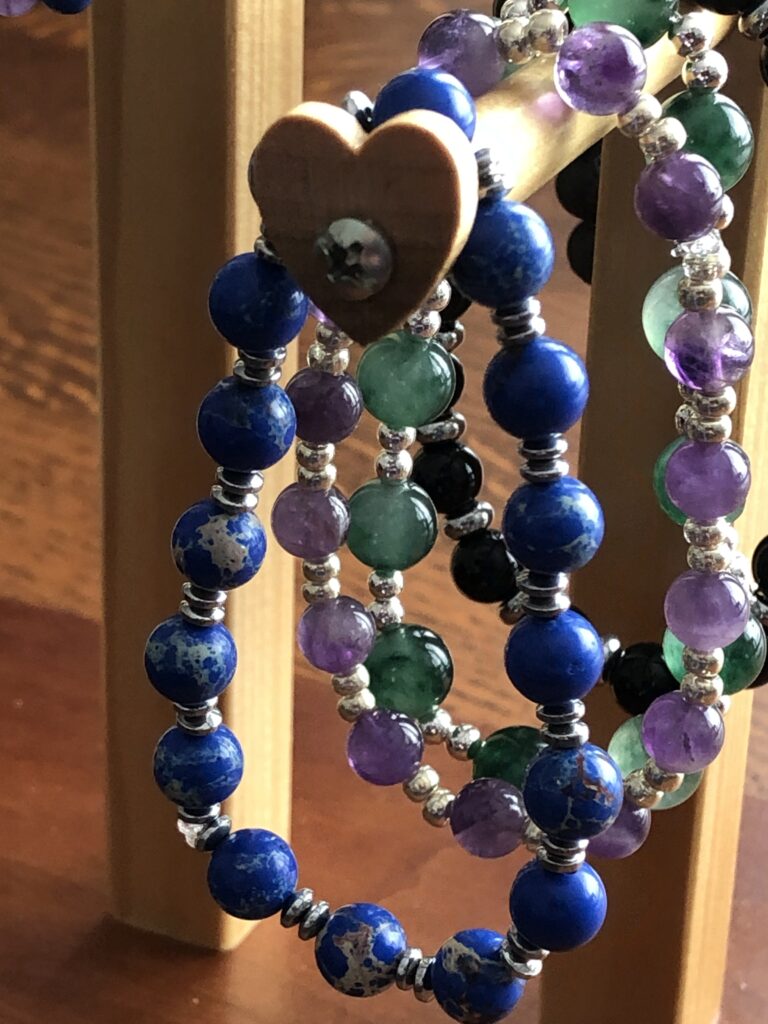
Learning about the gemstones I’m using is expanding my interest in this craft. I started with making bracelets I wanted for myself. Bert made an adorable stand for me to display them. Then, he made a second one that I can use at the craft fair in July.
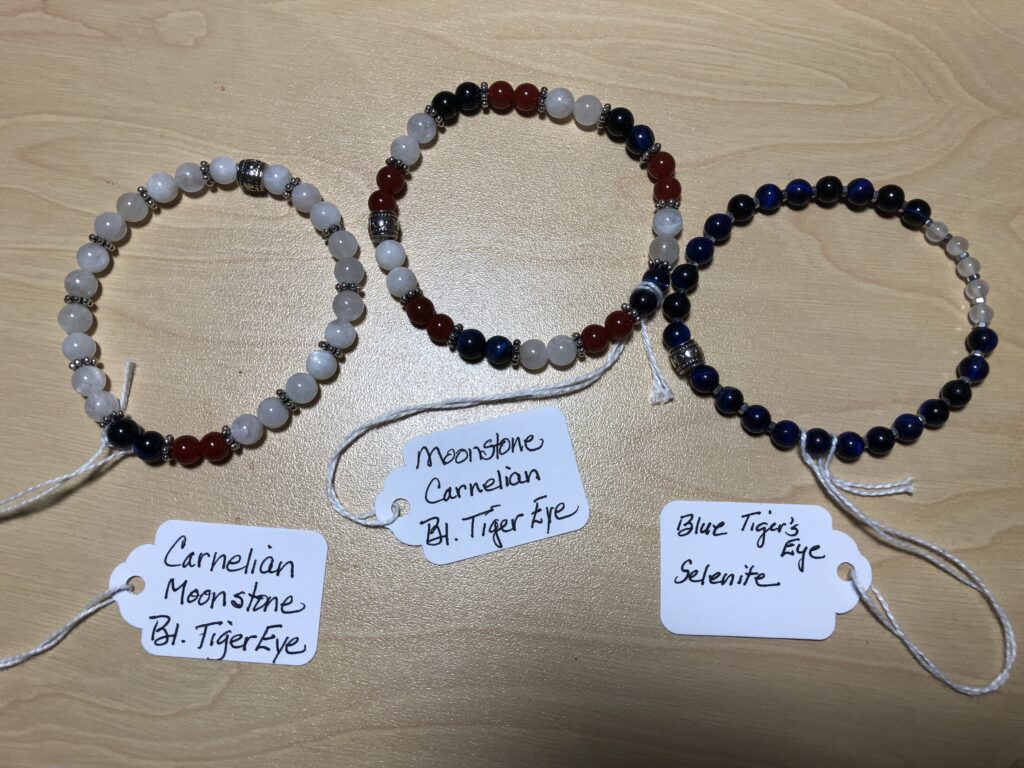
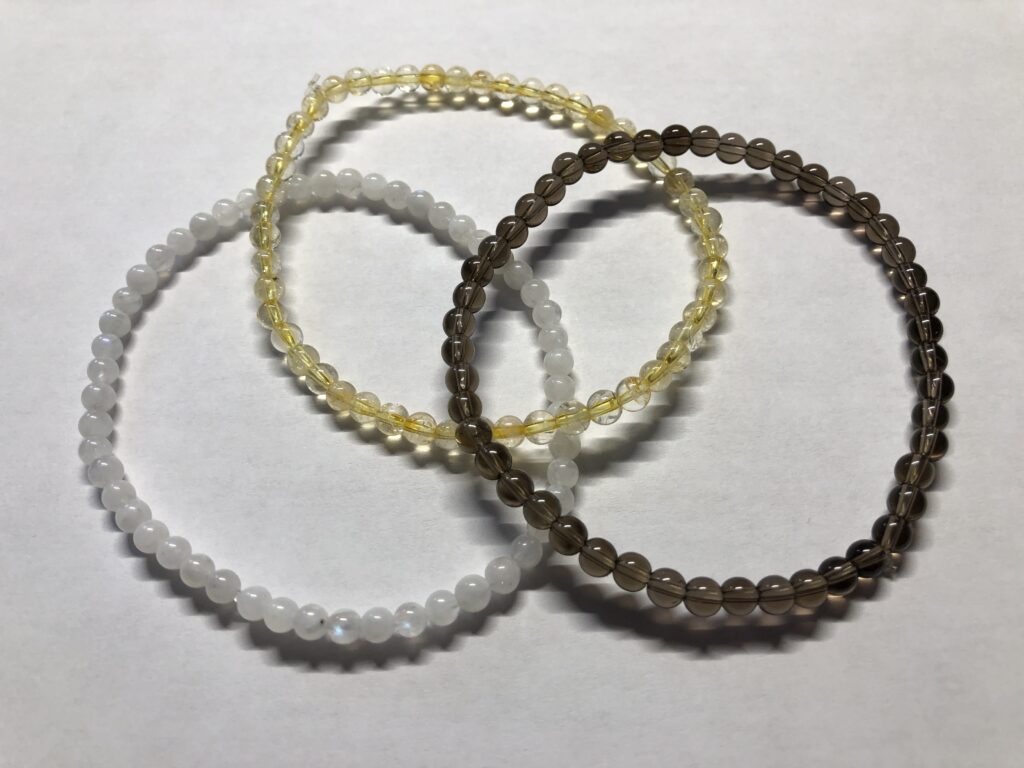
Each bracelet I make uses one to three different gemstones. Over time, I could see that if I didn’t label each bracelet, I’d never remember whether that white bead was Moonstone, Quartz or Howlite! For example, here are the three bracelets that will be my “Patriotic” theme:
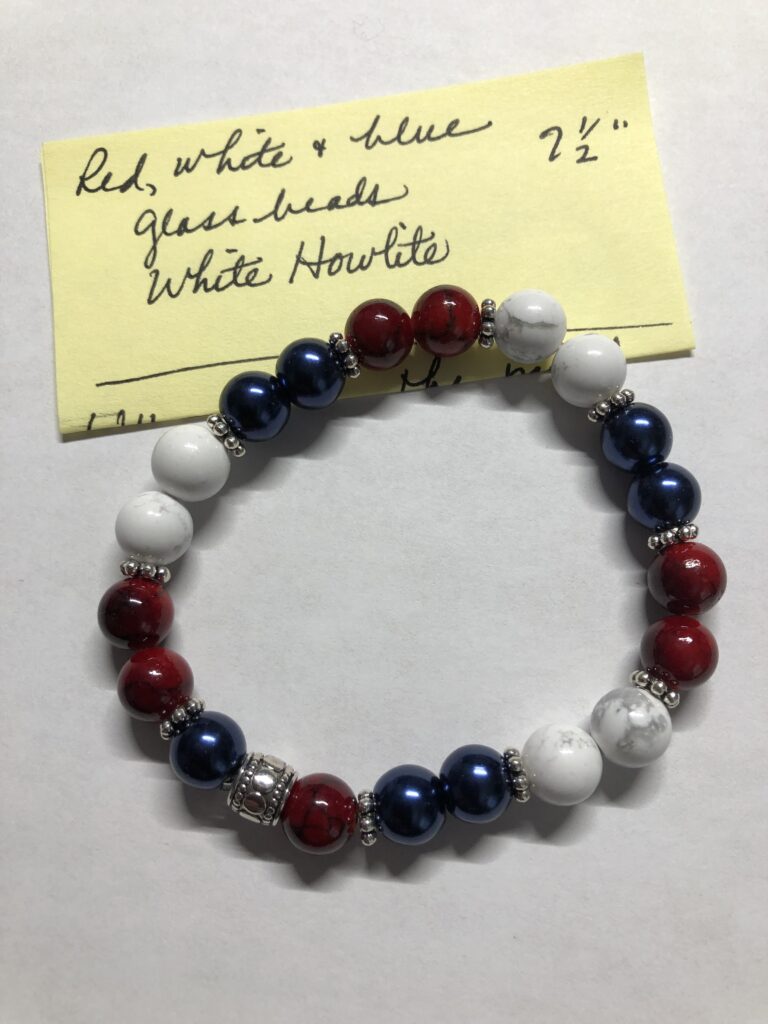
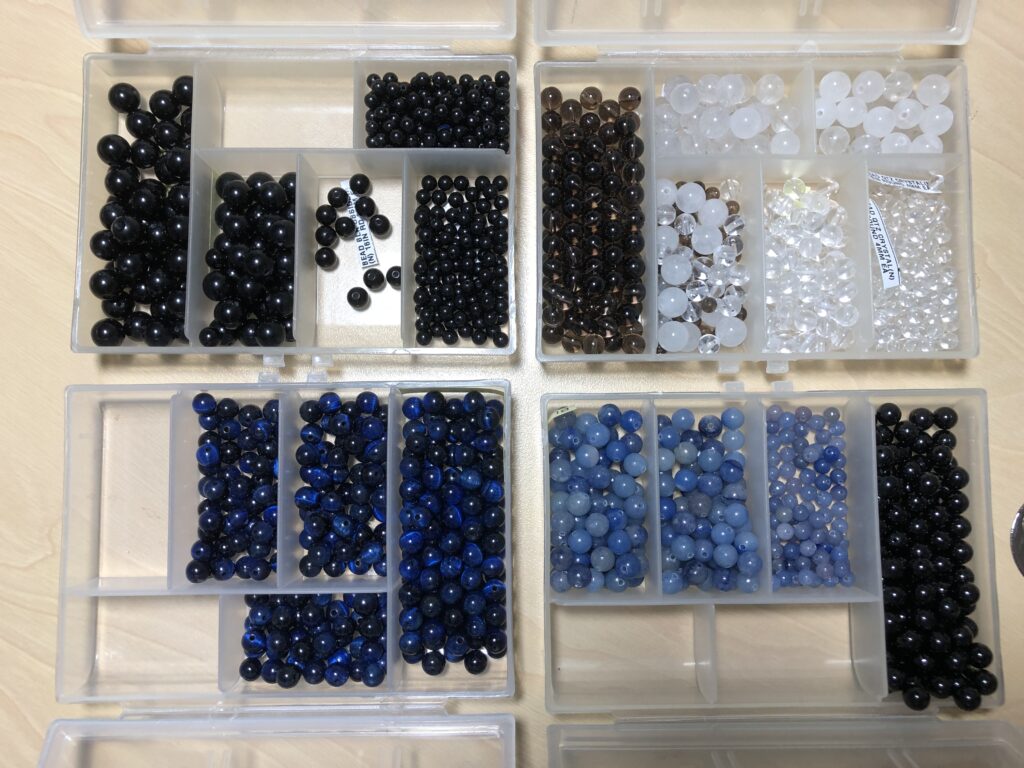
My three bracelets can be worn as a red/white/blue set together. I really couldn’t afford to make very many bracelets like this to sell…they’d be too expensive for the craft fair. I finally got some red and blue glass beads and used Howlite for the white ones. Now I have some Patriotic bracelets to sell at the craft fair that won’t be as expensive.
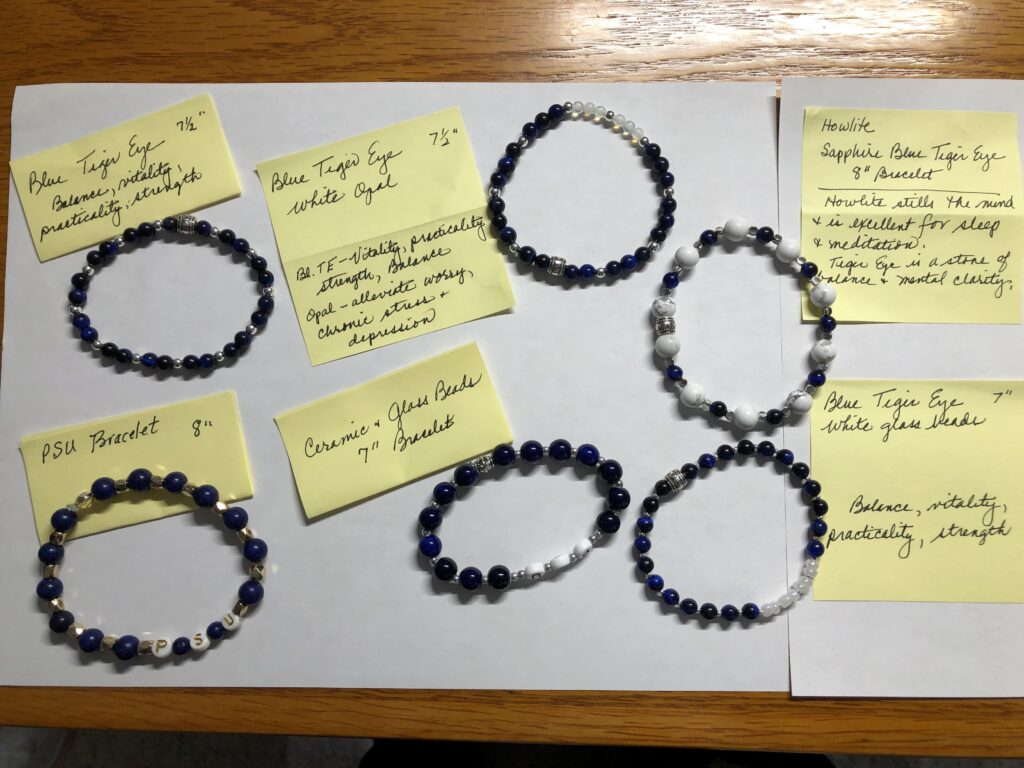
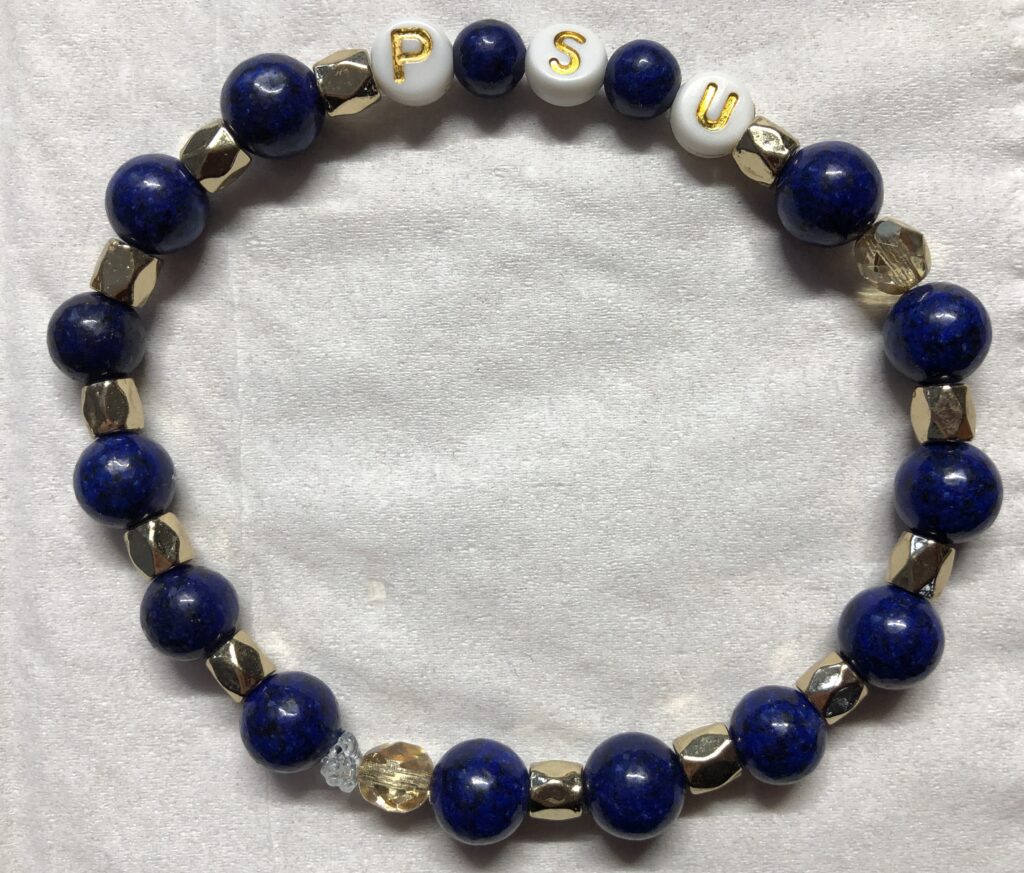
Then, I wanted to make some blue and white bracelets (since Penn State is nearby) and first made a few with the letter beads P S U on them. When I had used up my assorted letters of P S U, I tried just blue and white…understated PSU, right?
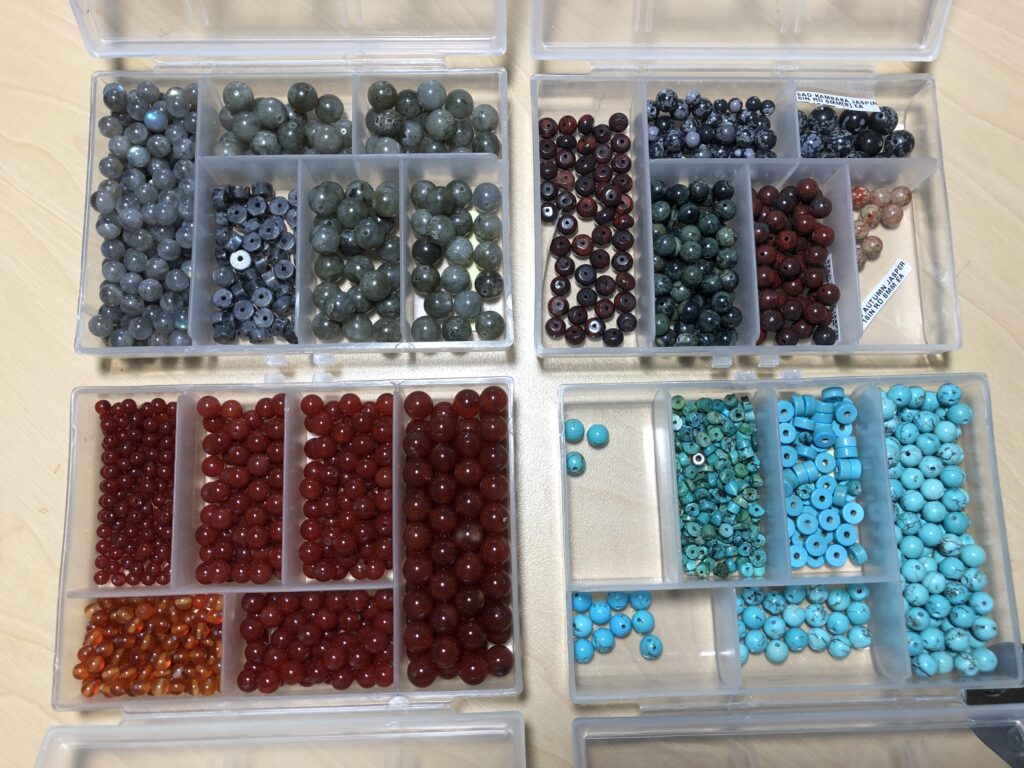
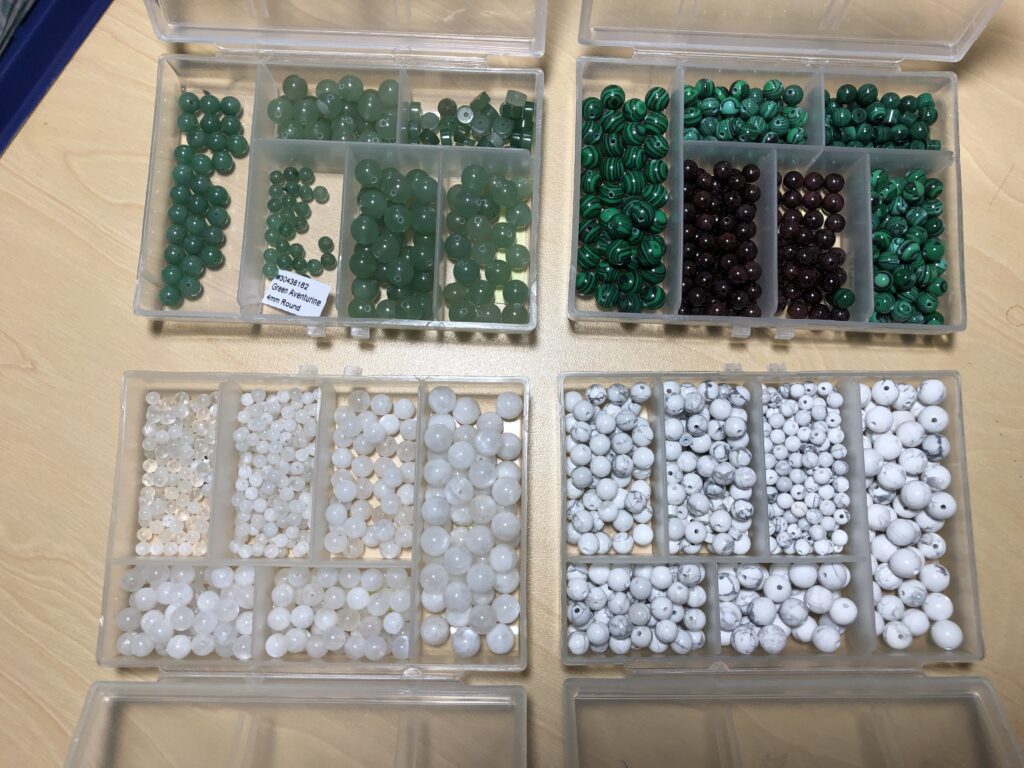
I’ve now acquired a variety of beads in 3 sizes so I’m ready to make more bracelets. I will try to include glass and ceramic beads to reduce the cost, but I think the real gemstones give a bracelet its sparkle! As I’m learning about the beads I’ve discovered in their descriptions that each stone holds a unique vibration that can enhance things like mental clarity or alleviate stress. In another post, I’ll try to explain how that is possible. In the meantime, my bracelet production is underway. So many beautiful beads to work with! Enjoy!
Spring is the time of year we notice dead animals on the side of the road…especially skunks! I’m sure they are all on their way to find food, or they are young ones who haven’t learned about traffic. (Maybe this is just a Pennsylvania issue!) Their odor gets sucked into the car as we drive by and it’s obvious…I need to think about “recharging” my air freshener!
In the past, I’ve tried commercial air fresheners that just hang on the rearview mirror. That lasts about 15 minutes before I pull off at a gas station and throw it away! The scent is always too strong and ends up being worse than letting the skunk smell into the car!
Two years ago, I explored ways to use my own essential oils (fragrance oils work too), to make an air freshener. There were a few ideas online using wood as the item to soak up the oil:
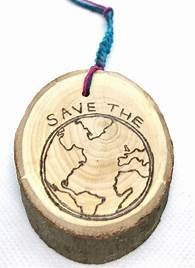
There were even suggestions of a slice of a branch to hang in the car. Either way, once the wood had soaked up the oil, it gently released the scent in the warm car.
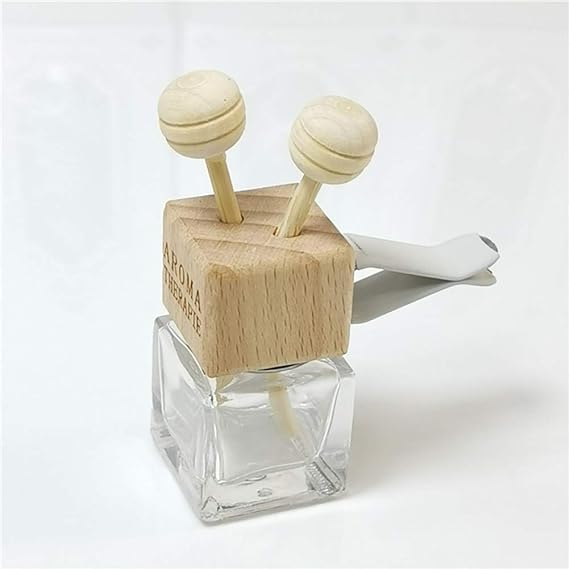
Exploring the internet this year, I noticed a new air freshener attachment offered for sale. It had sticks that reached the little jar of oil and soaked it up to the round pieces at the top. Interesting. I think I’ll stick with the one Bert made me.
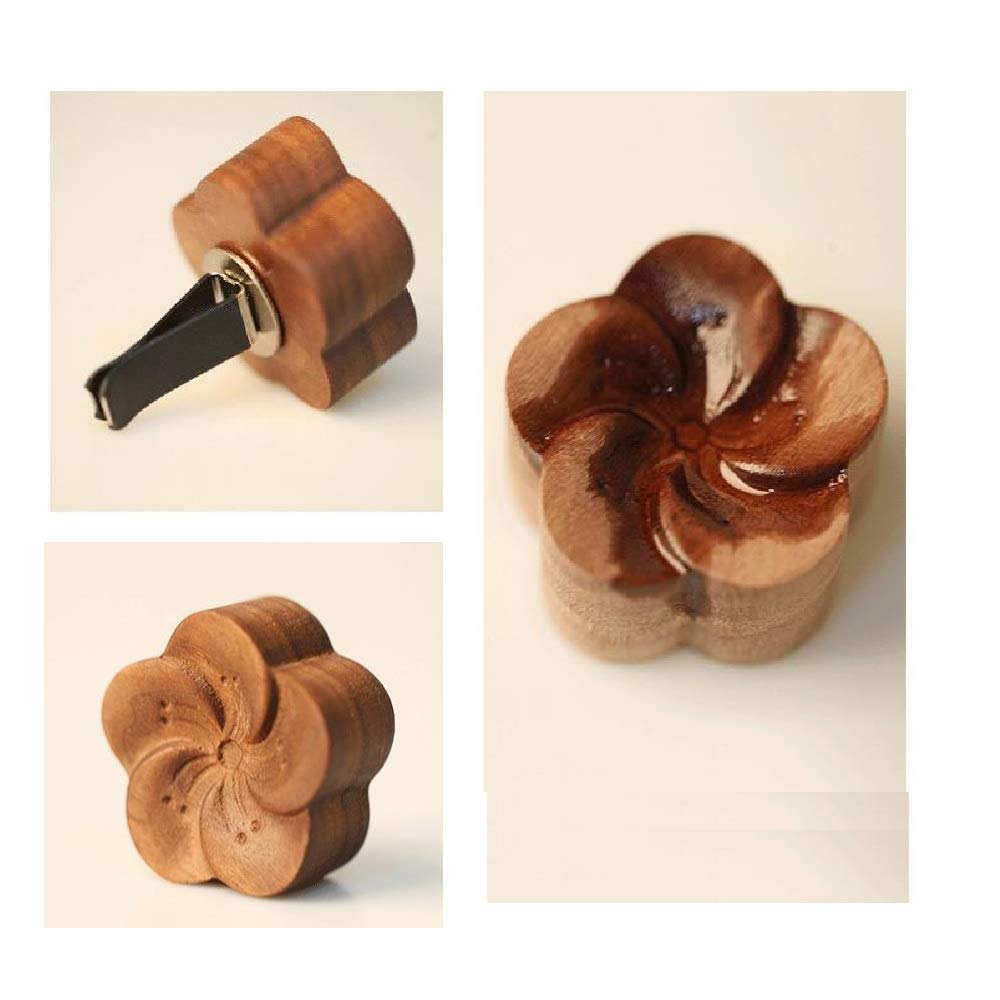
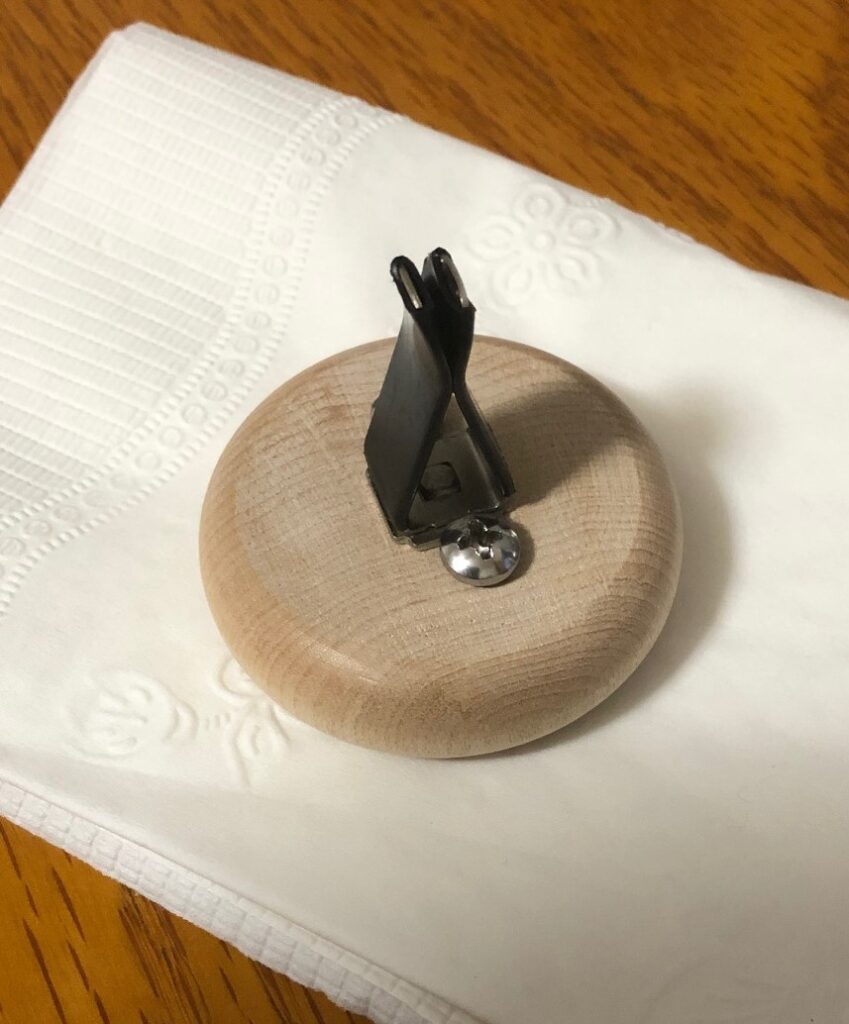
Two years ago, Bert ended up fastening a round block of wood to a clip with screws to hold it in place. Glue wasn’t strong enough. It was very time consuming to make, but it worked great!
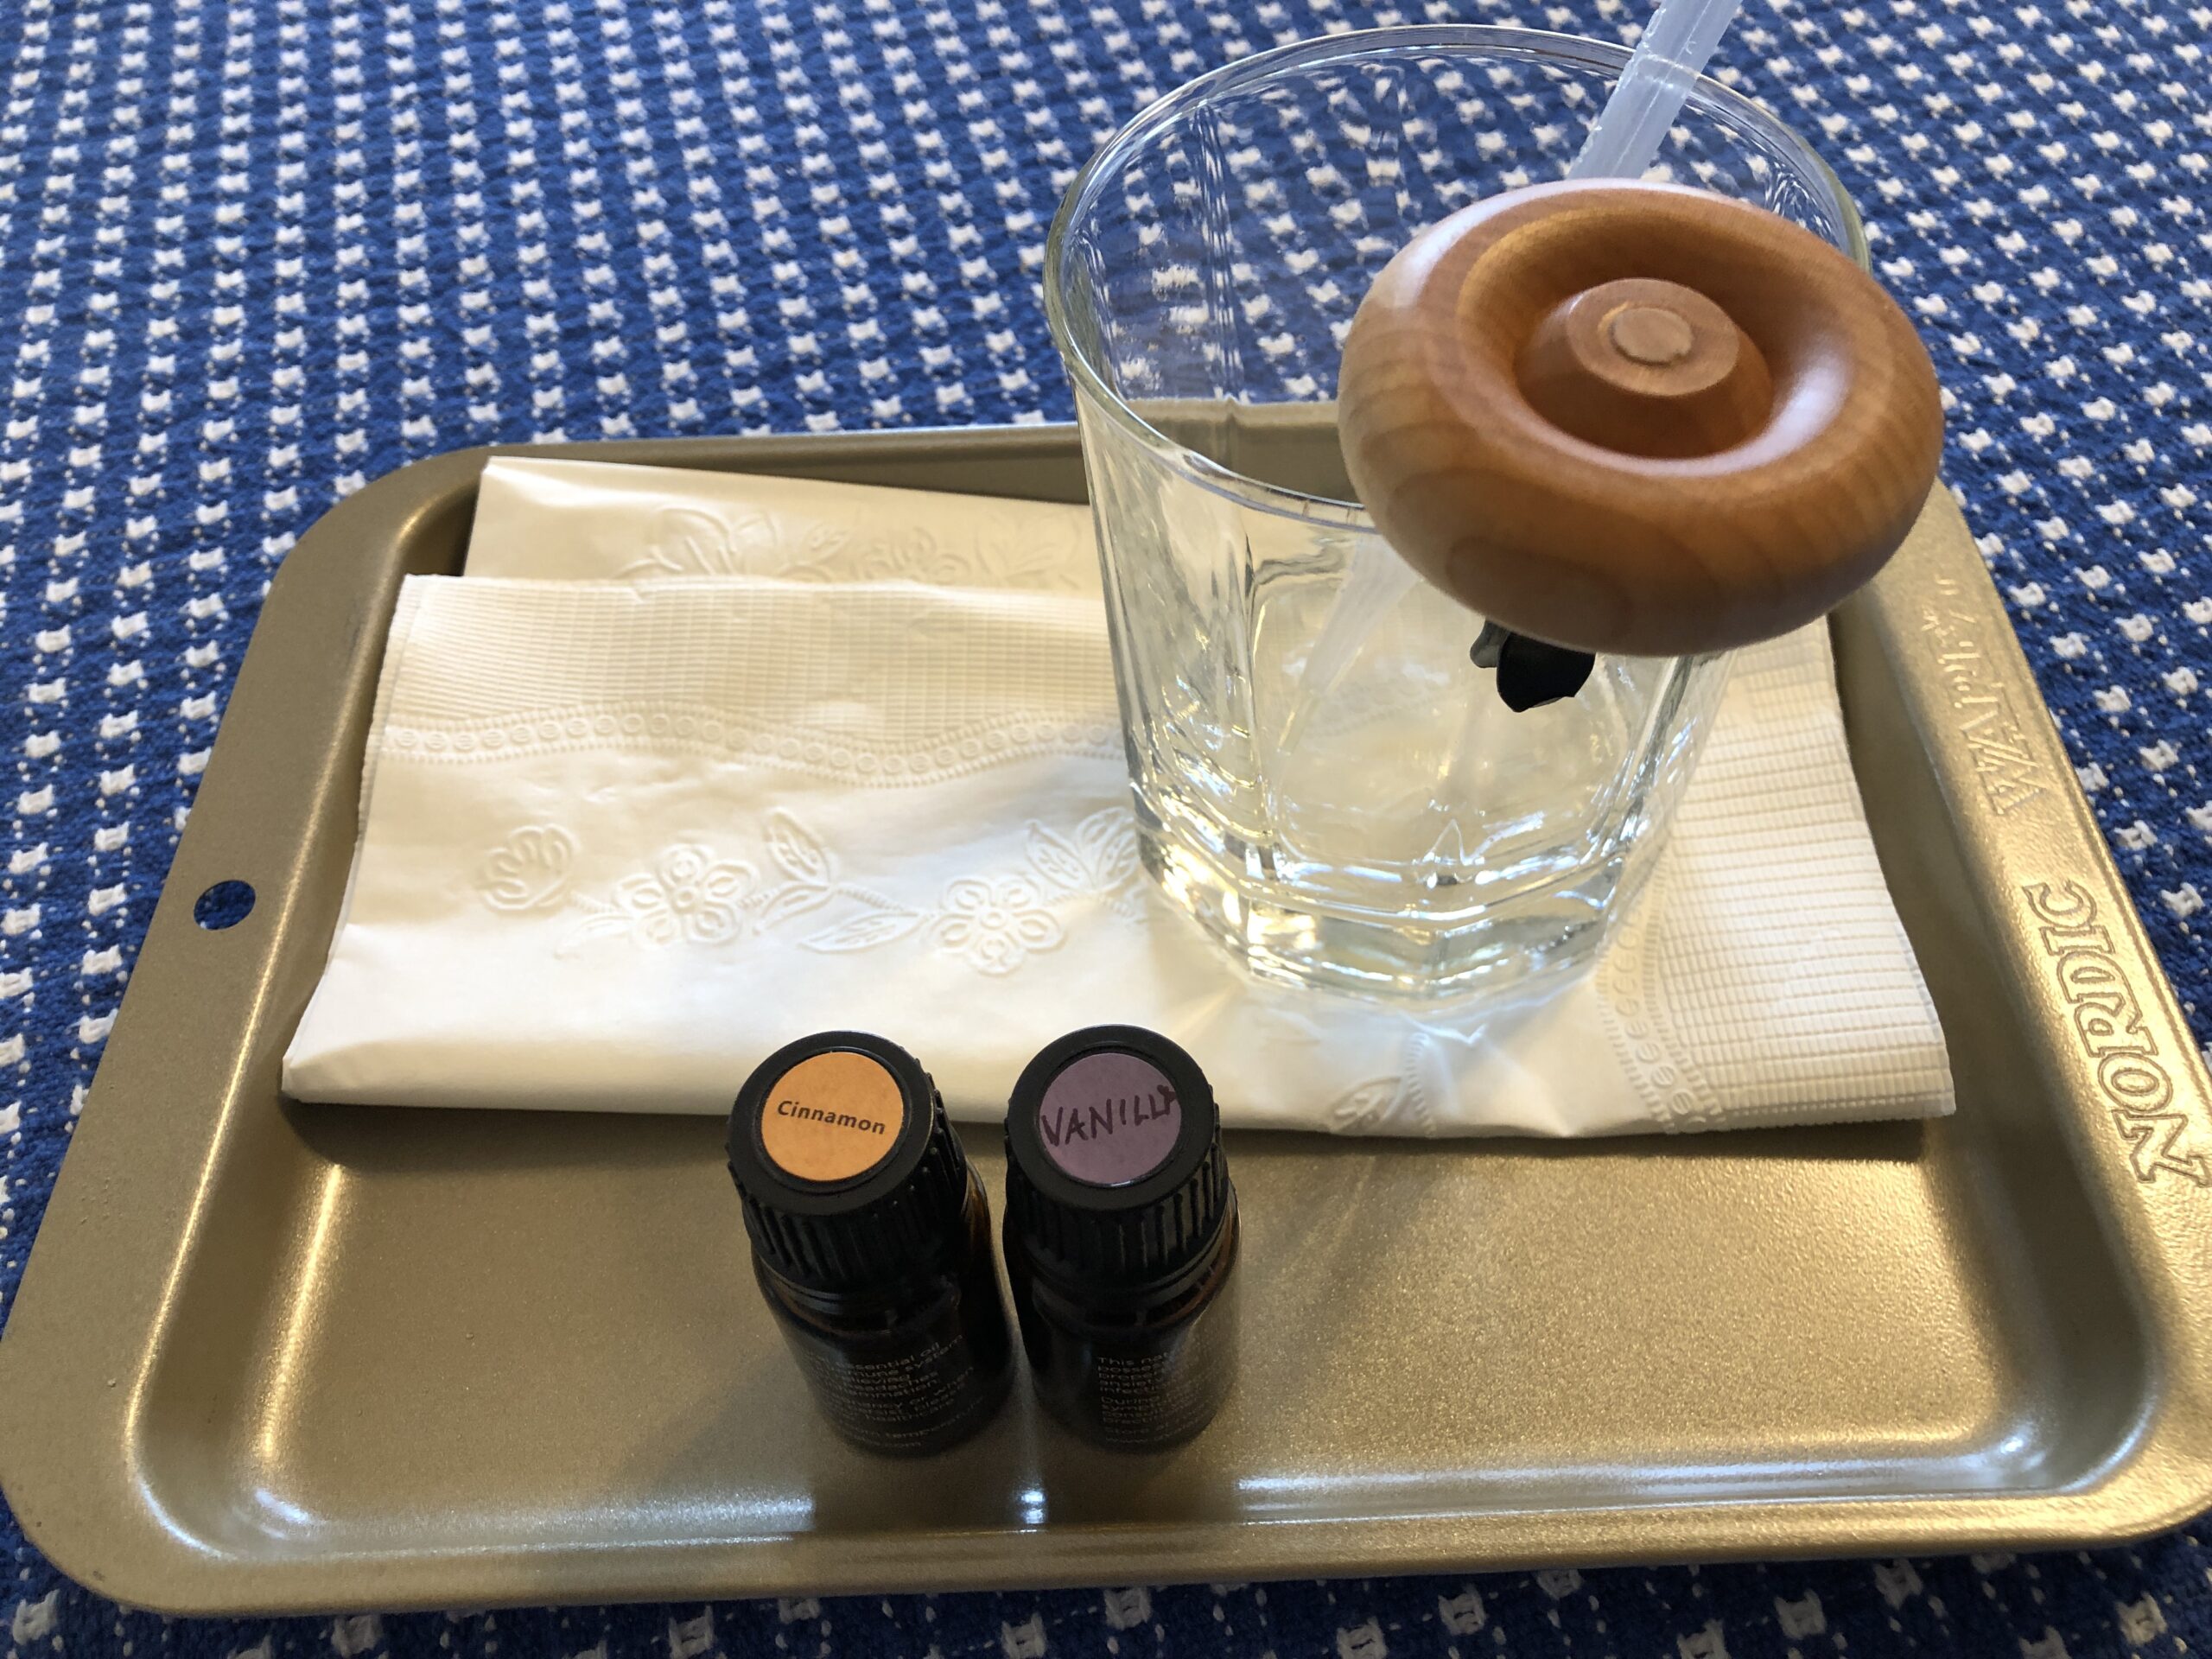
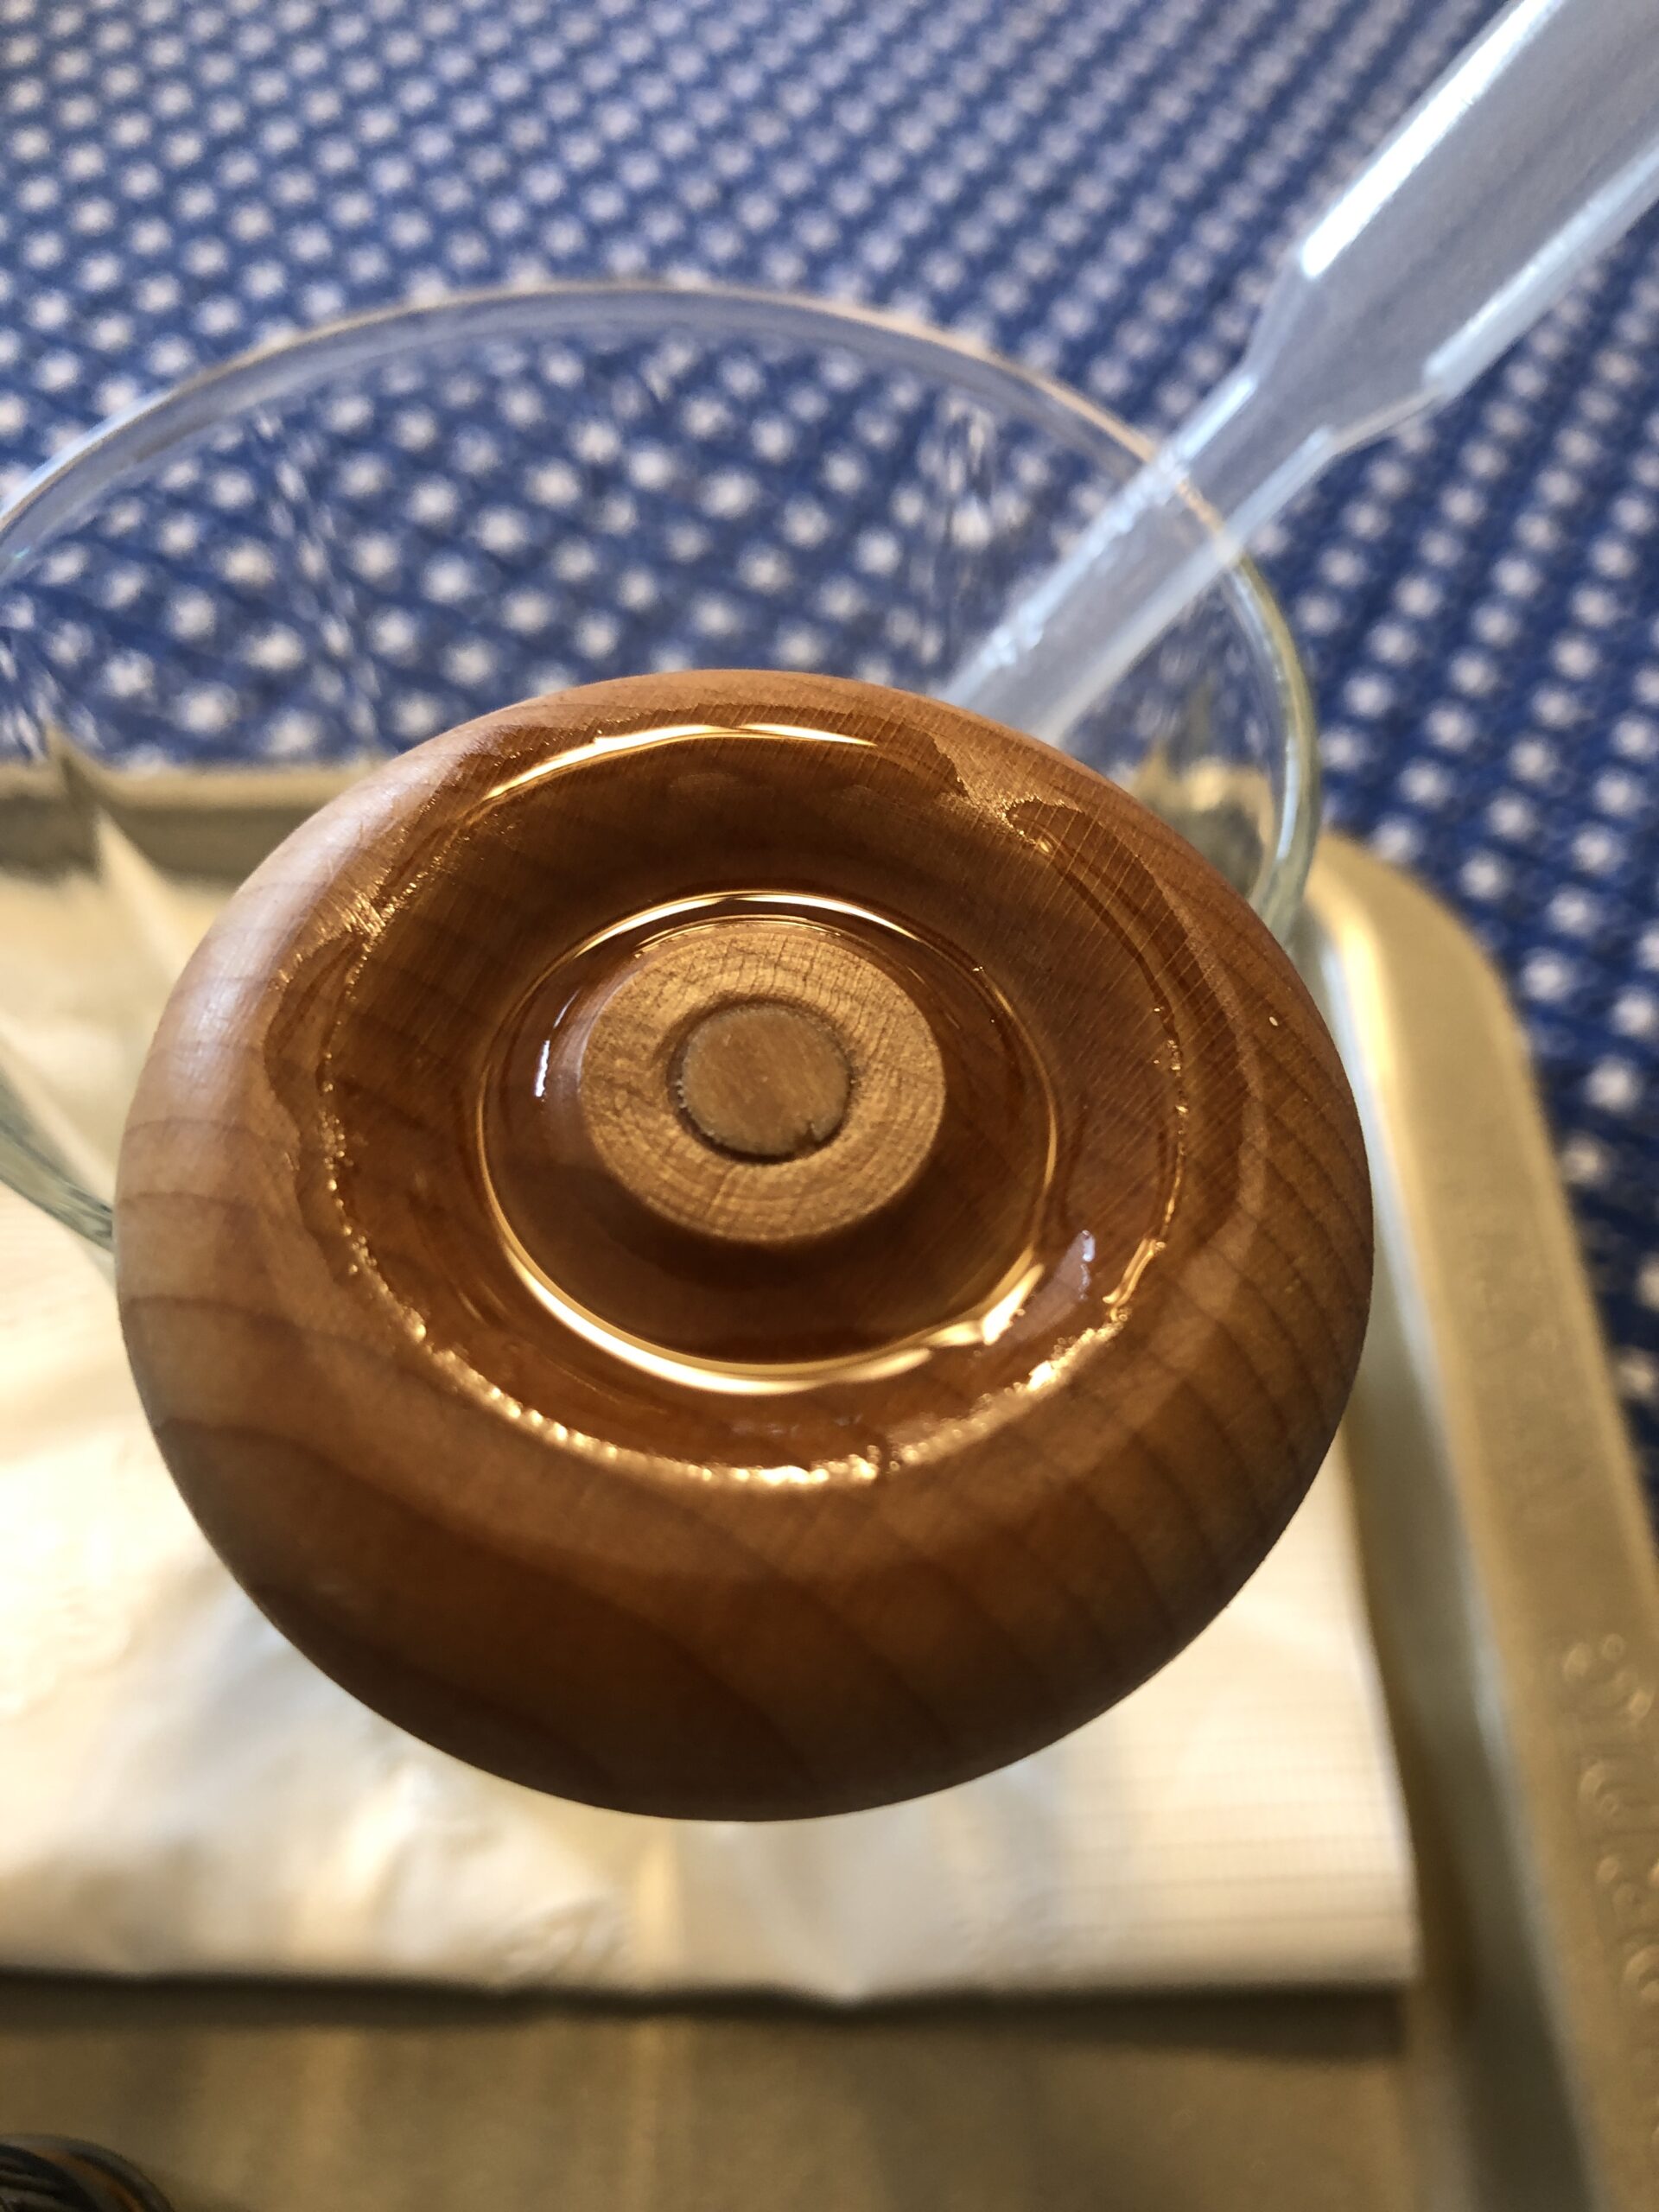
This week, after one more time with skunk smell in the car, I pulled out the wood piece and chose the oil I wanted to use…vanilla and cinnamon sounded good!
I clipped the wood with clip to the side of a glass and proceeded to soak the wood with essential oil. The bottles were almost empty and seemed a great way to use up the oil.
Over a day, I added oil several time to really soak the piece of wood. It made the whole room smell good!
The last step was to plug it into the vent. When the warm air flowed by and through the wood, the whole car smelled good. Luckily, it wasn’t too strong either. Now we can drive by the dead skunks on the side of the road and not choke!
Since, of course, I like sharing stuff with others, I ordered more clips and Bert ordered more wood circles. With his advice, we tried to choose a different clip that would be easier to attach the wood piece. We’ll see how that works! Enjoy!
Before I move on to other projects, I wanted to share one last project with beads. I seem to have figured out how to work with various stones and gem stones. I think I’ve figured out how to tie a knot in the elastic string and hide it in a larger bead. I also have accumulated enough supplies I can make bracelets until next Christmas!
Citrine and Malachite
However, I still wanted to try to make some bracelets with words on them, which sent me back to my pile of beads with letters.
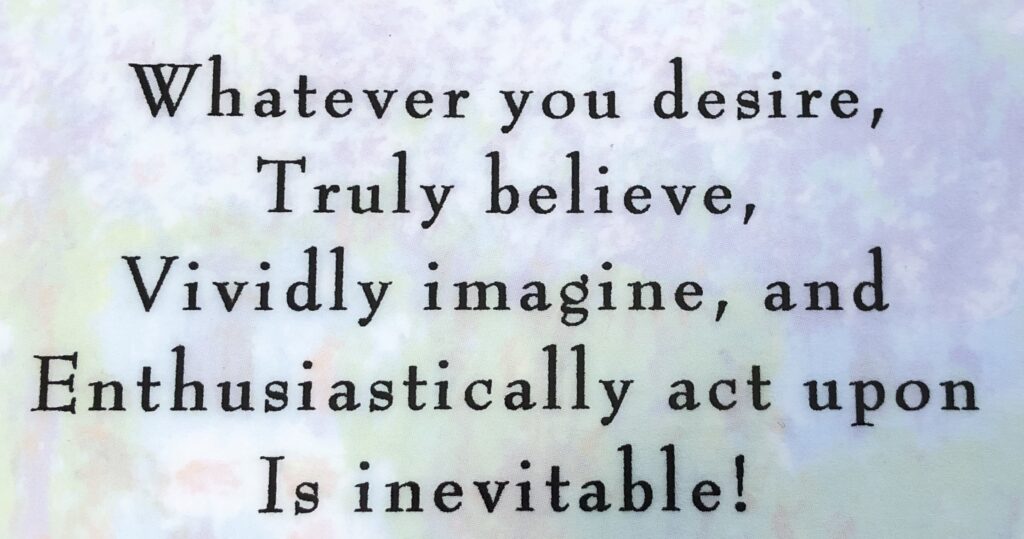
I started with my favorite poem/saying. I think it came from my sister in the 1970s. She heard it at a conference in California back then. I will not take credit for it, but I have used it for 50 years to motivate me to make changes in my life over the years.
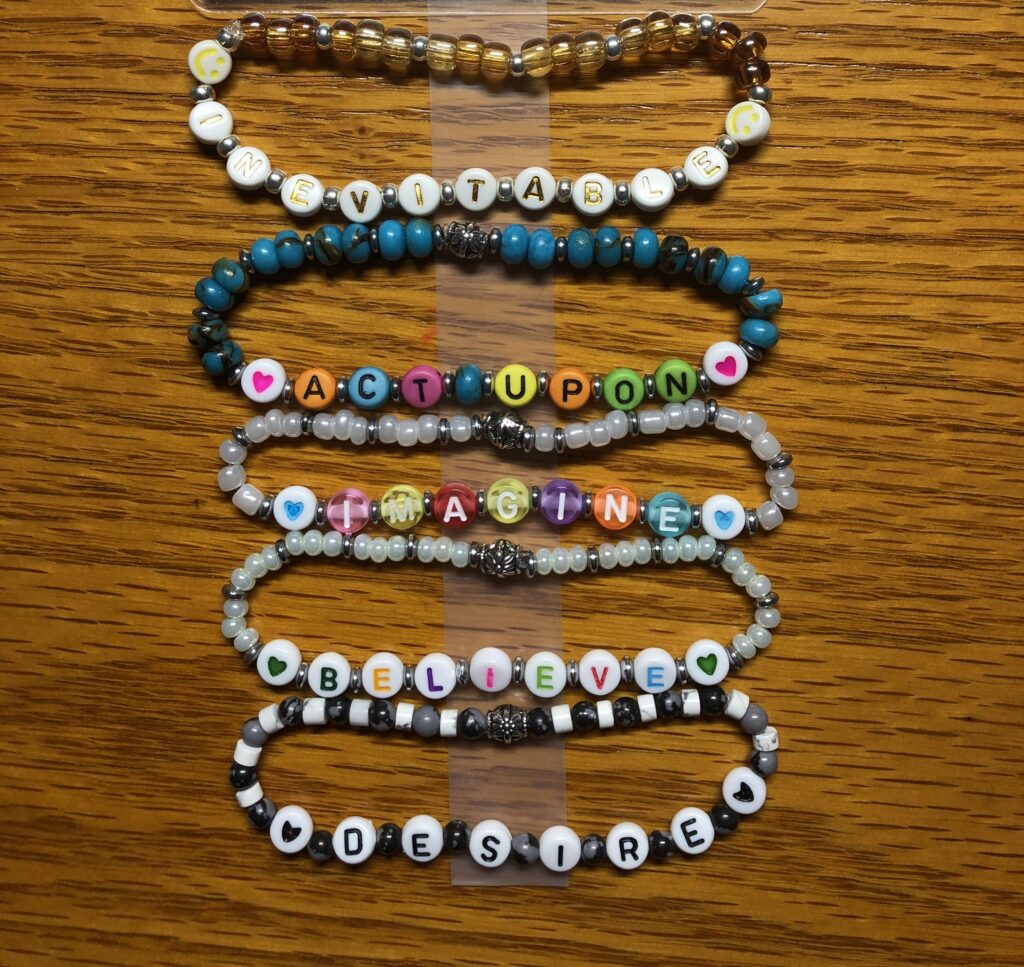
I pulled out the five key words: DESIRE, BELIEVE, IMAGINE, ACT UPON, and INEVITABLE. My tray of beads with letters on them came as a set, so I chose a different color for each word. I tried to coordinate the extra beads with the colors/style of the letters. Here are the trays of letters and extra beads I worked with:
Here was my final result:
I had to stick them to a piece of tape so they would stay put until I got the picture!
I wasn’t sure who else might appreciate my poem and bracelets, but I reached out to a niece in California who might enjoy them (actually, my sister’s granddaughter!) I’m so glad I brought my favorite poem to life in this set of bracelets!
Do you have a favorite poem, saying or word that could be represented as a bracelet? It might be the perfect way to share something with someone else…or to wear yourself!
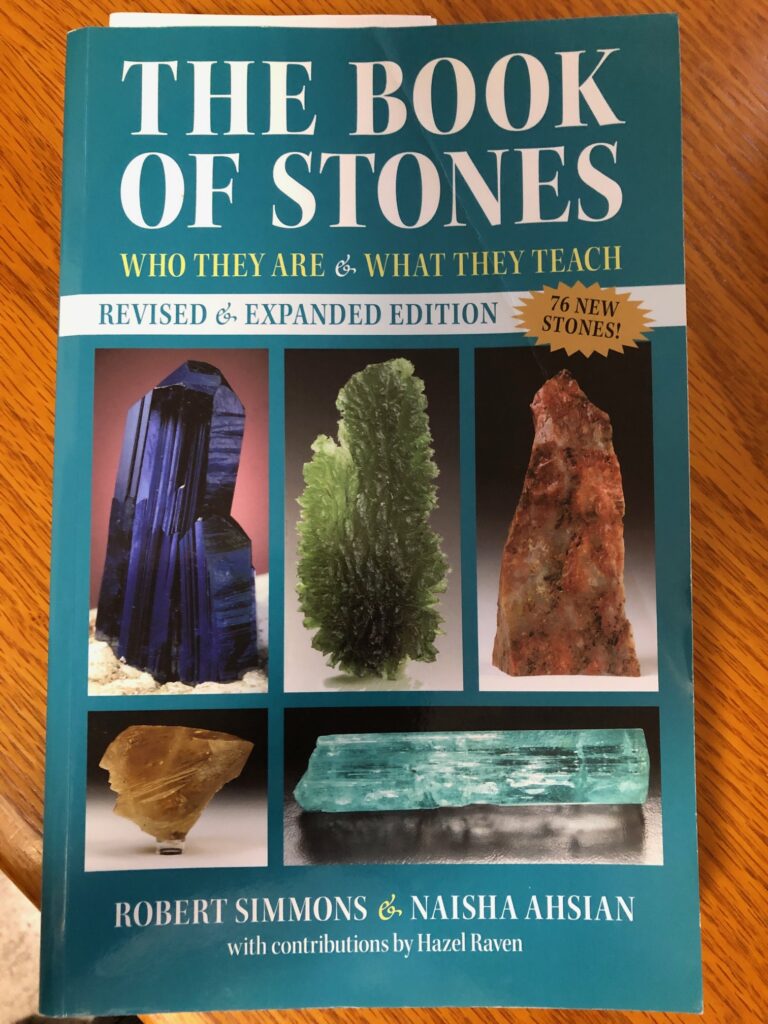
O my goodness! Who would have thought a bunch of tiny beads could be so engaging! I’ve finished about 15 bracelets…which means at least 30 because each one needed at least one do-over. I’m learning so much about the beads/stones, like where they come from and how they’ve been used in history. Here’s the book I’m using for reference:
The challenge of tying a knot in this elastic plastic beading string is tough with my old arthritic fingers! I discovered a wealth of ideas for bracelets to make from Facebook…just click on ONE ad for beads and in two days almost every post that scrolls by is trying to sell me beads and bracelets! Lots of good ideas in their pictures. I thought I’d share a few pictures of some of the bracelets I’ve made so you know I haven’t fallen off the face of the earth…although I might be down a rabbit hole!
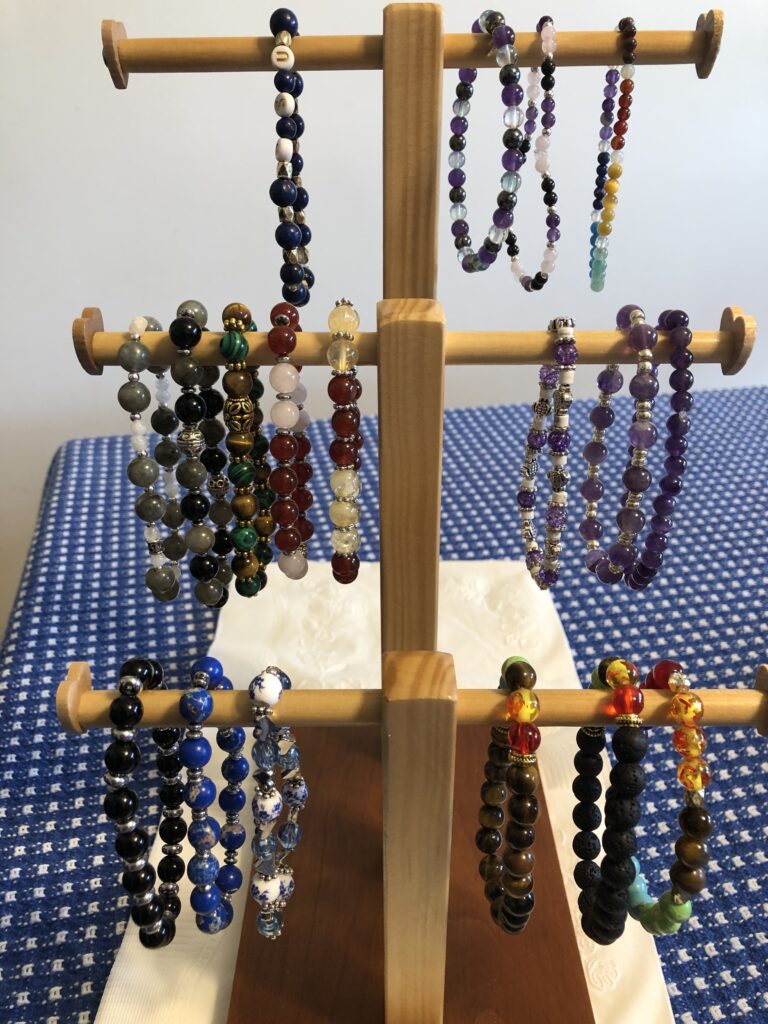
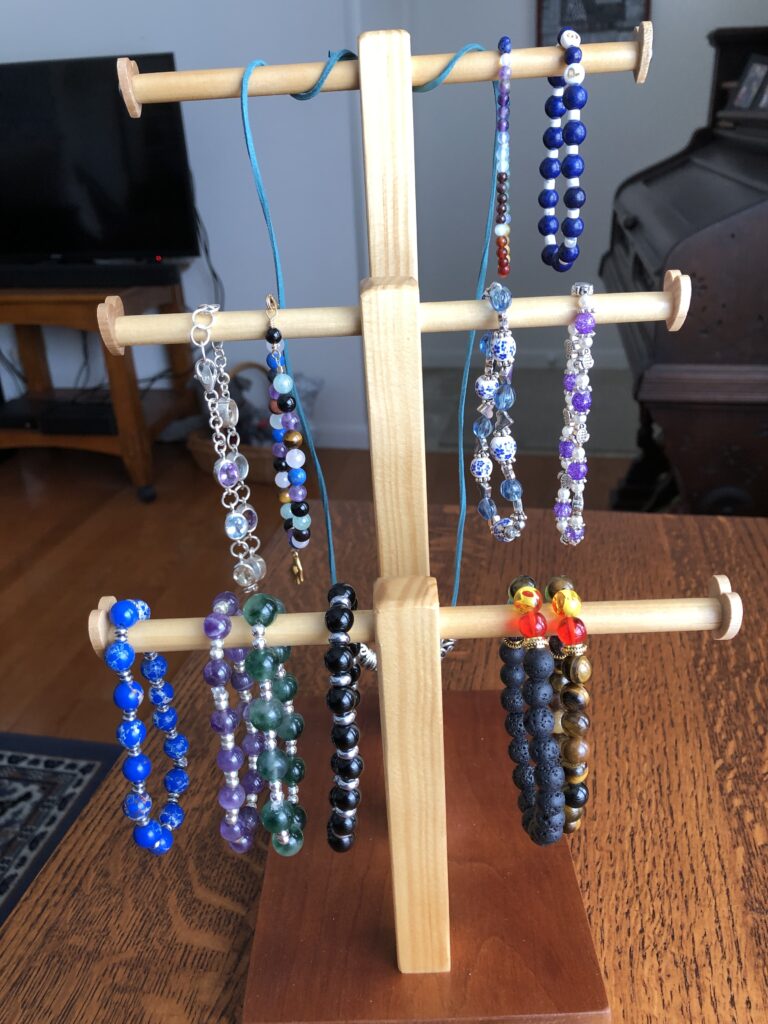
The little stand that Bert made for me is looking lovely so far:
After seeing all the beautiful bracelets online, I realized I don’t have the techniques down to take good pictures of mine. So, bear with me. I’ll need some advice from folks that sell stuff on eBay to show the colors properly. At any rate, I’m having fun and it keeps me out of trouble! Enjoy!
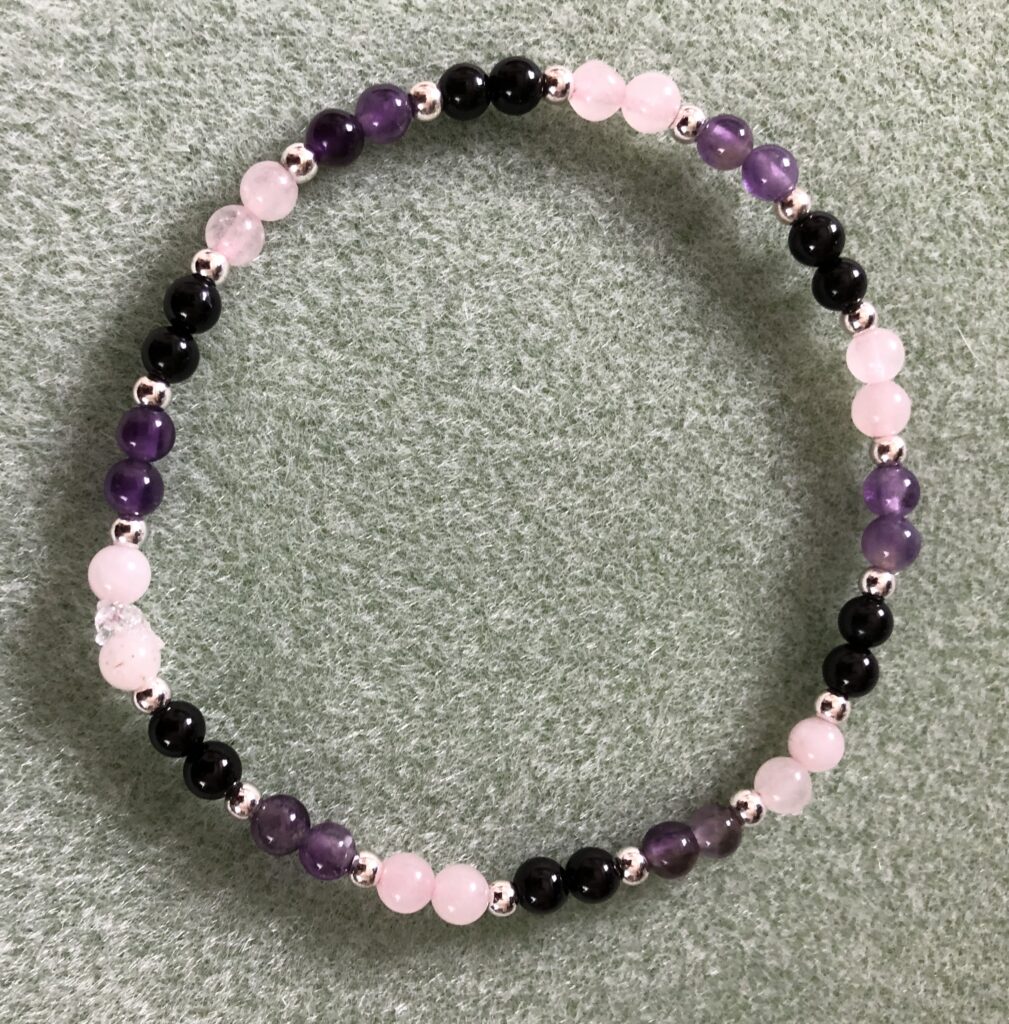
Amethyst, Rose Quartz and Black Tourmaline
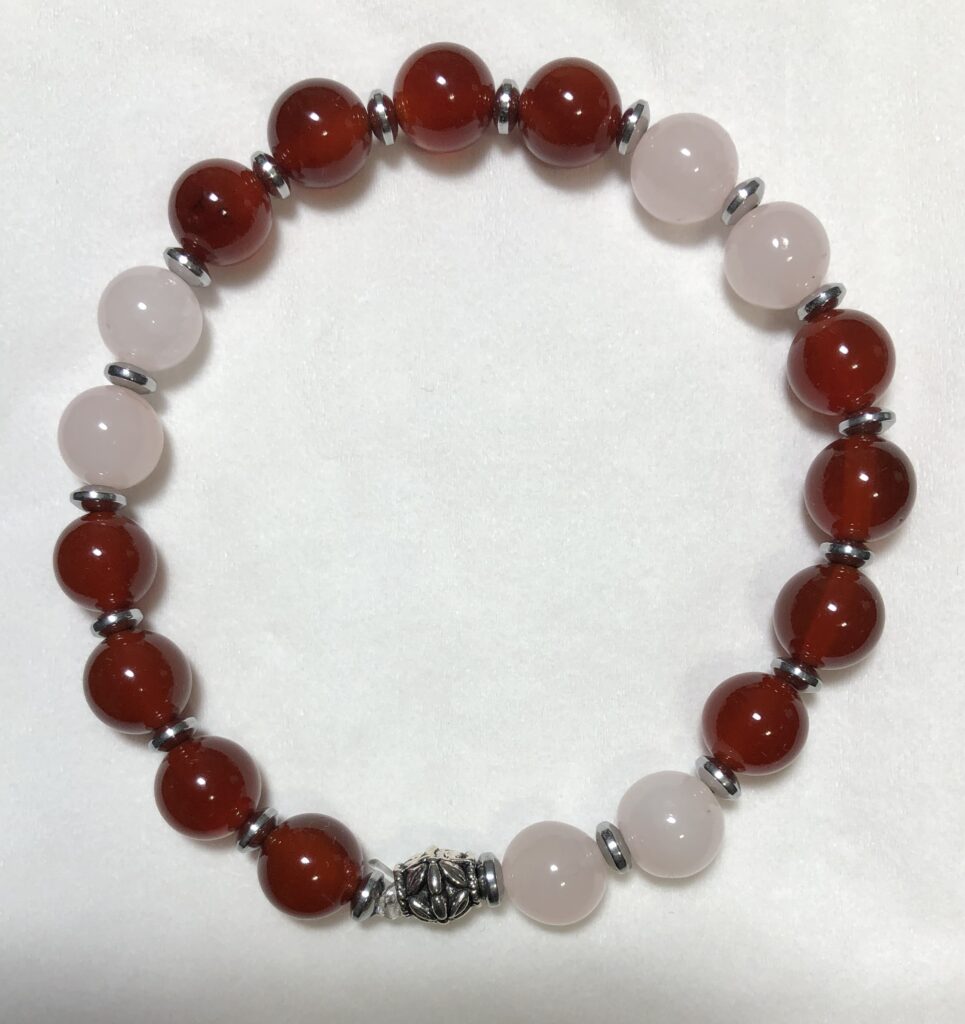
Carnelian and Rose Quartz
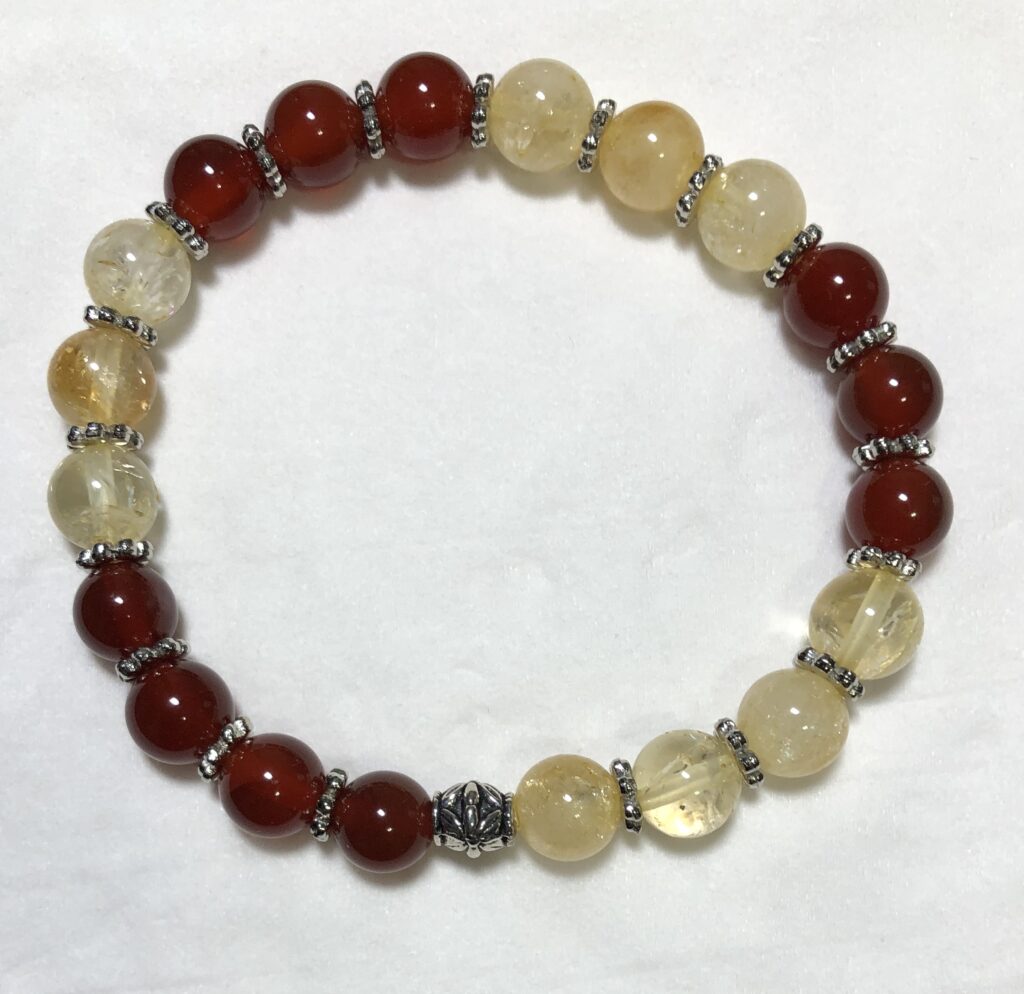
Citrine and Carnelian
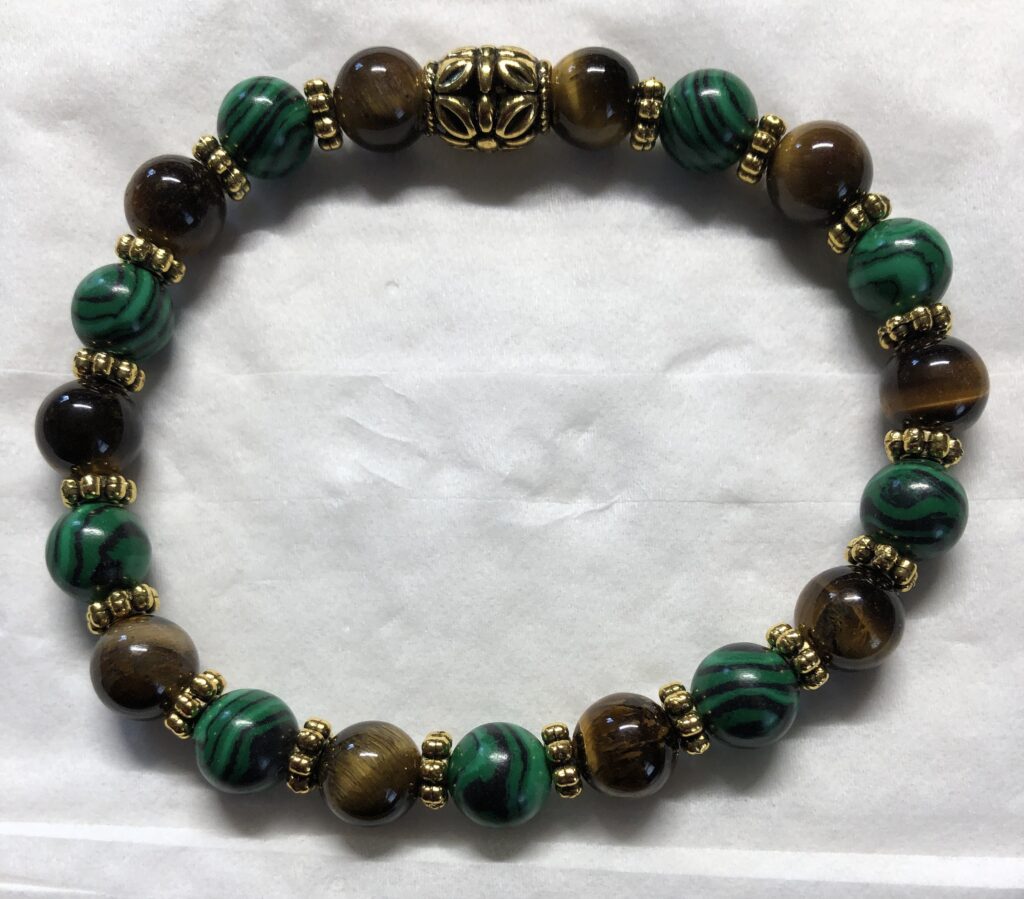
Malachite and Tiger Eye
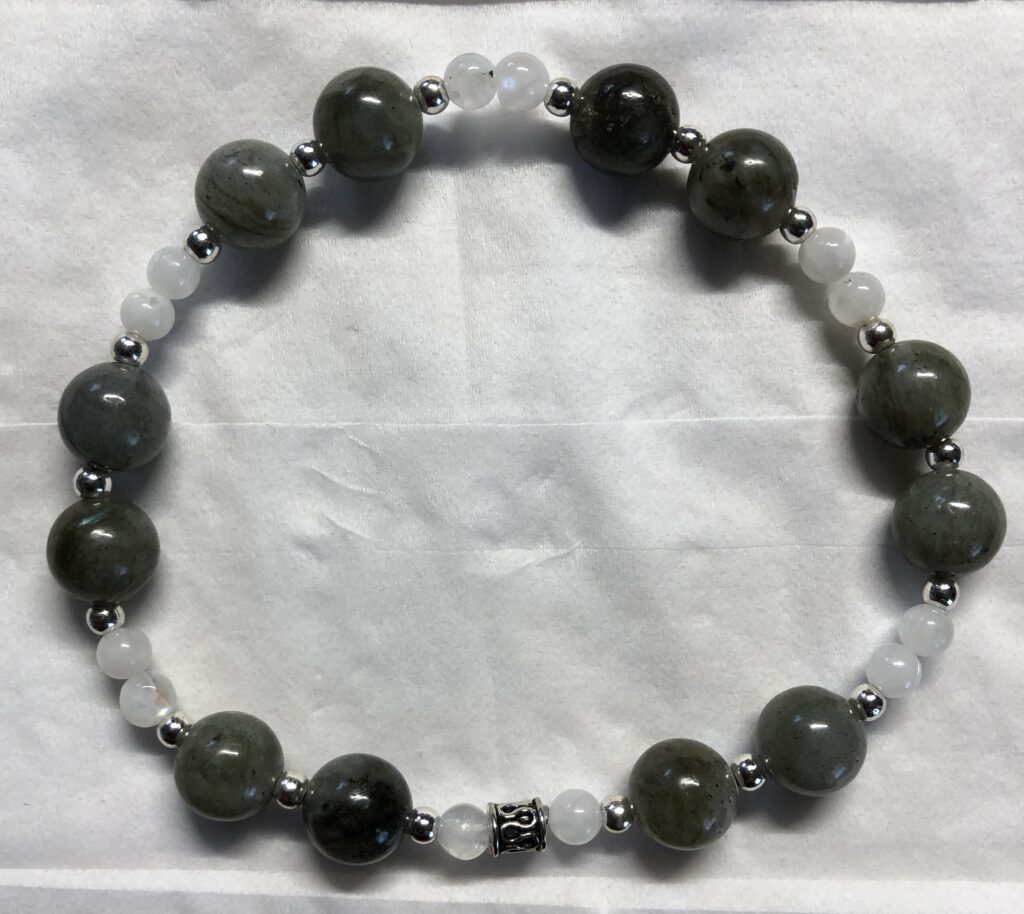
Labradorite and Moonstone
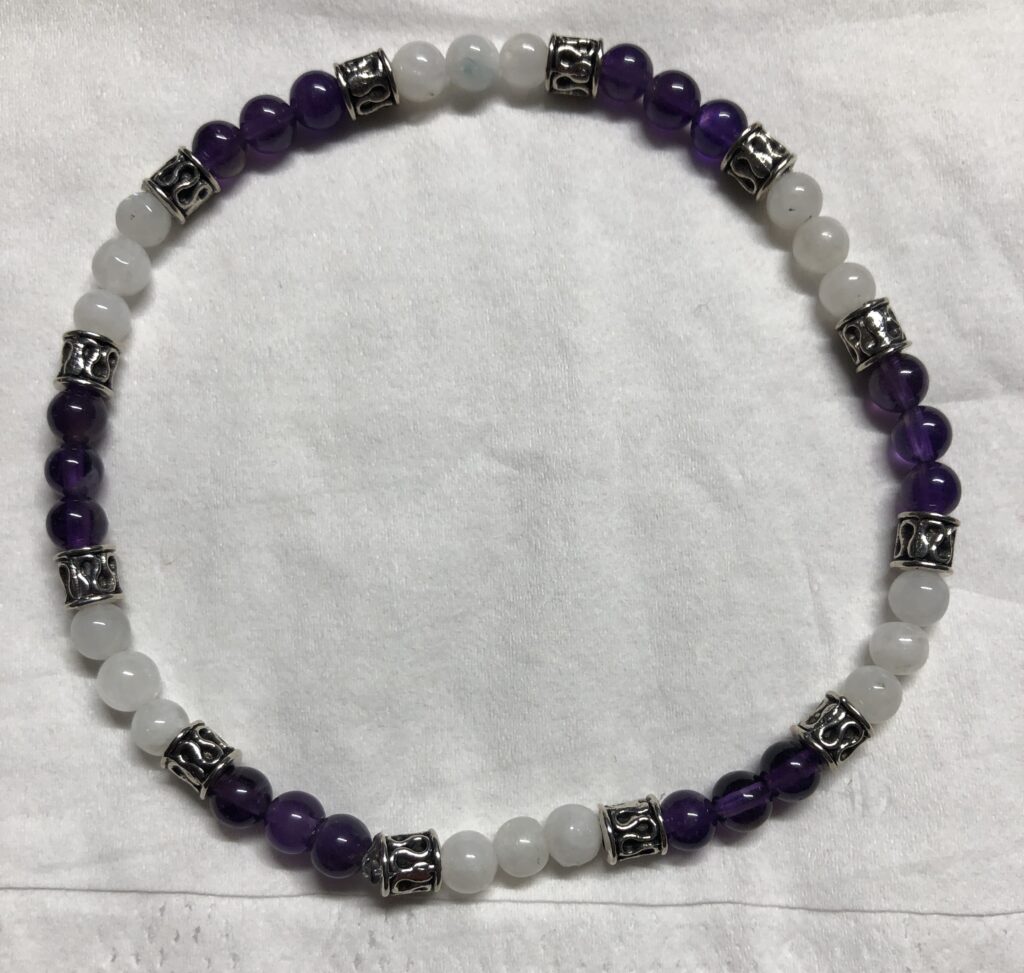
Amethyst and Moonstone
Ok…that’s enough! As you can tell…the Amethyst doesn’t look very purple, the Labradorite doesn’t look very gray. At least the Tiger Eye does look brown! I’m getting better at tying the knots and hiding the knot inside a larger bead. If you have experience with this craft…I’d love to chat with you about your technique!
The recipe for my healing salve started as an experimental product for my greyhound friends…almost 3 years ago! I was asked to try to make a salve to soothe the greyhound paws…their feet were very sensitive to walking on gravel, ice and salted sidewalks. They also were prone to developing corns on their paws.
There were quite a few salves on the market, from the simplest DIY recipe from the American Kennel Club to very expensive salves with Hemp oil in them and everything in between. I’d like to think we would have choices to find the one that works for our dogs and is affordable.
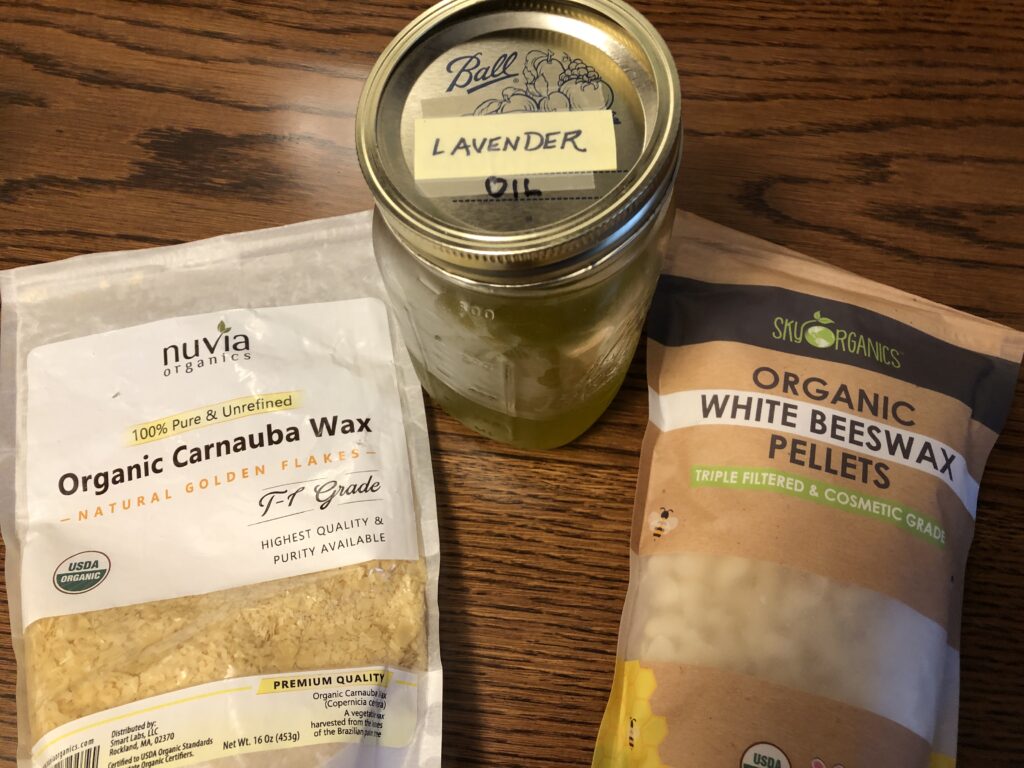
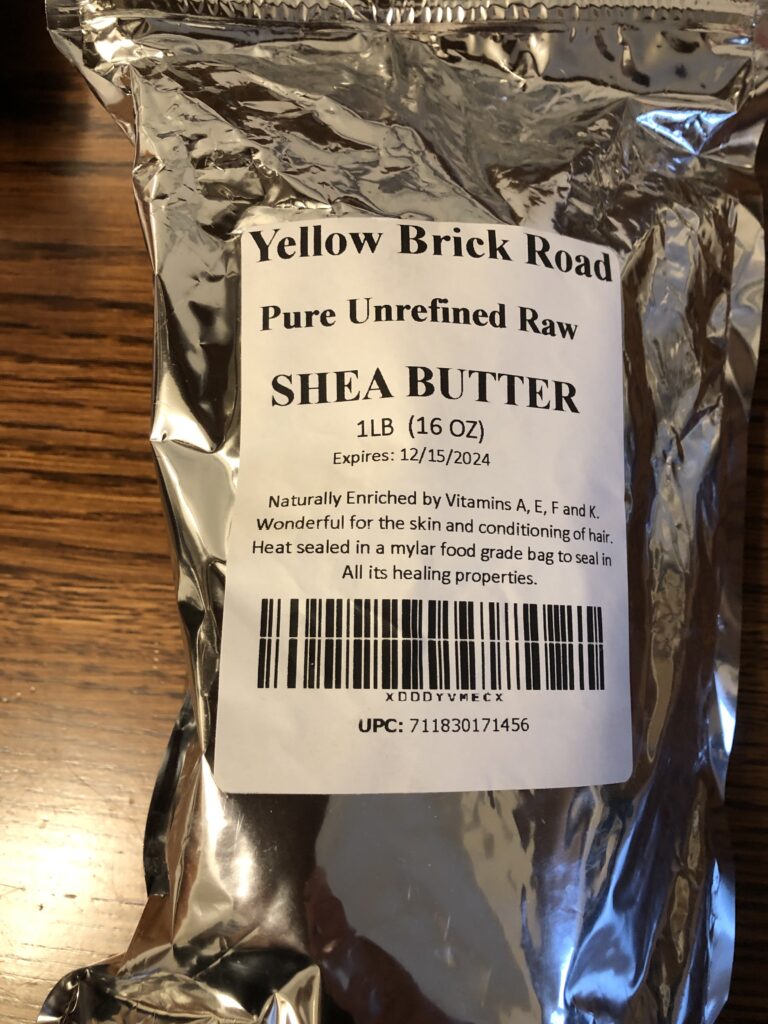
In general, ingredients in these salves include Oils (like olive oil, coconut oil and almond oil), Shea Butter, and Waxes (like beeswax, carnauba wax and paraffin wax). In addition, Vitamin E oil helps healing and serves as a preservative for the mixture. Essential oils like Lavender or Rosemary can also help with healing. I’m not sure the dogs care about the smell one way or the other but it can’t hurt.
Samples of the first batch of Dog Paw Salve were sent out to some folks in the greyhound community to give it a try. We had positive feedback that the salve seemed to help the paws that were cracked and made corns softer and easier to remove. It even helped a few sore noses!
Enriching the Salve
To enrich the ingredients in the salve, I explored adding some essential oils that could help in healing the skin. While Tea Tree Essential Oil is often suggested for its anti-bacterial and anti-fungal properties, I had just been researching using Manuka Honey as a topical salve. That led me to learn more about Manuka Essential Oil. This essential oil has been shown to be more effective than Tea Tree Essential Oil and is easier on the skin.
For the last year or two the recipe for my Calendula Healing Salve (also called the Dog Paw Balm and Protection Wax) has started with Calendula-infused oil and included Manuka and Lavender Essential Oils. The salve continues to help the paws of the greyhounds. Here is the recipe:
Necessary Changes Over Time
Of course, the side effect of folks rubbing the salve on their dog’s paws has been requests for the salve for their hands! I’ve also had requests to replace the calendula base with something else (a few folks are allergic to calendula and can’t use the products based on them) and some additional essential oils for a better scent.
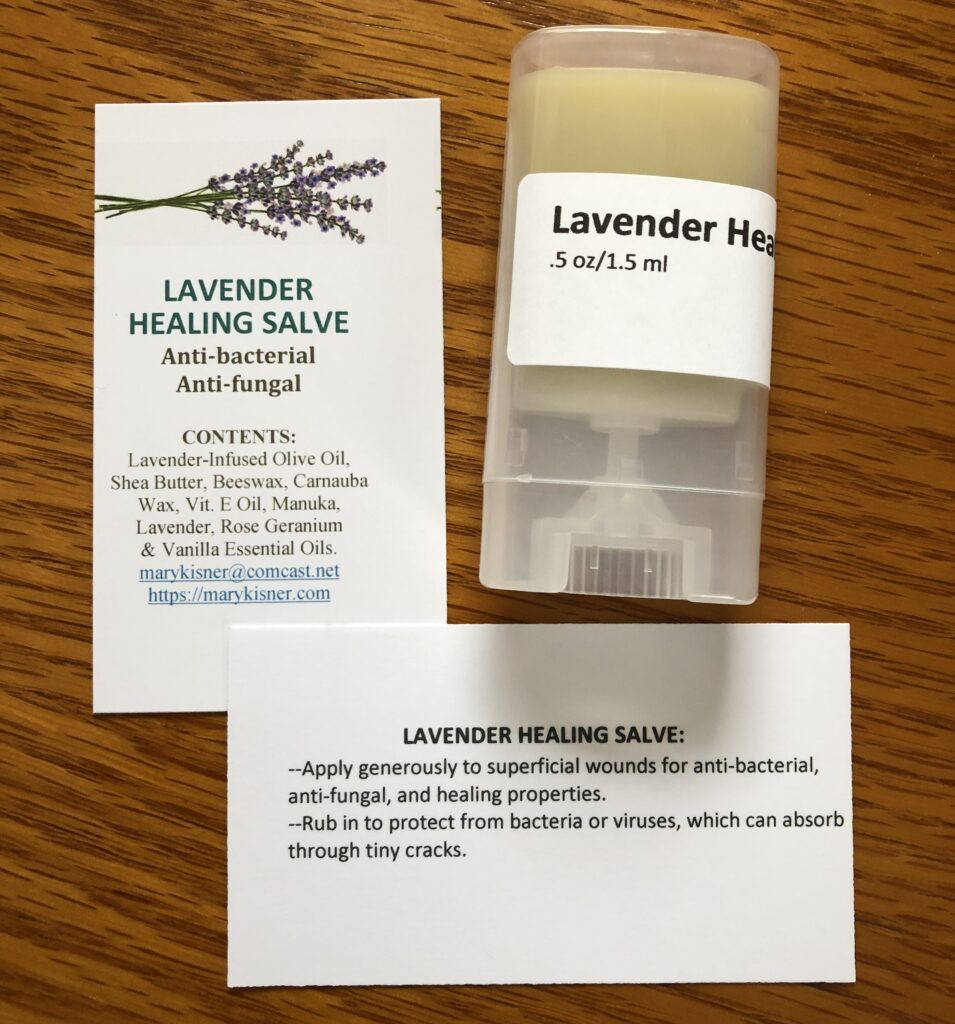
Making the Lavender Healing Salve
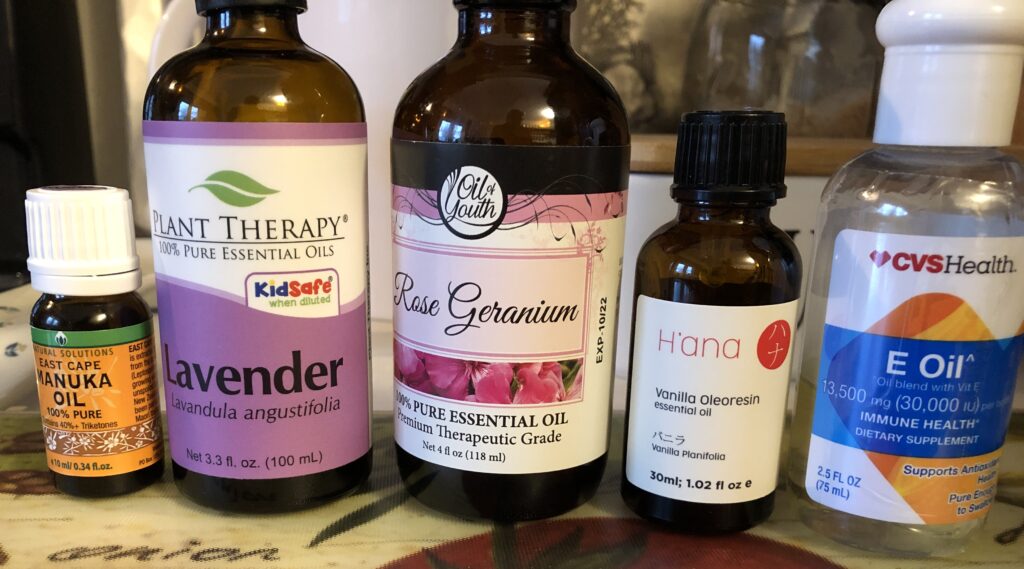
First, I made a big batch of the salve based on Calendula-infused oil to replenish my stash. Then I started over to make a batch of Lavender-infused oil. The rest of the ingredients will be the same as the recipe above. At the end, I added the essential oils of Rose Geranium and Vanilla to enhance the scent. This made a more pleasant salve for the rest of us! Here’s the new recipe:
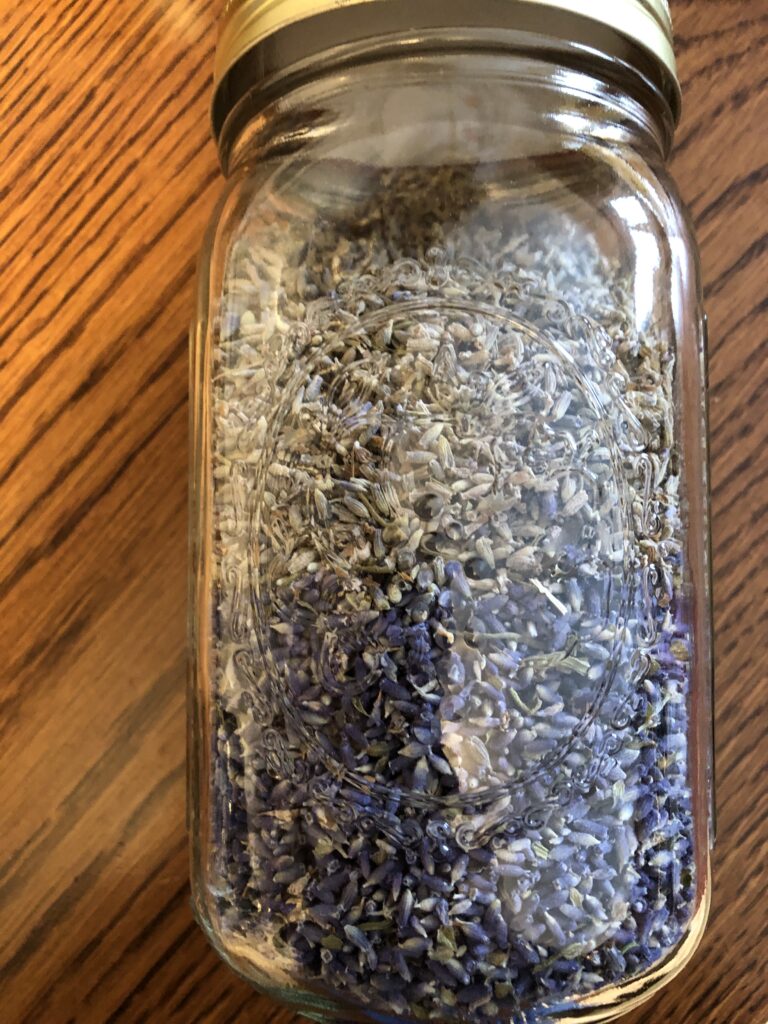
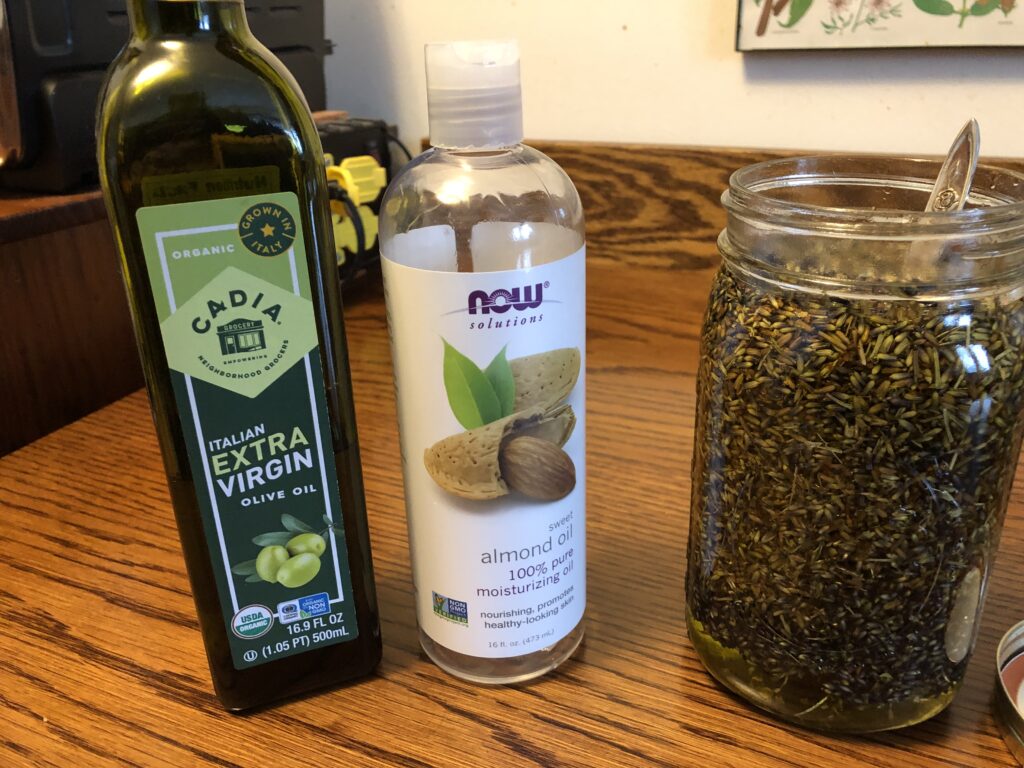
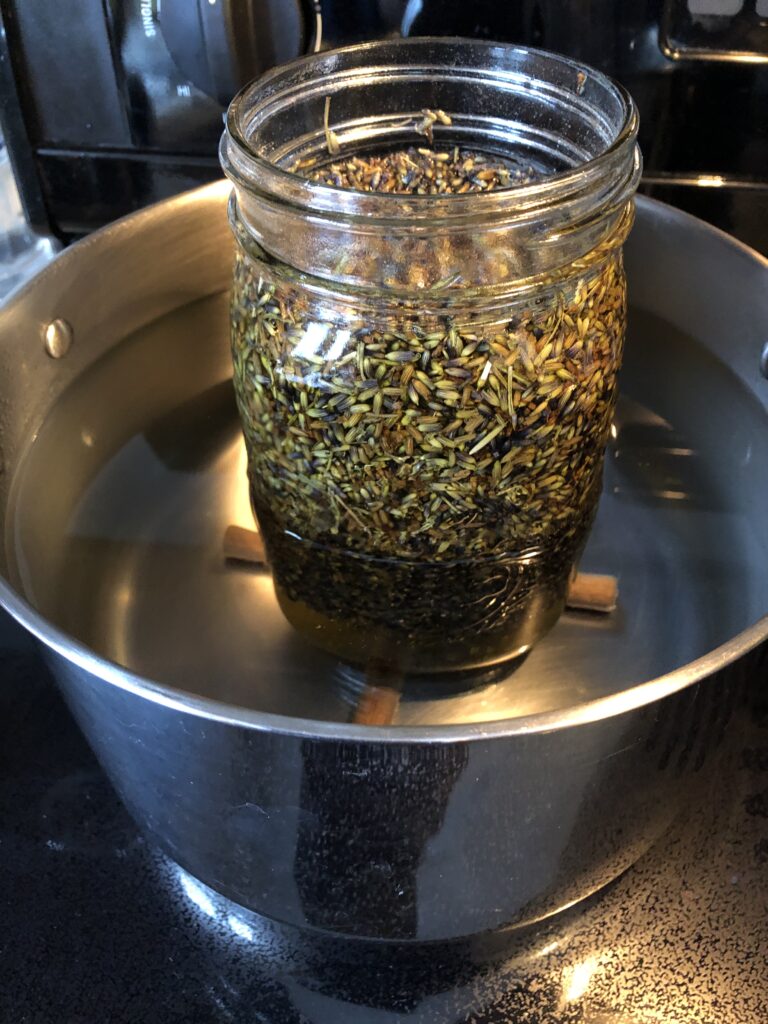
Step 1: Make Lavender-infused Oil
I had a jar of dried lavender buds…some came from my garden last summer. I poured olive oil and almond oil into the jar until the buds were covered. I set the jar in a pot of hot water on the stove. I brought the water up to not quite boiling and let it simmer for about 6 hours. I did have to add water to the pot several times, but all I had to do was stir it every now and then.
Step 2: The oil/lavender mixture had to be strained several times through cheesecloth. I was left with over 1 cup of lovely lavender-infused oil. I stored the jar in the refrigerator until I was ready to make this new salve.
Step 3: To make the salve, collect the ingredients, a two-cup glass measuring cup and your scales. Measure everything into the measuring cup.
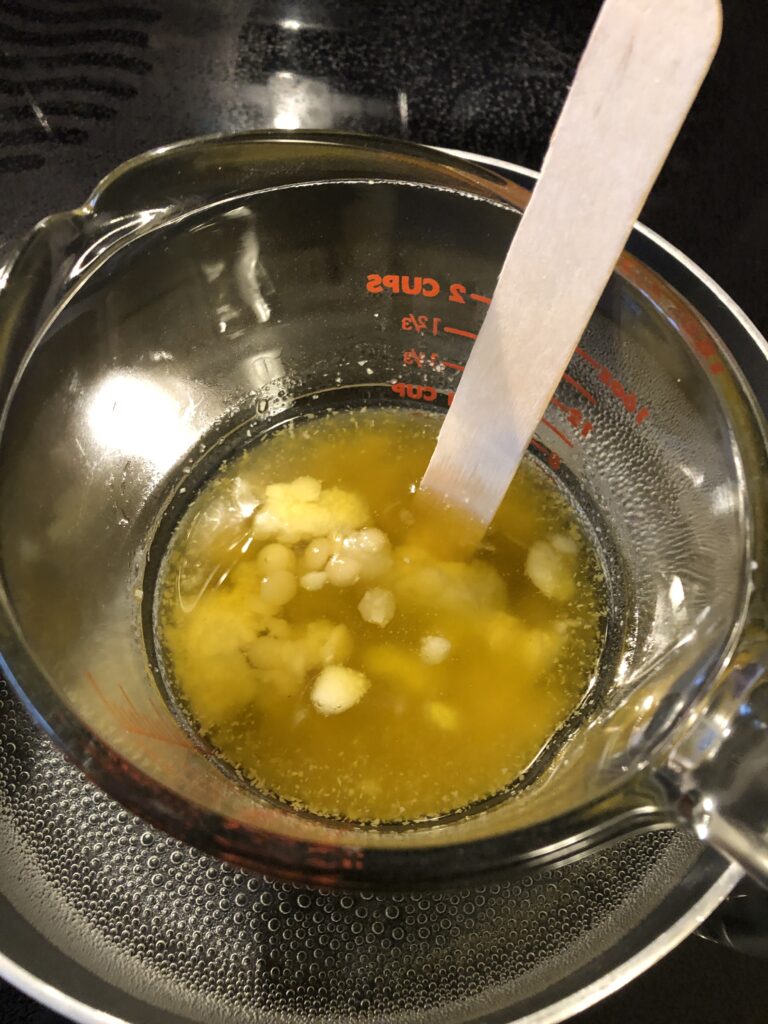
Step 4: Set the measuring cup into a saucepan with water on the stove. Bring the water just to boiling and let it simmer. The waxes, shea butter, and oil will gradually melt to a liquid.
Step 5: When all ingredients are melted, remove measuring cup from the pan. Add the liquid Vitamin E and Essential oils, stirring after each addition.
Step 6: Fill the containers by either pouring or using a disposable pipette. Let cool until firm.
Step 7: When cool and firm, label each container. I make a point to make a card with ingredients and instructions so folks know what is in the product.
You can see my Dog Paw Balm and Protection Wax has evolved into my Calendula Healing Salve for dogs and people; while the Lavender Healing Salve is safe for dogs and people who have allergies to Calendula…it also smells pretty good! Try it yourself!
Making bead bracelets seems to be the neat thing to do these days…for young children, teens and even adults! The last time I thought about making anything with beads was when I taught kindergarten years ago, or when my kids were very little. Now, apparently, everyone seems to be making them to share messages with others. I think much of this started with the whole fan base of Taylor Swift. It shows how much impact her followers can influence marketing trends! Why not write a message to a friend!
In any case, when my granddaughter went to a Penn State Lady Lions basketball game a few weeks ago, she was able to make several bead bracelets with tiny basketballs on them. She was thrilled!
My only experience with beaded bracelets as an adult was ordering several bracelets with tiny beads from Etsy. One was made of Citrine stones (my birth stone/color). Then I ordered another set of seven bracelets from Sedona, Arizona. I had hoped to wear them all together as a set…but alas…they were too small and I couldn’t stand them that tight (no pictures for the set).
Needless to say, the set of bracelets stayed in their package for a long time. In the back of my mind, I kept thinking I could take them apart and restring them somehow. When I finally took the plunge to go shopping for the right elastic and additional beads to fill in to make them longer…I got sucked into the whole industry of beading!
If you’ve ever wandered through JoAnn’s Fabric Store or Michaels Craft Store you know what I mean! Yikes! I didn’t quite know what I needed so the displays were very effective in getting me to part with my money!
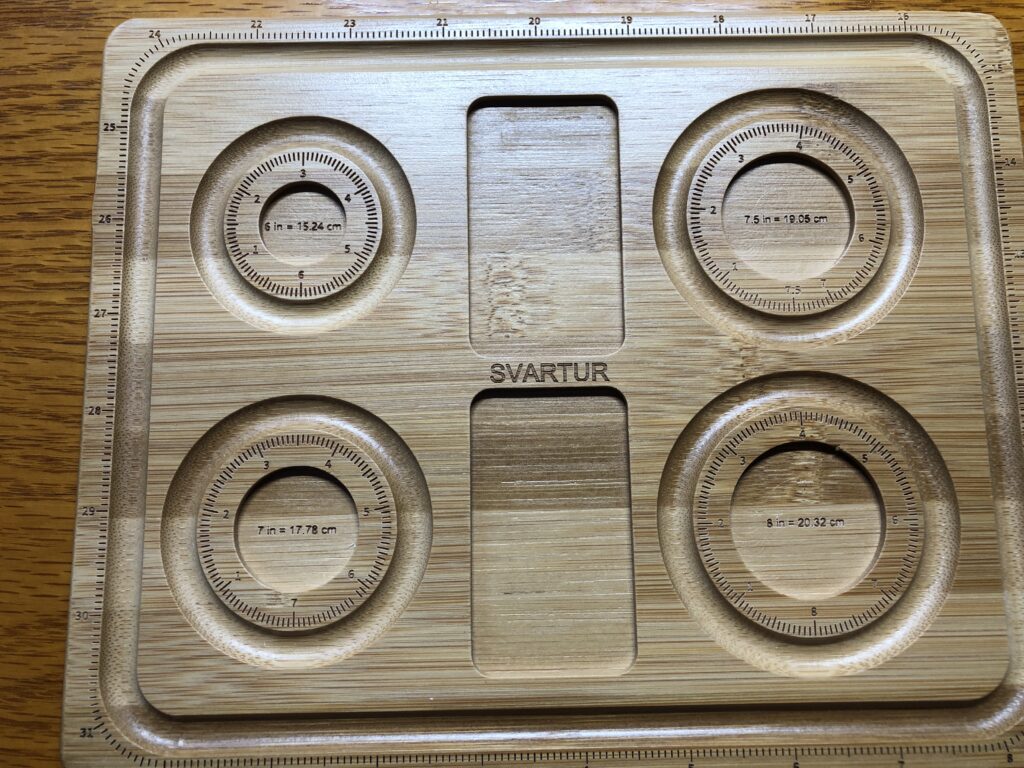
Before I started cutting my precious bracelets apart, I thought I’d better try to make a bracelet first. Of course, that meant ordering a board to hold the beads while I figure out the design.
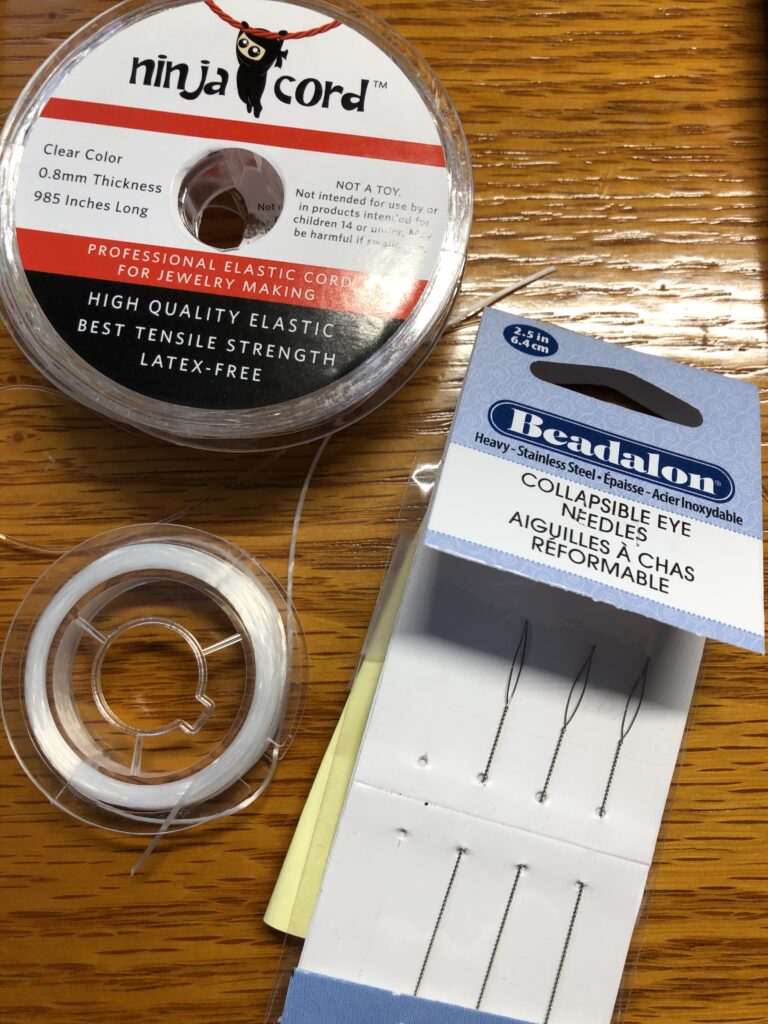
I needed elastic string (like stretchy fishing line) and I had to learn how to tie a knot that would stay tied…haha…then I found a “jewelry glue” to put on the know to hold it. I’m sure I’m not doing it right, but hopefully I’ll get better at it.
Here are some of my first attempts at making bracelets…I fell in love with the tiny turtle beads in the bracelet on the left:
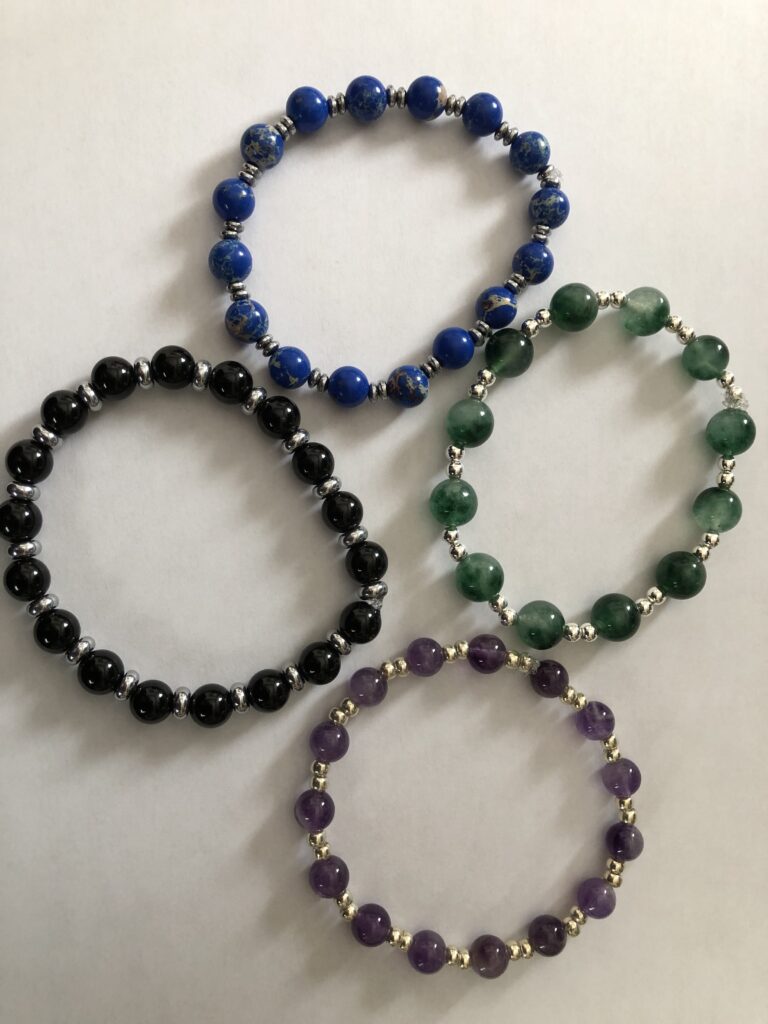
Then I experimented with real stones…they sure felt more substantial than plastic beads. Already I’m discovering what I like to work with…and of course real stones are more expensive than plastic!
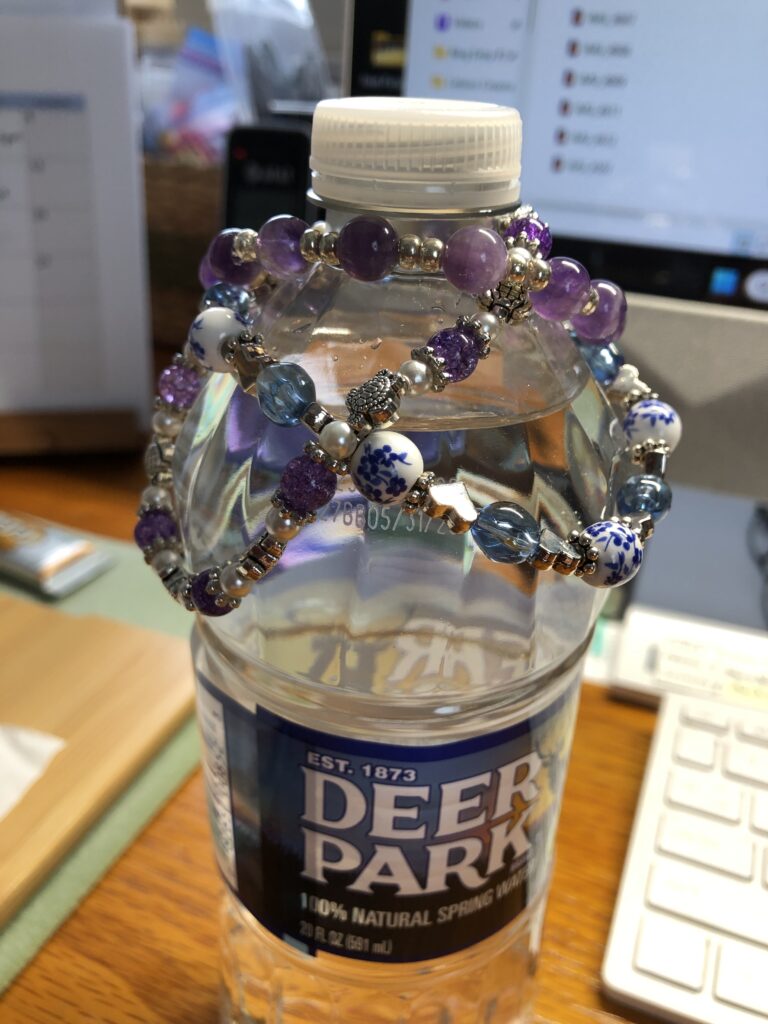
Of course, I wanted to see the bracelets as I made more, so I draped them over my water bottle on my desk.
I think Bert took pity on me and later that day he brought me a stand he had just made to display the bracelets! Very clever and appreciated!
Even the ends were cute!
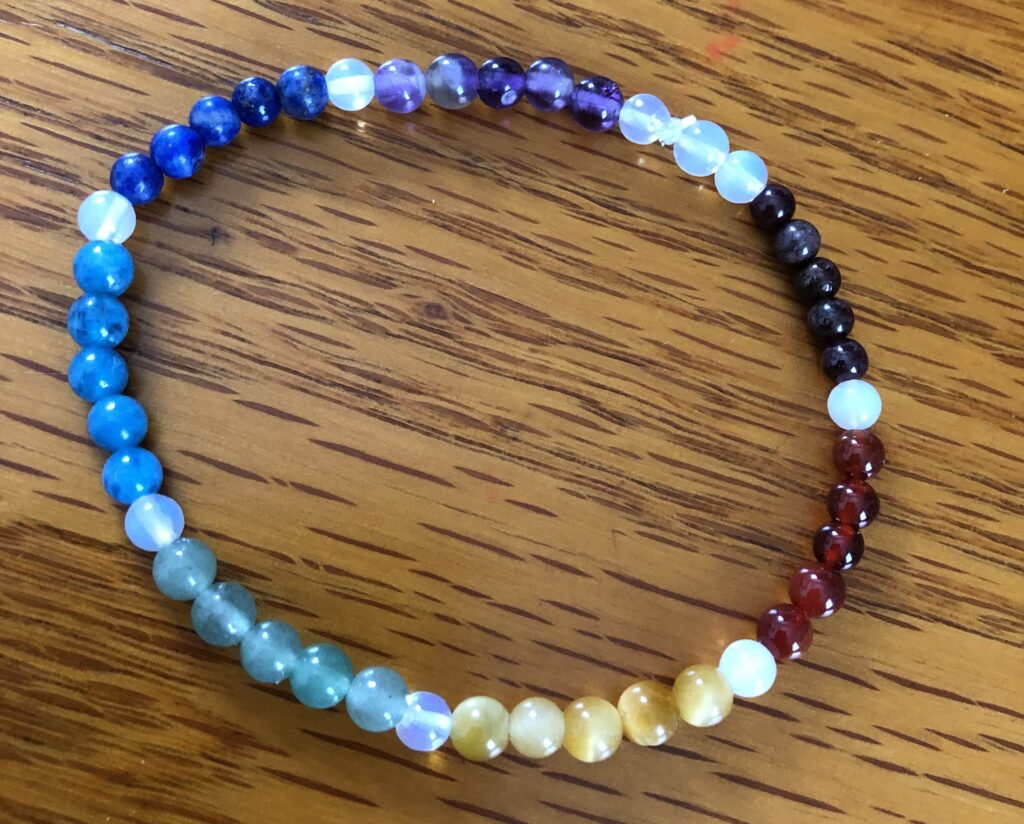
Restringing my special bracelets was a challenge. I had decided to make a bracelet with all 7 colors on one bracelet. First, I cut the string on each bracelet and put the beads in individual little containers…with labels so I’d remember what they were.
Then I tried to figure out how many beads of each color would make the right length bracelet. I ended up with 5 of each color and a single bead of white opal between the colors. It took three tries to get it the way I wanted. I still can’t make in invisible knot, but with the glue it just looks like another bead. Oh well!
Now, let the fun begin! I must have a bracelet to wear to the next Penn State Lady Lions basketball game…
So, when I’m not cranking out greyhound coats or making skin care stuff or soap, know that I’m sequestered at my desk focused on getting this elastic string through tiny holes in beads! Try it yourself!!
Very soon I will need to get out of the kitchen! This weekend Bert will begin his marathon chocolate chip cookie baking, so I need to be done baking bread and making soap favors for several of the groups I will see next week. When Bert brings in the big mixer, my kitchen-based projects need to be DONE. His cookies will tie up the kitchen for over a week!
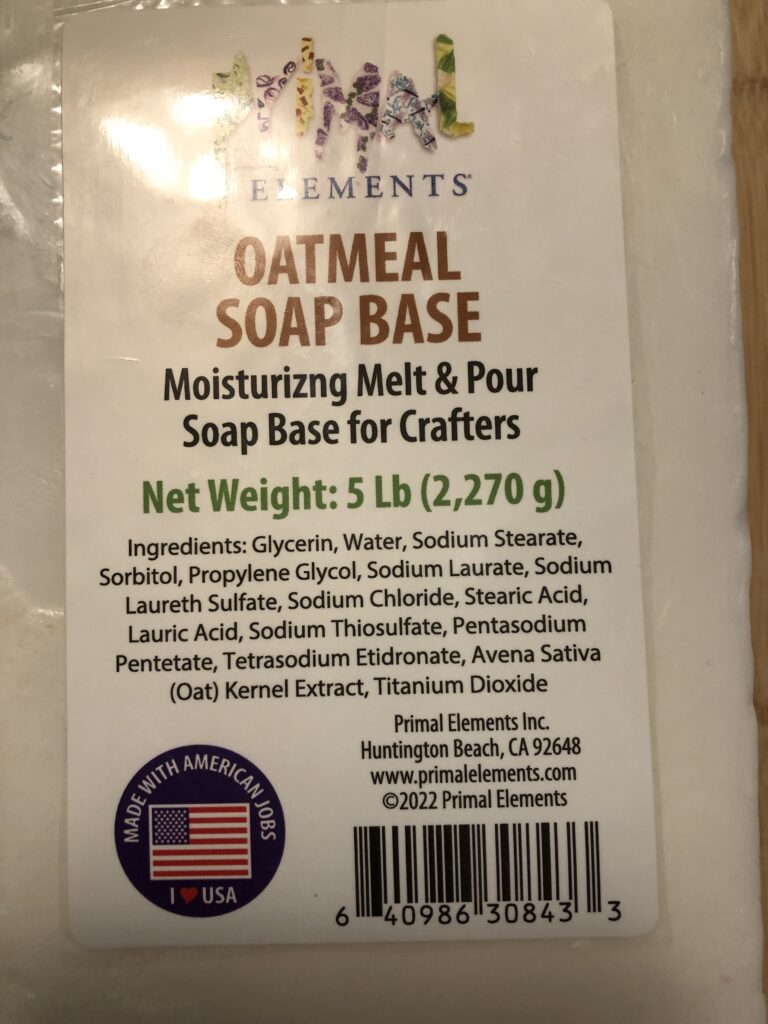
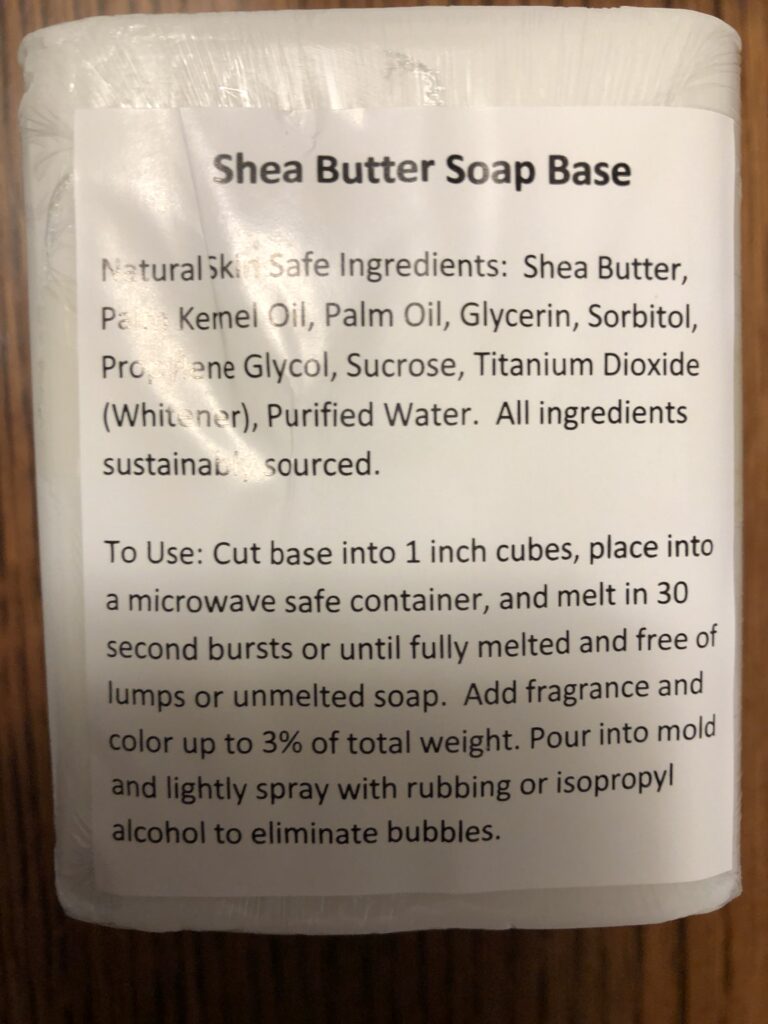
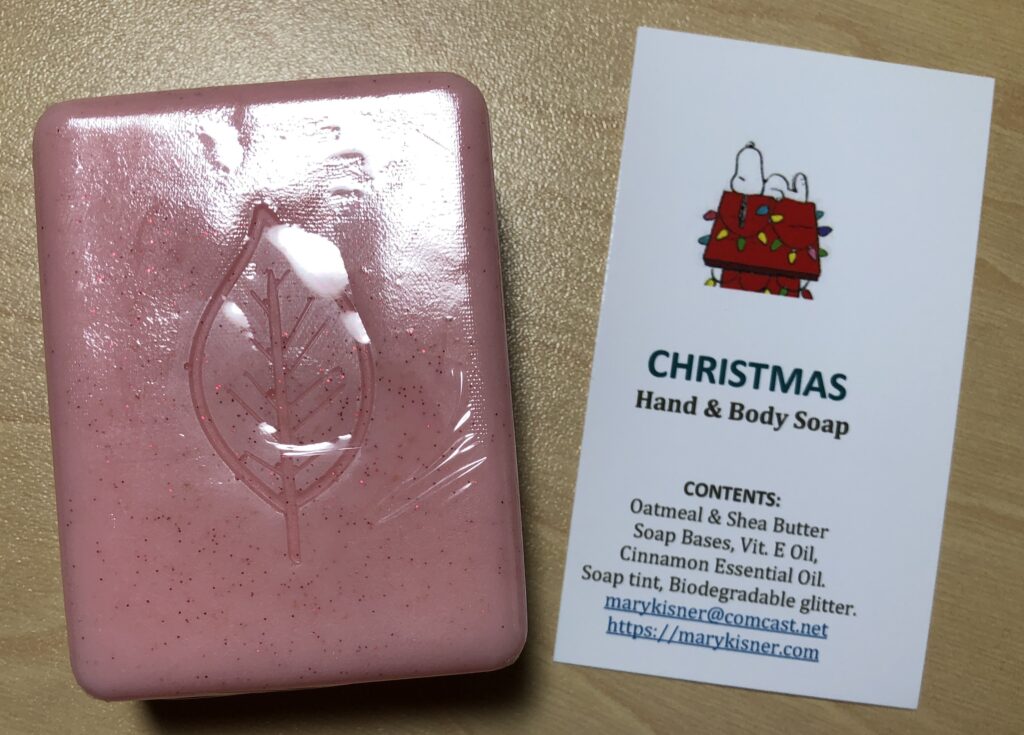
I now have bread in the freezer and yesterday I spent the day melting “melt-and-pour” soap to make enough small soaps so I could share with about 40 people. Three things make the soap useful as a gift soap for others: 1) a gentle soap that feels good after use; 2) a scent that isn’t too strong, but is appropriate for the season; and 3) a color and shape that reflects the season.
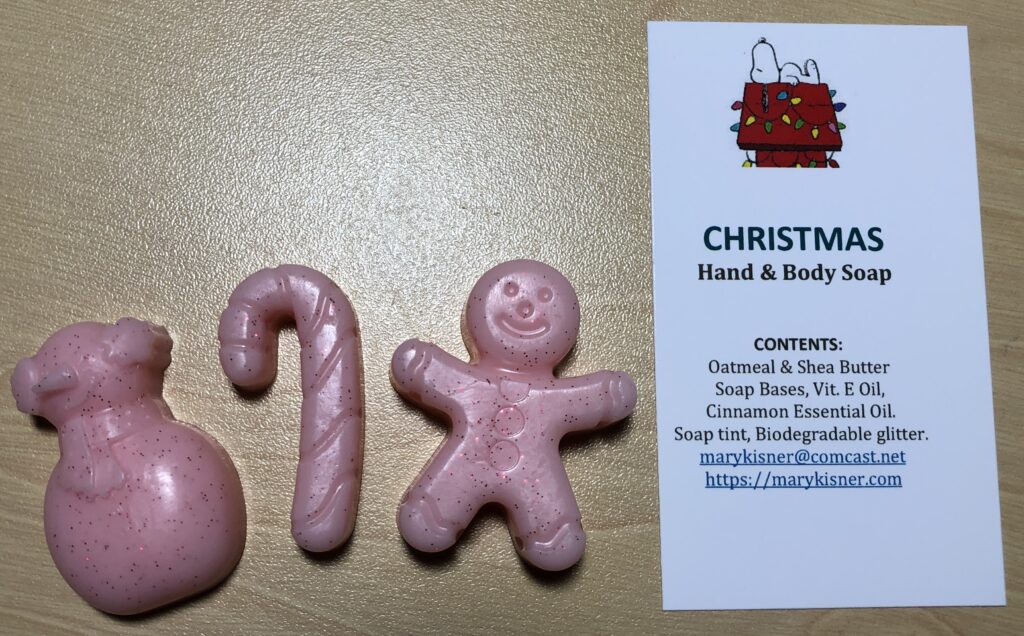
I started with choosing the soap components. I’ve been happy with how the Oatmeal and Shea Butter soap bases work together. It’s almost as soothing as my favorite Aloe Vera soap.
For the Christmas season, I chose the scent of cinnamon. Then I used a soap tint that said, “Red” but it really turned out a solid pink. I added some red sparkly biodegradable glitter that looked really nice.
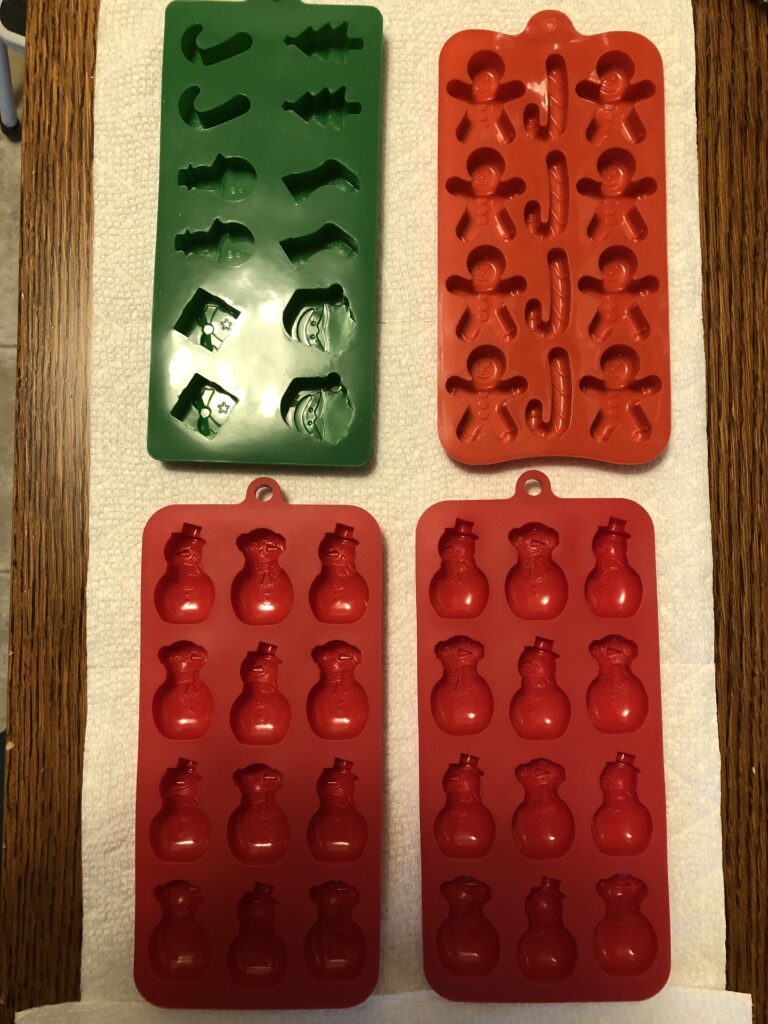
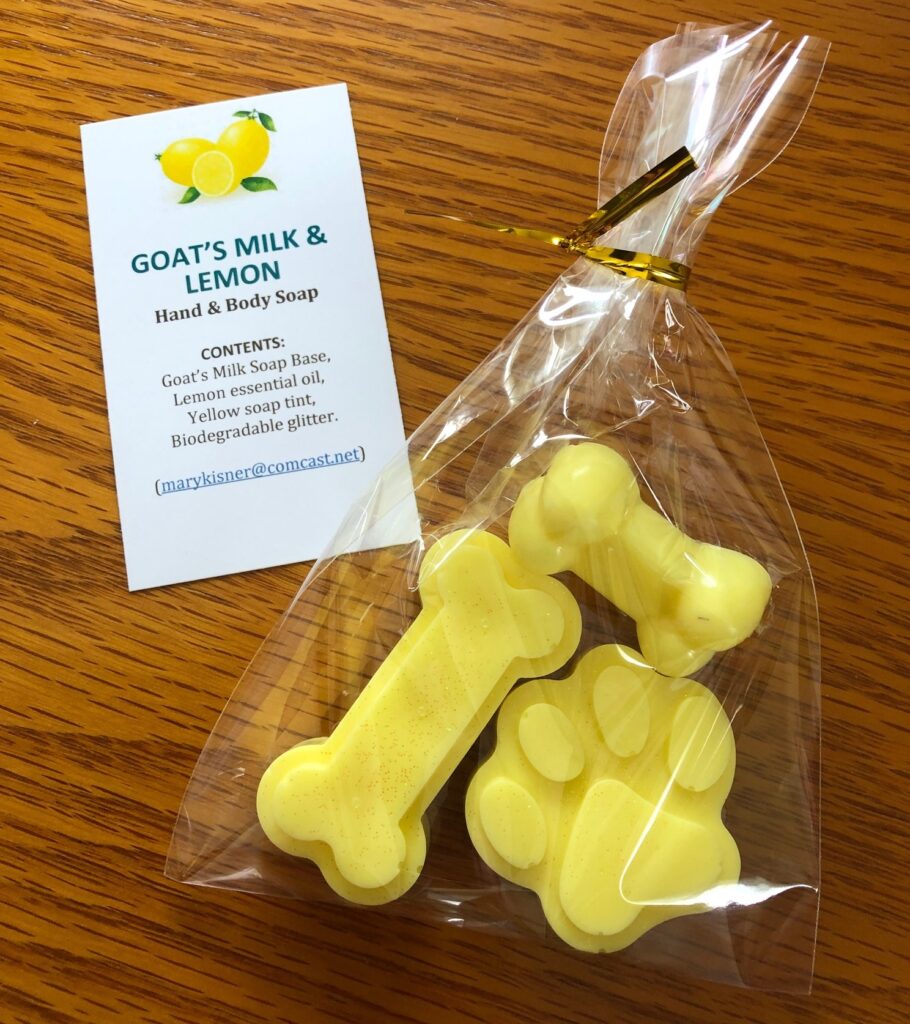
My final decision was shape. I started with the molds of tiny gingerbread men, candy canes and snowmen. Those would be good for guest soaps or children.
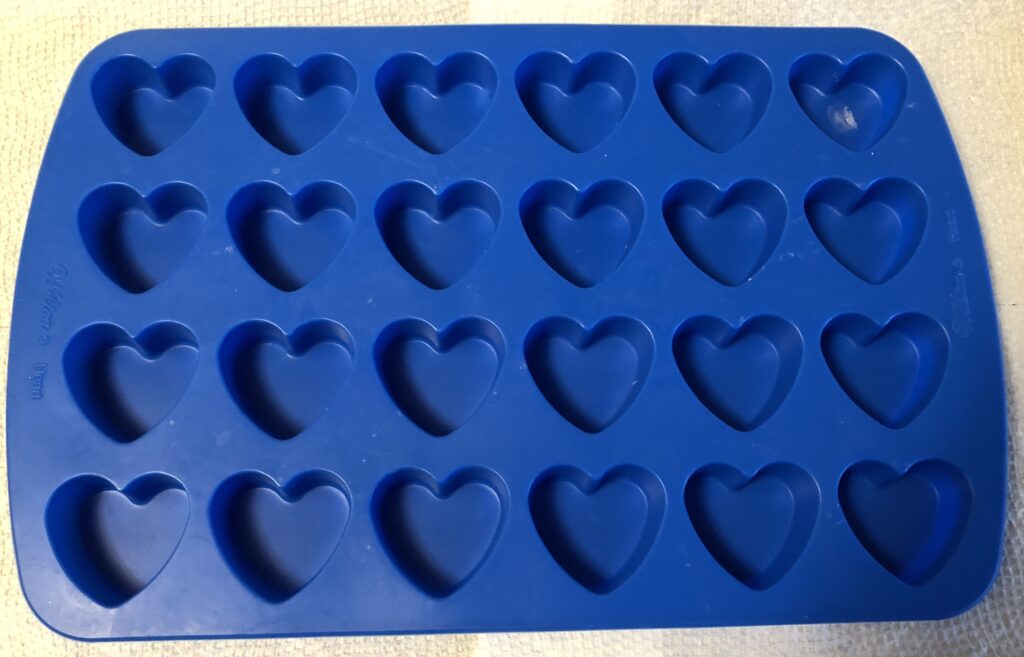
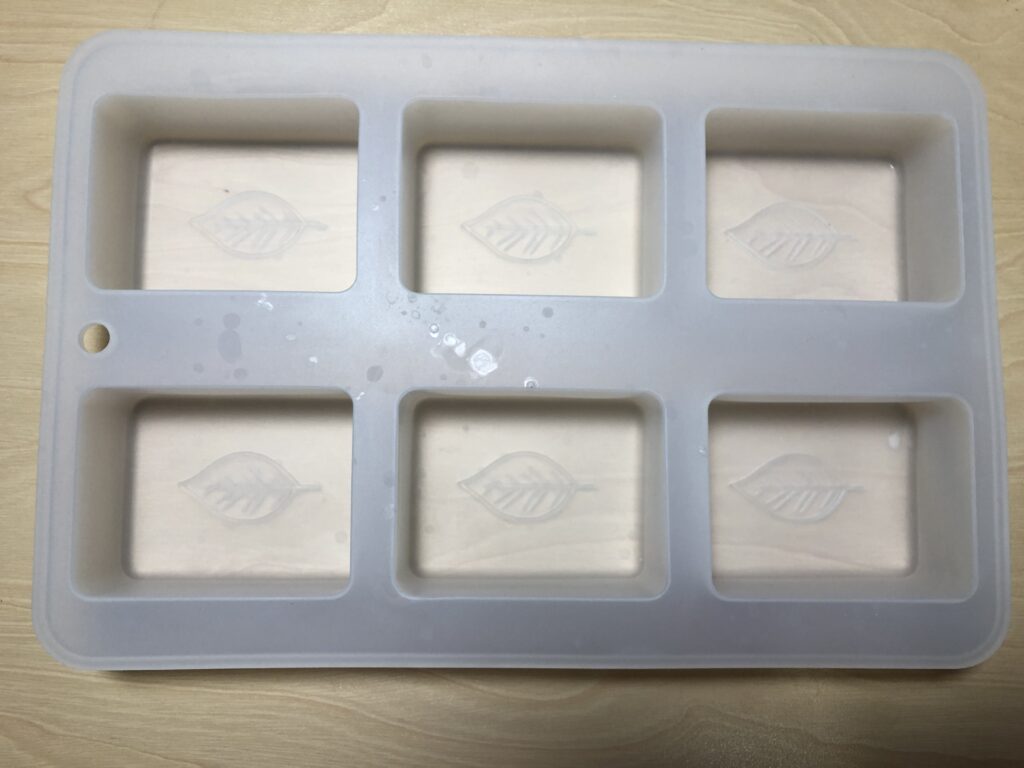
For the majority of my friends, my preferred shape is the heart. It’s just about the right size for a gift and makes about 24 hearts per batch.
Finally, a larger bar of soap is just right for a few people for Christmas gifts.
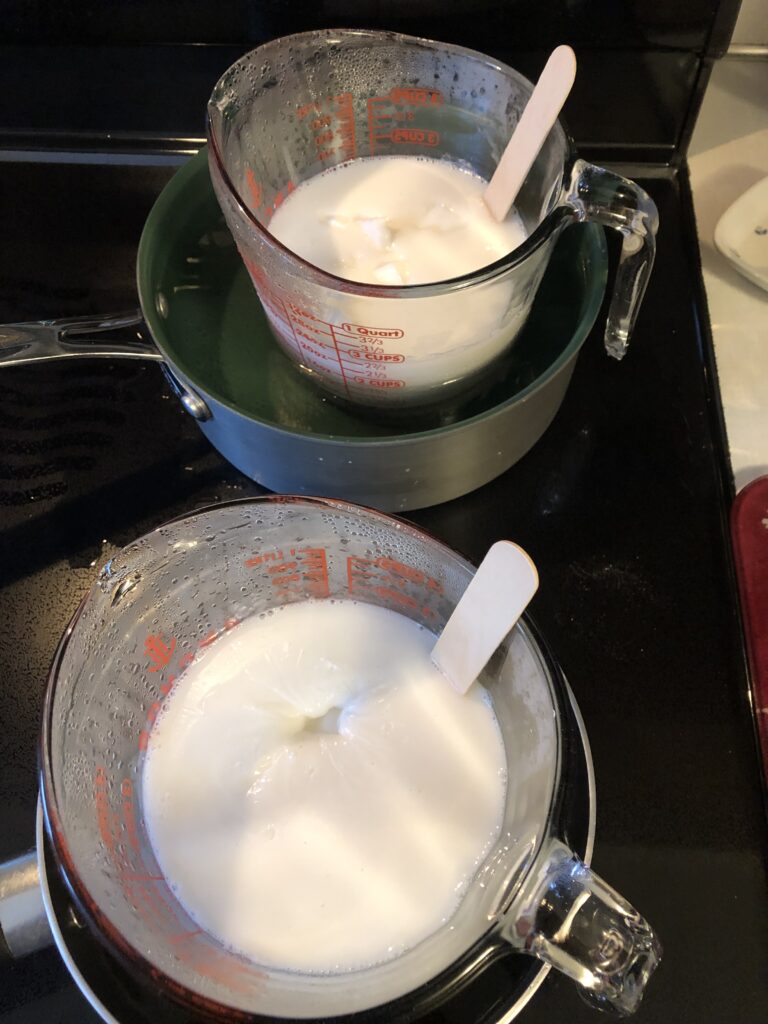
To make this much soap, I spent the day in the kitchen…measuring, melting, pouring, etc. There is a lot of wait time. My phone is handy so I can take pictures and read a novel while I wait!
Making this Christmas soap, I followed the same procedure as always. Melt the soap chunks, remove from heat, add Vitamin E oil (as a preservative), add essential oil and soap tint. Finally, stir in biodegradable glitter, if desired. When all mixed, pour into preferred molds. Let sit until hard.
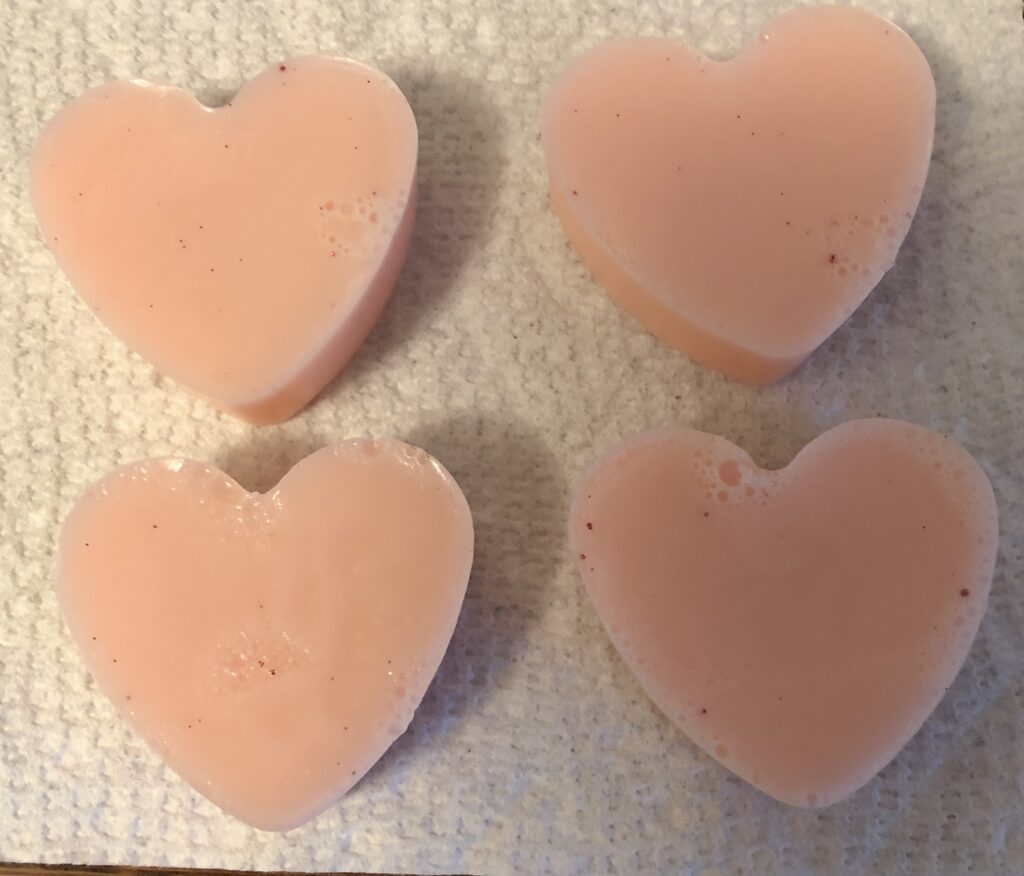
When the soap is firm, I remove them from the molds and wrap each piece in plastic wrap. Finally, I print cards to include with each soap. I want to make sure folks know what is in the soap. (I have even saved out 4 heart shaped ones before I added the scent, knowing one friend prefers things unscented!)
Unscented hearts…only your nose would know the difference!
Here are the the final soaps, ready to put in a small gift bag:
I’ve written many posts about using melt-and-pour soap, you can read more at these posts:
I was reminded (by Facebook no less) of a post I wrote one year ago today. It was a great reminder for me because I’m still making and gifting these items…but since I already posted about each project, I usually don’t post about it again. I’d like to share it here to give you some ideas for a handmade Christmas by giving you the link to the original articles:
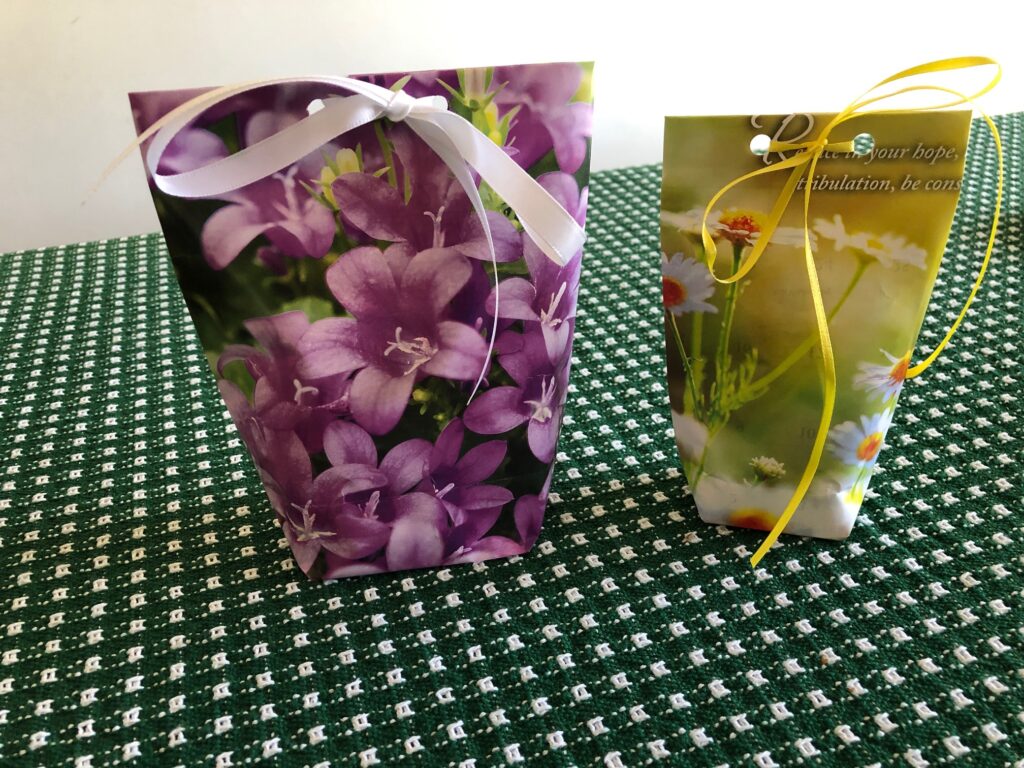
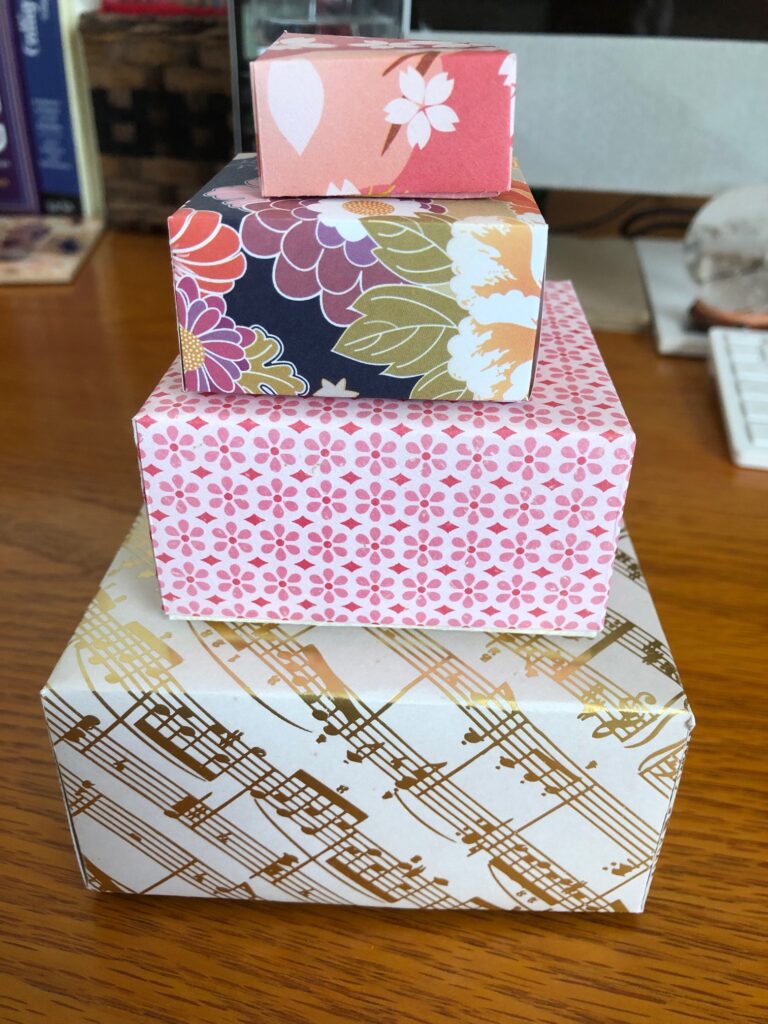
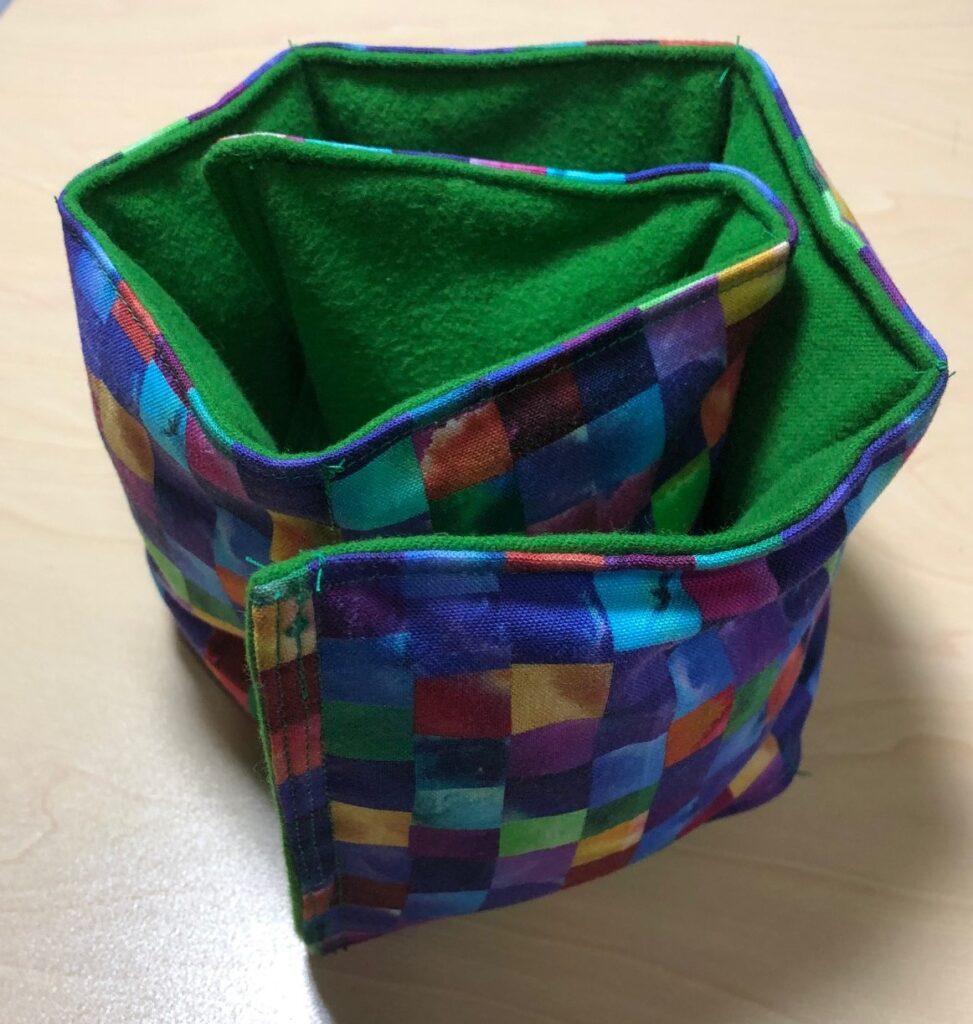
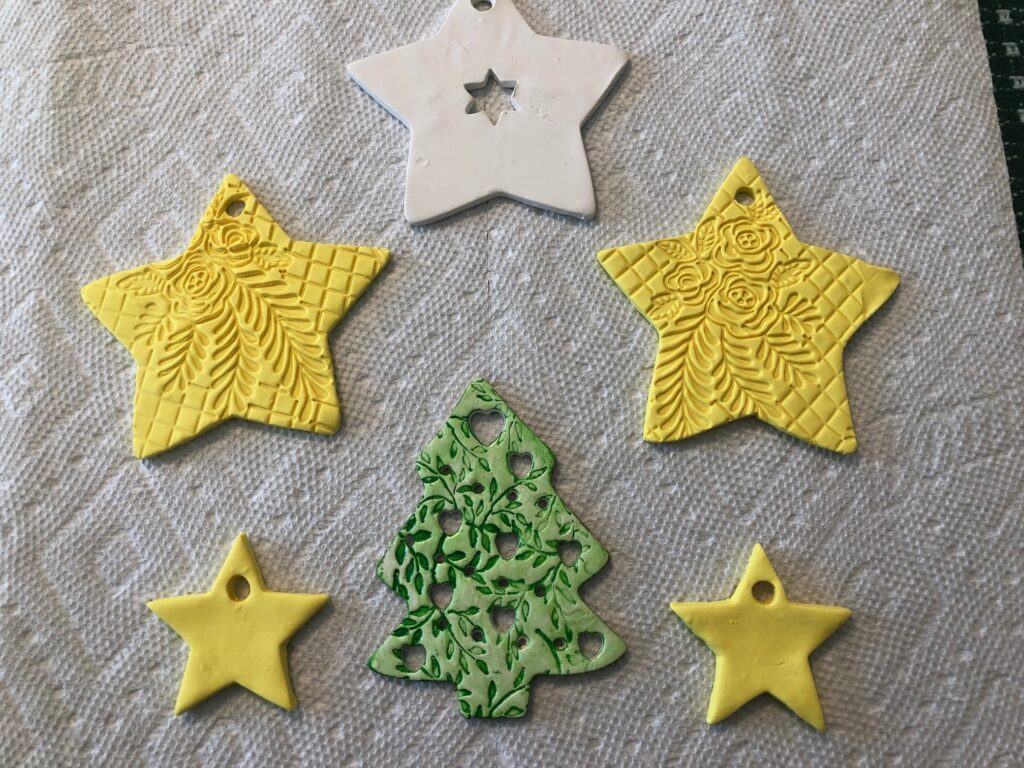
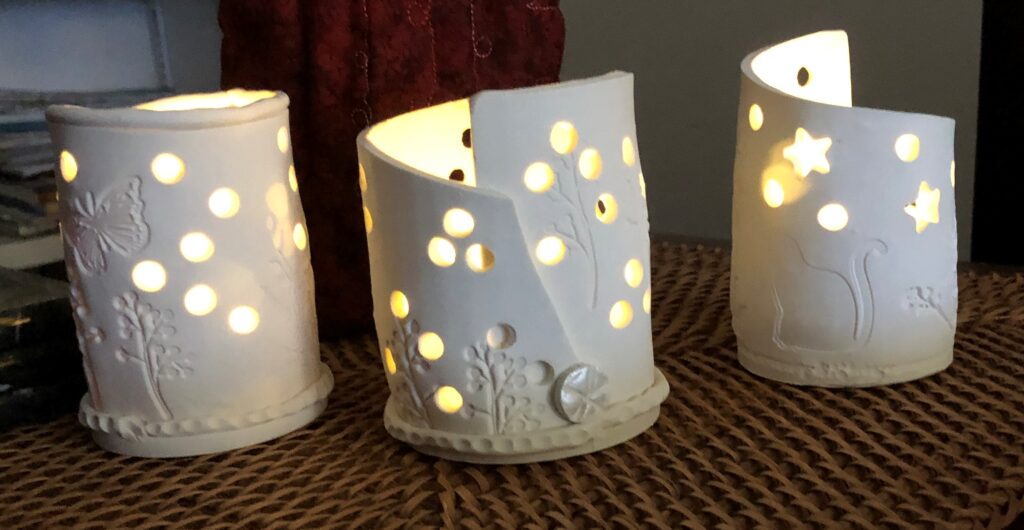
The first post describes (and links to the original posts) how to make gift bags and boxes by recycling pictures from calendars, guest soaps from melt and pour soap bases and making hot or cold neck wraps from fabric. The second post deals with polymer clay projects. If you’re looking for ideas for a homemade Christmas, give some of these a try. Enjoy!