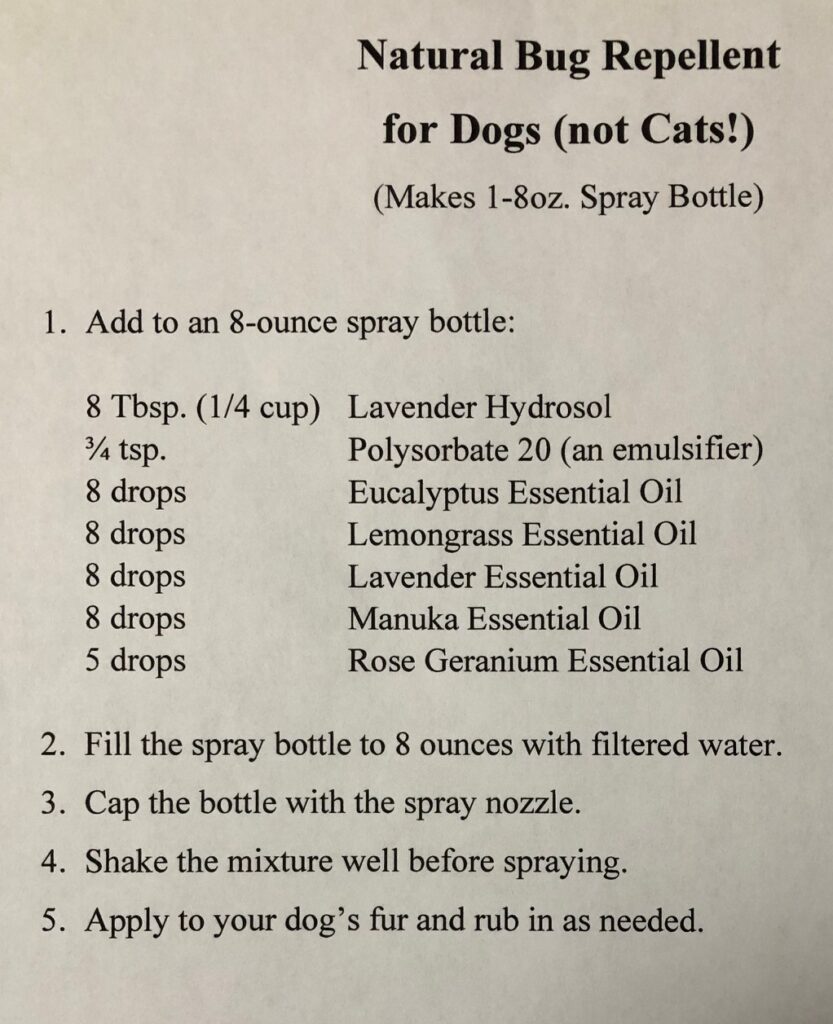
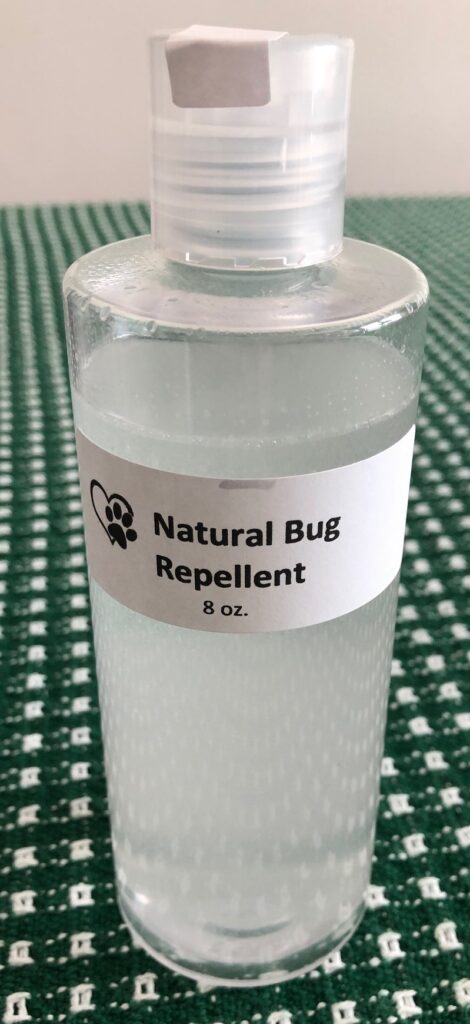
Hot summer days bring to mind how annoying mosquito bites can be. Preventing them is the first line of defense. The bug deterrent I made for dogs (and people) can help (see https://marykisner.com/natural-bug-repellent-for-dogs/); or any bug repellent you are comfortable using. However, the itching from a bite can prolong the agony for days.
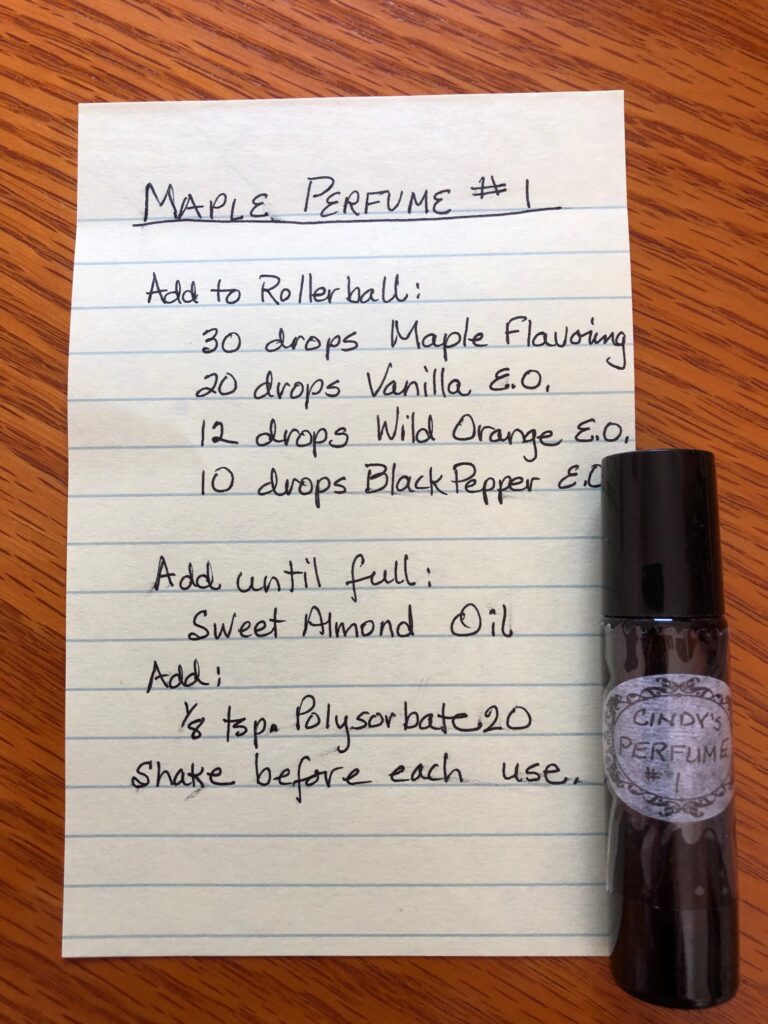
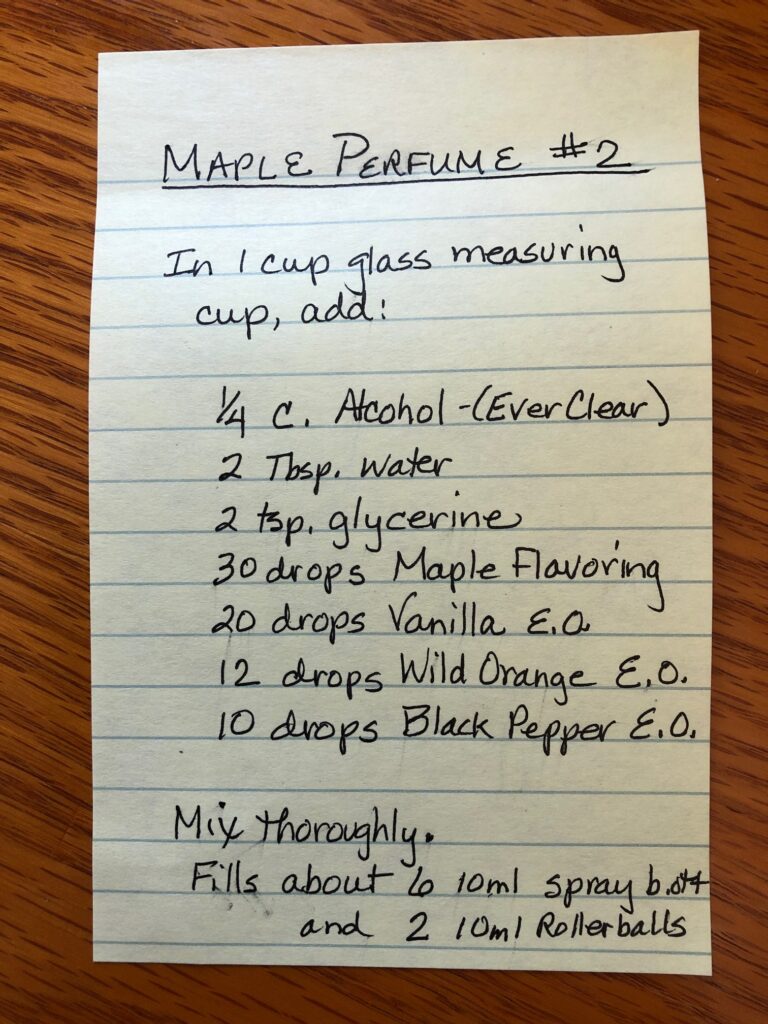
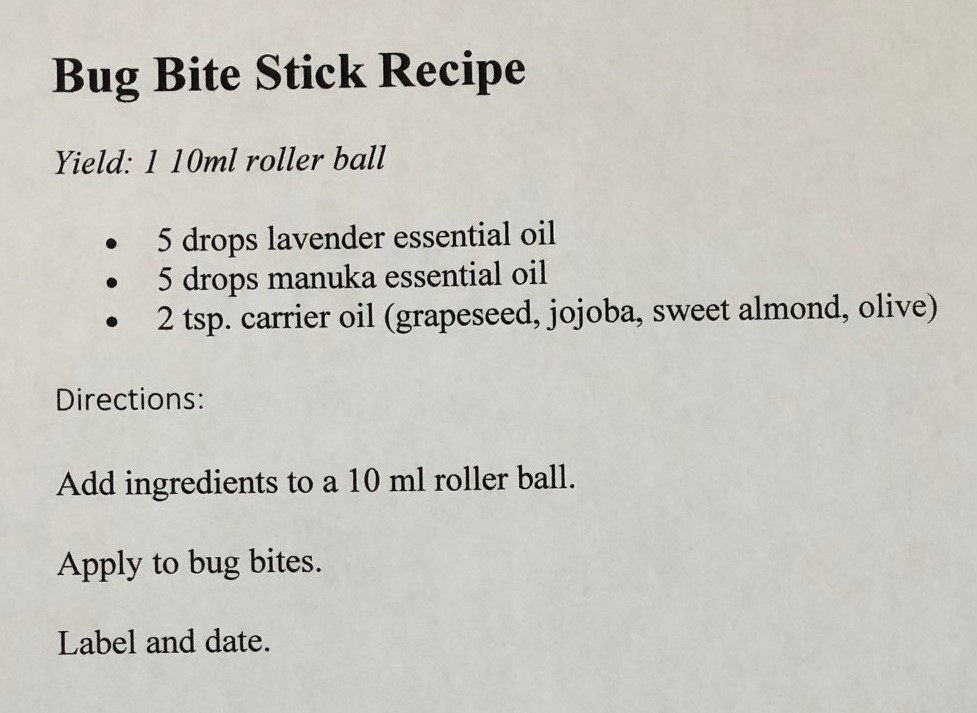
I found a simple recipe on a website I read frequently and thought I’d give it a try (https://joybileefarm.com/lavender-tea-tree-roll-on-stick/). My plan is to make a bunch and share it to see if it actually works. Here is my modified recipe:
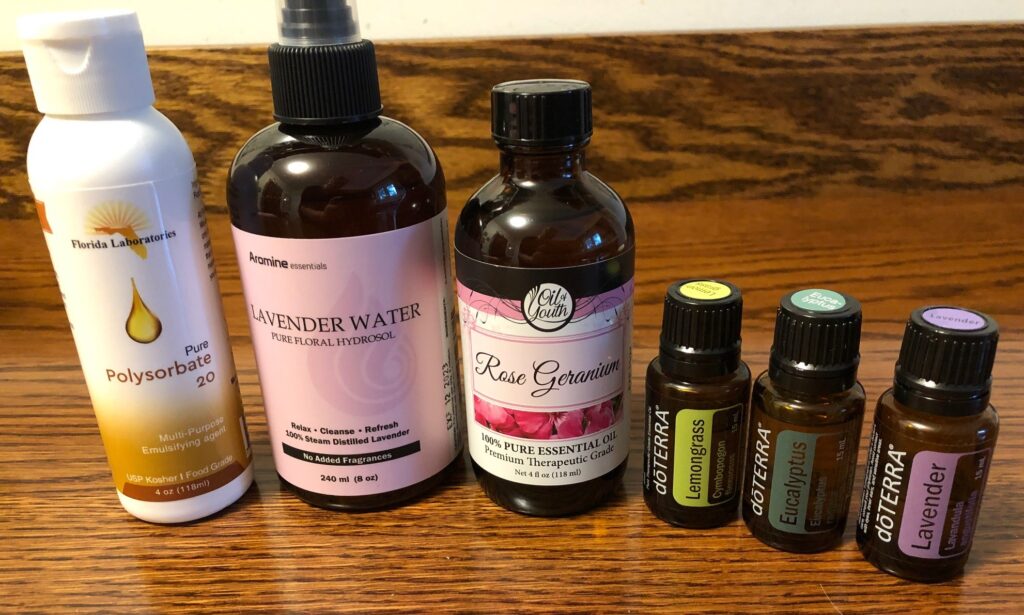
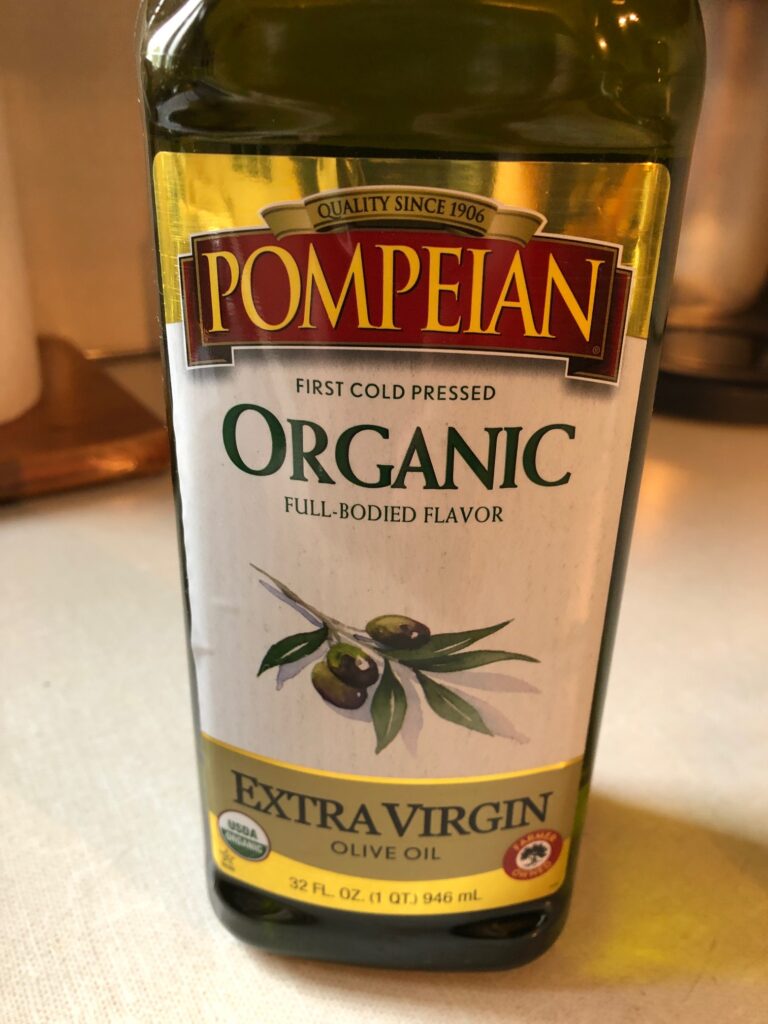
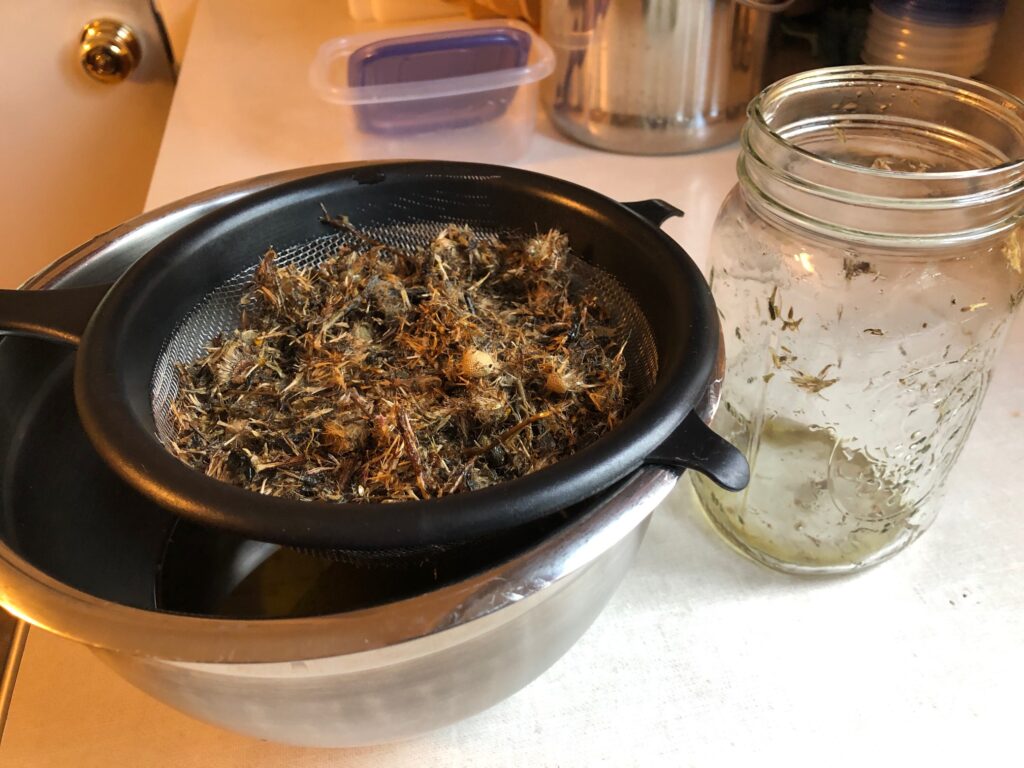
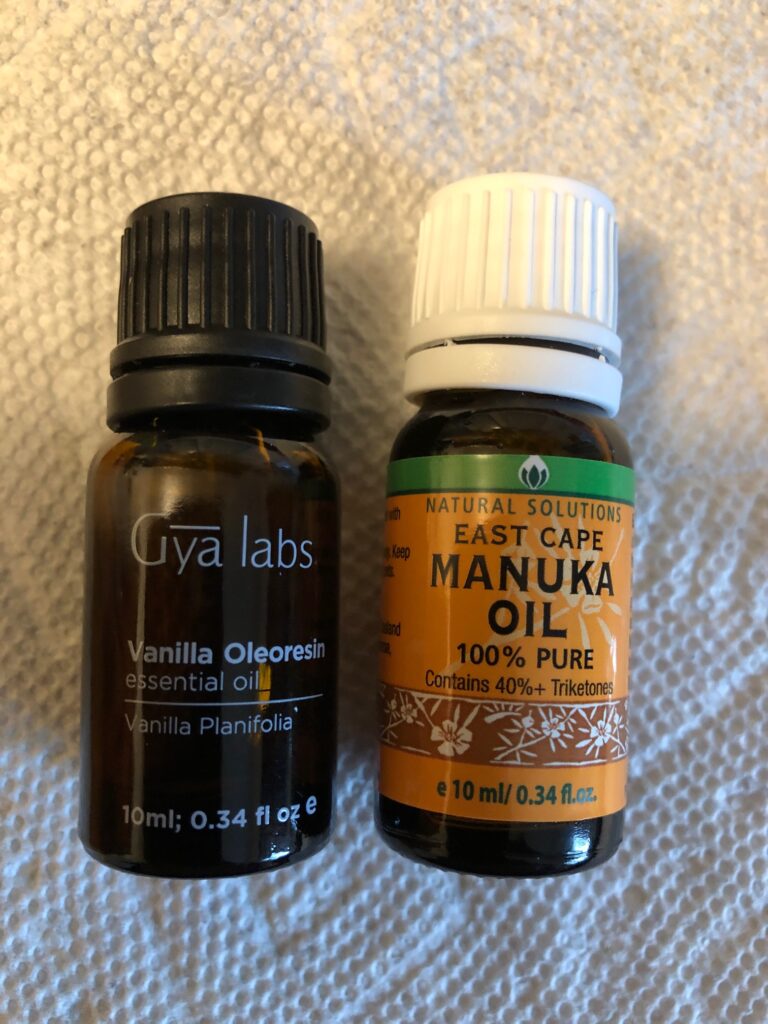
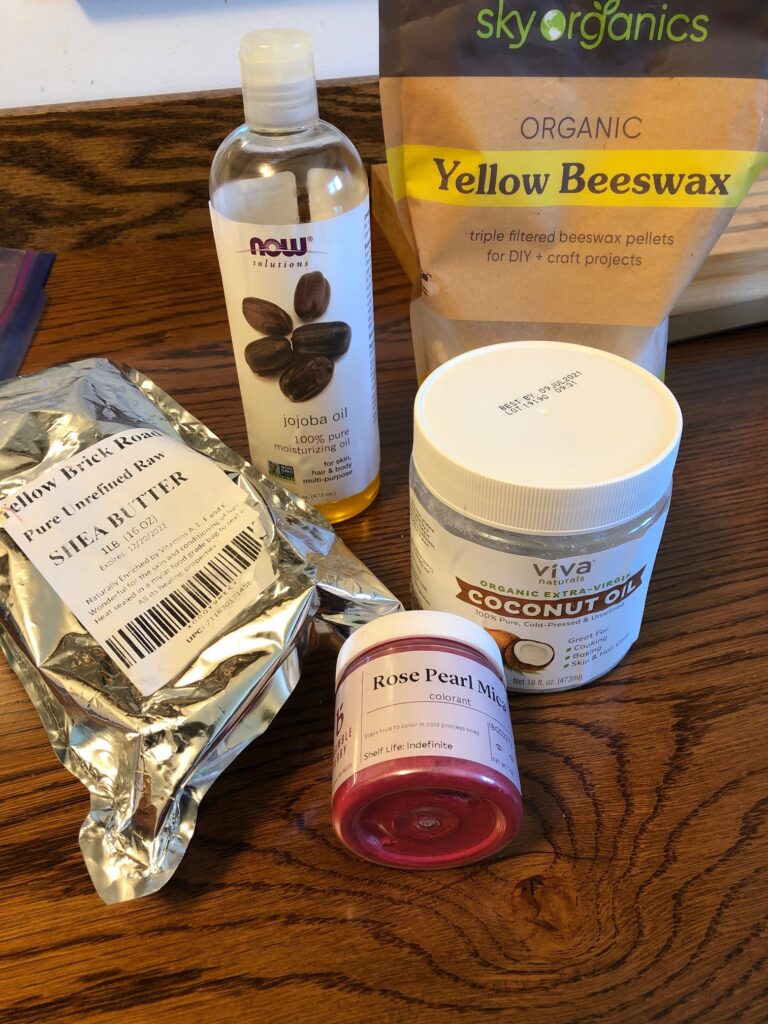
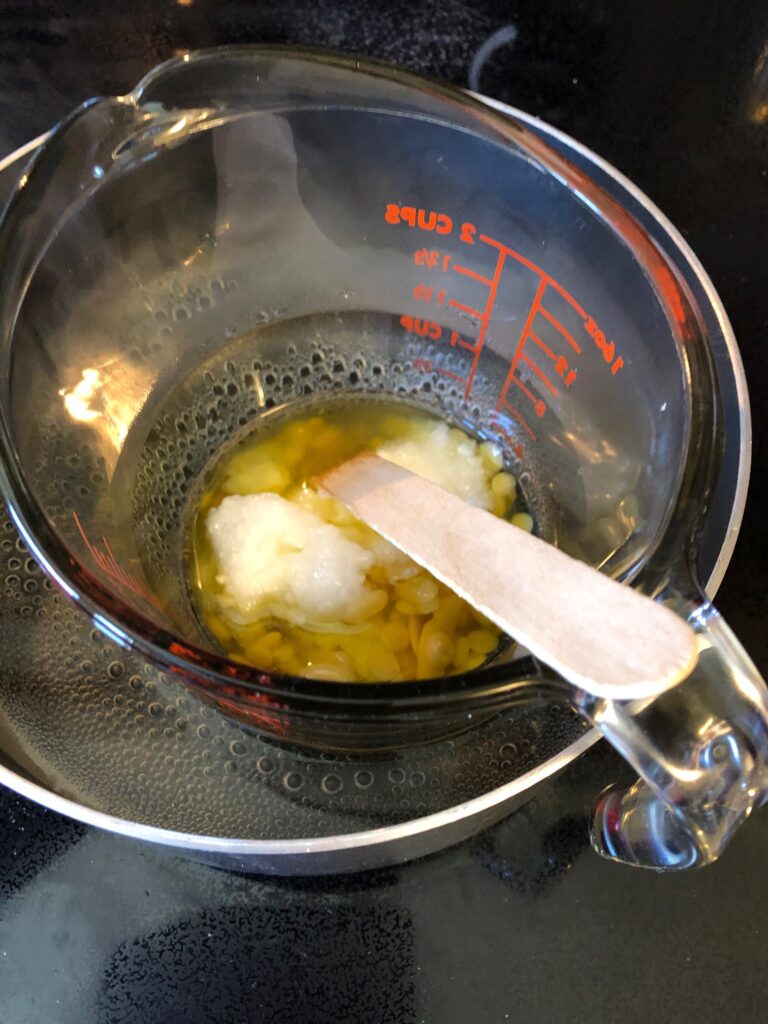
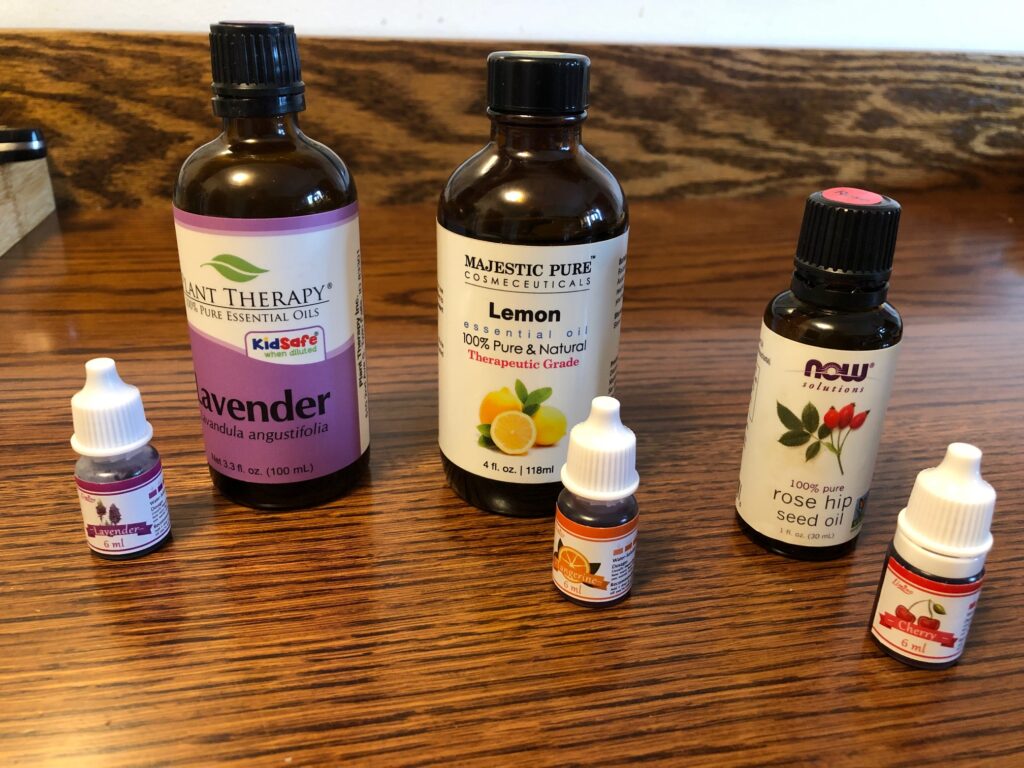
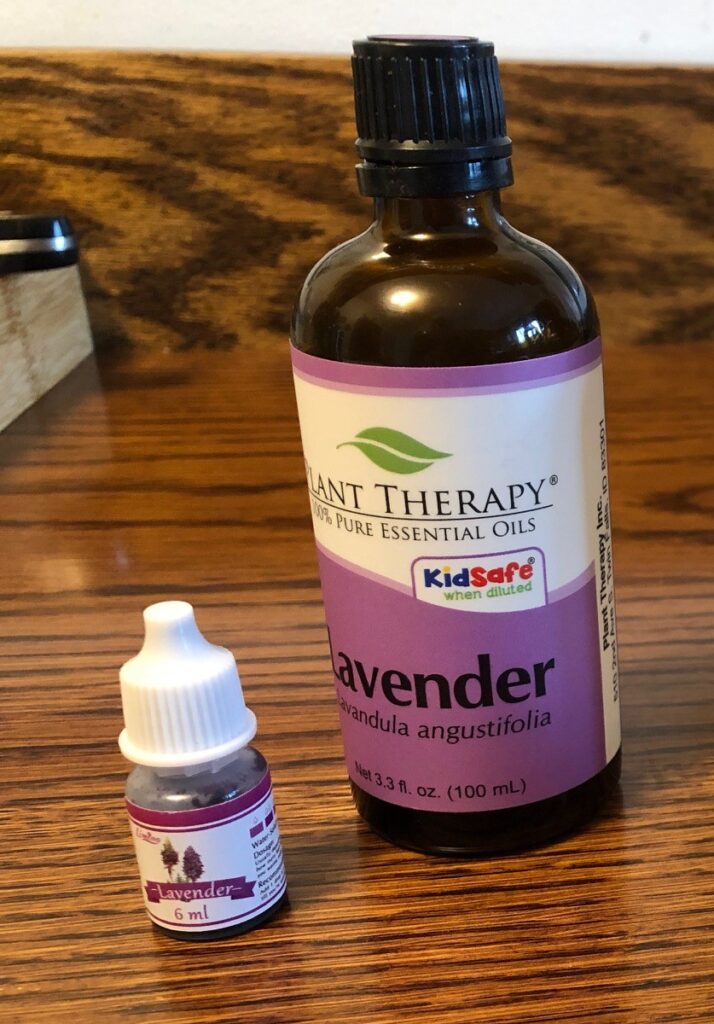
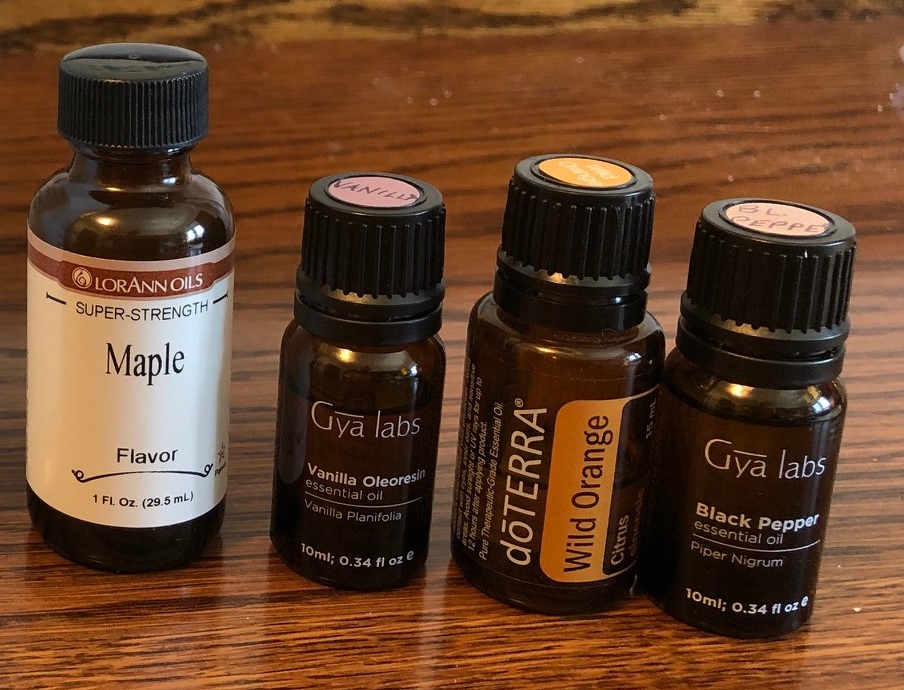
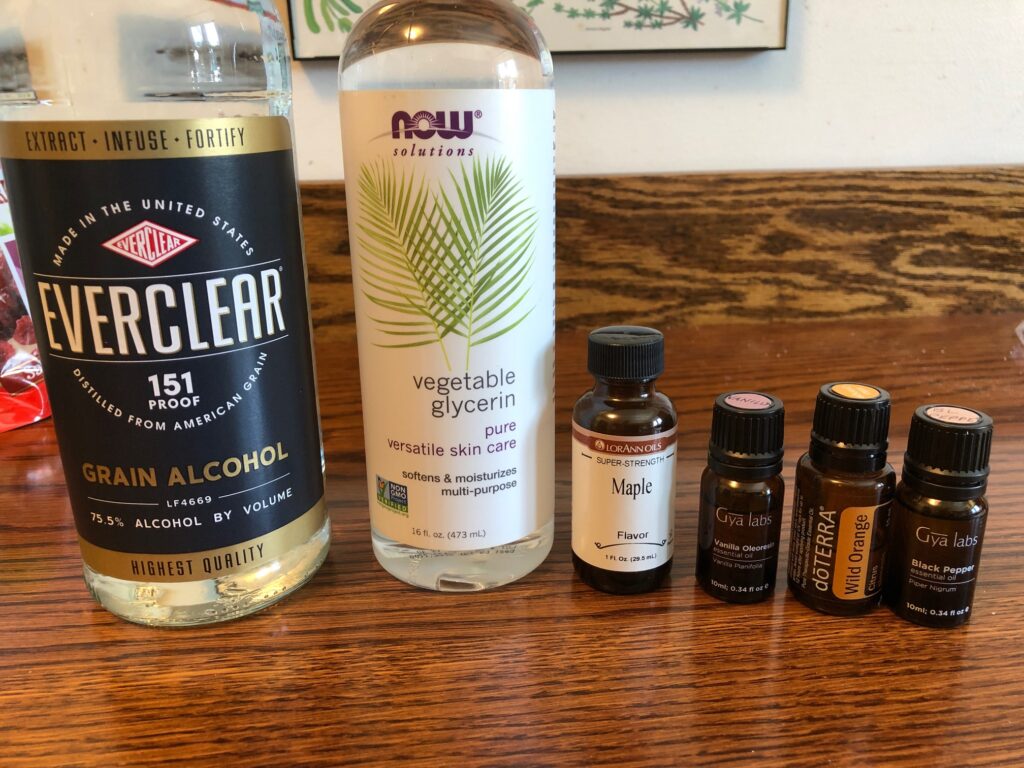
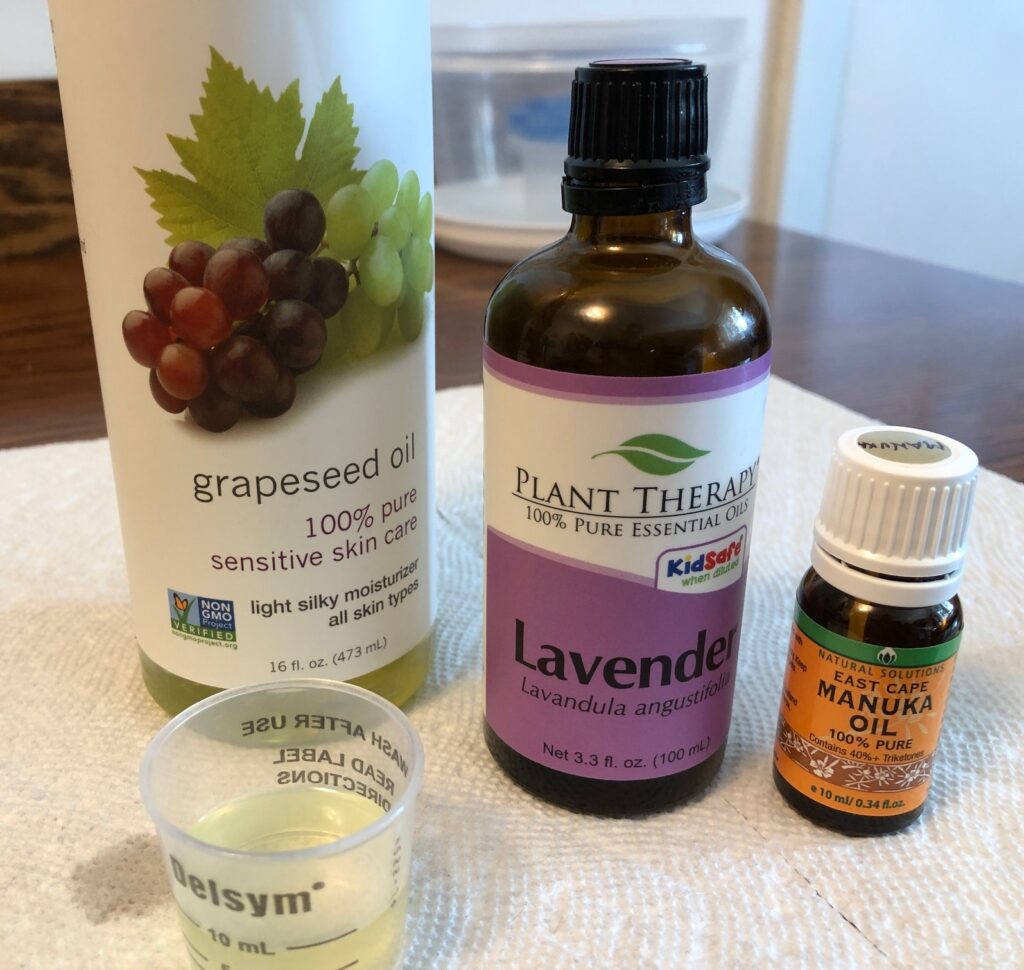
While I was collecting the supplies I thought about the ingredients. I had grapeseed oil and lavender essential oil on hand. I also have tea tree essential oil available, but after all my research about manuka essential oil, I thought I would try substituting it for the tea tree oil.
What’s the Difference Between Tea Tree and Manuka Essential Oils?
Tea tree oil has been considered the industry standard since World War II for many topical and household applications due to its antifungal and antibacterial properties. It is considered safe and effective to be used as an insect repellent, household cleaner and dandruff shampoo. It has been used to soothe bug bites, sunburns and rashes. However, it has a strong scent and can be irritating to some people, including children.
Manuka essential oil, while new on the market, has also been shown to have powerful antibacterial and antifungal properties. It is great for soothing sore muscles and itching from bug bites and sunburns. Manuka oil also had 20-30 times the antibacterial activity as Tea Tree oil. It is less irritating to sensitive adults, is safe for children AND it smells good!
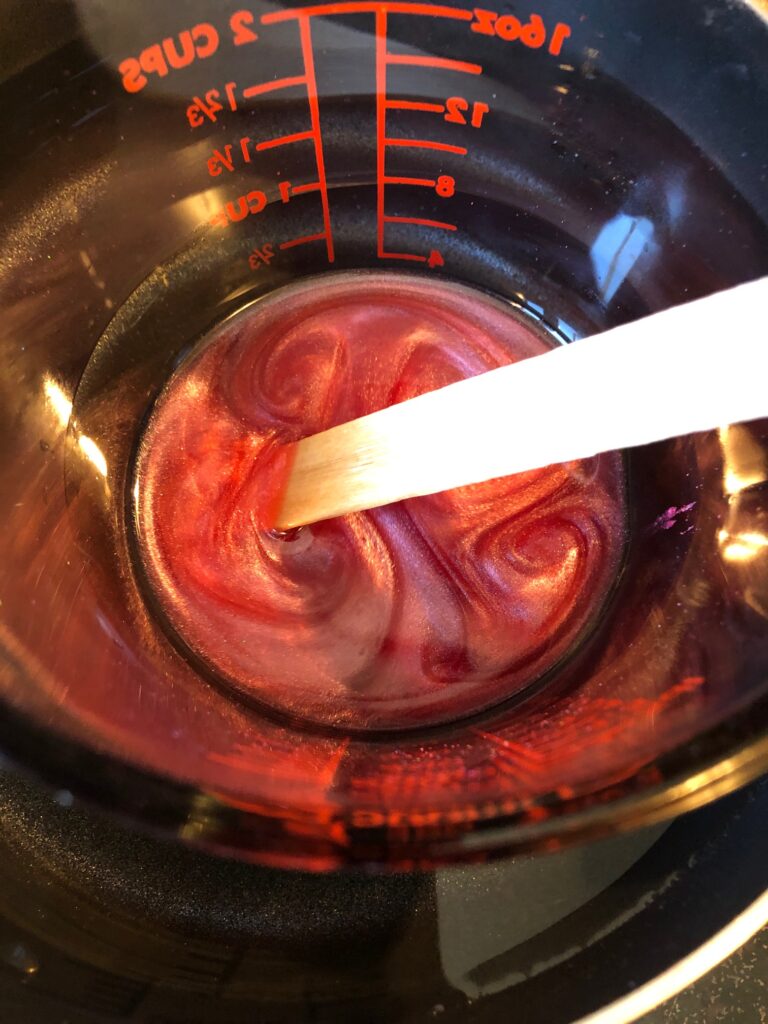
Therefore, I substituted Manuka essential oil for the Tea Tree oil in this recipe.
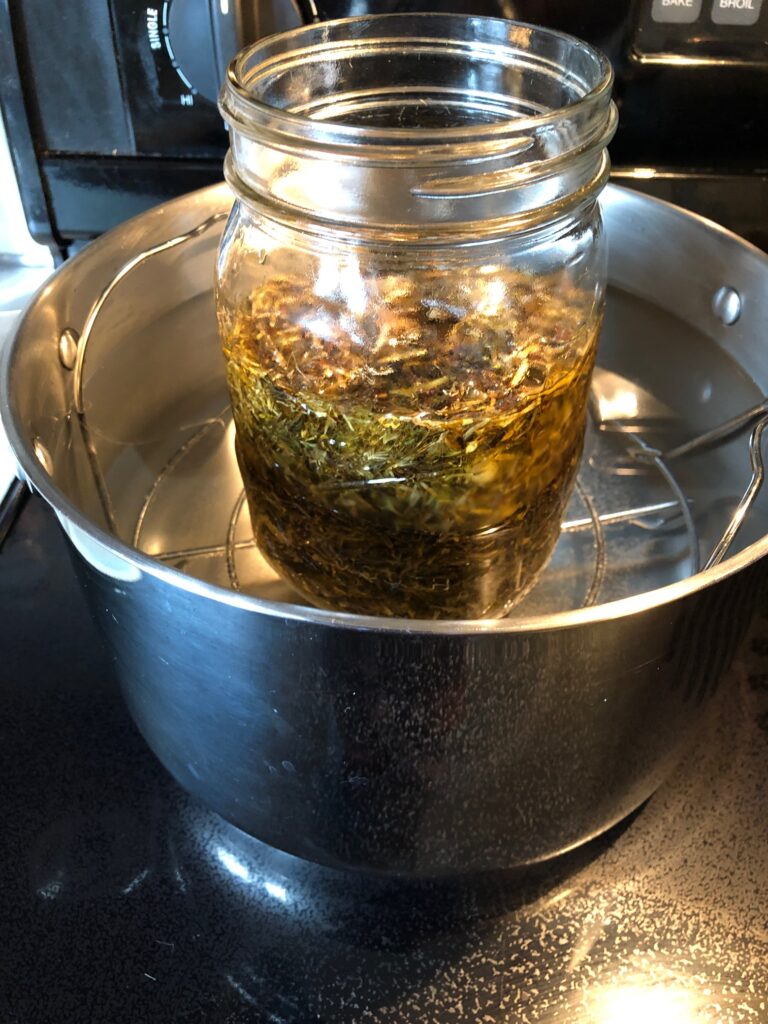
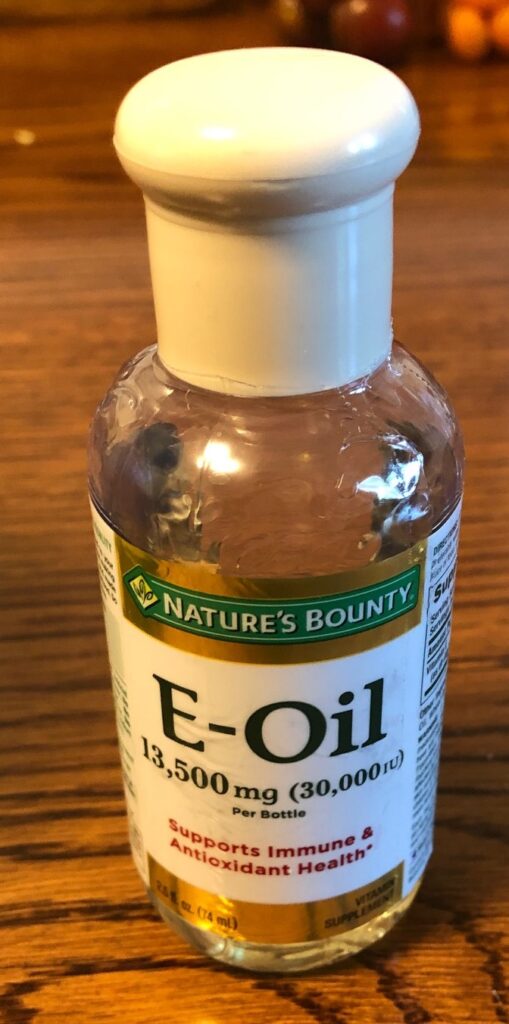
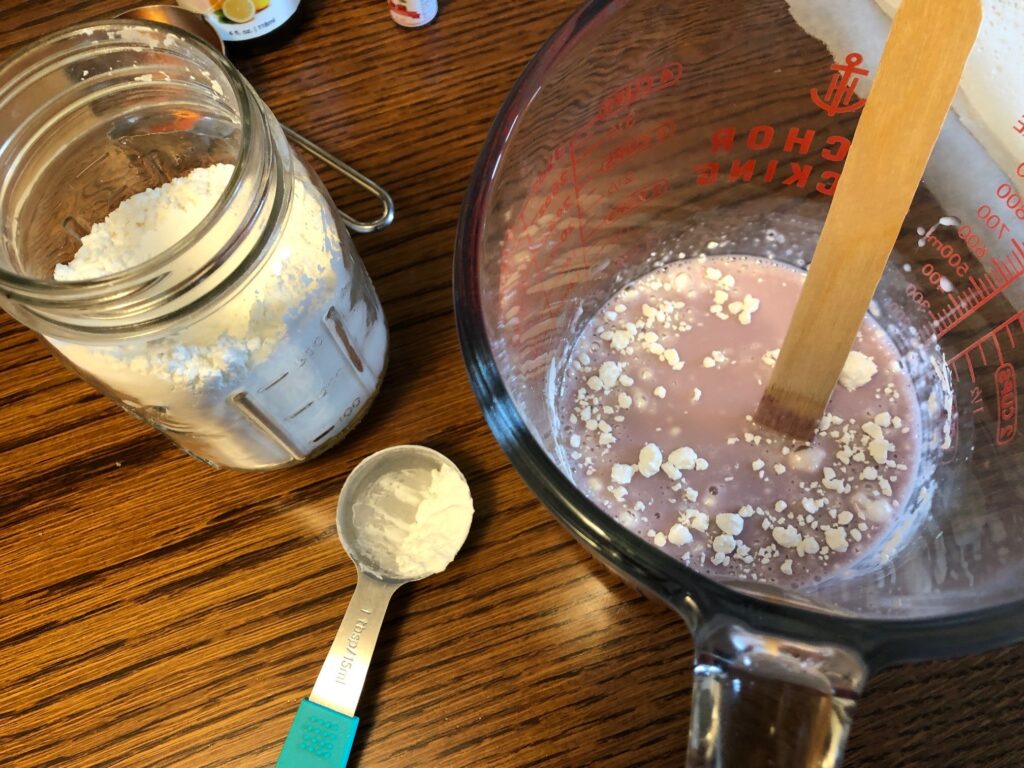
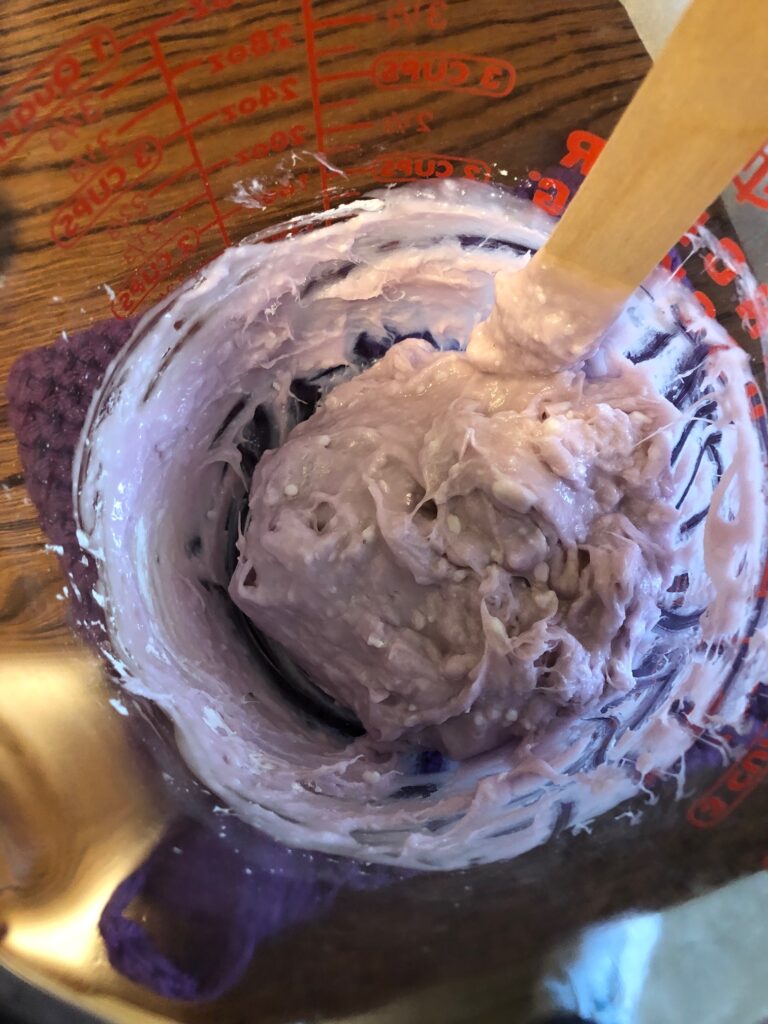
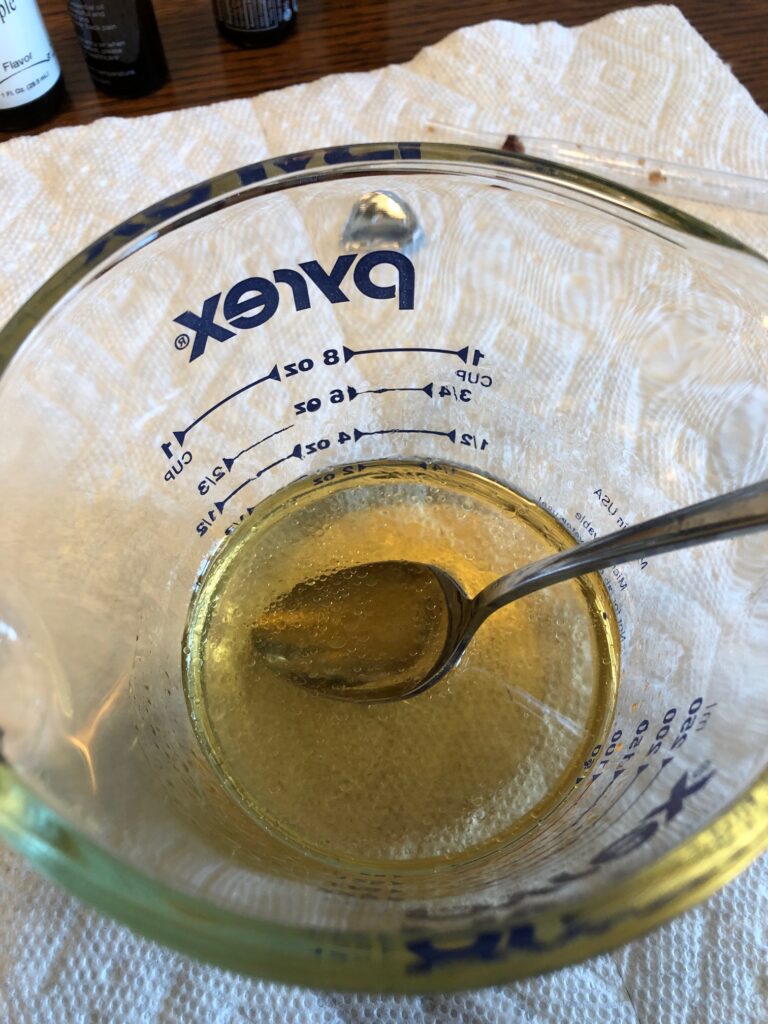
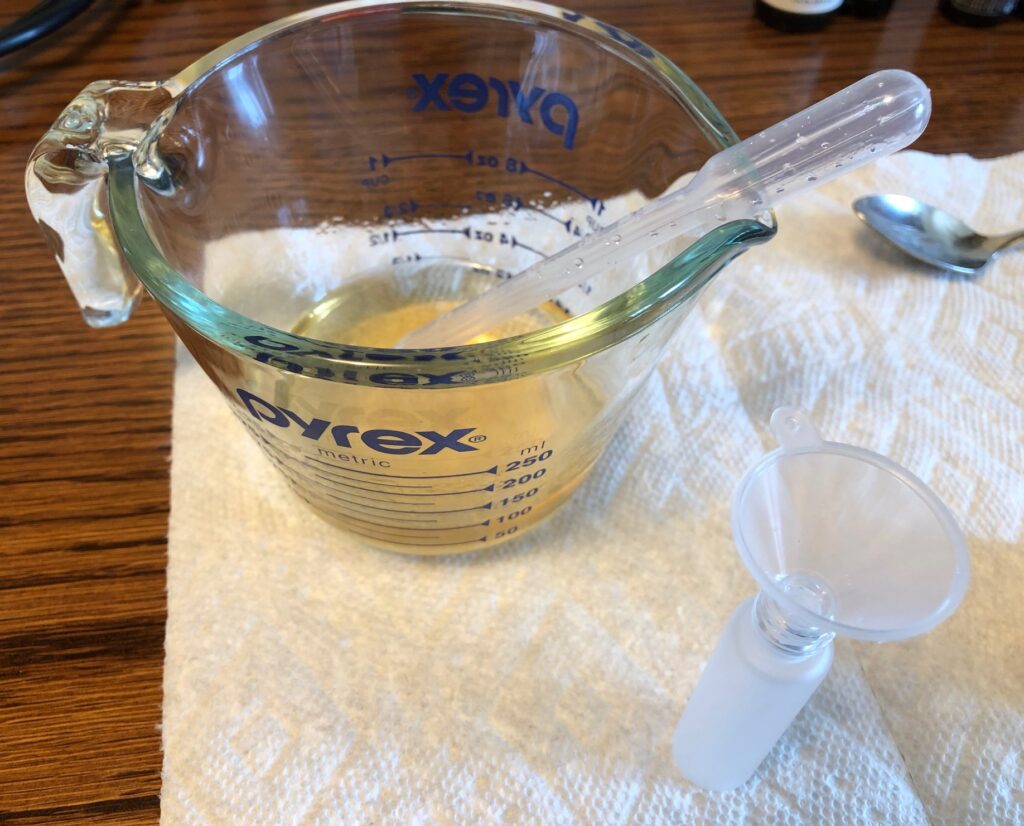
Here are the ingredients for this mixture:
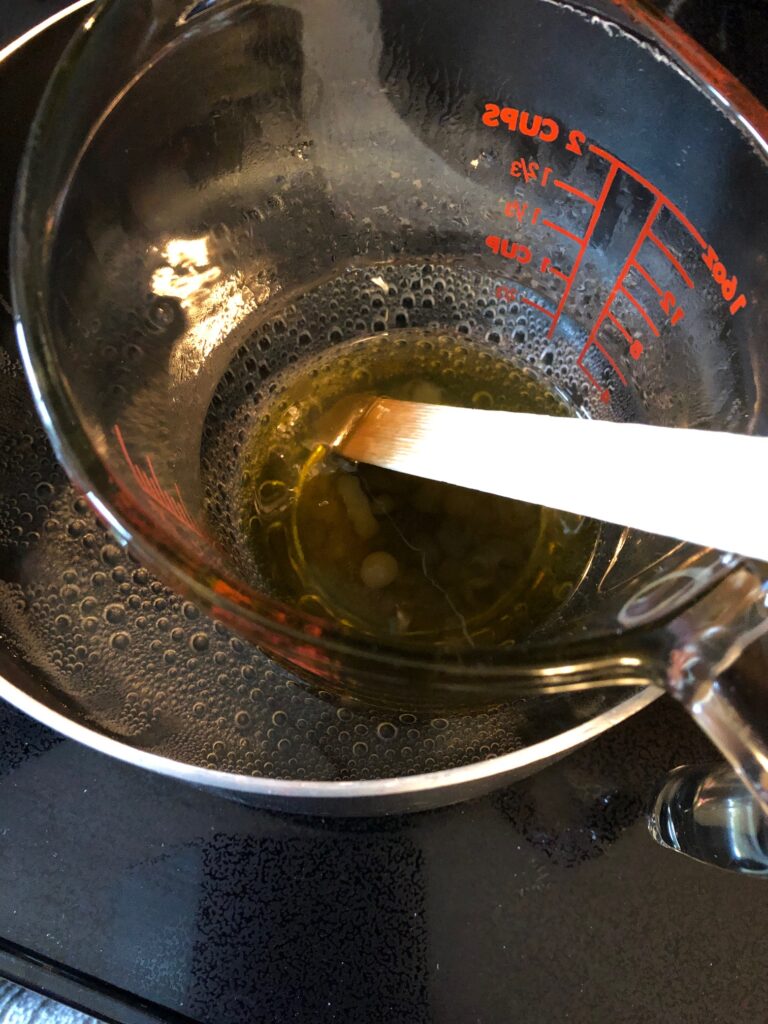
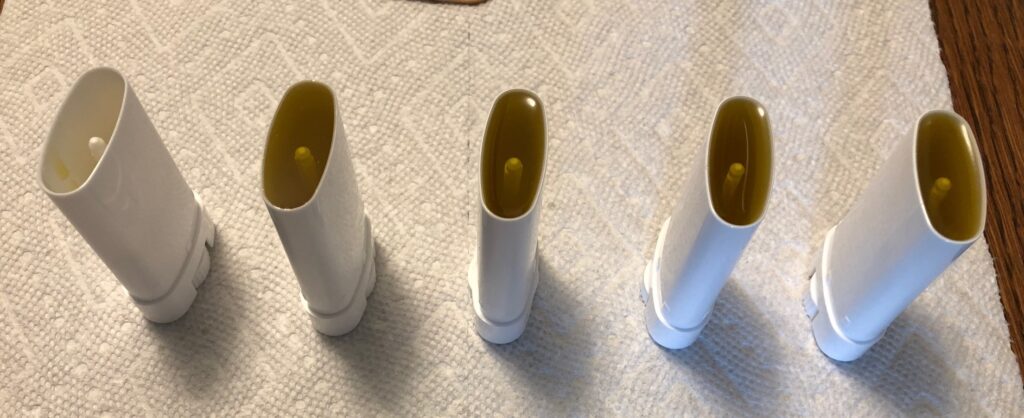
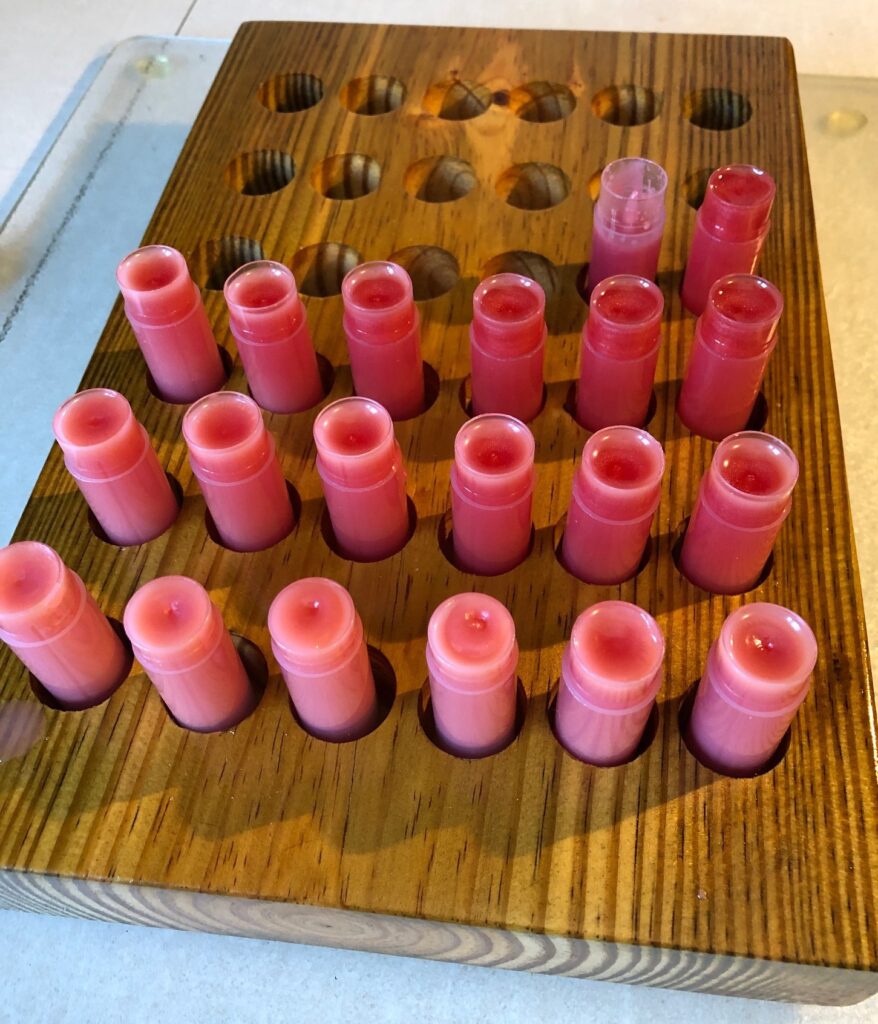
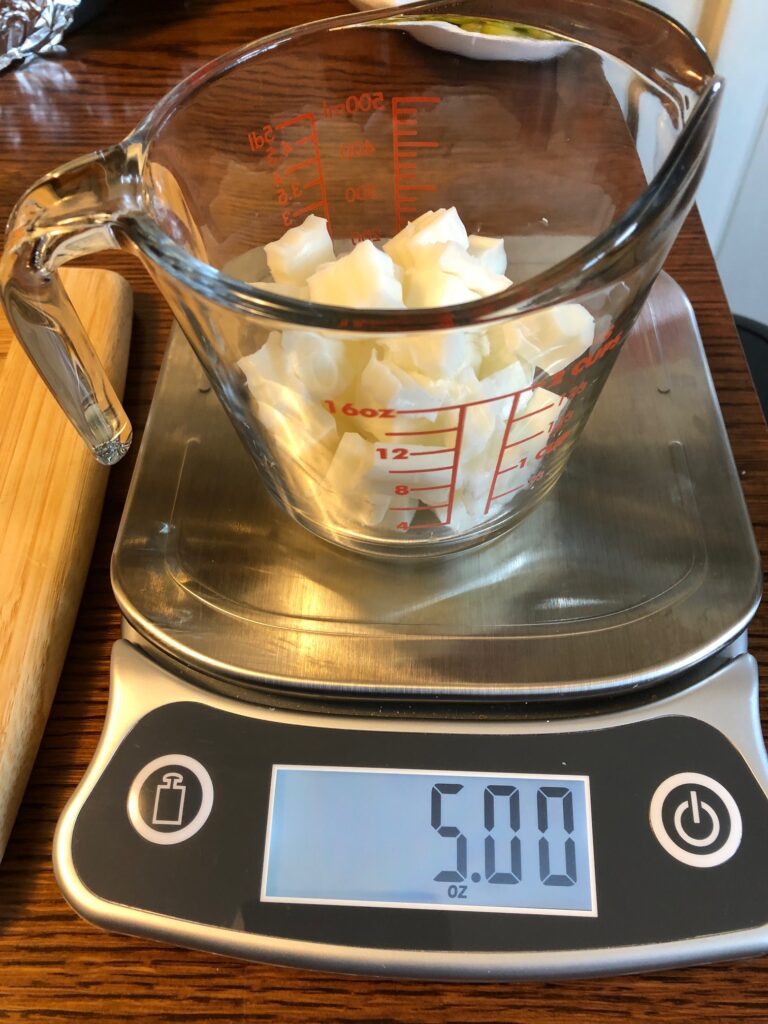
I discovered after the first few I made that the 2 tsp. of grapeseed oil needed to be little less. The roller ball holds 10 ml (which is 2 tsp.). When I added the full 2 tsp. of grapeseed oil plus the 10 drops of essential oil it was so full I couldn’t get the roller ball snapped in. I ended up adding only 9 ml instead.
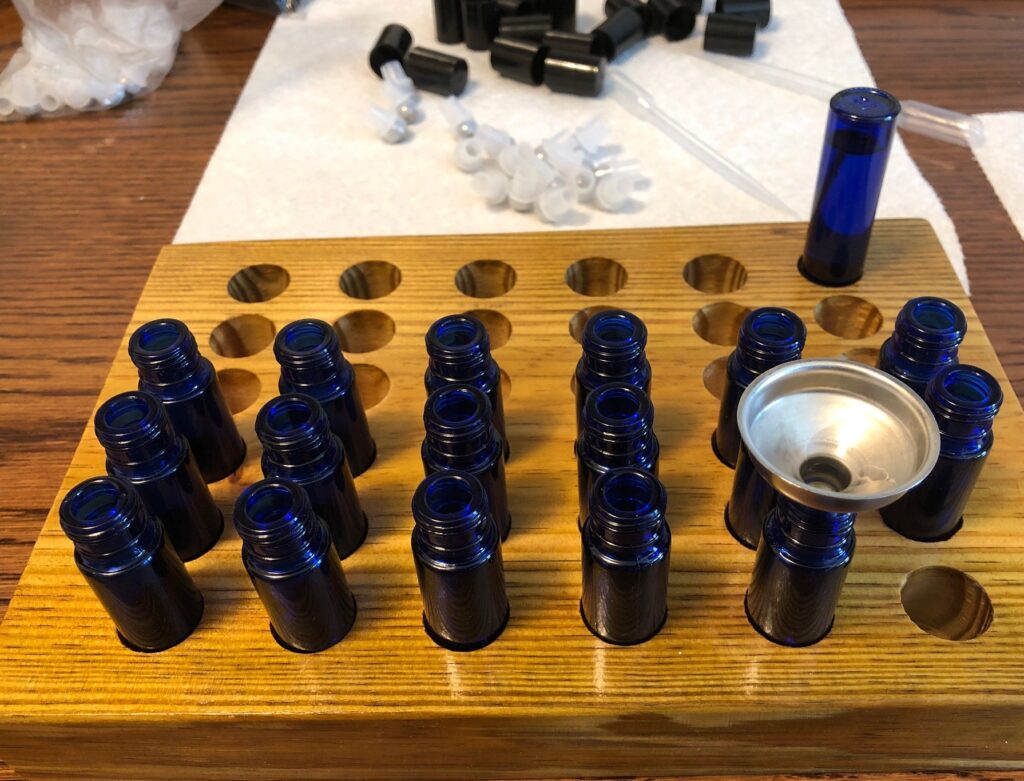
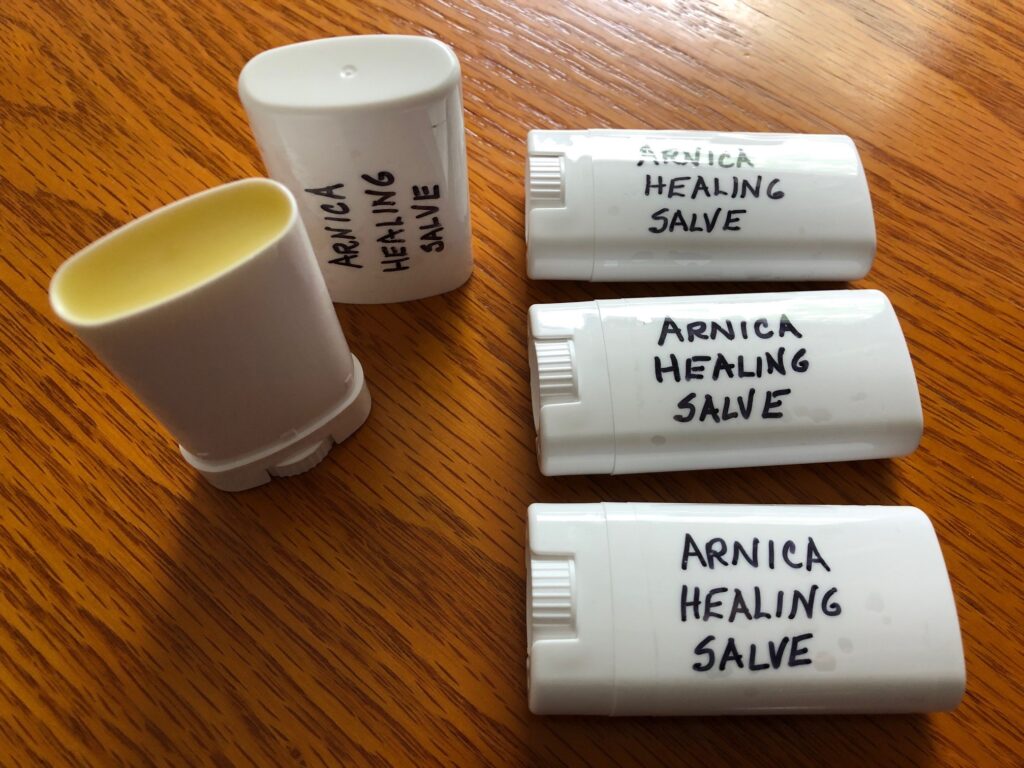
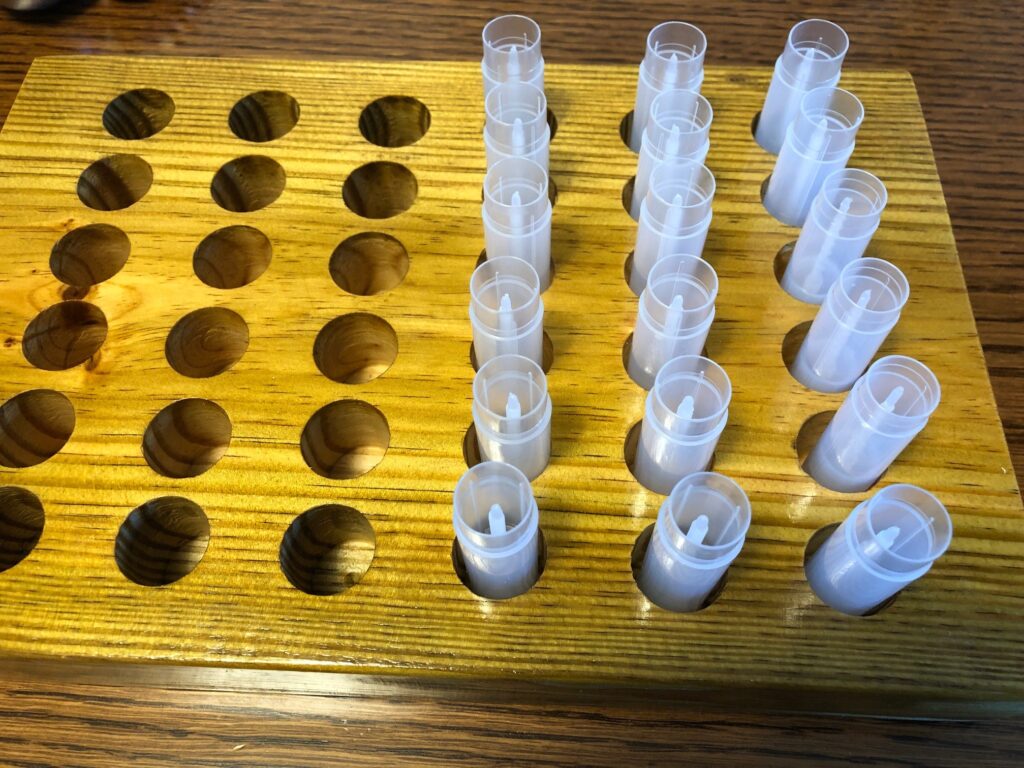
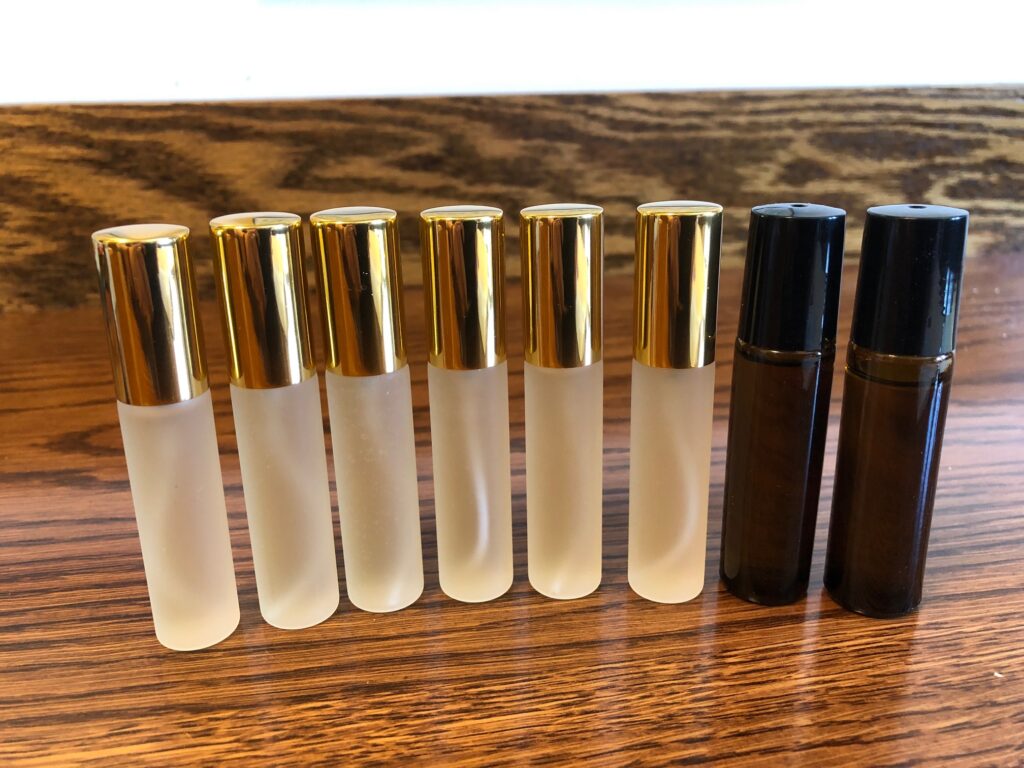
I made 18 because I wanted to share them with some friends. I will need their feedback to see if rolling on some of this oil mixture really helps soothe the itch of a bug bite. We’ll see!
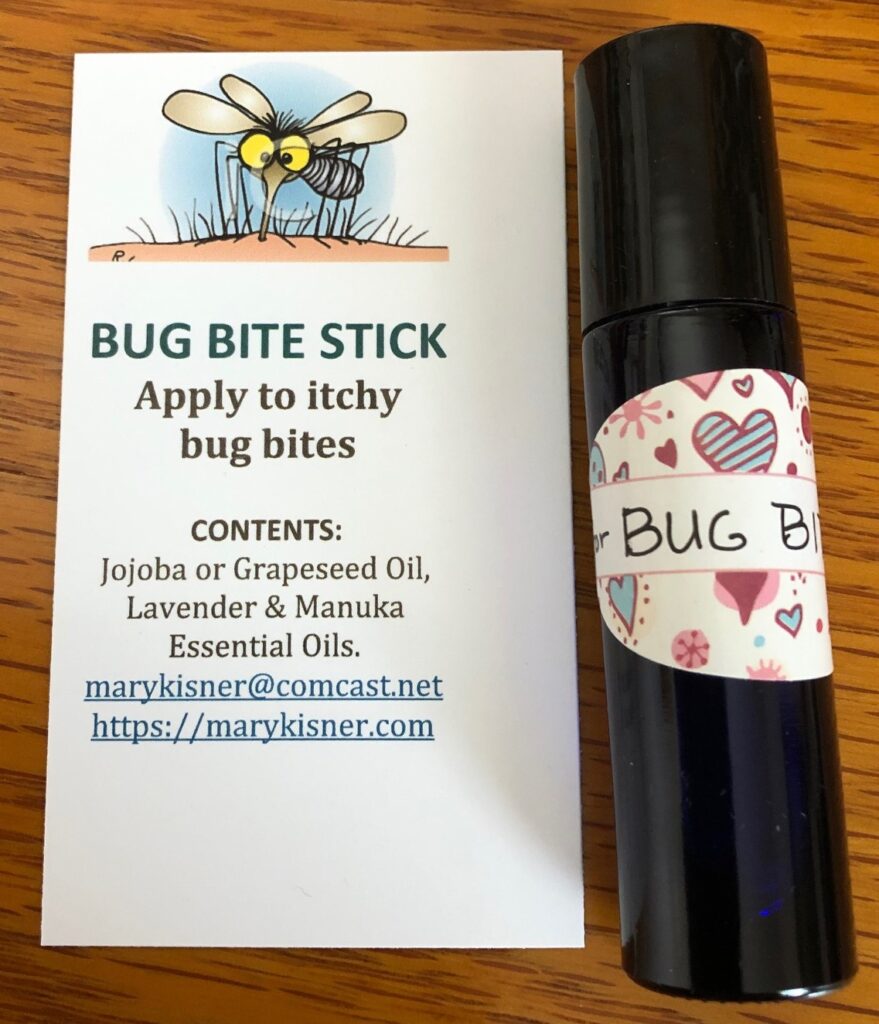
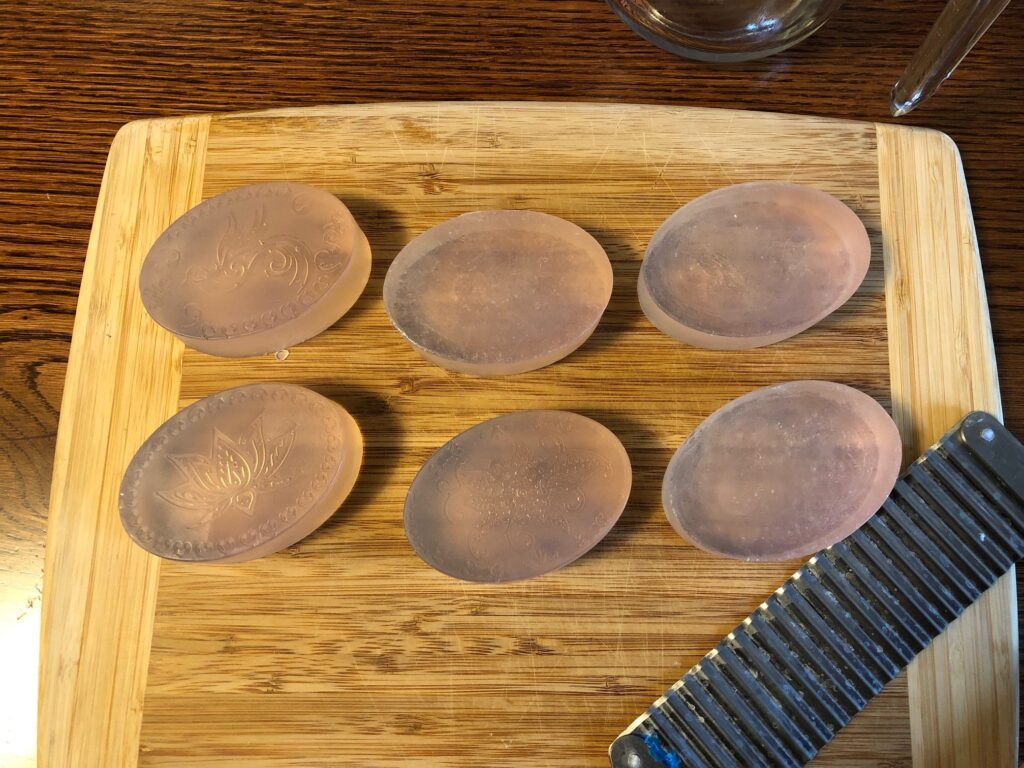
Of course, everything I make and give away needs information about what is in the product. I want folks to know before they put anything on their skin. Give this recipe a try yourself! Enjoy!
Please comment or email me directly at marykisner@comcast.net.