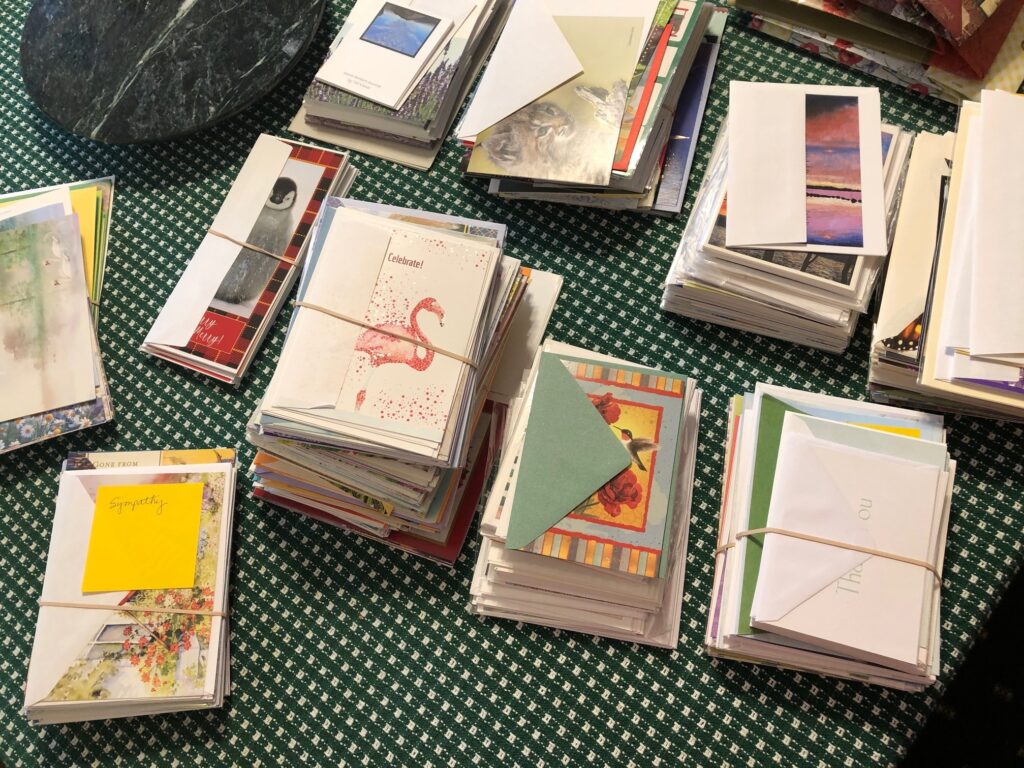
In the fall, we start receiving packets of greeting cards from various organizations…usually with an appeal for donations. Each packet ight have 4-6 cards with envelopes. By December, I may have accumulated over 100 assorted Christmas cards. Some are quite unusual; others are just tacky. Most of the time I don’t even send Christmas cards because I write a family letter that really doesn’t need a separate card. However, I have trouble just throwing all these cards away.
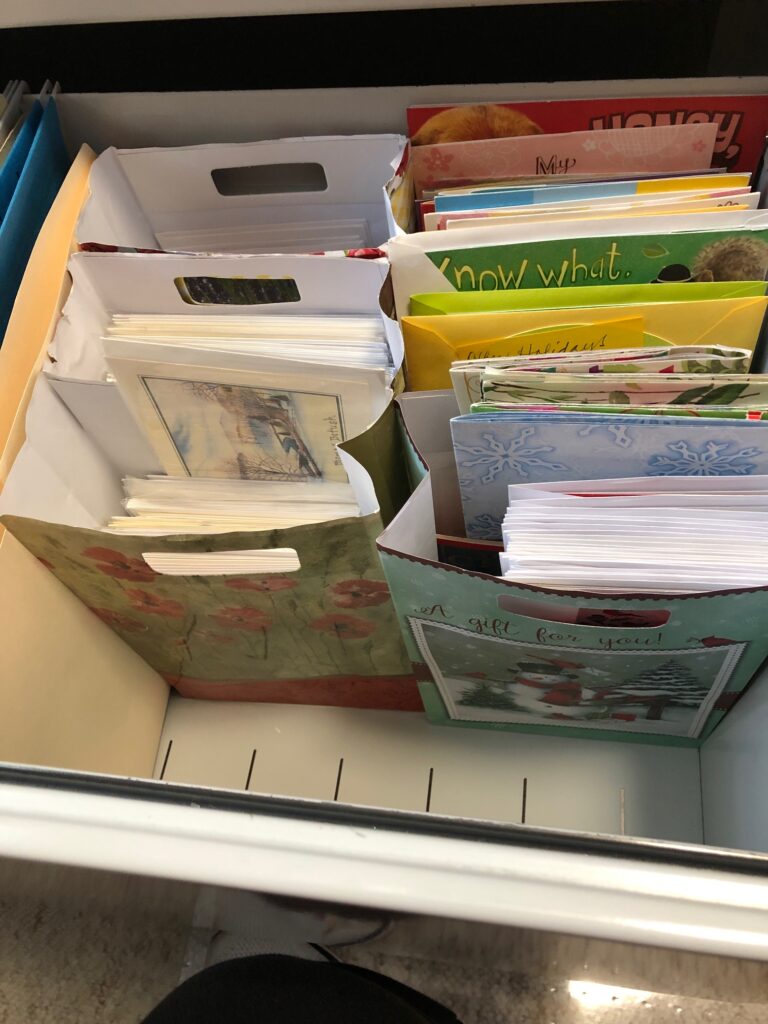
Of course, in the spring we get another pile of cards along with a renewed request for donations. These cards are for birthday greetings, get well and sympathy cards. I don’t send very many cards in the first place, but now I have another pile of cards to store.

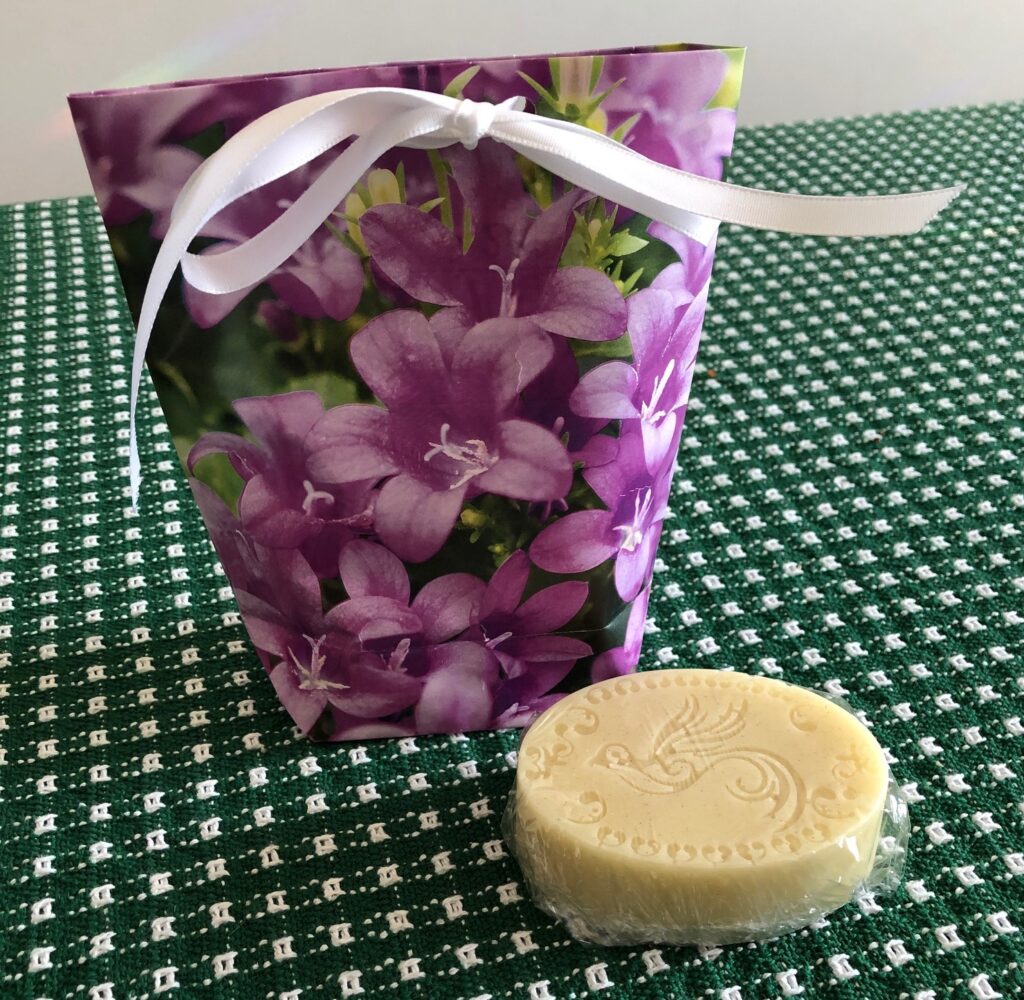
I’m always on the look out for craft projects that would use recycled greeting cards. I do reach for an occasional small gift bag, so I’m often checking Pinterest for new ideas.
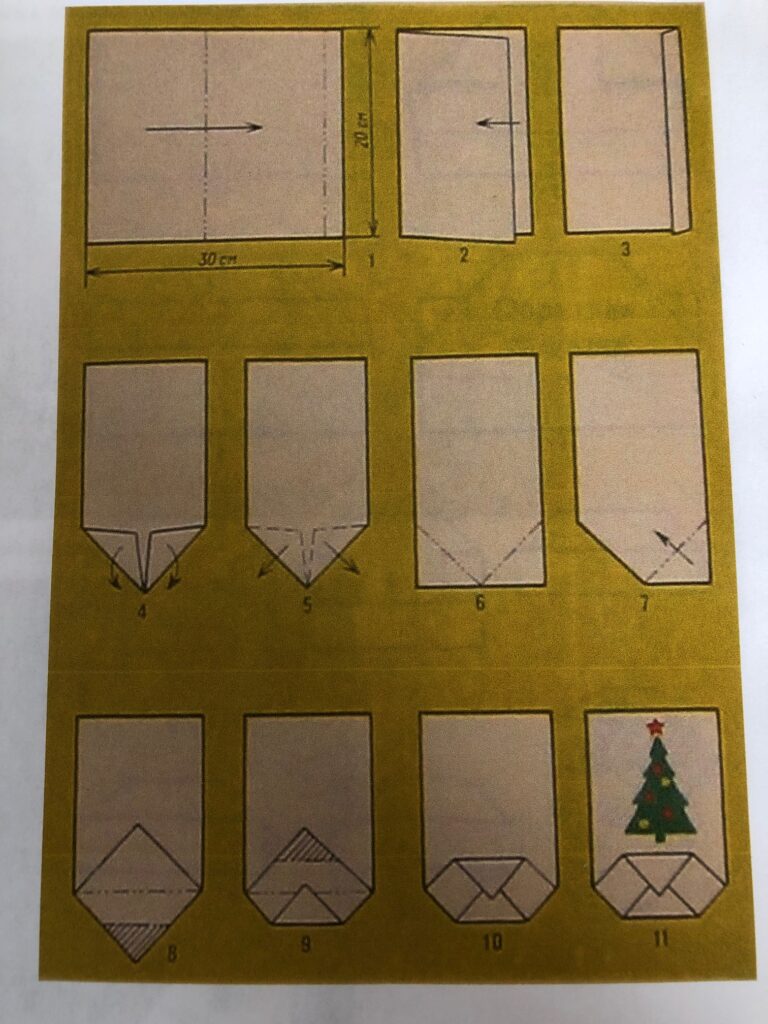
I’ve already written about using origami paper, calendar pages and greeting cards in the past. You may remember the folded paper gift boxes from origami paper…
https://marykisner.com/how-about-a-folded-paper-gift-box/
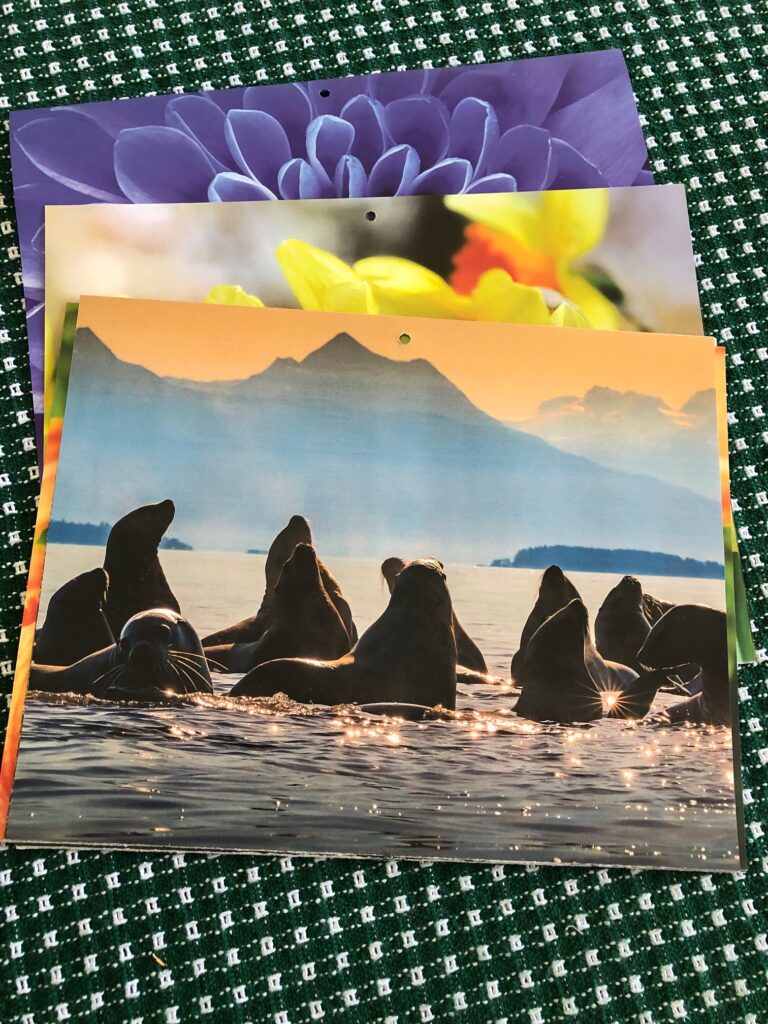
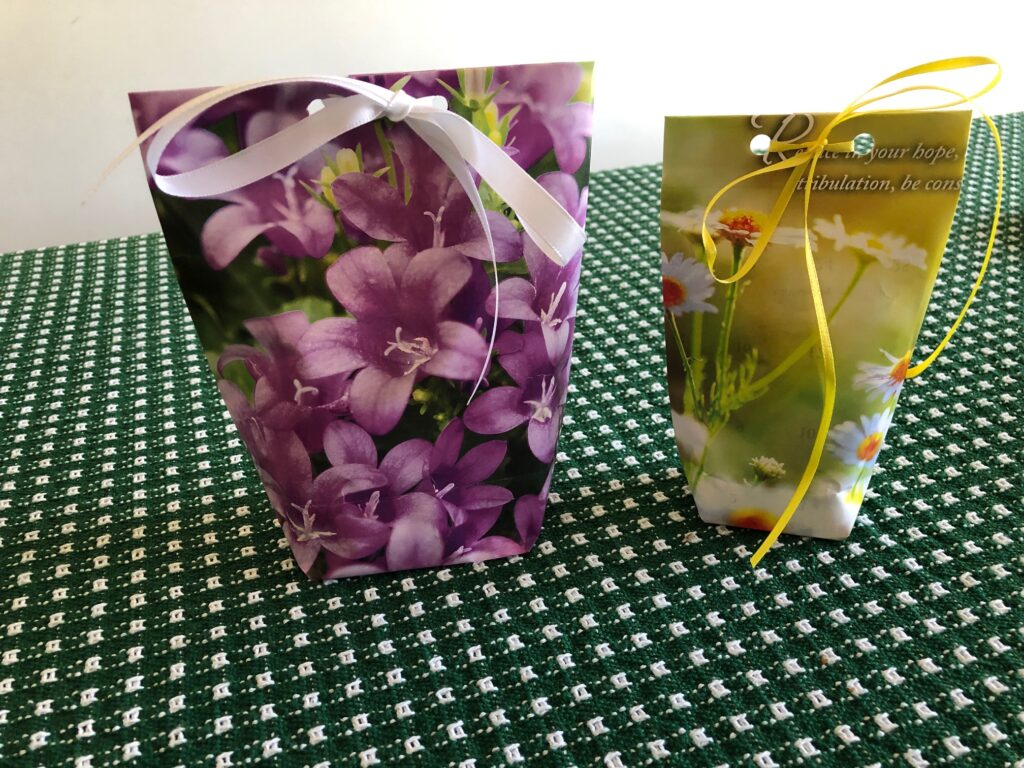
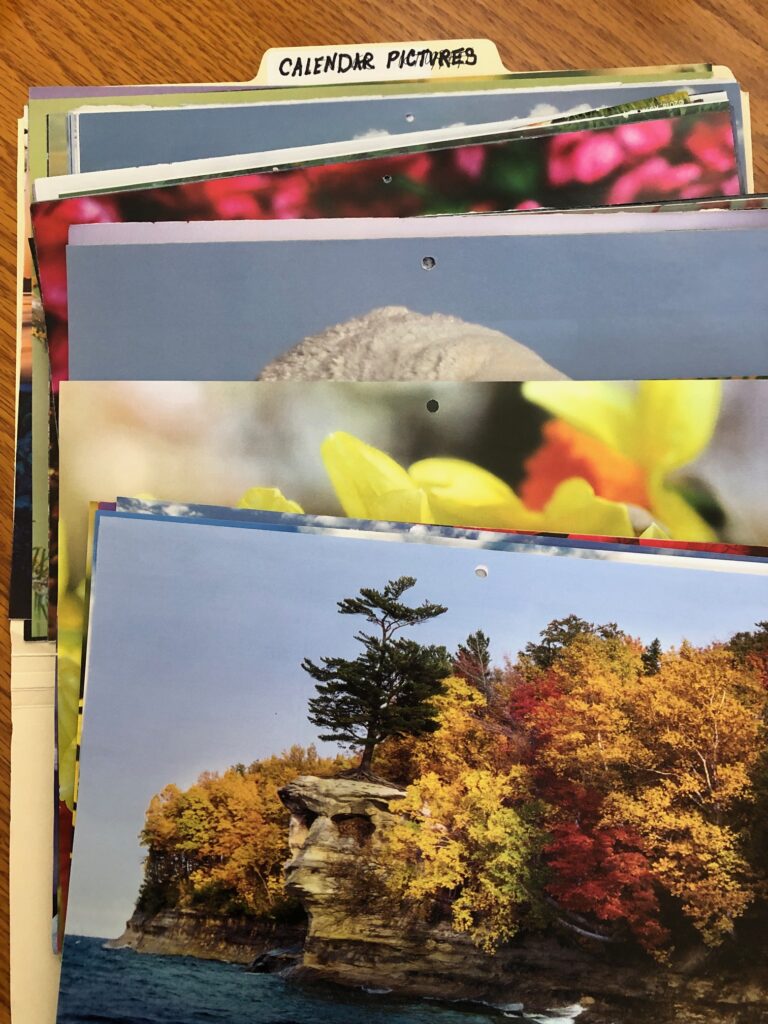
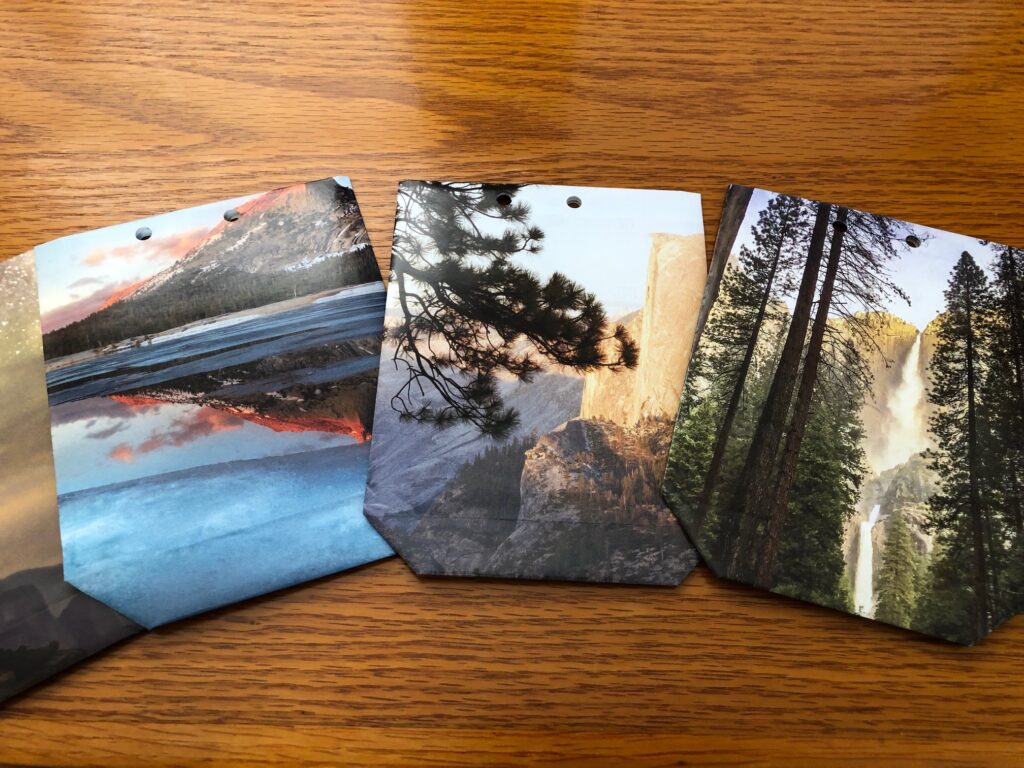
From the pile of calendar pictures I had accumulated, I made a bunch of very small gift bags:

https://marykisner.com/make-a-small-gift-bag-in-a-flash/
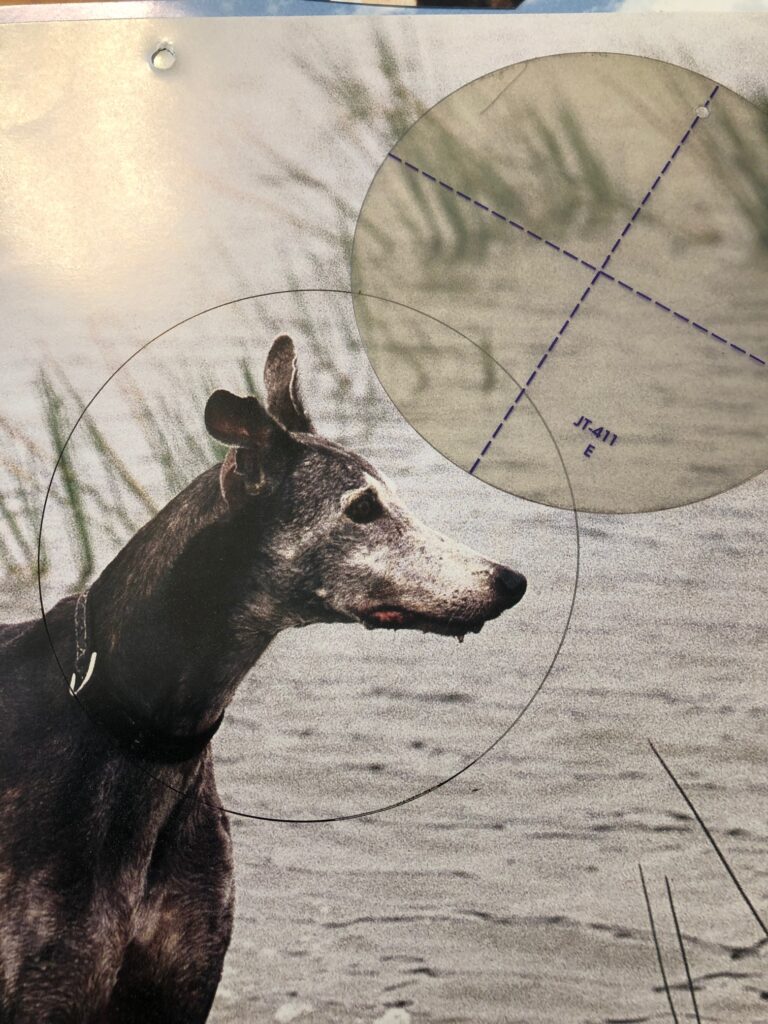
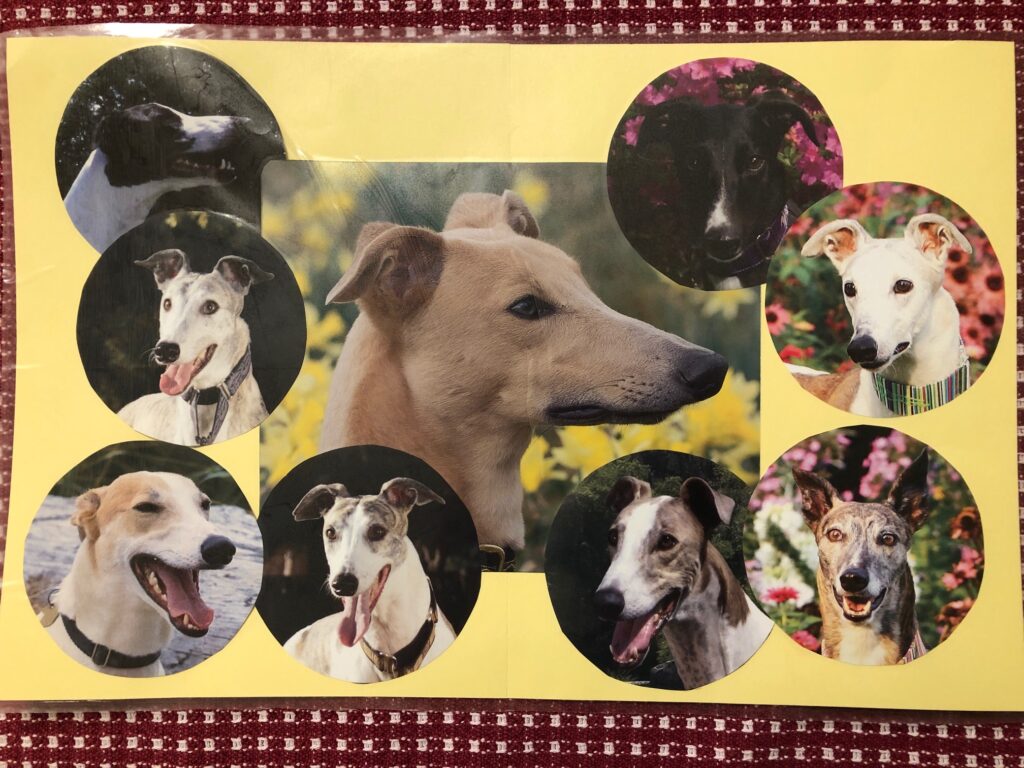
I also attempted to use up some Greyhound calendar pictures and pretty greeting cards by making placemats:
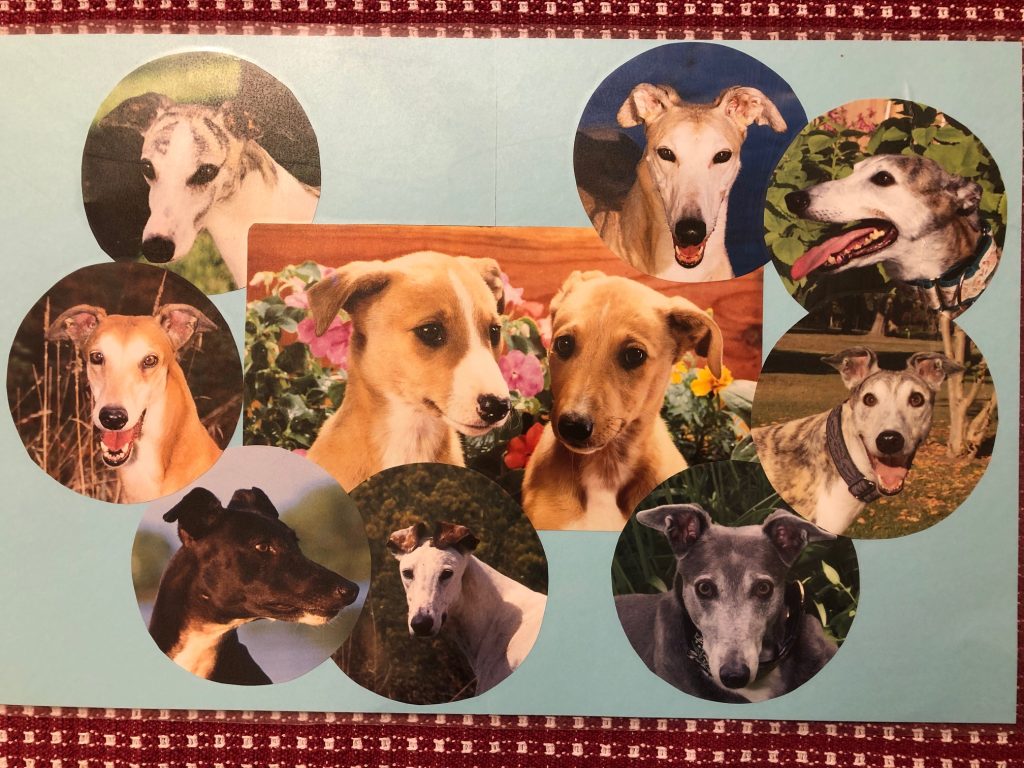
https://marykisner.com/recycling-greeting-cards-into-a-placemat/
https://marykisner.com/recycling-greeting-cards-into-a-placemat/
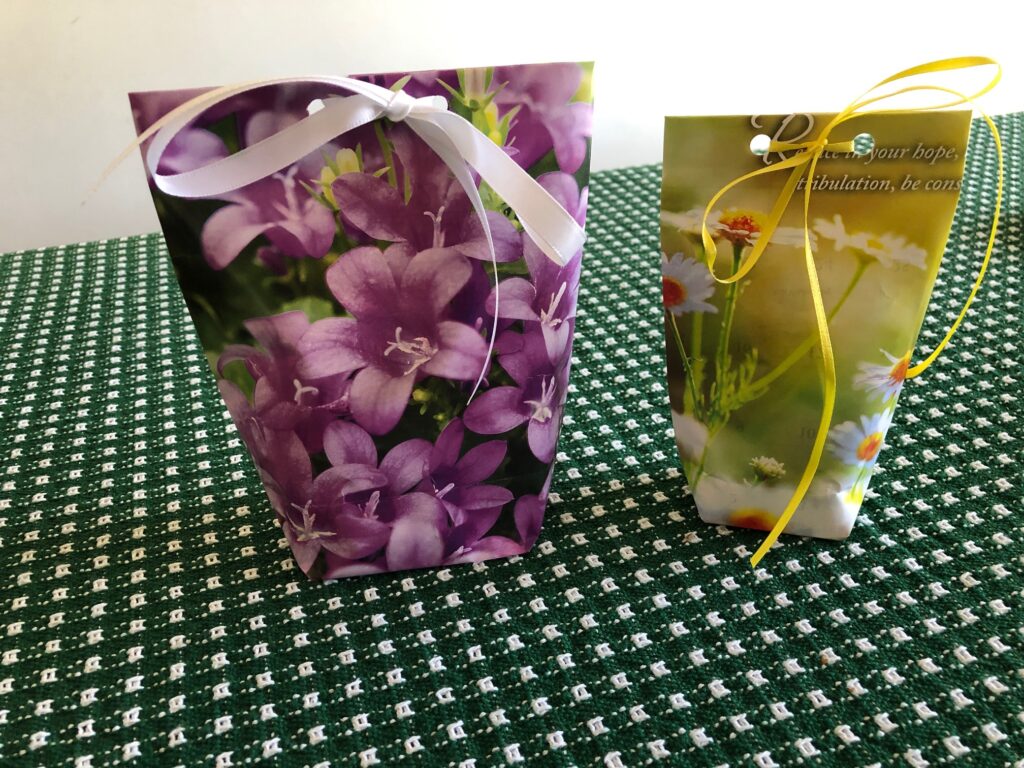
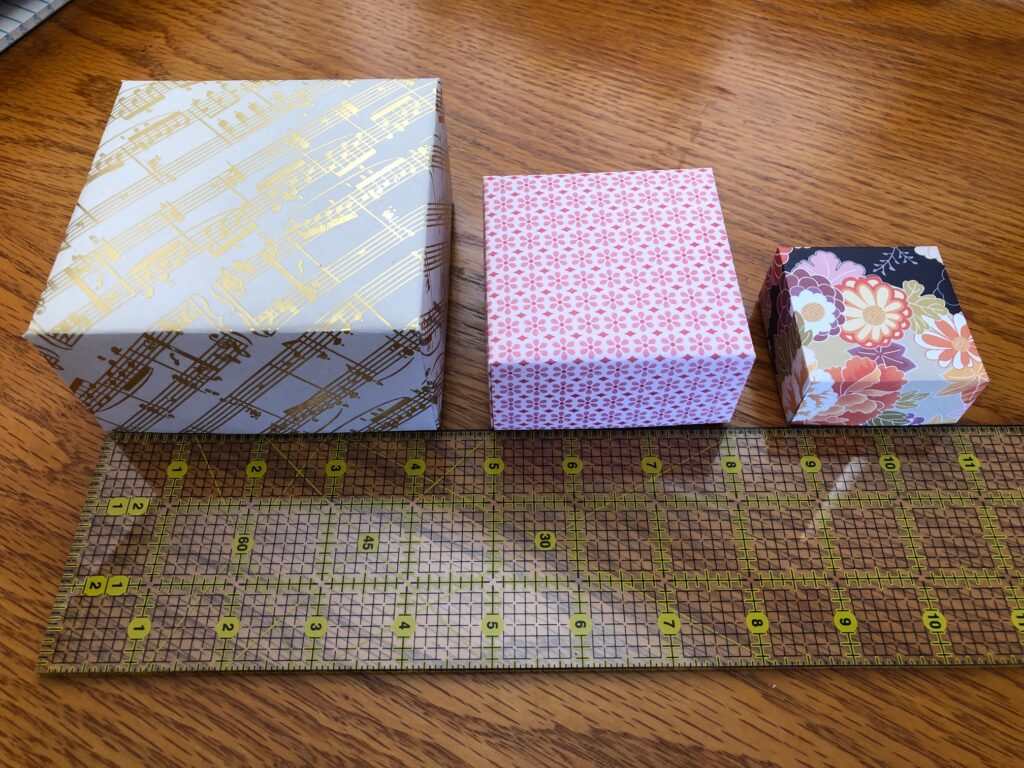
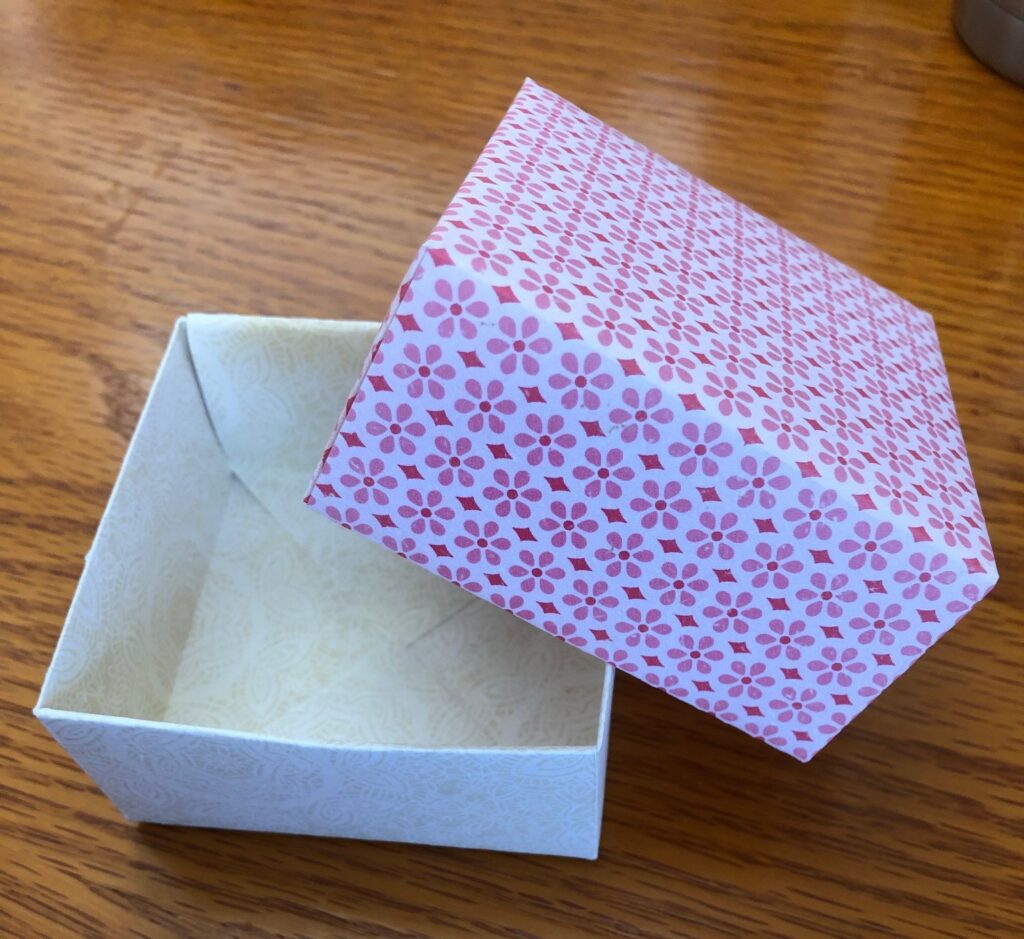
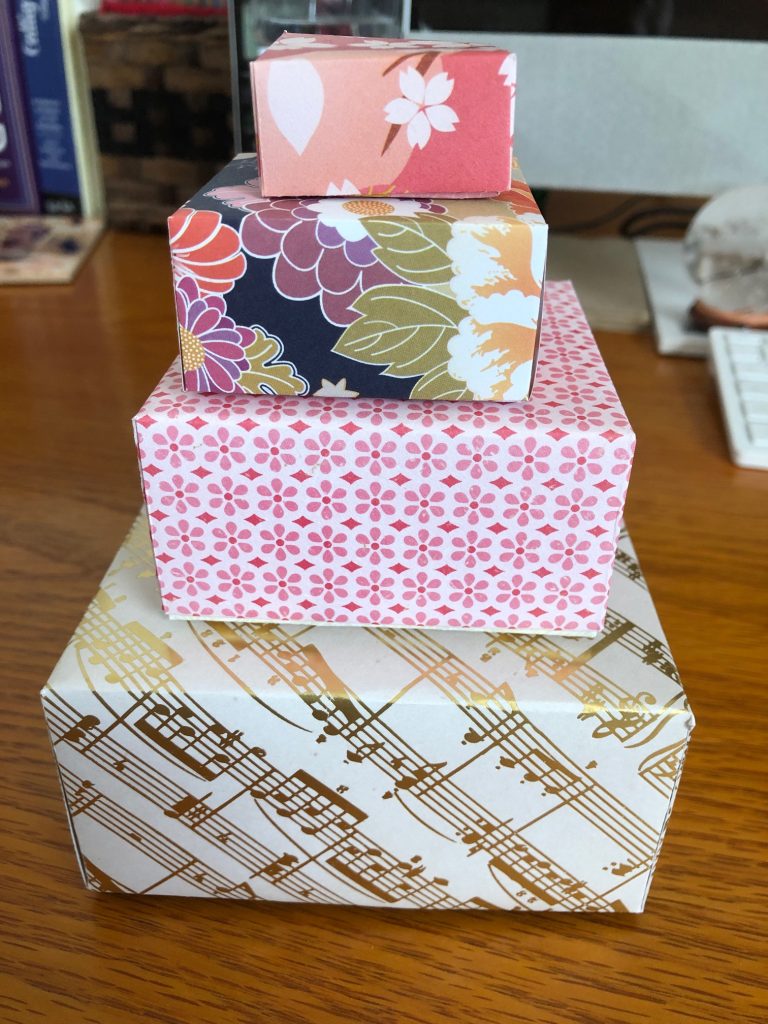
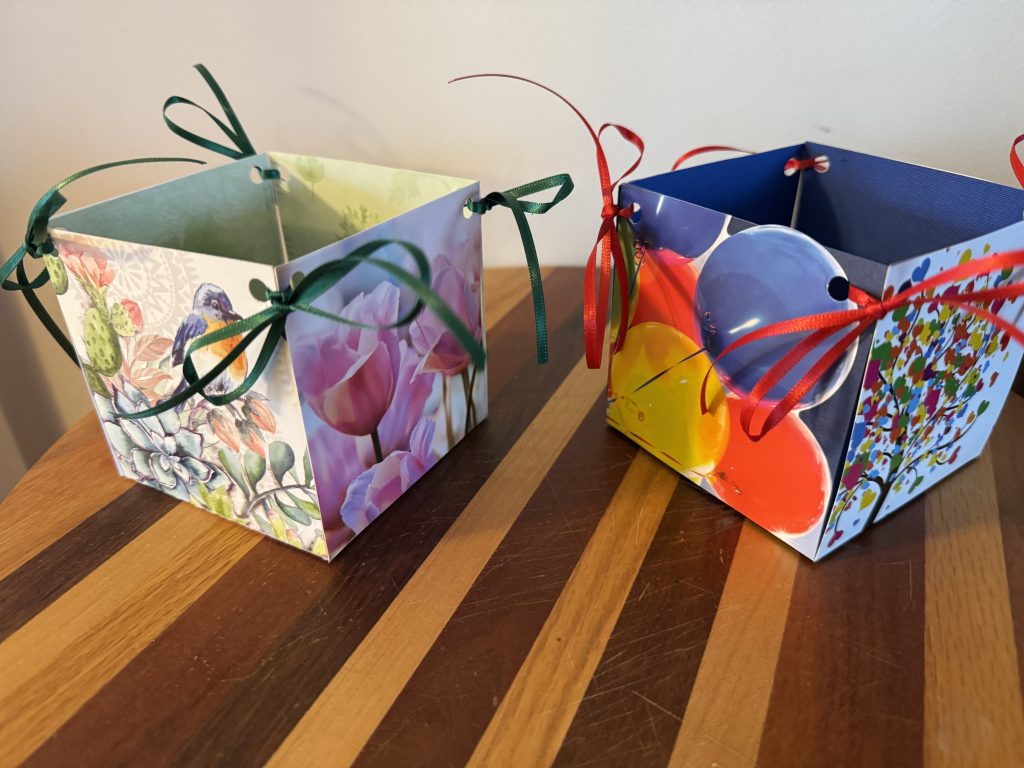
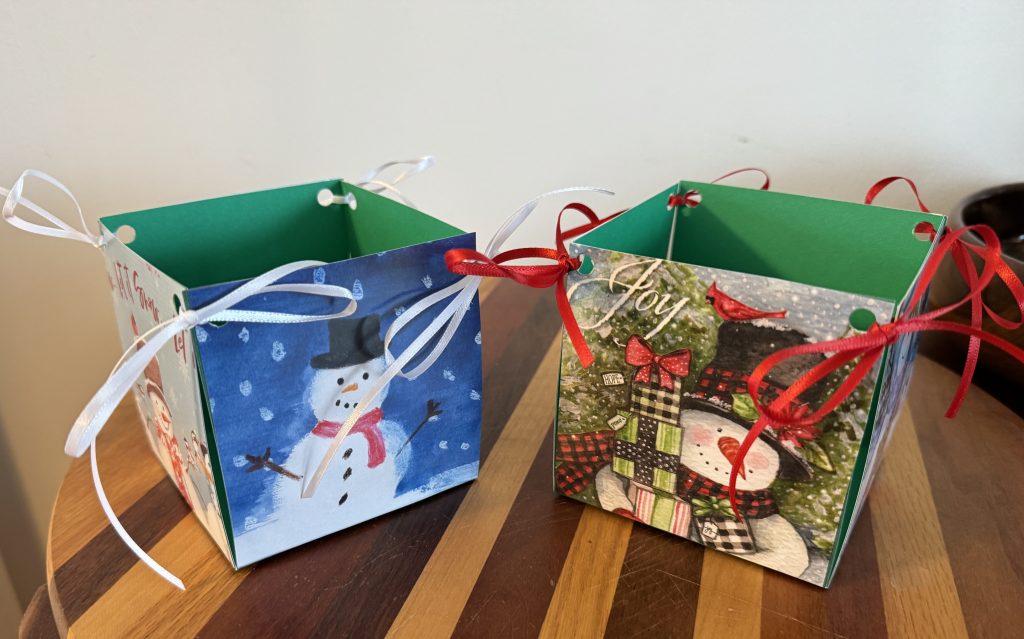
All of those ideas were great, but I needed a new idea! Here are some samples of the latest gift boxes…two for Christmas and two that could be for birthdays. To save space, I’m thinking I could make these and store them flat until needed.


Making These Gift Boxes
To make these boxes you will need:
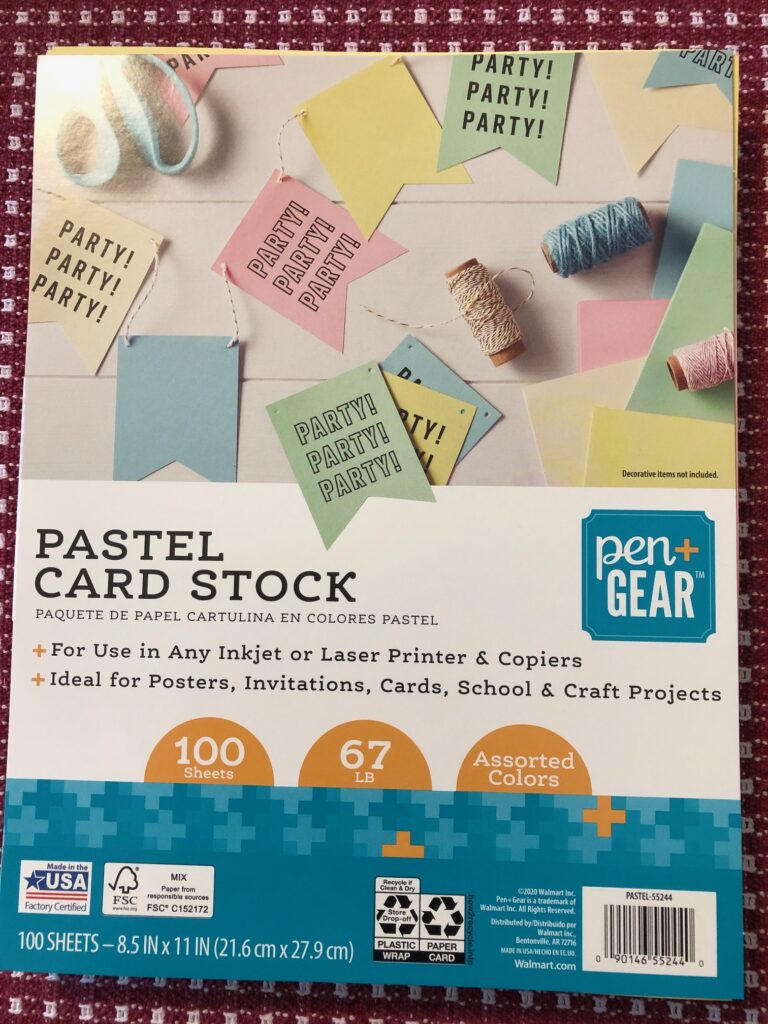
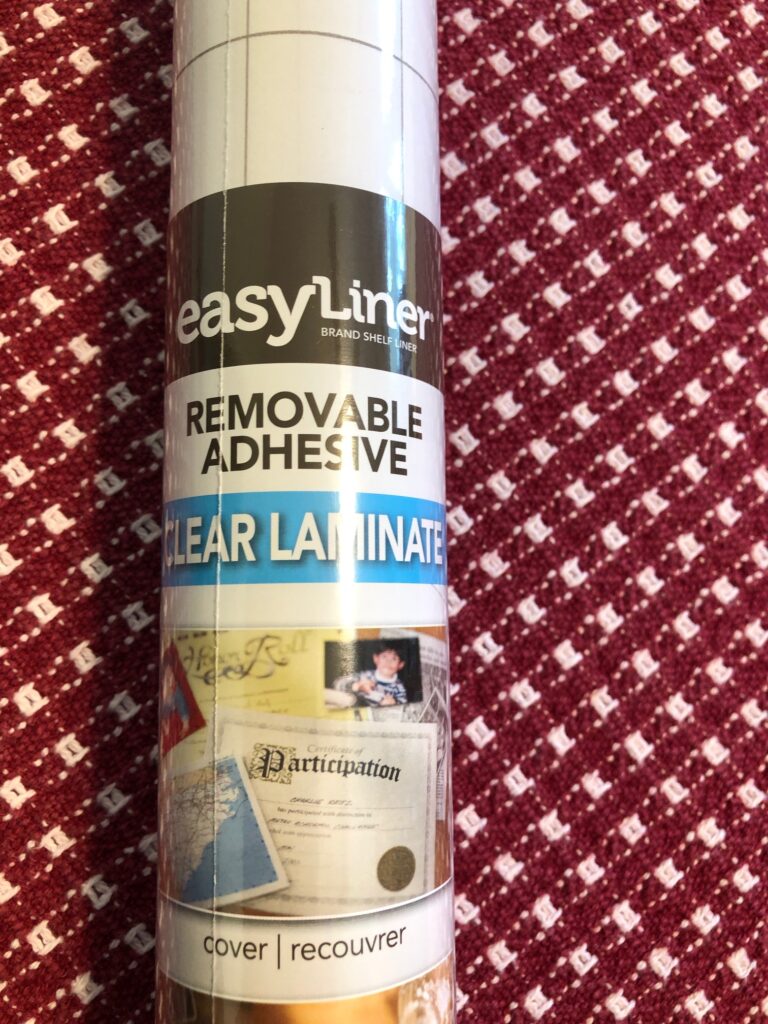
4 greeting cards; 1 sheet of cardstock, about 12″ square; 4 pieces of 1/4″ ribbon (about 14″ long each); Ruler; multipurpose glue (I used B-7000); Single hole punch; Scissors.
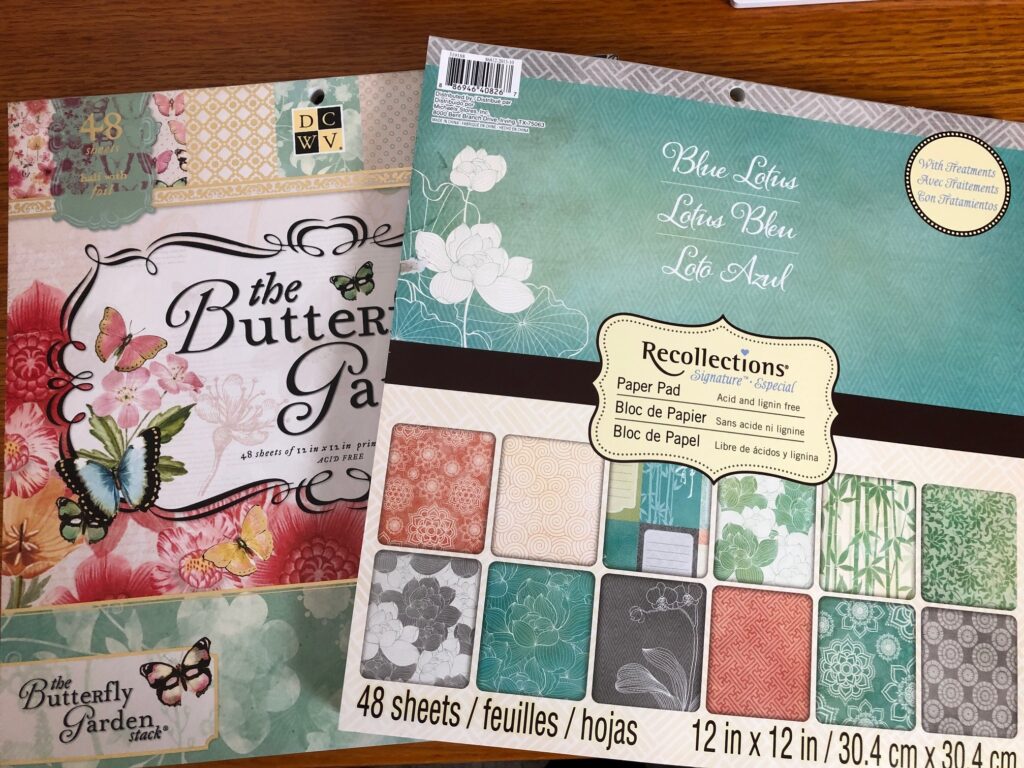
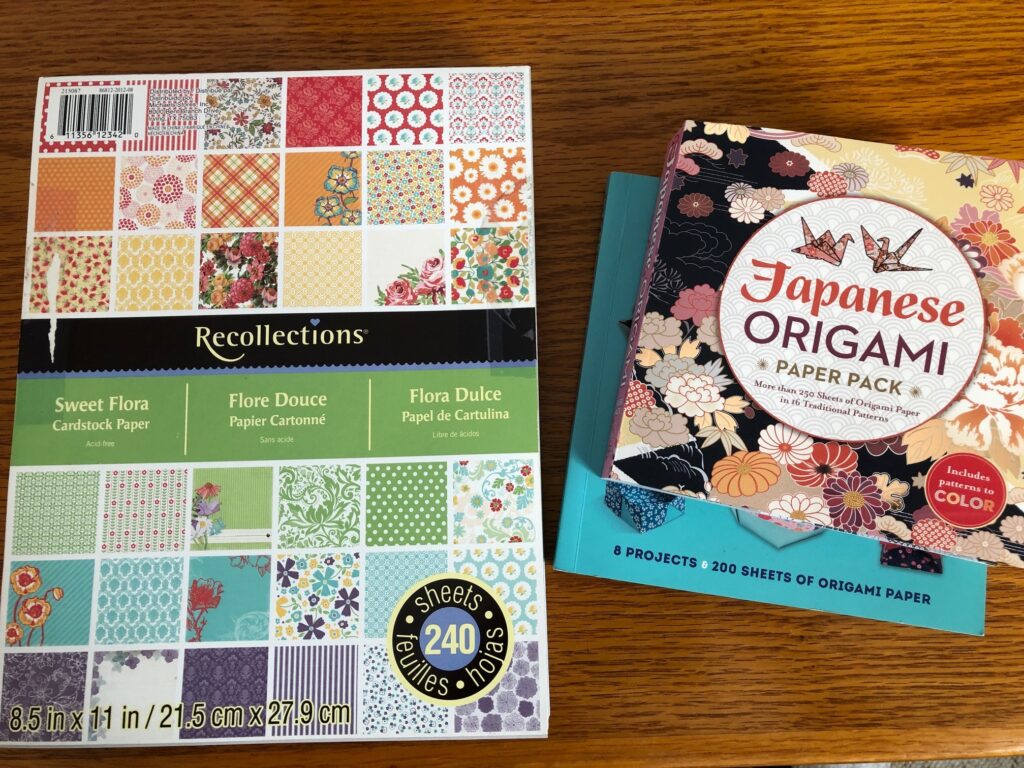
The base of these boxes is a single sheet of cardstock, about 12″ square. They come in a tablet of solid or decorative colors. They can be found at Michaels Craft Stores, JoAnn Fabric Stores or any craft store that caters to scrapbooking crafters.
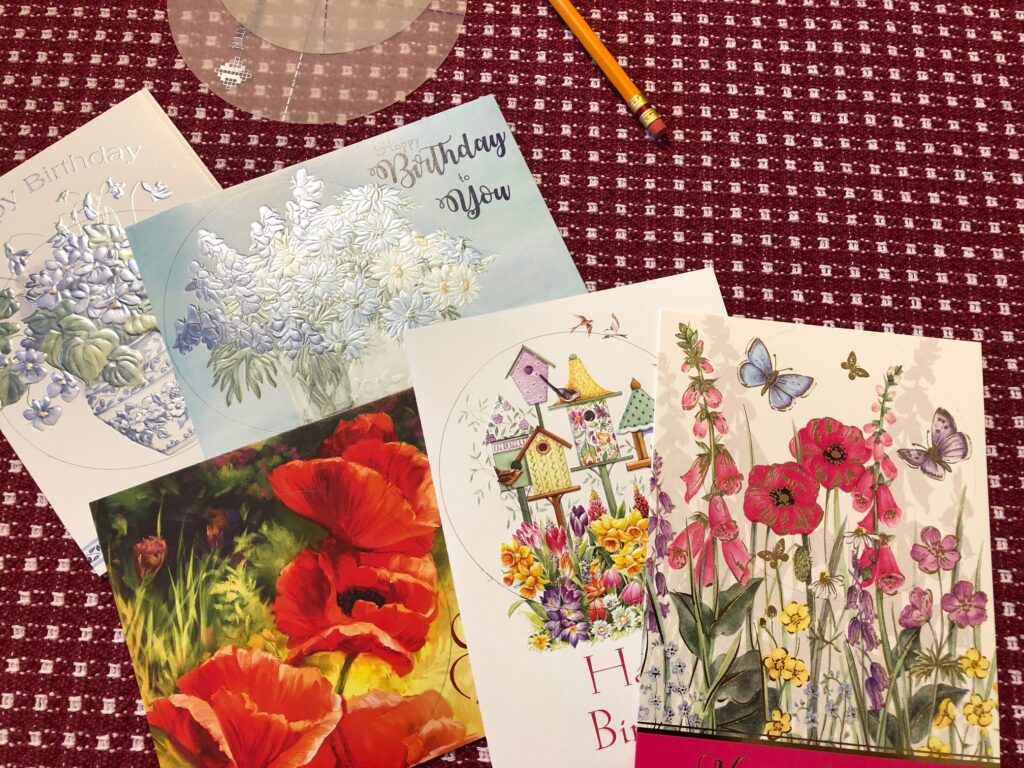
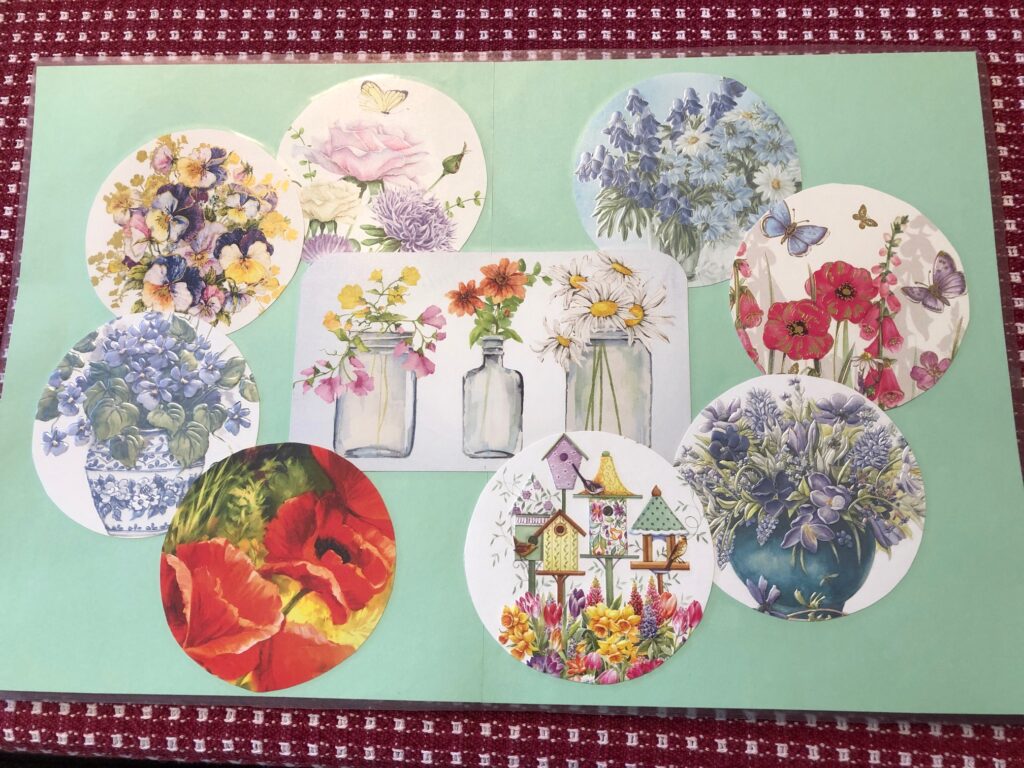
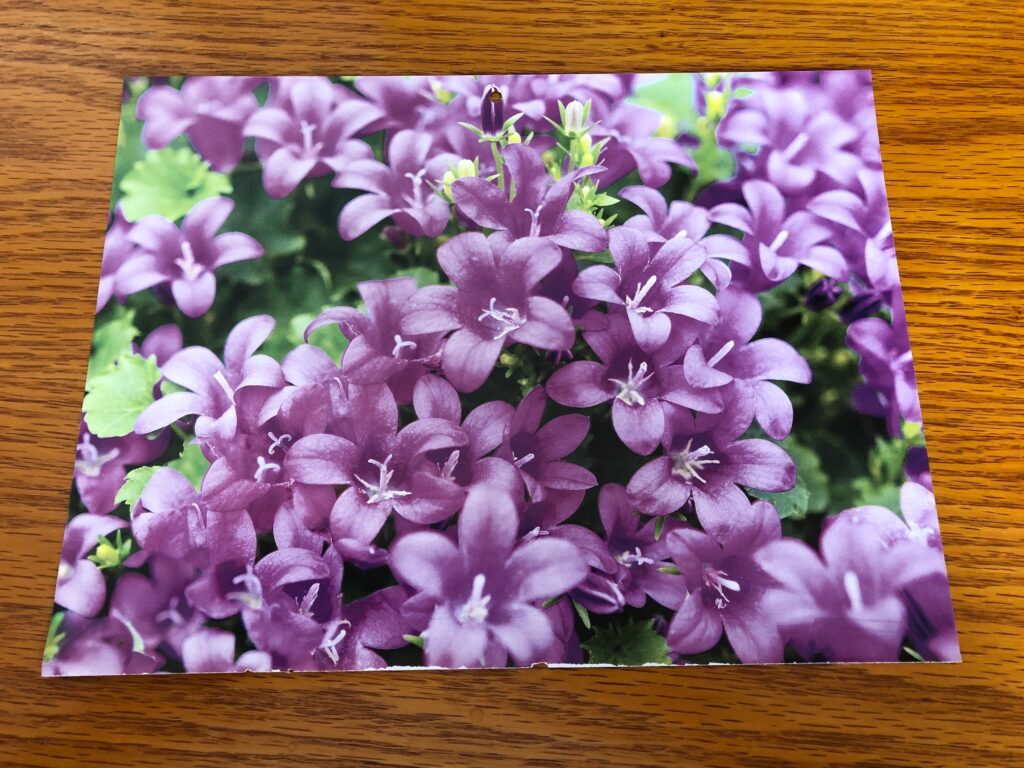
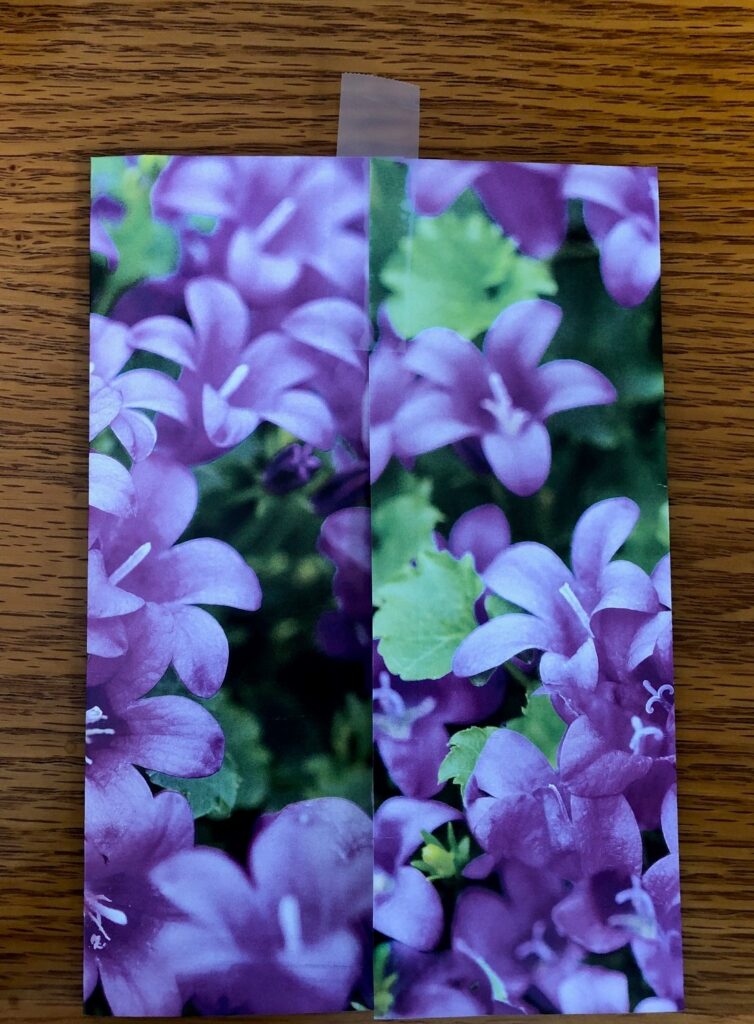
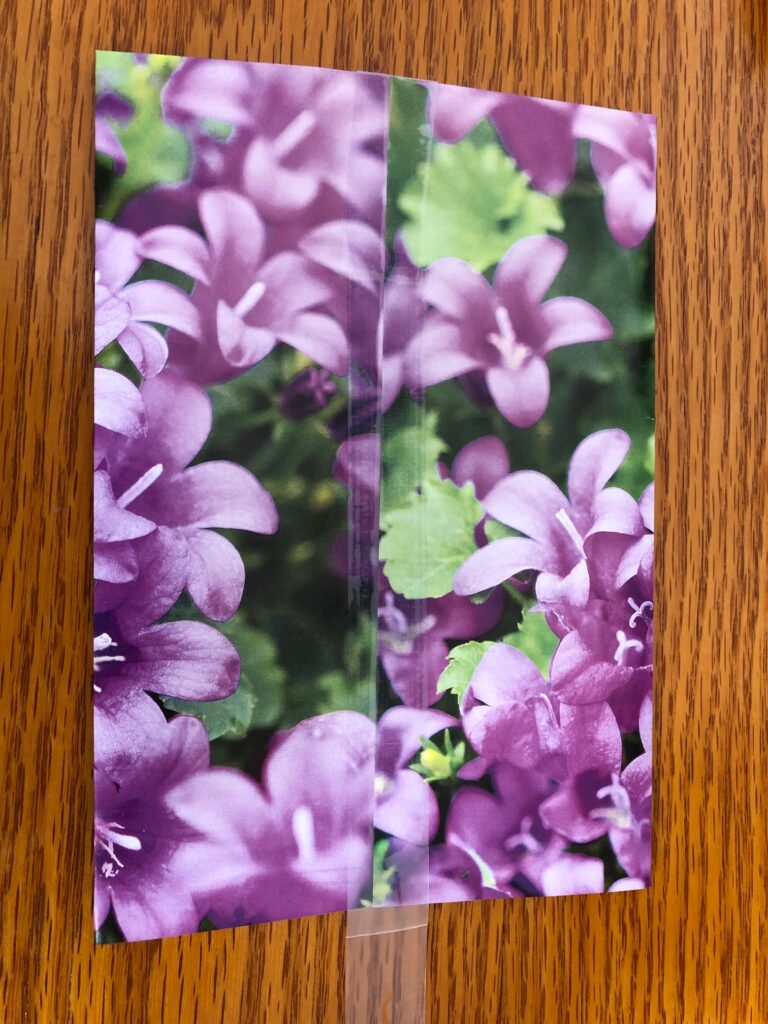
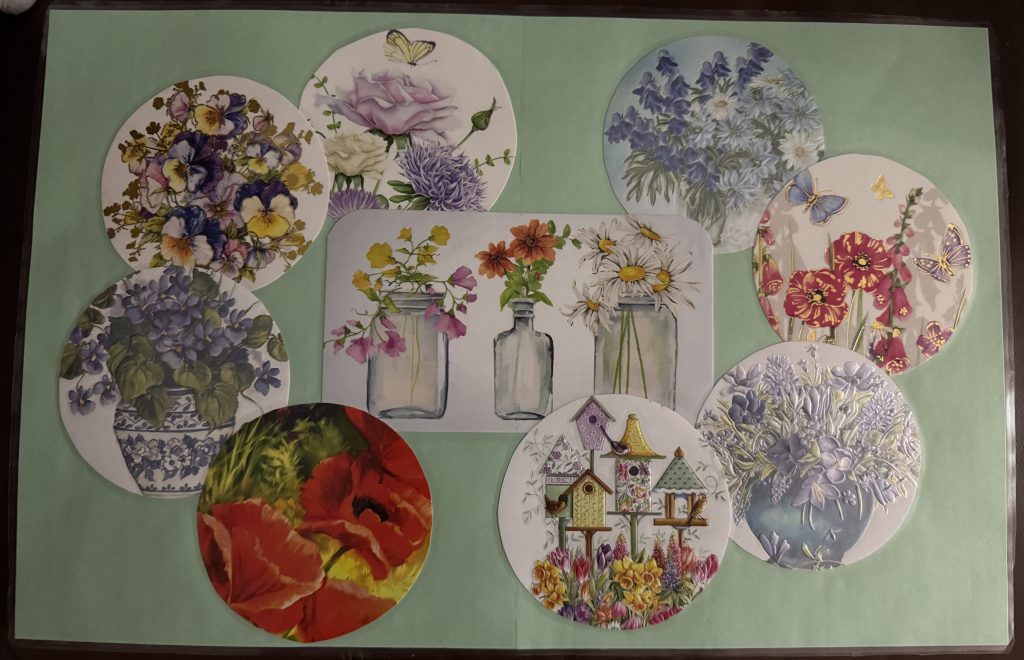
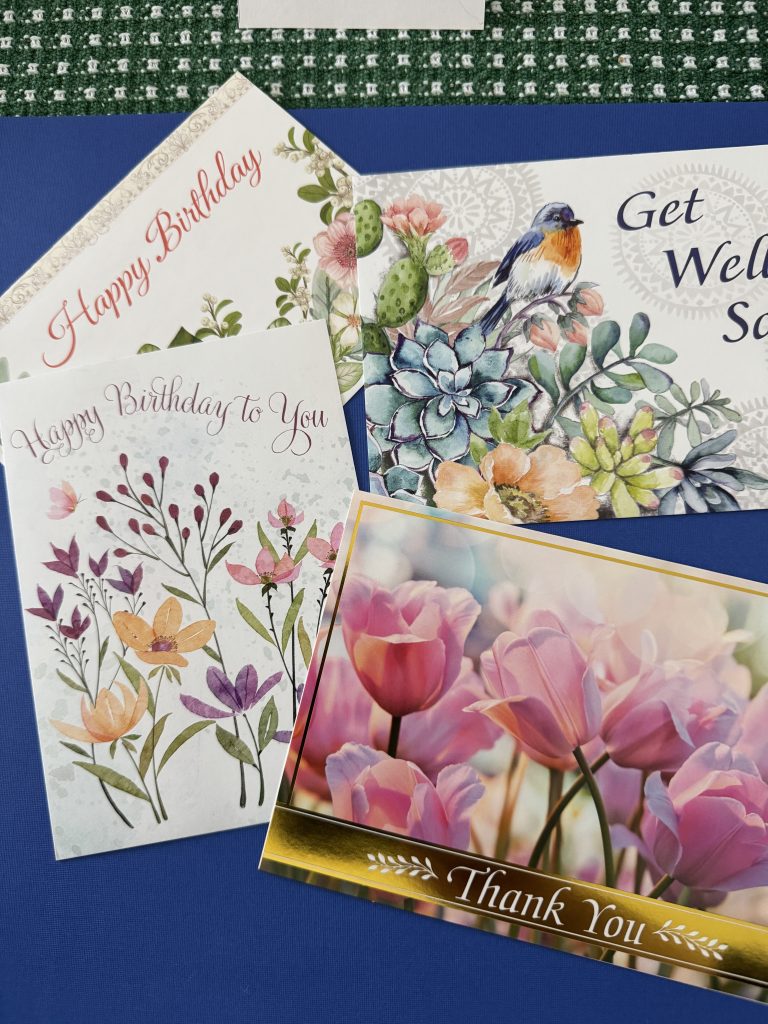
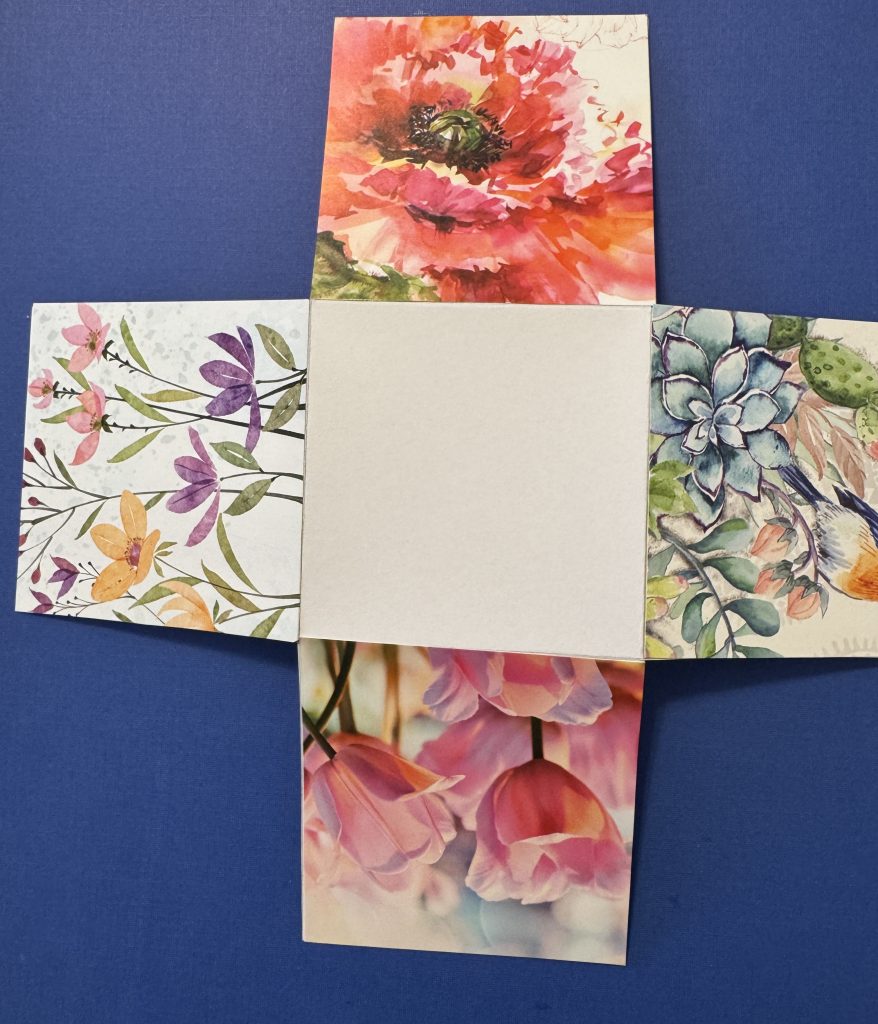
First, I chose four cards that would go together…a floral theme.
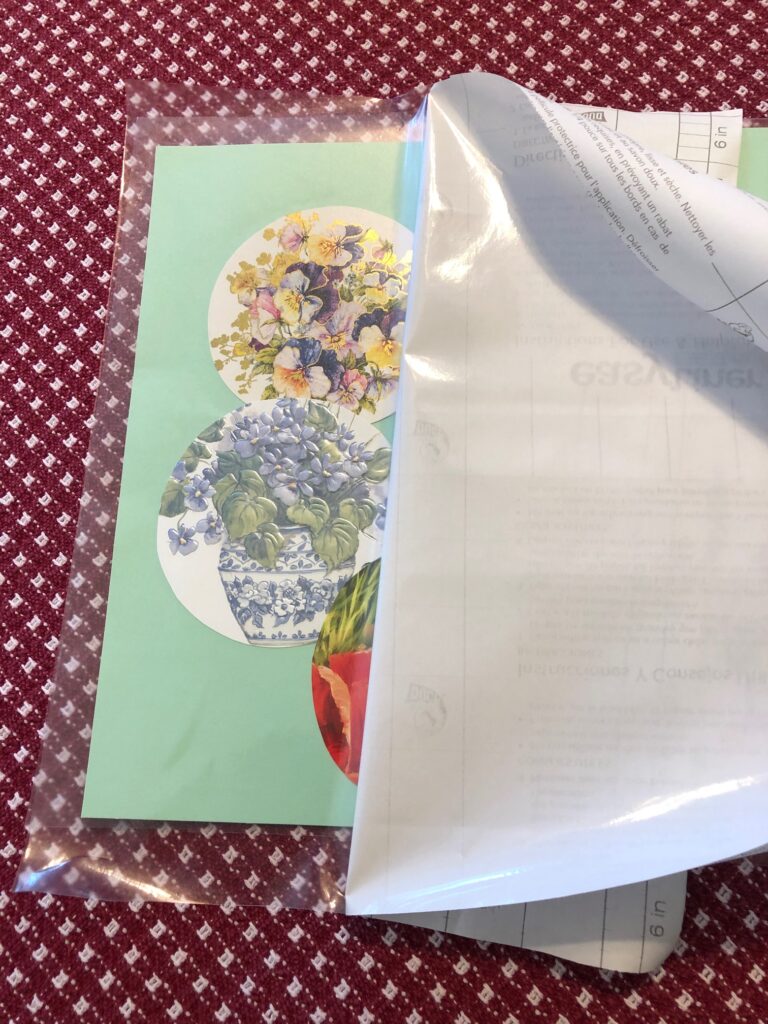
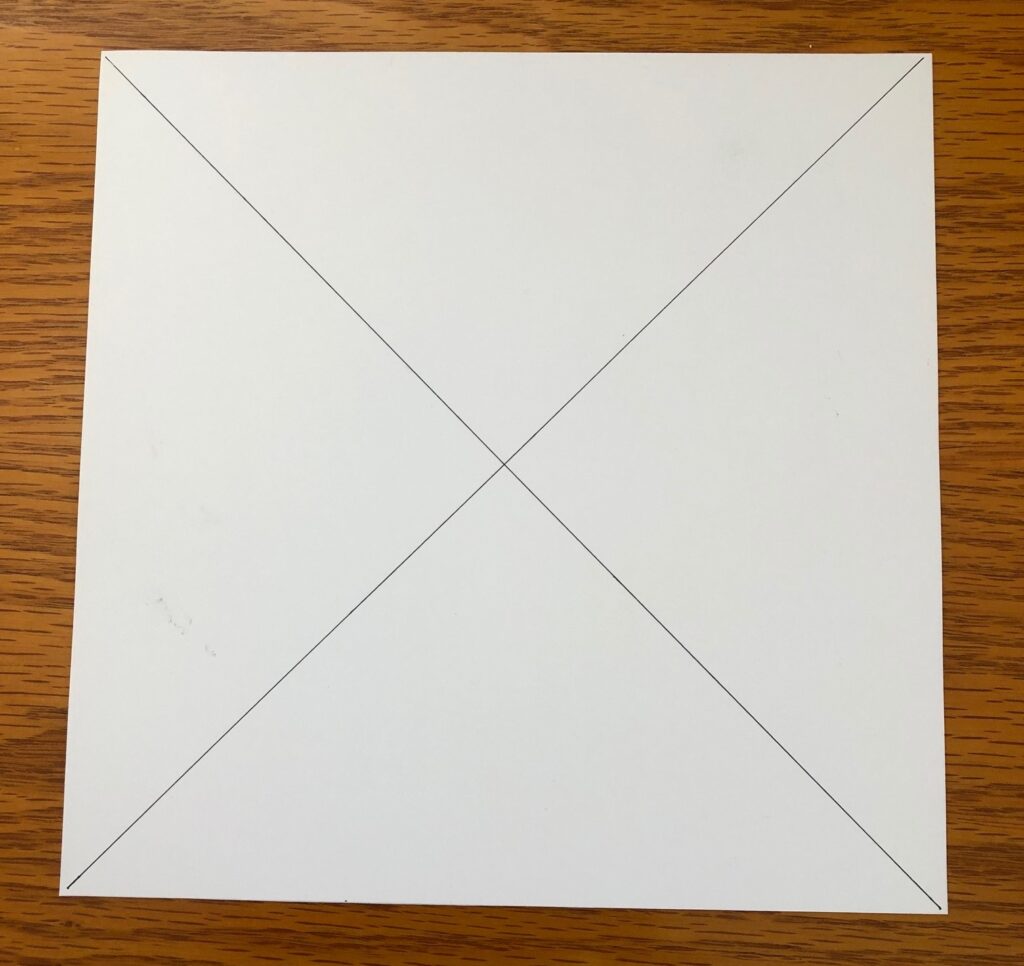
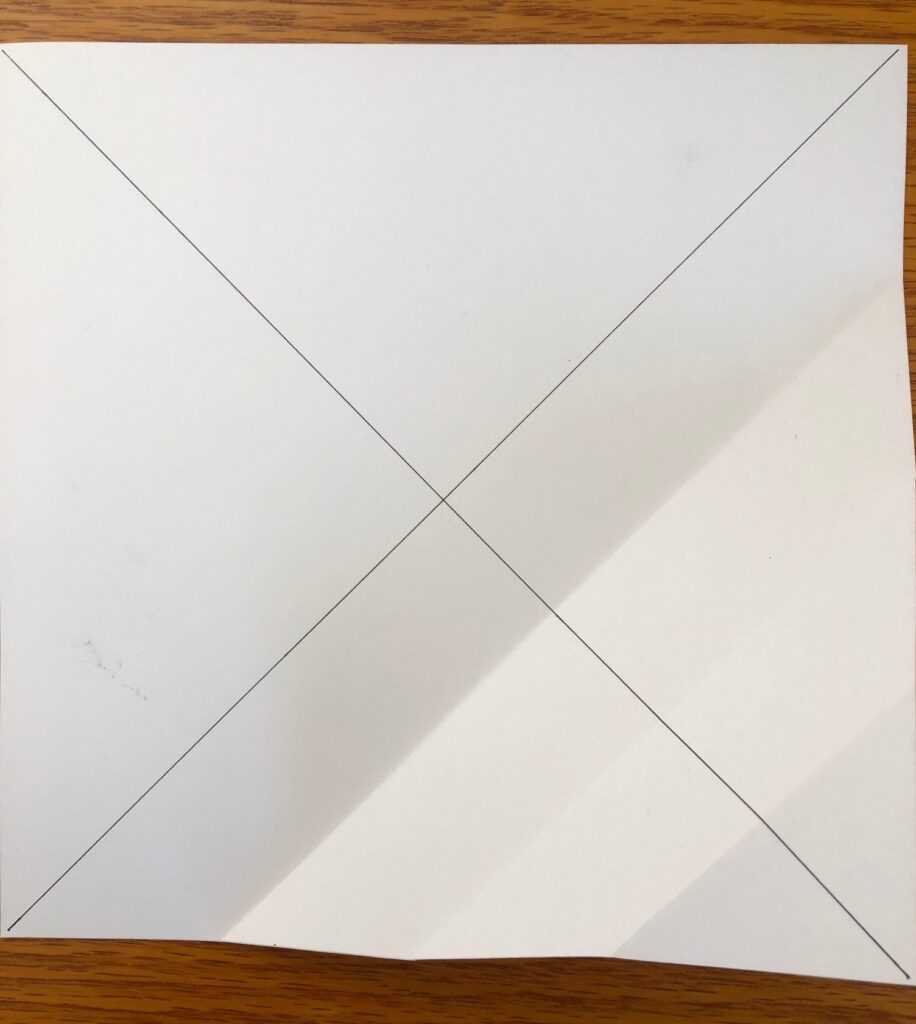
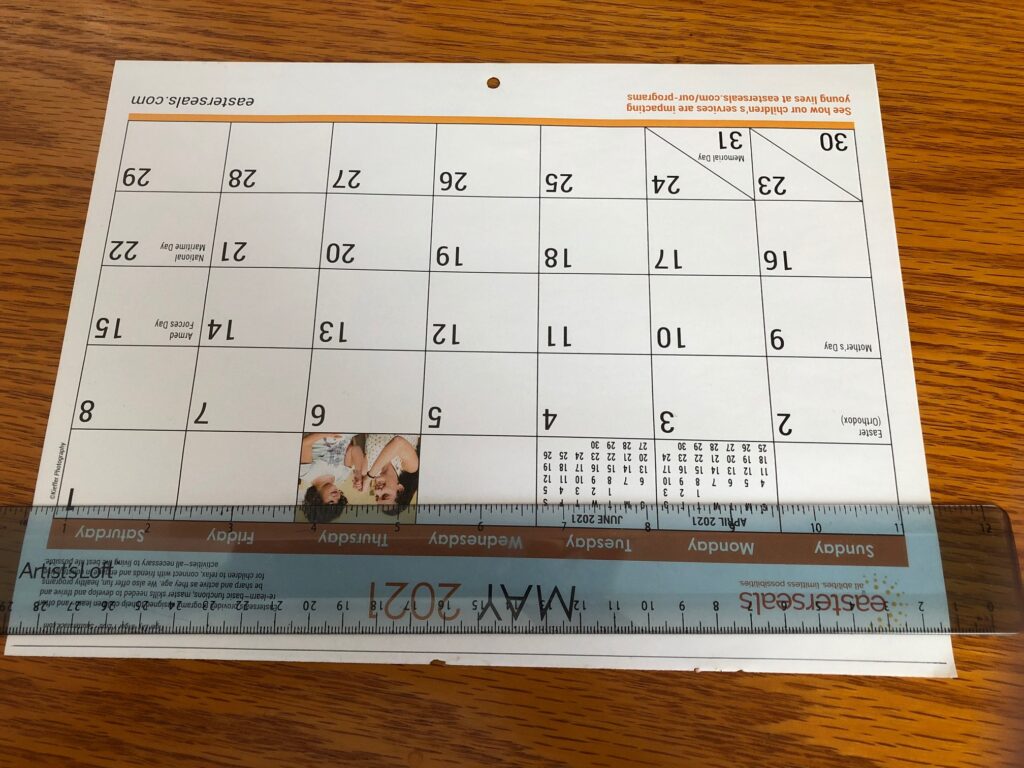
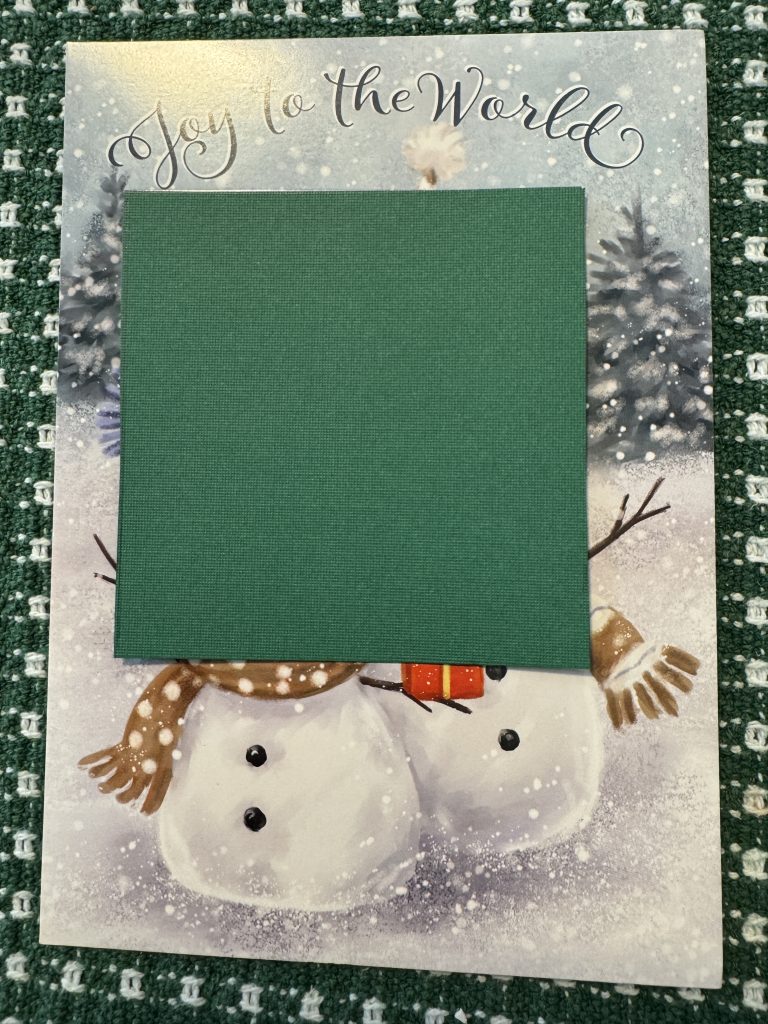
I pulled out a sheet of decorative green cardstock…white on the reverse side. The decorative green side will the inside of the box. The cardstock was not exactly 12″ x 12″ so instead of 4″ squares I had to make them 3 1/2″ squares. Here’s how I measured out the template:
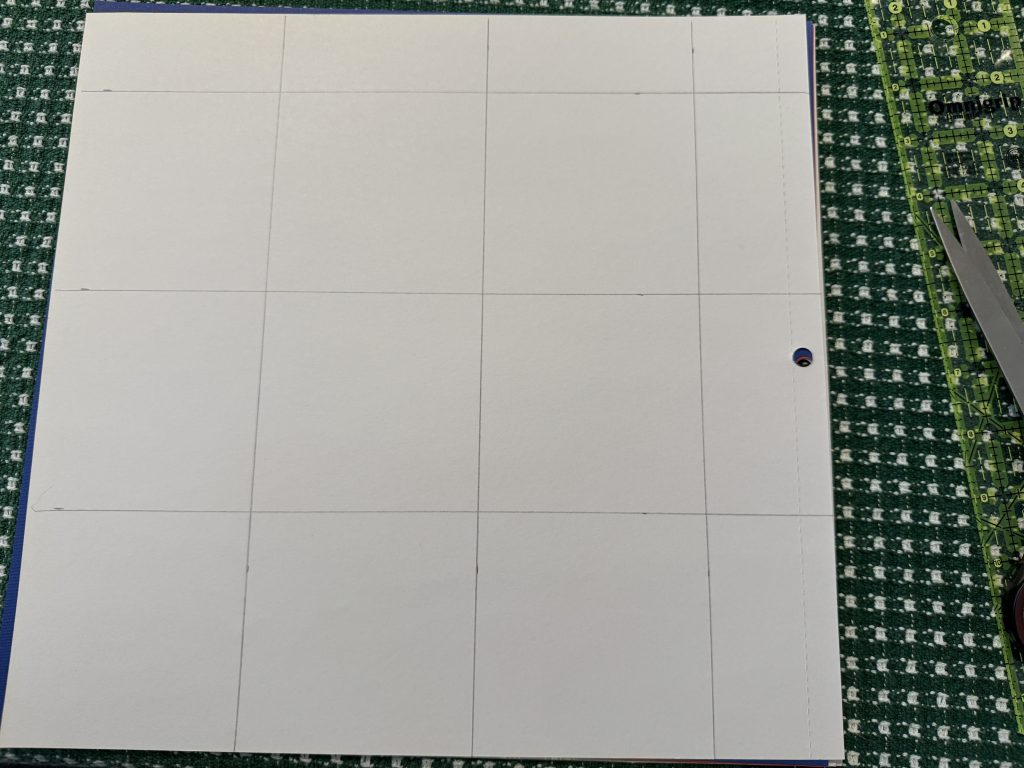
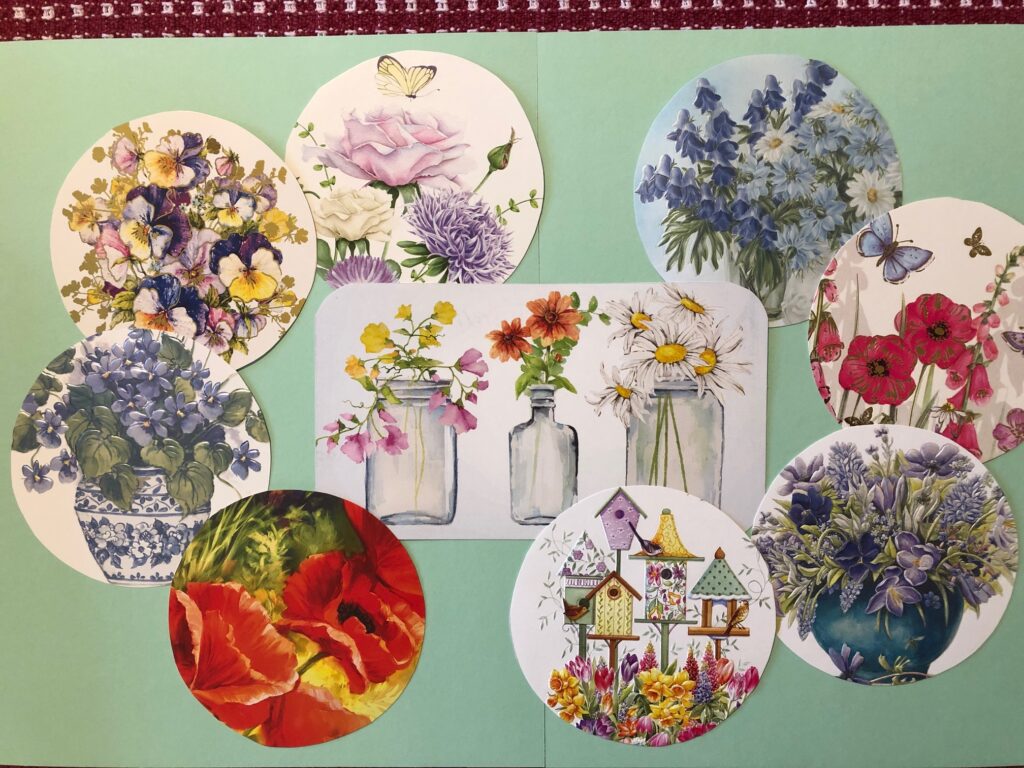
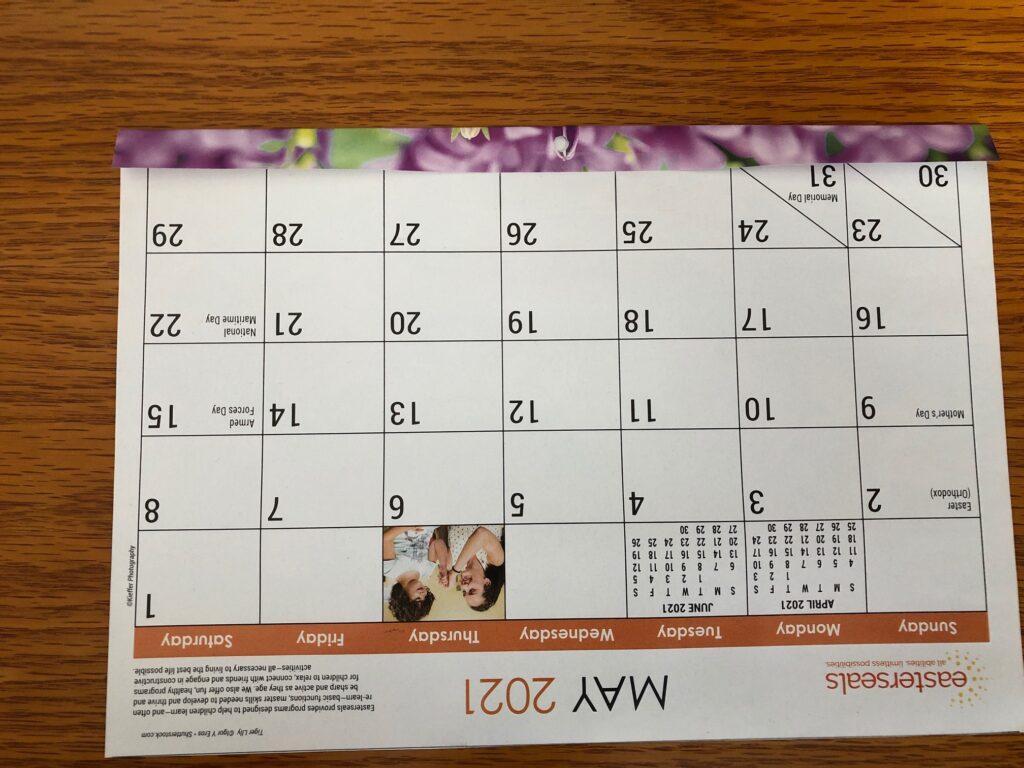
I trimmed off the top and side, then cut away the corner blocks. I saved a corner block to use as a template to mark the greeting cards. Here is what it looks like after cutting it apart:
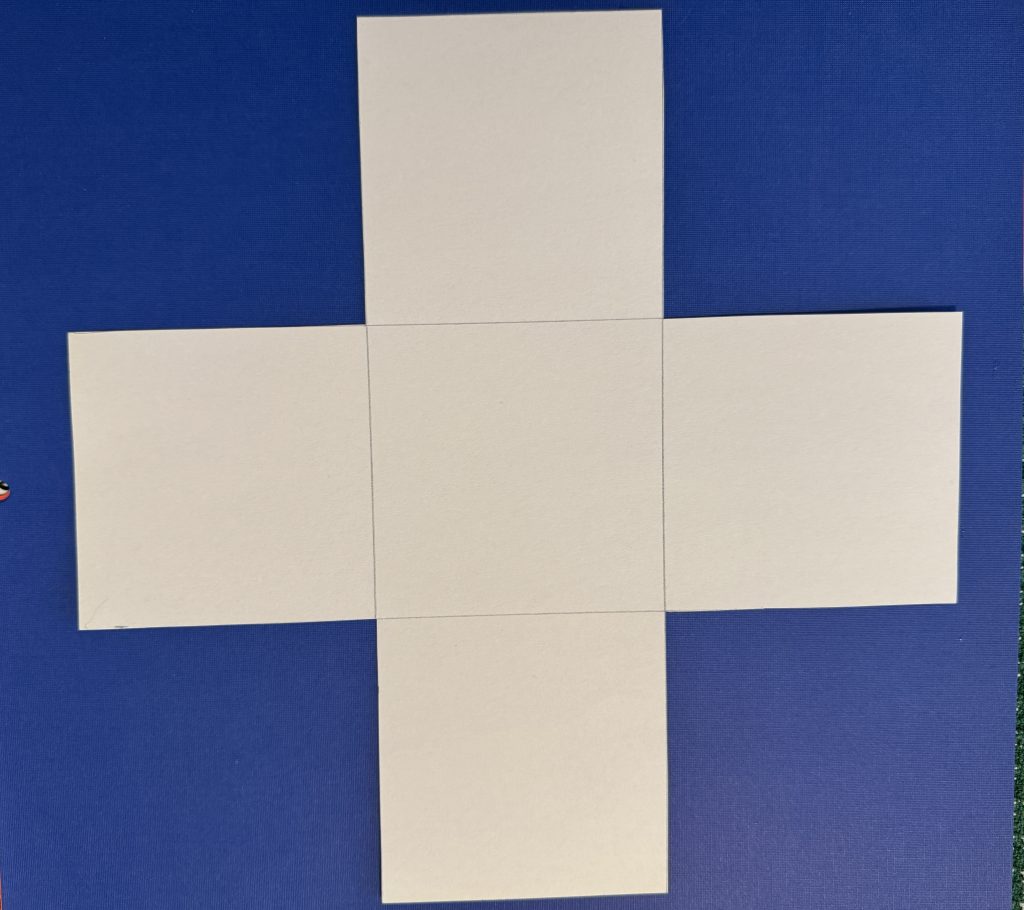
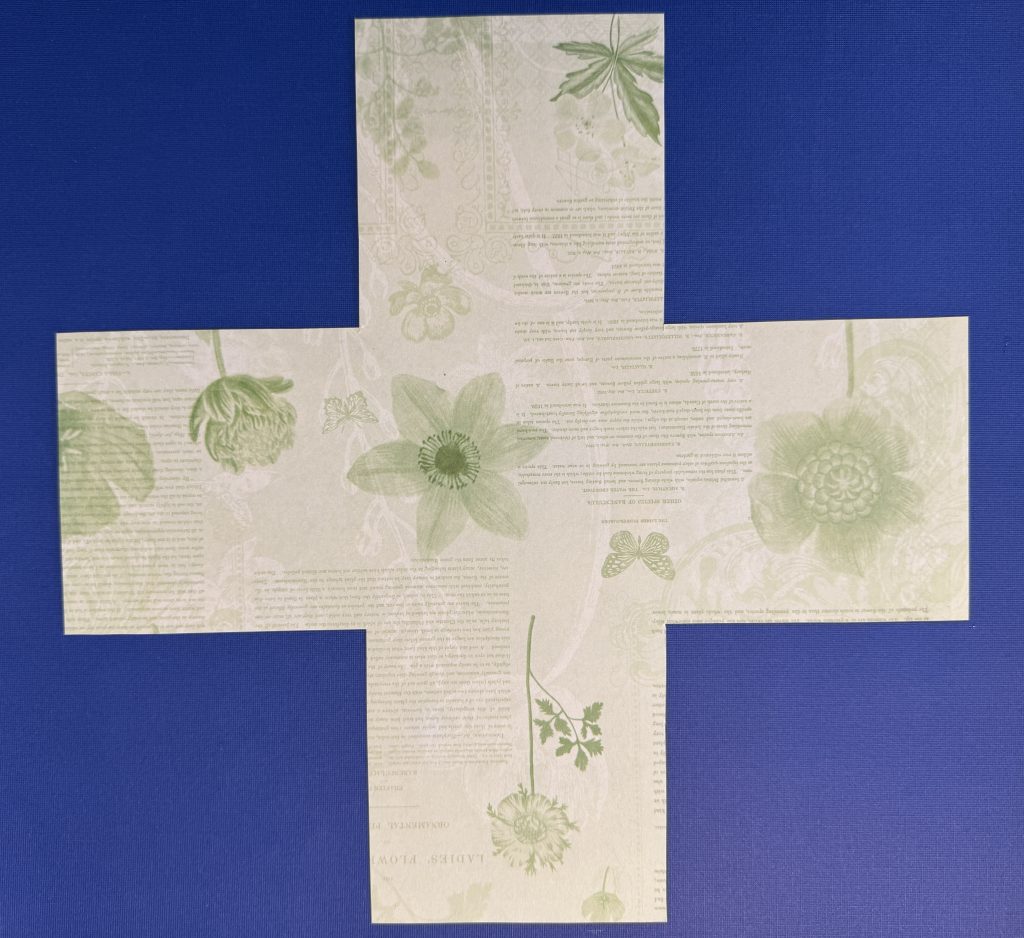
Here is the reverse, which will be the inside of the box:
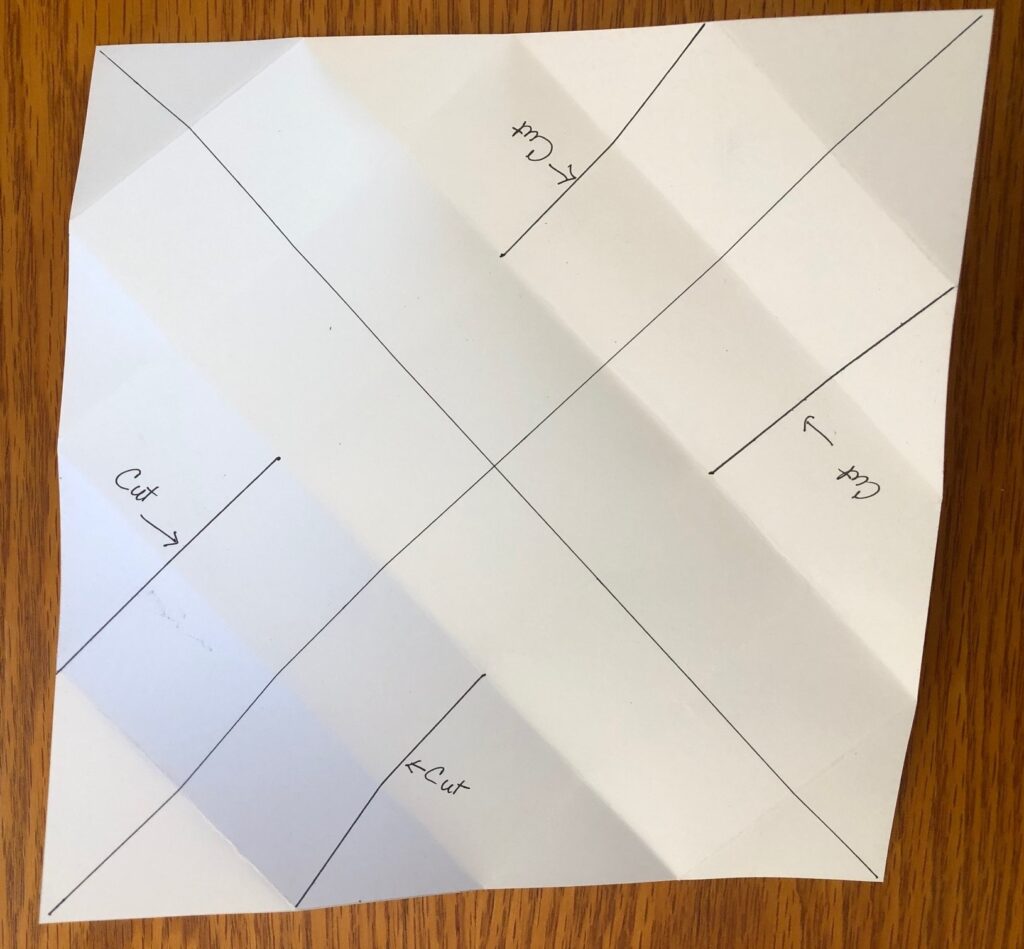
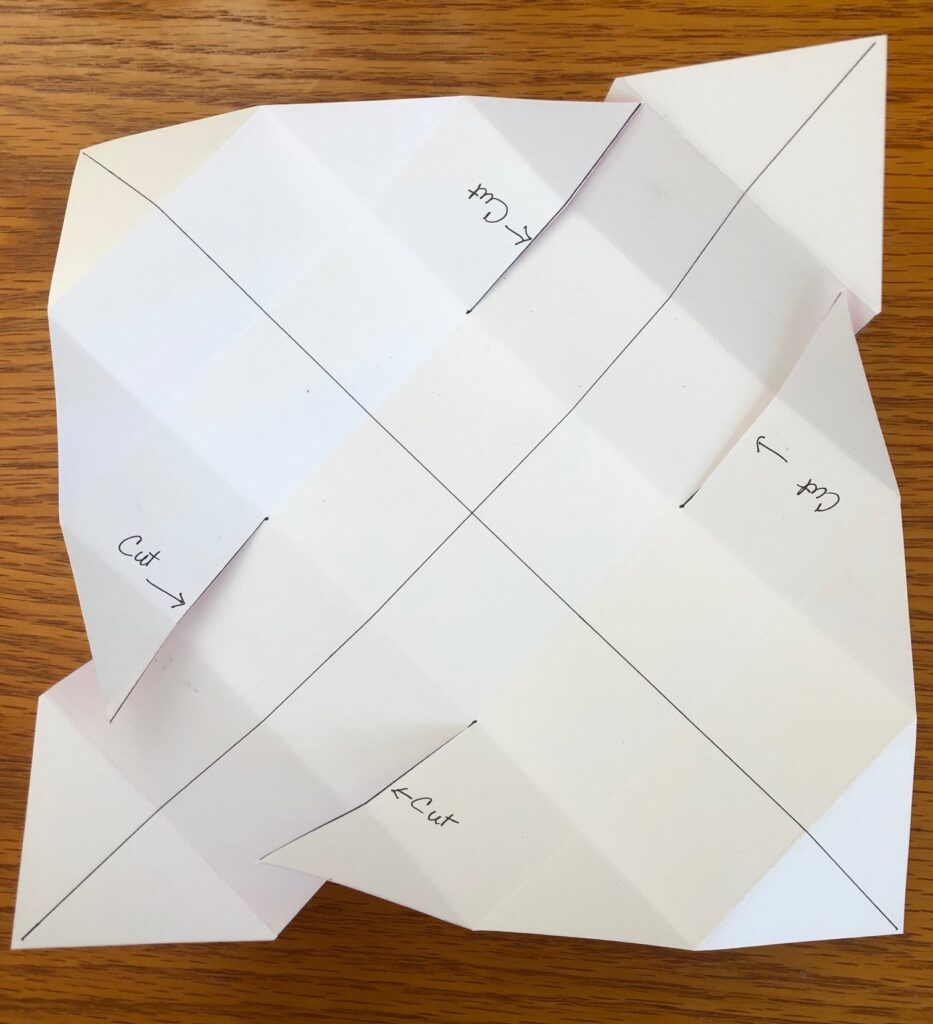
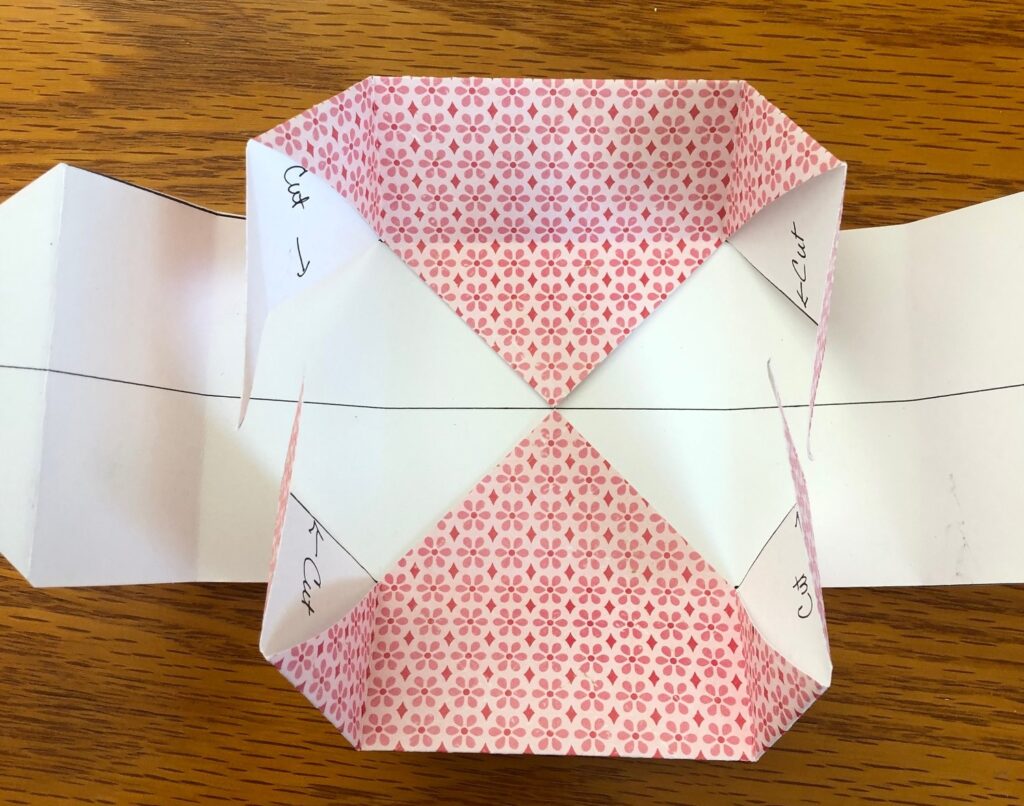
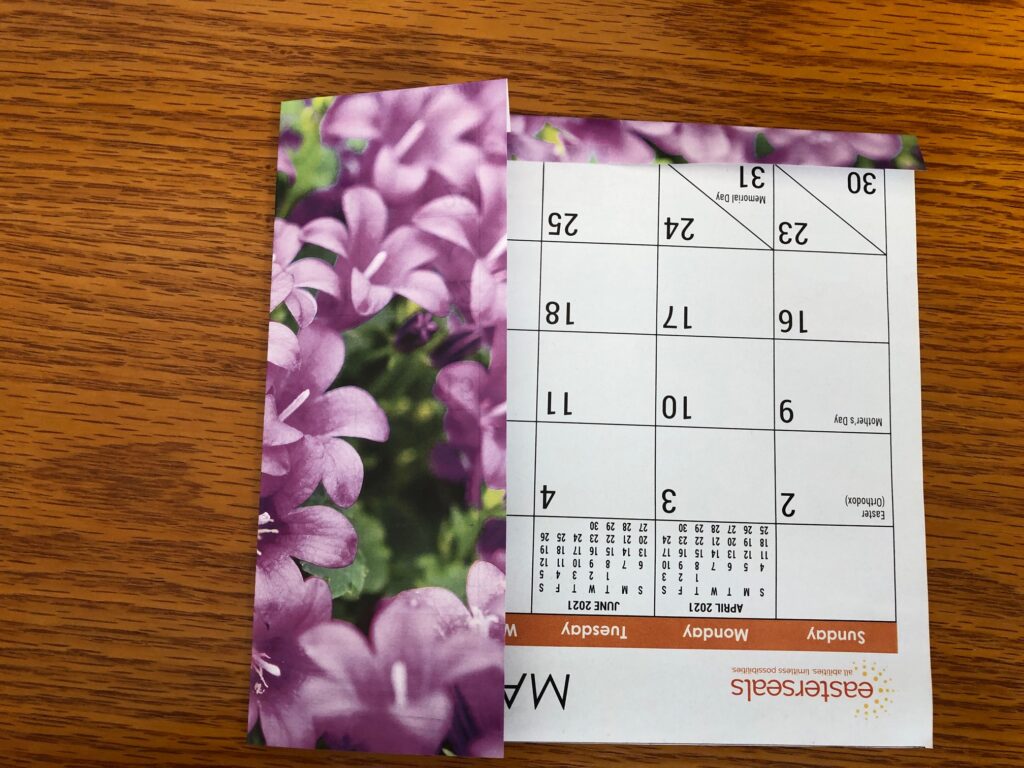
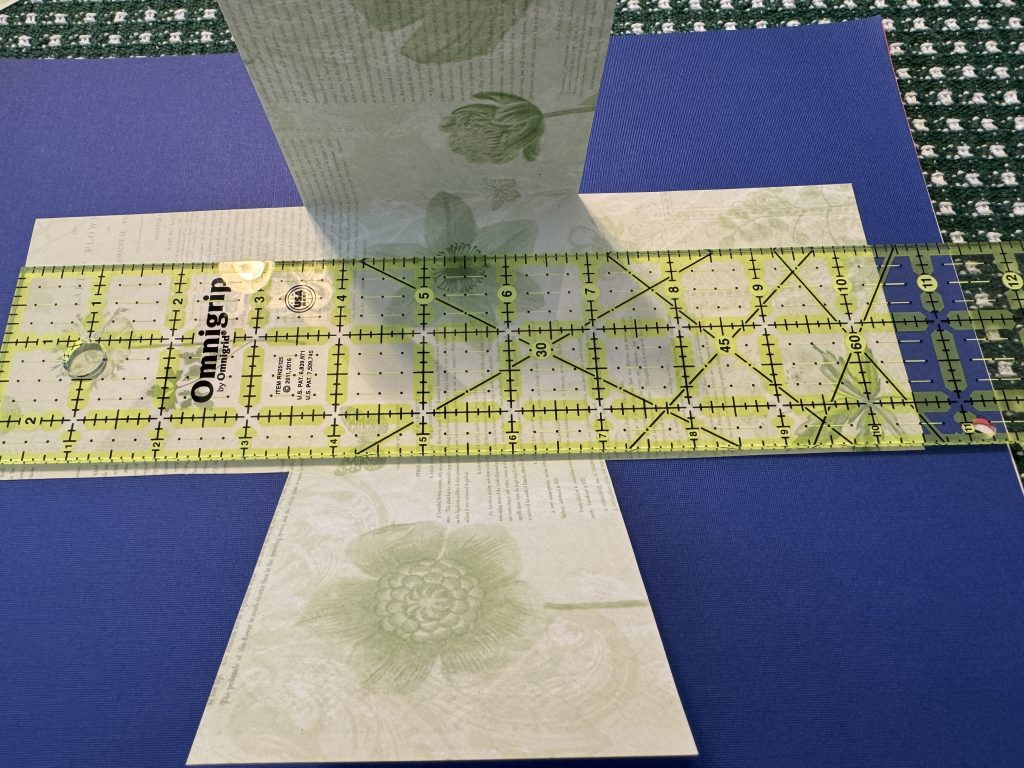
Next, I used my ruler to help me fold the four sides up:
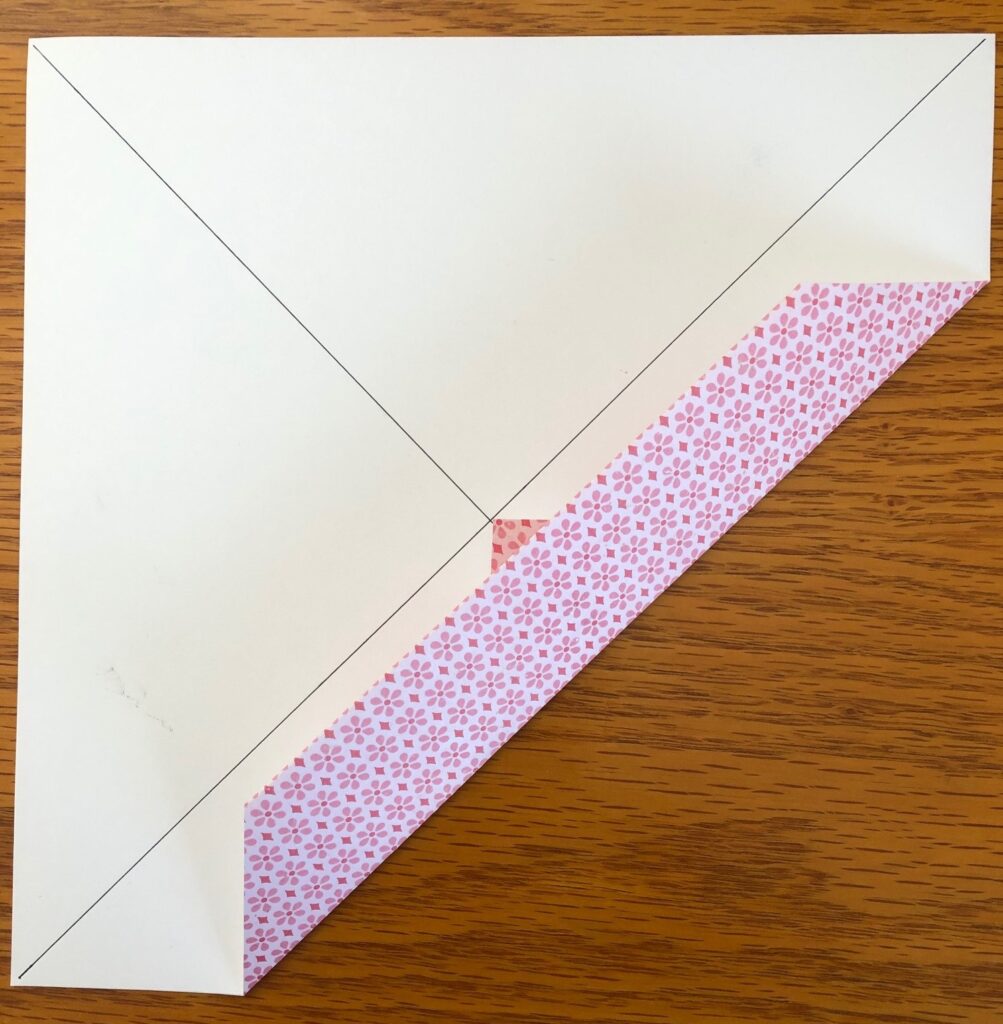
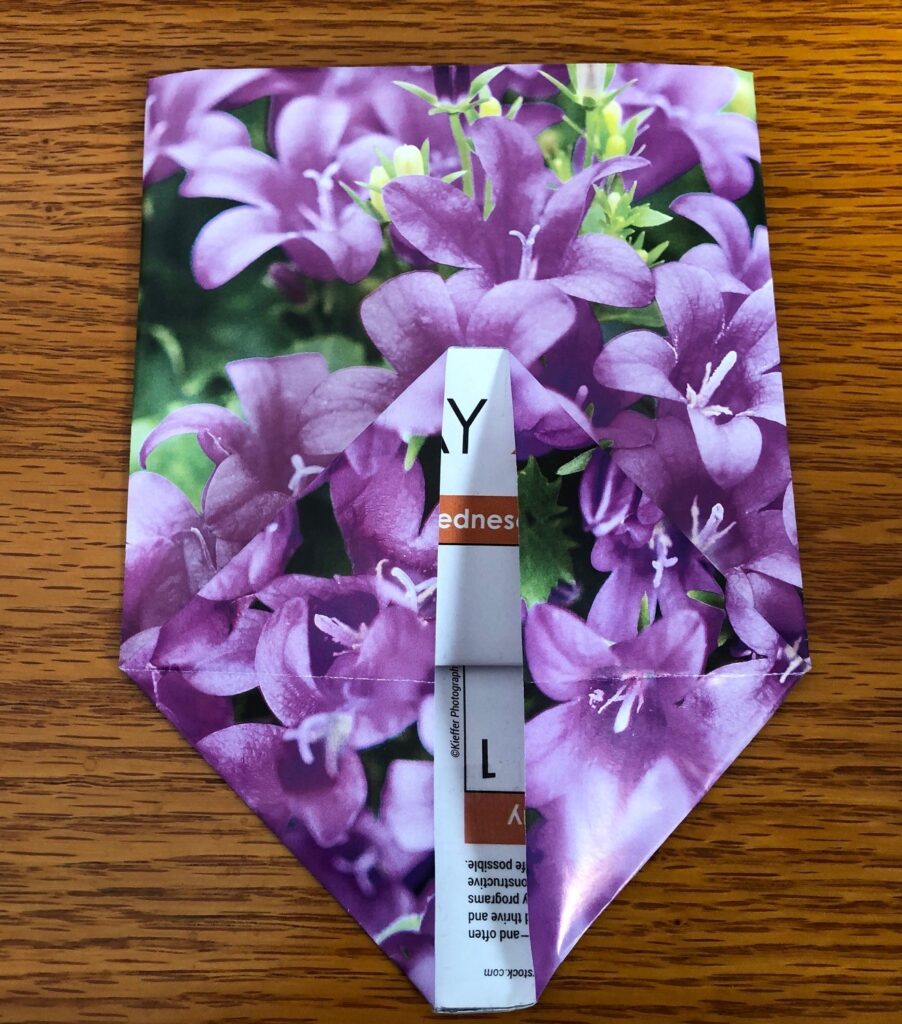
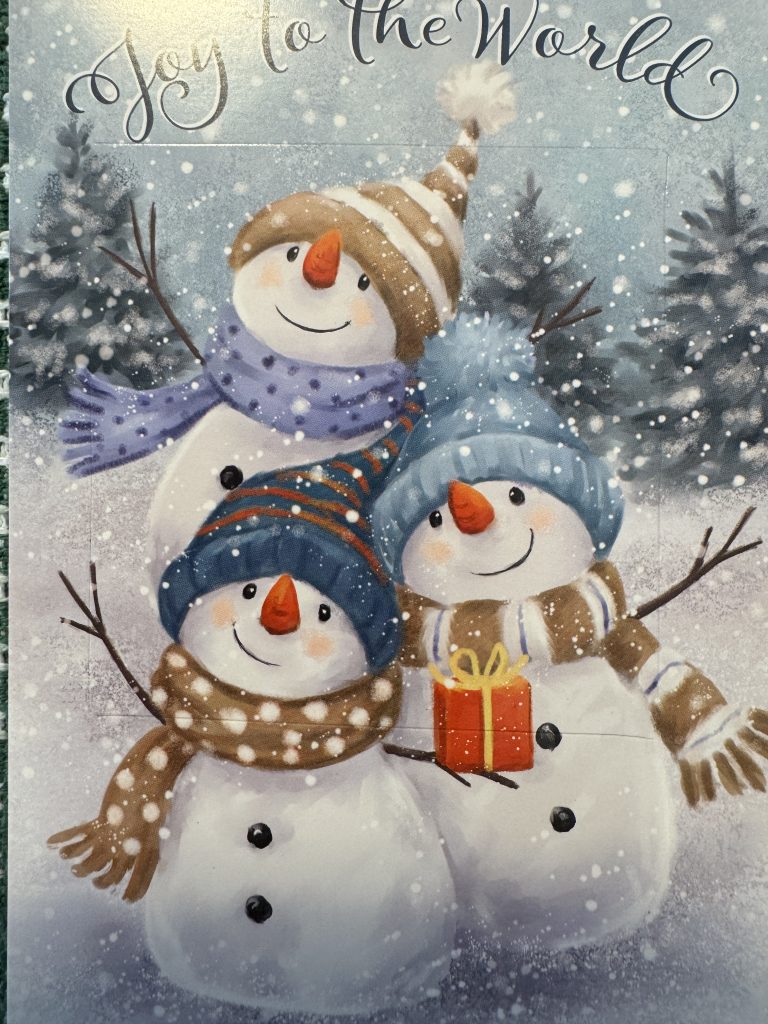
One of the corner pieces you cut out can be your template to draw the cut line on the pictures on the cards. Here’s an example from the snowman card I’ll use in the Christmas box:
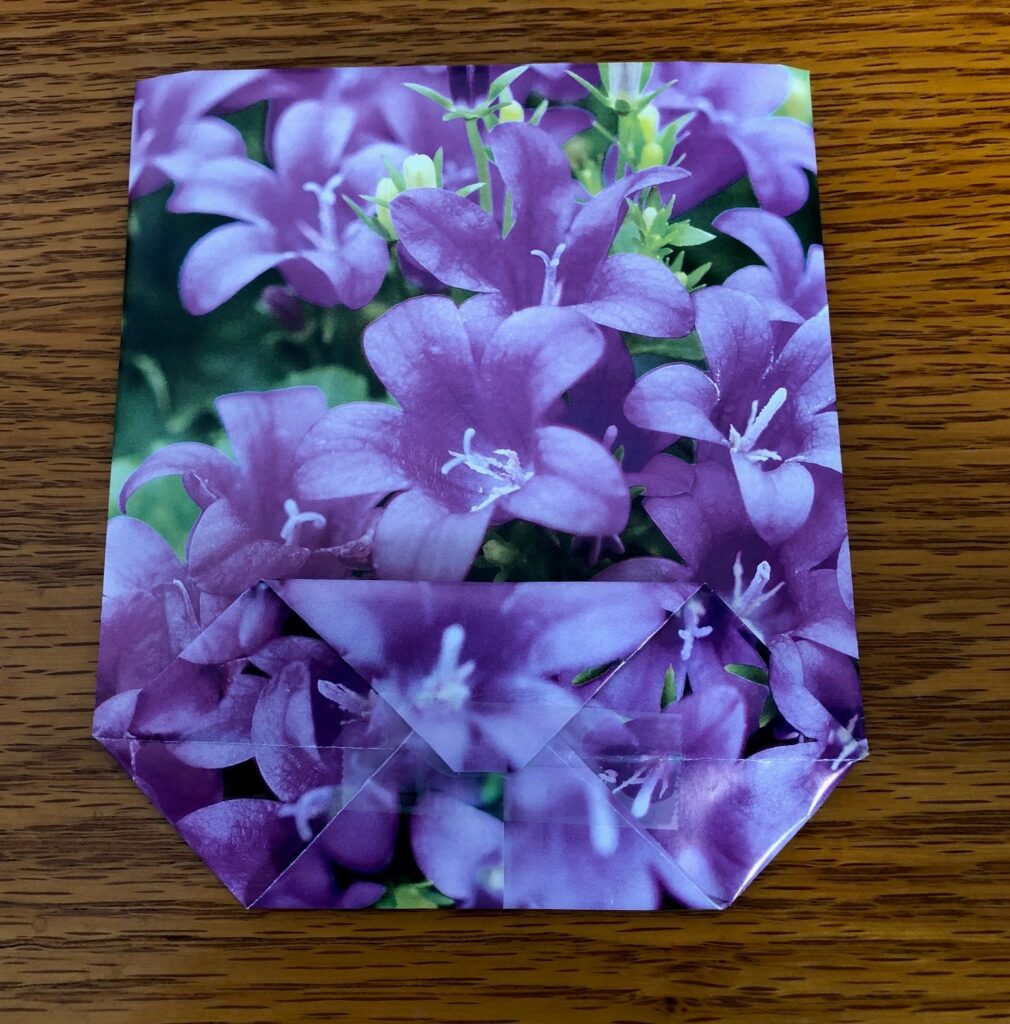
Once you have all four cards/pictures cut, place them on the outside of the base cardstock, turning the pictures so they are right side up when you fold it into a box. Glue each picture down with a quick drying glue…I used my jewelry glue (B-7000 multipurpose glue).
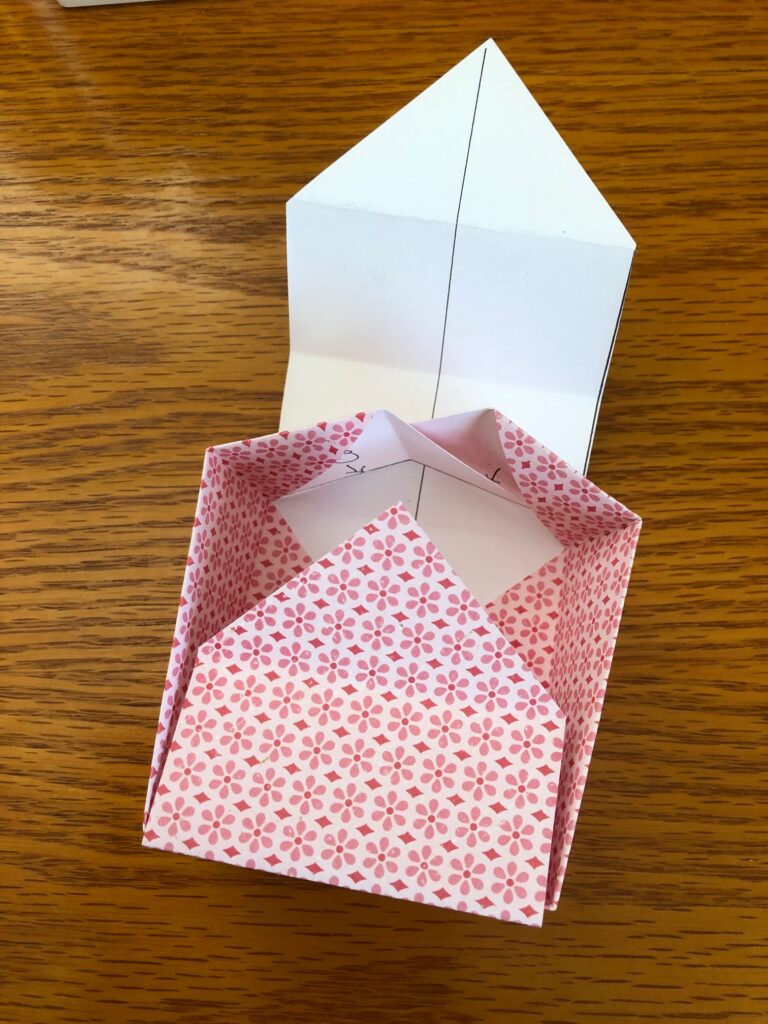
When the glue is dry, punch holes in the top corners of each side:
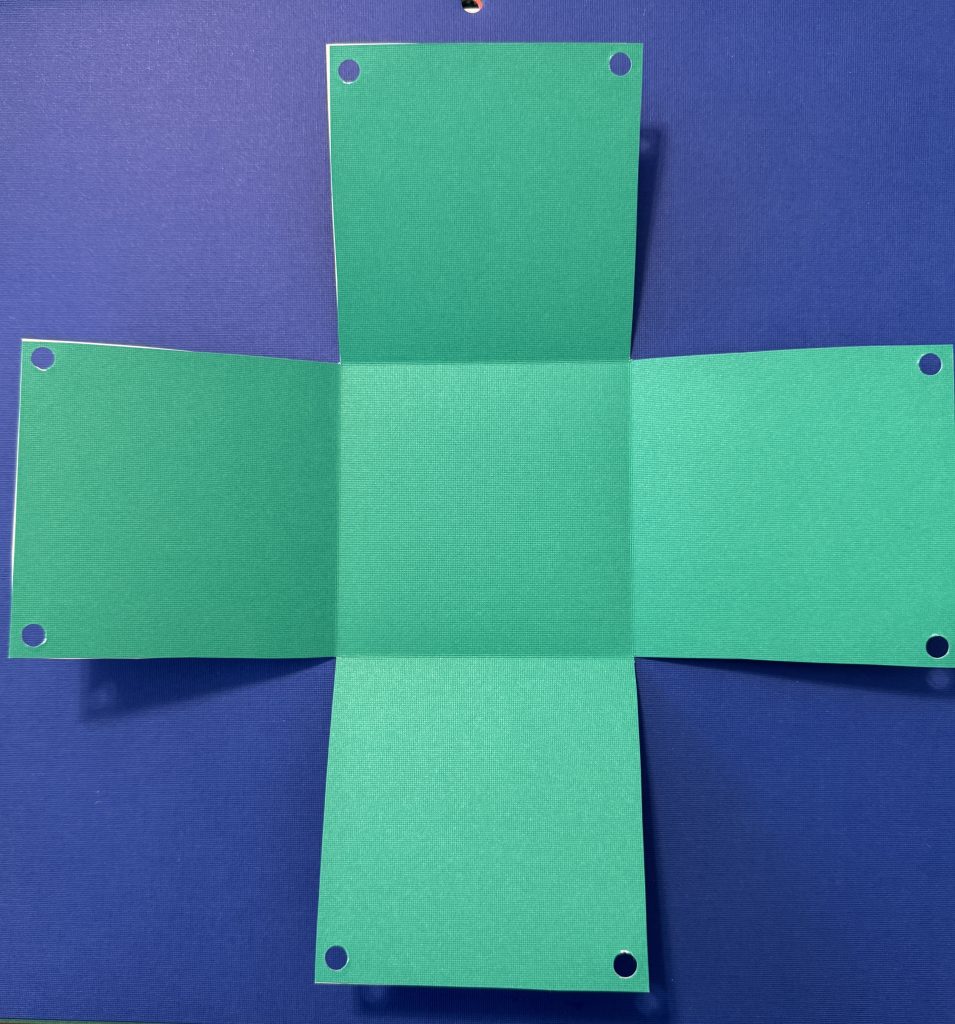
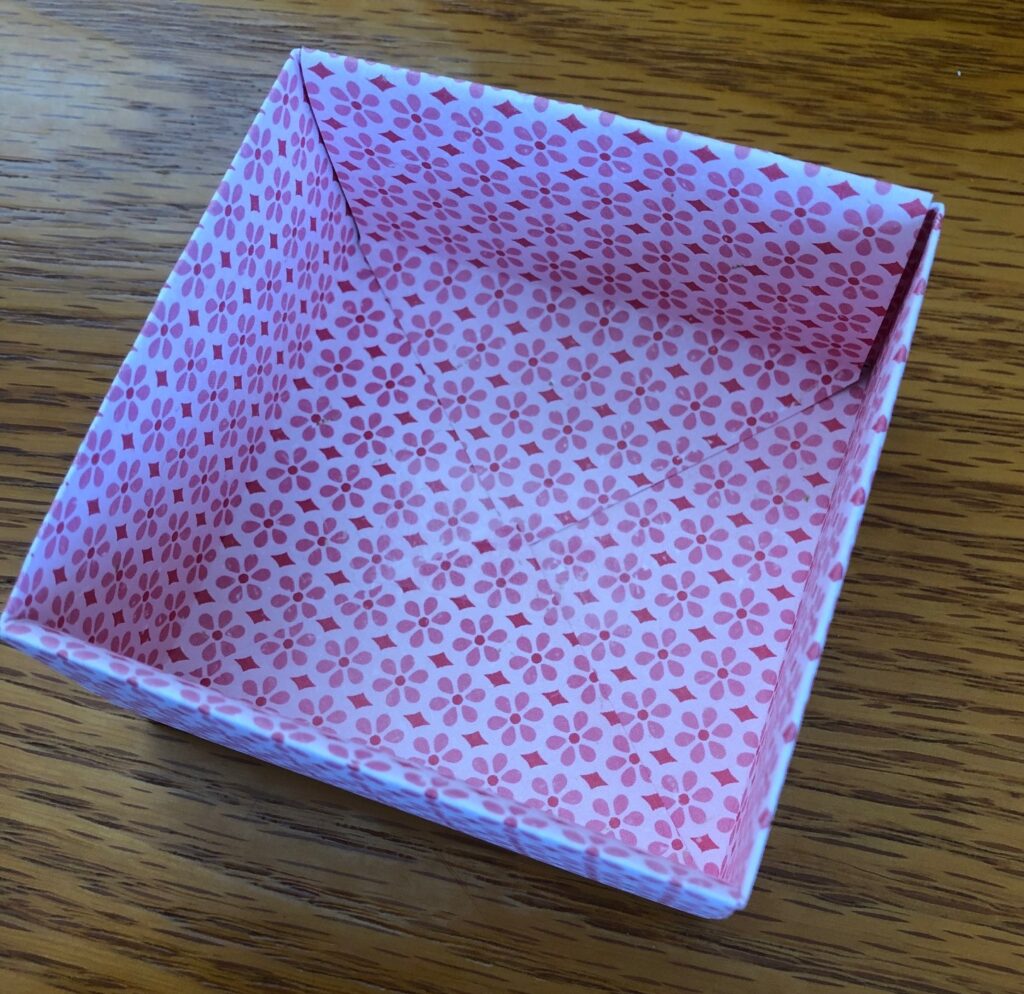
Using a 14″ piece of 1/4″ skinny ribbon, tie each corner together to make the box.
This project looked like it would be a good way to use up my stash of greeting cards…these four boxes used 16 cards! If I waited to tie them into boxes, I think I could store them flat until I needed a box. I’ll add this project to my list of ways to make gift boxes! Give it a try! Could be a project for kids and grandkids and you could recycle all those cards that come in the mail! Enjoy!