
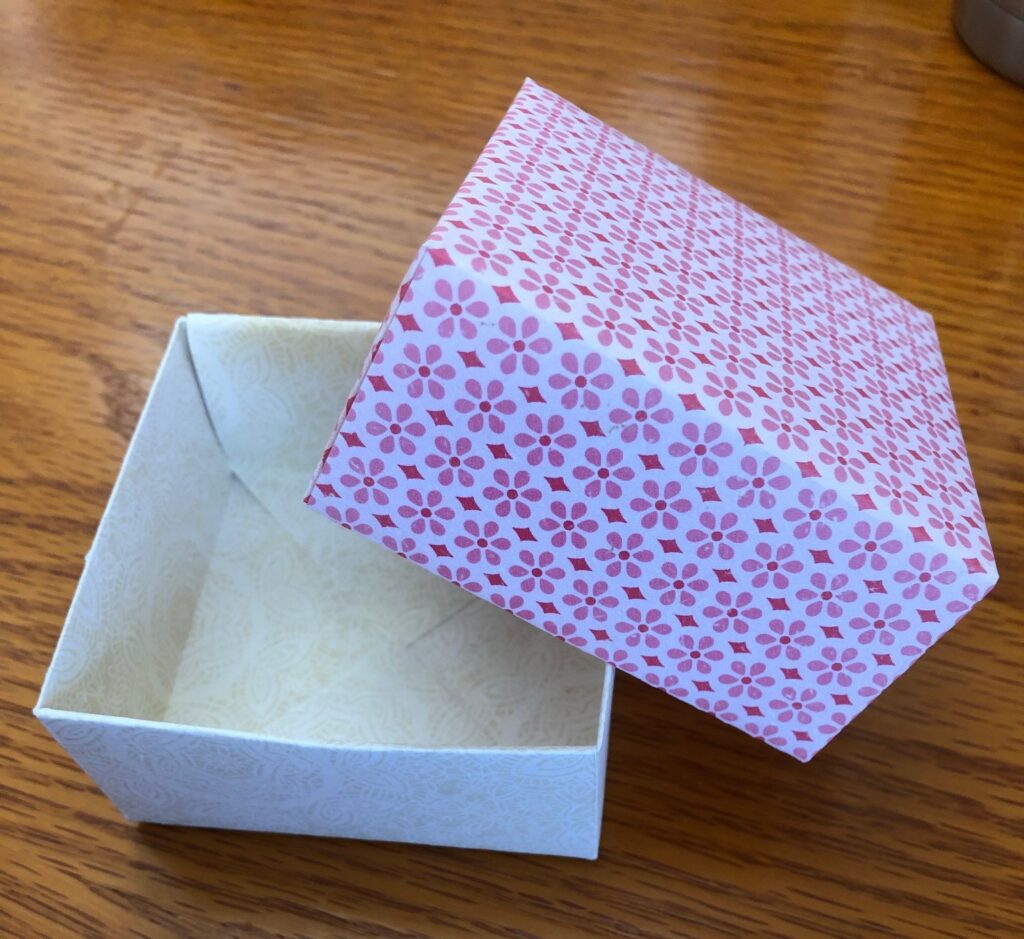
Now that you’ve learned to make a gift bag out of a calendar picture (the post from March 3), you are ready to make a paper gift box!

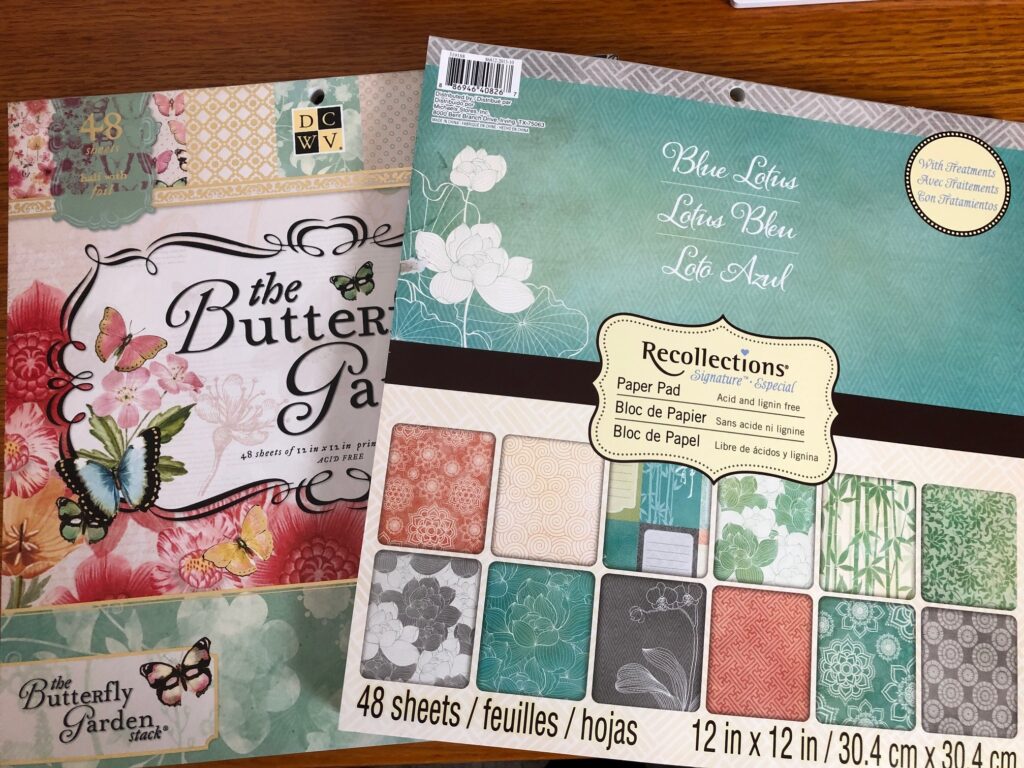
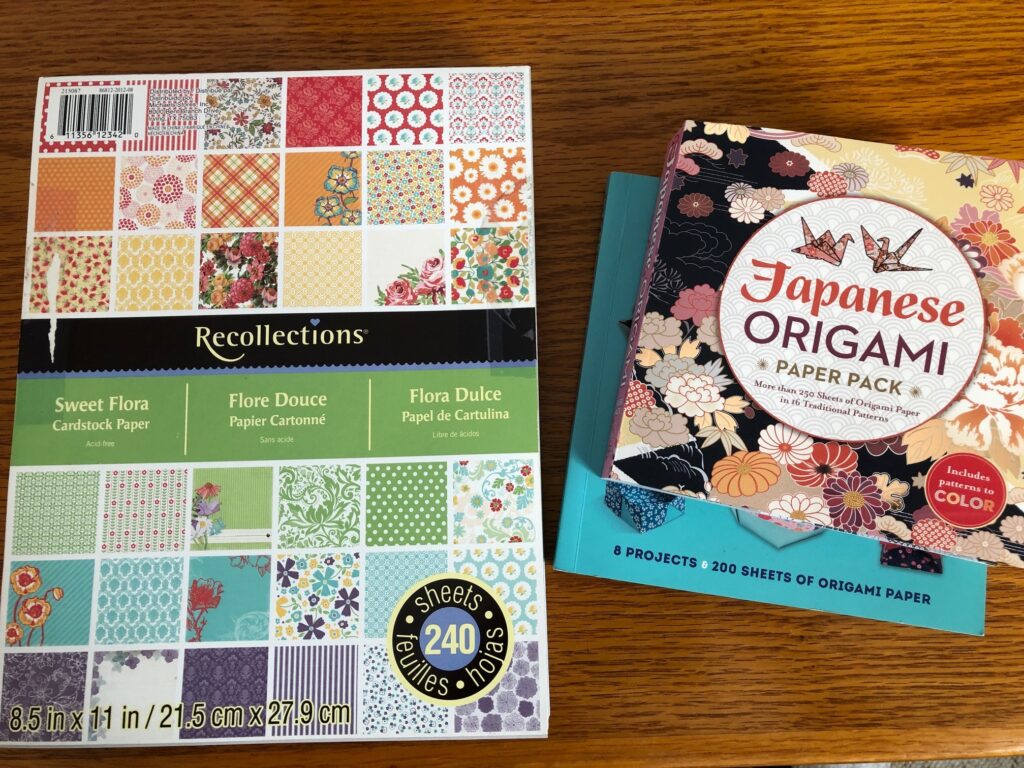
Start with a square of paper. You can use card stock, heavy construction paper, origami paper or a calendar picture. I had several packs of card stock that I bought several years ago. Recently, I picked up a few 6″ and 7″ square packs of origami paper. The heavier card stock works well for larger boxes. Origami paper and calendar pictures work better the smaller you go.
Step 1: Choose 2 pieces of paper and the size box you want to make. One sheet of paper will make the top of the box. The other will make the bottom of the box and fit inside the top.

Step 2: Cut the top paper into a square. Cut the bottom paper 1/8″ smaller than the top. (If your top paper is 8 1/2″ square, the bottom paper should be 8 3/8″ square.)
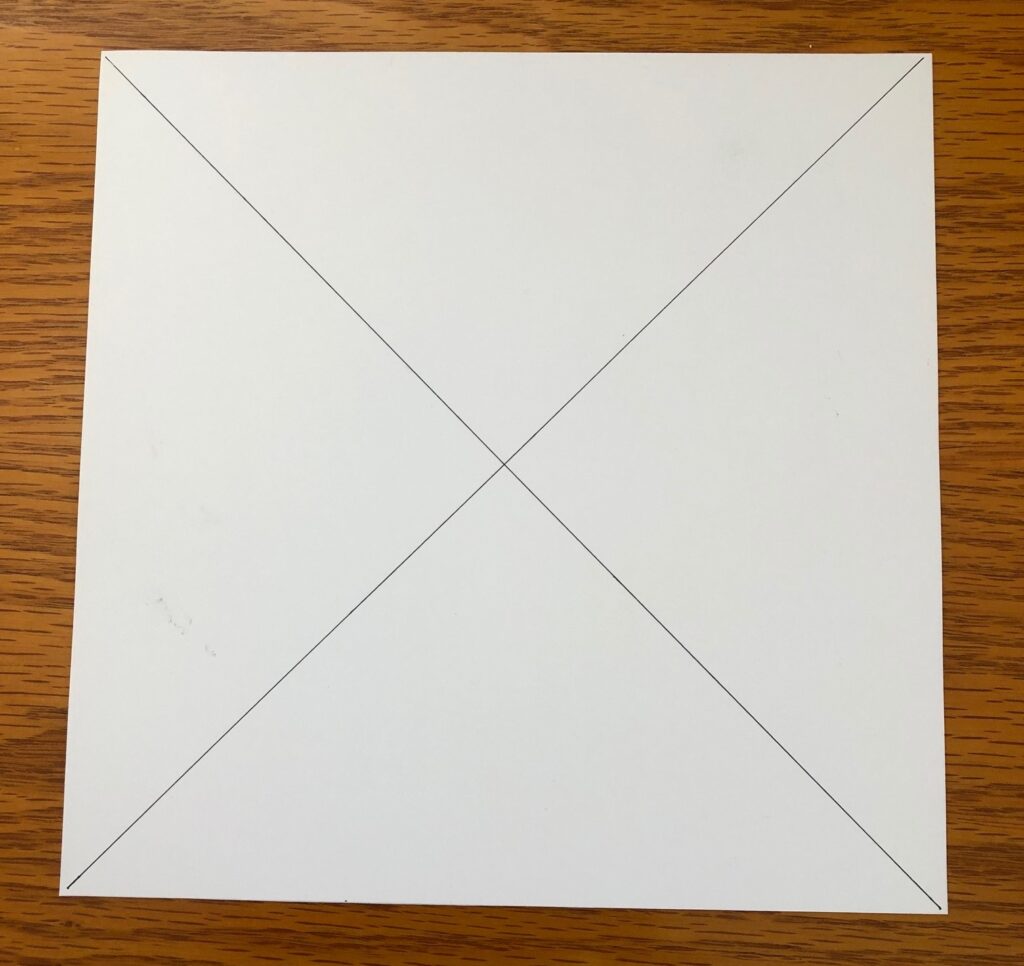
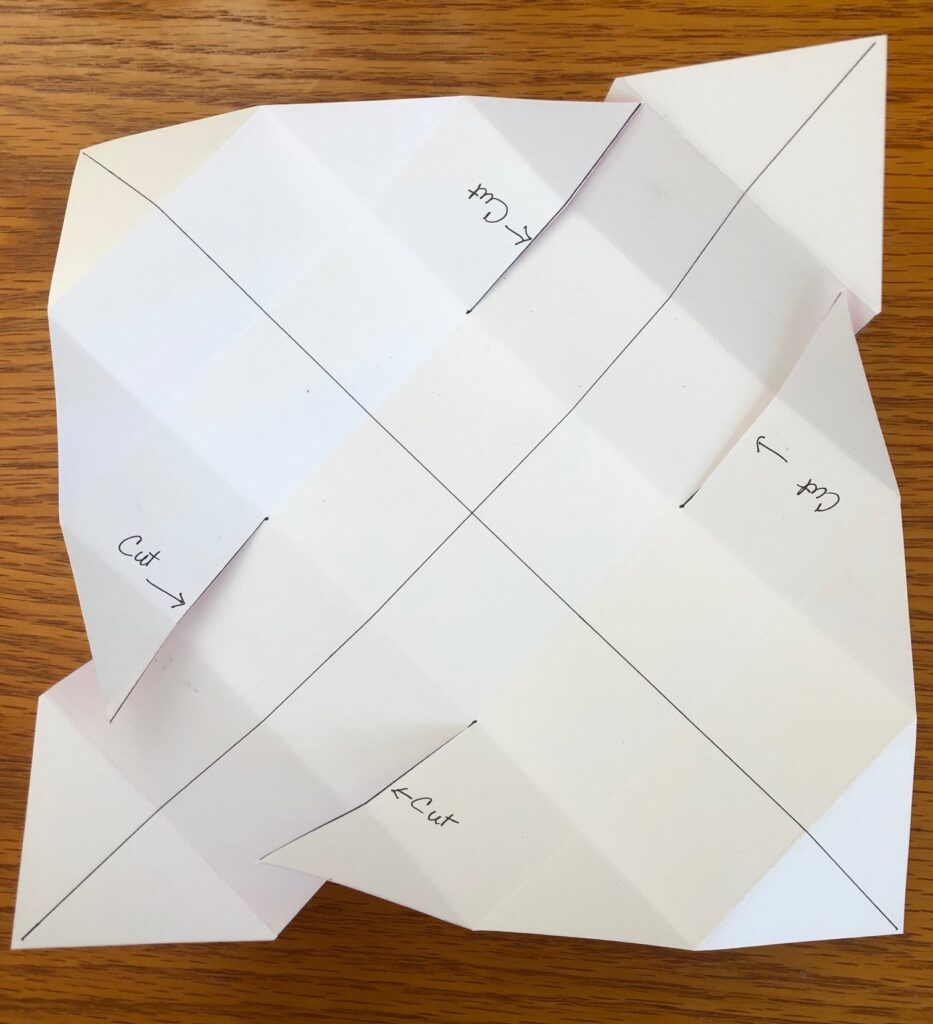
Step 3: To make the top of the box, on the back of the square draw lines with a pencil and ruler from corner, forming an “X”.
Step 4: Fold one corner to the center point of the X and crease.

Step 5: Fold the edge of your previous fold so it meets the center pencil line and crease.
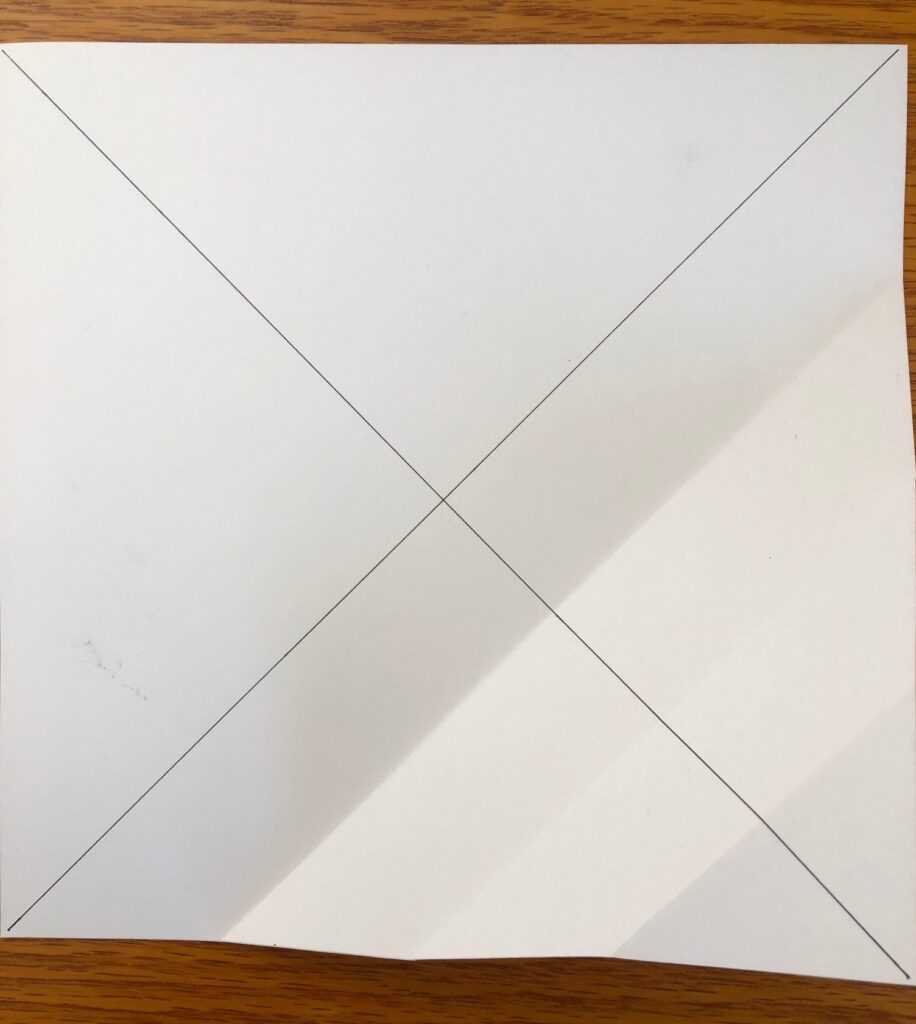
Step 6: Unfold your folds. You are left with a set of horizontal creases.
Step 7: Repeat Steps 4-6 for the remaining three corners. When completed you will have a series of creases that form a grid.
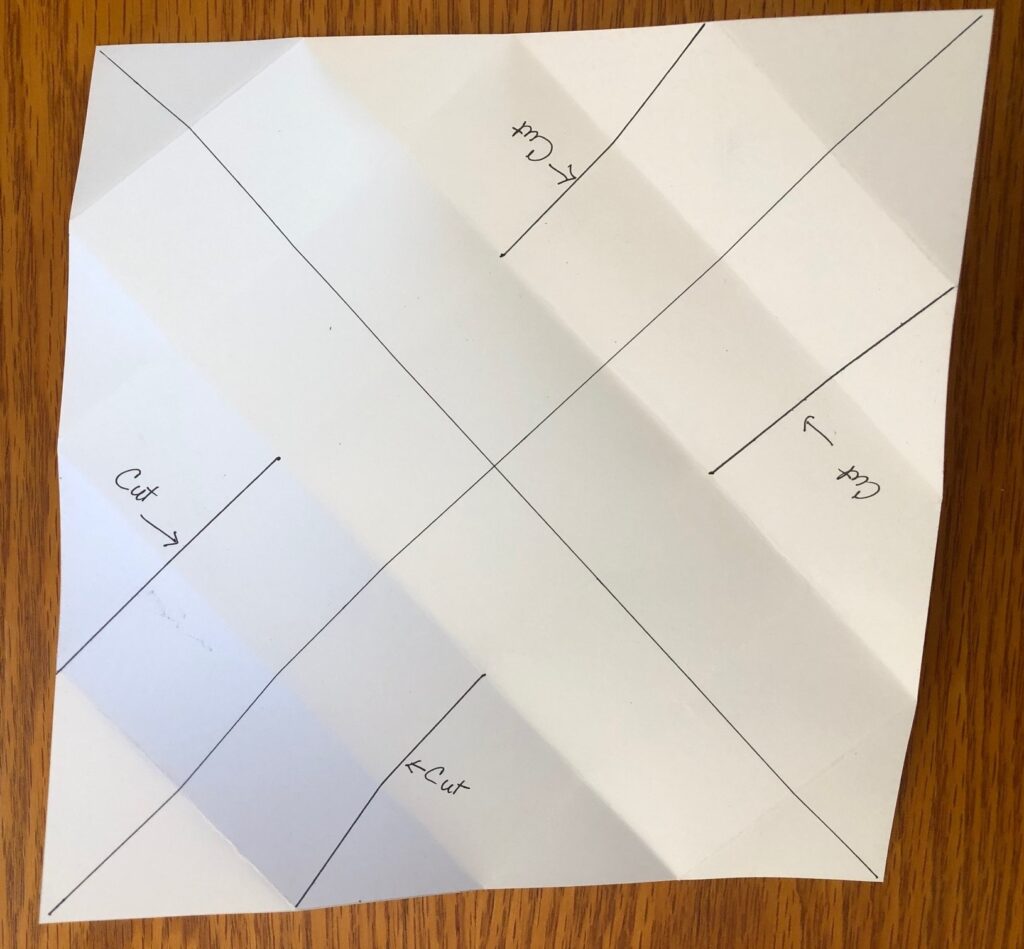
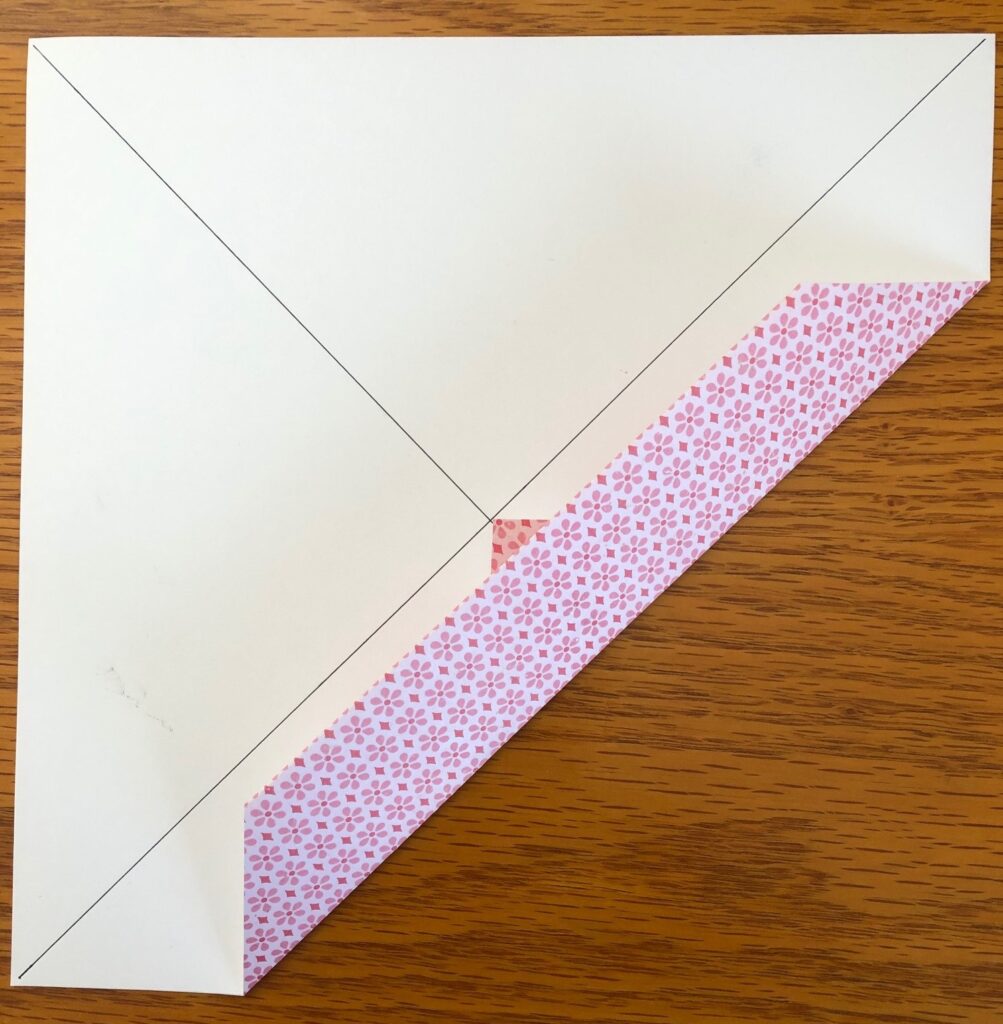
Step 8: You will make four cuts with scissors. Pick two opposing corners. Create a tab that is two blocks and two blocks high (not including the “point”) by making one cut on either side of your center line. Repeat the same cuts on the opposing corner.
Step 9: Fold the opposing corners that have not been cut to the center point of your “X”.

Step 10: Fold them in half again, creating the first two “sides” of your box.
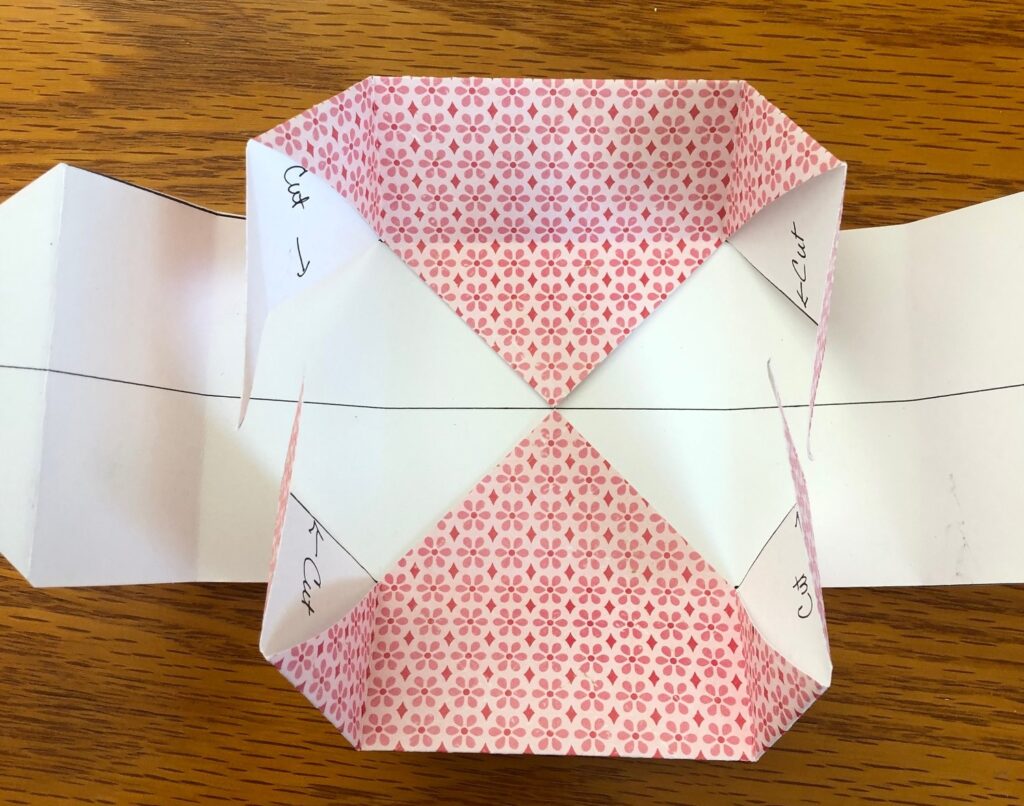
Step 11: Fold the ends of the sides inward, forming the base of the remaining two sides.
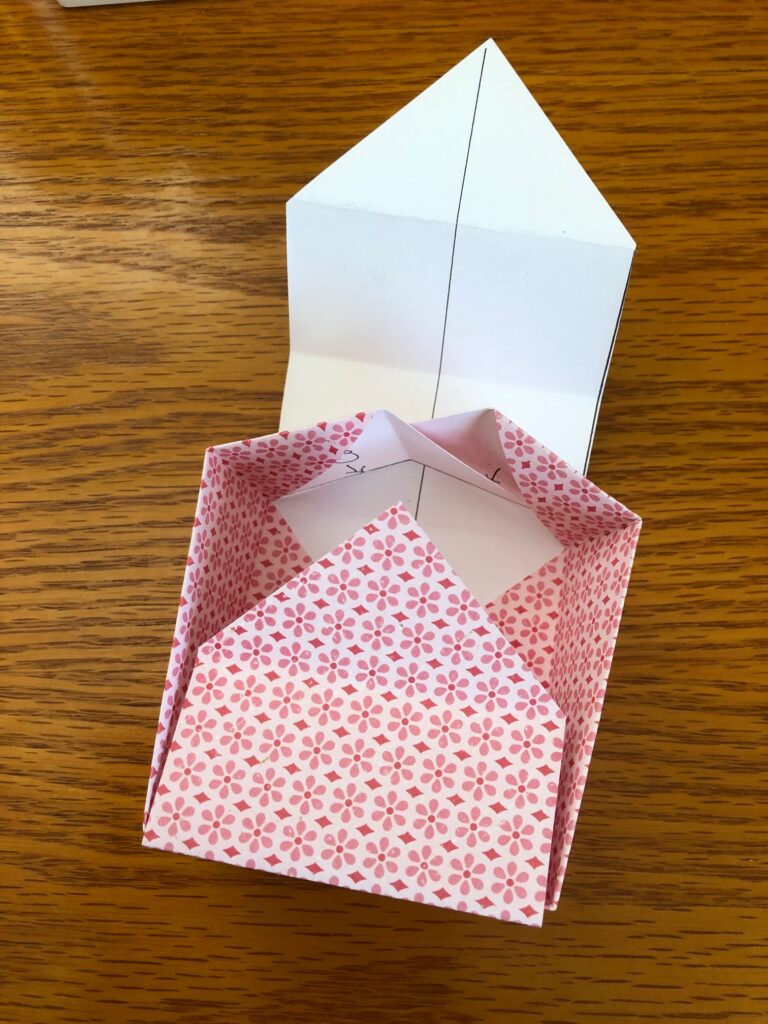
Step 12: Fold the tabs created in Step 8 over the side bases created in Step 11. The point of the Step 8 tabs will meet at the center of the “X”. Place a small piece of clear tape to secure the points.
You have now completed your box lid!
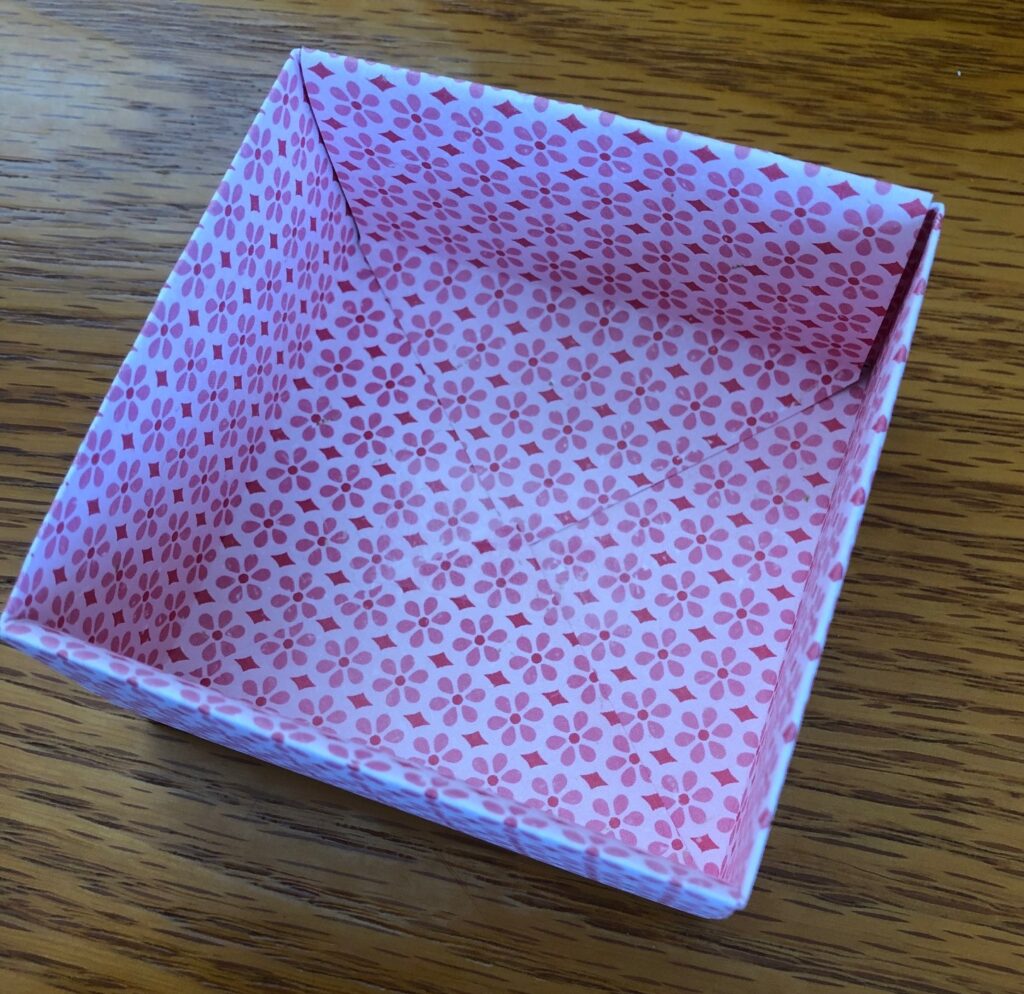
To make the bottom of the box, just repeat all the above steps, except your beginning square should measure 8 3/8″ square (or 1/8″ smaller than the top).
Now, the hard part…what to do with all the boxes you make?
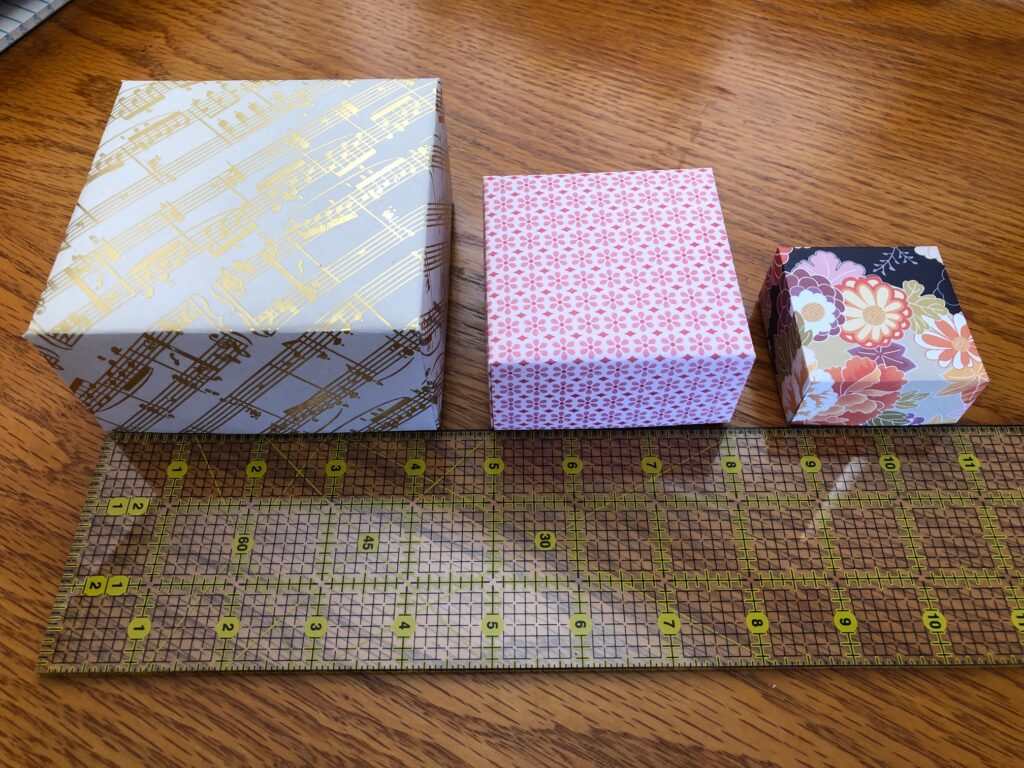
The largest box below is made with heavy card stock. It is large enough, and sturdy enough, to hold a special gift for someone.

The smallest one, made with an origami paper cut to a 4″ square, is quite delicate and will squash easily. I think I will put a string on it and hang it on my Christmas tree!
As always, have fun! Leave a comment or send me an email at marykisner@comcast.net.