DIY Sunscreen

With all the body care stuff I’ve made I had never thought about making my own sunscreen. Up until two summers ago I had never needed sunscreen. I can think of only one time in my life where I actually had a sunburn so I just didn’t worry about it. Then two years ago I spent several days with burns on my legs just from wearing shorts…and sitting on a shady porch! I was so surprised! Boy did that hurt! Then last summer I was even more sensitive so I tried an assortment of sunscreen lotions. They all felt sticky when they dried and I wanted to wash them off as soon as I came inside.

I really wanted to spend time in the garden cheering on my green beans!

I found it was just easier to not wear shorts and managed to find a few of those “sun shirts” for my arms. That was really ridiculous heading out to the garden all covered up. Needless to say, I didn’t stay outside for long! I really feel like I missed most of the summer weather because I stayed inside.

I hated not being able to enjoy the flowers on a beautiful summer day.

This year, I decided to see if I could come up with a natural sunscreen lotion that I could stand with the fewest chemicals. I use essential oils in everything else…why not sunscreen?

I started with research. I had questions about whether certain essential oils have natural sun protection. I wondered if zinc oxide had to be used in a product to be protective. What’s the difference between nano- and non-nano zinc oxide? What other chemicals are in sunscreens that could be bothering me?

Other people online have done extensive research into all the necessary and unnecessary chemicals found in commercial sunscreens. Here is one article that I’d like to refer you to that explores many of my questions:

https://modernhippiehw.com/homemade-moisturizing-sunblock-with-zinc-oxide/

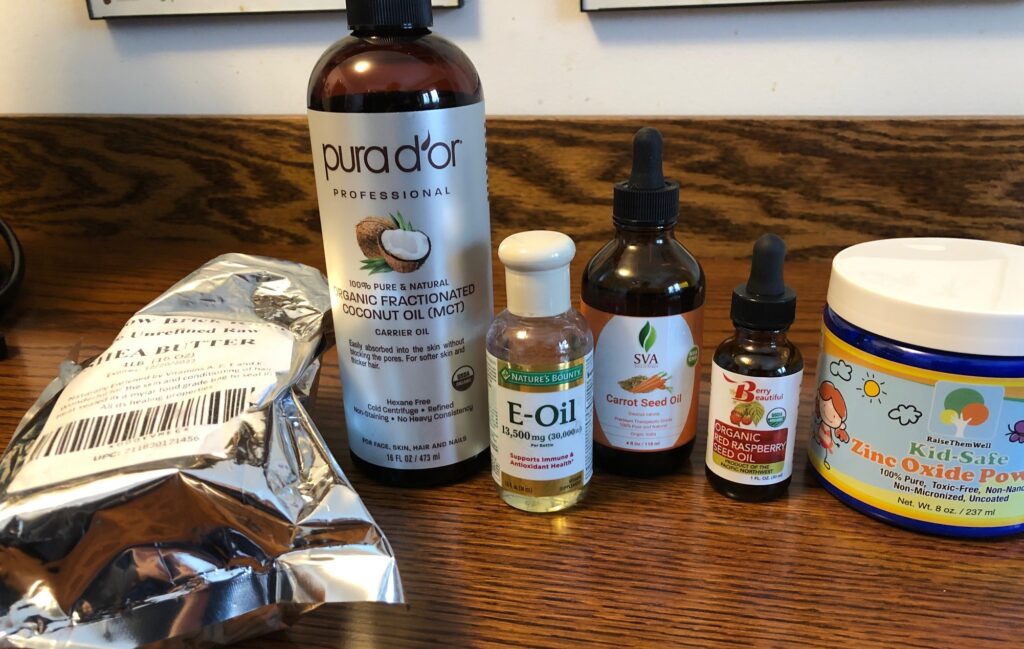
Many homemade sunscreens start with a mixture of shea butter, oil, essential oils and non-nano zinc oxide powder. It appears that several essential oils are naturally high in SPF, including raspberry seed oil (SPF 28-50) and carrot seed oil (SPF 38-40). Several carrier oils, including coconut oil, olive oil and avocado oil have an SPF range from 4-1 5. Adding zinc oxide can boost the SPF to 20 or higher depending on how much you use.

About Zinc Oxide Nano-Particles

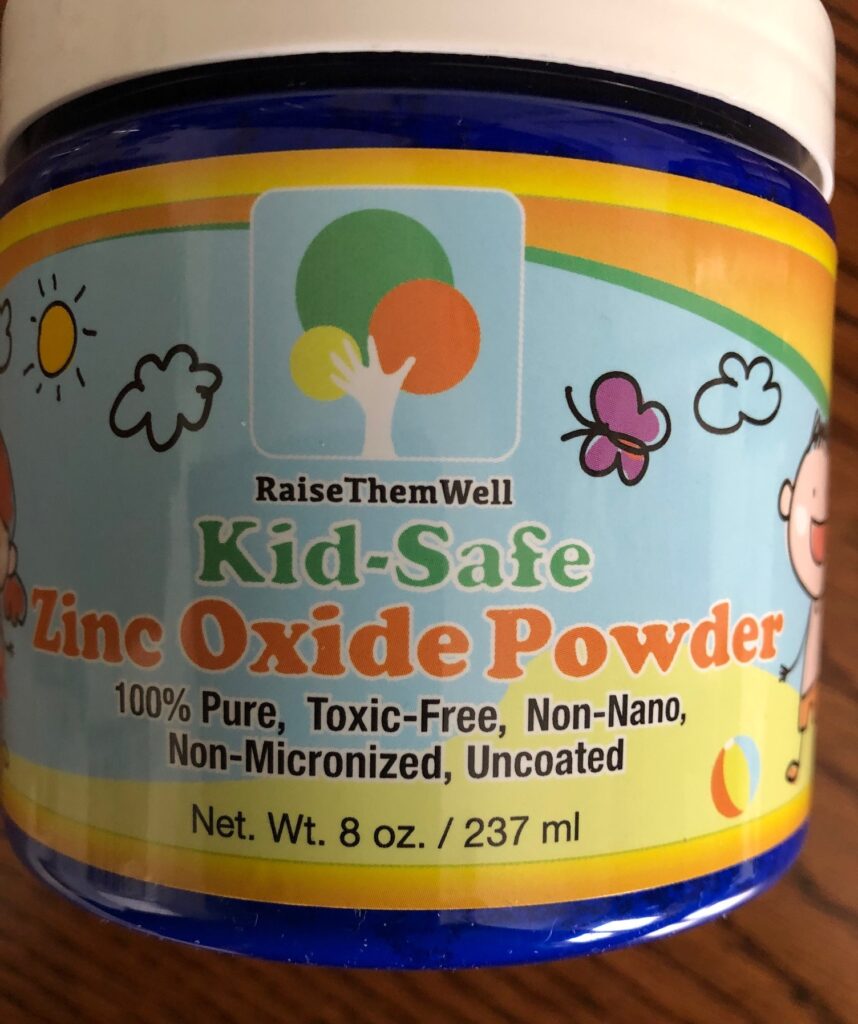
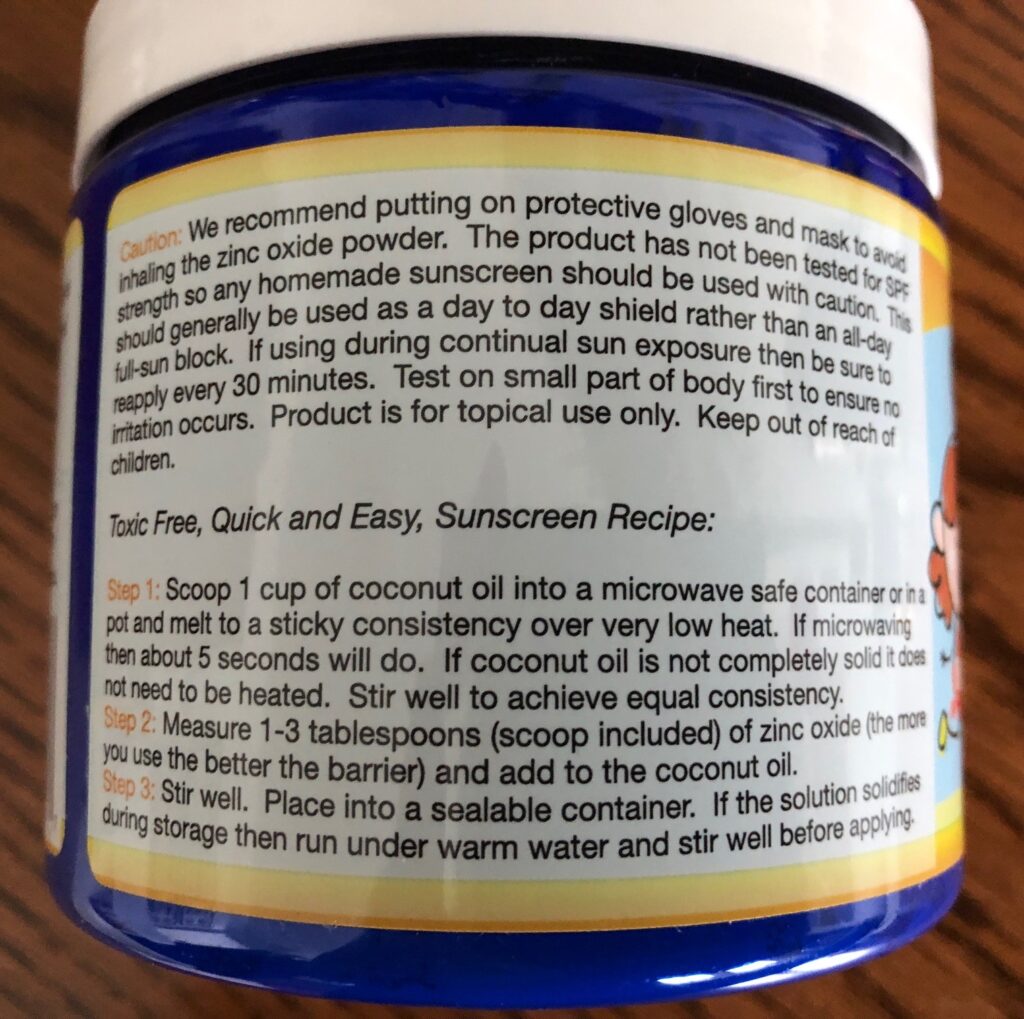
There has been some concern that nano-particles (very tiny ones) could be absorbed into the skin, although there is little research proving that is a problem. However, just case a non-nano zinc oxide is offered for sale too…meaning the particle size is larger and would not be absorbed by the skin…important for use on children. Since I’m trying to stay as simple as possible, I decided to go with the non-nano zinc oxide. If it leaves a white coating, I may have to get the other kind so it soaks in better.

This can be purchased on Amazon.
Of course, disclaimers about it’s use is important, but the recommendation to use a mask sounded like a good precaution.

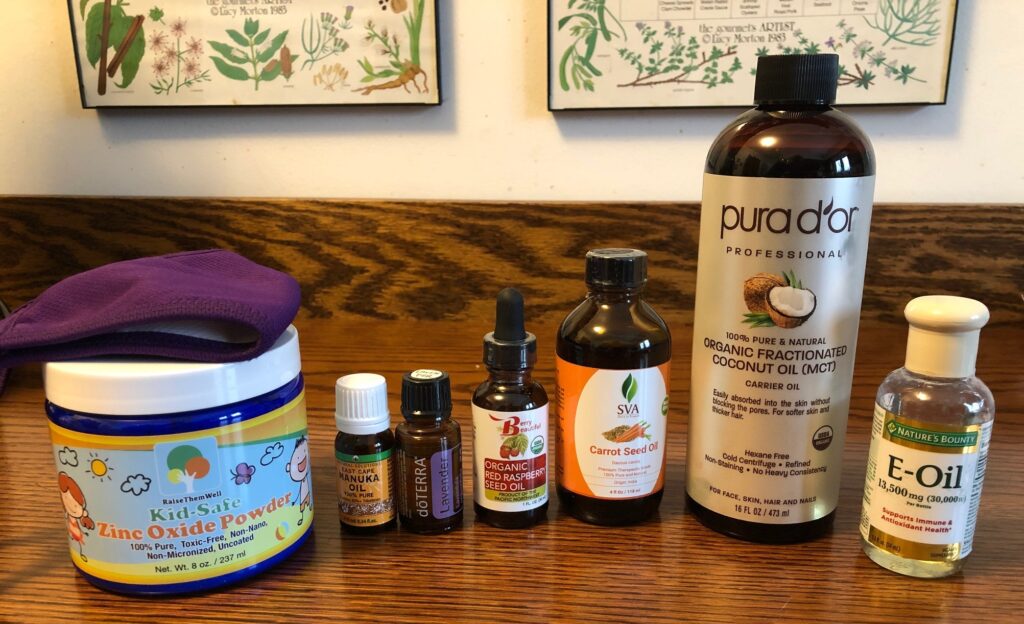
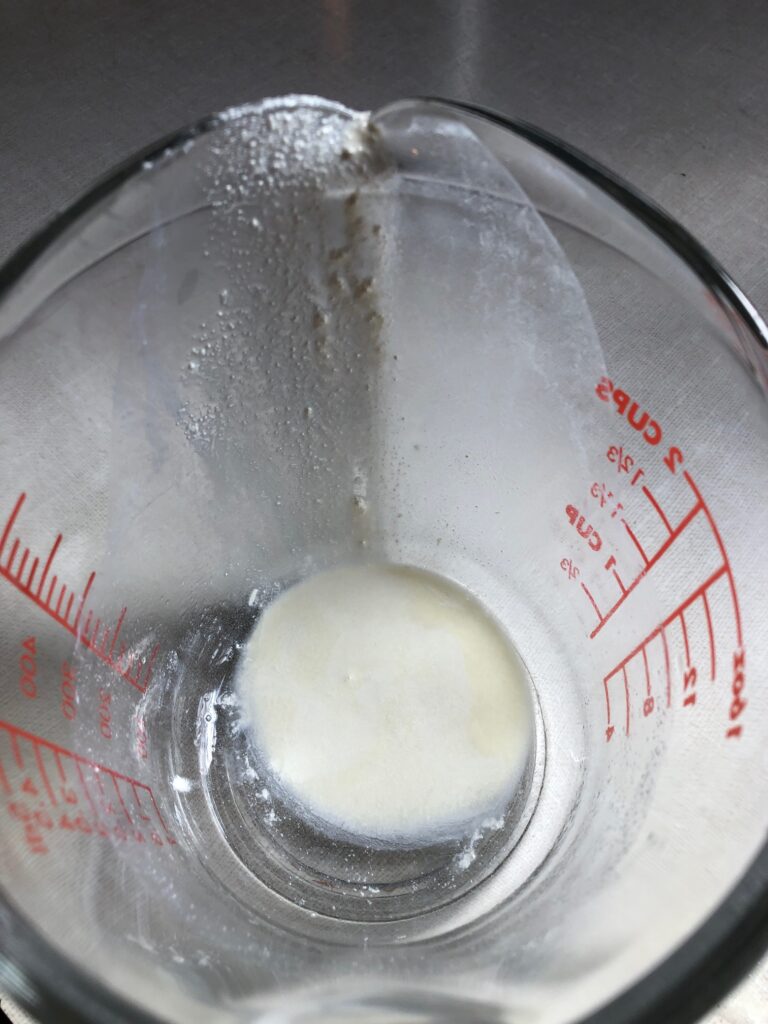
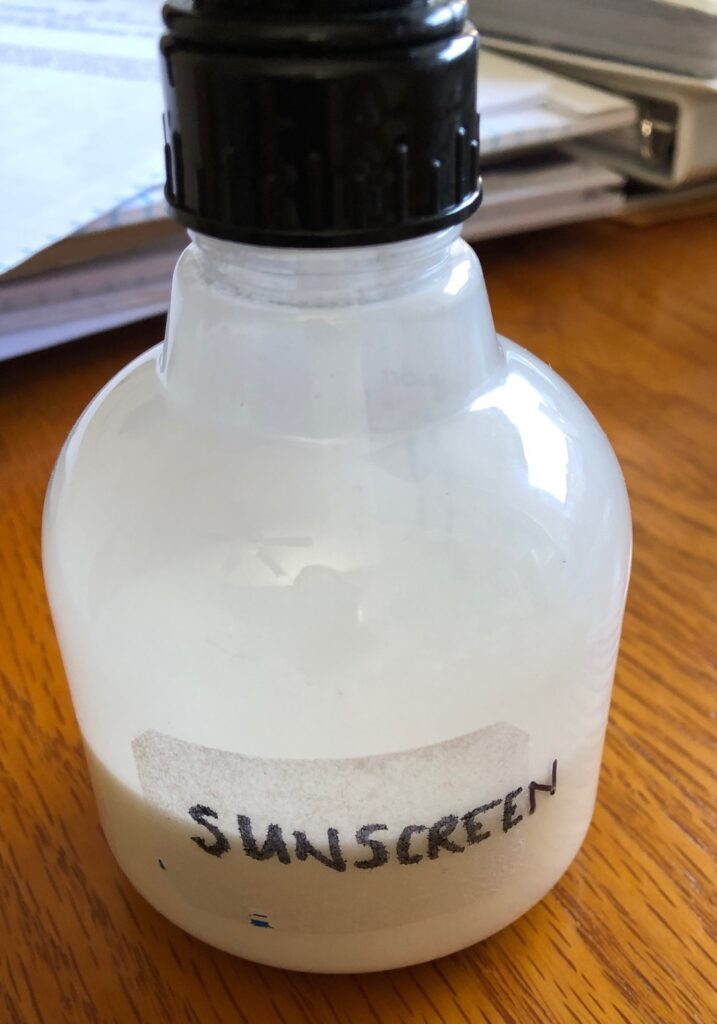
I’d like to share two recipes for sunscreen that I have made. First is a sunscreen spray that stays a liquid. It includes fractionated coconut oil, which means the fats have been reduced so it stays a liquid; essential oils; and non-nano zinc oxide. It’s pretty to quick mix up but the zinc oxide tends to separate out and settle on the bottom of the spray bottle. Giving it a good shake before spraying is necessary. I will have to research how to keep the particles in suspension for the next batch.

(Recipe #1) Sunscreen Spray
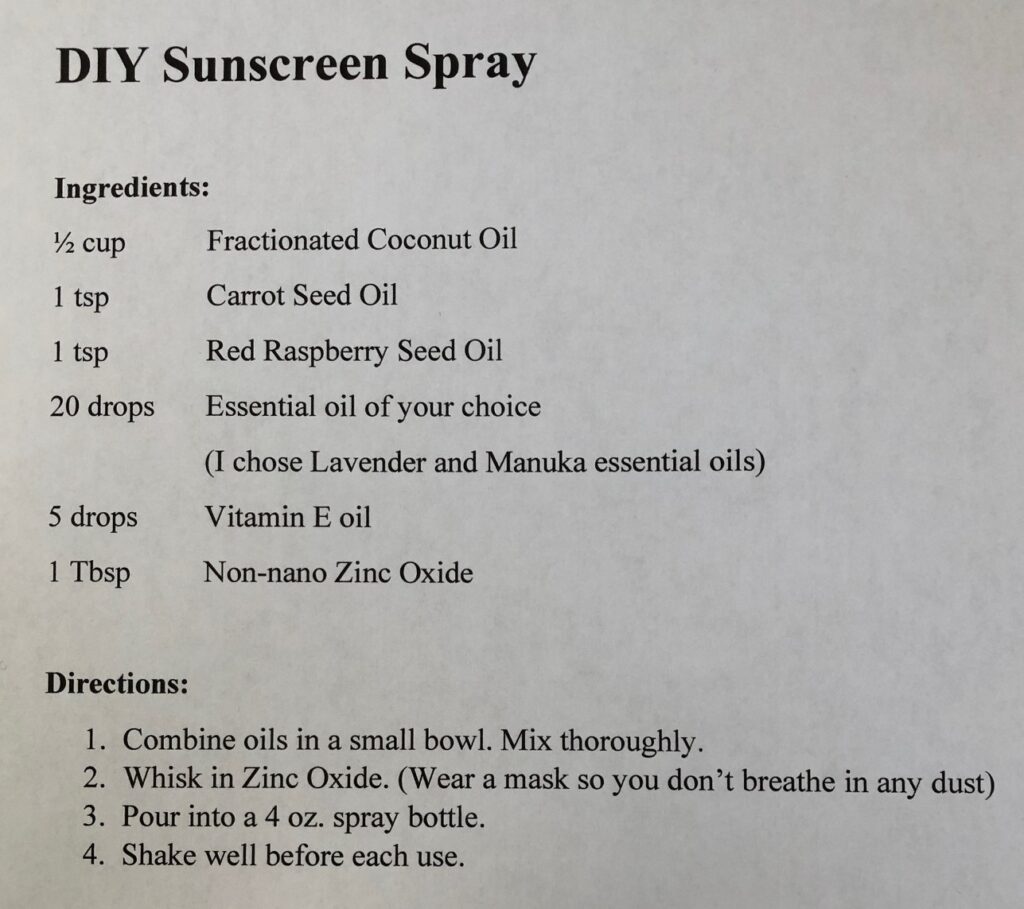
Ingredients:

The ingredients I used along with a mask ready for when I scoop out the zinc oxide.

Directions:

Step 1: Combine the oils in a small bowl. Mix thoroughly.

Step 2: Whisk in Zinc Oxide powder. (Wear a mask so you don’t breathe in any dust)

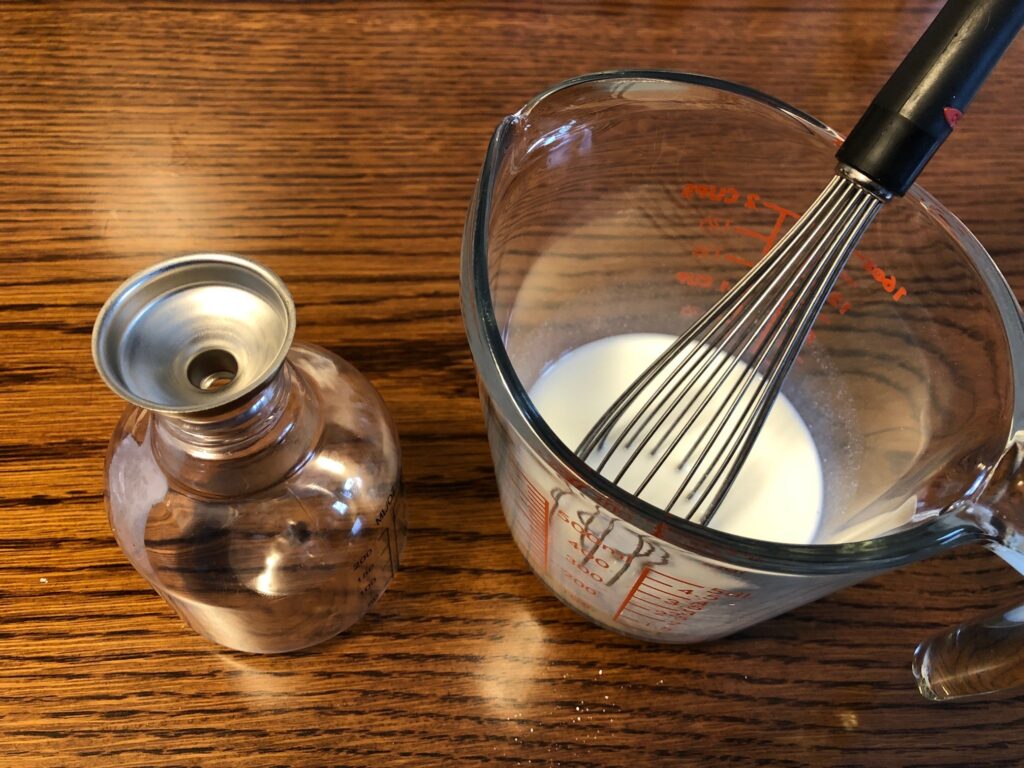
Step 3: Pour into a 4 oz. spray bottle.

Step 4: Shake well before each use.

Sediment of zinc oxide left behind after pouring.
Ready to test!

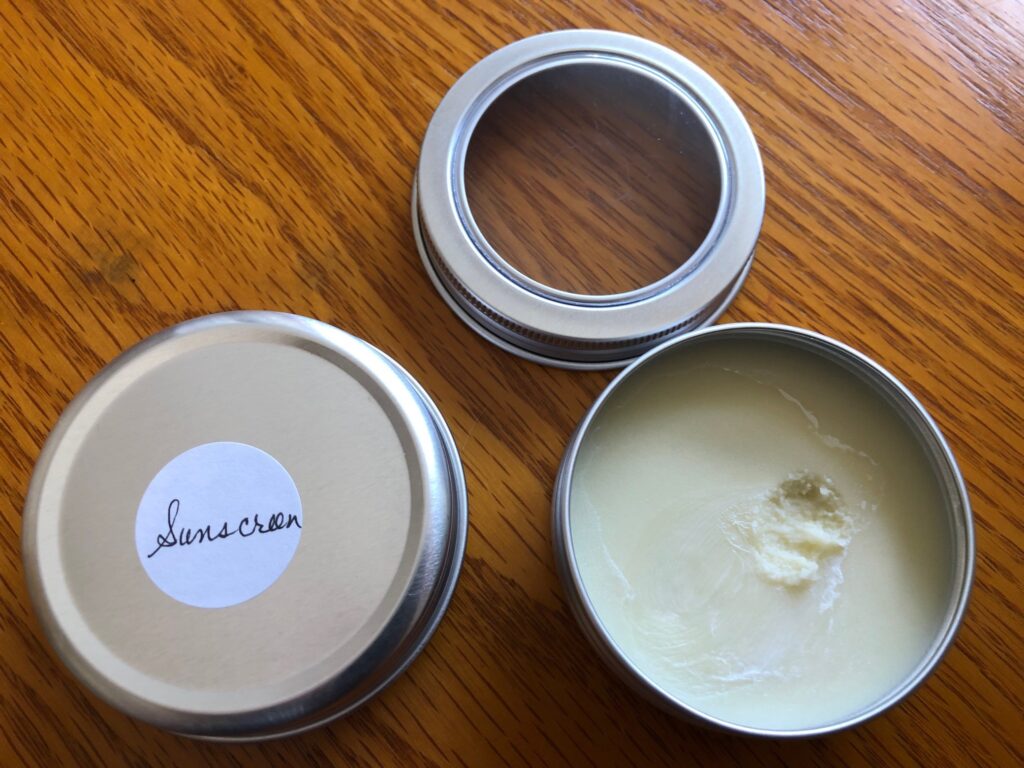
(Recipe #2) Sunscreen

This recipe is a firmer lotion and can be made more waterproof with the addition of a little beeswax. I did not add it for my first try. I will also choose some essential oils for a better fragrance…this did smell just like shea butter!
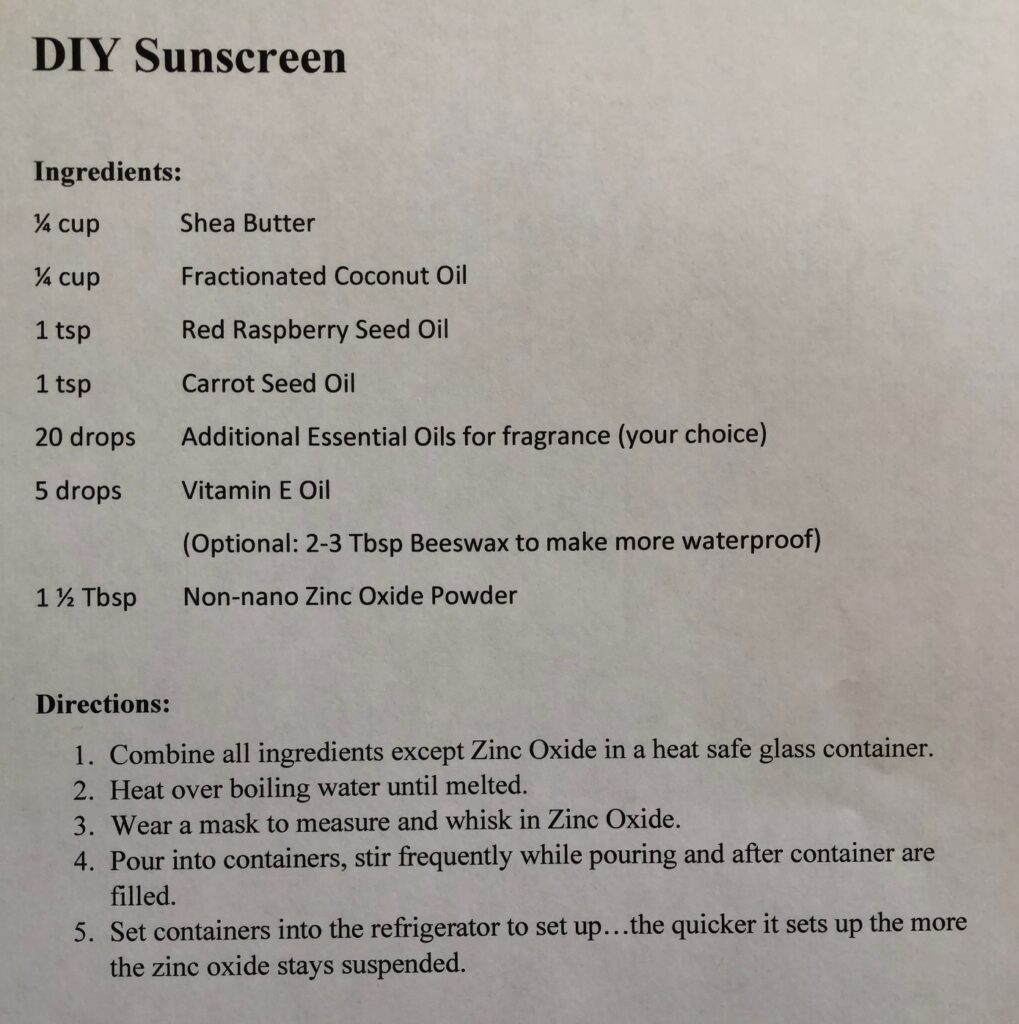
Ingredients:

Directions:

Step 1: Combine all ingredients except zinc oxide in a heat-safe glass container. Adding the optional beeswax will make it more waterproof.

Step 2: Heat over boiling water until melted.

Step 3: Wear a mask to measure and whisk in zinc oxide.

Step 4: Pour into containers, stir frequently while pouring and again after containers are filled.

Step 5: Set containers into the refrigerator to set up…the quicker it sets up the more the zinc oxide stays suspended.

This recipe filled 5 tins half way. I wanted to be able to share it for testing.
This recipe made a soft lotion that I can scoop out with my finger and apply to my skin.

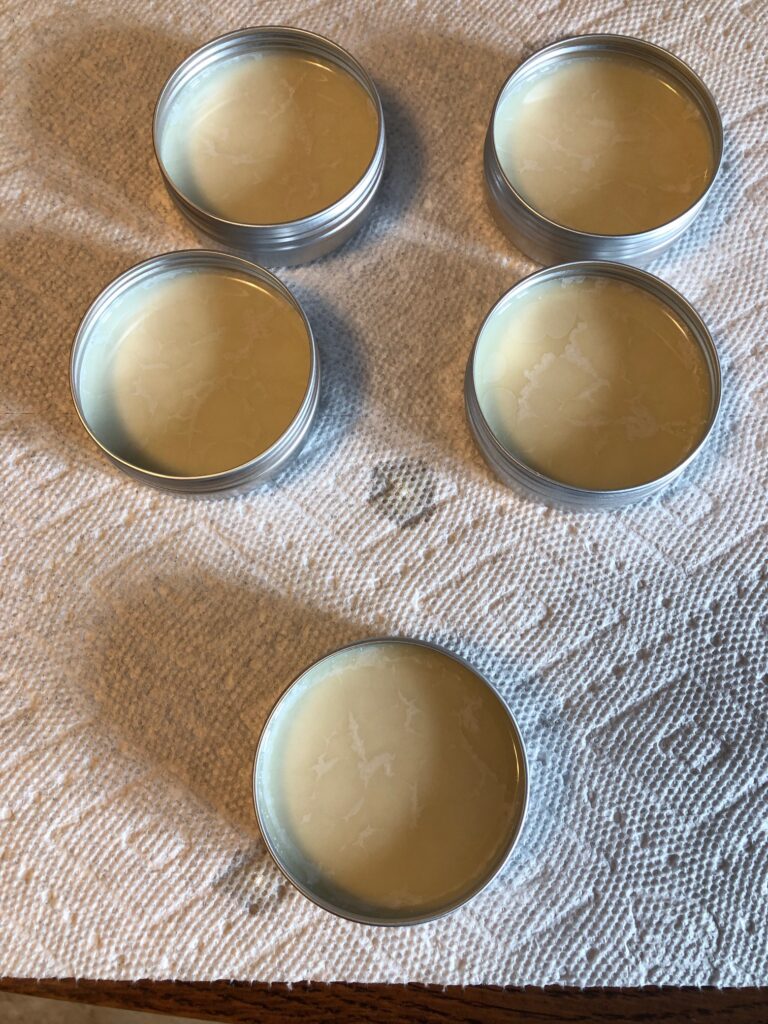
This sunscreen went on very smoothly. Hopefully by summer I’ll have a solution to my sun sensitivity with a less irritating sunscreen! We’ll see! Enjoy!

Please comment or email me directly at marykisner@comcast.net.

Belly Bands for Greyhounds

What is a belly band? A new fashion statement for our beloved greyhounds? Haha…no! Picture this…you have just adopted a 2 year old male greyhound from your nearby adoption kennel. You are ready to make him comfortable in your home and take him off his leash. He wanders around the living room…the kitchen…your bedroom. You show him his kennel or cozy bed in the corner. You let him explore on his own while you take off your coat and put things away. Very quickly you realize that he is lifting his leg and marking the corners of the furniture and table legs. This is a natural response to a new environment, especially if you had other dogs in the house previously. AHHHH…now what?

Luckily, the adoption group predicted this might happen and had sent you home with a belly band, just in case. You had wondered what it was for. This simple denim band wraps around their abdominal region and gently keeps his private parts from being used until you can get him outside. Over the next few days as he gets more comfortable in your home you can train him that if he’s in the house he should not have to mark his territory. When you take him outside and remove the band THEN is the time to explore and mark his territory. The hope is that he won’t need the belly band for very long, but that depends on the dog.

Making a Belly Band

I’d like to show you how I make these simple bands.

Materials:

One piece of 12 oz. denim, 12″ x 29″ (all cotton, non-stretch)

One piece of terry cloth, 5 1/2″ x 9″ (I cut up an old clean hand towel)

One piece of Velcro hook, 2″ wide x 5″ long (I buy my Velcro from https://www.calthread.com)

Two pieces of Velcro loop, 2″ wide x 8″ long

Note: Here is a picture of the end of the bolt of denim at JoAnn Fabrics. The retail price of this was $16.99/yard but was 30% off. Sometimes there is a coupon for 20% off Total, or $10 off $50. Look for the sales!
This will be trimmed to size when placed on the denim.
Hook and loop Velcro.

Instructions:

  1. Fold the fabric in half lengthwise, right sides together and stitch, leaving 3″ space for turning.

2. Turn right side out. Top stitch around the whole band.

3. Find the center of the band and mark with a pin. Find the center of the terry cloth piece and mark with a pin.

4. Place the terry cloth piece on the center of the band, matching the center points.

5. Trim the terry cloth piece to fit exactly the width or a little smaller than the band.

6. Zig zag stitch around the outside of the terry cloth piece.

7. Place the 5″ piece of Velcro (hook) along one end of the band and stitch around it. A straight stitch works best.

8. Notice that the opposite end of the band will be folded over and overlap with the Velcro hook. Place the Velcro loop pieces on the other end from the hook and stitch as below:

The Belly Band looks like this when folded up.

This band can wrap quickly around the dog’s abdomen and is sturdy enough to stay put.

(Note: The belly band has also been used by the females after being spayed. It keeps them from bothering their incision and stitches.)

So, a greyhound belly band is not a fashion accessory but an important tool to make an adoption successful! Give it a try or share this tutorial with your adoption group! Enjoy!

Please comment or email me directly if you have questions at marykisner@comcast.net.

Time to Bring Out the Spring Door Quilt

The door quilts I’ve made over the last year have served me well. They are easy to store, add some color to the front door and are a quick fix when the seasons change. Read about why I started making these door quilts at https://marykisner.com/a-year-of-door-quilts/.

I now have six so I can change them about every two months. I suspect by the end of this year I will need to add some new ones…I think the colors tend to fade from being exposed to the sunlight on the door. However, for this year I’ll just switch them out when it’s time.

I noticed I put up the yellow spring one on this exact date last year! So, I guess every two months I’m ready for a change. We’ve had a few warmer days of 40 to 50 degrees, but the weather is to change dramatically in the next few days. That taste of spring must trigger my need for a touch of color in my life.

I learned with my first two door quilts that because my door is a dark red, the decoration needs to be light. Thus, on the Christmas stocking the only thing that showed up at a distance was the cuff. However, on the Valentine one (against the green background) the heart showed up beautifully from a distance. See the difference?

So, since I decided to decorate with small quilt blocks, I chose a yellow background. This quilt pattern is called Dutchman’s Puzzle, Dutchman’s Wheel or sometimes Wild Goose Chase.

When seen from a distance, the shape really stands out. Take notice, Mr. Snowstorm…your days are numbered! Enjoy!

Please comment or email me directly at marykisner@comcast.net.

Recycling a Wedding Dress Part 2

This is a follow-up to a previous posting about recycling a wedding dress (https://marykisner.com/recycling-a-wedding-dress-part-1/). A friend had asked if I could do something with her daughter’s old wedding dress. She had stored it for 15 years and the dress did not hold any positive memories for anyone. Of course, I agreed to see what I could do with the dress.

After carefully unpacking the dress and cutting sections apart, I had a huge pile of satin fabric with sections of lace, a huge pile of lining fabric, 23 lovely fancy buttons and a long white zipper! The fabric needed to be ironed and my pattern figured out.

My research about recycling wedding dresses gave me lots of ideas of things I could make out of this dress from Christening gowns to stuffed animals. I decided to focus on trying to make a tiny “angel gown” for a NICU baby who was not going to make it home from the hospital. It’s a very sad topic, I know, but I hoped I could do it justice.

Making the Pattern

I learned that a simple gown pattern could be fashioned from a standard Kimono pattern…something like this one:

Apparently, the gown is designed to be worn with the overlapping portions as the back of the dress with a simple tie. This simplifies its use.

The free pattern above needed to be printed out and taped together, like this:

The pattern was quite fitted, while I wanted the finished gown to be flared at the bottom. I traced these onto another piece of grid paper and added the flare at the bottom.

The original pattern on the left…the altered pattern with a flare on the right.

Cutting out the Gown Pieces…but first a Practice Gown!

Before committing to cutting the satin, I decided to try the pattern with some cotton fabric. I wasn’t clear about how to sew it together…the original Kimono pattern did not have a lining so adding the lining to the satin made assembly a little more complicated.

I found two pieces of pink cotton and cut out the pieces. I first sewed the shoulder seams and then, right sides together, I stitched up the back and around the neck.

I clipped the seams and turned it right side out. Then I hemmed the arm hole openings.

Finally, I sewed the front and backs together along the side seam and finished the seam with a zig zag stitch.

I added the ties to the back. I think it will work in satin!

Cutting the Satin and Lining

Now that I had the sequence to sew the parts together, I could work with the satin. I found a section of the train that was free of embellishments and cut out a piece large enough to handle the pattern. I ironed that piece. There was no point in trying to iron the whole gown…it would get wrinkled again as soon as I folded up the extra fabric.

I cut the pieces for the extra small and the small gowns from the satin and lining fabric.

I started by sewing the shoulder seams of both the lining and the satin.

Then I placed the satin and lining right sides together and lined up the pieces around the neck area and the back wrap sections.

I clipped the curves and turned it right side out.

I top stitched as shown below. I also sewed the hem on the sleeve openings.

Finally, I sewed the front to the two back and finished the seam with a zig zag stitch. The final step was to zig zag the edge and turn the bottom hem.

Finished Gowns

The gowns looked like this in the front…

…and this is the wrap and tie on the back.

I decided to use one section of the lace border and a few of the buttons to dress up the fronts.

The gown on the left is the small, the one on the right is the extra small. I’m very pleased with how they turned out. My next step is to visit with a nurse or someone from our local hospital to see if these gowns could be useful in their work. If not, I have some lovely doll clothes for my granddaughter! Next time I get bored, I think I’ll try to make a stuffed bear with some of the satin. Enjoy!

Please comment or email me directly at marykisner@comcast.net.

Grandma Ruth’s Mementos of Valentine’s Day 1933

Growing up, I had heard my mother share stories about her experiences being assigned to a rural one-room school for the 1932-33 school year. She had graduated from high school in 1930 and went on to get a teaching certificate. It was definitely a culture shock for her. She grew up “in town” with many conveniences of the times…like indoor plumbing and central heating (probably coal).

Ruth Lowry 1930.

Besides having to live with a nearby family, she had to walk a distance to the school, start a fire in the stove, do general maintenance for the school building and get the classroom ready for 23 students from grades 1-8. The living experience by itself was new; then she had the challenges of her first year of teaching! she was a small, shy woman…barely 5’4″ tall. The older students (boys especially) were tough farm kids who often did not want to be there. Learning to teach a class of mixed ages was a challenge in the first place. Over the years she would share little tidbits of experiences that wore her down by the end of the year. She taught only one year!

A sample classroom in a one-room school.

From my memory of her stories, the whole year was a traumatic experience for her. Recently, I was going through a small photo album of hers from that time and saw a photo of that class. Her note on the picture says it all!

I also came across a box of valentines she had saved from that year…very interesting collection! Most of the valentines were signed politely on the back with “To Miss Lowry” and signed with a full name, many in neat cursive writing! Maybe by February 1933 things had settled down in her classroom!

I thought you might like to see how clever some of the valentines were:

#1 Front
#1 Inside
#1 Back
#2 This one came flat…
#2 …and opened to be three-dimensional!
#3 This is signed by Gertrude Lee. She was Ruth’s best friend all through high school.
#3 Back
#4 Front
#4 Back. Maybe this one came from my dad who was teaching at a different one-room school in the area??
#5 Front
#5 Inside. No signature.
#6 & #7 Front
#6 & #7 Inside
#6 & #7 Back

It’s been a long time since I bought a box of valentines for a whole class, but I suspect none of them have such poetic ways to say, “Be My Valentine!” I wonder if kids today could write poems like these? What a treasured memory of my mother! Enjoy!

Please comment or email me directly at marykisner@comcast.net.

Recycling a Wedding Dress Part 1

Sometimes potential projects fall into my lap and I can’t resist! A friend asked if I could do something with her daughter’s old wedding dress (thanks Peggy!). She had stored it for 15 years and the dress did not hold any positive memories for anyone. However, it did represent an investment in money, time and storage space. Of course, I agreed to see what I could do with the dress.

It arrived in its archival storage box, straight from her attic.

Before I opened the box, I spent several days researching my options. I found many possible projects on Pinterest using a wedding dress. However, most were special items to preserve the memories of the owner. For example, I found Christening dresses for the first baby, Christmas ornaments and even a lovely memory bear!

Those ideas were great if the dress was a special heirloom to the family. However, this particular dress did not hold any special memories for me or the family…it was basically a beautiful dress with lots of material that could be recycled into something else. I remembered hearing about recycling wedding dresses into tiny dresses for NICU babies that had not survived.

Recycling a Wedding Dress for NICU Babies

I started with the various charities who accept wedding dresses that are recycled into tiny dresses for NICU babies. Such a sad thought, but what a wonderful service! I was unable to talk with a real person, but the website, https://www.theangelgownproject.com had a complicated application process to submit a dress (a filled out application, all bows and ribbons removed, dress packed in the tiniest box possible and mailed someplace in the U.S.). They would not be able to acknowledge receipt of the dress or tell me what happened to it. It felt like I would be just shipping it to a landfill!

Then I discovered a number of organizations across the country that provide this service and encouraged local groups of seamstresses to get together and make them for their local communities. To help with this effort, I found many patterns available to freely download. I decided to make the tiny dresses myself. Once they are made, I’ll find a way to donate them to a hospital nearby.

Tiny dresses for NICU babies (from Pinterest).

Deconstructing the Dress

My first step was to get the dress out of the box…no small task! I thought children’s Christmas toys were wrapped up tight! The dress was clean but very wrinkled…except for the very front that showed through the plastic. I laid it out on the floor to get a feel for its design and decoration.

I unstitched the zipper carefully and removed it.
A total of 23 tiny buttons were sewn on top of the zipper, so I removed them. They could be used to decorate the tiny dresses.

I removed the lining in one large piece. Then I made two cuts down the sides of the dress to remove the train section of the dress. I wanted to leave it in one solid piece to preserve as much of the fabric as possible until I was sure what I was going to make.

Lots of edging lace and plain fabric in this section.

Now I have a huge pile of satin fabric with sections of lace, a huge pile of lining fabric, 23 lovely fancy buttons and a long white zipper! The fabric will need to be ironed and my pattern figured out. Look for that in Part 2, coming soon!

Let me know if you did something special with your family wedding dress…who knows, I may want to try some other things. Enjoy!

Please comment or email me directly at marykisner@comcast.net.

Quinoa Pasta Salad

After exploring my book on grains last week (see https://marykisner.com/from-the-bookshelf-the-splendid-grain/) I was motivated to give one of the recipes a try. Quinoa Potato Salad looked interesting but I wanted to try to make it gluten-free with pasta.

Here is the original recipe:

At the bottom of the recipe, it mentions a variation to use pasta shells instead of potatoes. I went to the grocery store to see if I could find some gluten-free pasta and of course, some Quinoa. I was able to find this interesting pasta made with chickpeas! Who knew there was such a thing!

The above list of ingredients show the amount of protein, fiber and net carbs in the whole box. Below is the list for an individual serving.

I was also able to pick up some Quinoa, but then I found this package on my shelf and thought I’d better use it first.

This was a good choice to save time…and dishes. All I had to do was open the two tubs of Quinoa and dump them into the bowl. I also needed celery, pickle relish and my vegan mayo.

First, I boiled the pasta. It cooked in only 8 minutes but certainly made a lot of foam!

The pasta kept it shape well…sometimes gluten-free pasta turns mushy.

I added the pasta to the bowl of quinoa and added the celery and a tablespoon of pickle relish.

Then I added my mayo and a little mustard, salt and pepper (I forgot to mention those items!)
Salad ready to chill.

Actually, warm the salad tasted OK…chilled will be better. I think it will be a new way to make a nutritious pasta dish. Enjoy!

Please comment or email me directly at marykisner@comcast.net.

From the Bookshelf: The Splendid Grain

Inspiration to expand food choices can come from many places. In my case, my nutritionist suggested I eat more whole grains…but less wheat! In my small world that means rice and maybe oatmeal. No problem. However, today I was in the mood for a broader definition of “grains.”

I’d like to share a well-loved book that I’ve had on my shelf for almost 20 years. It has been helpful in reminding me about the other grain choices I have to choose from. This book, The Splendid Grain, by Rebecca Wood (1997), has been inspiring me to explore other grains for years. There does not seem to be a more up-to-date edition but it is still available on Amazon.

The book is not full of beautiful color pictures (although there are a few of various recipes). Most of the pictures of the grains are black and white. Most of the grains are familiar to me by name, but I wouldn’t know what to do with them. This book gives a great overview of each grain, where it is grown and a few recipes using it. The Table of Contents shows how the grains have been arranged by showing where they came from:

Here are just a few of the grains that I found interesting and will work on incorporating into my menus.

Wild Rice

The author has arranged the grains as shown above, beginning here in the Western Hemisphere and following the sun around the globe. Wild rice is the only truly North American wild grain that’s commercially available. More that 80% of the available wild rice is commercially grown, mostly in California. This hybrid variety is selected for responsiveness to fertilizers, herbicides and insecticides as well as for ease of mechanical harvesting. The wild rice grown in the Great Lakes region, on the other hand, has adapted over thousands of years to the specific lake or river and is often hand harvested from small boats. Each variety has its own unique flavor. I think the story of where it comes from encourages me to use it more often.

Quinoa

Quinoa has the highest nutrition profile of all grains and is the quickest to cook. According to the United Nations World Health Organization, Quinoa is closer to the ideal protein balance than any other grain. This alone makes it worth figuring out how to cook it. Steamed like rice it’s a quick addition to any meal. Ground into flour, it can enhance the protein content of your baked goods.

This book also provides an assortment of recipes using each grain. I found this one that looked interesting…Quinoa Potato Salad. I’ll have to give it a try.

Oats

Oats thrive best in a cold climate. They were probably first established in Central Asia and made their way to Europe. They have always been used primarily as livestock food, and in fact about 90% of all oats grown in the U.S. is used for animal feed. Over the years the popularity of oats in breakfast foods has grown. I often add rolled oats to my favorite bread recipe because it gives a nice flavor and reduces the amount of wheat flour in the bread. I found the recipe below using oats that I think I’ll try:

Tef

Another grain that I find interesting is Tef. This tiny cereal grain is grown in the mountains at the source of the Blue Nile. Tef is integral to Ethiopian culture. This tiny grain was almost unknown outside Ethiopia until the 20th century. It is nutritionally superior but is a labor-intensive crop. I have found a source of Tef at https://www.bobsredmill.com/ but I am unfamiliar with the foods and recipes from Ethiopia. I’d like to try it if someone else would cook it properly.

Sources of grains

Many of these grains like wild rice and quinoa are available at our local health food store. With grains like Tef or amaranth I think your best bet is to go online a find a good organic source to experiment with. There is a list of Mail Order Sources at the end of this book, but considering it was published 20 years ago, I suspect they may have changed and there may be others. Try searching again to find new sources.

I found this book to be a good reminder that I can cut back on wheat and still have whole grains in my life. This is a good resource to have on the shelf. Enjoy!

Please comment or email me directly at marykisner@comcast.net.