It appears that a link is not working in WordPress that shows my blog entries in some consecutive order. The Welcome page seems to load just fine, but when I try to go to the menu and select “Blog” it says “Oops, can’t find that!” Grrr. However, you’ll notice the list of the most recent 10 posts I’ve written is on the right.
If you have subscribed to my blog, you will be taken to the correct entry. If you come to my website through Facebook, I always provide the correct link to the article I just wrote. If you come to the Welcome page you’ll see a list of the most recent 10 posts I’ve written.
I have also updated the PDF that is a complete list of everything I’ve written with hotlinks to each article. That can be downloaded from the Welcome Page and also below. Over the last four and a half years, I’ve posted 434 articles. It might seem tedious to search, but I didn’t think I’d have so much to write about! Now, I just need to get out the manual and figure out what happened to the link to the “Blog” button! In the meantime, check out the list of the last 10 posts and the PDF below. If any link doesn’t work, it’s probably a typing error. Let me know…THAT I know how to fix! Enjoy!
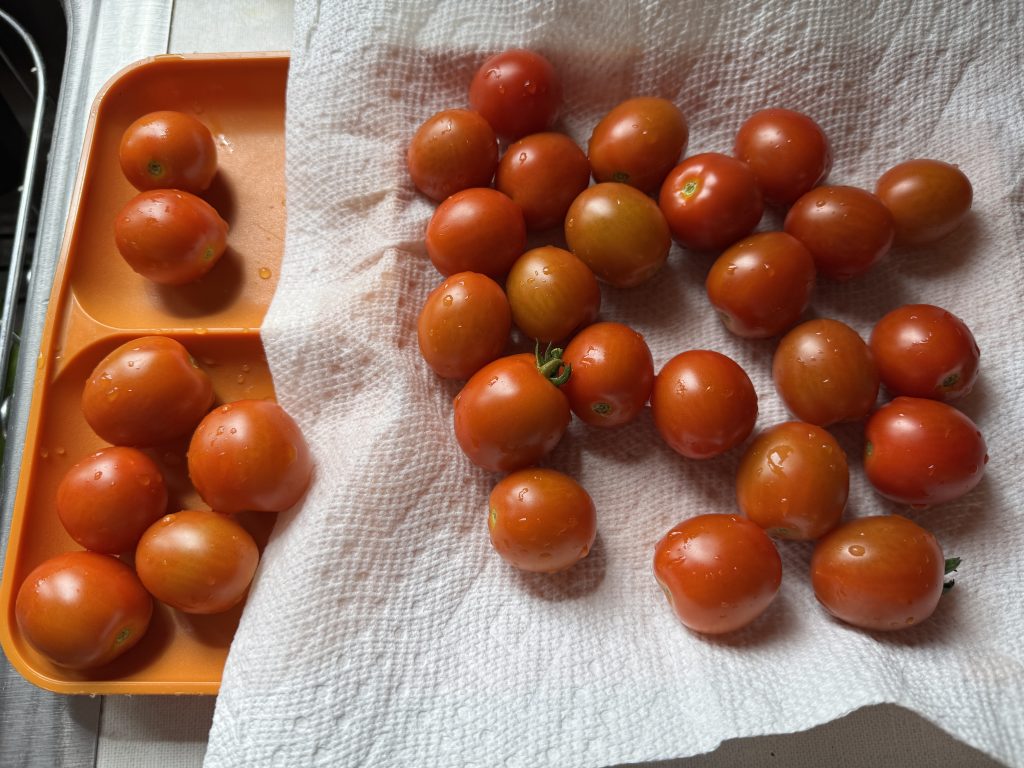
Tomato season is just getting started and most of the ones we’re eating are the small “Raindrop” tomatoes
We had 3 regular tomatoes from the garden turn red, but each had a blemish that would need to be cut out. Then, Bert came home from camp with 4 tomatoes each in a plastic shell. They looked great but I knew they weren’t local and fresh. While we were eating the small tomatoes, I knew we’d ignore the big ones until they spoiled on the counter!
I wondered how hard it would be to make a small batch of tomato soup…I had a memory in mind of a lovely bowl of tomato soup my mother had made…MANY years ago. Somehow, the cans of condensed tomato soup just didn’t taste like my memory!
First, I looked up the recipe for “Fresh Tomato Soup” in my Joy of Cooking cookbook.
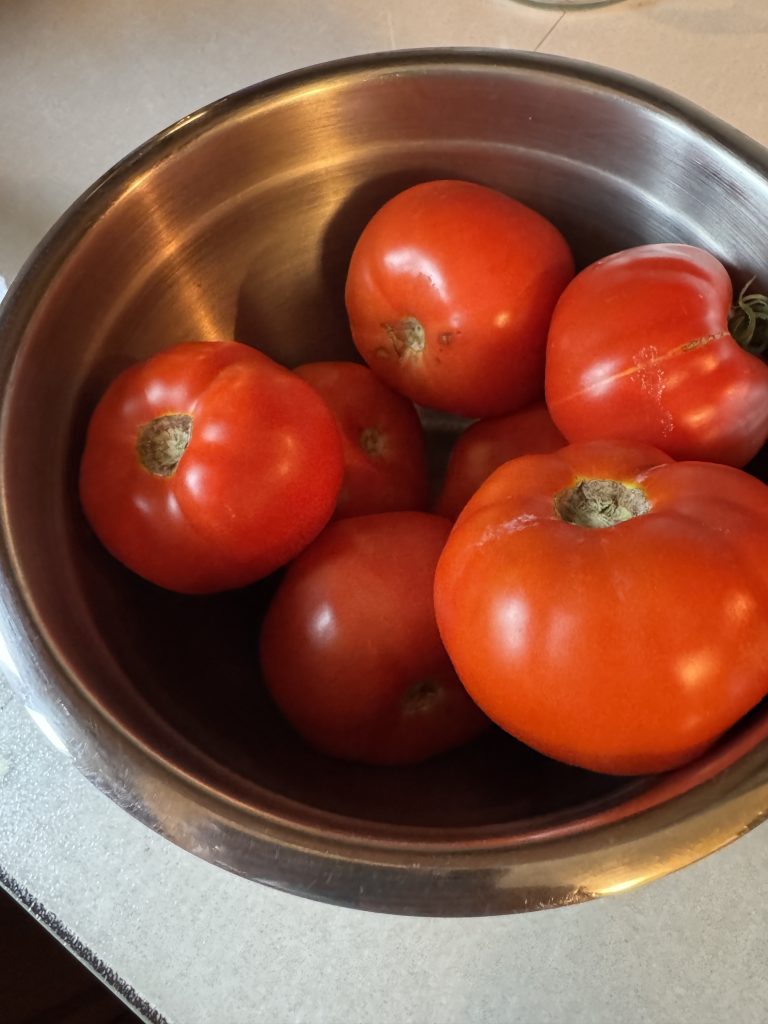
Sounded like the same procedure when I cook tomatoes in preparation for canning. I even had a fresh onion from the garden. I took the 7 tomatoes I had on the kitchen table and weighed them…almost 3 pounds! Good Enough!
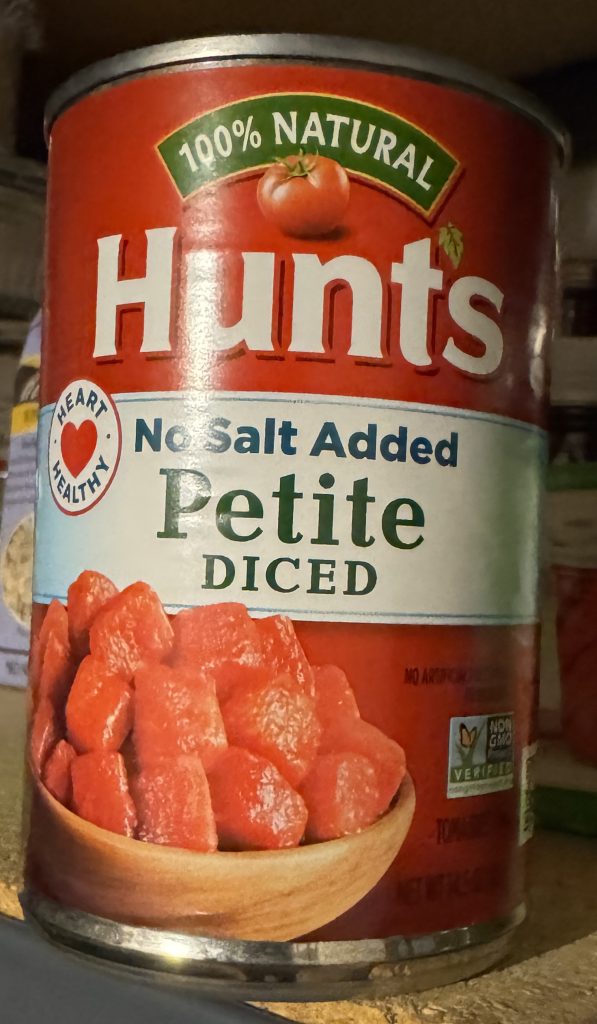
NOTE: You can skip all the instruction below about preparing the tomatoes and just use several cans of diced tomatoes. Keep reading!
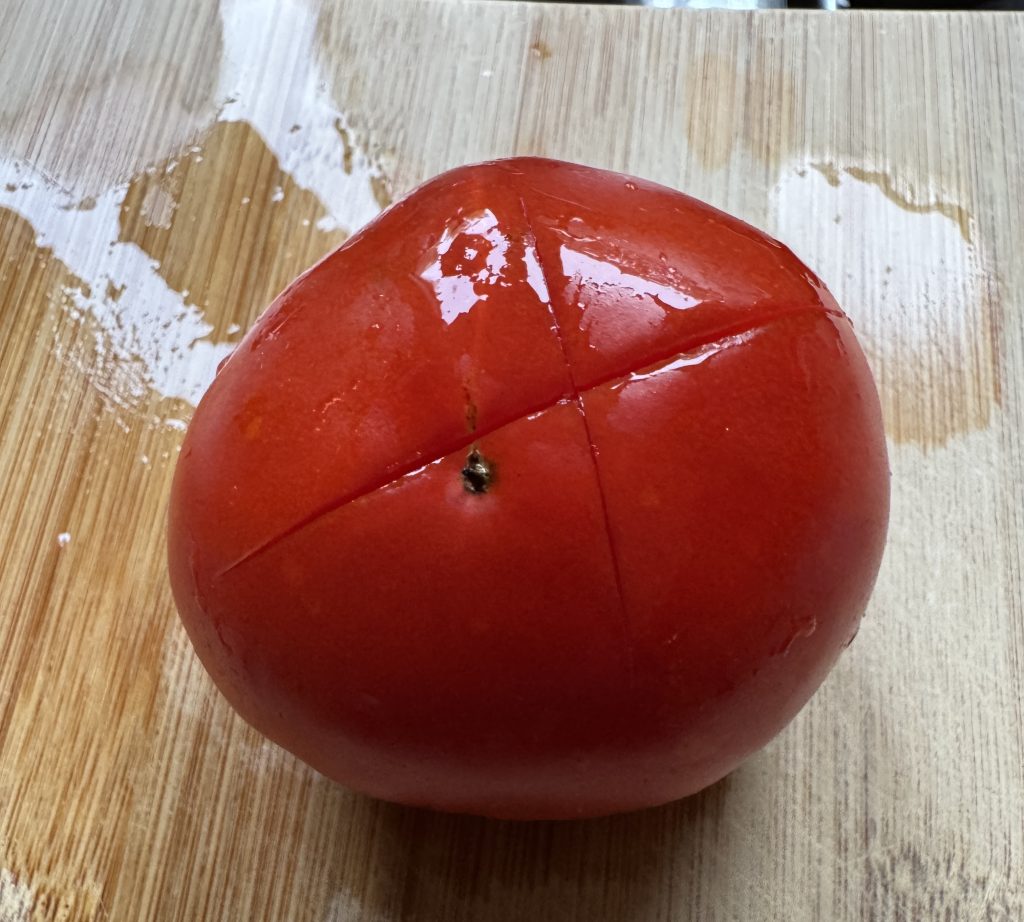
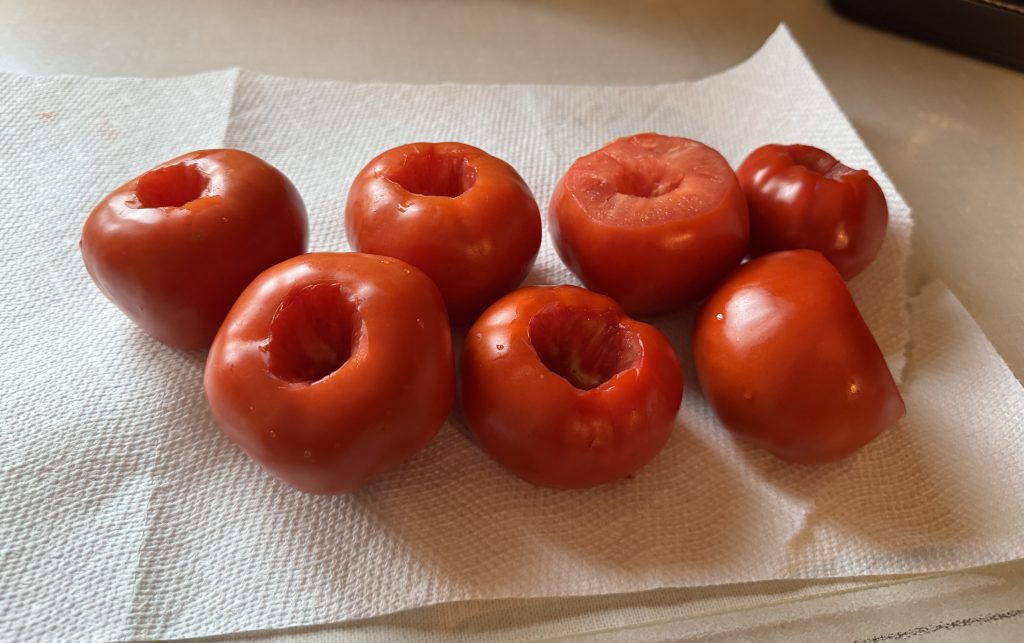
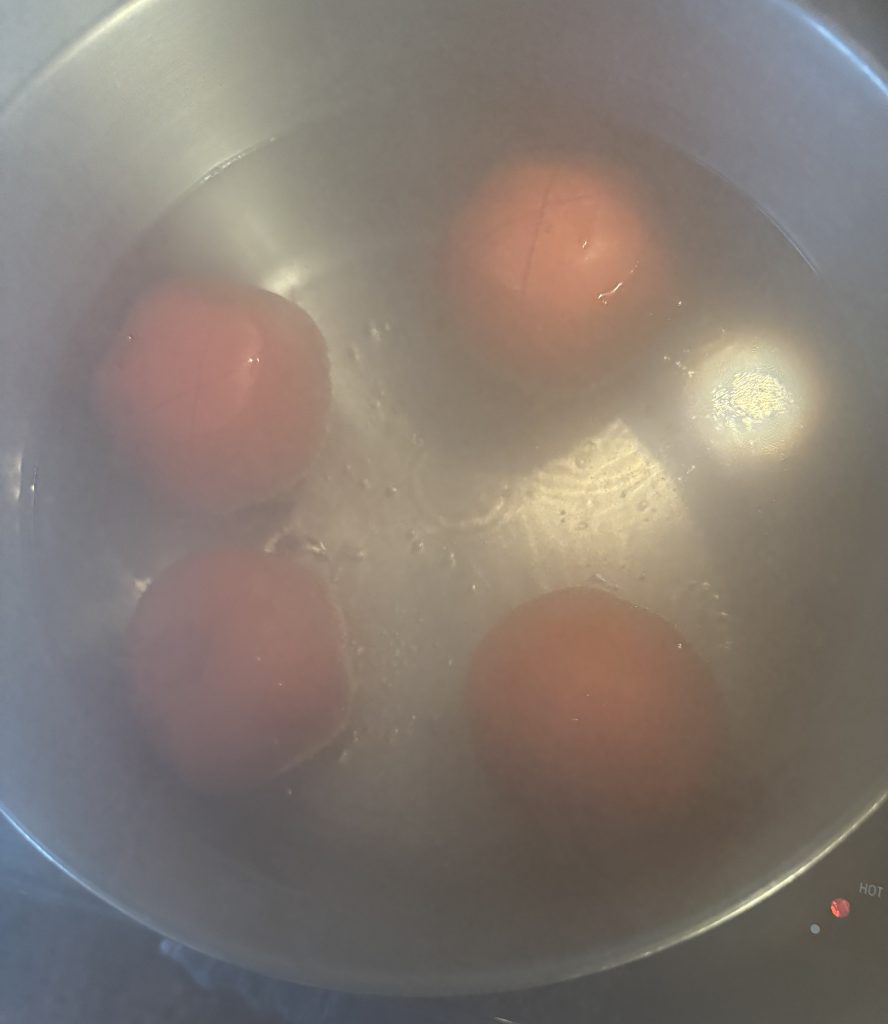
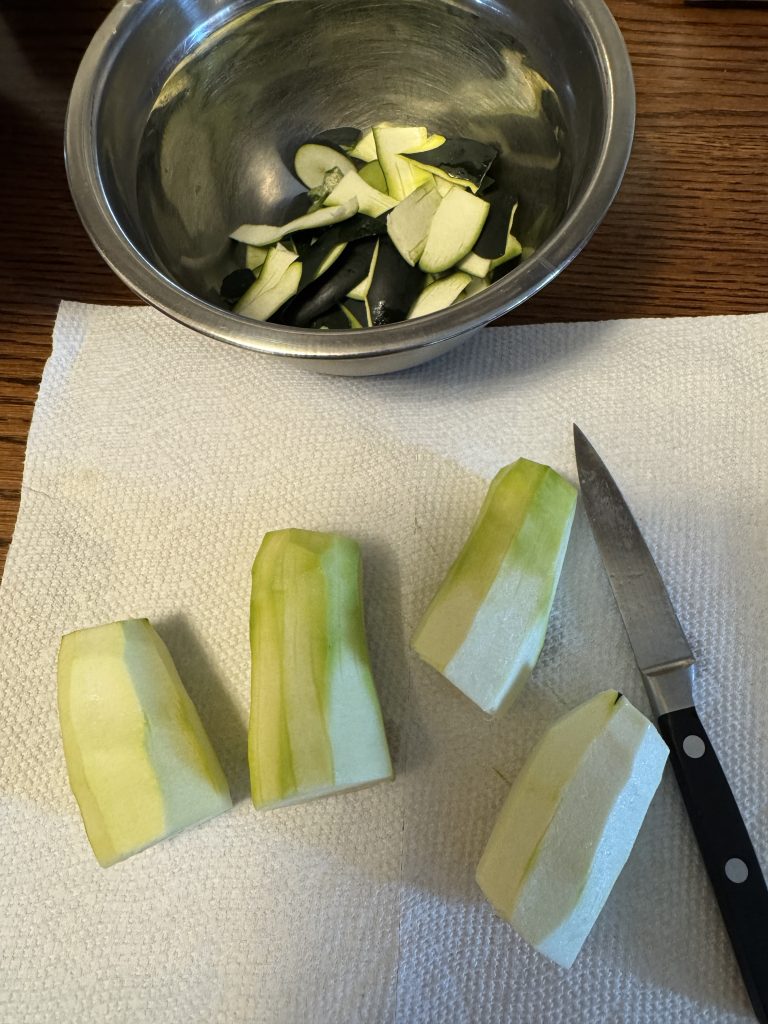
Next, each tomato needed to be trimmed and blemishes cut out. I cut an X on the bottom of each one. I got a pan of water ready to boil so I could dip each tomato into the hot water. In one minute, the skins would loosen so they would be easy to peel.
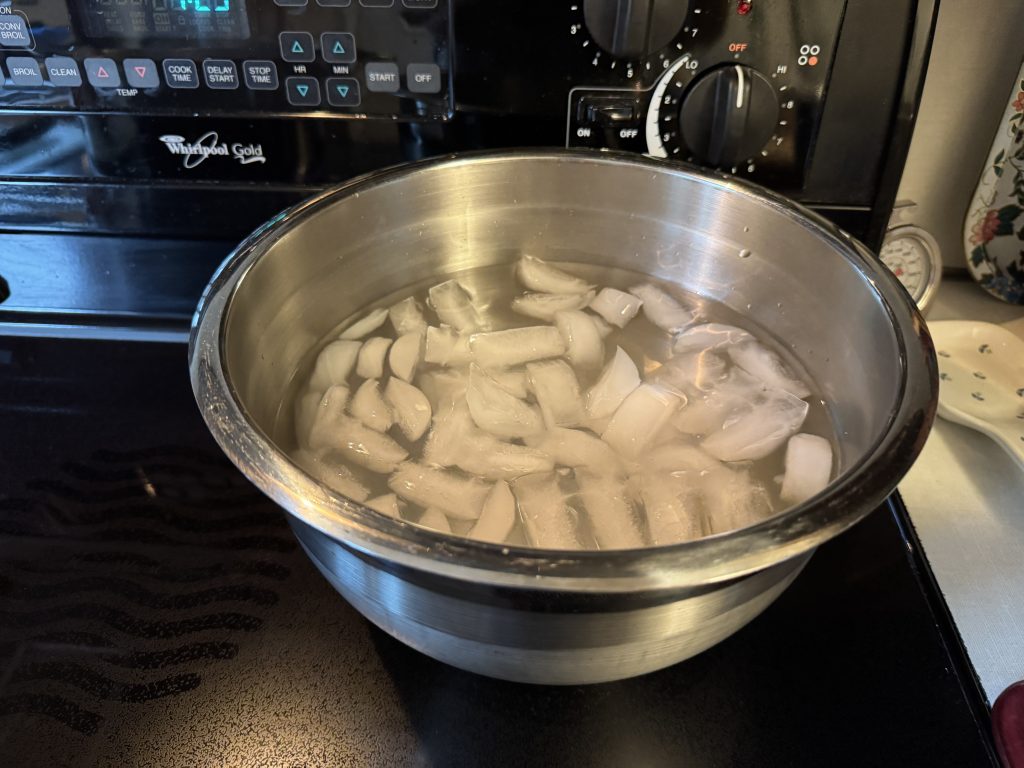
I lined the tomatoes up by the stove and put 4 and then 3 in the boiling water. After a minute I moved them to ice water. The skins were beginning to come off.
Of course, the steam clouded my camera!
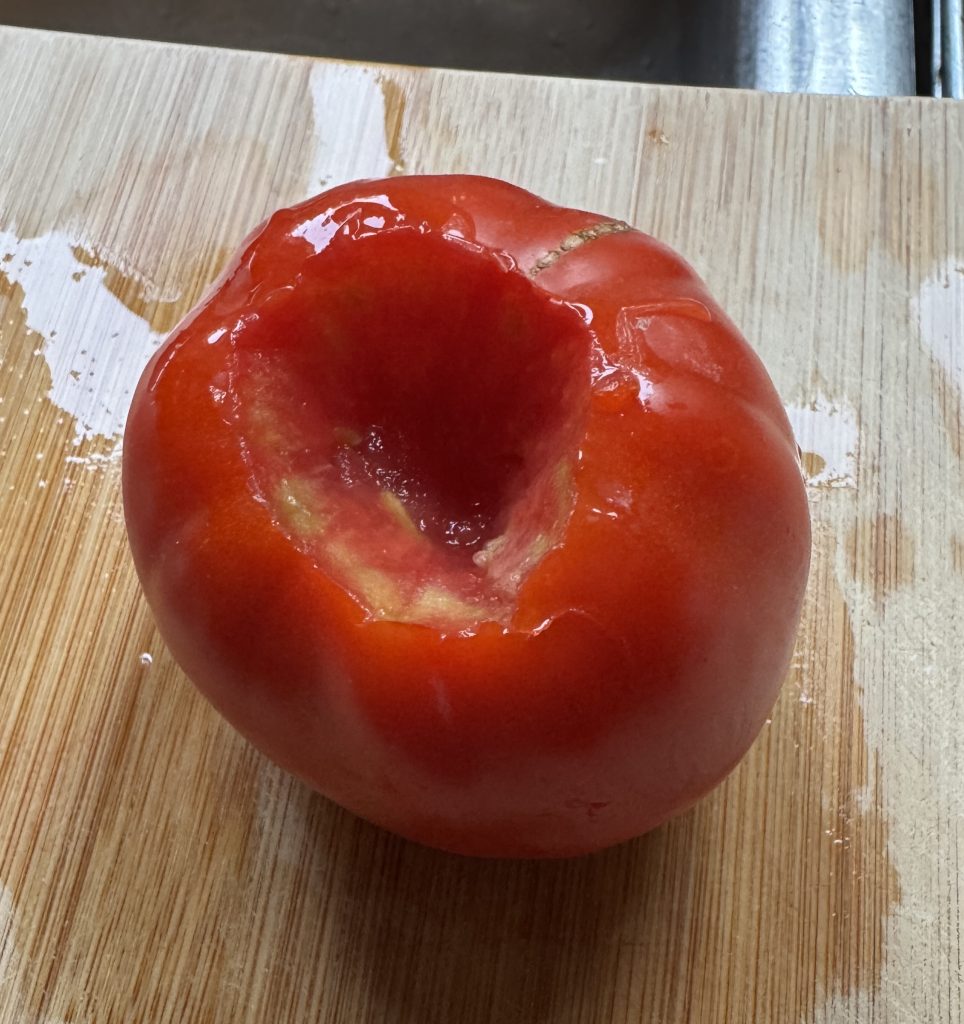
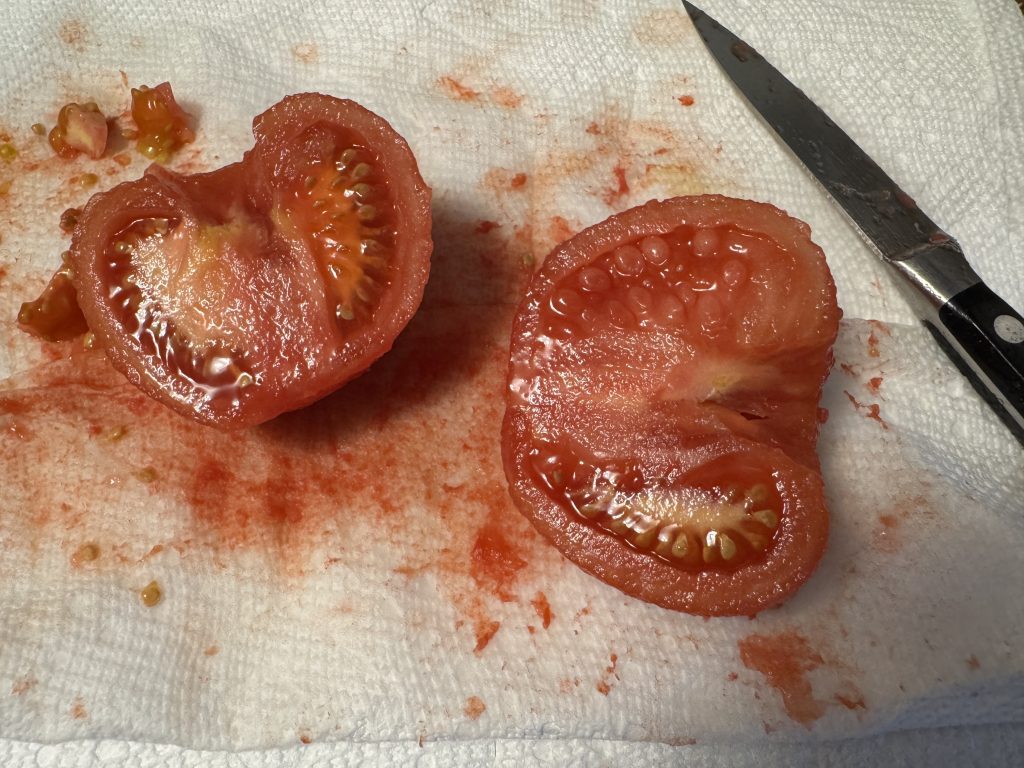
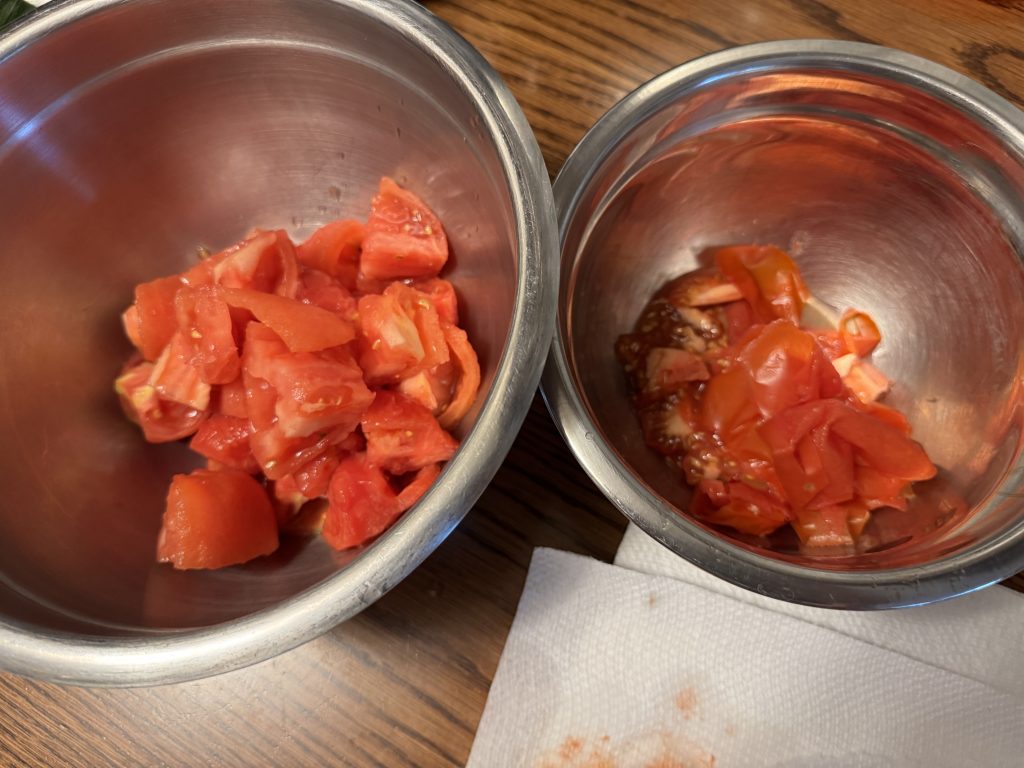
I noticed the recipe said to remove the seeds. It wasn’t hard to just get rid of the seed pocket in the commercial tomatoes. Our tomatoes had hardly any developed seeds!
NOTE: If you have no interest in starting with fresh tomatoes, I think you could easily begin with a few cans of diced tomatoes and jump down to the step below that has the diced tomatoes cooking with chopped onion and go from there!
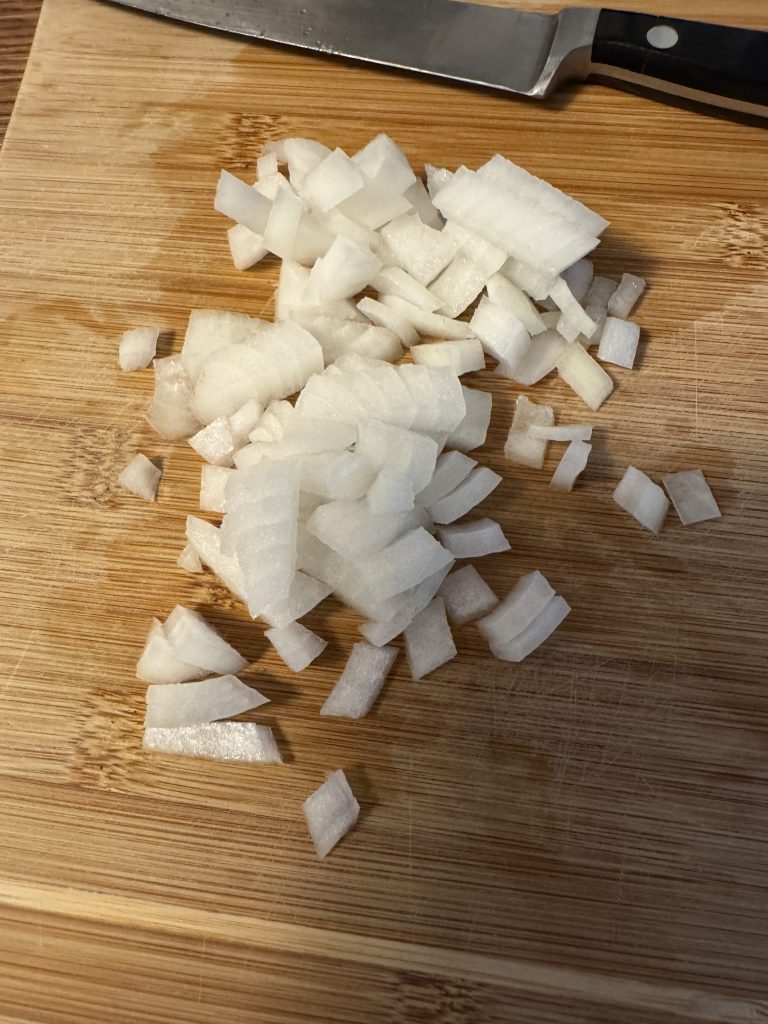
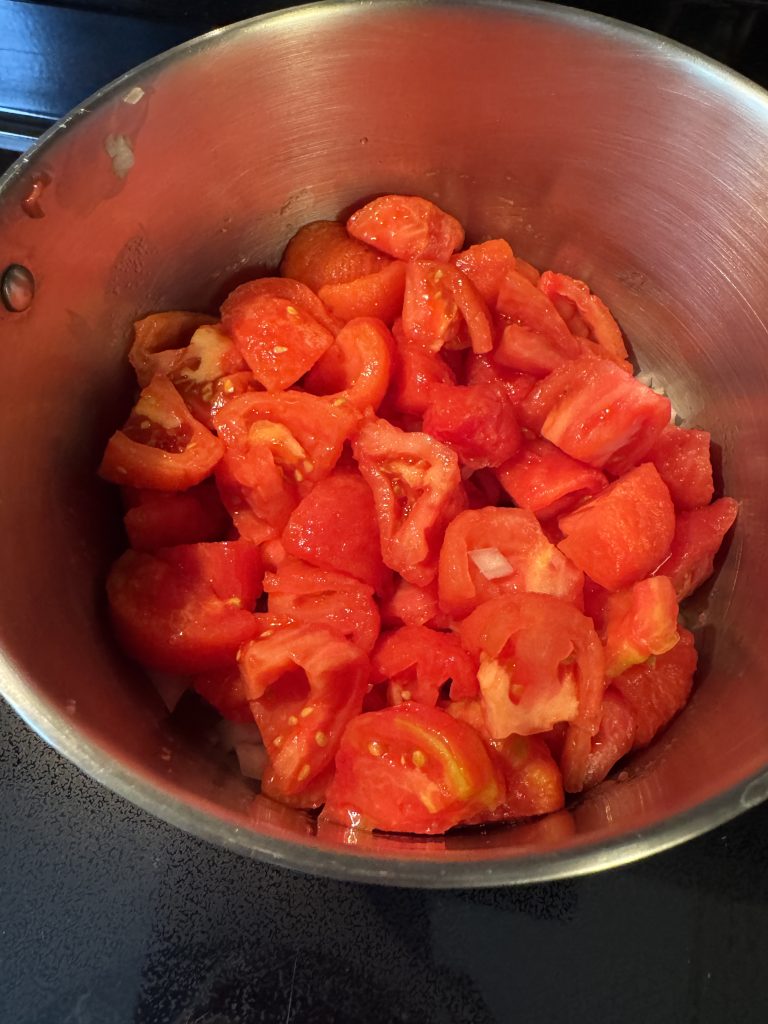
I had the onion ready to put in the pot with the cut tomatoes and simmered them on the stove.
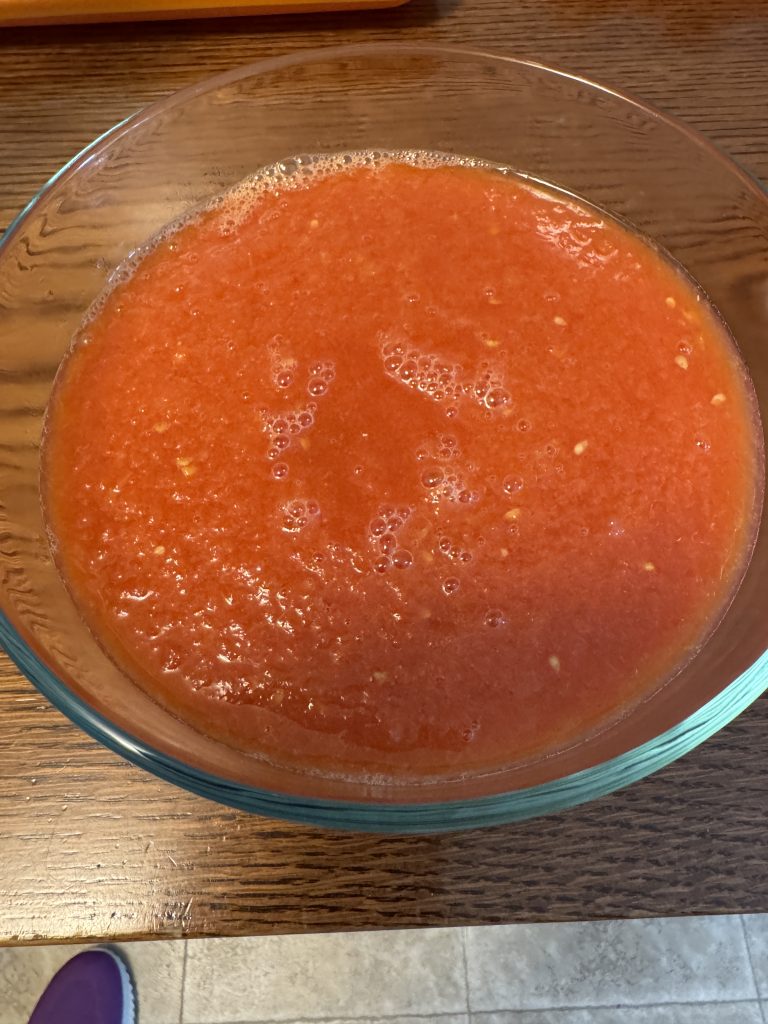
After about 45 minutes everything looked pretty soft. I poured the whole pile into the blender and in less than a minute there were no chunks! Of course, I poured the pureed tomatoes/onions from the blender into a container before I took a picture of the blender! I put this container in the refrigerator until lunch time.
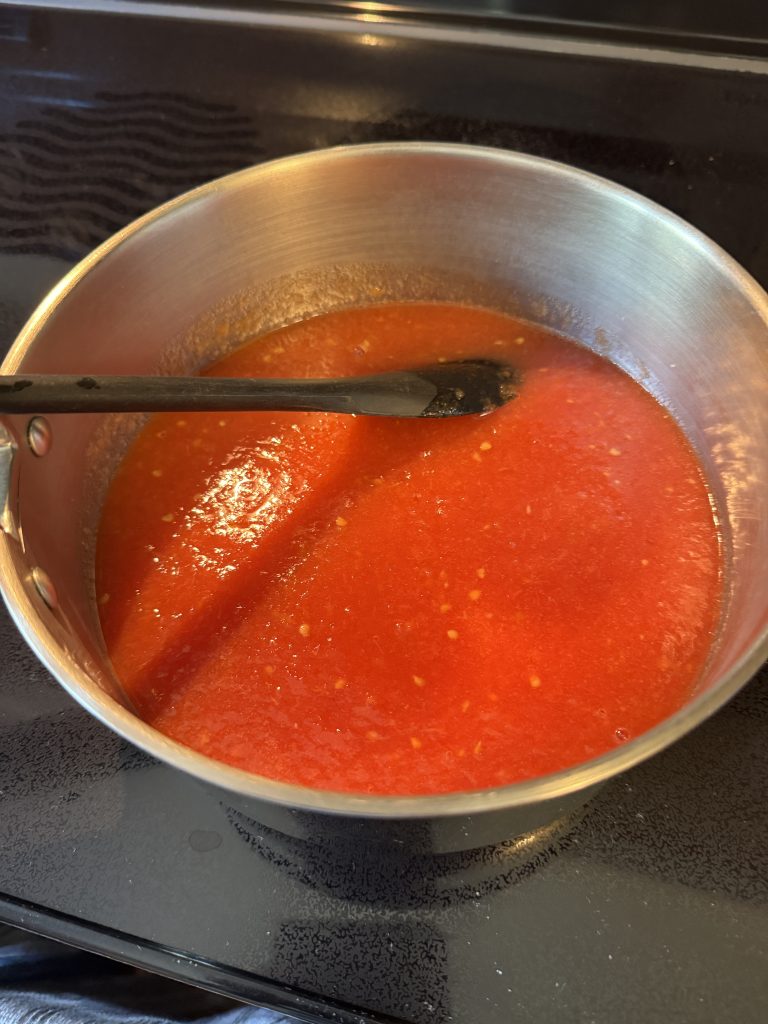
When it was time for lunch, I put the cooked pureed tomatoes/onions into a saucepan and started warming them up.
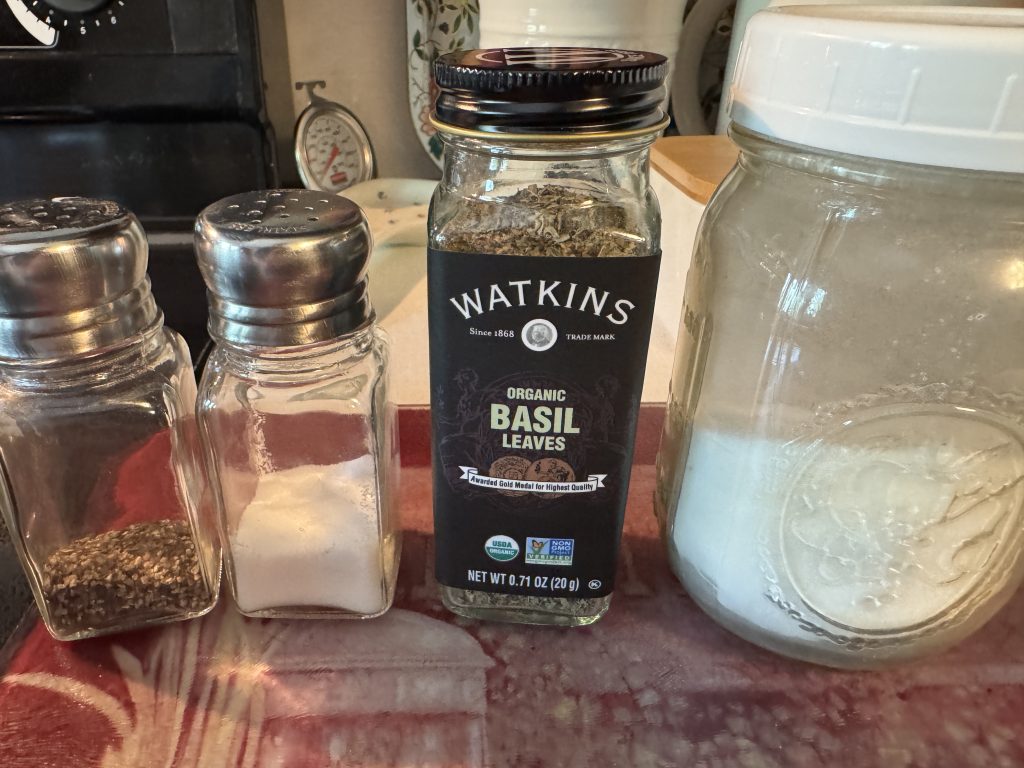
I added about a tablespoon of sugar, a teaspoon of salt, a sprinkle of pepper and a teaspoon of Basil flakes. I let this simmer about 10 minutes. Finally, I added about 1/4 cup of coconut milk. Bert added additional regular milk to his bowl.
Very tasty!!
I know it seems like it was a lot of work, but if I’m cooking tomatoes anyway, why not make a good meal out of them while I’m cooking! Even if you start with plain canned diced tomatoes, it will end up tasting pretty good! Enjoy!
ps. Just for fun, I looked up the ingredients in Campbell’s Condensed Tomato Soup. The serving size was 1/2 cup and was 90 calories! Here’s the ingredient list for that can of soup: Tomato Puree (Water, Tomato Paste), Water, Wheat Flour, Sugar, Contains Less Than 2% Of: Salt, Potassium Salt, Natural Flavoring, Citric Acid, Ascorbic Acid (Vitamin C), Celery Extract, Garlic Oil. Contains: Wheat.
I think my soup tasted just fine without the wheat and “natural flavoring!”
If you have comments or questions, please contact me directly at maryjkisner@gmail.com.
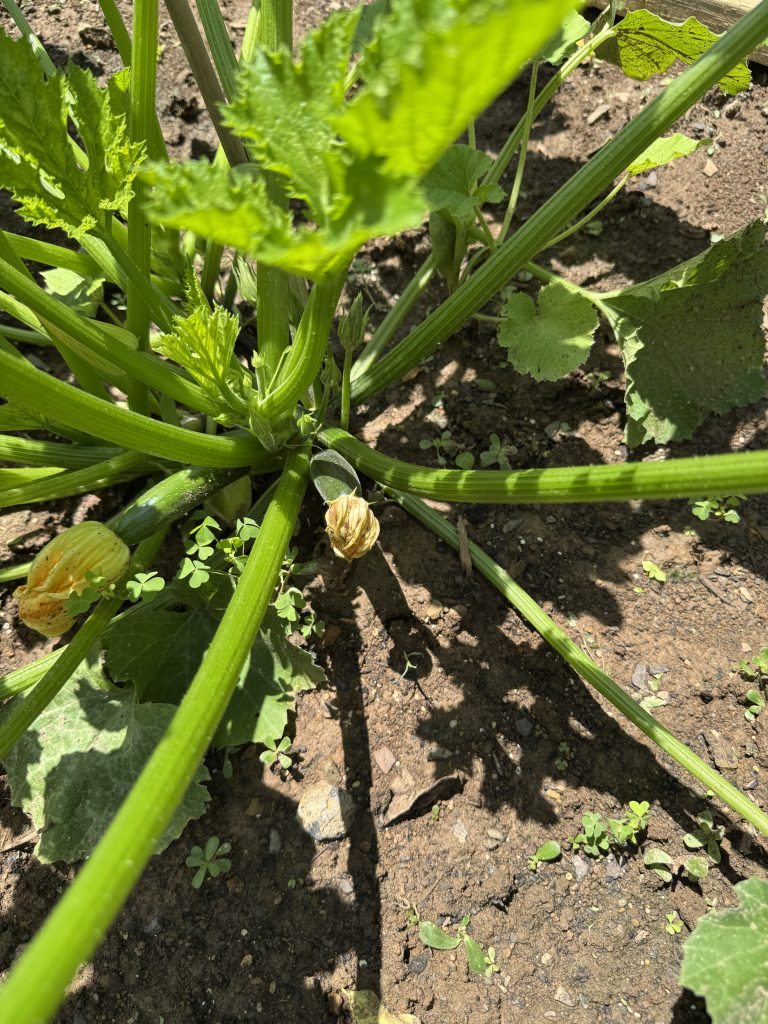
Just as I was babying along the first precious zucchini…surprise! We are now picking zucchini every day, with more on the way! Of course! Since I didn’t want to keep baking every day using only one to two cups of shredded zucchini in a recipe, it was time to start dehydrating the shreds.
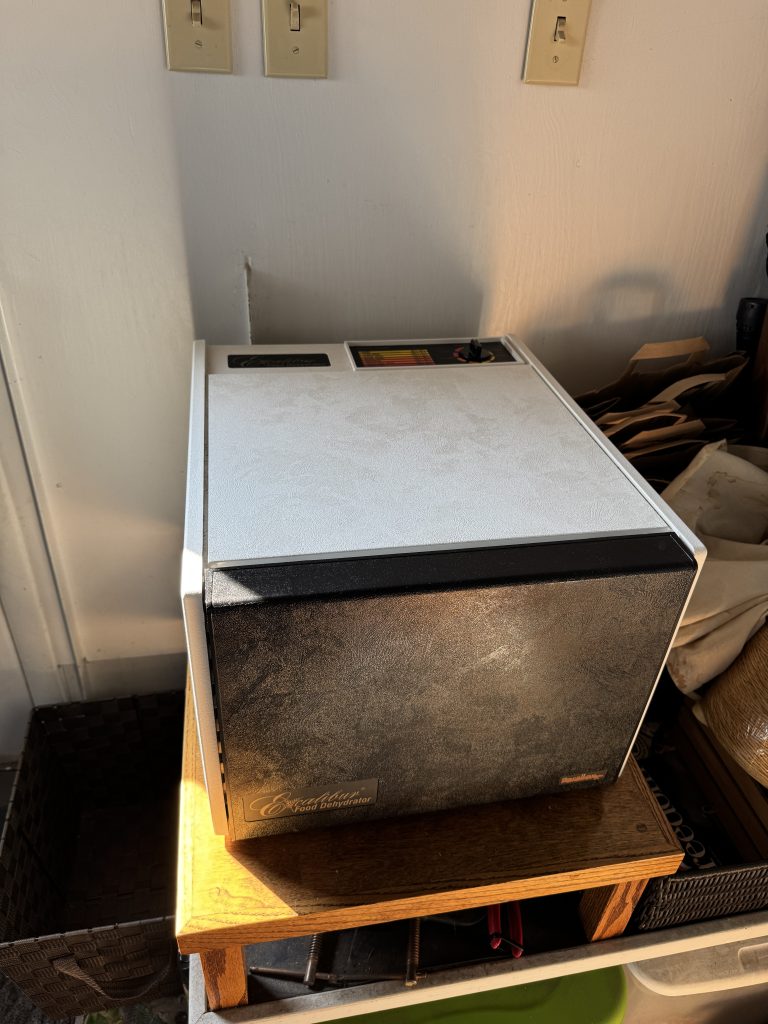
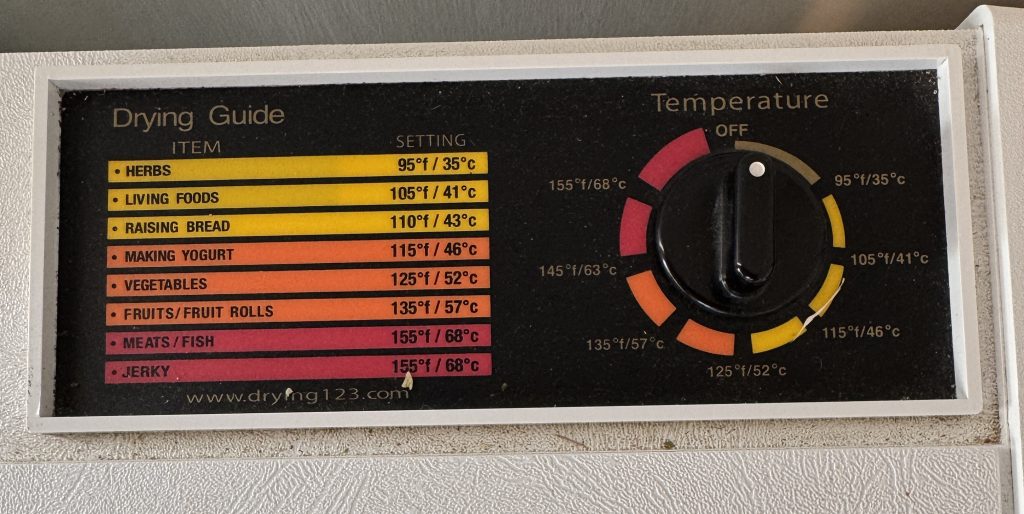
First, I got the dehydrator uncovered and ready to use. It sits right outside the kitchen door, covered in a cloth cover with a board sitting on top. That lets us stack things on top…like the mail or stuff that needs to be put away in the garage. When I need it, I just uncover it and it’s ready to go. When it’s running, the noise, heat and any food smells are not in the house!
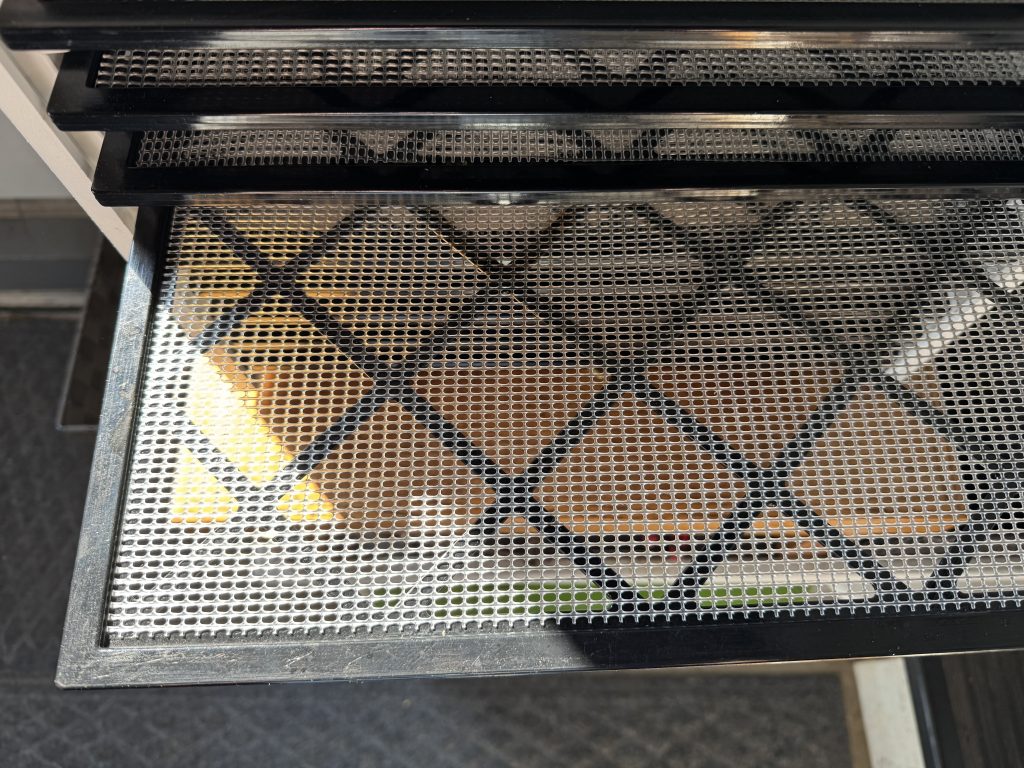
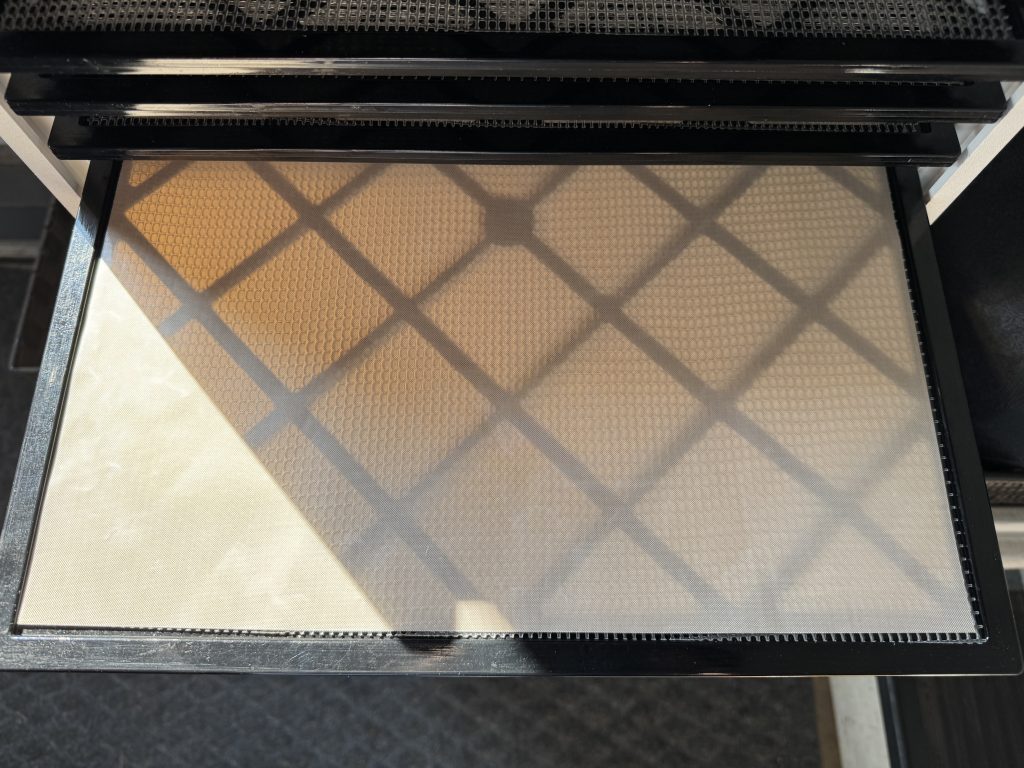
There is a set of plastic sheets to keep small items from falling through the grid.
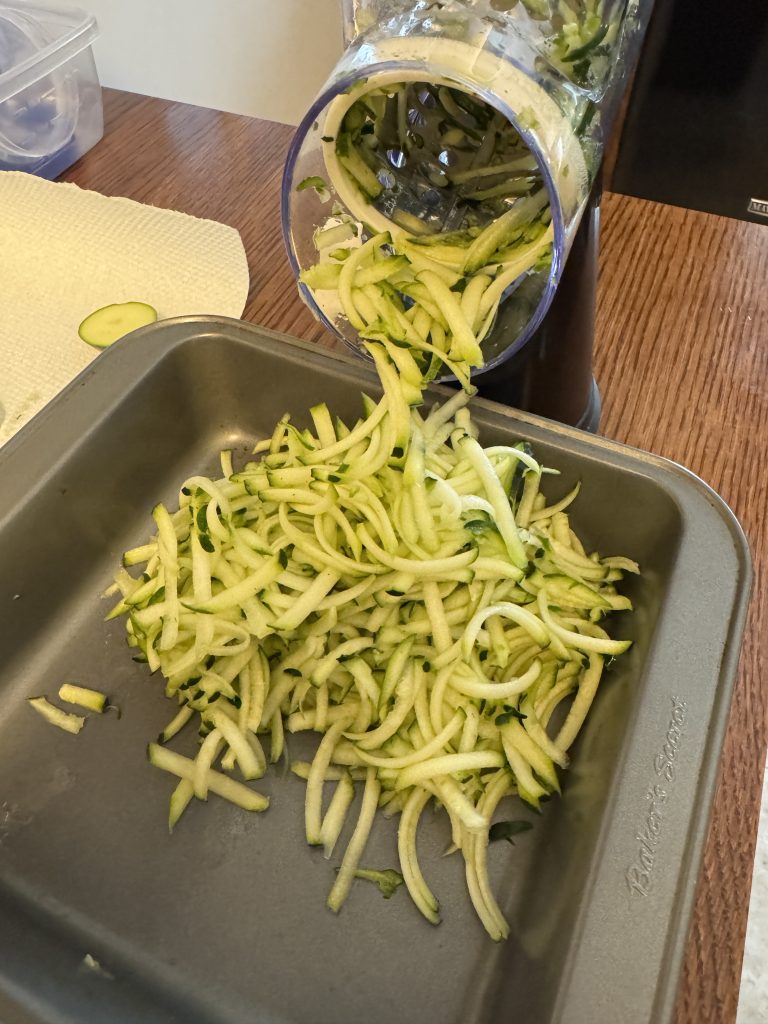
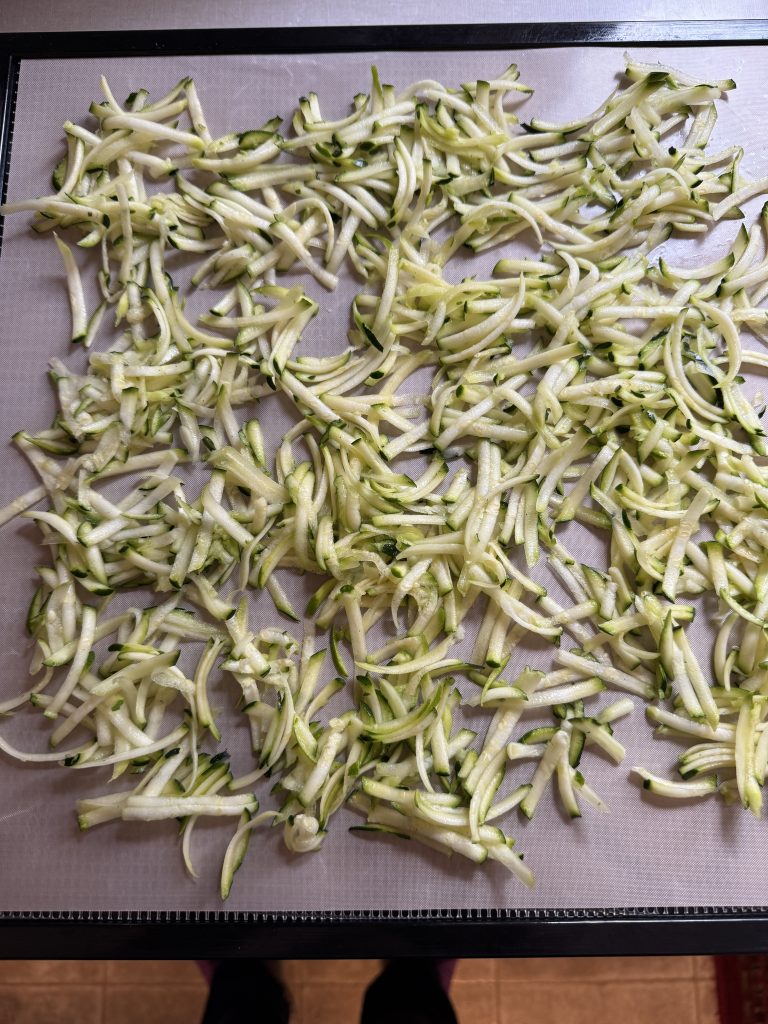
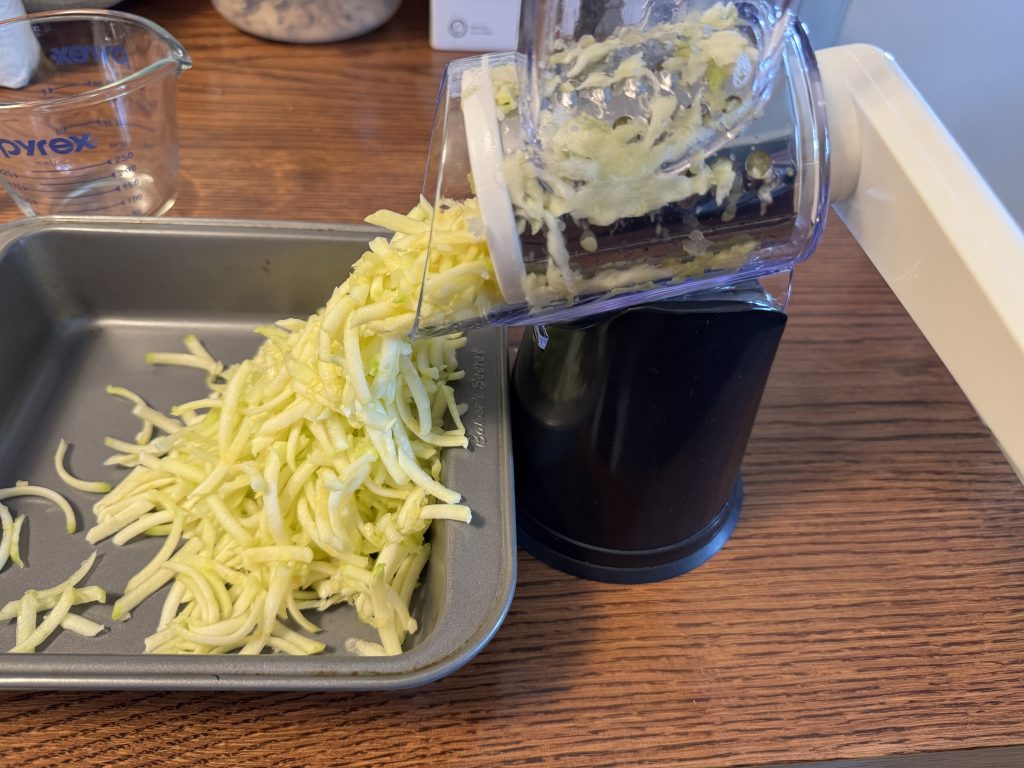
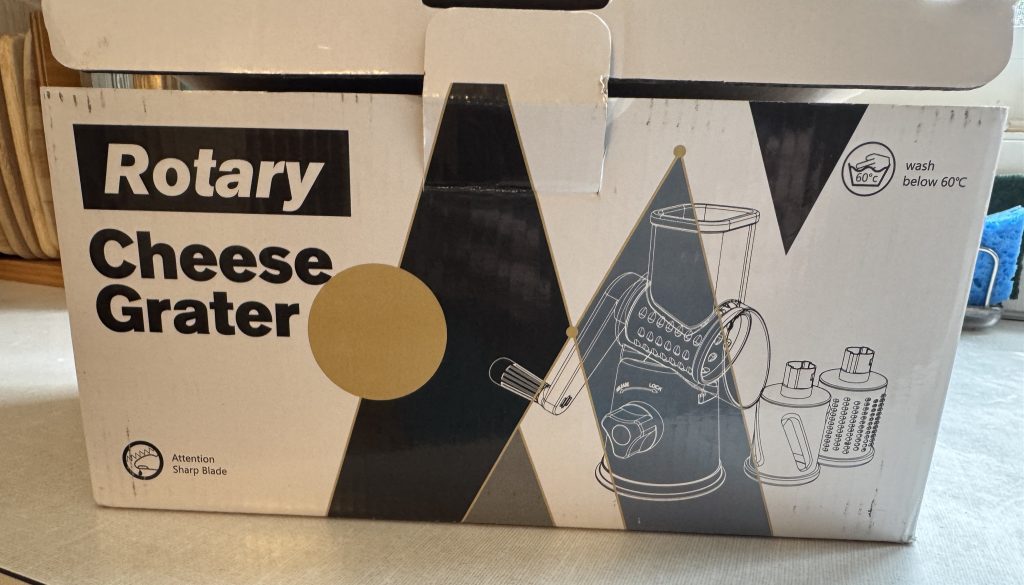
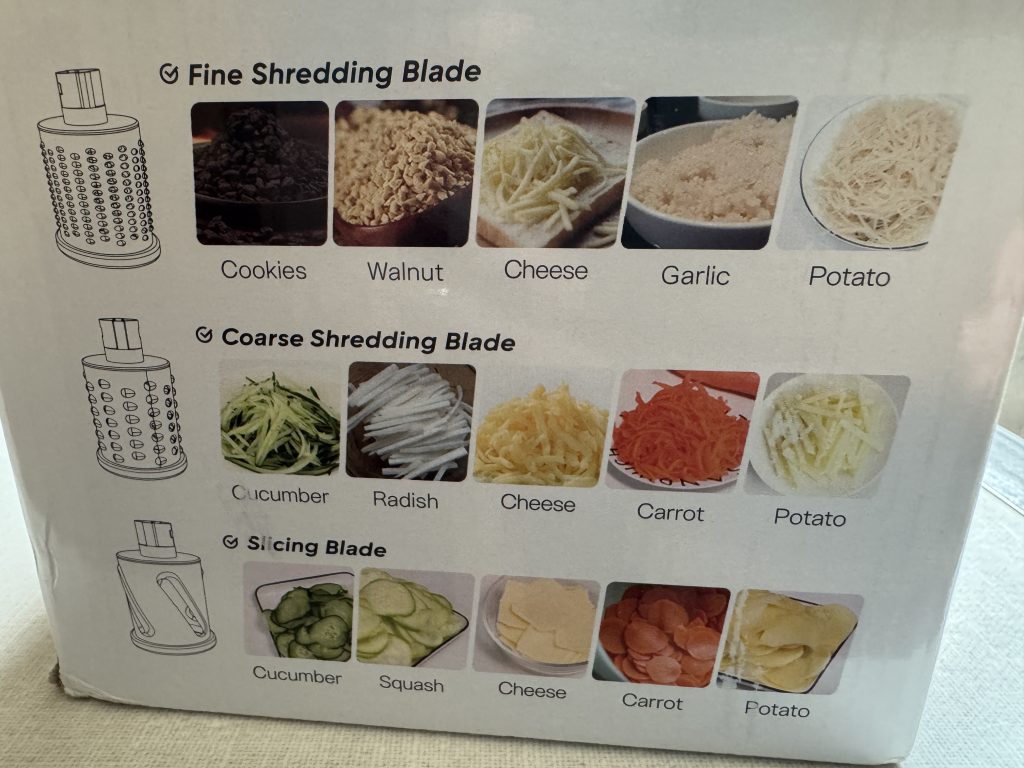
Next, I set up the shredder and starting shredding!
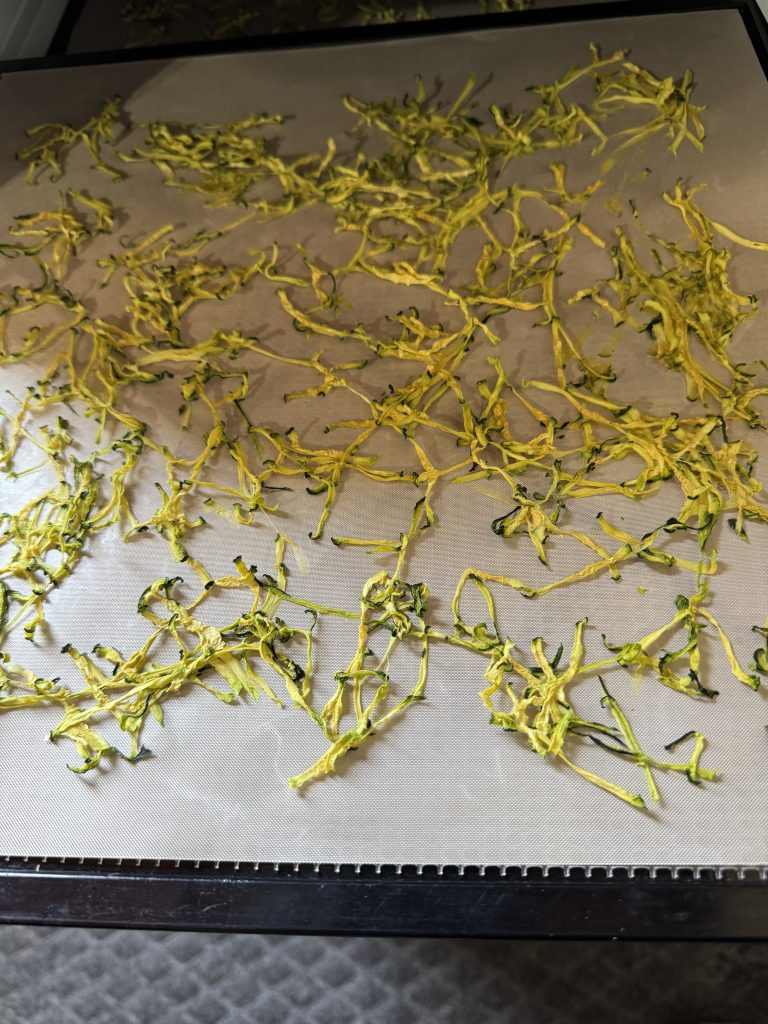
I spread the shreds on the dehydrator trays covered with plastic sheets. I set the dehydrator for 125 degrees (Vegetables) and left it alone for about 6 hours.
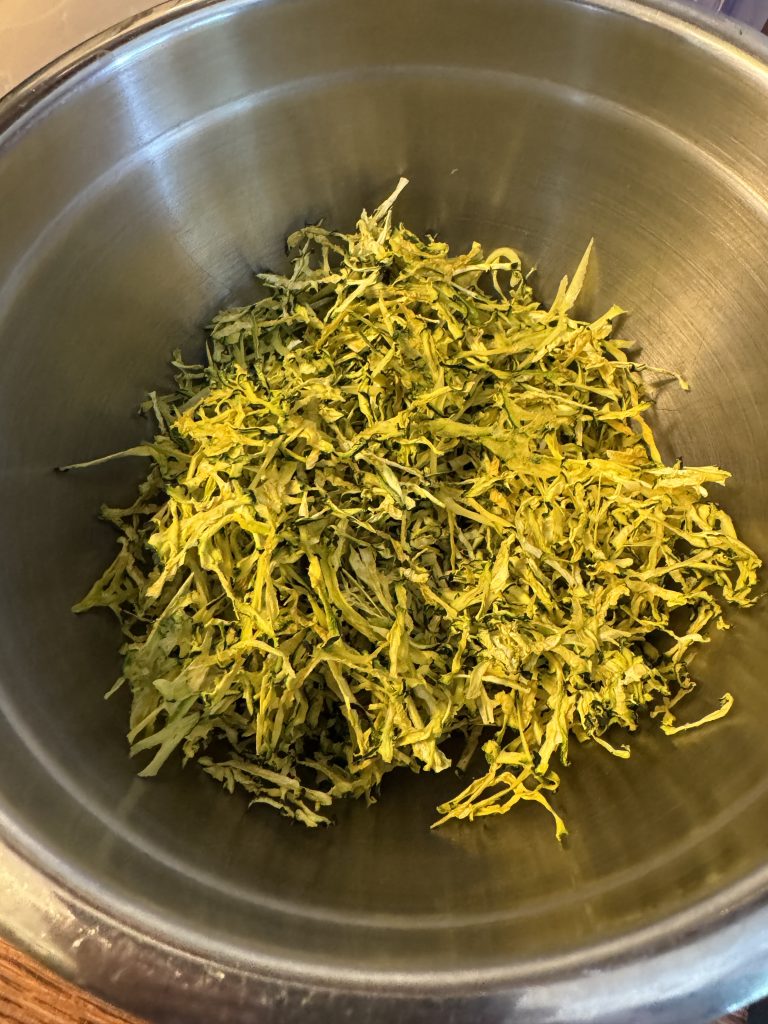
One cup of shredded zucchini makes about 1/4 cup of dehydrated shreds.
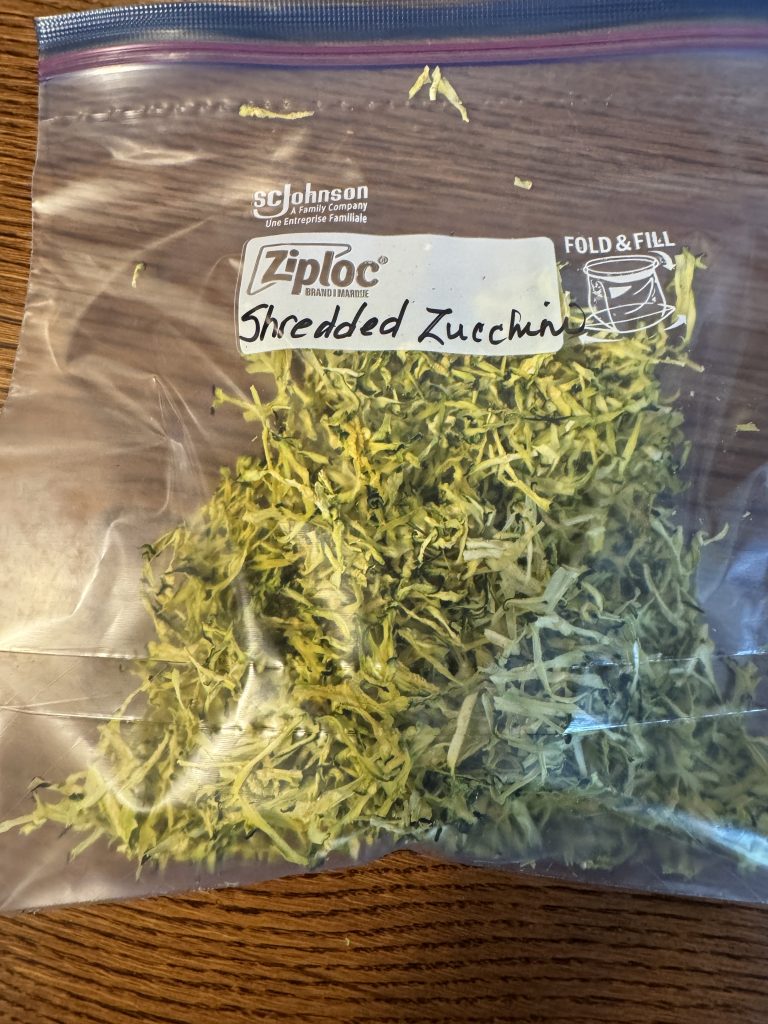
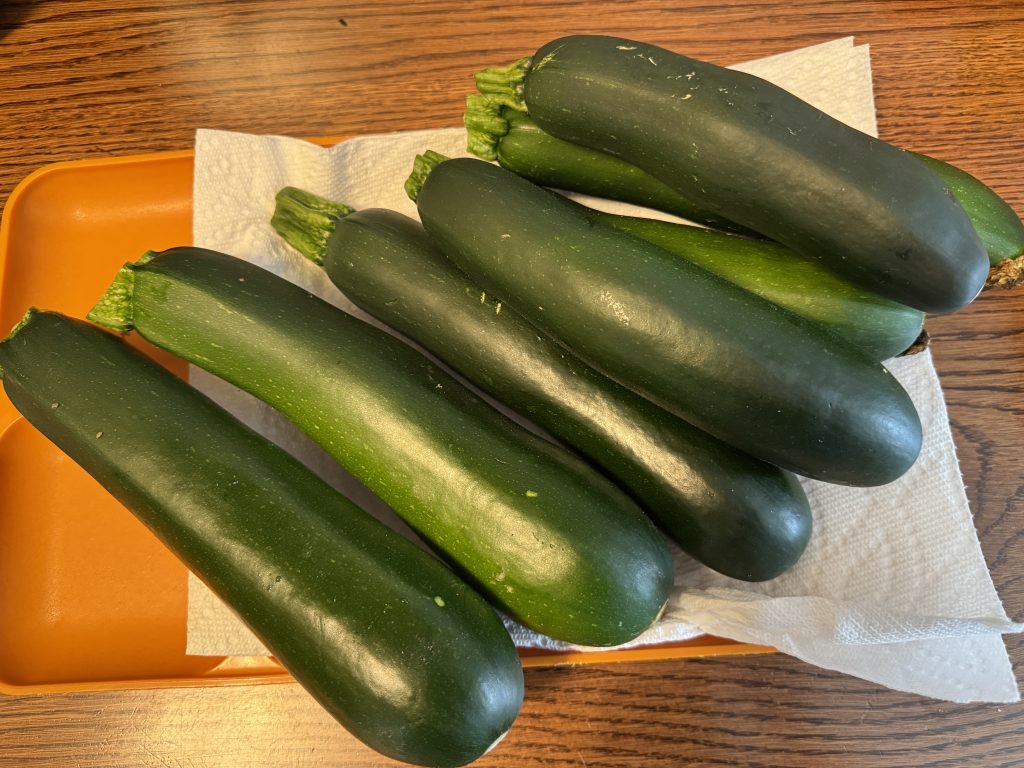
I ended up with 1/2 of a gallon ziplock bag of zucchini shreds. Much easier to store! We’ll see how they work when I soak them in water and use them in zucchini bread or cookies! I picked another 6 zucchini this morning…and so it continues! Enjoy! If you have questions or comments, please email me directly at maryjkisner@gmail.com.
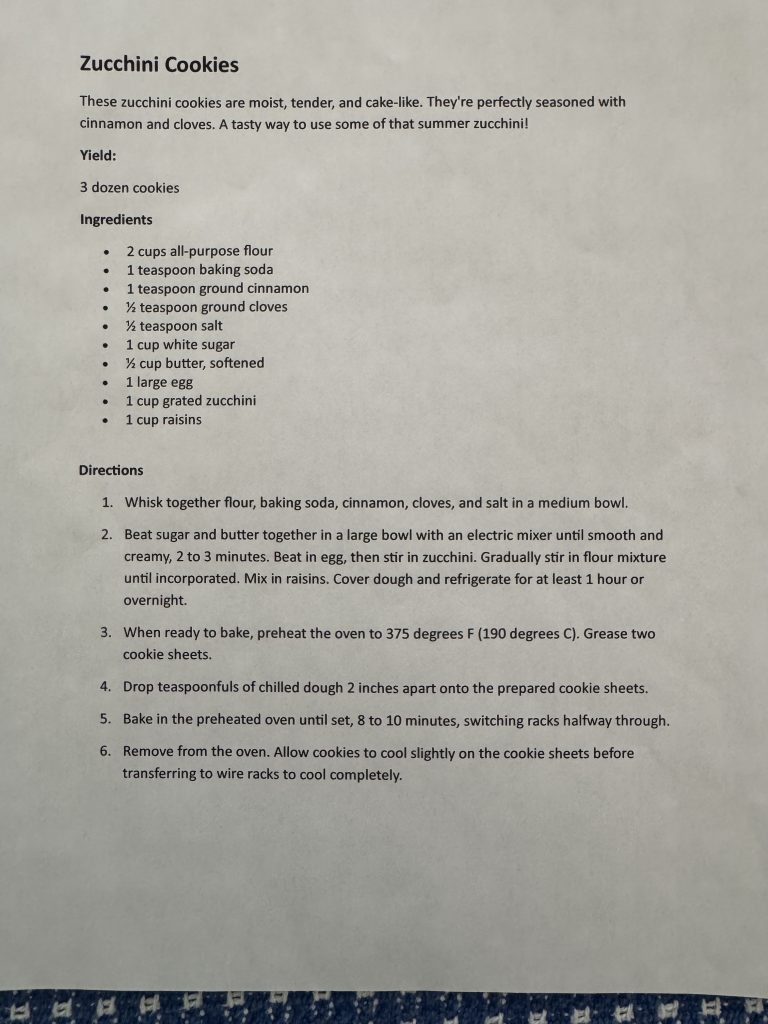
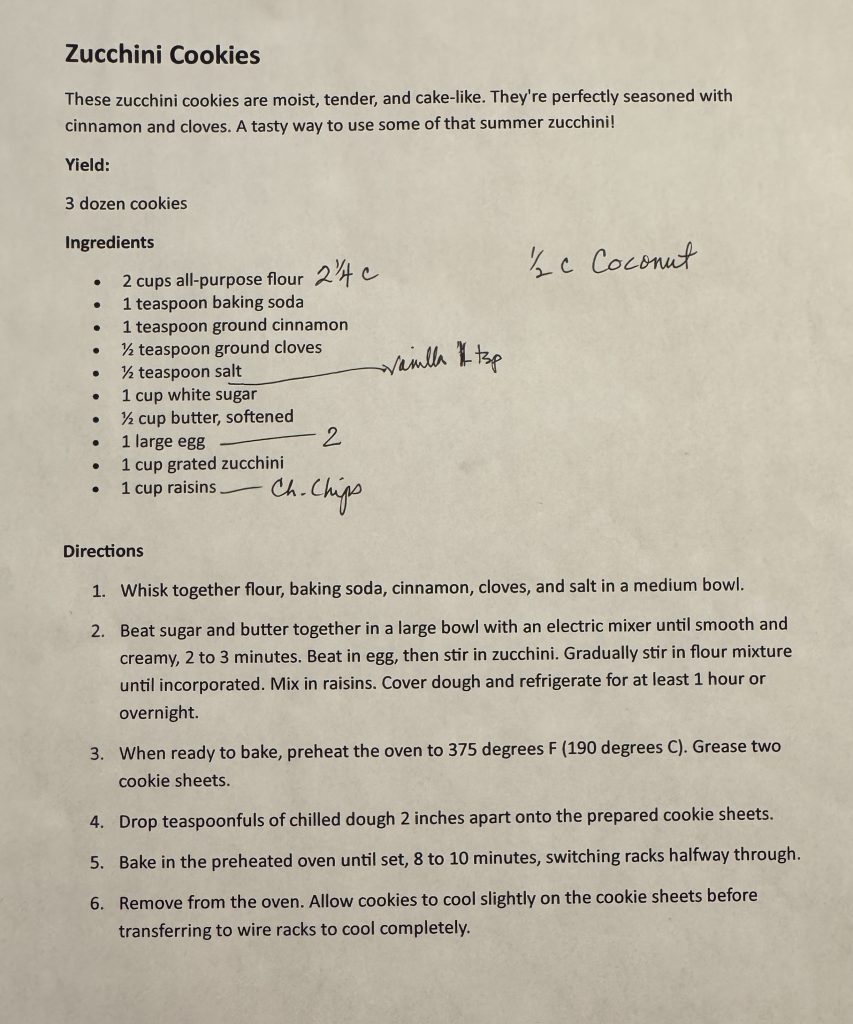
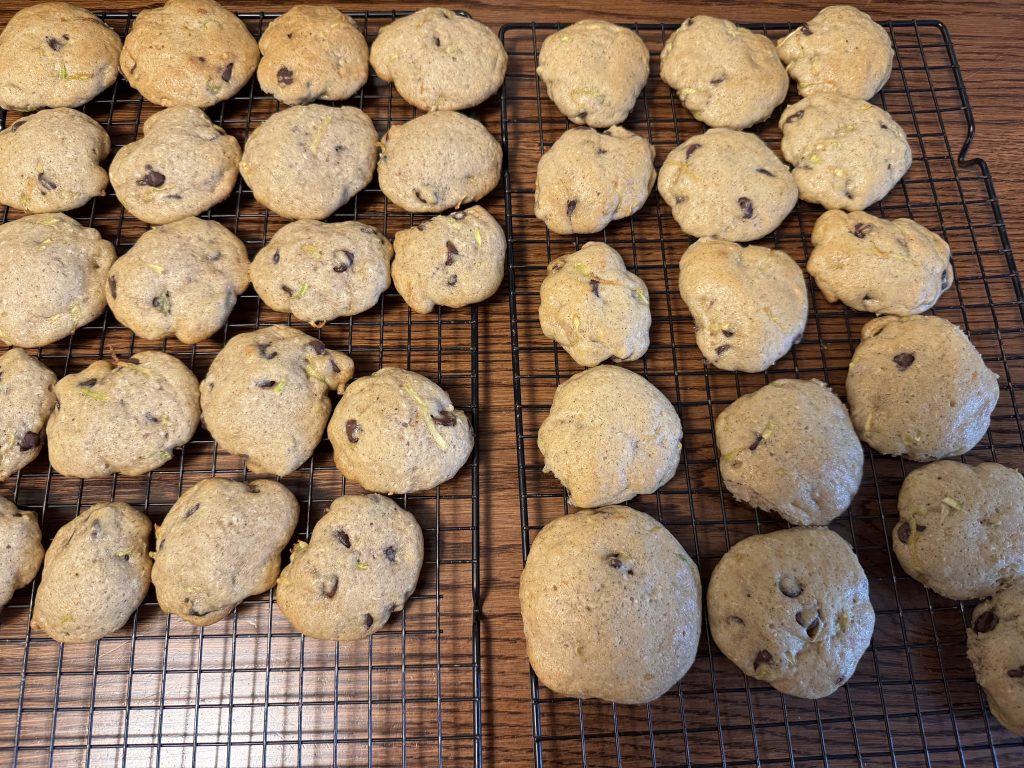
A few days ago, I experimented with a recipe for zucchini cookies. The recipe came from allrecipes.com. They didn’t taste too bad, but they were basically undercooked. I didn’t know how to trust my oven temperature and couldn’t tell by looking if they were done. I kept thinking they needed more flour and since I don’t really care for raisins, maybe chocolate chips would be better. I even wondered if I could add a little coconut to the mix! Here is the original recipe:
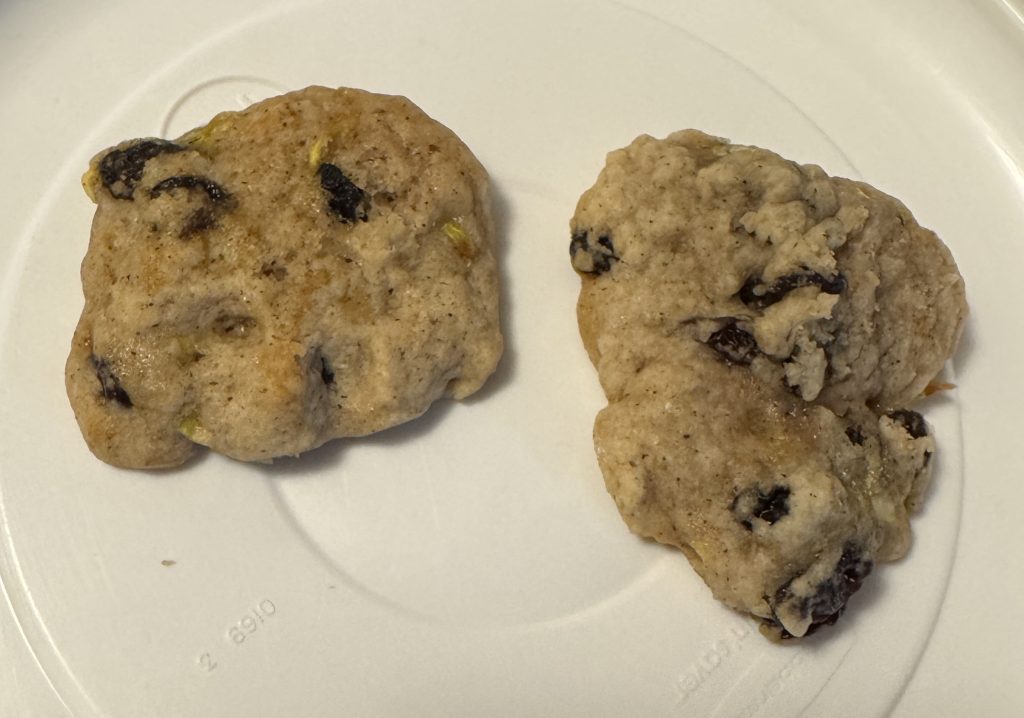
The cookies that followed the original recipe came out looking like these…kind of flat and undercooked.
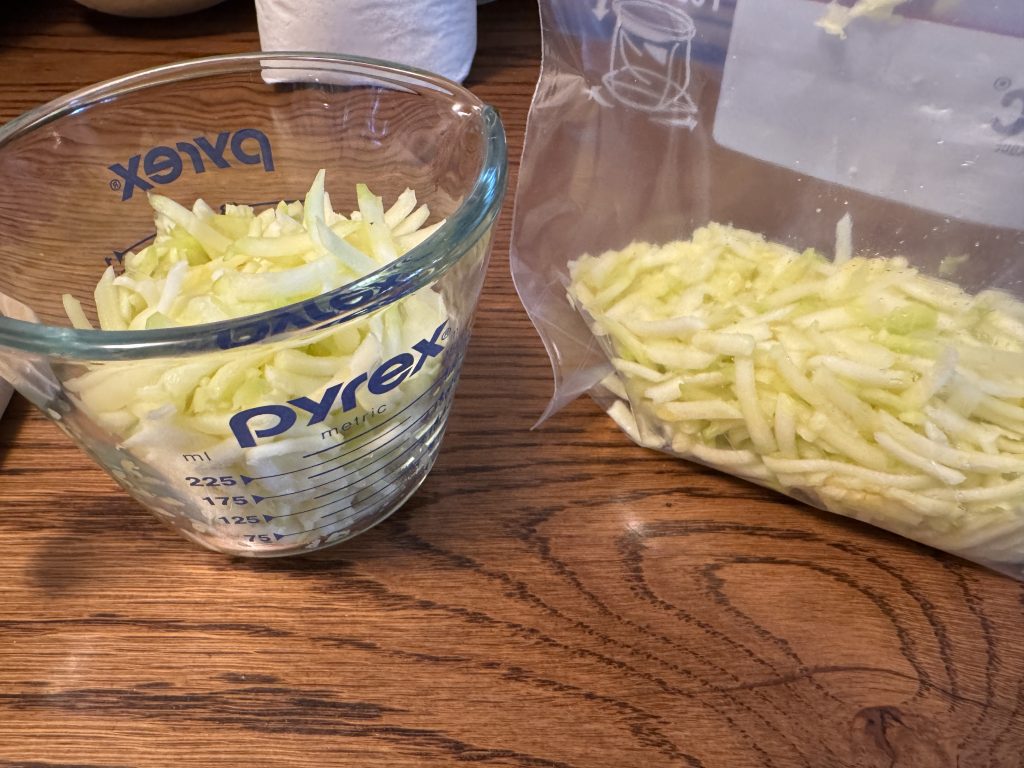
So today, I tried again. First, shredding the zucchini:
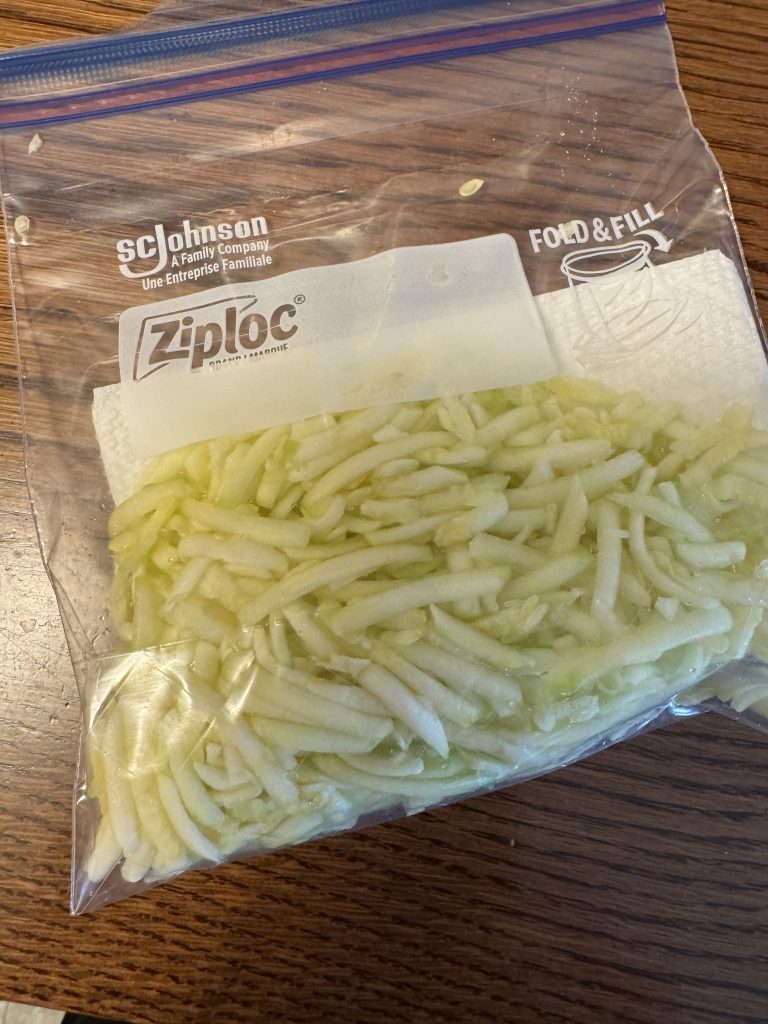
Two zucchini made 2 cups of shredded zucchini…enough for two batches of cookies. The second cup of shreds I put in a zip bag with a paper towel to soak up moisture and stored it in the refrigerator.
Here are my notes as I modified the recipe as I went along:
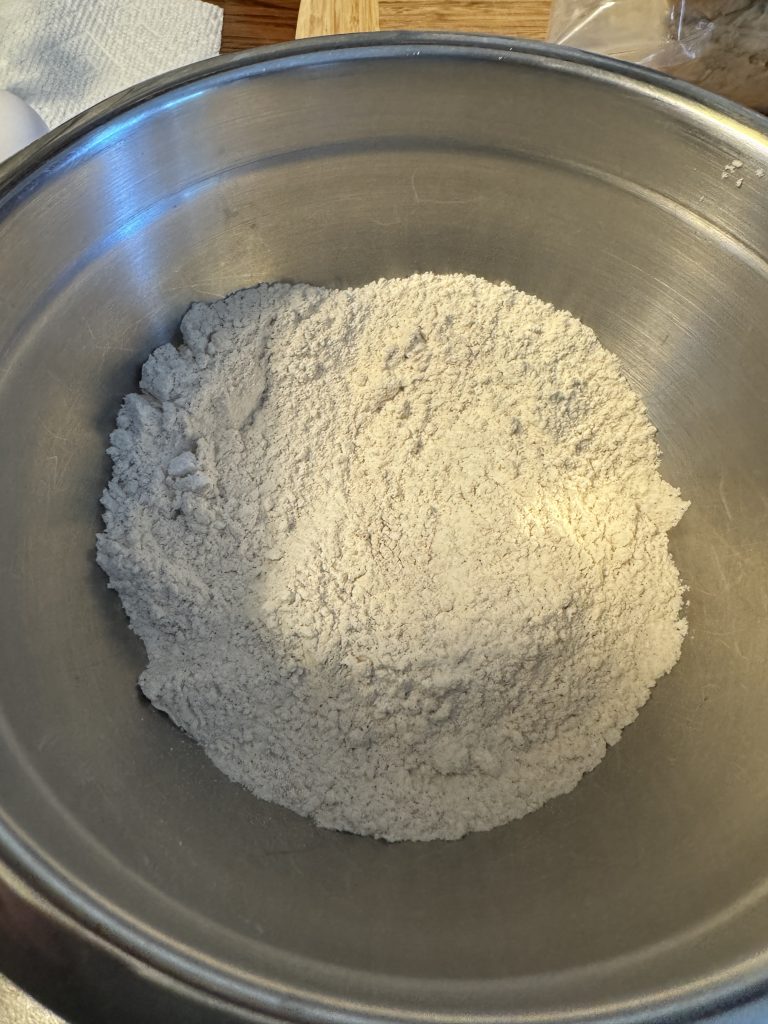
The flour mixture has all-purpose flour, 1/2 cup of coconut (like for macaroons), baking soda, ground cinnamon and salt (I left out ground cloves because we don’t care for that taste).
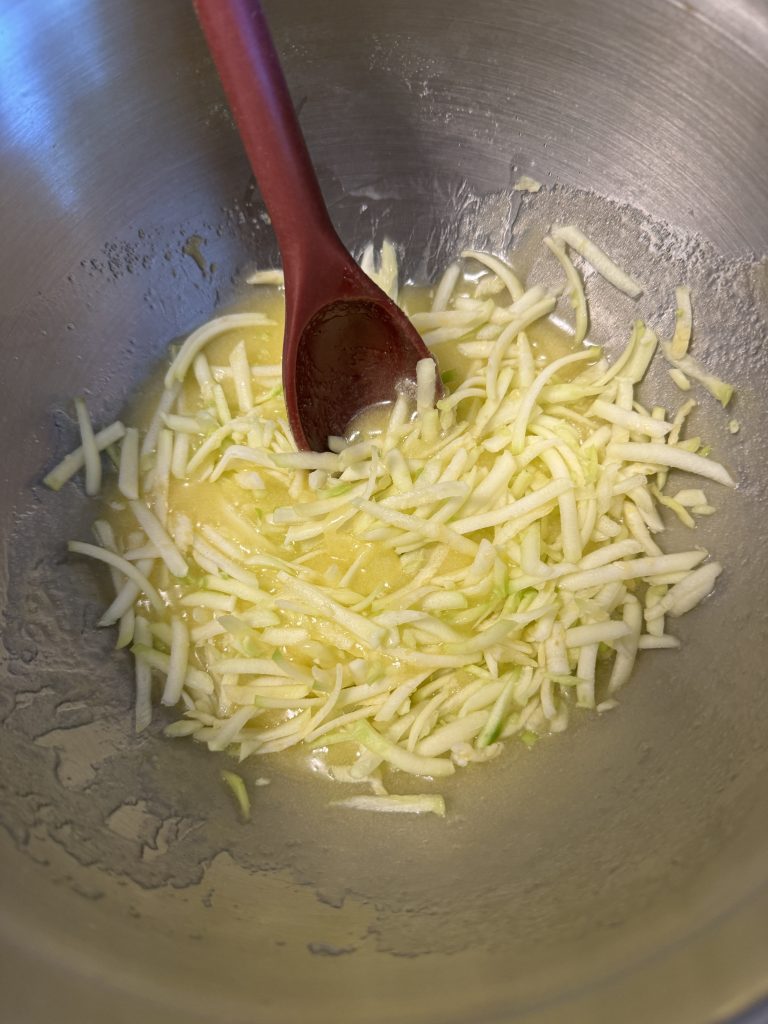
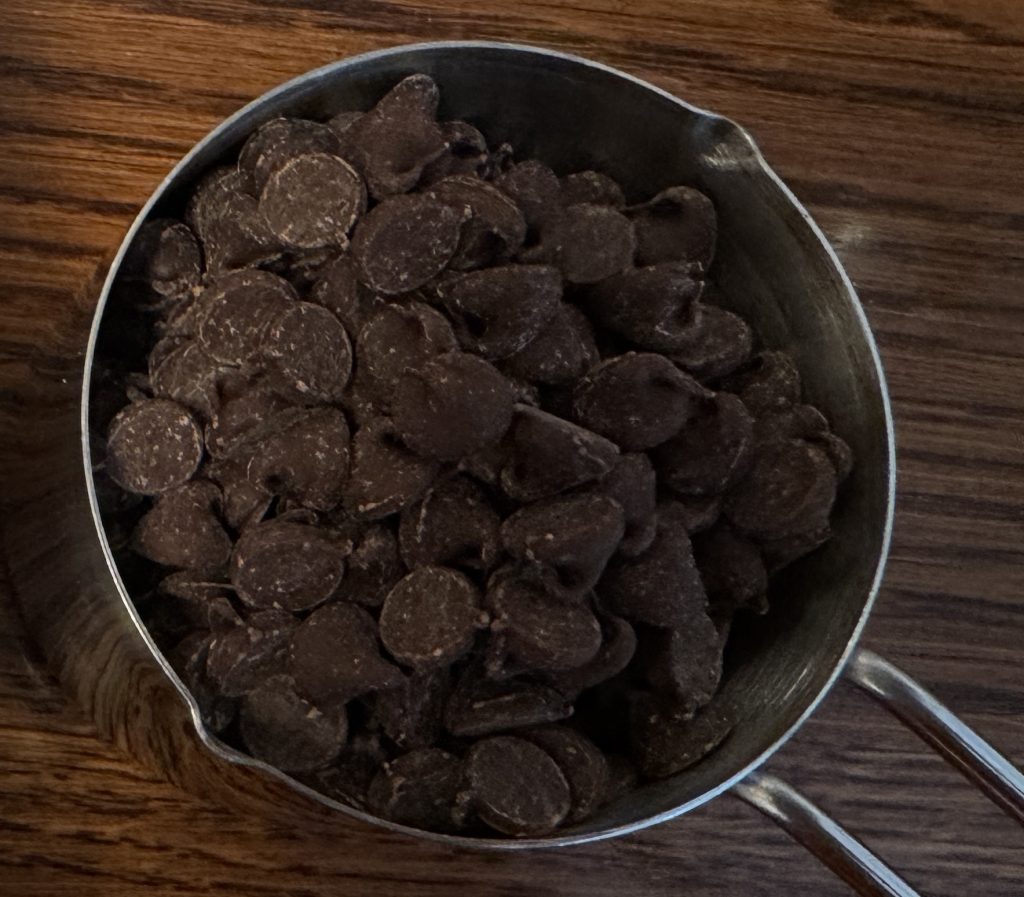
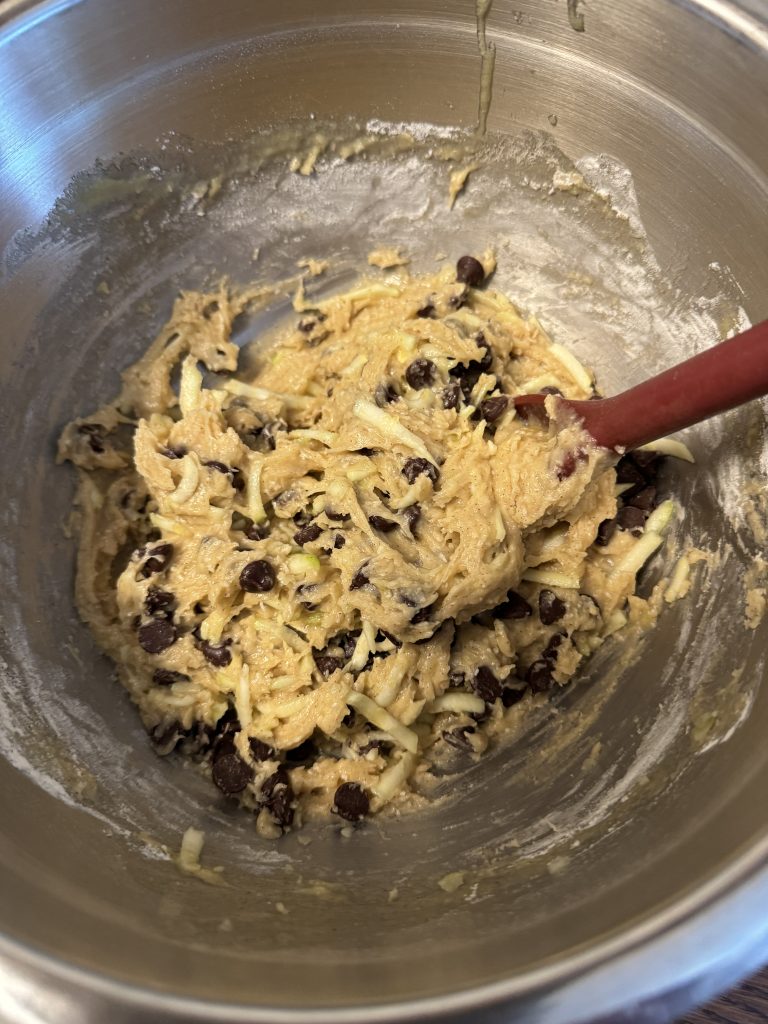
Then, I melted a stick of butter and beat it with the sugar. I added 2 eggs and a teaspoon of vanilla. Next came the shredded zucchini, the flour mixture and the cup of chocolate chips.
At this point the mixture was really sticky, so I put it in the refrigerator for an hour. I tried making dough balls but it was still too sticky so I just scooped up dough with a teaspoon and put them on the cookie sheets. Timing was different from the original recipe…at 375 degrees, I gave them 6 minutes. Then I rotated the trays and gave them another 6 minutes. They were browning nicely so I took them out of the oven. They turned out great! They are more “cakey” but tasty and used up a zucchini!
Finally, here is my revised recipe. Enjoy! If you have questions or comments, please email me directly at maryjkisner@gmail.com.
Garden season has begun spilling over into the kitchen…at least with zucchini! The last month or so has been all about keeping plants watered and watching them grow. Now it’s time to make room on the kitchen counter for assorted tiny tomatoes and zucchini. Finally, all those recipes for zucchini that I’ve been collecting over the last year will be useful.
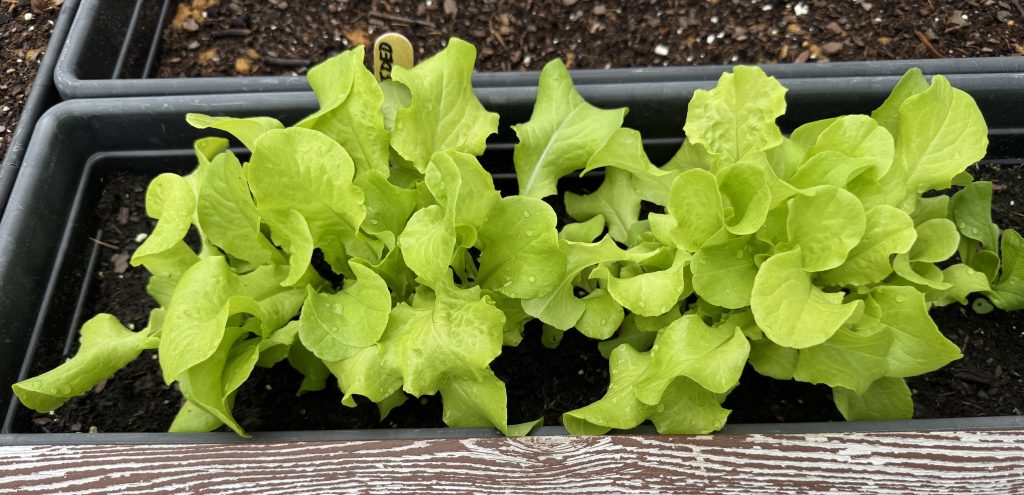
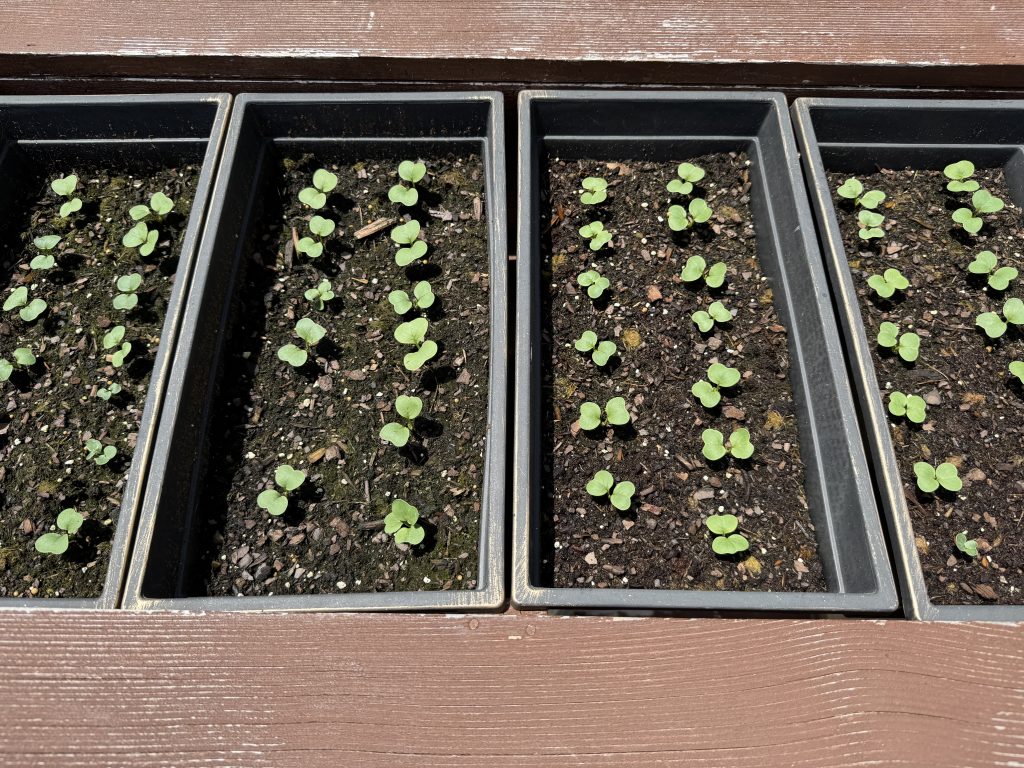
If you’ve been following along with each update, you should be able to see that the plants are starting to really produce! The second planting of lettuce (Black Seeded Simpson and Little Gem) have finally popped up. I’ll plant the next section later today.
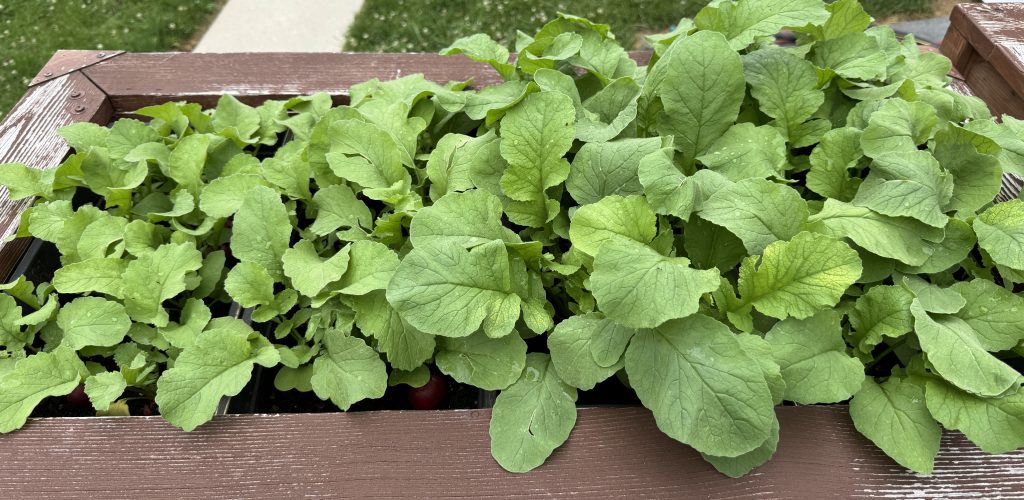
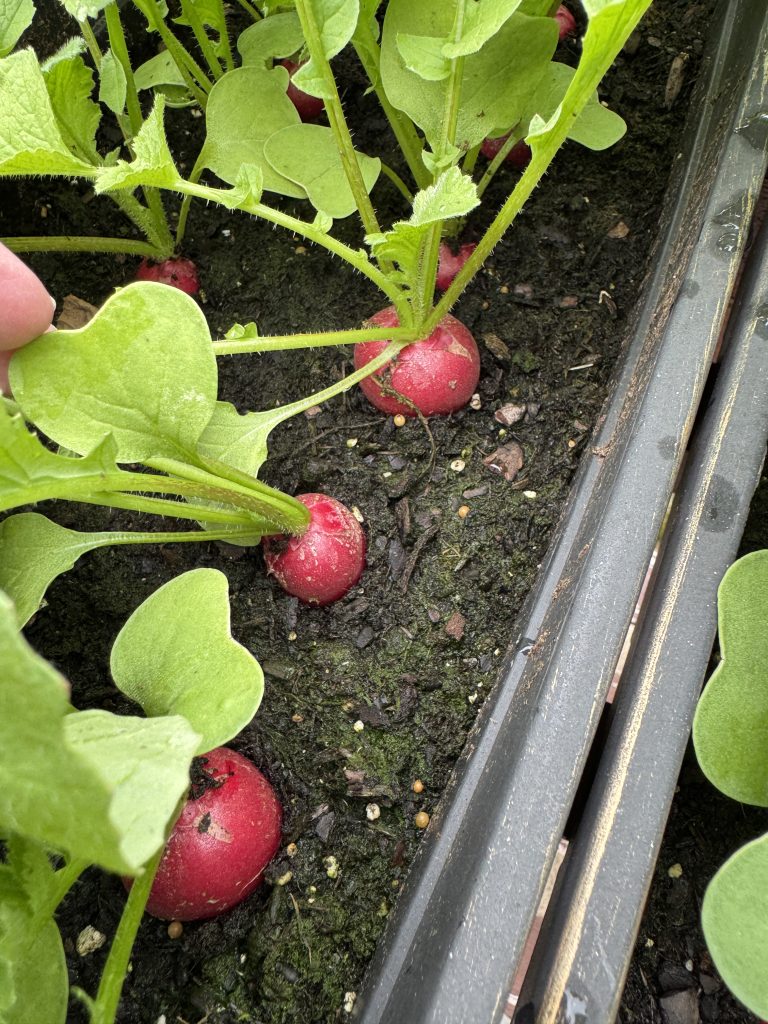
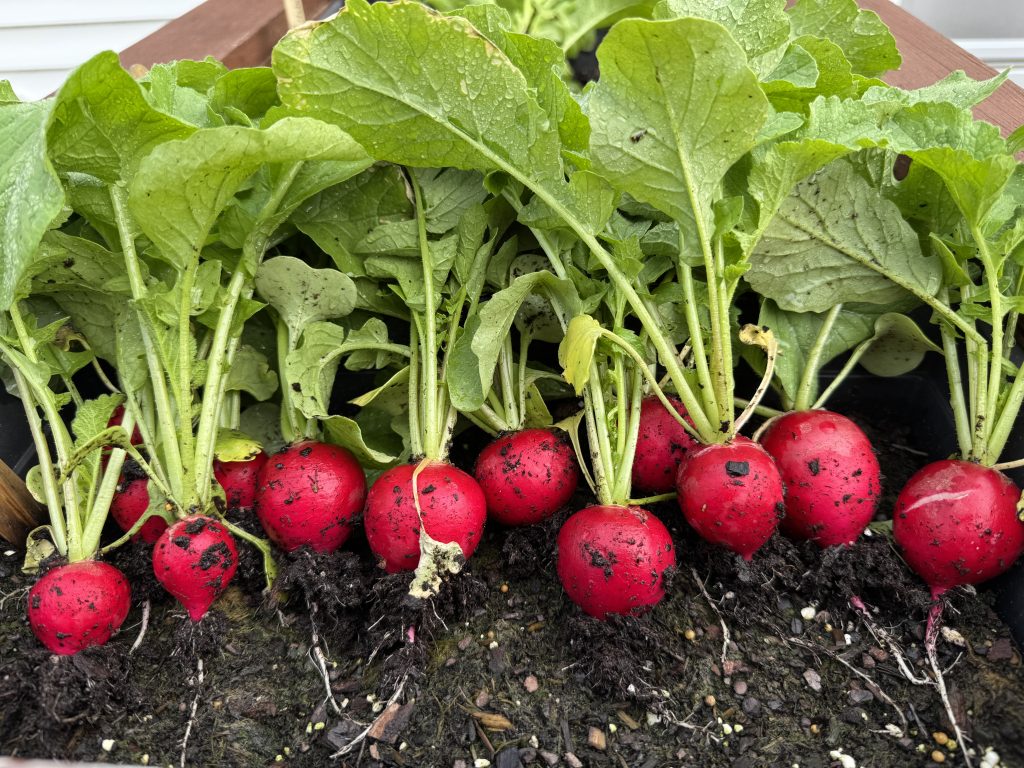
The radishes grow quickly and taste delicious! I’ll pull them today and replant for the next batch.
The onions are bursting out of the planters…we are using them one at a time, but it might be time to dump them out!
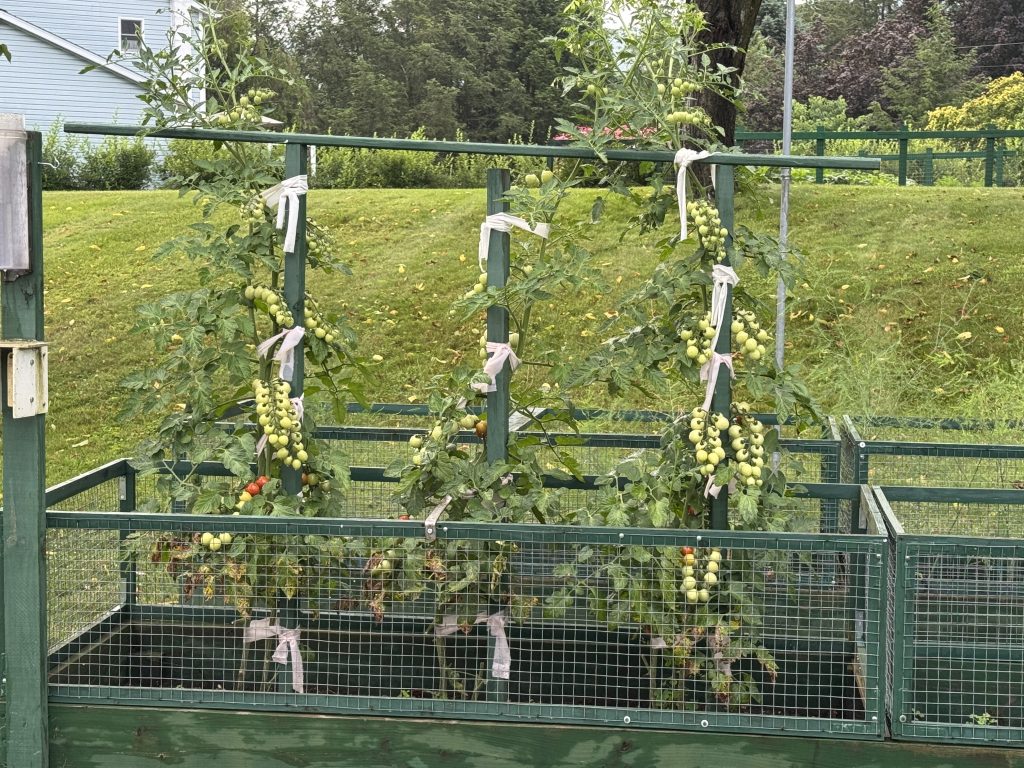
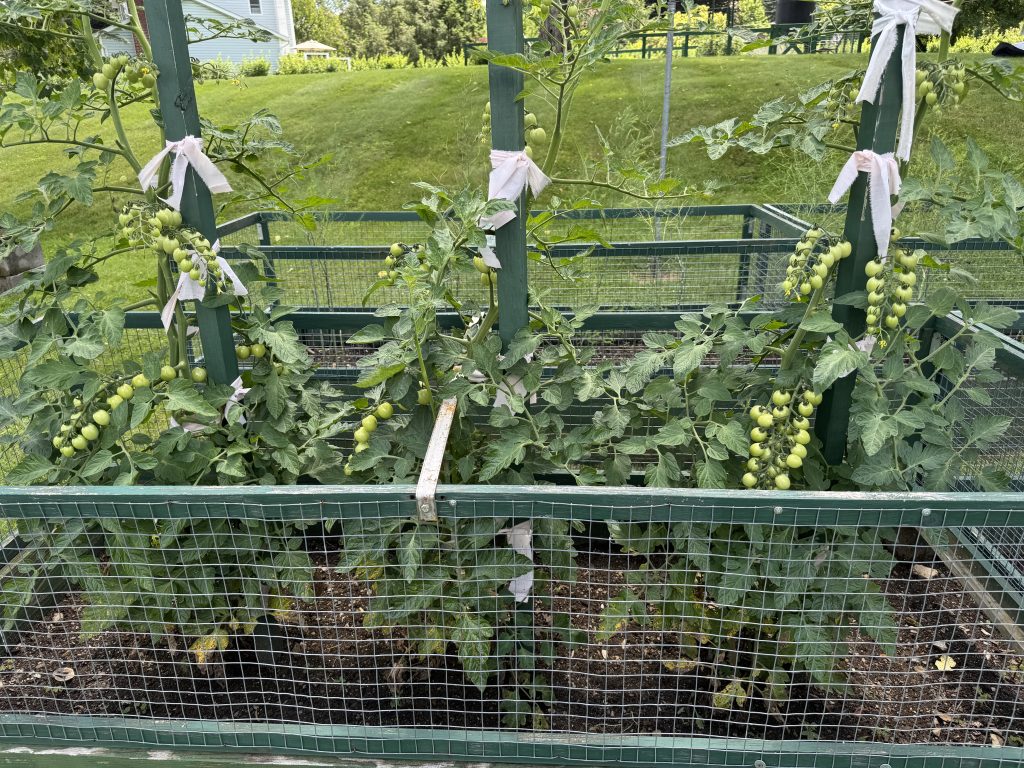
The small tomatoes (called Raindrops) are finally starting to ripen. From a distance, they look like of strings of pearls hanging on the plants.
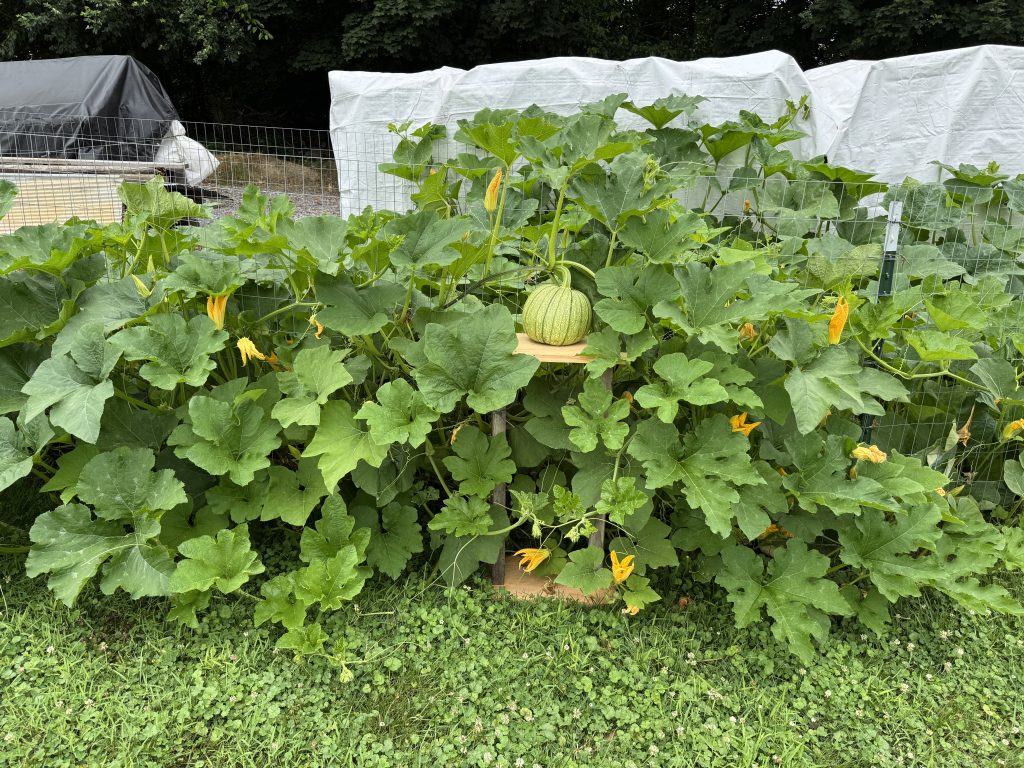
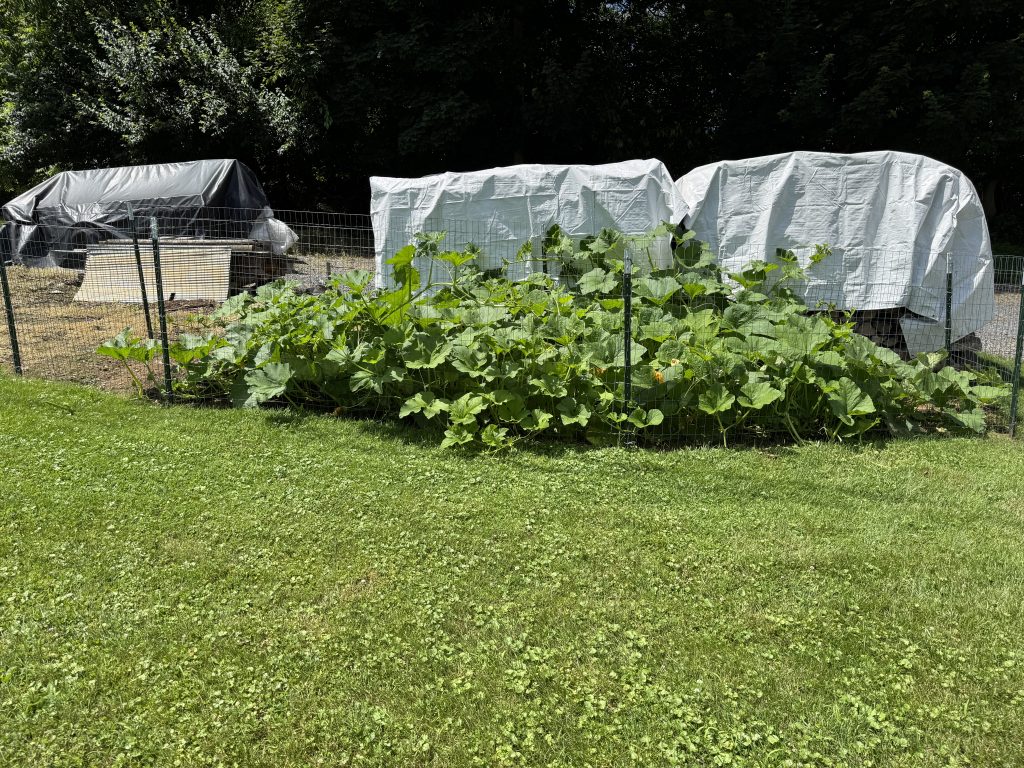
The pumpkins are going nuts! Bert made a little stand for one pumpkin that was hanging over the fence. So cute! There are more hiding under the leaves.
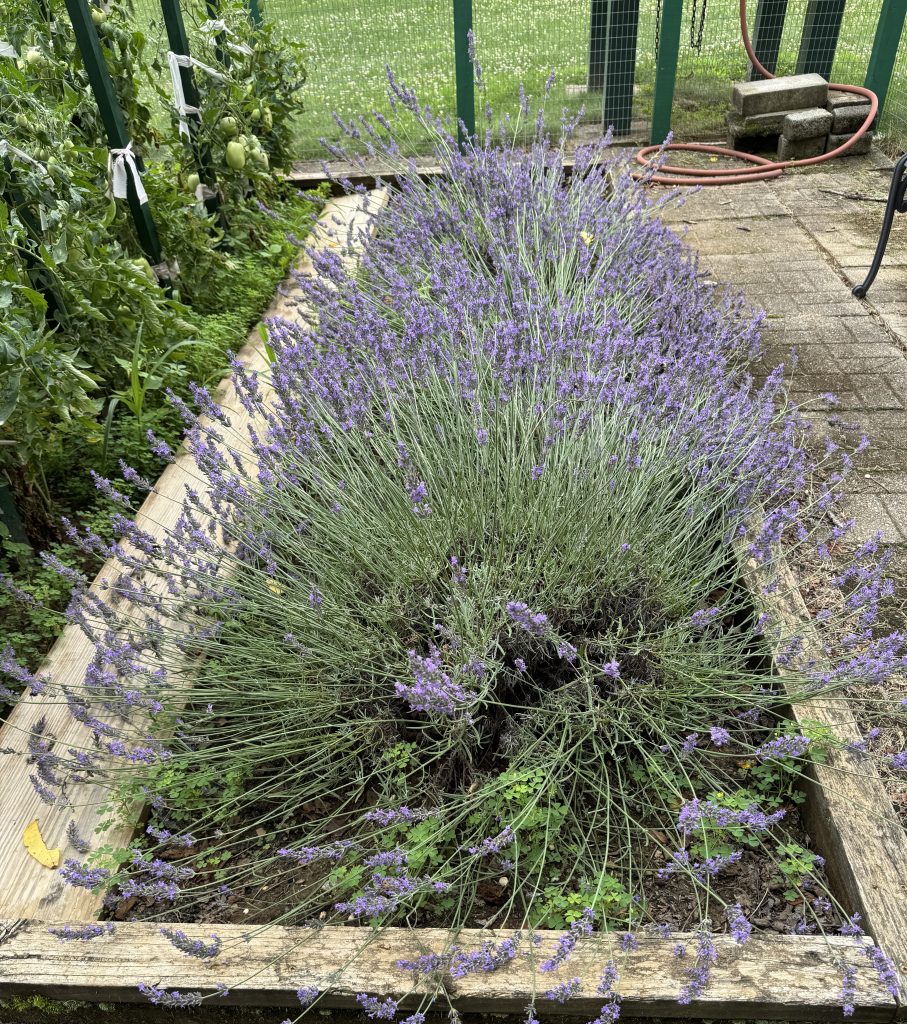
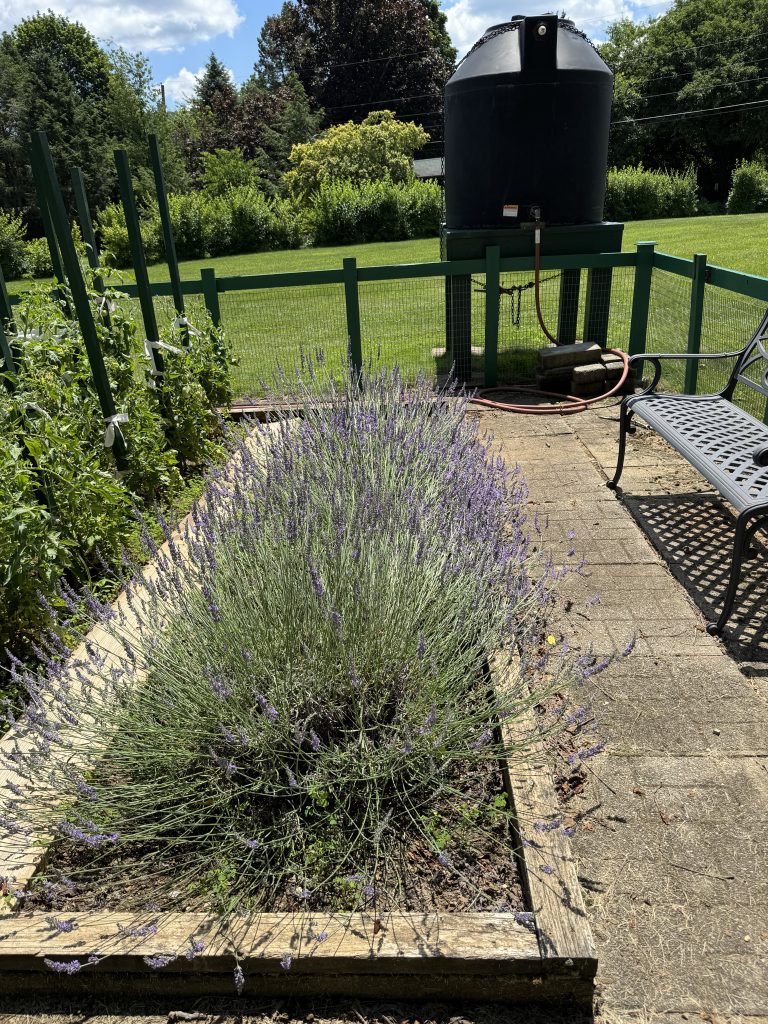
Up in the garden on the hill, everything is going strong. The lavender has been beaten down by the rain, but the bees don’t care. I’ll try to cut some and avoid the bees.
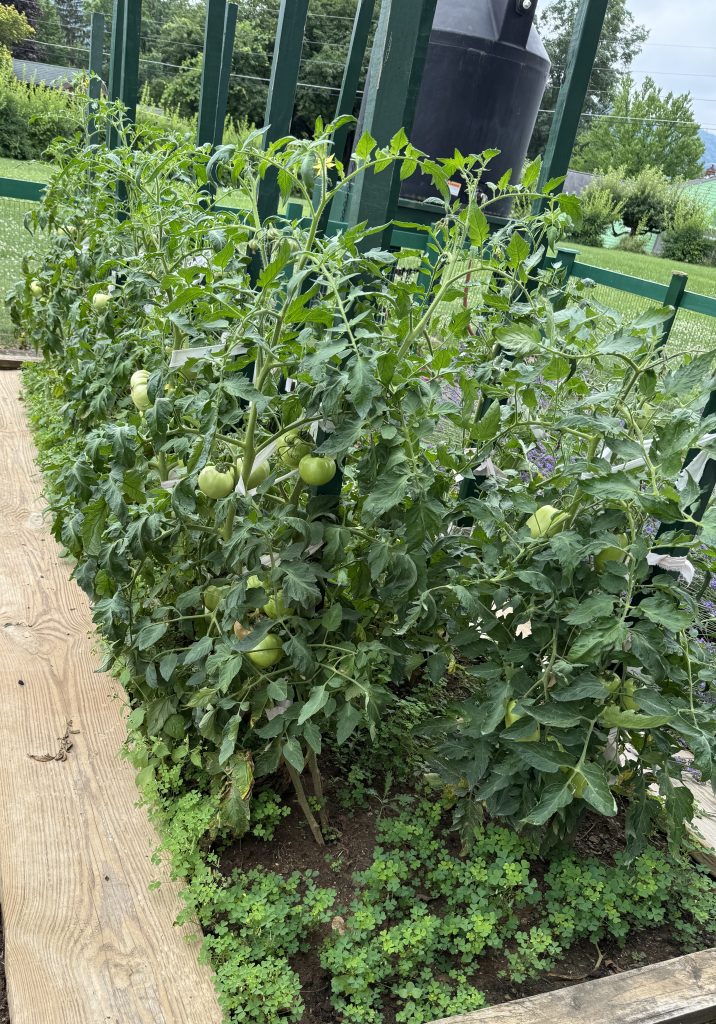
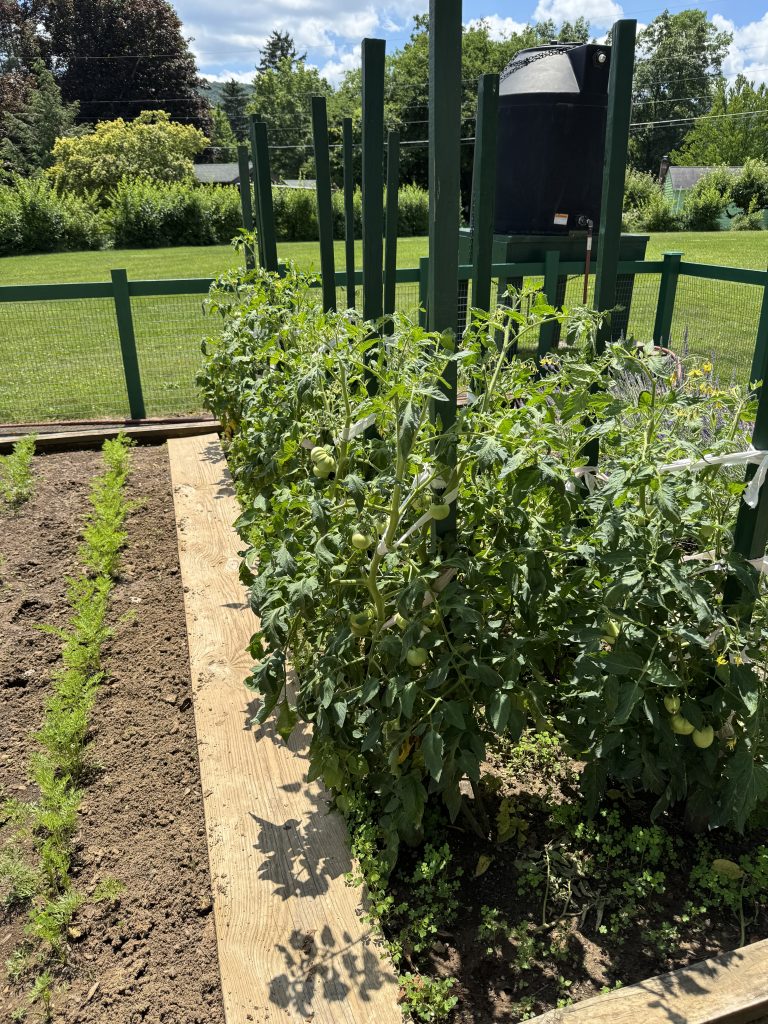
The tomatoes are producing well. When they start to ripen my days will be filled with cooked tomatoes…and BLT’s!
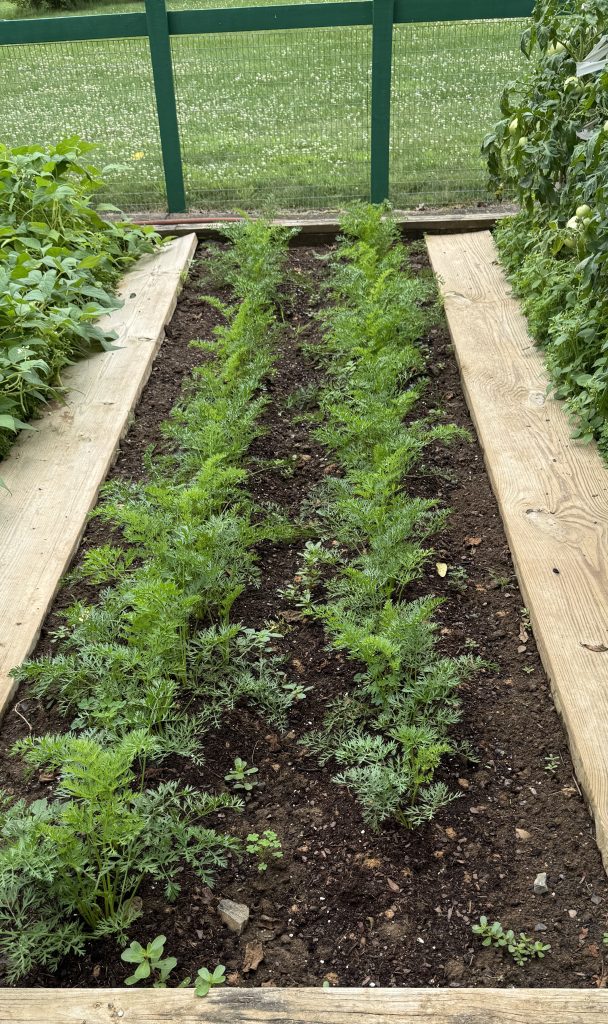
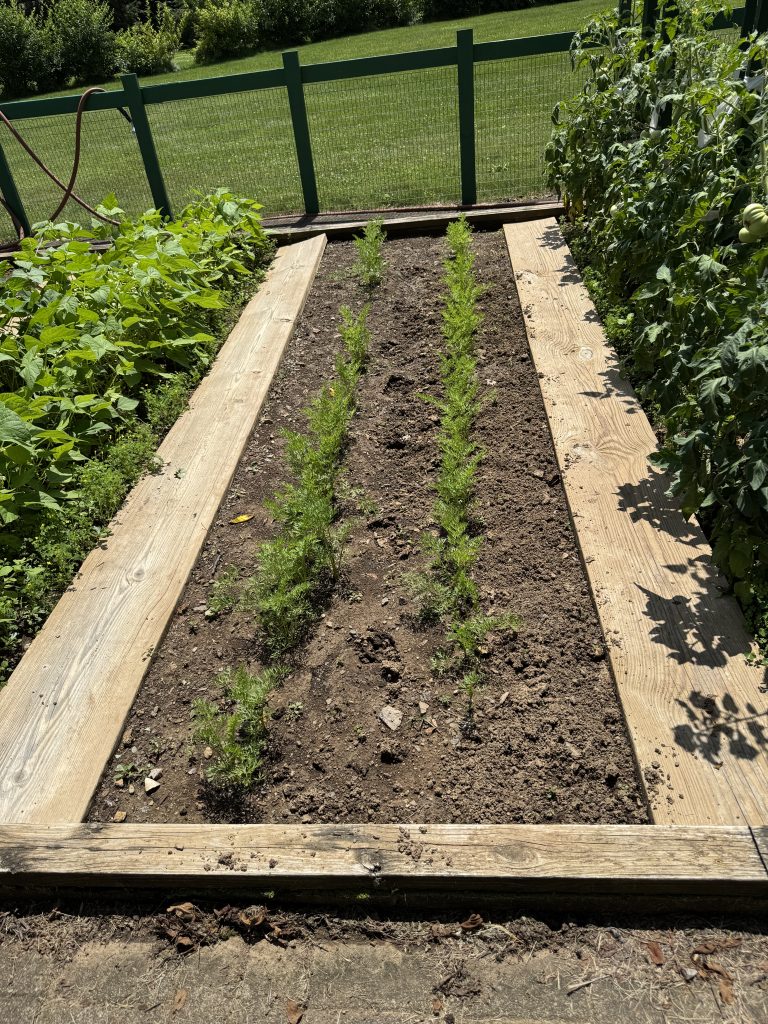
The carrots are finally looking healthy!
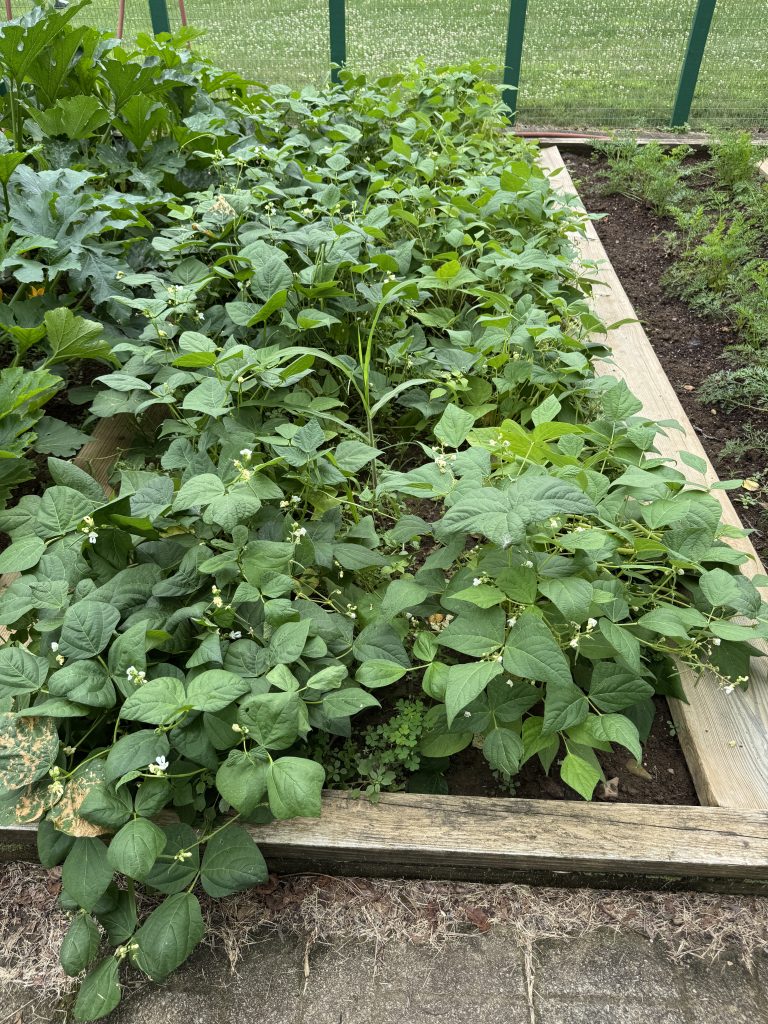
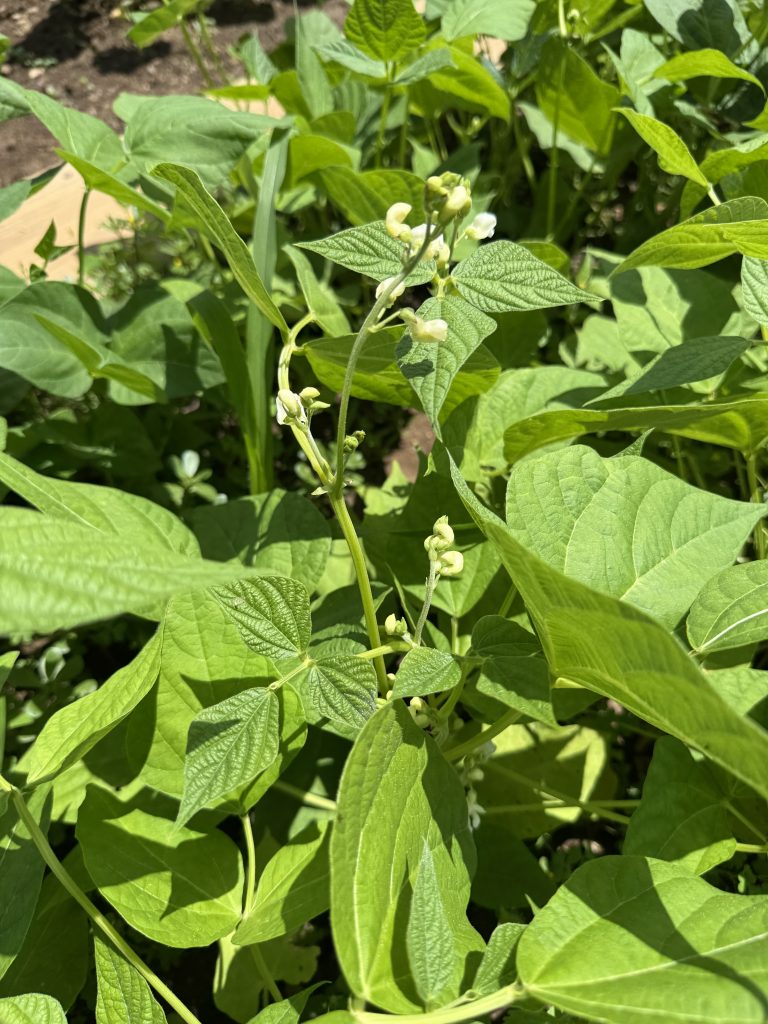
I’ve picked beans twice now…they are yummy when fresh.
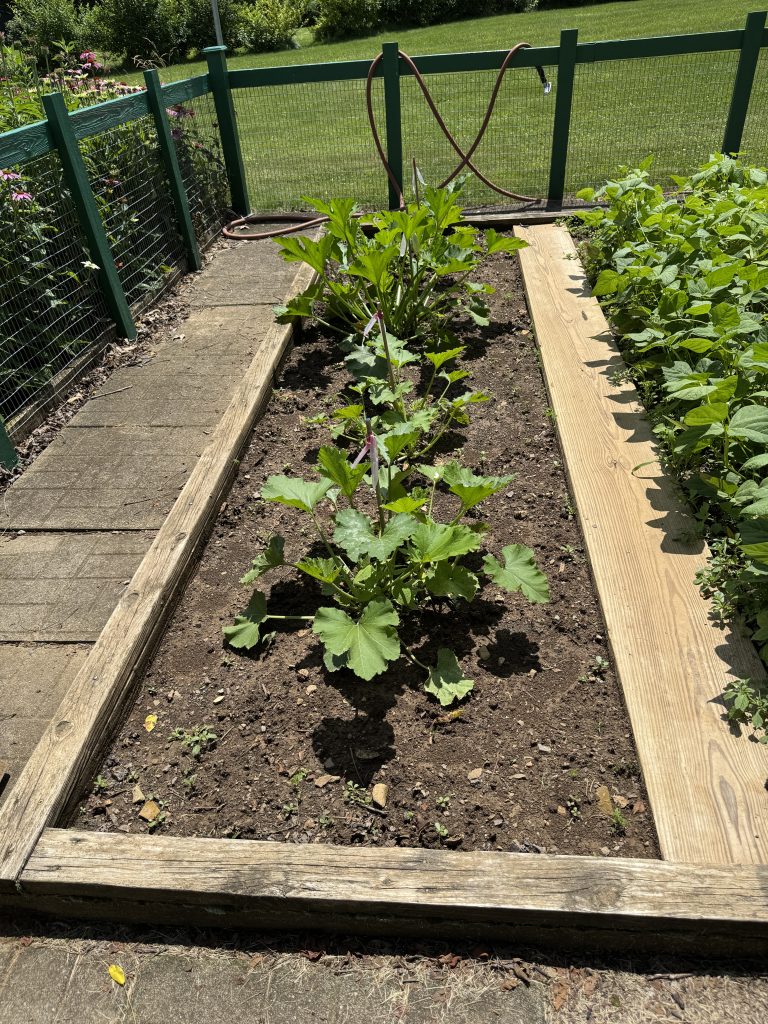
The zucchini explosion has begun! I will need to check them every day!
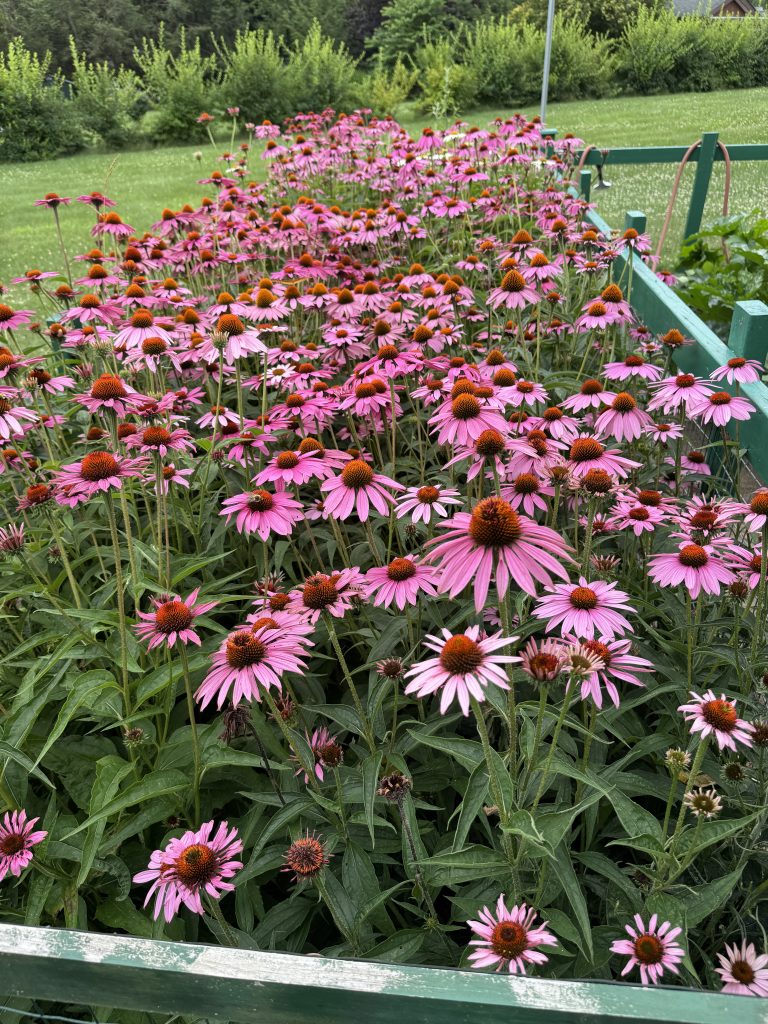
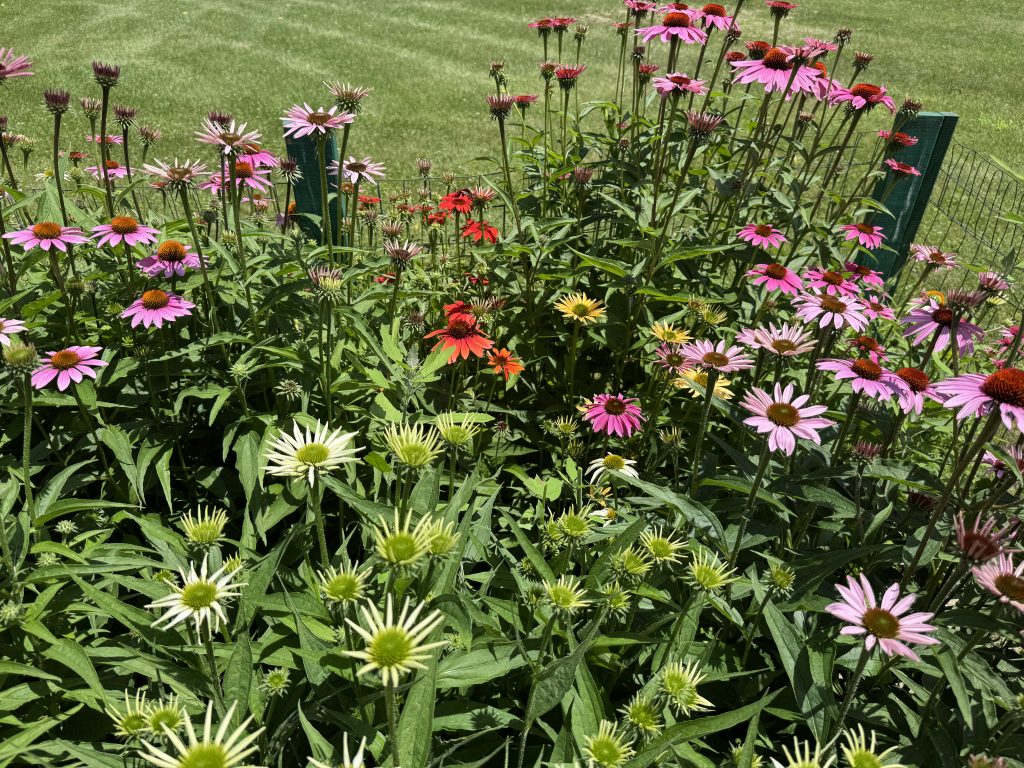
The echinacea are covered with bees and butterflies. Makes me happy!
So that’s the garden today! I hope you are enjoying your summer!
If you have comments or questions, please email me directly at maryjkisner@gmail.com.
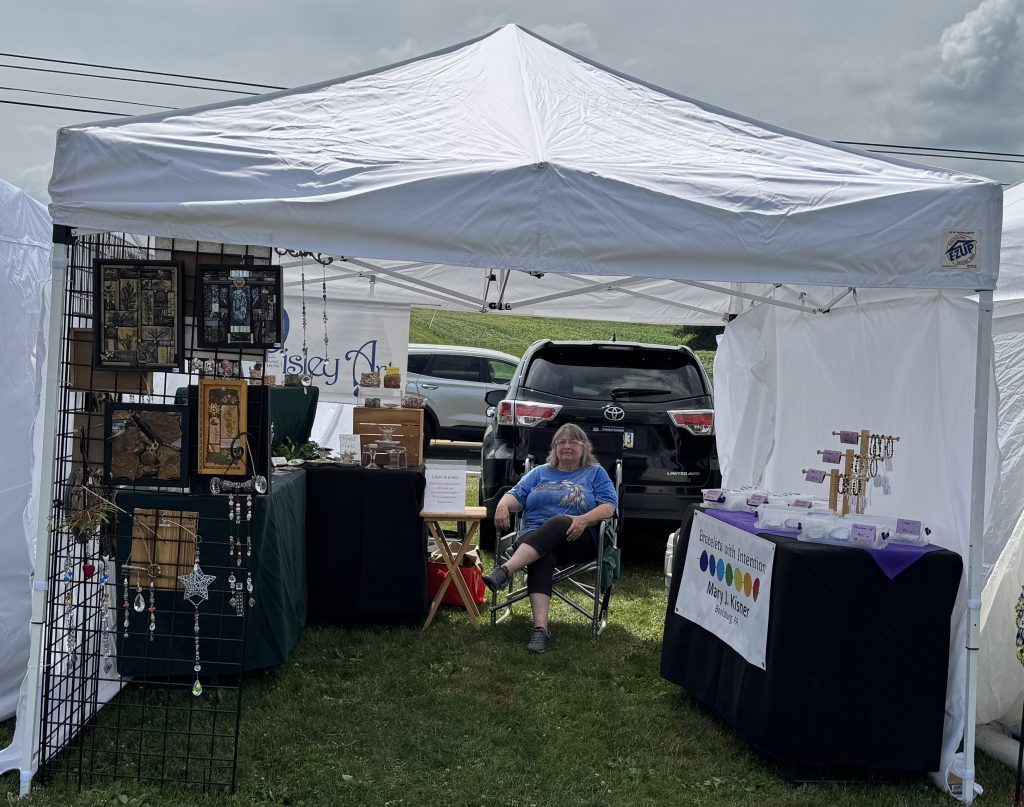
I hereby declare that the Art in the Orchard Festival was a success…for me at least! With temperature hovering about 100 degrees in the sun, I’m amazed I did so well. It was a long three days in the sun and I have the suntan (blisters) to prove it. However, I have $700 ready to deposit at the bank!
As a vendor it it entirely a different experience from being a visitor to a festival. Because visitors are constantly streaming by, I really could not wander too far to check our other booths. When I did leave our booth, I was on a mission to hit the restroom or grab something to eat from the food court trucks nearby. Having a good friend to chat with while we waited for the next visitor was a blessing. Yes, we had a cooler with ice for drinks and I had cut up vegetables and fruit to shack on…but how often do I get to snack on sweet kettle corn!
I was able to chat with the vendors on each side of our tent. The woman on one side had been doing festivals like this for 15 years and was debating whether it was time to stop; the young woman on the other side was brand new to being a vendor and her whole family struggles to figure out how to set up her tent! Beyond that, I have no information about how other folks were doing, what they were selling, etc. except by what the children were carrying as they went by our booth. I was grateful my booth-mate Toni was an experienced vendor.
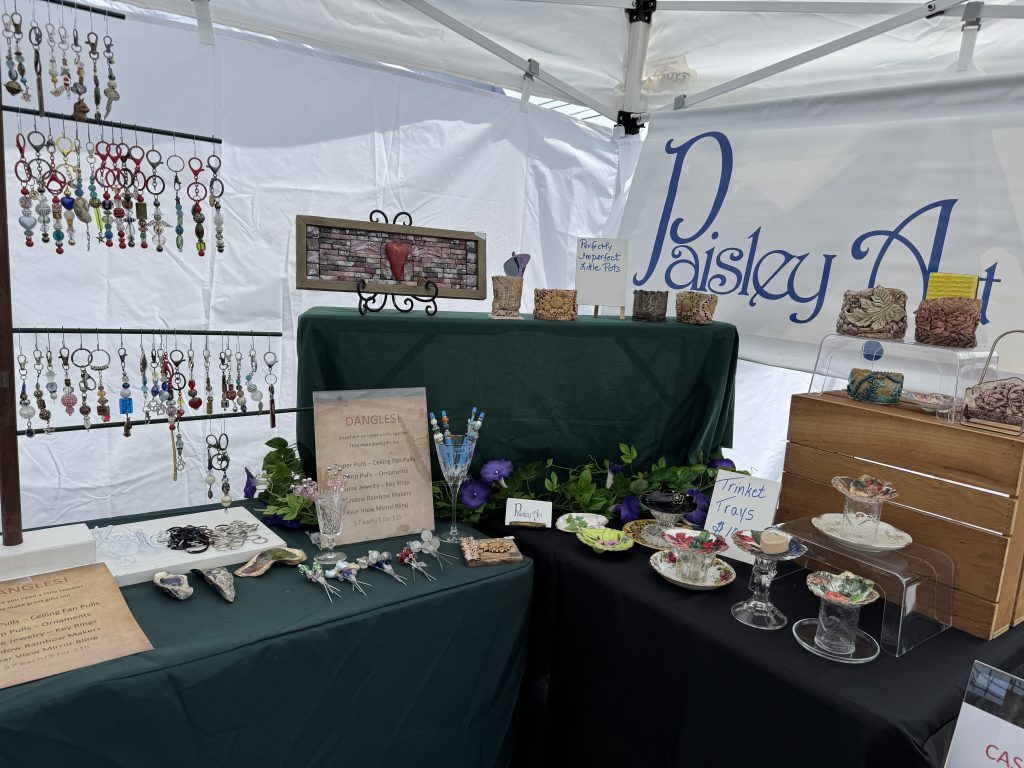
It was so hot, I could hardly focus on taking pictures so I could write a decent story about the festival. I didn’t even get a ‘selfie’ of me! Lame, I know! So, here are a few pictures of our booth.
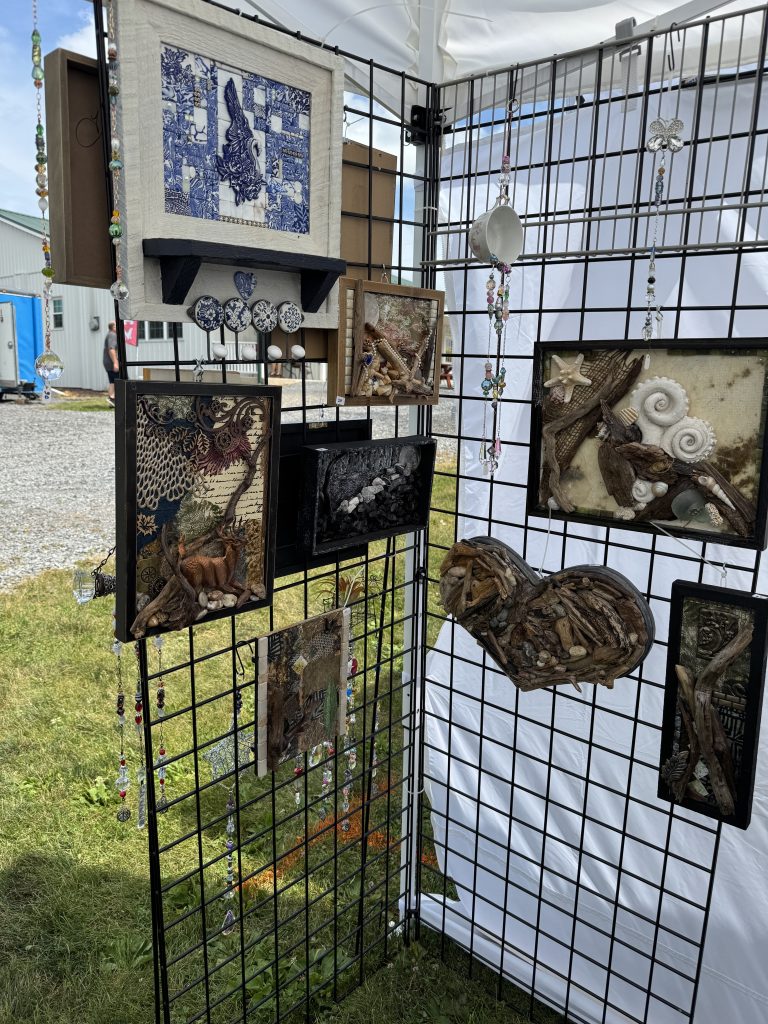
First, here’s the map of where our booth was located. I marked our booth (#4) on the map and the location of our booth last year…down a hill and on the opposite side of the field. Our location this year meant we were one of the first booths people saw as they came from the parking area. Many looked hard and then said they’d be back after they saw everything else! Many actually came back! So, we saw a lot of folks at the beginning of their visit and they were enthusiastic about the festival.
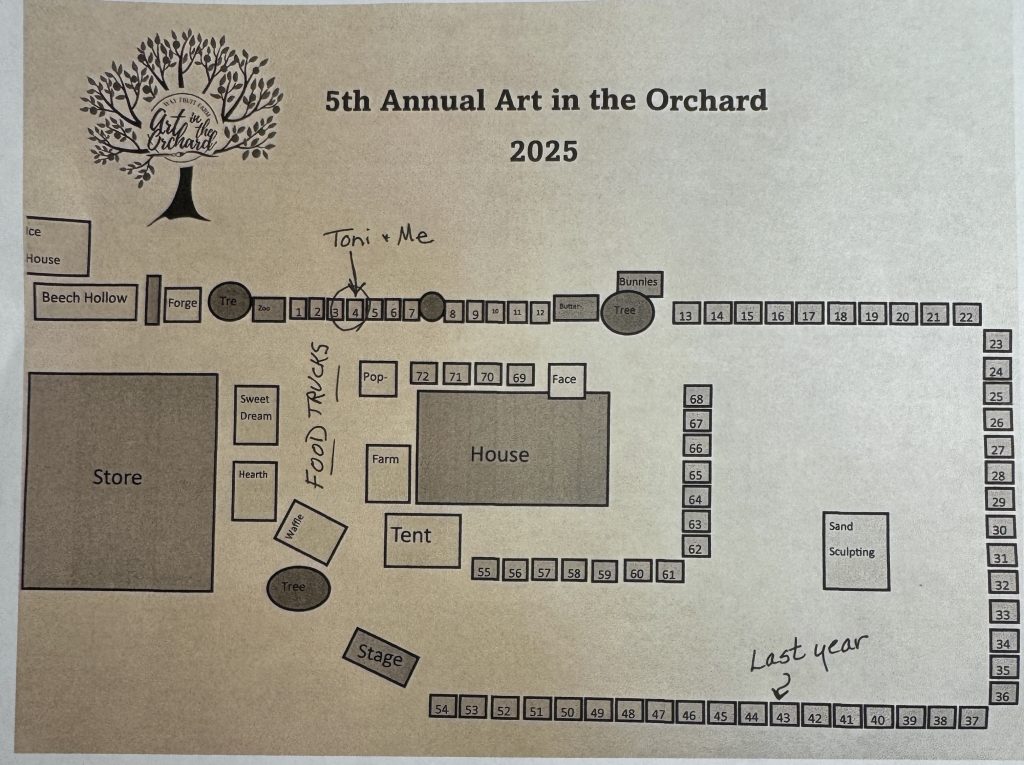
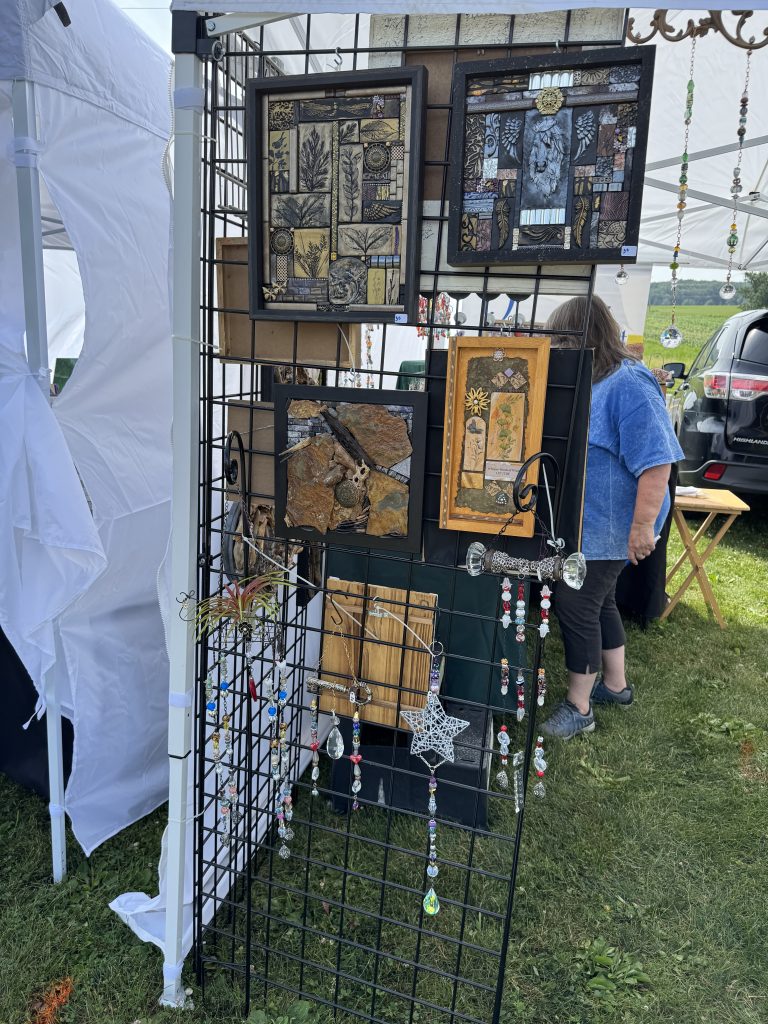
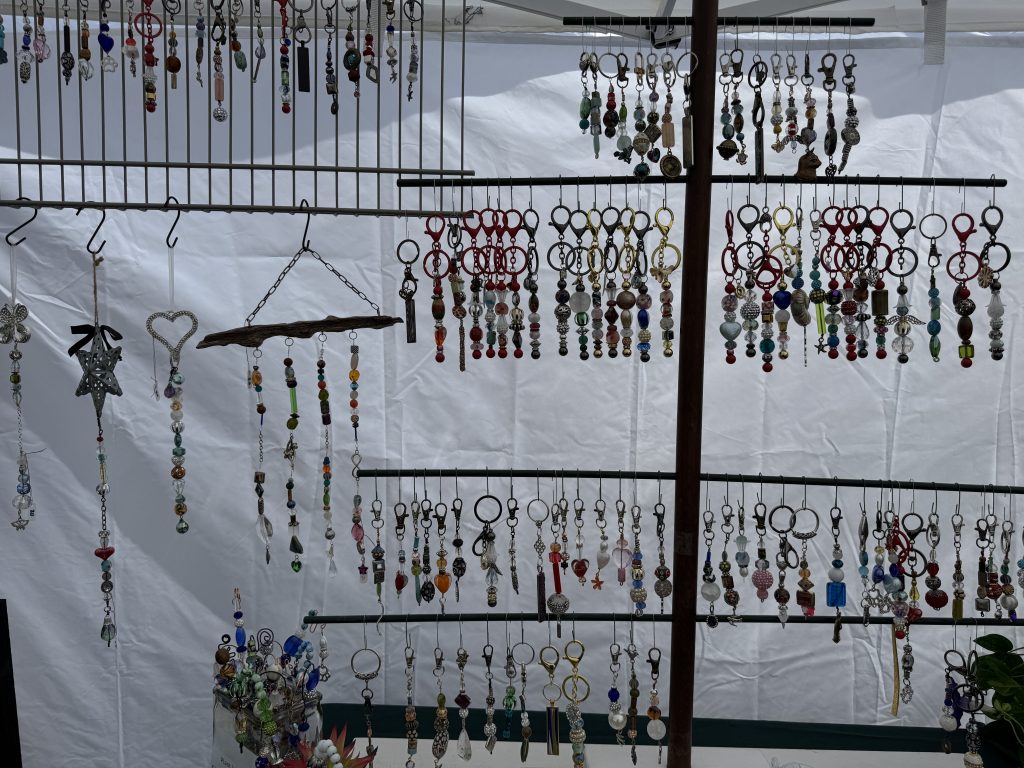
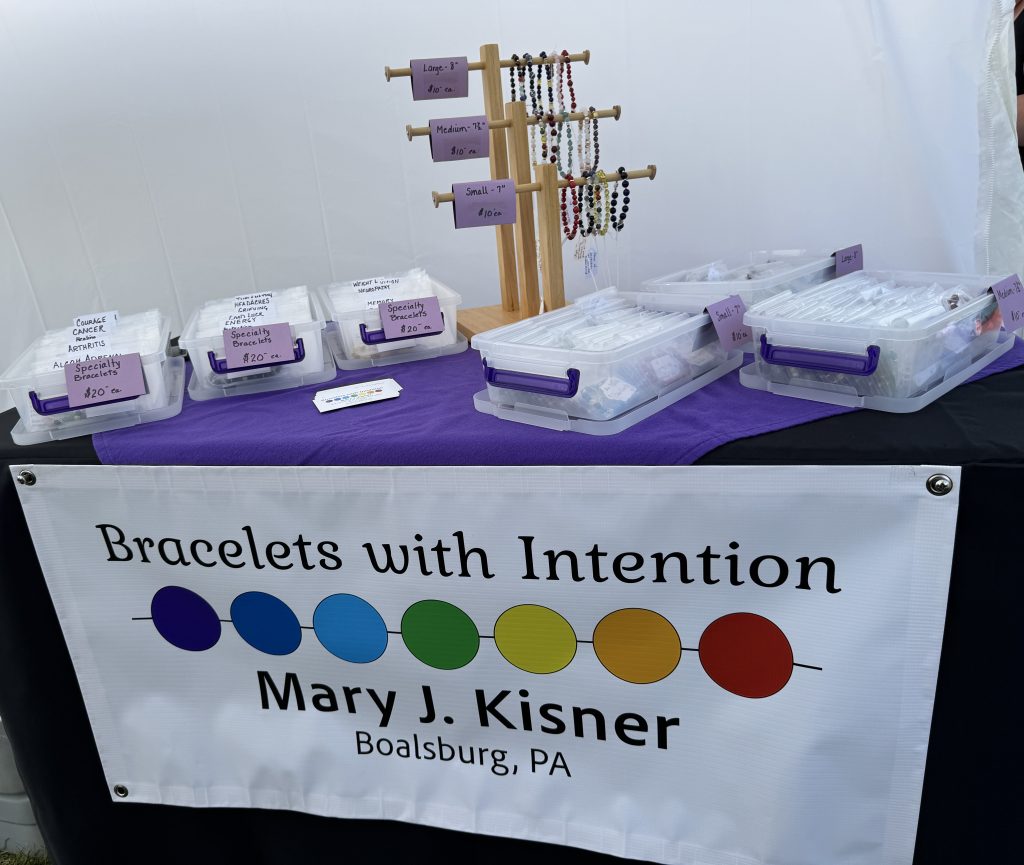
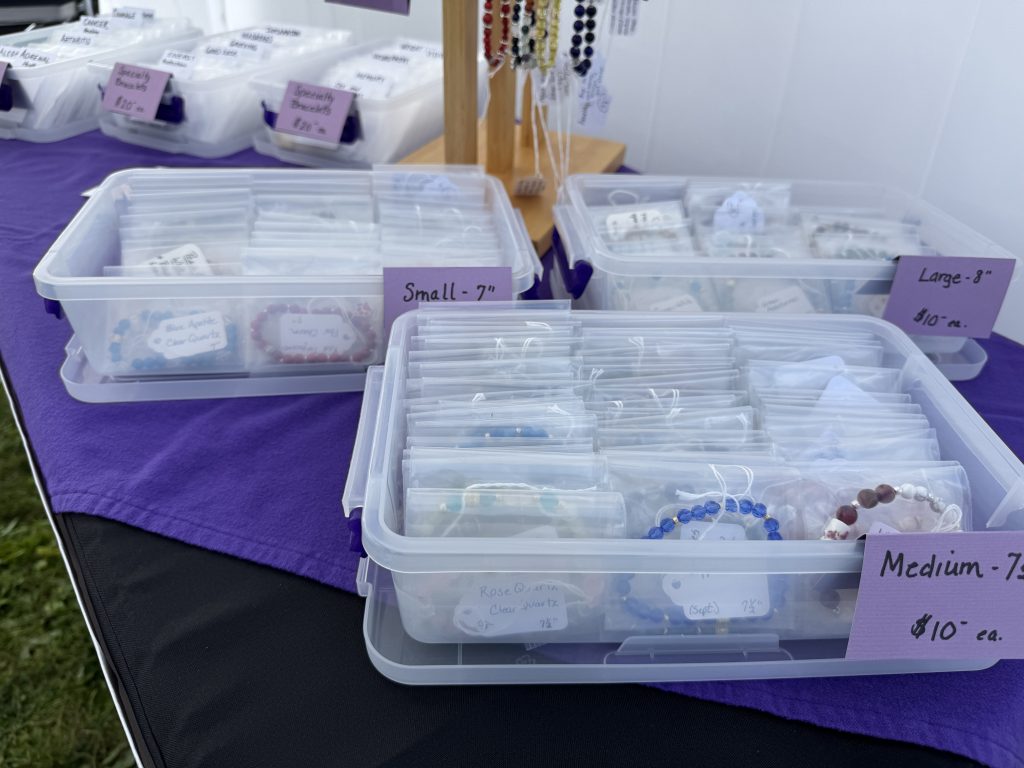
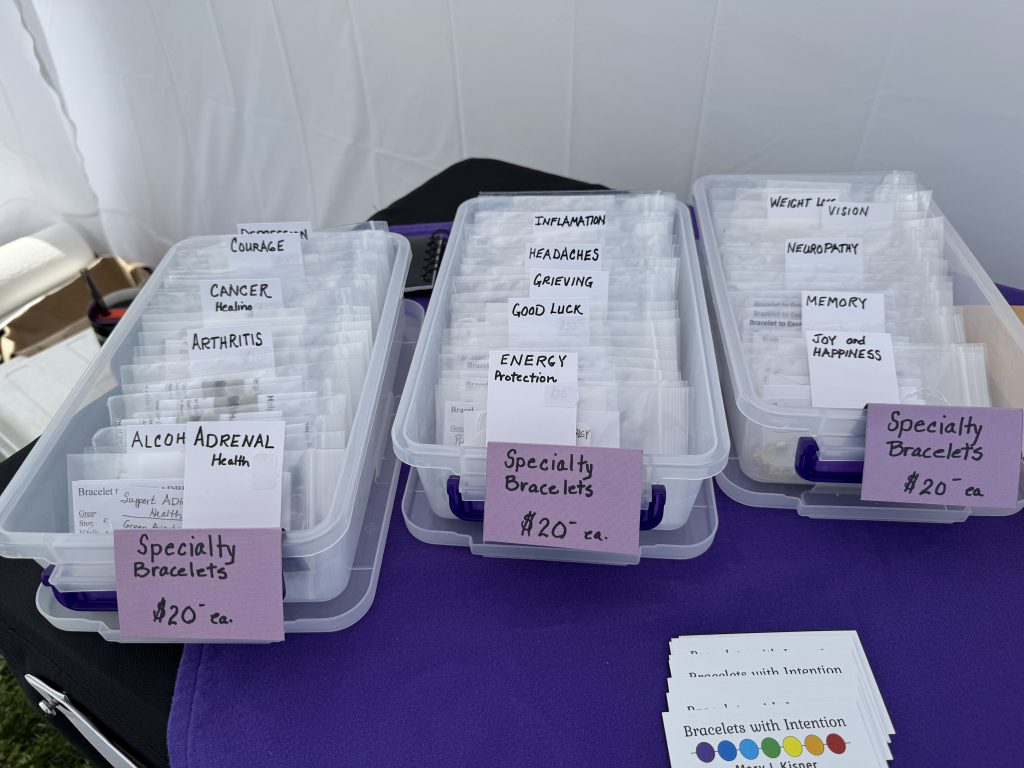
Toni’s company is called Paisley Art. She does impressive collages and sparkly sun catchers. Her “pictures” attracted a lot of attention as people walked by…and then they came in and saw all the sun catchers…and then they turned to go and stopped to see my bracelets! OR sometimes they say my sign and headed to the bracelets; then they turned around and continued to check out Toni’s stuff. It was very interesting to watch. Compared to the few other booths I saw, our inventory was limited and people seemed to be willing to check it out. So, here’s a brief tour of our booth:
Late in the afternoon on the first day, people walking by suddenly stopped and looked out the back of our booth. When we turned around to see what was so interesting…a beautiful hot air balloon was being inflated! For a fee, you could take a ride straight up a few hundred feet and look around…not sure what you could see, but the balloon was beautiful!
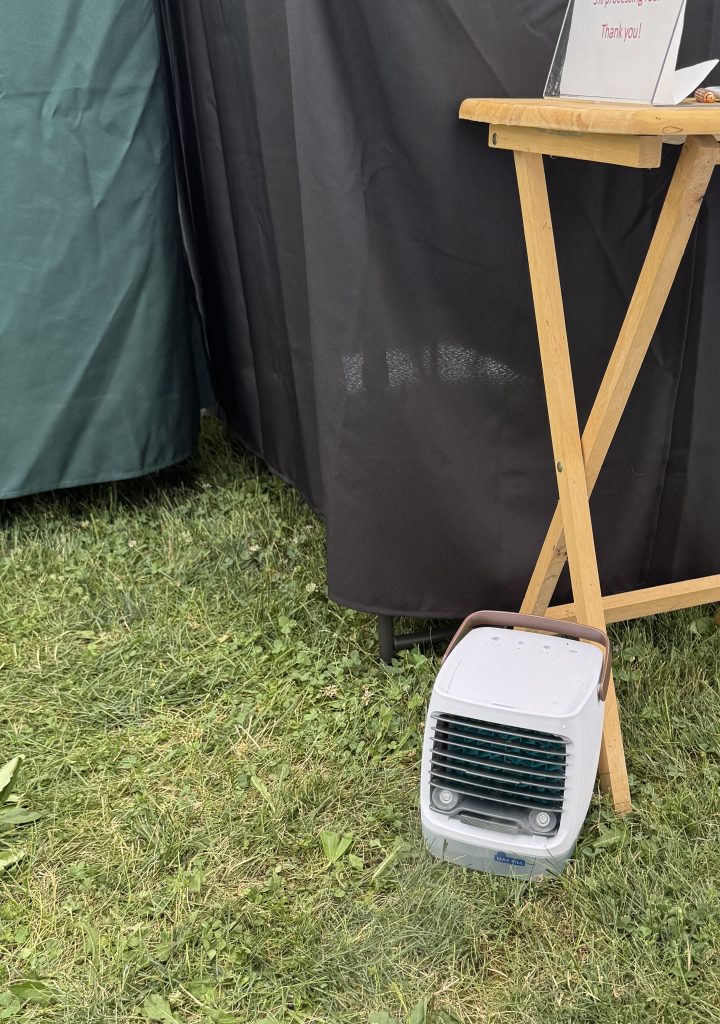
We did try to stay comfortable with the heat, but don’t believe the ads about the tiny air conditioners that seem to blow air over ice water and used a battery. The could blow moist air in our face or on our ankles for a few minutes. The could not keep up with the 100 degrees in an open tent.
By the third day, we were putting the melting ice from our cooler into a large zip lock bag and using it as a compress on our arms, legs, neck and shoulders. That worked the best! We were grateful for Bert’s help in setting up the tent, and then coming back on Saturday evening to help us tear down. This whole event was not a one-person job!
Check out Art in the Orchard Festival next year! I’d love to see you! If you have comments or questions, please email me directly at maryjkisner@gmail.com.
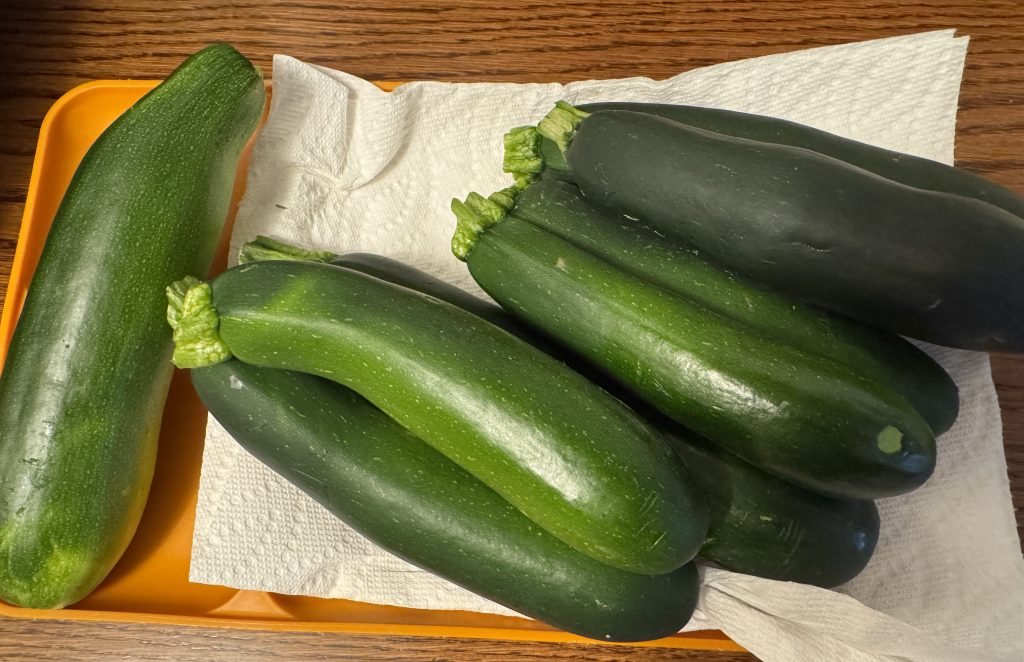
I now have a folder full of zucchini recipes to try…and we finally have some zucchini! I just couldn’t make myself buy zucchini when I saw the plants in the garden a few days ago. In three days since I took this picture, I picked two that were about 8″ long.
Of course, I forgot to take a picture of them before I put them through the shredder! This little hand-operated shredder worked just great for two zucchini.
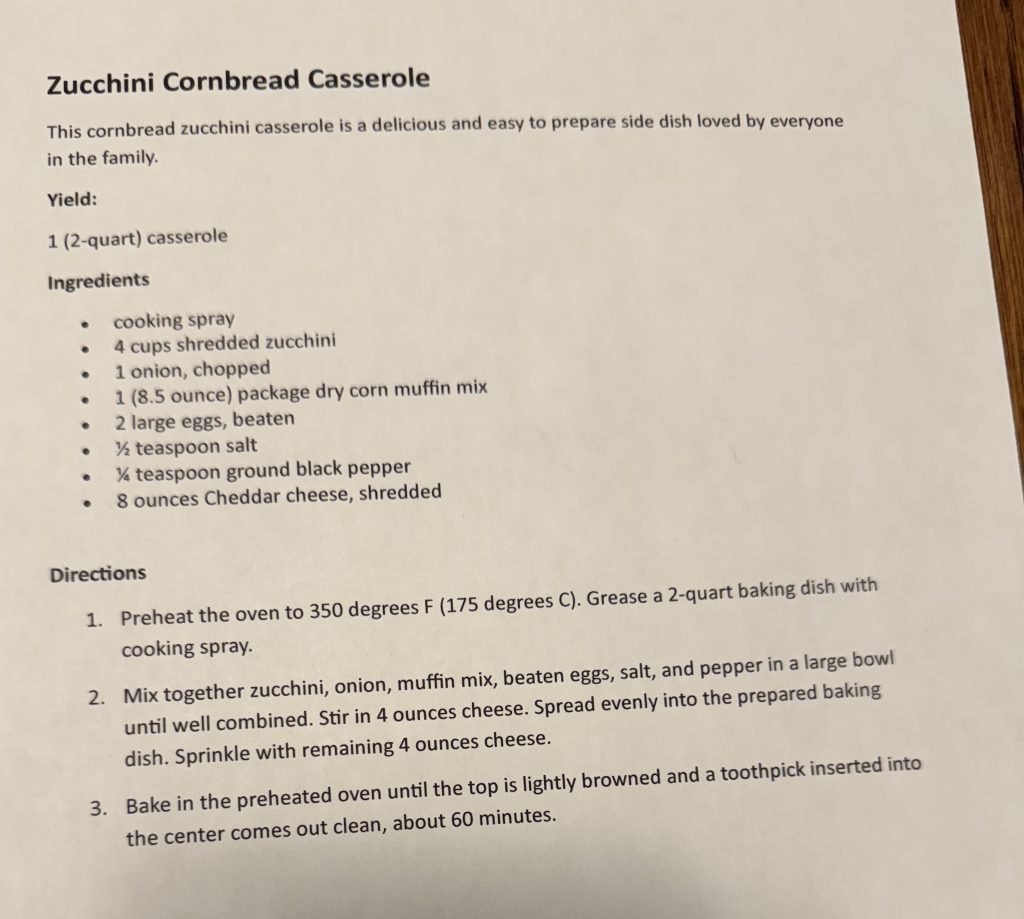
The recipe came from https://allrecipes.com and I didn’t retype it yet. I’m starting to like the way allrecipes.com formats their recipes.
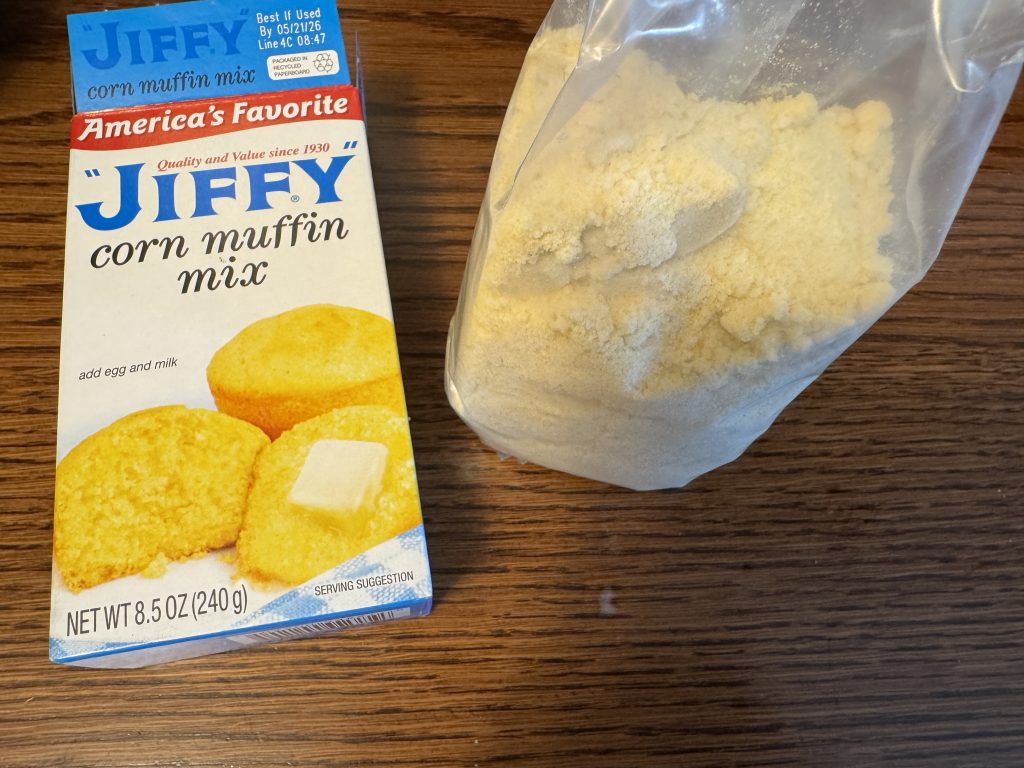
When I looked at the ingredients, I saw I needed a dry cornbread mix, 8.5 ounces. Interesting. I thought that must be a small mix. Sure enough, it was a Jiffy cornbread mix!
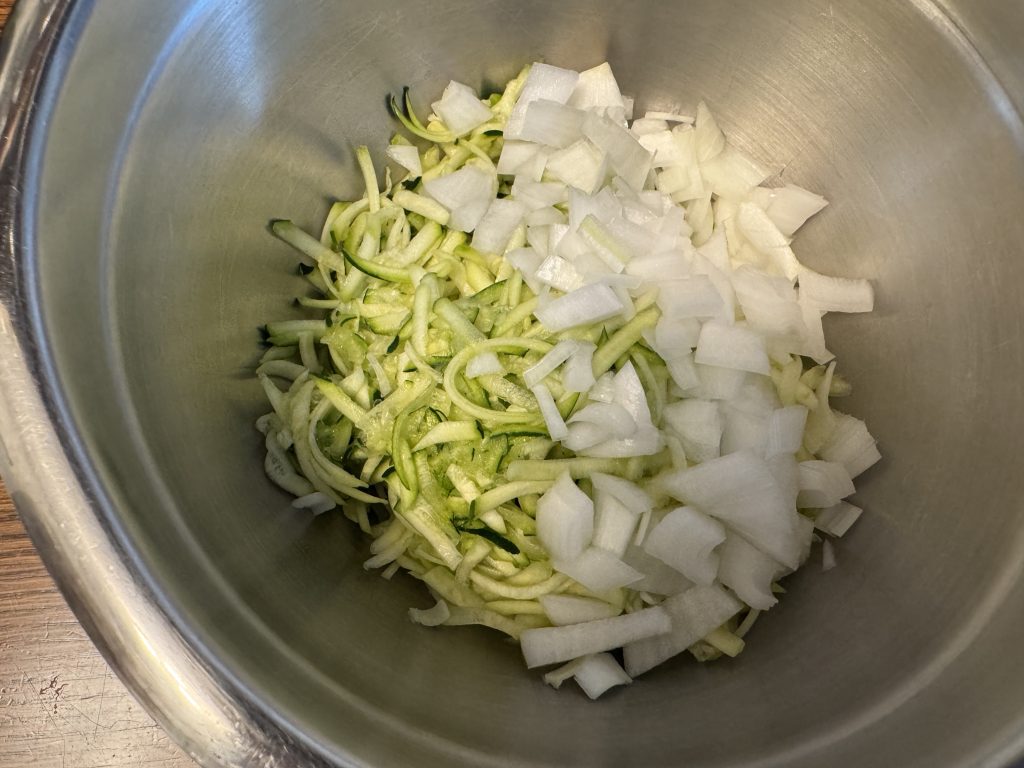
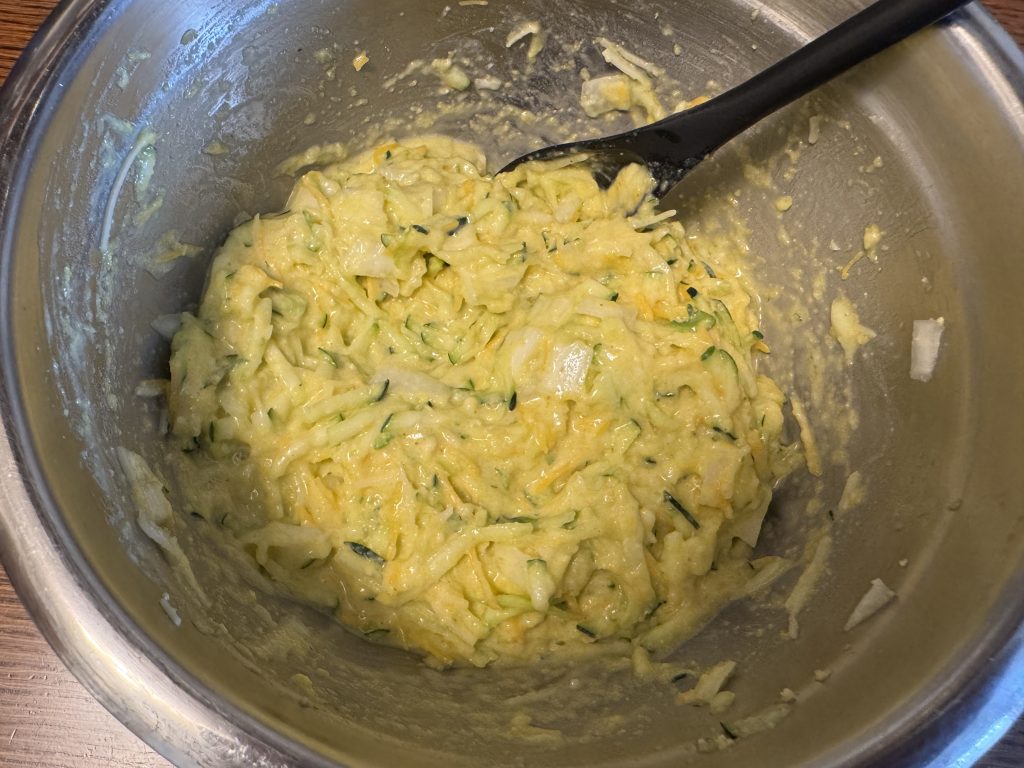
I started by shredding the zucchini and chopping an onion.
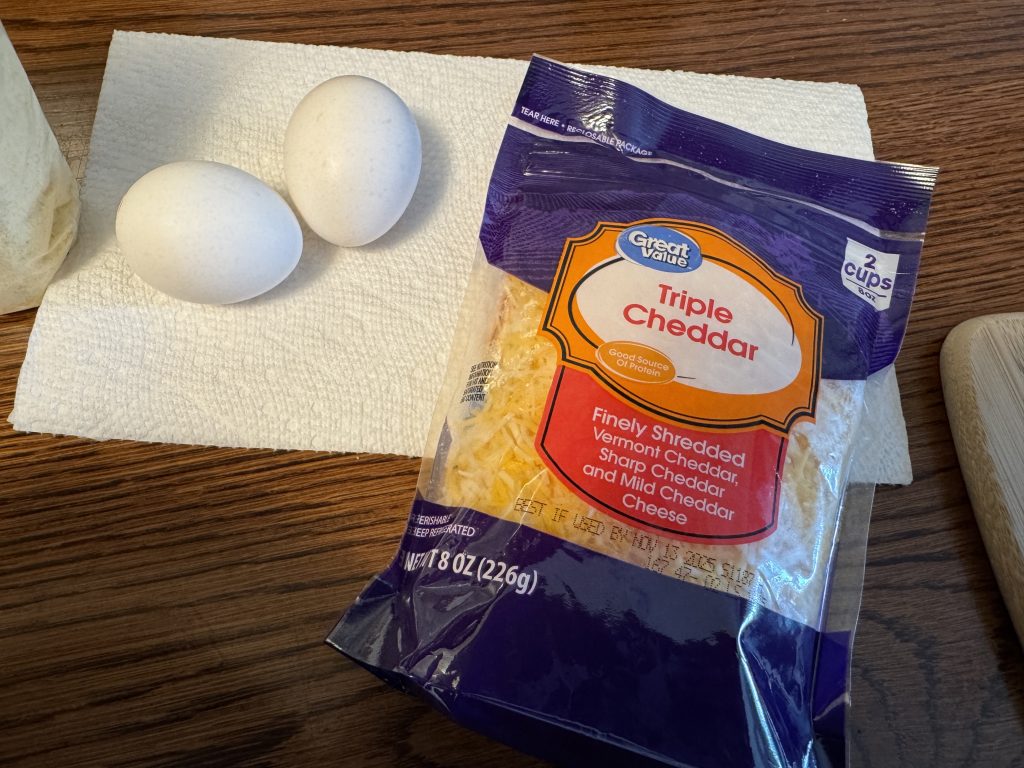
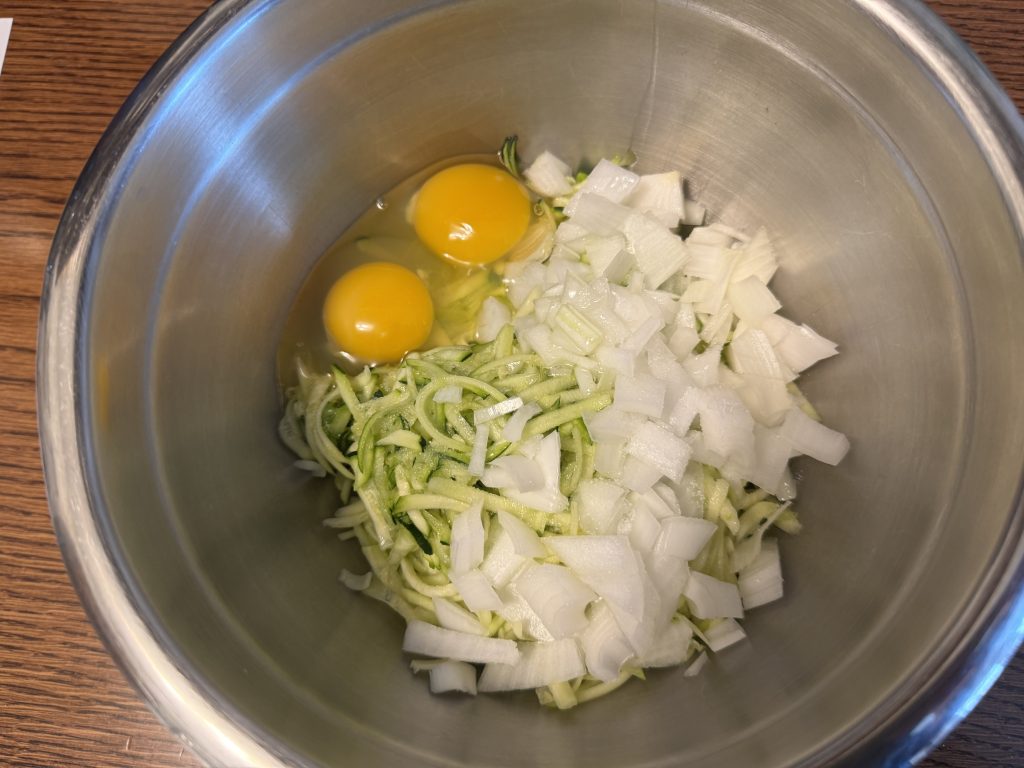
Then I added two eggs and mixed in the 4 oz of cheese.
Then I added the cornbread mix.
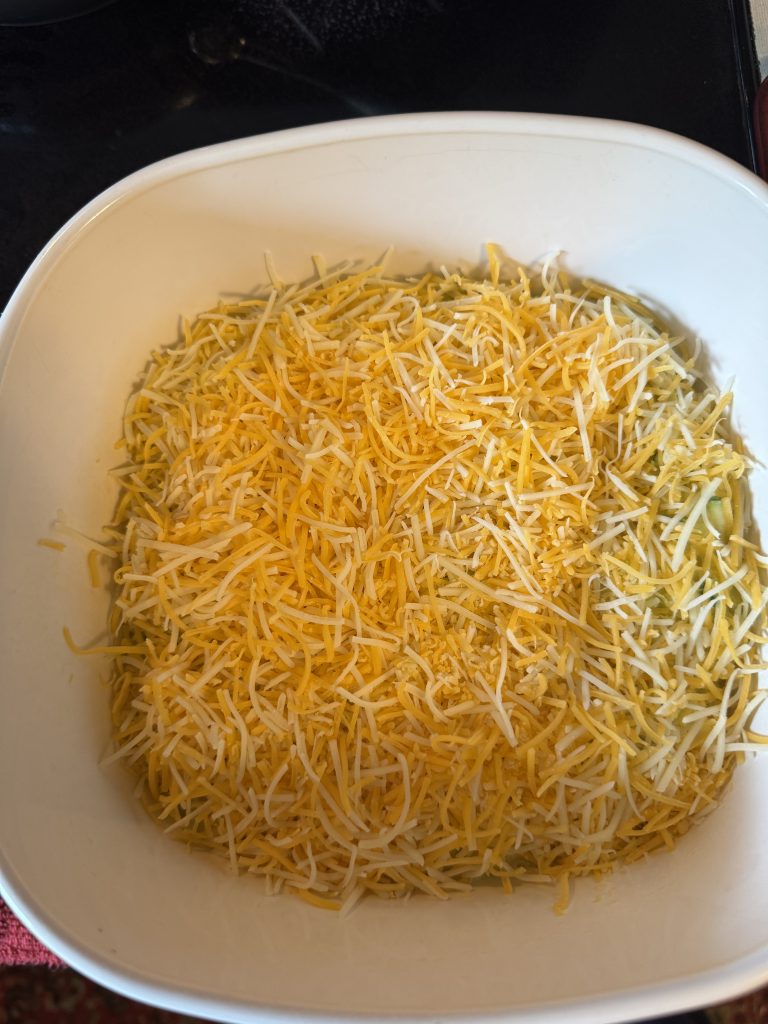
I put this mixture in a casserole sprayed with oil, and sprinkled the rest of the cheese on top.
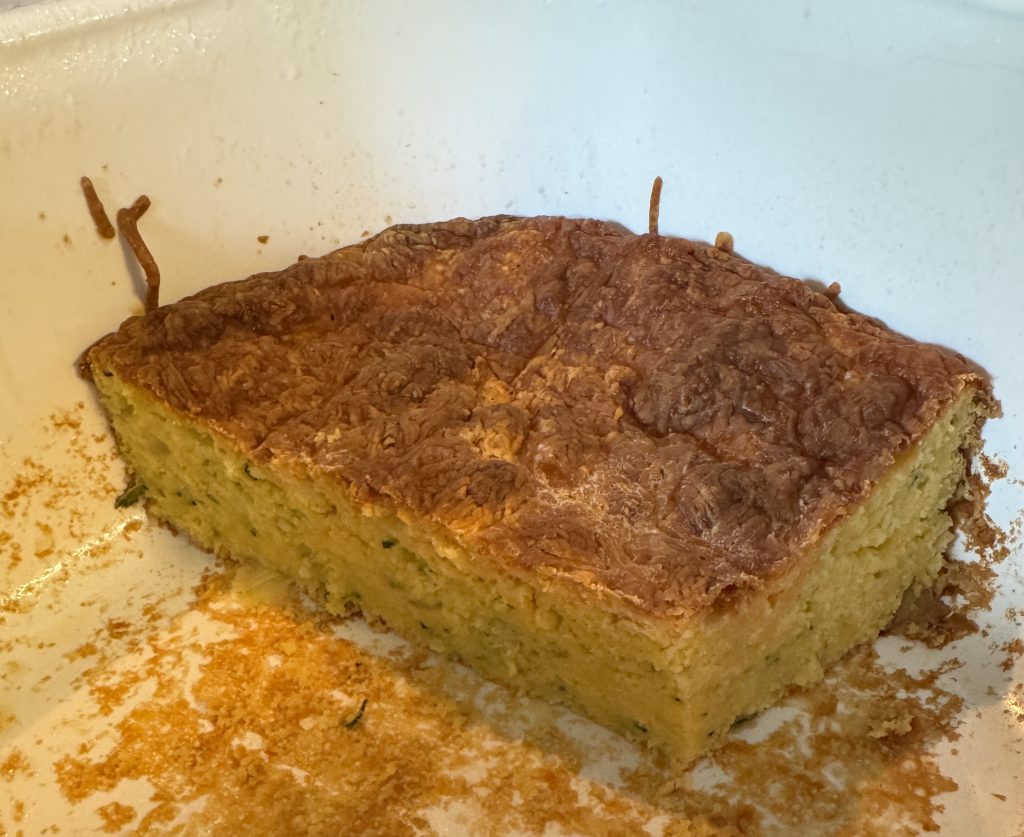
I put the casserole in a 350-degree oven timed for 55 minutes instead of 60 minutes as called for in the recipe, just in case my oven temperature was still unpredictable. After 45 minute the cheese on top was very brown. I took the casserole out of the oven, worried that the top layer of cheese was baked too hard even though the inside could probably bake another 10 minutes.
The casserole tasted fine, but next time I’ll wait until the last 15 minutes to put the cheese on top. Here’s what it looked like after we’ve eaten most of it. It really was pretty tasty!
I will count this recipe a success and will make it again! If you have a question or comment please email me directly at maryjkisner@gmail.com.
What a difference the sun makes! Here’s the latest from my cruise around the garden. On the patio, the onions have exploded! They are so tightly packed we’ll have to cut them out of the planter…or maybe we’ll just dump them on the ground and pull them apart. Obviously, they were planted too close together! I shouldn’t have to buy onions the rest of the summer!
The next round of radishes has sprouted. Last week I pulled them all out. Bert refilled the planter with fresh dirt so I could plant again.
The new lettuce seed has sprouted:
The small ‘Raindrop’ tomatoes are doing well…I’m hoping they start to turn red soon!
The pumpkins are reaching out and up!
Up in the garden on the hill, the lavender is finally turning purple and boy does it smell good when I brush my hand over the flowers!
The tomatoes are looking good…I’ll have a lot to work with in August!
The carrots have finally decided to grow!
The green and yellow beans are now flowering…the yellow beans seem to be about a week ahead of the green ones.
One of the zucchini plants is actually making zucchini!
And of course, the Echinacea is going nuts. Most seem to be pink, but in the far corner I can still see some of the other colors I planted.
It’s amazing what a little sunshine will do to get things growing. If you have comments or questions for me, please drop me an email at maryjkisner@gmail.com.