Wrapping up 2025

This is it! Finally, the last day of 2025! I should feel sad…oops no I don’t (smile)! It has felt like a long slog…more medical appointments than I wanted to endure! Each social commitment felt good when completed and I could check it off the list. Turning the page to a new month provided some relief…tossing the calendar page with too many appointments scribbled in and crossed off and changed to a new date or time. I’ve felt like I’ve been at the mercy of other folk’s schedules like Doctors, Dentists and follow-up appointments.

When I look back at this year, I realize I tried to summarize the year with my one-page Christmas letter. I’ll share the letter here (some of you received it already…sorry to repeat). However, I try to not burden anyone with too many details at Christmas time. I’ll post the letter in sections and expand with a few more pictures. Mostly, I’d like to share what I’ve been doing with my bracelets as I get ready for the summer craft festival. So, here is the Christmas letter with additional info:

Christmas 2025

Greeting Family and Friends!

We hope this yearly letter finds you and yours healthy, wealthy and wise! I always wanted to say that! Of course, at our age healthy is a variable we’re all dealing with. Wealthy…well we didn’t win the lottery but we’re wealthy with friends…and we feel especially wise about all the choices we’ve made over the last 79 years, considering there is absolutely nothing we can do to change anything!

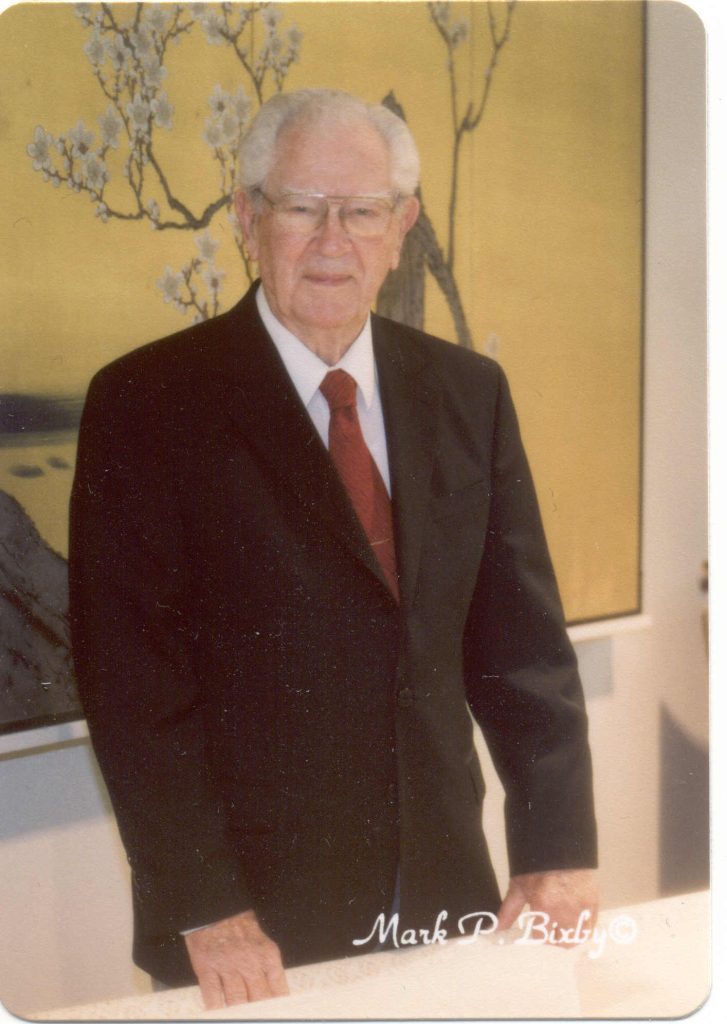
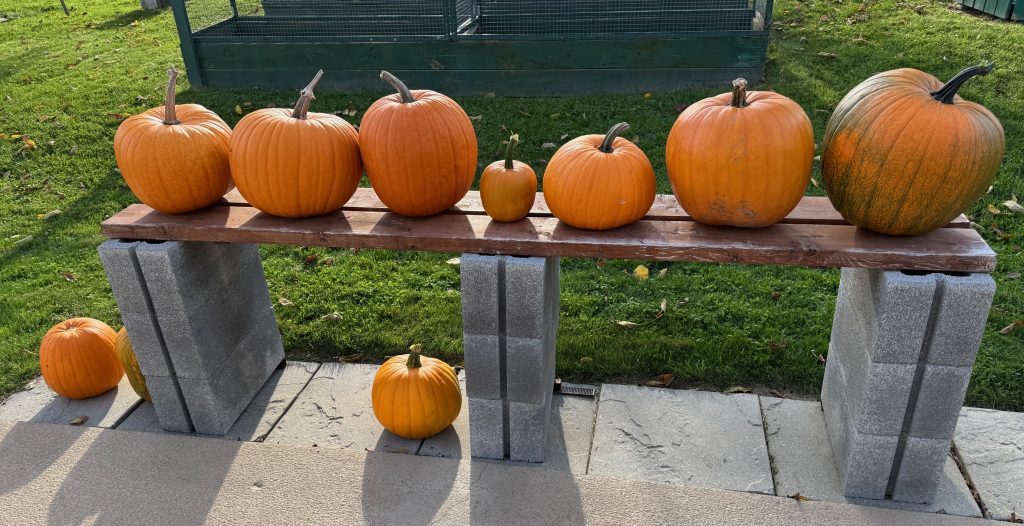
Bert had a good year with no major health issues or surgeries. Lately, that’s our measure of success! He had fun with the garden this year and planted a huge pumpkin patch. It dwarfed the wood pile! It also attracted the neighborhood groundhogs who thought we had planted them just for their dining pleasure!

The garden did well this year in spite of sporadic rain/no rain issues. I now have quite a few good zucchini recipes and we have enough tomato sauce for the year!

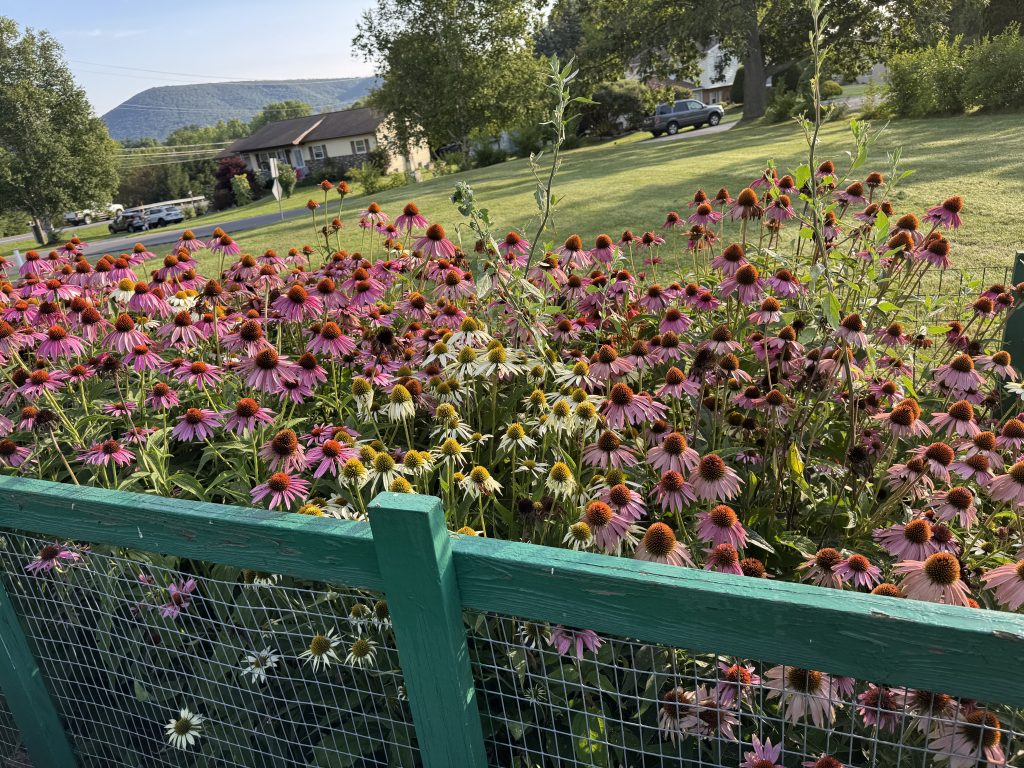
The Echinacea always made me smile!

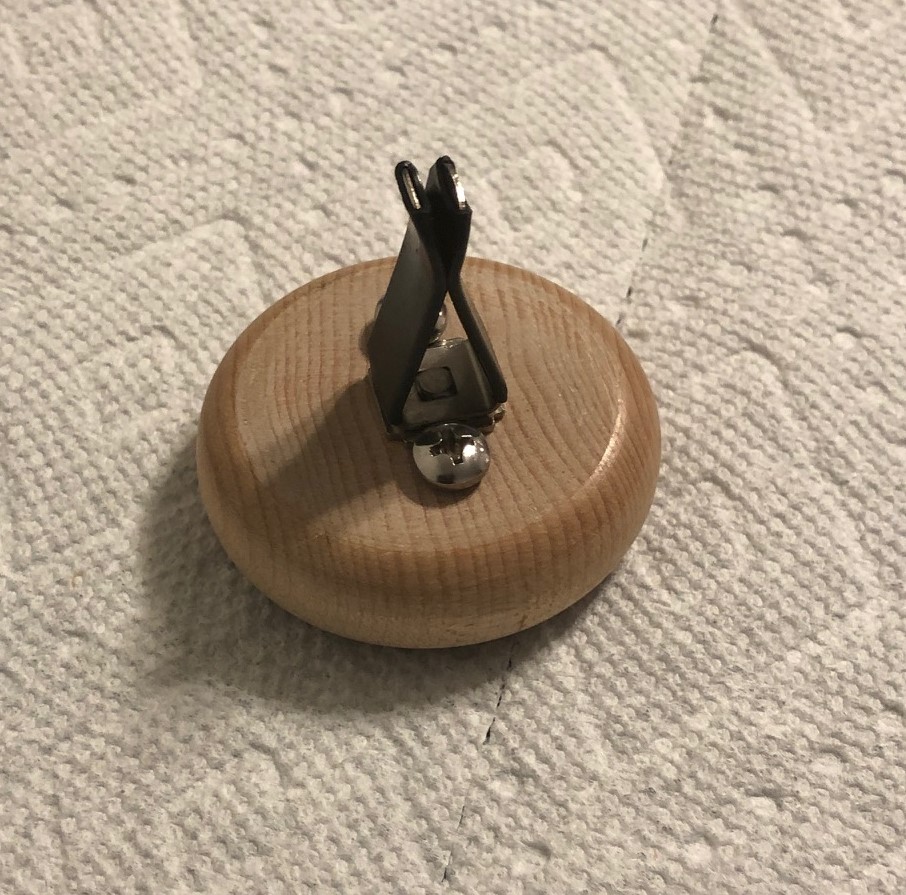
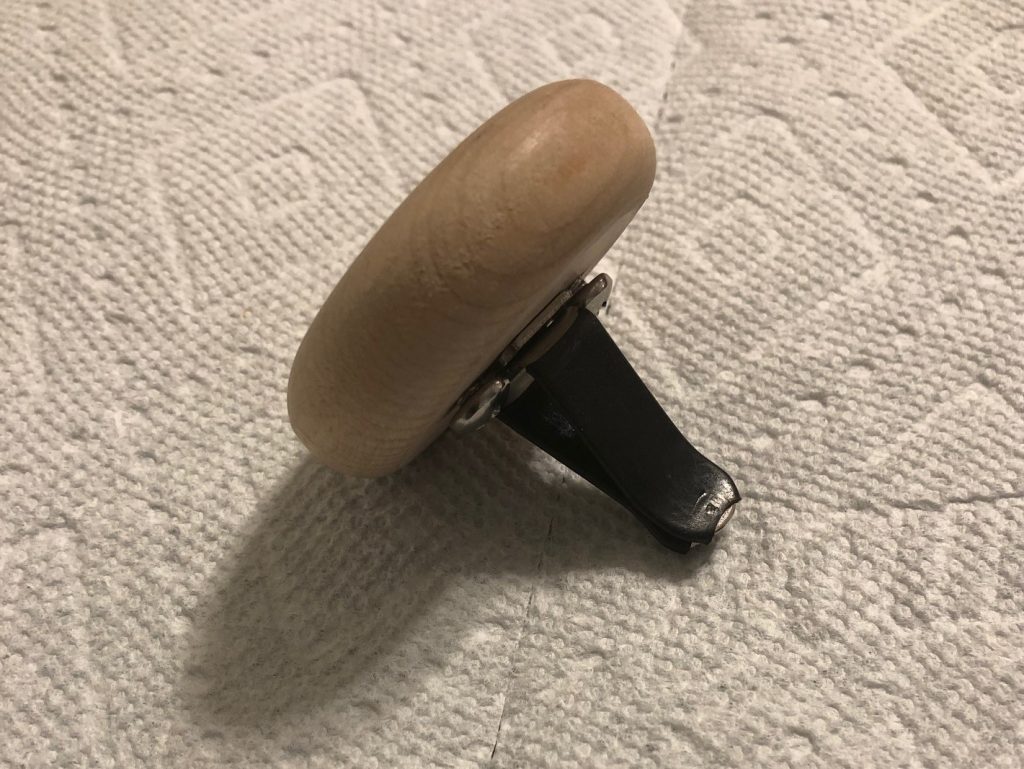
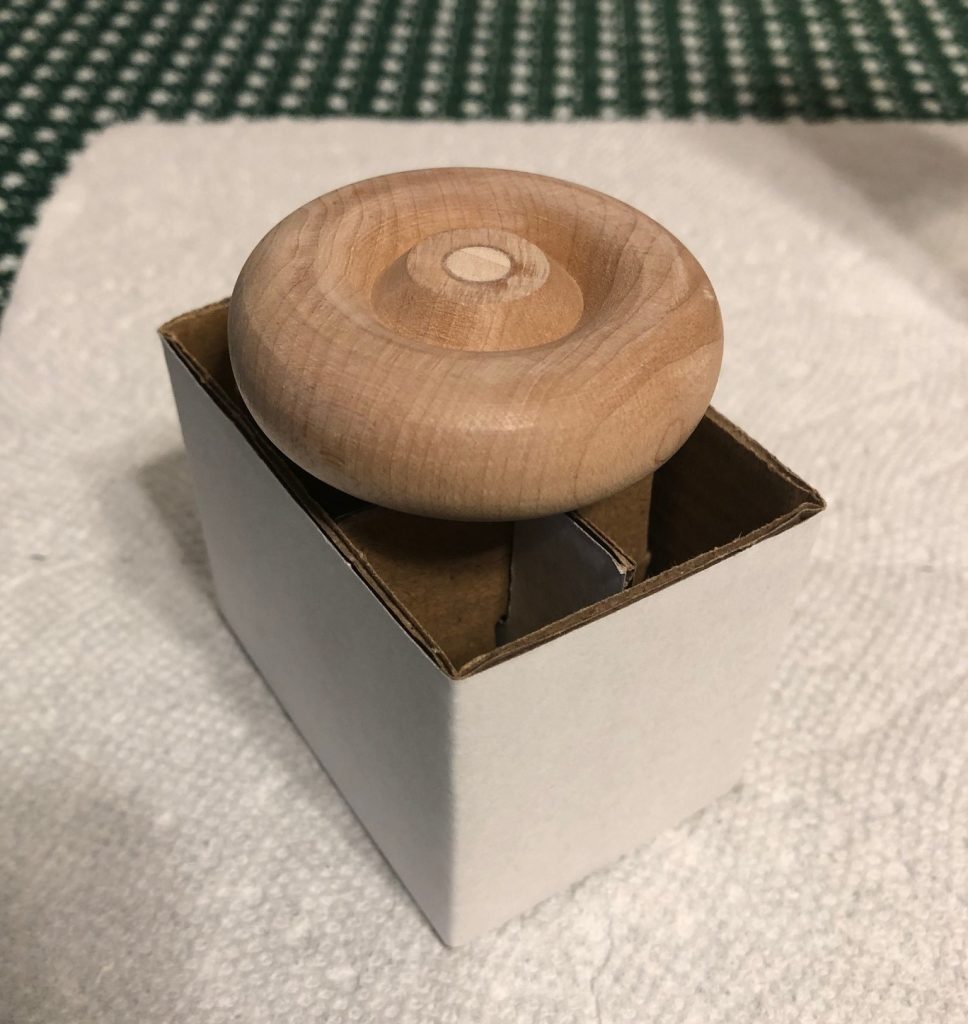
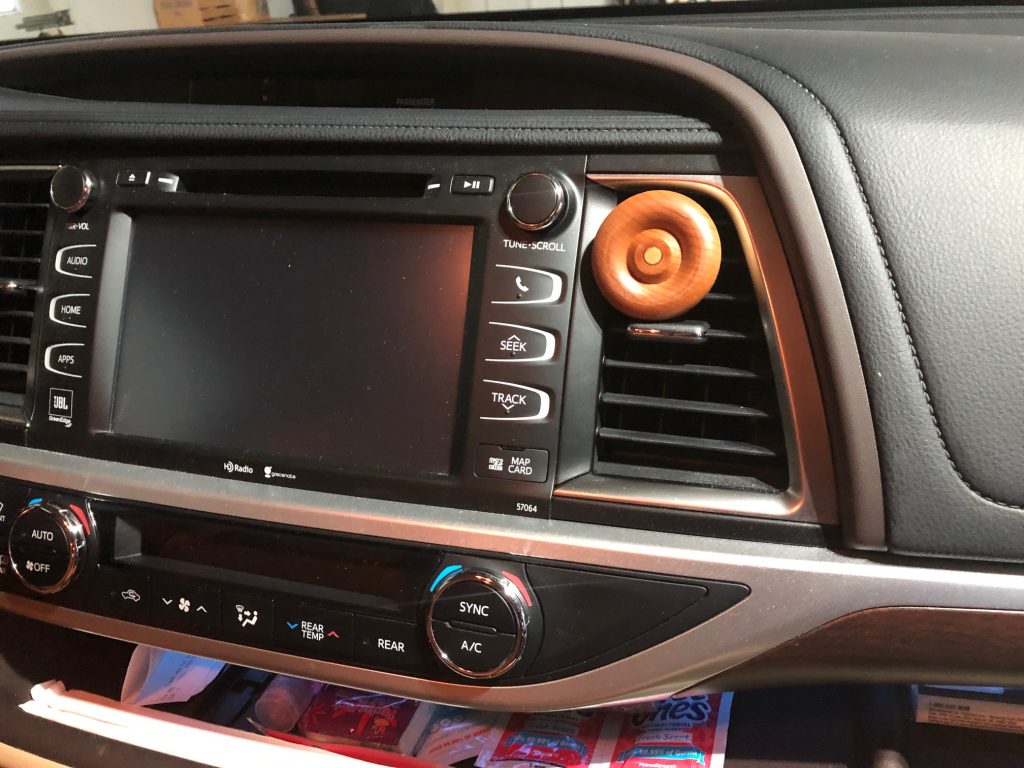
I started the year thinking I could get really creative with my bead bracelets and was looking forward to the summer festival. Of course, my yearly mammogram in January showed evidence of cancer. The rest of the year was spent dealing with more Xrays, MRI, Lumpectomy and Radiation. All done for now!

I will say the bracelets gave me a purpose and something to do when I didn’t feel like doing anything else. The festival in July was very successful and I’m gearing up for next year. Hopefully, I won’t be distracted with any more health issues in 2026!

The last week or two I’ve been repackaging my specialty bracelets so I can redesign my festival booth. Marketing is not my strength so I’m hoping I’ll get some good advice from friends about how to display the bracelets.

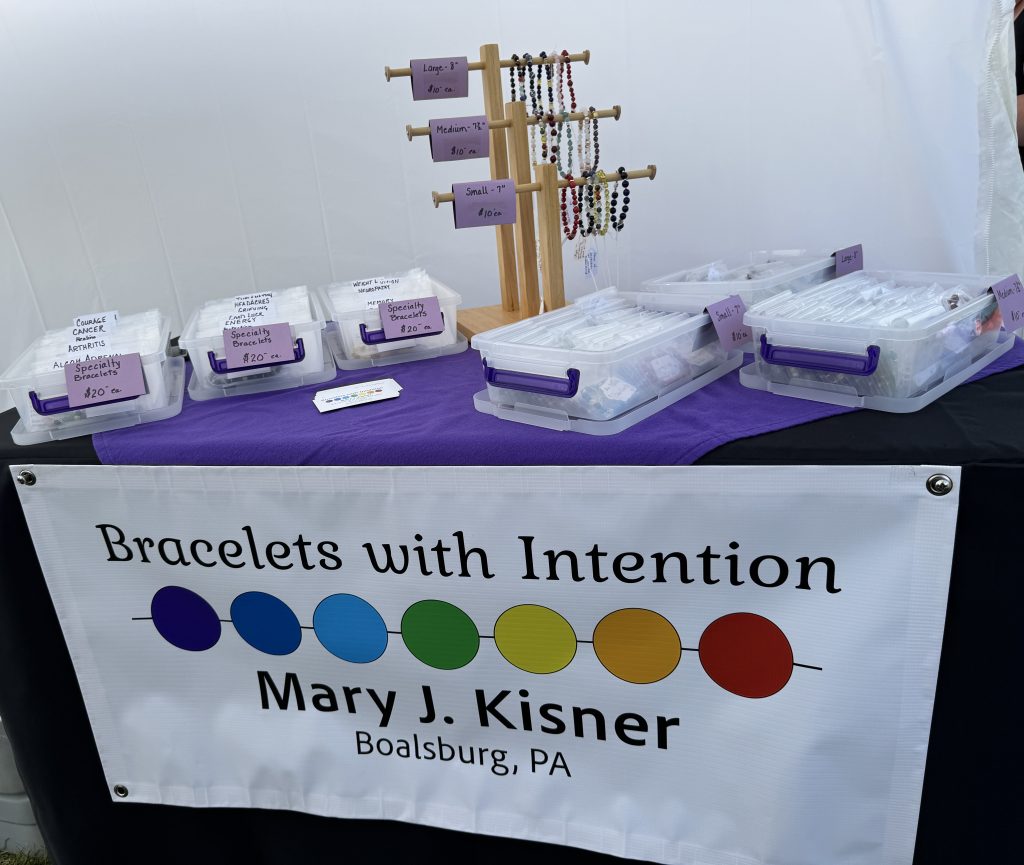
Last year my booth was pretty simple. Luckily, I was with my friend Toni because I certainly couldn’t fill up the whole booth myself!

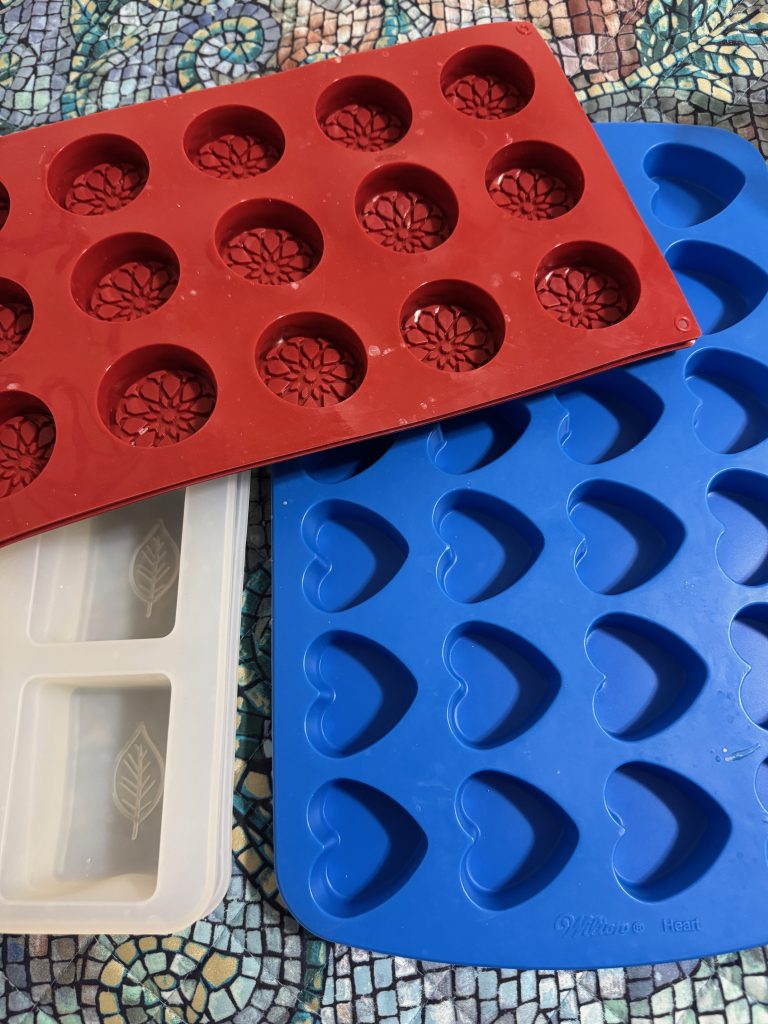
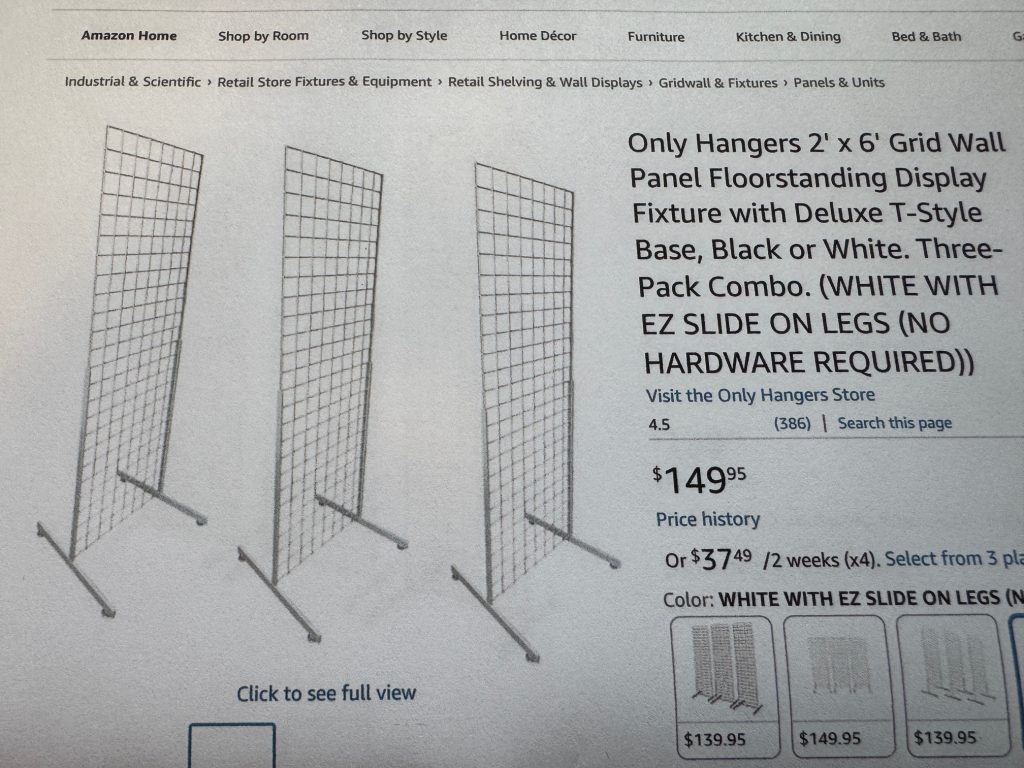
Obviously, I need to change the display, so I’m thinking about a grid wall behind my table like these:

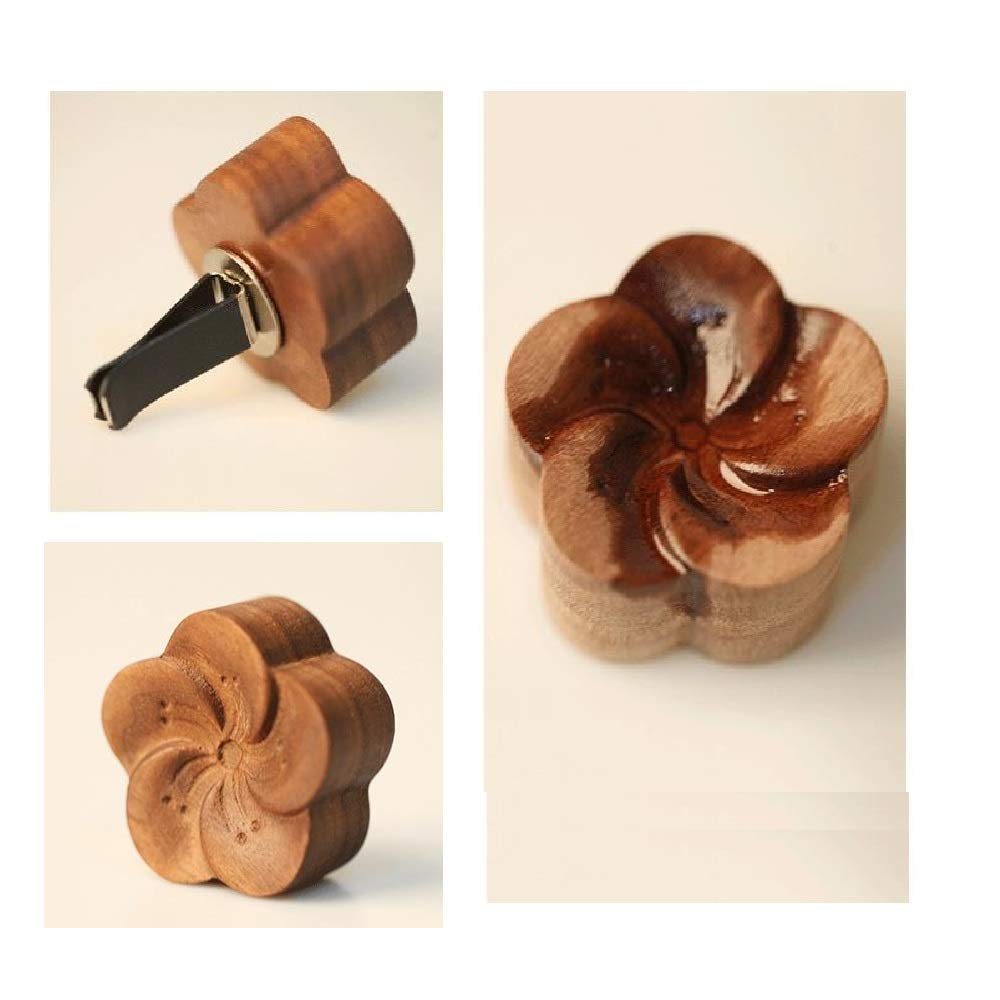
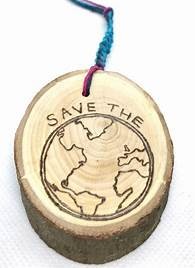
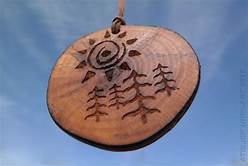
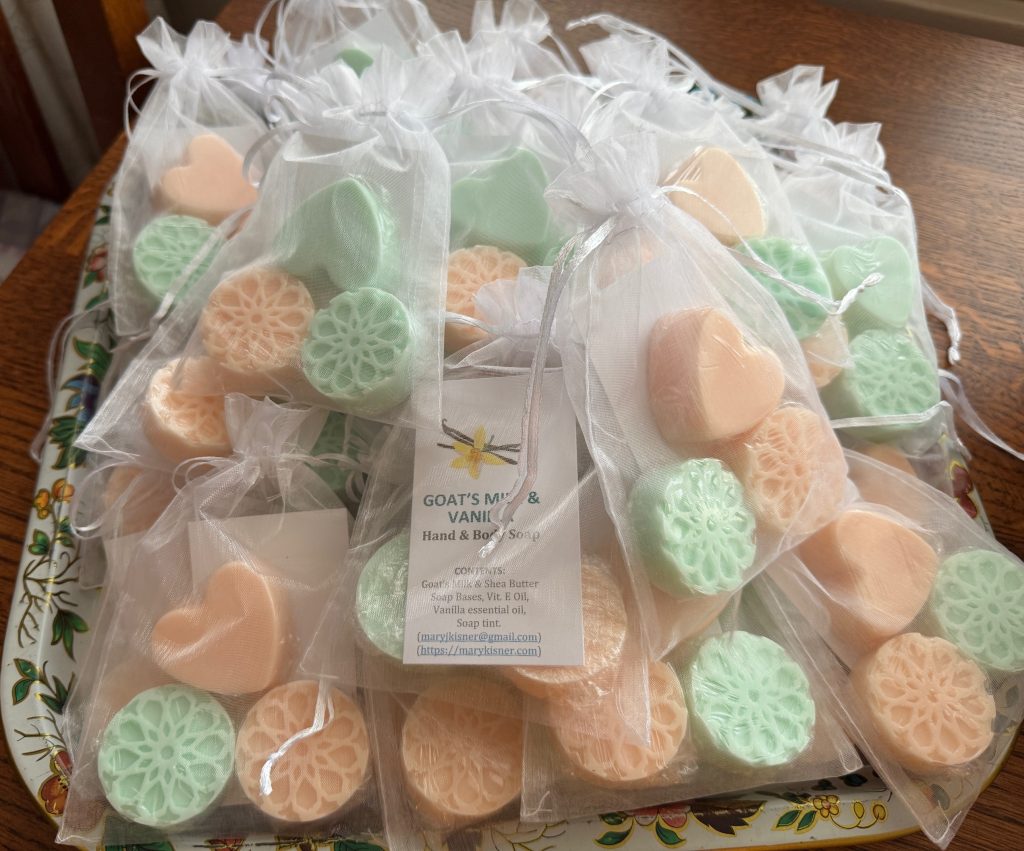
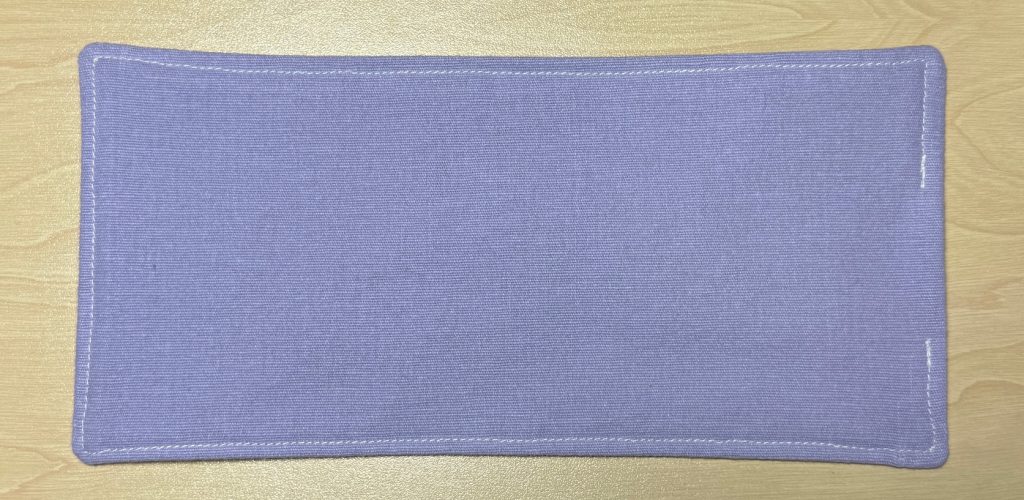
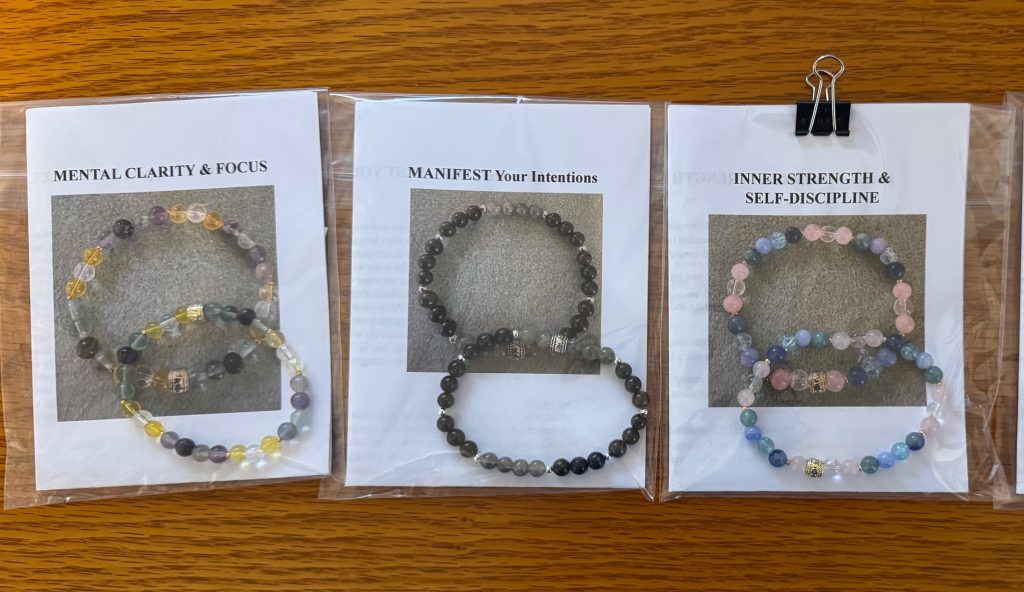
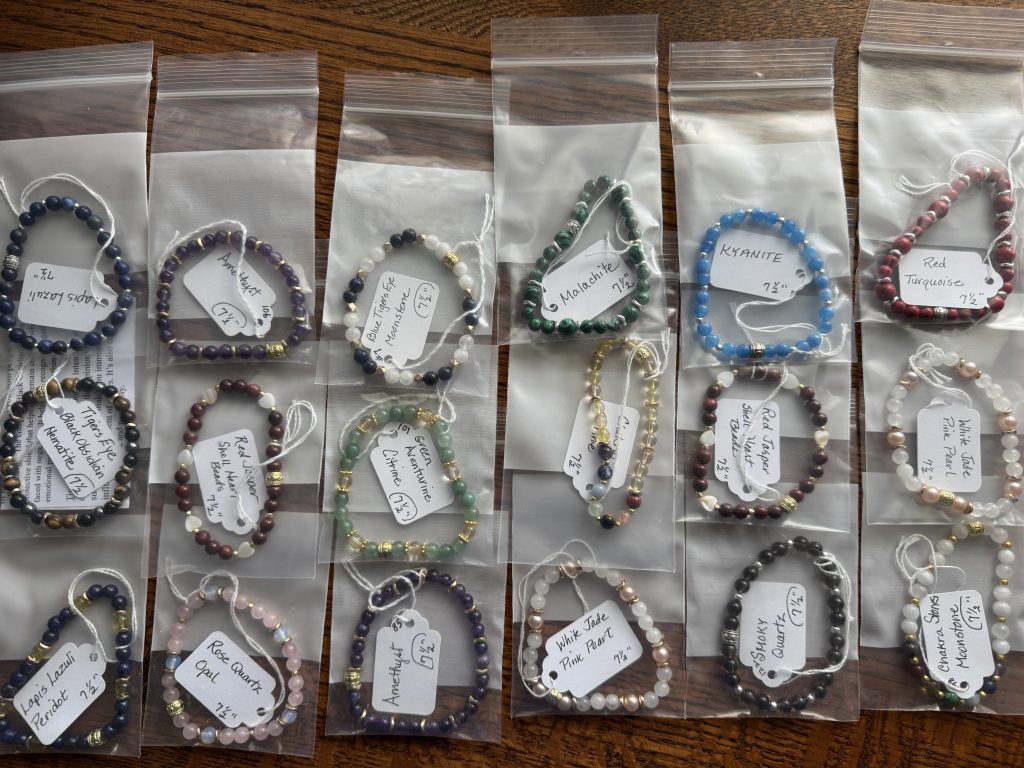
Then, I’m repackaging all my specialty bracelets so each bag looks like this:

I now have 42 different bracelets that I can arrange/hang on the grid wall. That will certainly fill up the backdrop space and I’ll move my sign above the grid wall. It should be more visible from a distance!

I will still have simple single stone bracelets but they can be organized by size. People seemed to like being able to search through the small bins for their favorite beads and colors.

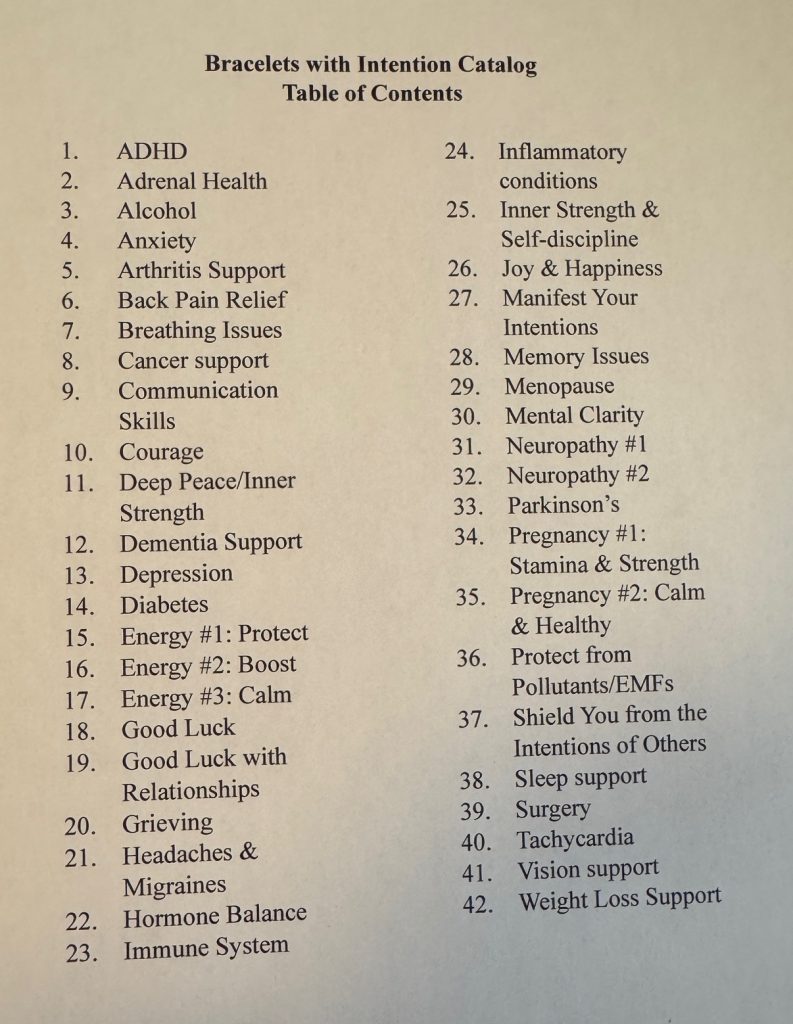
Here’s my Table of Contents for the specialty bracelet catalog:

Finally, I need to make a decision about how to accept payment for bracelets. I REALLY don’t want to commit to accepting credit cards. While I do have PayPal, cash is so much easier. I found last year cash worked well except for the teenagers/college-age kids…they wanted to use VENMO and something else. I guess I have a few months to figure it out. Any suggestions will be considered.

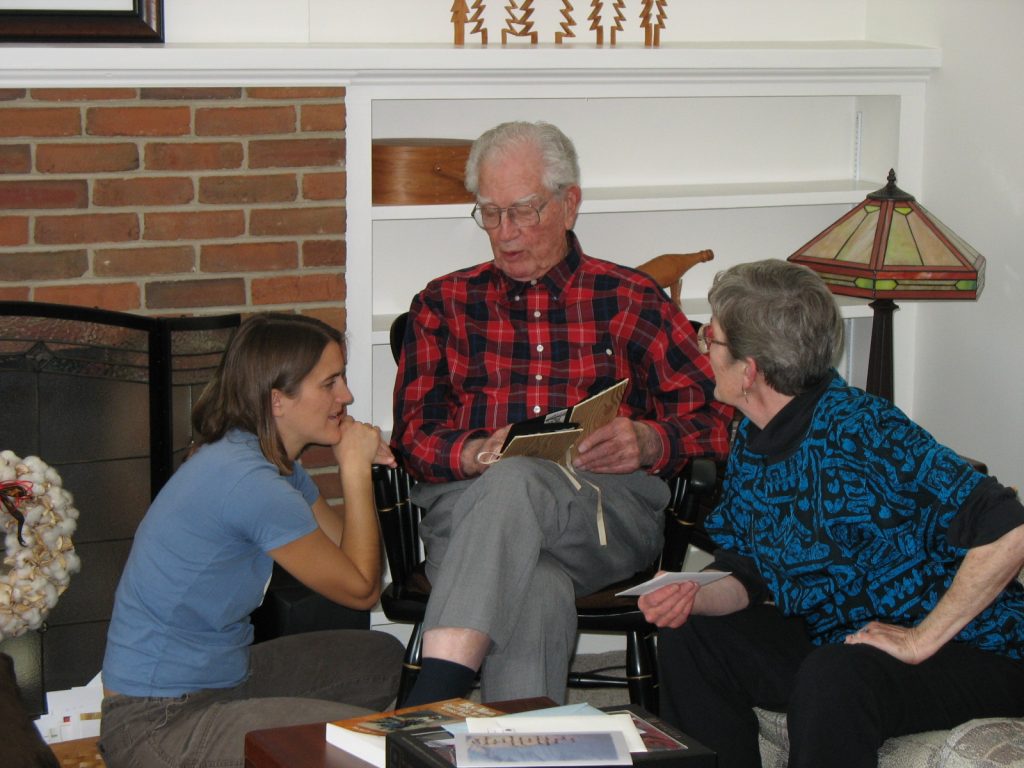
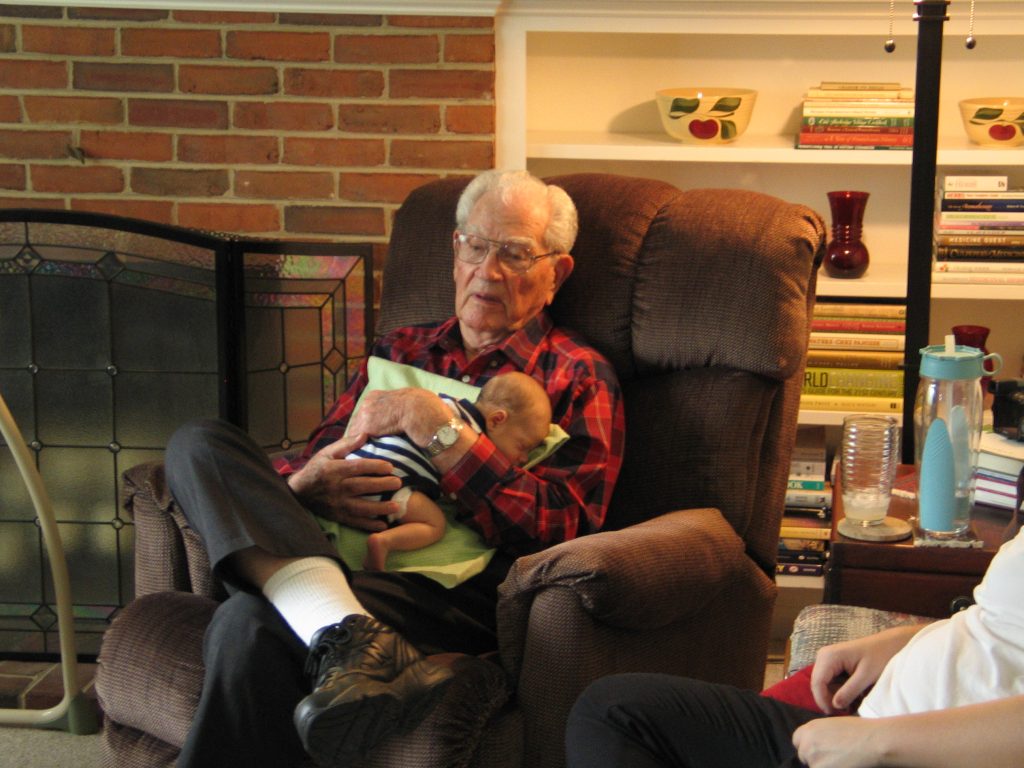
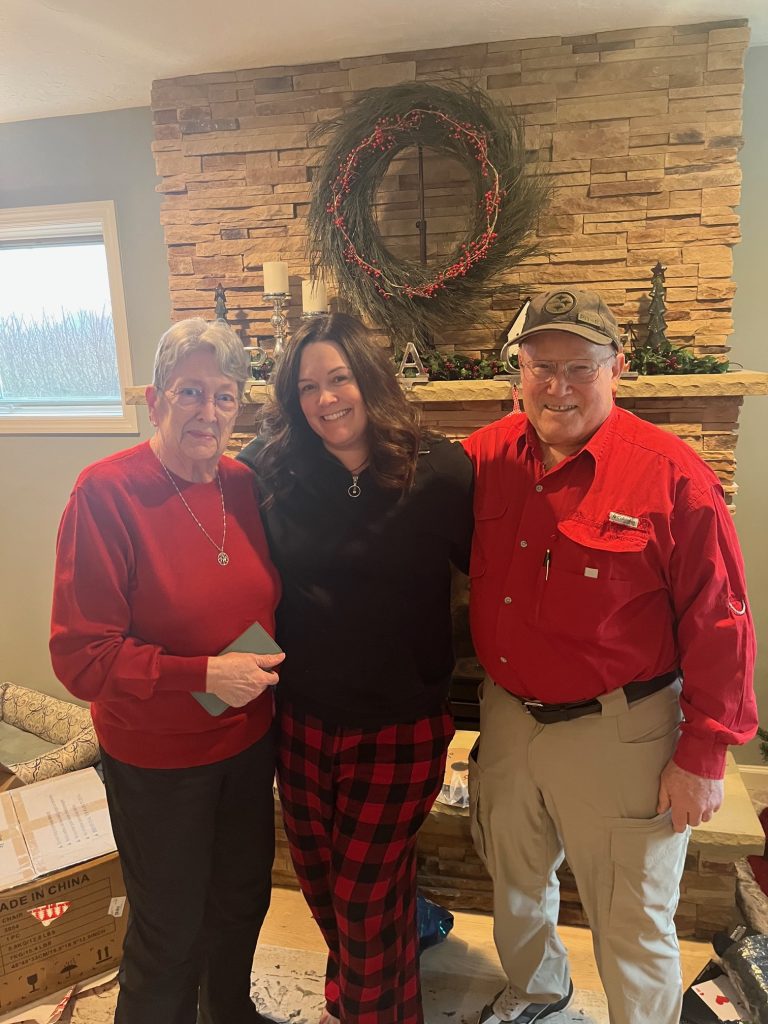
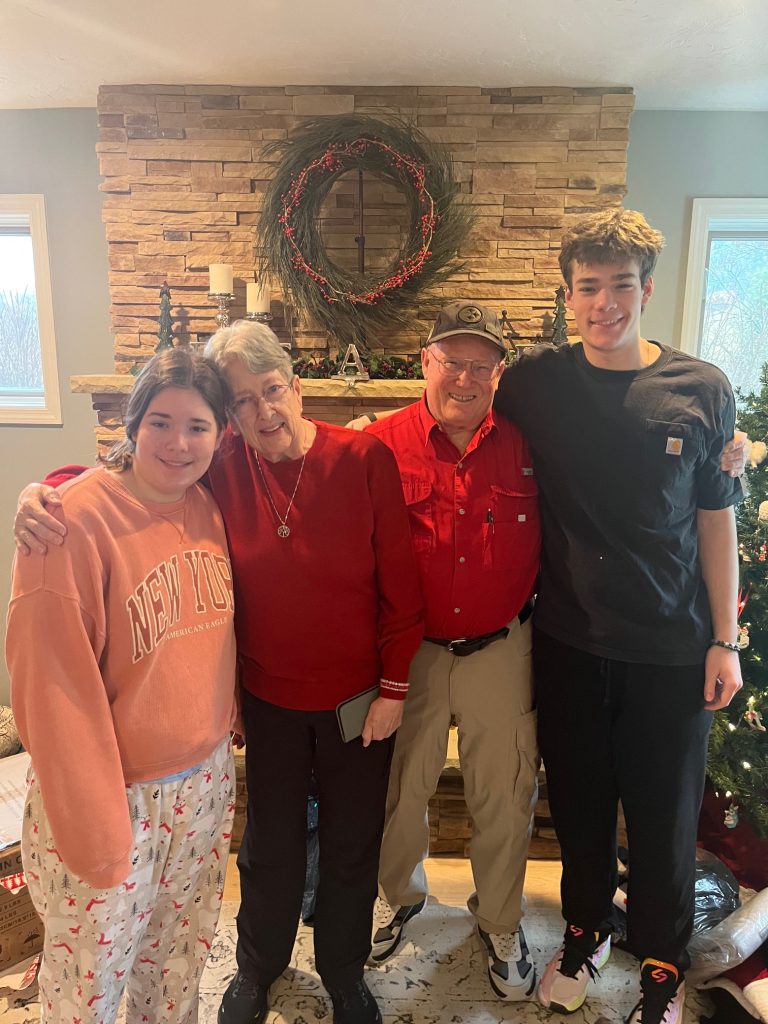
To wrap up…we made it through Christmas at Kathy’s home…a fun time for all. Kathy always has a wonderful Christmas Eve/Morning planned for all of us. I so appreciate her efforts! We desperately try to remember to take pictures…usually as we’re putting our coats on!

Bert and I both manage to wear red on Christmas morning. I certainly don’t have a lot of red items in my closet!

Ben and Anna are growing up!

Even Daisy was a happy dog to have us all there!

Please email me directly if you have comments, questions or advice about using VENMO (or others). maryjkisner@gmail.com

Merry Christmas from “Mary’s Musings.”

Making Cheddar Cheese Muffins

Today I tried a simple muffin recipe that turned out great! It was published as a gluten-free recipe so I just substituted all-purpose flour for the gluten-free flour. The muffins were tasty and could complement soup or chili. With a little maple syrup or cinnamon/sugar they could satisfy like a pancake and have more protein with the cheese added! Maybe even for Christmas morning!

Here is the recipe:

Making the Muffins

The ingredient list was pretty simple. I had everything on hand. I was also excited to try my new silicone muffin pan…no need for grease or muffin papers!

First step. Add the first 4 ingredients to a big bowl: flour, baking powder, salt, sugar.

Next, I added one at a time, the cheese, melted butter, milk and egg. It easily mixed into a soft batter.

I scooped out the batter, one tablespoon at a time, into my silicone muffin pan. Here’s the pan ready to bake in a 400 degree F oven.

I did sprinkle a little coarse sugar on top of each one just for the crunch. In 25 minutes they were golden brown and still moist inside. When completely cool, the outside of the muffin was quite firm, but the inside was soft. I think they would travel well without falling apart.

Delicious!

What an easy way to add muffins to any meal! Give it a try! Enjoy! As always, please email me directly if you have comments or questions: maryjkisner@gmail.com

Remembering My Dad at Christmas

The Christmas season has always been associated with my dad’s birthday… December 22. He always said his birthday was no big deal when growing up because often he would just be handed one of his wrapped Christmas gifts early. His dad’s birthday was December 26, so Paul learned young that he and his dad would have their birthday celebrations wrapped into the Christmas festivities.

My dad, Paul Bixby (December 22, 1913 to December 14, 2012) lived a long productive life. His career in education ranged from teaching in a one room school in Minnesota to a high school principal in New Jersey to Assistant Dean of the College of Education at Penn State.

In his later years, after my mother died (1988) and his second wife died (2000), he was able to connect more with his kids, grandkids and great grandkids. For several years, his birthday became the time when we would host a birthday picnic in our shop for as many relatives who could travel to visit. A few pictures from his 95th birthday picnic prompted me to search for as many pictures as I could easily find of him with his kids, grandkids and a few great grandkids. They were good memories for me since it has now been 13 years since he died. How time flies!

So, if you’ll forgive me, here are some special memories for me this Christmas!

Paul with Luca.

Some of the party guests!

Paul with Erin and Jean:

Paul with Ben…who slept through it all.

Paul with Ben…a few years later.

Paul and Aislinn.

Paul and Annika.

Paul with Aislinn and Ted.

Front row: Kathy, Jean, Paul, Mary. Back row: Lita, Mark, Bert

Front row: Todd, Anh, Gabriel, Quinn, Parker, Pam, Ron. Back row: Teresa, Paul, Mark.

And last…but not least…Paul holding newborn Anna. He died about 6 weeks later. I’m so sorry he didn’t get to really meet her…she slept through it all!

So, this Christmas, we will be thinking about Paul on his birthday (Dec. 22)! He would have been 112 years old!

Making a Simple Car Air Freshener Repost

I posted this story 4 years ago! Can’t believe it! This simple air freshener works as designed and doesn’t overwhelm me…even when it’s cold out and the heat is blasting through the car!

December 8, 2021

I recently bought an air freshener for my car at the drug store counter. It clipped onto the vent on the dash. I lasted about 3 minutes before I threw it out…the scent was so strong and sickening I couldn’t stand it. It seemed like a good idea at the time!

Then I saw an ad online that showed some air fresheners made of a simple chunk of wood with a clip attached. You were supposed to add drops of your own preferred essential or fragrance oil. At least I could choose the scent!

I found some samples online by just typing in “wood air freshener for the car.” There were interesting shapes like flowers with a clip on the back, or slices of a tree branch meant to hang on the mirror.

I wasn’t sure the oils would soak in properly and then provide a nice smell in the car without being overpowering.

With Bert’s help, and a bag full of wood scraps that he uses for all kinds of little projects, we gave it a try.

First, I ordered the clips from Amazon…they were called “Square Head Car Air Vent Clips.” A bag of 20 clips were $6.99.

They were a very tight clip. Next challenge…finding some chunks of wood. Bert came in with some round fairly flat disks to see if they might work. The groove around the center could capture the oil until it soaked in.

He experimented with how to attach the clip to the back. Plain glue would not work because of the kind of stress it would be under to pull it from the vent. He found a way to put a screw on each side of the base, with the edge of the screw overlapping the base. It worked great for now. He had some other ideas for the next batch.

Now that the base was secured, I needed to add drops of scented oil…I chose Lavender fragrance oil…mostly because I had a big bottle of it, and I could stand the scent.

First, I had to figure out a way to keep the whole thing vertical so the oil wouldn’t drip off before it soaked into the wood. I had this small box that held the roller balls in shipping. The clip just fit over the center divider and kept it upright while I added the oil.

Using the dropper, I filled the center ring and let it soak in. I did that several times over the next few days. Then I put it in the car vent. It helped to be driving around with the heated air coming through the vent. The first day it was quite noticeable, but by the second day it was very pleasant. Not sure how long it will last, but when I can’t smell it anymore, I’ll pull it out of the vent, bring it into the house, add more oil and put it back in the car.

Bert did make me five of these so I could switch up the scents. I’ll store them in labeled zip bags so I know which one had which oil. Pretty slick! Try it yourself! Enjoy!

Please email me directly if you have comments or questions! maryjkisner@gmail.com

Christmas Favors Wrap Up

Thought it was time to wrap up my story about making Christmas favors for two groups of special folks. The first is the lovely group of about 14 women in the Ladies Auxiliary to the Boalsburg Fire Company. We will have our Christmas dinner next week at a local restaurant. The second group is from the State College High School class of 1964. Our group varies from month to month depending upon who is in town…often six to twelve folks. Next week we will have lunch at a local restaurant.

Obviously, many of these folks read my blog, so if you will be attending those events next week…shhh…please be ‘surprised’ when I hand out your favors. (smile)

I wrote about my preparations to make the Christmas favors two weeks ago (you can read about it at https://marykisner.com/planning-ahead-to-make-christmas-favors/) Now I’d like to share the finished products.

I decided to aim for 30 gift bags total to make sure I had enough. Each gift bag would have a small mesh bag of 3 small soaps, an eye pillow filled with flax seeds, a small bag of green and red M&Ms and a battery-operated votive candle. Just enough to take a relaxing break over the holidays! This was not an expensive gift bag…what I’m really giving is my time to make the soaps and eye pillows to some special folks. If nothing else, the items can be used up or re-gifted to someone else!

The Small Soaps

The first item that triggered my thinking for these gift bags was my extra Goats Milk Melt & Pour soap. The small soaps make great guest soaps and are easy to make. Most of the time is used waiting…waiting for the soap to melt and waiting for the soap to harden in the molds. Yes it’s a little tedious wrapping each tiny soap with plastic wrap, but it’s a necessary step. FYI…Melt & Pour soap is hydroscopic…and will eventually absorb moisture from the air and soften. Therefore, each tiny soap needed to be protected. (Regular hand-made soap bars made from scratch need to be open to the air to harden over a few weeks.)

The Melt & Pour soap just needed to be chopped up, melted over boiling water and poured into molds. The small molds worked well, but I had to make 90 individual soaps. That took a full day to melt the soap, pour it into molds, wait for it to harden and then pop out the soaps and wrap them individually in plastic wrap. Then I started over when the molds were free.

Here are the soaps ready for the gift bags:

When I was all finished, I had this pile of soaps left over. They may find their way to other gifts or Christmas stockings!

The Eye Pillows

The flaxseed-filled pillows can be heated in the microwave or put in the freezer. Very handy for tired eyes. I found cotton fabric at Walmart, but I had to order flannel from Amazon.

You can read about how to make the pillows at https://marykisner.com/making-a-hot-or-cold-eye-pillow-for-headaches-or-toothaches/

First, I cut out 30 sets of pillows…one front, one back and two muslin pieces for lining. The flax seeds have sharp points on each end and would poke right through the flannel without the lining.

The four pieces stacked like this:

I stitched around the rectangle leaving an opening on one end.

Turn the pillow right side out.

Top stitch all the way around the pillow…leaving the small opening. I used a funnel and a 1/4 cup measure to pour in the required 1 cup of flax seeds. Then, after shifting all the flax seed to the far end, I quickly sewed the opening closed.

I also wanted to keep each pillow clean in the gift bag, so I put each one in a gallon zip bag. That would help it stay nice between use, and would keep it clean if used as a cold pack when placed in the freezer.

The process to make 30 pillows took more than several days to complete. Thank goodness for Hallmark Movies to keep me entertained!

The Battery-operated Votive Candles

I’ve had this box of votive candles for several years. I used a few to put inside some clay candle holders I made out of polymer clay. So much for that project! I made a few and decided I didn’t need more than three…thus, there sat a box of candles on my shelf! (I did make sure they would still work before I put them in the gift bags!)

Red and Green M&Ms

I’m sure the M&Ms were not necessary but they just seemed like the perfect touch! This 4 lb. bag of M&Ms just made 30 tiny bags…one for each gift bag!

Time to fill the bags!

I think this display will count as my Christmas decorating for the season! Enjoy!

Please email me directly if you have comments or questions: maryjkisner@gmail.com