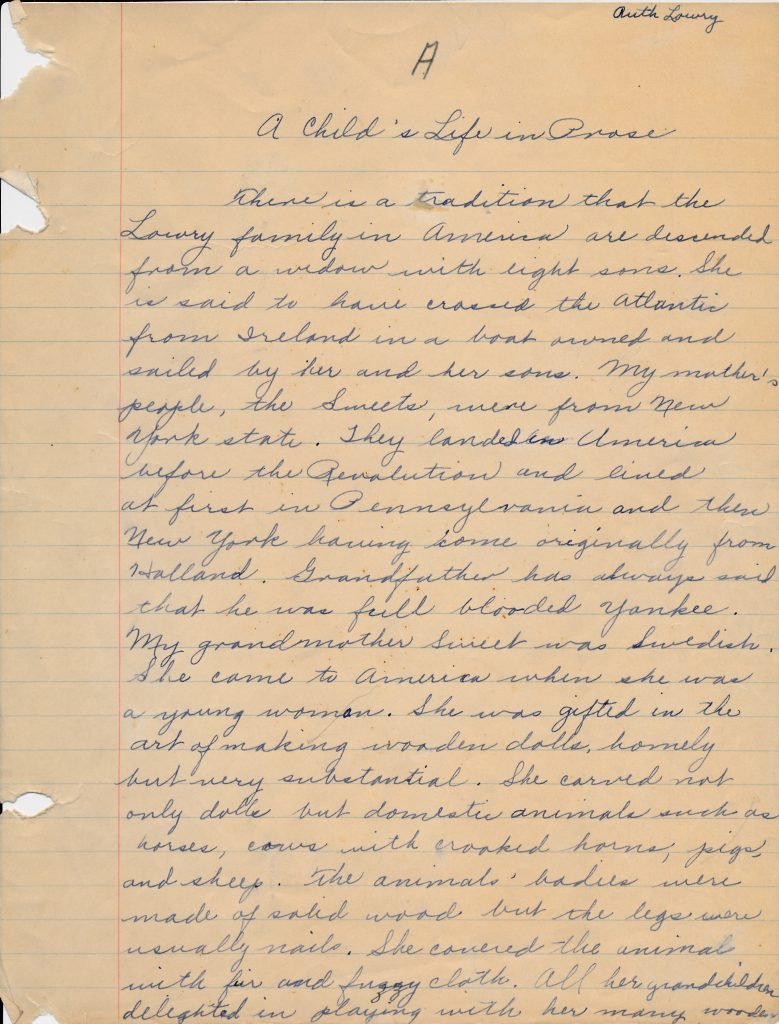
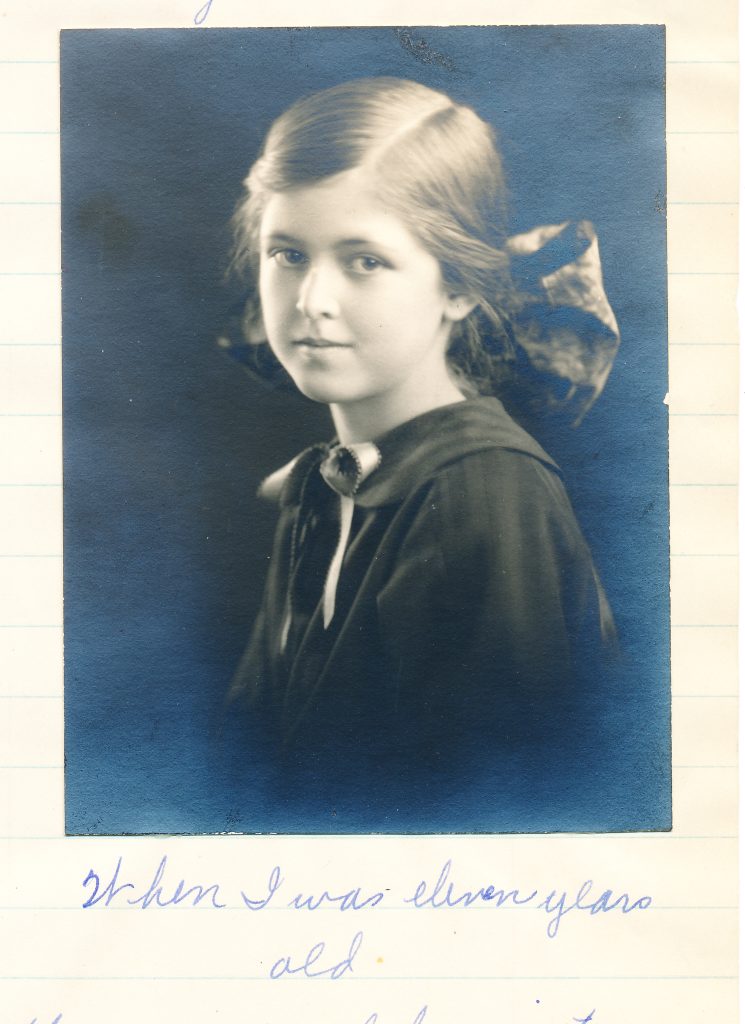
This is Part 2 of Ruth’s biography. Ruth Lowry Bixby was my mother. She
wrote this essay about her life so far in 1927…when she was 15 years old and in
the 10th grade. You can read Part 1 at this link: https://marykisner.com/ruth-lowry-bixby-biography-part-1/
And the story continues…
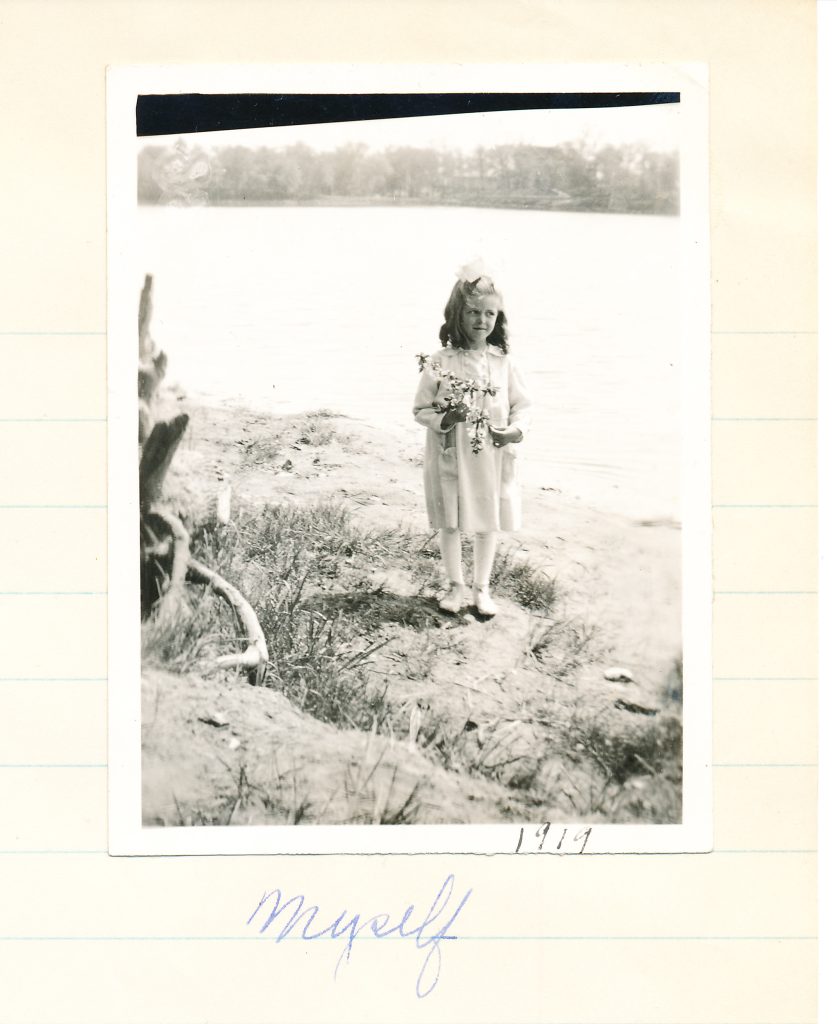
I am one of the few persons of the younger generation who does not care for
movies. It isn’t the fact that I think movies an evil because I really think
that they are very educational. My parents are not against movies. When I was
very small I saw several very bloody movies which would give anyone the
“creeps”. Now I can’t go to them unless I get the same “creepy” feelings. I
wish I could enjoy them like other people do but I think that it must be one of
my peculiarities.
During the summer of 1919 on a Sunday in June when I was seven years old, Fergus Falls was visited by a very destructive tornado. We had invited some friends for dinner. Late in the afternoon we noticed how very queer and hot it was outside. About five thirty the sky turned inky black and the whole city was swept by a very bad storm. Our home was not destroyed but two windows were broken and part of the chimney and roof was torn off. We considered ourselves very lucky after we had seen the dreadful sights around us. There was so much destruction of homes and their contents that upon looking over Lake Alice which was near our home, it looked as though it were not a lake at all but an area of wood. This was decidedly a pathetic scene. Our friends’ home was destroyed entirely. For about a month after the storm our friends rented the upstairs of our house. About three weeks after the cyclone we moved to our present home [on Whitford Street].

Lake Alice before the tornado on the right; after the tornado on the left above.
In the next year Rev. Lund’s family moved next door. They had seven children. The
two youngest boys were about my age and during the following summer I played
with them. All my girlfriends had gone to the different lakes while I had to
stay at home and play with boys. And then I started taking music lessons.
Another striking event of this summer was my first introduction to a radio.
This seemed very complicated to me and I did not understand any of the
principles.
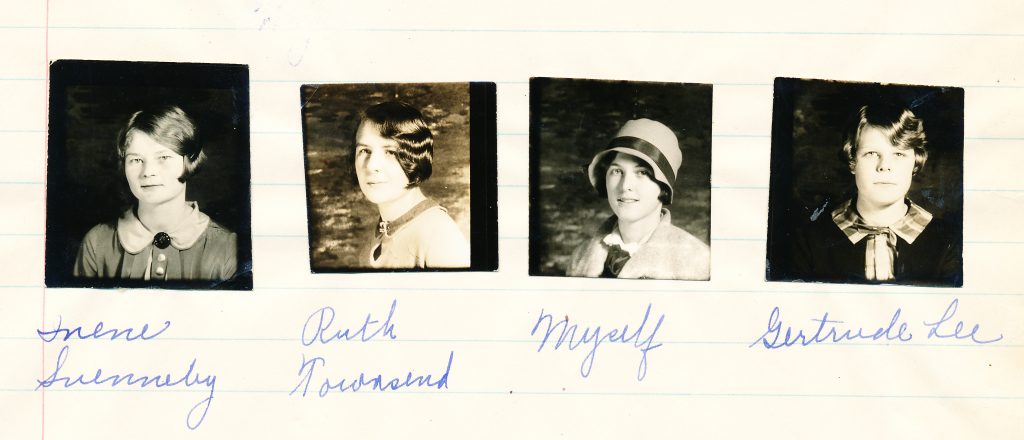
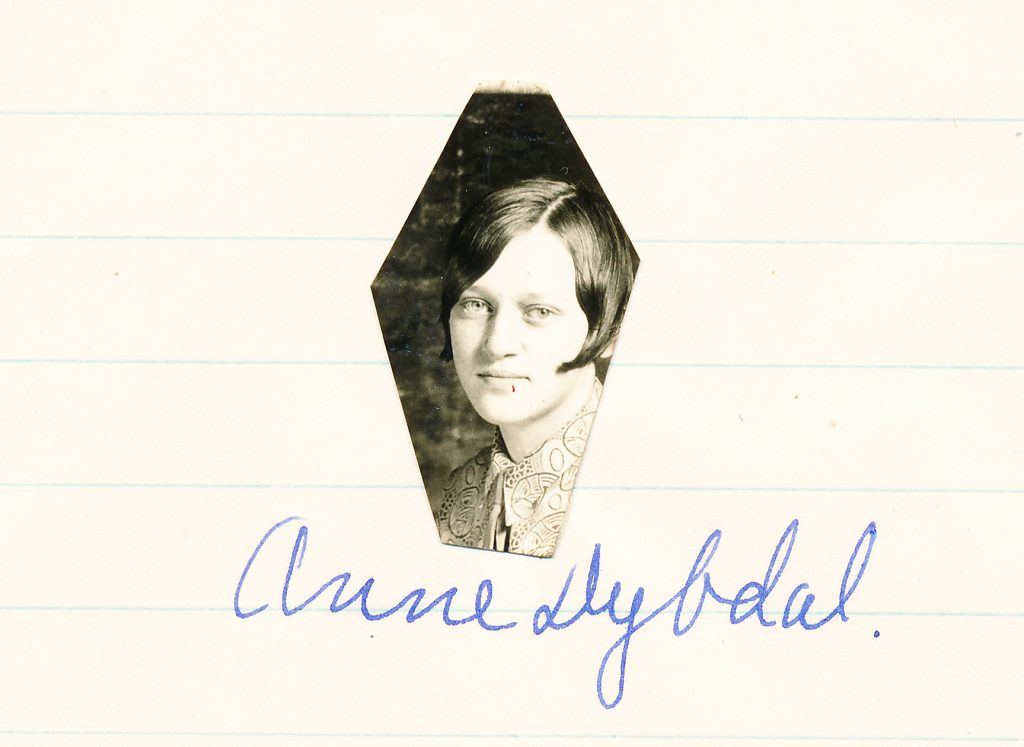
Of my girlfriends, I have been mostly with Gertrude Lee. I have chummed with Ruth Townsend and Anne Dybdal all through the grades. Many a good time the Lees have given me.
The Lees have a summer cottage at Swan Lake which is only seven miles from town. I have spent many good times out at their cottage. During one summer they had a tent in a grove of trees near by the house. Trudy and I decided to sleep in the tent one night. Mrs. Lee said that she knew that we would be frightened and come back to the cottage before morning. Trudy and I promised that we weren’t afraid of anything. Mrs. Lee got a mattress from an extra bed and spent a long time arranging the bed for us. When evening came Trudy and I went out to the tent with a little lantern and went to bed. Before we had gotten very sound asleep we heard some men talking. They seemed to be on the lake shore. Trudy assured me that she wasn’t afraid. I didn’t say whether I was afraid or not. Trudy got up and peered out of the tent.
“Well, I don’t see anyone, but I suppose we might just as well go in the cottage now as in the morning,” Trudy whispered. Mrs. Lee laughed very hard when she heard us crawl into our bed in the cottage. We have had many other similar interesting experiences too numerous to mention.
I had never been to Minneapolis until I was thirteen years old. The Lees drove there
in their car and took me with them. When we first came to Minneapolis it was
about four-thirty in the afternoon. We stayed at the new Nichalet hotel that
night until the following afternoon. Being in a large hotel was a great
experience for me. Trudy and her eight-year-old sister, Mary, and I rode up and
down the elevators several times. Once when we asked to go down to the main
floor they took us up instead. I will never forget the queer sensation we all
had. My uncle came to the hotel and took me to his home. I had a very good time
with my cousin while I was there. On the next Sunday my Aunt Mary, who lives in
North St. Paul came to Minneapolis and took me to St. Paul. I did something
interesting every day that I was on the trip. I have never been shown more
kindness than by the Lees.
I have had many enjoyable times at Star Lake with the Townsends. When I was with Townsends the most interesting thing we did was to swim. The beach at Star Lake is very sandy. On one occasion at Star Lake it happened that the clock stopped during the night and Mr. Townsend had already gone to town by the time we had got up. The people in the camps around us were not at home. We had such fun eating when we thought it was meal time. We made a sun dial but it was in the afternoon and we did not know how to mark it off into hours so it didn’t do us any good.
Nine of us girls formed a Camp Fire (group) two years ago. Miss Frankaniz was our guardian the first year. We went on a camping trip to Hodgson’s cottage at Ottertail Lake. Miss Marion Allen went with us because Miss Frankaniz went on a trip at that time. I remember what a good time we had. We bought two chickens from the nearby farm. Ethel Bye and Annastasin Hodgson cleaned them and dressed them. No one knew exactly how to go about cleaning them but at last they were dressed. We laughed so hard that the two girls did not mind their dirty job. Last winter Holly
Krienbring was our Camp Fire guardian. Under her guidance we obtained our first
rank. We went camping last year at Mortenson’s cottage at Fish Lake. It rained
three days that we were there. We had a “treasure hunt” on the last day. After
tramping through the woods for about two miles we found the treasure—twelve
suckers.
Last summer dad’s sister, Mira Lowry, visited us [for] two months. She taught me how to make yarn flowers, chocolate rocks, and seven-minute frosting. This fall Richard went to Moorhead to attend the Moorhead State Teachers’ College. I was left alone with my parents. Only time can write the rest of my autobiography. [Ruth Jane Lowry, 1927]
_____
This is the end of Ruth’s handwritten autobiography. She never wrote more but I’ve managed to pull together the rest of the story from a few photos and other documents. I will continue the story, in my words, in the next post…don’t you want to know when she met Paul and suffered through her first (and only) one-room-school teaching experience? Stay tuned for Part 3…