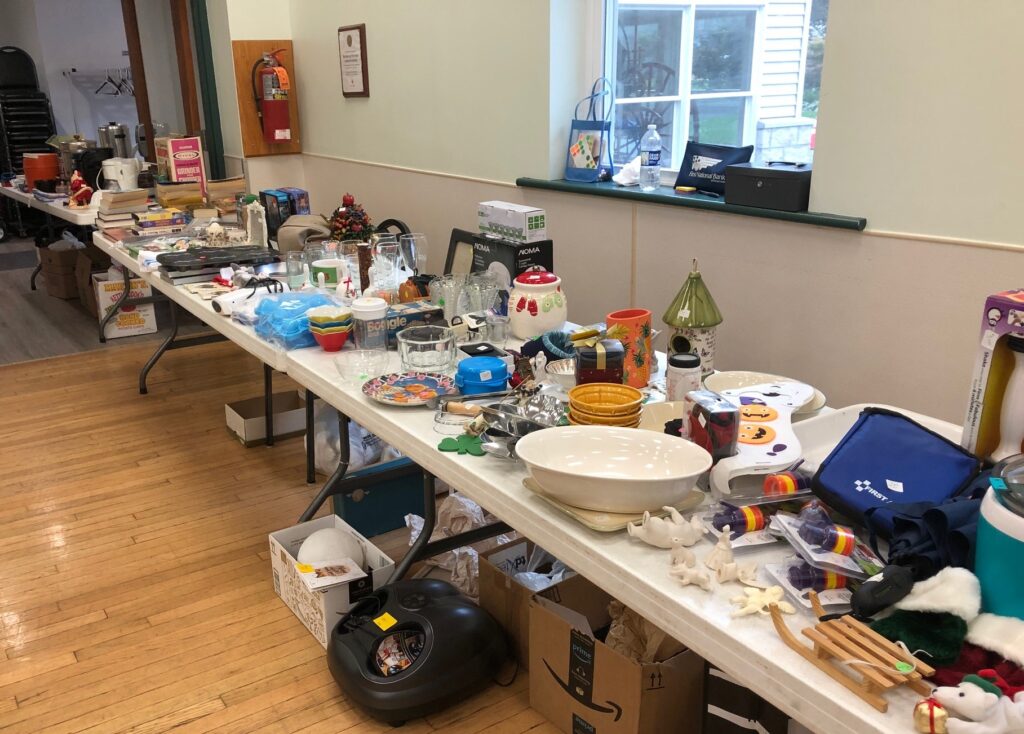
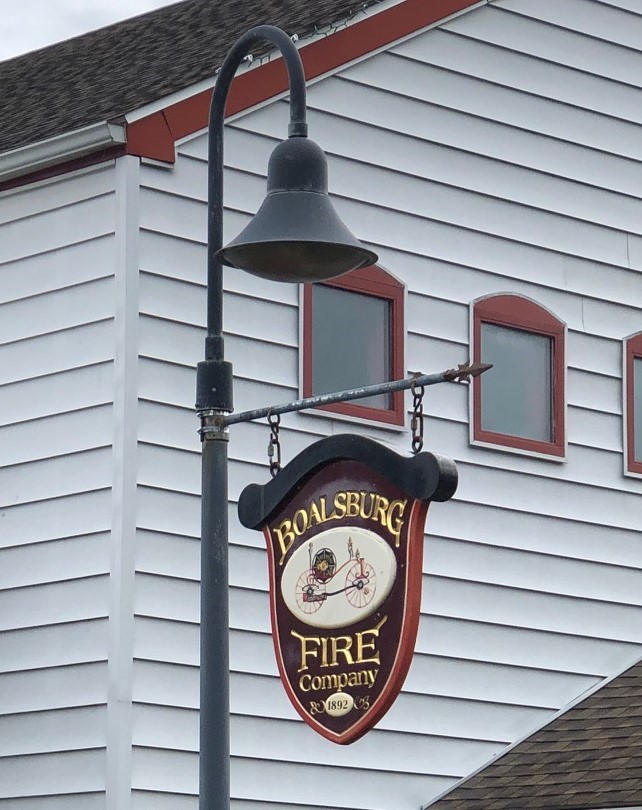
Part of my involvement with Boalsburg’s Memorial Day activities is helping the Ladies Auxiliary to the Fire Company get ready for their bake sale at the Fire Hall. The Fire Hall is open to the public when the Carnival is going on…starting this evening, continuing Friday and Saturday evenings, a few hours on Sunday afternoon and 10 to 4 on Monday. The Fire Hall is airconditioned, restrooms are available and tables are set up for visitors to rest. They can eat the food they purchased at the festival or from the firemen who will be roasting chickens behind the Fire Hall. The money raised from this bake sale will be donated to the Fire Company.
This year I decided to spend three days baking stuff folks can buy to add to their dinners. I chose foods I could make from box mixes that could be wrapped into individual servings. This was fun, because the mixes cut down on my kitchen clean up and they were foods I would not normally make because I couldn’t eat them. I wasn’t tempted to snitch a bite here and there!
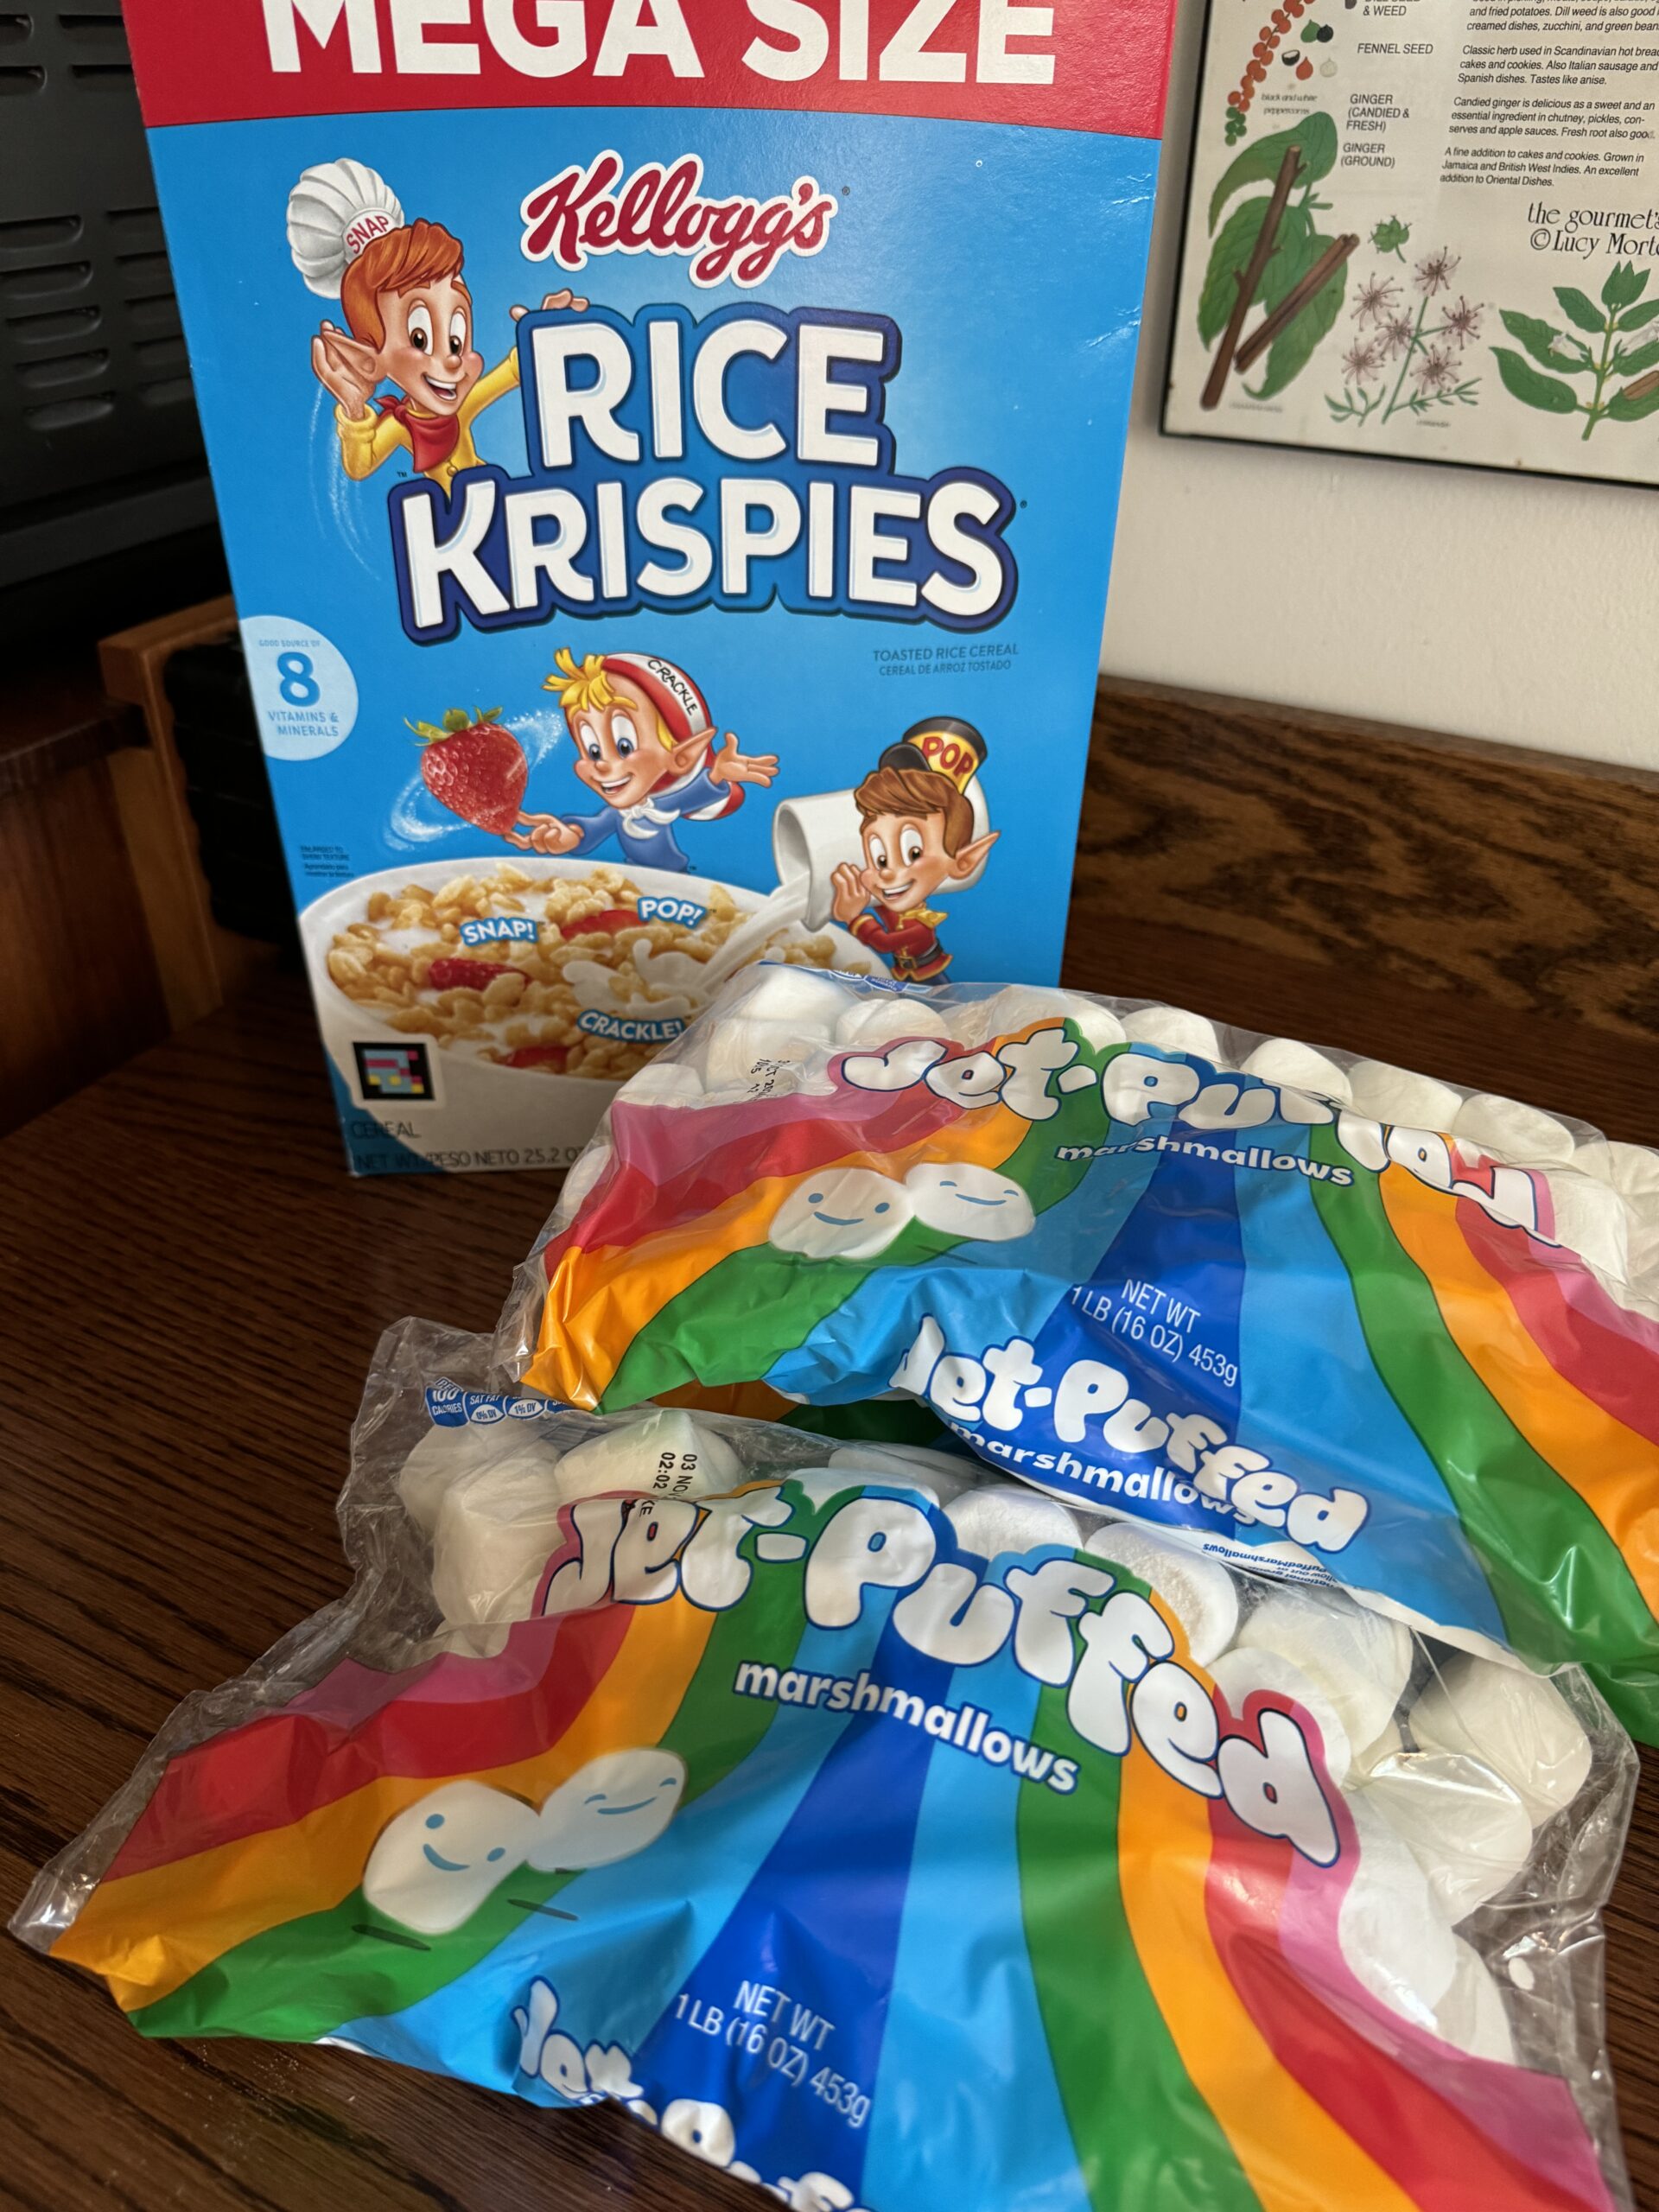
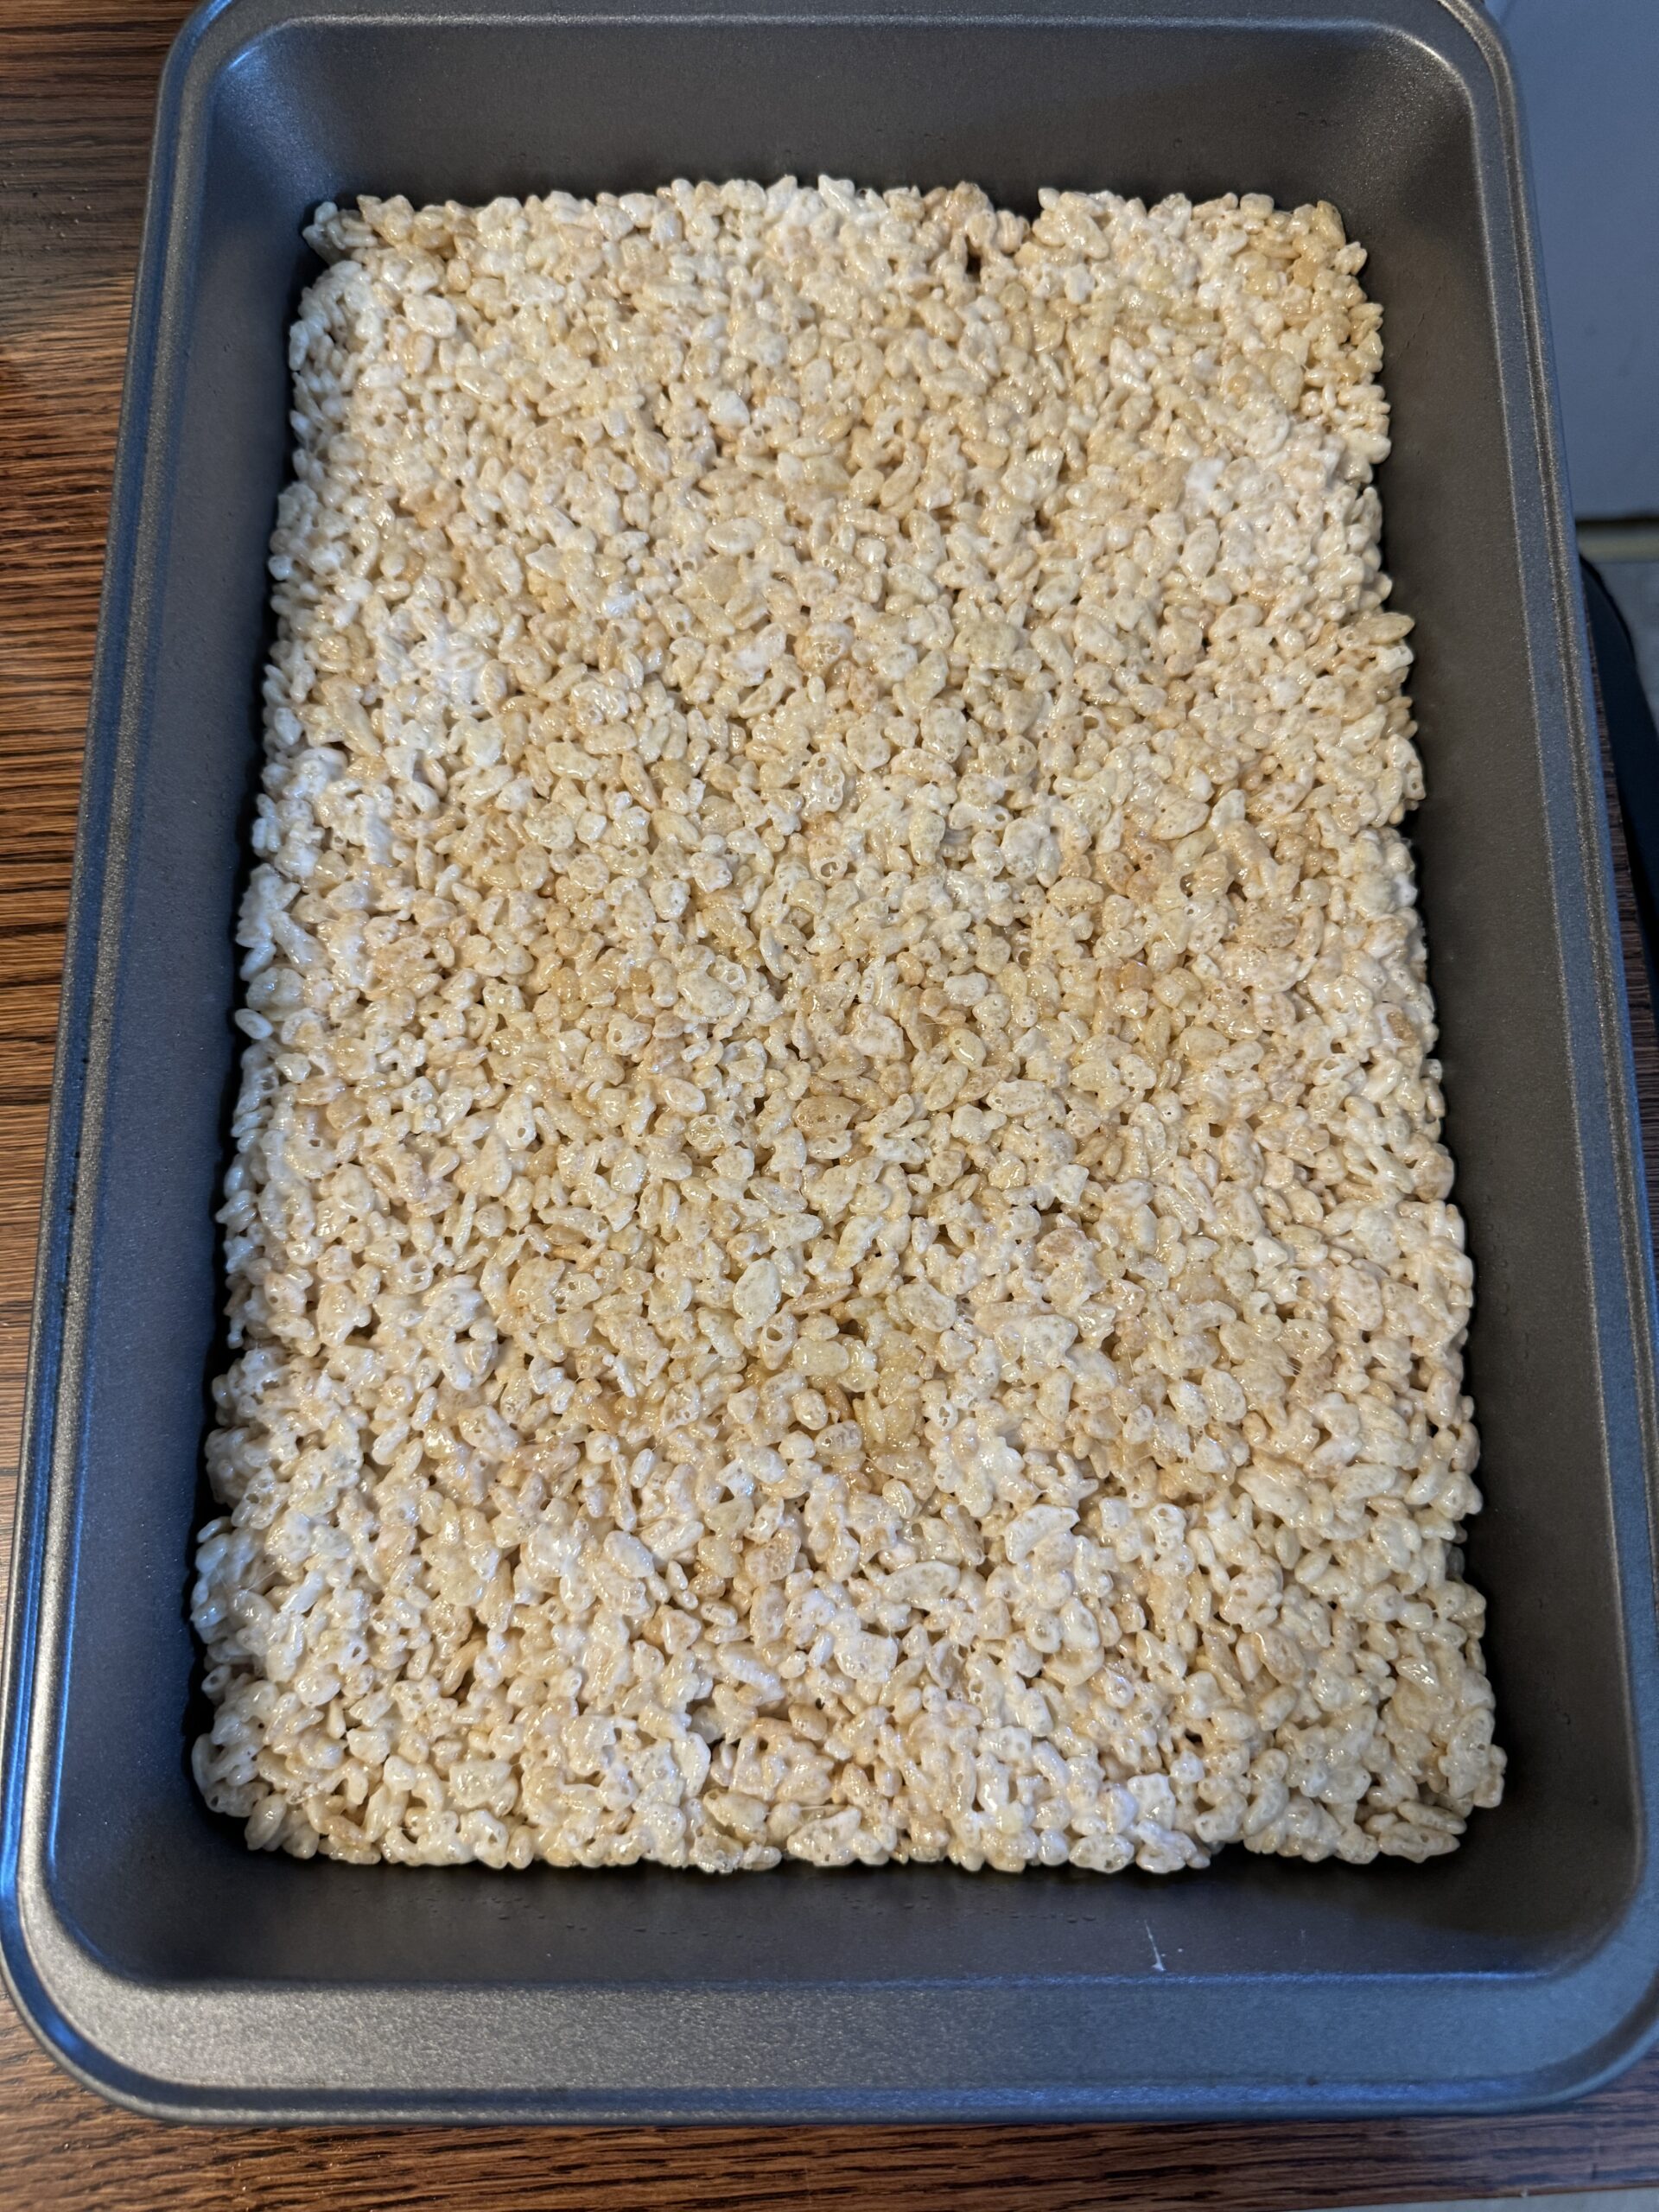
I started with Rice Krispies squares. I bought the biggest box of cereal I could find and picked up 4 bags of marshmallows. I haven’t made these squares for many years so I was glad the instruction were on the box!
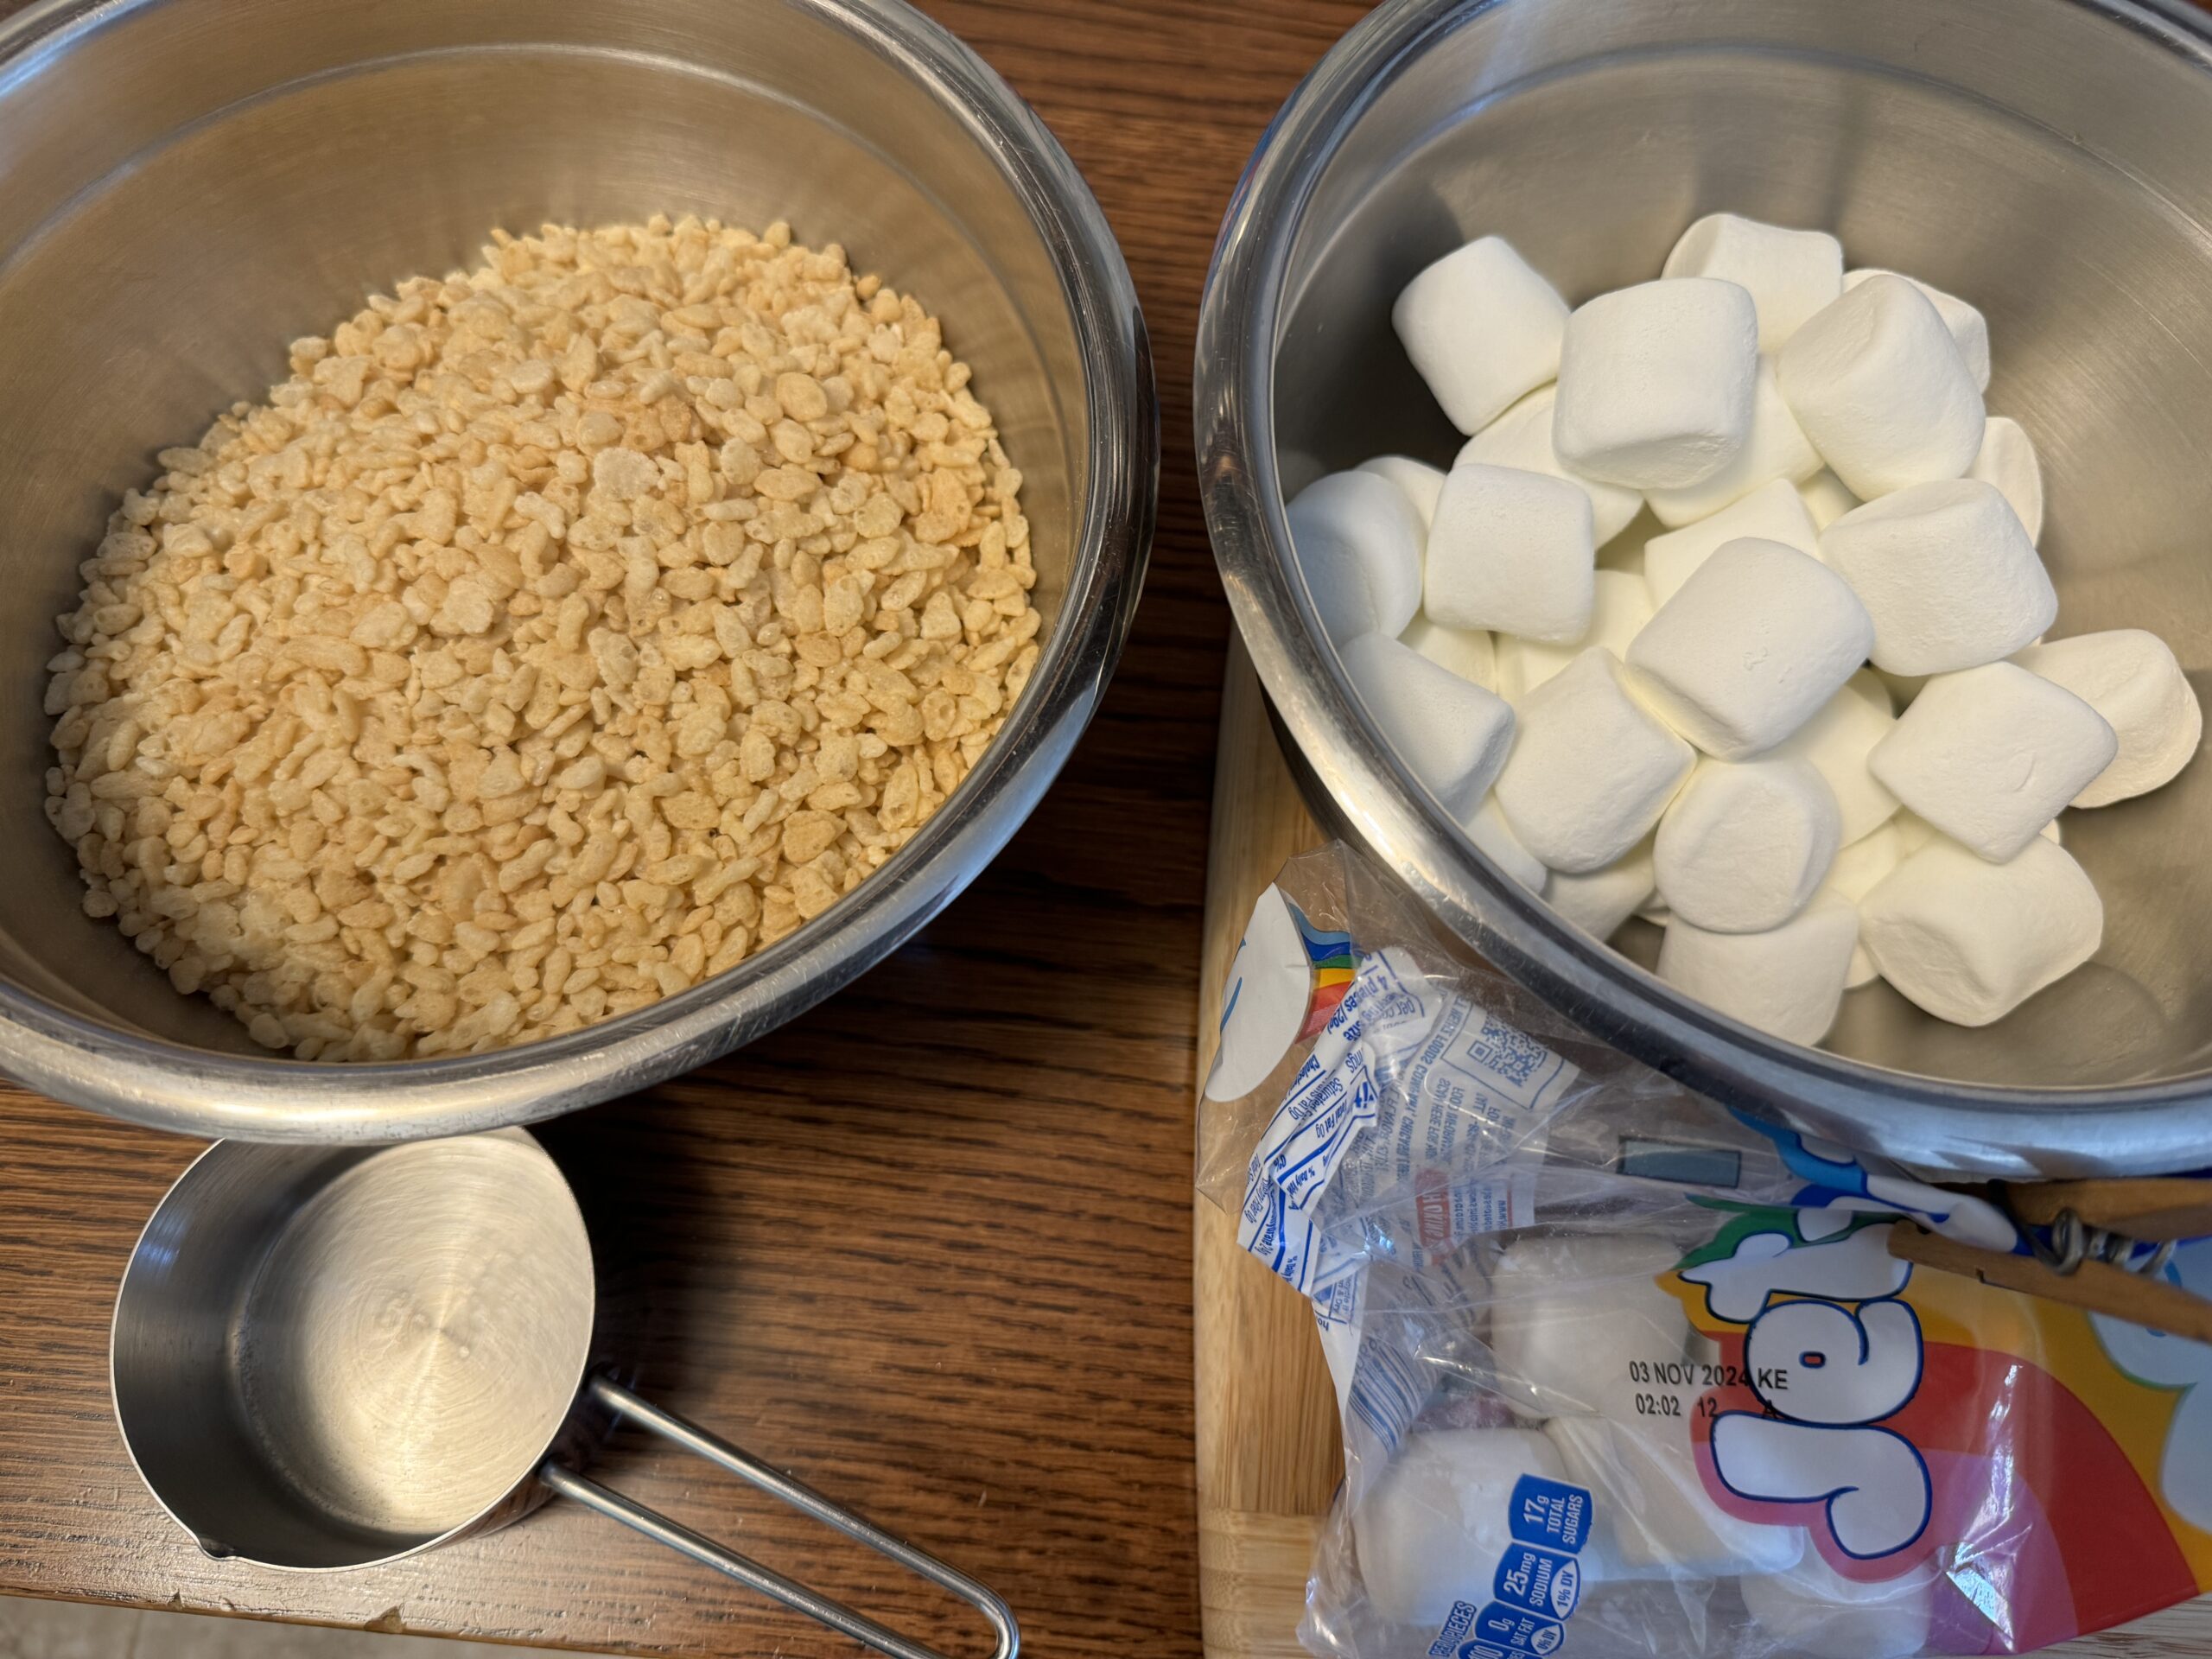
I measured out 6 cups of Rice Krispies and 40 marshmallows.
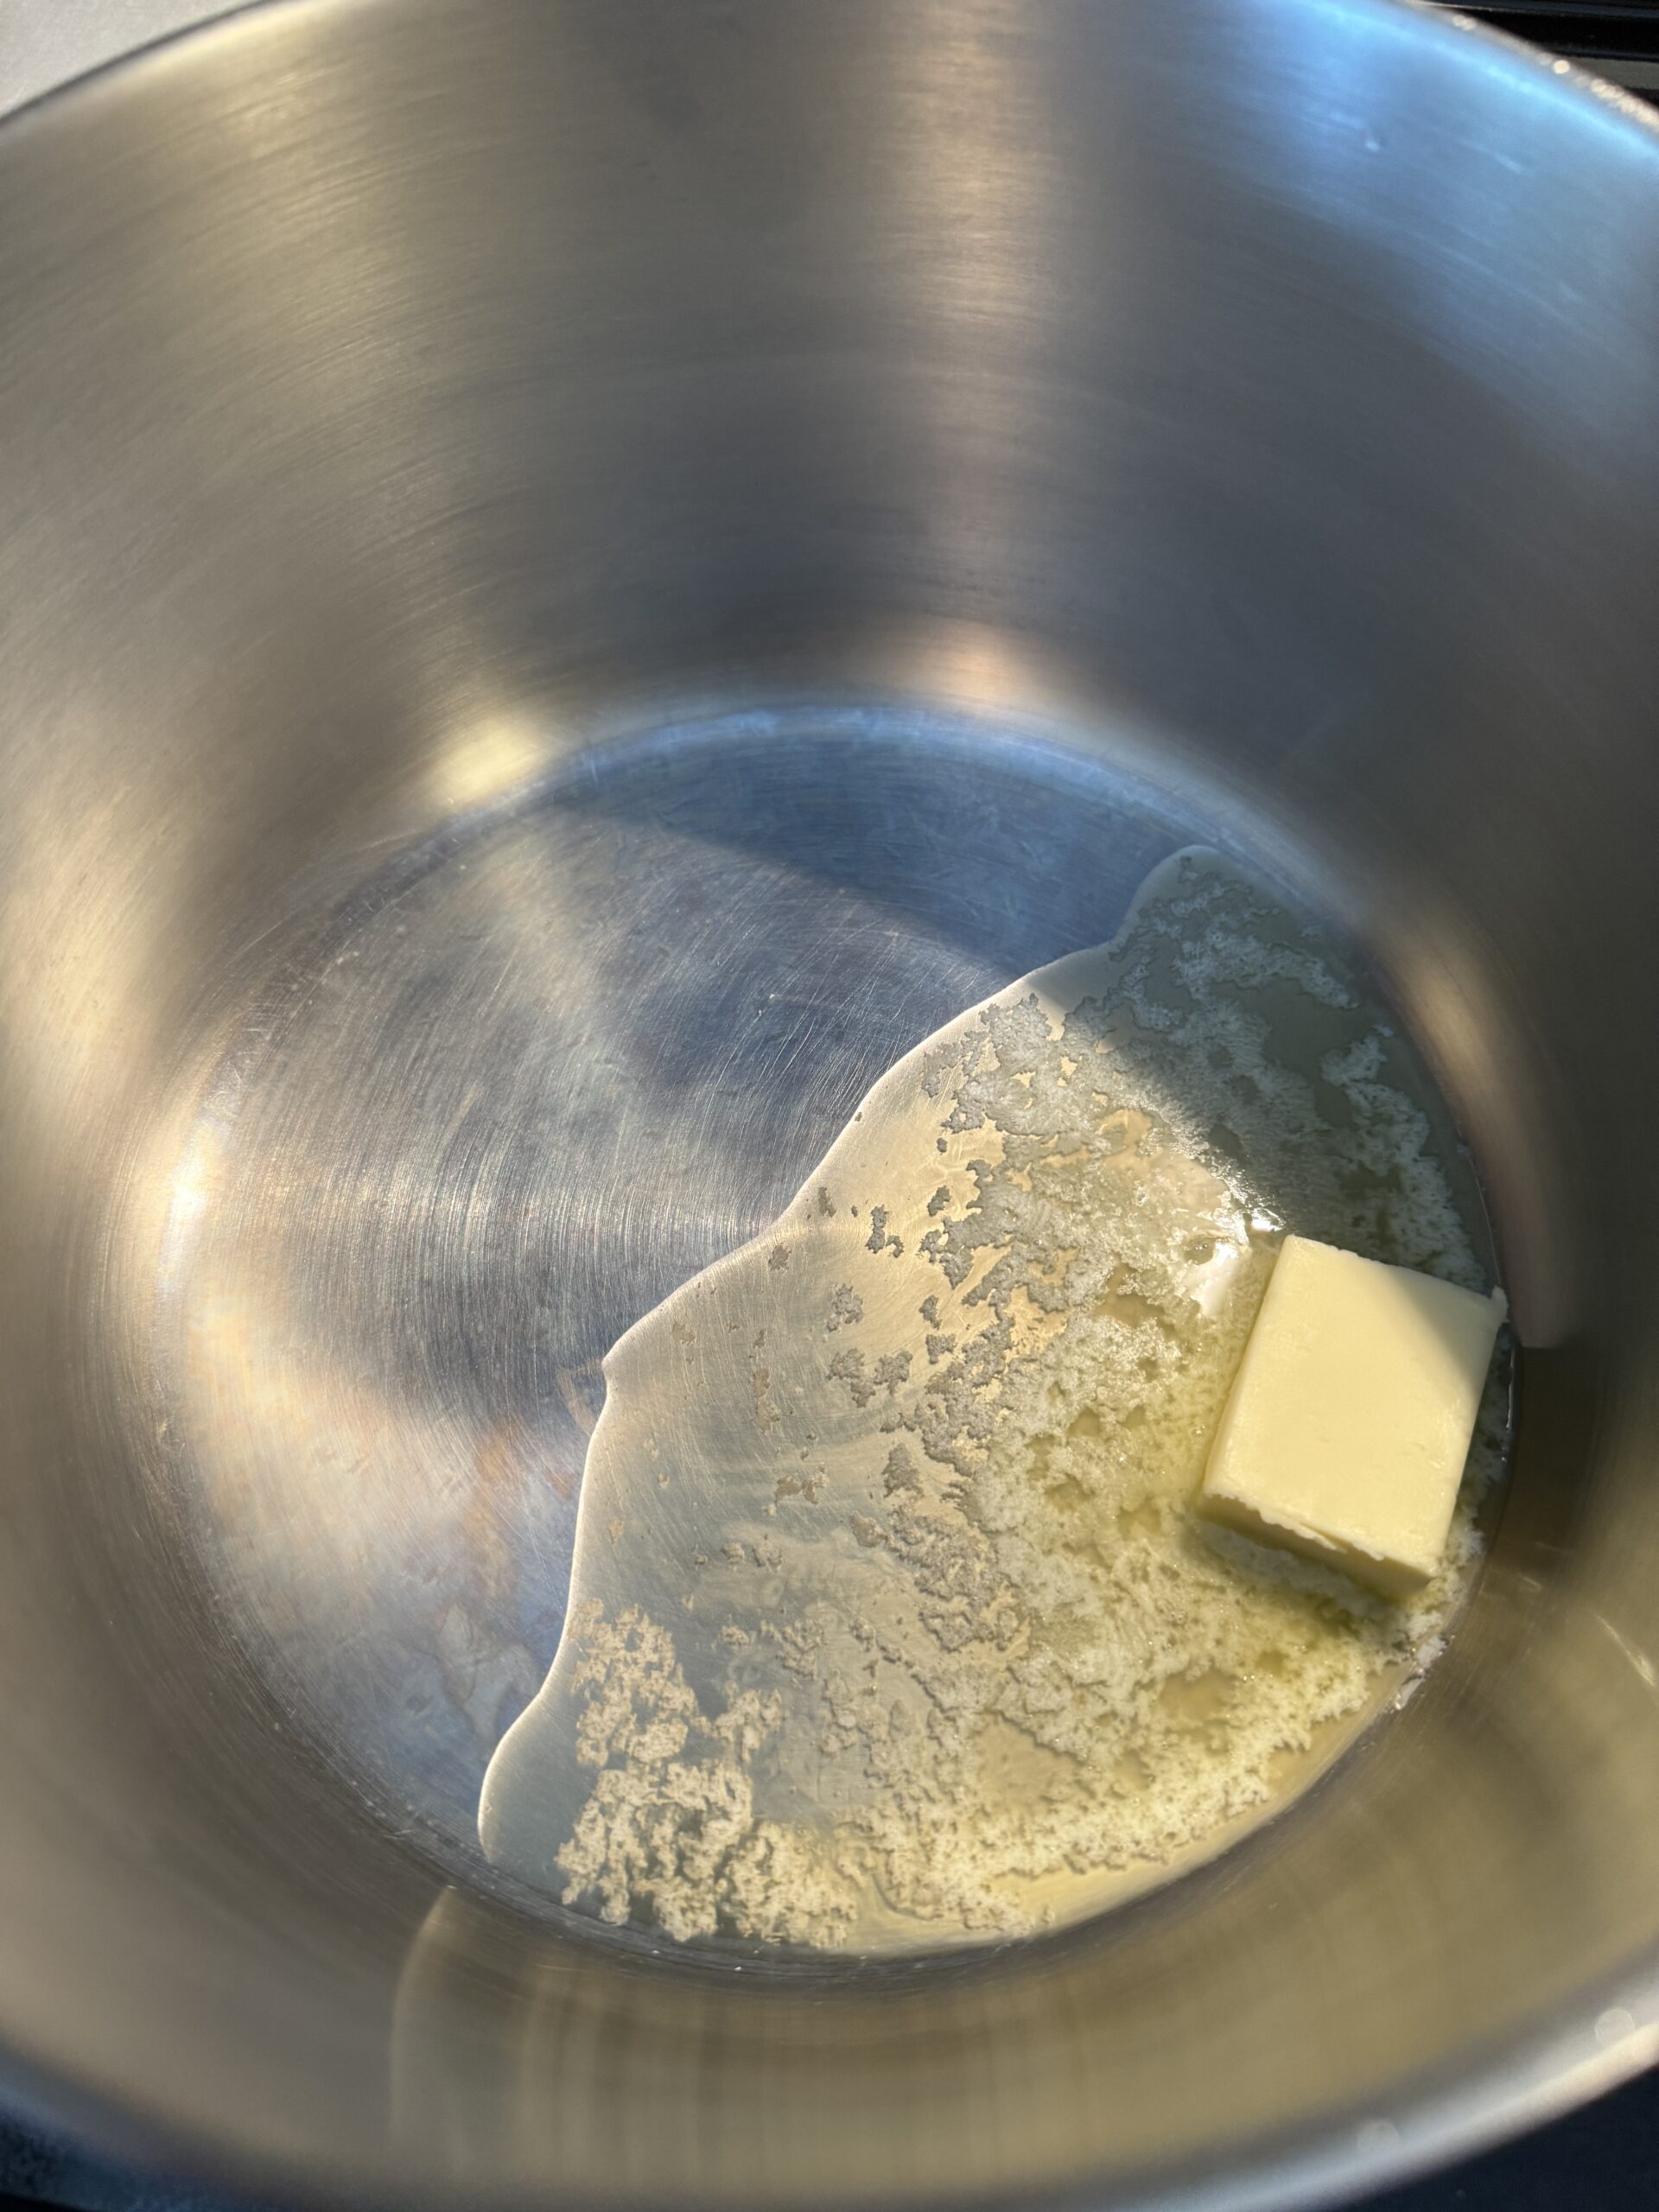
I melted the 3 tablespoons of Butter in my largest pot and added the marshmallows. While I watched them melt, I wondered if I could just buy a jar of that marshmallow fluff and use that?
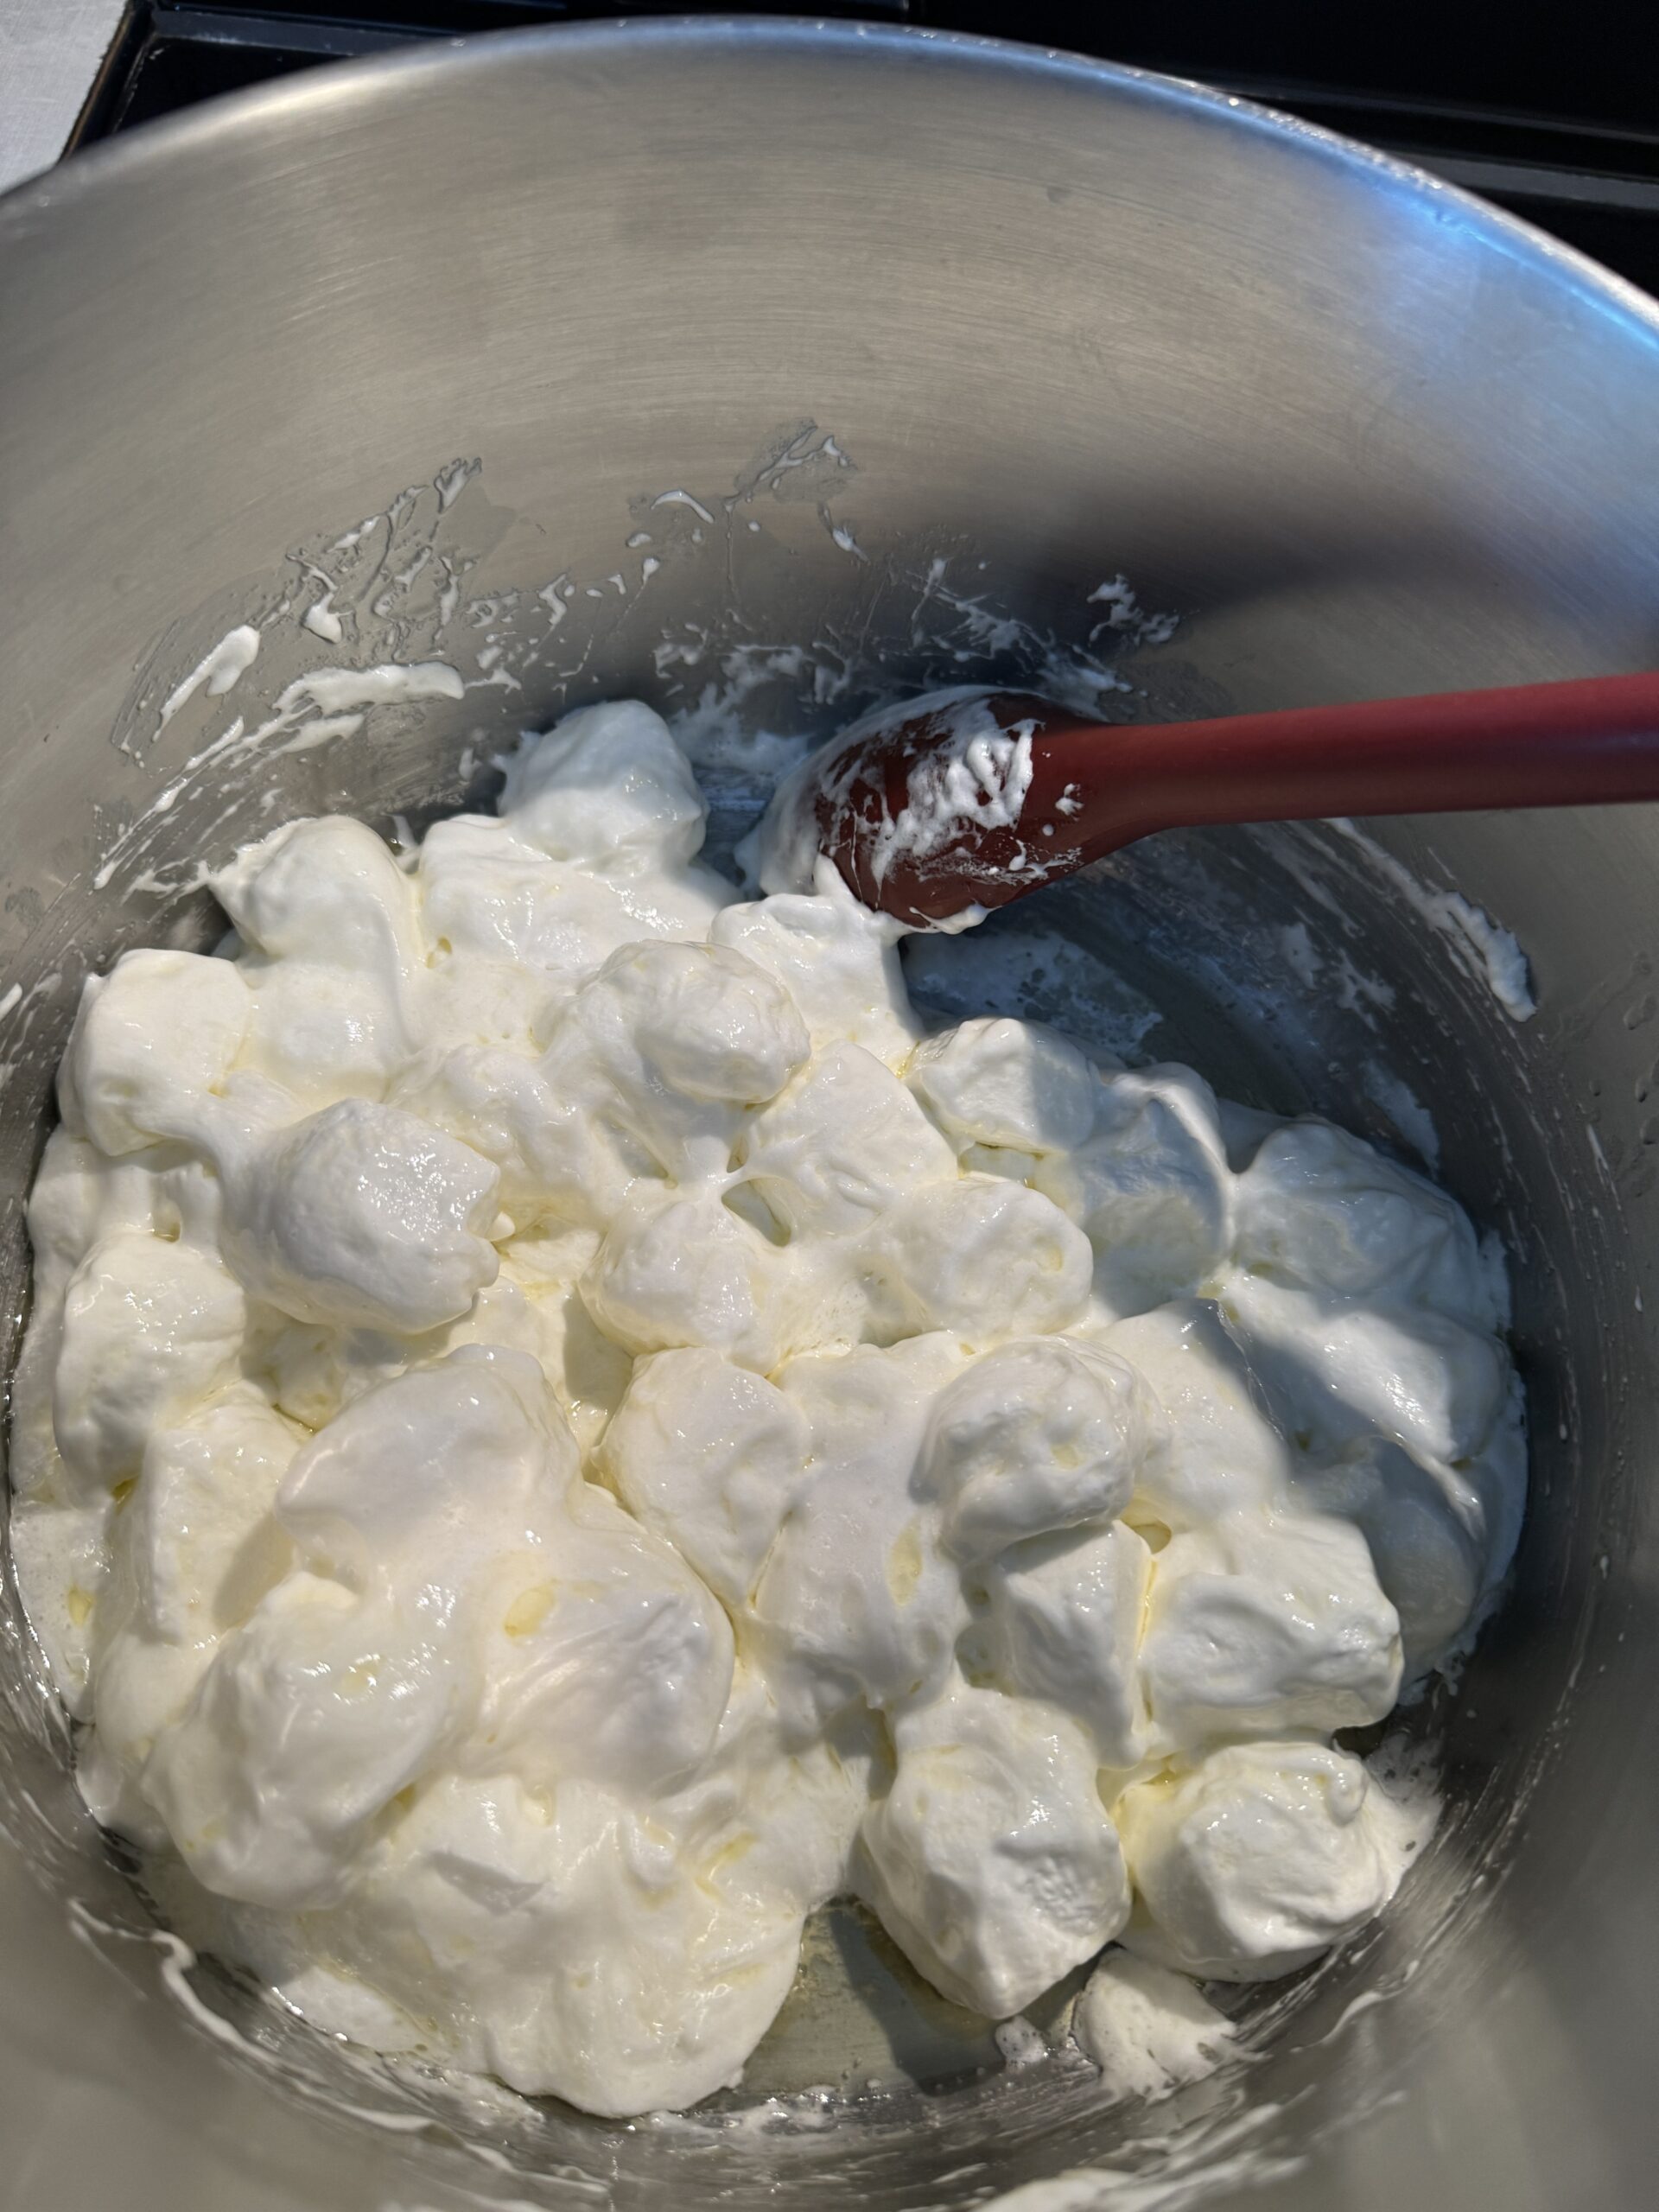
I dumped the Rice Krispies into the pot of melted marshmallows and tried to get them all coated with butter. It really helped to leave the pot on the warm burner to keep it soft enough to keep stirring. Then, before it set up in the pot, I spread the mixture into a 9 x 13″ pan. Using a spatula sprayed with oil, I pressed the mixture into the pan. That was it! Not too hard. I made 3 pans of Rice Krispies squares, cut them into 12 pieces each…I now have 36 squares in zip bags ready to sell!
The next project was Brownies. I picked up 4 mixes…2 dark chocolate and 2 milk chocolate with walnuts.
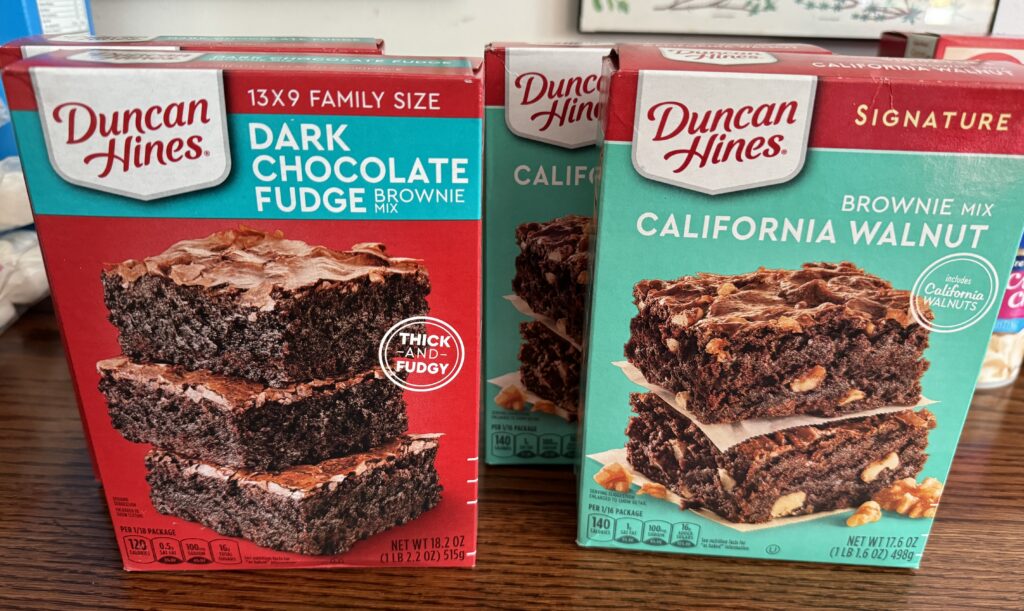
Now…you’ll notice the one on the left (Dark Chocolate Fudge Brownie Mix) says right on the box…13 x 9″ Family Size. OK. I assumed that. The box on the right, however, makes only an 8 x 8″ pan! Phooey!
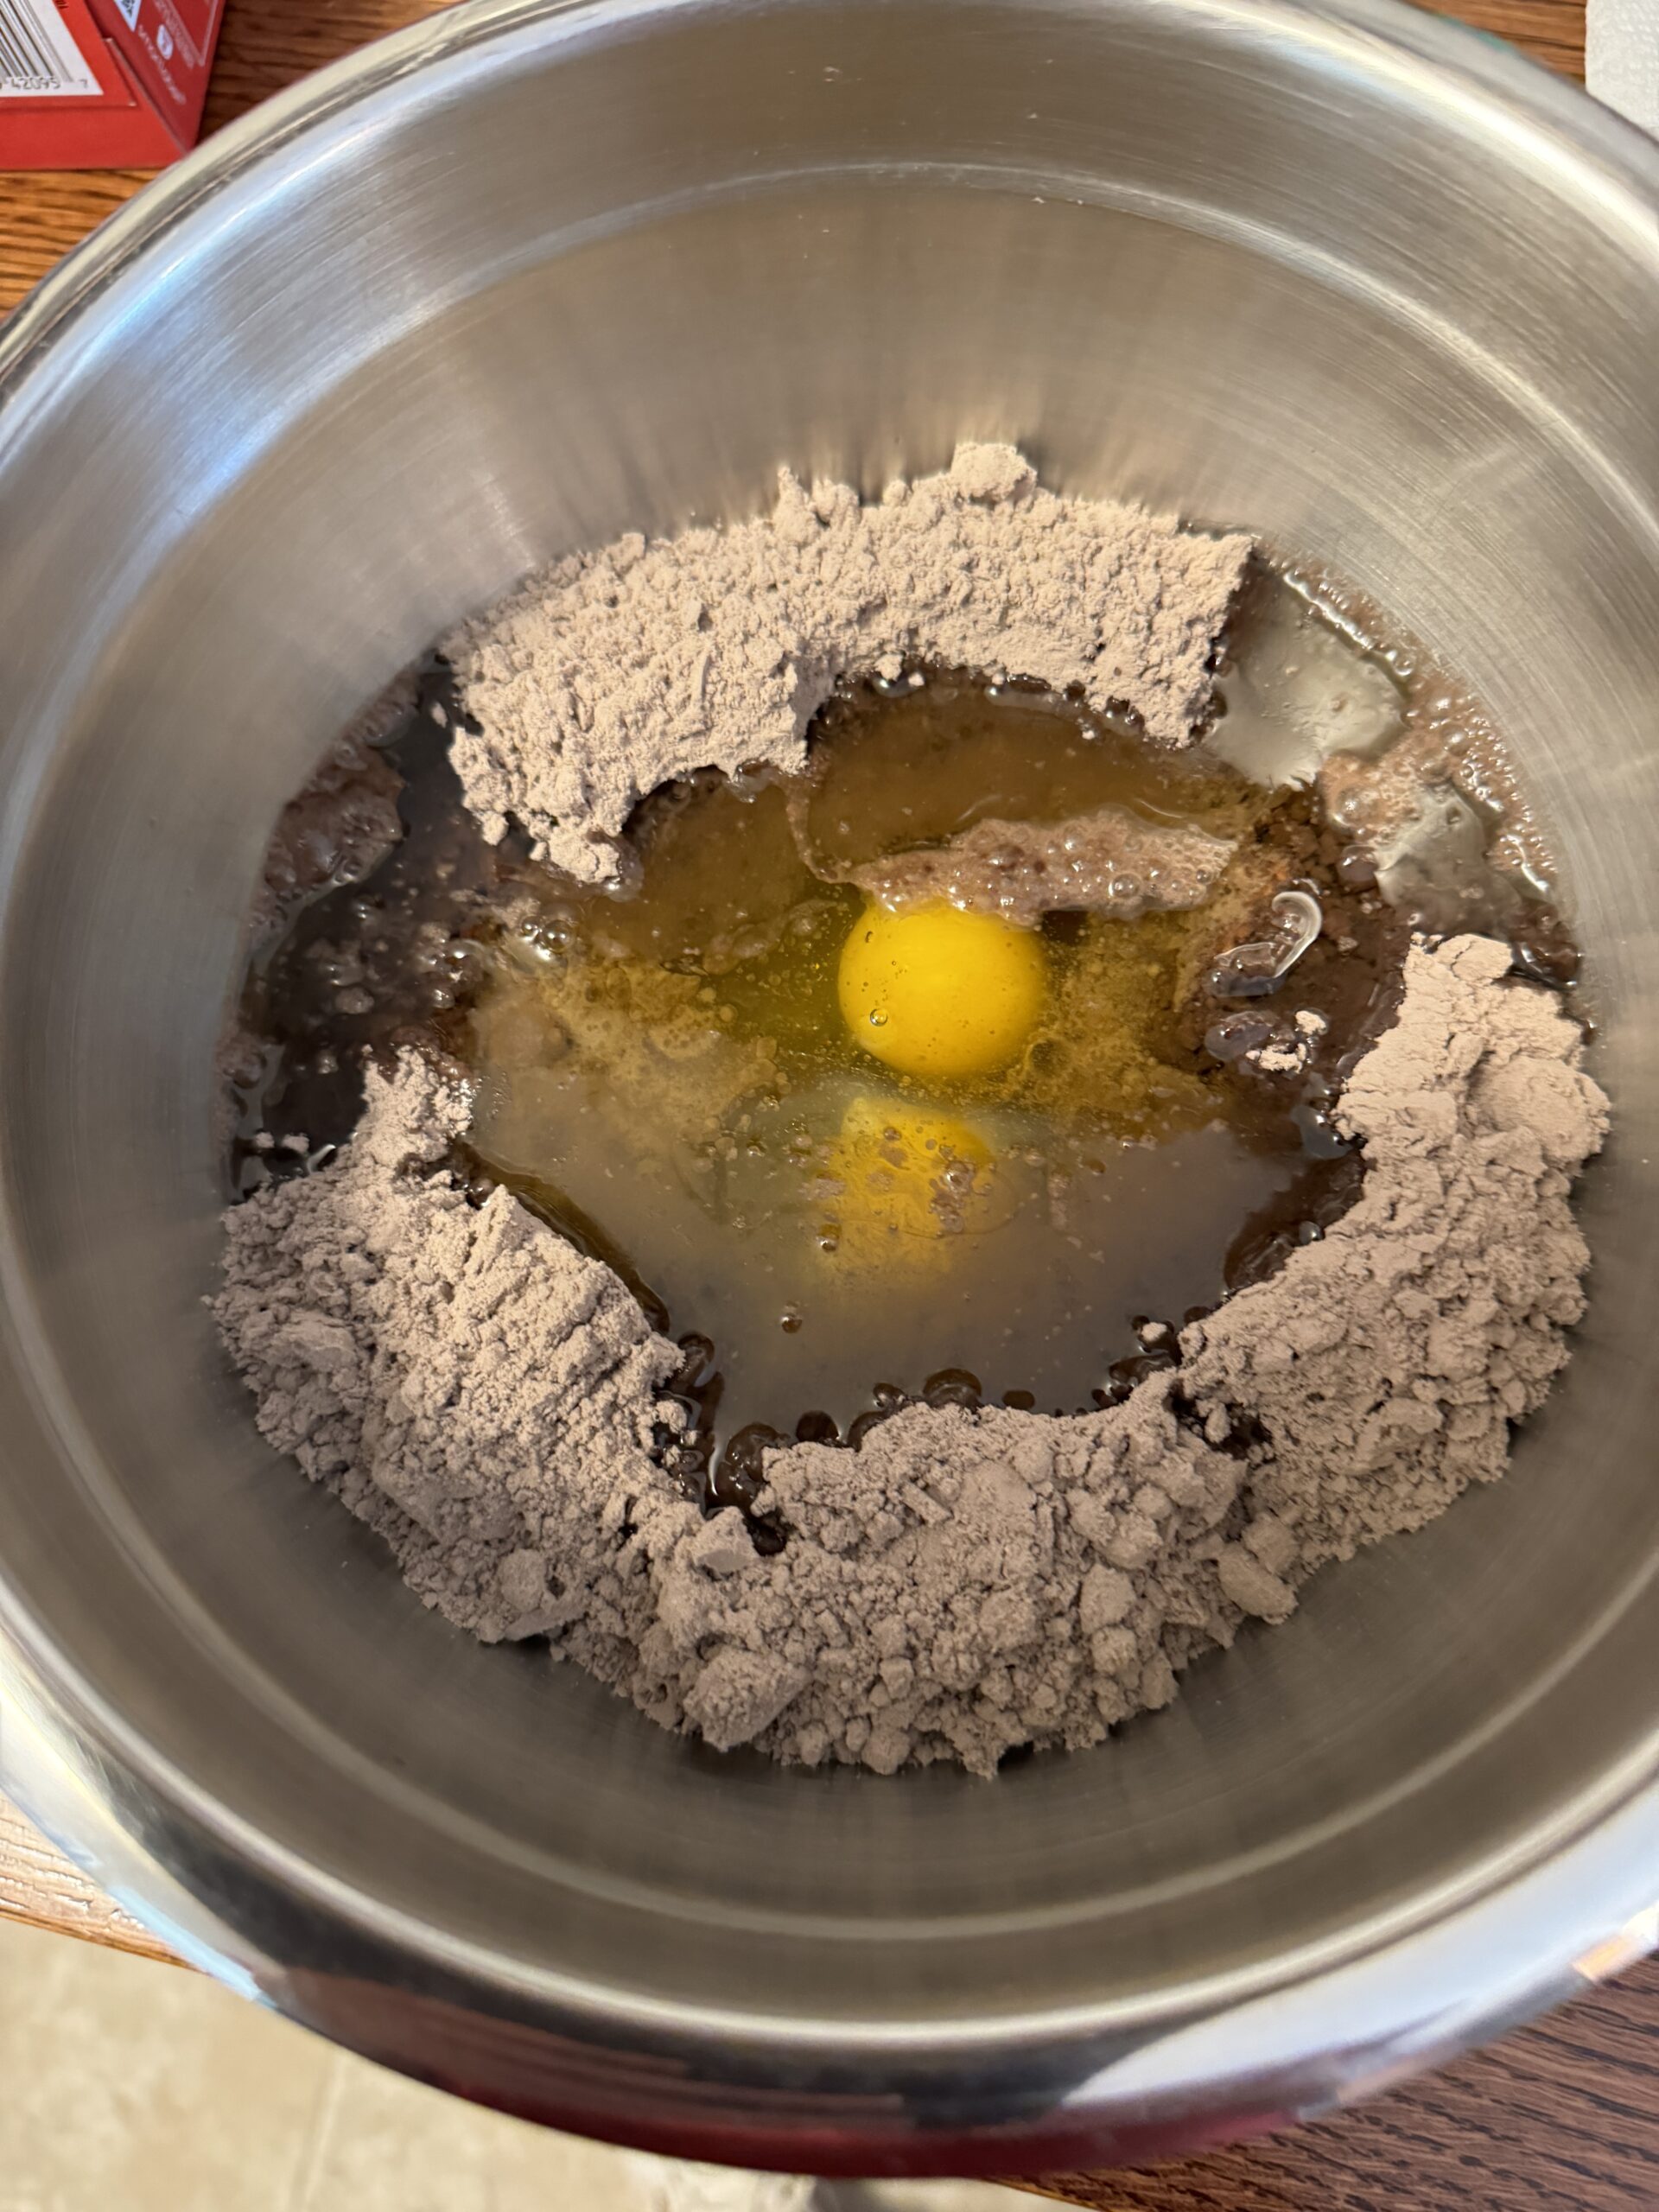
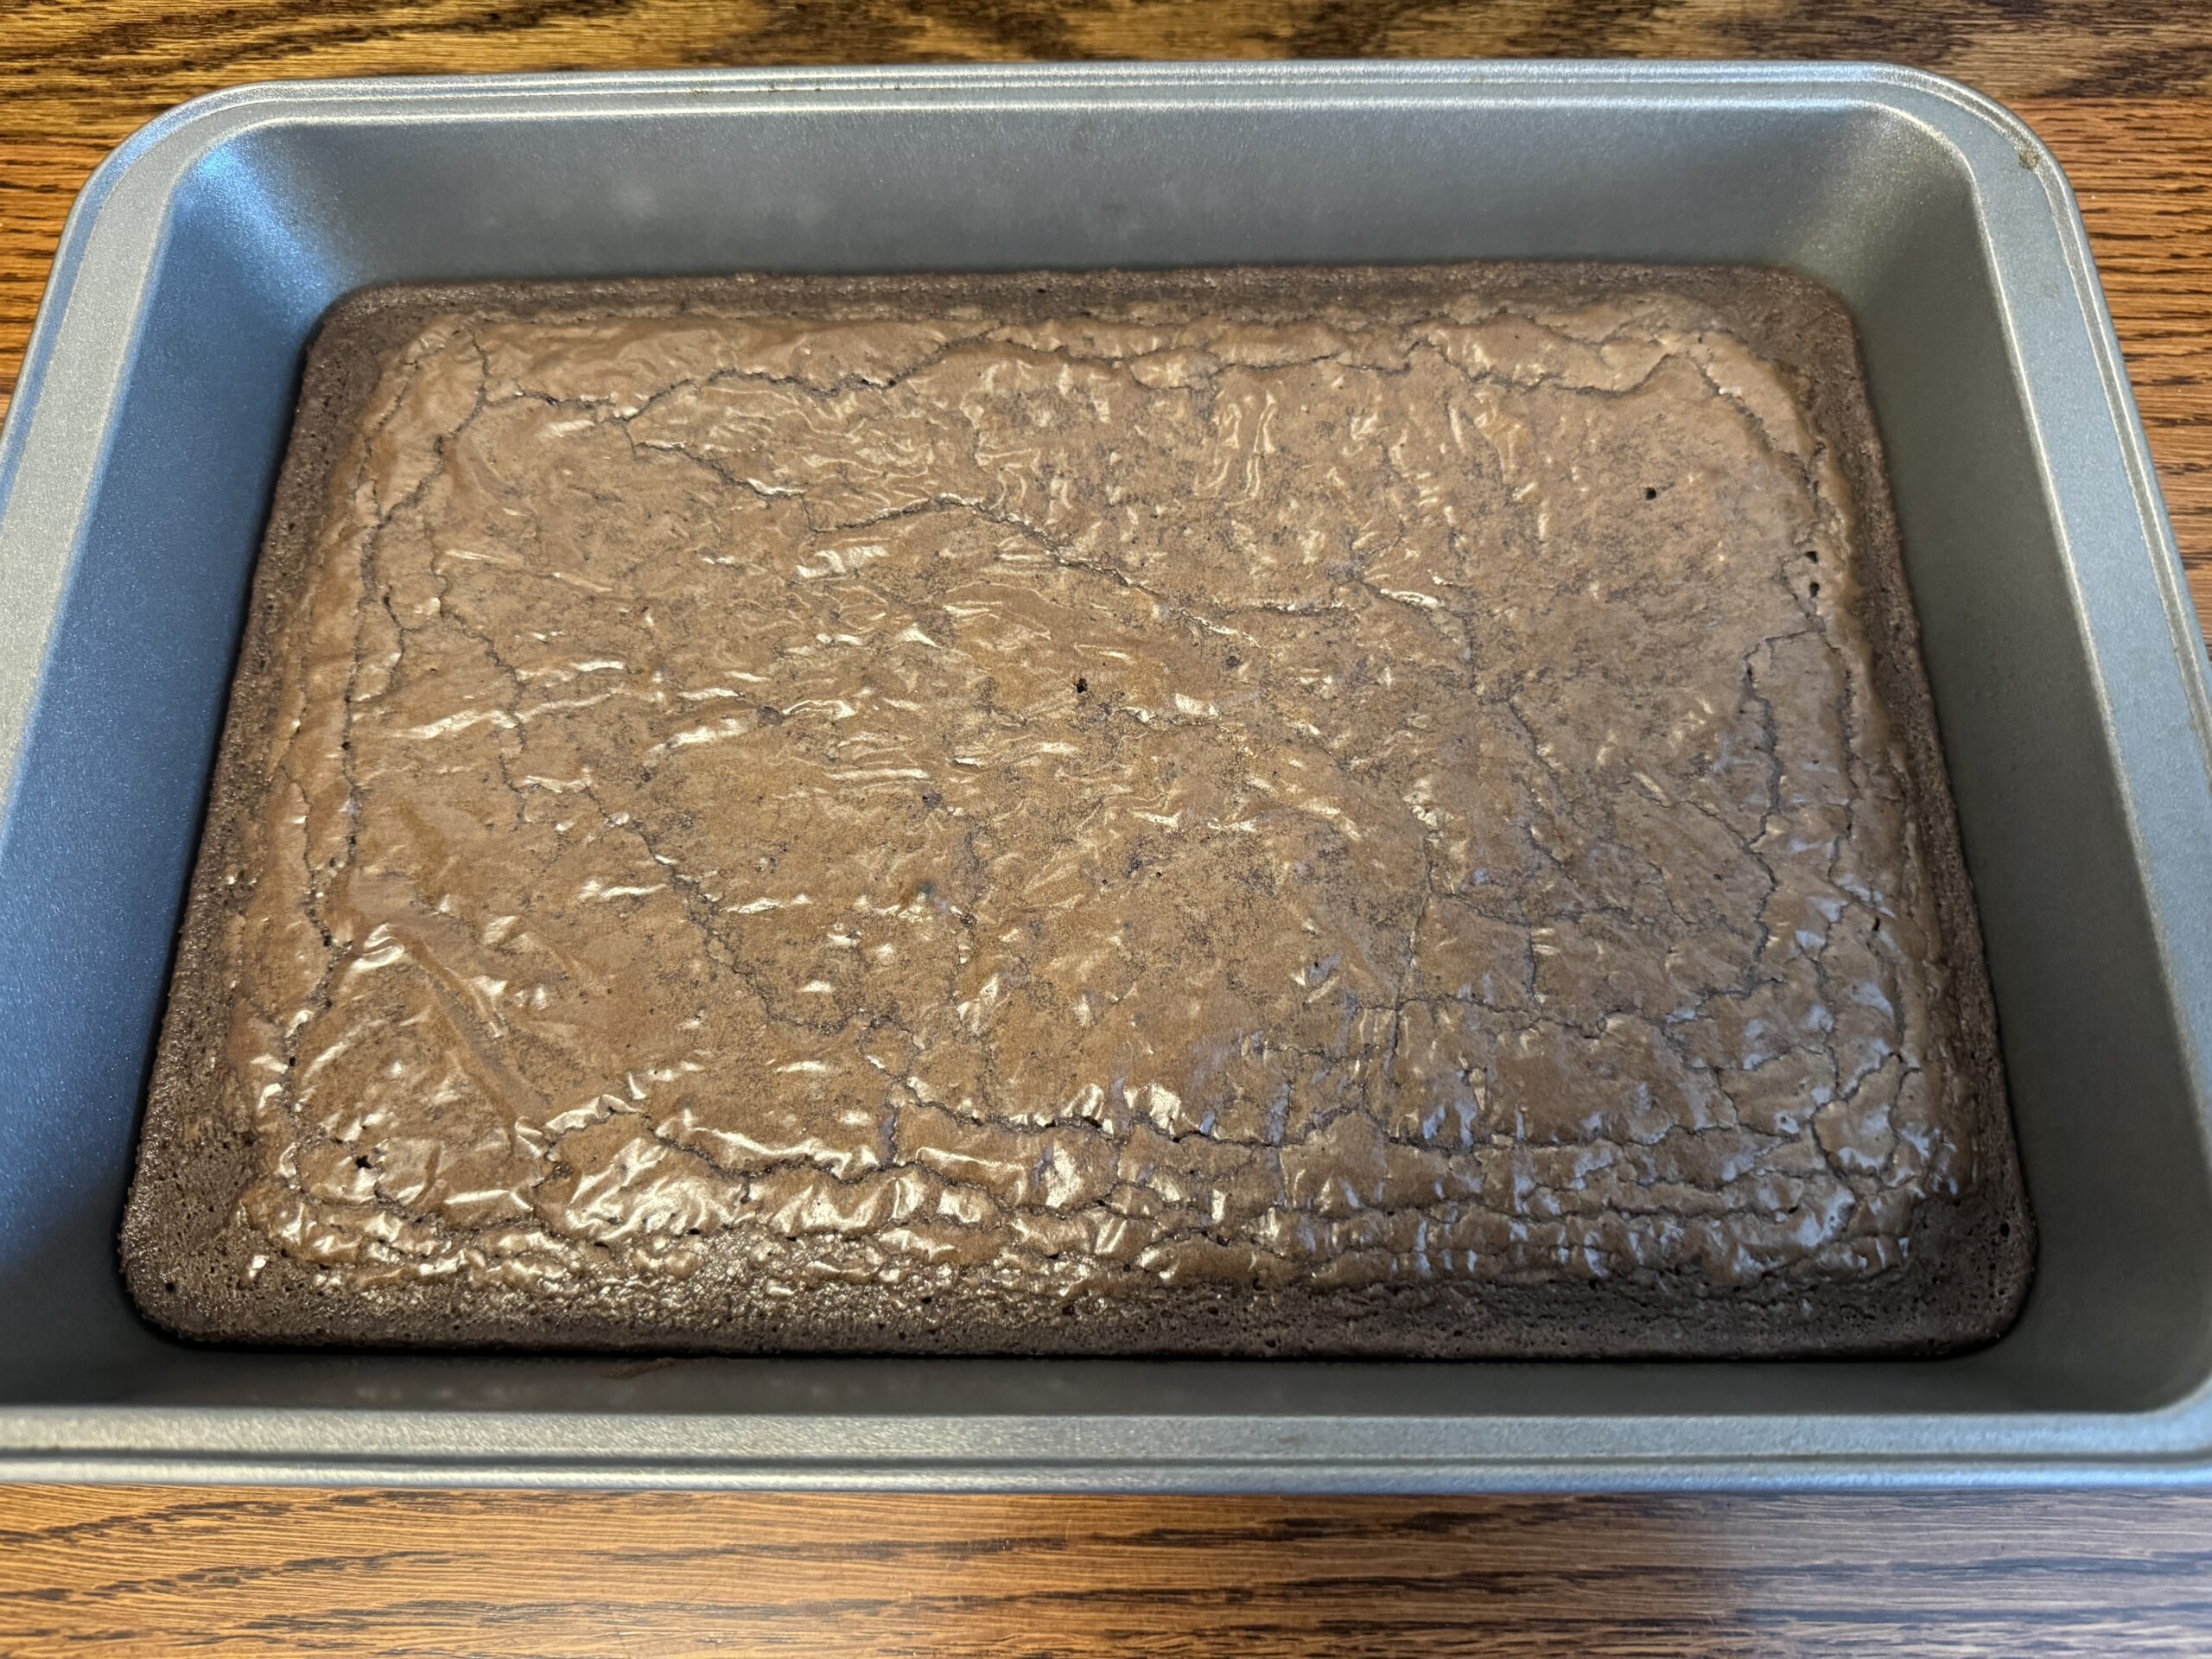
I mixed up the first dark chocolate brownie mix.
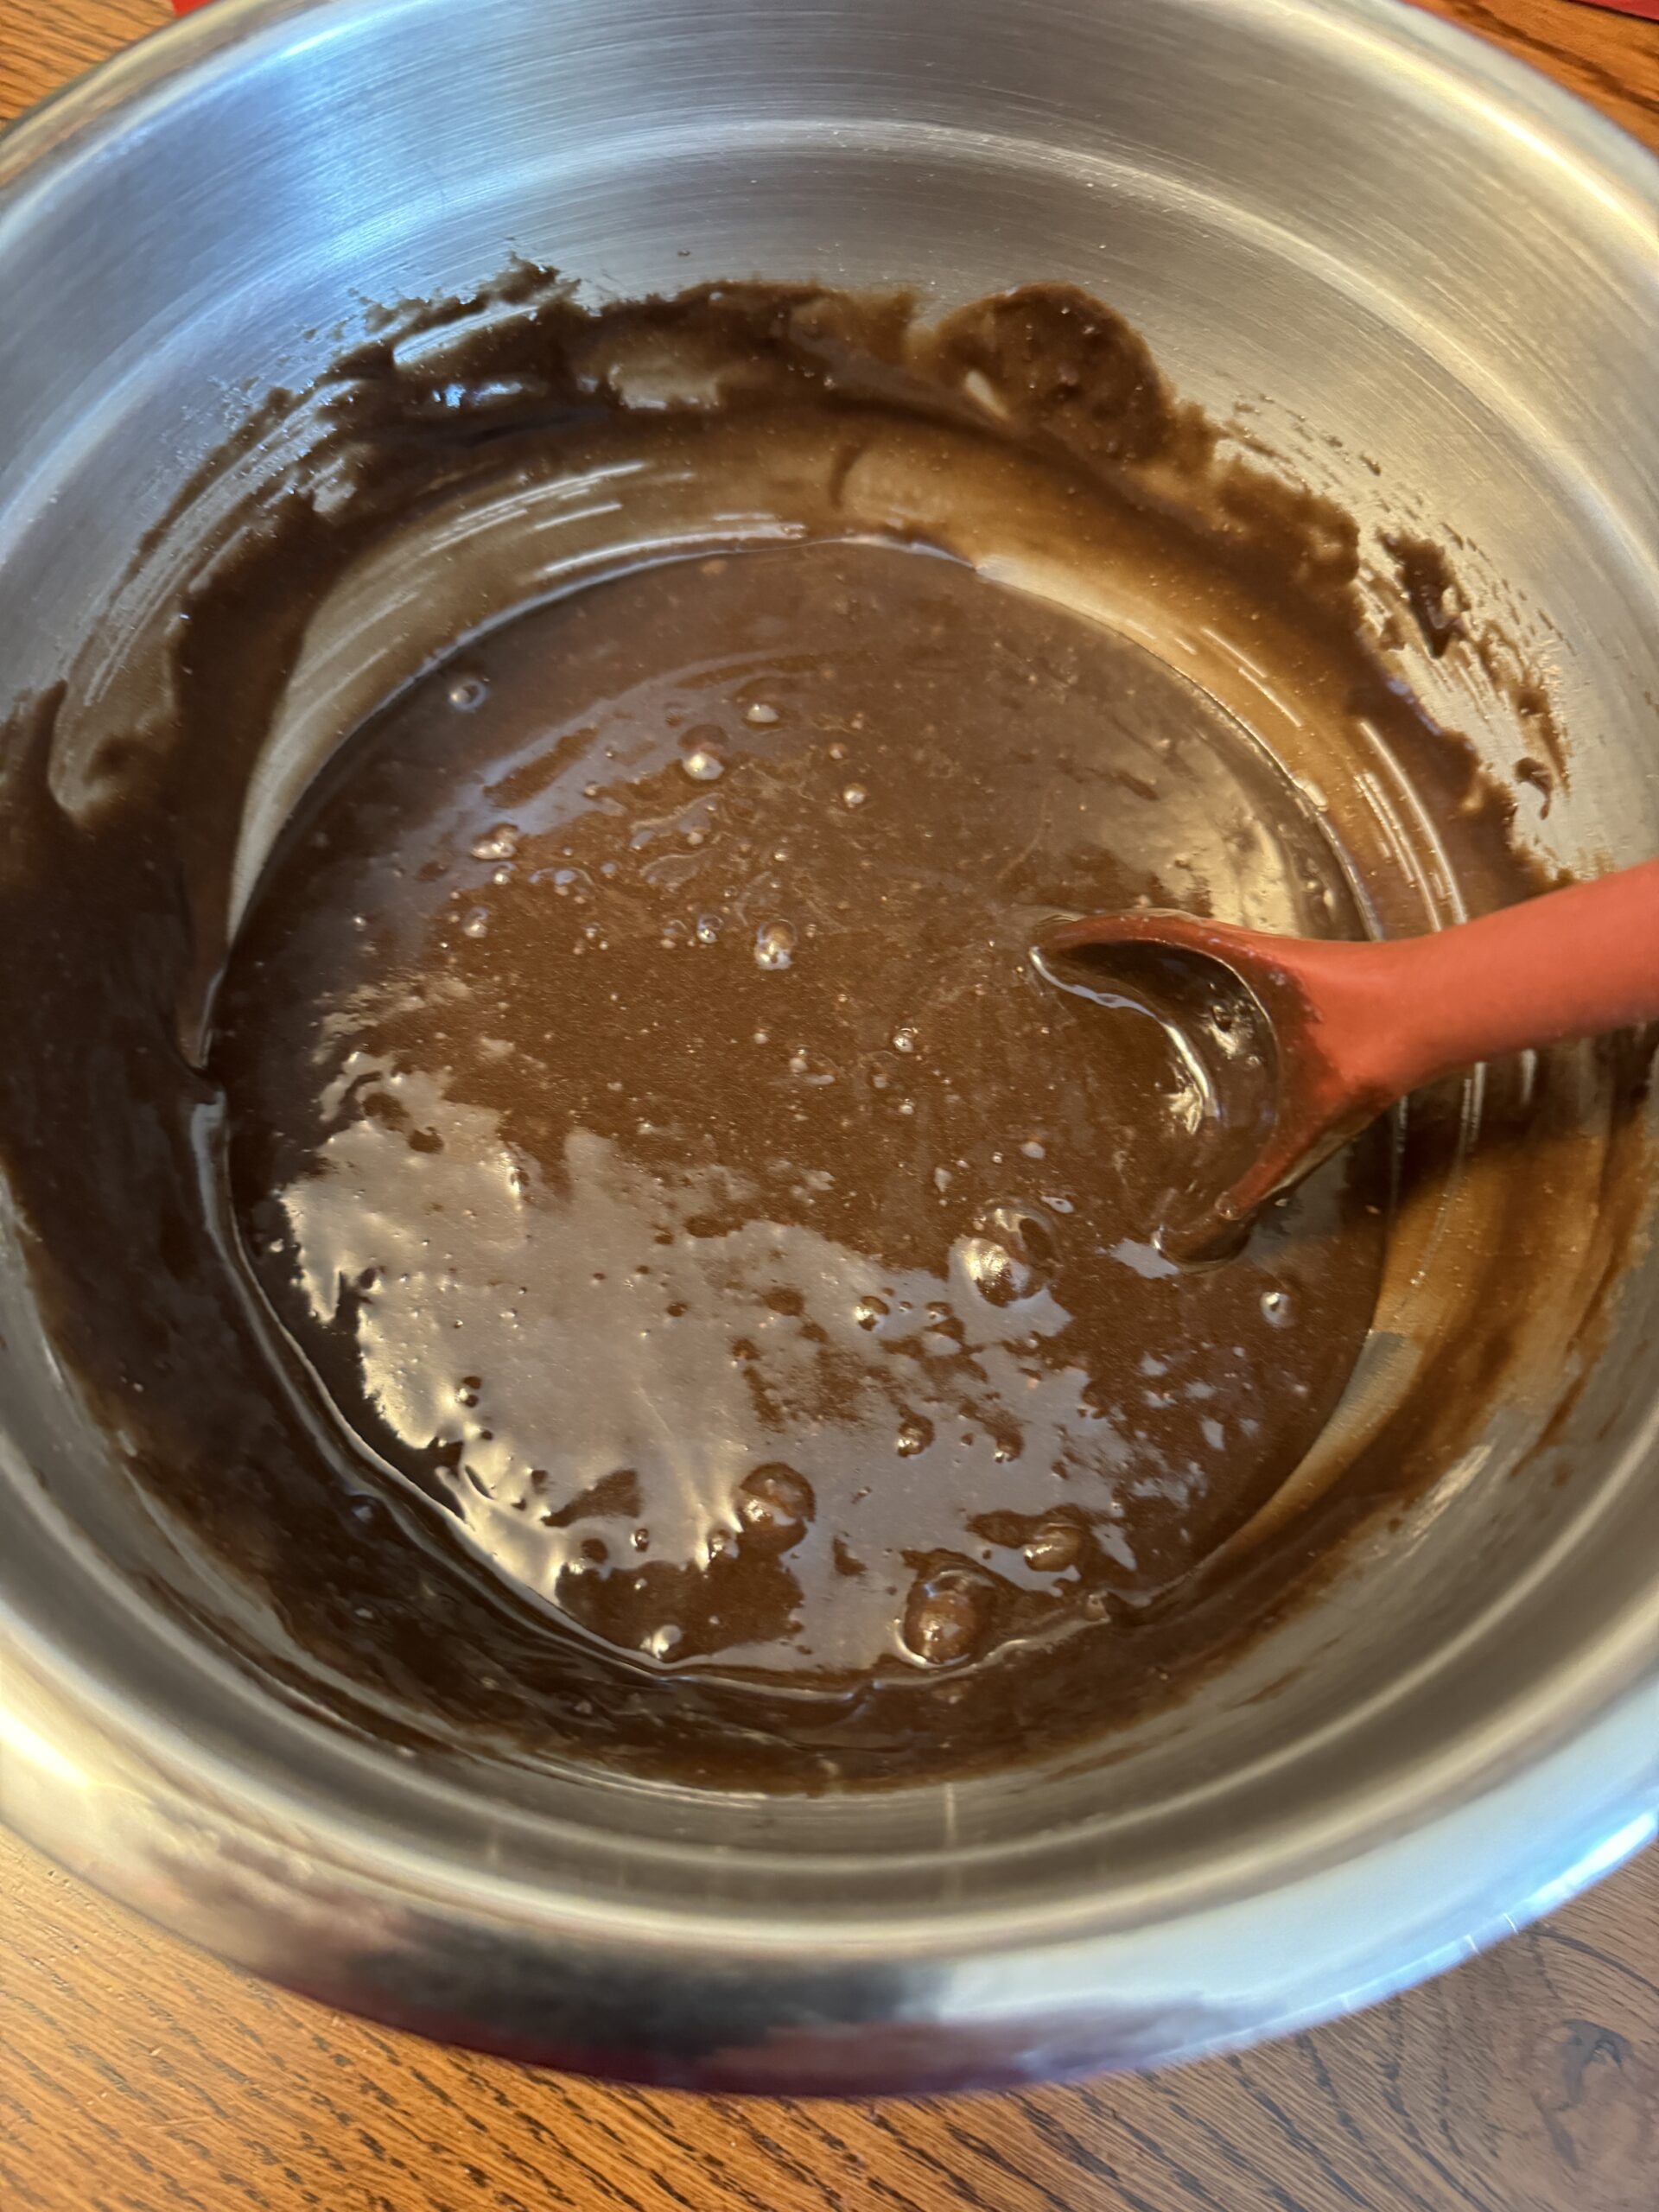
It baked fine and looked good. I cut it into 12 pieces and bagged them for the sale.
I mixed up the second box of dark chocolate brownies, but apparently didn’t mix well enough because even after baking, the top had little lumps all over it! I gave that batch to Bert!
I ran to the grocery store and picked up another box of brownie mix (milk chocolate this time) and tried again. Worked fine. The two mixes of Brownies with California walnuts, that makes just an 8 x 8″ pan each…I’ll put them in the cupboard for a future pot luck dinner or something.
Next, I really wanted to make cupcakes since I haven’t made those in a long time. I was trying to figure out how to carry two dozen cupcakes to the fire hall on Monday. I had forgotten…several years ago I had bought a plastic carrier just for that purpose! Luckily, it was wrapped in a white plastic bag and high on a shelf just waiting to be needed.
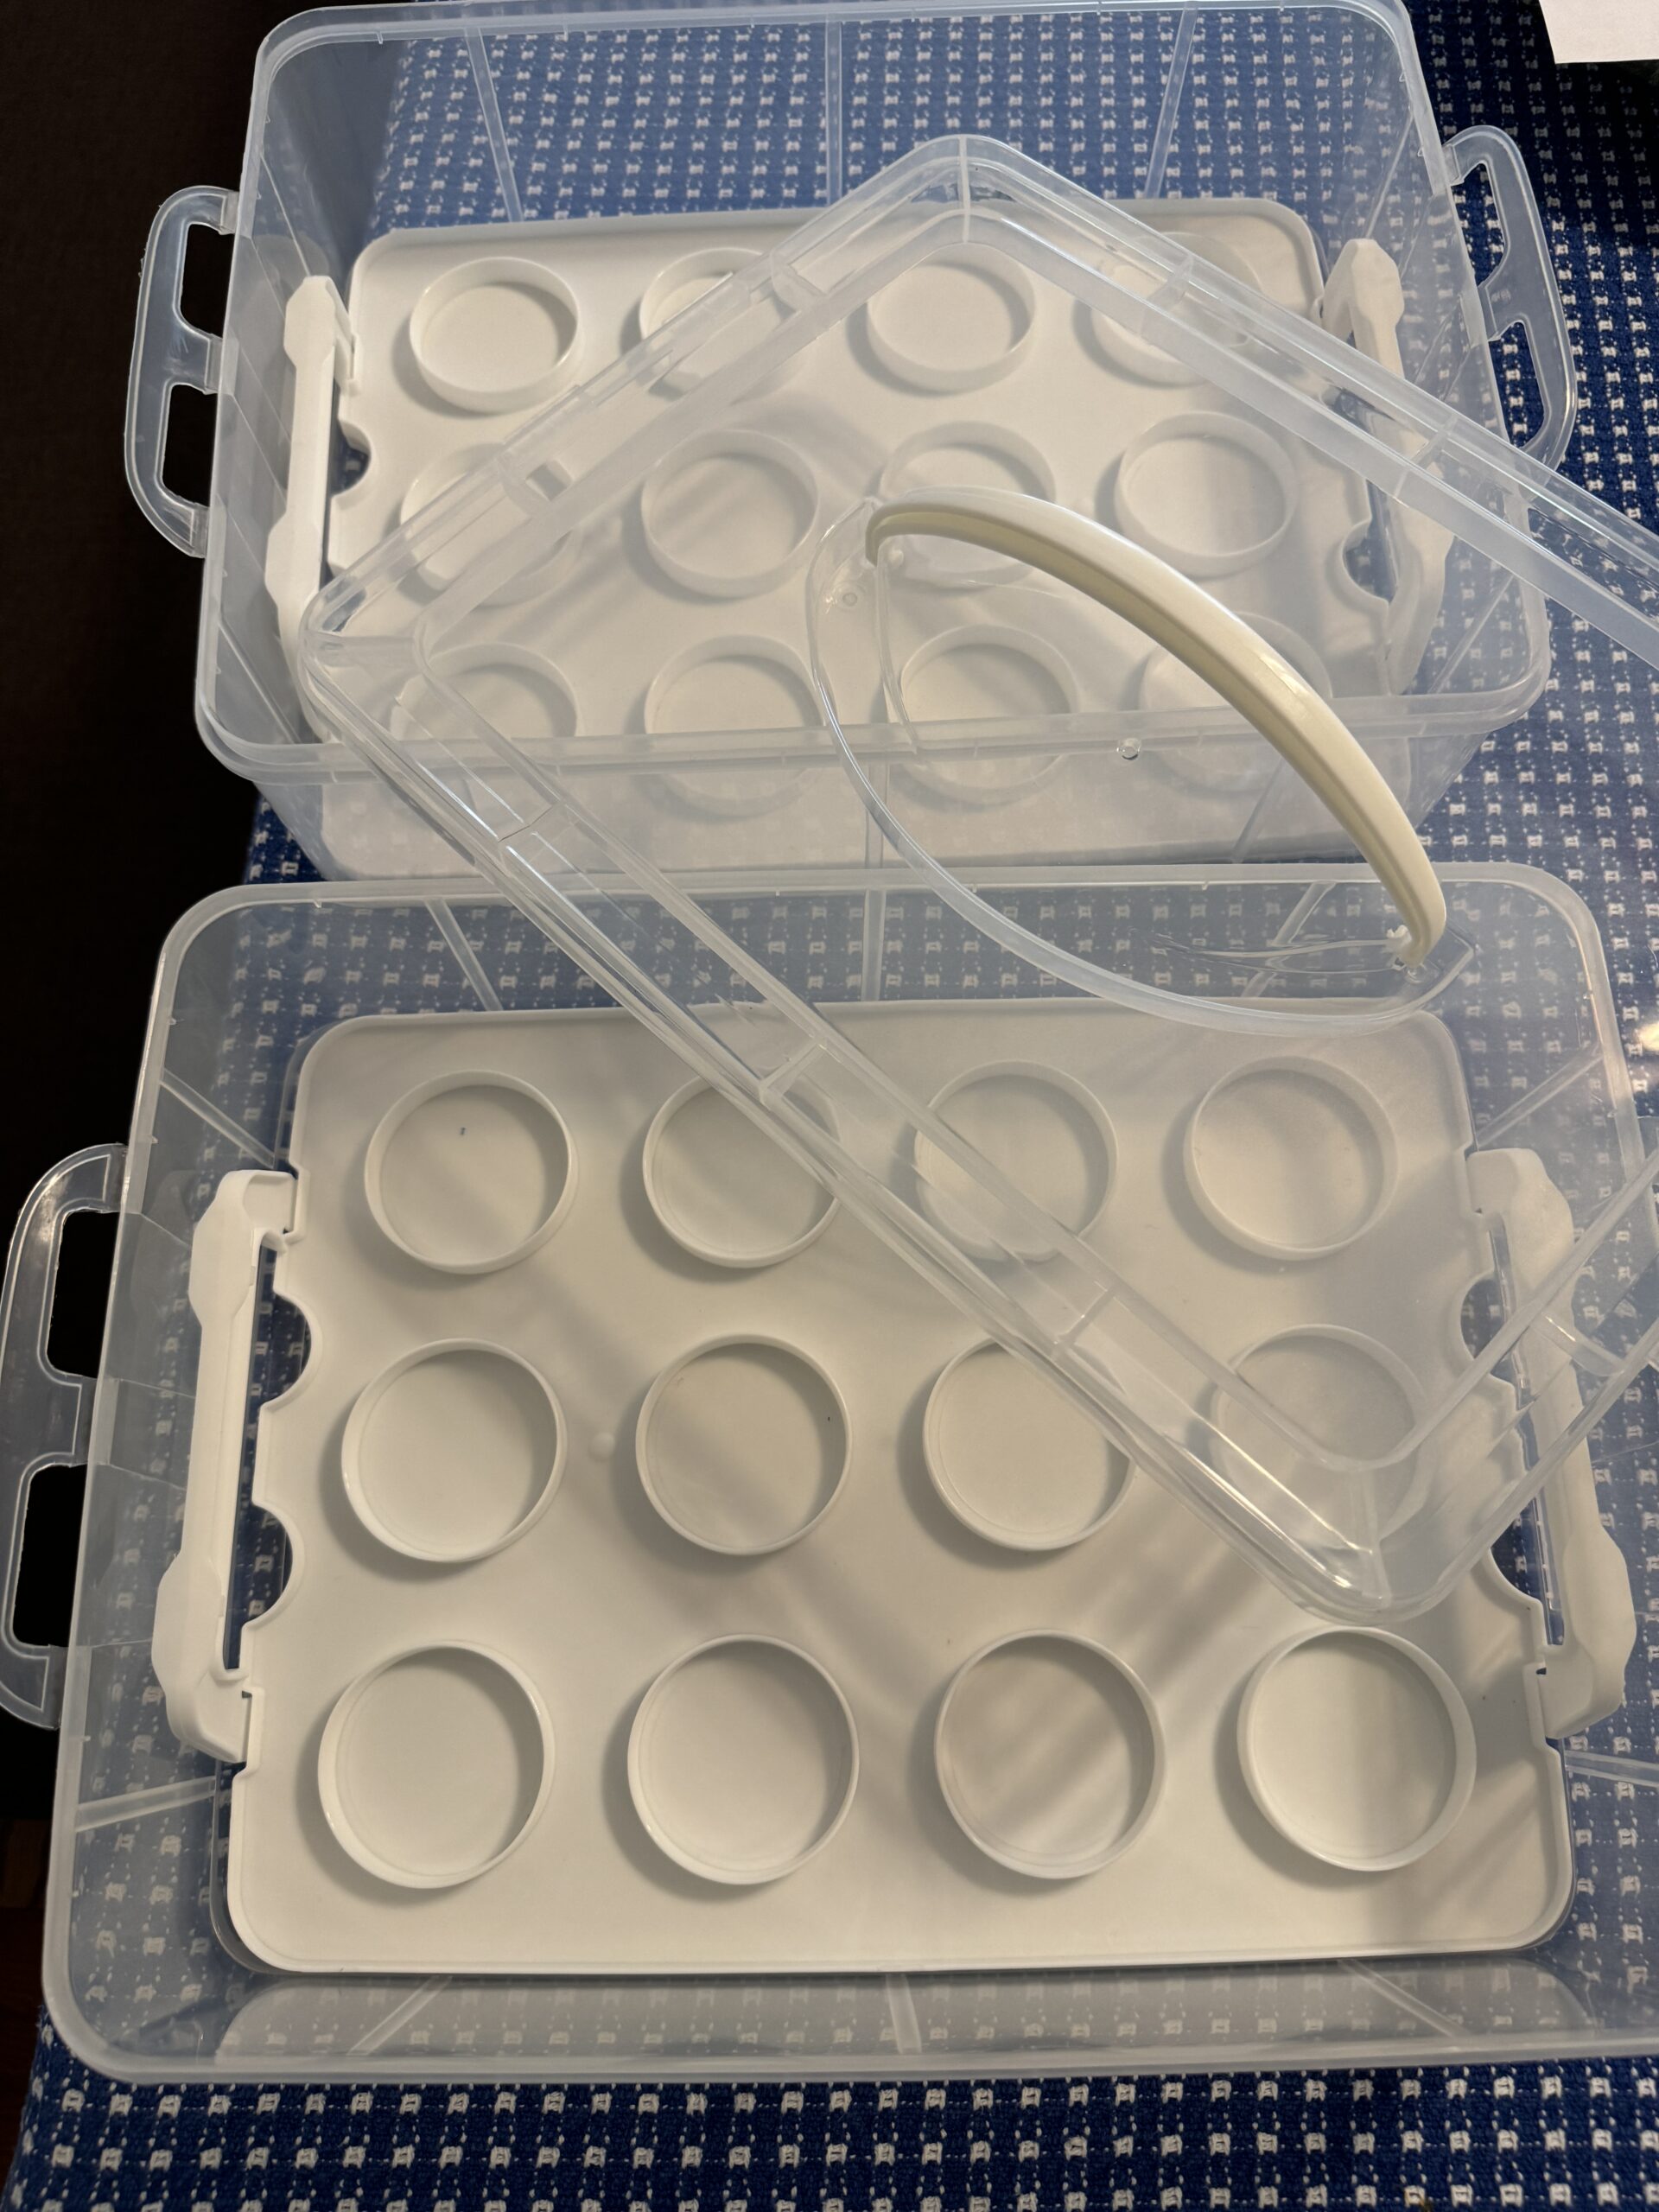
Pretty nifty arrangement! Sunday, I’ll make two kinds of cupcakes for the sale on Monday!
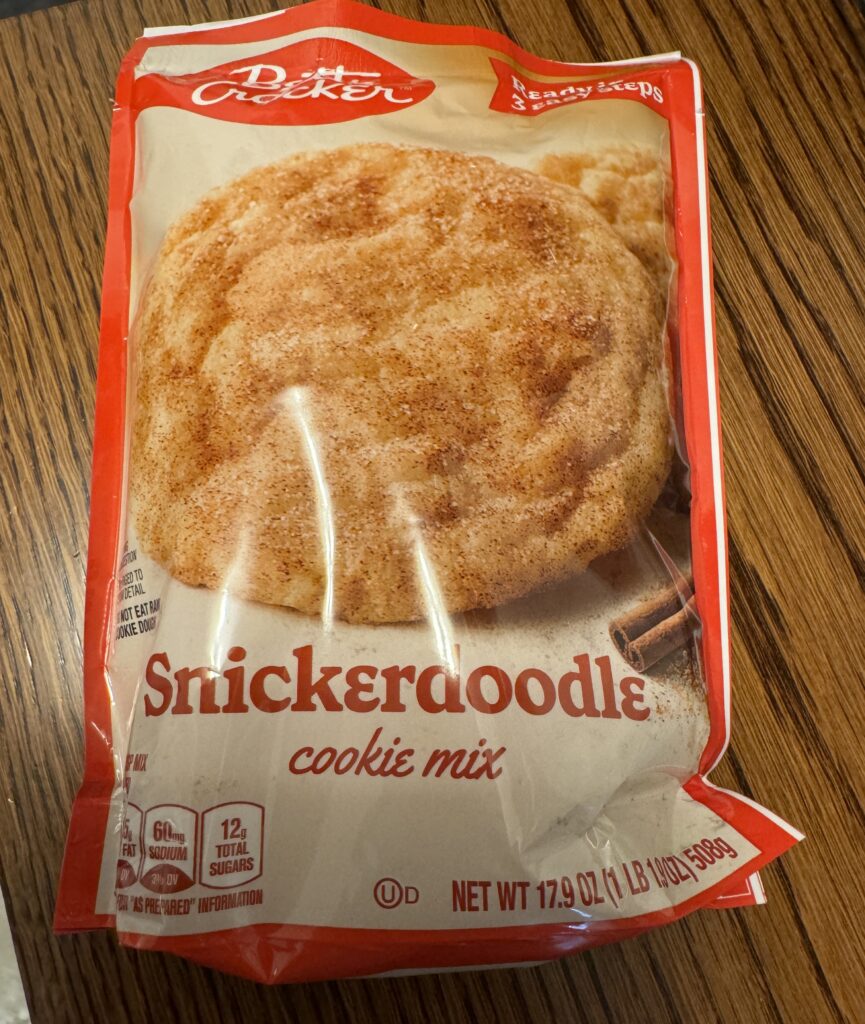
The last item I may try tomorrow is snickerdoodles. Of course, there is a mix for that! I could easily make them from scratch, but then I will end up with too many cookies and my kitchen will be a mess! It is also too tempting to have all those cookies around because I do love them and can eat them. I’ll stick with the mixes.
I’m sure many of you have your favorite recipes to make things for bake sales. Our audience is mostly families with kids on their way to the carnival. Should be fun!