As much as we’d like to think that Spring could emerge any time now, here in central Pennsylvania we hope it holds off a few more weeks. How many of us remember huge snowstorms returning mid-March and killing frosts in April. We all hope fruit blossoms are not fooled into opening too early…which would mean no apples, peaches or pears this year!
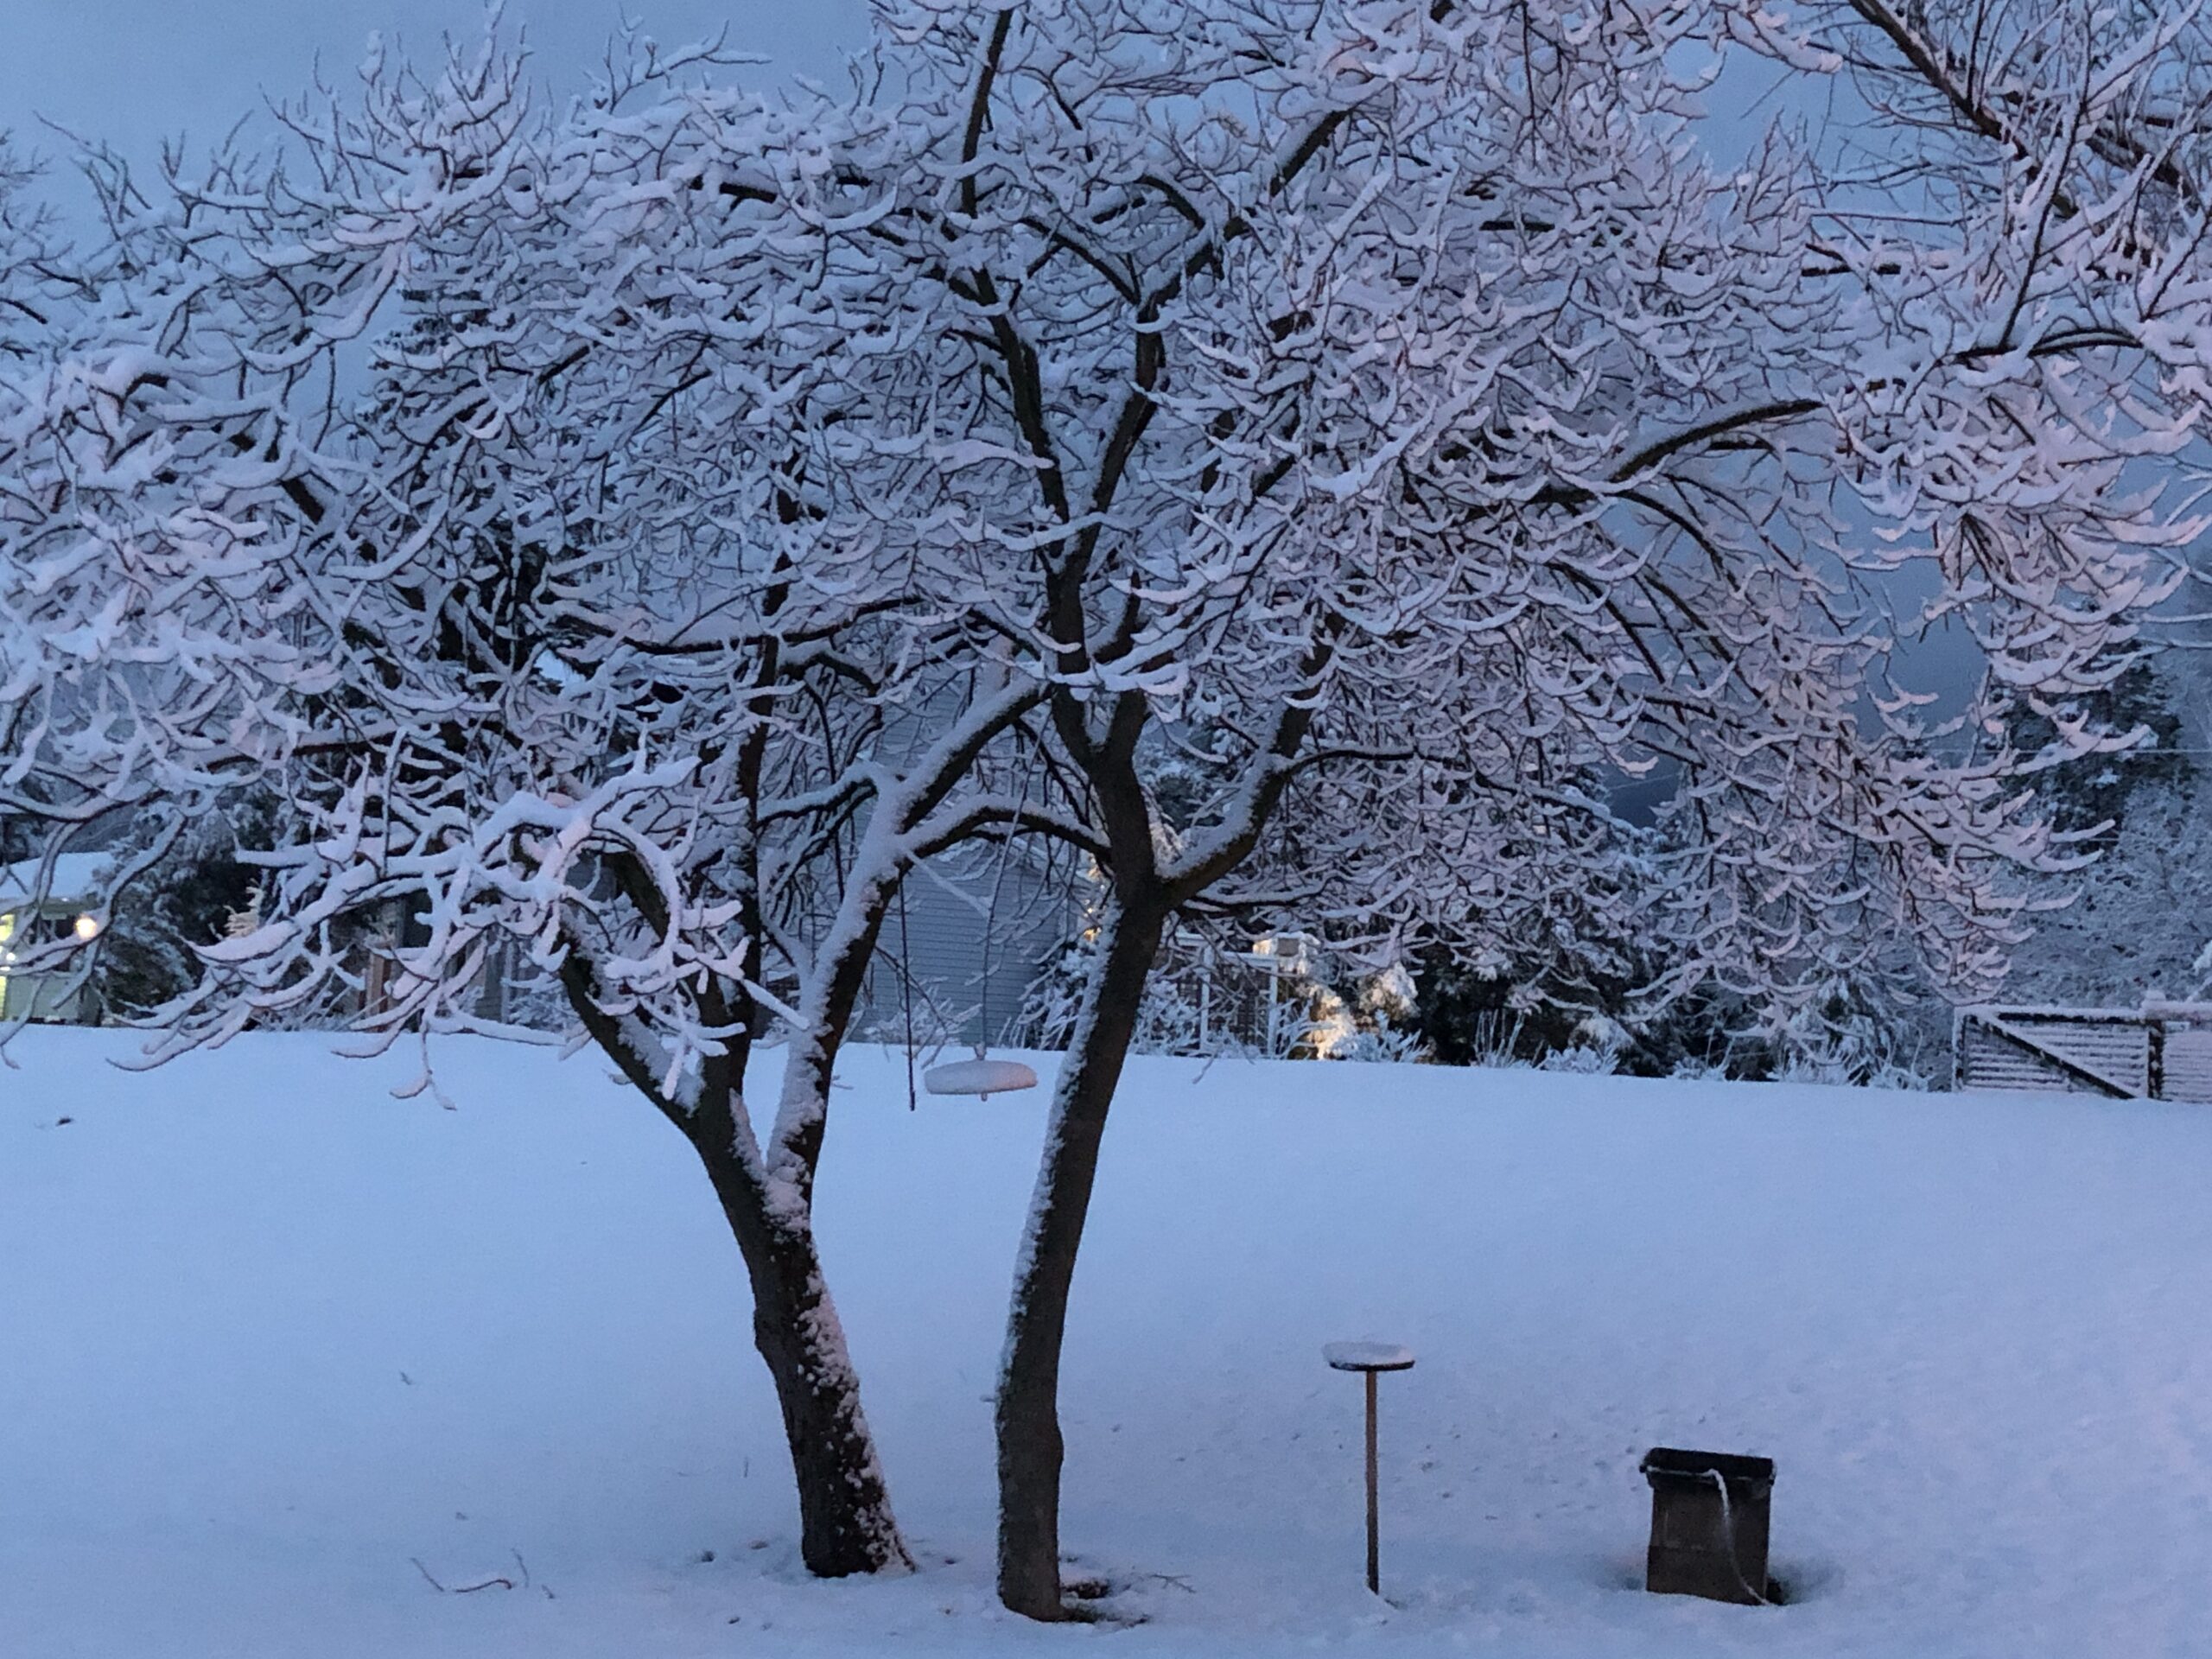
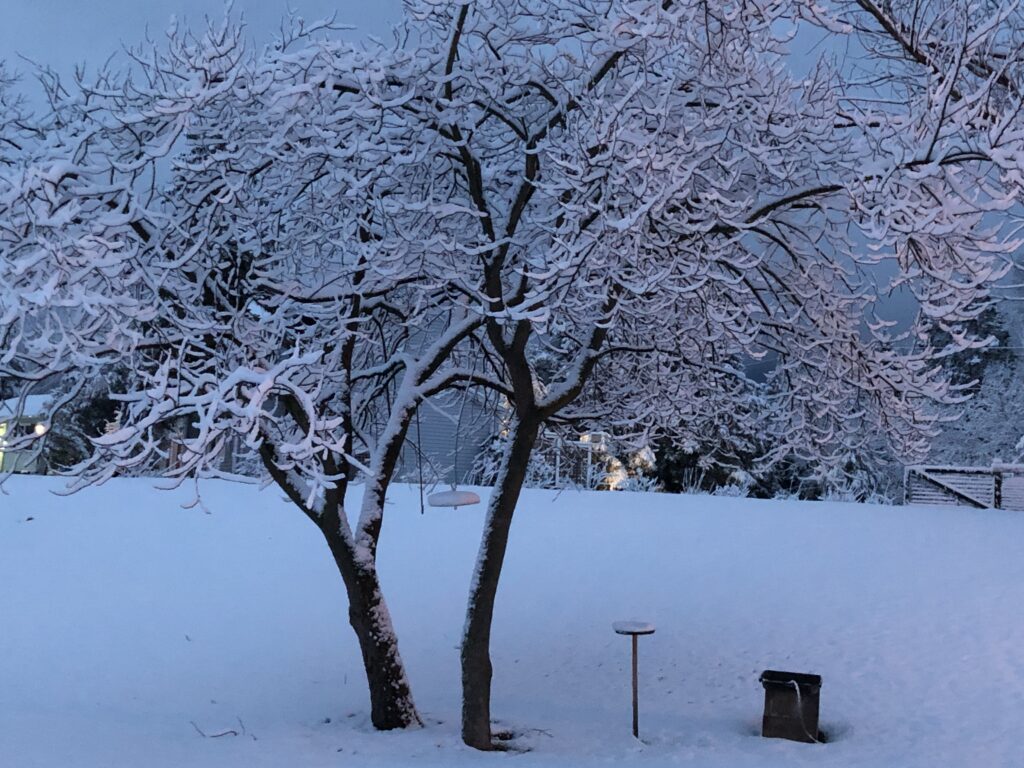
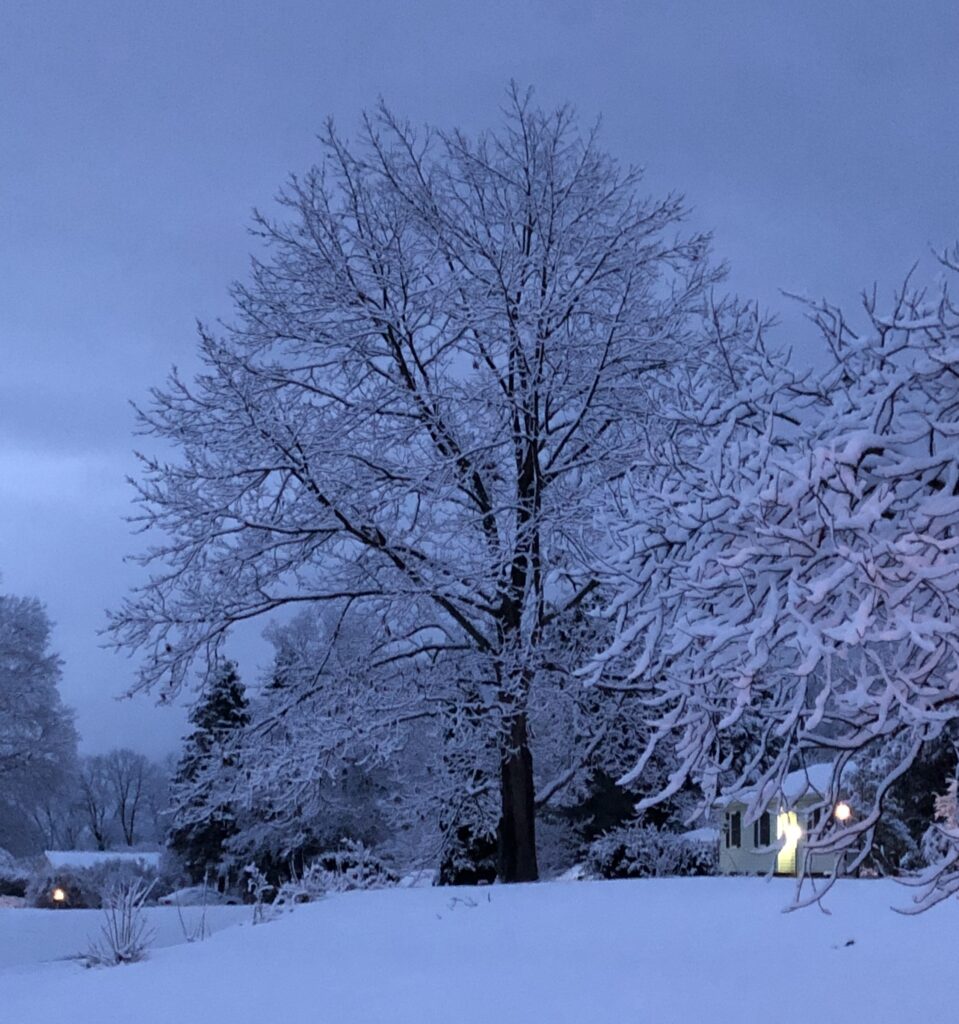
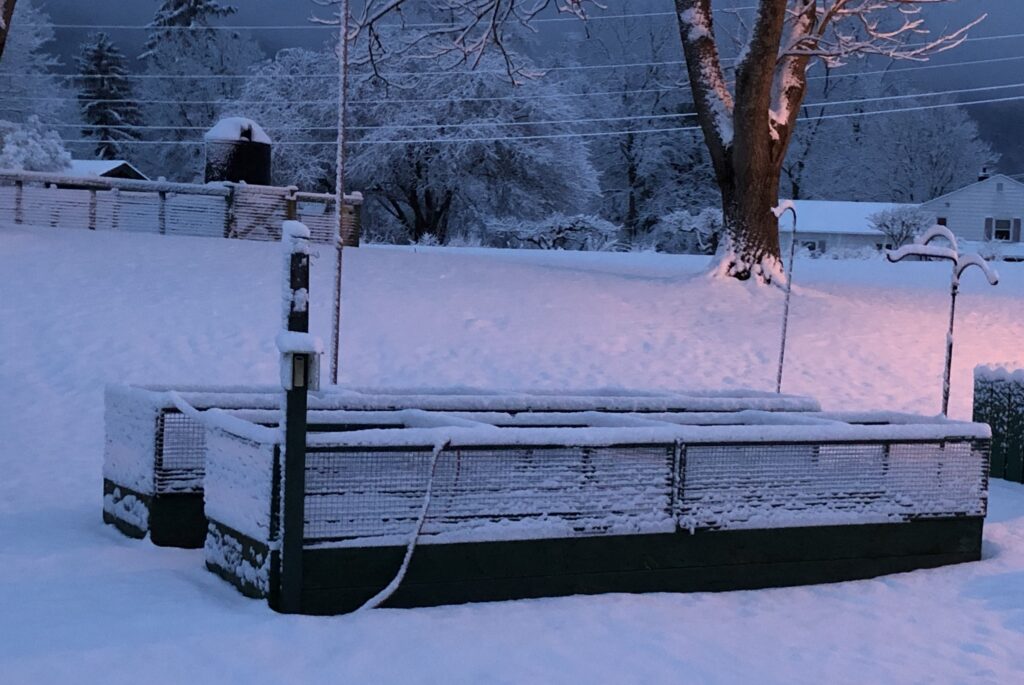
Two weeks ago, this was our backyard:
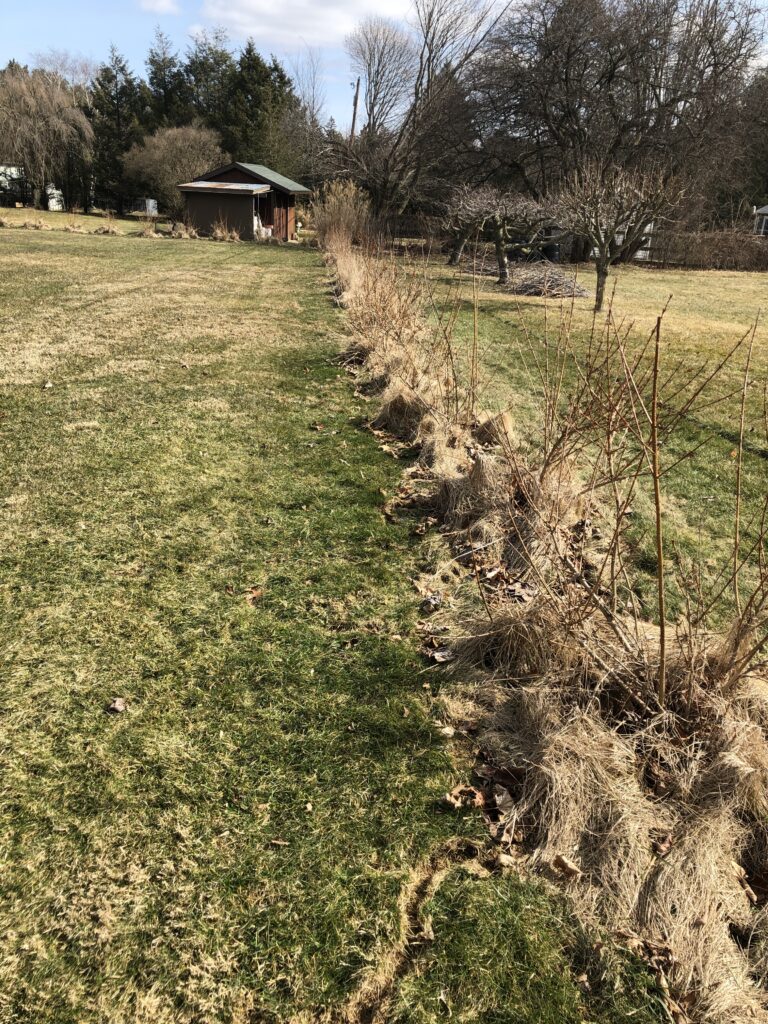
Today it was 42 degrees around lunch time and all the snow is mostly gone:
Even the grass is trying to turn green!
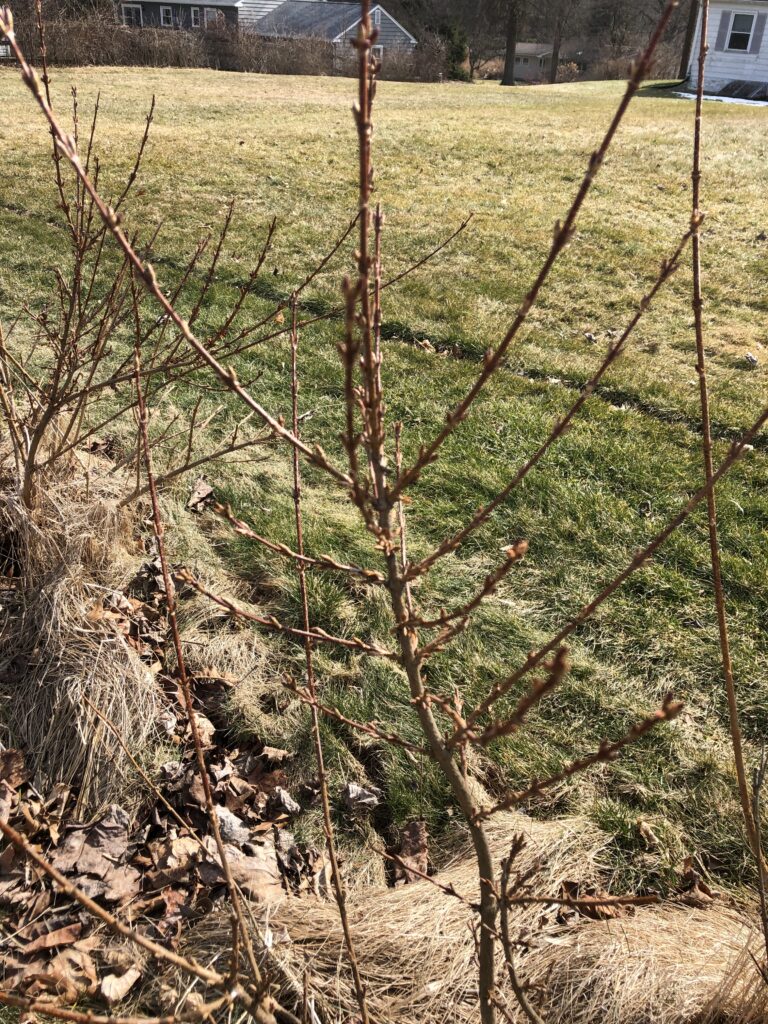
The forsythia bushes look healthy and have many buds ready to pop. We should have a beautiful border around the back of our property if a late frost doesn’t kill them before they open!
The lavender in the garden is a silvery green and looks like it did well this winter. Hopefully, it can hit the ground “running” this year! We’ve never had lavender plants winter-over and do well the next year.
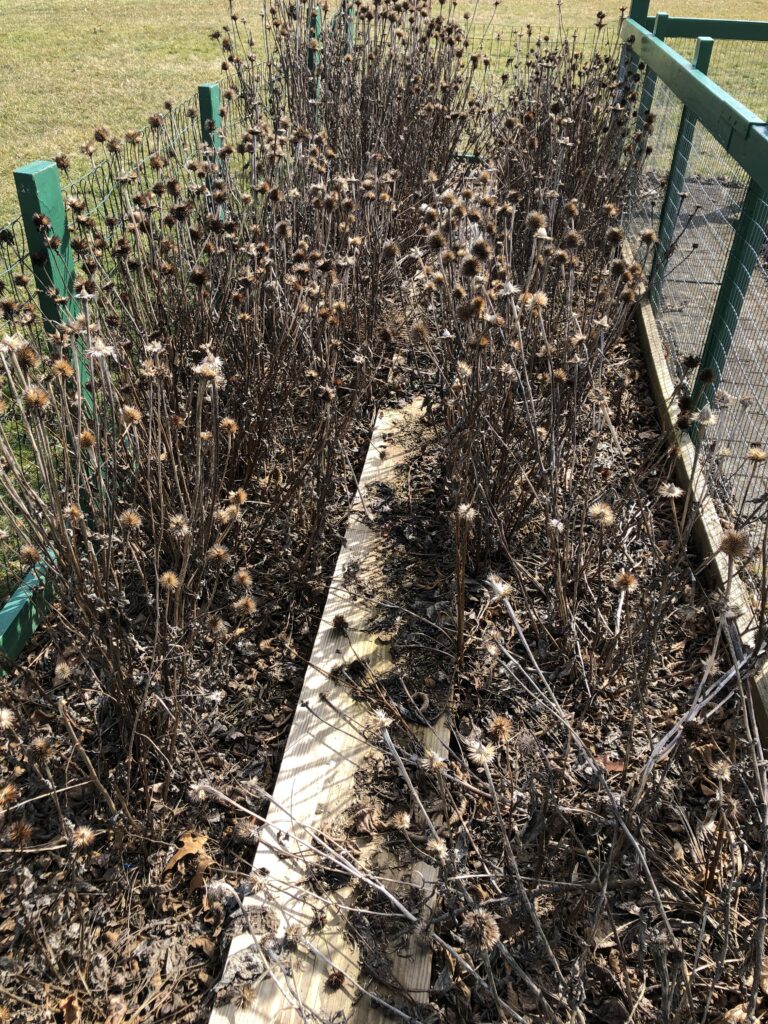
The echinacea is still dropping seeds. We’ll trim out the dried stalks in a few weeks.
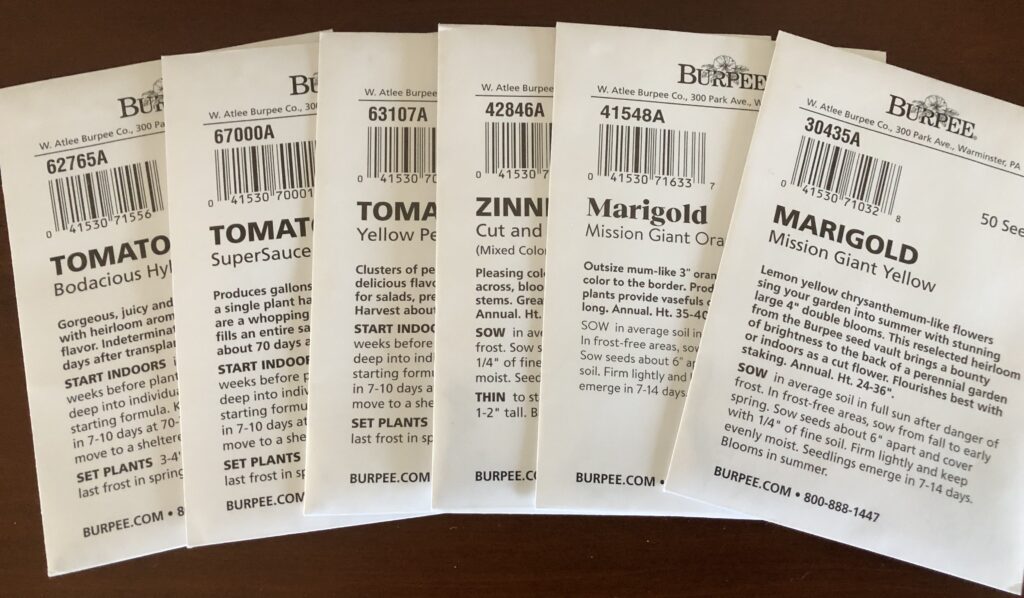
Bert pulled out the package of garden seeds for this year and separated the packets of seeds that he wanted to start early in the shop under grow lights. He’ll probably start them around mid-March.
We’ll try not to push Mother Nature…even a Spring on time is just fine. Every day it stays light just a little longer and that feels hopeful! Enjoy!
I know…we still have snow on the ground, it’s still below freezing at night and it still gets dark shortly after 6 p.m.! However, local folks are already planning community-wide events and festivals.
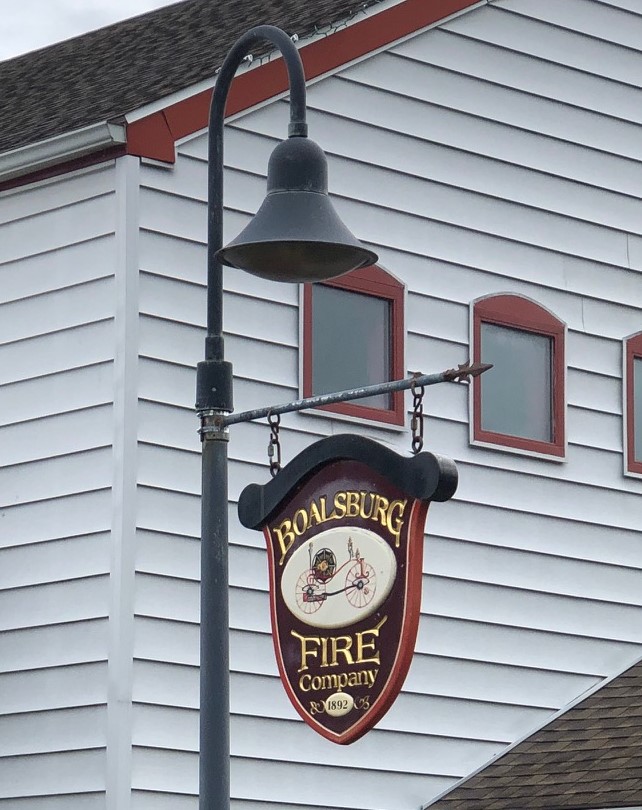
Coming up soon, the Ladies Auxiliary to the Boalsburg Fire Company will have their indoor yard sale on April 26 and 27 at the Fire Hall. Come support the Ladies Auxiliary and pick up some nice stuff! Read more about this indoor sale at https://marykisner.com/exploring-an-indoor-yard-sale-or-flea-market/
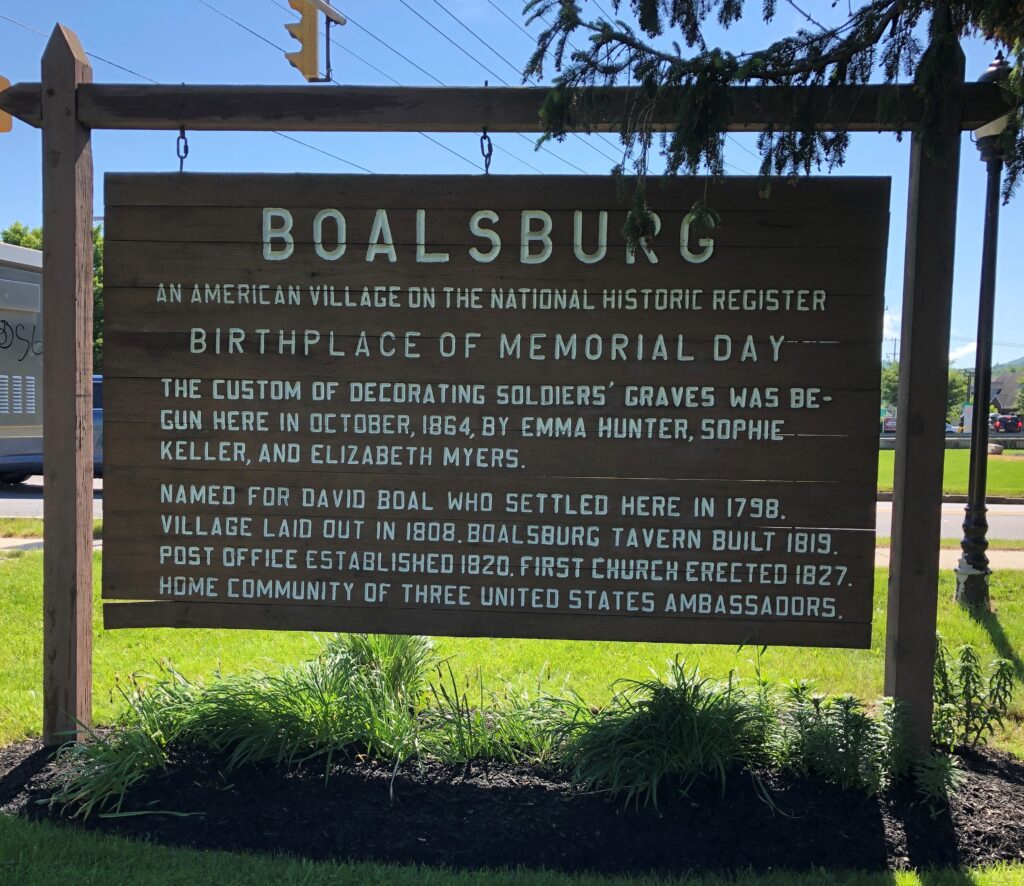
Of course, Boalsburg will celebrate Memorial Day from May 23-27, with activities like the carnival, parade and a Day in Towne. On the 27th many crafts folks will be selling their wares and there will be music on the Diamond and at the Museums. Tours of the Heritage Museum, the Boal Mansion and the Christopher Columbus Chapel will be offered.
The July 4th Festivities will offer many fun activities near the stadium and the Bryce Jordan Center on campus…ending with a spectacular fireworks display.
The Central Pennsylvania Festival of the Arts will be held July 11-14 in downtown State College and on the Penn State campus. Watch for details online.
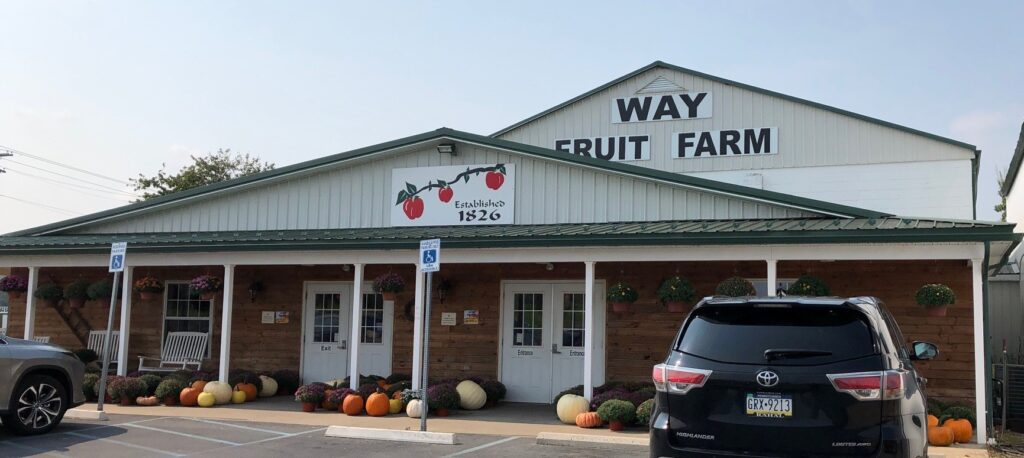
Finally, a local craft fair will be held at Way Fruit Farm in Stormstown, PA, just minutes from State College. It will run concurrently with the Central PA Festival of the Arts…July 11-13. It has the feel of the People’s Choice festival that had been in Boalsburg, but has now been moved to the Grange Fairgrounds in Centre Hall. See what Way Fruit Farm has to offer all year round at https://marykisner.com/wonderful-lunch-with-high-school-friends/
I’m sure there are many more festivals across the area, so check local listings and advertisements! Lots of cool bargains to be had!
If you are involved with a local festival and would like me to mention it in an upcoming post, send me an email with details…marykisner@comcast.net.
(This is a repost of a story from February 14, 2022. A few of you may have read it then, but when I saw it today I just couldn’t resist sharing it. I wrote it with my grandkids in mind.)
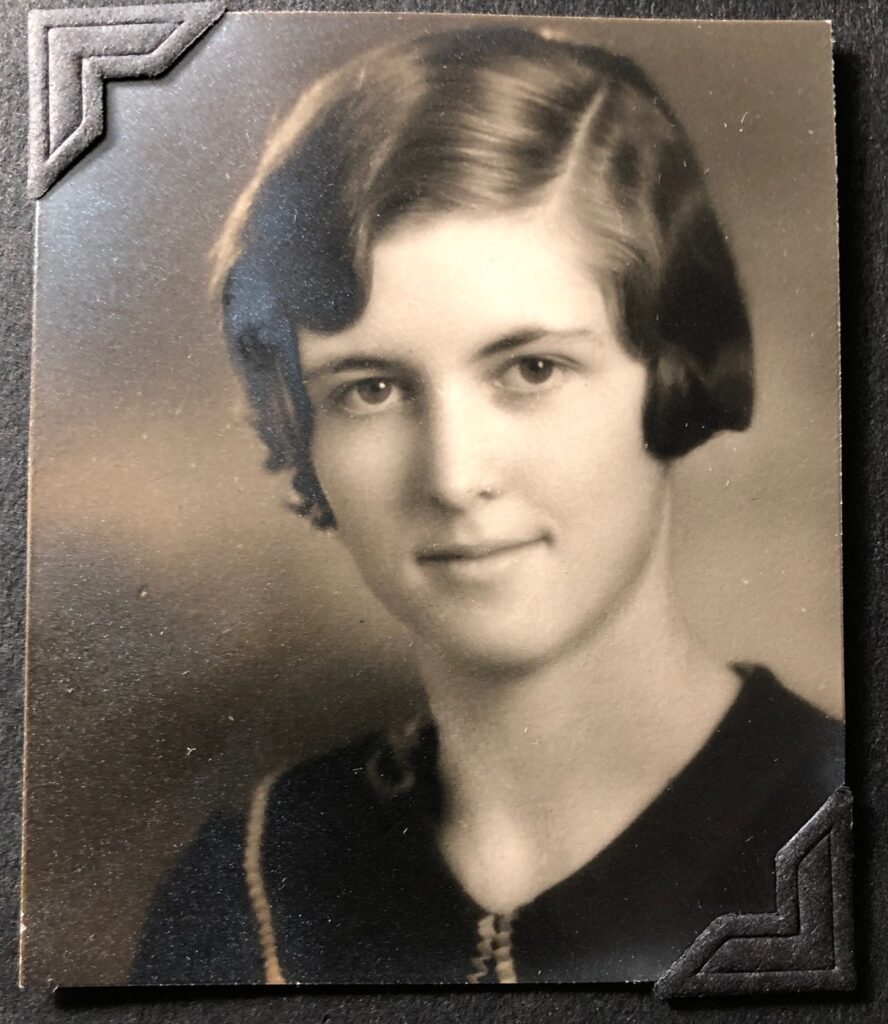
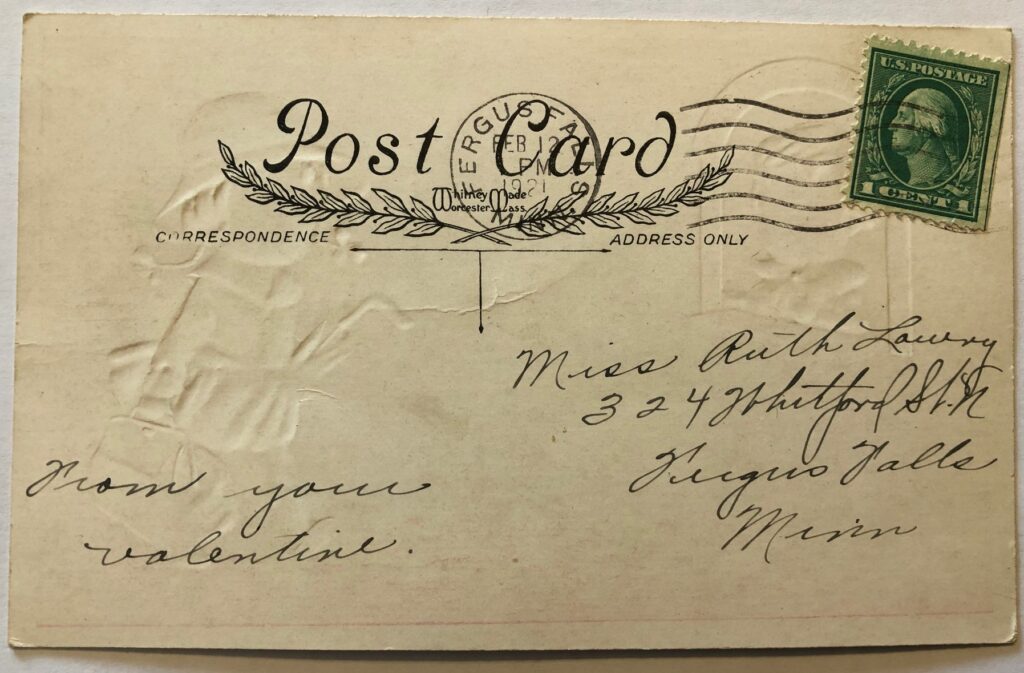
Ruth Lowry, 1930, 18 years old
Growing up, I had heard my mother share stories about her experiences being assigned to a rural one-room school for the 1932-33 school year. She had graduated from High School in 1930 and went on to get a teaching certificate. It was definitely culture shock for her. She grew up in “town” with the many conveniences of the times…like indoor plumbing and central heating (probably coal).
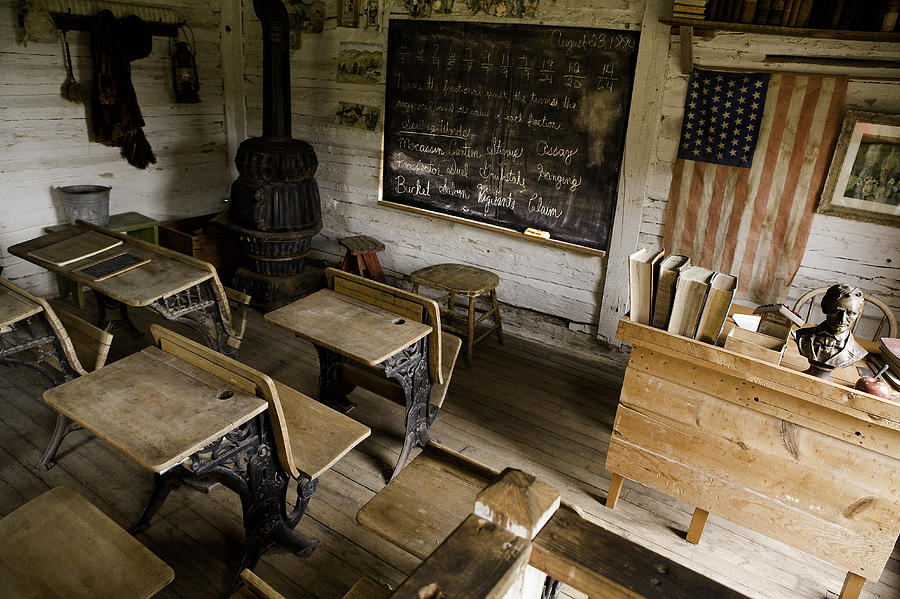
Besides having to live with a nearby family, she had to walk a distance to the school, start a fire in the stove, do general maintenance for the school building and get the classroom ready for 23 students from grades 1-8. The living experience by itself was new; then she had the challenges of her first year of teaching! She was a small, shy woman…barely 5’4” tall. The older students (boys especially) were tough farm kids who often didn’t want to be there. Learning to teach a class of mixed ages was a challenge in the first place. Over the years she would share little tidbits of experiences that wore her down by the end of the year. She taught only one year!
One room school house, stock photoby Wendy White
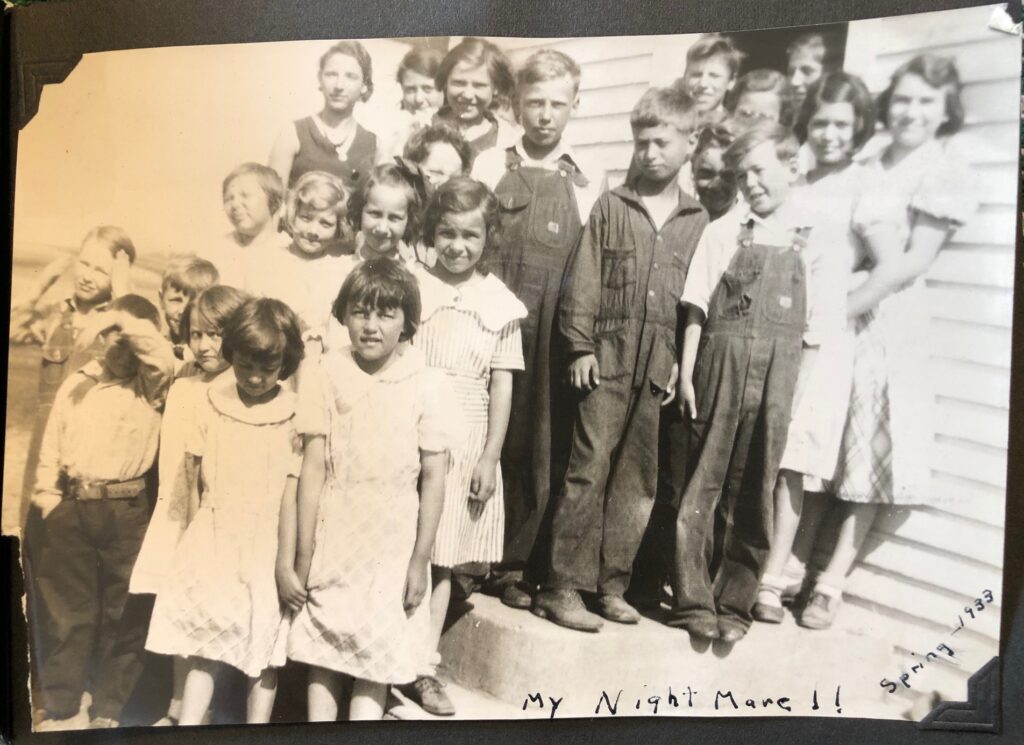
From my memory of her stories, the whole year was a traumatic experience for her. Recently, I was going through a small photo album of hers from that time and saw a photo of that class. Her note on the picture says it all!
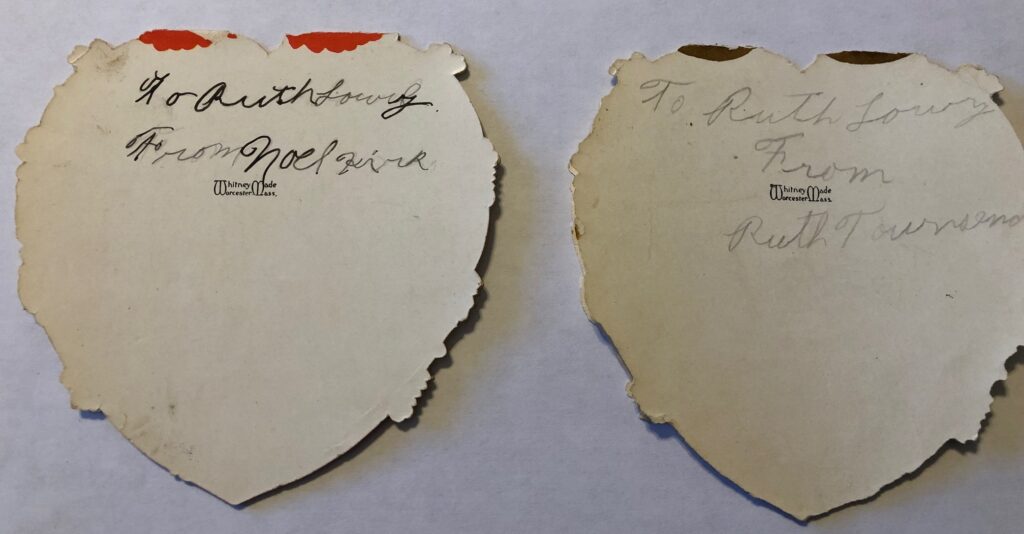
I also came across a box of valentines she had saved from that year…very interesting collection! Most of the valentines were signed politely on the back with, “To Miss Lowry” and signed with a full name, most in neat cursive writing! Maybe by February 1933 things had settled down in her classroom!
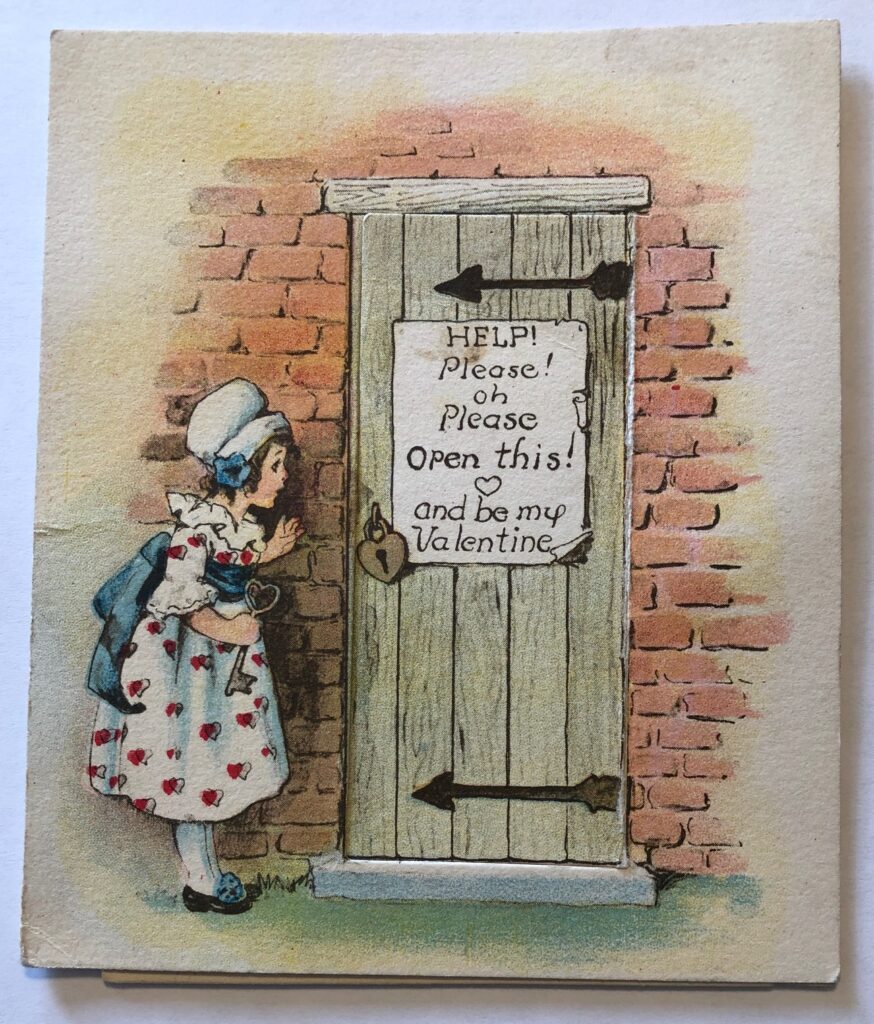
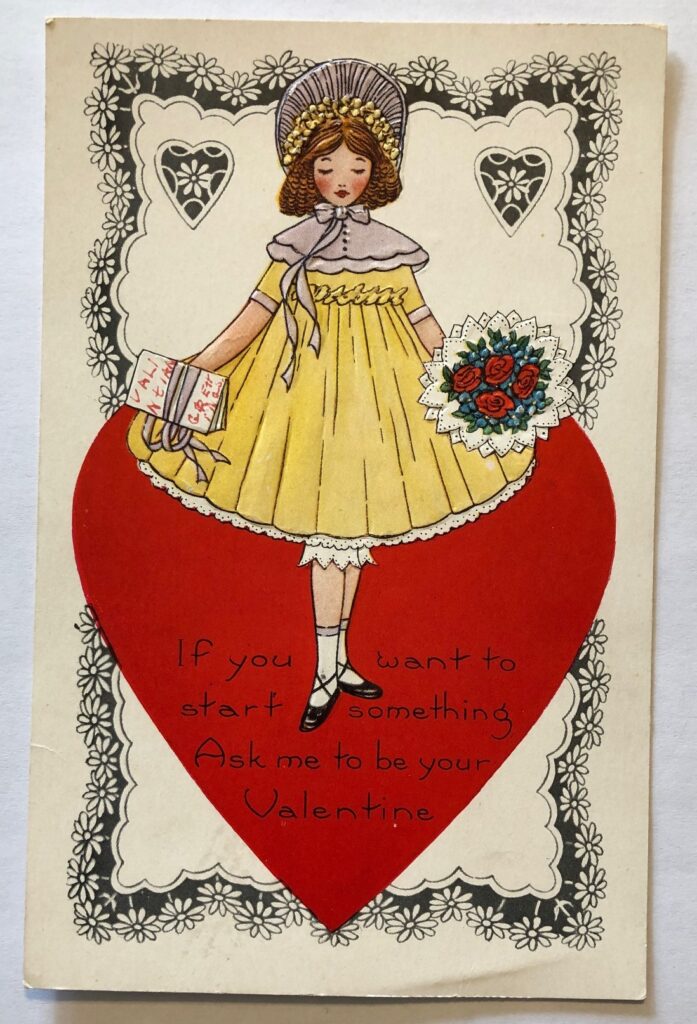
I thought you might like to see how clever some of the valentines were:
#1 Front
#1 Inside
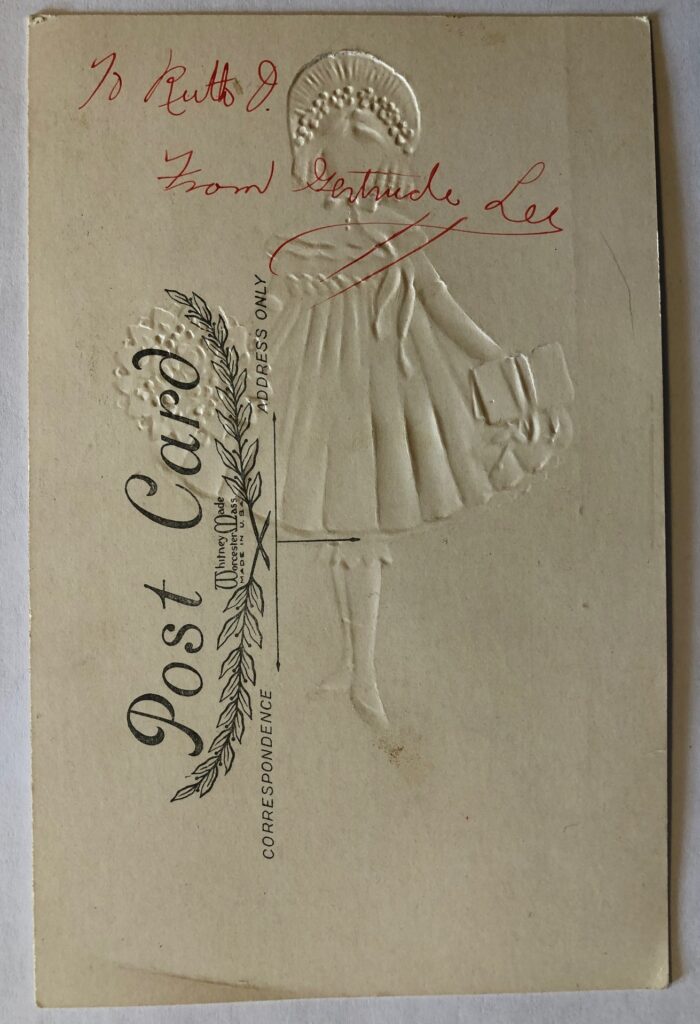
#1 Back
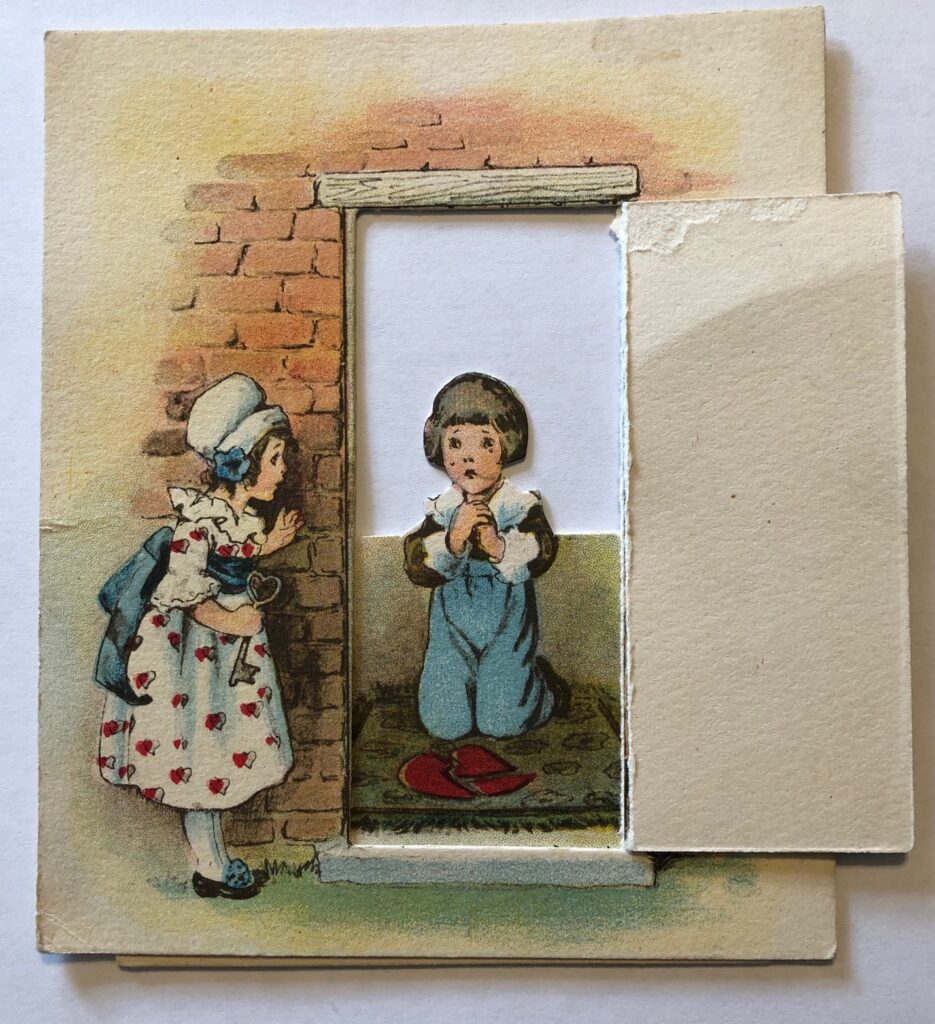
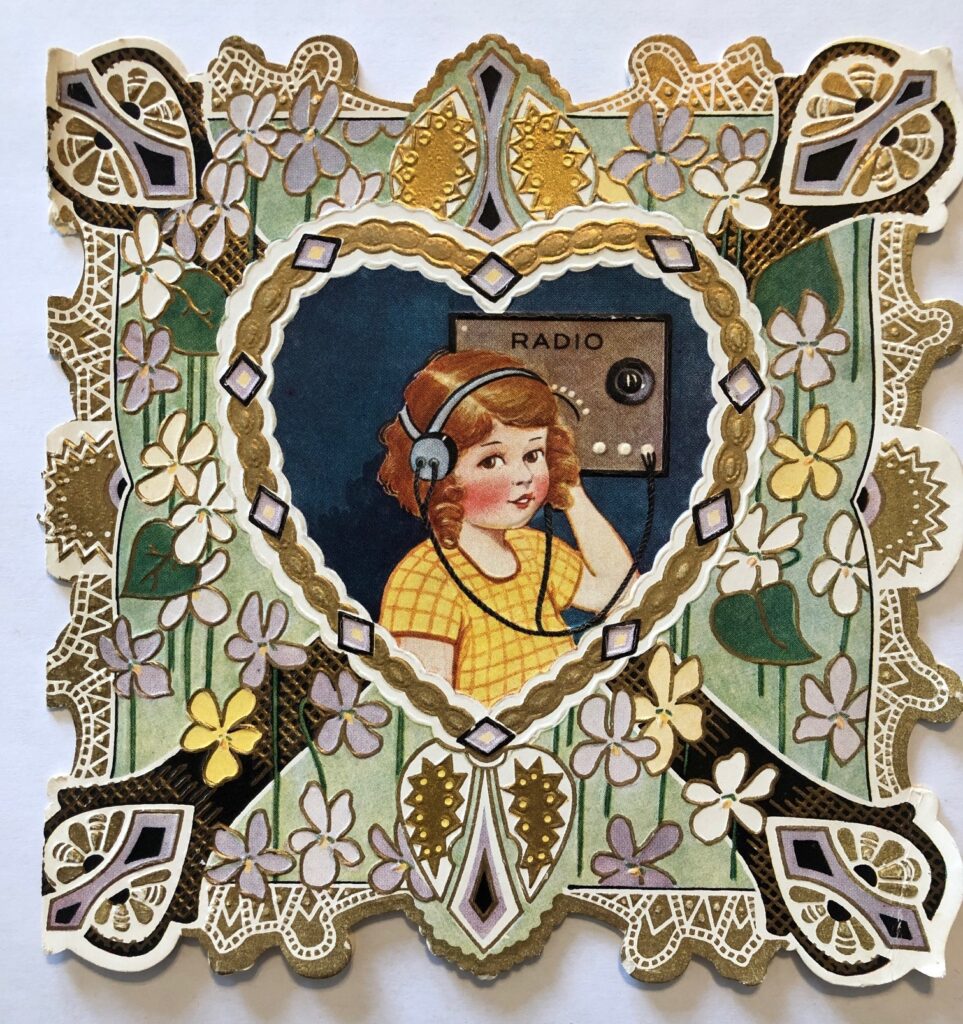
#2 This one came flat…
#2…and opened to be three-dimensional!
#3 This is signed by Gertrude Lee. She was Ruth’s best friend all through high school.
#3 Back
#4 Front
#4 Back. Maybe this one came from my dad who was teaching at a different one-room school in the area??
#5 Front
#5 Inside. No signature.
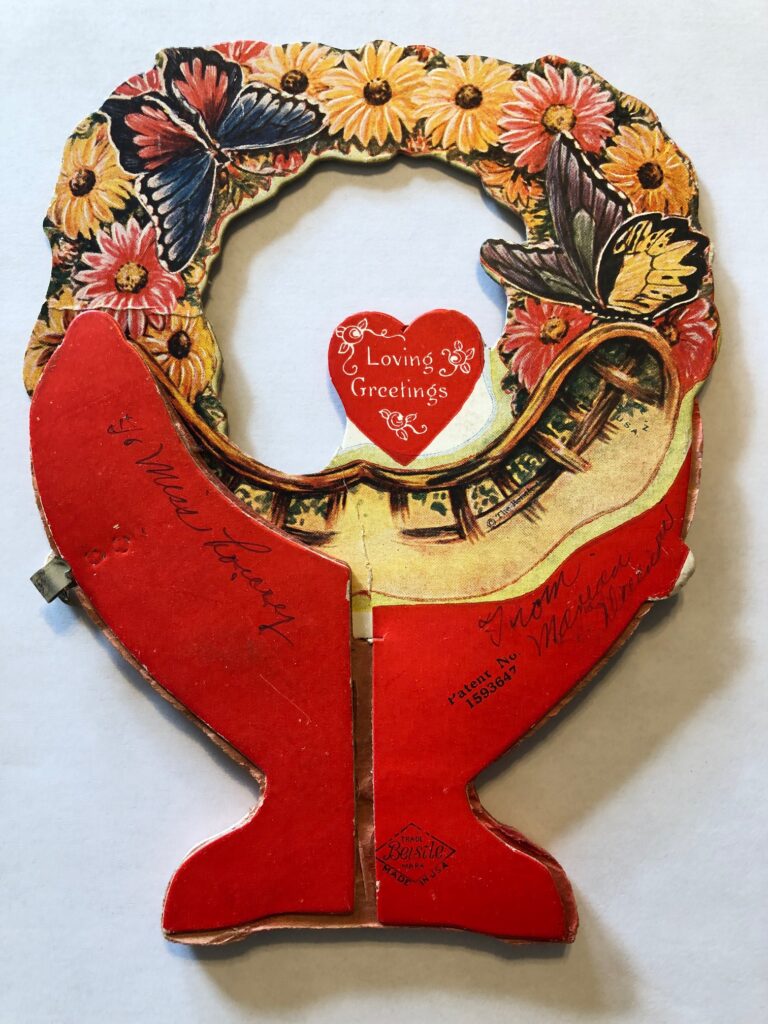
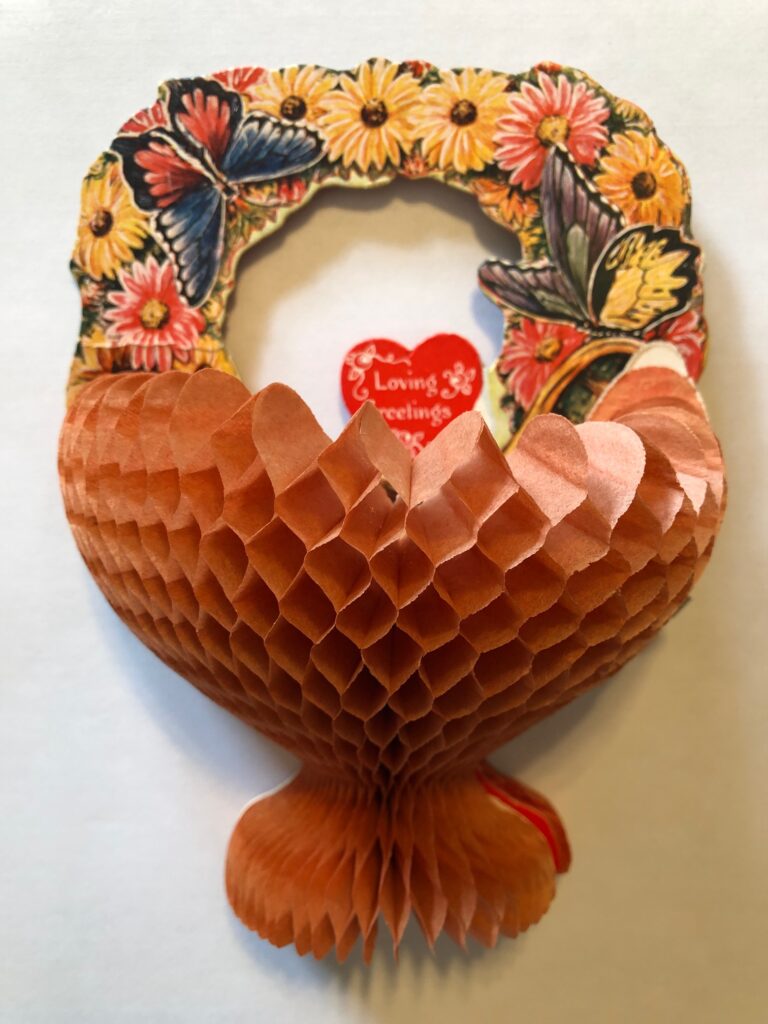
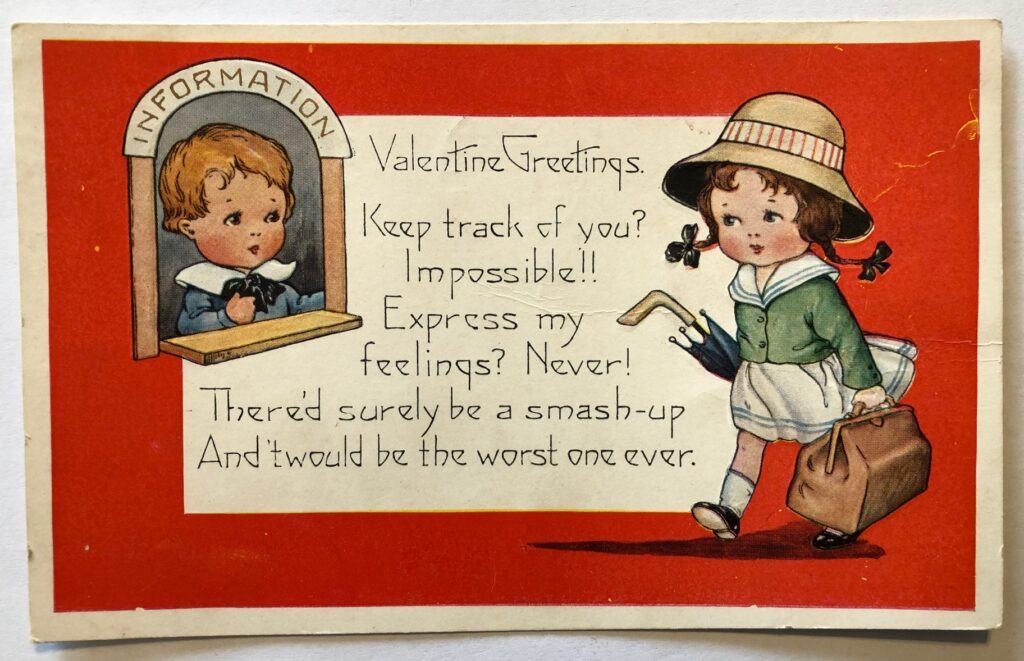
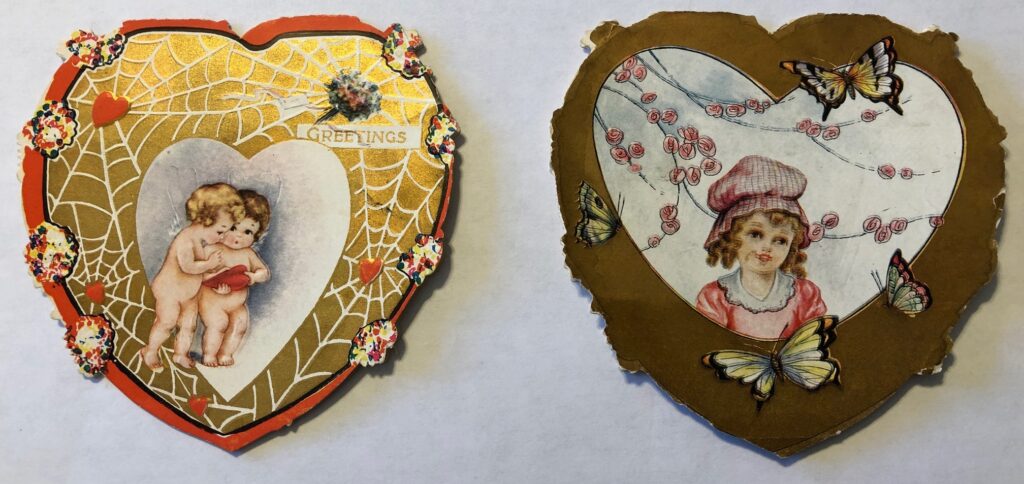
#6 and #7 Front
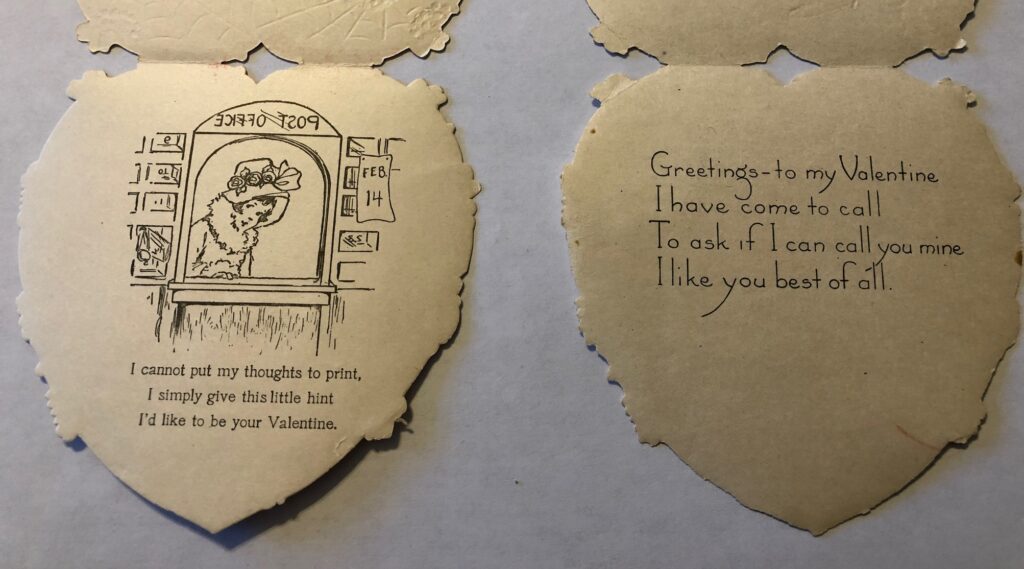
#6 and #7 Inside
#6 and #7 Back
It’s been a long time since I bought a box of valentines for a whole class, but I suspect none of them have such poetic ways to say, “Be My Valentine!” I wonder if kids today could write poems like these? What a treasured memory of my mother! Enjoy!
The weather folks sure had fun yesterday predicting up to 2 feet of snow for Central Pennsylvania! Of course, last night schools were cancelled for today (even Penn State classes were delayed), garbage pickup was delayed and my lunch with my high school friends was postponed. Not a problem, but we woke up to 3 inches of heavy, wet snow and 32 degrees. Made for some beautiful scenery in the trees in our backyard!
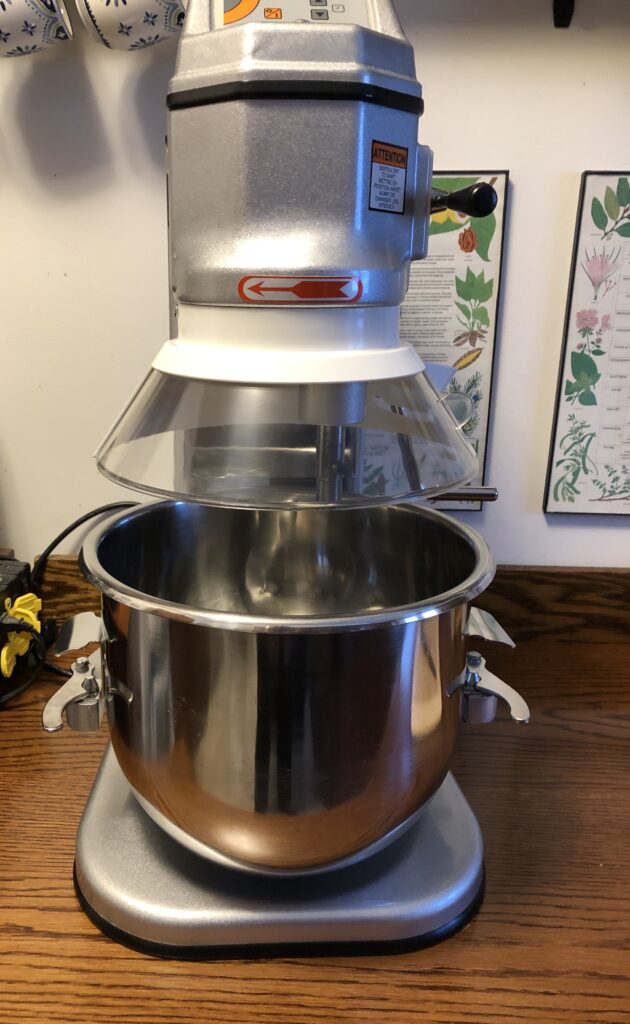
With a day to stay inside, what should I do? Our big mixer is still sitting on the kitchen table so I could make another big batch of Oatmeal Bread or sticky buns, like I did yesterday.
…or I could spend the day designing beaded bracelets that I hope to sell this summer at a craft fair;
…or I could read a good book; or I guess I could always clean the house (boooo…never my first choice!!).
So, you can see, on this EMERGENCY snow day, I have choices! I hope when you have to shift gears and change up your schedule for an “emergency day,” you have lots of fun choices ready to go so you aren’t stuck cleaning the house! (smile)!
Spring is the time of year we notice dead animals on the side of the road…especially skunks! I’m sure they are all on their way to find food, or they are young ones who haven’t learned about traffic. (Maybe this is just a Pennsylvania issue!) Their odor gets sucked into the car as we drive by and it’s obvious…I need to think about “recharging” my air freshener!
In the past, I’ve tried commercial air fresheners that just hang on the rearview mirror. That lasts about 15 minutes before I pull off at a gas station and throw it away! The scent is always too strong and ends up being worse than letting the skunk smell into the car!
Two years ago, I explored ways to use my own essential oils (fragrance oils work too), to make an air freshener. There were a few ideas online using wood as the item to soak up the oil:
There were even suggestions of a slice of a branch to hang in the car. Either way, once the wood had soaked up the oil, it gently released the scent in the warm car.
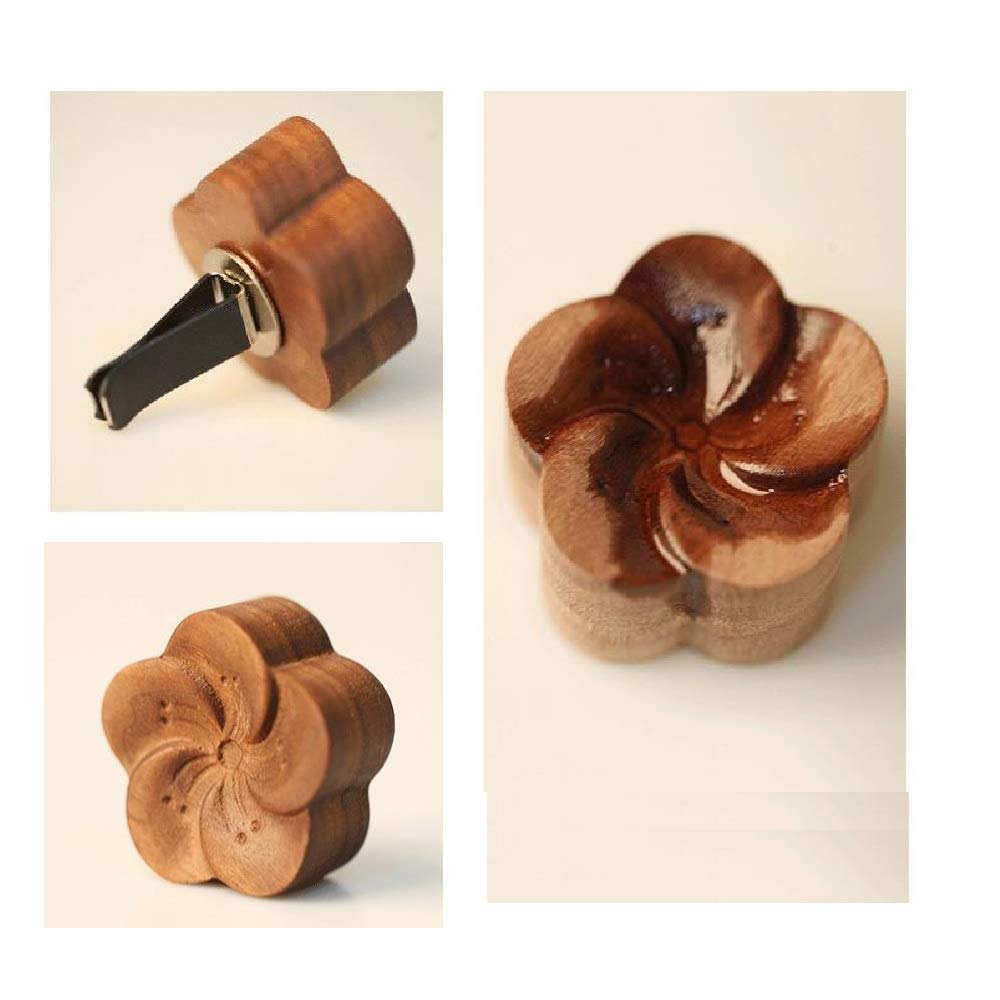
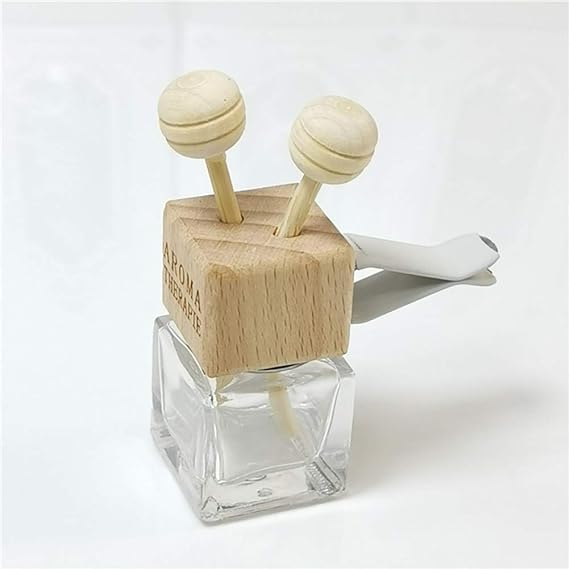
Exploring the internet this year, I noticed a new air freshener attachment offered for sale. It had sticks that reached the little jar of oil and soaked it up to the round pieces at the top. Interesting. I think I’ll stick with the one Bert made me.
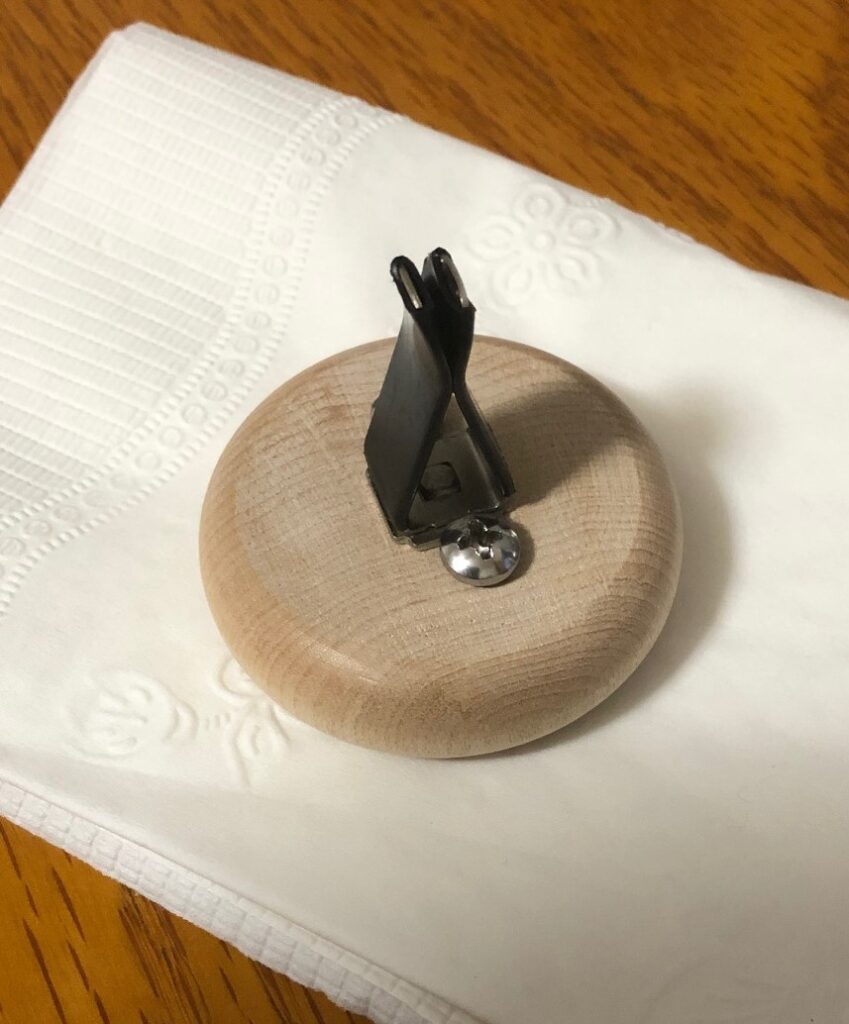
Two years ago, Bert ended up fastening a round block of wood to a clip with screws to hold it in place. Glue wasn’t strong enough. It was very time consuming to make, but it worked great!
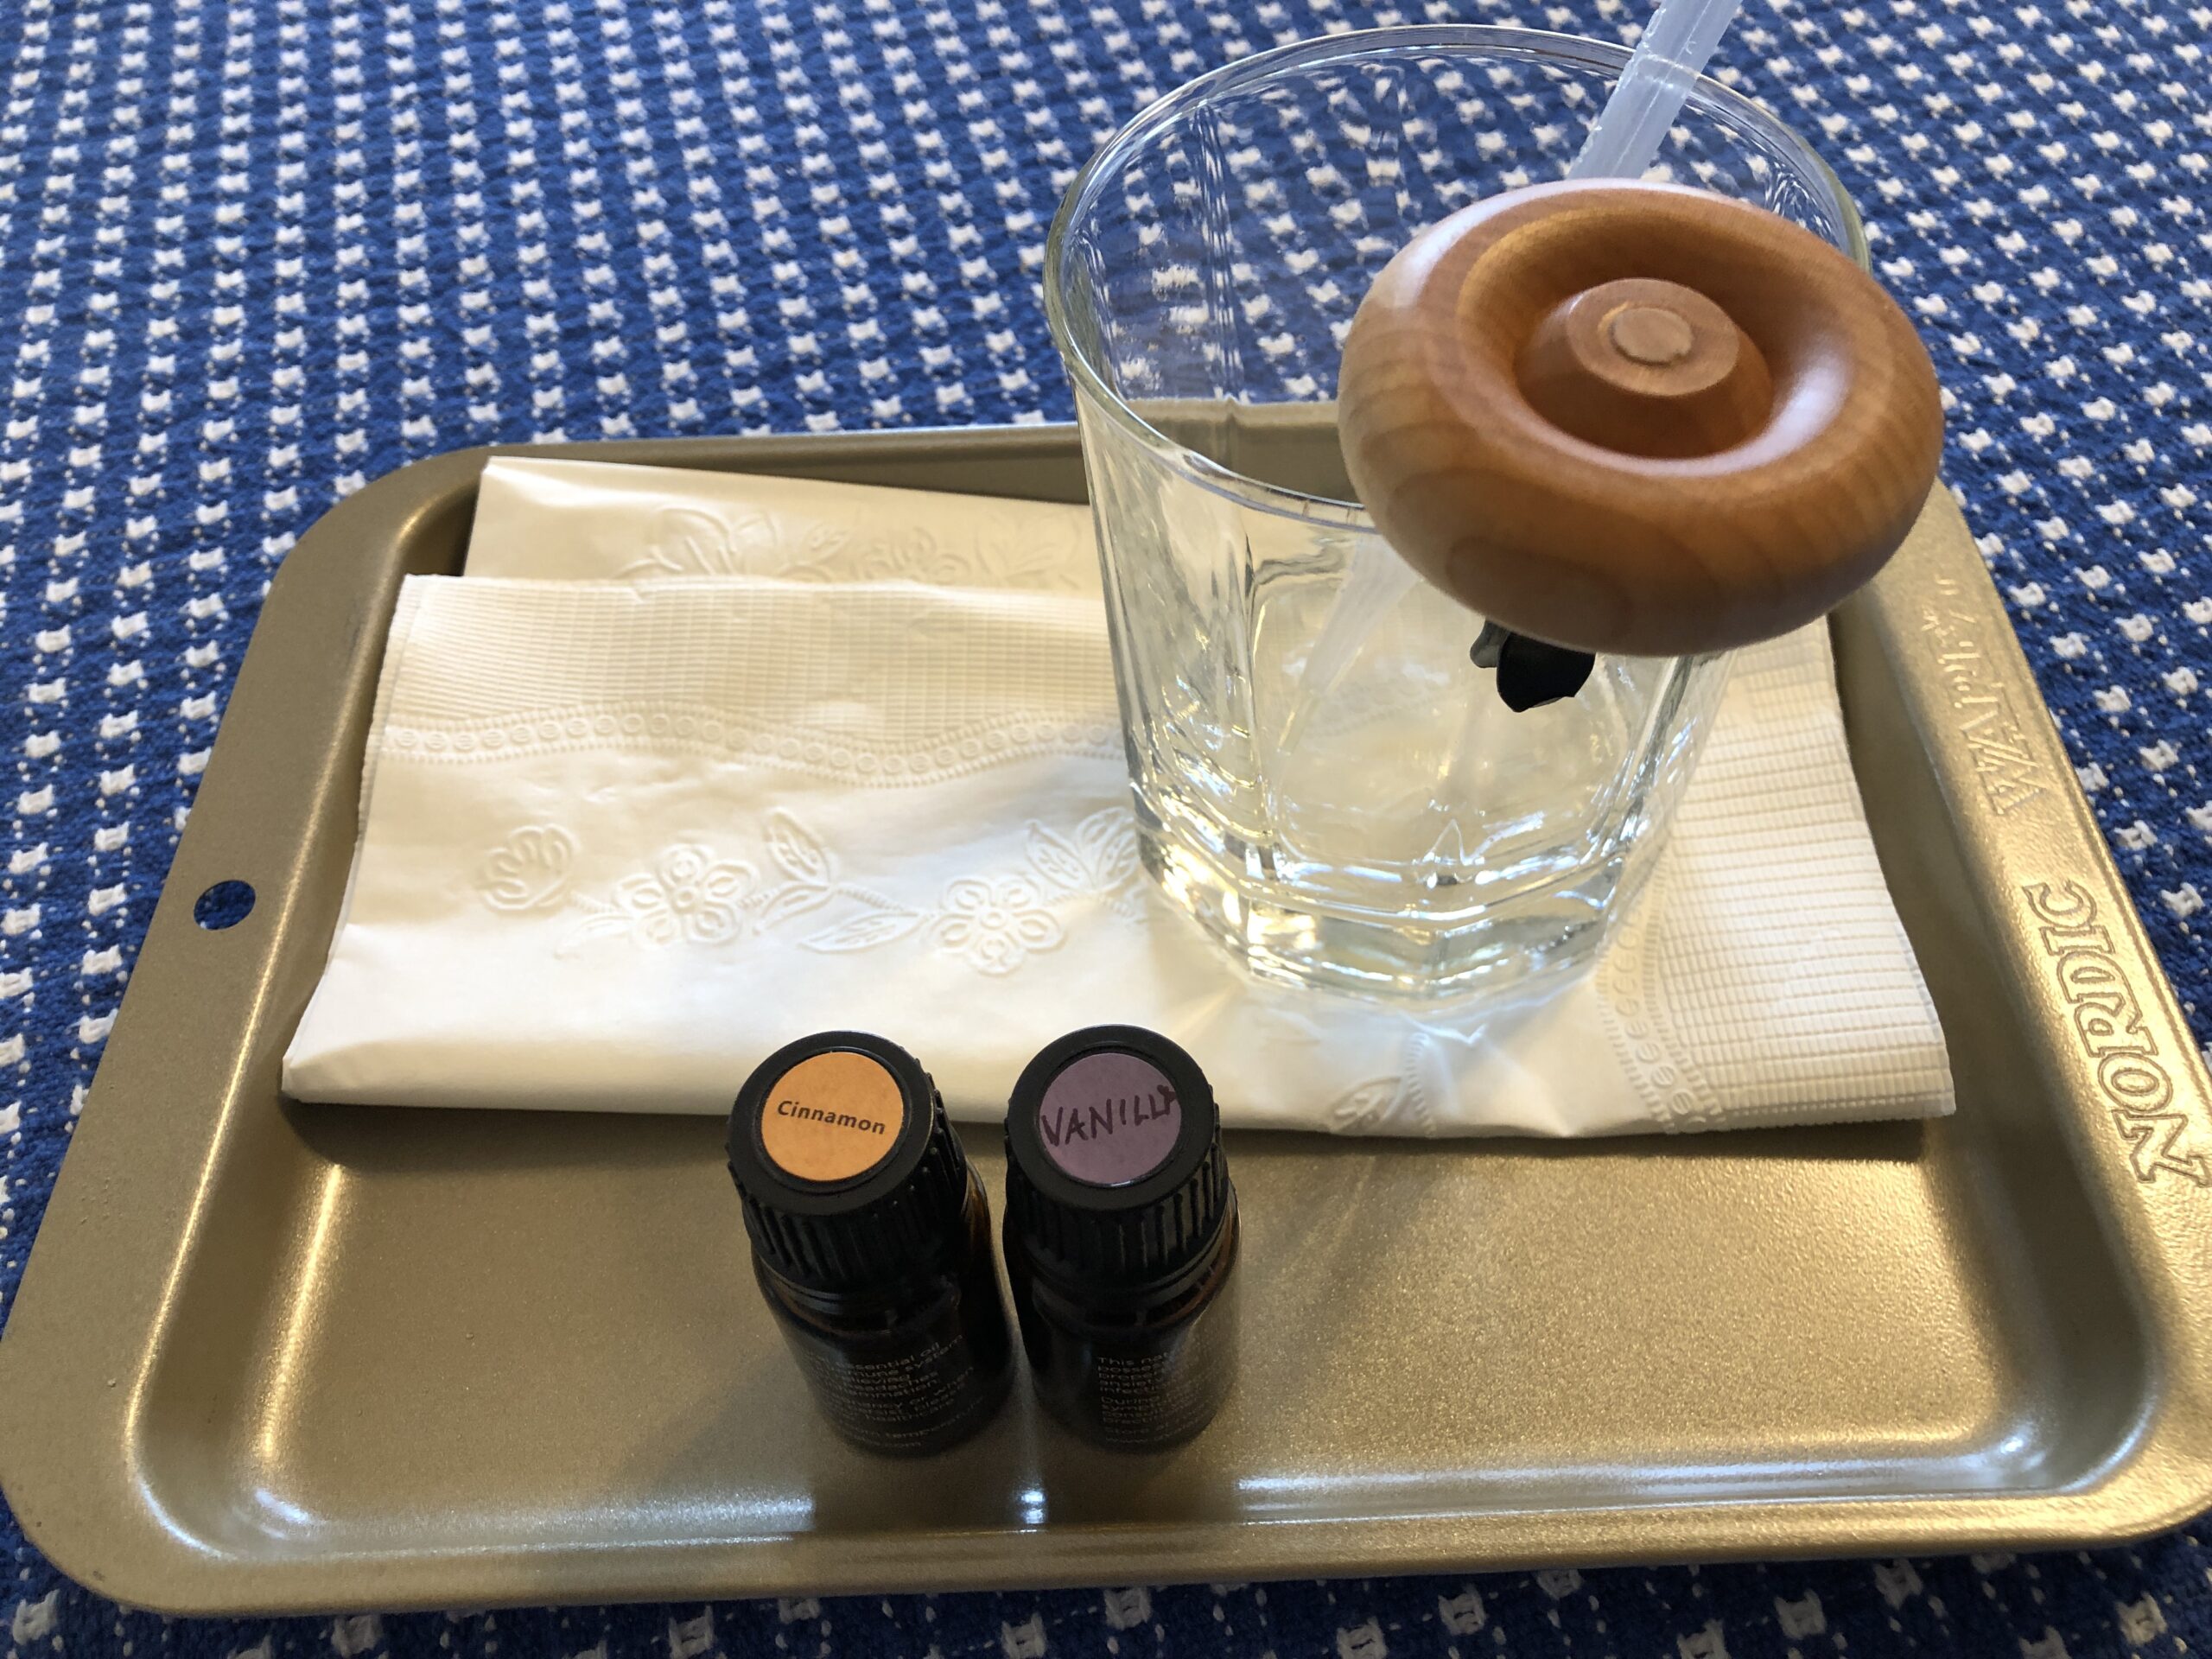
This week, after one more time with skunk smell in the car, I pulled out the wood piece and chose the oil I wanted to use…vanilla and cinnamon sounded good!
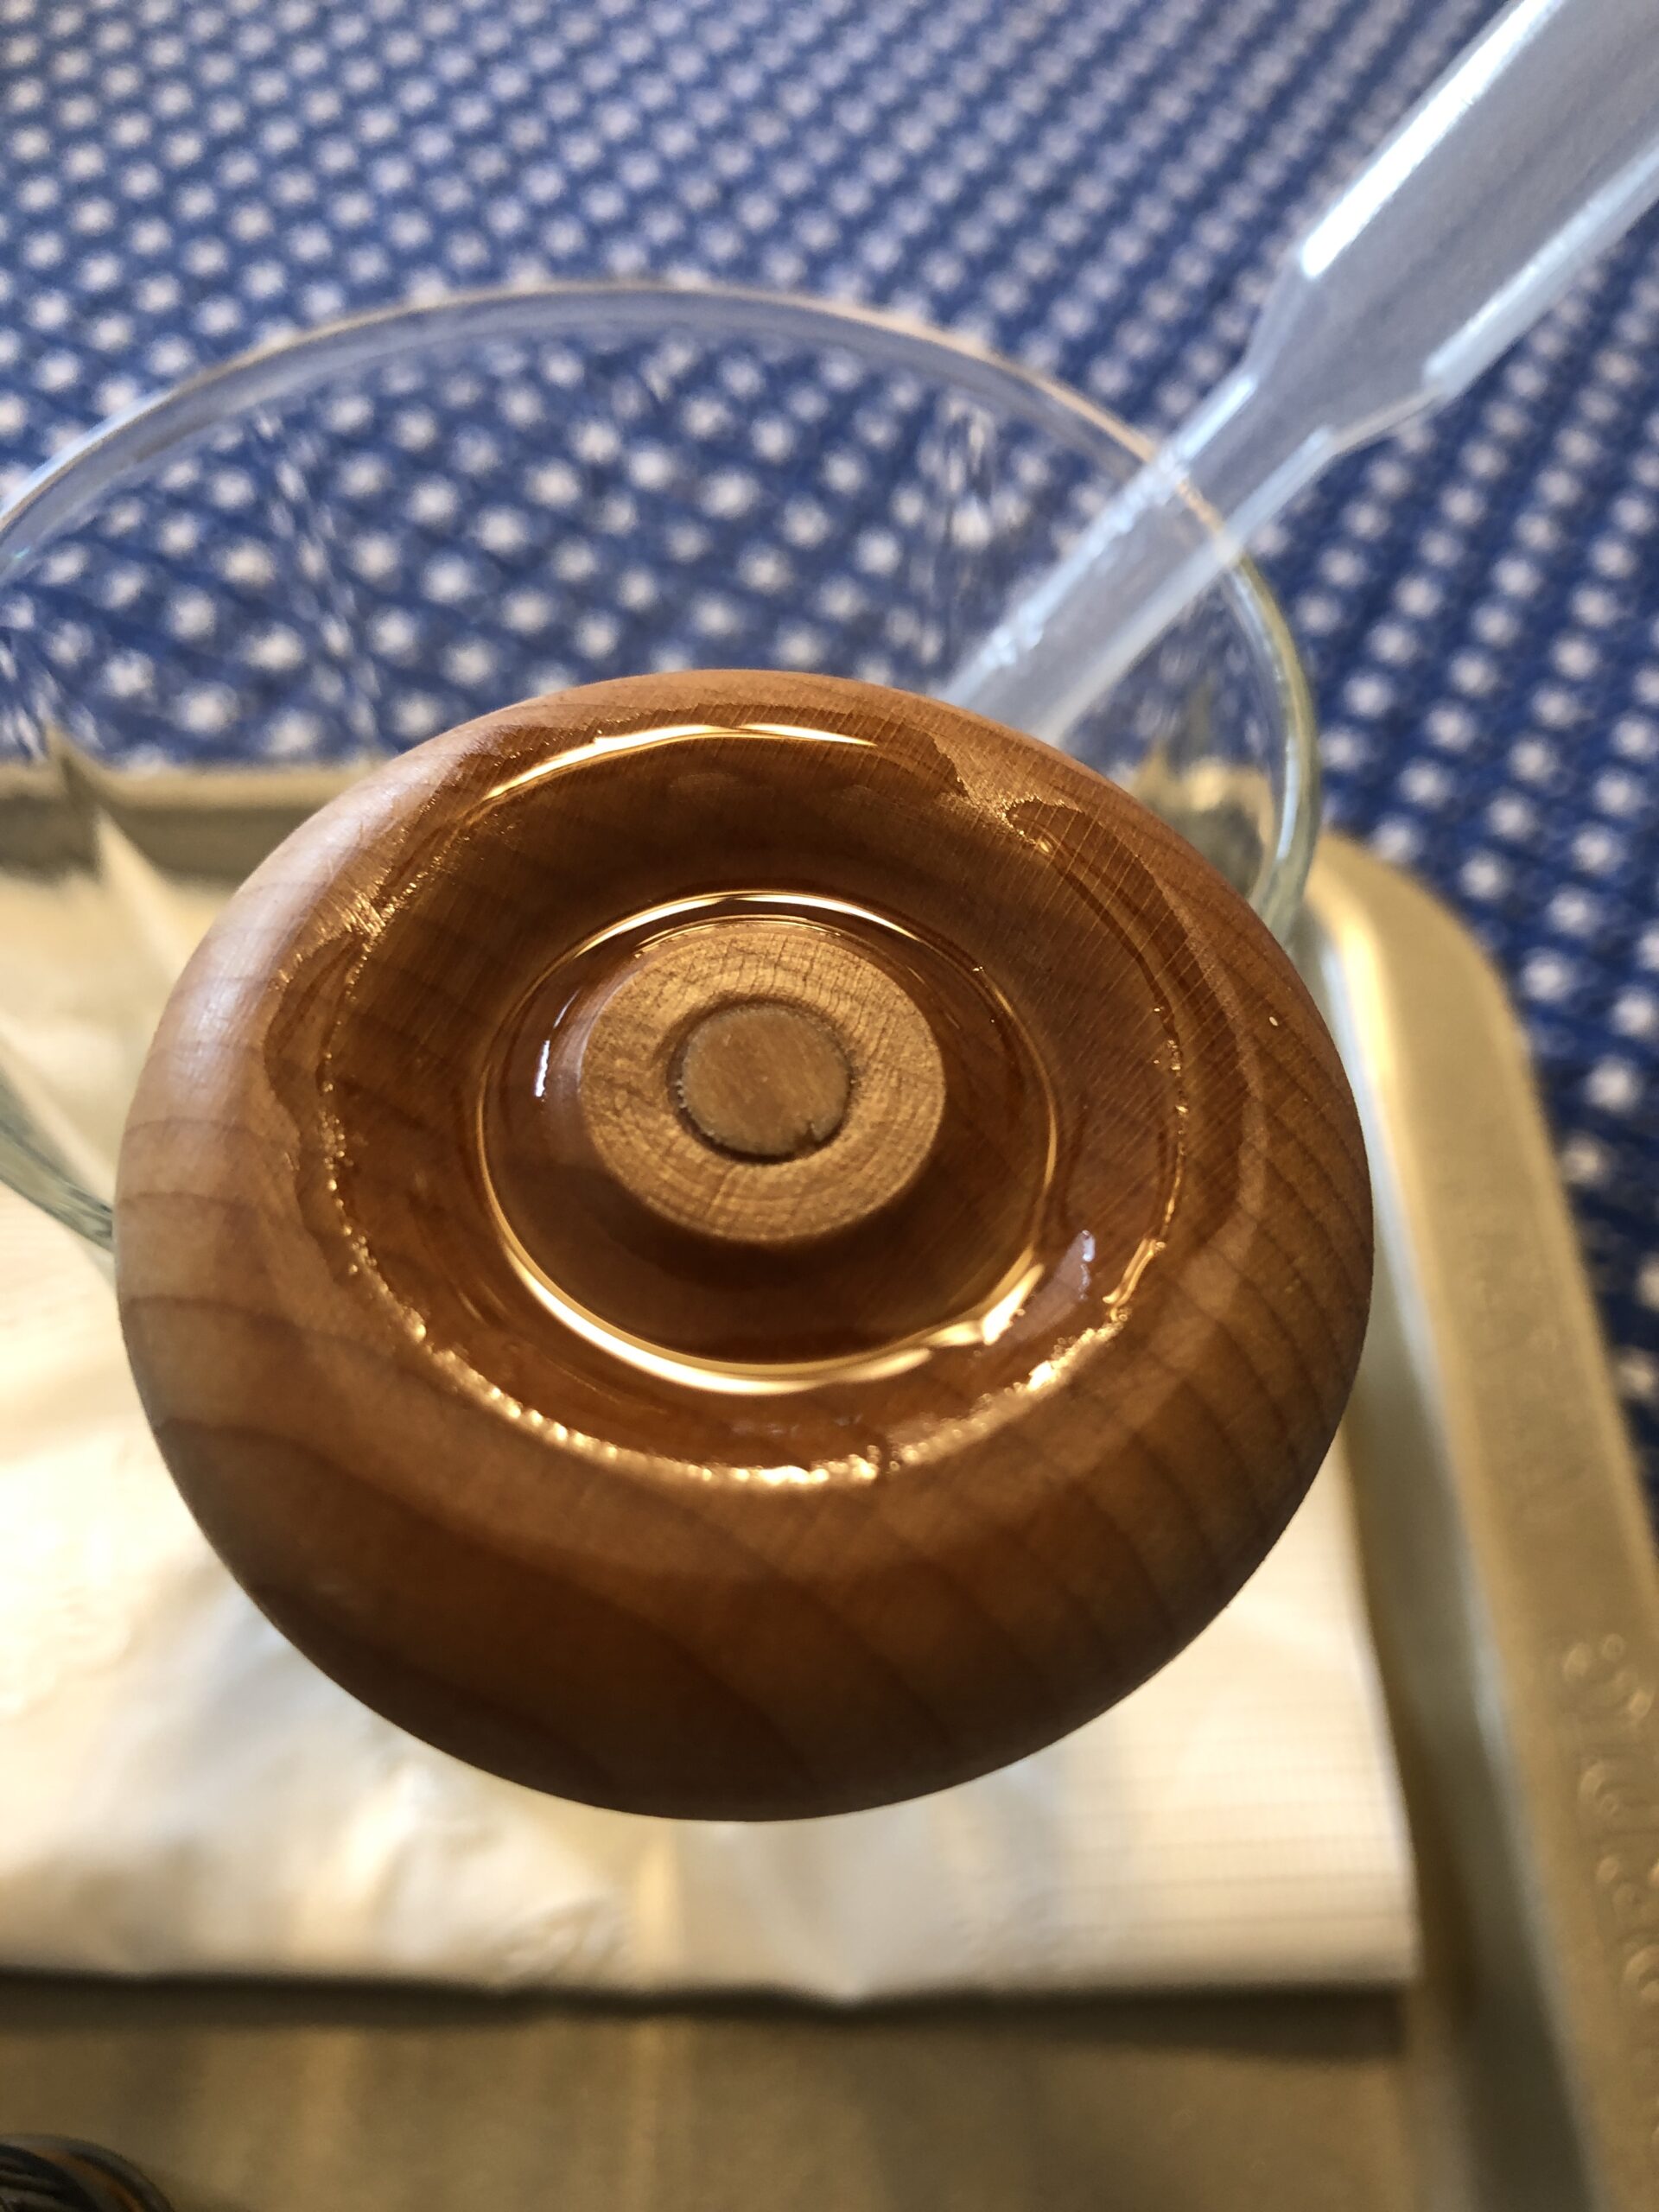
I clipped the wood with clip to the side of a glass and proceeded to soak the wood with essential oil. The bottles were almost empty and seemed a great way to use up the oil.
Over a day, I added oil several time to really soak the piece of wood. It made the whole room smell good!
The last step was to plug it into the vent. When the warm air flowed by and through the wood, the whole car smelled good. Luckily, it wasn’t too strong either. Now we can drive by the dead skunks on the side of the road and not choke!
Since, of course, I like sharing stuff with others, I ordered more clips and Bert ordered more wood circles. With his advice, we tried to choose a different clip that would be easier to attach the wood piece. We’ll see how that works! Enjoy!
Are you looking for a simple project that could be helpful to caregivers working with hospice patients? Making comfort shirts might also be a project suitable for a scout troop or by a teen who needs community service hours. A comfort shirt is a t-shirt that is split up the back, ties or Velcro added and the neckline decorated with buttons or beads. It provides a way for a caregiver to dress a bed-bound patient easily without having to work head and arms through holes. It also provides a little color for those visiting the patient.
Over ten years ago I was working with a local hospice service making memory bears for the families of their patients. A request was submitted by the nursing staff to try to make colorful shirts that would be easier for them to put on the patients. Regular hospital gowns were drab, too long and not comfortable over the long haul. Most patients were bed-bound and were covered below the waist when they had visitors. Thus, adapting a colorful t-shirt sounded possible.
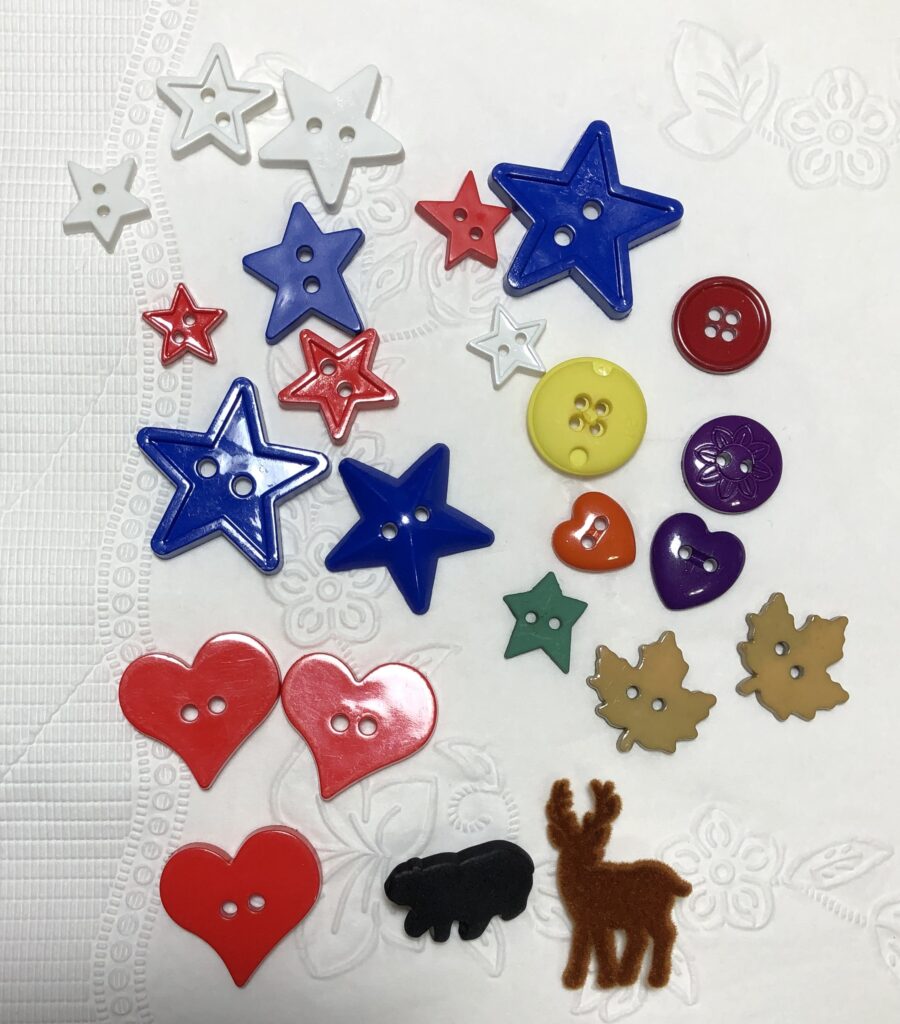
To make a comfort shirt, you’ll need a t-shirt, ribbon (1/4″ to 3/8″ wide, 2 yards) OR Velcro hook and loop fasteners; assorted buttons or beads to decorate the neckline; a sewing machine to hem the back edges and needle and thread to hand sew the decorations to the front of the t-shirt.
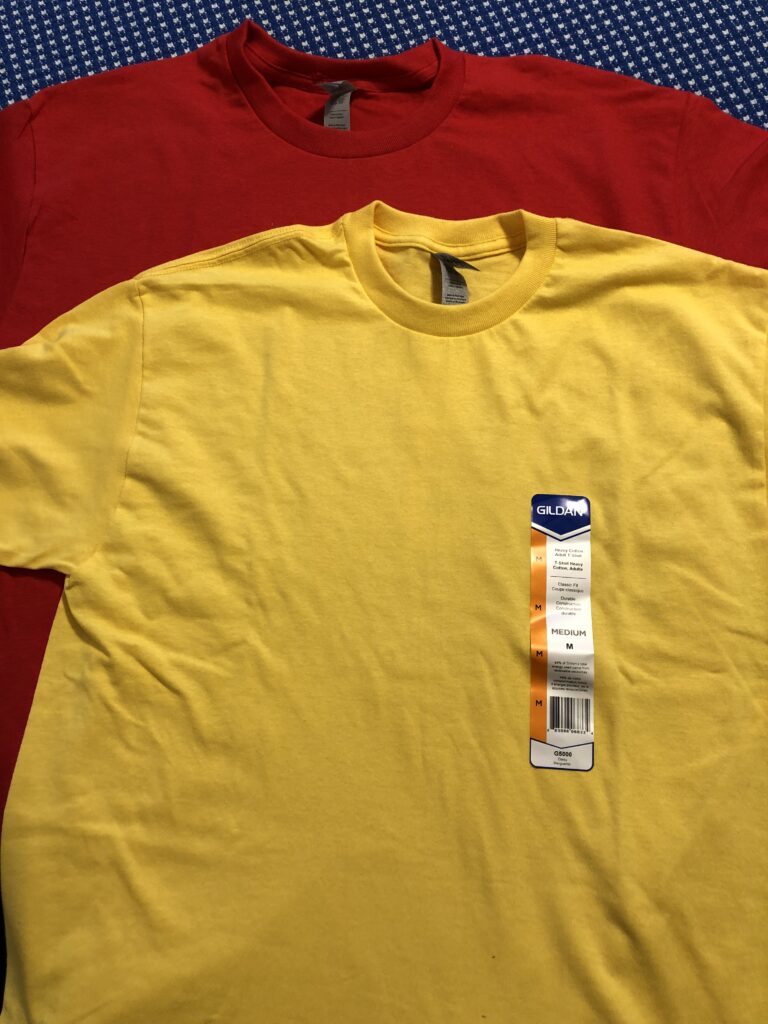
I started by finding inexpensive t-shirts at JoAnn’s Fabric store…they were stocked in all sizes to be used in art projects. I chose mostly the Adult Medium size. All shirts were washed in hot water and dried in the dryer…which is how they will be washed in the future.
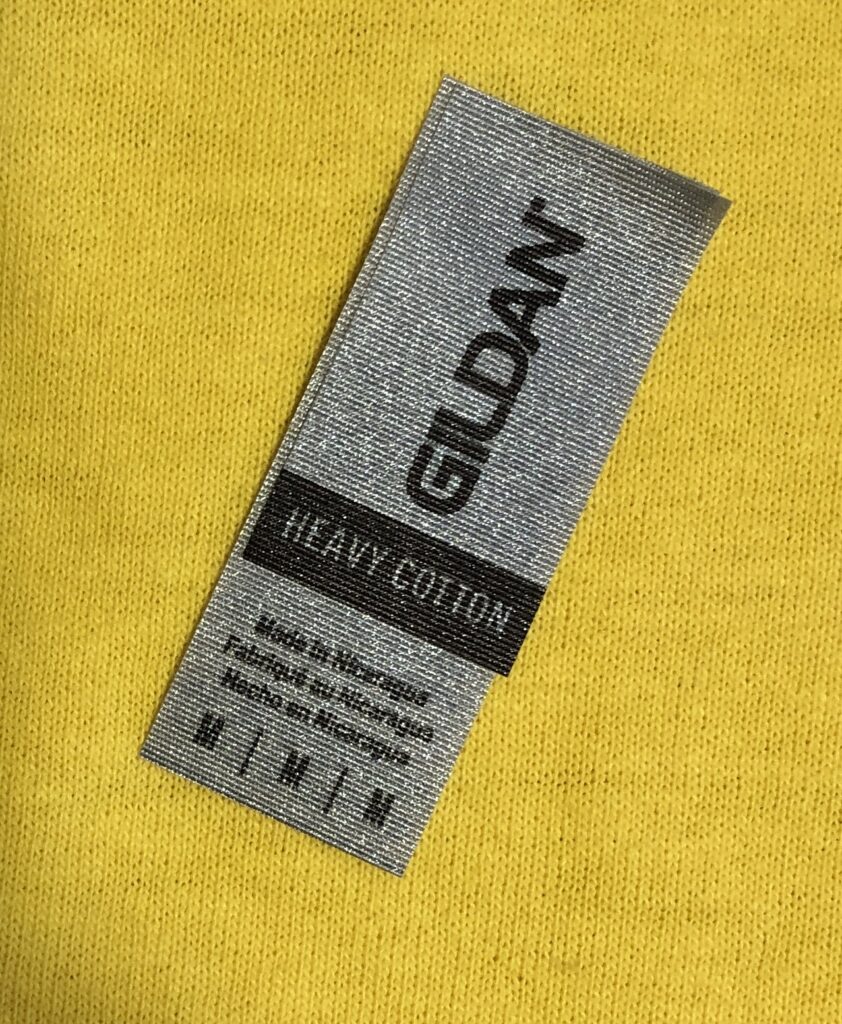
Step 1: I removed the tag at the neckline and saved it. Later, I’ll sew it down low in the back so caregivers know what size it is.
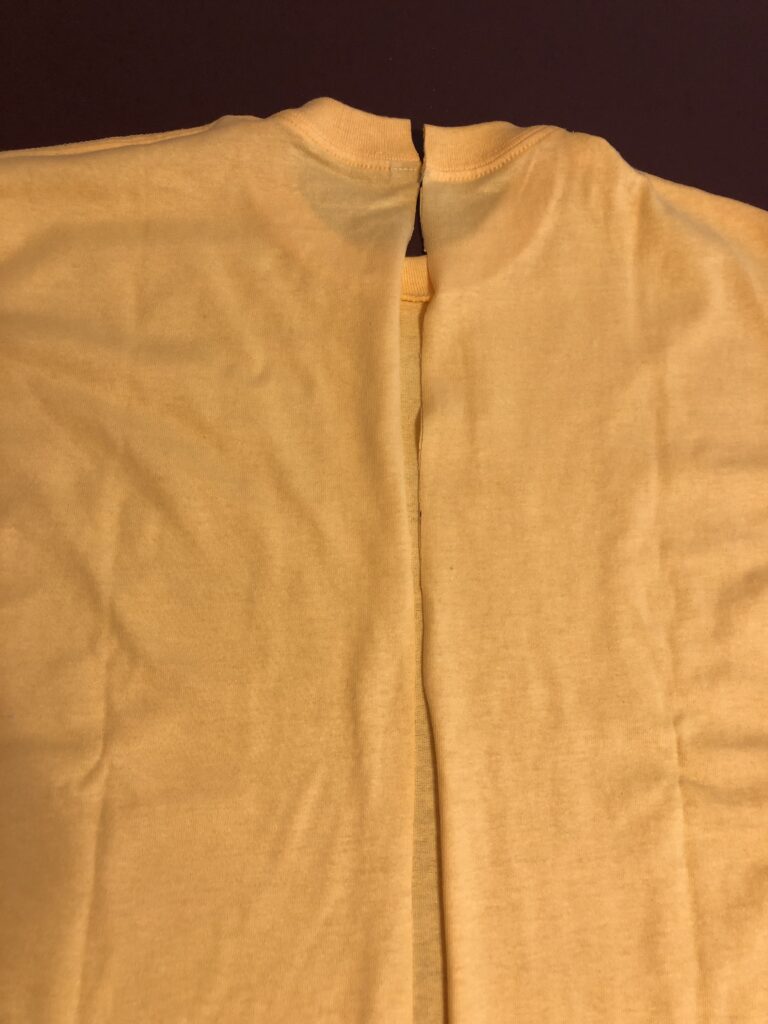
Step 2: I turned the t-shirt over and drew a line from the center back neckline to the hem. I cut the shirt up the back.
Step 3: I folded each cut side over about 1/2 inch and stitch it down. You can fold it again and stitch it a second time to make it sturdier.
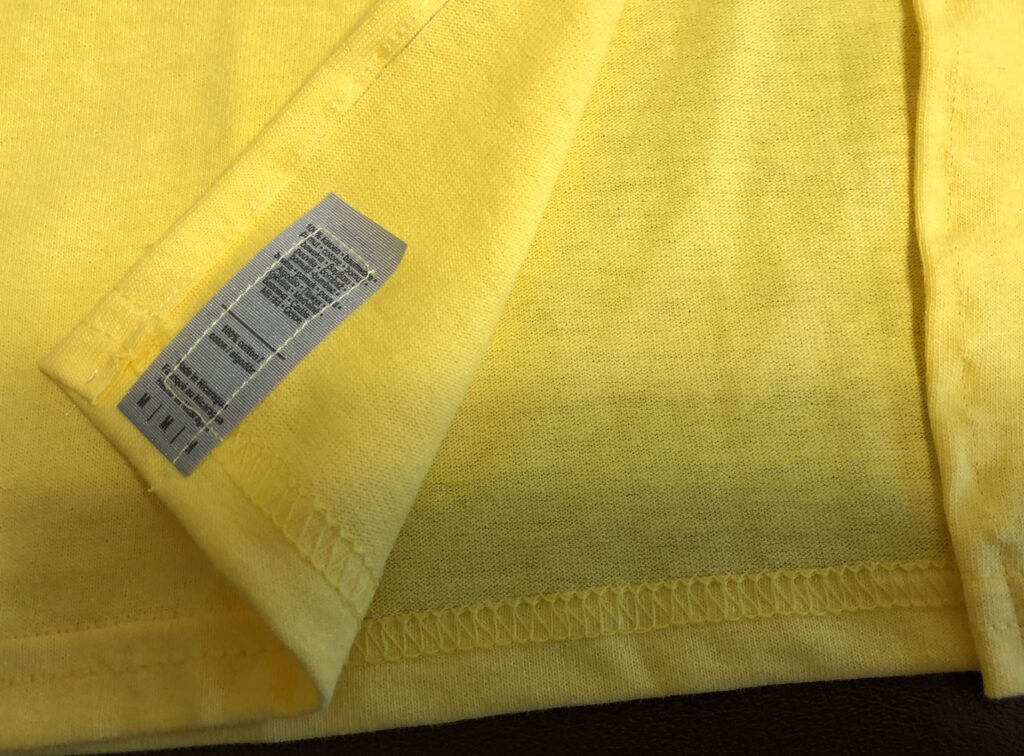
Step 4: Sew the tag to the inside bottom of the t-shirt in the back.
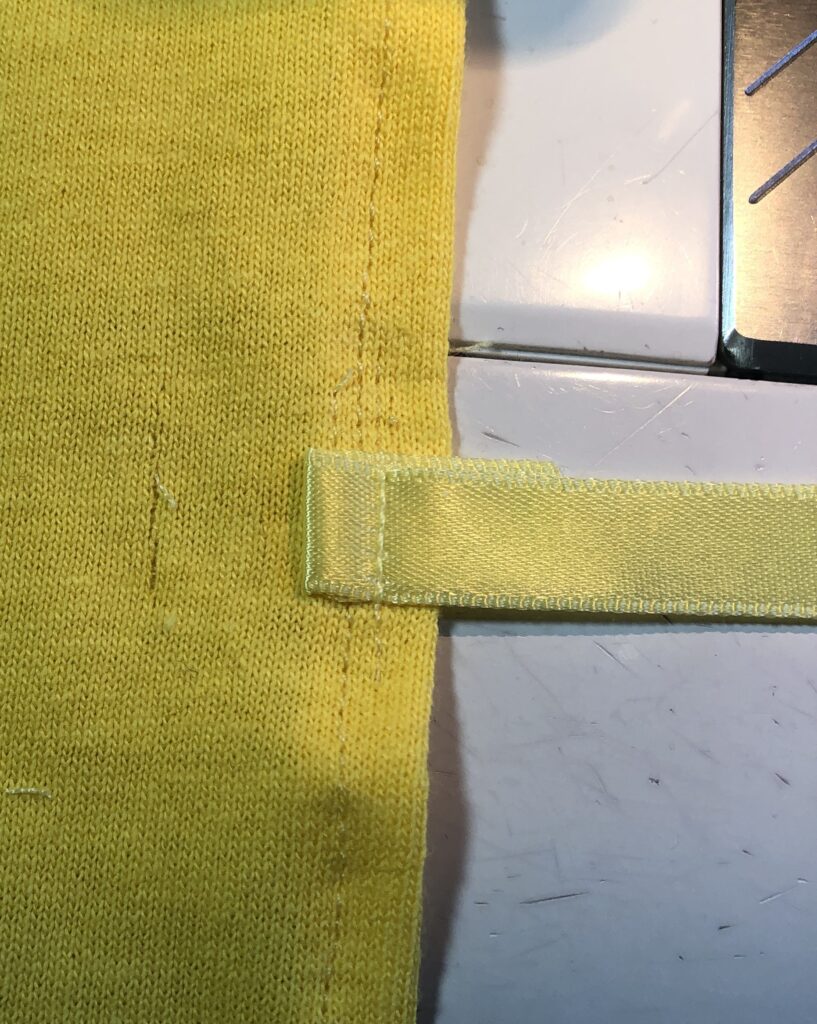
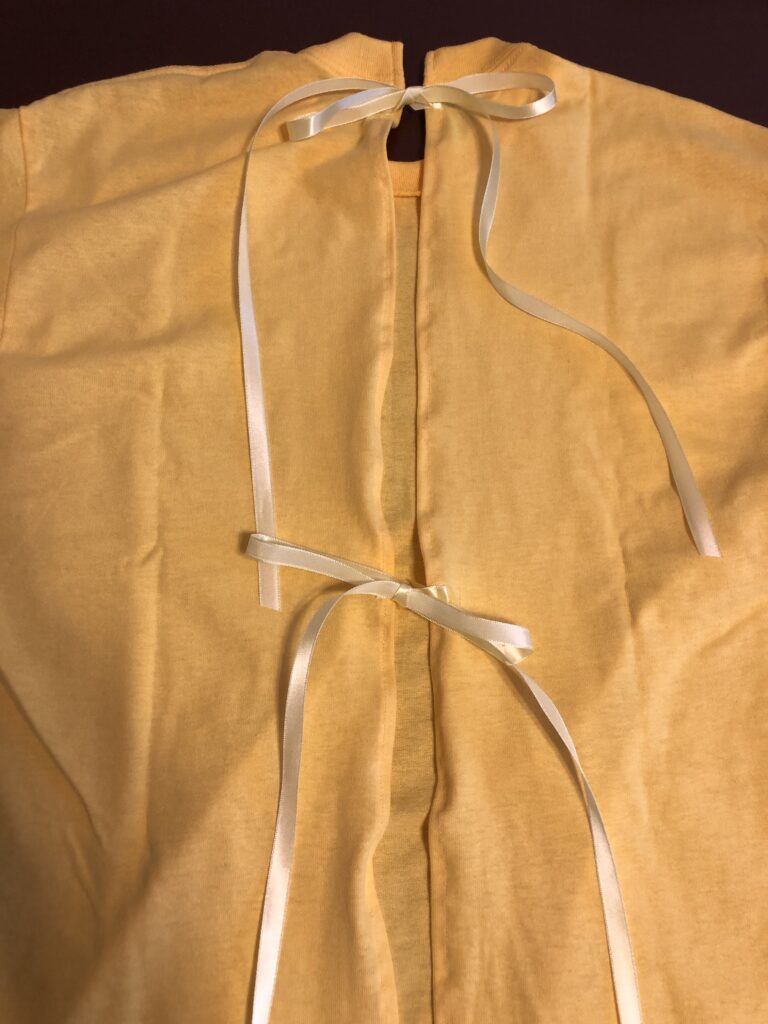
Step 5: Use 1/4″ to 3/8″ wide ribbon OR Velcro for the fasteners. I marked the location of the ties with one near the neckline, another about mid-back. I stitched each ribbon twice…first facing away from the opening and then folded it back and stitched it again in the right direction. This hid the raw edge of the ribbon.
Here are the final ribbon ties.
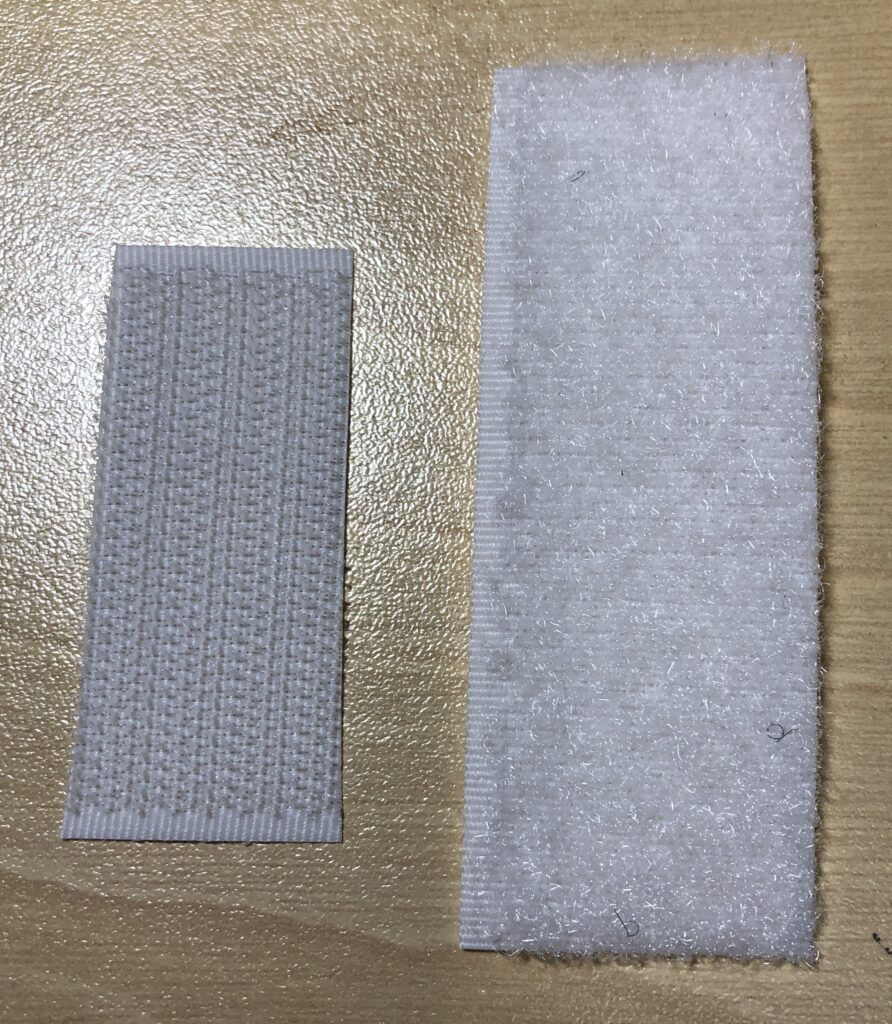
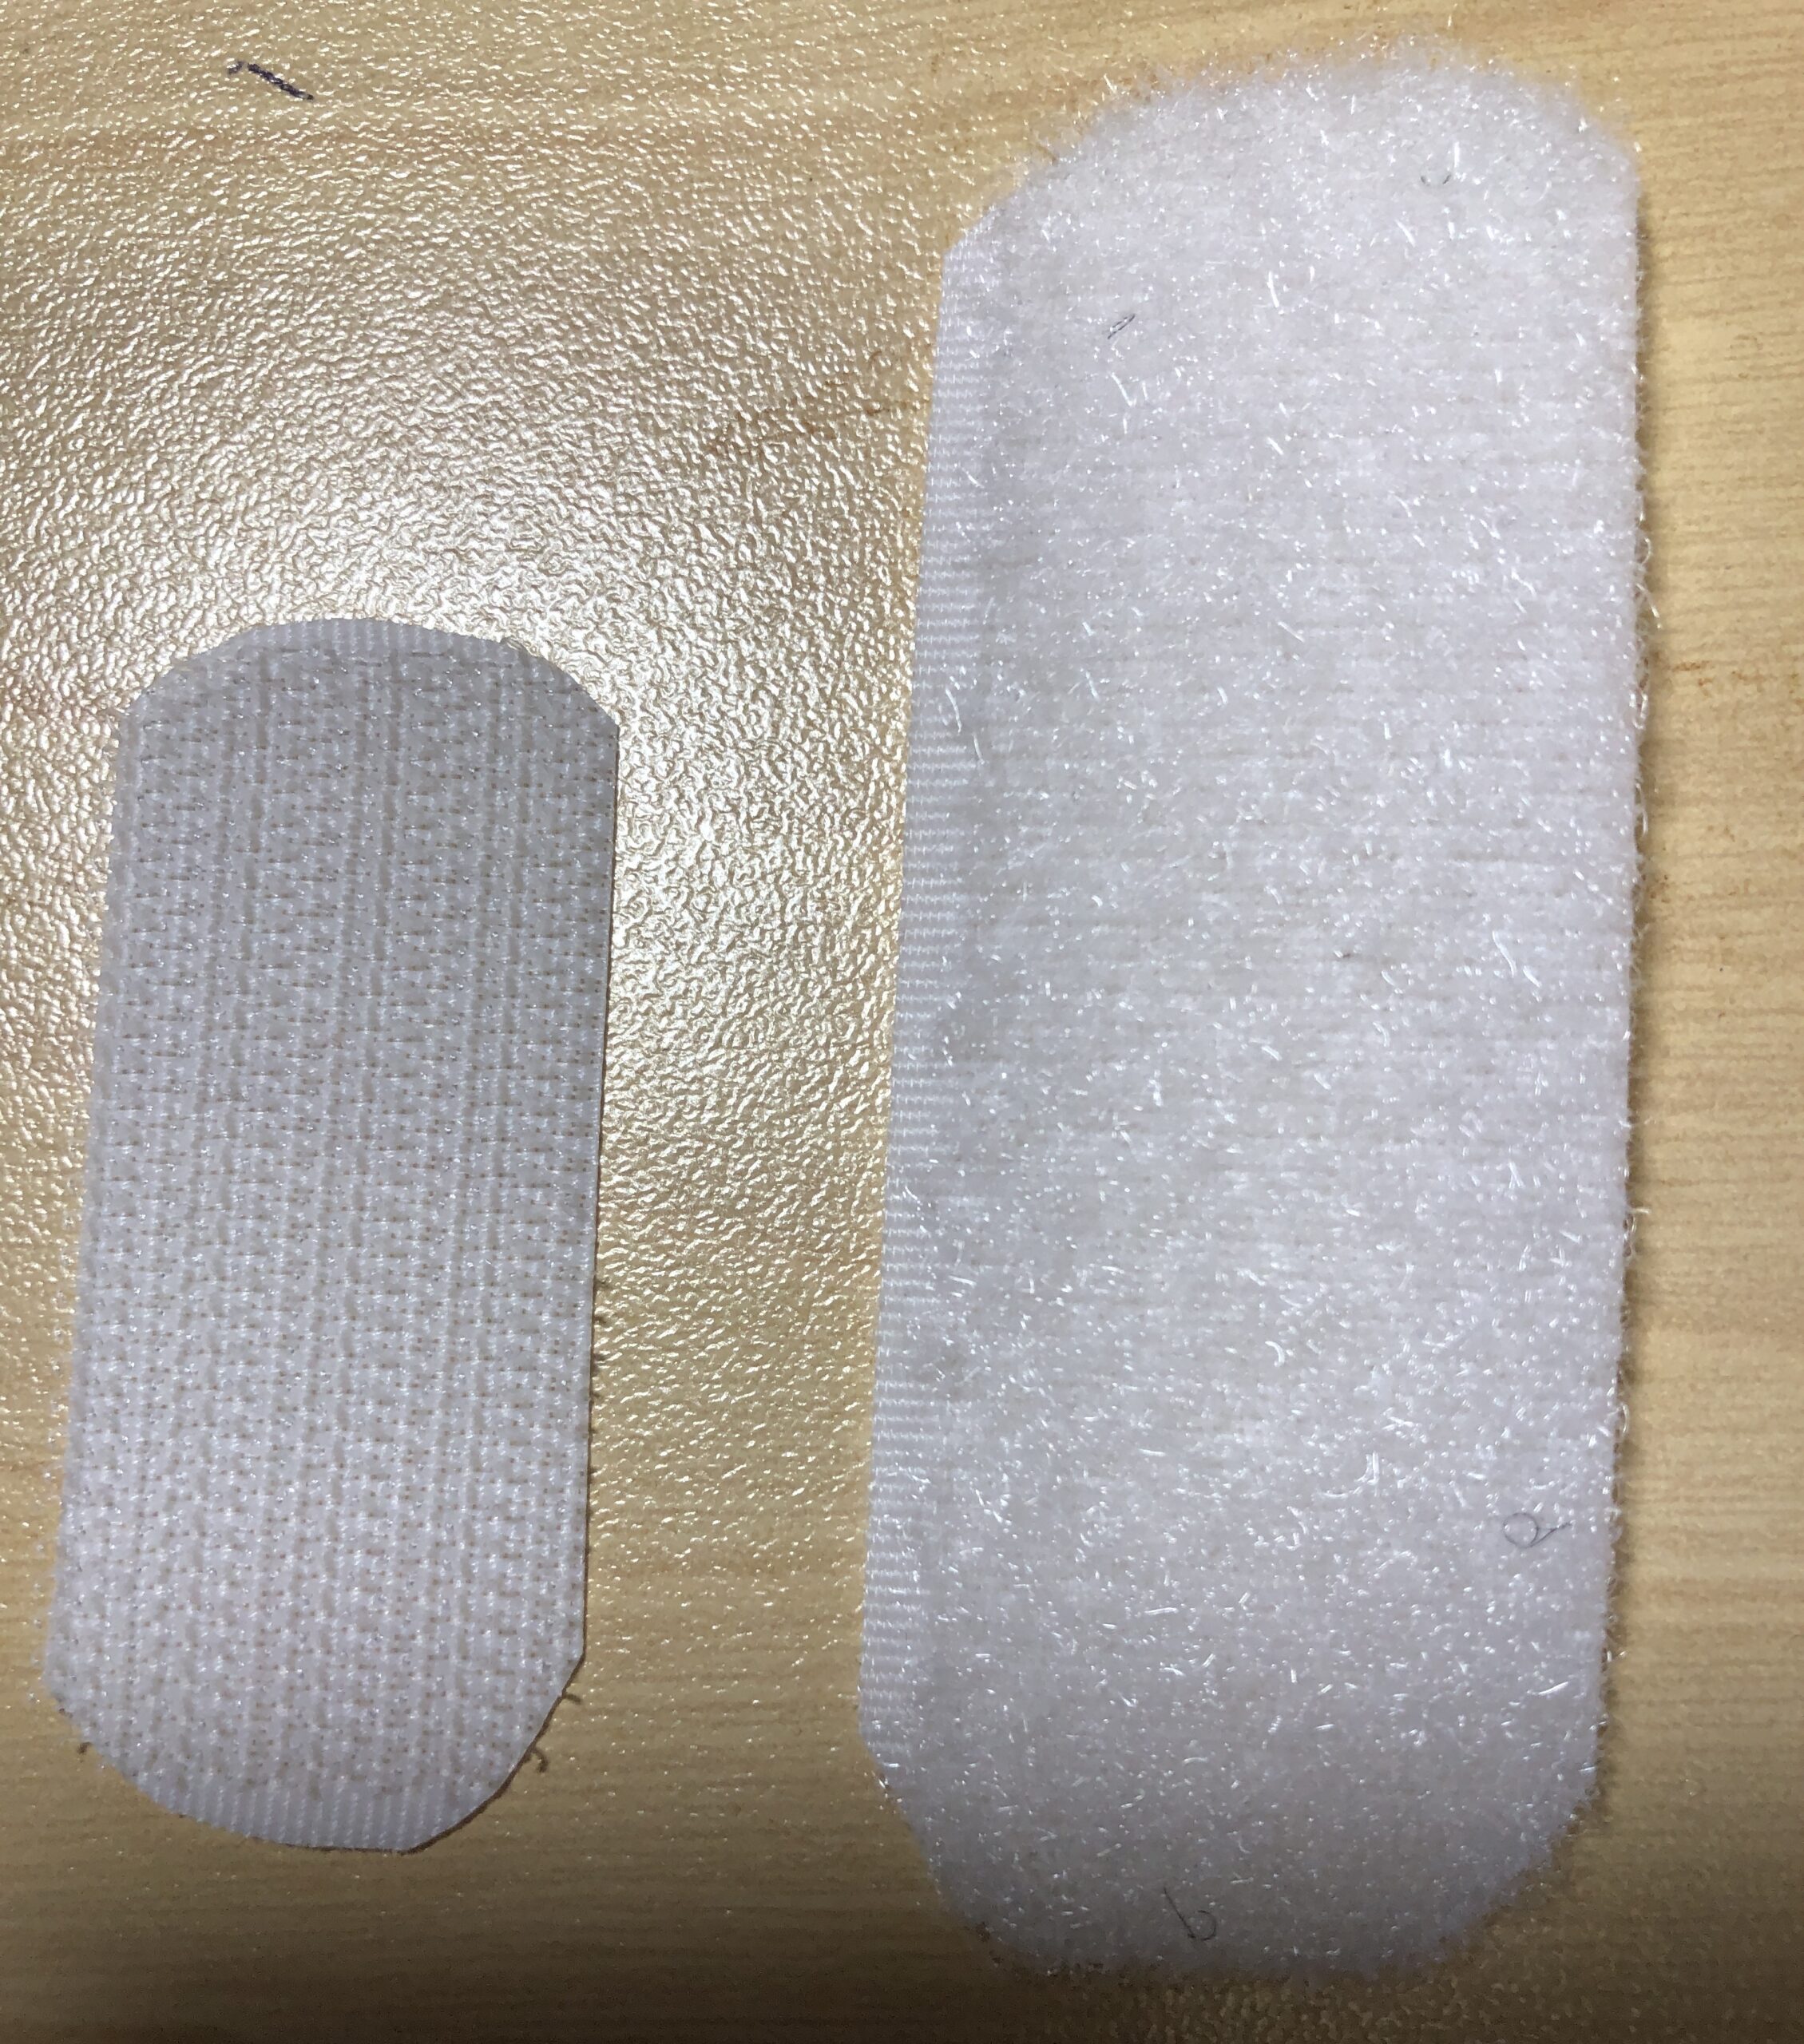
NOTE: If you decide to use Velcro, which my caregivers preferred, I made sure all the corners of the Velcro were trimmed and rounded so the corners didn’t stab the patient in the back. I’ve also learned the Hook part of the Velcro can be smaller than the Loop part…it doesn’t have to be exactly situated to “stick” to a larger loop piece. The Hook part can be about 1″ x 2″ and the Loop part can be about 1″ x 3″.
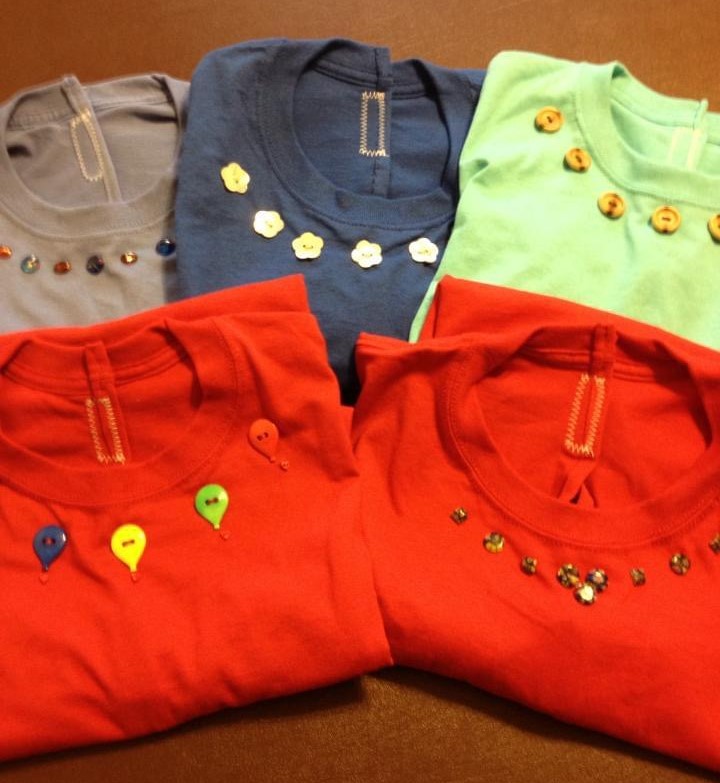
Step 6: Choose buttons or beads to decorate the neckline. Mark the locations about 1″ below the ribbed neckline and hand sew them to the shirt.
Here are a few of the comfort shirts I’ve made:
Check around in your local community and see if comfort shirts would be useful to caregivers. Great project for folks of all ages! Enjoy!
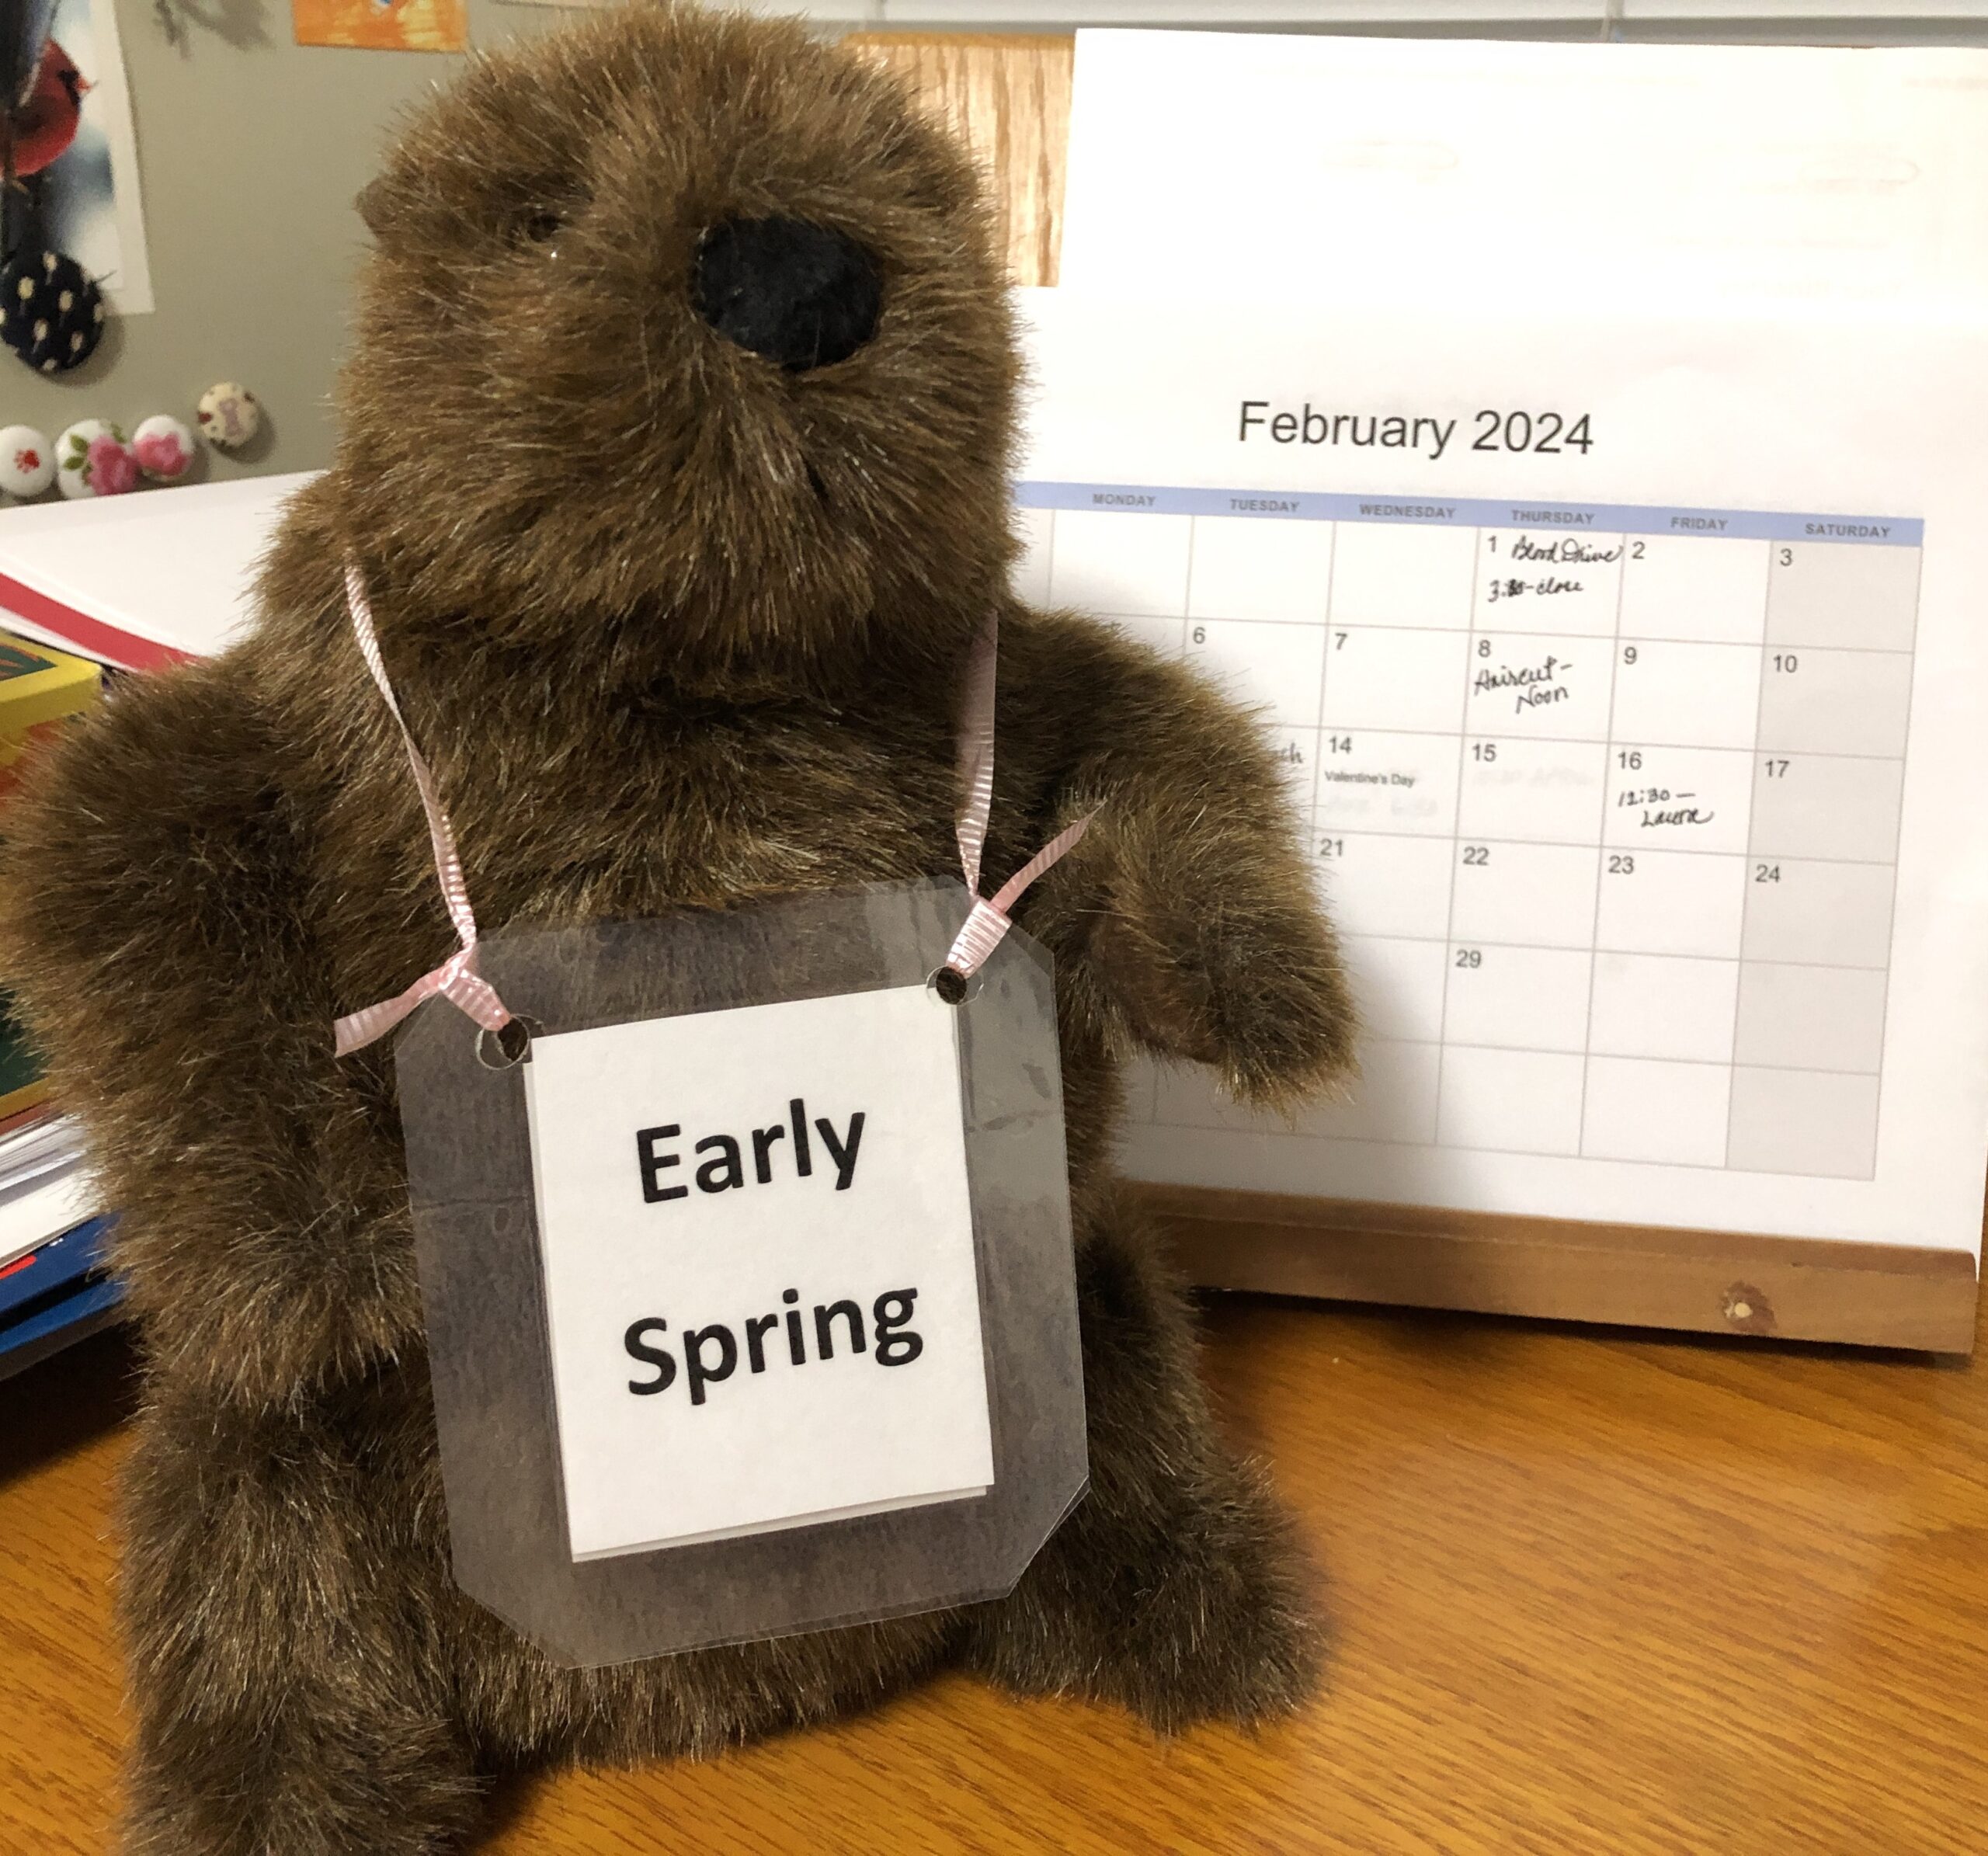
Just a quick note that our resident groundhog has agreed with our cousin Punxsutawney Phil that we’ll have an early spring!
Groundhog Day seems to have a bizarre history, evolving over centuries as it was observed by different groups, from the Celts to Germans to the Pennsylvania Dutch to those folks in the rest of the U.S. While early celebrations claim it all started in 1887 in Punxsutawney, a local historian Dan Yoder, found evidence of townspeople trusting a groundhog for weather advice as early as 1840.
According to Yoder, in 1887 local folks had a “Groundhog Picnic,” where groundhogs were cooked up as a “special local dish,” served at the Punxsutawney Elk Lodge. I guess once “Phil” became famous, with visits to the White House, the “Today” show and Oprah, folks decided it wasn’t appropriate to serve him up at picnics!
If you’d like to know more about Groundhog Day, just type “History of Groundhog Day” into your search engine and learn more than you ever wanted to know! Just typing this brief summary, I may eventually learn how to spell Punxsutawney! Happy Groundhog Day! Enjoy!
Before I move on to other projects, I wanted to share one last project with beads. I seem to have figured out how to work with various stones and gem stones. I think I’ve figured out how to tie a knot in the elastic string and hide it in a larger bead. I also have accumulated enough supplies I can make bracelets until next Christmas!
Citrine and Malachite
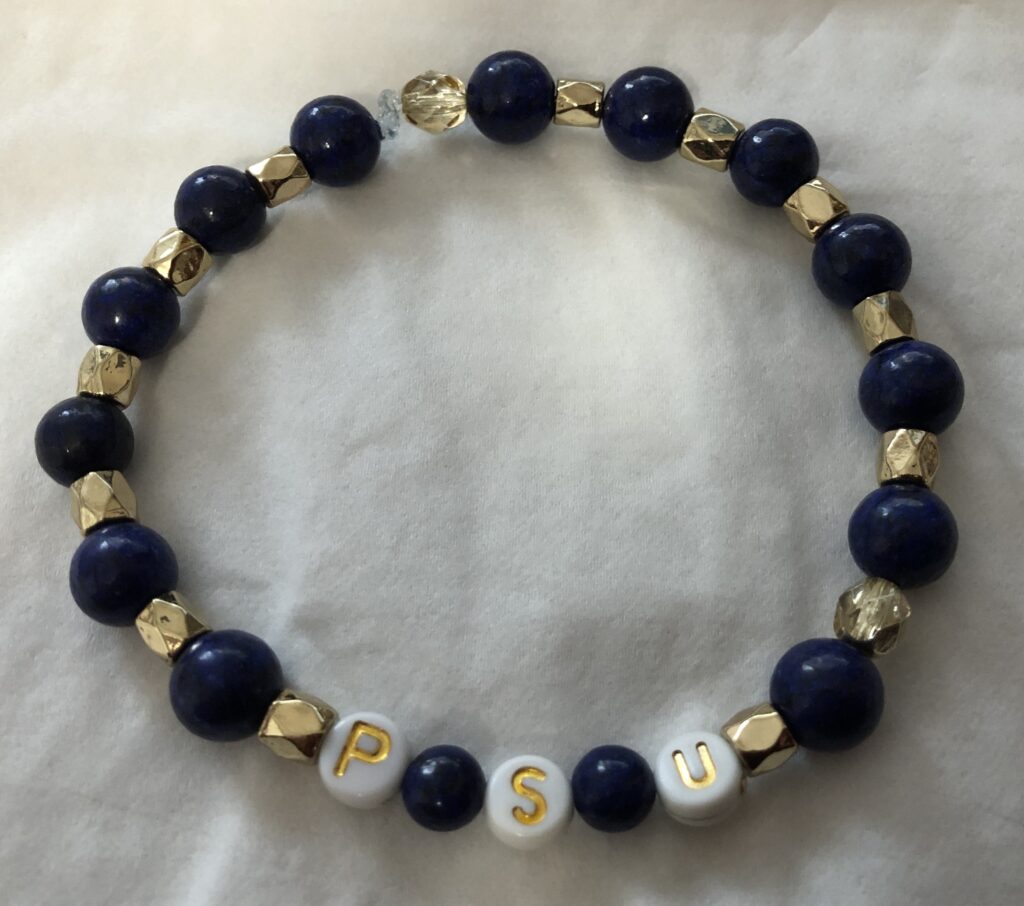
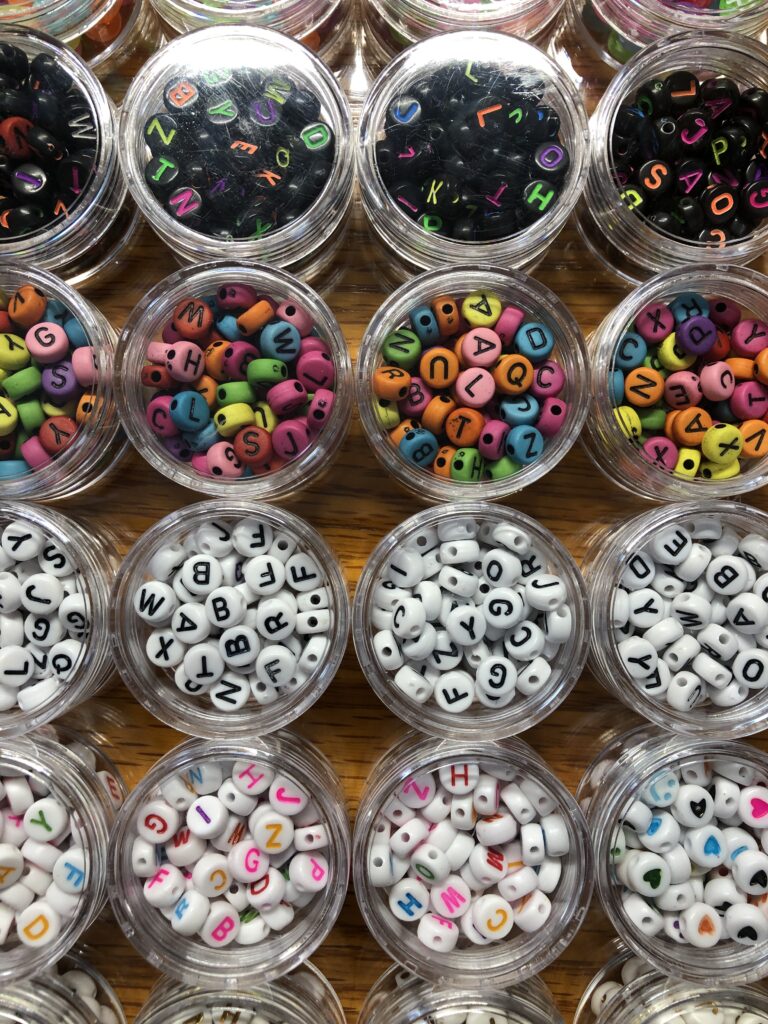
However, I still wanted to try to make some bracelets with words on them, which sent me back to my pile of beads with letters.
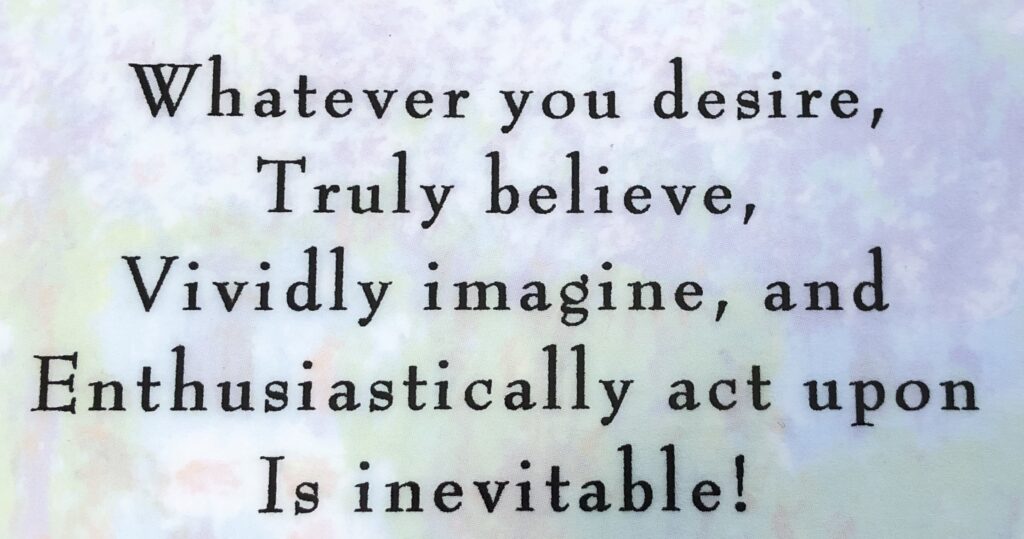
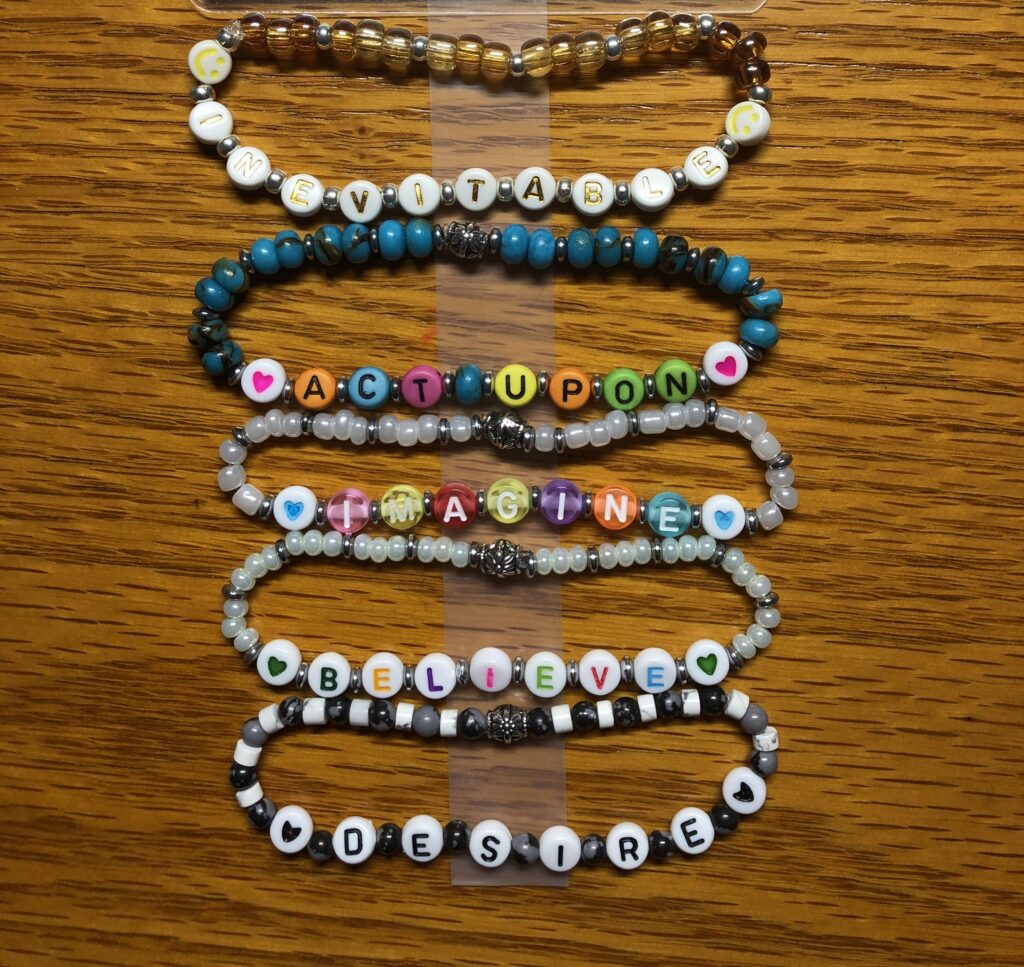
I started with my favorite poem/saying. I think it came from my sister in the 1970s. She heard it at a conference in California back then. I will not take credit for it, but I have used it for 50 years to motivate me to make changes in my life over the years.
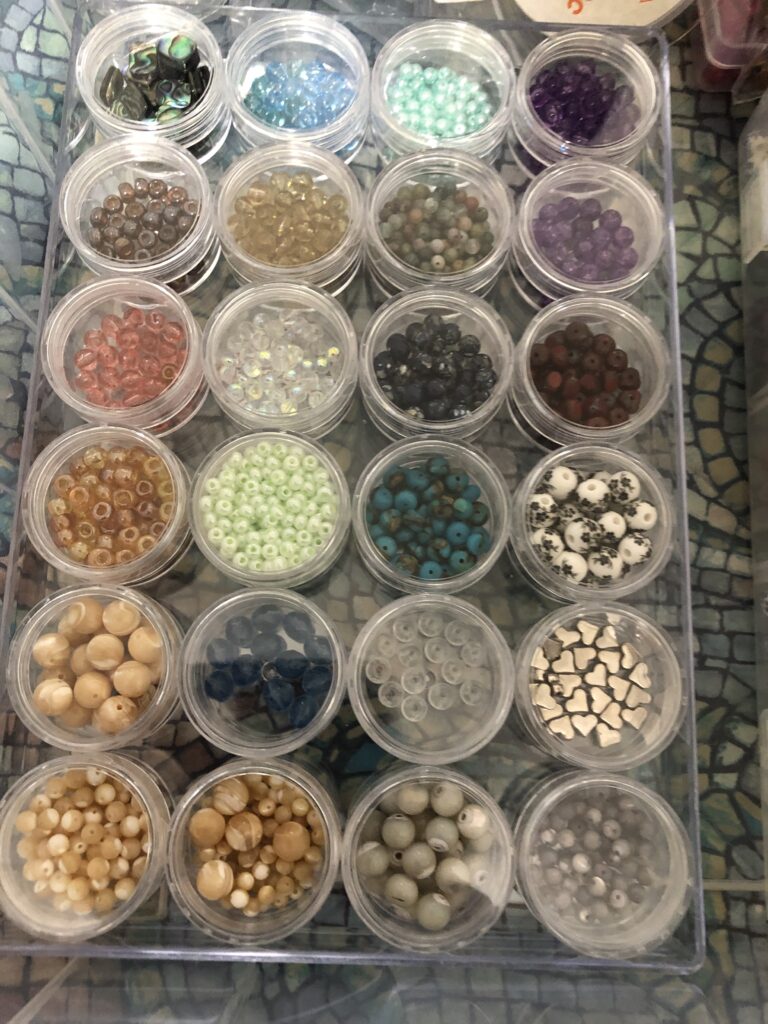
I pulled out the five key words: DESIRE, BELIEVE, IMAGINE, ACT UPON, and INEVITABLE. My tray of beads with letters on them came as a set, so I chose a different color for each word. I tried to coordinate the extra beads with the colors/style of the letters. Here are the trays of letters and extra beads I worked with:
Here was my final result:
I had to stick them to a piece of tape so they would stay put until I got the picture!
I wasn’t sure who else might appreciate my poem and bracelets, but I reached out to a niece in California who might enjoy them (actually, my sister’s granddaughter!) I’m so glad I brought my favorite poem to life in this set of bracelets!
Do you have a favorite poem, saying or word that could be represented as a bracelet? It might be the perfect way to share something with someone else…or to wear yourself!
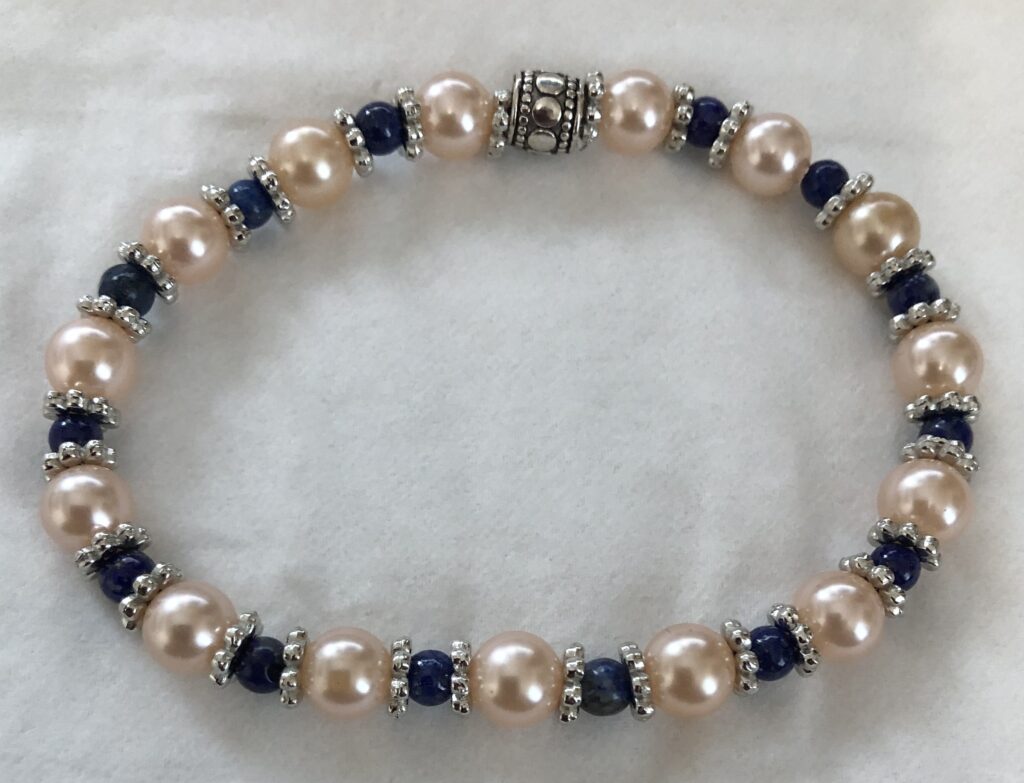
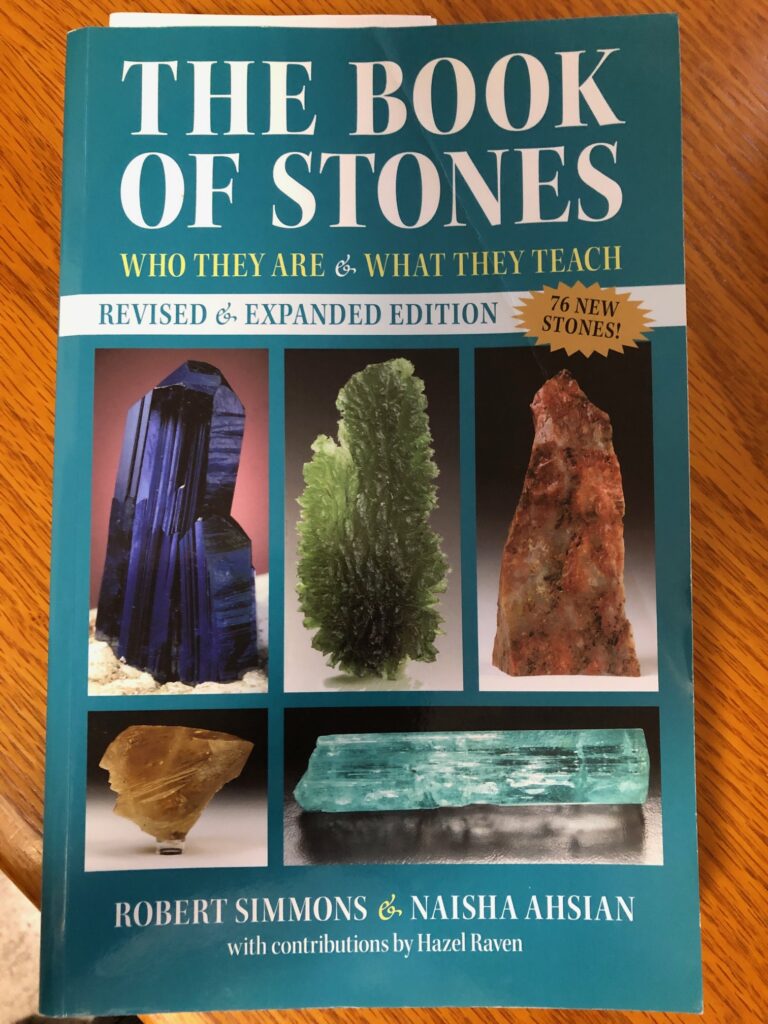
O my goodness! Who would have thought a bunch of tiny beads could be so engaging! I’ve finished about 15 bracelets…which means at least 30 because each one needed at least one do-over. I’m learning so much about the beads/stones, like where they come from and how they’ve been used in history. Here’s the book I’m using for reference:
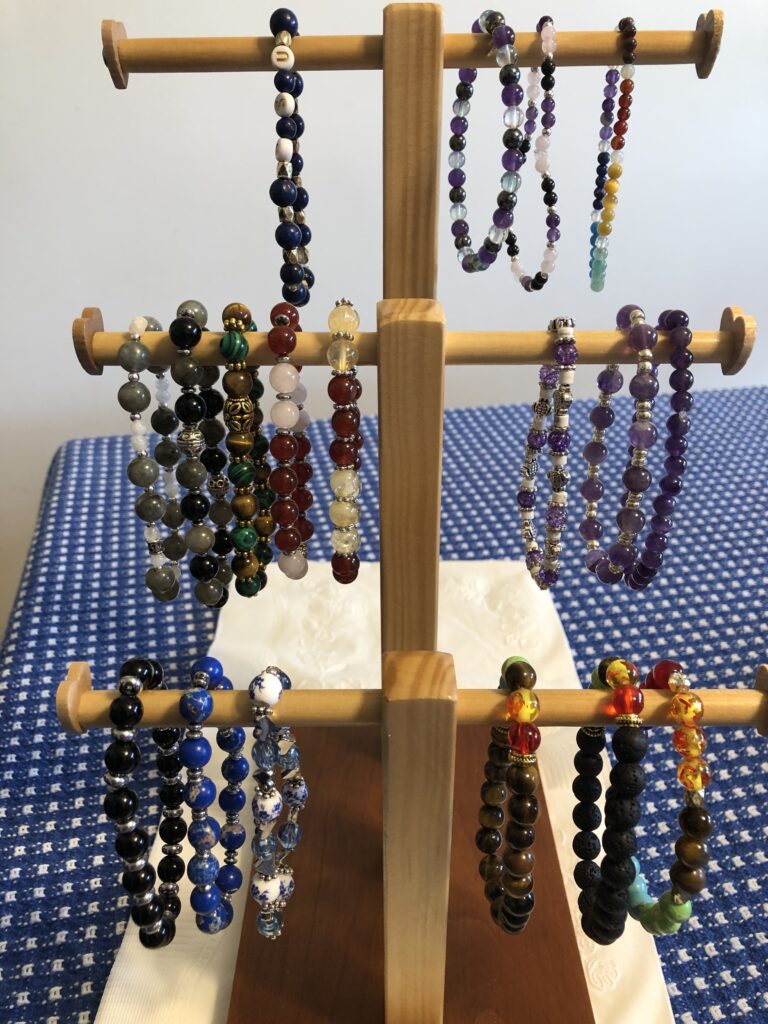
The challenge of tying a knot in this elastic plastic beading string is tough with my old arthritic fingers! I discovered a wealth of ideas for bracelets to make from Facebook…just click on ONE ad for beads and in two days almost every post that scrolls by is trying to sell me beads and bracelets! Lots of good ideas in their pictures. I thought I’d share a few pictures of some of the bracelets I’ve made so you know I haven’t fallen off the face of the earth…although I might be down a rabbit hole!
The little stand that Bert made for me is looking lovely so far:
After seeing all the beautiful bracelets online, I realized I don’t have the techniques down to take good pictures of mine. So, bear with me. I’ll need some advice from folks that sell stuff on eBay to show the colors properly. At any rate, I’m having fun and it keeps me out of trouble! Enjoy!
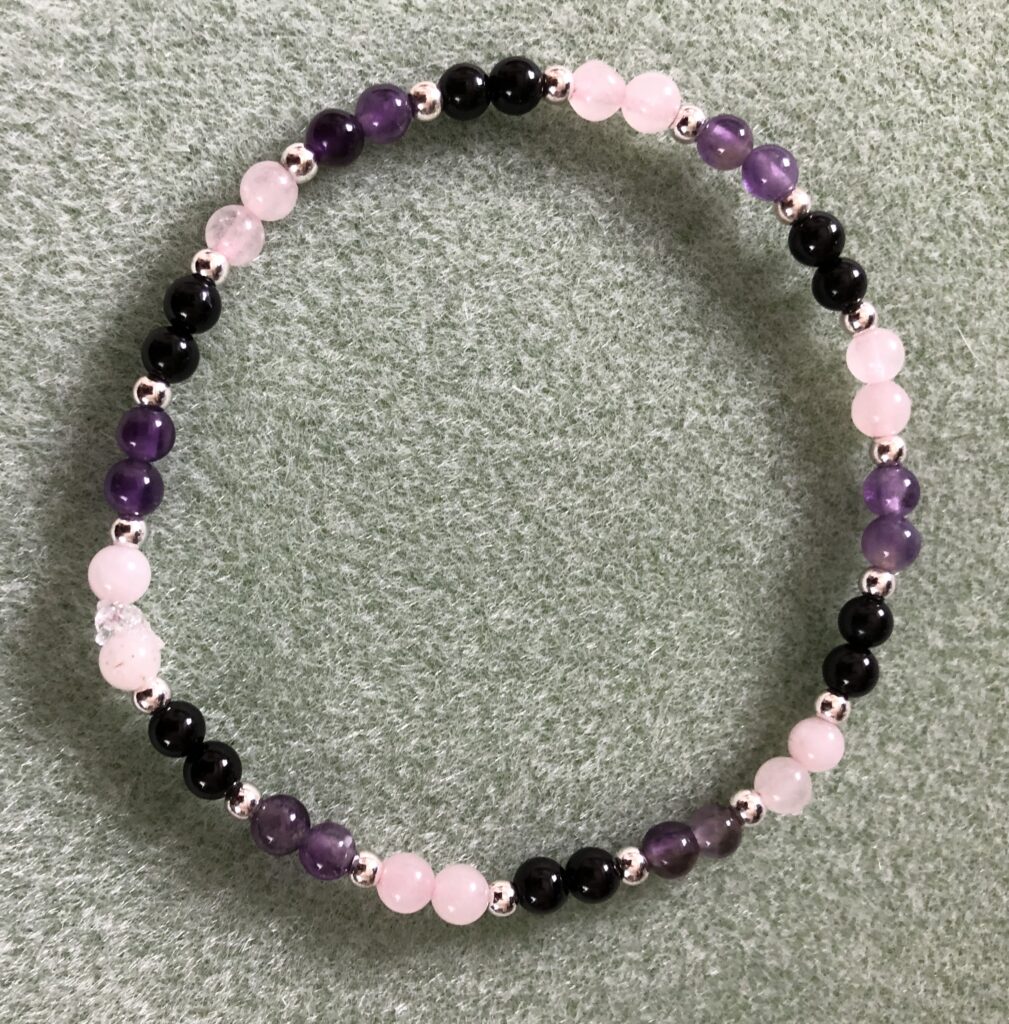
Amethyst, Rose Quartz and Black Tourmaline
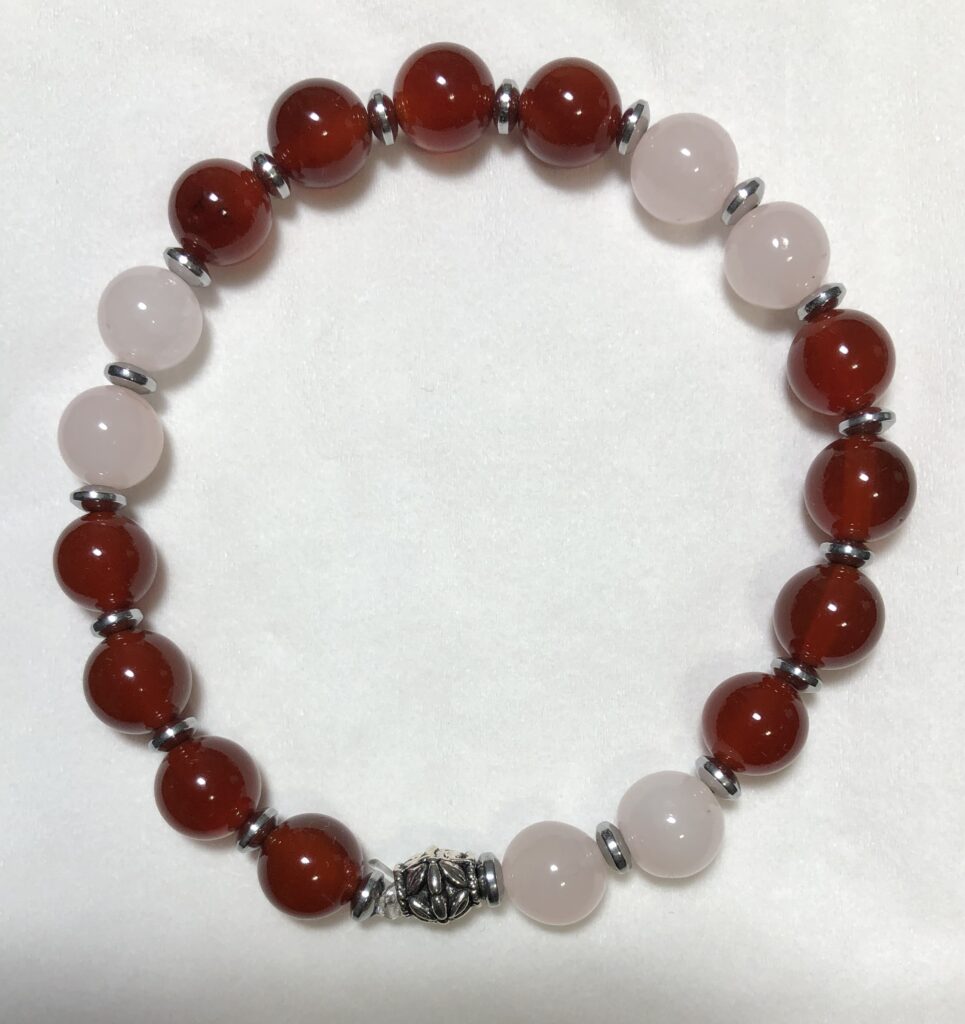
Carnelian and Rose Quartz
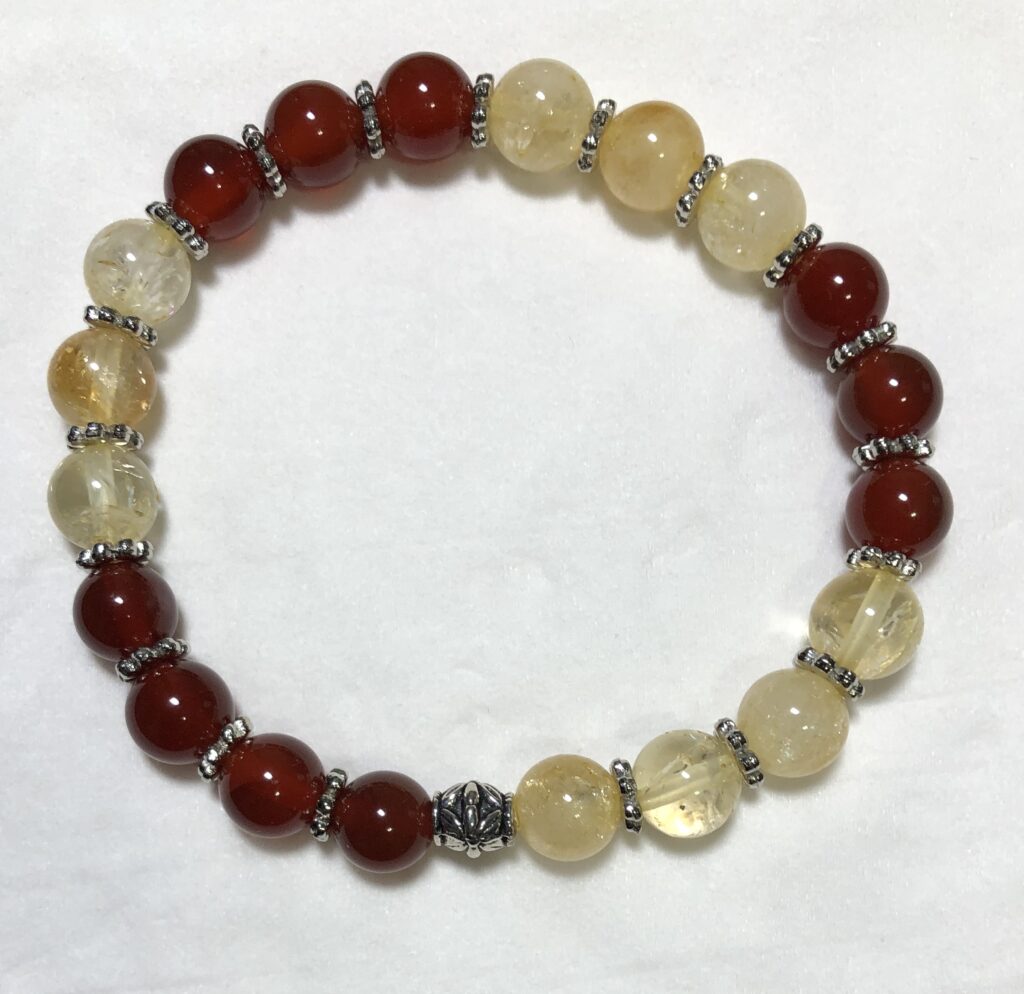
Citrine and Carnelian
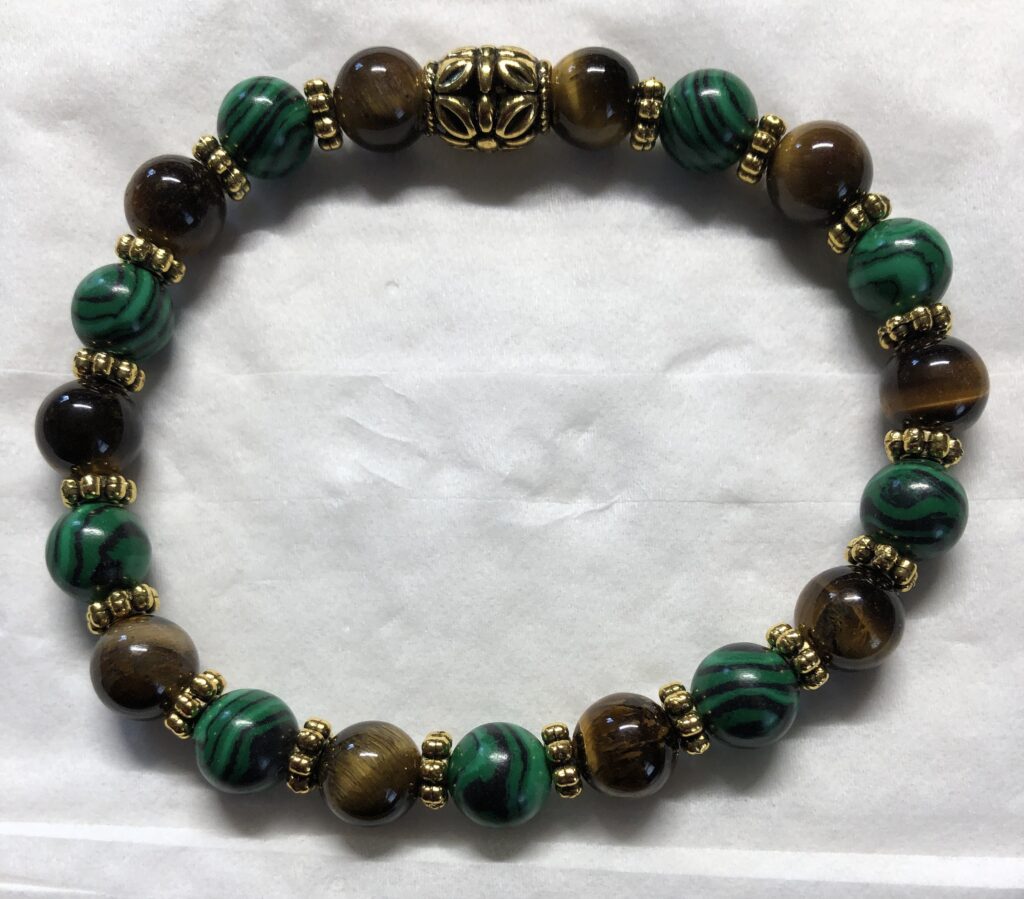
Malachite and Tiger Eye
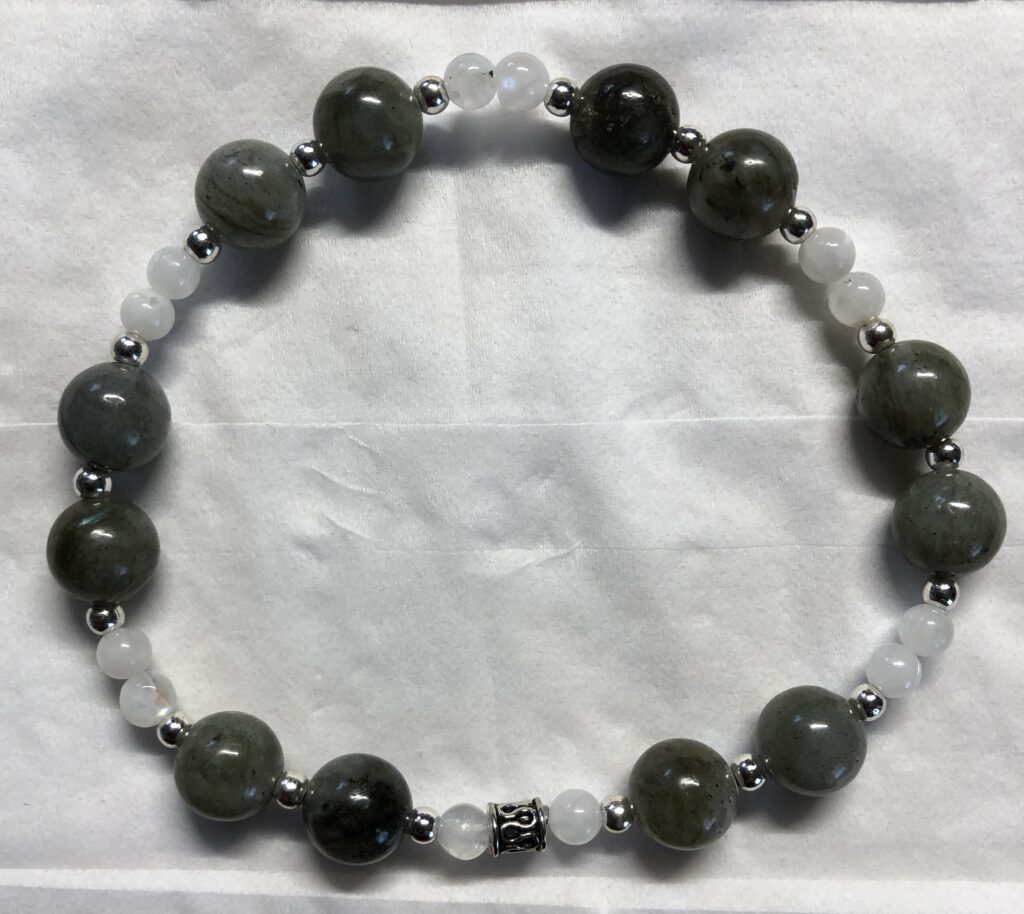
Labradorite and Moonstone
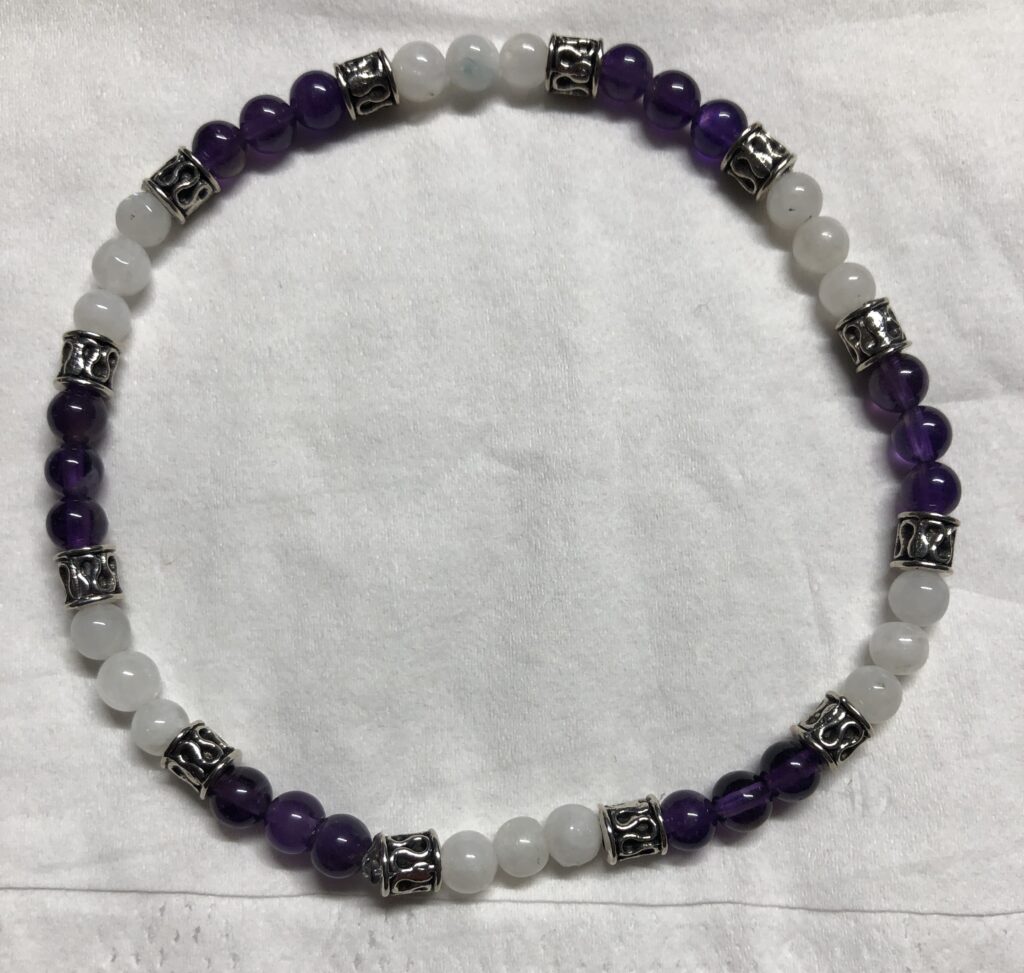
Amethyst and Moonstone
Ok…that’s enough! As you can tell…the Amethyst doesn’t look very purple, the Labradorite doesn’t look very gray. At least the Tiger Eye does look brown! I’m getting better at tying the knots and hiding the knot inside a larger bead. If you have experience with this craft…I’d love to chat with you about your technique!
The recipe for my healing salve started as an experimental product for my greyhound friends…almost 3 years ago! I was asked to try to make a salve to soothe the greyhound paws…their feet were very sensitive to walking on gravel, ice and salted sidewalks. They also were prone to developing corns on their paws.
There were quite a few salves on the market, from the simplest DIY recipe from the American Kennel Club to very expensive salves with Hemp oil in them and everything in between. I’d like to think we would have choices to find the one that works for our dogs and is affordable.
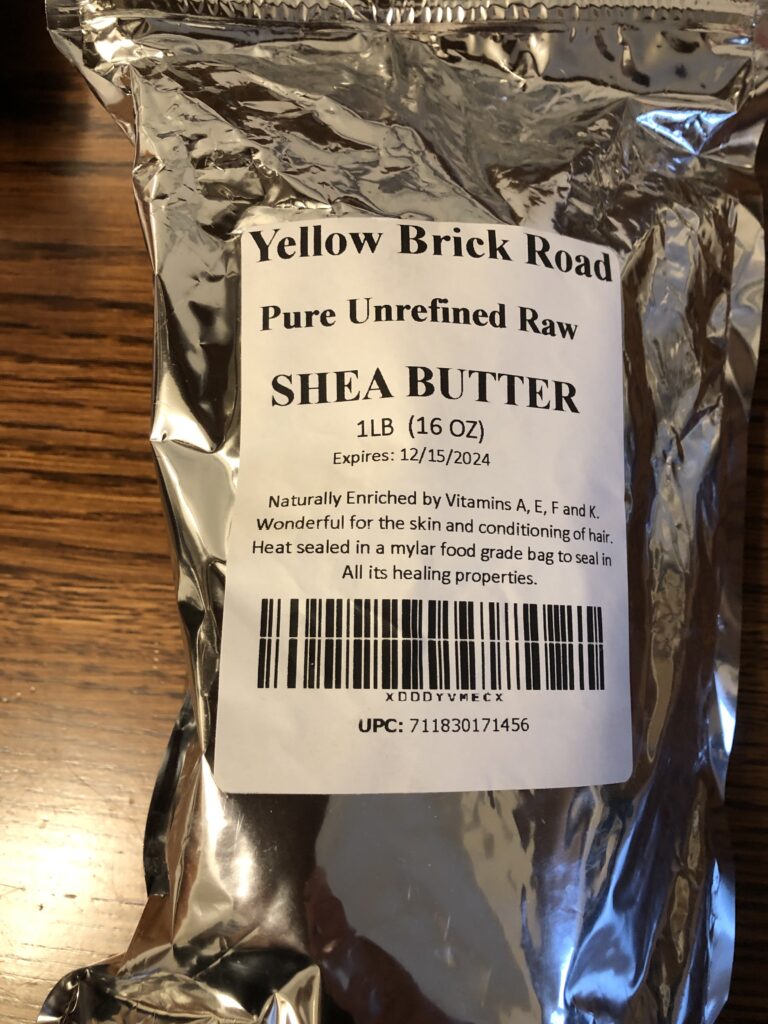
In general, ingredients in these salves include Oils (like olive oil, coconut oil and almond oil), Shea Butter, and Waxes (like beeswax, carnauba wax and paraffin wax). In addition, Vitamin E oil helps healing and serves as a preservative for the mixture. Essential oils like Lavender or Rosemary can also help with healing. I’m not sure the dogs care about the smell one way or the other but it can’t hurt.
Samples of the first batch of Dog Paw Salve were sent out to some folks in the greyhound community to give it a try. We had positive feedback that the salve seemed to help the paws that were cracked and made corns softer and easier to remove. It even helped a few sore noses!
Enriching the Salve
To enrich the ingredients in the salve, I explored adding some essential oils that could help in healing the skin. While Tea Tree Essential Oil is often suggested for its anti-bacterial and anti-fungal properties, I had just been researching using Manuka Honey as a topical salve. That led me to learn more about Manuka Essential Oil. This essential oil has been shown to be more effective than Tea Tree Essential Oil and is easier on the skin.
For the last year or two the recipe for my Calendula Healing Salve (also called the Dog Paw Balm and Protection Wax) has started with Calendula-infused oil and included Manuka and Lavender Essential Oils. The salve continues to help the paws of the greyhounds. Here is the recipe:
Necessary Changes Over Time
Of course, the side effect of folks rubbing the salve on their dog’s paws has been requests for the salve for their hands! I’ve also had requests to replace the calendula base with something else (a few folks are allergic to calendula and can’t use the products based on them) and some additional essential oils for a better scent.
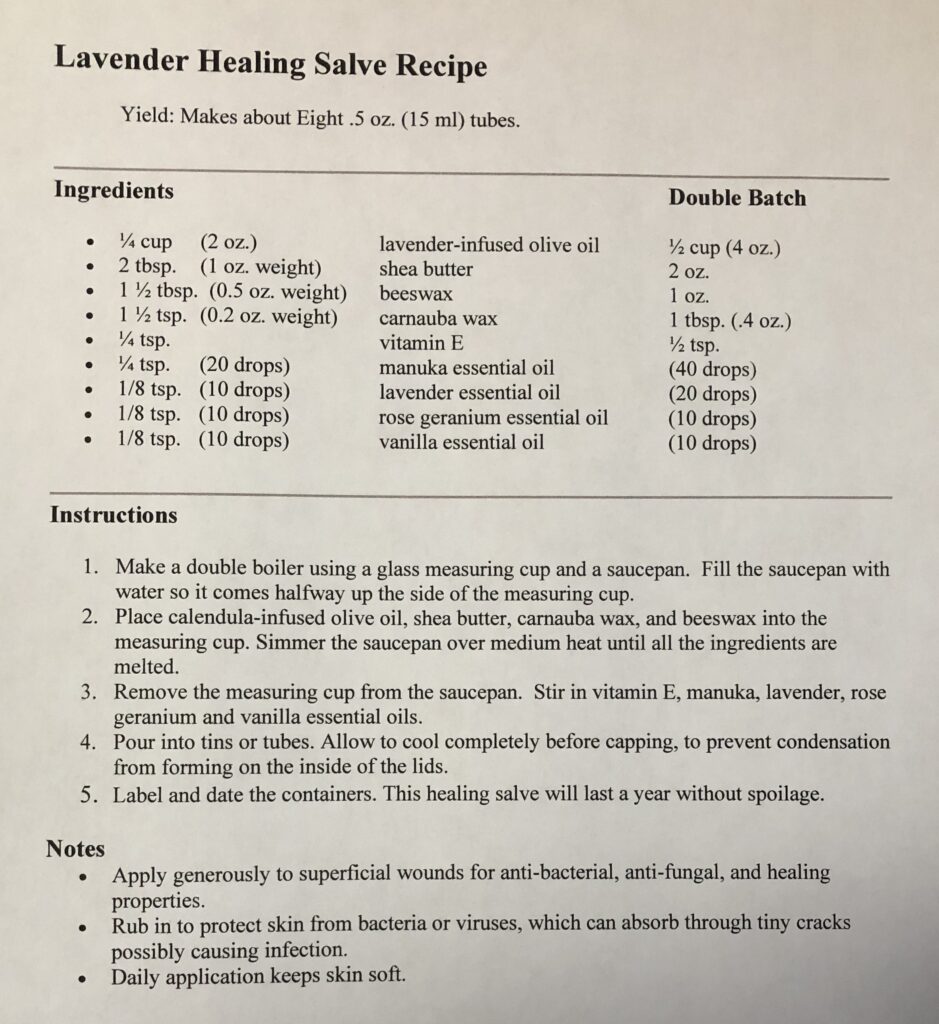
Making the Lavender Healing Salve
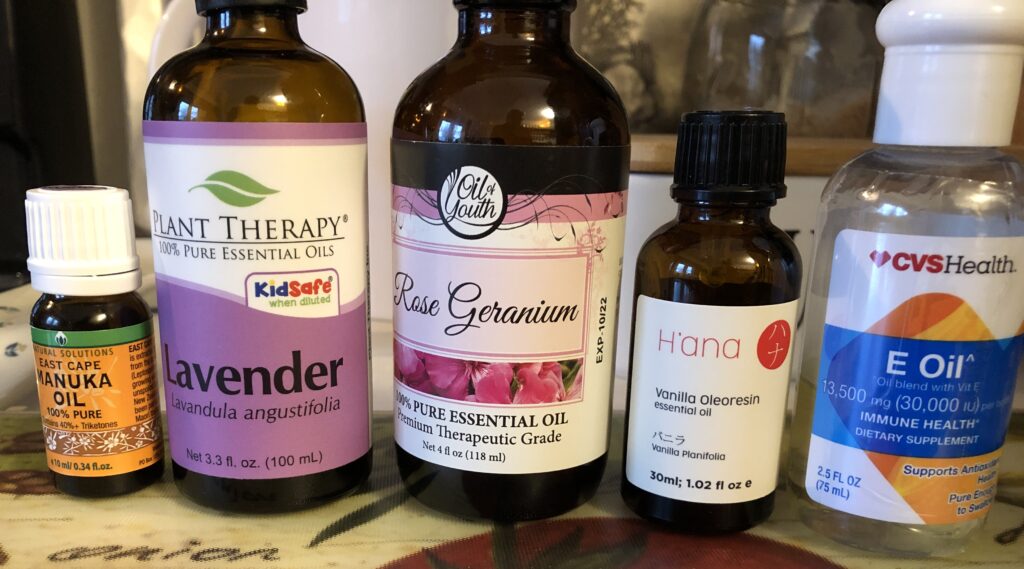
First, I made a big batch of the salve based on Calendula-infused oil to replenish my stash. Then I started over to make a batch of Lavender-infused oil. The rest of the ingredients will be the same as the recipe above. At the end, I added the essential oils of Rose Geranium and Vanilla to enhance the scent. This made a more pleasant salve for the rest of us! Here’s the new recipe:
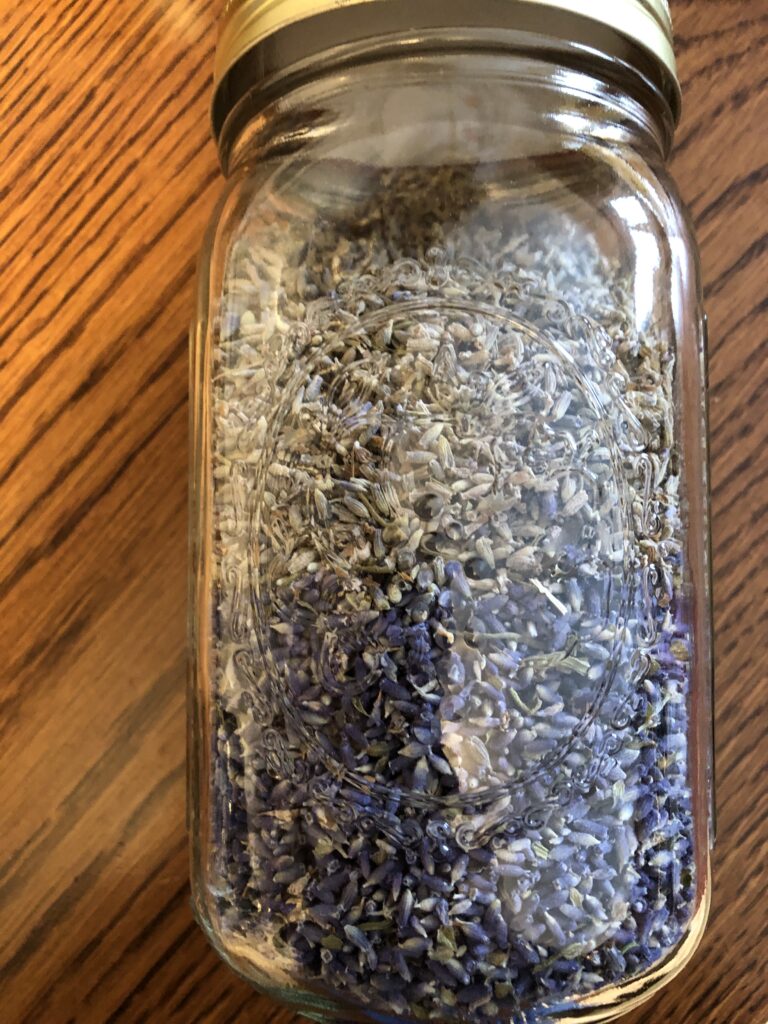
Step 1: Make Lavender-infused Oil
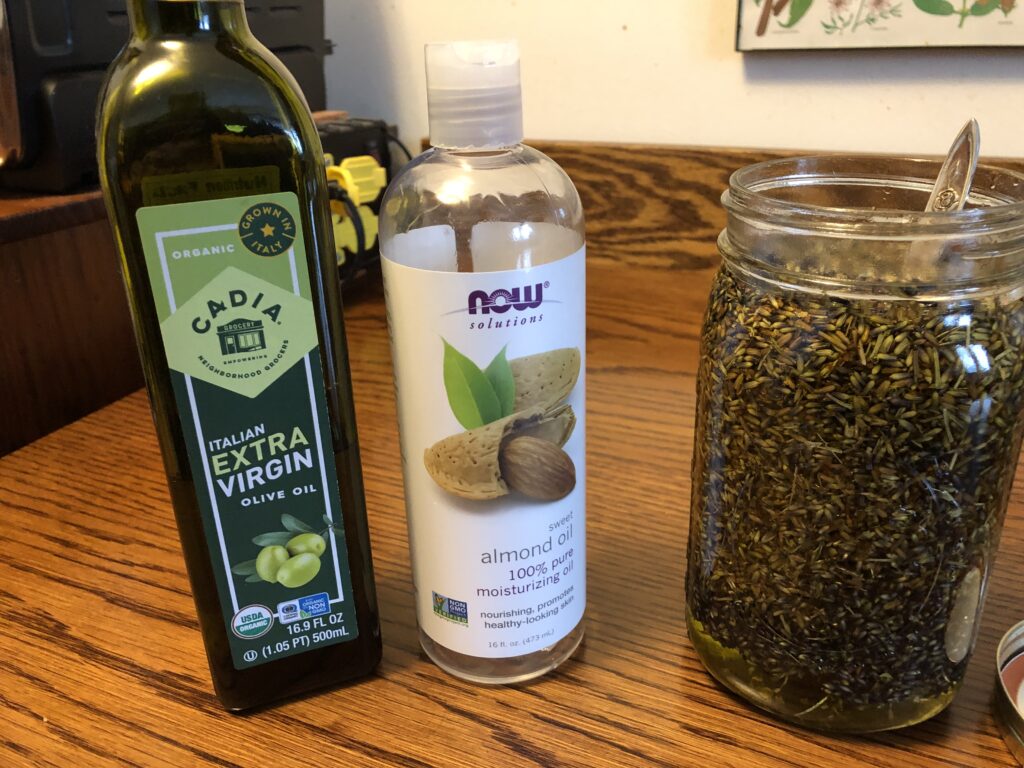
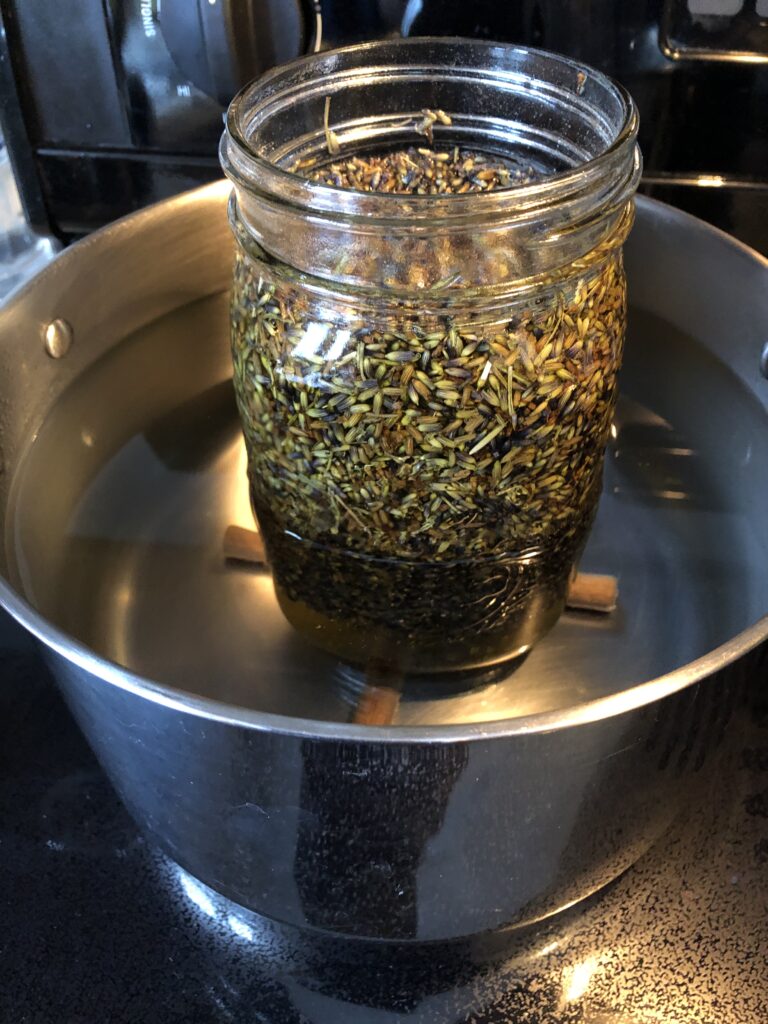
I had a jar of dried lavender buds…some came from my garden last summer. I poured olive oil and almond oil into the jar until the buds were covered. I set the jar in a pot of hot water on the stove. I brought the water up to not quite boiling and let it simmer for about 6 hours. I did have to add water to the pot several times, but all I had to do was stir it every now and then.
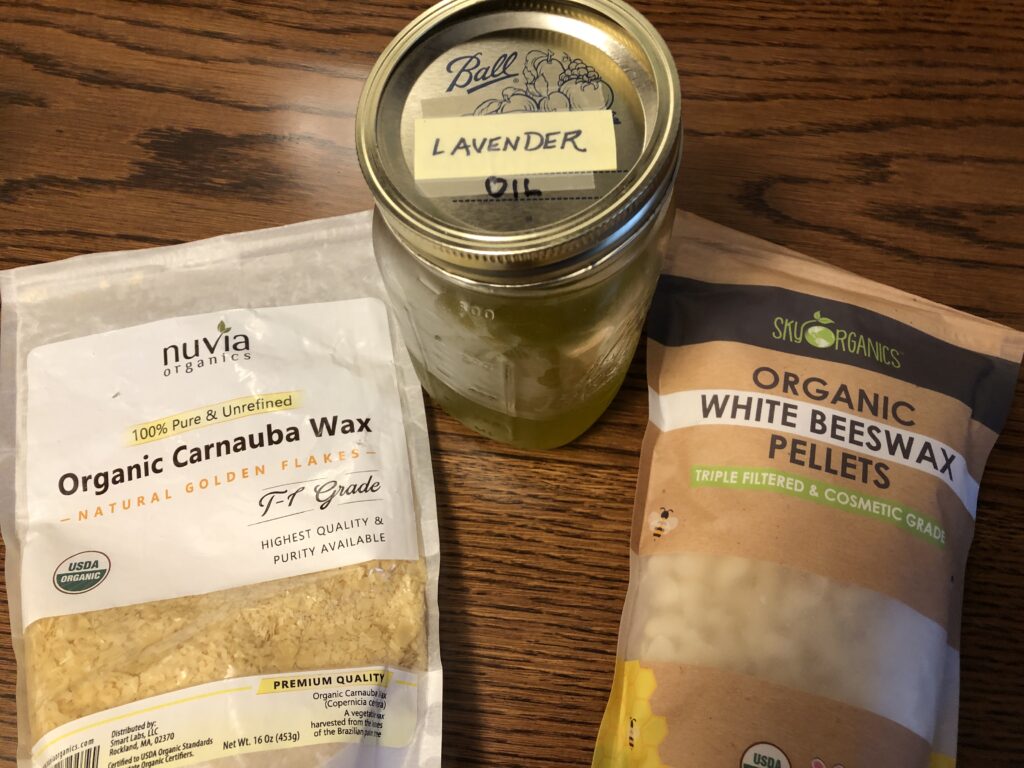
Step 2: The oil/lavender mixture had to be strained several times through cheesecloth. I was left with over 1 cup of lovely lavender-infused oil. I stored the jar in the refrigerator until I was ready to make this new salve.
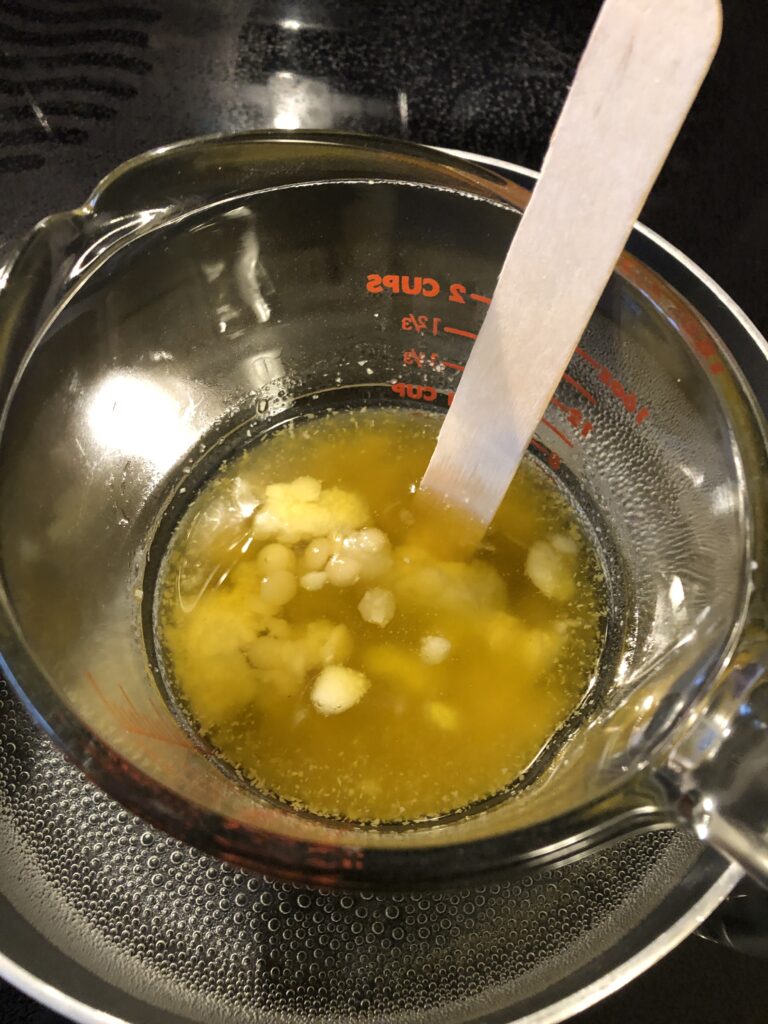
Step 3: To make the salve, collect the ingredients, a two-cup glass measuring cup and your scales. Measure everything into the measuring cup.
Step 4: Set the measuring cup into a saucepan with water on the stove. Bring the water just to boiling and let it simmer. The waxes, shea butter, and oil will gradually melt to a liquid.
Step 5: When all ingredients are melted, remove measuring cup from the pan. Add the liquid Vitamin E and Essential oils, stirring after each addition.
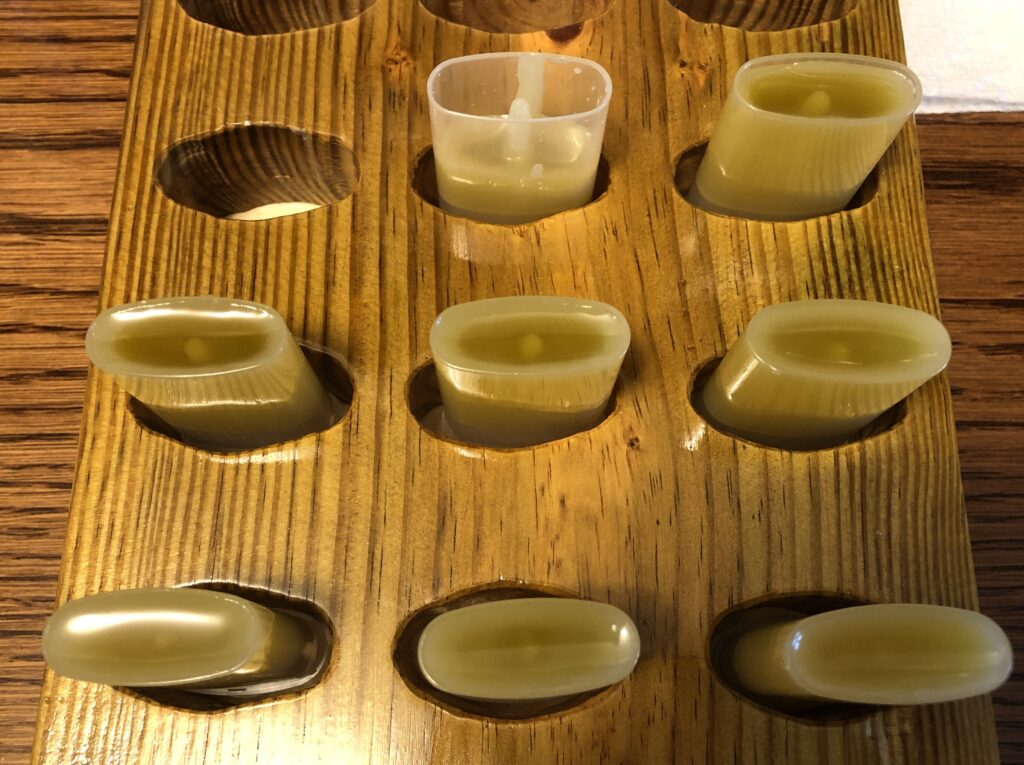
Step 6: Fill the containers by either pouring or using a disposable pipette. Let cool until firm.
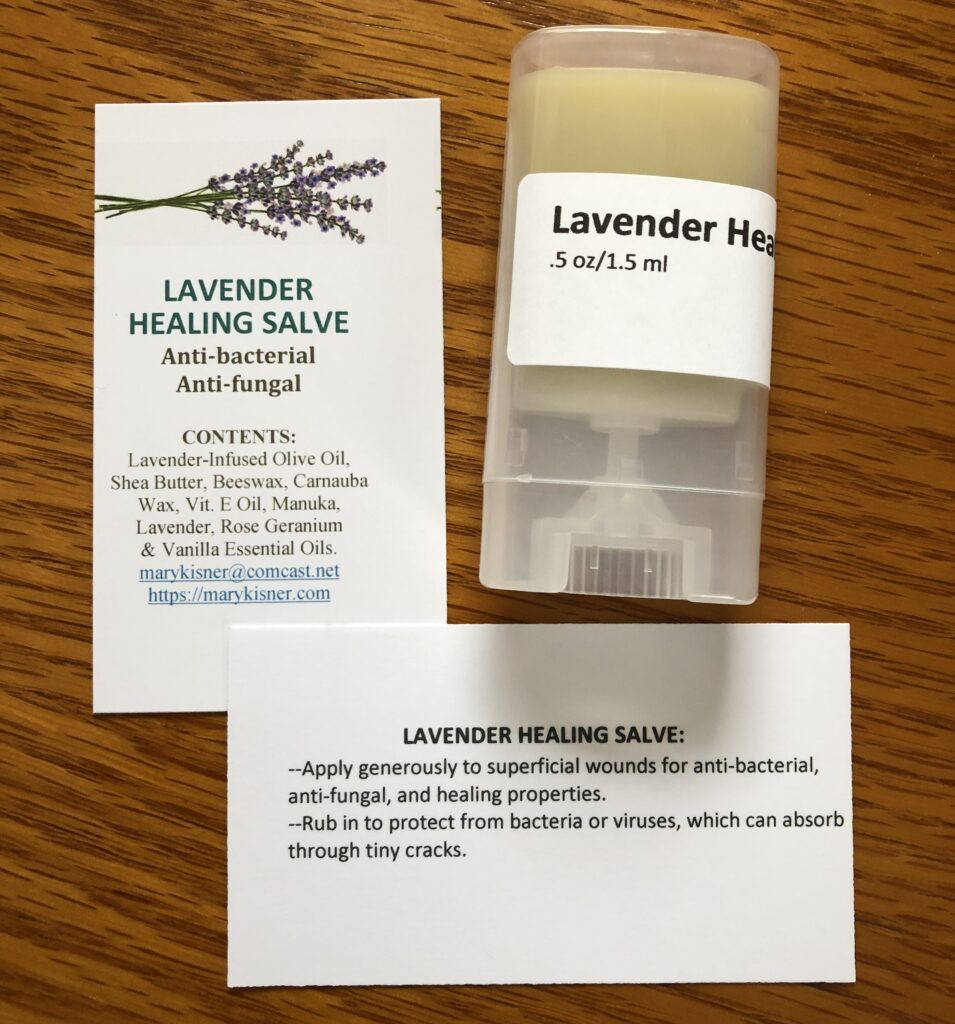
Step 7: When cool and firm, label each container. I make a point to make a card with ingredients and instructions so folks know what is in the product.
You can see my Dog Paw Balm and Protection Wax has evolved into my Calendula Healing Salve for dogs and people; while the Lavender Healing Salve is safe for dogs and people who have allergies to Calendula…it also smells pretty good! Try it yourself!