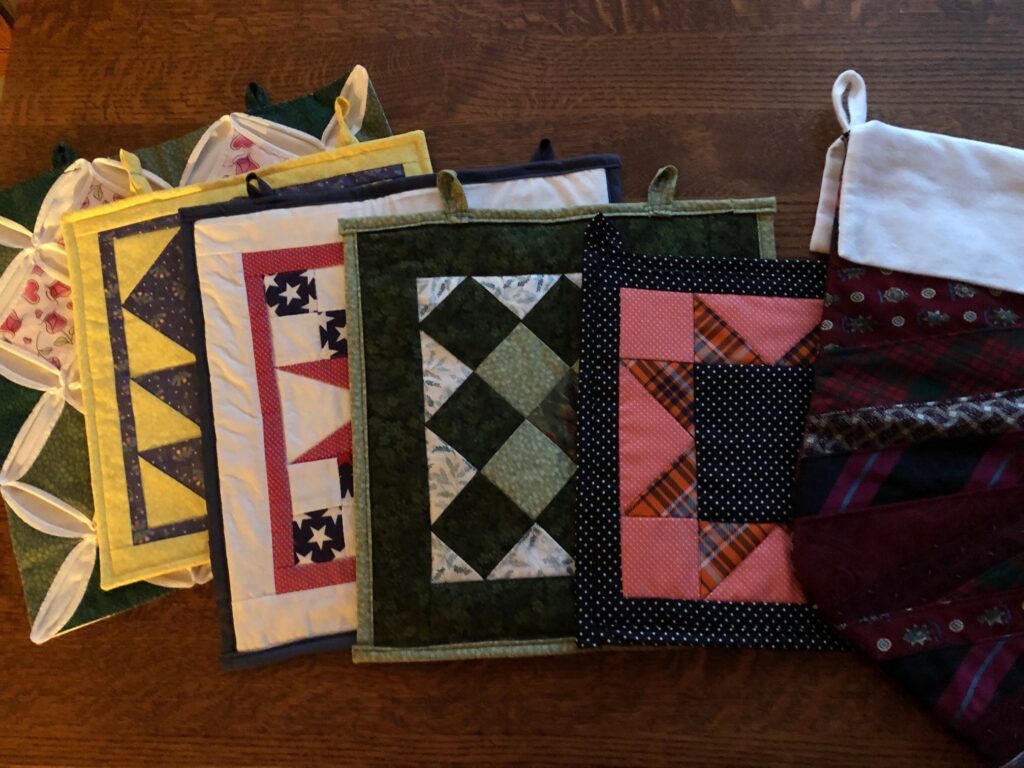
About every month or two I get in the mood to make a new door quilt for the front door. Several years ago, I managed to make 6 quilt blocks to hang on the front door, about one every other month:
https://marykisner.com/a-year-of-door-quilts/
Basically, I’ve never been happy trying to put a wreathe on the front door because it has a screen door that gives me only 2-3″ of clearance between the doors. Finding a flat wreathe was tough. So, I started sewing these quilt blocks to use as door decorations.
I thought I could just rotate the blocks each year, but after two years on the outside door…exposed to the sun and weather…the colors faded. I was ready to try something new.
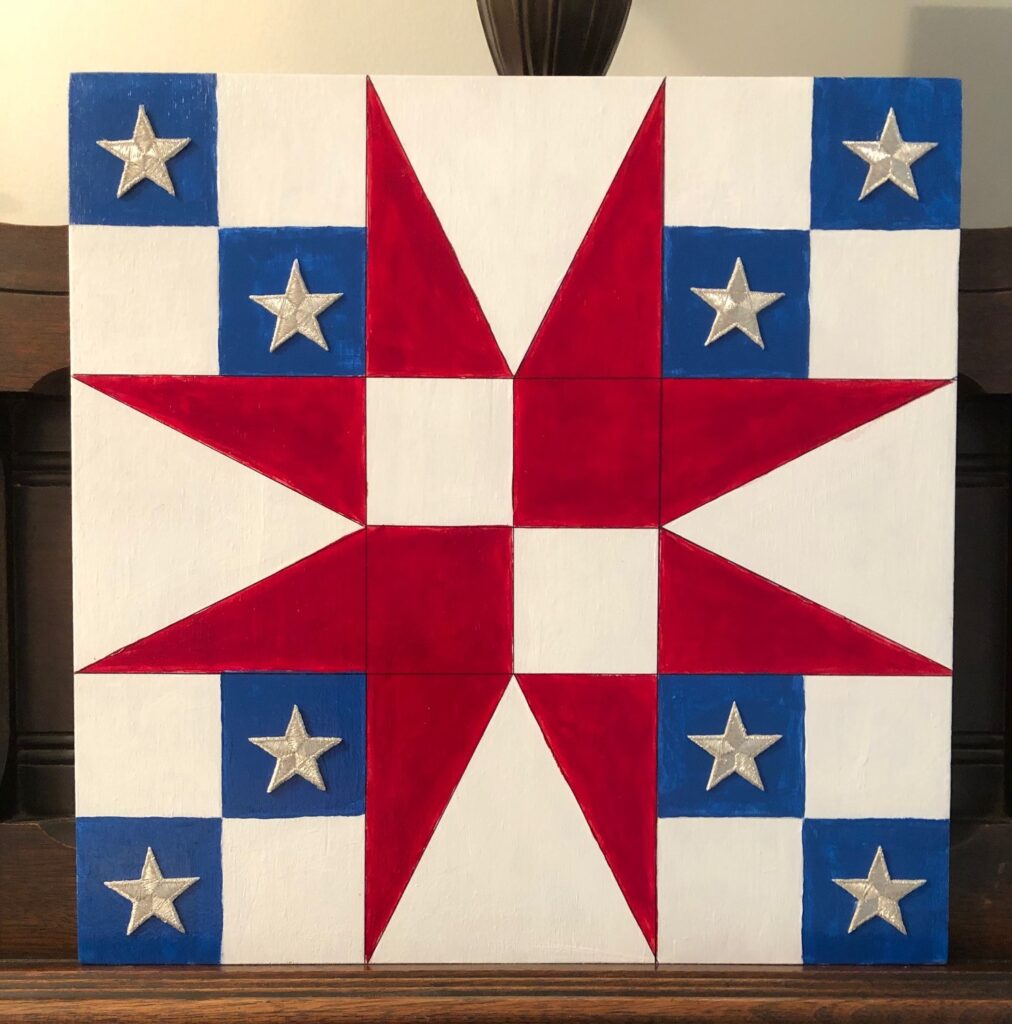
I pulled out my acrylic paints and had Bert make me some 12-inch square pieces of thin plywood. I started with my favorite fabric block…the patriotic red, white and blue one…that I had made in fabric.
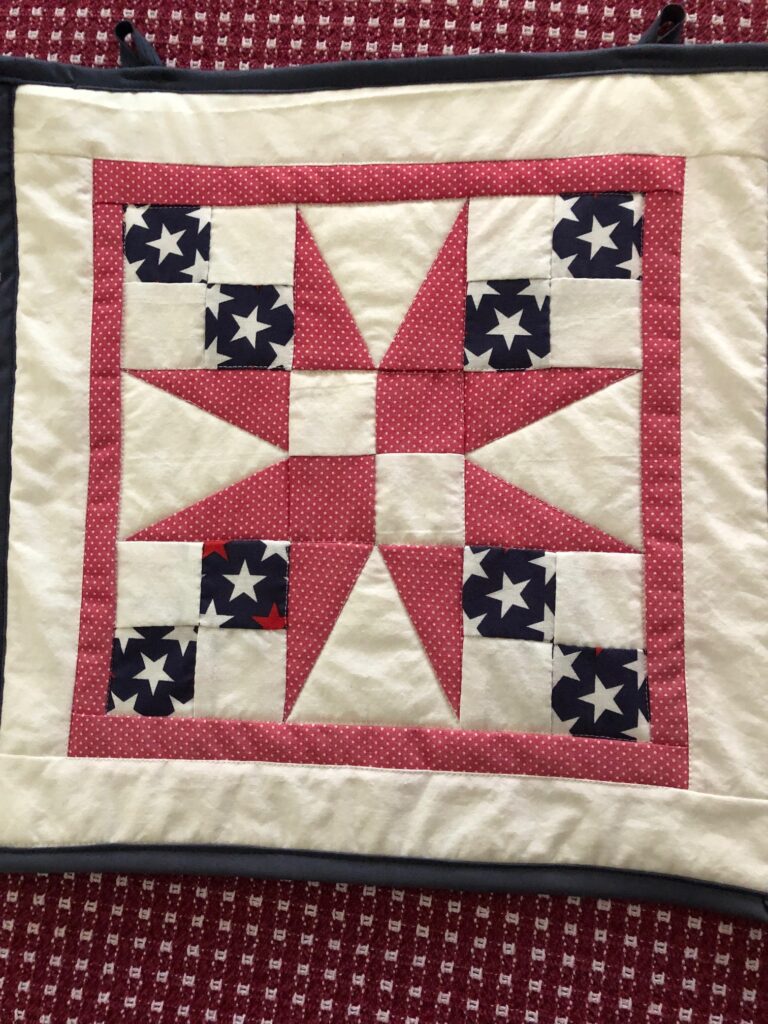
Two years later, the block is faded.
I had to improvise the paint to be solid colors, and added star appliques right to the painted wood. Here are links to the door-quilts on wood I’ve made so far:
https://marykisner.com/new-patriotic-door-quilt-on-wood/
https://marykisner.com/summer-door-quilt-on-wood/

https://marykisner.com/autumn-door-quilt-on-wood/
https://marykisner.com/a-winter-star-quilt-block-on-wood/
Making a New Door Quilt on Wood
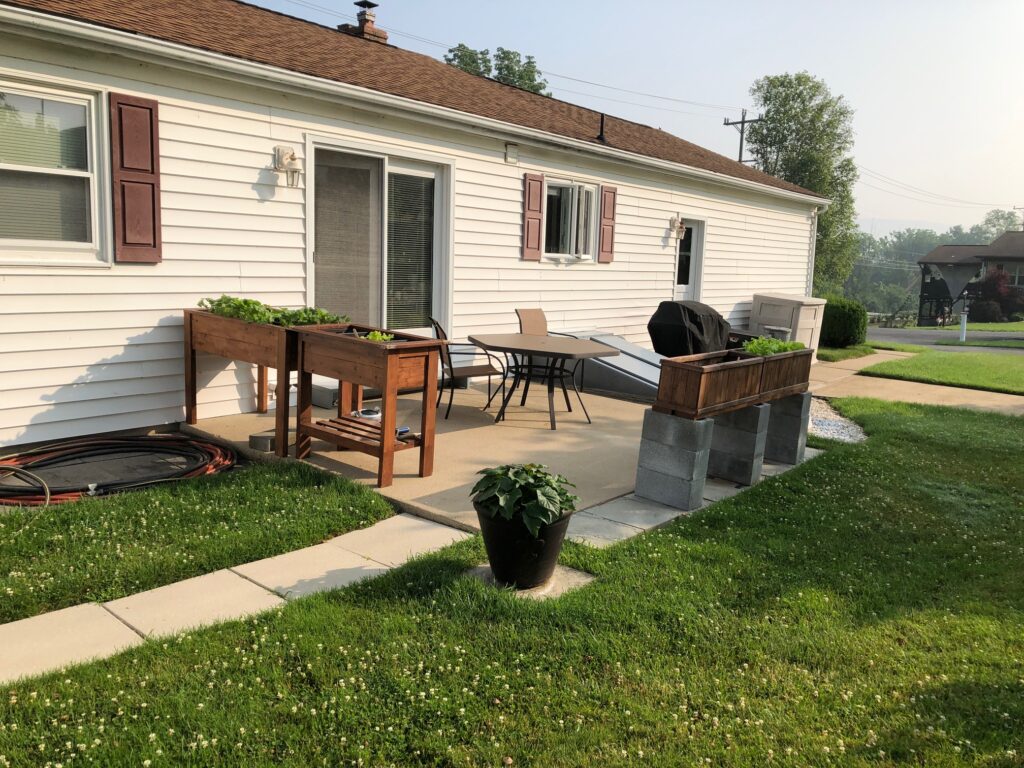
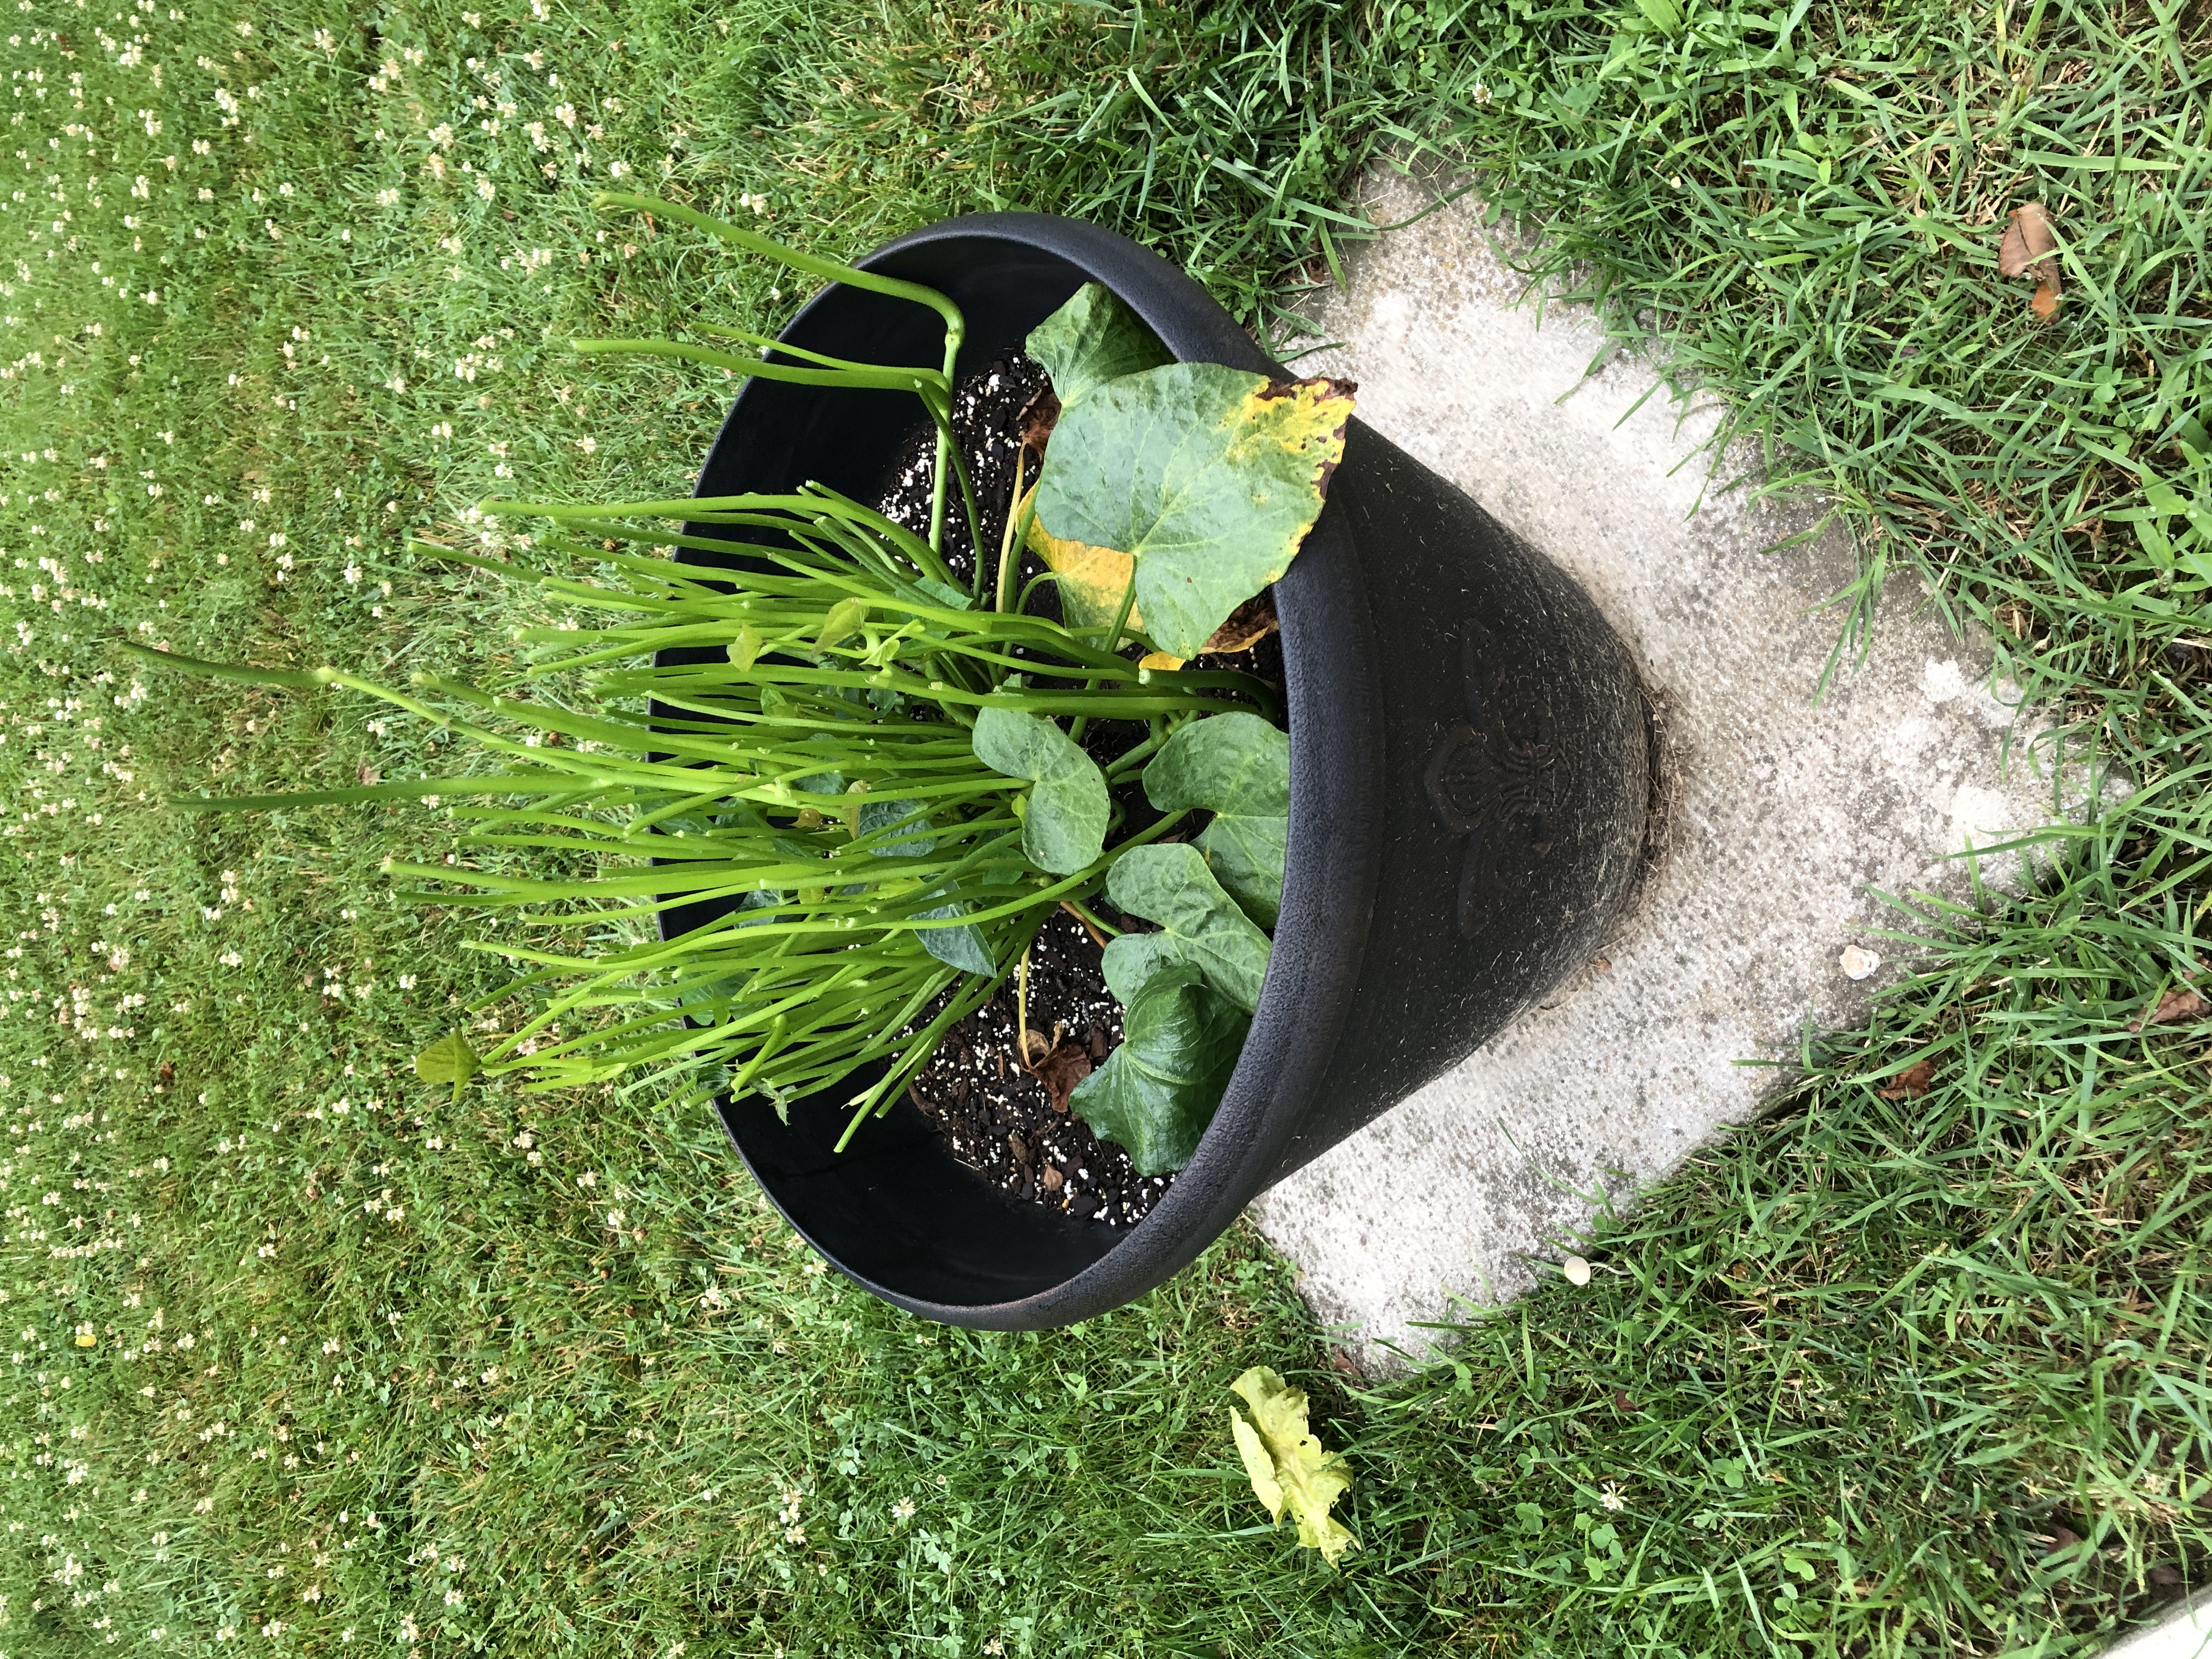
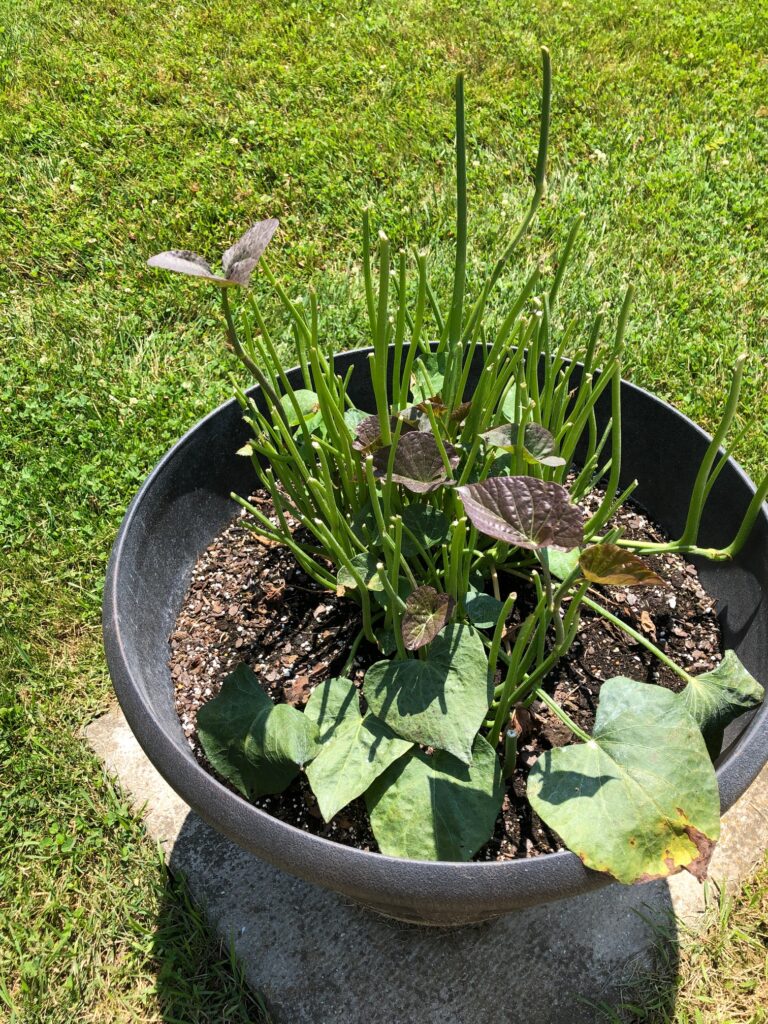
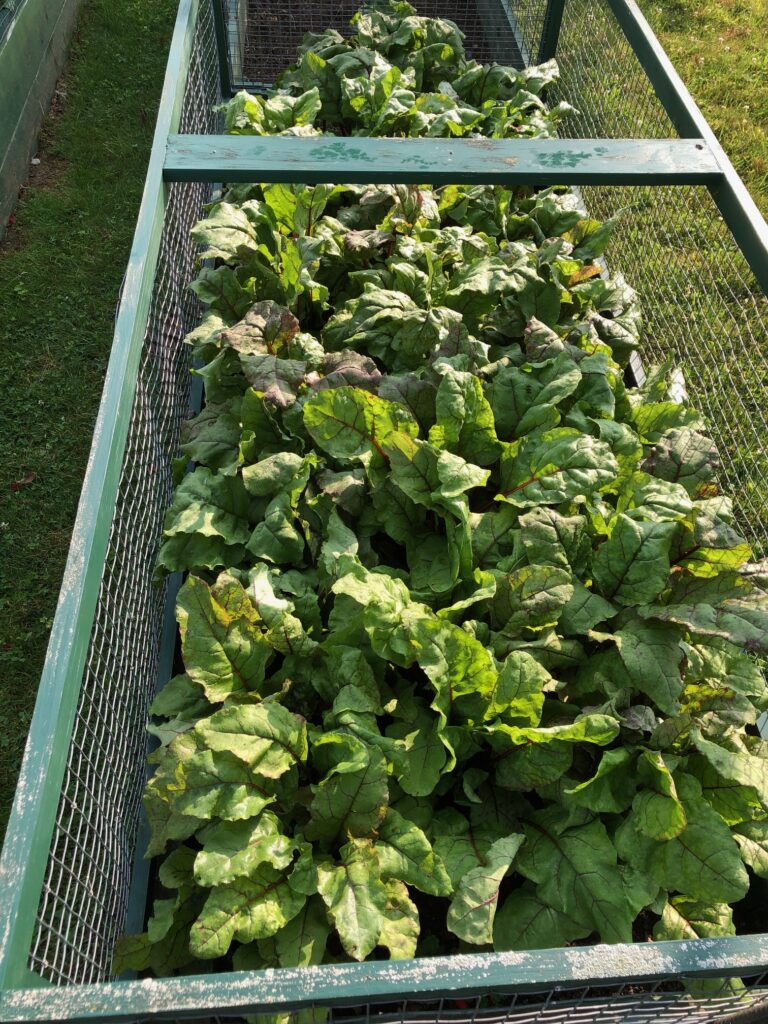
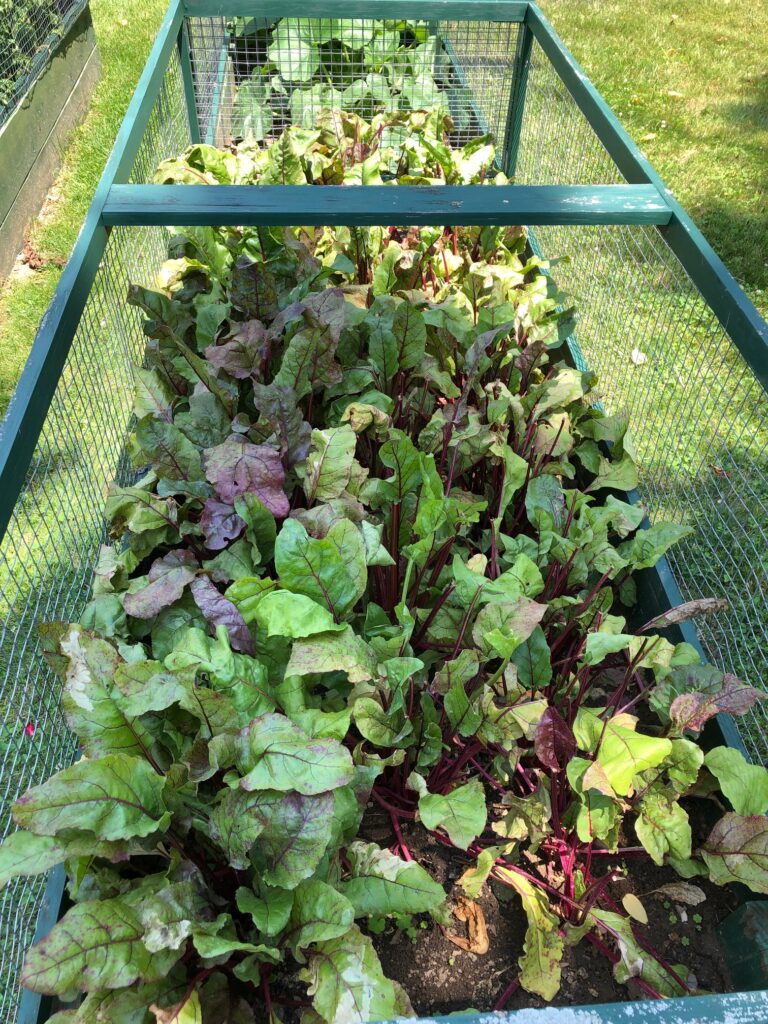
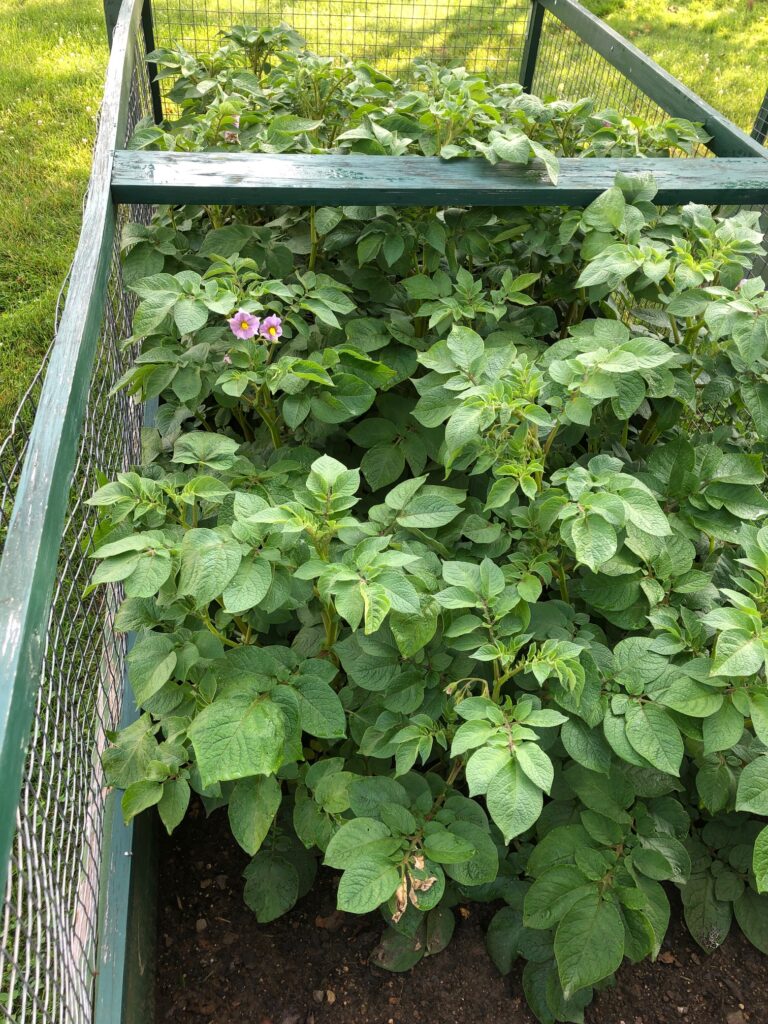
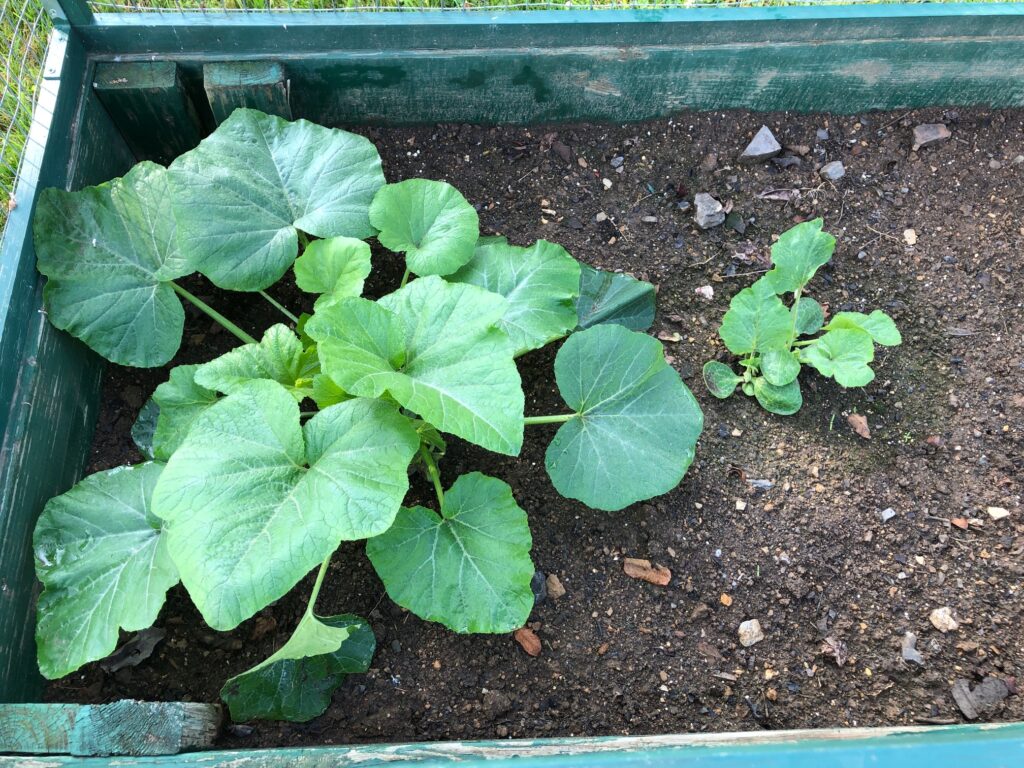
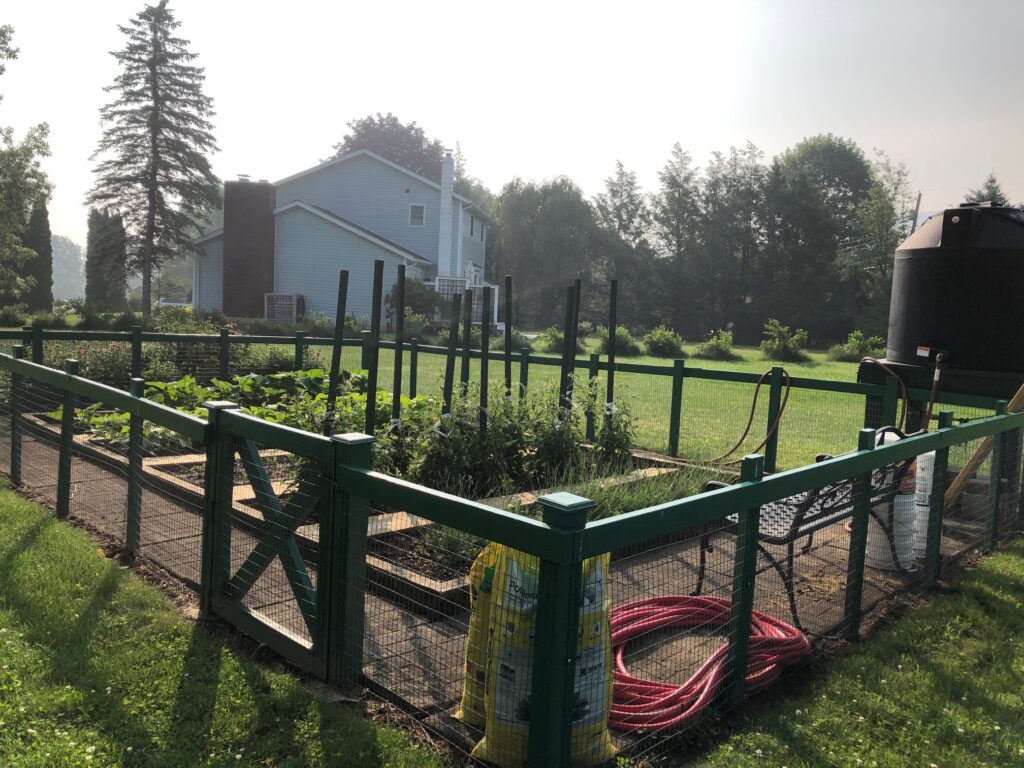
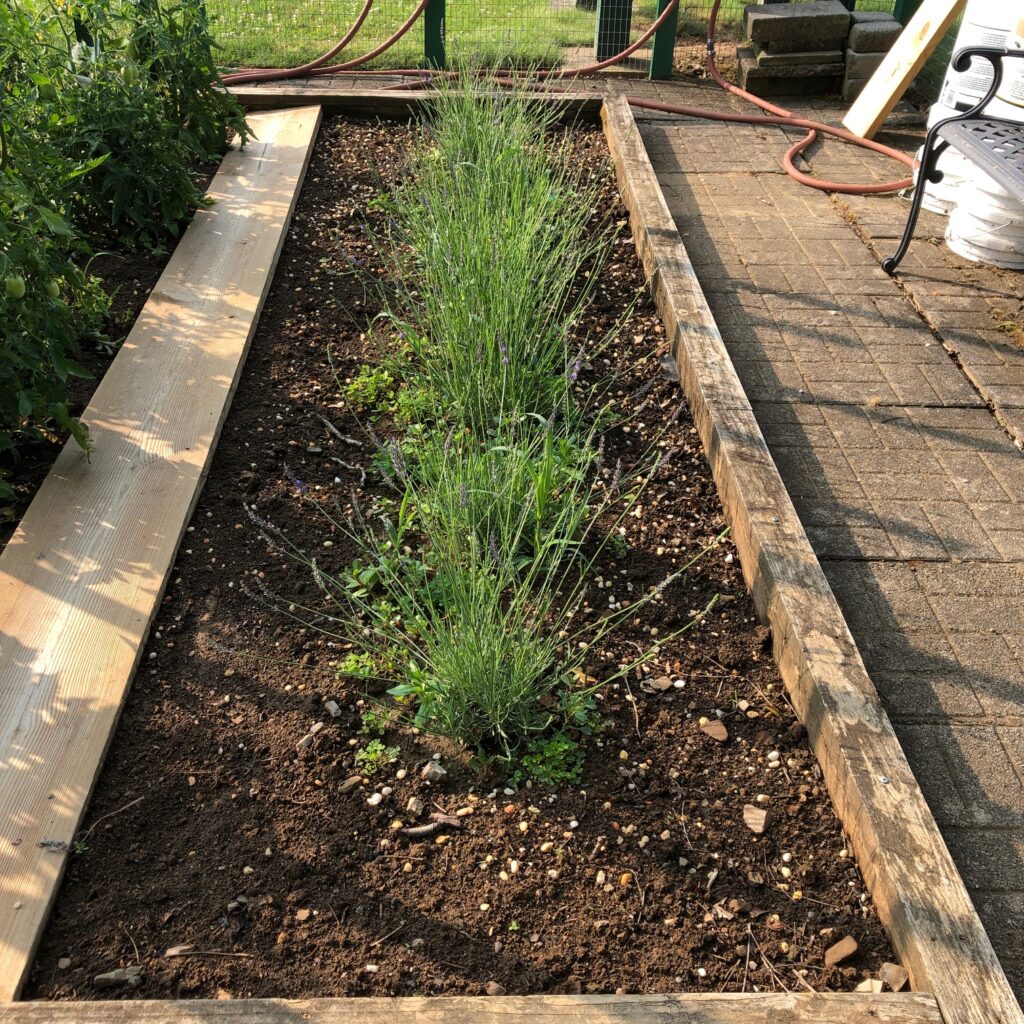
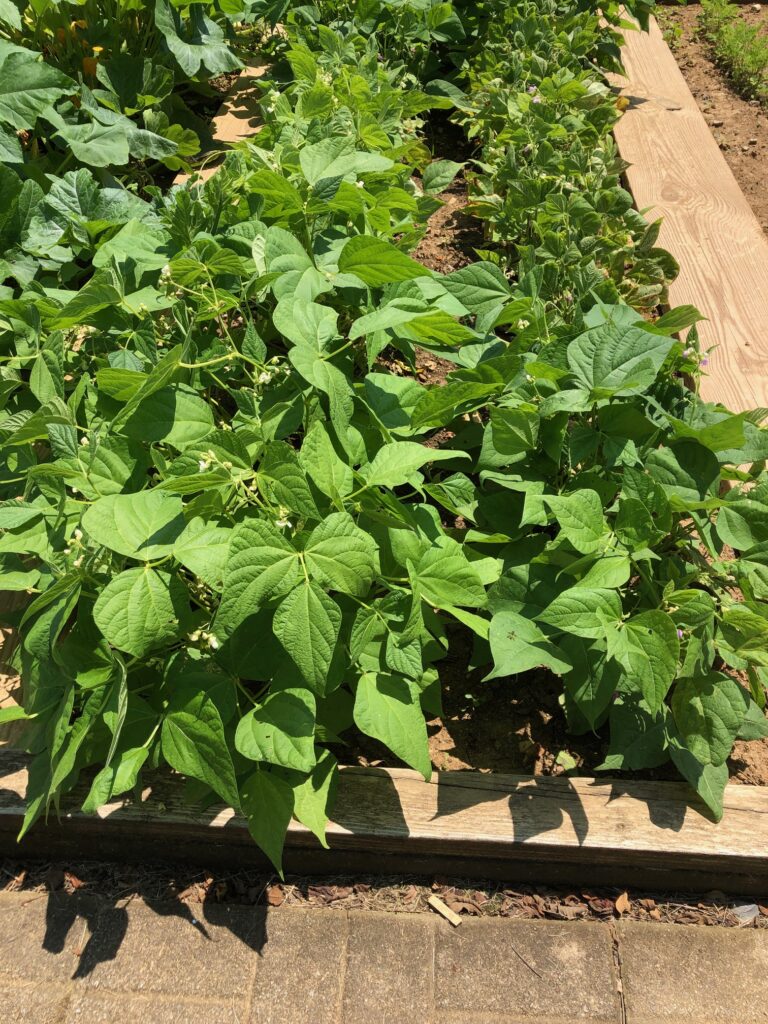
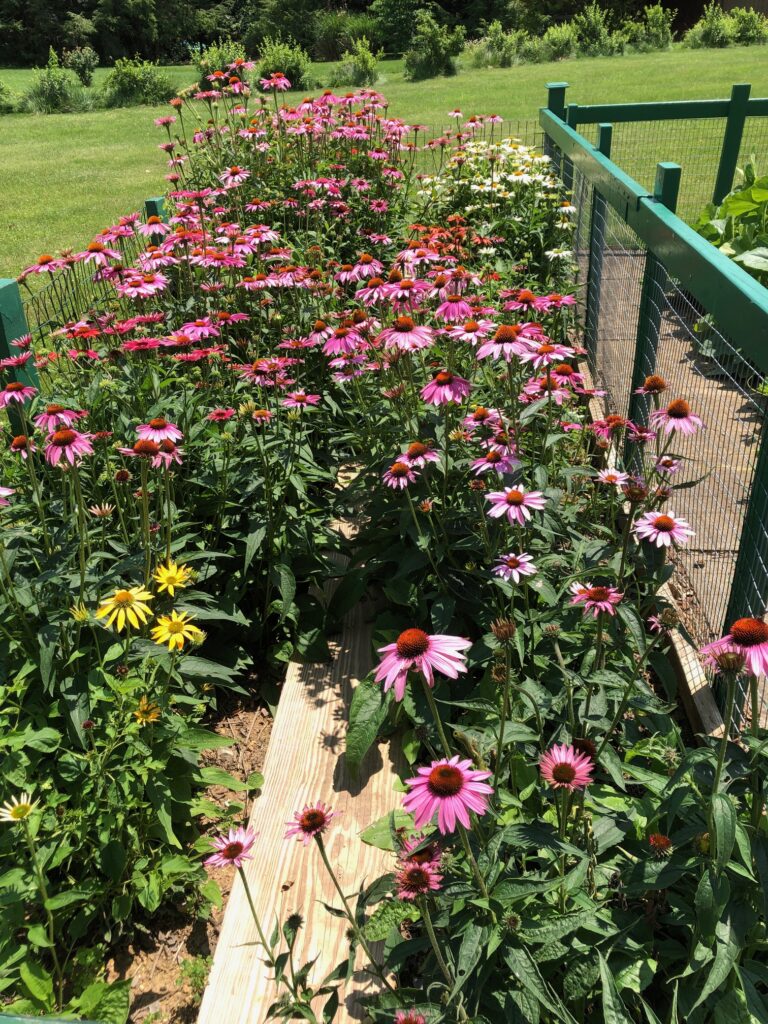
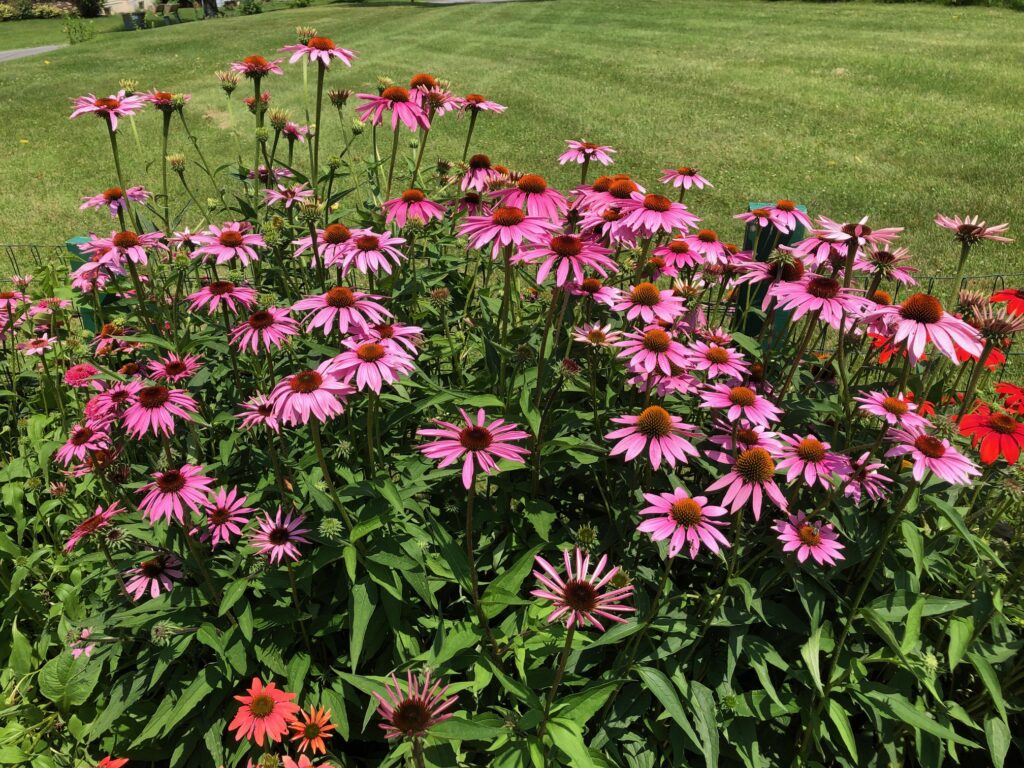
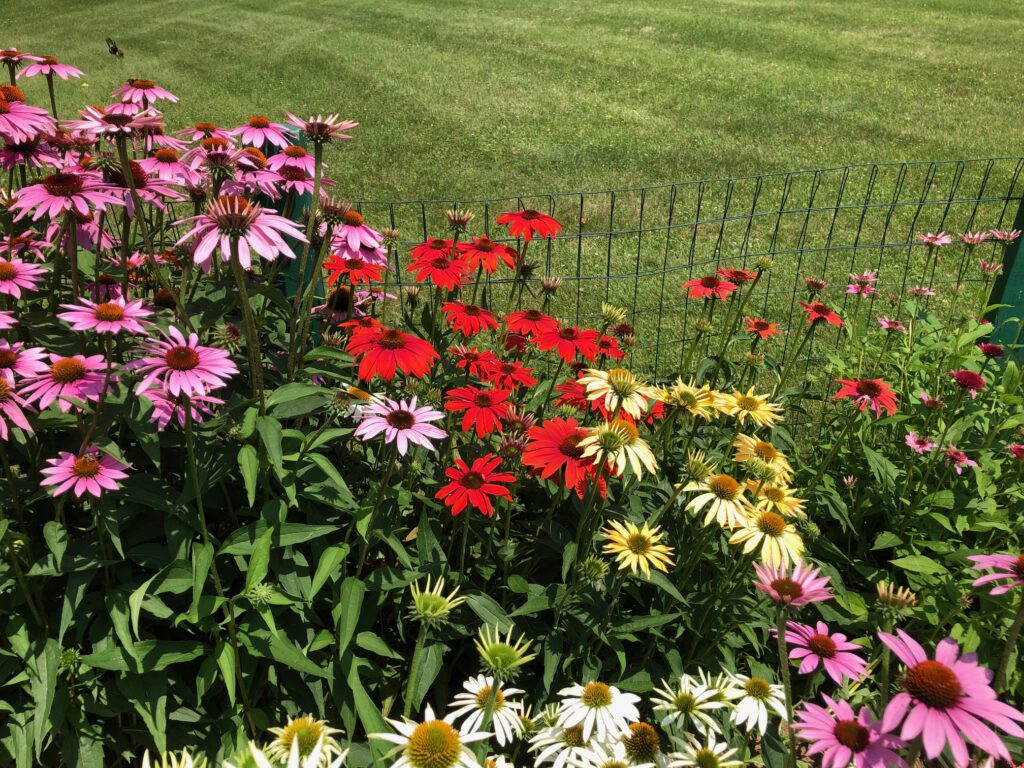
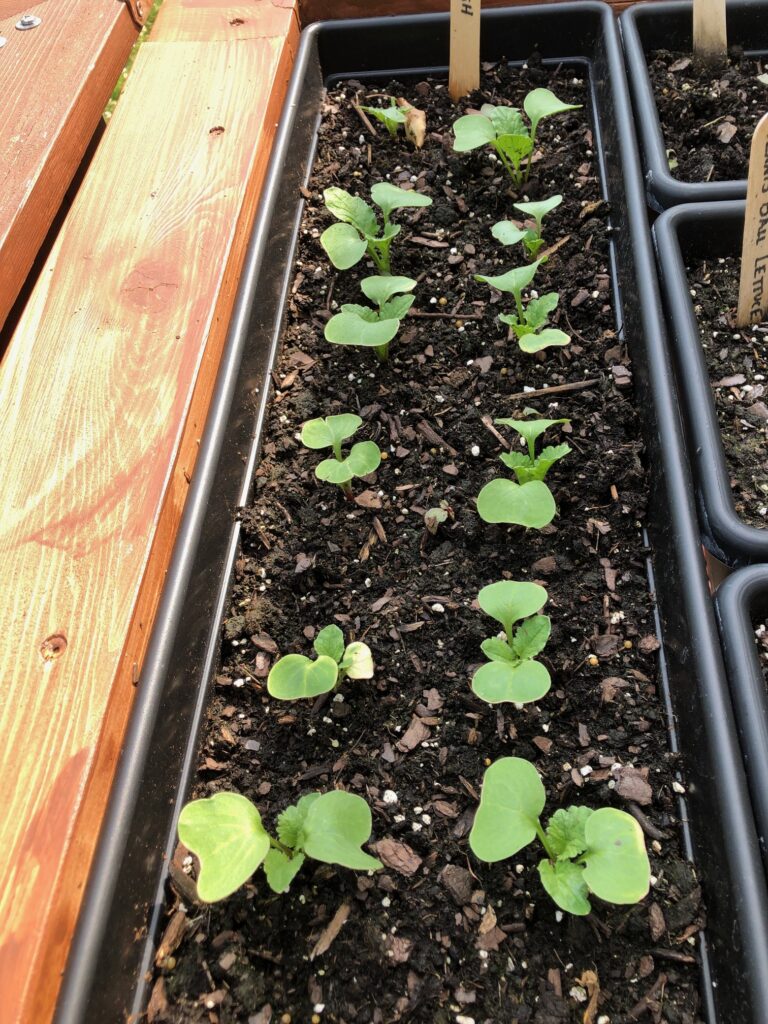
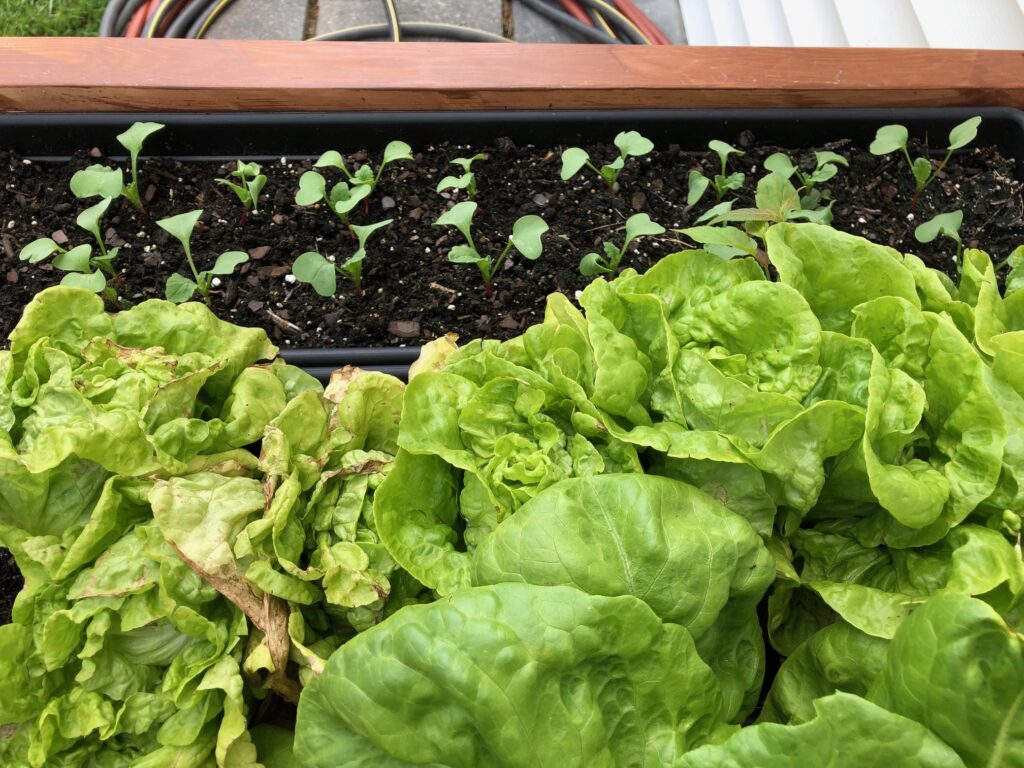
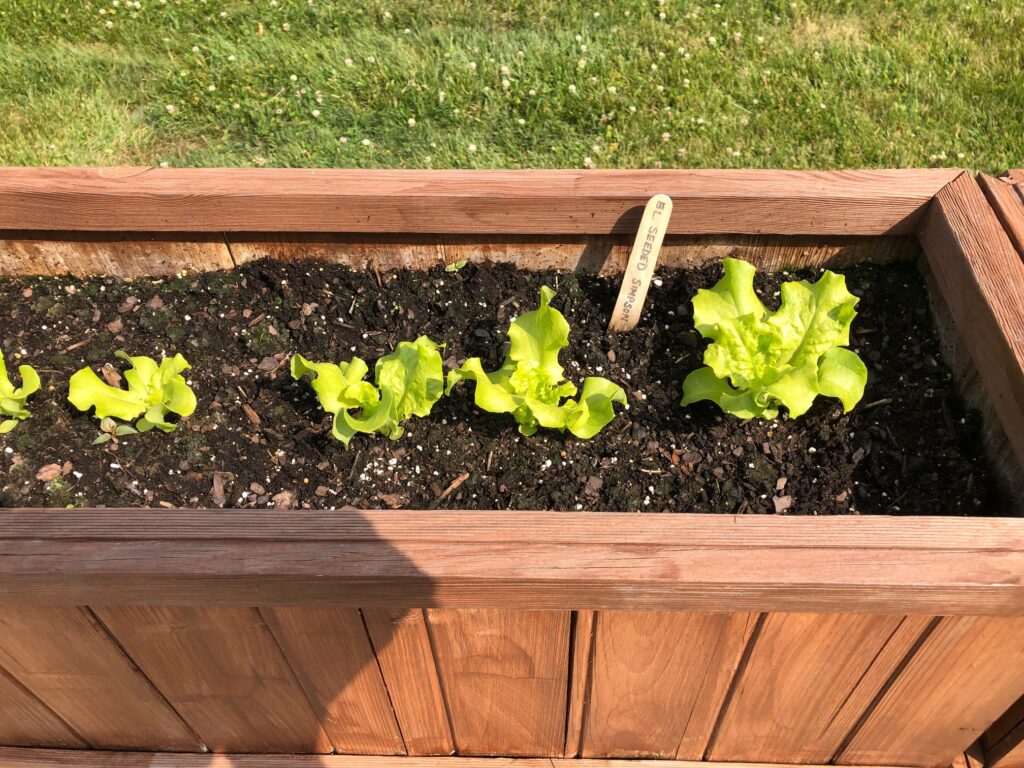
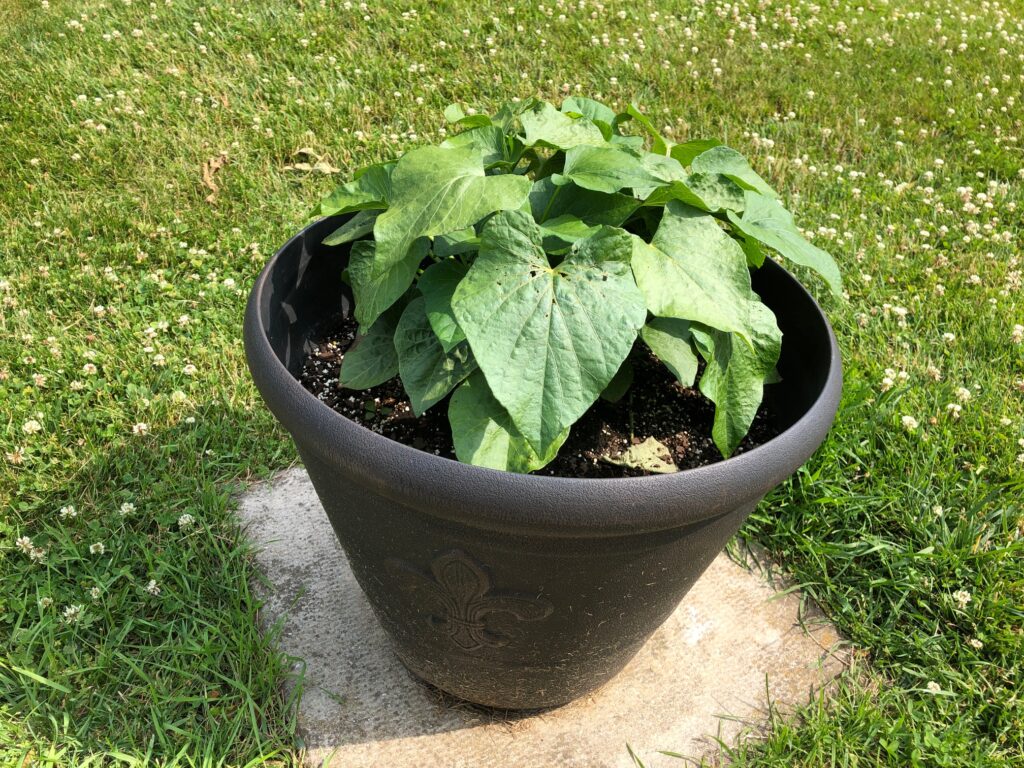
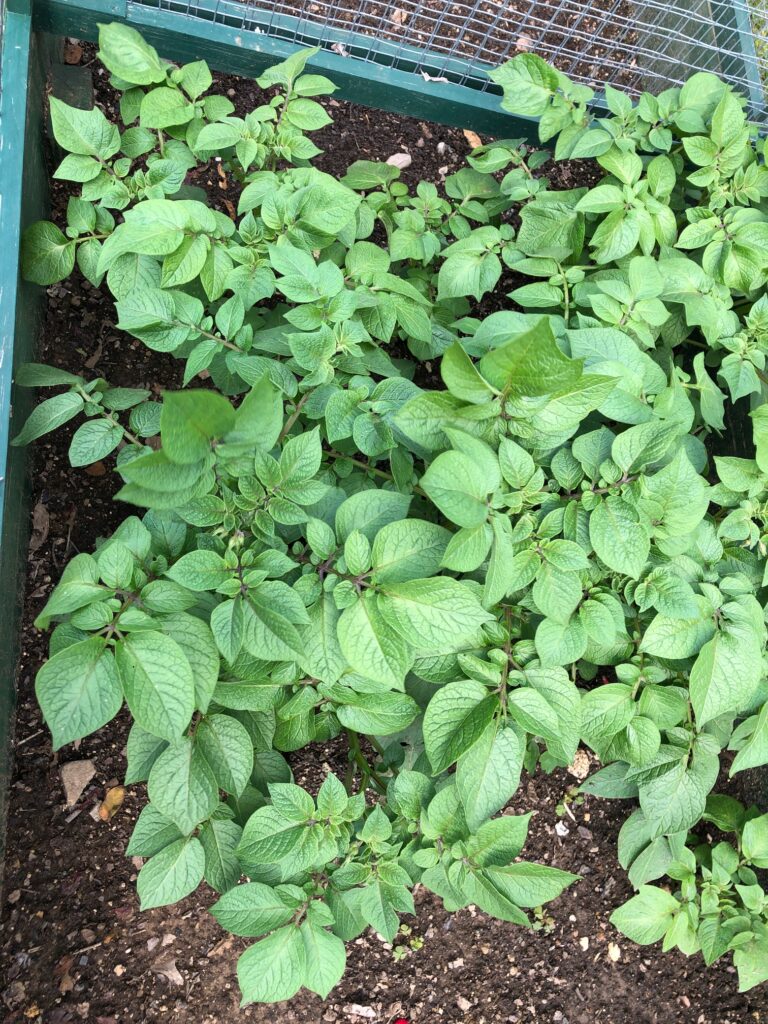
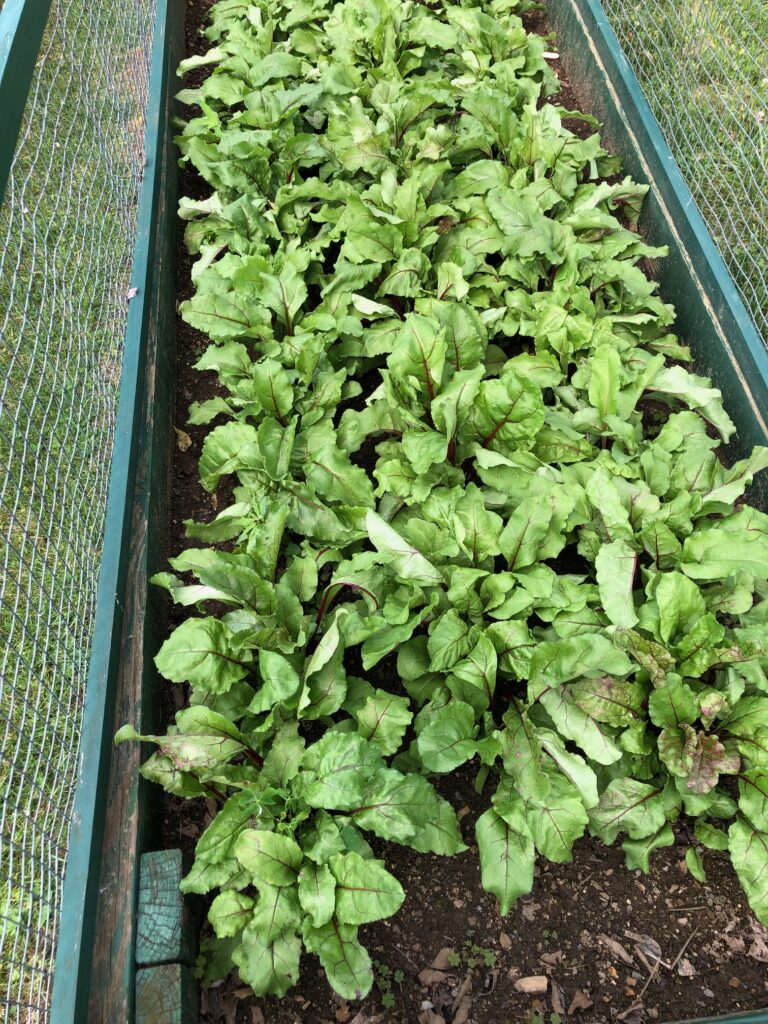
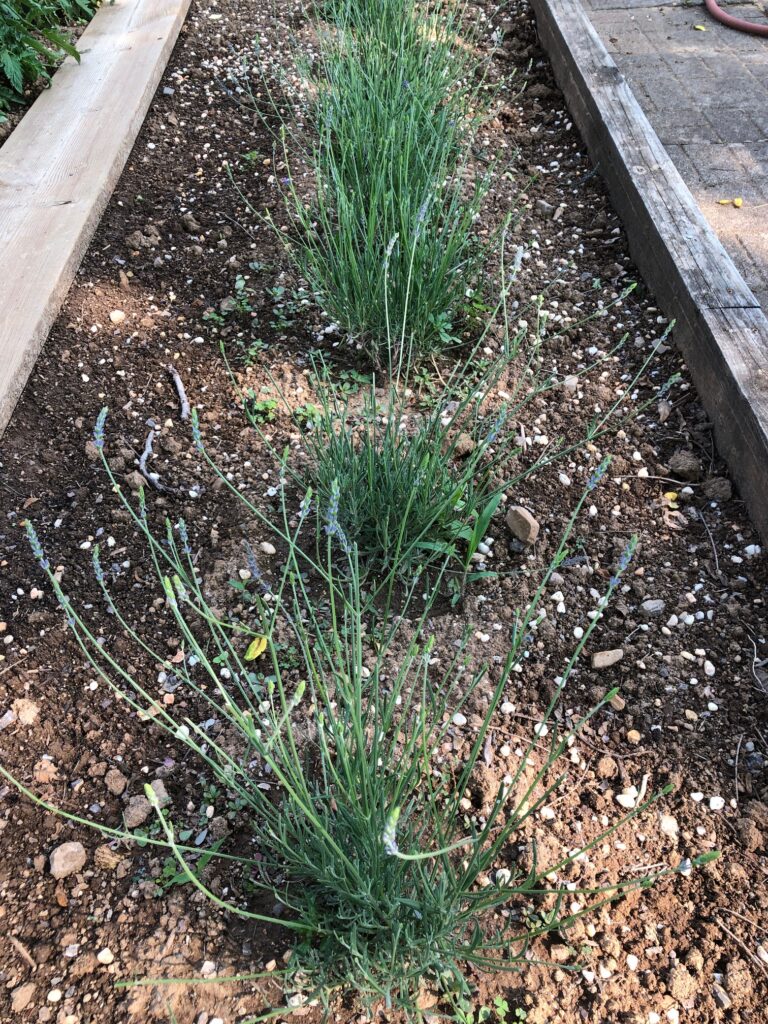
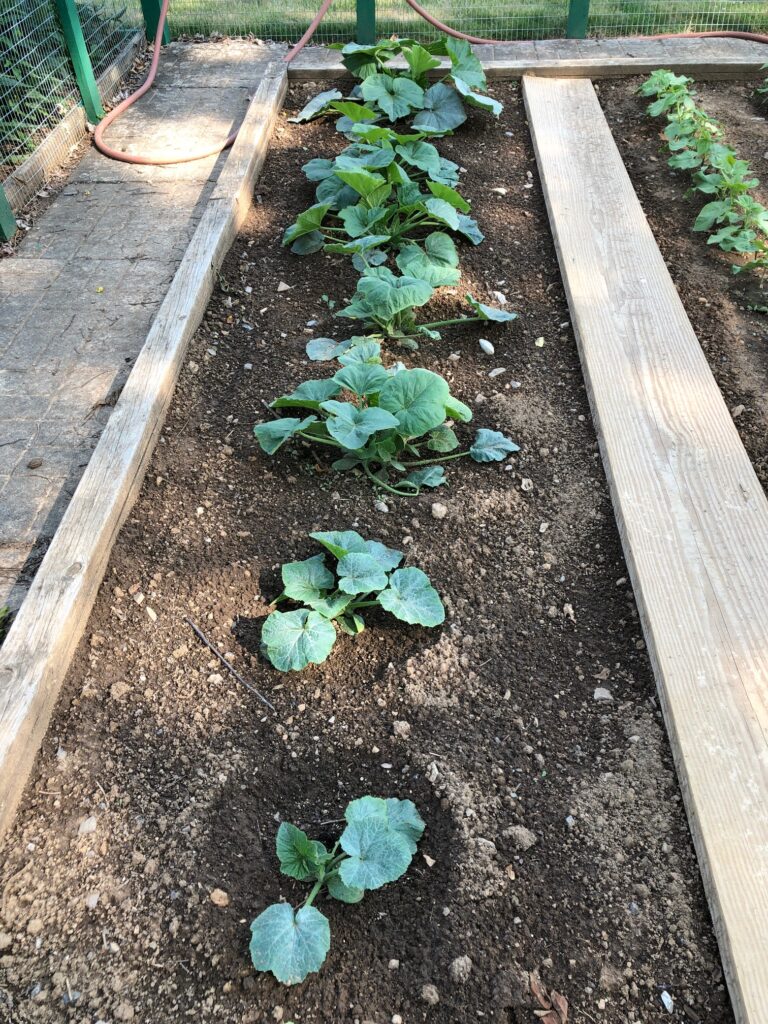
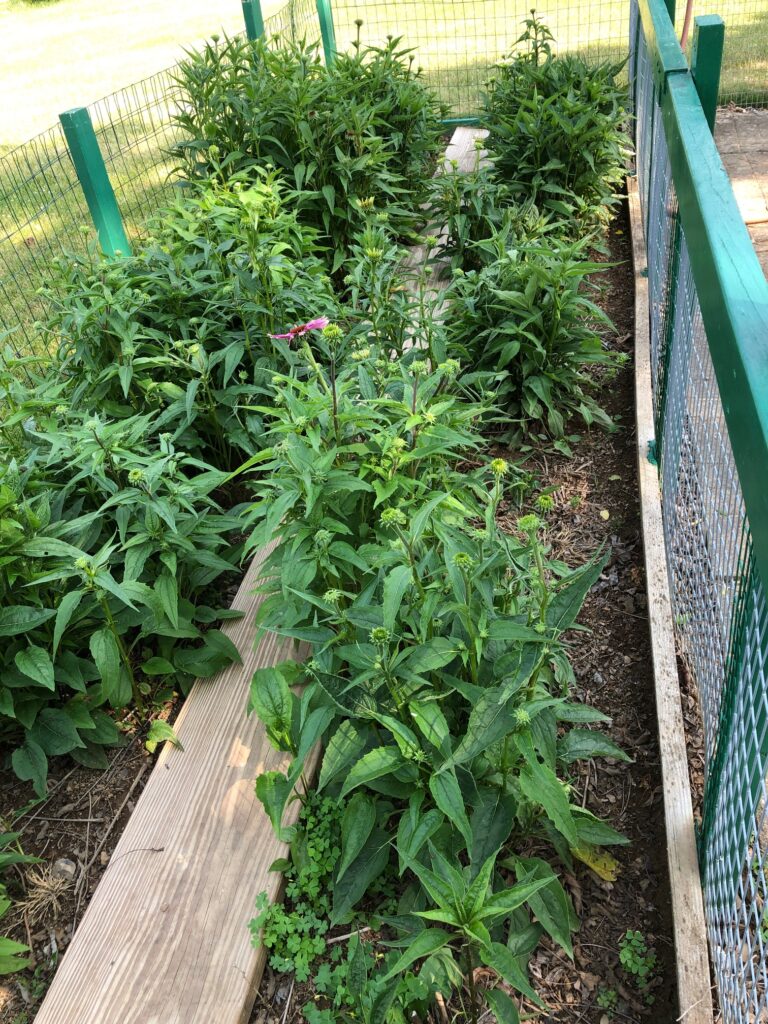
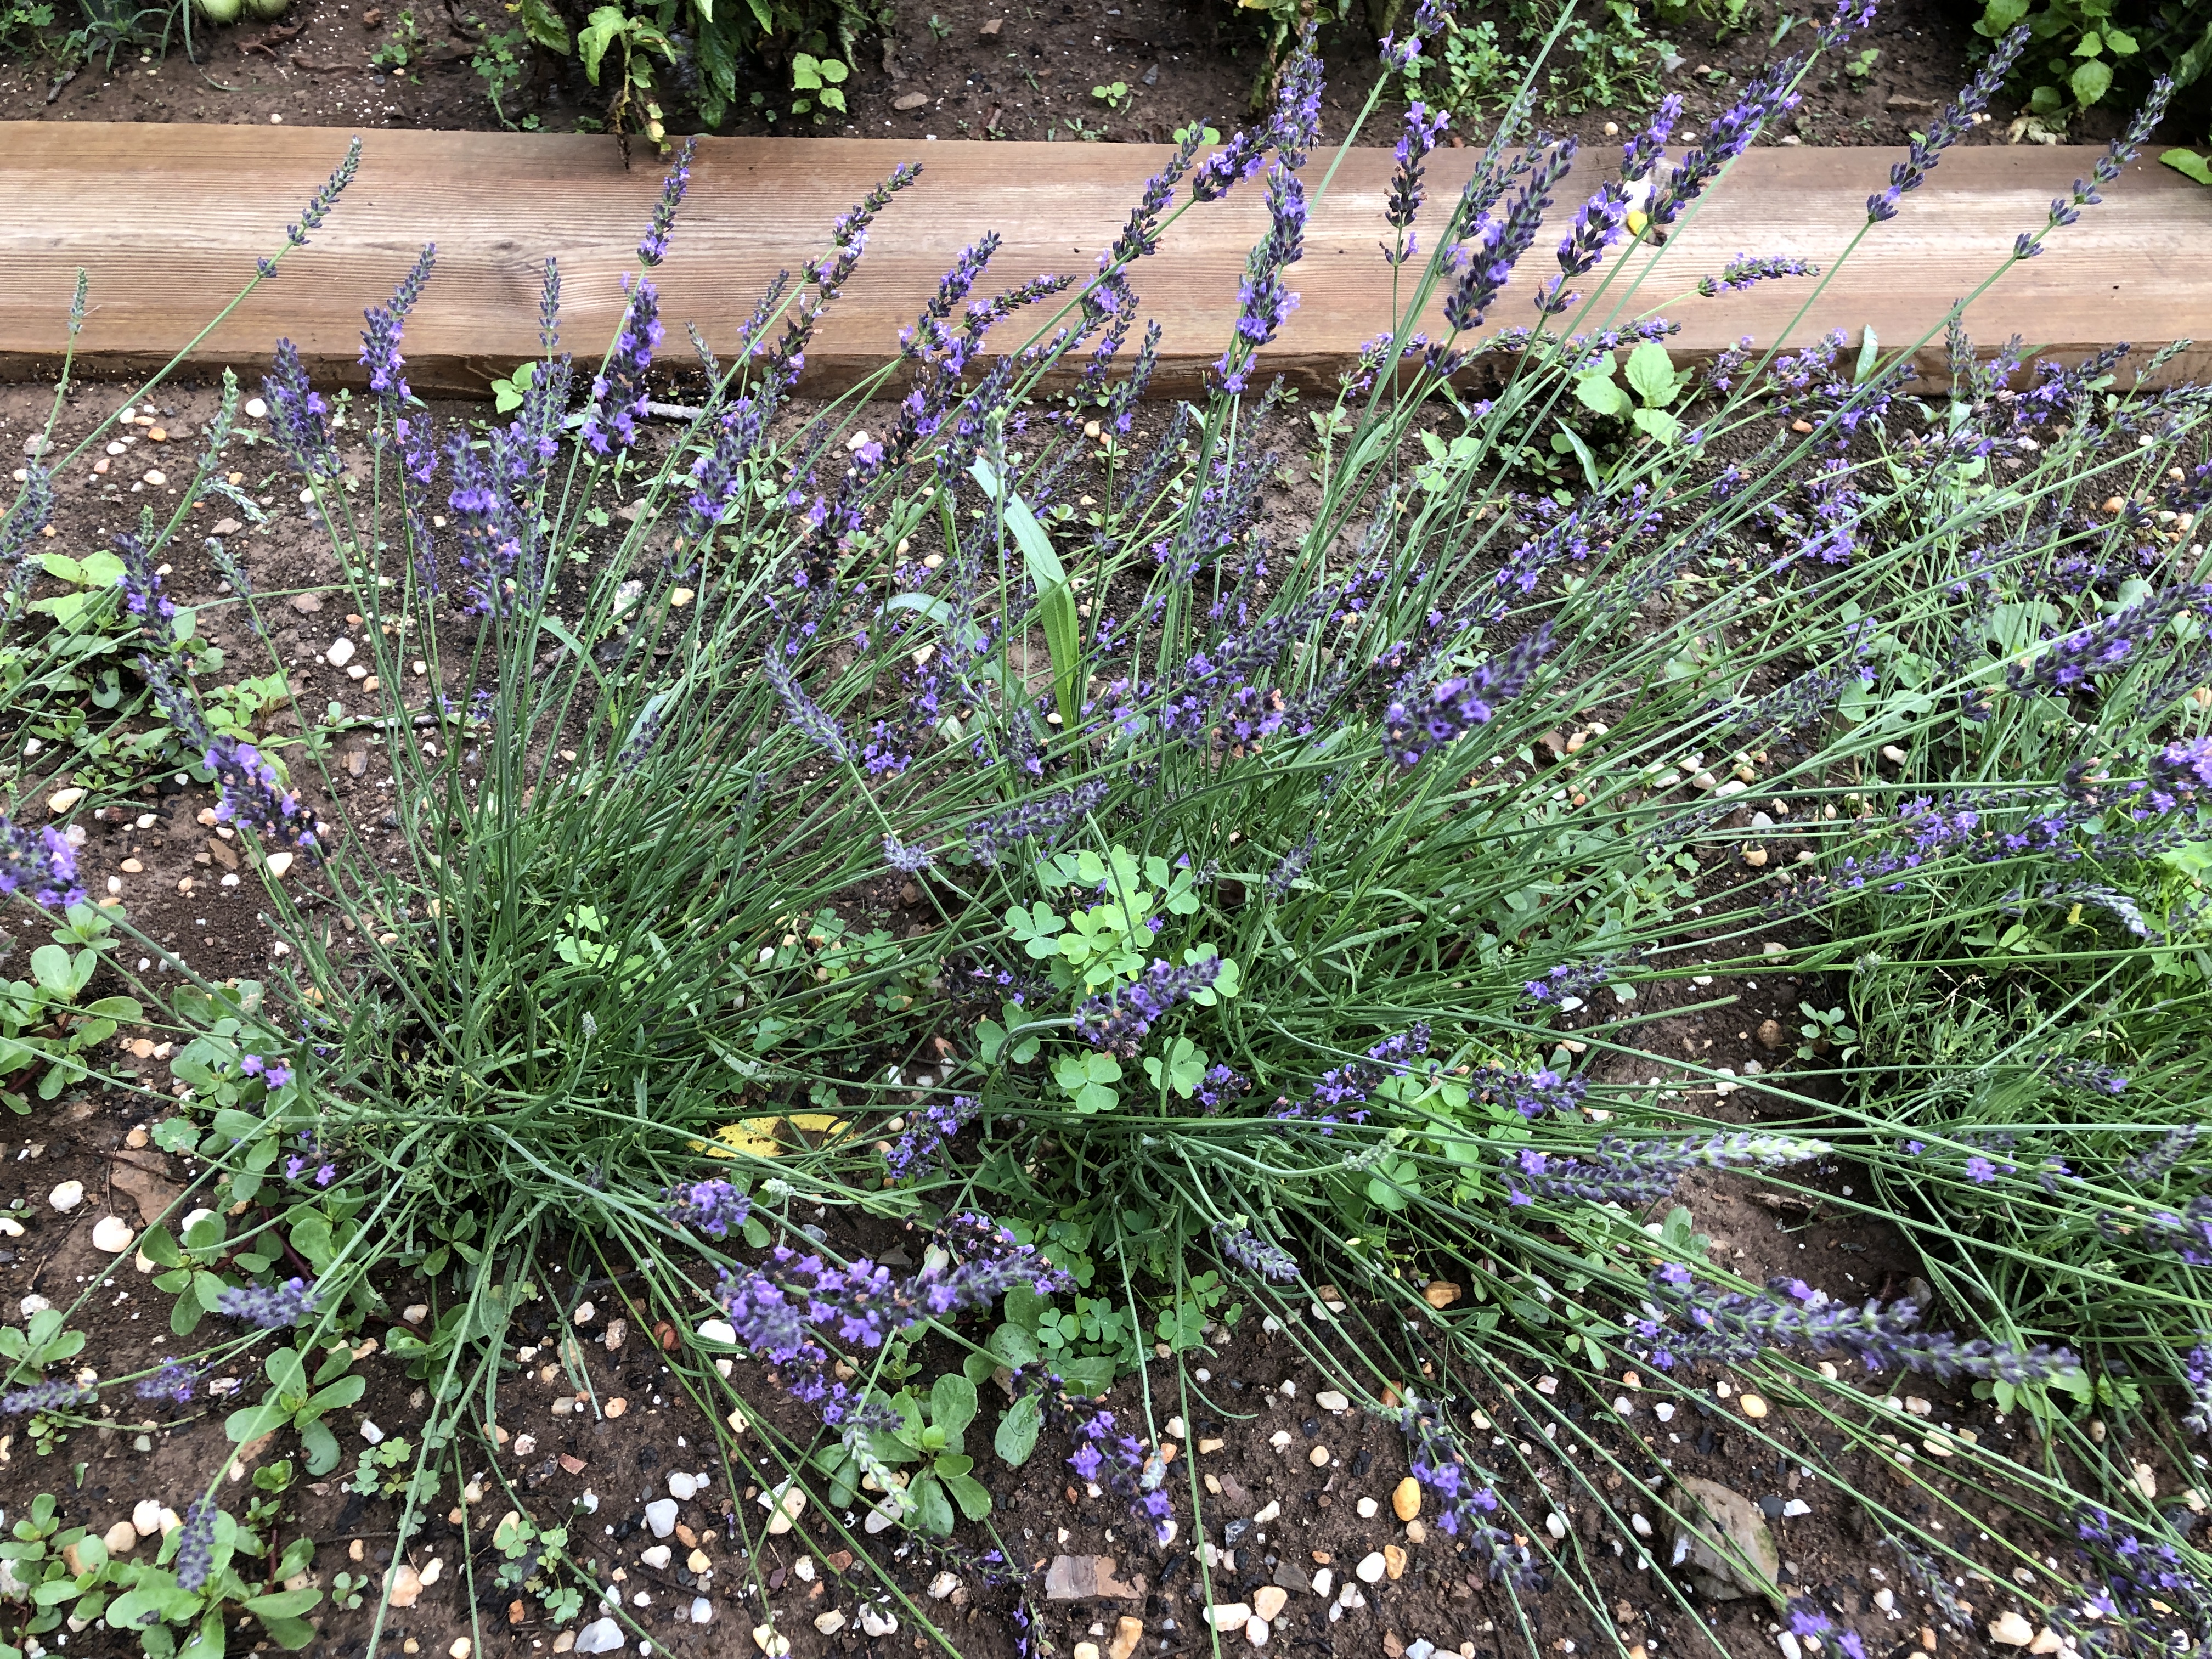
Lately, I’ve been inspired by the lavender fields you’ve seen in photos and my plants in the garden:
Choosing a pattern:
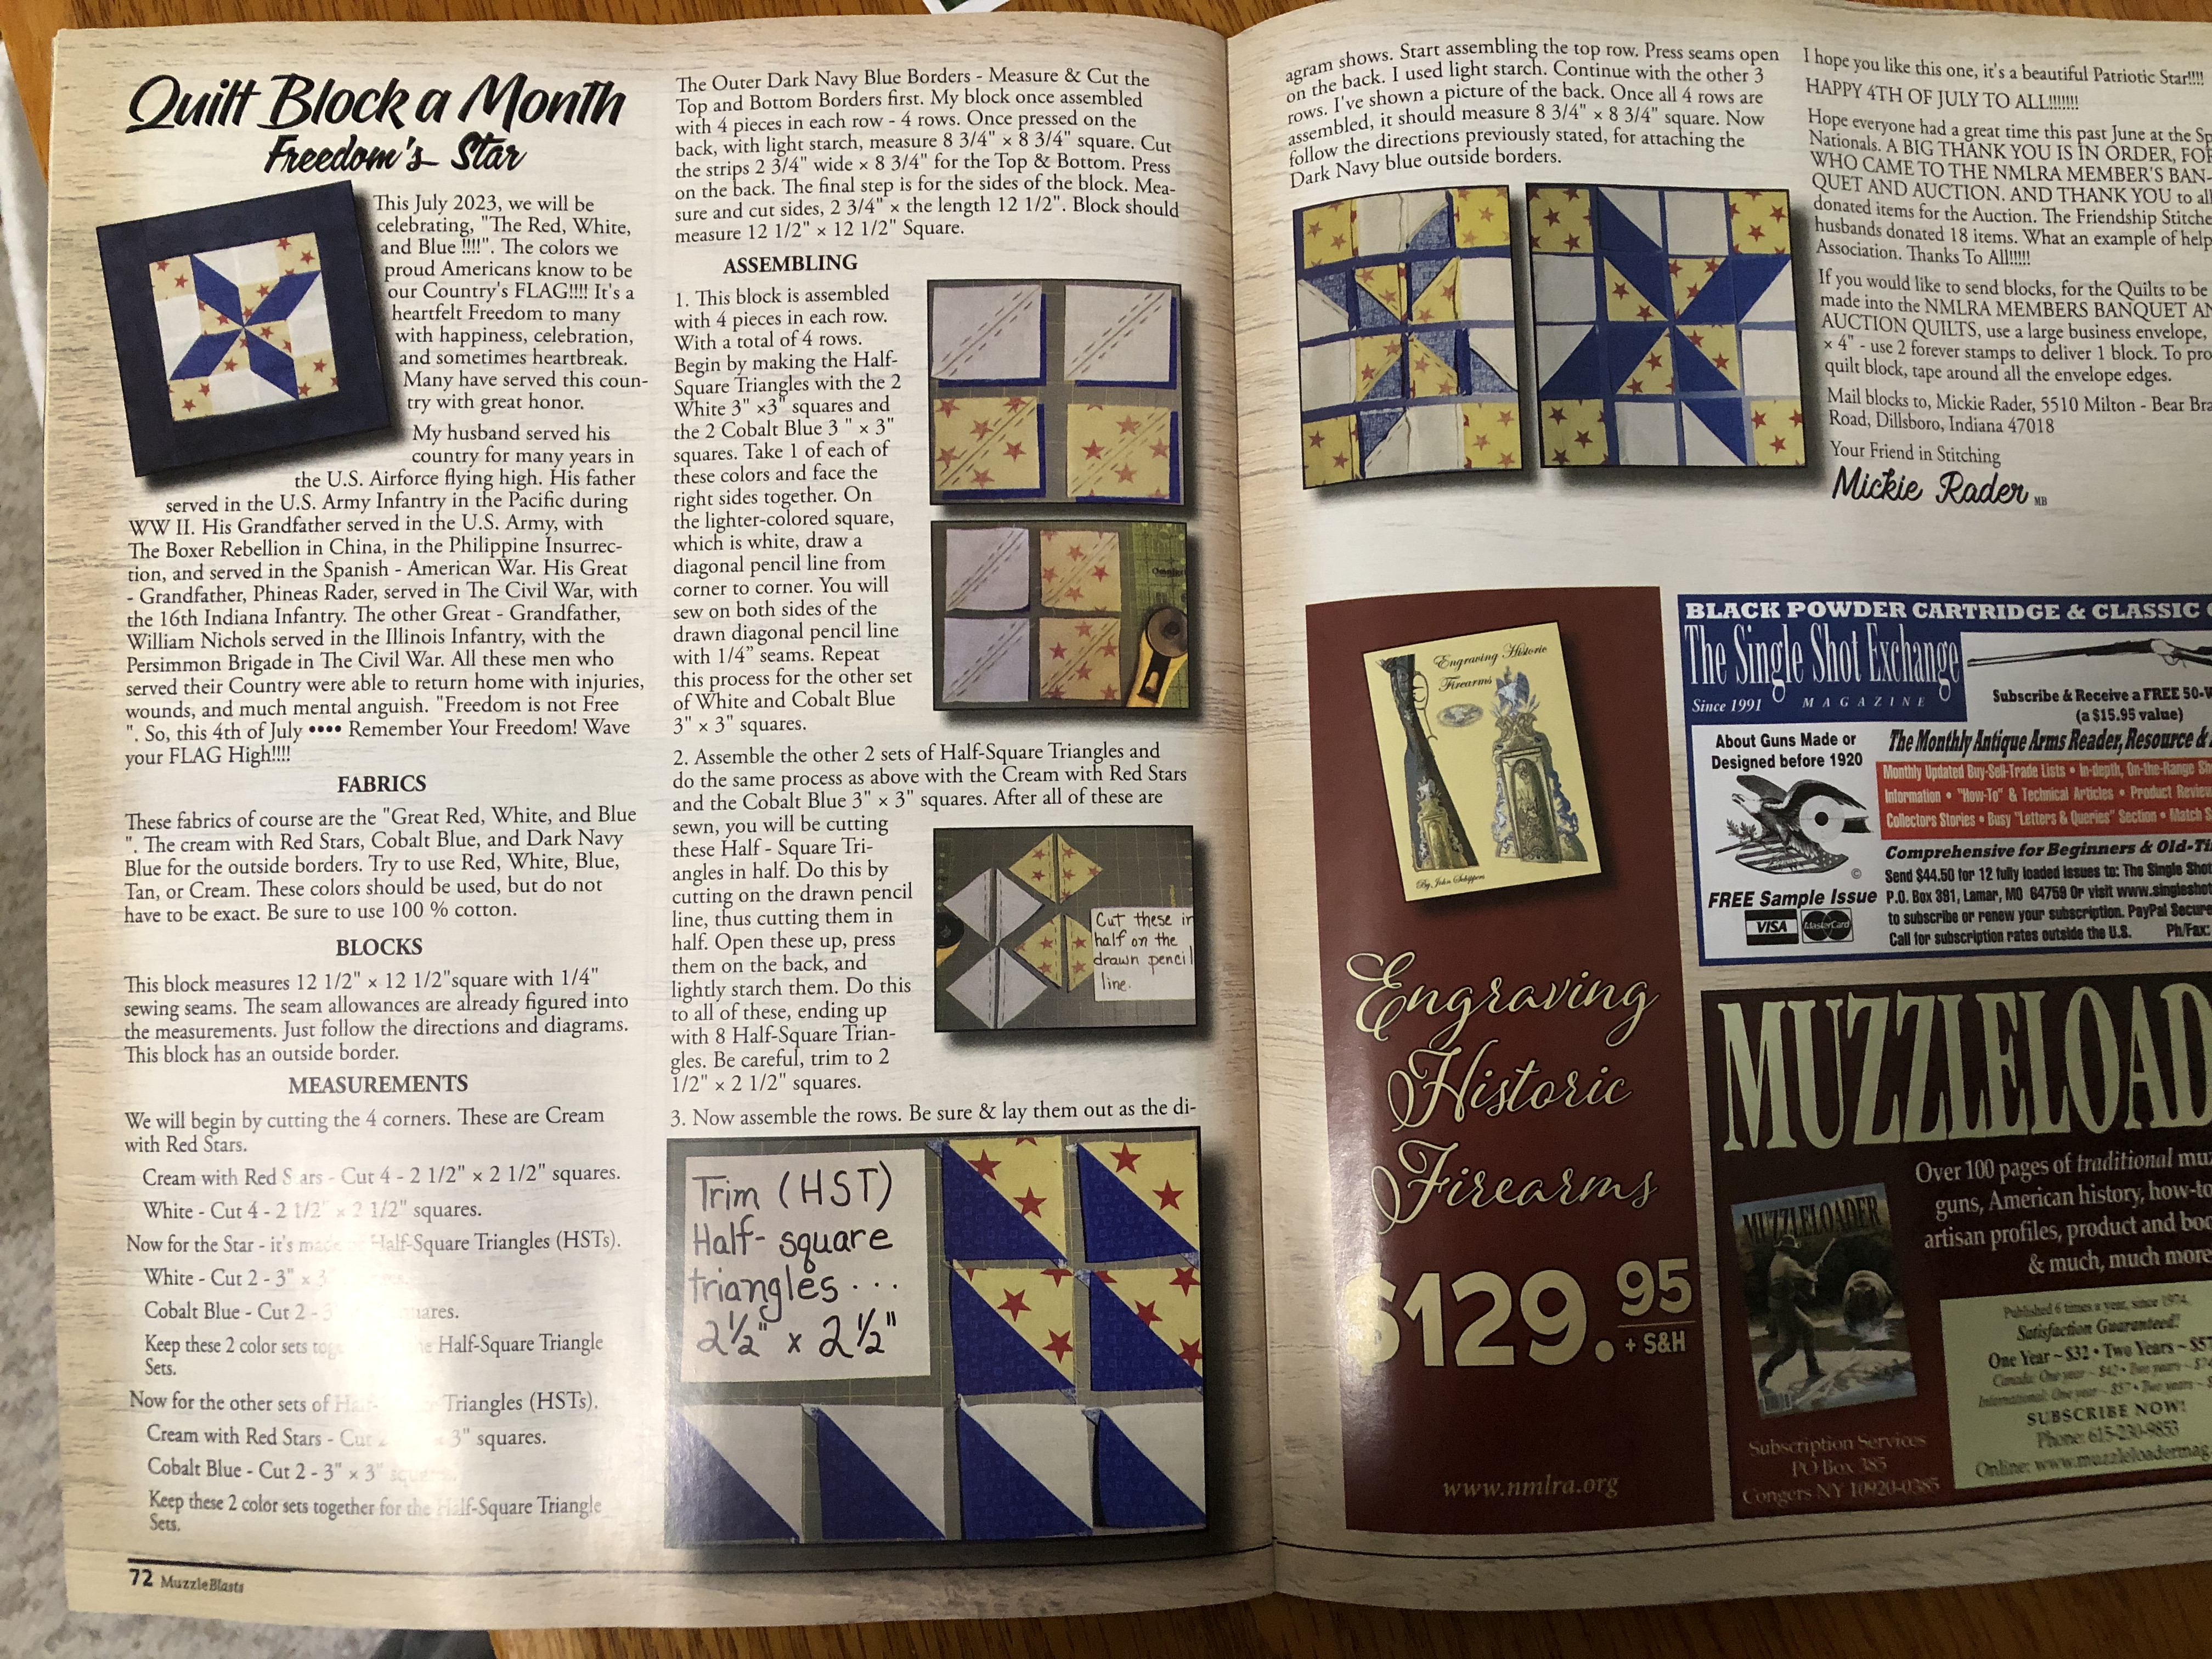
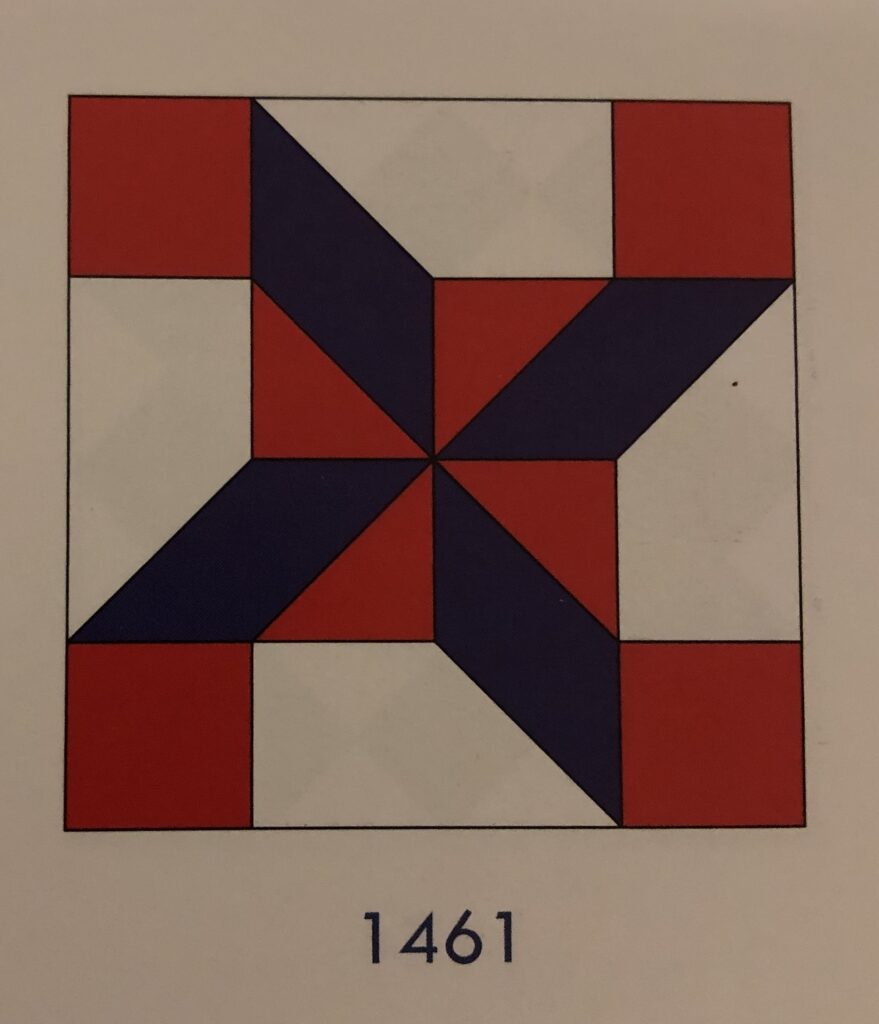
Bert had just received his latest copy of MuzzleBlasts, that always has a page or two with a quilt block suggestion:
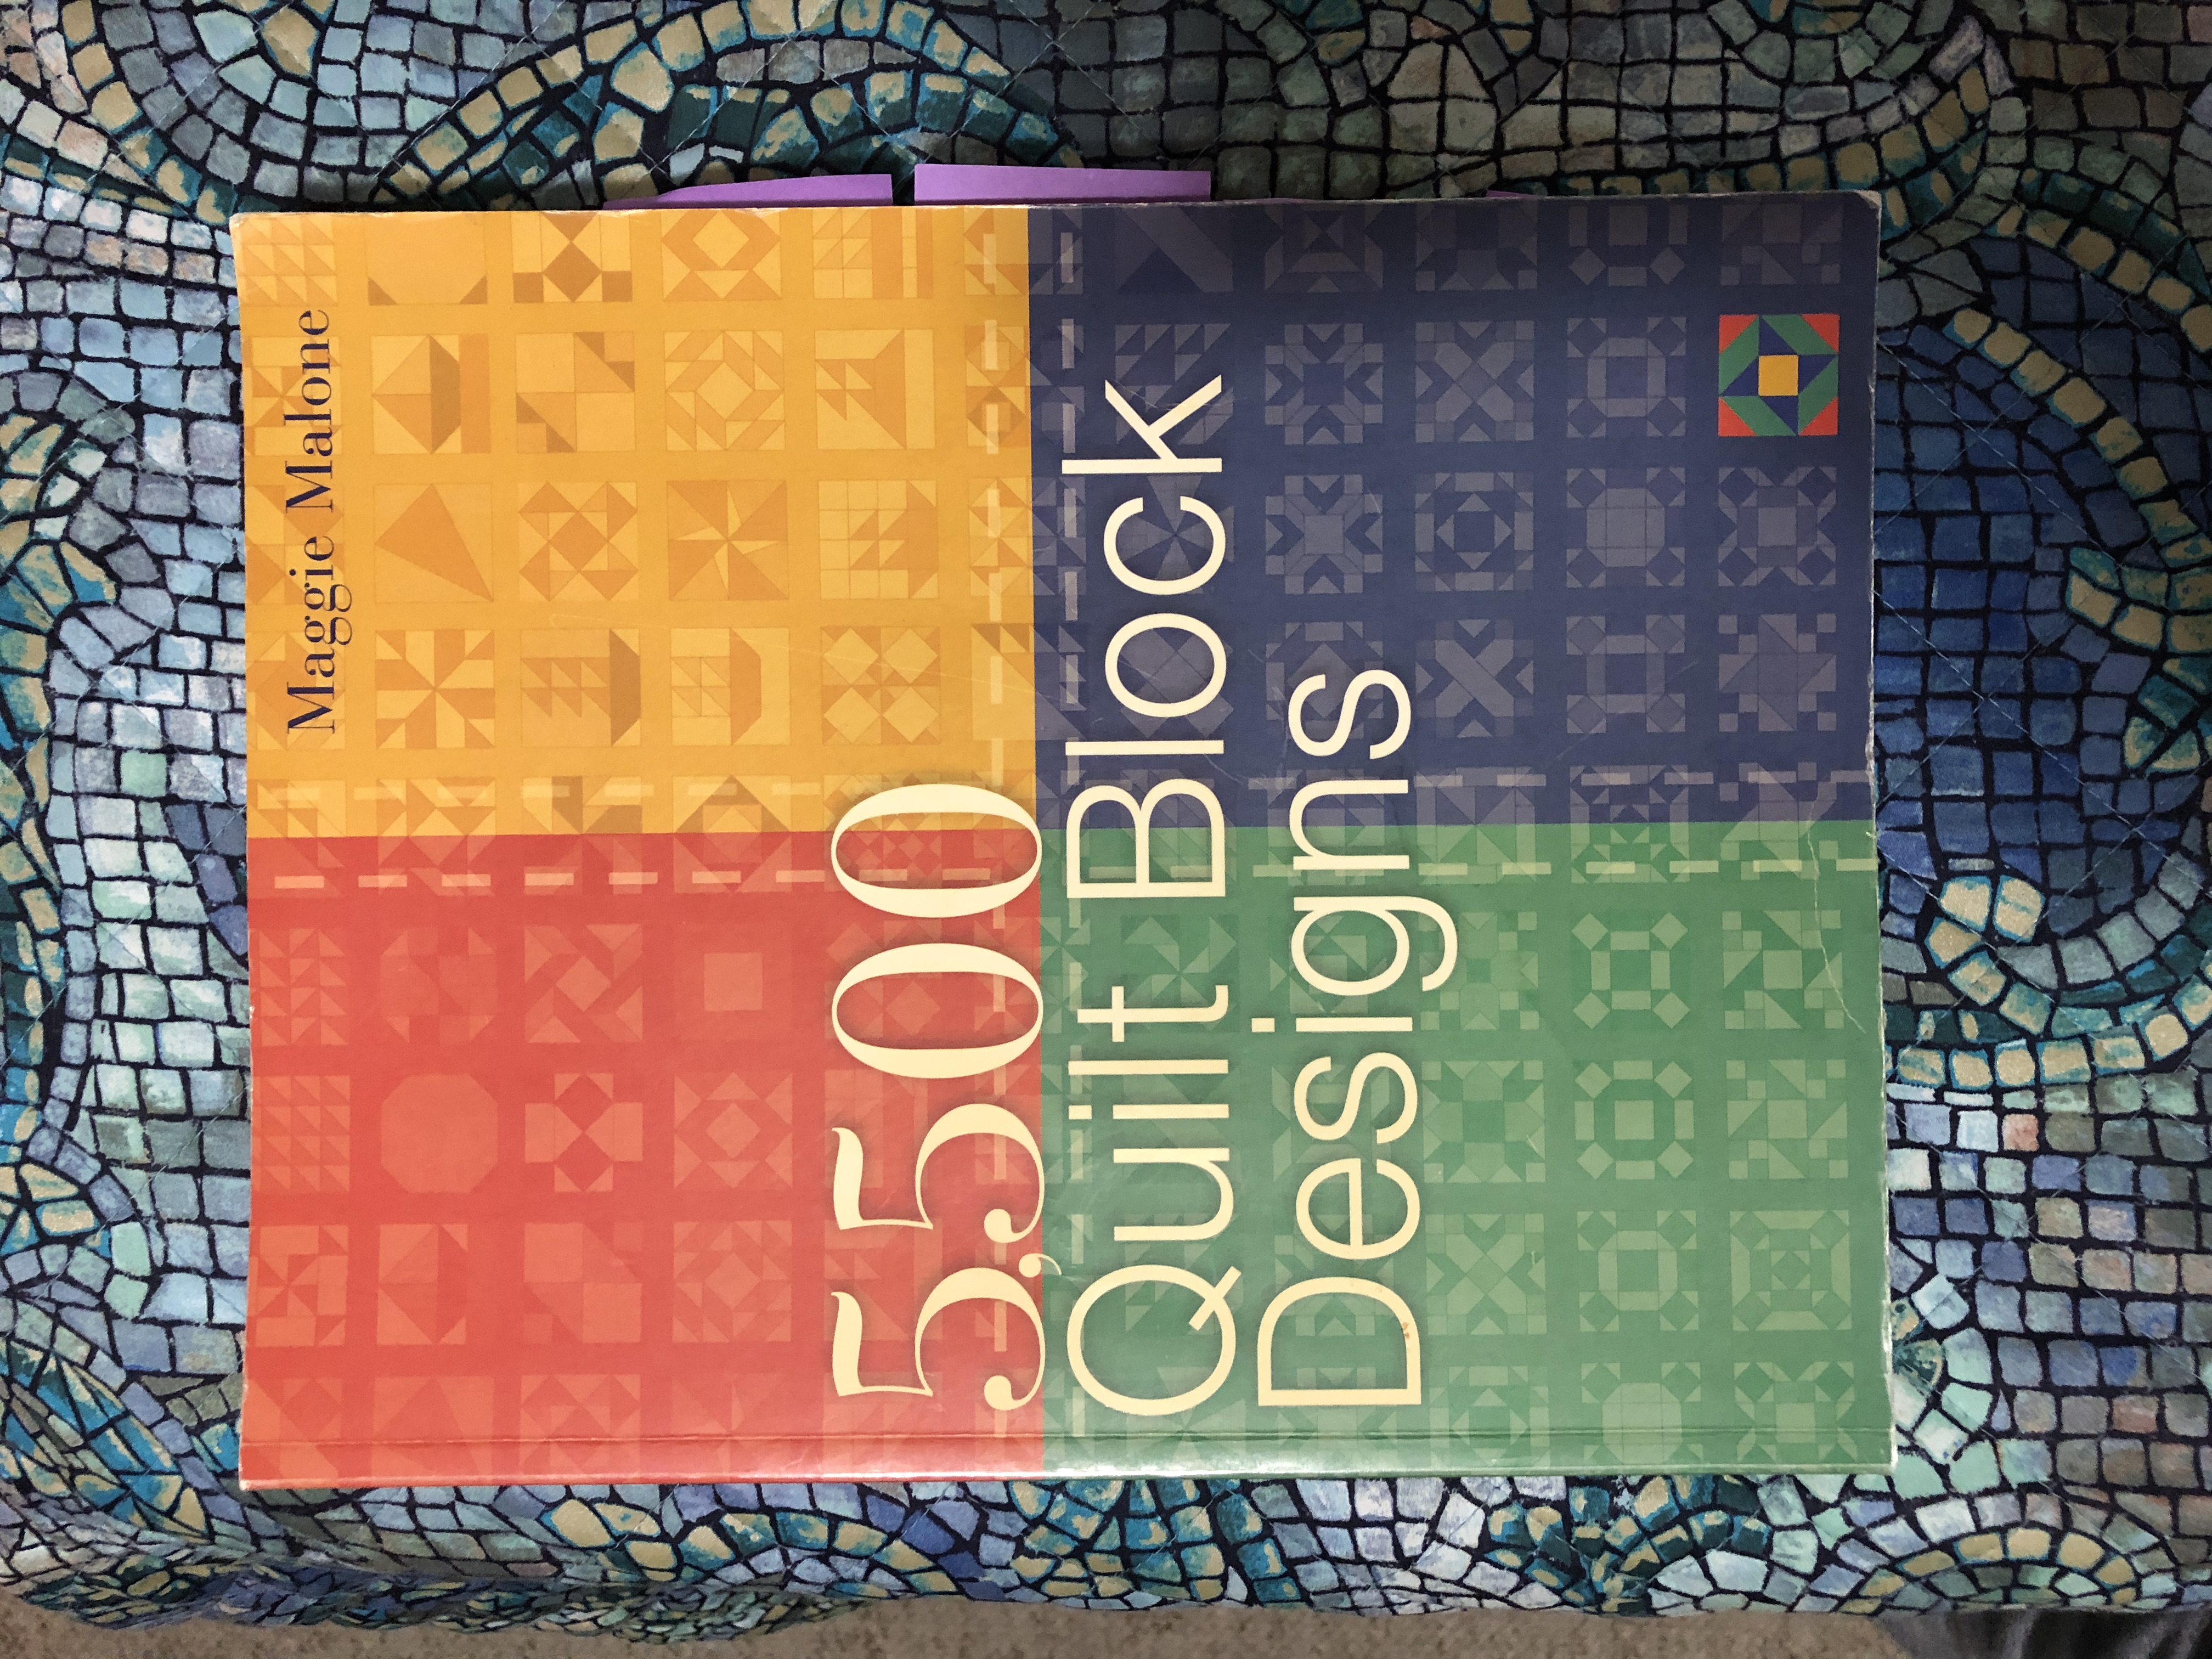
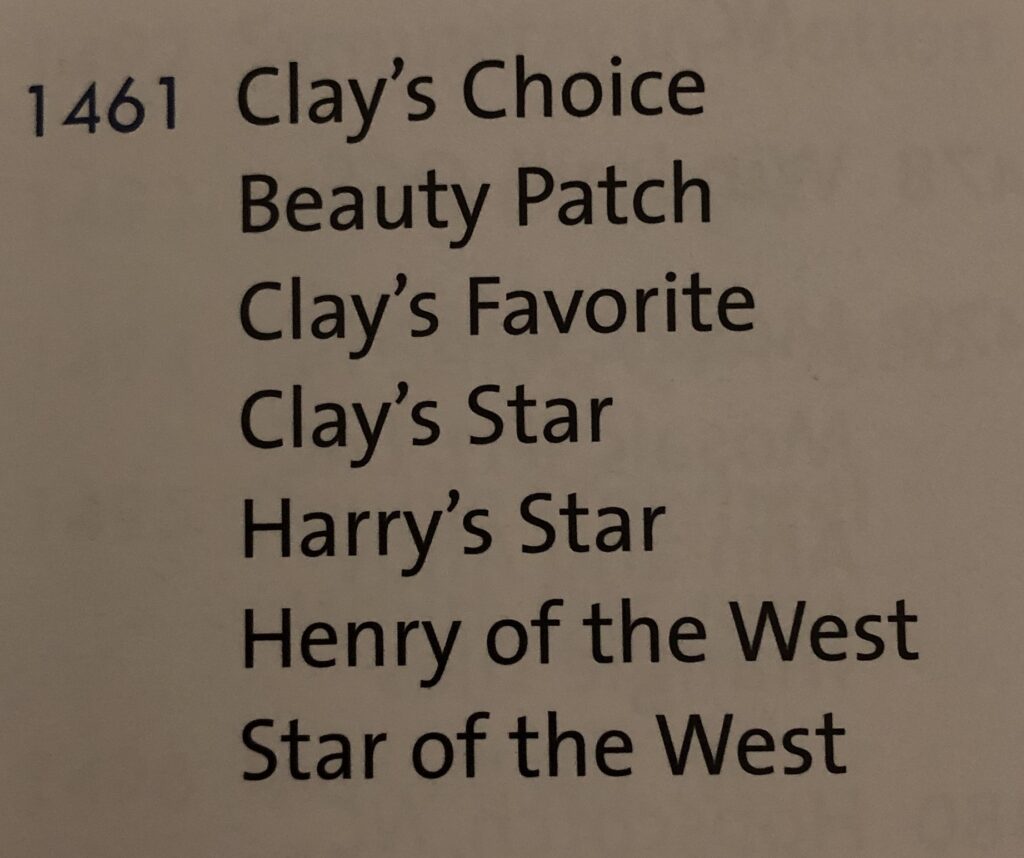
First, I needed to find this block (called Freedom’s Star here) in my favorite books that will tell me other names for the block. I found it in this book by Maggie Malone, with 7 other possible names:
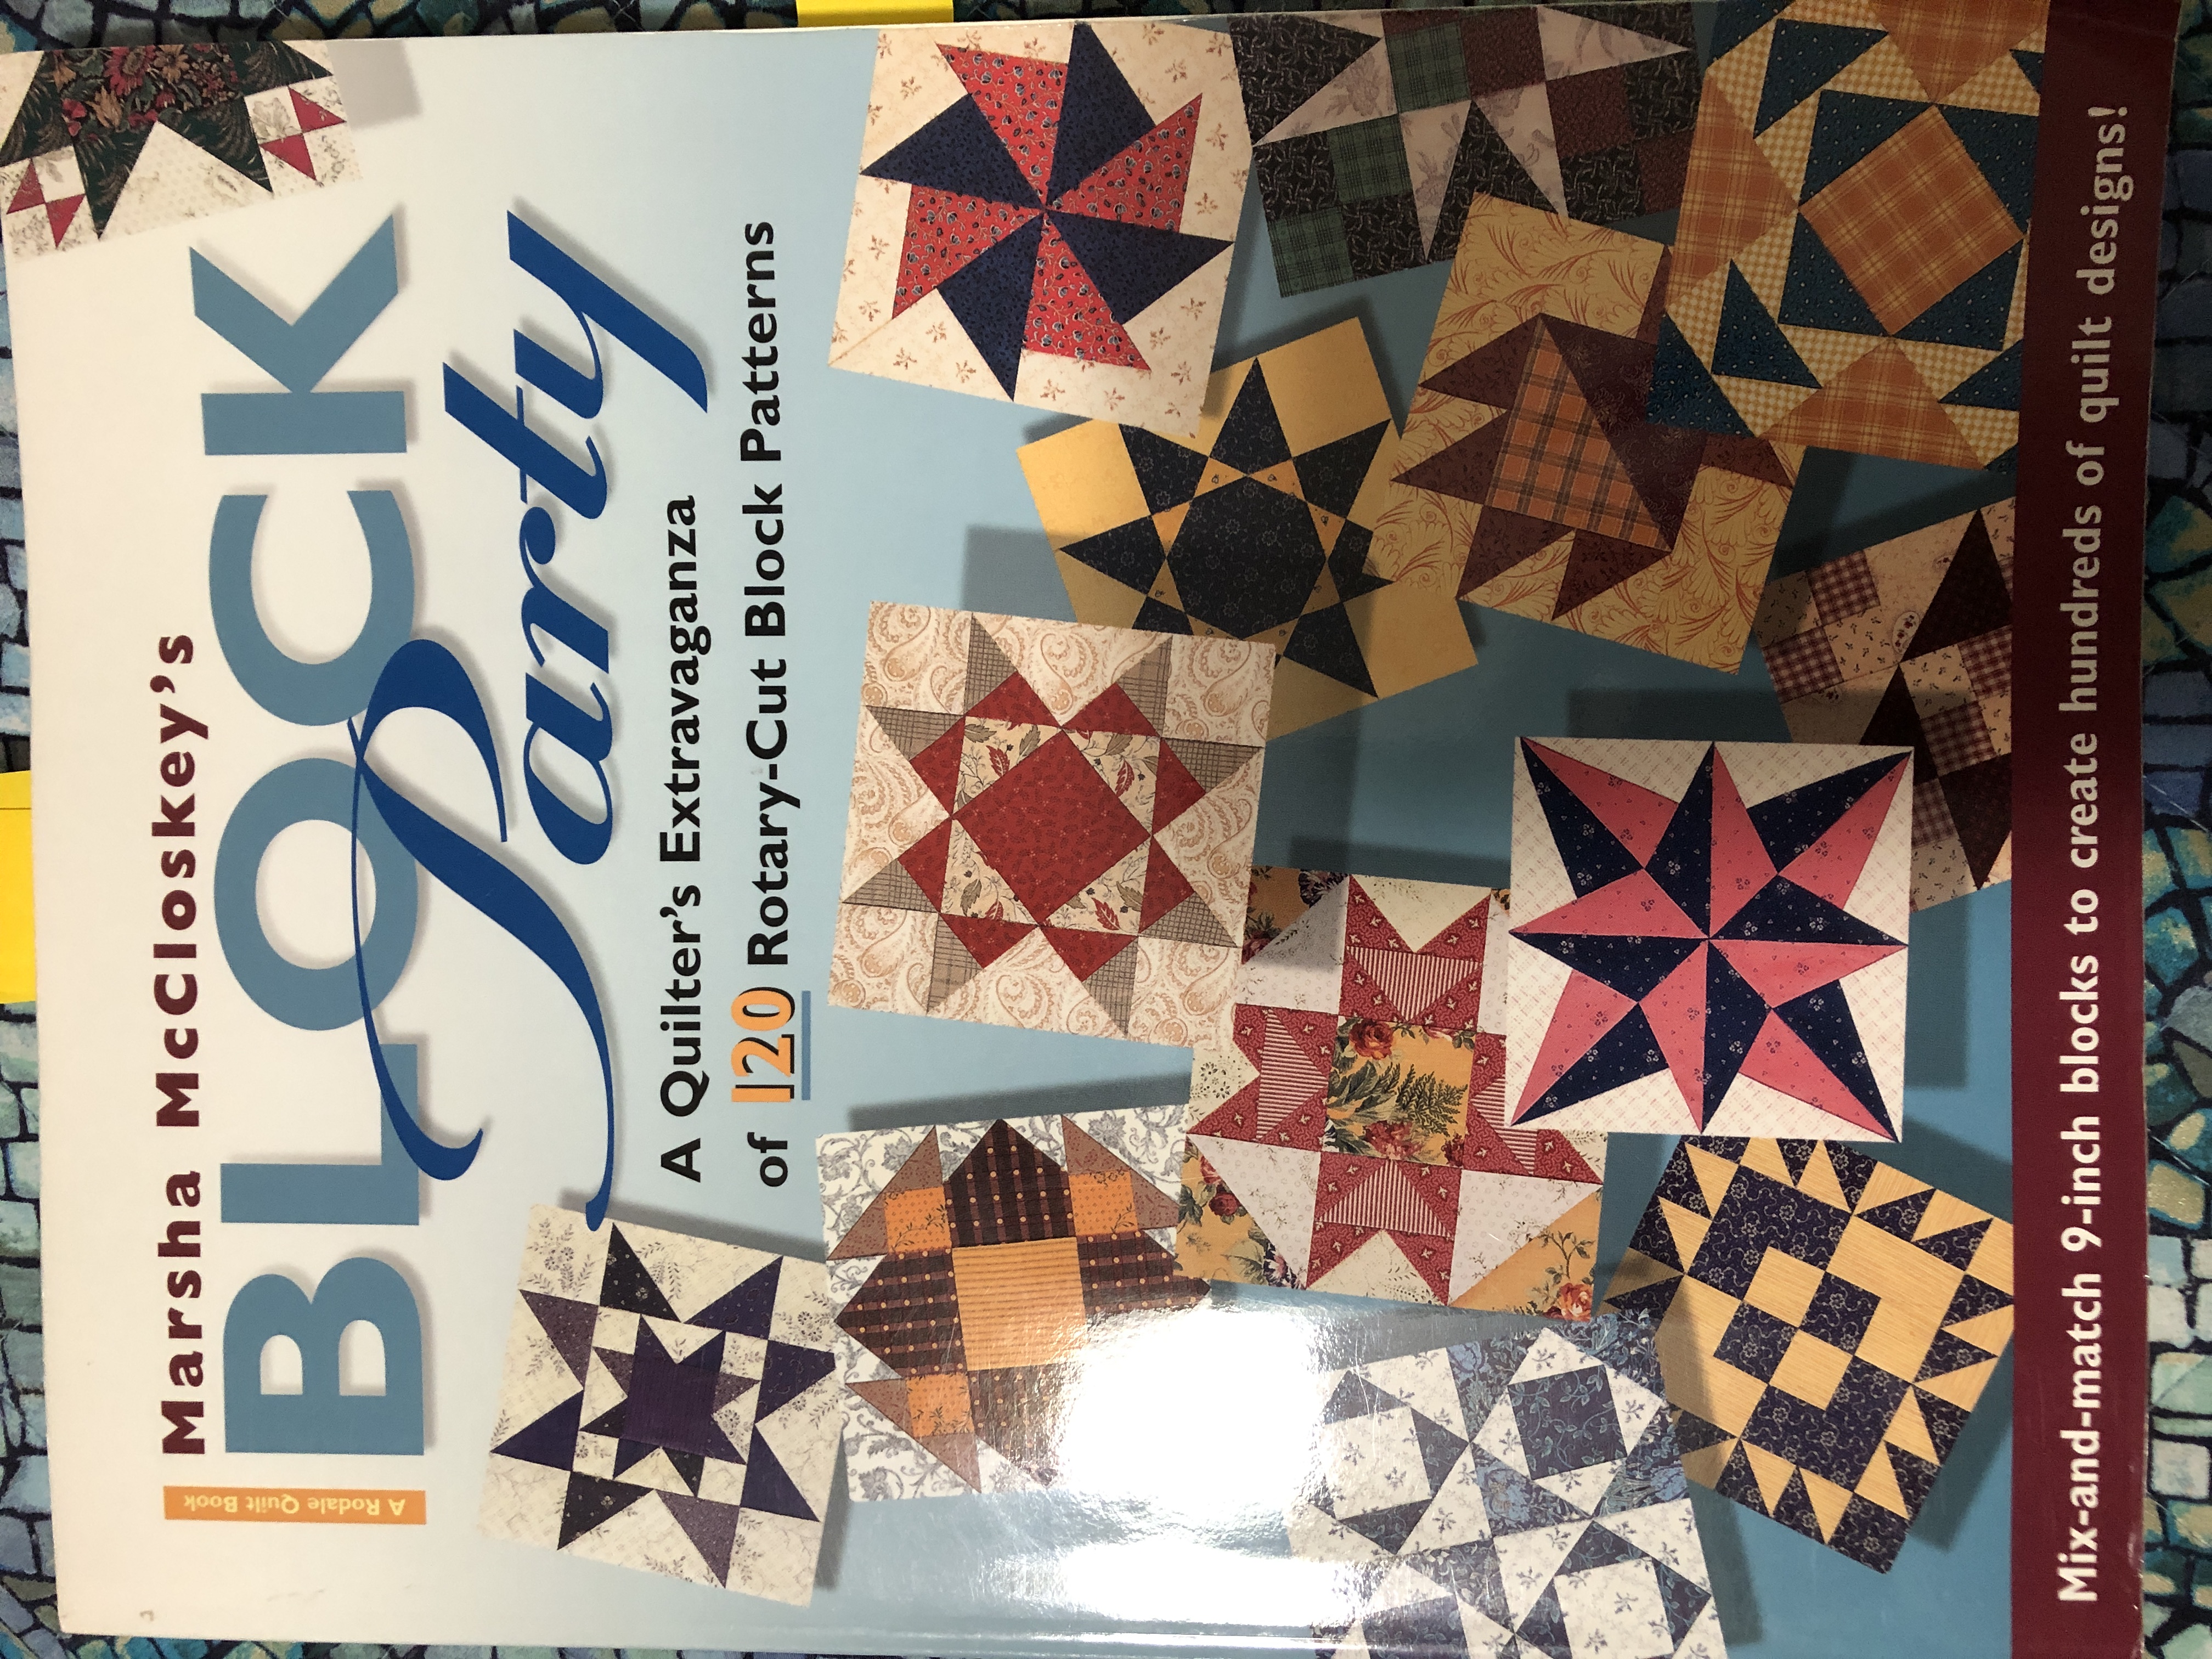
Then I found the block in another book, that gives me ideas for balancing the colors (light and dark):
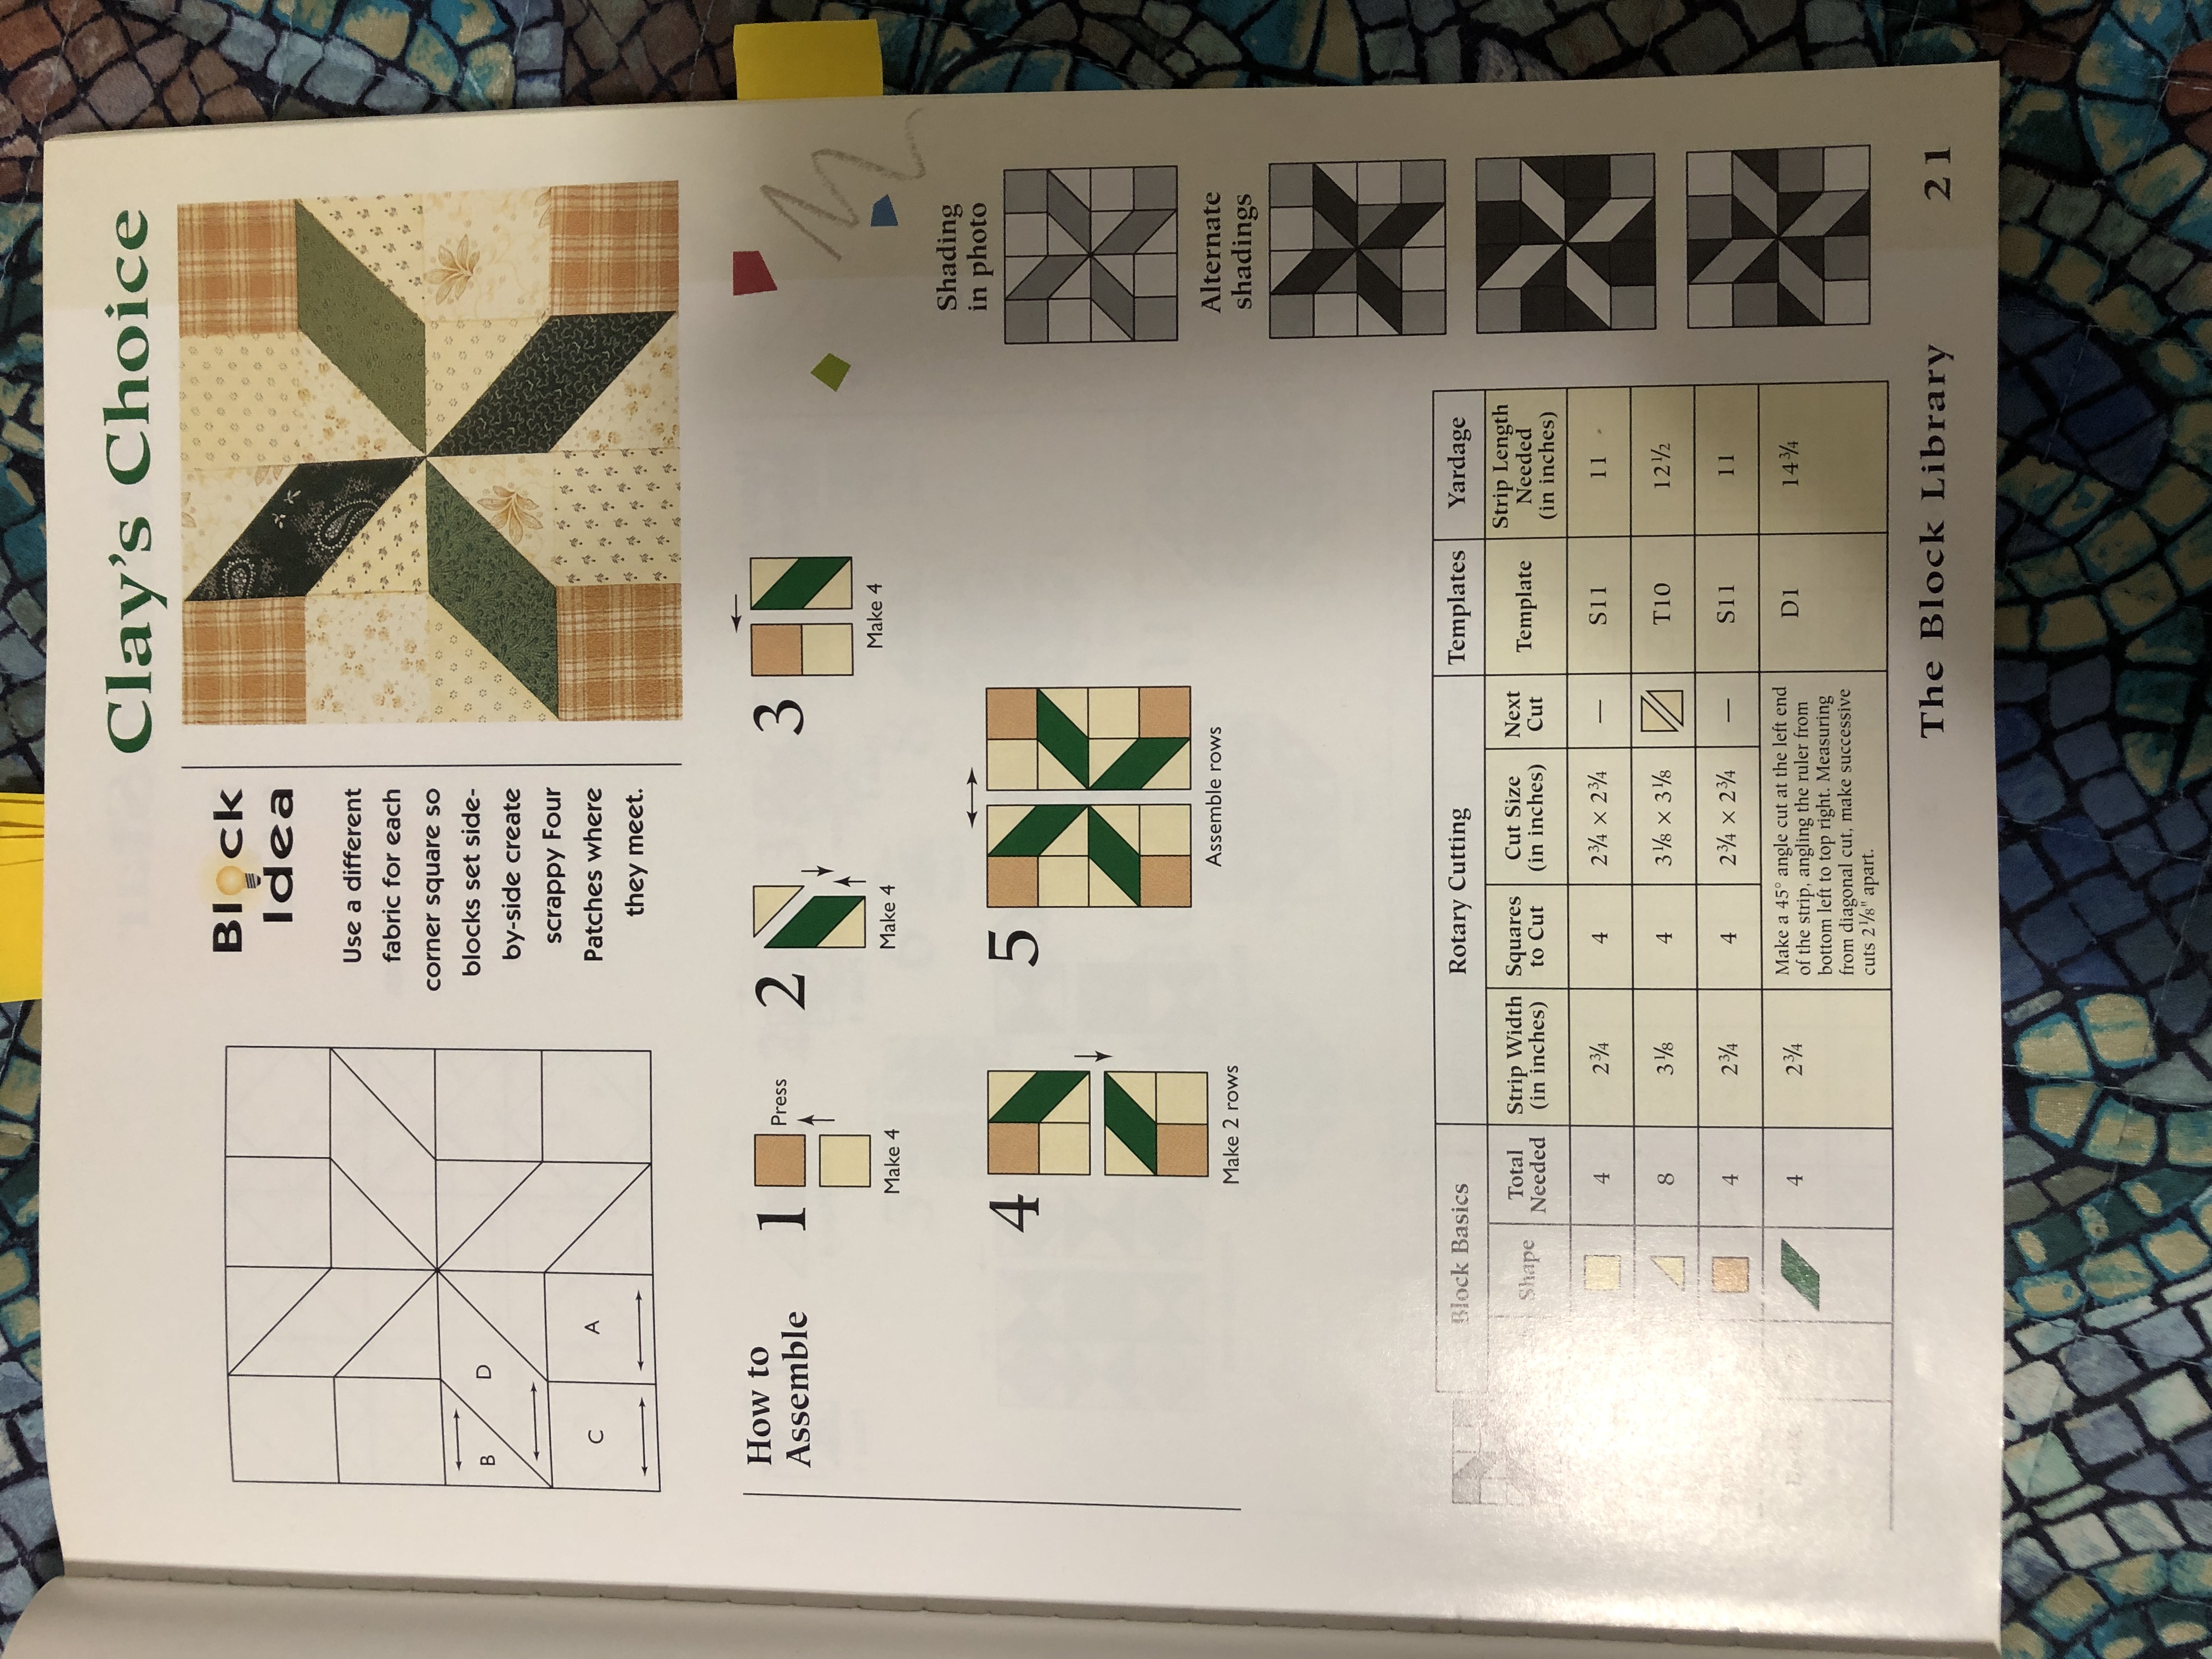
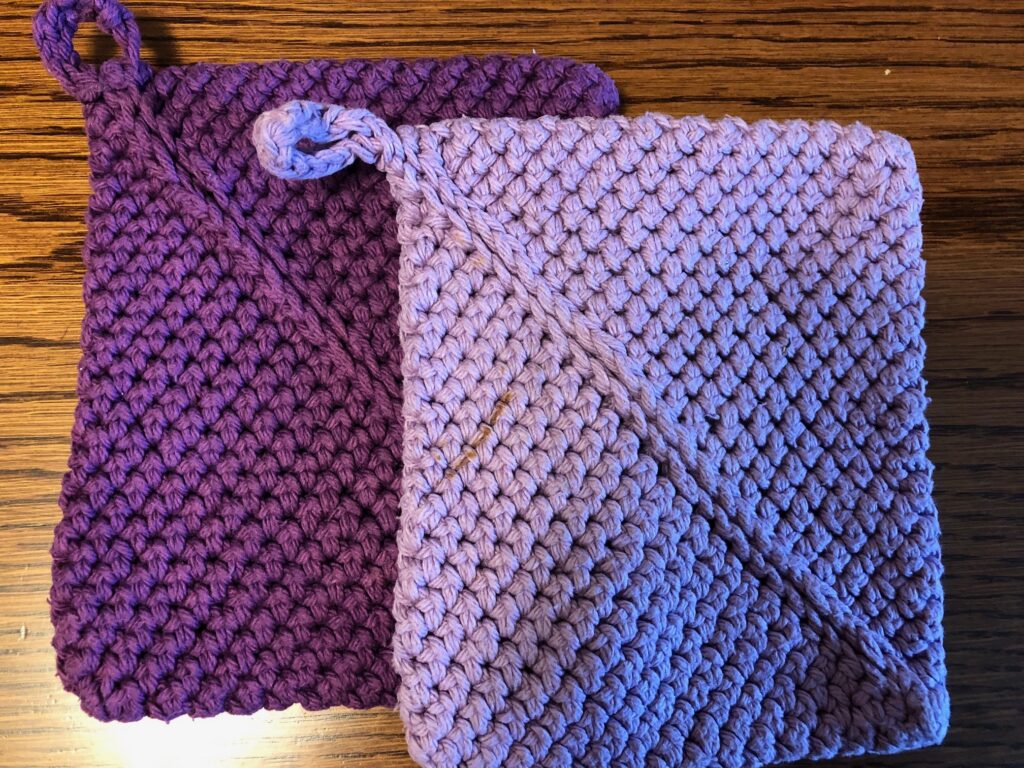
Finally, I knew I wanted to use light and dark purple/lavender paint.
Making a Miniature Block First
For each 12″ x 12″ square block I paint, I first make a miniature block on a 3″ x 3″ canvas (available from Amazon). That lets me test the pattern and the colors.
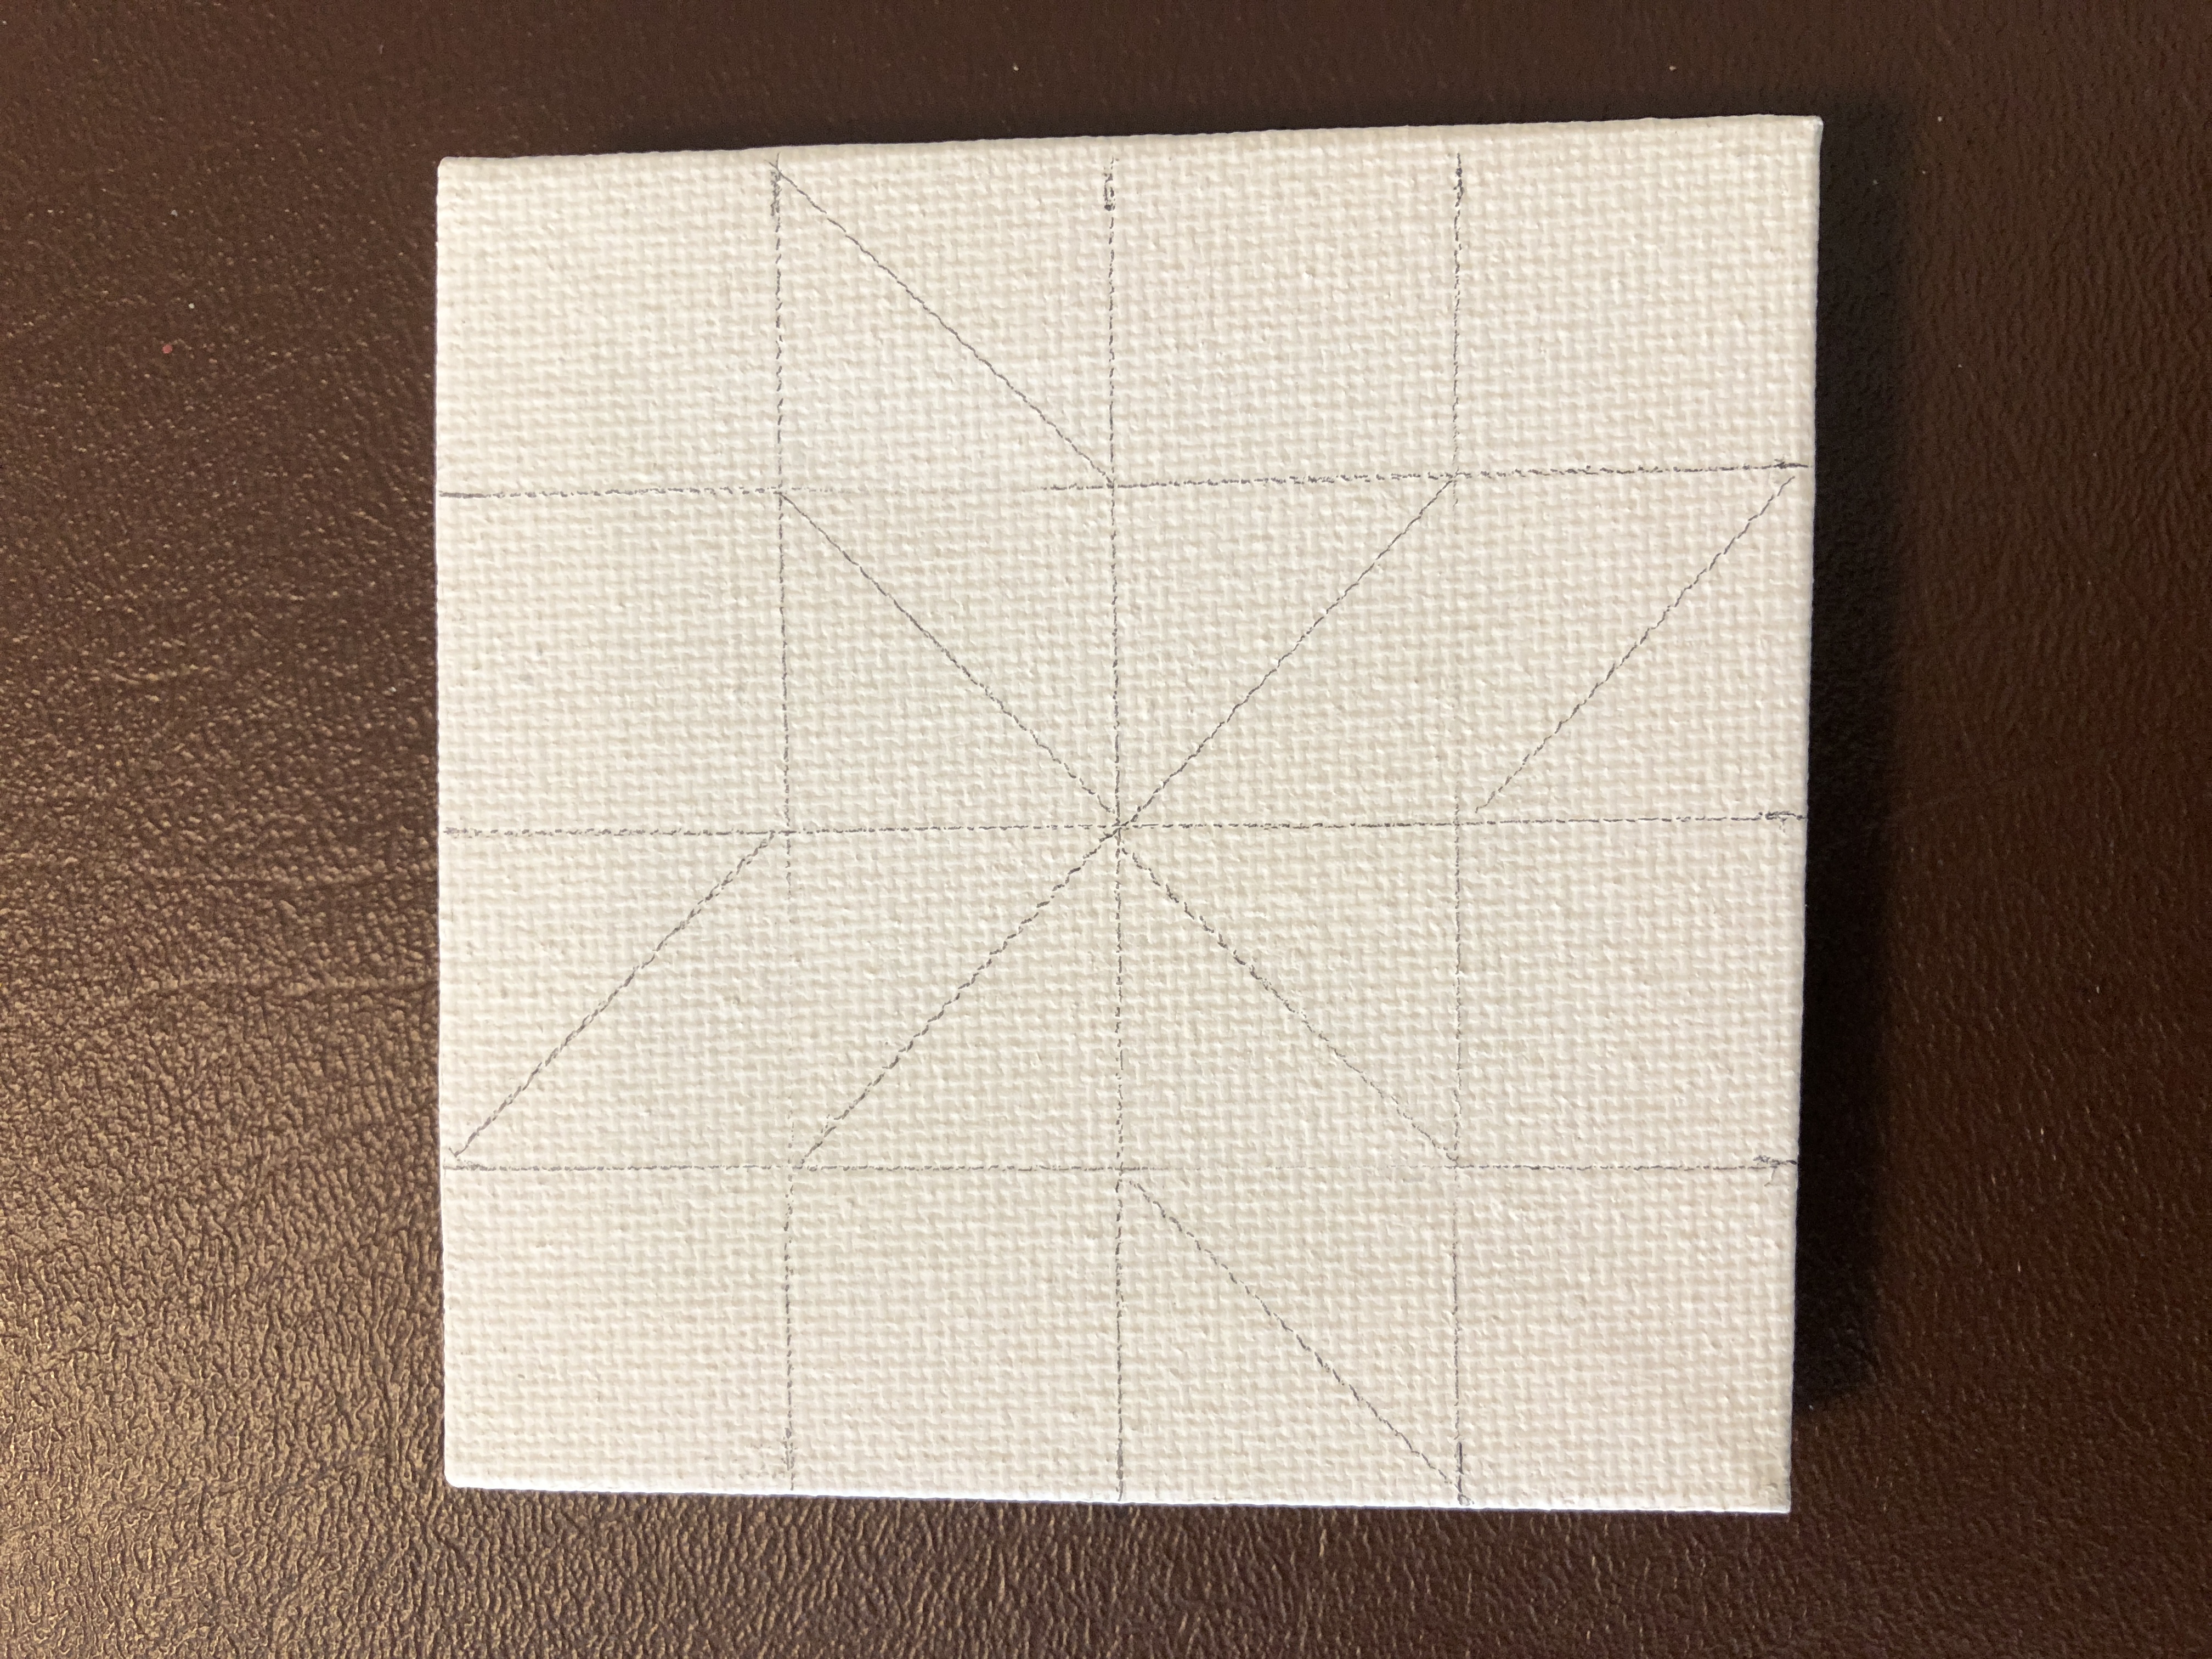
So, I draw the guidelines to make a 4 x 4 block:
…and start filling in with color:

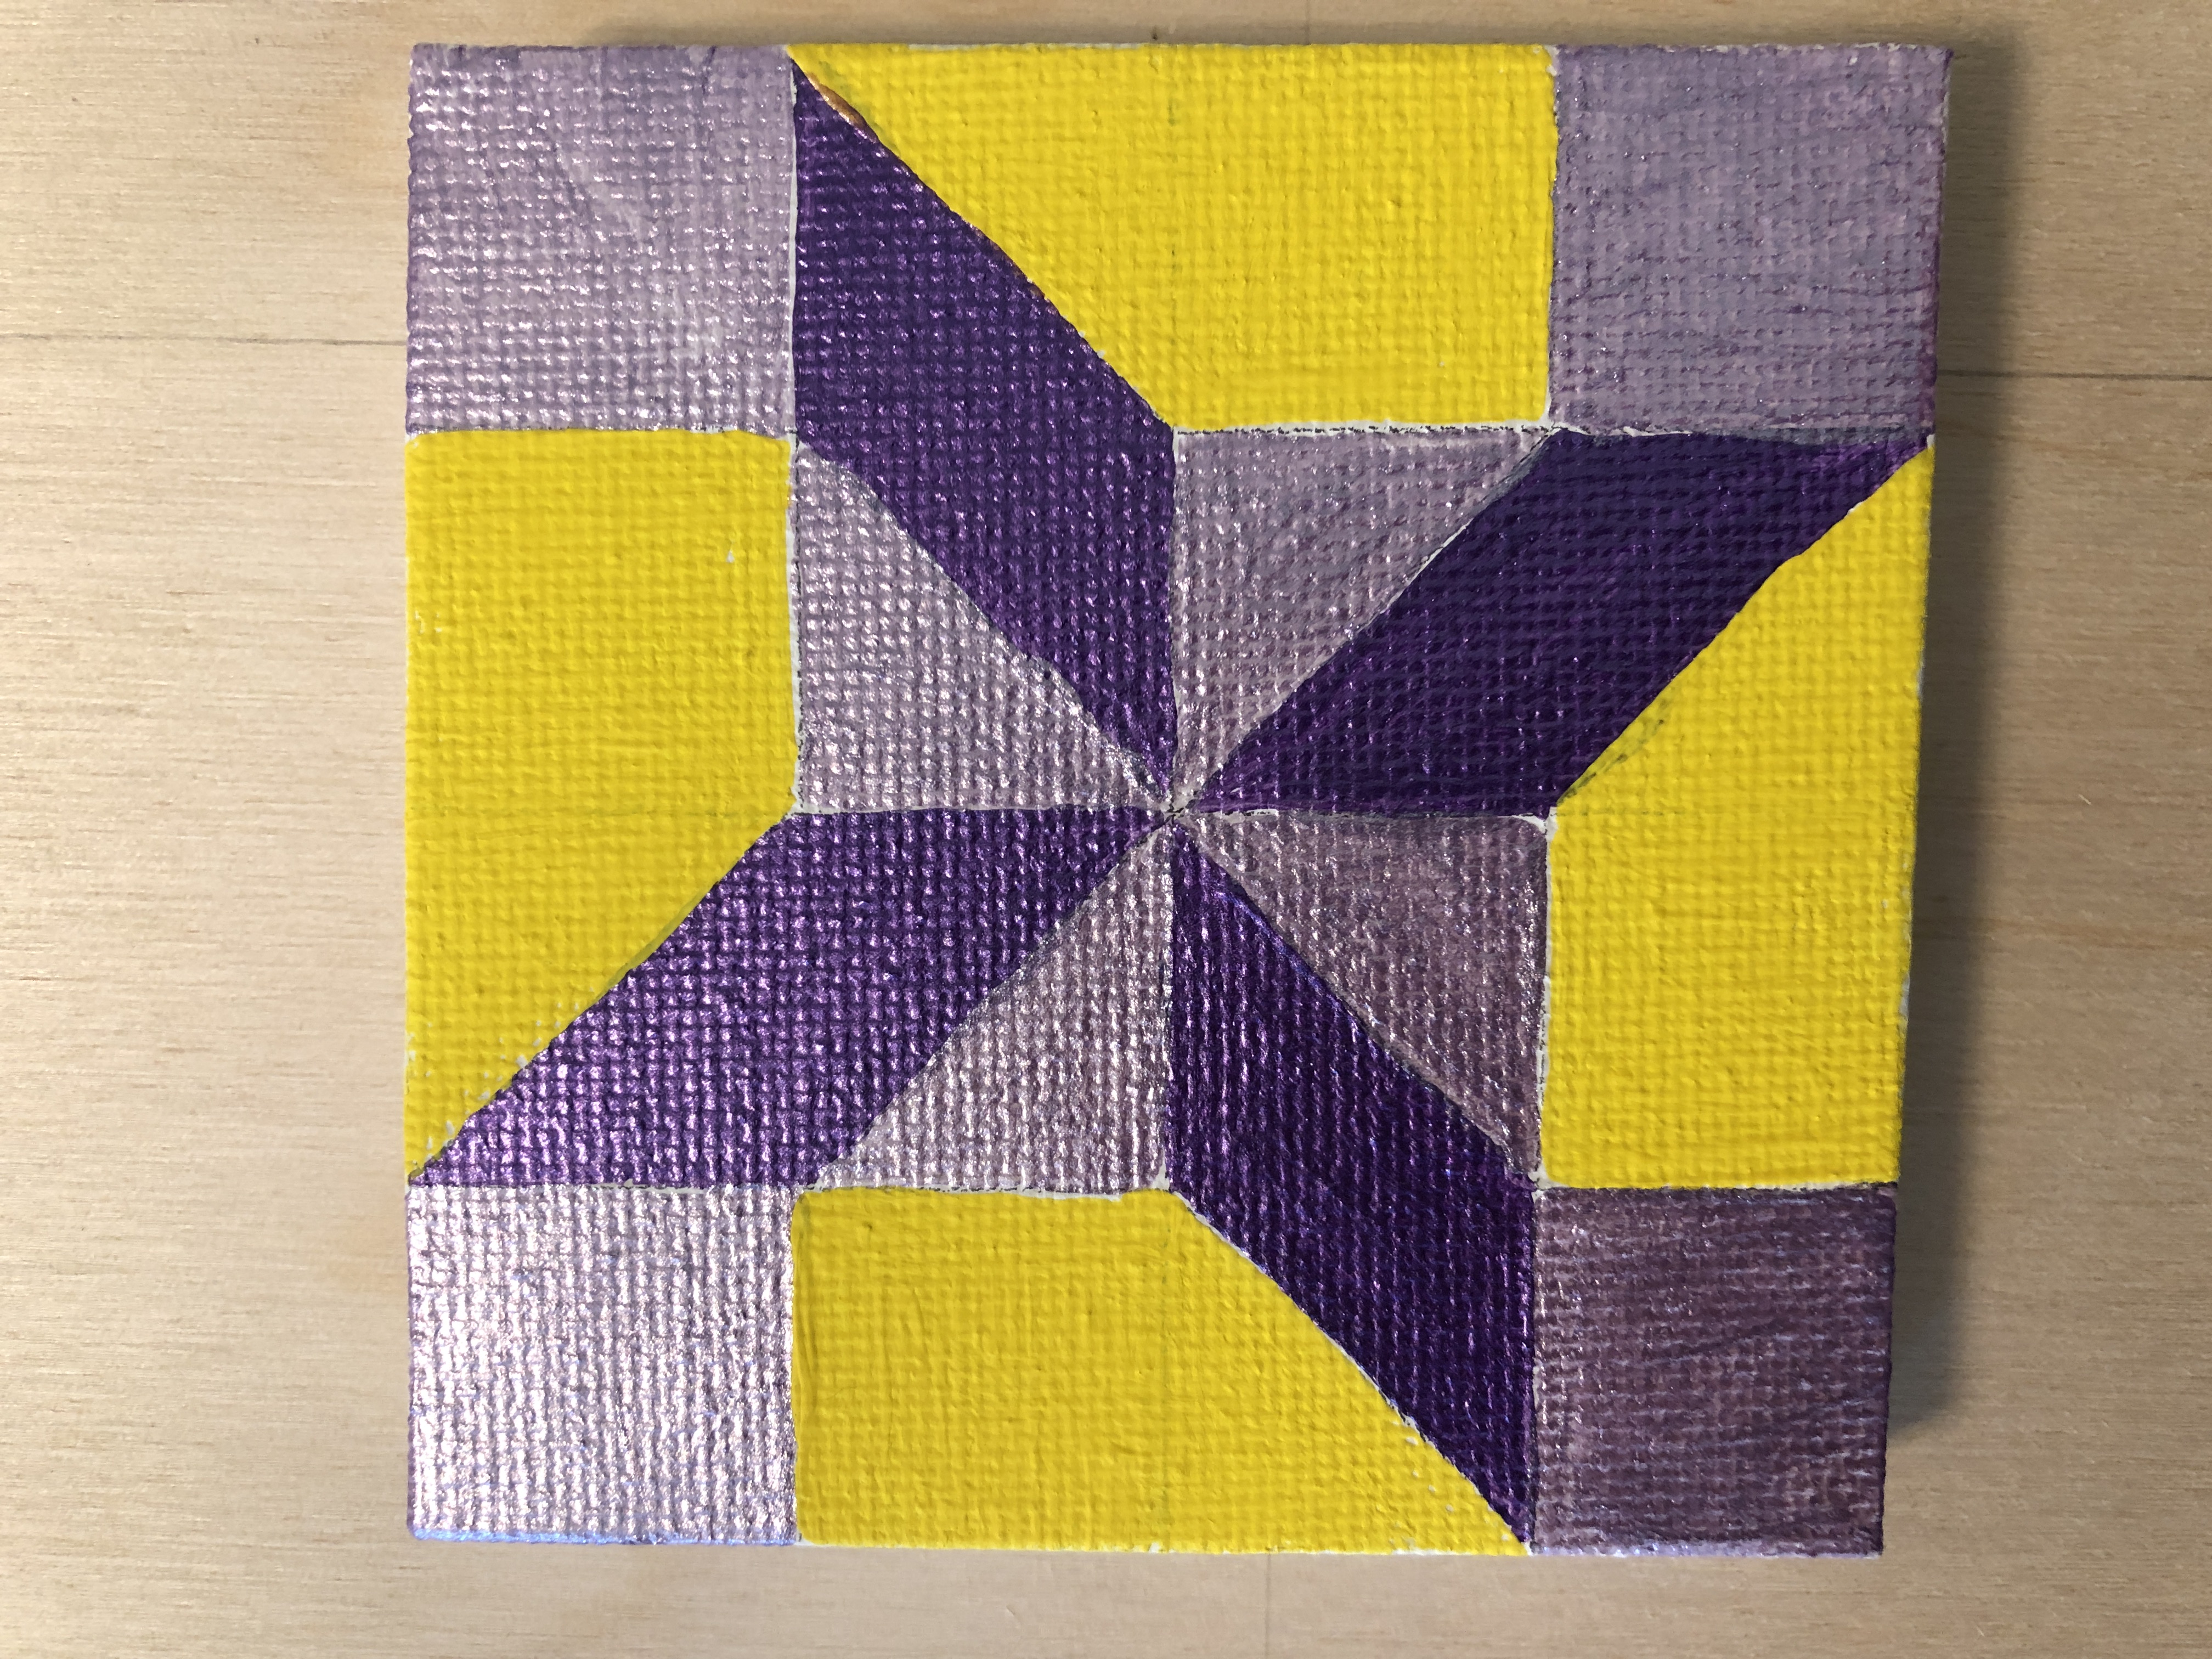
I wasn’t sure about the yellow paint…seemed too bright. I waited until the next day to see if it looked better. I decided the yellow overwhelmed the purple, so I mixed up some lighter yellow by adding white. That seemed to help.
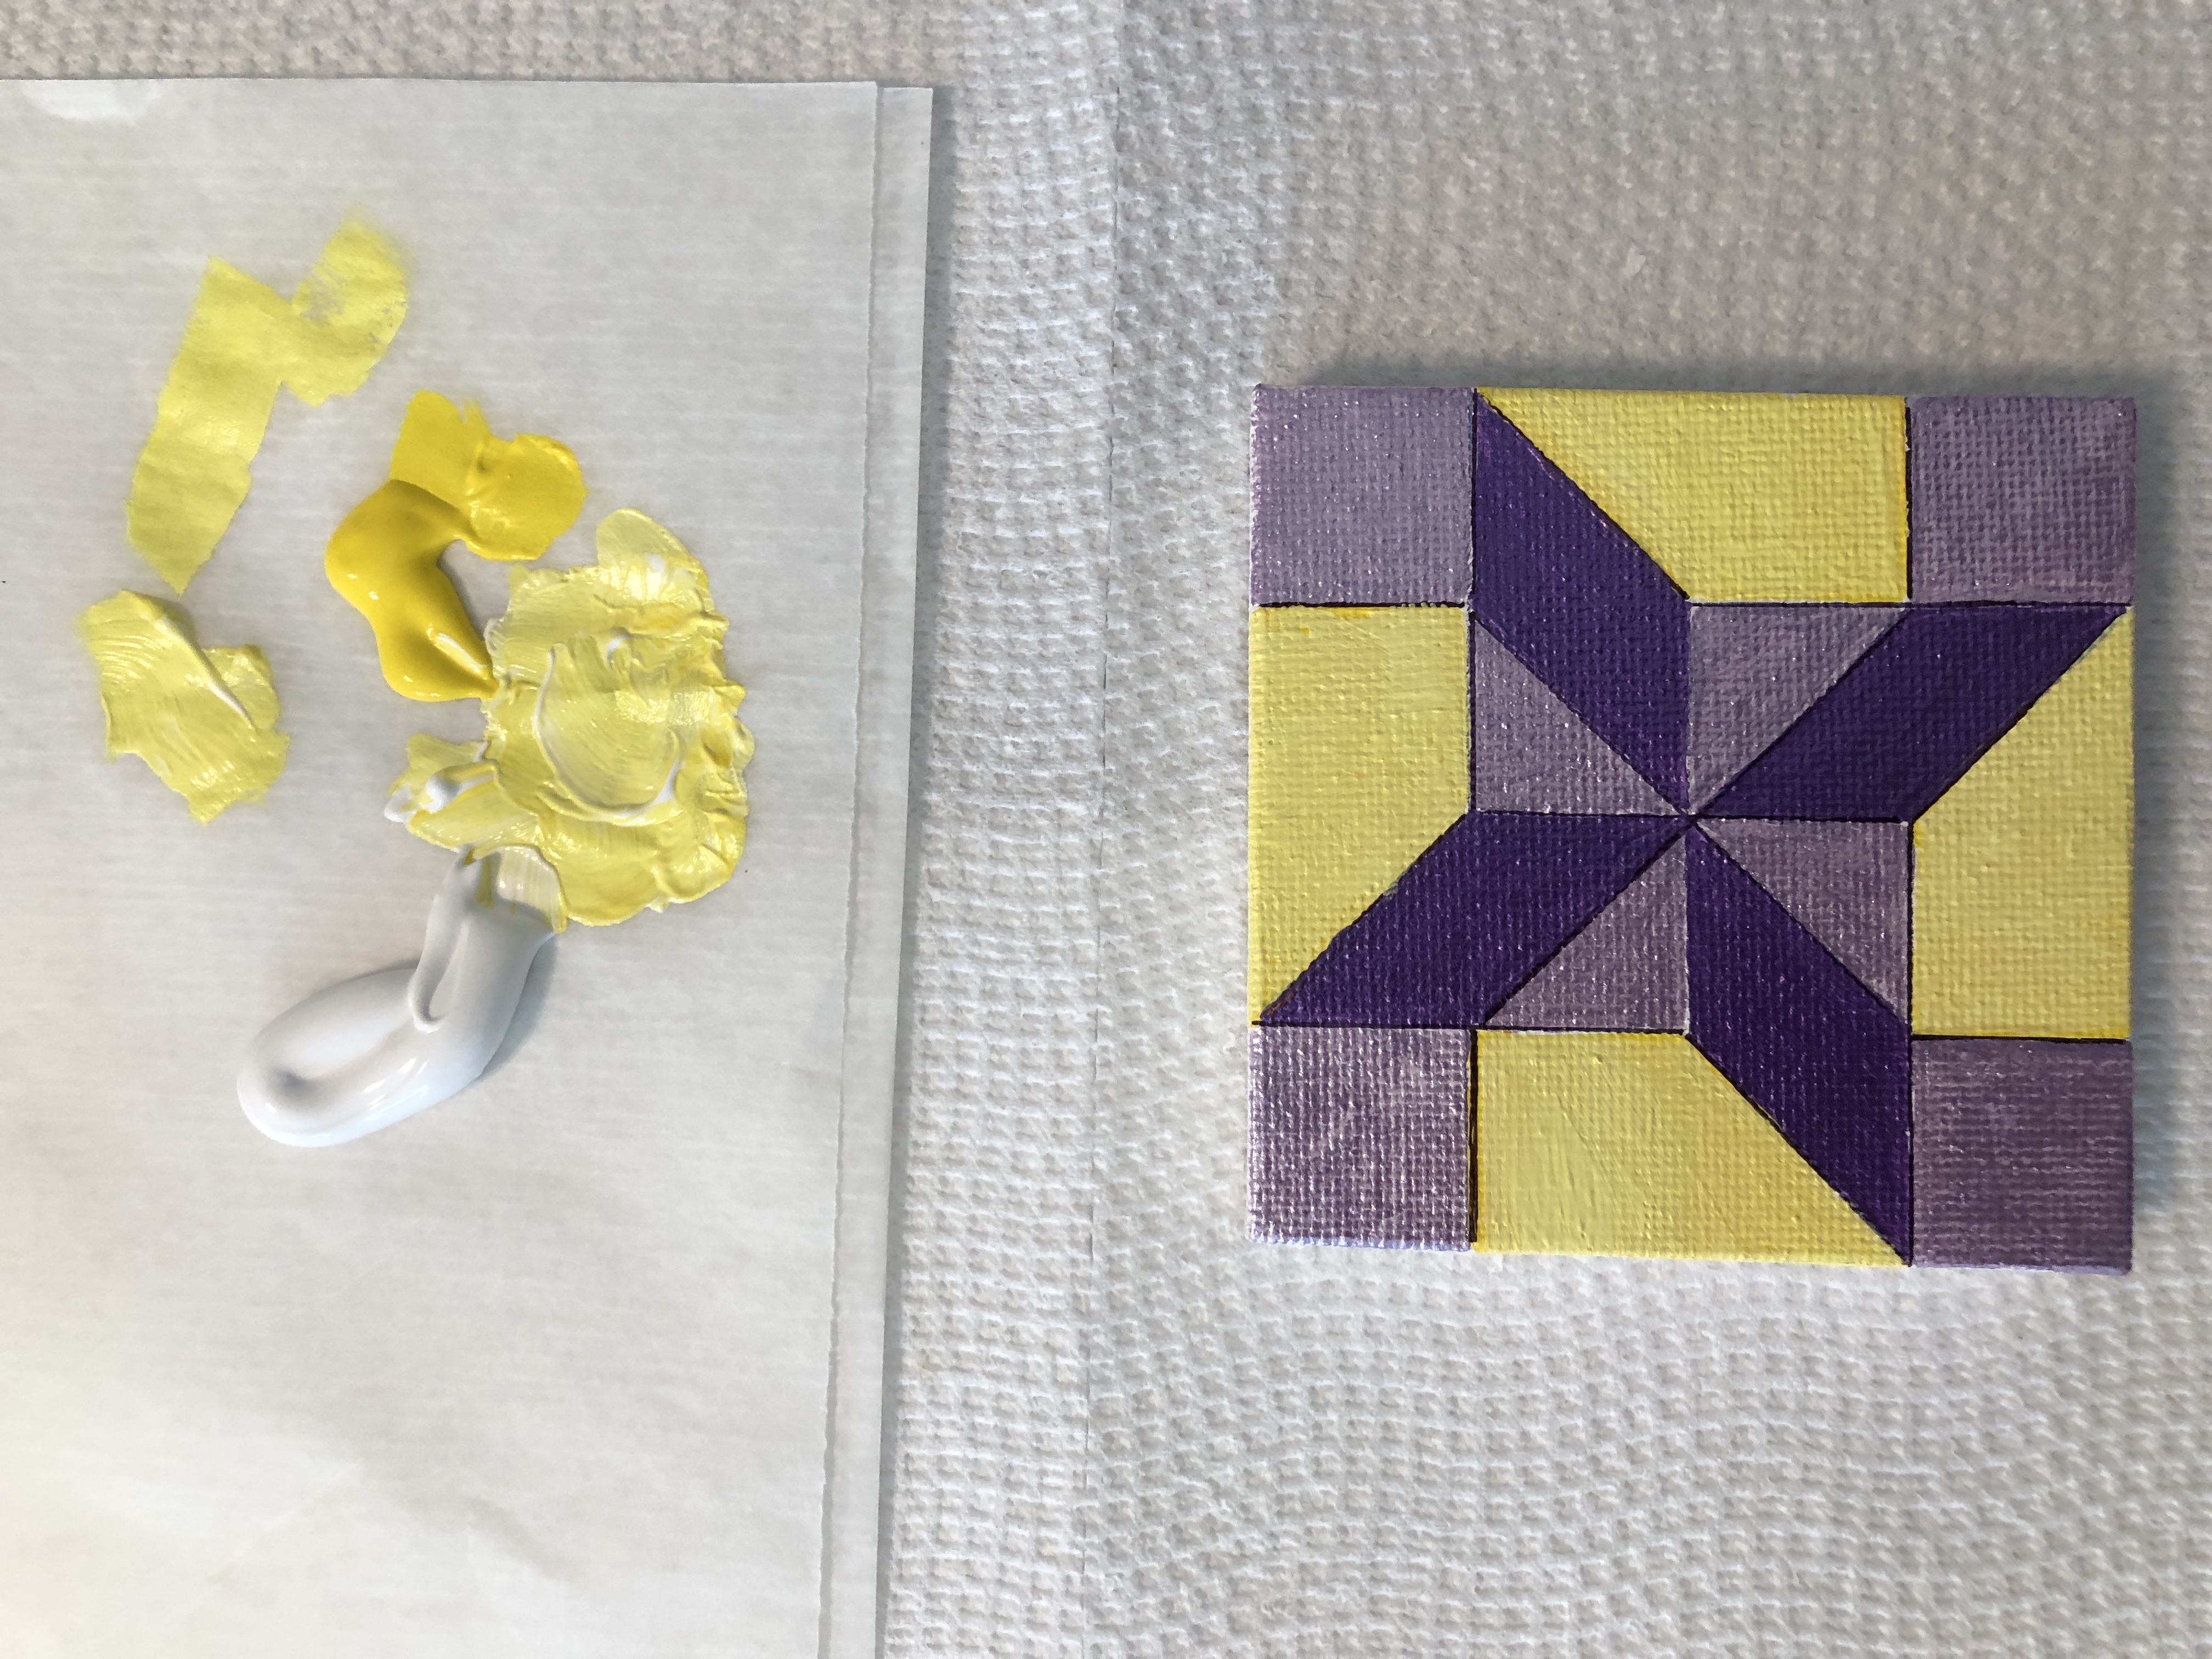
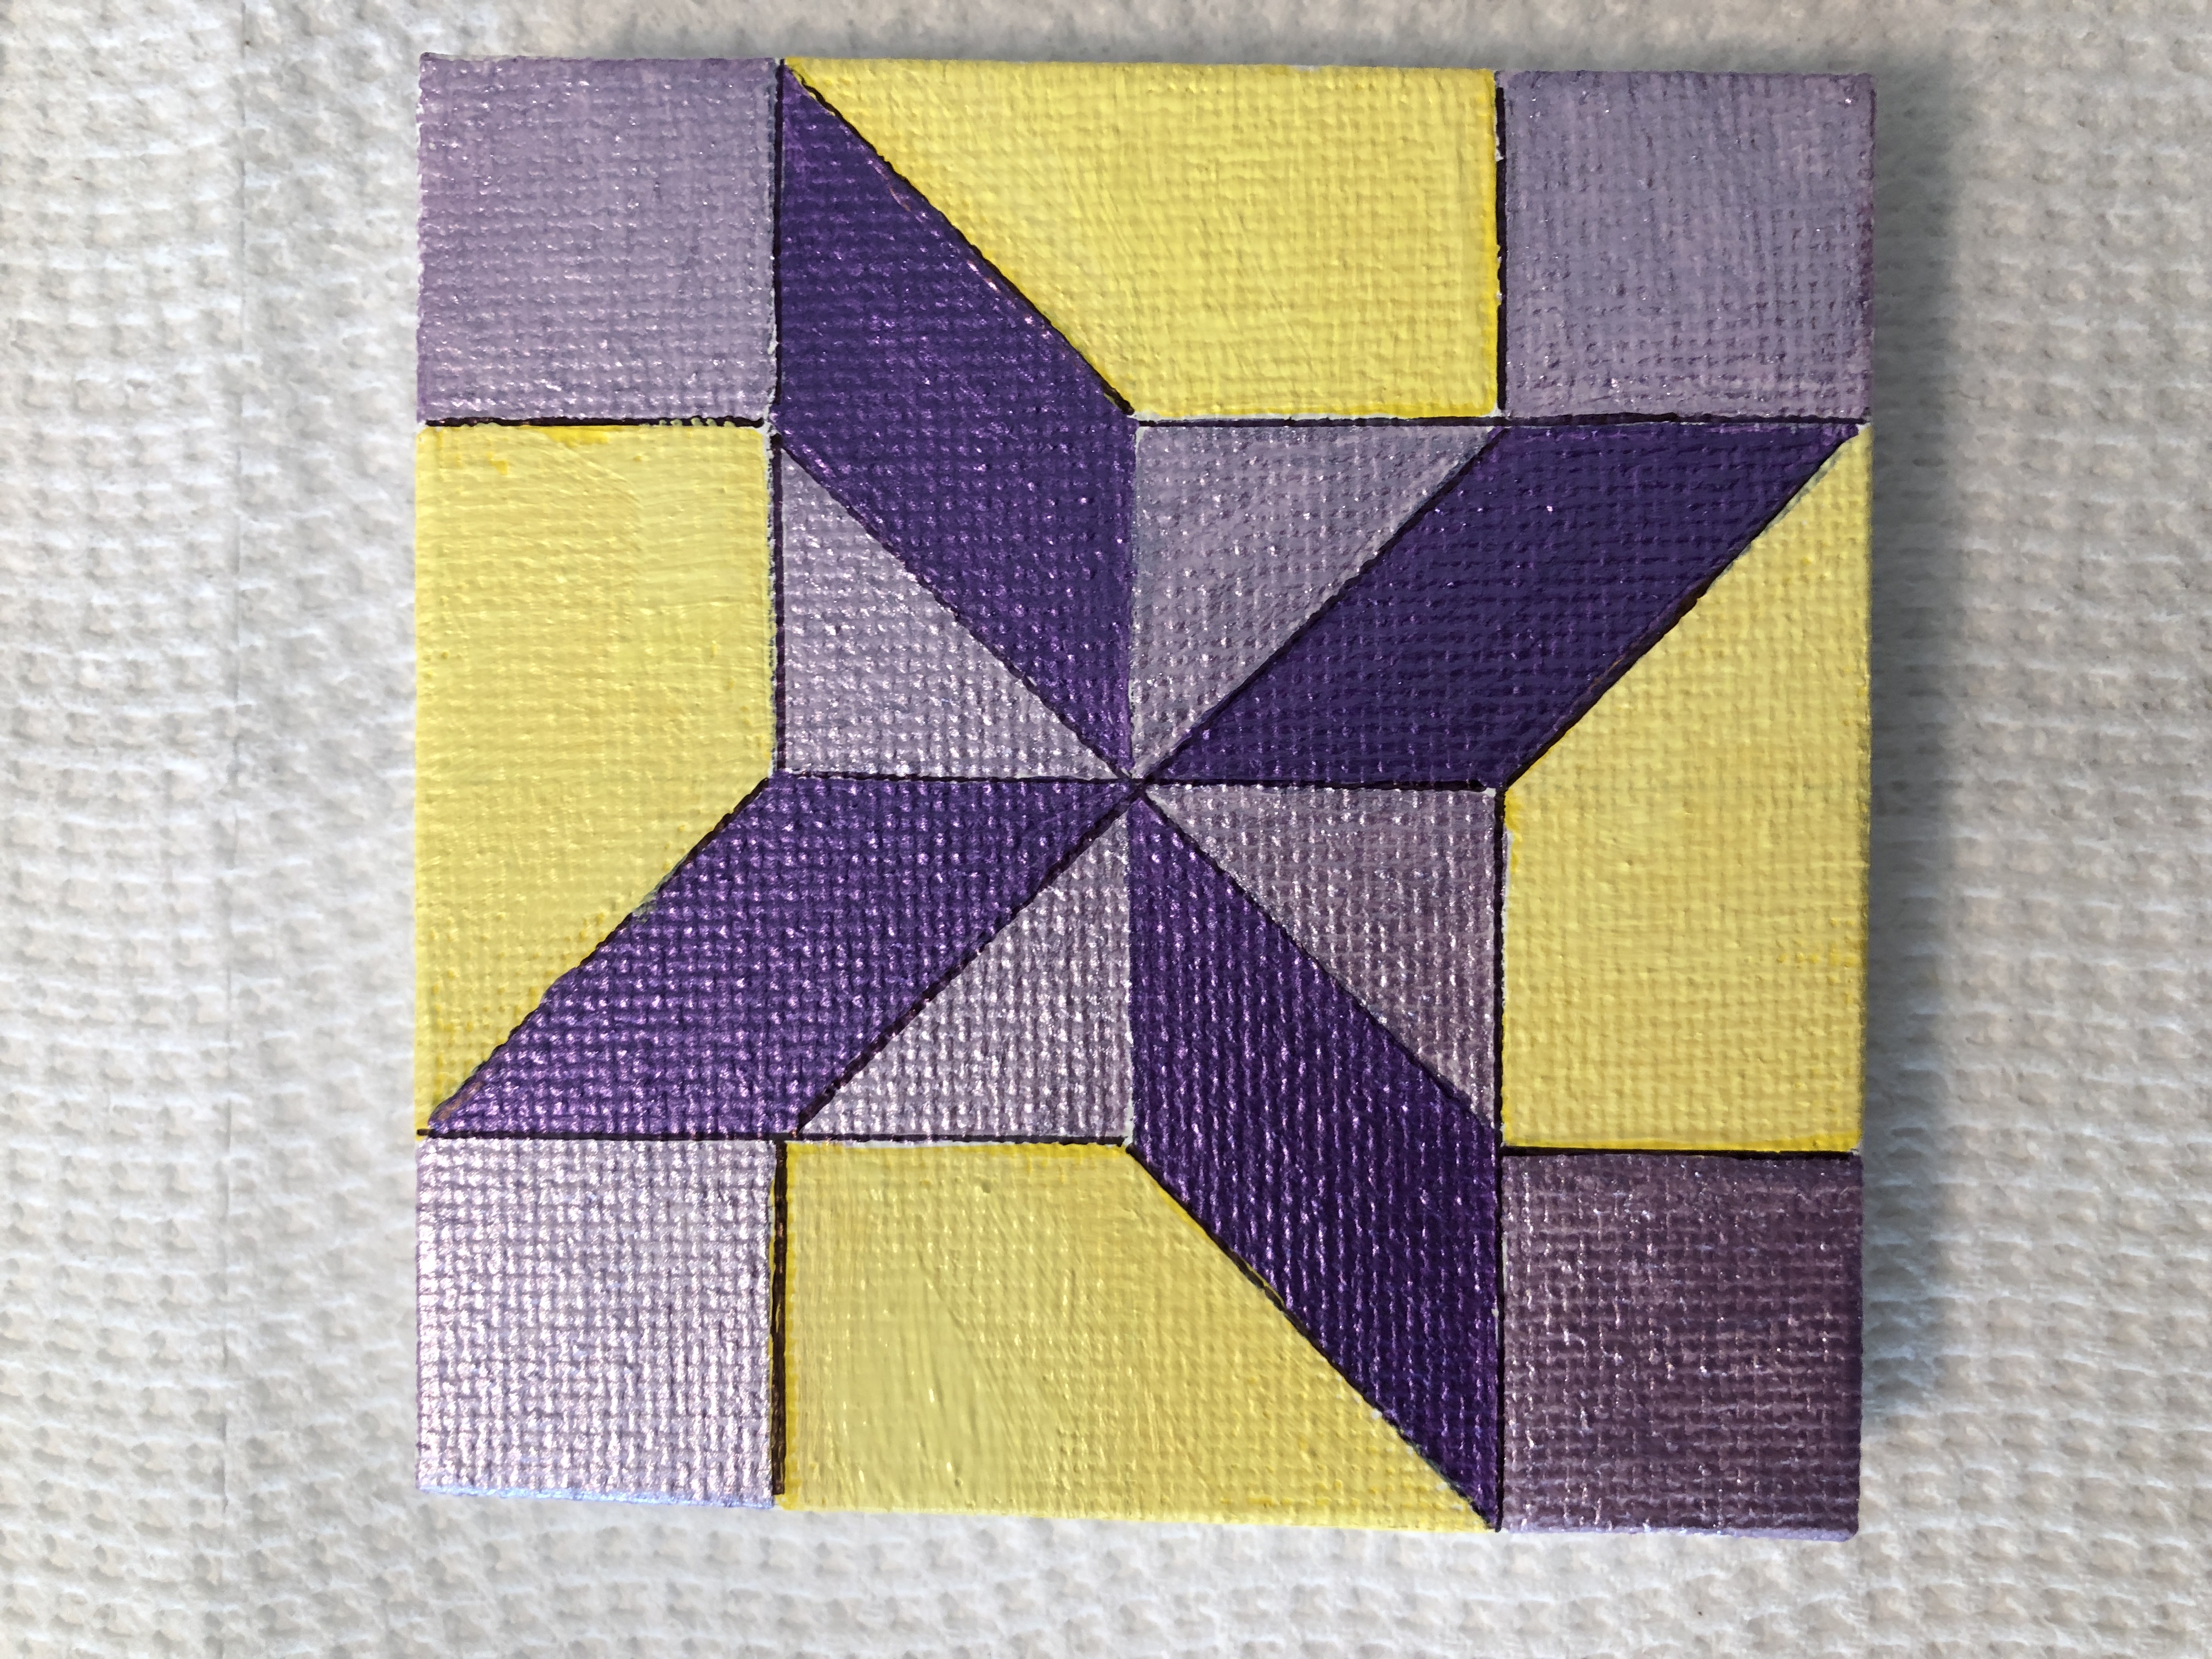
The final colors felt better:
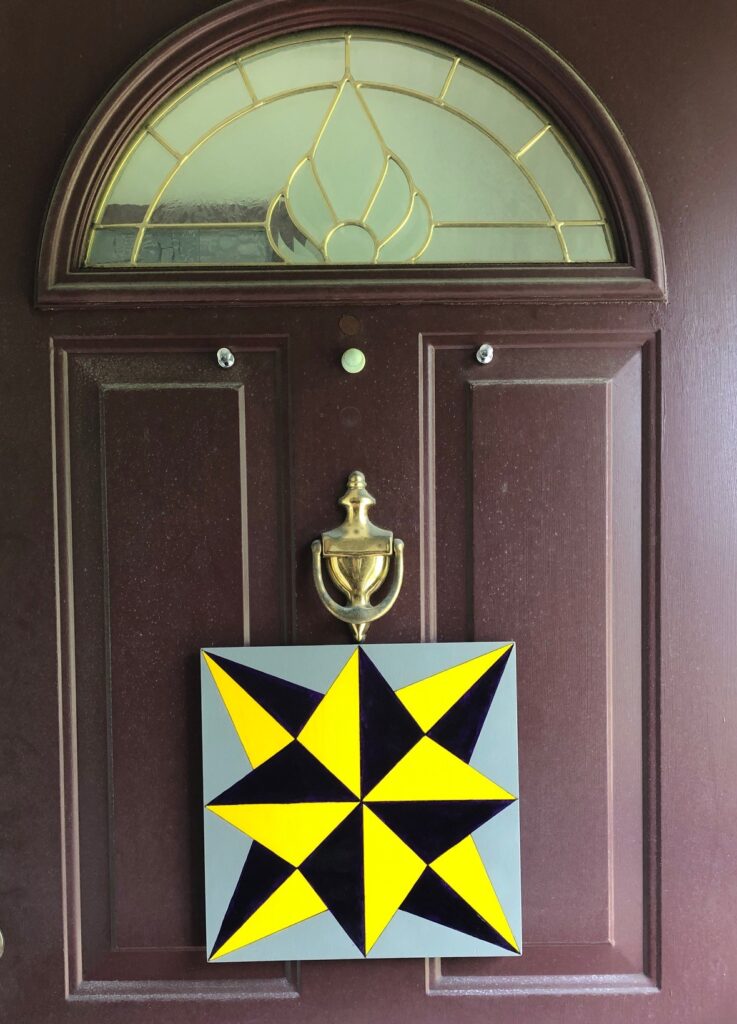
I continued with the 12″ x 12″ piece of wood and drew the pattern:

After painting, I use a fine point black marker to sharpen the design (mostly because my painting skills are not as steady as I’d like!).

Ready to get a spray of satin finish to protect it from the weather. Bert will glue three magnets to the back so it sticks to the front door (which is metal).
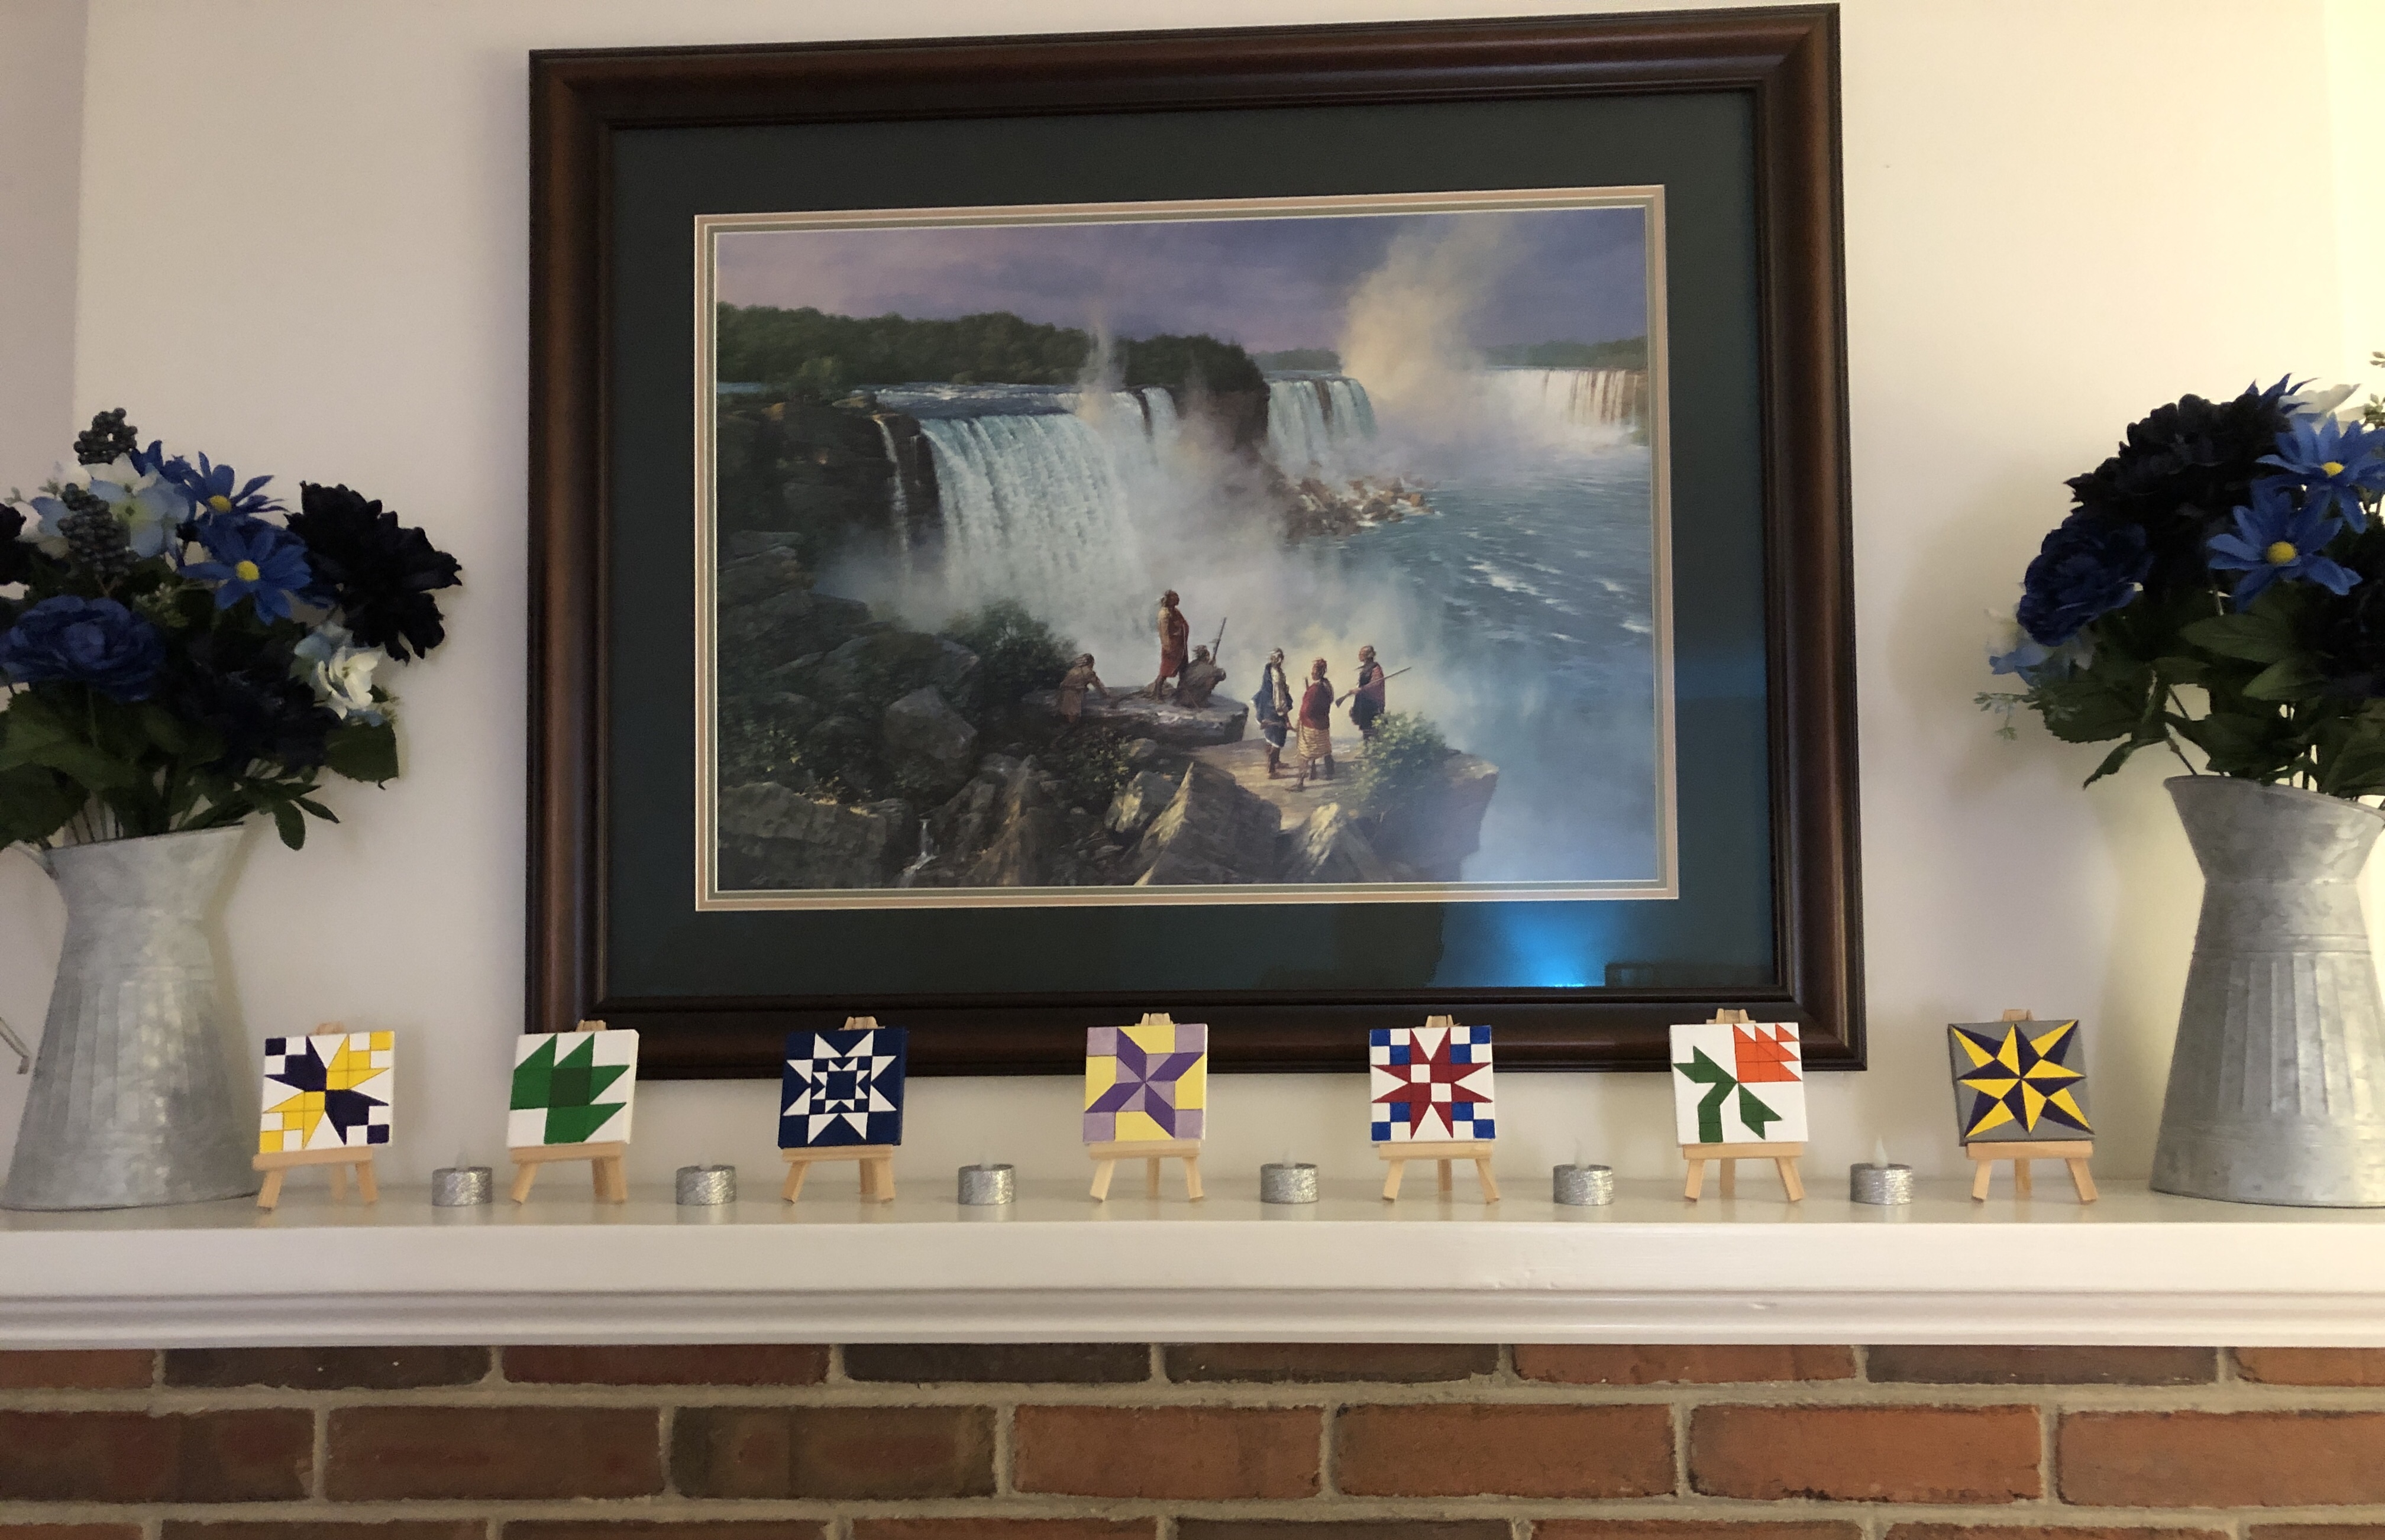
What to do with all my miniatures?
So far, I’ve been able to line them up on the mantle. One or two never made it to the final stage of painting on wood. That’s OK. They aren’t perfect, but it’s sort of a record of what I’ve done so far! Give it a try!