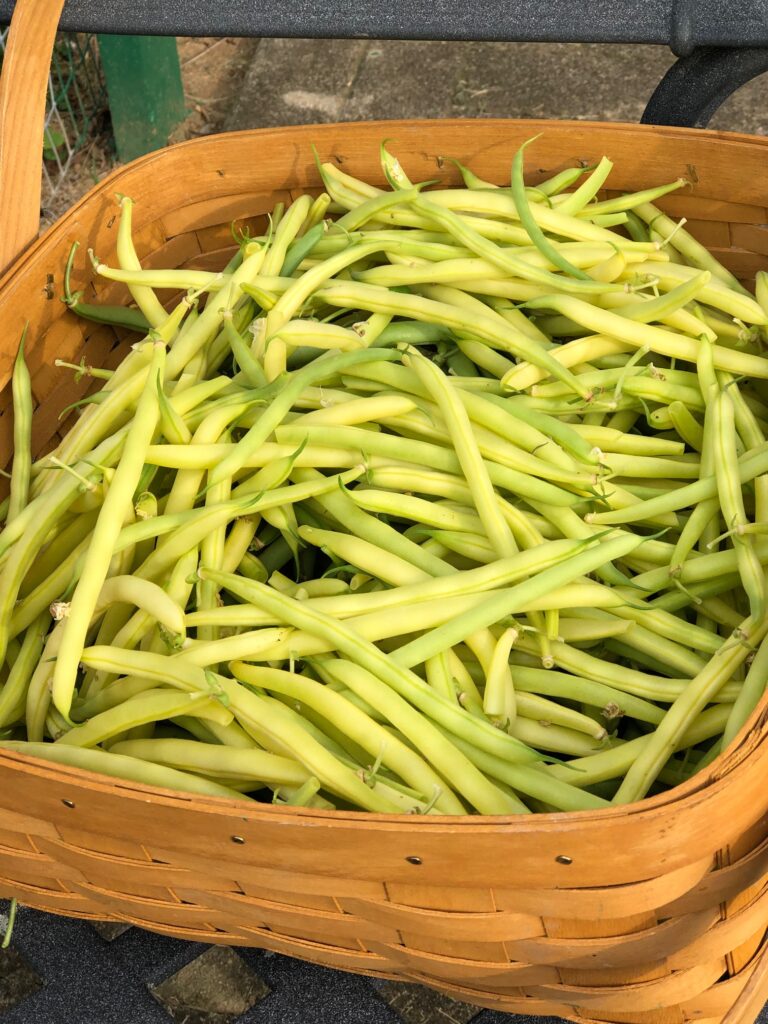
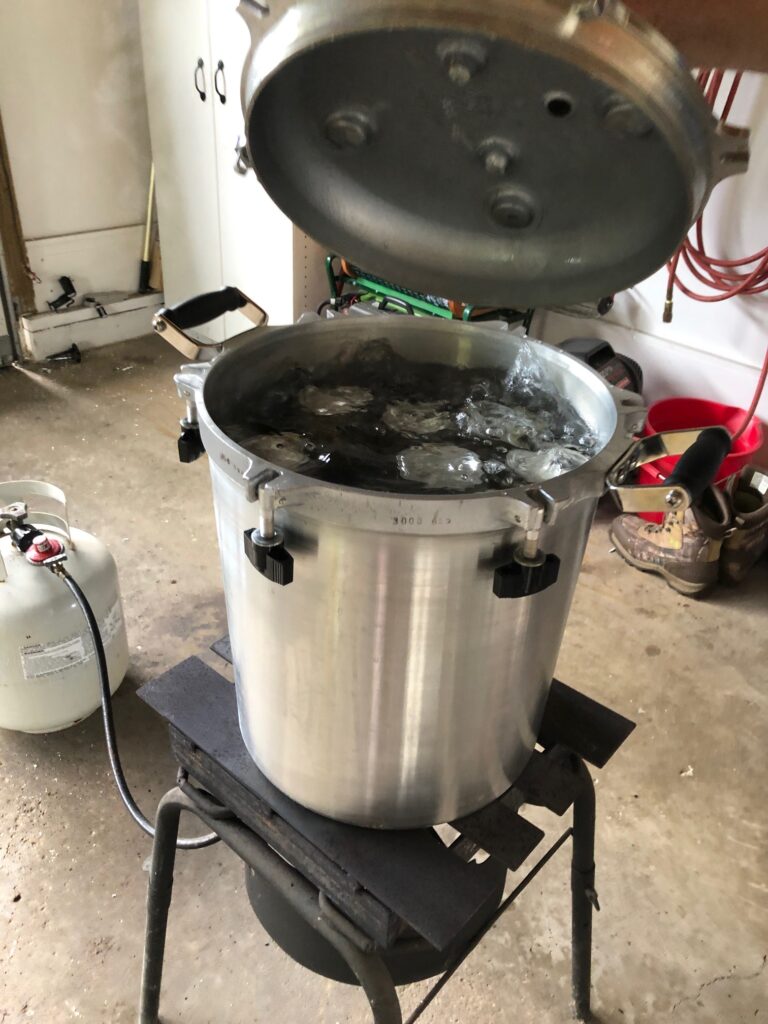
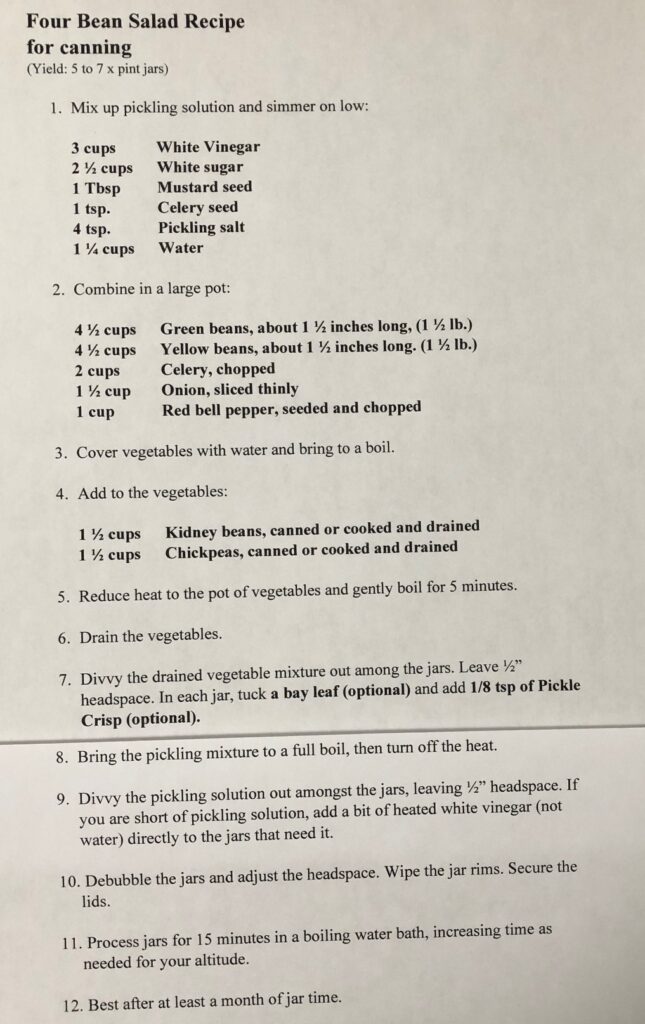
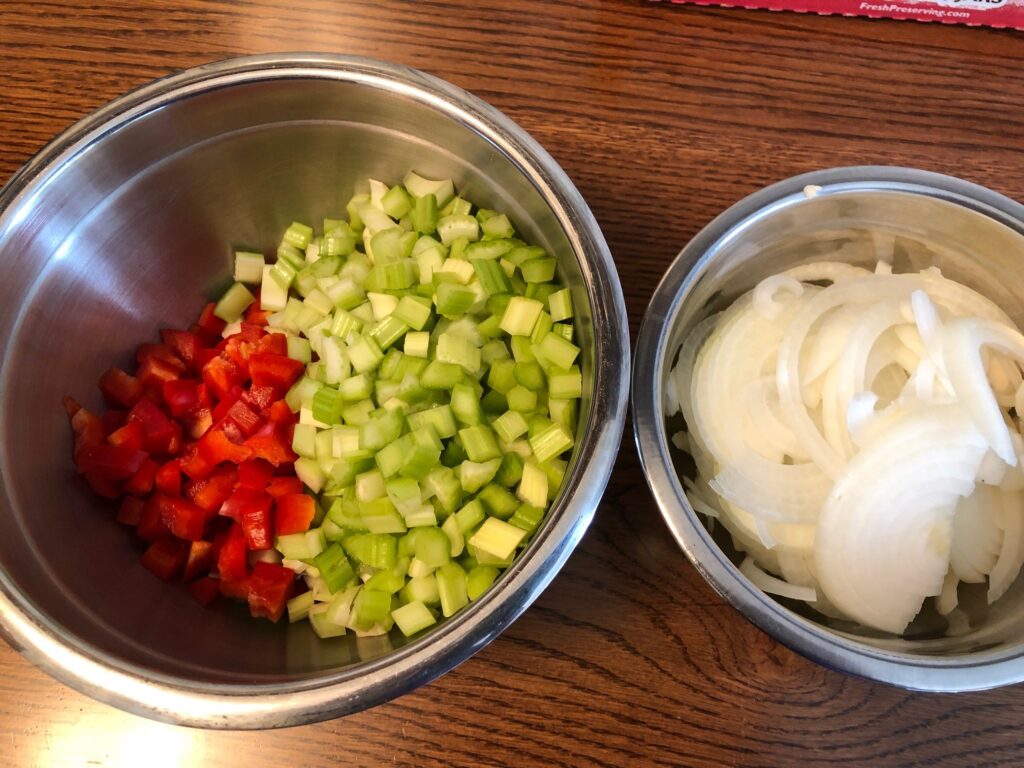
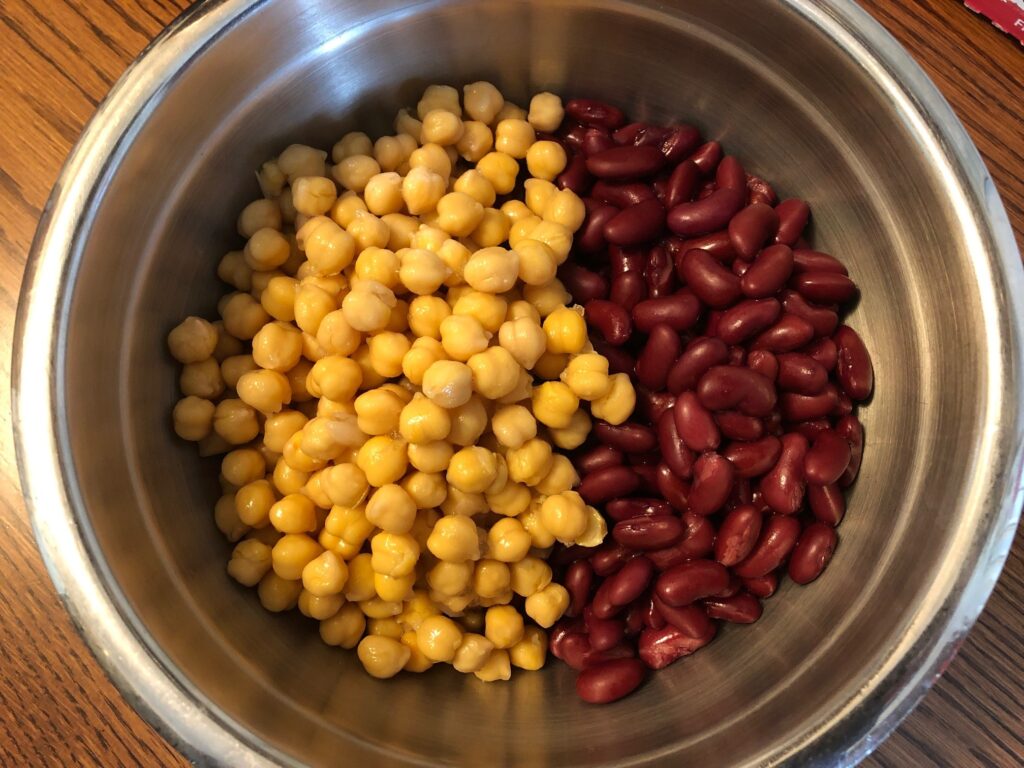
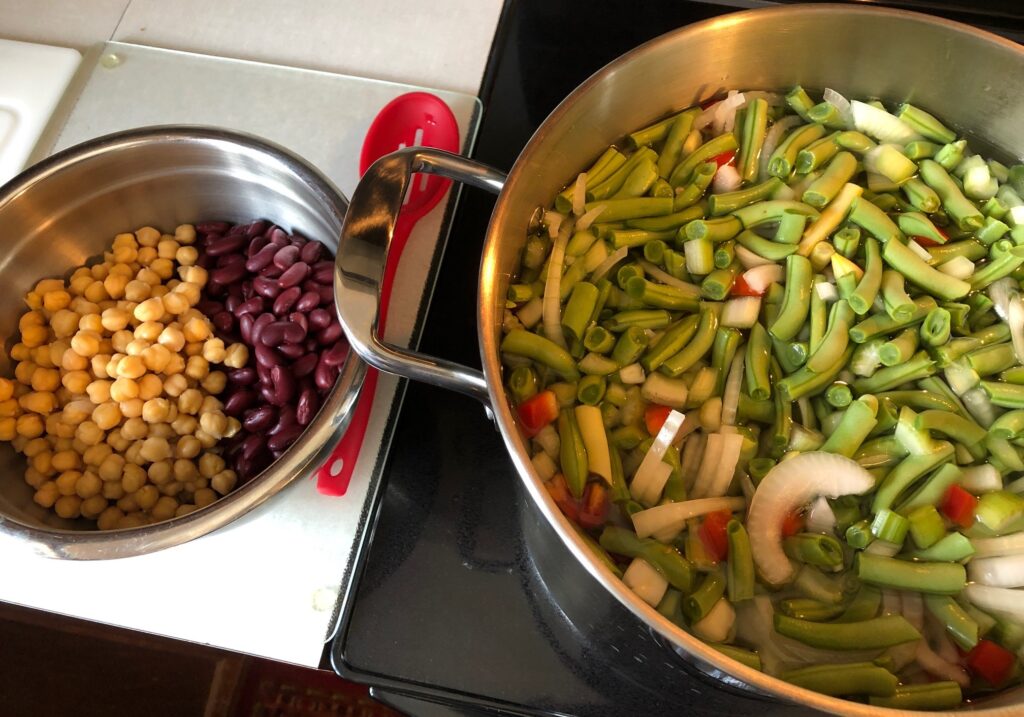
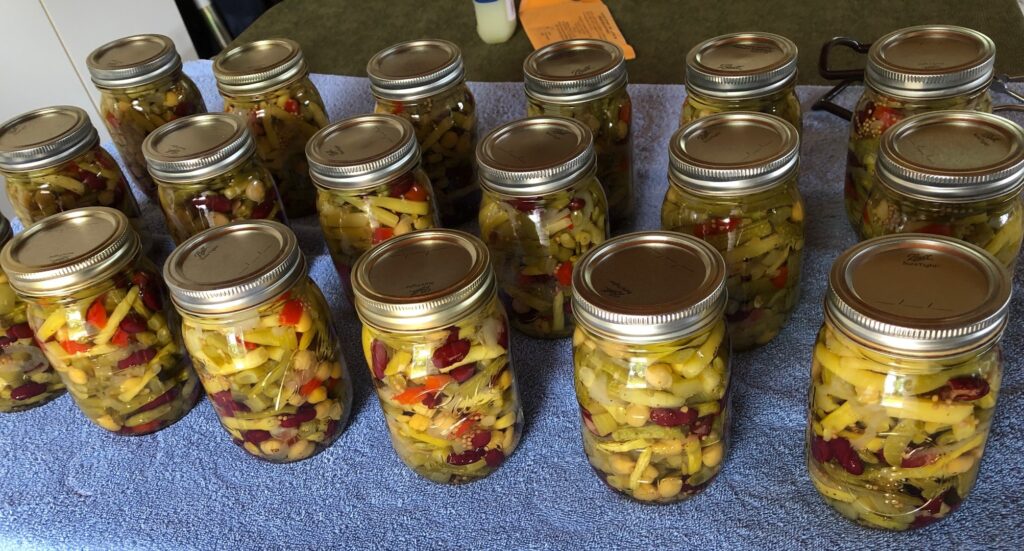
This is the time in our growing season we start to notice what worked and what didn’t. Dry spells and very hot days really stresses the lawn, but Bert has been able to keep the garden plants watered. The first planting of green and yellow beans have been preserved as part of a 4-Bean Salad mixture (see https://marykisner.com/canning-four-bean-salad/).
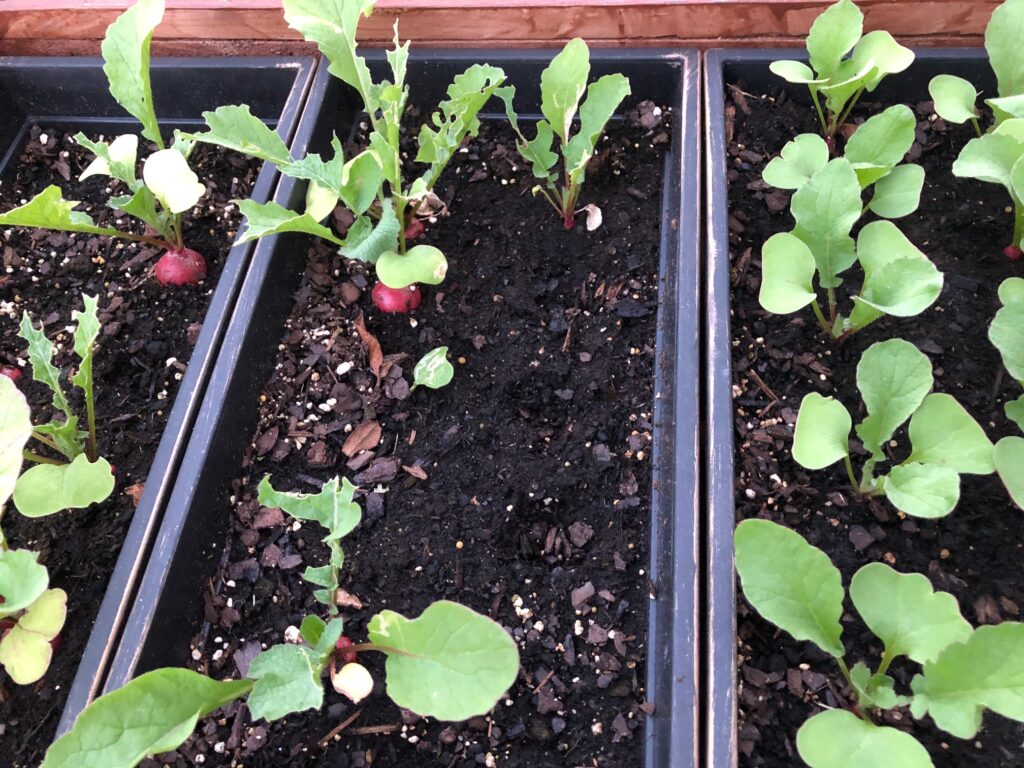
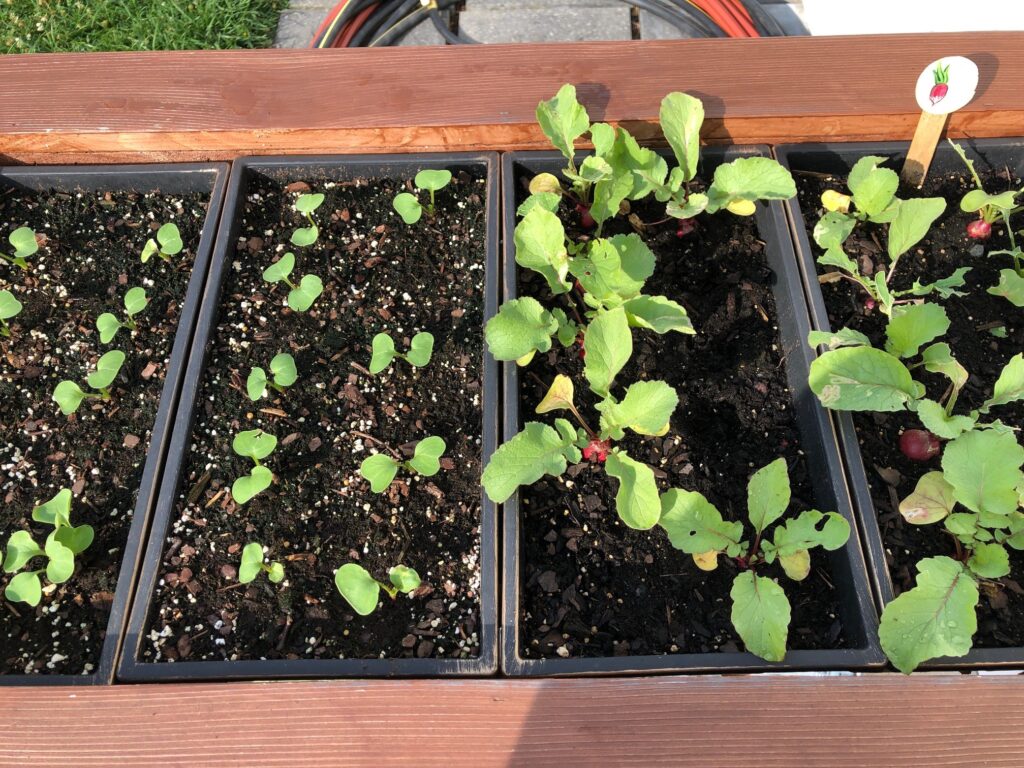
Radishes have flourished in our raised planter on the patio, so they are part of my daily salad mix. I’ve been able to keep up with planting new seeds after I remove the ones that are ready to eat. I will deem the raised planter with radishes a rousing success this year!
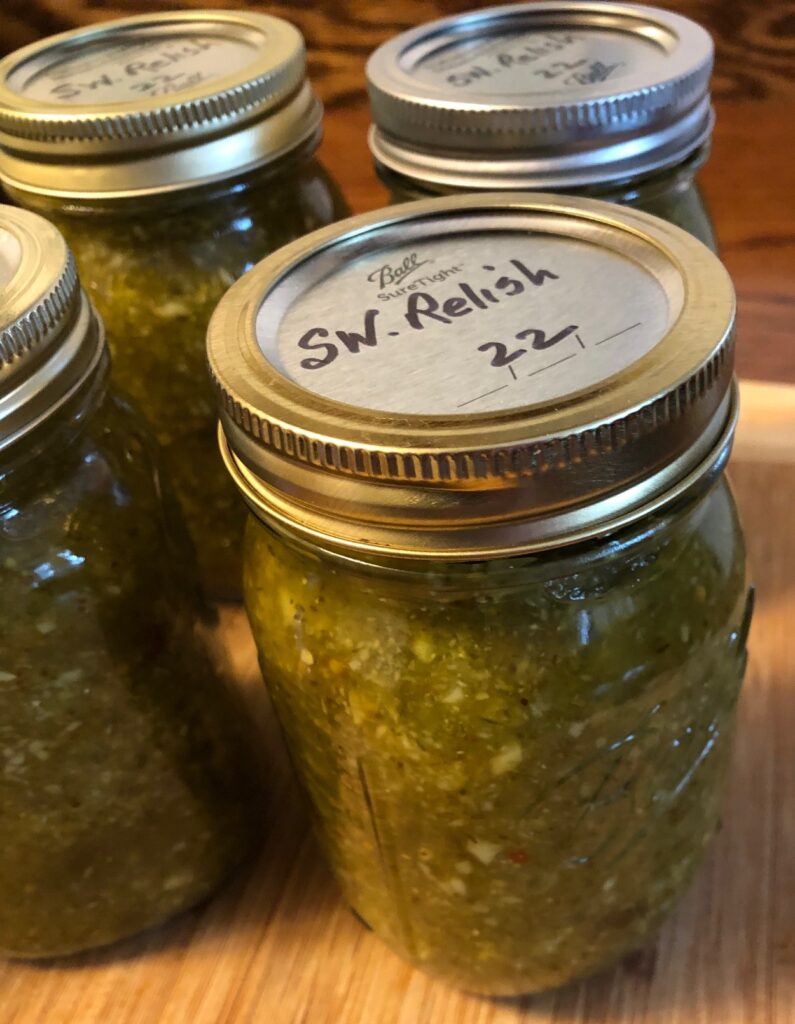
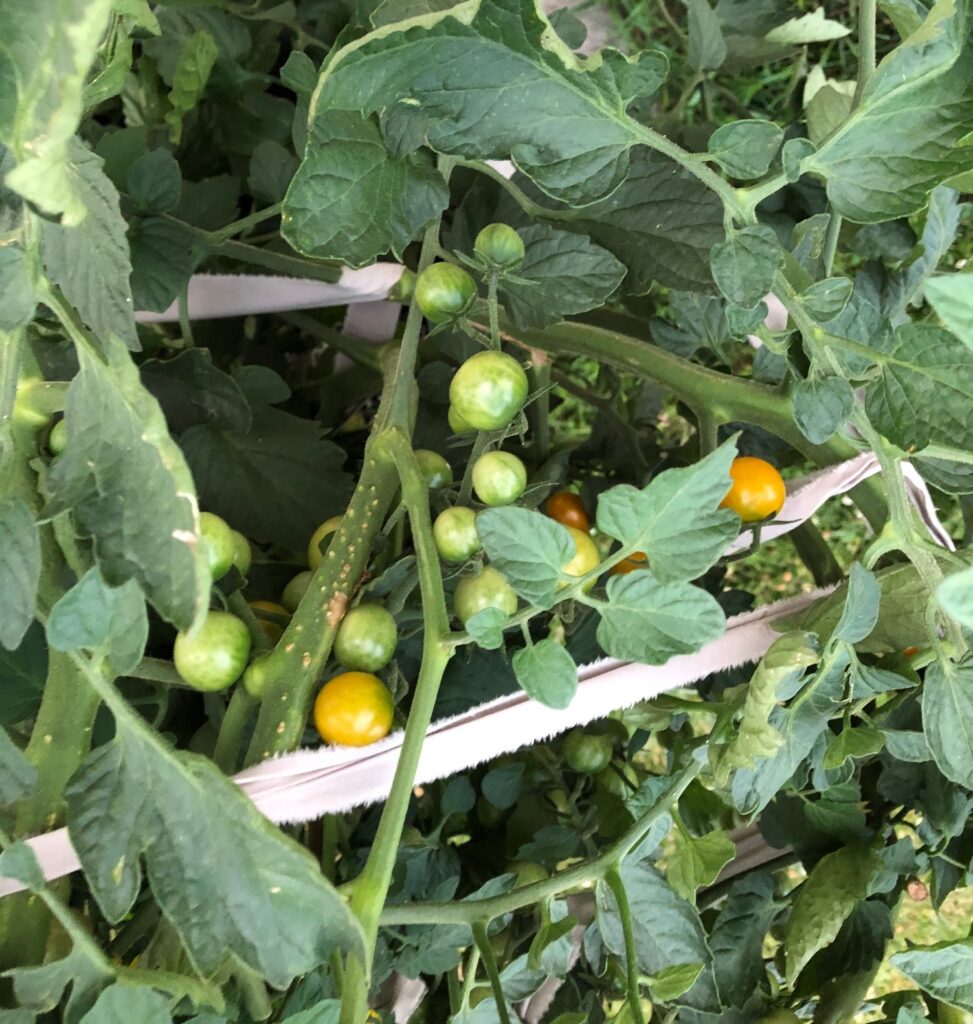
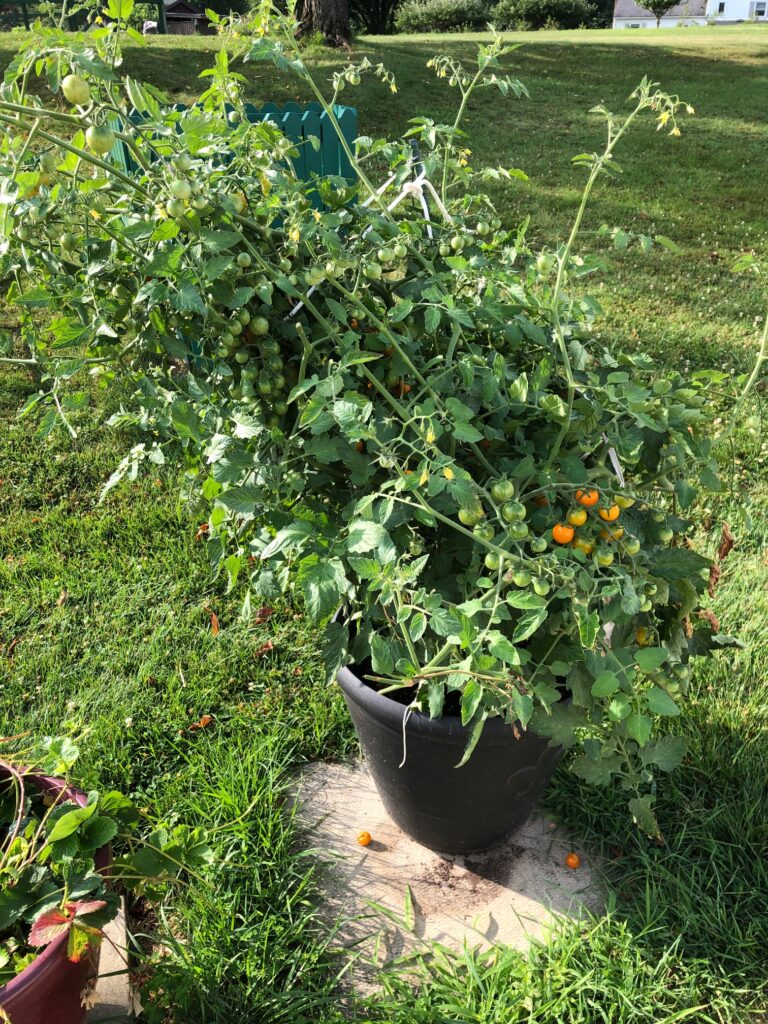
The cherry tomato plant in a large pot on the patio seemed like a good idea in the spring, but I don’t think we’ll do tomatoes in a pot next year! Even with just one plant (the tag said good for a pot) it was just too big and top heavy. It has fallen over multiple times. That was tolerable, the tomatoes themselves, while they tasted good the skins were so tough I felt like I had to discard a piece of plastic when I was done chewing. I have been collecting them and will include them when I make pizza sauce in a few days. Hopefully after they are cooked the skins will easily chop in the food processor. I’ll probably not grow cherry tomatoes again.
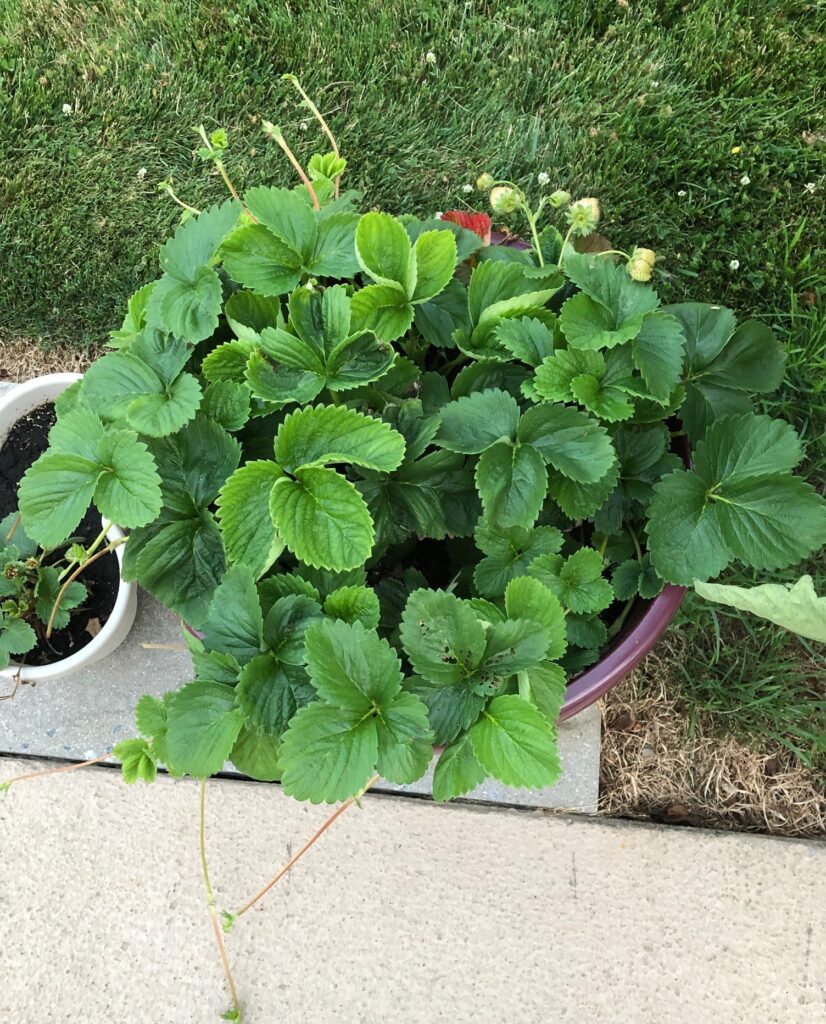
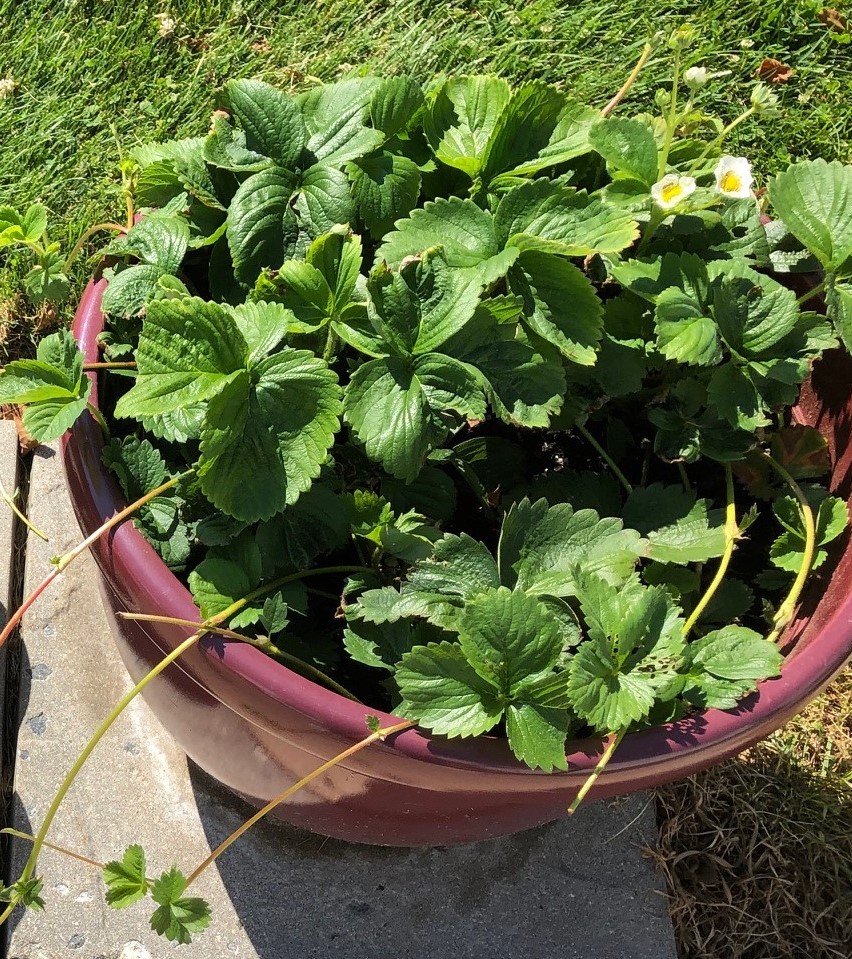
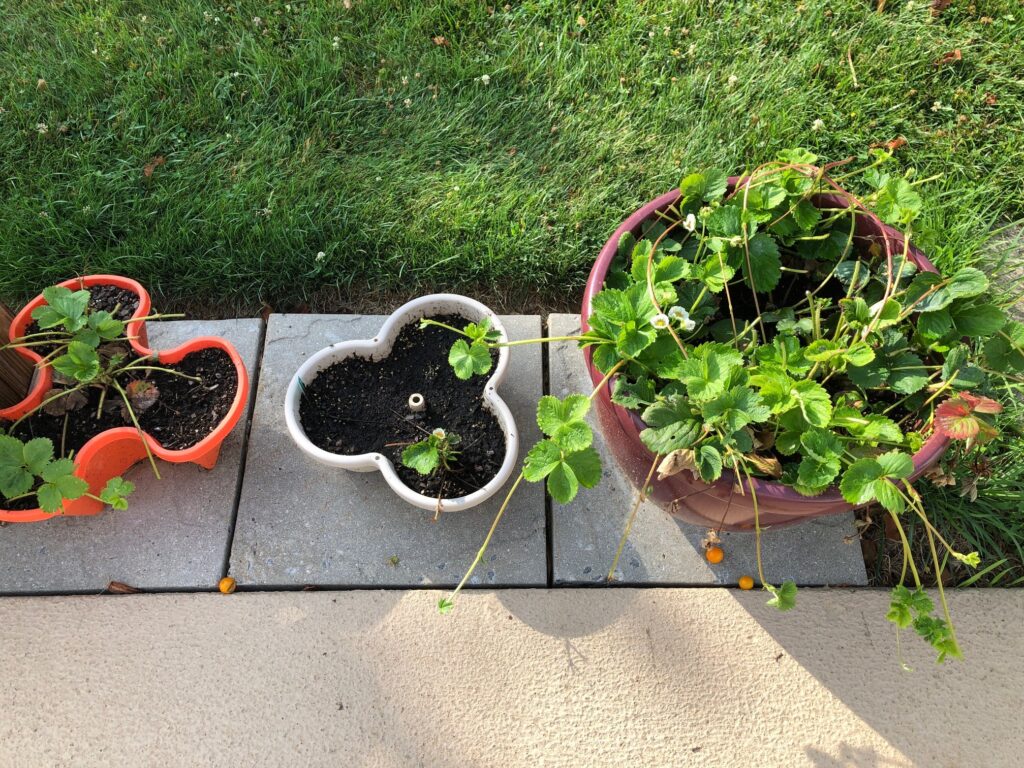
The strawberry plants were down low and vulnerable to the wandering bunnies and chipmunks. I’ve eaten 3-4 strawberries as soon as they ripened but hardly worth the trouble.
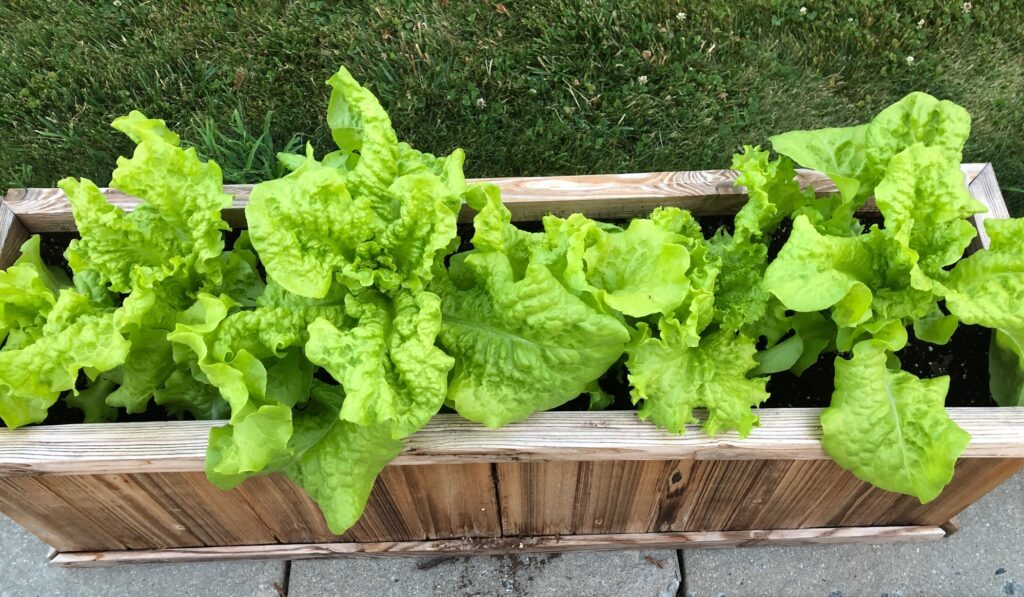
The Black Seeded Simpson lettuce did very well. It has now bolted and is waiting for Bert to dump out the pot. He is using the leaves now for bait in groundhog traps!

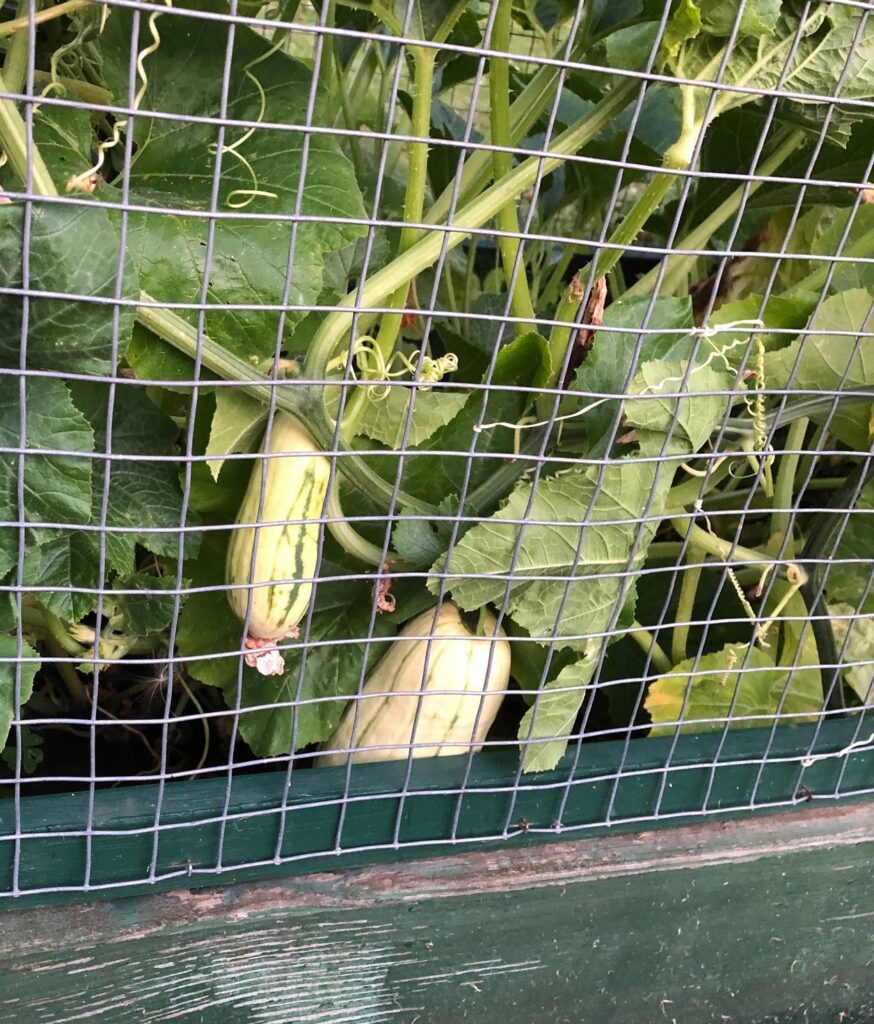
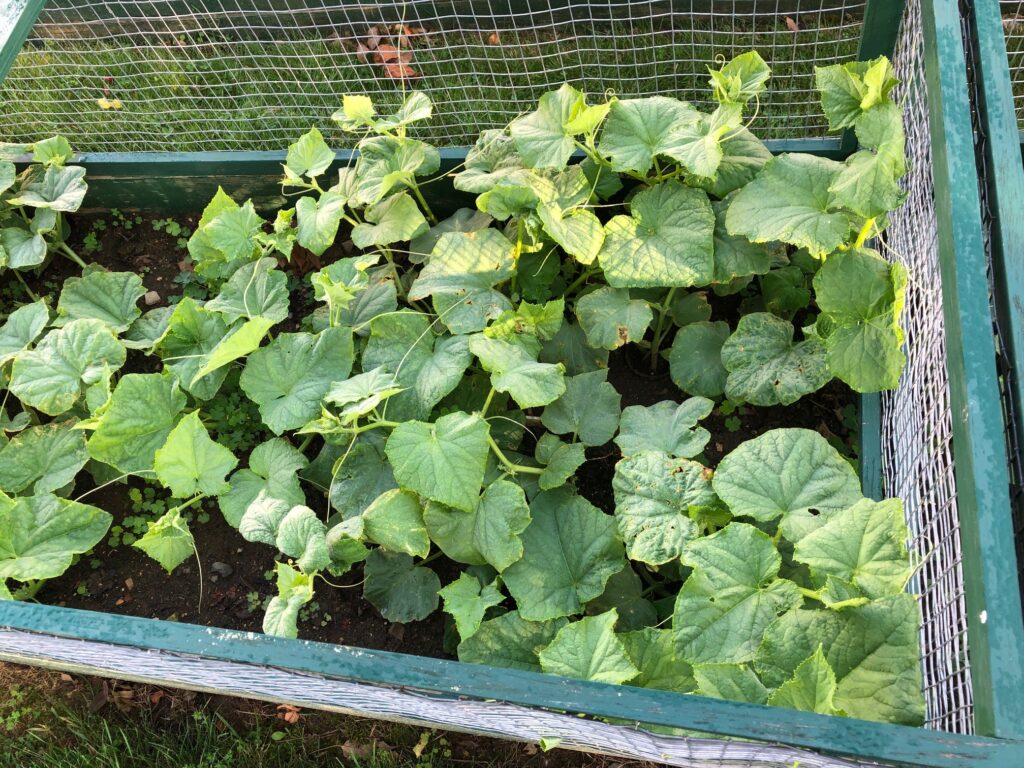
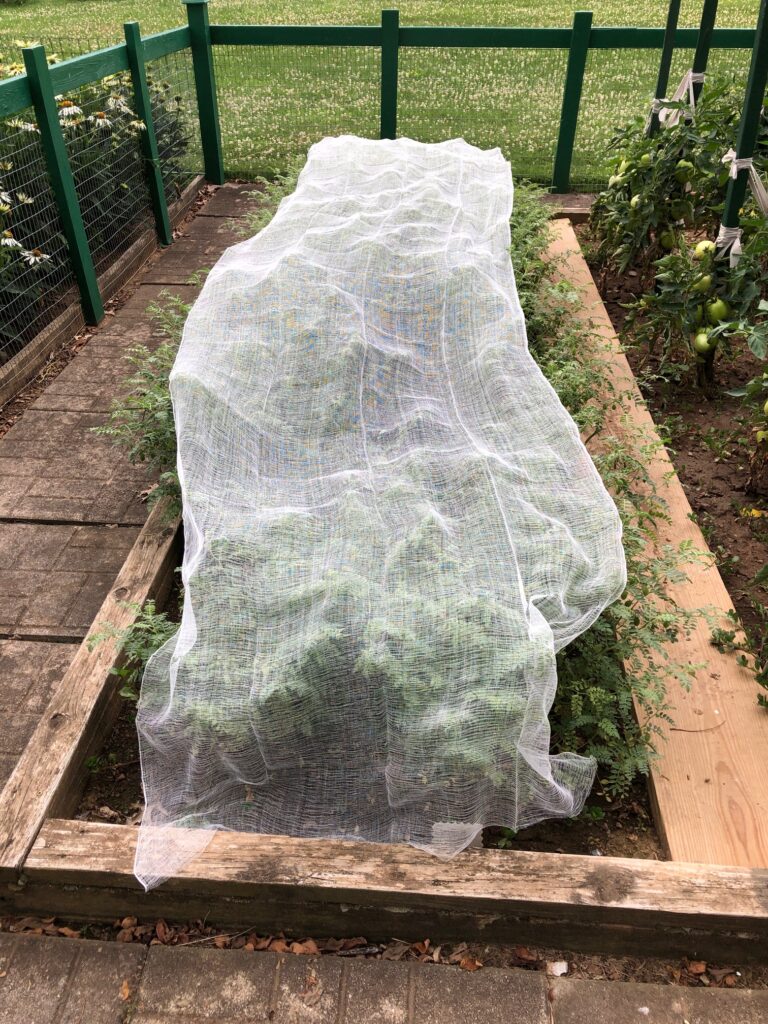
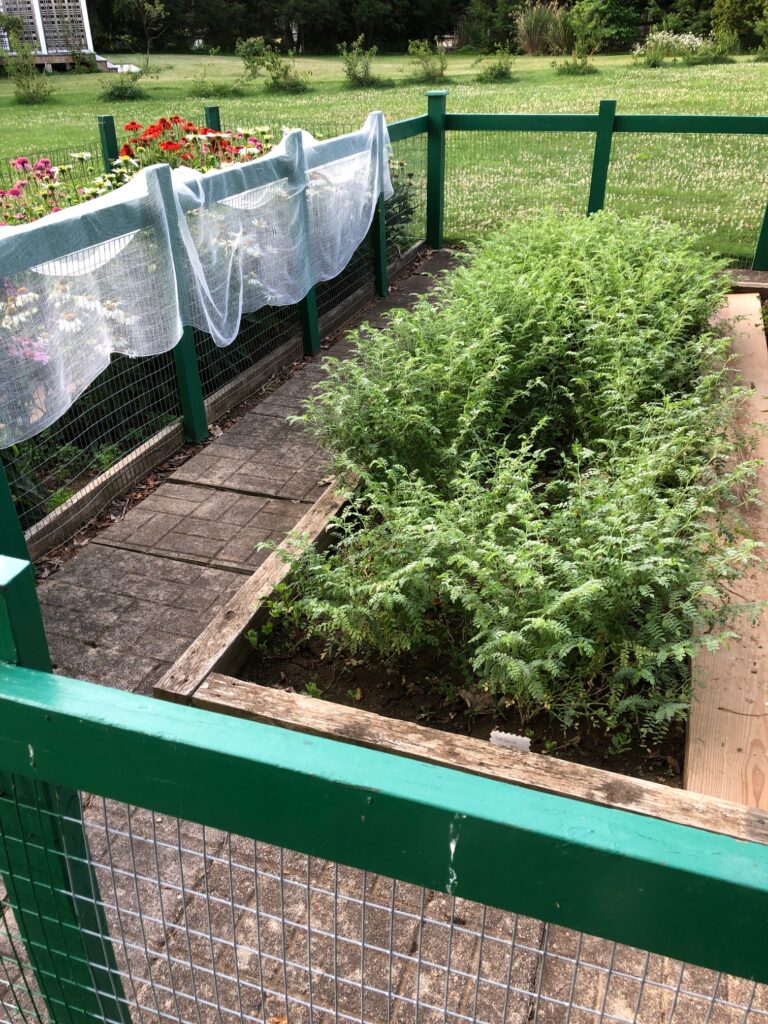
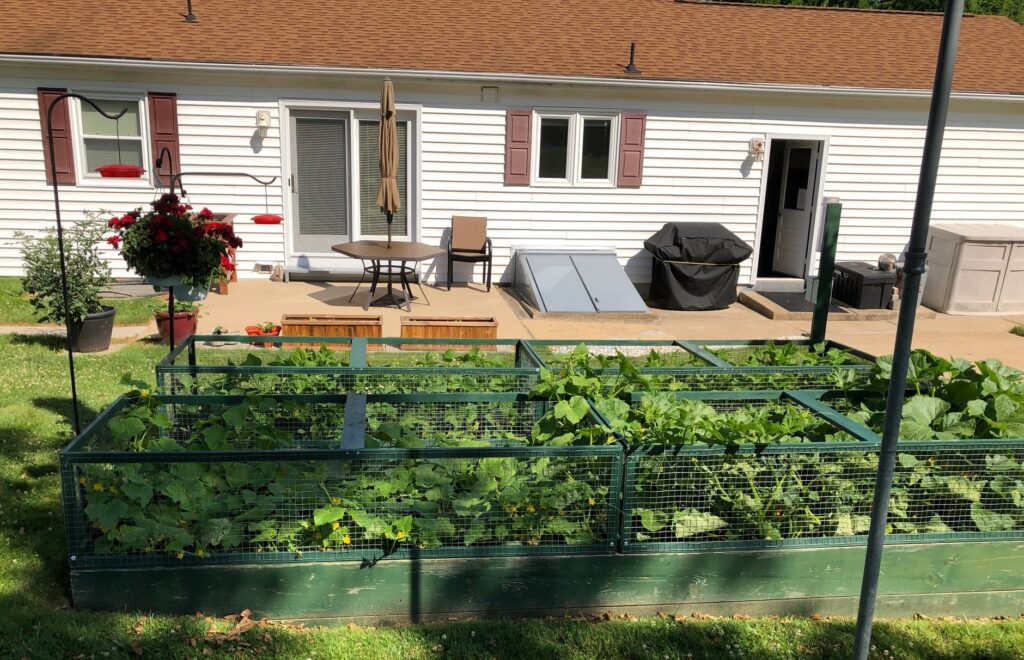
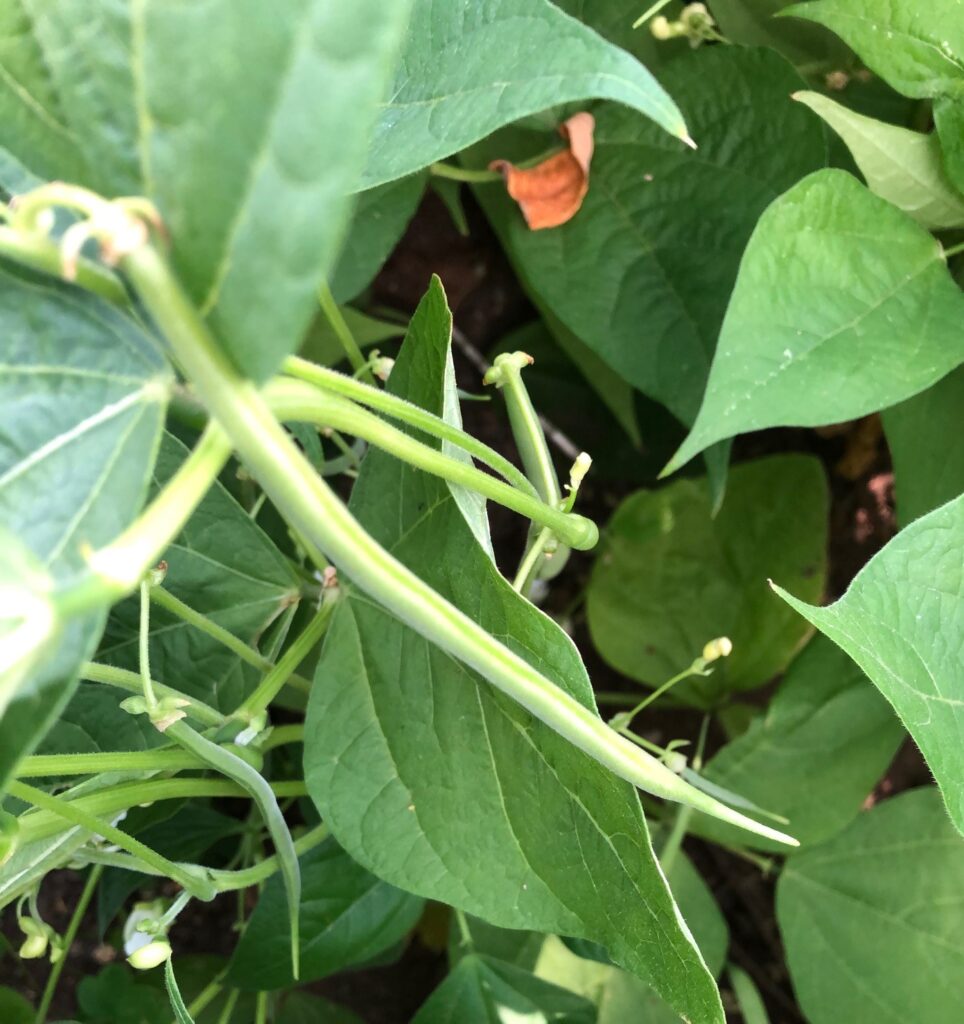
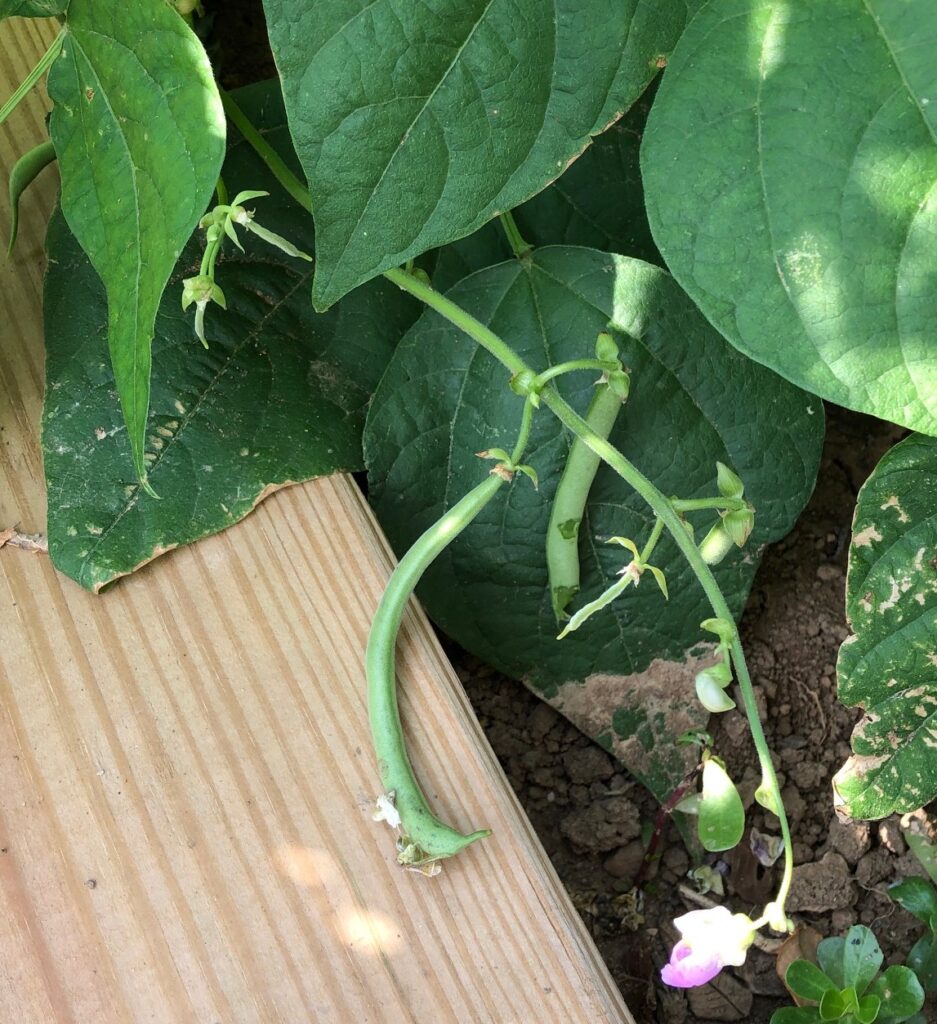
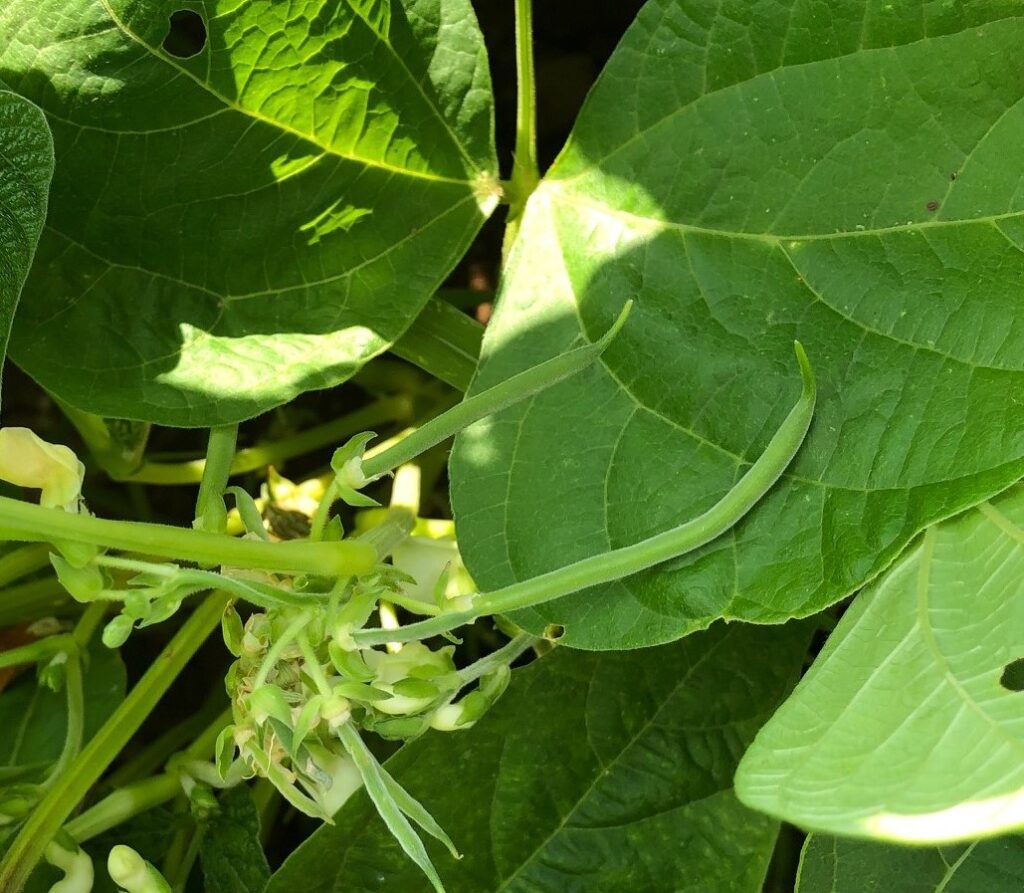
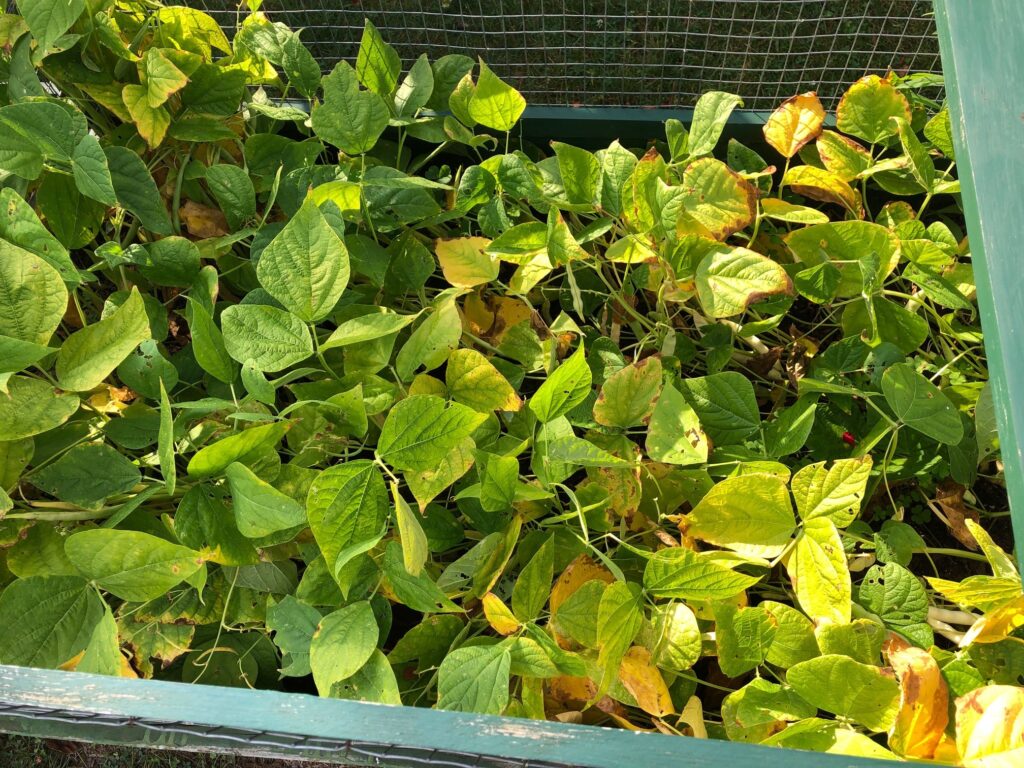
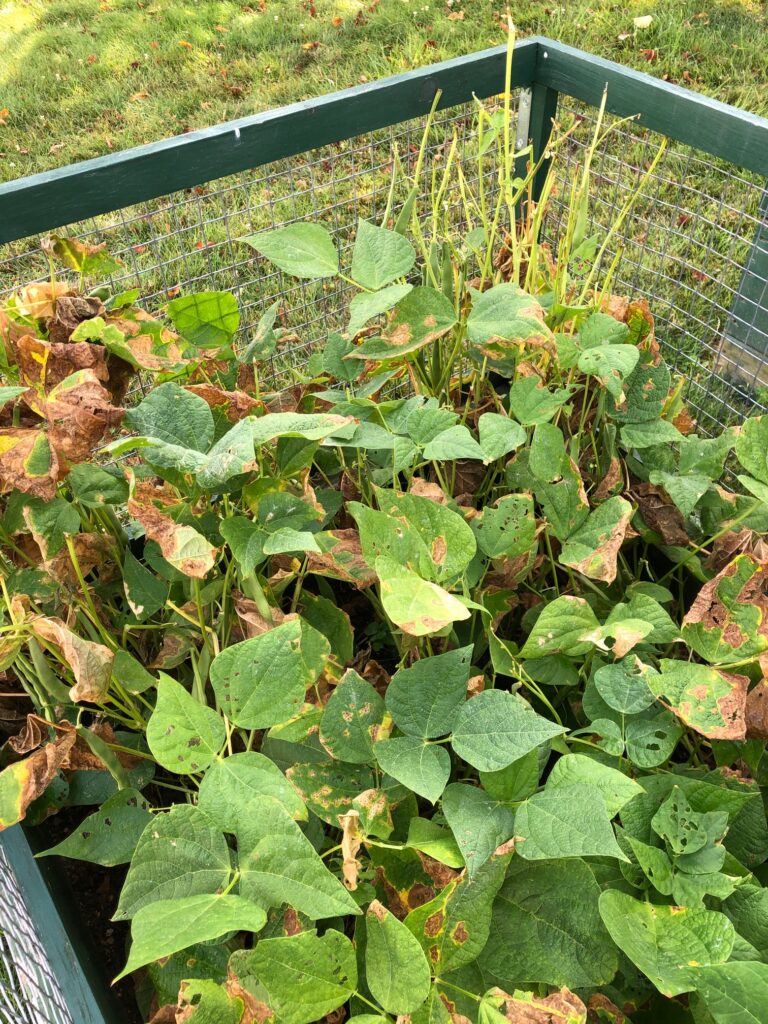
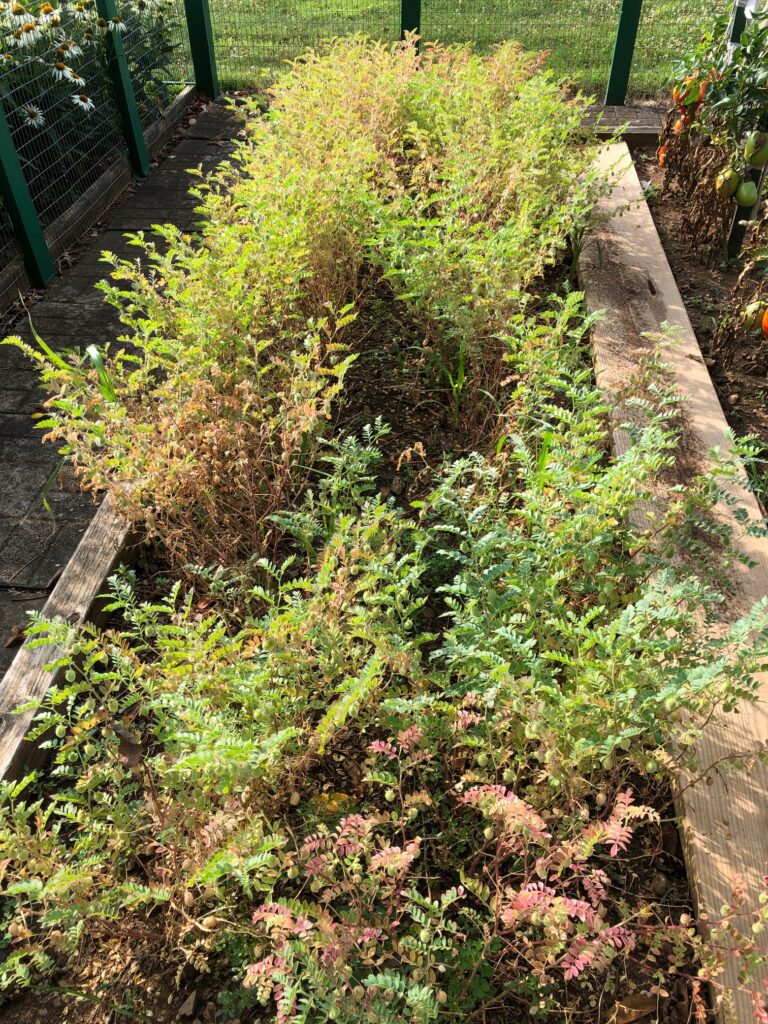
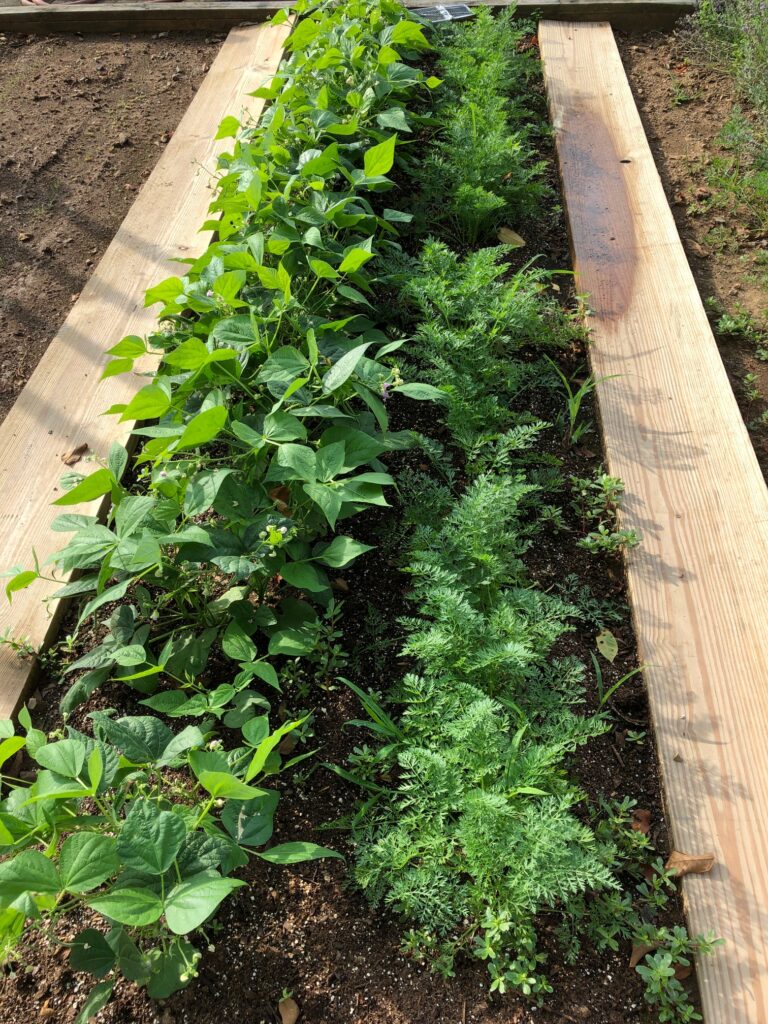
On to the shell beans. If you recall, I’m growing five different beans that we will leave in the garden until fall. The labels for them are hiding under the plants right now so I’m not sure which is which. First, here are what the plants look like now:
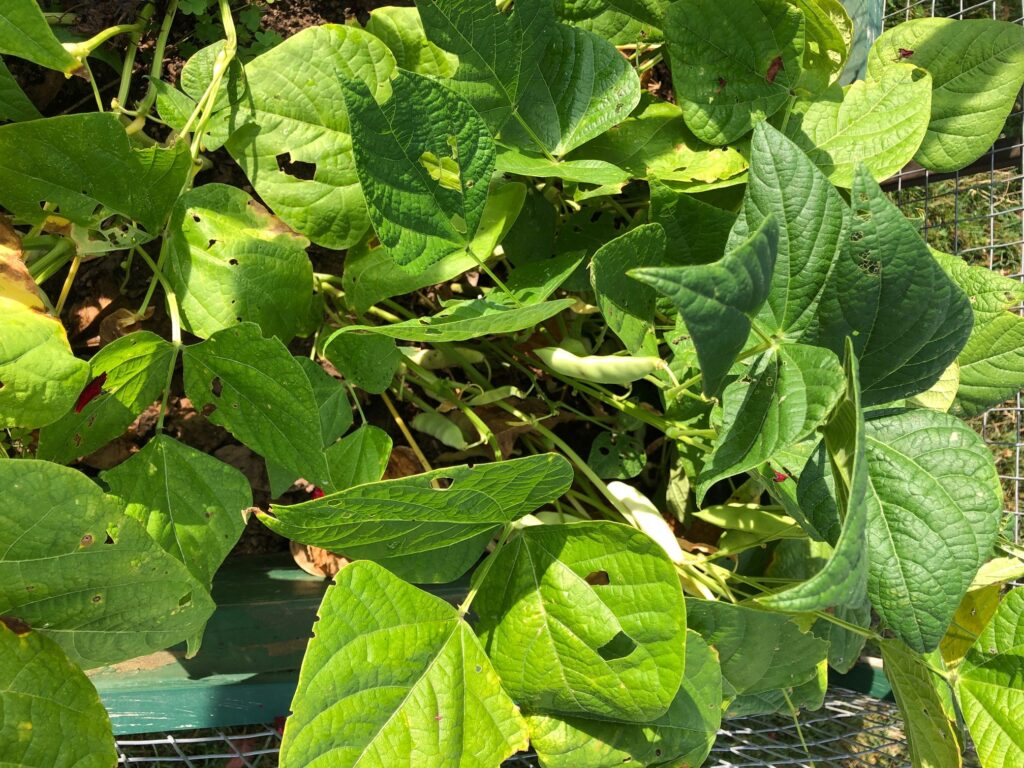
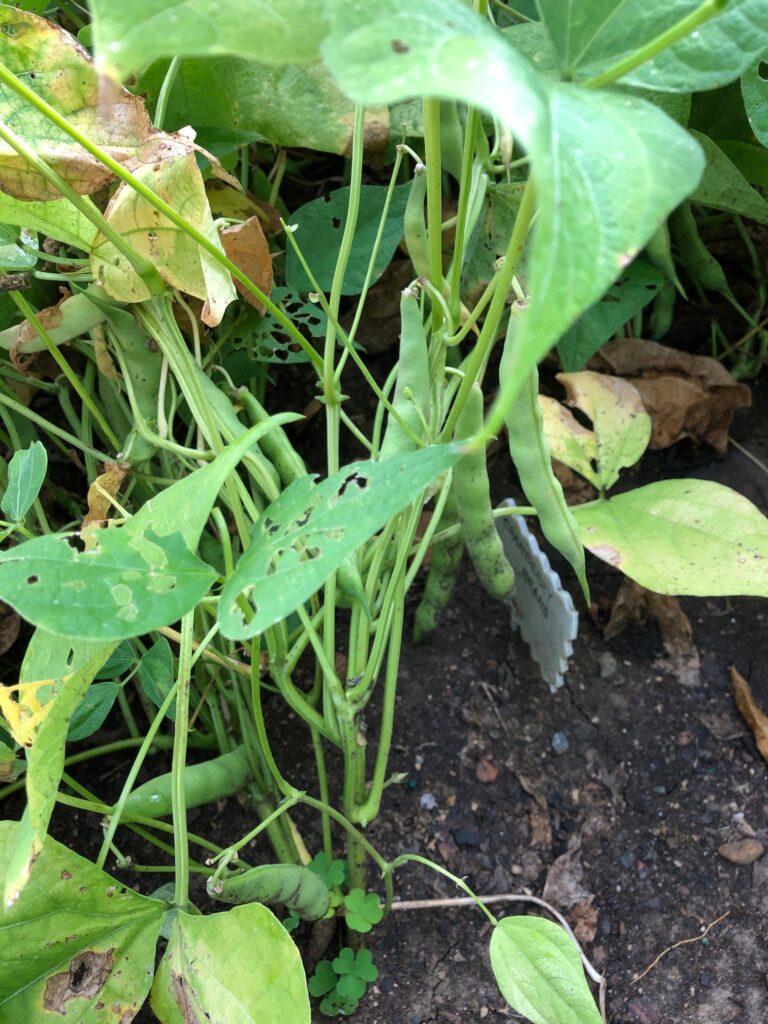
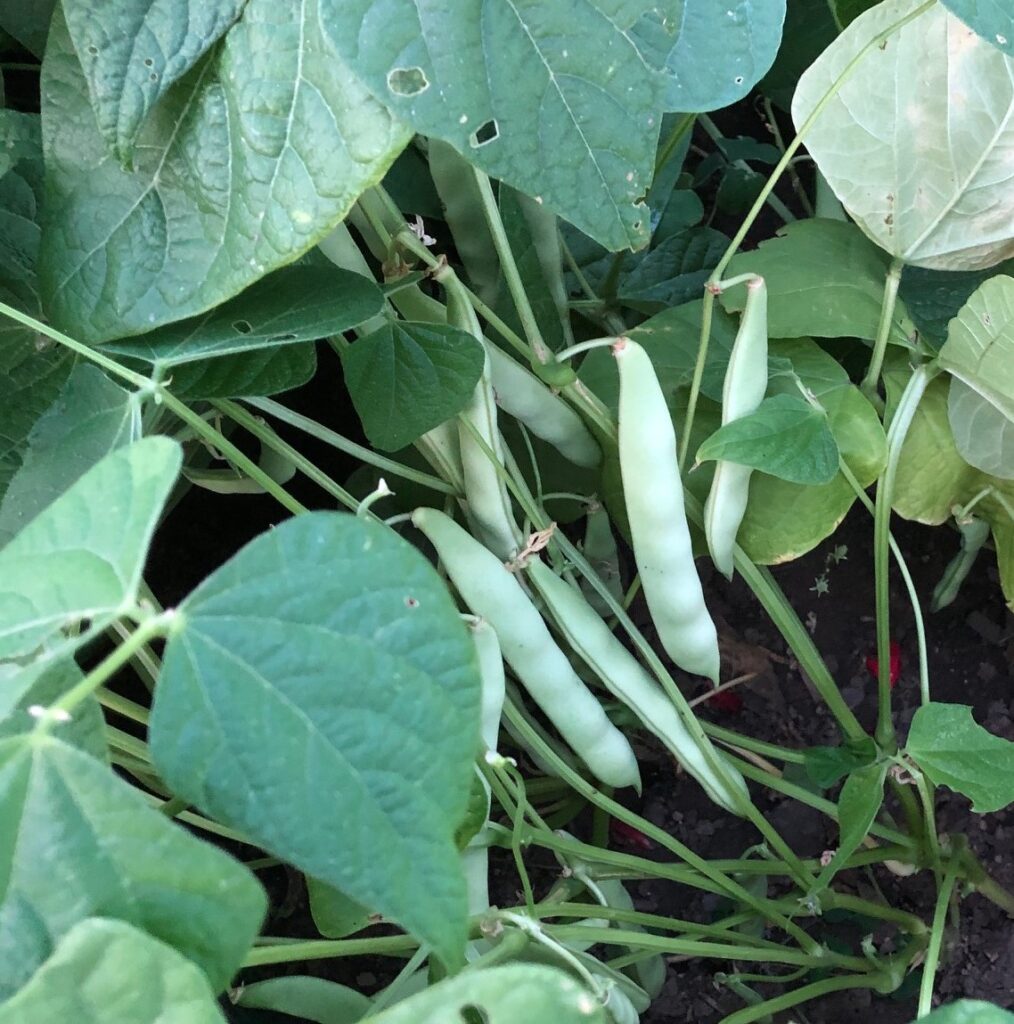
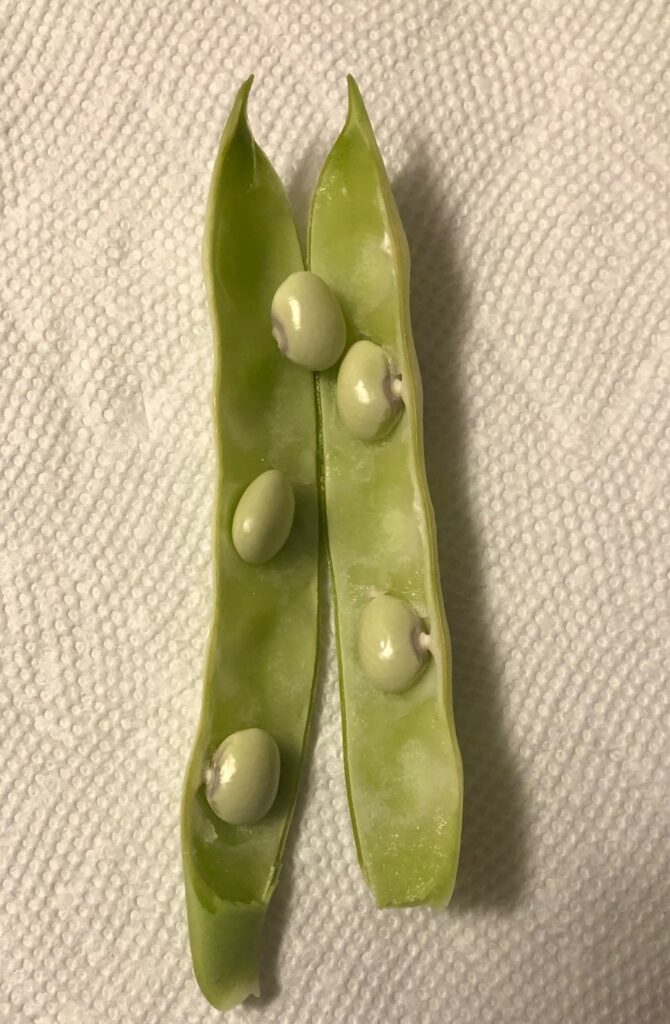
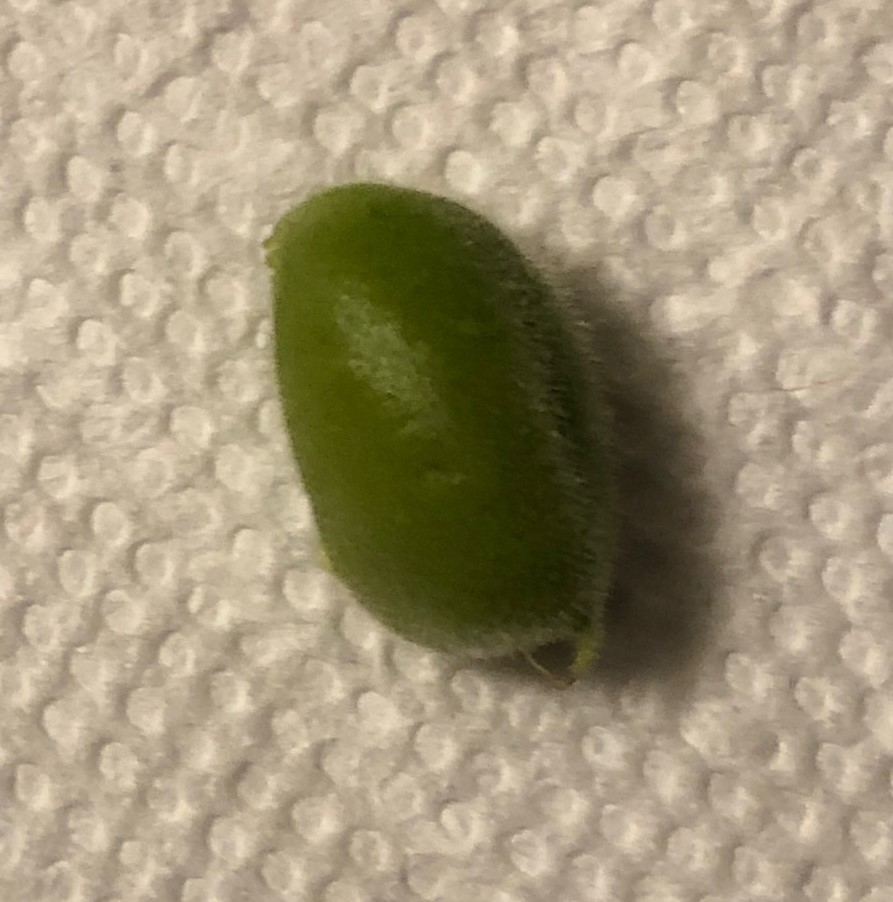
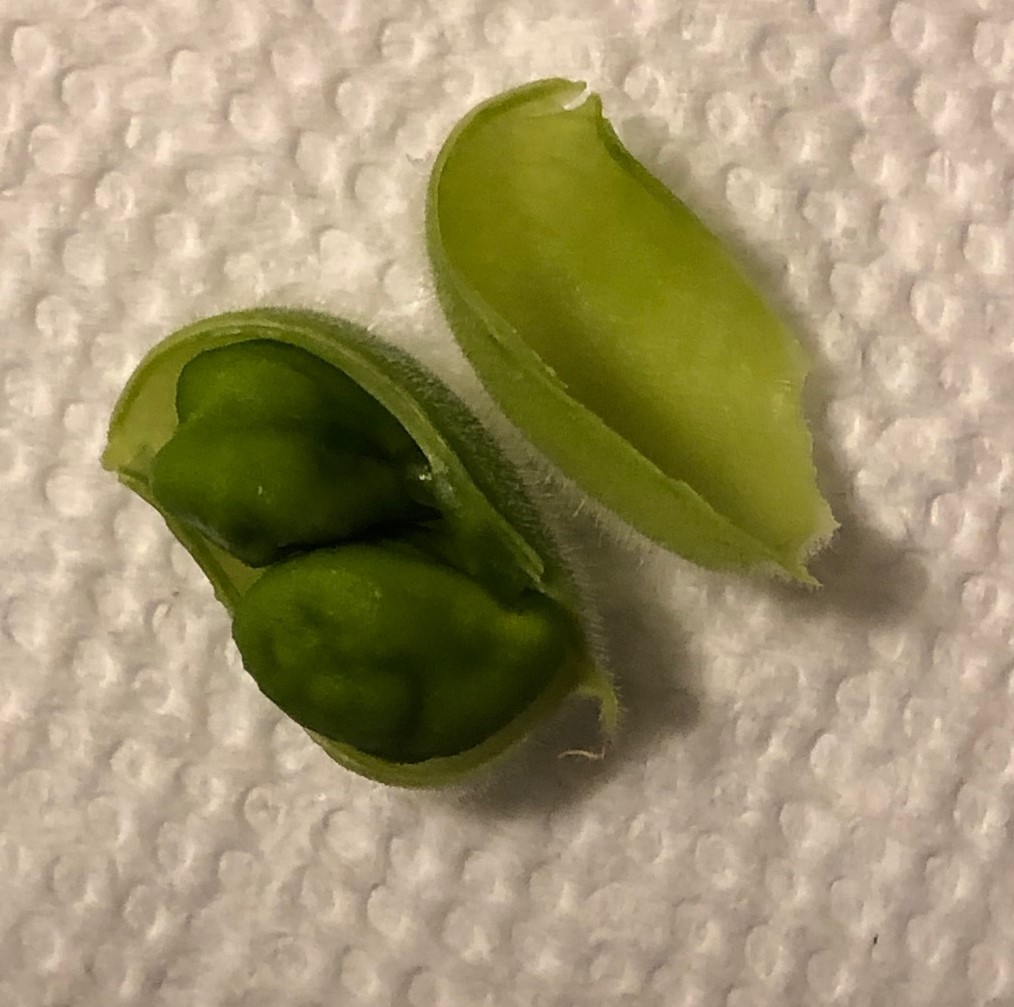
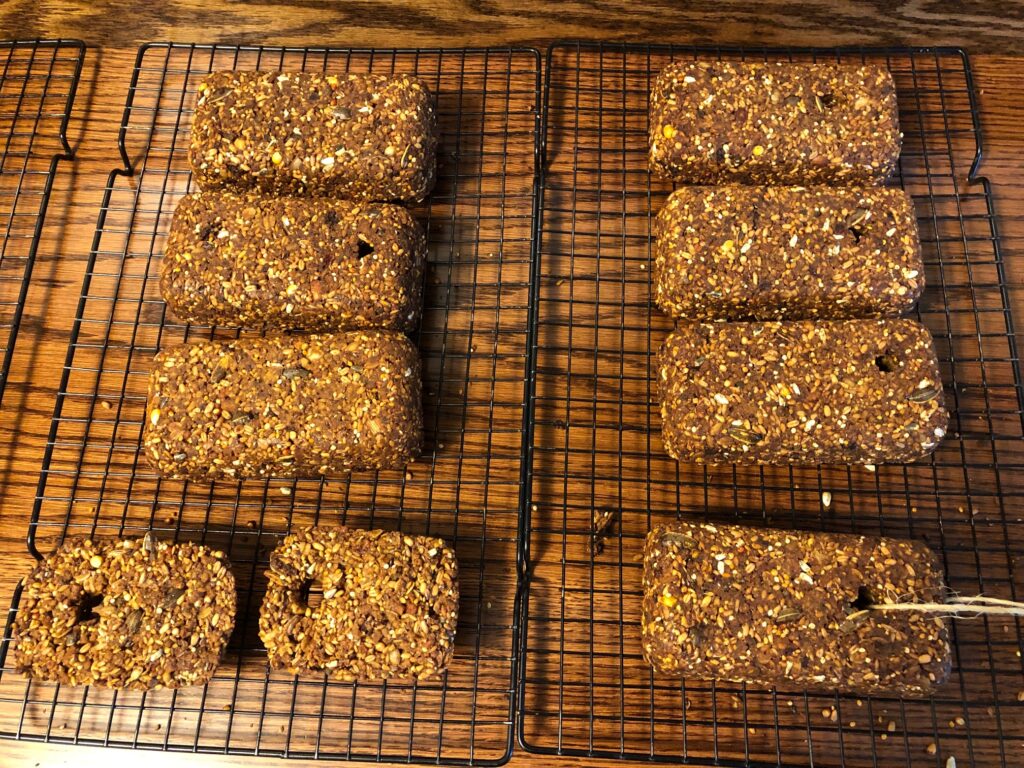
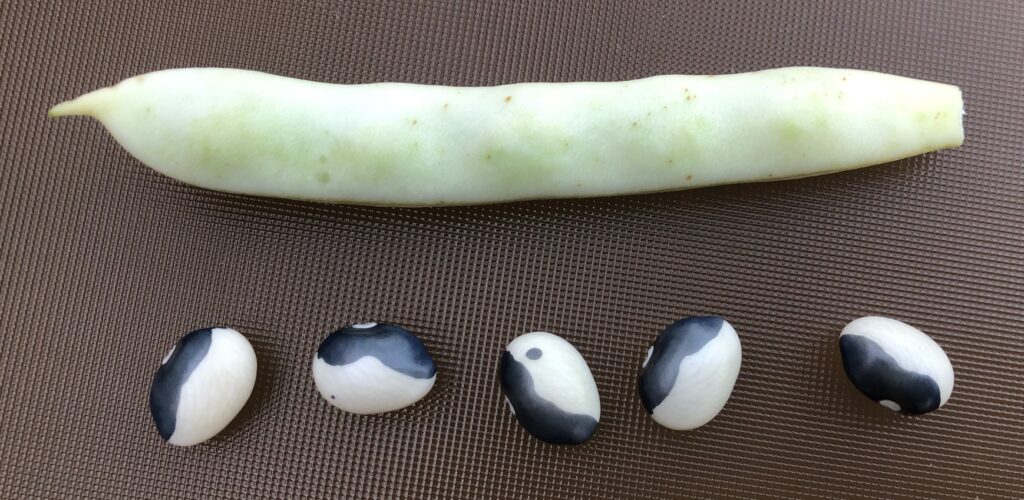
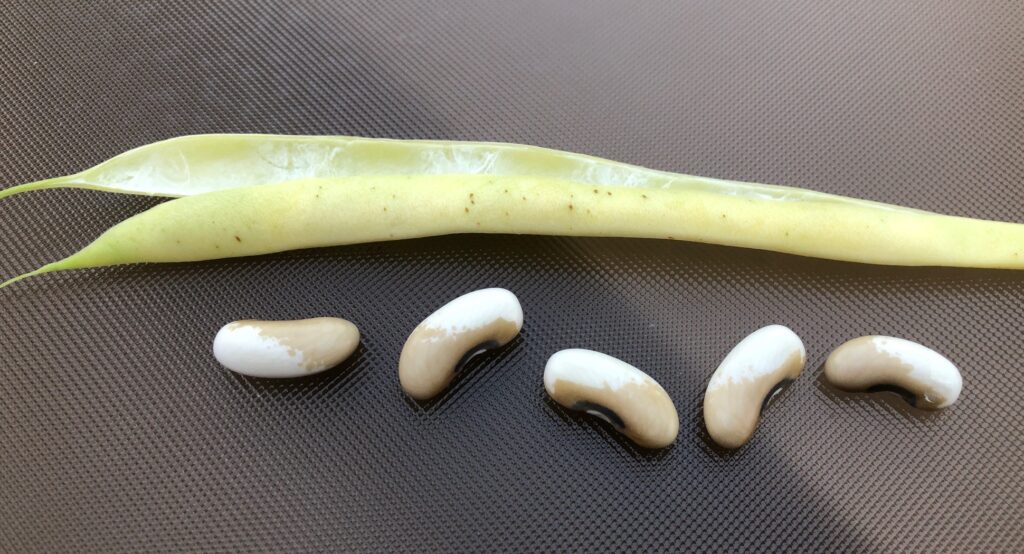
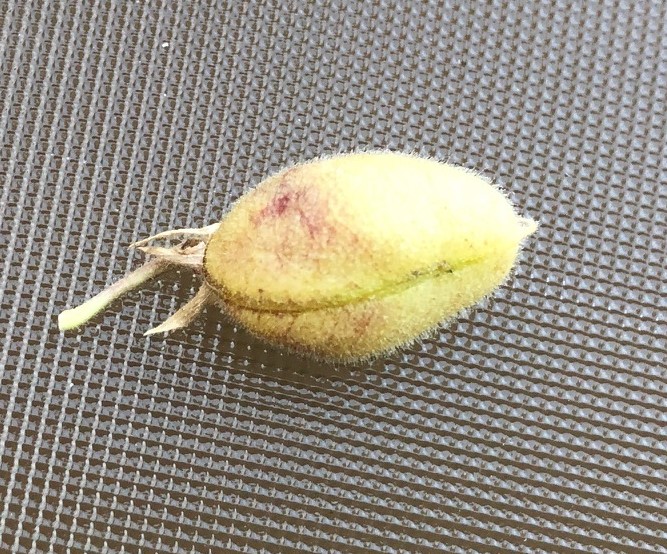
I was able to pick a few bean pods to see what was happening inside:
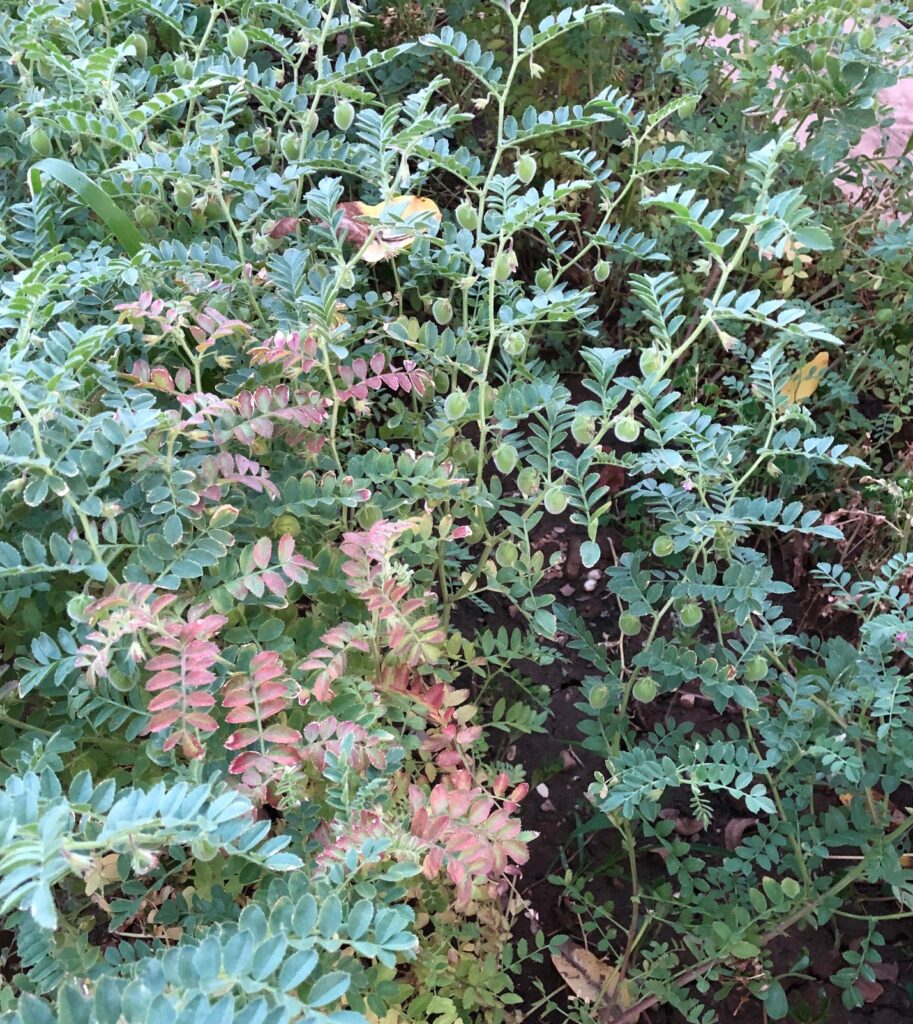
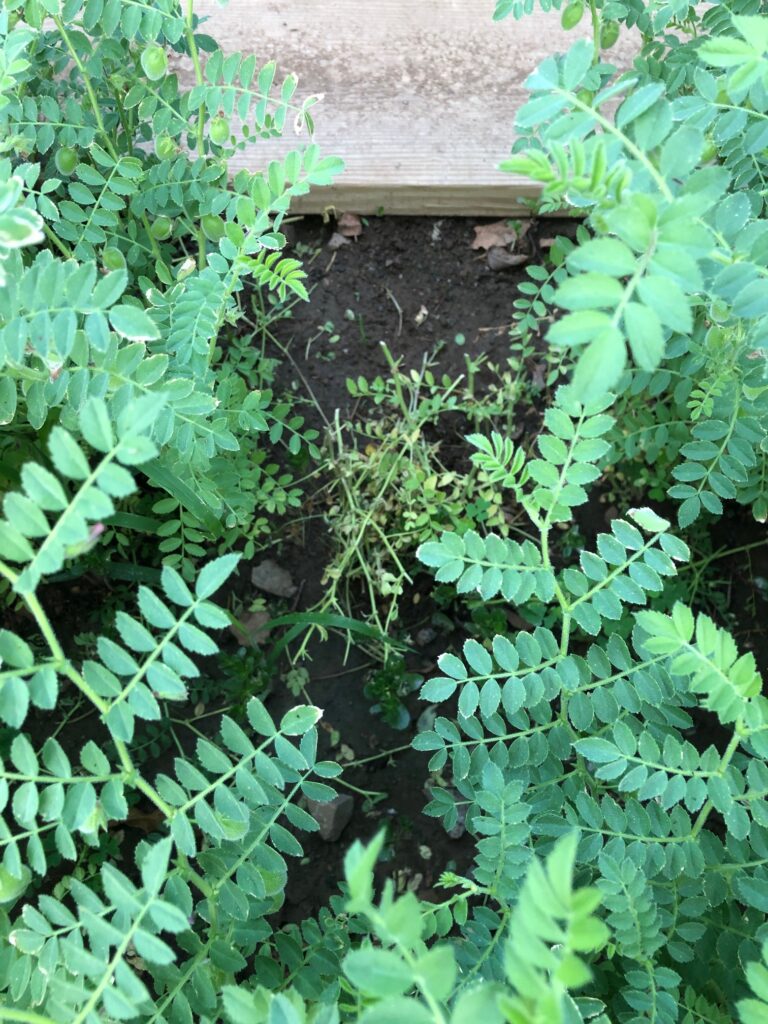
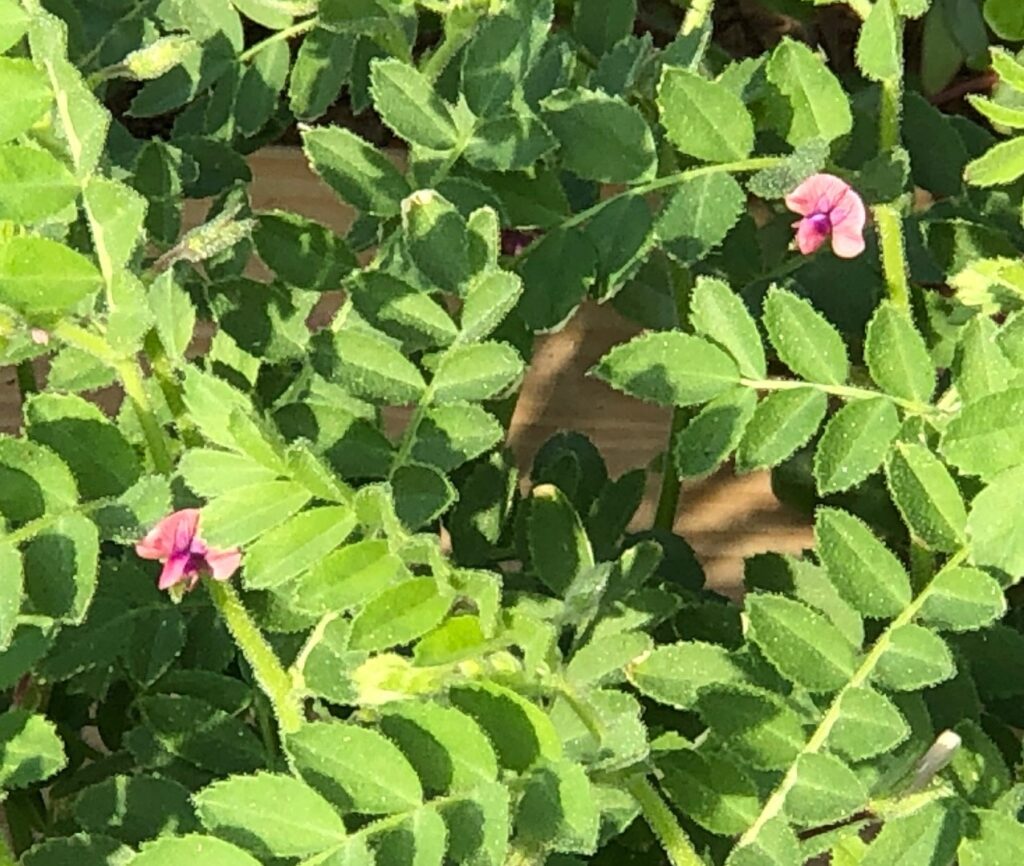
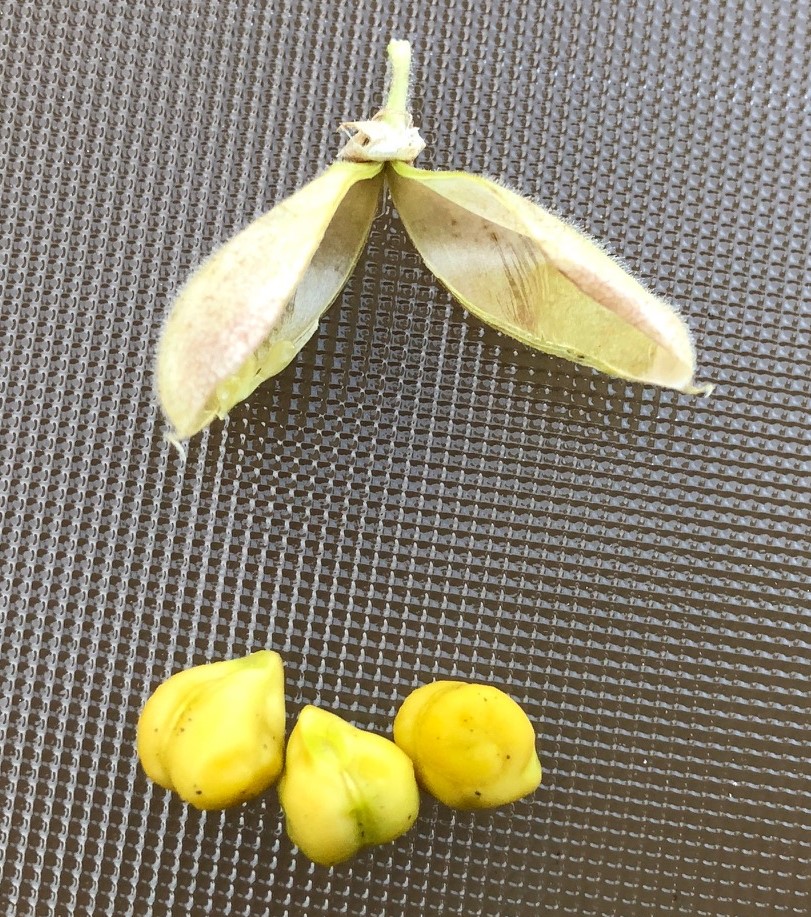
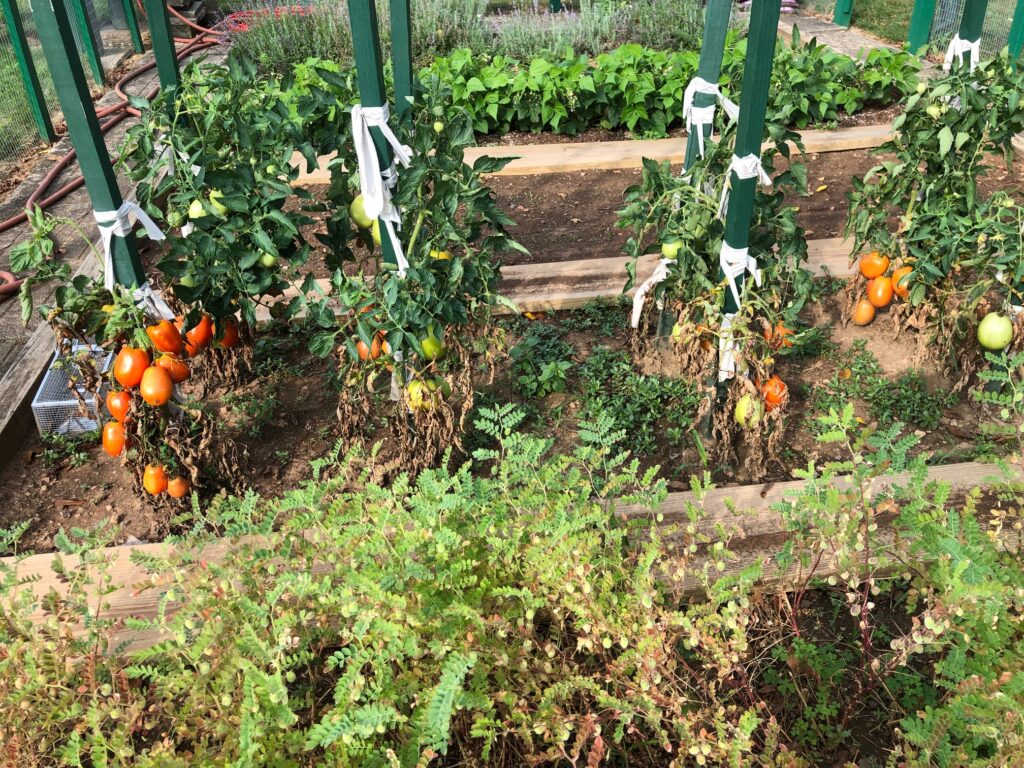
The most fun are the Garbanzo beans (Chickpeas) up in the garden:
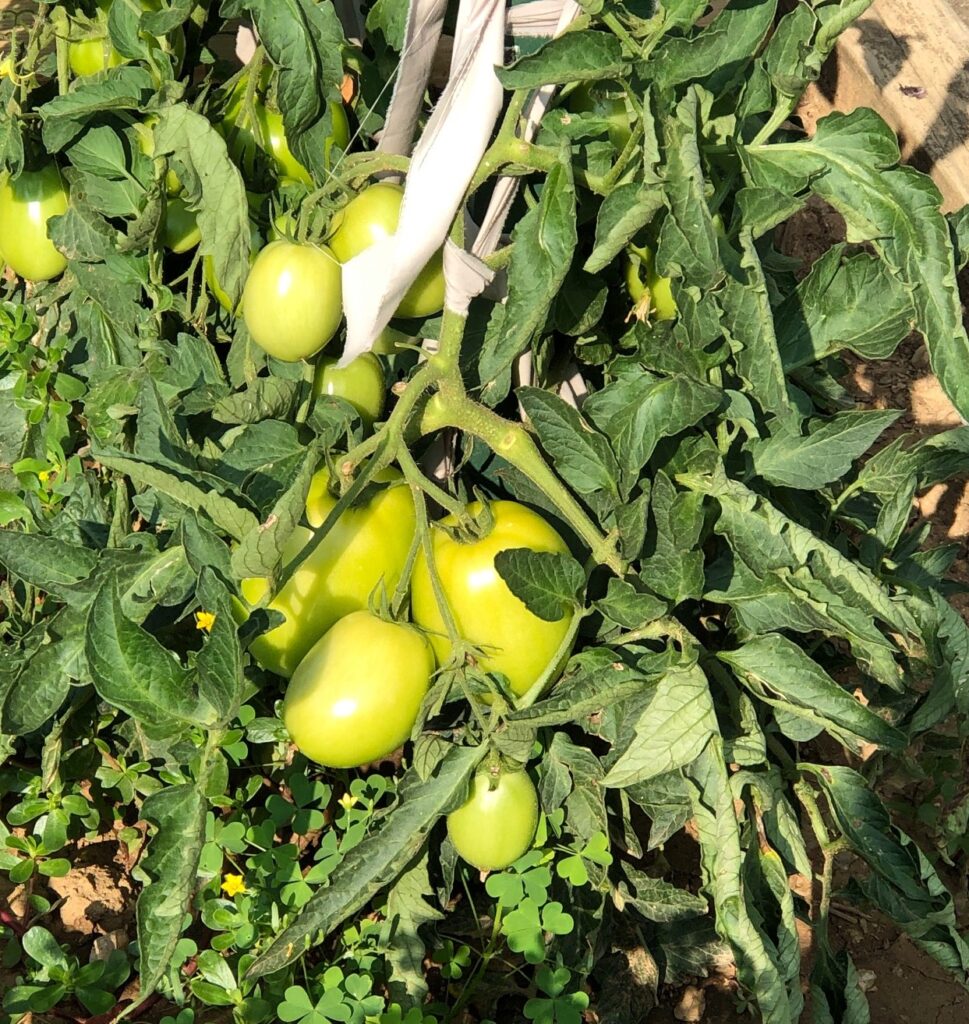
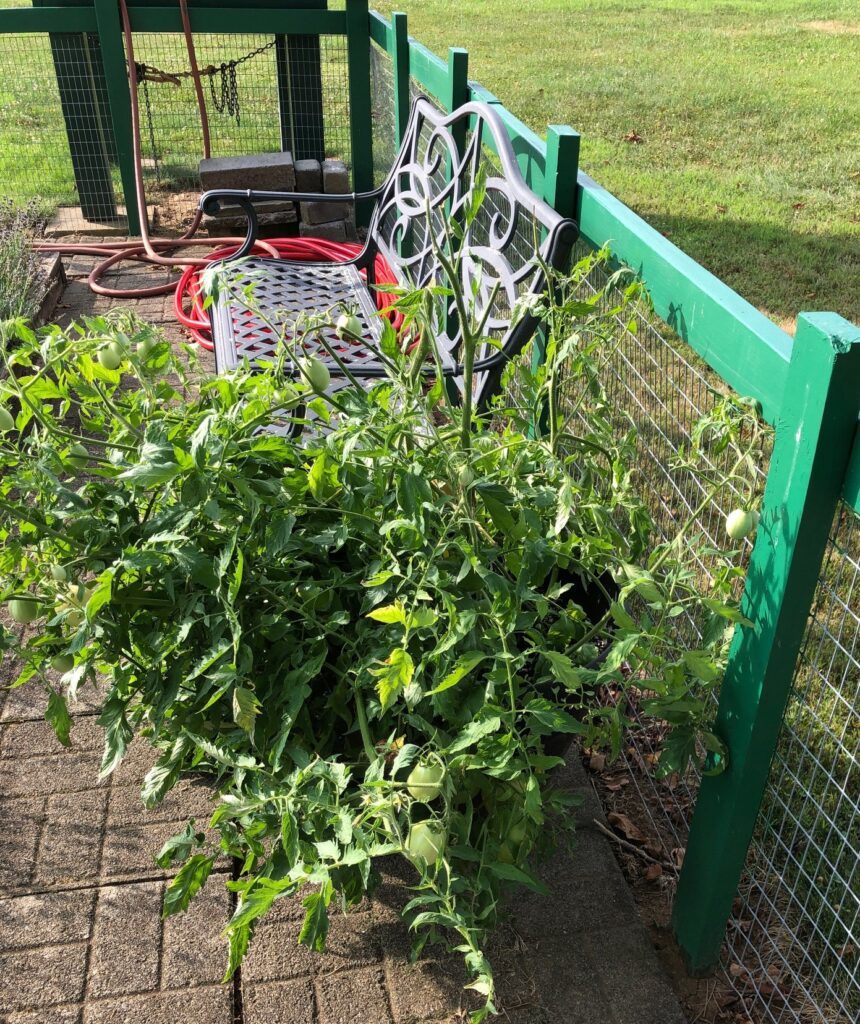
Up in the garden, we put a few tomato plants in a pot rather than throwing them away in the spring. They were tucked next to the fence and we kind of ignored them. The visiting deer seemed to find the tops that were close to the fence pretty tasty!
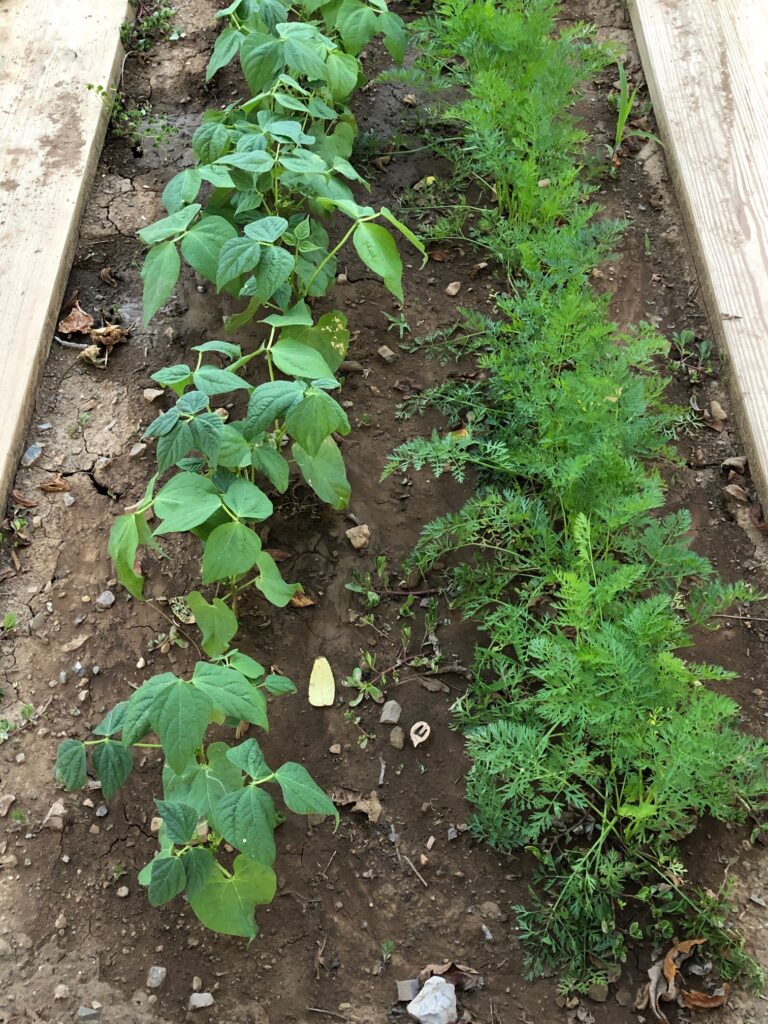
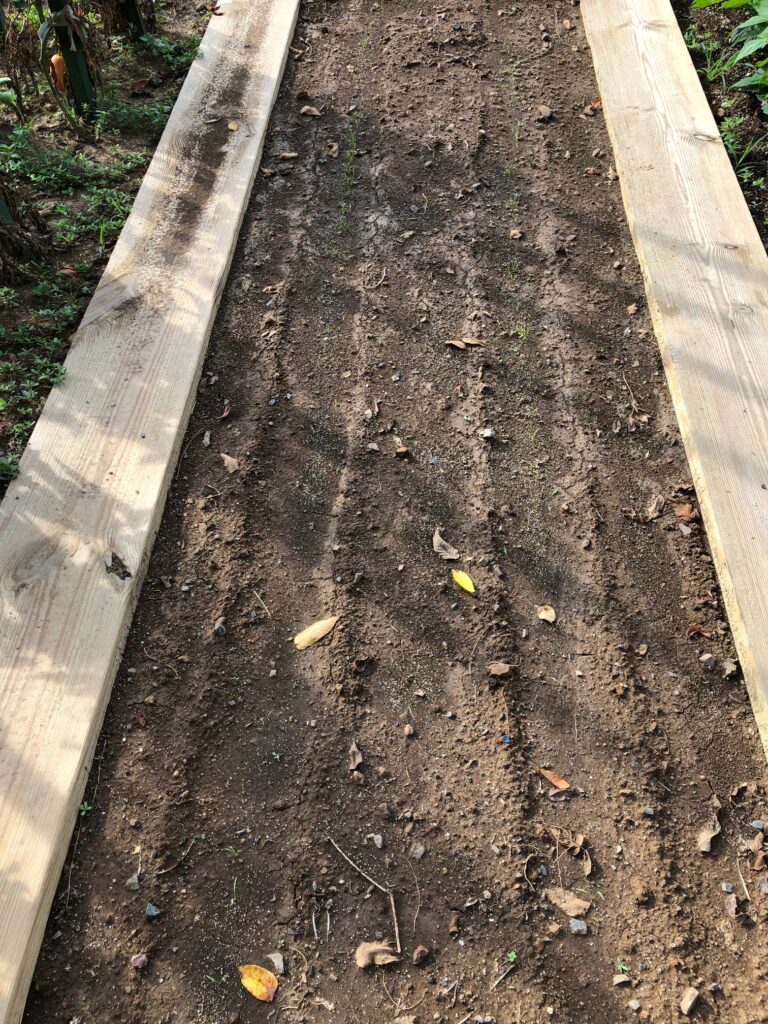
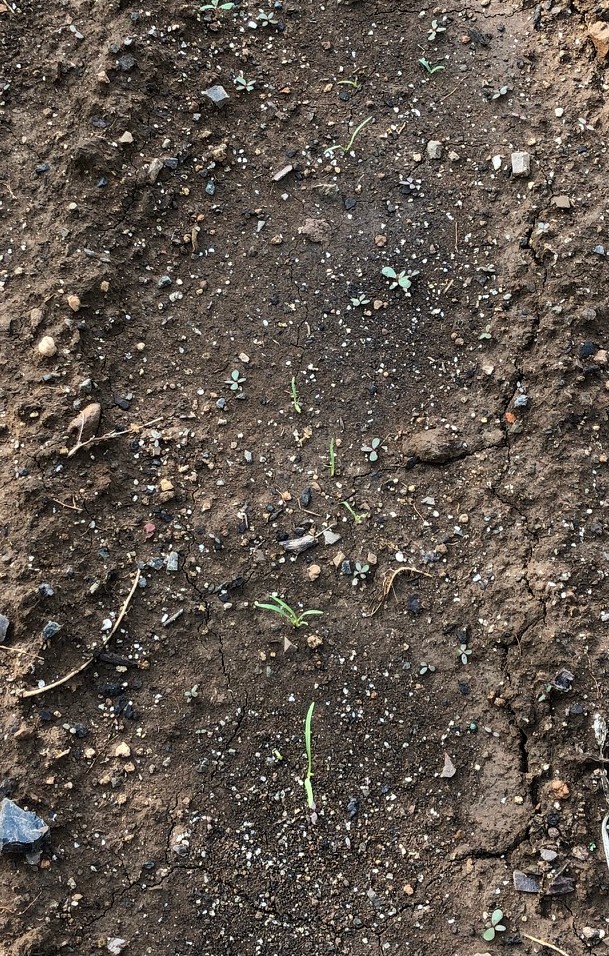
The single row of green beans and carrots are finally perking up:
The row where the green and yellow beans were, got a second planting of carrots. Not sure if they’ll have time to make carrots, but we’ll see.
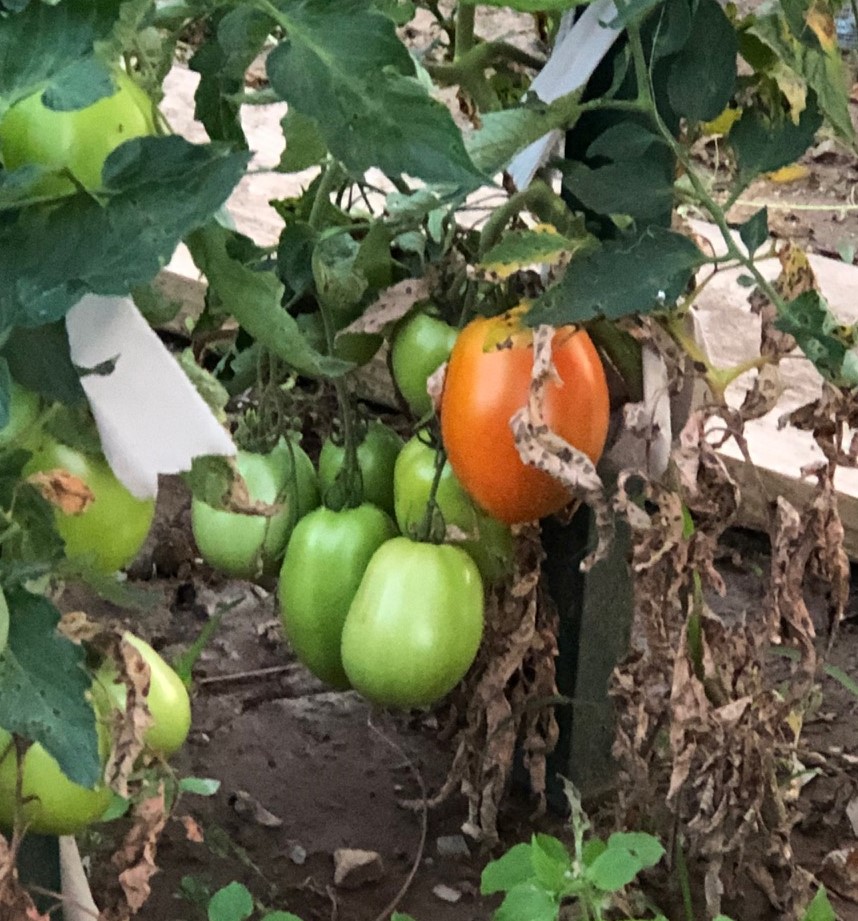
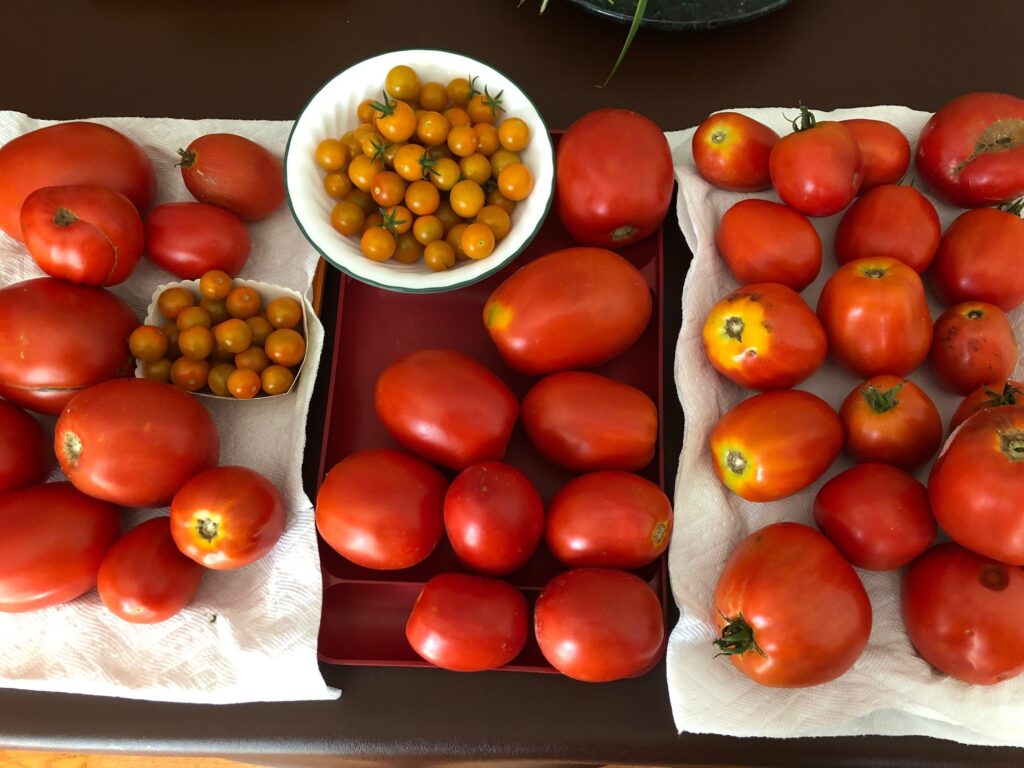
The Super Sauce tomatoes are ripening fast so we’re picking every day.
So, that’s the tour! Looking at the shell beans and chickpea plants, it feels like fall is on its way. Of course, today is 95 degrees with little rain in the forecast. Fall weather sounds delightful! Enjoy!
Please comment or email me directly at marykisner@comcast.net.