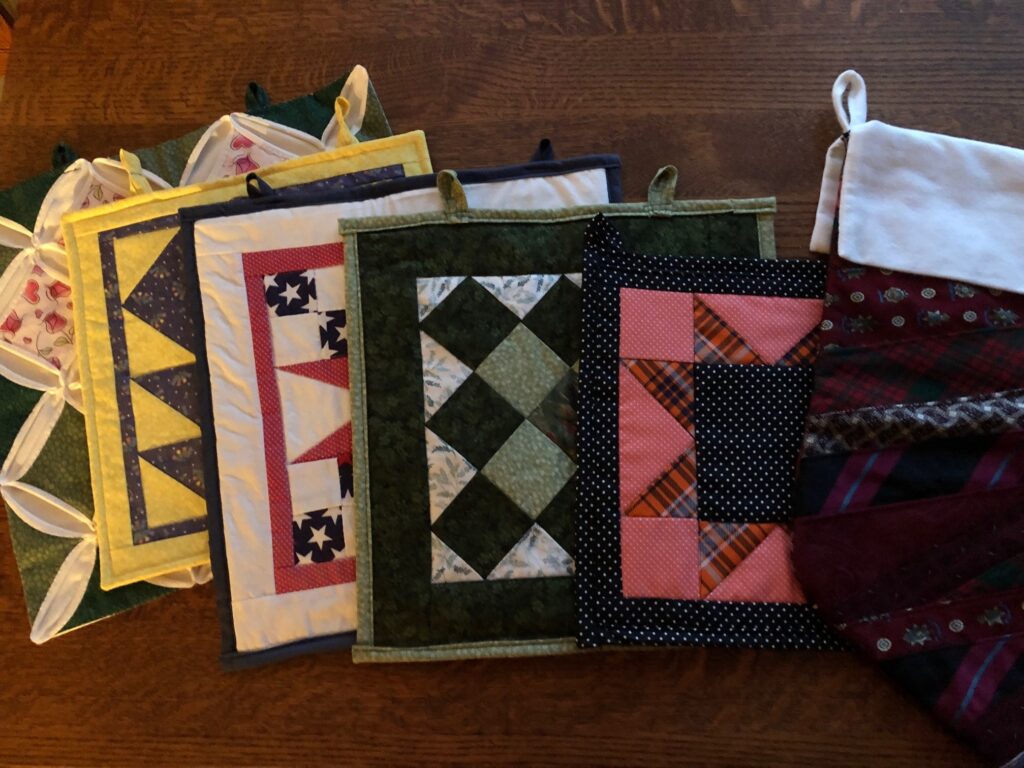
The door quilts I’ve made over the last year have served me well. They are easy to store, add some color to the front door and are a quick fix when the seasons change. Read about why I started making these door quilts at https://marykisner.com/a-year-of-door-quilts/.
I now have six so I can change them about every two months. I suspect by the end of this year I will need to add some new ones…I think the colors tend to fade from being exposed to the sunlight on the door. However, for this year I’ll just switch them out when it’s time.
I noticed I put up the yellow spring one on this exact date last year! So, I guess every two months I’m ready for a change. We’ve had a few warmer days of 40 to 50 degrees, but the weather is to change dramatically in the next few days. That taste of spring must trigger my need for a touch of color in my life.
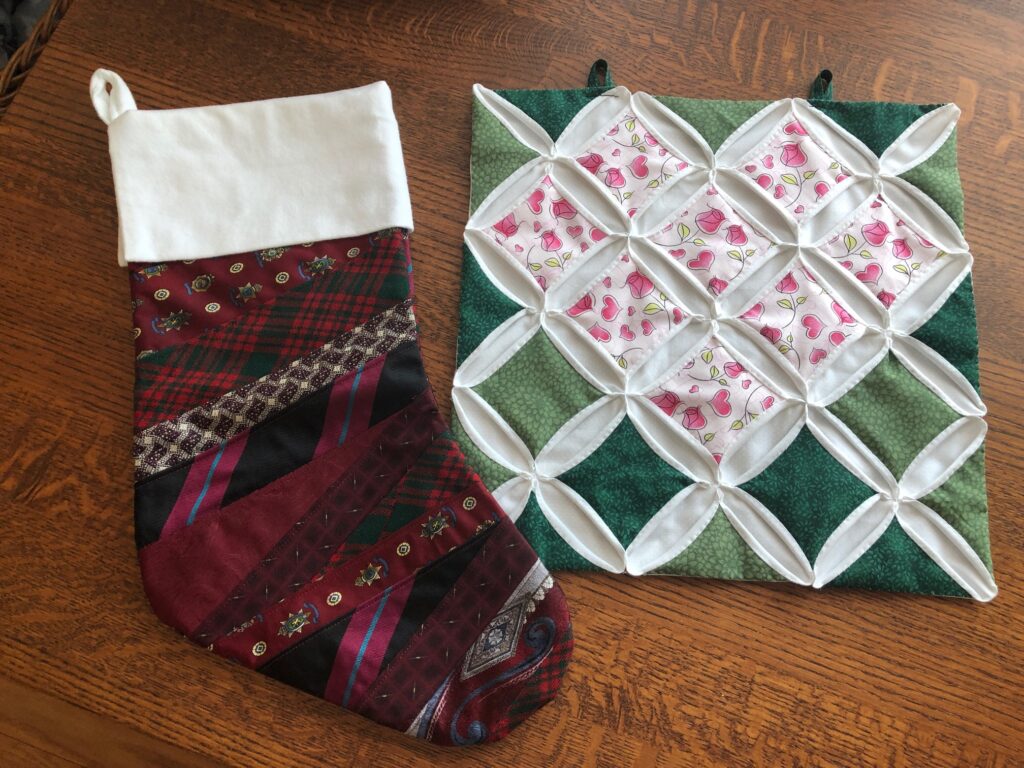
I learned with my first two door quilts that because my door is a dark red, the decoration needs to be light. Thus, on the Christmas stocking the only thing that showed up at a distance was the cuff. However, on the Valentine one (against the green background) the heart showed up beautifully from a distance. See the difference?
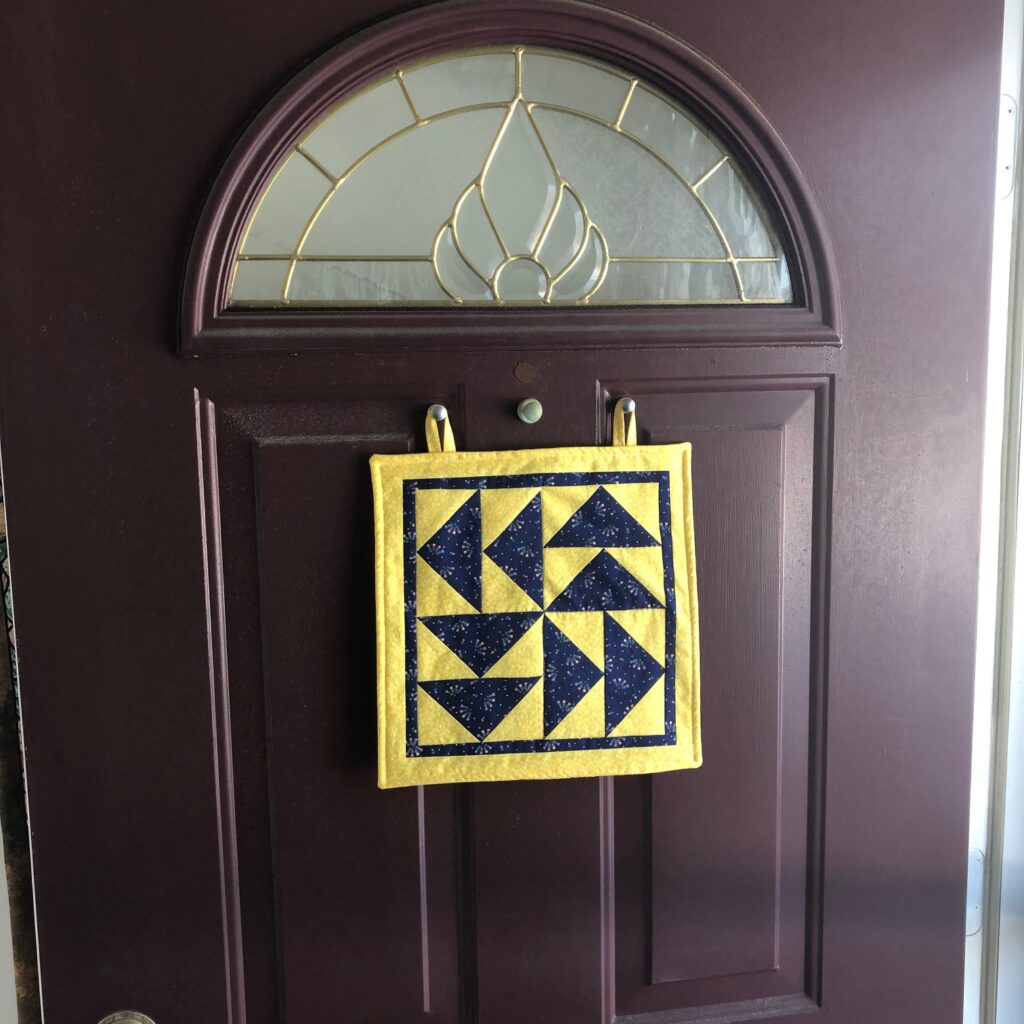
So, since I decided to decorate with small quilt blocks, I chose a yellow background. This quilt pattern is called Dutchman’s Puzzle, Dutchman’s Wheel or sometimes Wild Goose Chase.
When seen from a distance, the shape really stands out. Take notice, Mr. Snowstorm…your days are numbered! Enjoy!
This is a follow-up to a previous posting about recycling a wedding dress (https://marykisner.com/recycling-a-wedding-dress-part-1/). A friend had asked if I could do something with her daughter’s old wedding dress. She had stored it for 15 years and the dress did not hold any positive memories for anyone. Of course, I agreed to see what I could do with the dress.
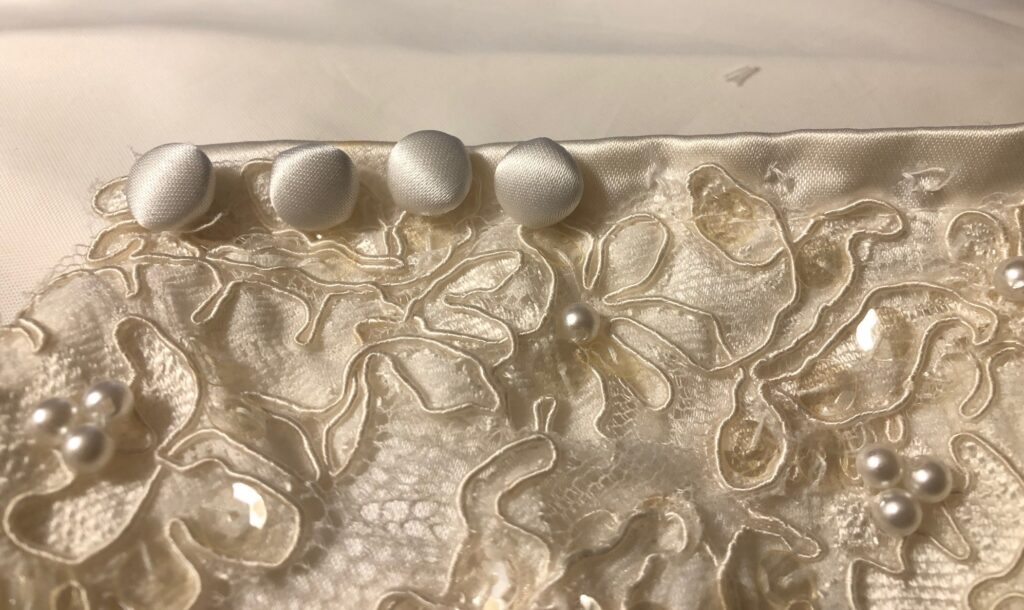
After carefully unpacking the dress and cutting sections apart, I had a huge pile of satin fabric with sections of lace, a huge pile of lining fabric, 23 lovely fancy buttons and a long white zipper! The fabric needed to be ironed and my pattern figured out.
My research about recycling wedding dresses gave me lots of ideas of things I could make out of this dress from Christening gowns to stuffed animals. I decided to focus on trying to make a tiny “angel gown” for a NICU baby who was not going to make it home from the hospital. It’s a very sad topic, I know, but I hoped I could do it justice.
Making the Pattern
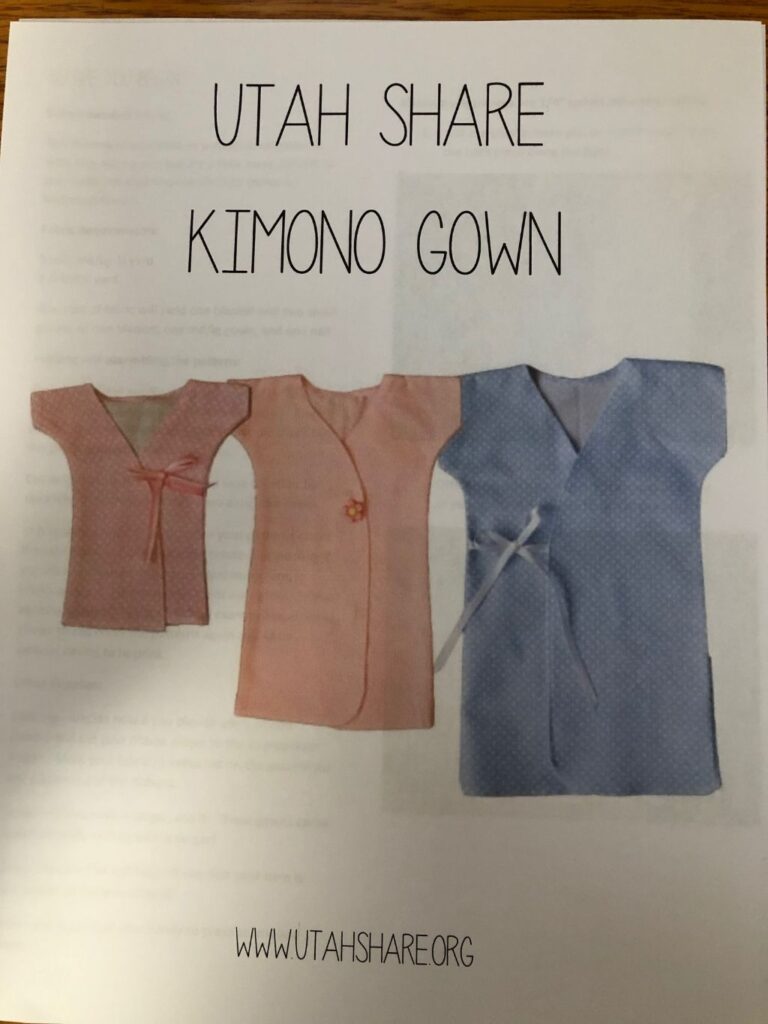
I learned that a simple gown pattern could be fashioned from a standard Kimono pattern…something like this one:
Apparently, the gown is designed to be worn with the overlapping portions as the back of the dress with a simple tie. This simplifies its use.
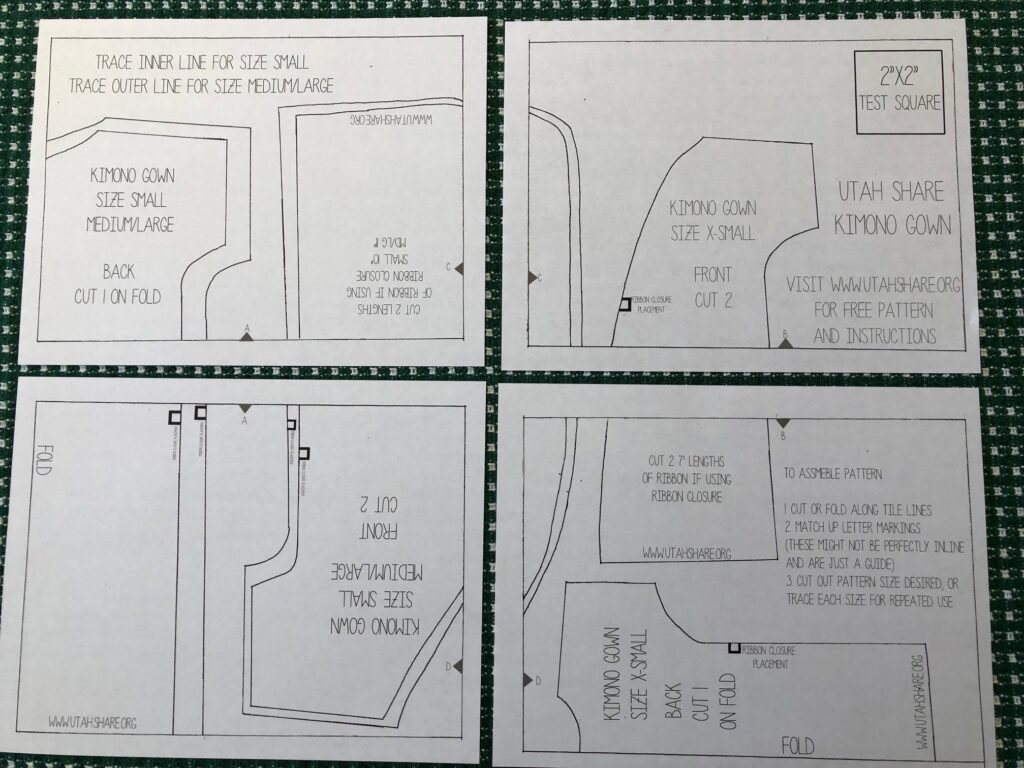
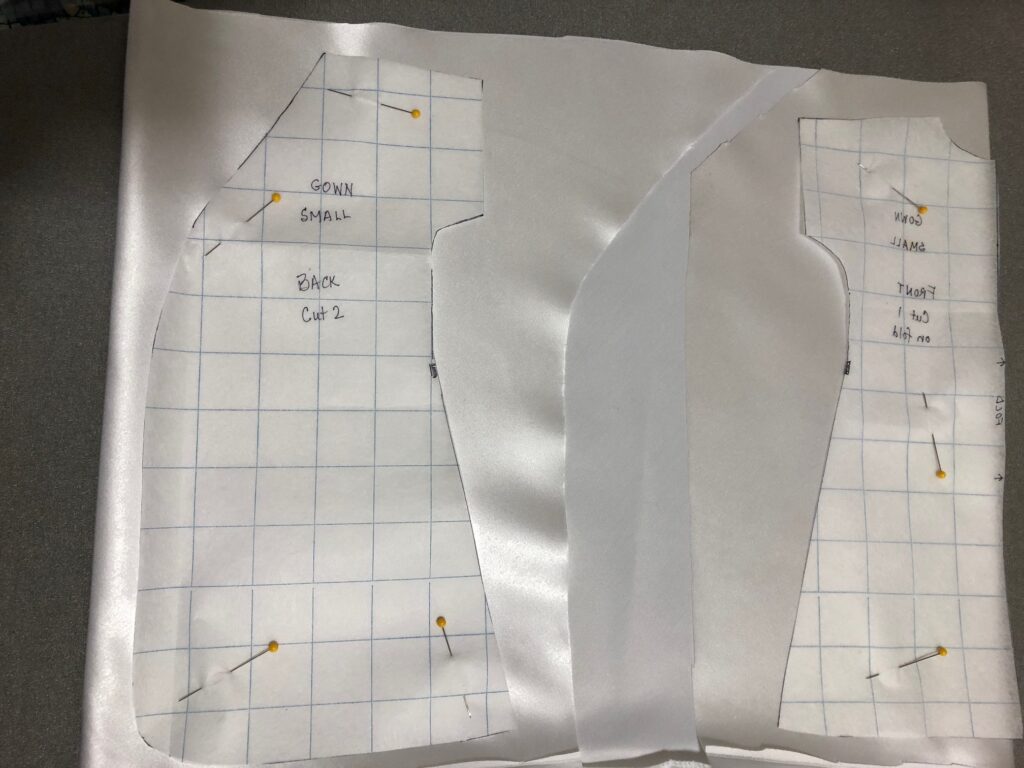
The free pattern above needed to be printed out and taped together, like this:
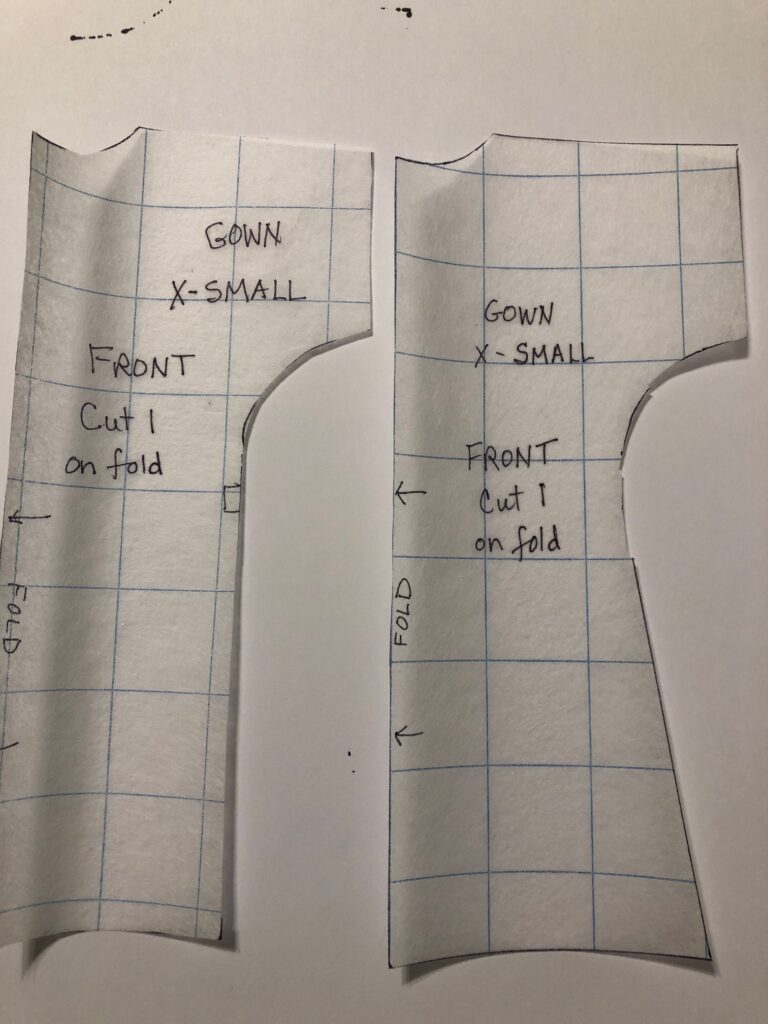
The pattern was quite fitted, while I wanted the finished gown to be flared at the bottom. I traced these onto another piece of grid paper and added the flare at the bottom.
The original pattern on the left…the altered pattern with a flare on the right.
Cutting out the Gown Pieces…but first a Practice Gown!
Before committing to cutting the satin, I decided to try the pattern with some cotton fabric. I wasn’t clear about how to sew it together…the original Kimono pattern did not have a lining so adding the lining to the satin made assembly a little more complicated.
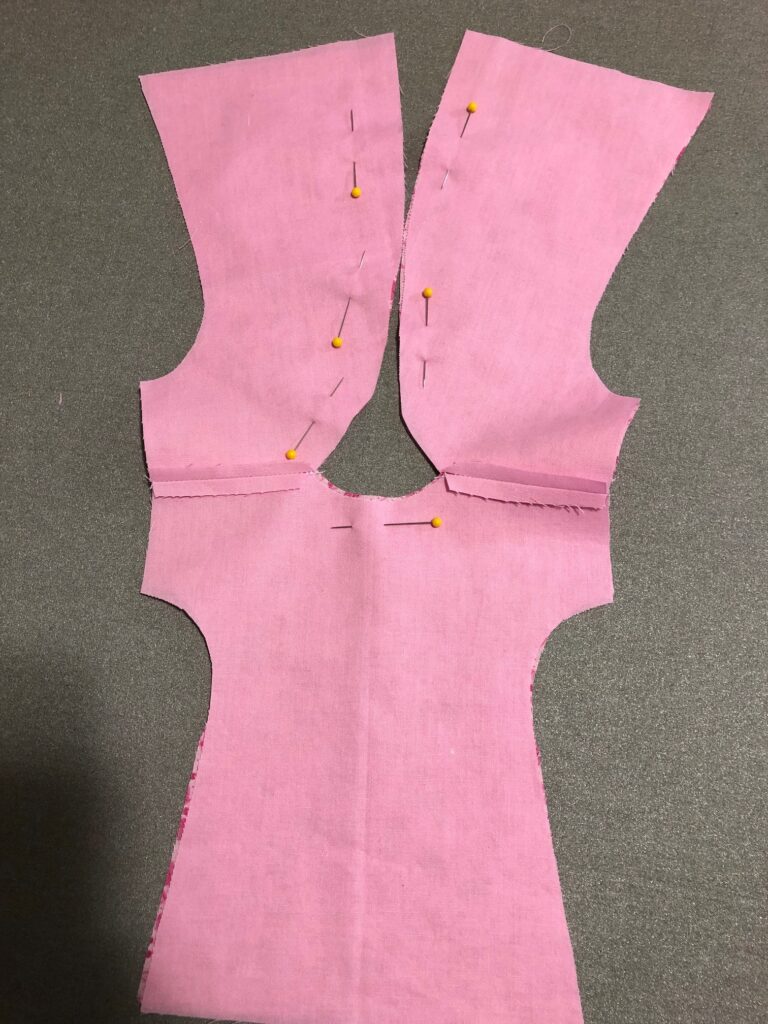
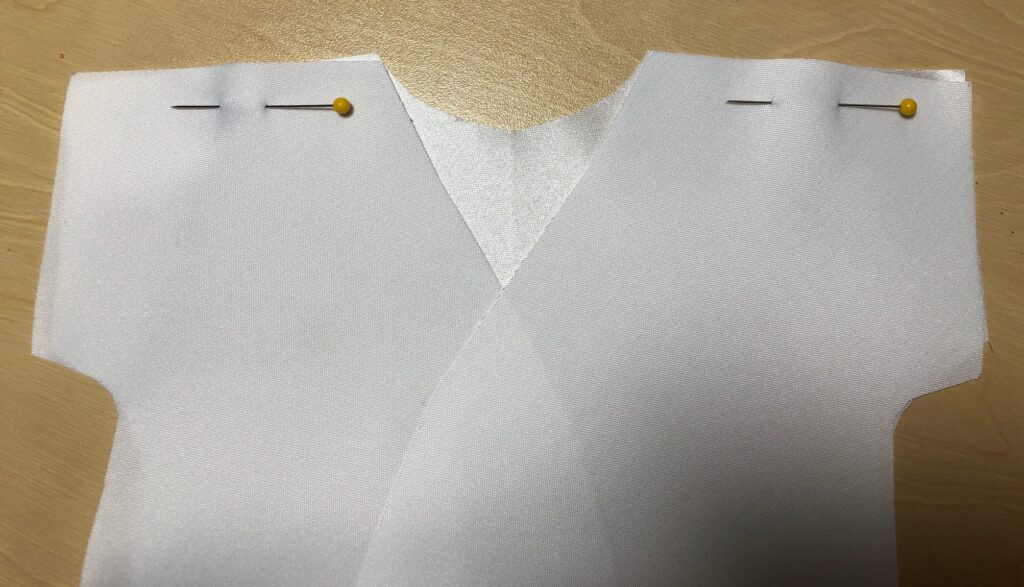
I found two pieces of pink cotton and cut out the pieces. I first sewed the shoulder seams and then, right sides together, I stitched up the back and around the neck.
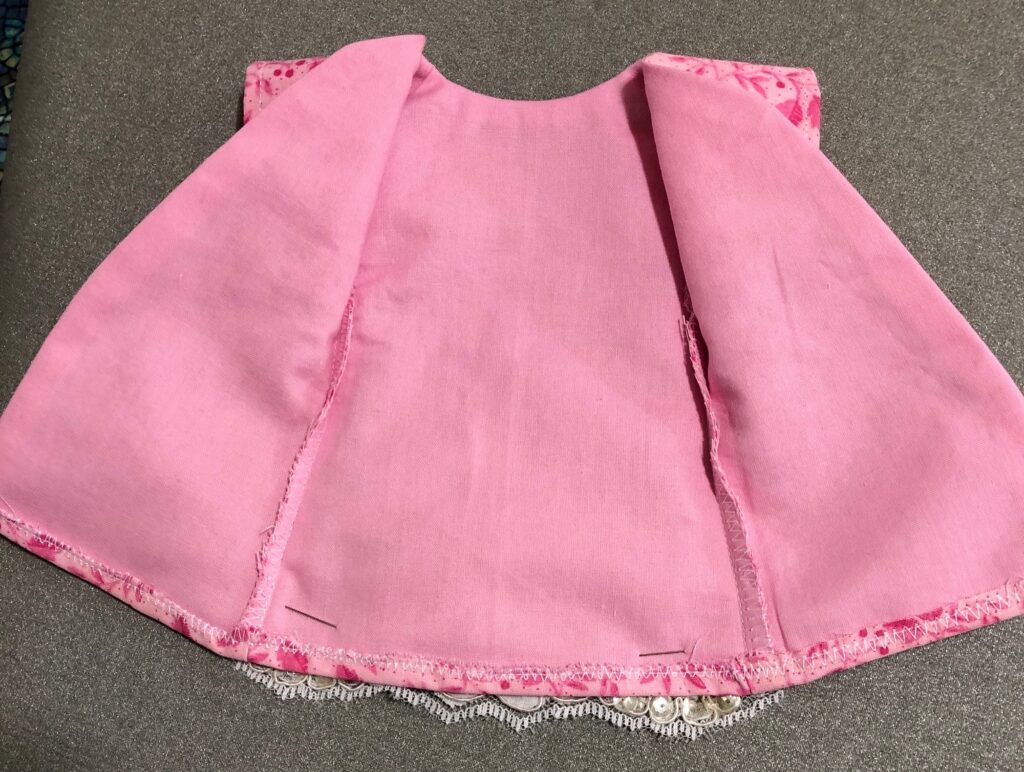
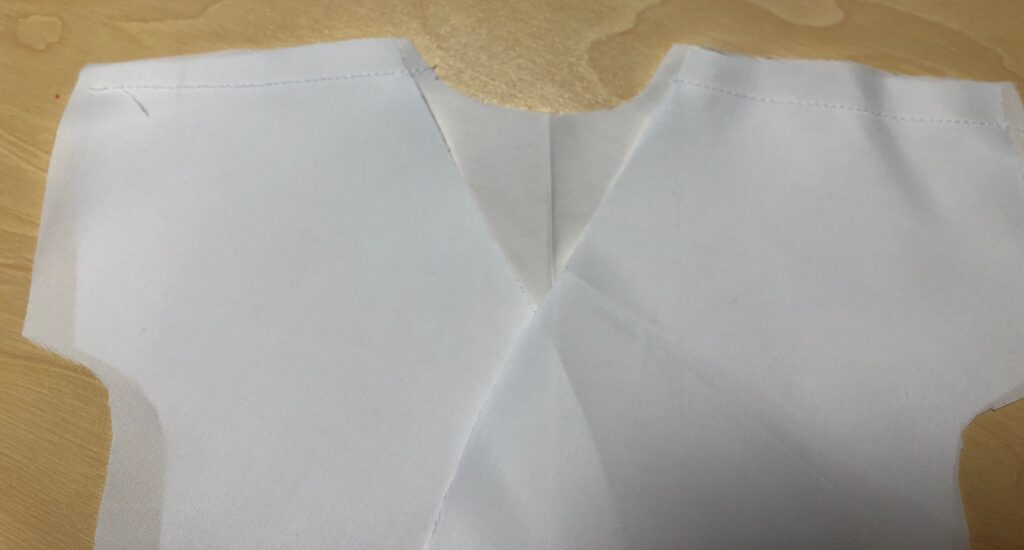
I clipped the seams and turned it right side out. Then I hemmed the arm hole openings.
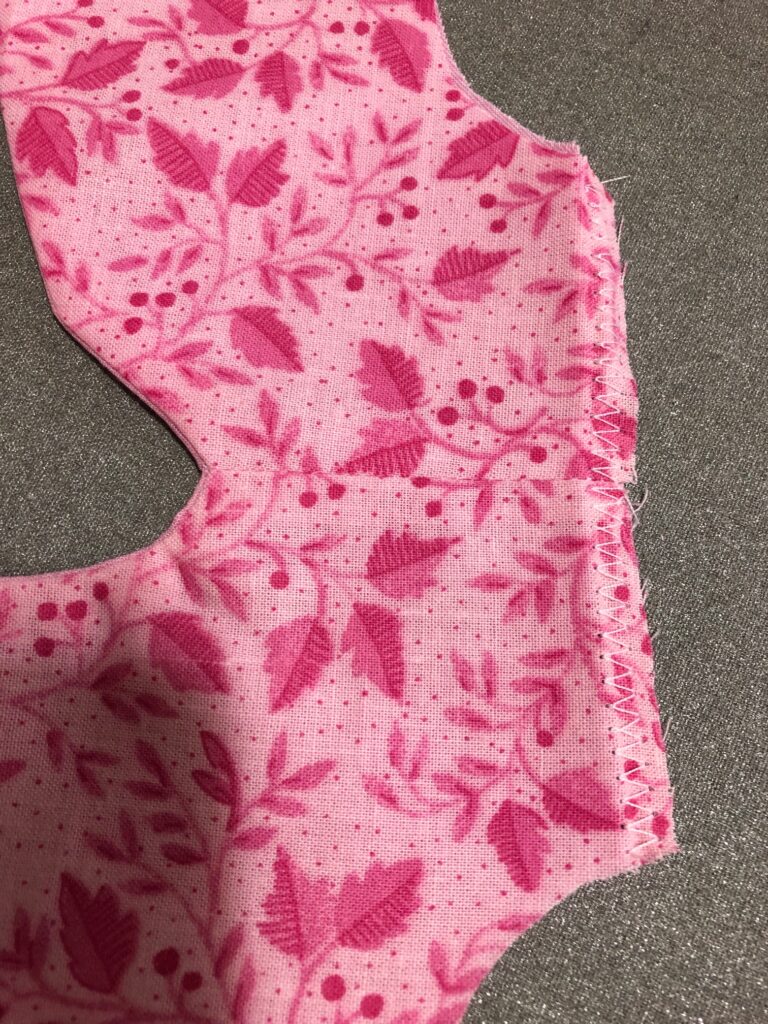
Finally, I sewed the front and backs together along the side seam and finished the seam with a zig zag stitch.
I added the ties to the back. I think it will work in satin!
Cutting the Satin and Lining
Now that I had the sequence to sew the parts together, I could work with the satin. I found a section of the train that was free of embellishments and cut out a piece large enough to handle the pattern. I ironed that piece. There was no point in trying to iron the whole gown…it would get wrinkled again as soon as I folded up the extra fabric.
I cut the pieces for the extra small and the small gowns from the satin and lining fabric.
I started by sewing the shoulder seams of both the lining and the satin.
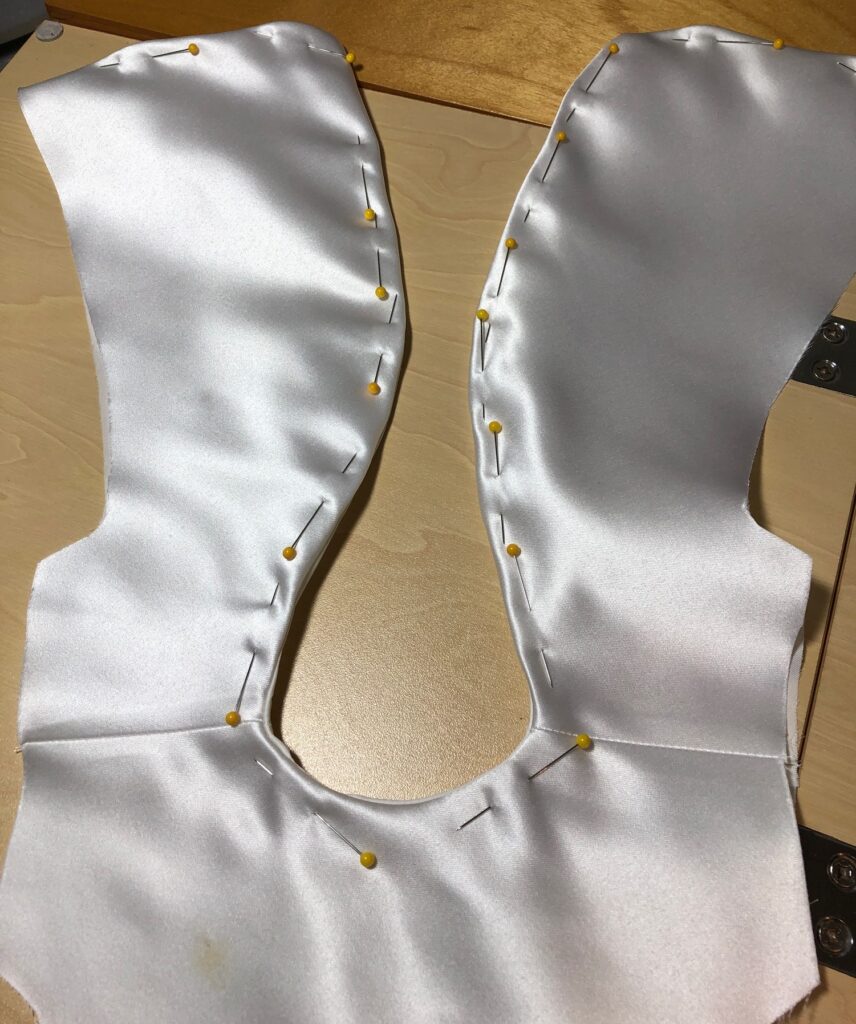
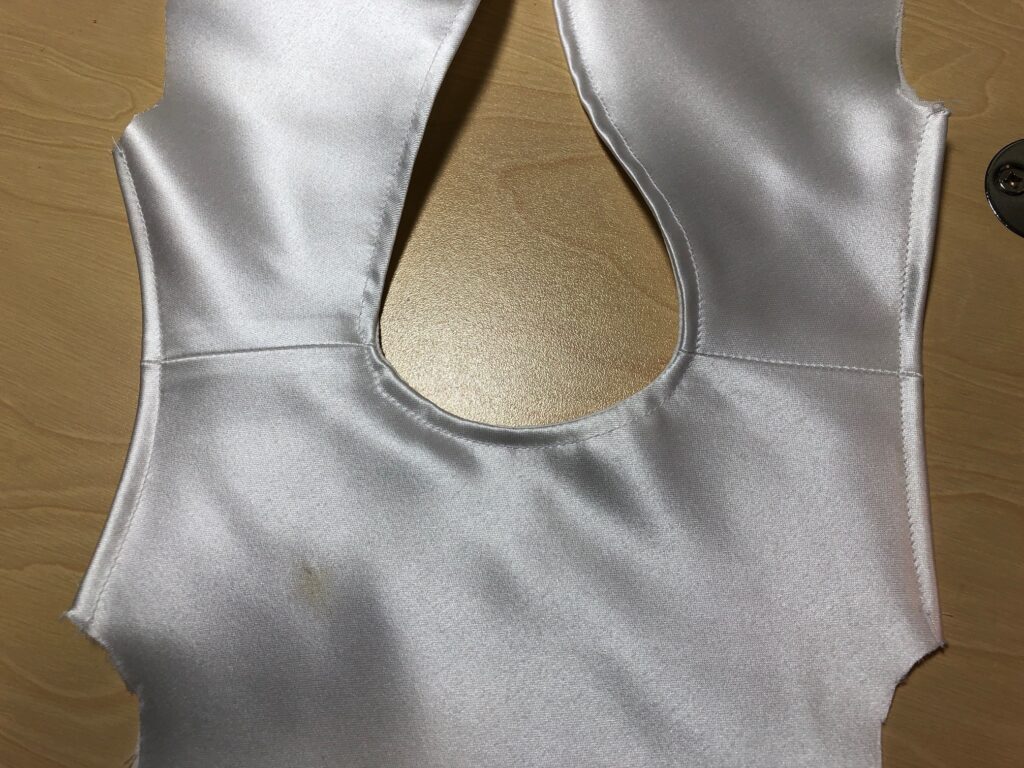
Then I placed the satin and lining right sides together and lined up the pieces around the neck area and the back wrap sections.
I clipped the curves and turned it right side out.
I top stitched as shown below. I also sewed the hem on the sleeve openings.
Finally, I sewed the front to the two back and finished the seam with a zig zag stitch. The final step was to zig zag the edge and turn the bottom hem.
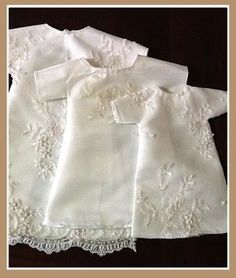
Finished Gowns
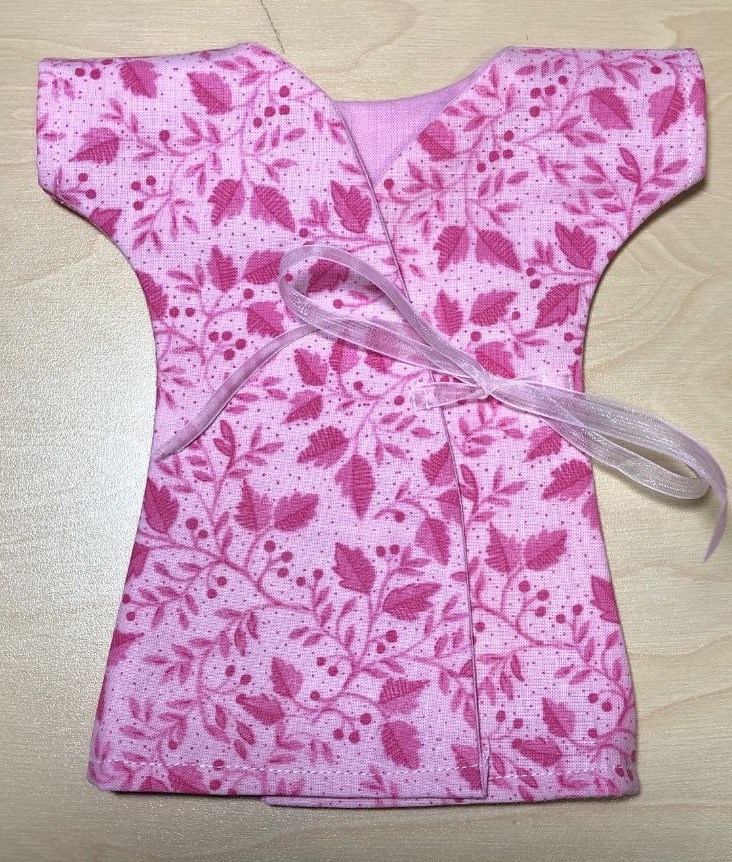
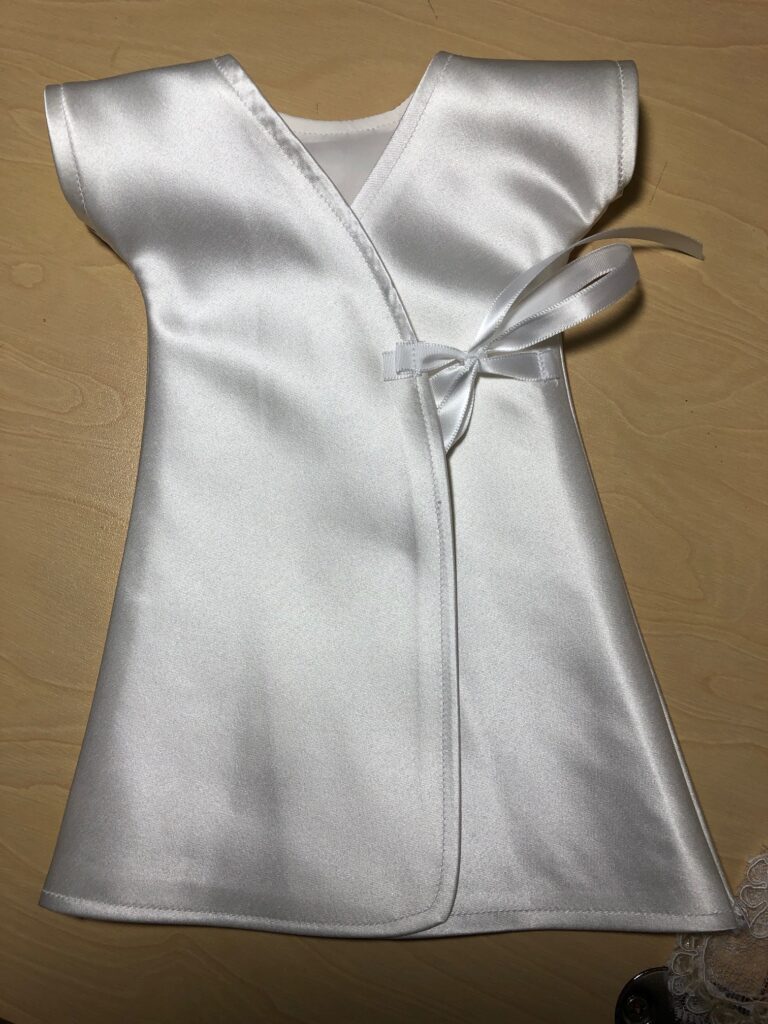
The gowns looked like this in the front…
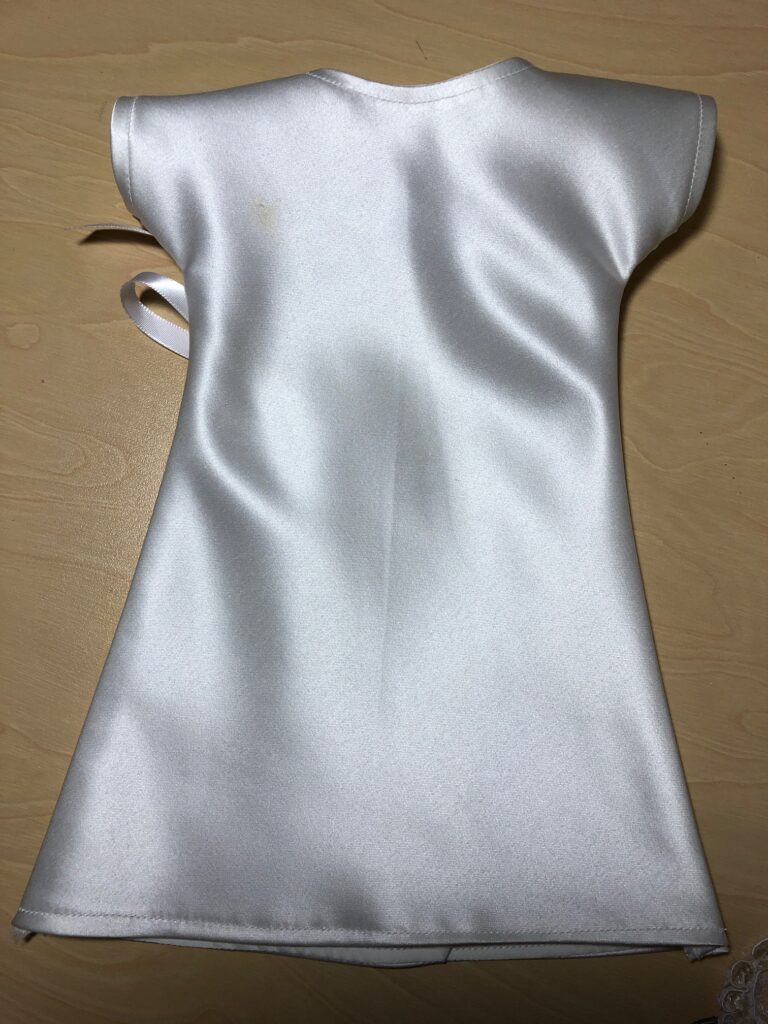
…and this is the wrap and tie on the back.
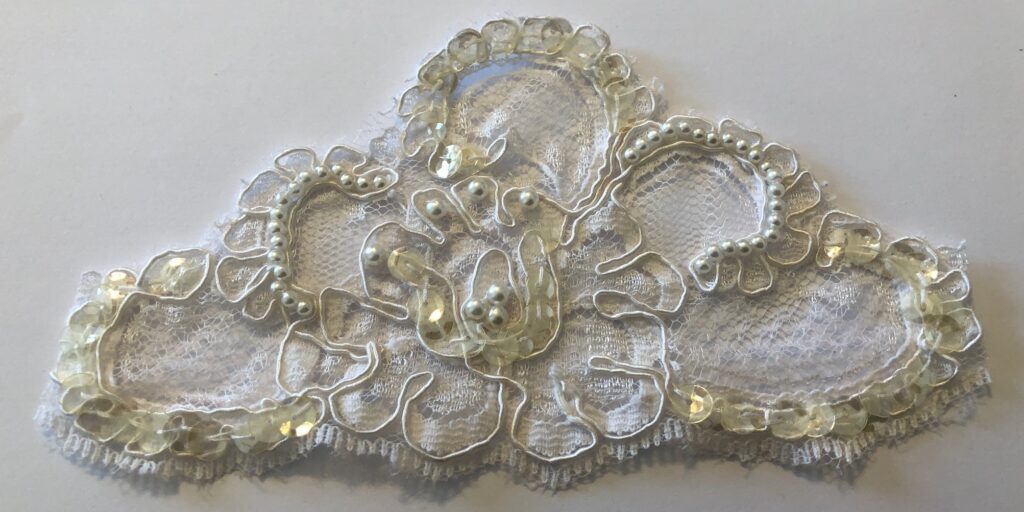
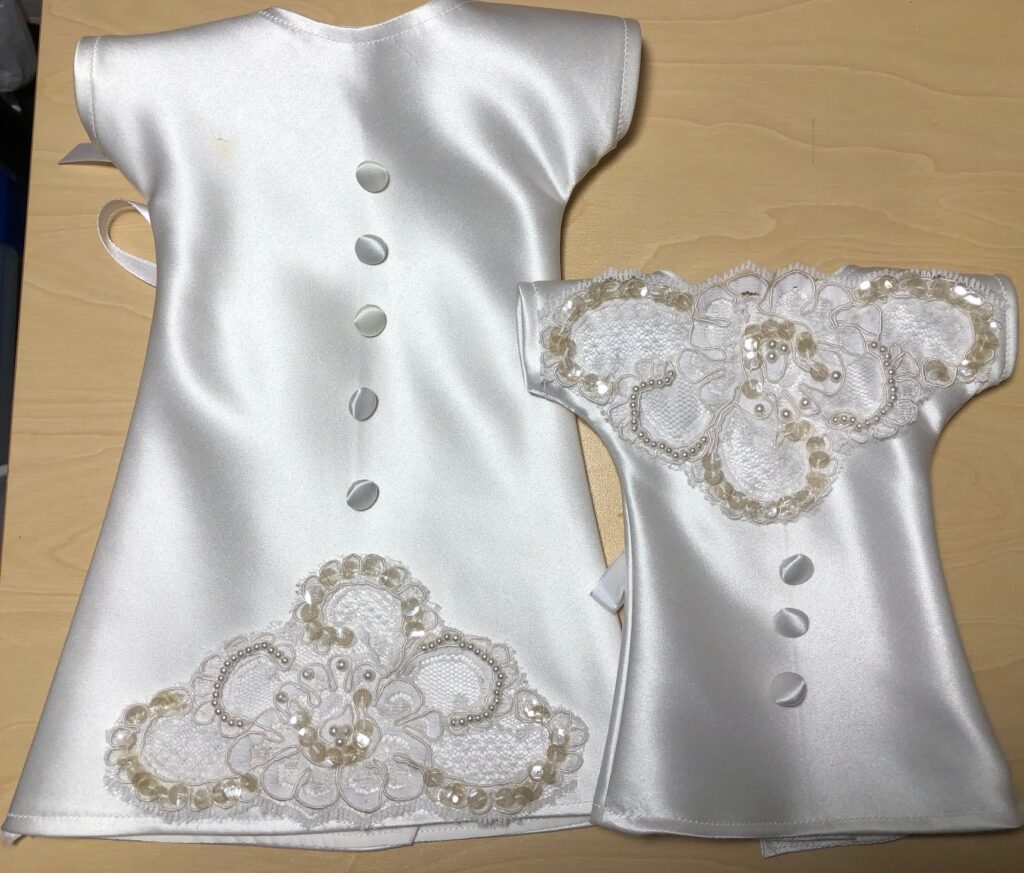
I decided to use one section of the lace border and a few of the buttons to dress up the fronts.
The gown on the left is the small, the one on the right is the extra small. I’m very pleased with how they turned out. My next step is to visit with a nurse or someone from our local hospital to see if these gowns could be useful in their work. If not, I have some lovely doll clothes for my granddaughter! Next time I get bored, I think I’ll try to make a stuffed bear with some of the satin. Enjoy!
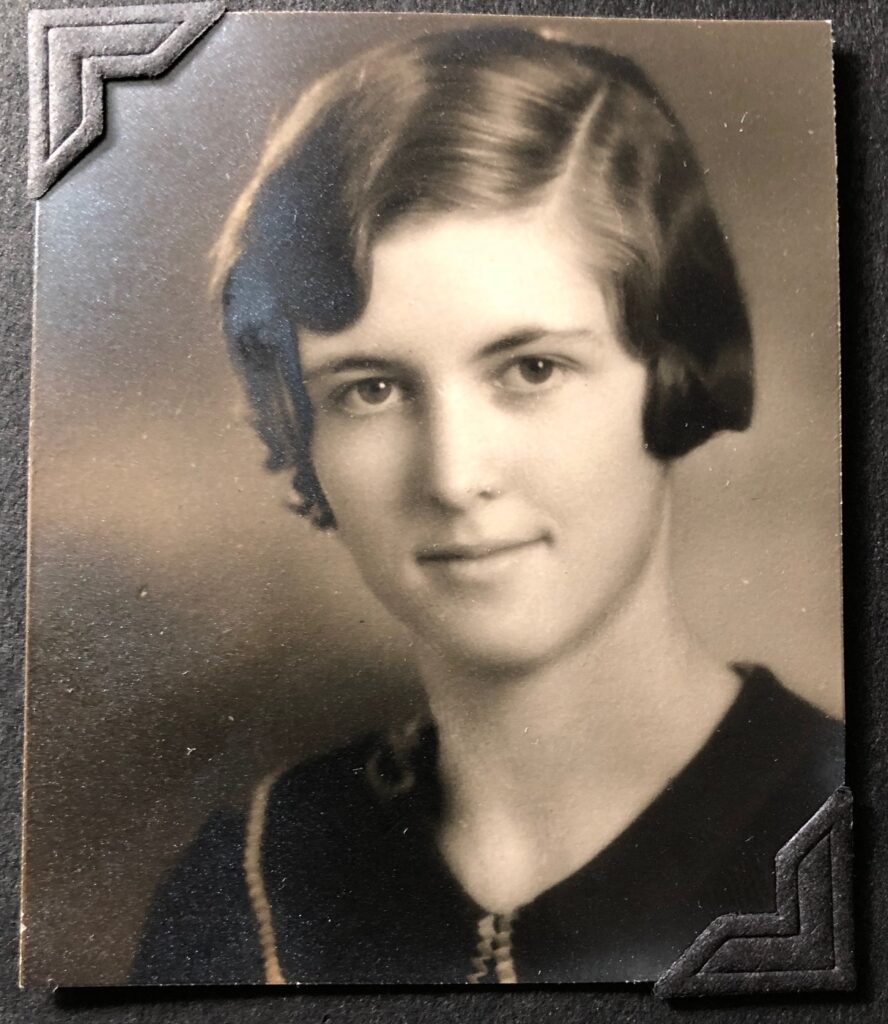
Growing up, I had heard my mother share stories about her experiences being assigned to a rural one-room school for the 1932-33 school year. She had graduated from high school in 1930 and went on to get a teaching certificate. It was definitely a culture shock for her. She grew up “in town” with many conveniences of the times…like indoor plumbing and central heating (probably coal).
Ruth Lowry 1930.
Besides having to live with a nearby family, she had to walk a distance to the school, start a fire in the stove, do general maintenance for the school building and get the classroom ready for 23 students from grades 1-8. The living experience by itself was new; then she had the challenges of her first year of teaching! she was a small, shy woman…barely 5’4″ tall. The older students (boys especially) were tough farm kids who often did not want to be there. Learning to teach a class of mixed ages was a challenge in the first place. Over the years she would share little tidbits of experiences that wore her down by the end of the year. She taught only one year!
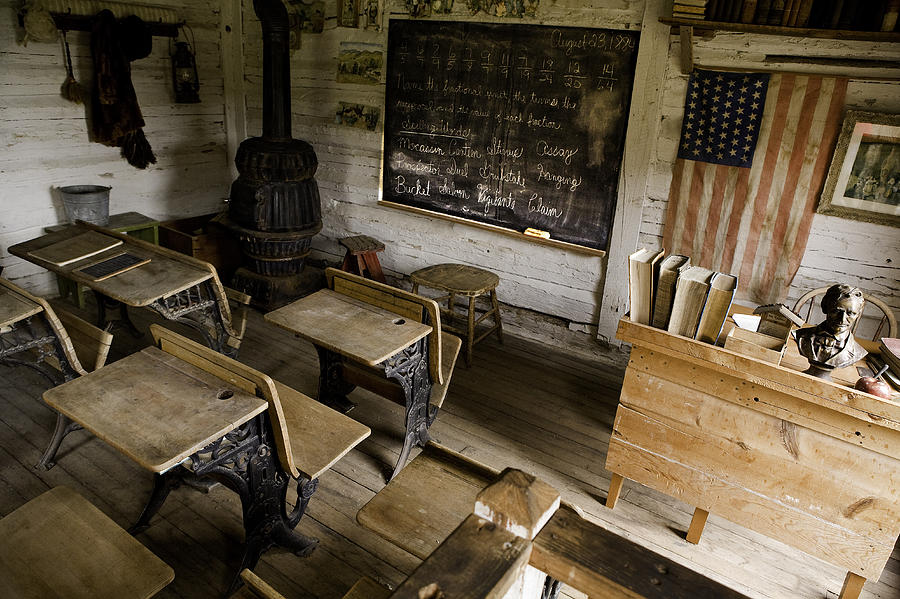
A sample classroom in a one-room school.
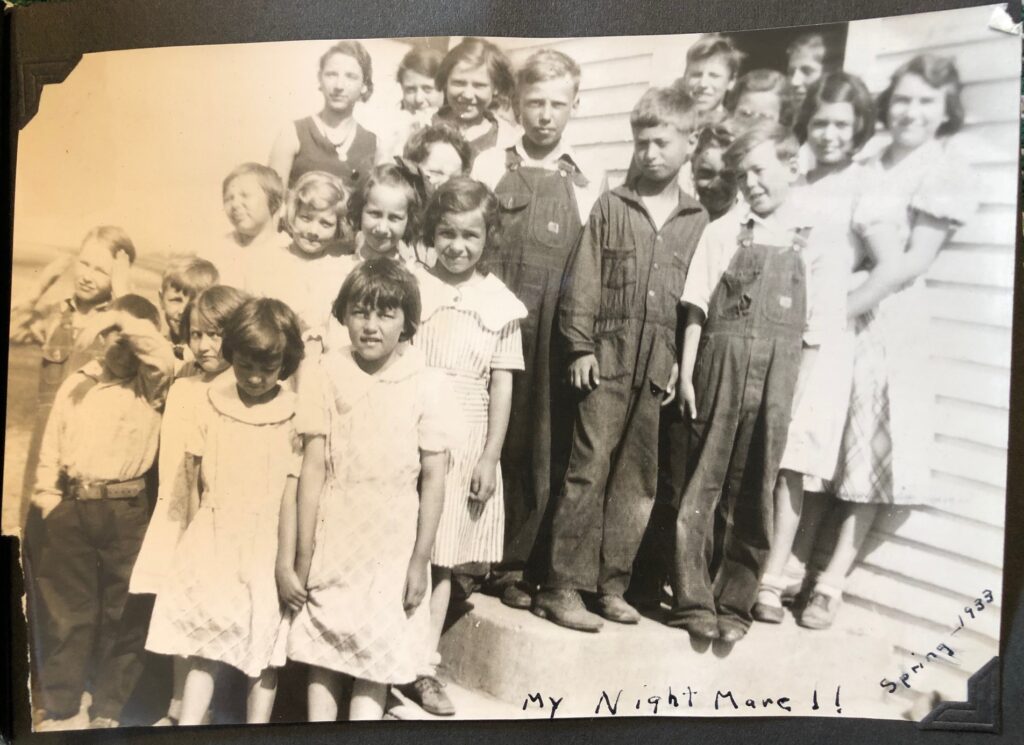
From my memory of her stories, the whole year was a traumatic experience for her. Recently, I was going through a small photo album of hers from that time and saw a photo of that class. Her note on the picture says it all!
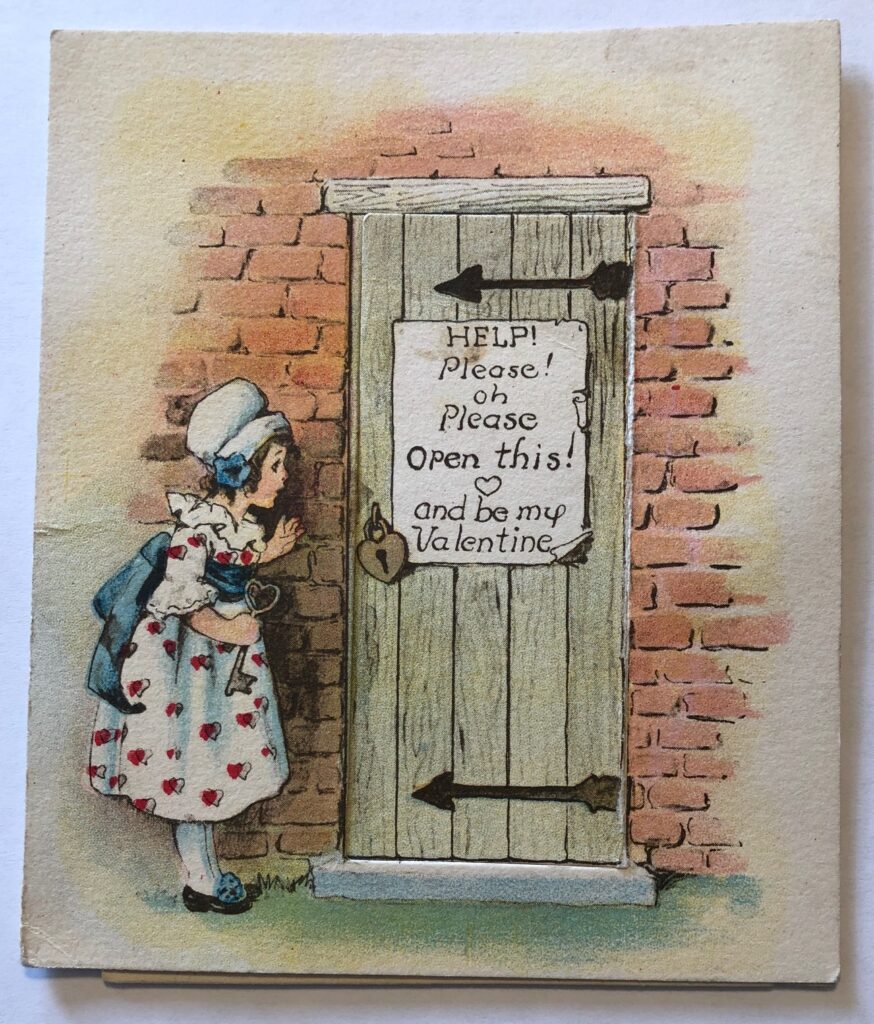
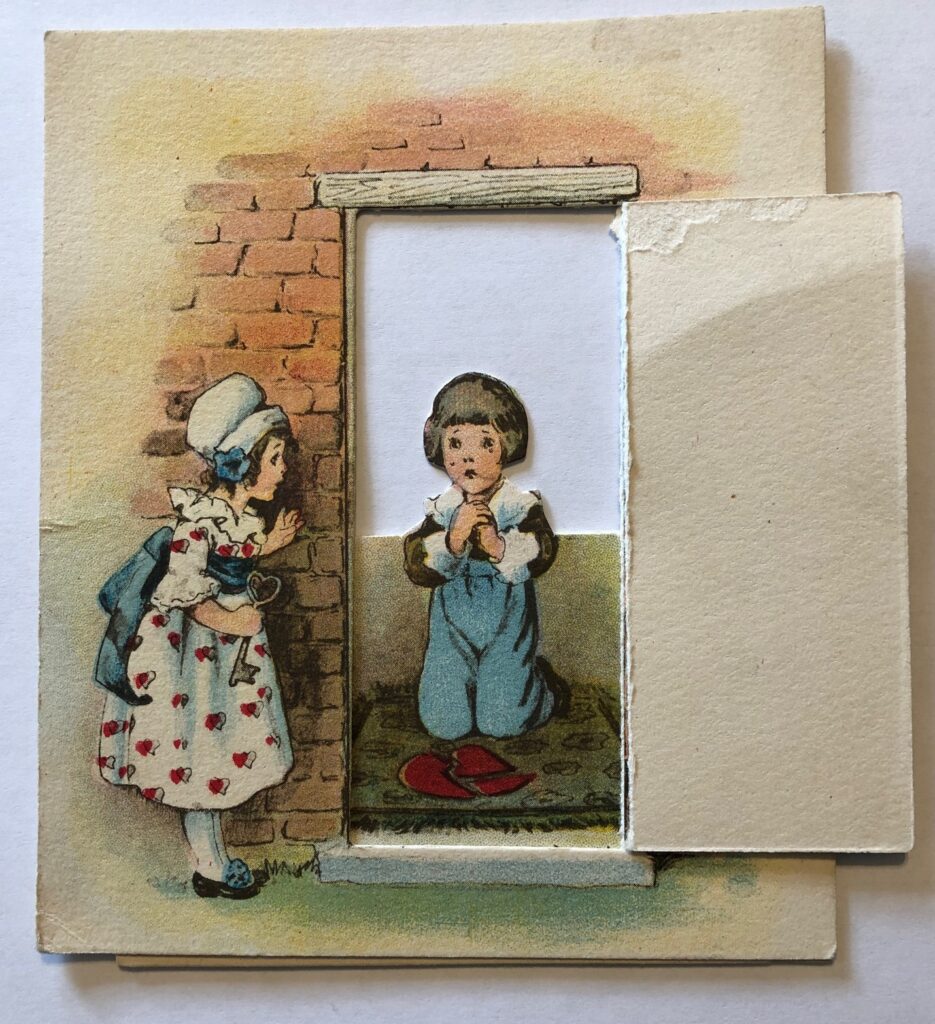
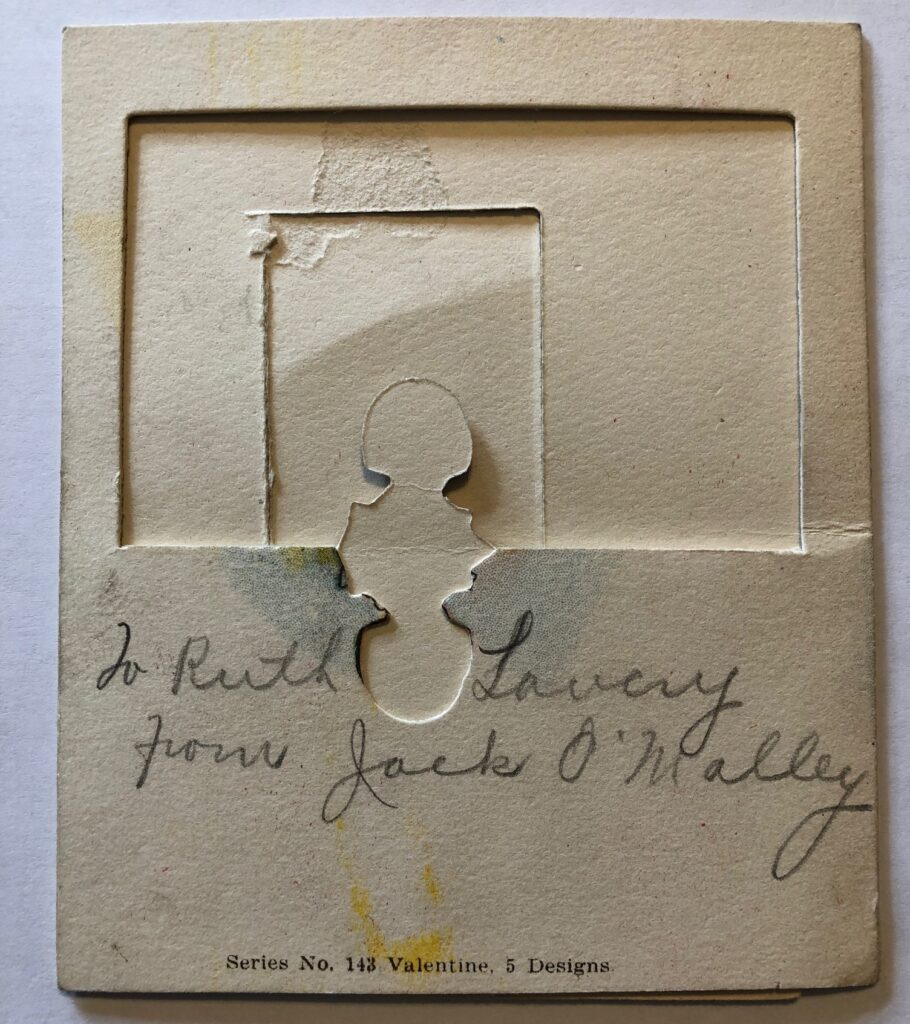
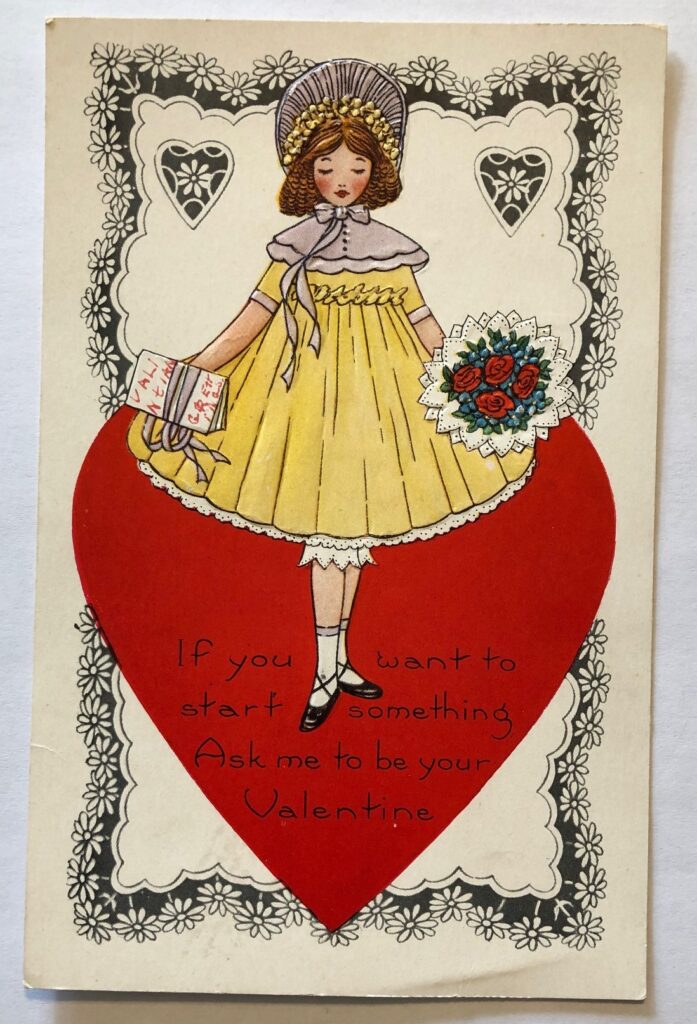
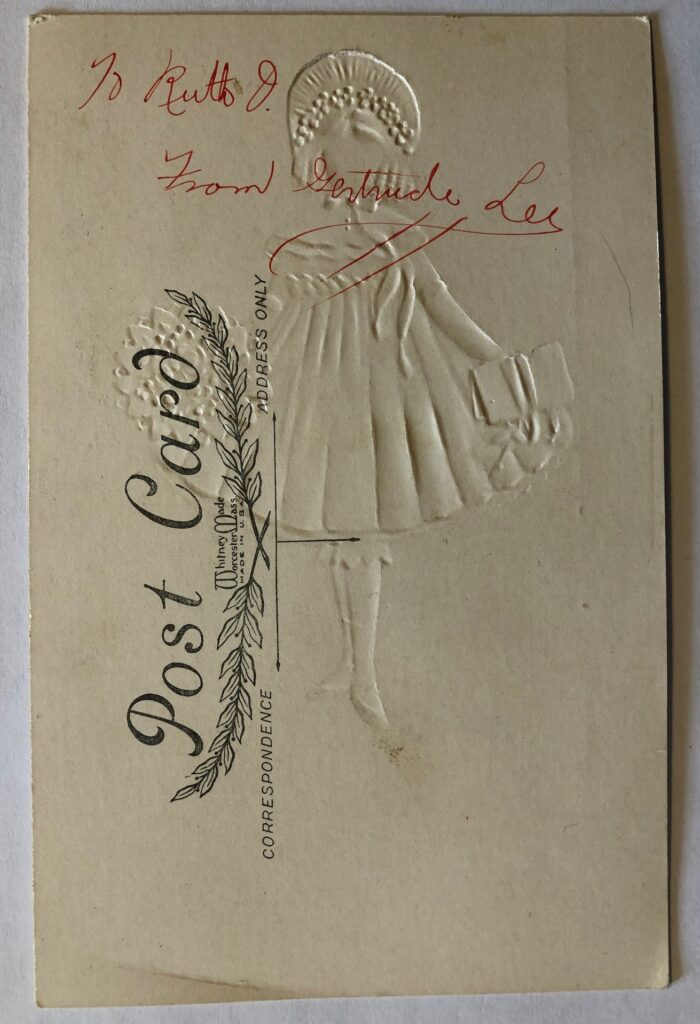
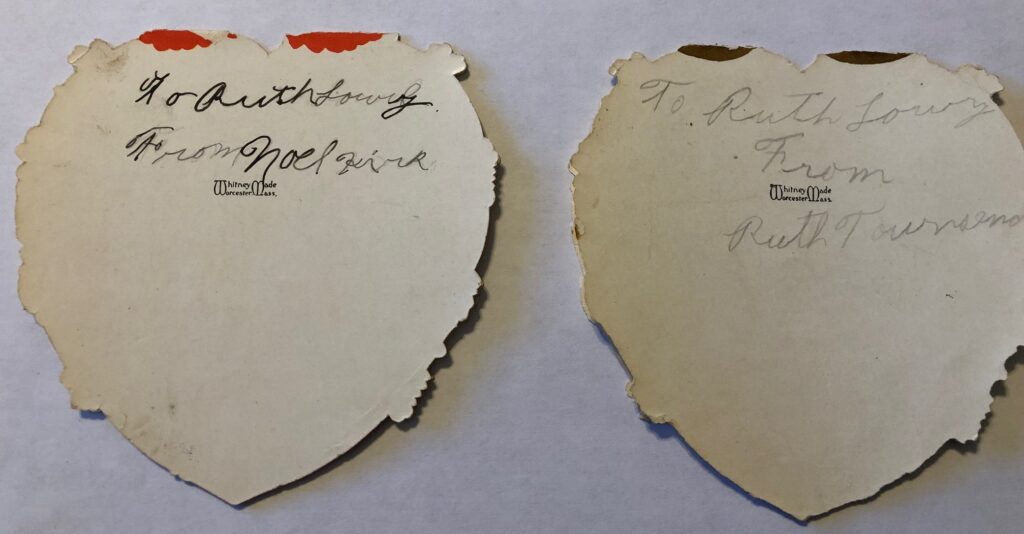
I also came across a box of valentines she had saved from that year…very interesting collection! Most of the valentines were signed politely on the back with “To Miss Lowry” and signed with a full name, many in neat cursive writing! Maybe by February 1933 things had settled down in her classroom!
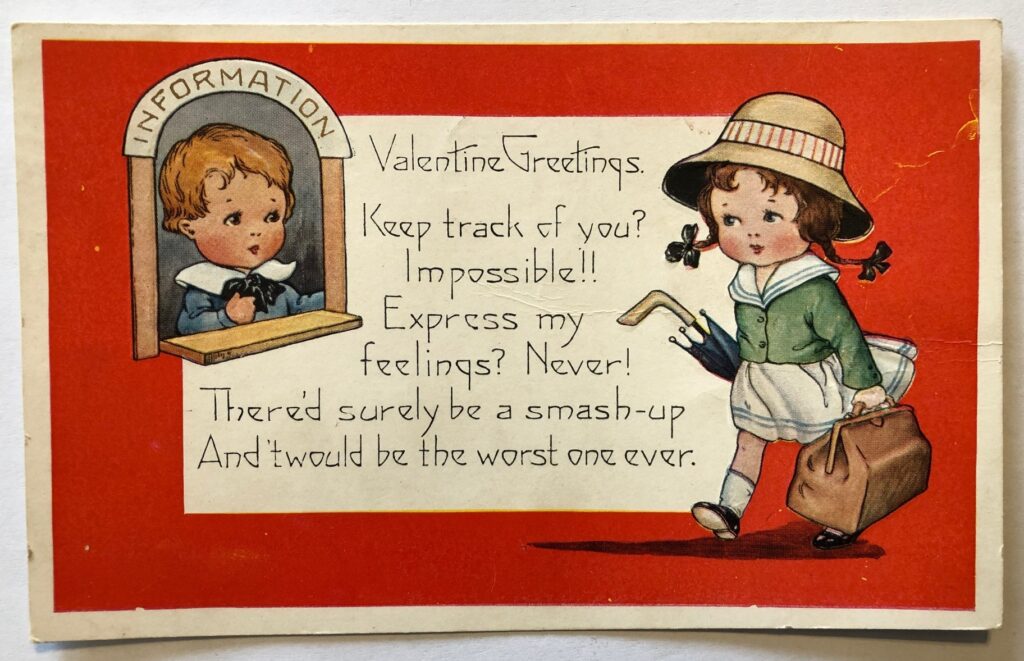
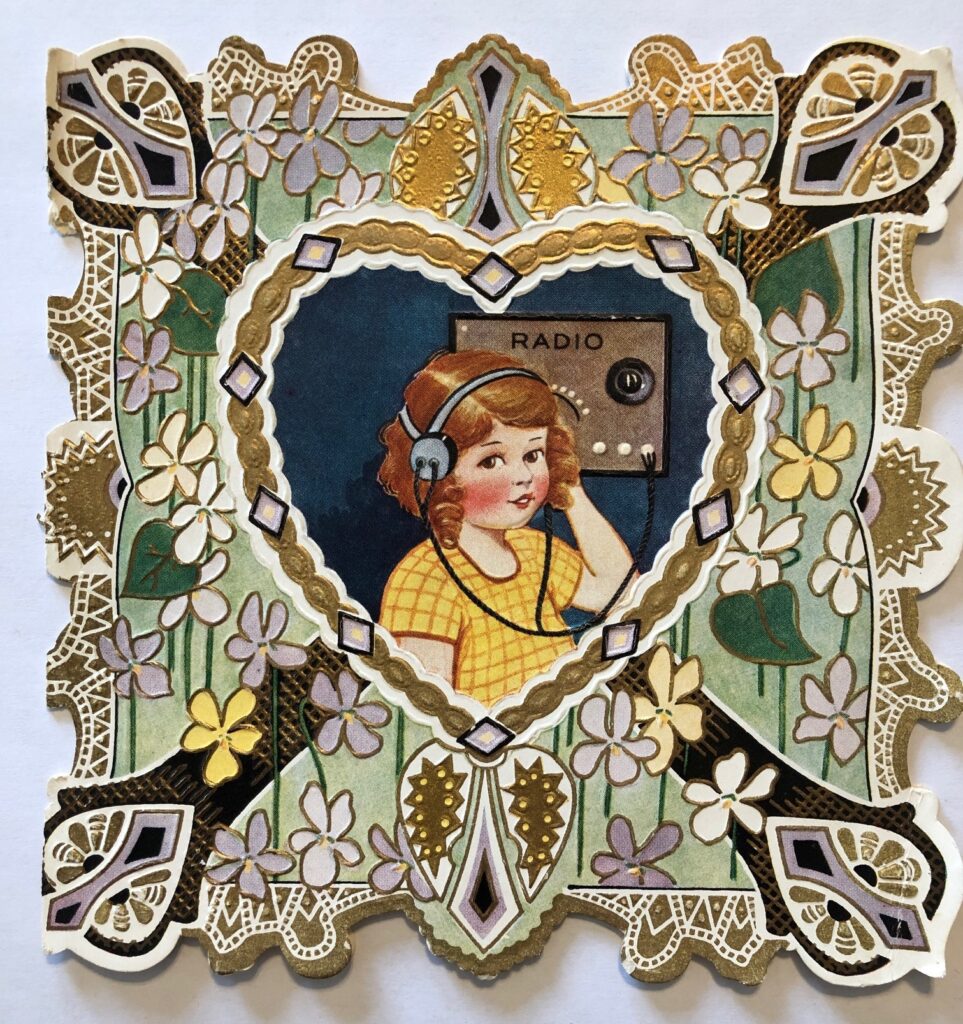
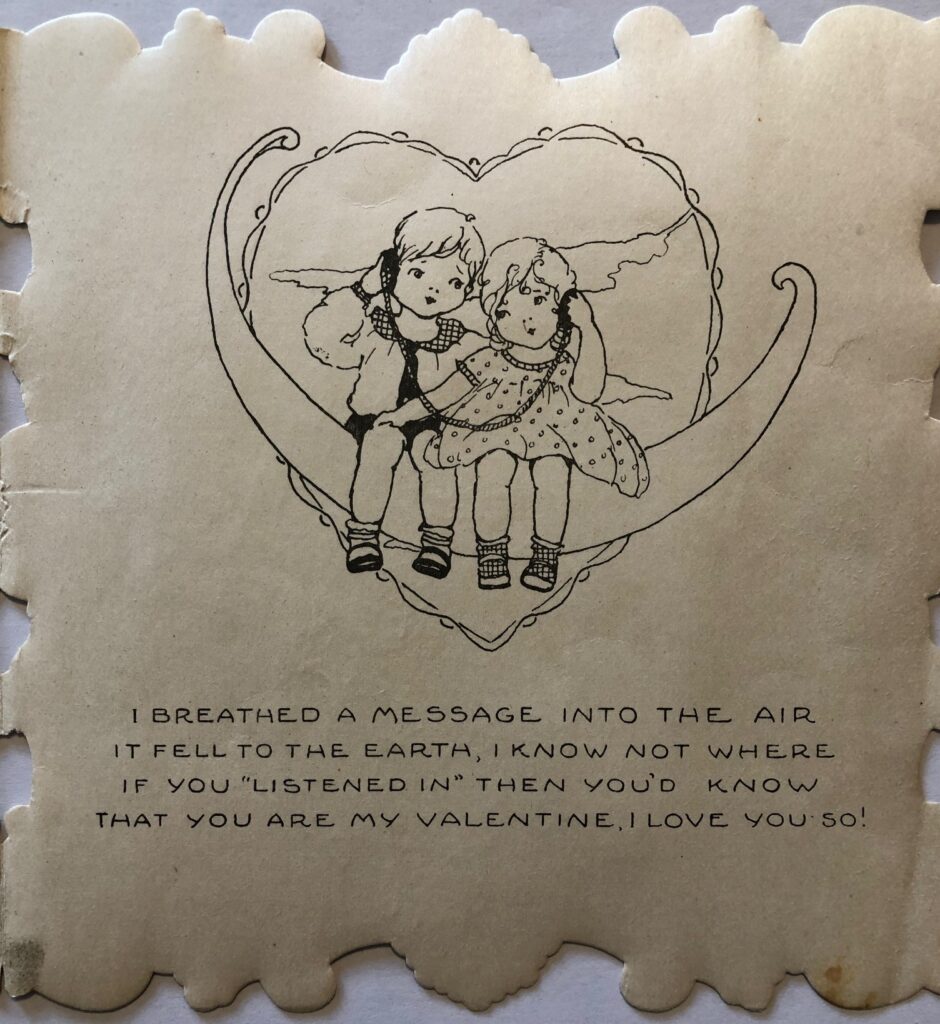
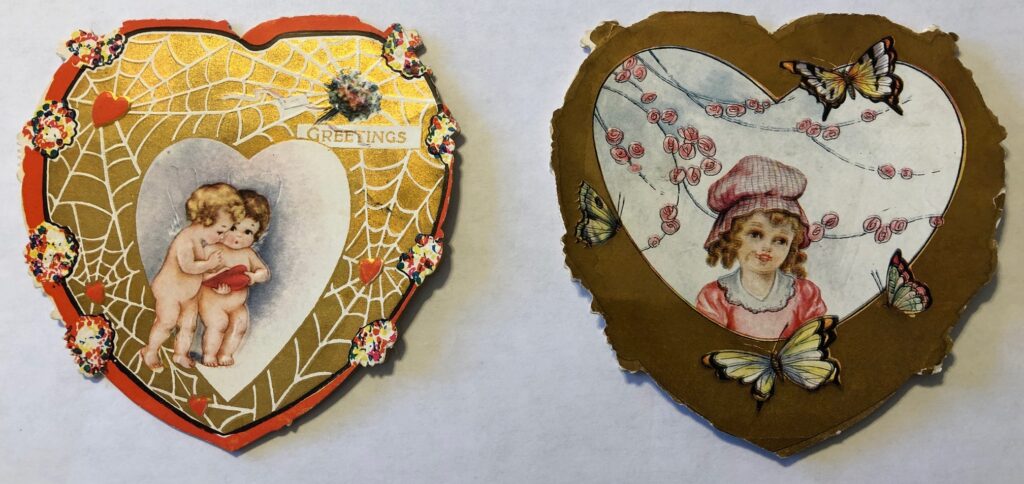
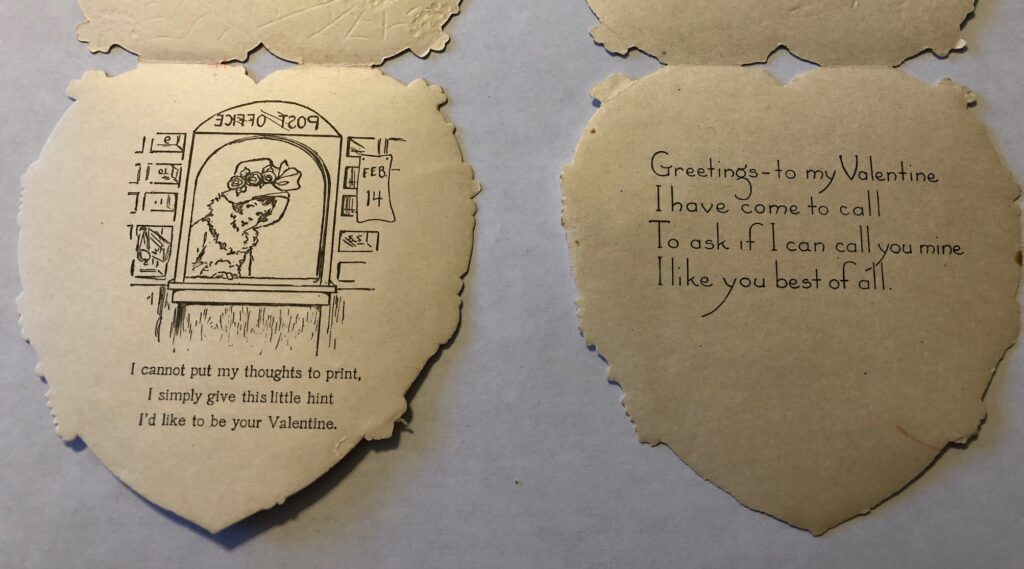
I thought you might like to see how clever some of the valentines were:
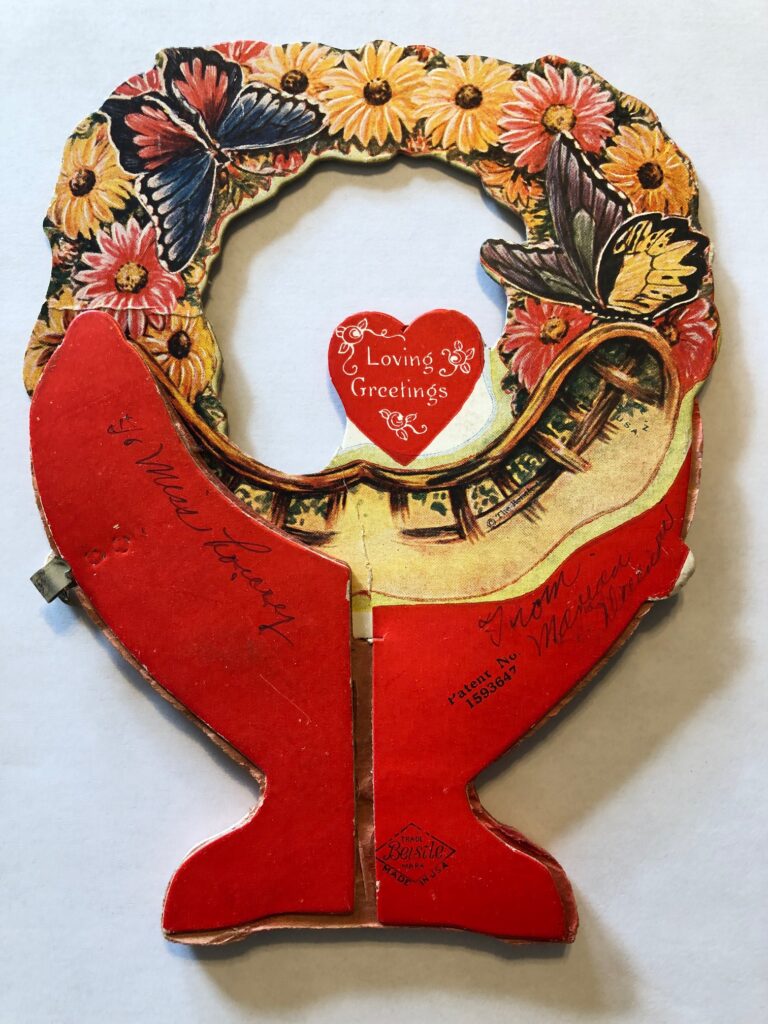
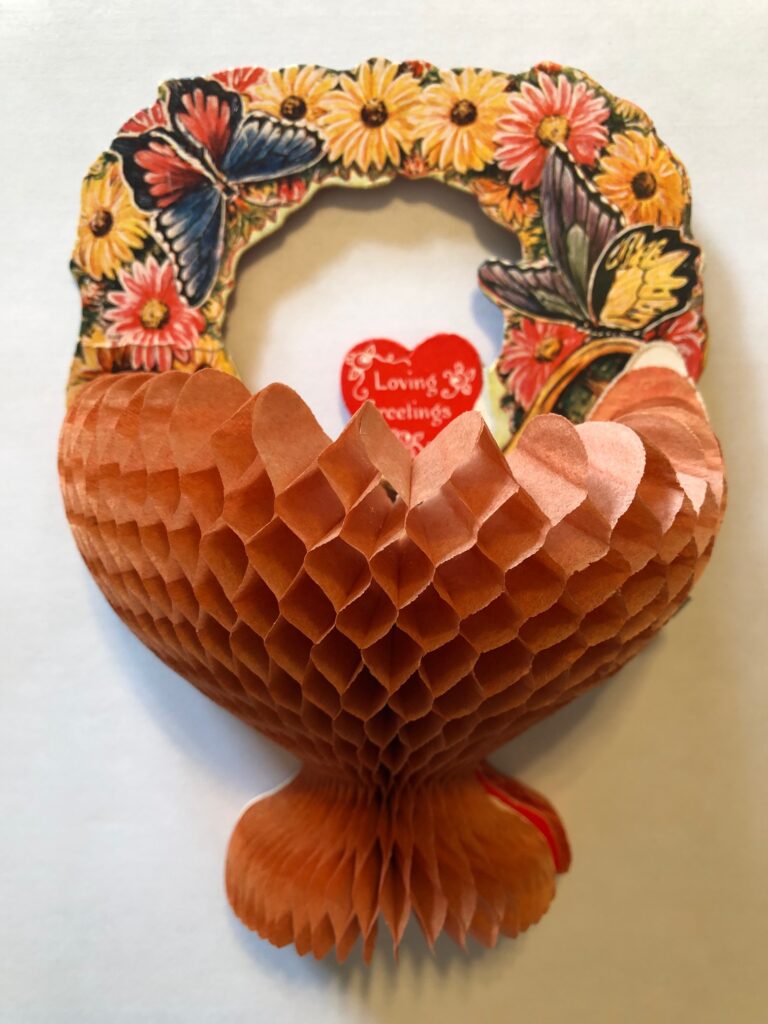
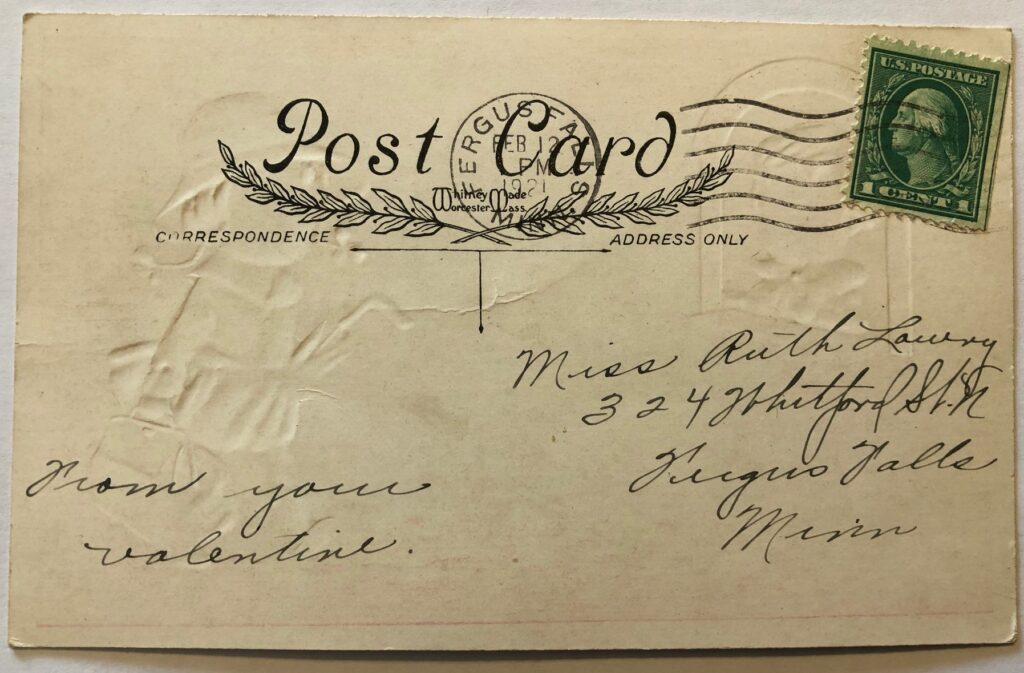
#1 Front#1 Inside#1 Back#2 This one came flat…#2 …and opened to be three-dimensional!#3 This is signed by Gertrude Lee. She was Ruth’s best friend all through high school.#3 Back#4 Front#4 Back. Maybe this one came from my dad who was teaching at a different one-room school in the area??#5 Front#5 Inside. No signature.#6 & #7 Front#6 & #7 Inside#6 & #7 Back
It’s been a long time since I bought a box of valentines for a whole class, but I suspect none of them have such poetic ways to say, “Be My Valentine!” I wonder if kids today could write poems like these? What a treasured memory of my mother! Enjoy!
Sometimes potential projects fall into my lap and I can’t resist! A friend asked if I could do something with her daughter’s old wedding dress (thanks Peggy!). She had stored it for 15 years and the dress did not hold any positive memories for anyone. However, it did represent an investment in money, time and storage space. Of course, I agreed to see what I could do with the dress.
It arrived in its archival storage box, straight from her attic.
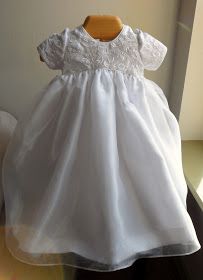
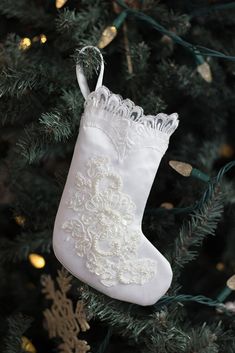
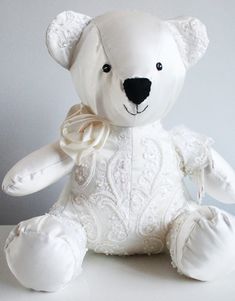
Before I opened the box, I spent several days researching my options. I found many possible projects on Pinterest using a wedding dress. However, most were special items to preserve the memories of the owner. For example, I found Christening dresses for the first baby, Christmas ornaments and even a lovely memory bear!
Those ideas were great if the dress was a special heirloom to the family. However, this particular dress did not hold any special memories for me or the family…it was basically a beautiful dress with lots of material that could be recycled into something else. I remembered hearing about recycling wedding dresses into tiny dresses for NICU babies that had not survived.
Recycling a Wedding Dress for NICU Babies
I started with the various charities who accept wedding dresses that are recycled into tiny dresses for NICU babies. Such a sad thought, but what a wonderful service! I was unable to talk with a real person, but the website, https://www.theangelgownproject.com had a complicated application process to submit a dress (a filled out application, all bows and ribbons removed, dress packed in the tiniest box possible and mailed someplace in the U.S.). They would not be able to acknowledge receipt of the dress or tell me what happened to it. It felt like I would be just shipping it to a landfill!
Then I discovered a number of organizations across the country that provide this service and encouraged local groups of seamstresses to get together and make them for their local communities. To help with this effort, I found many patterns available to freely download. I decided to make the tiny dresses myself. Once they are made, I’ll find a way to donate them to a hospital nearby.
Tiny dresses for NICU babies (from Pinterest).
Deconstructing the Dress
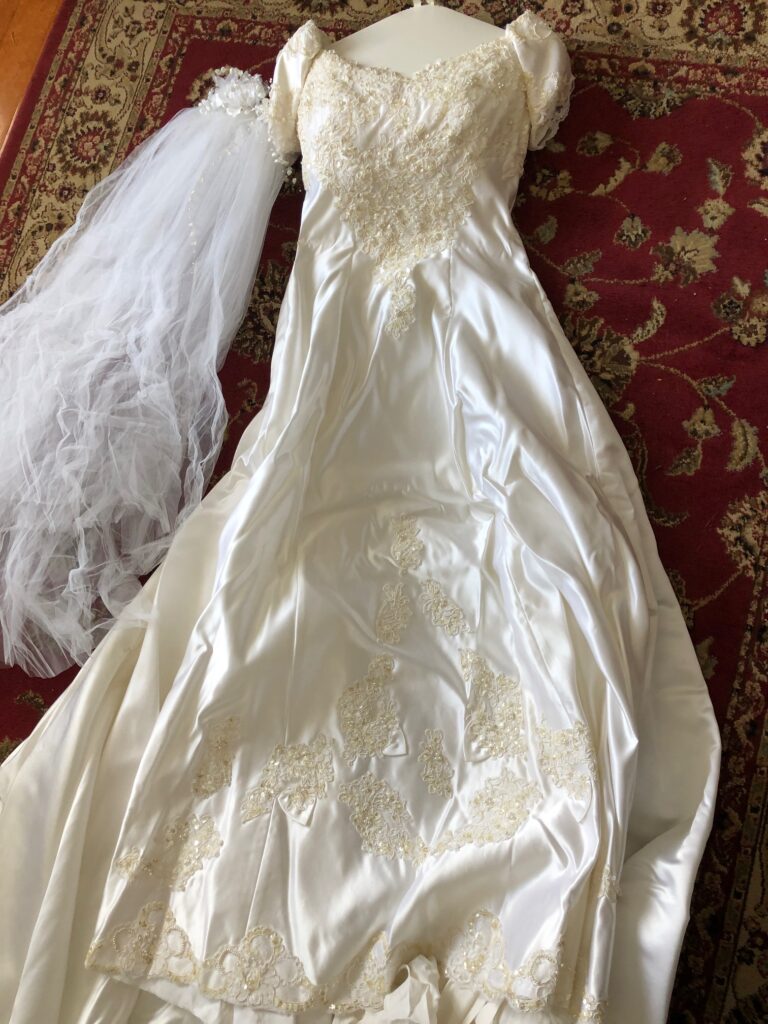
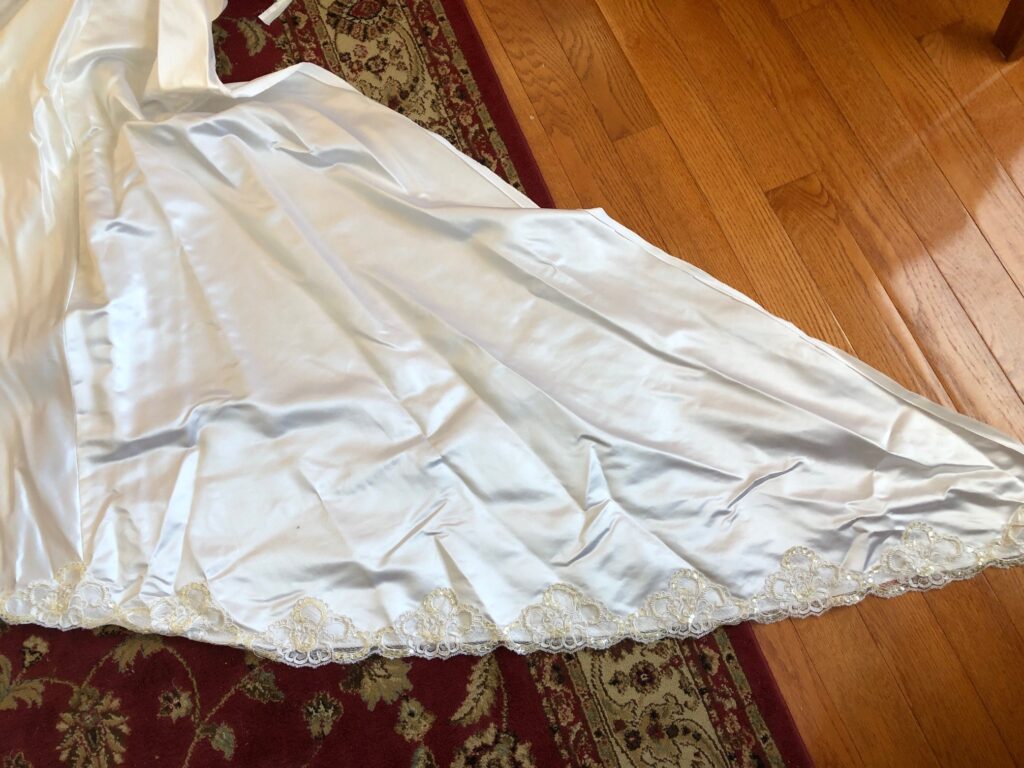
My first step was to get the dress out of the box…no small task! I thought children’s Christmas toys were wrapped up tight! The dress was clean but very wrinkled…except for the very front that showed through the plastic. I laid it out on the floor to get a feel for its design and decoration.
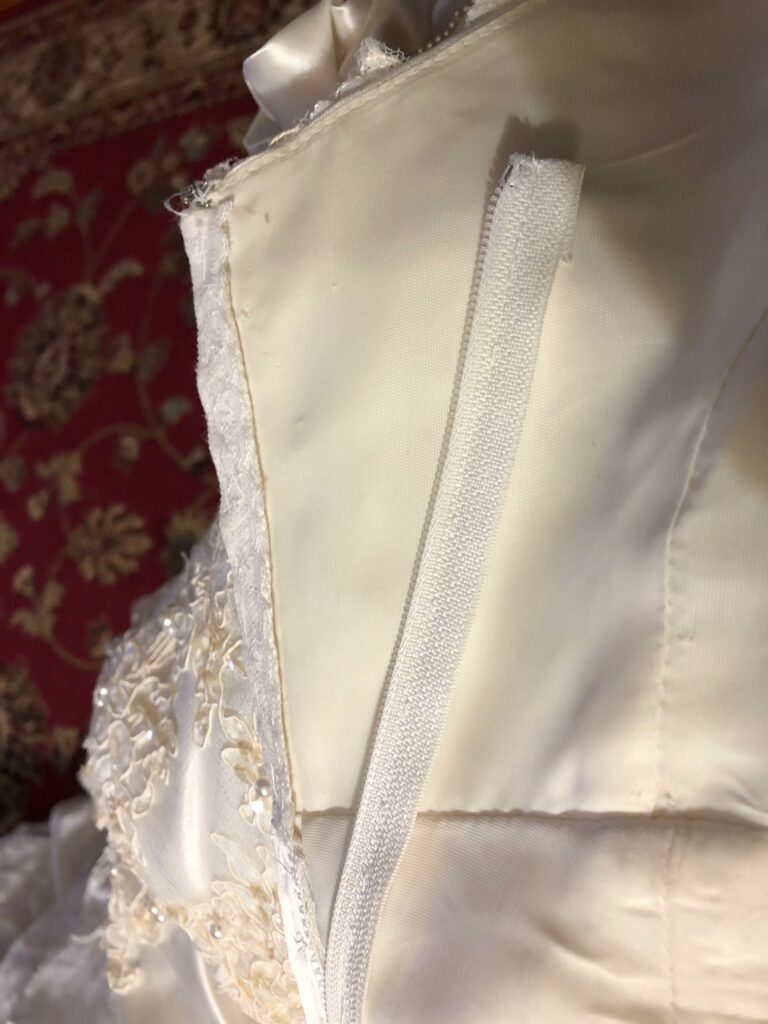
I unstitched the zipper carefully and removed it.A total of 23 tiny buttons were sewn on top of the zipper, so I removed them. They could be used to decorate the tiny dresses.
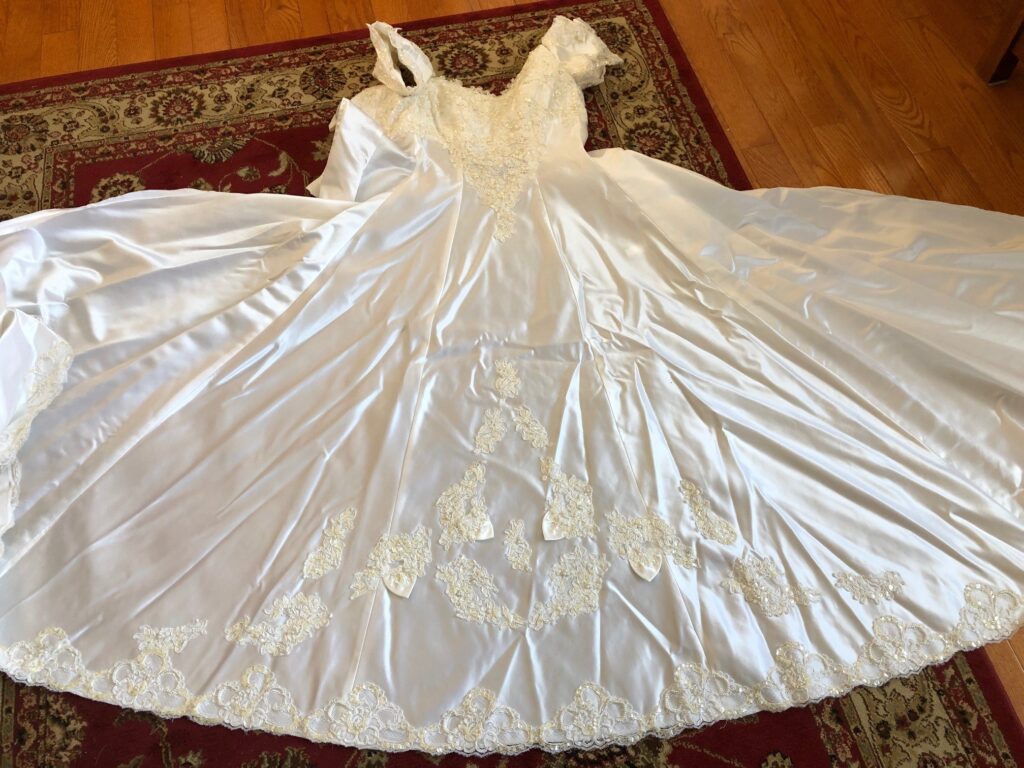
I removed the lining in one large piece. Then I made two cuts down the sides of the dress to remove the train section of the dress. I wanted to leave it in one solid piece to preserve as much of the fabric as possible until I was sure what I was going to make.
Lots of edging lace and plain fabric in this section.
Now I have a huge pile of satin fabric with sections of lace, a huge pile of lining fabric, 23 lovely fancy buttons and a long white zipper! The fabric will need to be ironed and my pattern figured out. Look for that in Part 2, coming soon!
Let me know if you did something special with your family wedding dress…who knows, I may want to try some other things. Enjoy!
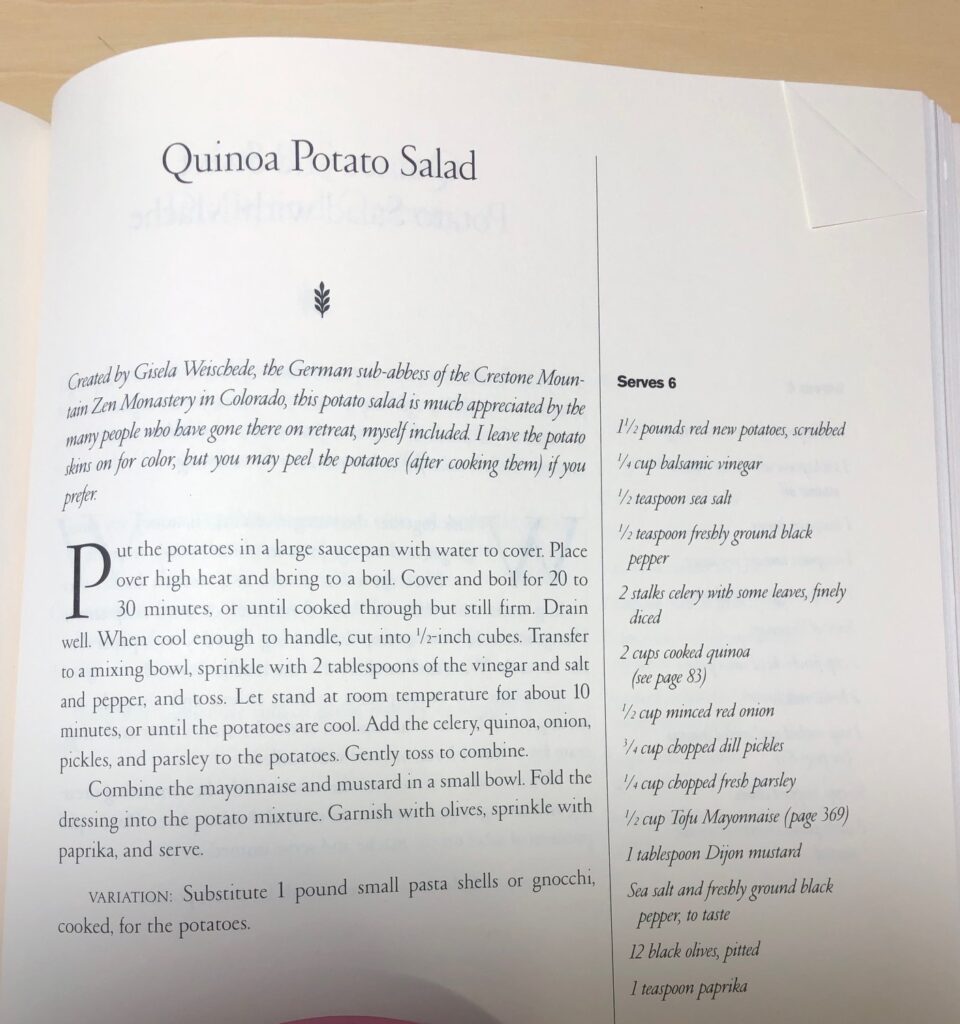
After exploring my book on grains last week (see https://marykisner.com/from-the-bookshelf-the-splendid-grain/) I was motivated to give one of the recipes a try. Quinoa Potato Salad looked interesting but I wanted to try to make it gluten-free with pasta.
Here is the original recipe:
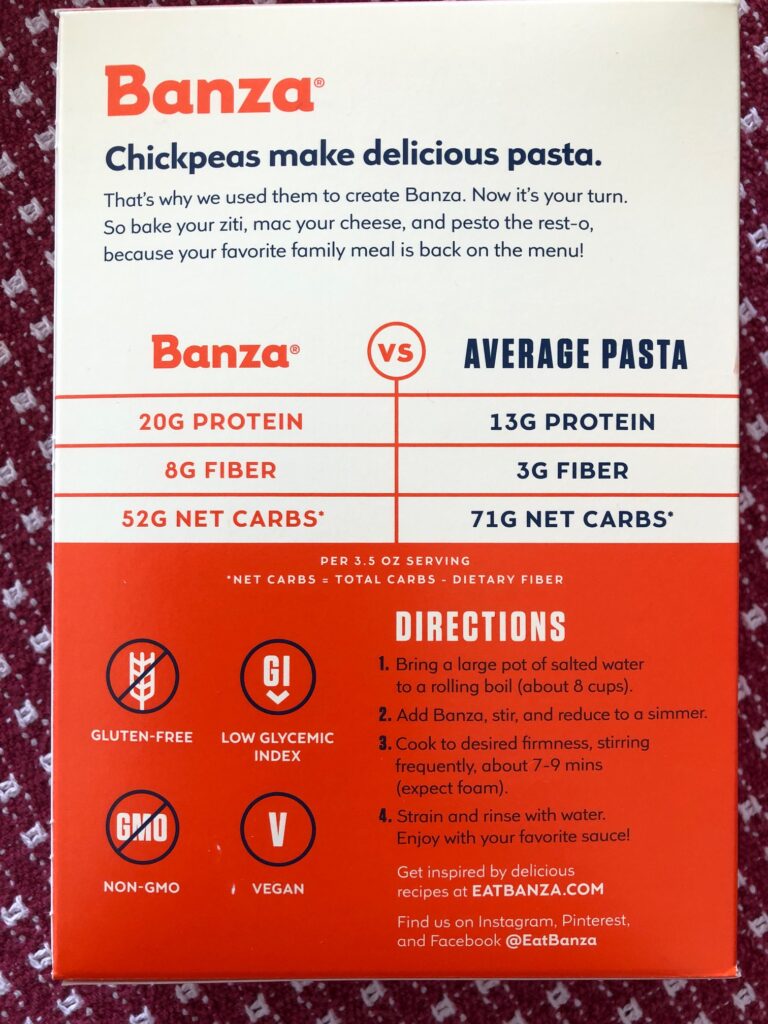
At the bottom of the recipe, it mentions a variation to use pasta shells instead of potatoes. I went to the grocery store to see if I could find some gluten-free pasta and of course, some Quinoa. I was able to find this interesting pasta made with chickpeas! Who knew there was such a thing!
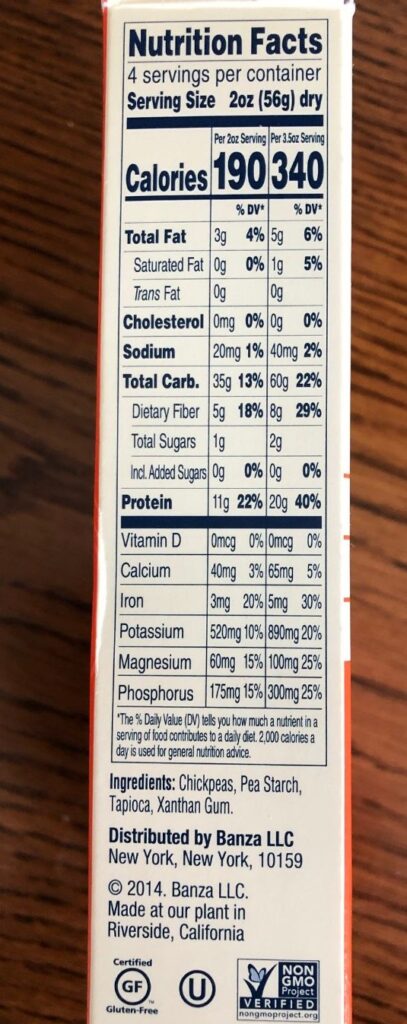
The above list of ingredients show the amount of protein, fiber and net carbs in the whole box. Below is the list for an individual serving.
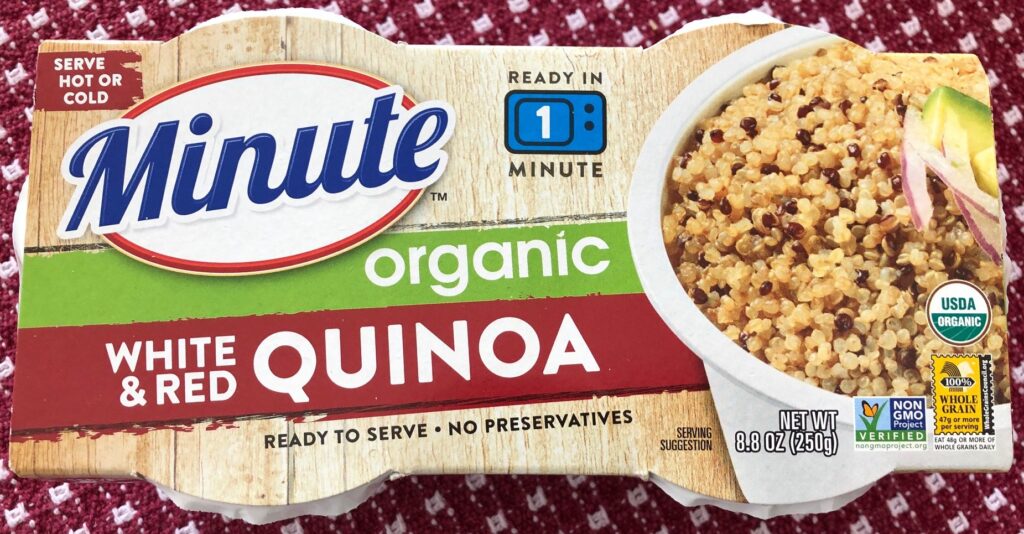
I was also able to pick up some Quinoa, but then I found this package on my shelf and thought I’d better use it first.
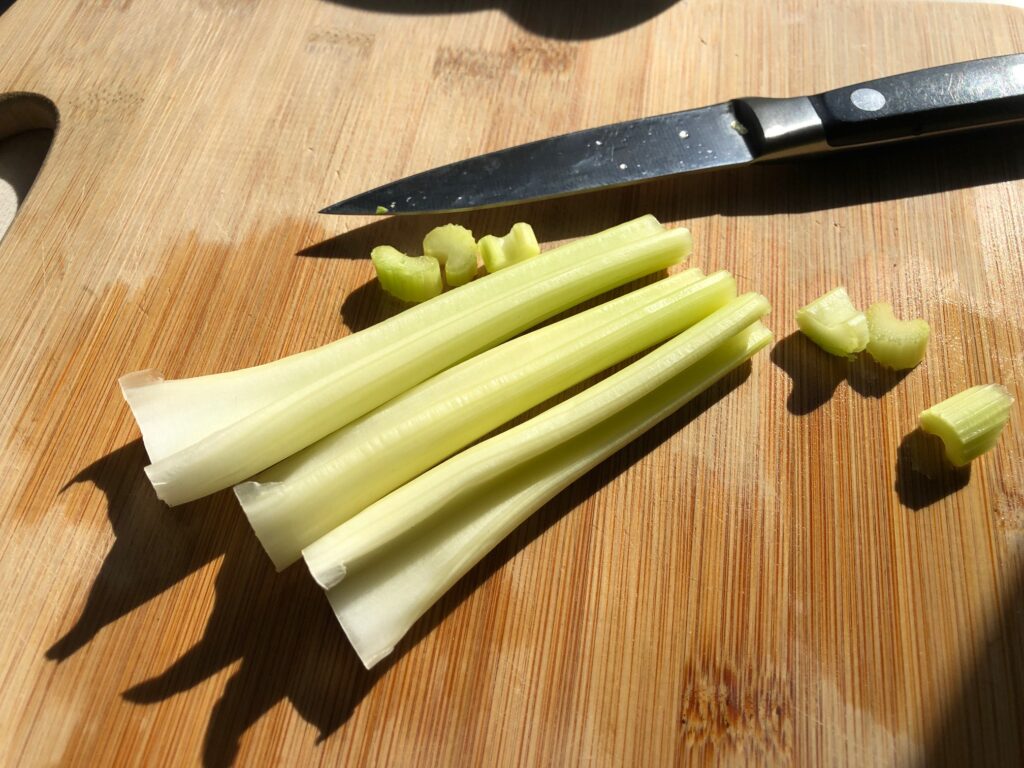
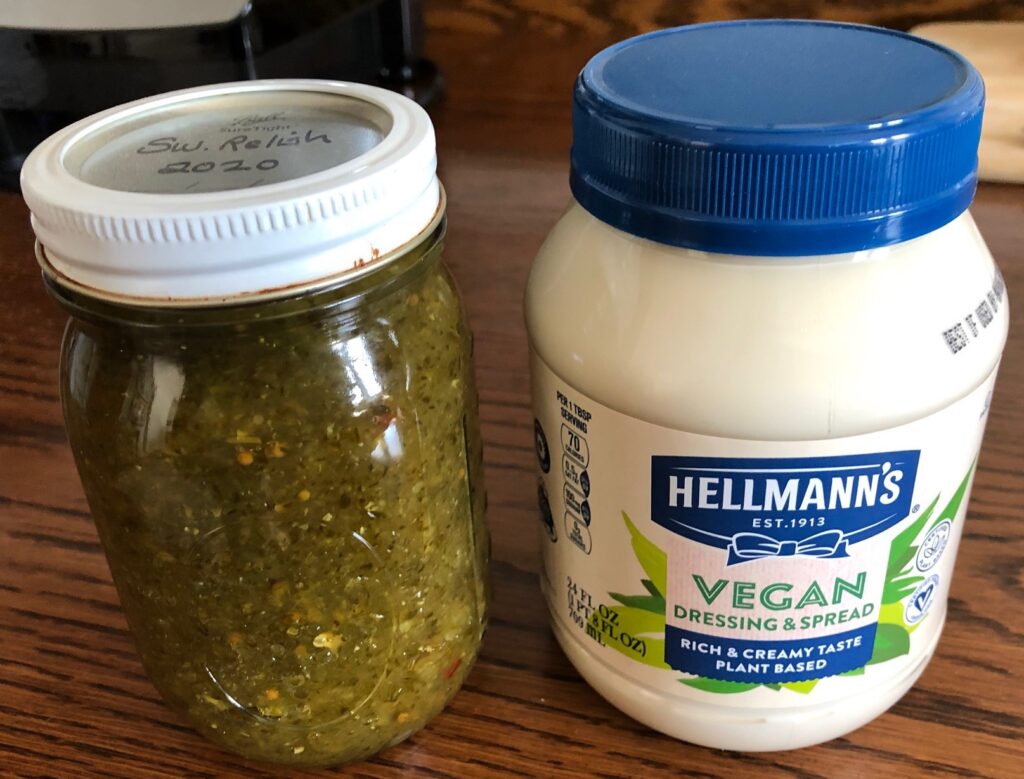
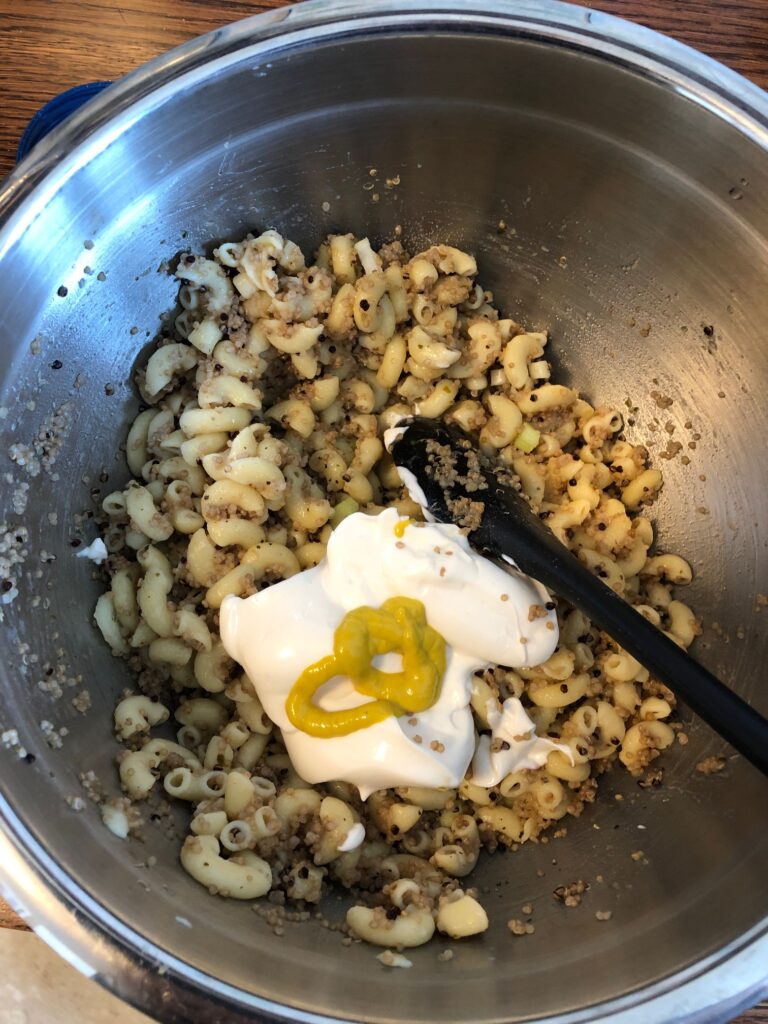
This was a good choice to save time…and dishes. All I had to do was open the two tubs of Quinoa and dump them into the bowl. I also needed celery, pickle relish and my vegan mayo.
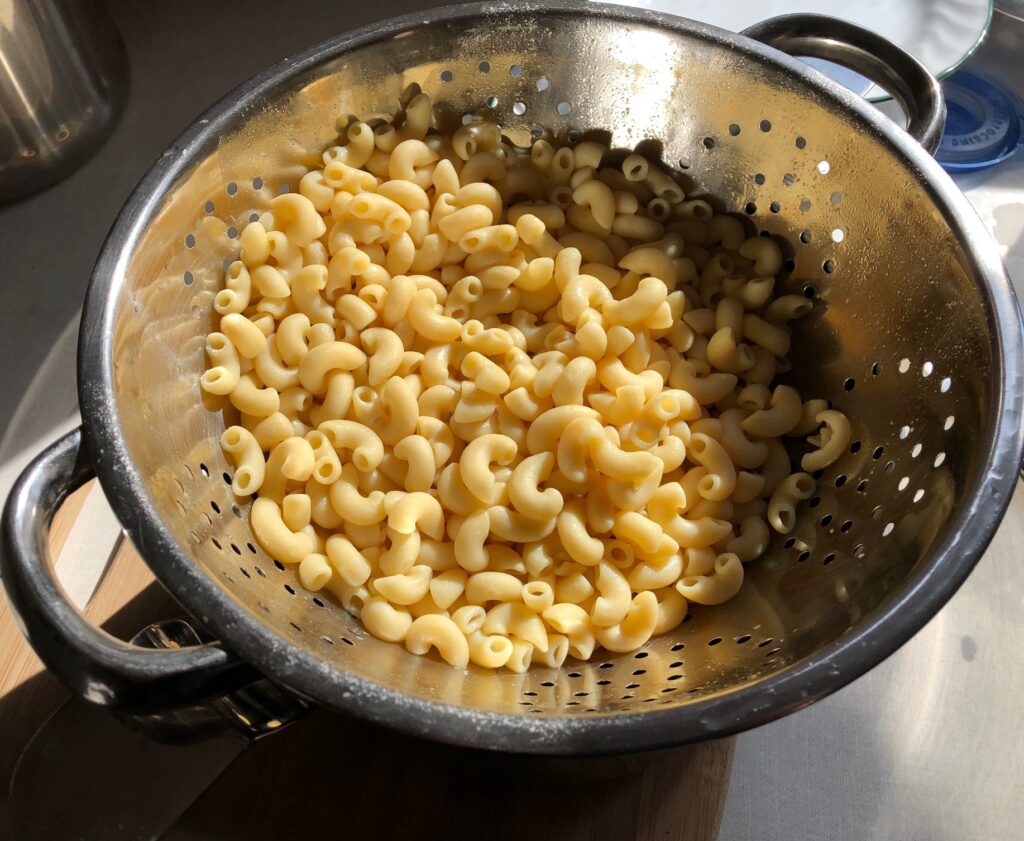
First, I boiled the pasta. It cooked in only 8 minutes but certainly made a lot of foam!
The pasta kept it shape well…sometimes gluten-free pasta turns mushy.
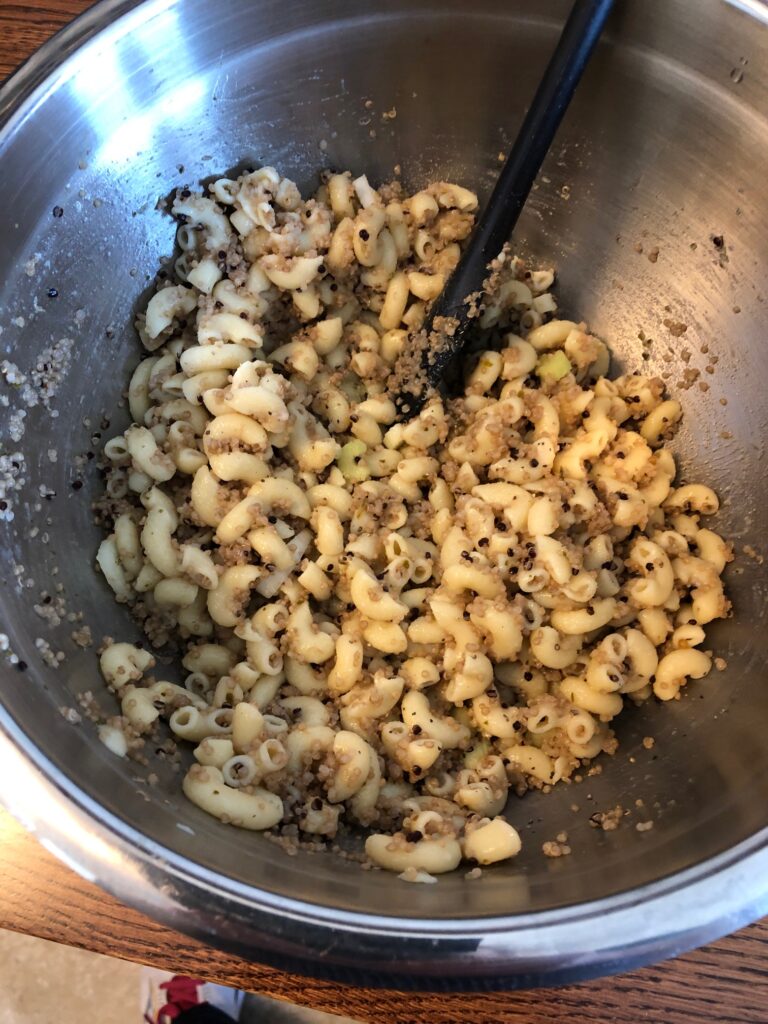
I added the pasta to the bowl of quinoa and added the celery and a tablespoon of pickle relish.
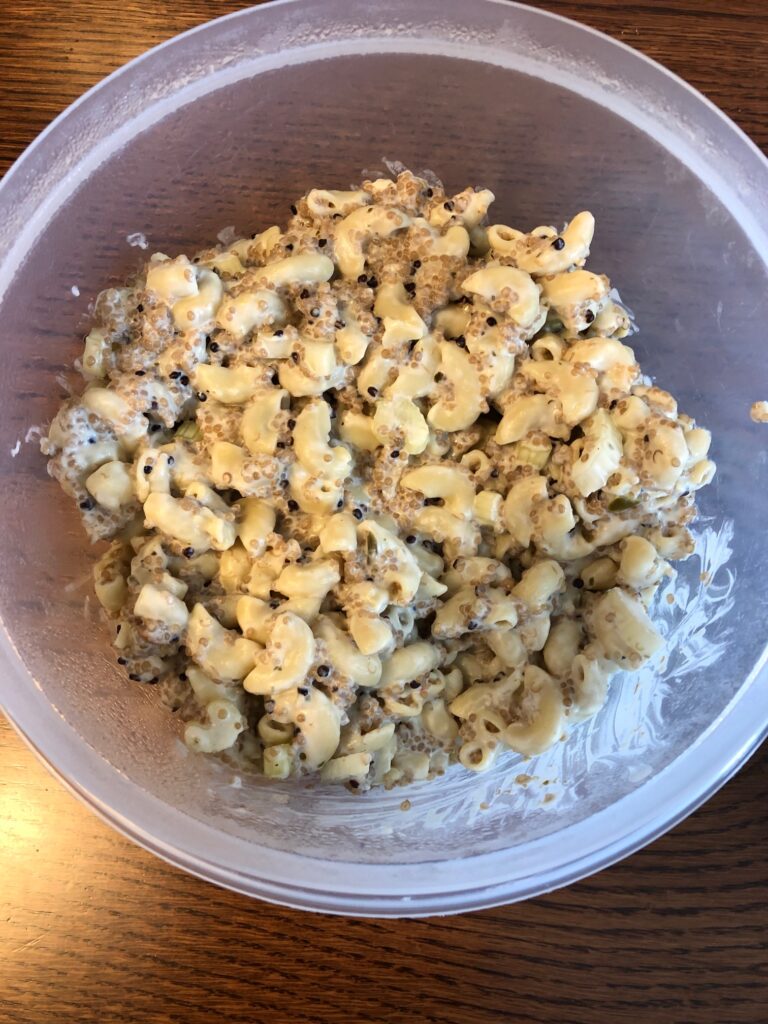
Then I added my mayo and a little mustard, salt and pepper (I forgot to mention those items!)Salad ready to chill.
Actually, warm the salad tasted OK…chilled will be better. I think it will be a new way to make a nutritious pasta dish. Enjoy!
Inspiration to expand food choices can come from many places. In my case, my nutritionist suggested I eat more whole grains…but less wheat! In my small world that means rice and maybe oatmeal. No problem. However, today I was in the mood for a broader definition of “grains.”
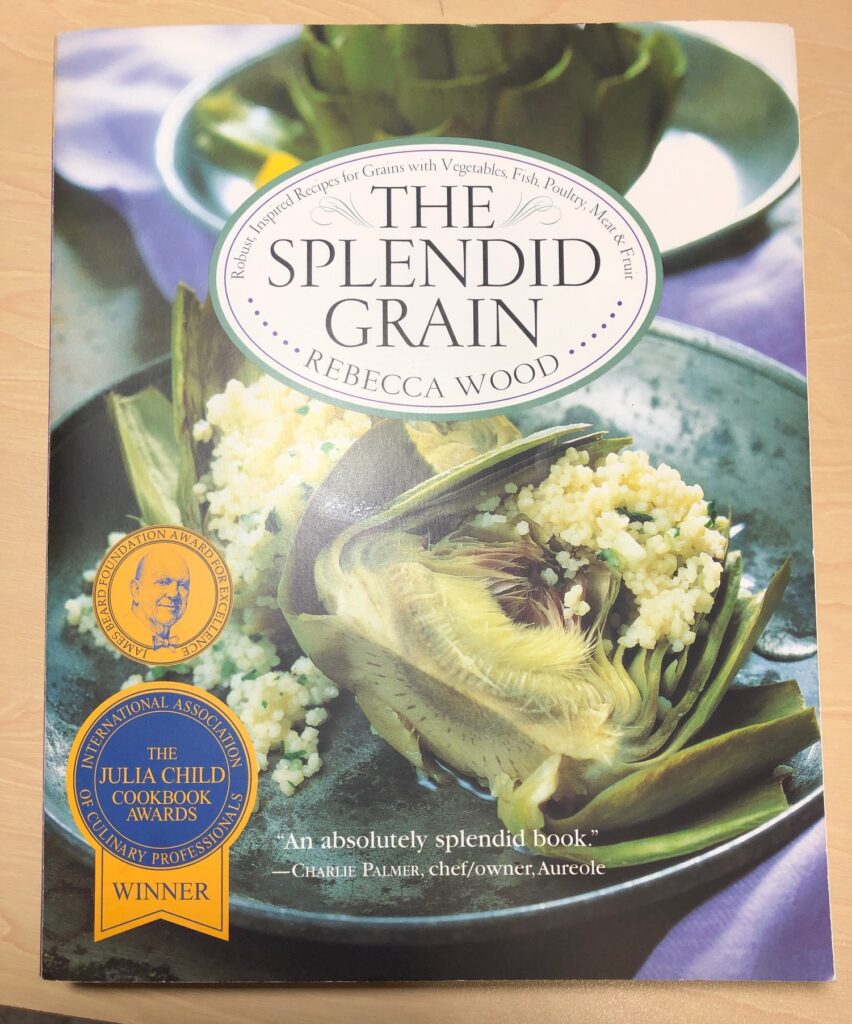
I’d like to share a well-loved book that I’ve had on my shelf for almost 20 years. It has been helpful in reminding me about the other grain choices I have to choose from. This book, The Splendid Grain, by Rebecca Wood (1997), has been inspiring me to explore other grains for years. There does not seem to be a more up-to-date edition but it is still available on Amazon.
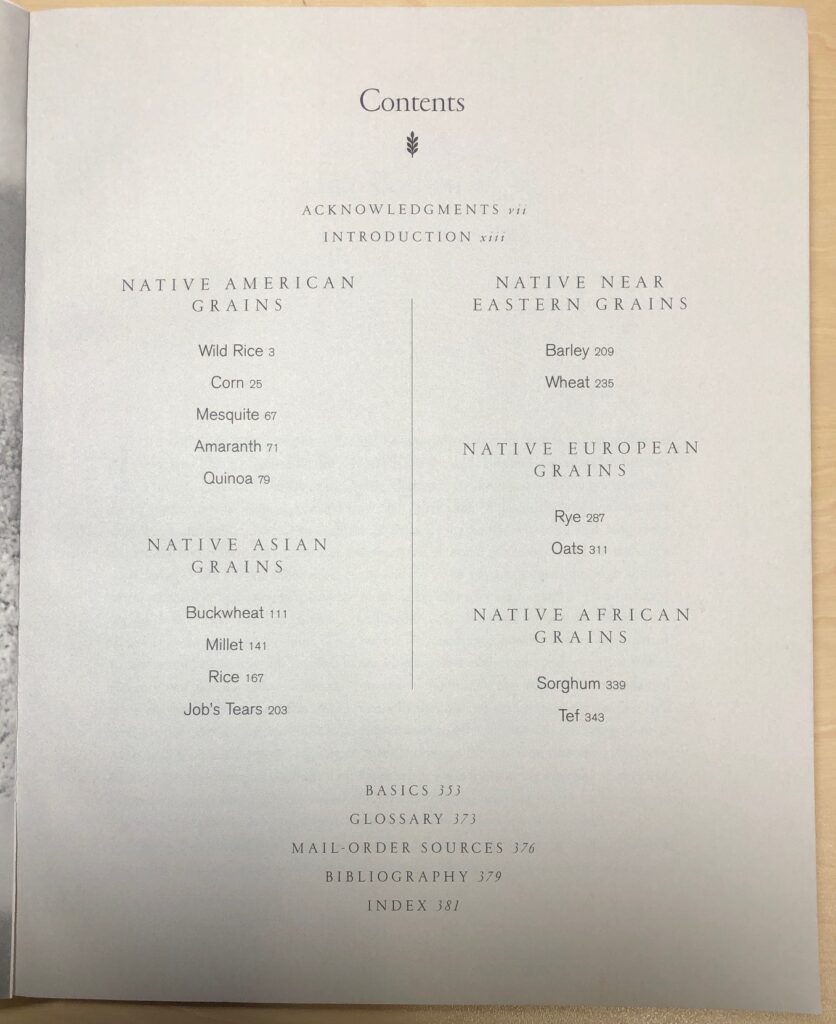
The book is not full of beautiful color pictures (although there are a few of various recipes). Most of the pictures of the grains are black and white. Most of the grains are familiar to me by name, but I wouldn’t know what to do with them. This book gives a great overview of each grain, where it is grown and a few recipes using it. The Table of Contents shows how the grains have been arranged by showing where they came from:
Here are just a few of the grains that I found interesting and will work on incorporating into my menus.
Wild Rice
The author has arranged the grains as shown above, beginning here in the Western Hemisphere and following the sun around the globe. Wild rice is the only truly North American wild grain that’s commercially available. More that 80% of the available wild rice is commercially grown, mostly in California. This hybrid variety is selected for responsiveness to fertilizers, herbicides and insecticides as well as for ease of mechanical harvesting. The wild rice grown in the Great Lakes region, on the other hand, has adapted over thousands of years to the specific lake or river and is often hand harvested from small boats. Each variety has its own unique flavor. I think the story of where it comes from encourages me to use it more often.
Quinoa
Quinoa has the highest nutrition profile of all grains and is the quickest to cook. According to the United Nations World Health Organization, Quinoa is closer to the ideal protein balance than any other grain. This alone makes it worth figuring out how to cook it. Steamed like rice it’s a quick addition to any meal. Ground into flour, it can enhance the protein content of your baked goods.
This book also provides an assortment of recipes using each grain. I found this one that looked interesting…Quinoa Potato Salad. I’ll have to give it a try.
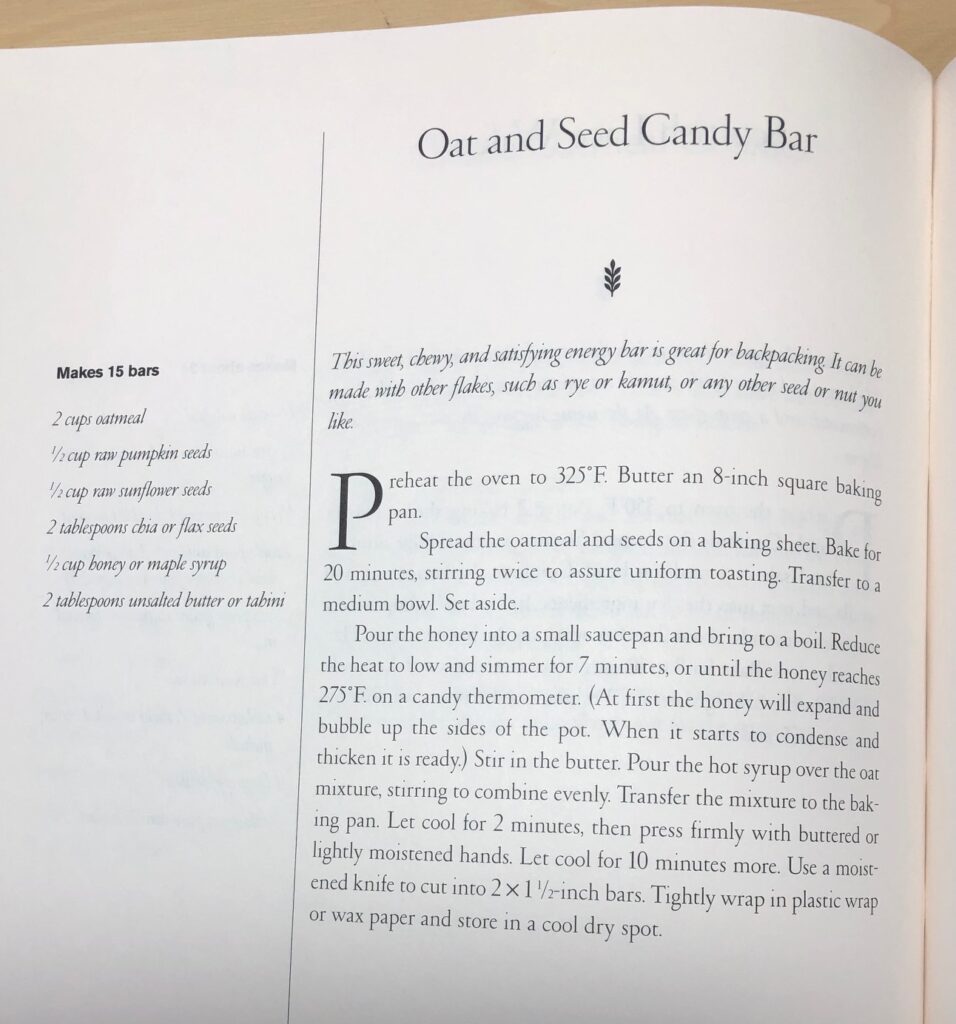
Oats
Oats thrive best in a cold climate. They were probably first established in Central Asia and made their way to Europe. They have always been used primarily as livestock food, and in fact about 90% of all oats grown in the U.S. is used for animal feed. Over the years the popularity of oats in breakfast foods has grown. I often add rolled oats to my favorite bread recipe because it gives a nice flavor and reduces the amount of wheat flour in the bread. I found the recipe below using oats that I think I’ll try:
Tef
Another grain that I find interesting is Tef. This tiny cereal grain is grown in the mountains at the source of the Blue Nile. Tef is integral to Ethiopian culture. This tiny grain was almost unknown outside Ethiopia until the 20th century. It is nutritionally superior but is a labor-intensive crop. I have found a source of Tef at https://www.bobsredmill.com/ but I am unfamiliar with the foods and recipes from Ethiopia. I’d like to try it if someone else would cook it properly.
Sources of grains
Many of these grains like wild rice and quinoa are available at our local health food store. With grains like Tef or amaranth I think your best bet is to go online a find a good organic source to experiment with. There is a list of Mail Order Sources at the end of this book, but considering it was published 20 years ago, I suspect they may have changed and there may be others. Try searching again to find new sources.
I found this book to be a good reminder that I can cut back on wheat and still have whole grains in my life. This is a good resource to have on the shelf. Enjoy!
With the temperatures hovering near zero degrees at night around here, I’m motivated to keep working with greyhound coats. I thought I’d let you know some of my thinking about why the coats are made the way they are and where I get my supplies. When making one of something, it’s easy to source materials from the local fabric store. When making four of something a week, every week, it’s annoying to pay retail prices.
The Design of the Pattern
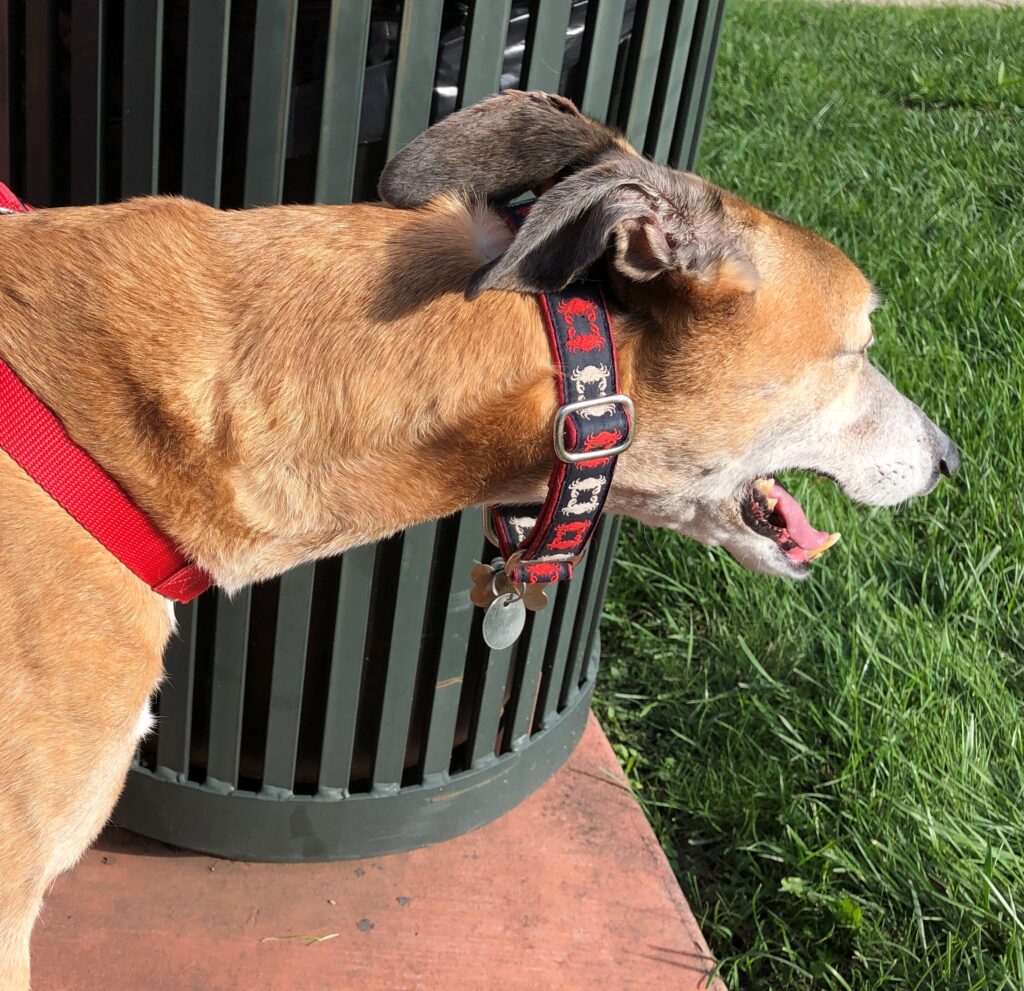
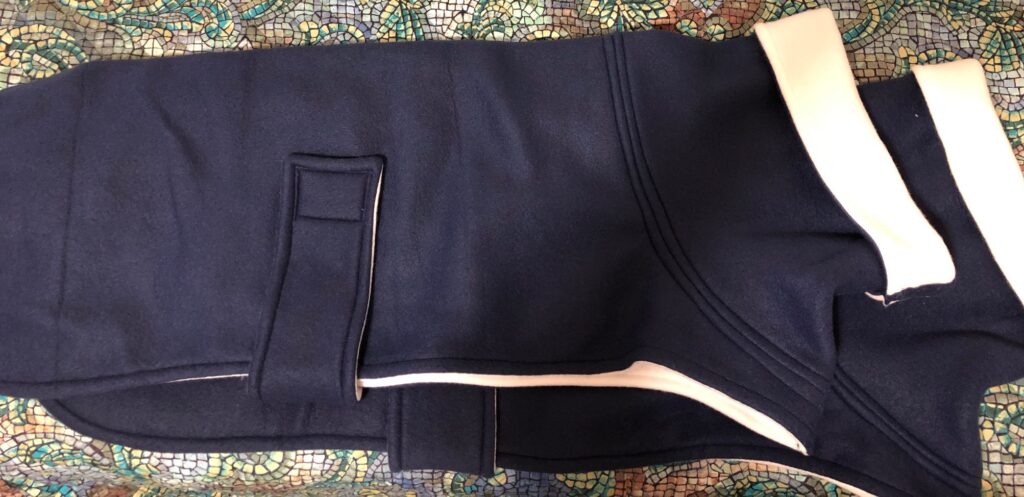
The coat is designed to use as little Velcro as possible, especially at the neck area. I don’t want the Velcro to touch their skin and cause irritation. The dogs have long necks and need the benefit of a “snood” or turtle-neck shape that could even cover their ears if necessary. The coat also needs to cover their rear end. This helps keep the coat positioned on their bodies and helps to keep them warm.
Look how long the neck is.This dog is ready for a Pennsylvania winter!
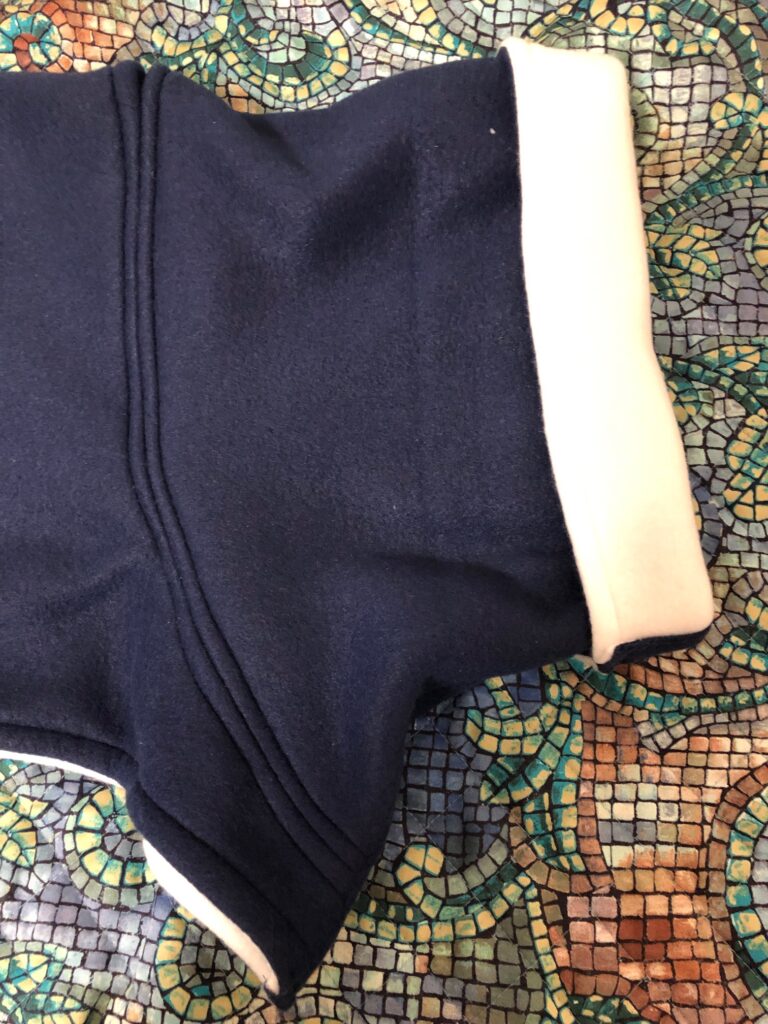
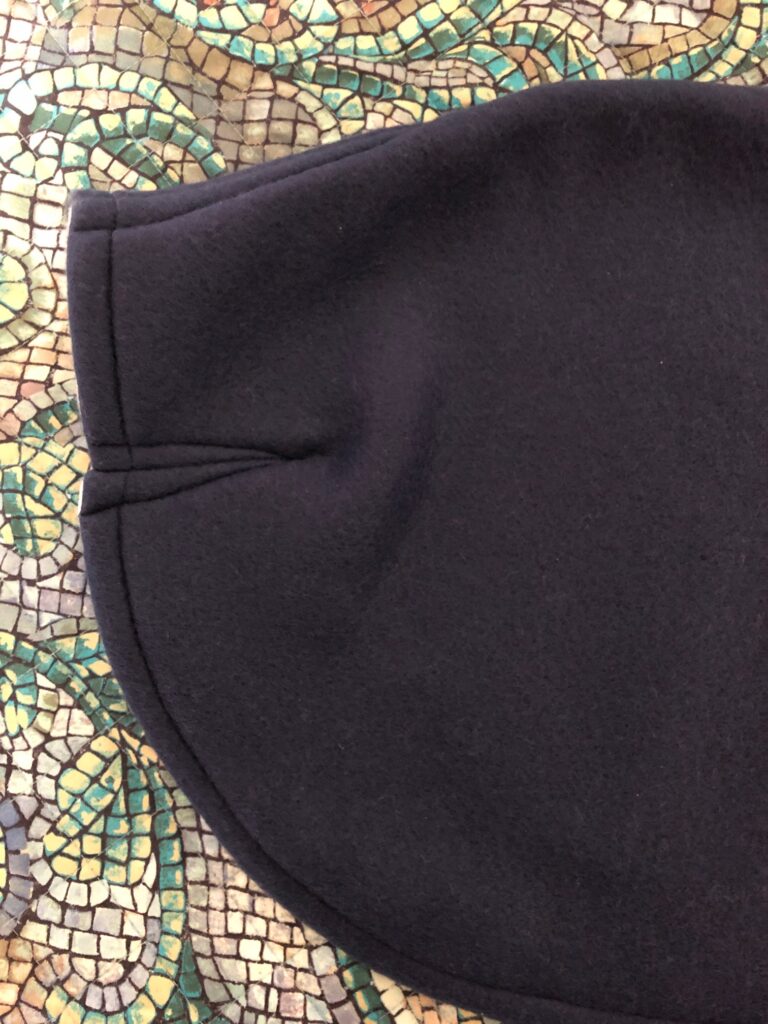
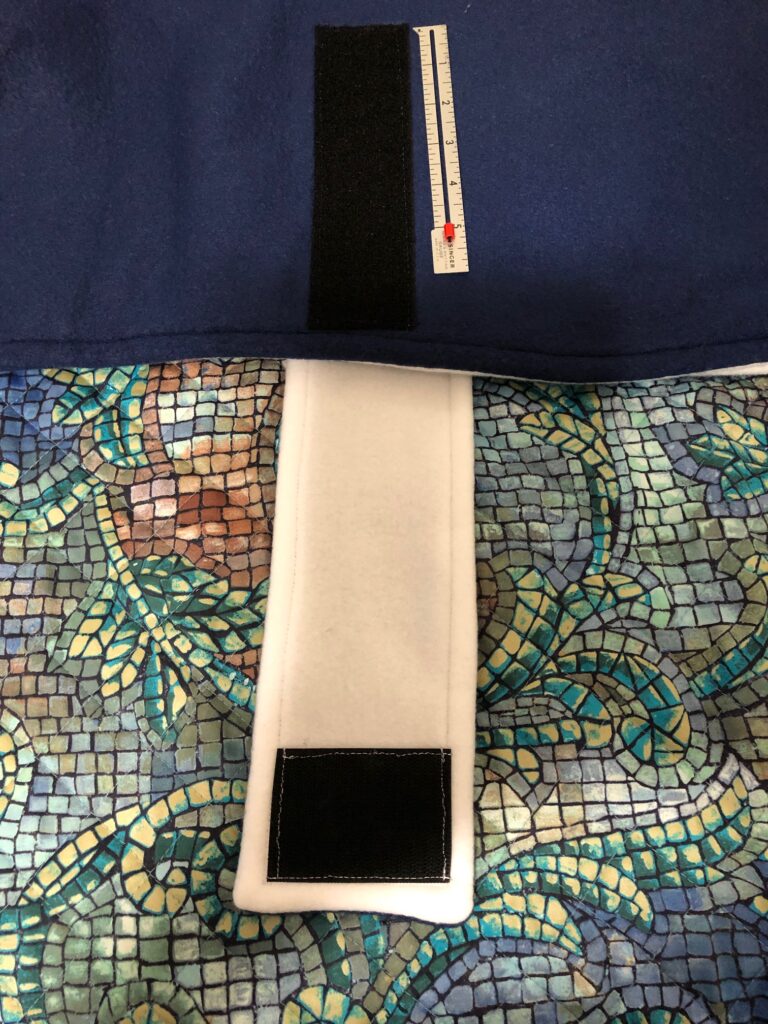
When you look at the coat flat, you can see the basic shape, including the long neck and the darts at the back end to give it shape. Finally, the strap needs to be adjustable, because these coats are made for an unknown dog, not a specific dog. If it were my dog, I could make the strap and Velcro the right length.
Close up of the neck piece.The darts at the back give the coat some shape.The length of the strap and the Velcro on the coat are more than enough to accommodate most dogs.
The Fabric
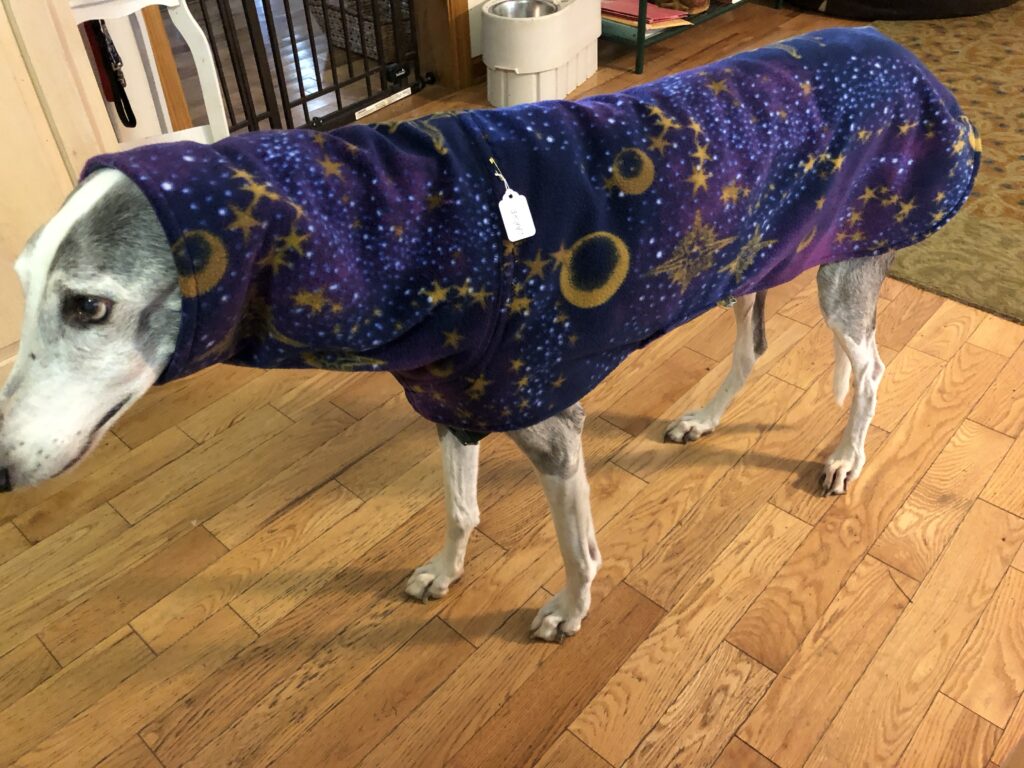
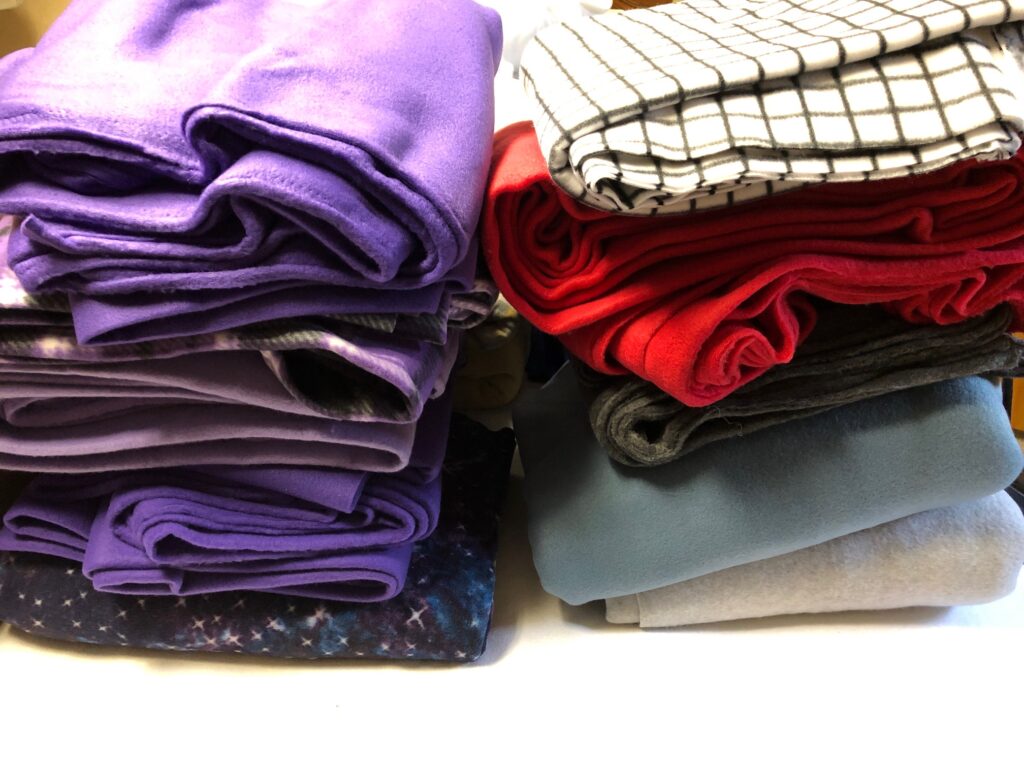
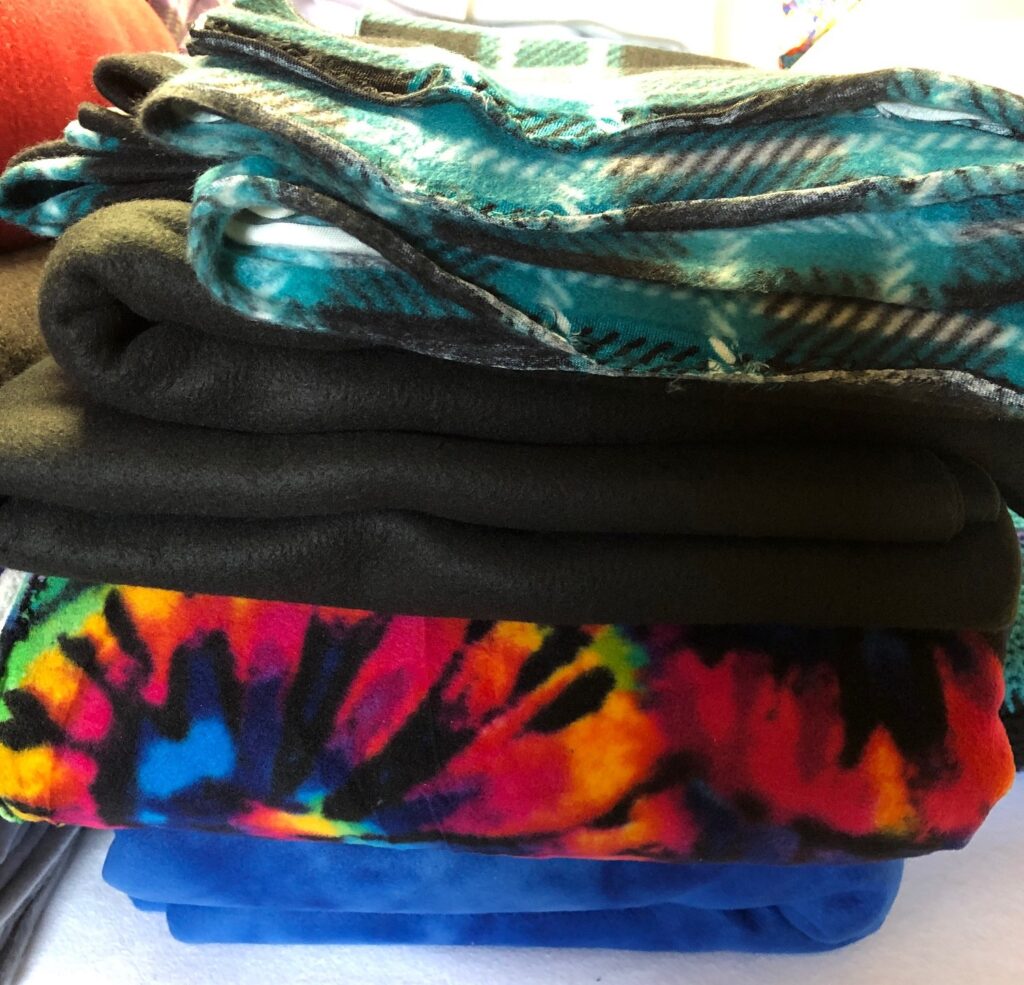
Each pair of greyhound coats (1 large and 1 small) takes 1 1/2 yards of fleece for the outside; another 1 1/2 yards for the lining. Most of the time, fleece is on sale at Joann Fabrics. If I pay attention, I can use a coupon that gives me an additional 20% off so I don’t feel so bad shopping there. I try to coordinate colors for the outside and lining. With three yards of each, I can make 4 coats (2 large and 2 small). I bring it all home and begin!
A few colors waiting for me!I think the tie-dye fabric should be striking against the snow!
The Velcro
The Velcro is the weak link in supplies. It is hard to find 2″ Velcro, and I need twice as much loop version as hook version. Years ago, I found a wholesale company where I could buy it online from California. I believe their materials are all made in the USA. You can buy Velcro (1/2″ to 6″ wide), elastic, thread and more at their site. It’s a great resource if you are involved in any kind of bulk sewing, like for a scout troop or a church group. Their website is: https://www.calthread.com.
The Labels
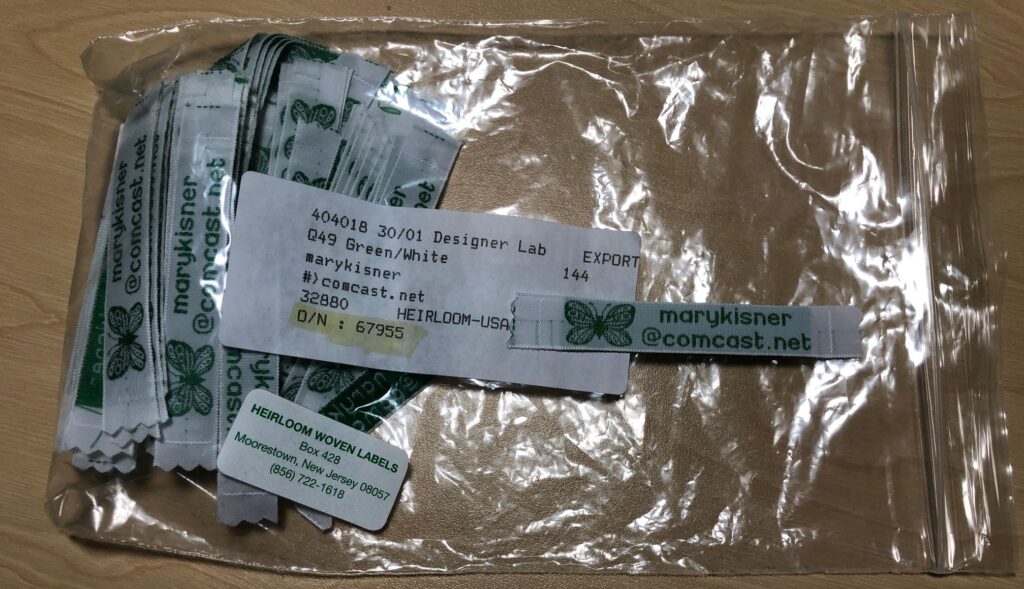
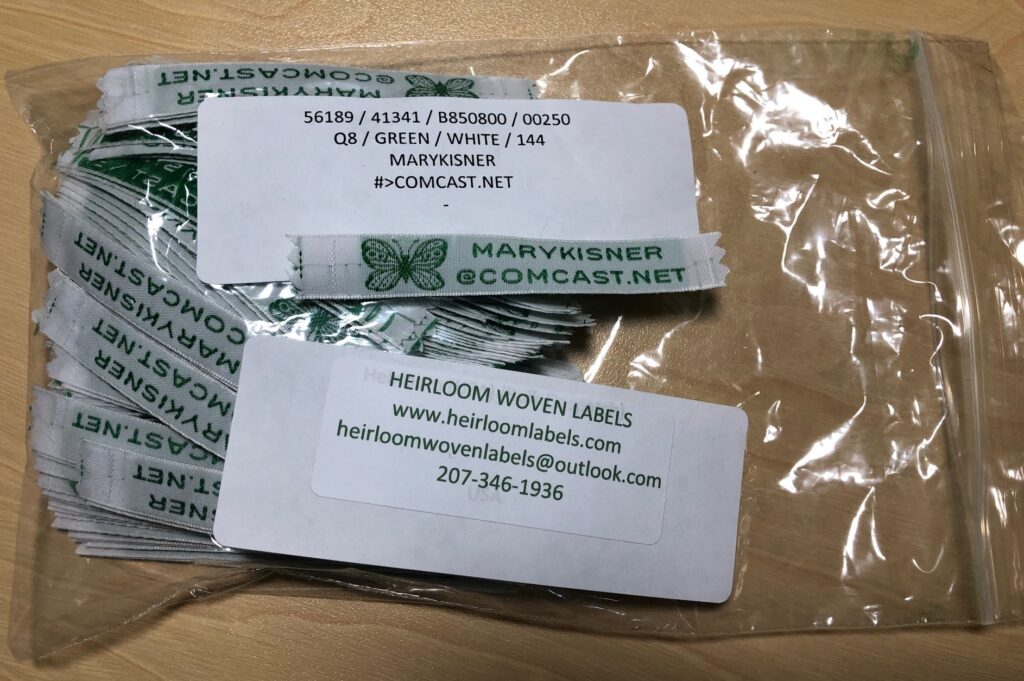
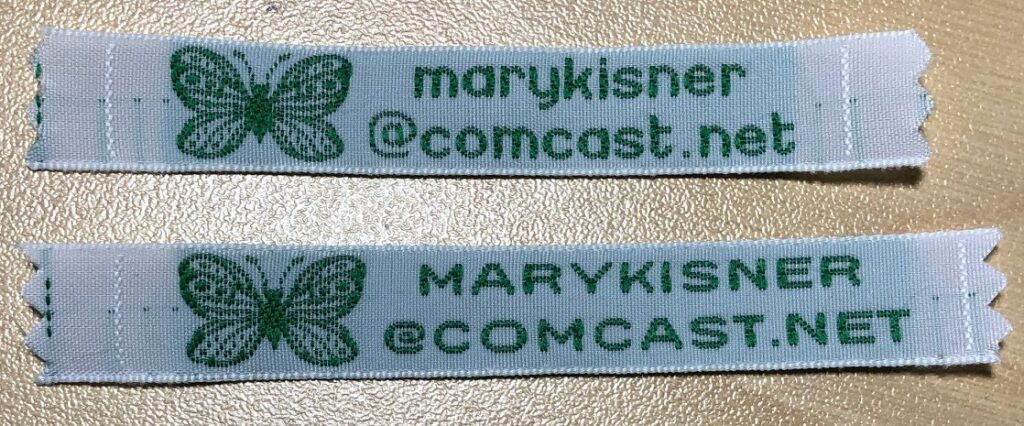
I also want to identify that I made the coat and how to contact me in case it needs a repair. To do this, I’ve begun using cloth labels from a site in New Jersey (https://heirloomlabels.com). It’s easy to order, affordable and doesn’t take long to receive. This last time, I didn’t get my order quite right…but I think it’s OK. People should still be able to find me. When I got my new order, I realized I had forgotten to make the text all lower case! So, of course, they did exactly what I asked for! Proofread carefully!
My original order.My new order. All CAPS. Oops!
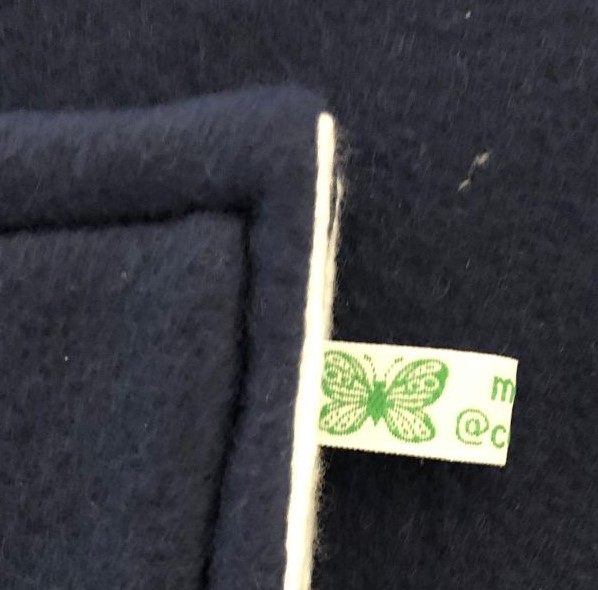
I attach the label to the base of the strap.
It wasn’t until I took this picture, that I realized I had forgotten to sew the labels to the strap on the coat I just finished! (Look at the pictures on the navy coat above!) Grrr!
In case you were wondering what I was doing between making stuff with essential oils and beeswax, this is it! Got to keep those dogs warm this winter! Enjoy!
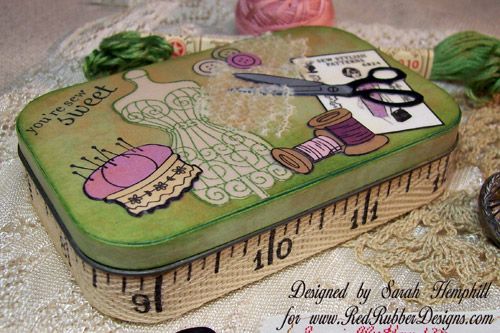
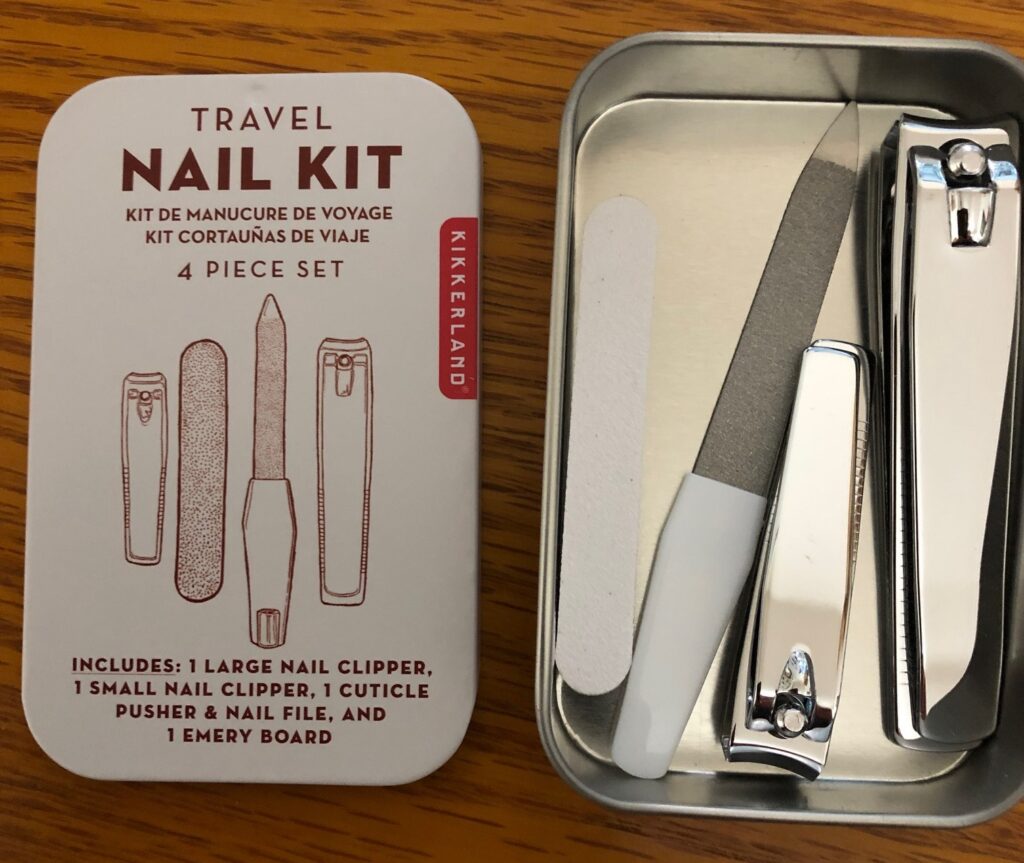
I’ve been staring at two boxes of metal tins that have been on my shelf for over a year. I thought I was going to make tiny travel sewing kits, but never quite got around to make them. Was I really going to buy a bunch of tiny scissors? Would anybody need such a thing? Since I couldn’t decide, nothing happened and I put them on a shelf.
I finally took them down off the shelf today to see if I was any more insightful about what to do with them. I have two sizes of tins.
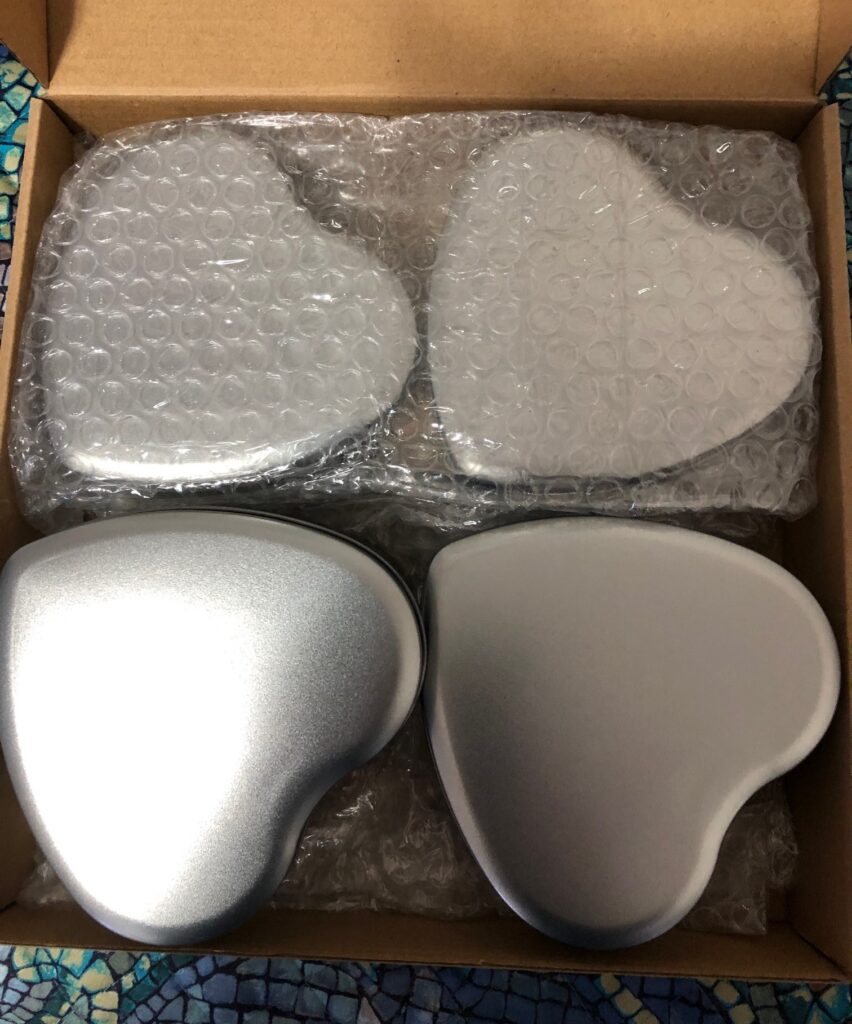
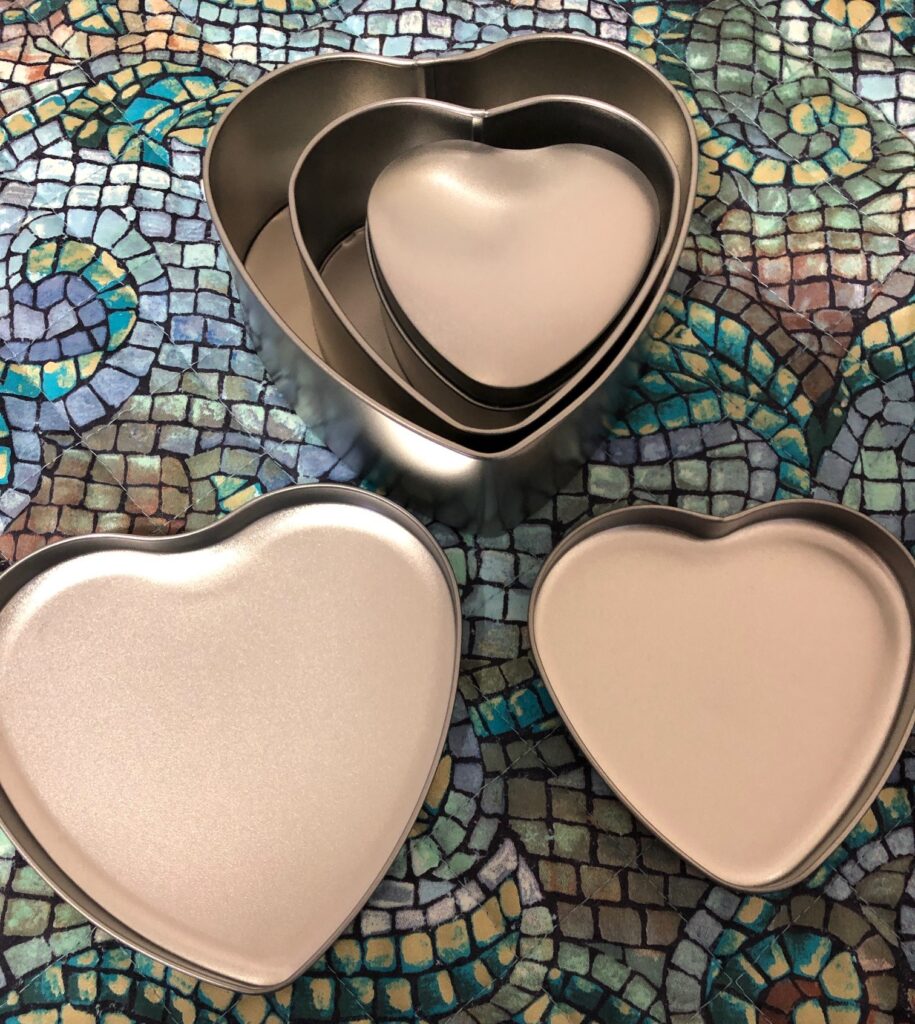
Box #1
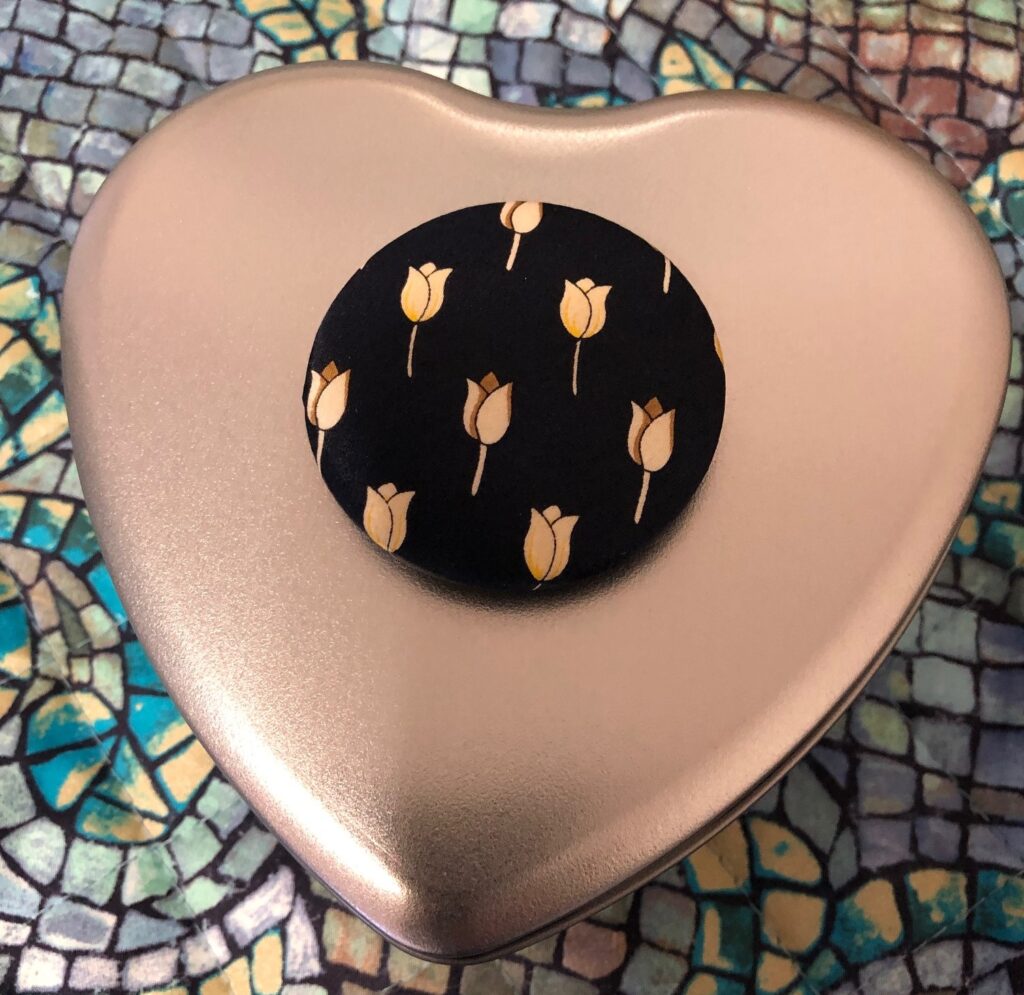
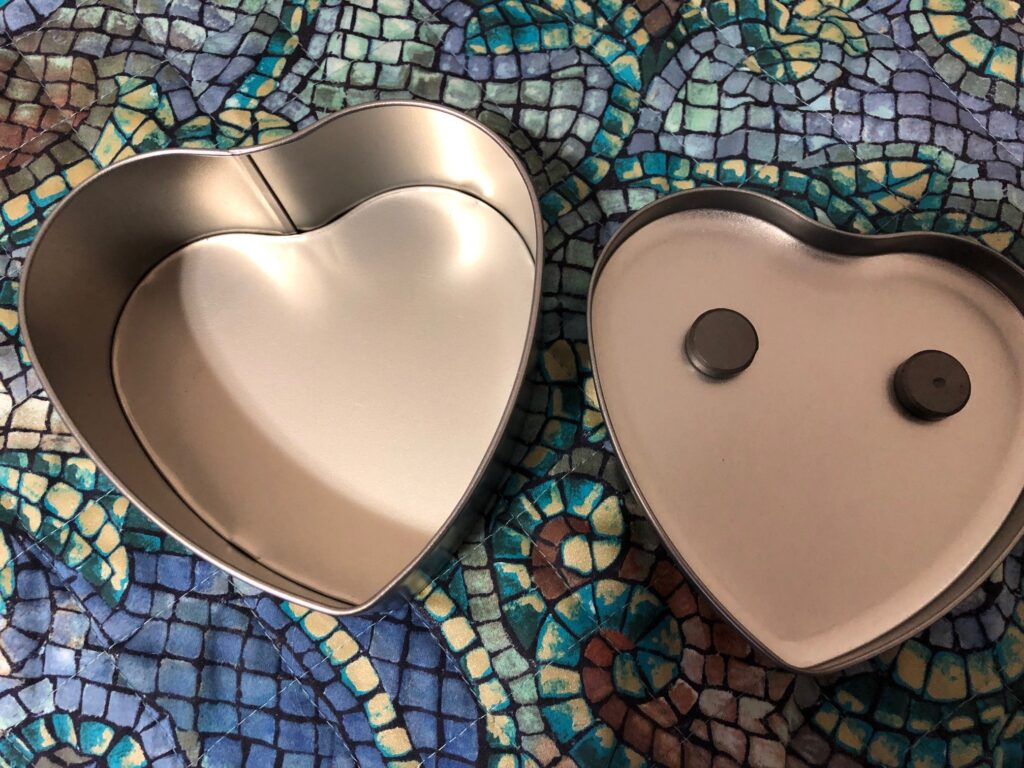
One box contains 4 sets of heart-shaped tins with lids. The largest is about 4″ across and 1 1/2″ deep. The lid is not attached. Two smaller hearts are stacked inside.
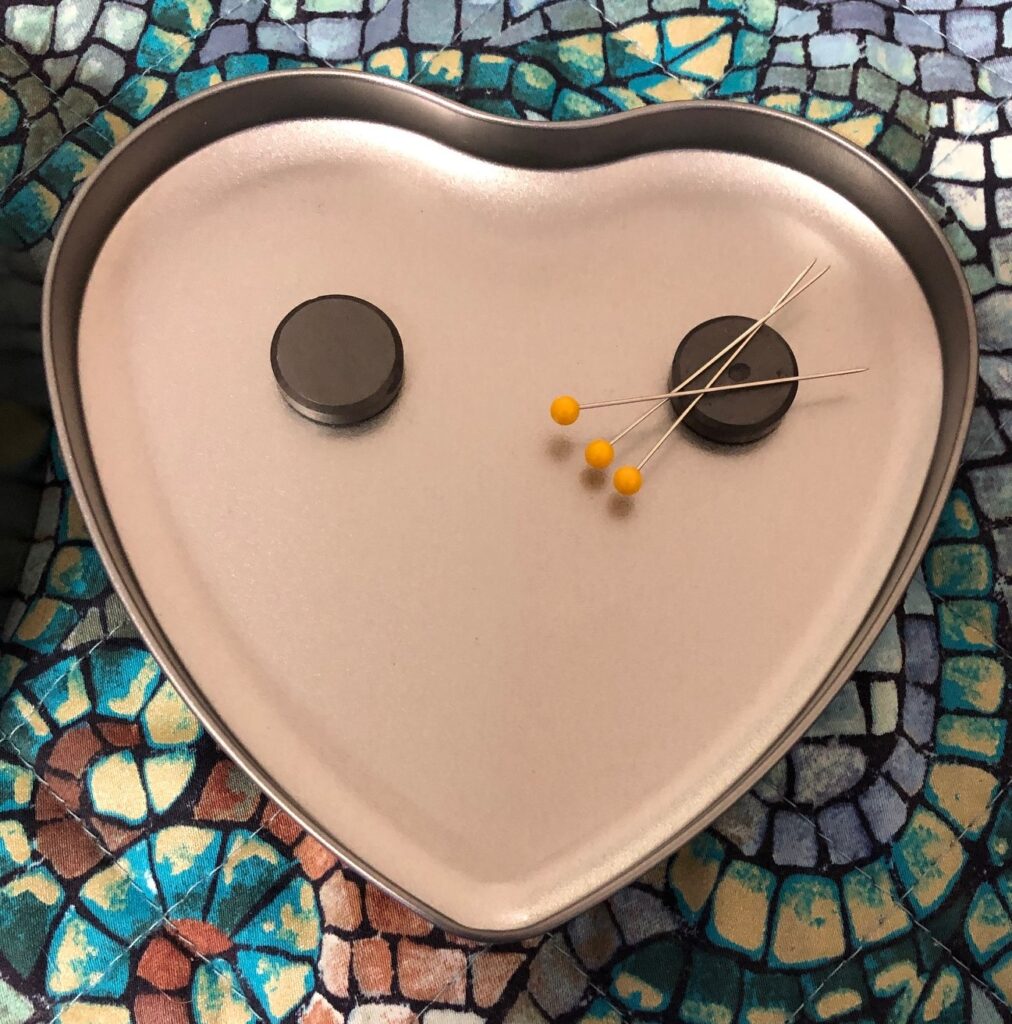
I thought I could use my covered button magnet for decoration on the top of the largest heart, and with additional magnets inside things like a needle and pins could be secured…but that’s as far as I got.
I ended up putting the heart-shaped tins aside for now.
Box #2
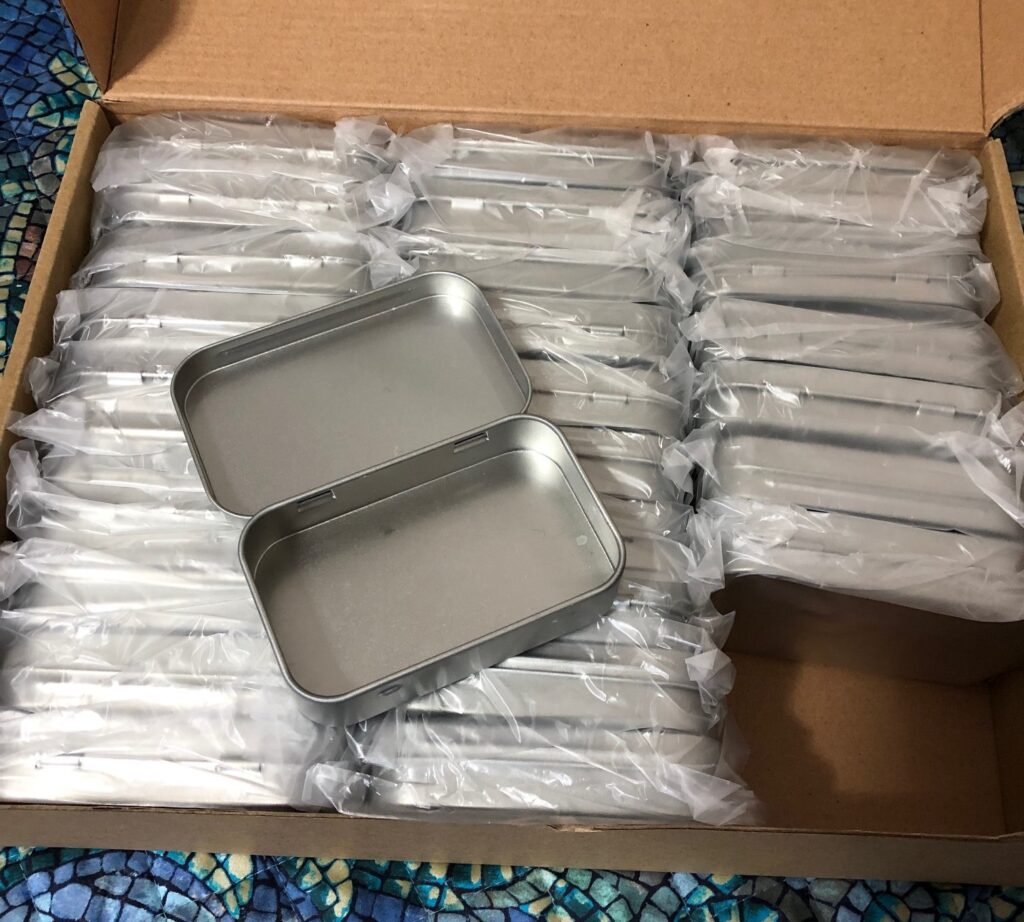
The second box has 28 rectangular tins, 3 1/2″ by 2 1/4″ and 3/4″ deep. The lids are attached. (Originally it was a box of 30…I must have used two for something!)
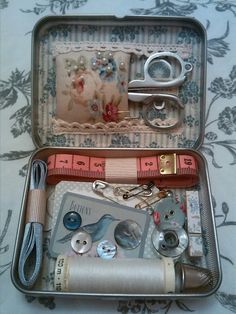
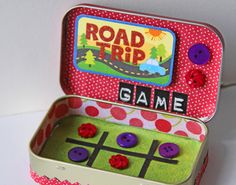
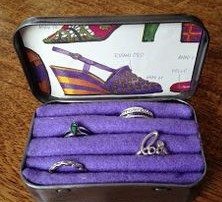
I still couldn’t decide what to do with them, so I took myself out to dinner at Cracker Barrel to think about it! While I was eating, I pulled up Pinterest on my phone and searched DIY Projects with Tins. Wow! What a treasure trove of ideas! Here are few ways folks have used the tins:
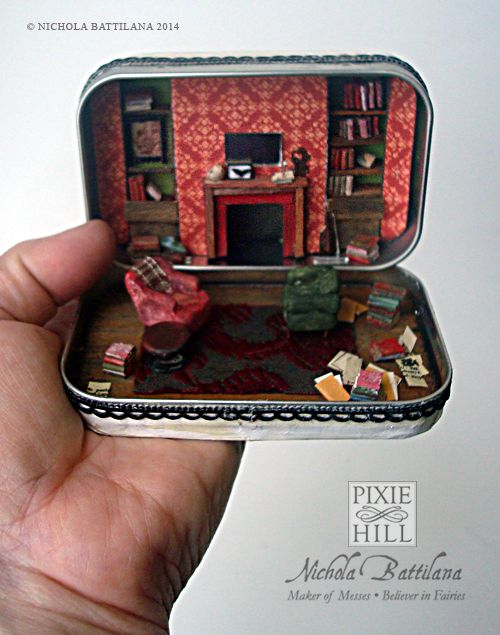
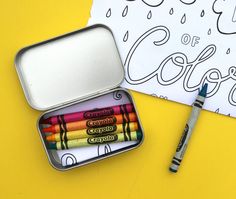
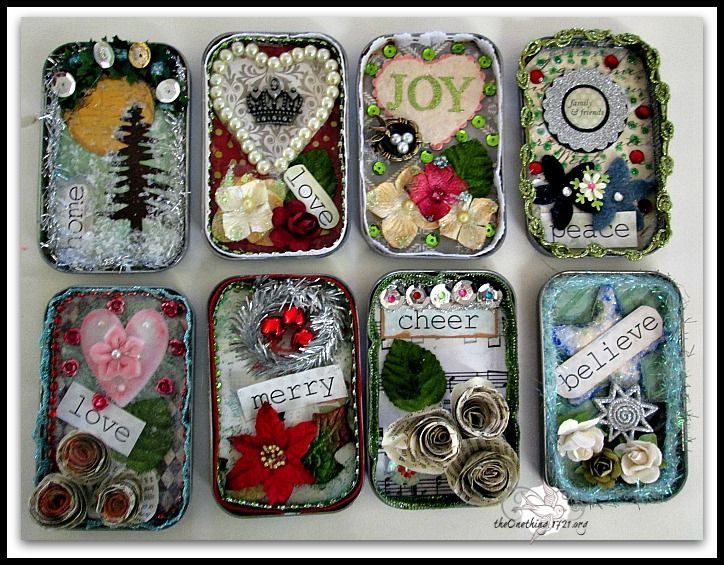
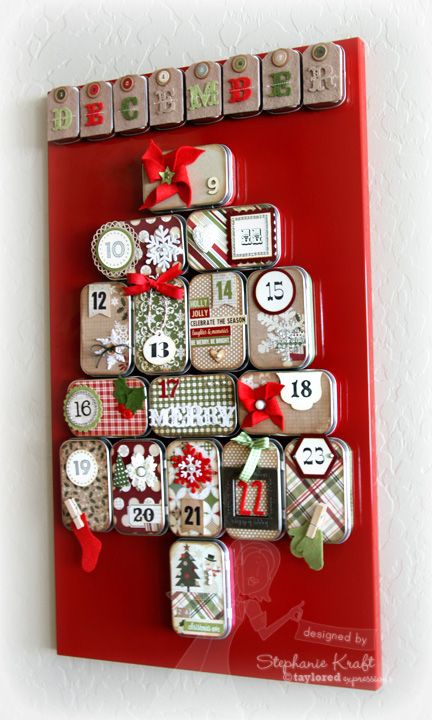
A sewing kit (from Pinterest)Another sewing kit (from Pinterest)A travel game (from Pinterest)A jewelry box (from Pinterest)A miniature doll house (from Pinterest)A travel coloring box (from Pinterest)Decorated lids of gift boxes (from Pinterest)An Advent Calendar. Each tin could hold a surprise! (from Pinterest)
After dinner, I wandered around Cracker Barrel to see all the cool stuff for sale. Guess what I found!
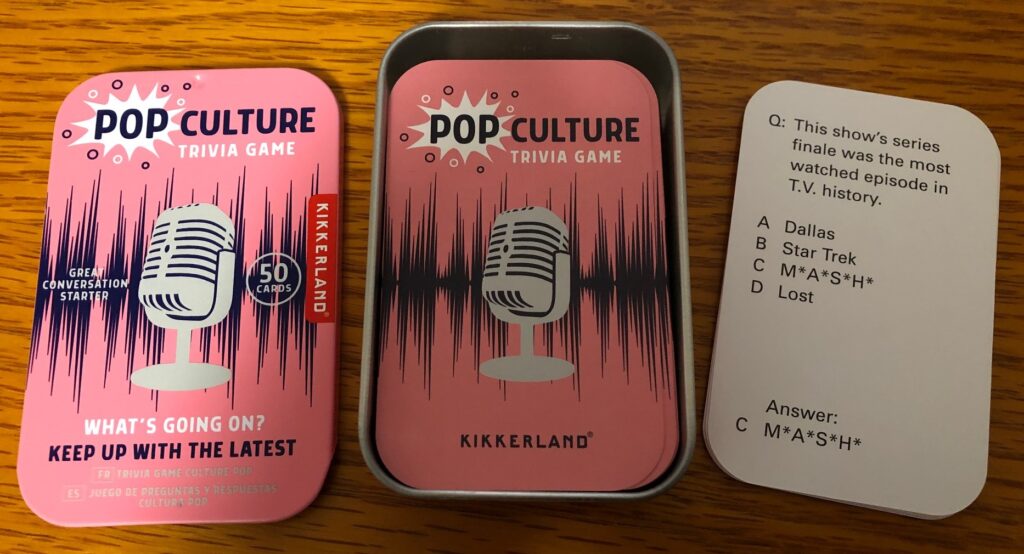
A travel nail kit (from Cracker Barrel)A travel trivia game (from Cracker Barrel)
O My Goodness!! Now I have so many ideas swirling around in my head I’m going to just have to let them simmer for a day or two. Be careful with brainstorming…you may be sorry you asked for ideas! If you have any ideas that I should try let me know! Or try them yourself!! Enjoy!
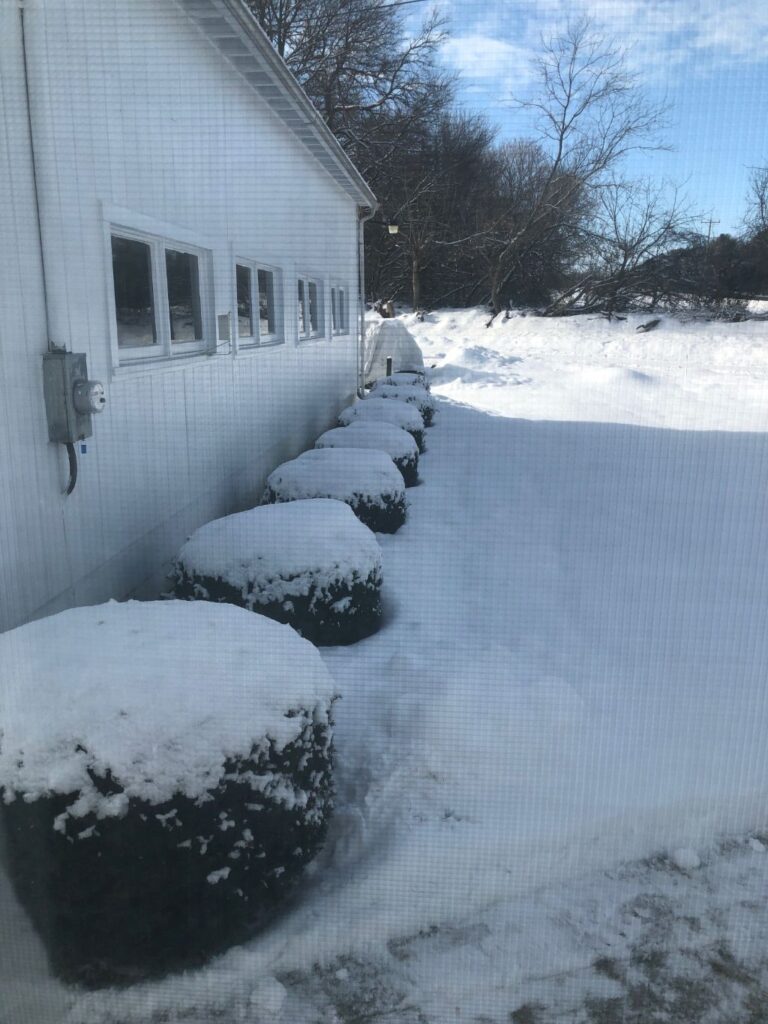
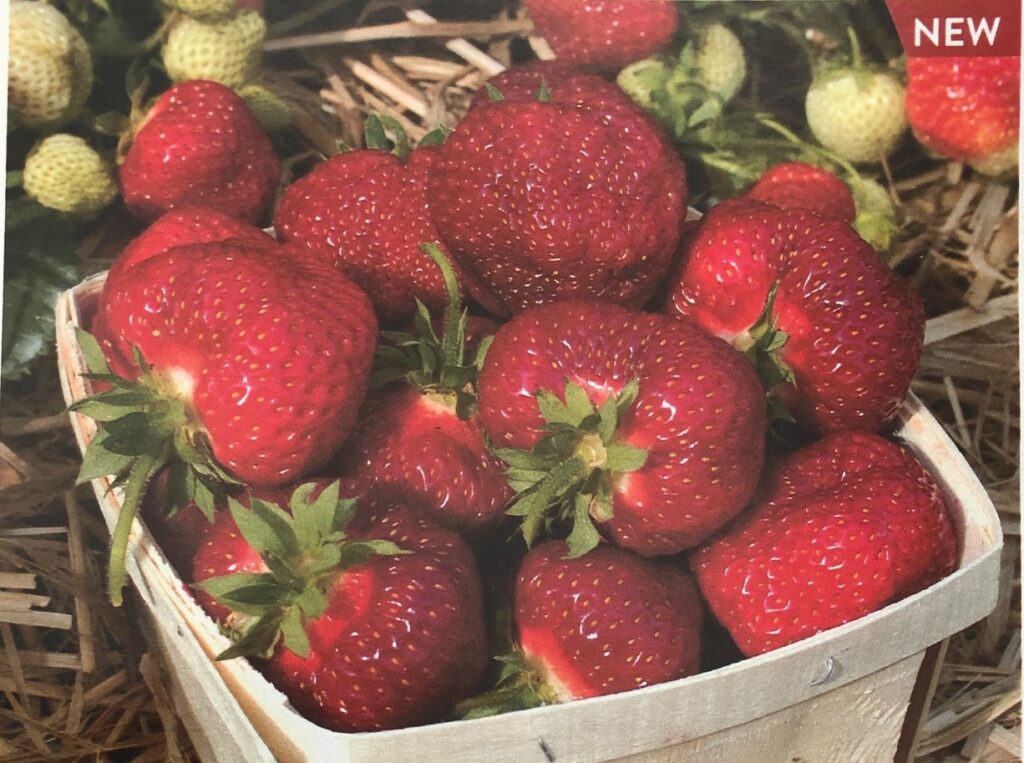
Right after Christmas the garden catalogs started to arrive. With the snow on the ground, it was easy to start dreaming of the garden of 2022.
This is the time to reassess what worked and what didn’t last yer. The plants in one of our garden beds closer to the house seemed to have trouble all summer…no matter what we planted. Years ago, that bed held strawberries. The first and second year they were terrific. After that, the soil did not cooperate. We had a year or two of great cucumbers, and then we couldn’t get anything to thrive in that bed. We might have to stick with flowers there.
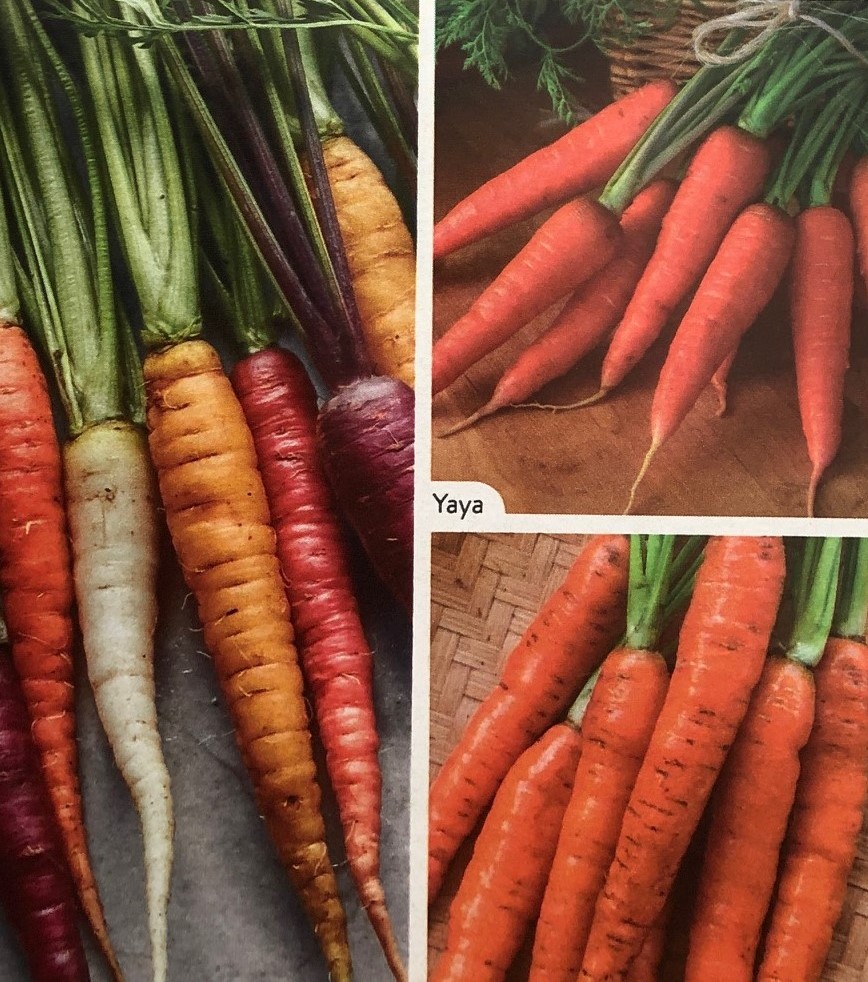
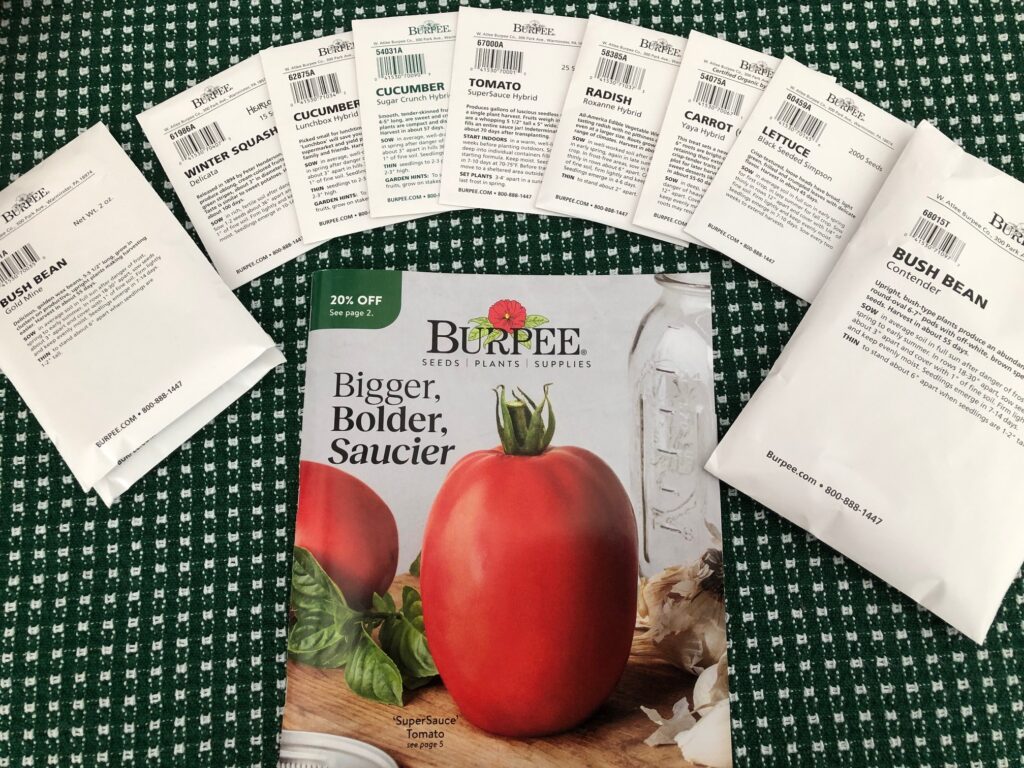
We’ve decided to stay with the Burpee Company for seeds. It is a Pennsylvania company and hopefully, seeds will be appropriate for our area. Their catalog featured the SuperSauce tomato that we grow each year. It has been great for slicing and cooking.
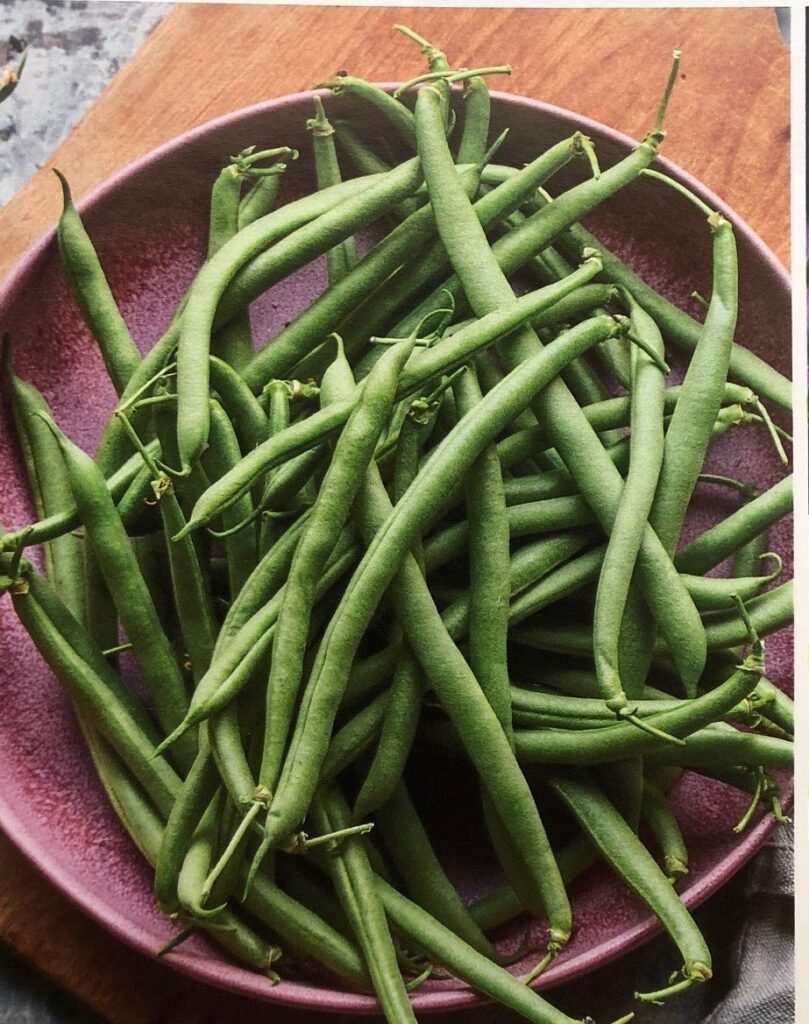
So many beautiful pictures of vegetables!
Then we focused on the seeds we had decided did well in the past for us. The beans were prolific, the lettuce was yummy and the last of the carrots stayed in the ground until Christmas. We still have some in the refrigerator! We’ll try cucumbers someplace else in the garden and hope they do well.
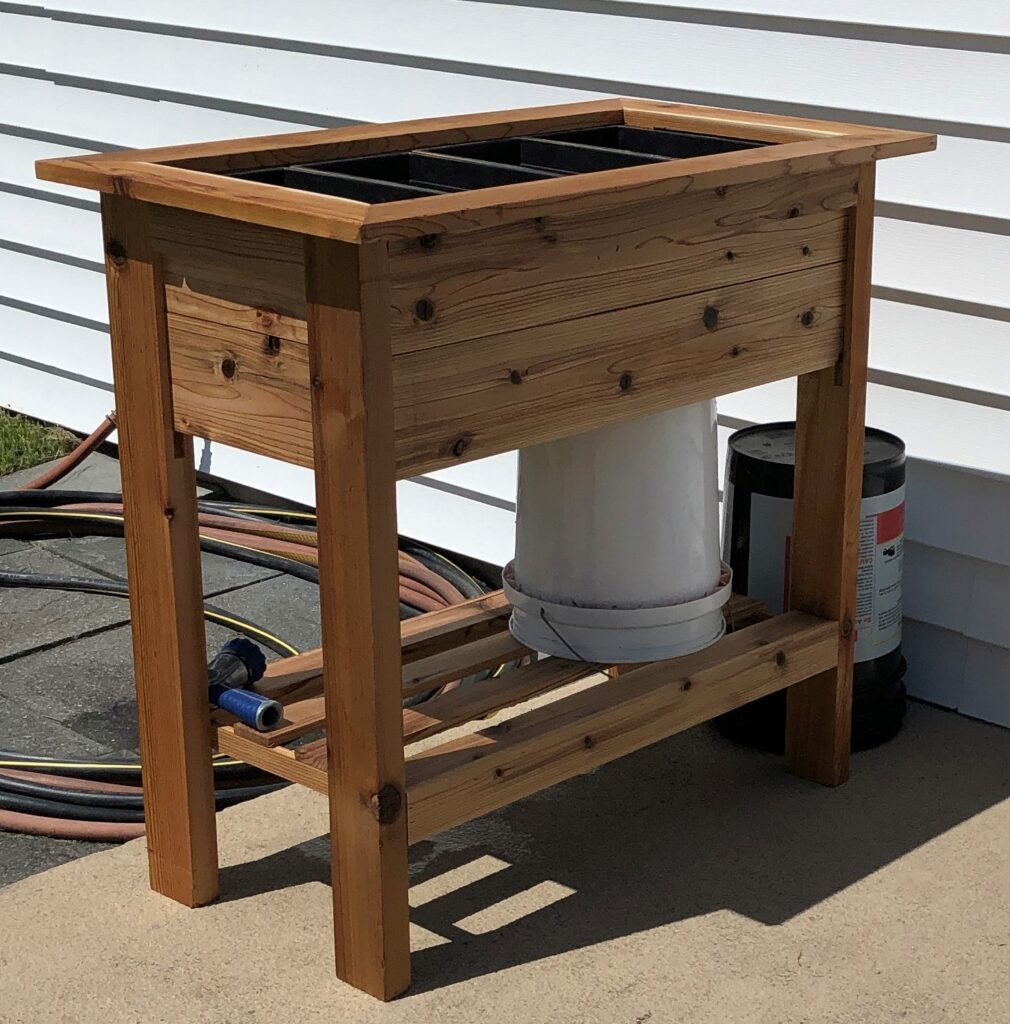
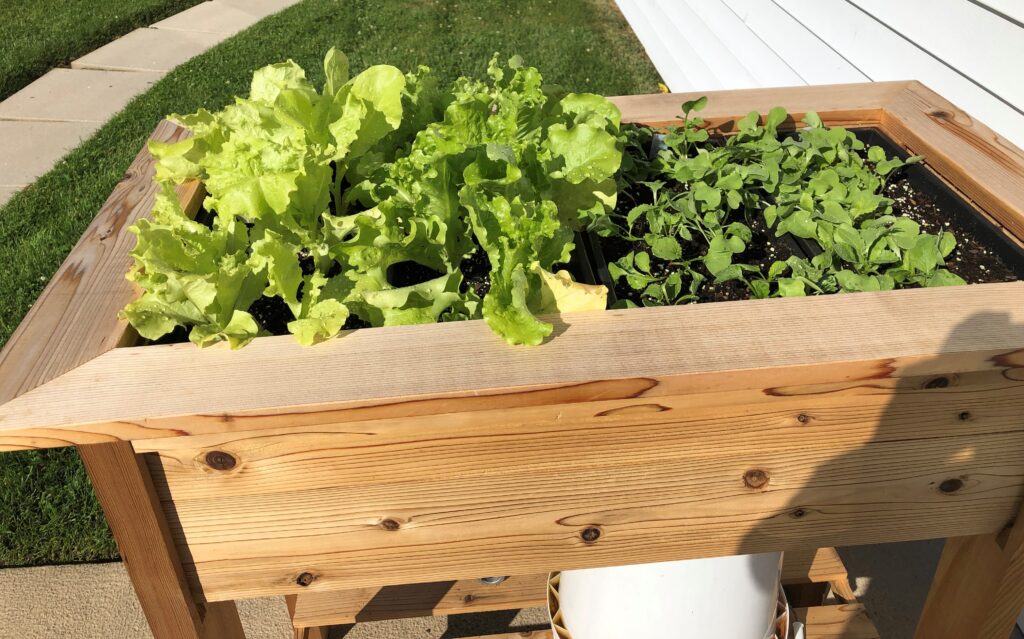
Yesterday I had a chat with our son-in-law Steve, to see if he could make us another raised planter. It worked so well for the lettuce and radishes. I’d like to add a few other greens, like Swiss Chard, Spinach and Radicchio for salads.
And then he mentioned he was going to try to make a strawberry planter…and I love strawberries…so I ordered some plants too. Hopefully, I can figure out a place to plant them if his planter doesn’t work out!
Dreaming of the future garden is a great way to spend a cold January day! Enjoy!
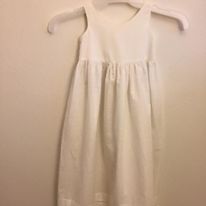
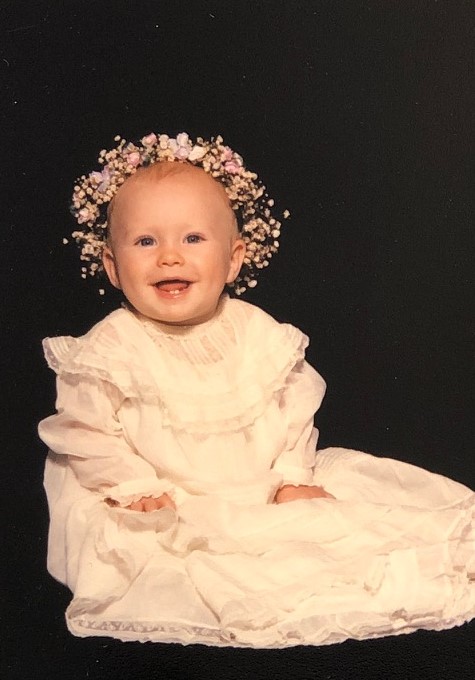
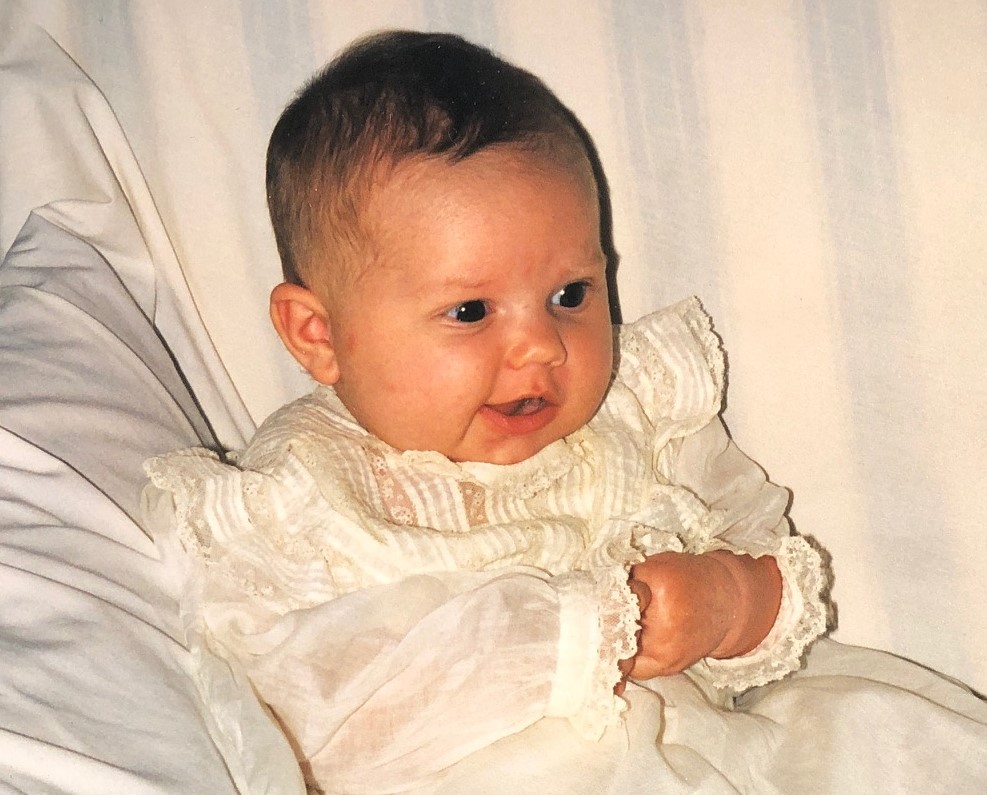
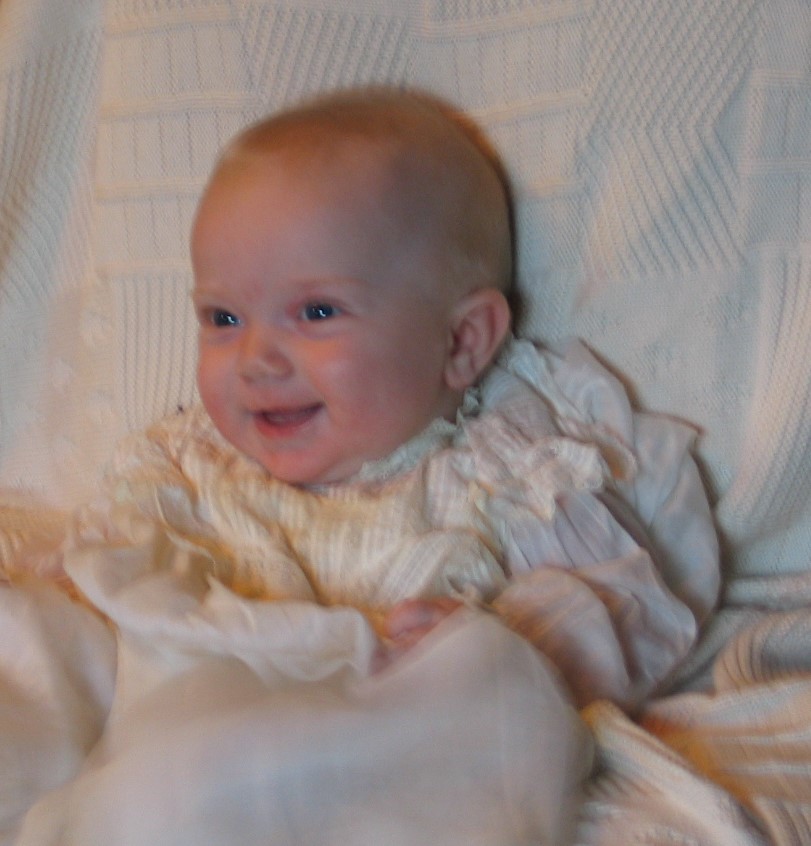
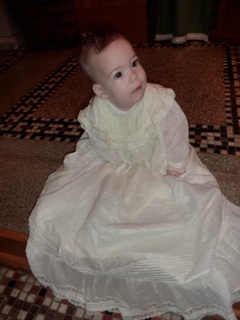
An heirloom baptism dress has been in our family for over 100 years. It was worn by my mother, who was born in 1912, and most recently by my niece’s daughter, born in 2016. It is made of very delicate fabric and has a matching slip.
I do not know where the dress was stored or who used it before 1977, when my mother offered it to my daughter to wear. After that, the dress stayed in my collection.
Before passing the dress on to others in the family, it needed to be cleaned. I did some research on washing vintage fabric and found this washing powder that said it would lift stains and not harm the fabric. It has been useful on all sorts of vintage fabric, from delicate handkerchiefs and linen table cloths. It worked fine for the baptism dress
Once the dress was cleaned up, I offered the dress to any of the girls being born in the family. I guess the boys could have worn it too, but no one showed an interest.
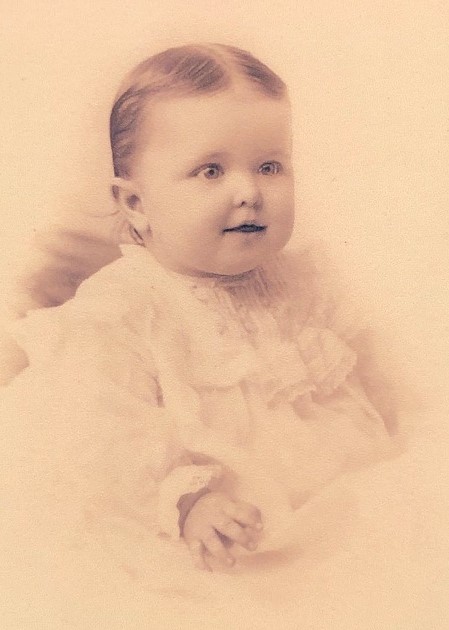
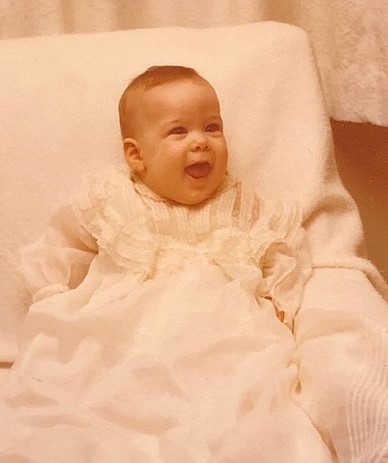
Here are the pictures of the babies born in our family over the years that wore the dress. (Family…if I have missed any, and you have photos to add to my documentation, please let me know.)
You can see the dress has been shipped back and forth across the country for over 30 years! One of the challenges has been to get it shipped in time to be worn when the child is about 3-6 months old. All I asked was for a photo to be taken. The dress did not need to be worn for an actual Baptism ceremony. I wasn’t sure the fabric could handle the motions of a small child.
Now the dress is wrapped in a pillow case and filed away until the next generation needs it. I’ll pass it on…probably to my daughter…to share with her cousins as their children reach the right age. For now, it is safe and documented so far. Like all heirlooms, who knows what adventures it will have!