Today would have been my big sister’s birthday…84 years old. She passed away in 2017, but every December 1st since then I’ve made it a point to recall a few of my treasured memories of her. I’d like to share just a few with you. Some time in the last 20 years, she combined her first and middle name to make one…Jeansylvia. To me, however, she will always be Jean.
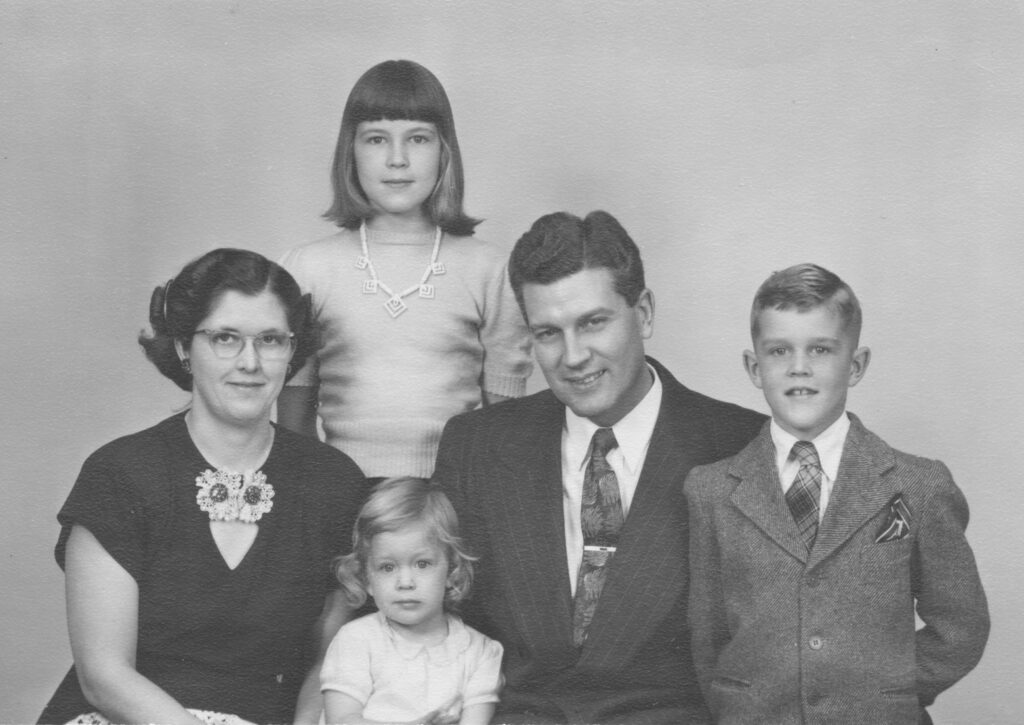
I have only a few pictures of my sister before I was born. Here is a picture of my family before I was born and they lived in New Jersey.

I was born in New Jersey, and 6 months later we moved to State College. Jean must have been 9 years old in the first picture. Mark would have been 6 years old. I’m sure I was a novelty at the beginning.

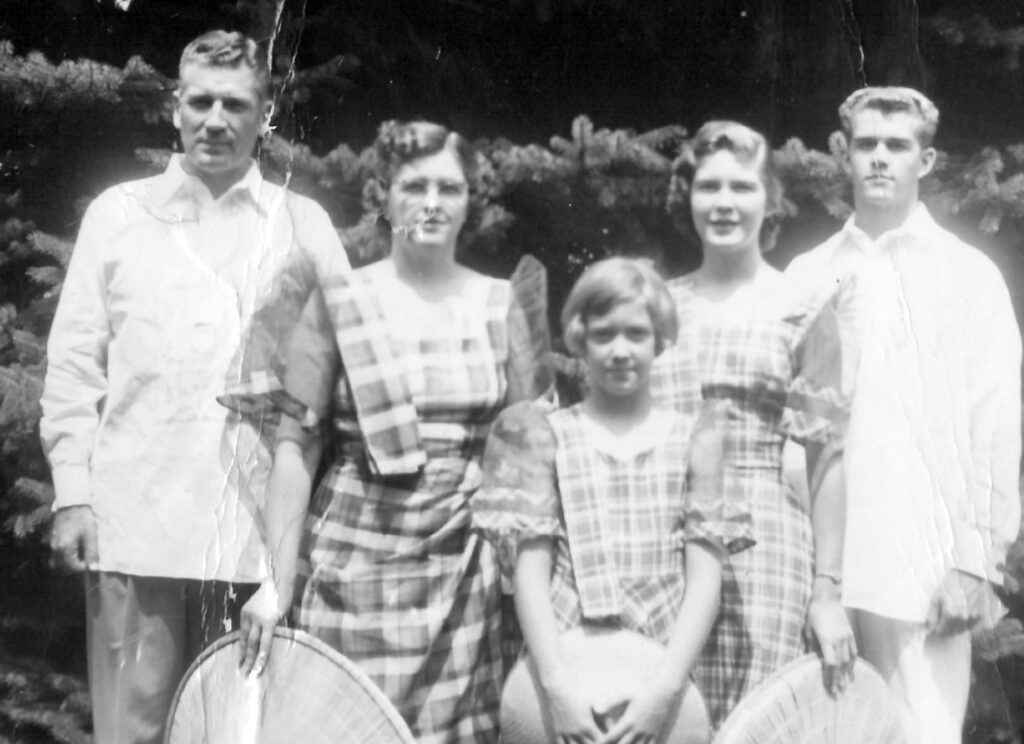
About 1957, when we returned from my Dad’s year-long sabbatical in the Philippines, Jean would have been about 20 years old and in college. For this picture we modeled our special outfits representing traditional clothes from the Philippines:
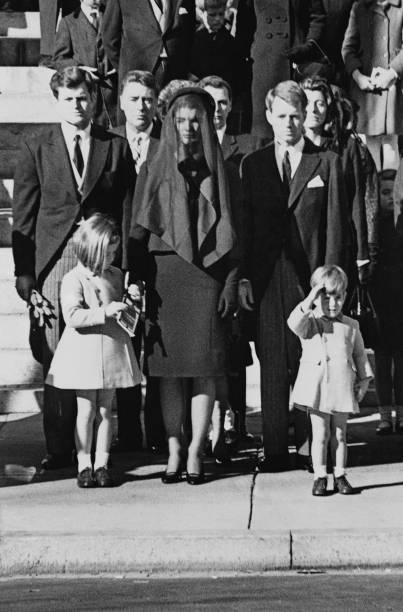
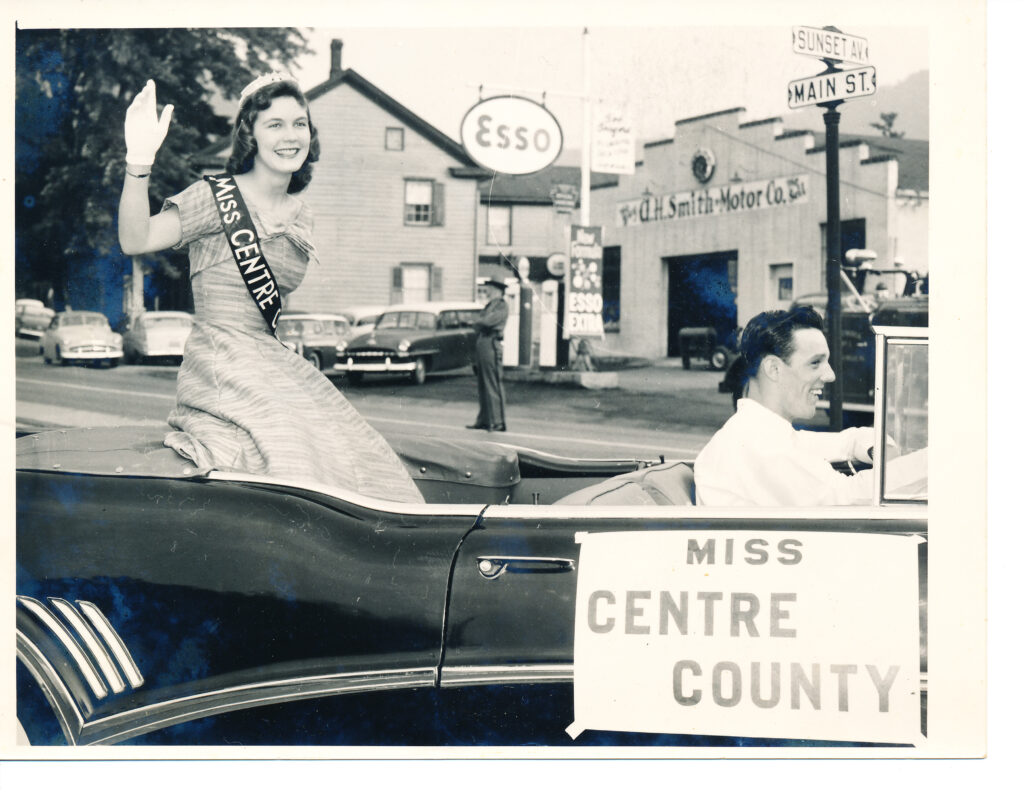
In 1959, Jean competed for the first step in the Miss Pennsylvania Pageant. She won Miss Centre County, but did not go further. This picture below was in the paper. A few years ago, Bert and I attended an 80th birthday celebration of the young man driving the car. (We had no idea who he was in 1959!) This picture was part of his memory board at the party. What a surprise to see my sister on his memory board! I hadn’t seen this picture for many years, so it was a real treat.
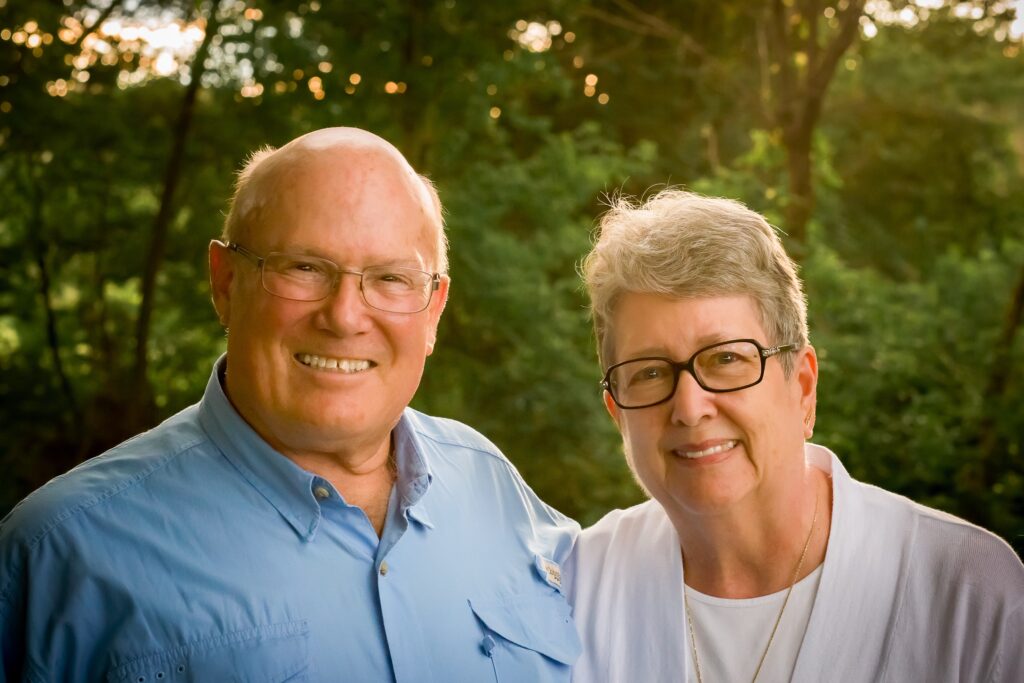
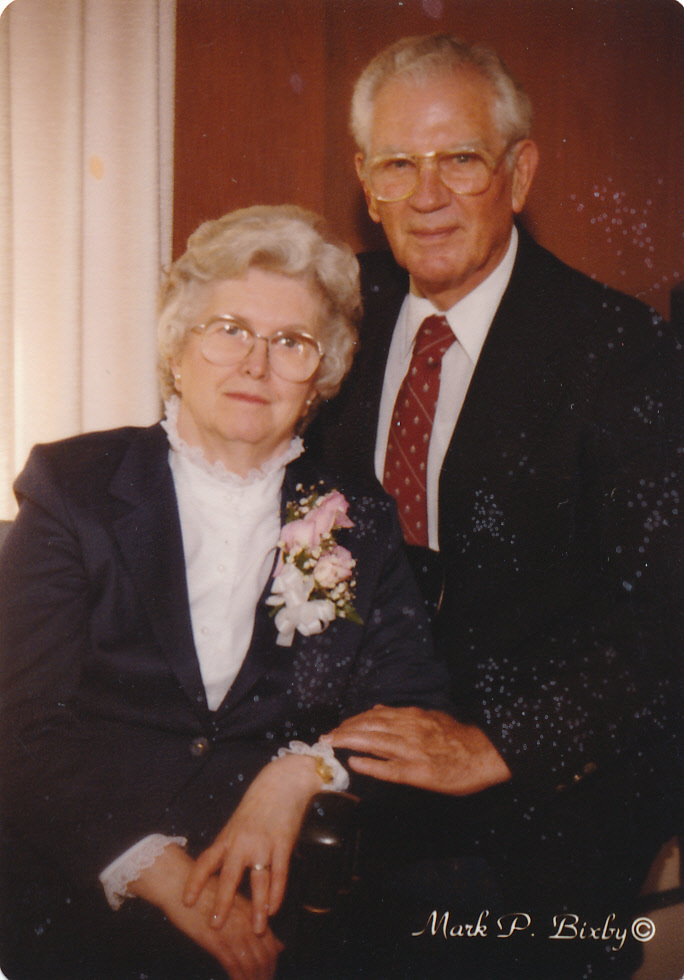
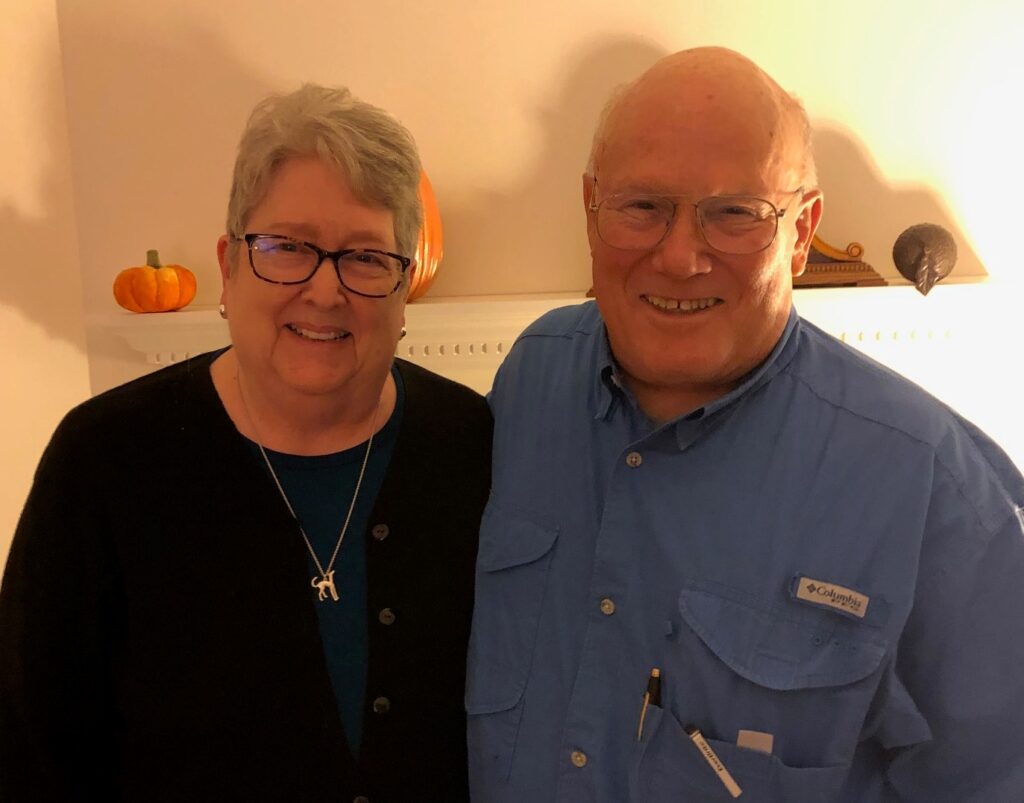
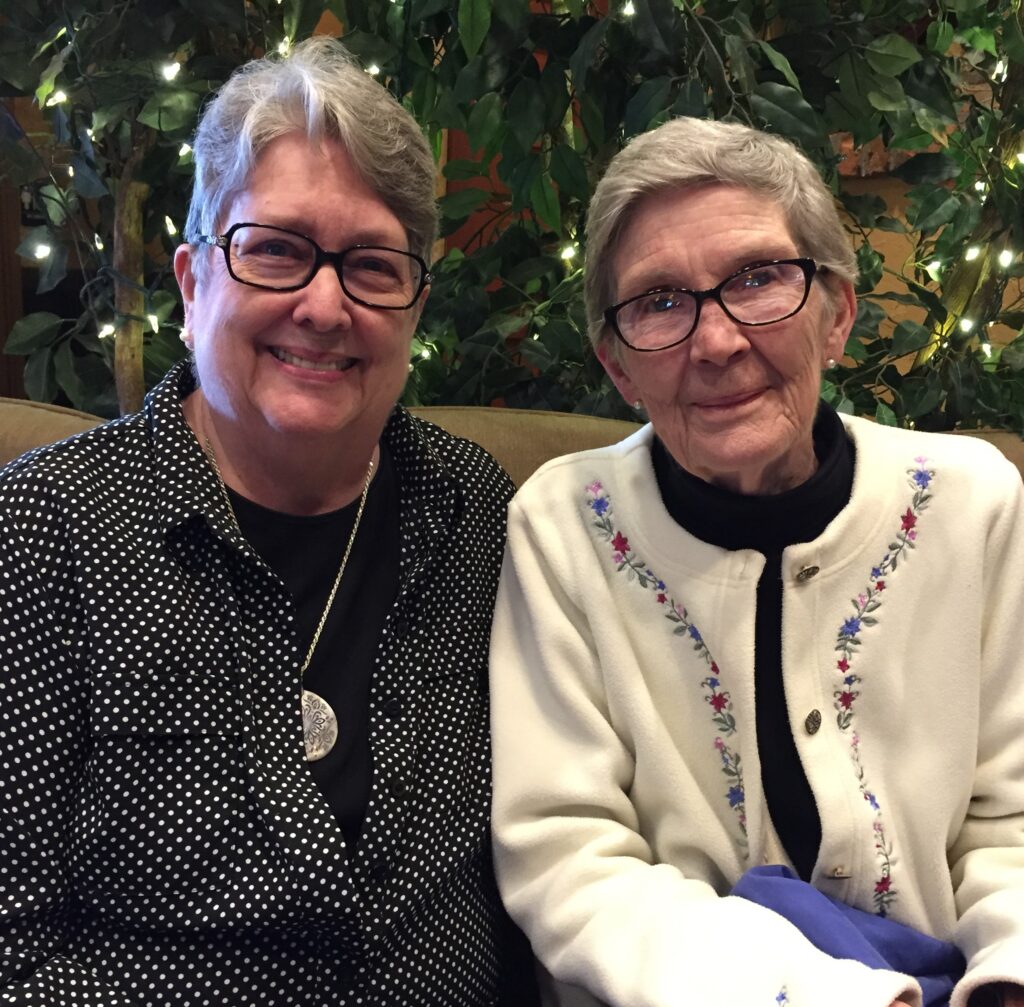
More recently we would drive up to Mansfield to have lunch with Jean, Mark and Lita. This is one of my favorite pictures of her:
When she passed away, I had to quickly come up with an obituary while I was in a hotel room. Luckily, her daughter was with me and could fill in all the details of next of kin, etc. However, I wanted to add a sentence or two about her personality. This is what I came up with:
“With a quick wit and engaging smile, she charmed all she met. She was an avid reader, prolific journal writer and nature lover. If you want to honor her memory, love a neighbor, help a friend and pass it on.”
So, CHEERS to you, my big sister! We all miss your smile and sense of humor!
I hope all of you take a minute on a loved one’s birthday to cherish a favorite memory too.
If you’d like to comment or share a memory of Jeansylvia, you can comment here or email me directly at marykisner@comcast.net.