Thank you to all my readers! Many of you come to my site because you follow my Facebook page. Soon, I would like to stop using Facebook to share links to my Blog…too many ads! Since I don’t post something every day, I’d like to encourage you to “subscribe” to my blog. That means when I do post, my computer sends your computer an email telling you that I’ve posted. You can subscribe by entering your email address at the bottom of the Welcome page. I will never use your email address for anything else, but you don’t have to wonder if I’ve posted.
Benefit 1
To thank you for signing up I’d like to send you a PDF listing of all 100 articles with hot links to each. I realize on the Welcome page there is a drop-down menu of the categories of the articles I’ve written so far. Frankly, I find it a clumsy way to find an article, even for me, and I know what I’ve written! If you have already subscribed, I’ll send out the PDF to you right away! Here is what it looks like:
Benefit 2
Once you’ve received the list, if you would like a PDF of a specific article, send me an email (marykisner@comcast.net) and I’ll email it out to you. Feel free to share the tutorials with others…who knows, you may find ways to adapt them for your own use.
If you have suggestions for projects you think I should try, send me an email anytime! (marykisner@comcast.net)
To celebrate my 100th blog post today, I thought I’d share some of the frequently asked questions I get about my website and the things I make. My first post was on January 18, 2021 about Door Quilts. Since then, I’ve described many of the projects I’ve done over the years…mostly since I retired in 2008. Most of my career in education involved creating instructional materials for all age groups. I can see I haven’t stopped creating instructional materials, I’ve just changed the focus of the materials. My greatest joy comes in being able to explain what I’m making so someone else could try it too. Learning to share these projects in a website has been an adventure in itself.
Here are four Frequently Asked Questions about my website:
What inspired you to start the website? My inspiration for starting the website came from other “lifestyle” blogs that I read online and the isolation from the Covid Virus. The blogs are often written by women as a way to share their activities. You might enjoy their sites too, including Rural-Revolution (https://rural-revolution.com/) authored by Patrice Lewis; and Strategic Living Blog (https://strategiclivingblog.com/) authored by Gaye Levy. They have found a way to share their day-to-day activities in a way that appeals to many women across the country, even if our situations are not exactly the same. Of course, my go-to website when I’m researching how to make something is Pinterest (https://www.pinterest.com/). Writing is a way to keep my brain active and at the same time, share fun projects with others.
2. Why don’t you just use Facebook? Before January 2021 I did try to share things on Facebook. It is tempting to get excited about how many “likes” a posting generates. However, the Facebook platform does not lend itself to longer explanations of how to make something. Since I don’t have the skills to make YouTube videos, I’m focusing on written instructions with photos. Even now, when I post a paragraph with a few photos, I can’t count on Facebook to show the whole paragraph…sometimes just the photos pop up! Very frustrating. I’ll use Facebook to share that I posted, but I’d love to have you go to my site to see, “the rest of the story!”
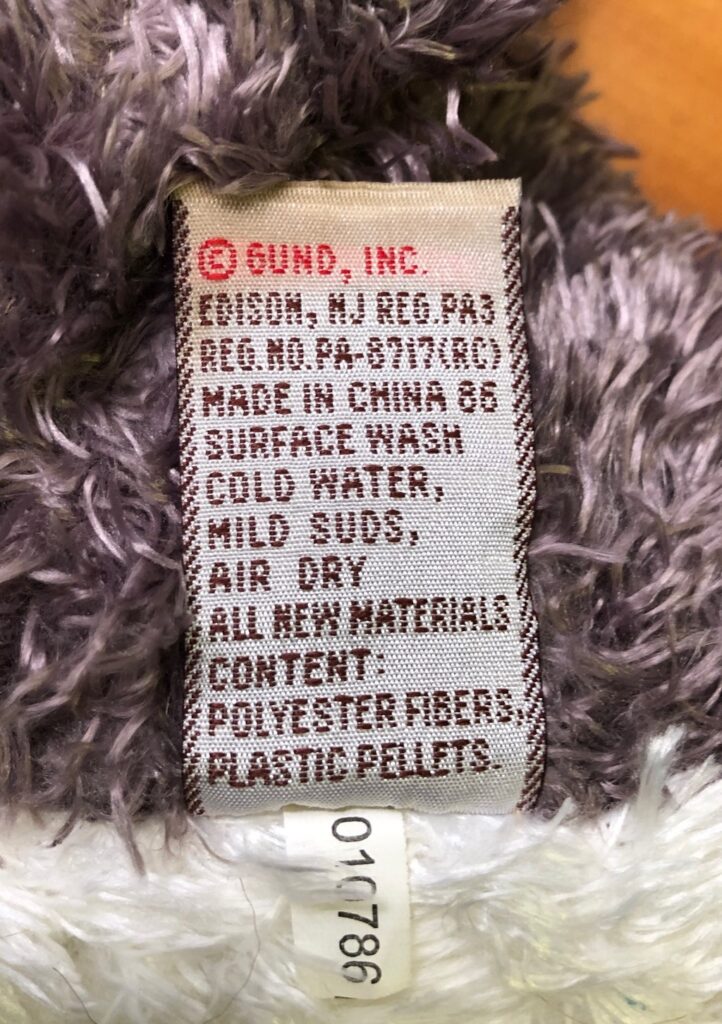
3. Why don’t you sell the stuff you make? HaHa!! Have you seen the rules and regulations for home crafted items? The government bureaucracy has incredible reach into all areas of our lives…of course, mostly to protect us from harmful ingredients or untrue claims. I have no problem with the principle…we all care about what we put on or in our bodies…but considering the variety of things I dabble in, I couldn’t possibly keep up and stay within the requirements for each item. If I want to sell a stuffed toy, I must document that the fabric and stuffing is safe for children and be approved by a government agency. A tag must be attached to the toy showing I have filed, and paid for, the proper approvals.
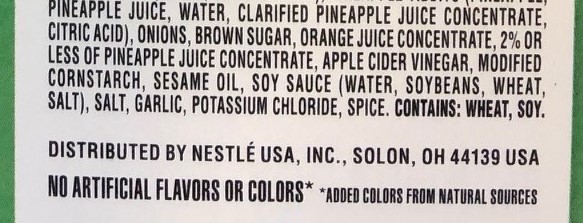
If I want to sell a skin care product or a food product, my kitchen and ingredients must be inspected and approved by a government agency…and documented on the label someplace. All food products are required to have this list of ingredients with the final statement showing if it has any of the 8 most common allergens: Egg, Milk, Wheat, Soy, Tree Nuts, Peanuts, Shellfish or Fish. Obviously, Milk could mean cheese, butter, cream or yogurt!
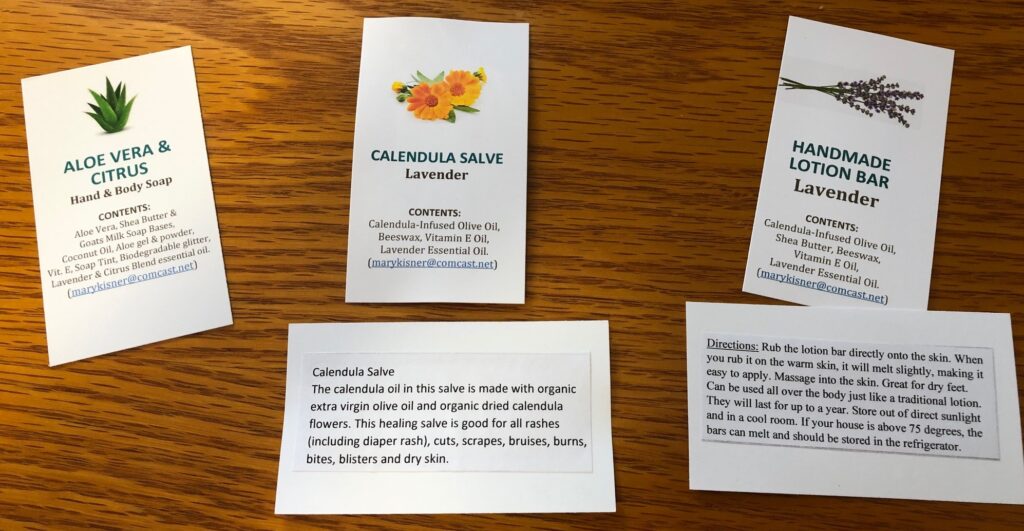
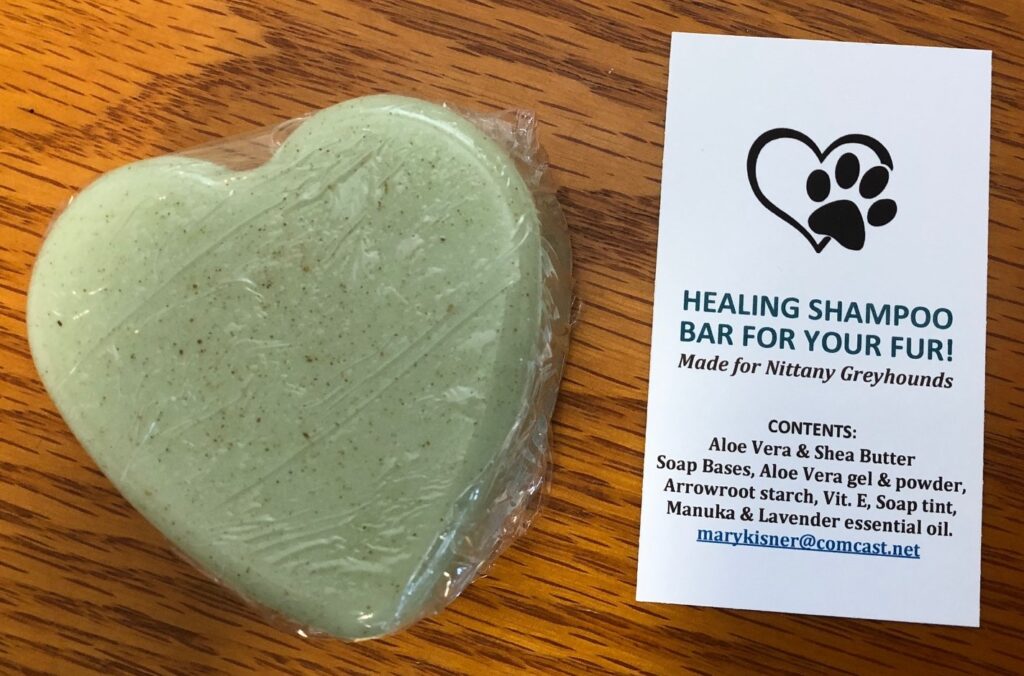
The rules are pretty loose for items sold at craft shows, but the risk is always there…and the fines are huge! I do try to include a card with every item I give away that has a list of all the ingredients in my soap or skin care product. Instructions about how to use a product, like the lotion bars or salve, are included too.
Anyway, besides the fact that I don’t want to get into retail sales or the shipping business, I’d rather offer a way for you to learn how to do it yourself. So, please feel free to use my posts as tutorials and share with other like-minded folks.
I suppose I could package the “Fabric Projects” into a book or offer workshops to groups, but at the moment I’m having fun just doing, and documenting what I’m doing. It’s keeping me sane!
If you have received something I’ve made, it’s because when I’m learning how to do something, I’ll make more than one, or the batch will make 10+ of something. I do not have room to store all this stuff, so if you are passing by you may receive something from me. If you don’t want it, no problem. Feel free to pass it on to someone else. Thanks!
If you wonder why I’m giving stuff away instead of selling it, please read #3 again!
4. Why don’t you focus on one kind of craft? I would feel limited by having to choose. I guess they are all crafts of one kind or another. I really am NOT ADHD, believe it or not. I just get bored easily. I enjoy the challenge of learning something new and when I’ve tried it and get comfortable, I’m ready to switch to some other project. I am now surrounded with enough raw materials…from fabric and sewing supplies, to melt and pour soaps, to essential oils…that I can easily do something different every day! Joy!
I know I have a variety of readers…from beloved family members…to friends…to friends of friends. You are all interested in something different. Some folks specifically ask me to, “…please mention how you set up your rain barrels;” or, “…how do you make your oatmeal bread?” and even, “Have you tried making perfume yet?” I know each post might be of interest to some folks and not others and that’s fine. The Welcome page lists the last 10 most recent posts, so hopefully something will be of interest to you!
Yesterday we headed out before 8 a.m. for our yearly appointments with the eye doctor. While I was waiting for Bert to finish his appointment, I mentally made a list of the things I needed to do when we got home…most had to do with things I needed to finish online. I needed to finish downloading a book to read; I wanted to print out a recipe I had found the day before about using essential oils to make a serum to use to strengthen my nails; and I had email to send out. Top of the list was to send a text to our daughter about a possible visit after Thanksgiving.
When we got home…a little bleary-eyed from having our eyes dilated…lo and behold we discovered our internet service was down and the TV was not available. Then we found our AT&T cell service was also not working! Rats!
For the first hour or two, we were struggling to figure out if it was problem with our computers, the router, or our wiring, etc. We determined it was not our equipment. (Later, we heard that a huge off-road dump truck at a nearby quarry had forgotten to lower his truck bed and had tangled with poles and wires serving both the internet service and AT&T!) Service was out for the whole day!
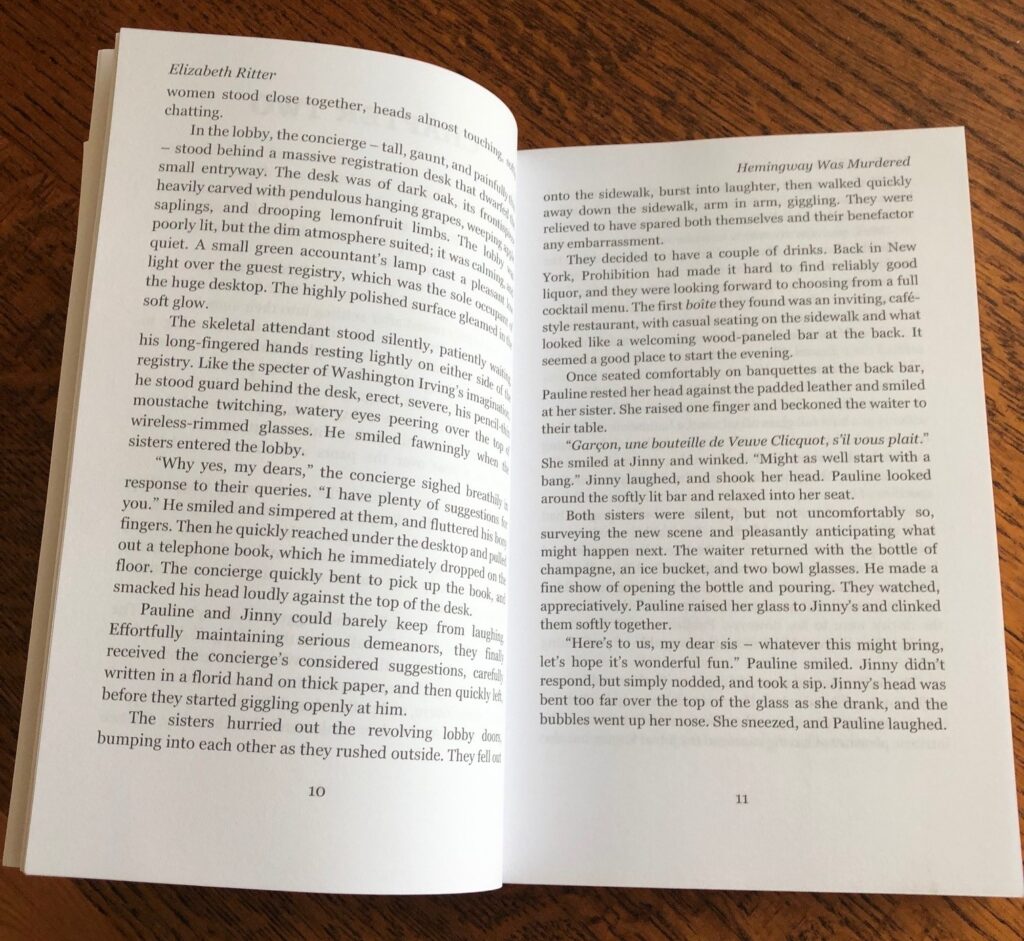
So, now plans needed to change! First, I needed to get in touch with our daughter…but text, email and cell phone calls were out. Luckily, we still have our land line so I could call her. After that, we settled in with “real books” and enjoyed some quiet time.
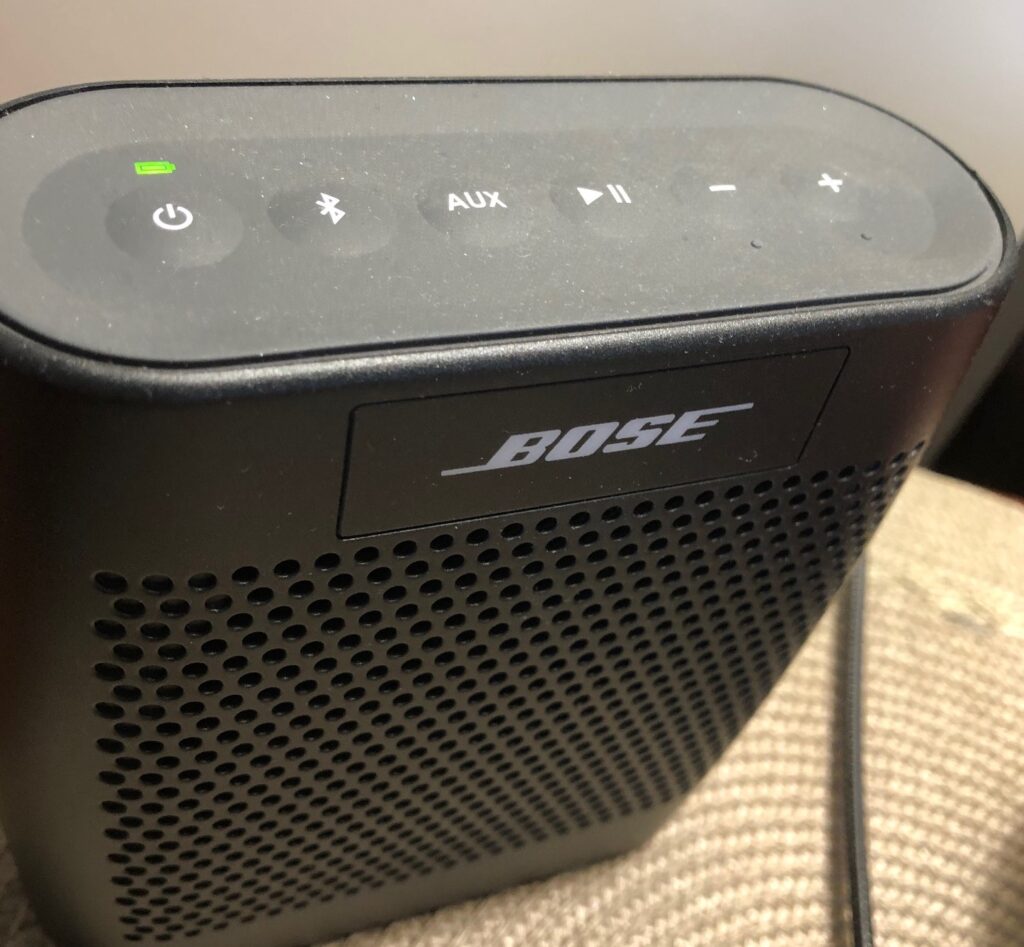
I usually reach for the TV music channel for background music while we read so I found music on my phone and with bluetooth was able to connect with the small Bose speaker in the living room. Perfect!
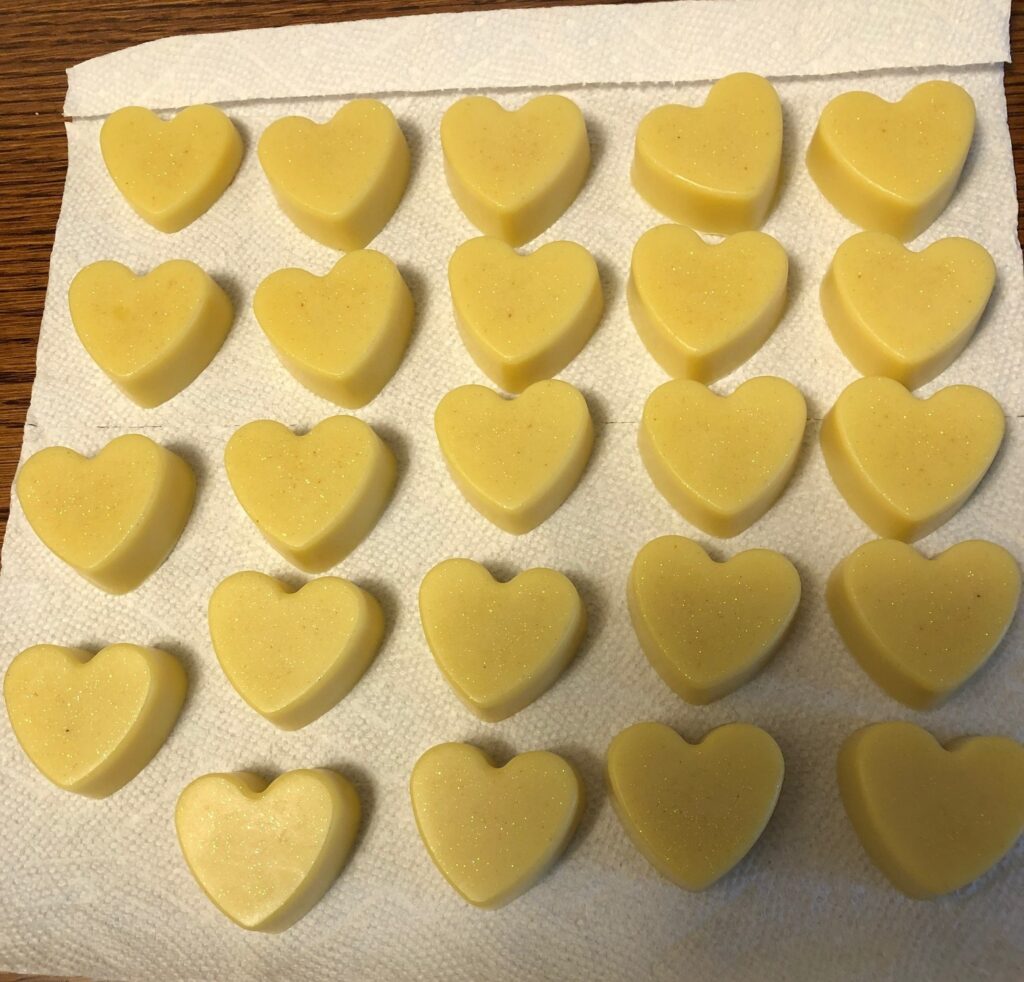
Next, I melted down some soap to make more individual soaps for gifts.
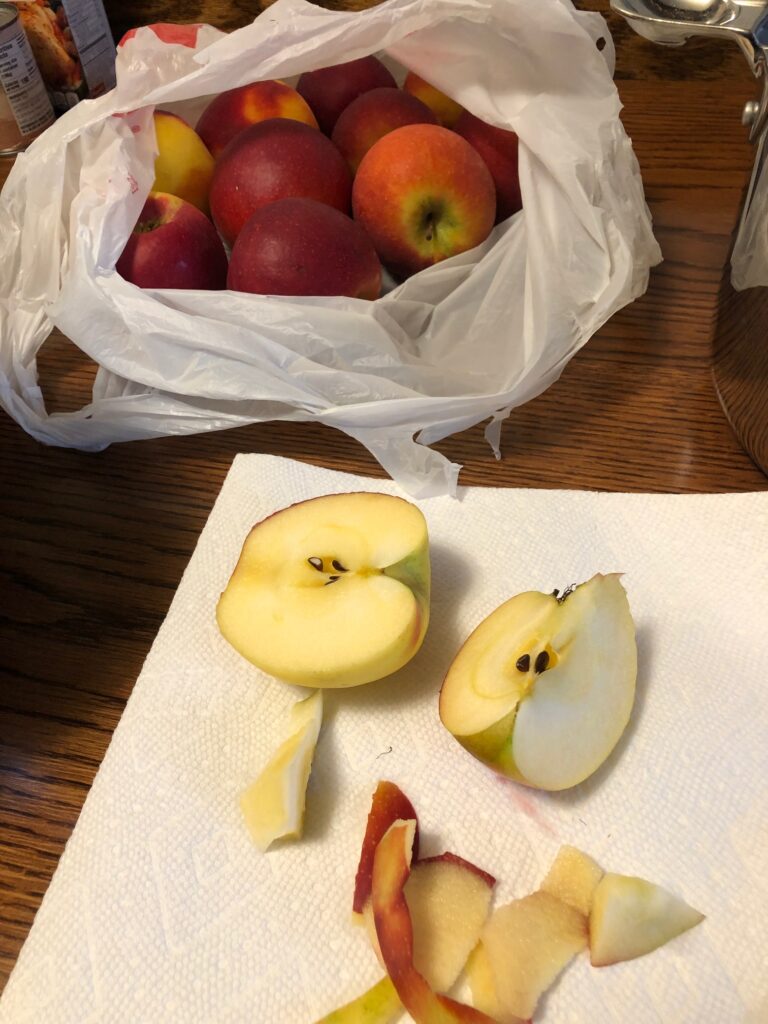
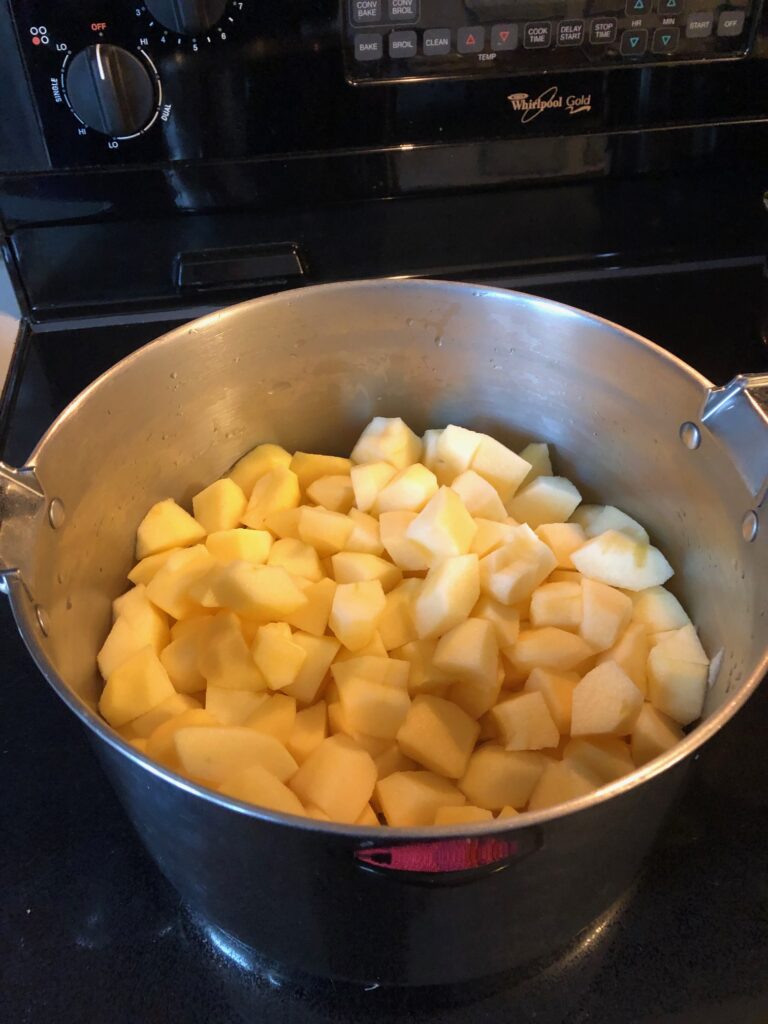
Finally, I made a small batch of applesauce from some apples given to us by a neighbor. Yum!
A nice quiet day! I must say it was pretty quiet without any spam phone calls and nuisance emails and texts. Of course, when the power was restored we played catch up…the phone started ringing with junk calls and I had over 50 junk emails! Actually, this was a good reminder to print out recipes and download books when I can…just in case!
I hope you have some real books to read on your shelf and other projects available in case this happens to you! Outdoor activities away from technology will always be available too. I hope you had an uneventful week!
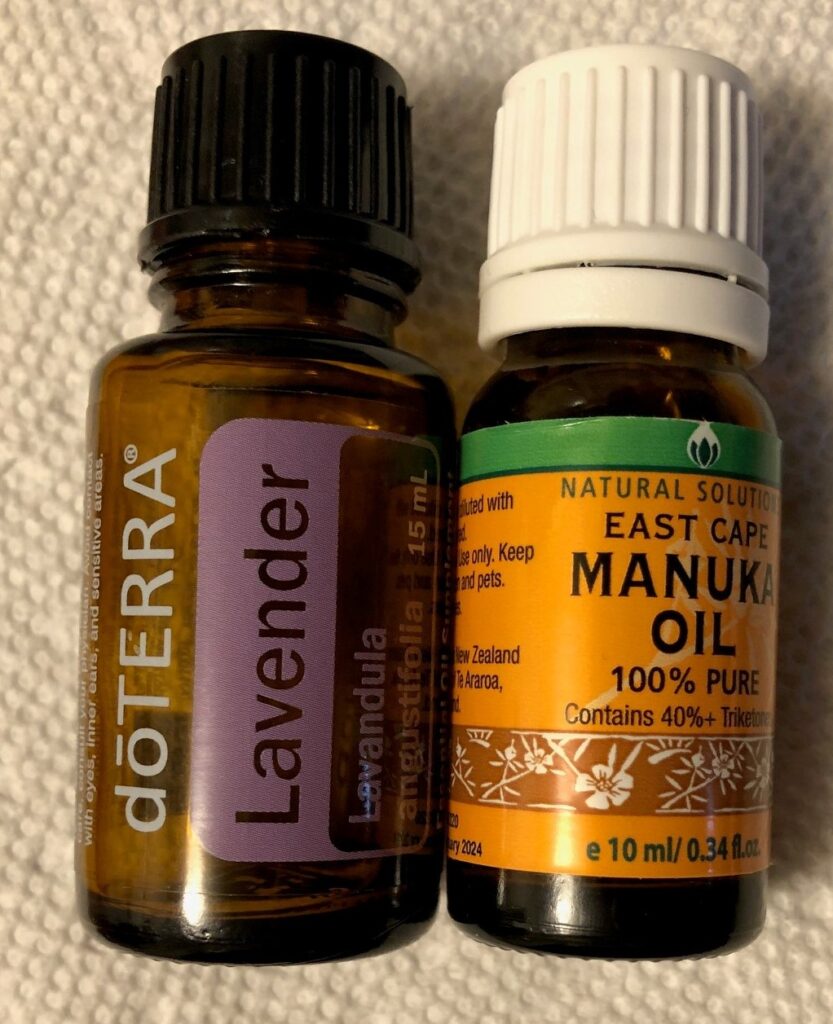
I’d like to share what I’ve learned about Manuka Essential Oil. This article is a summary of several research papers about Manuka essential oil. (See additional resources listed at the end of this article). I use Manuka essential oil in almost every soap and body product I make to enhance the product’s healing properties. I thought you might like to know more about it.
What is Manuka?
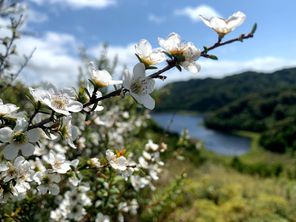
Manuka is a fast-growing evergreen shrub that is quite hardy and can grow up to 12 in height. Its deep green leaves are set off by small flowers that blossom either white or pink from September through February.
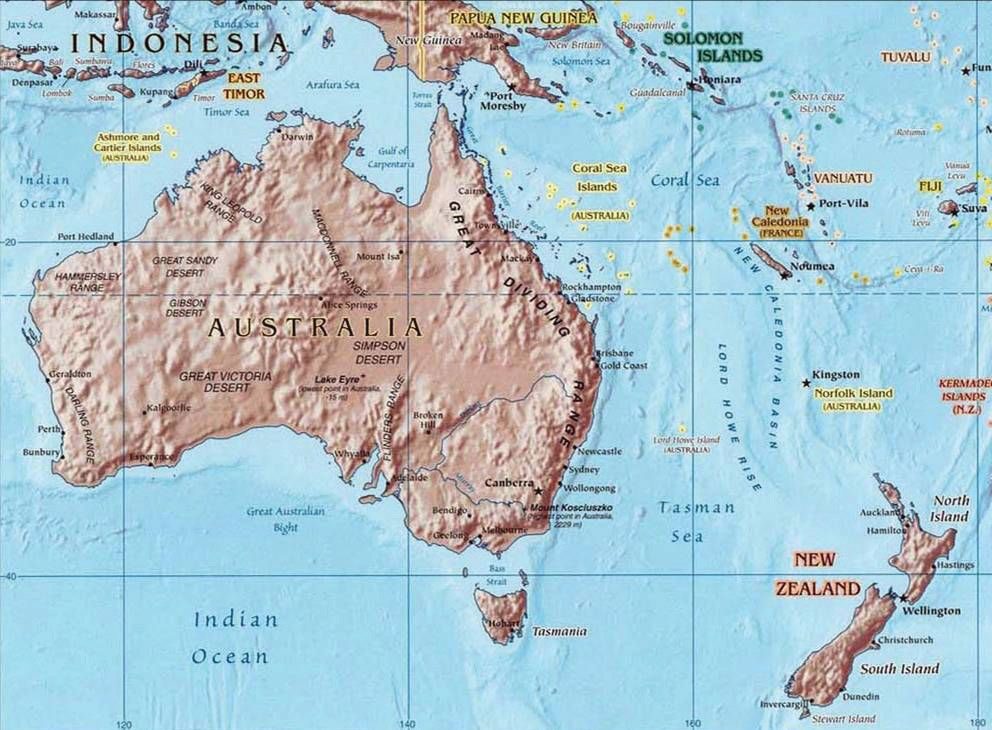
Manuka (Leptospermum scoparium) is native to New Zealand. It is a member of the Myrtaceae family of plants, which includes tea tree (Maleleuca alternifolia). In fact, manuka is considered to be the original tea tree, as the Maori people have long used it medicinally. Manuka essential oil smells like earthy camphor while being slightly sweet balsamic. You may notice it being herbaceous and the sweetness almost honey-like.
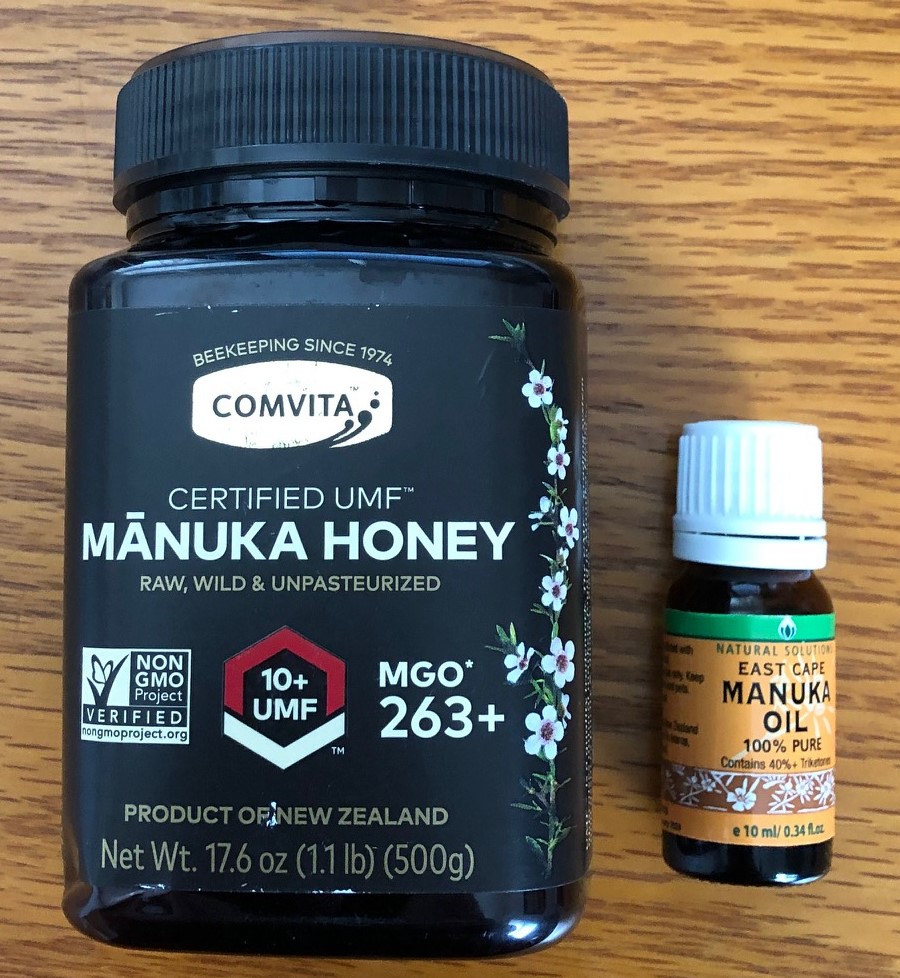
What is the difference between Manuka Essential Oil and Manuka Honey?
Both products are made in New Zealand. Manuka honey comes from bees pollinating the native Leptospermum tree. Manuka essential oil, on the other hand, comes from sustainable harvesting the leaves of the Manuka trees/flowers and extracting the oil through steam distillation. Manuka essential oil has antibacterial benefits that are about 100 times stronger than Manuka honey when compared gram for gram! Manuka essential oil is 100% vegan, while Manuka honey is an animal byproduct.
How does Manuka Essential Oil compare to Tea Tree Oil?
Manuka essential oil has tons of phytonutrients that make it one of the most potent essential oils available on the market today. According to one study, Manuka oil has stronger antioxidant activity than tea tree oil, giving it more fighting power against free radicals. It is also less irritating than tea tree oil when applied in small amounts to the skin.
Benefits of Manuka Essential Oil
In lab research out of a university in Italy, several essential oils were tested against 14 different strains of Staphylococcus aureus bacteria (including Methicillin-Resistant…or MRSA), which causes staph infections. After oregano oil, the one that exhibited the highest antibacterial activity was Manuka Essential Oil.
Uses of Manuka Essential Oil for Humans
With all the encouraging research on the effectiveness of using Manuka essential oil topically, many companies are working on formulas to incorporate this oil into skin care products. Athlete’s Foot, dandruff, eczema and acne are all conditions that may be helped with this oil. Internal use of essential oils is still being studied. These oils are also being considered as components in outdoor products to prevent mold and mildew and aphid infestations.
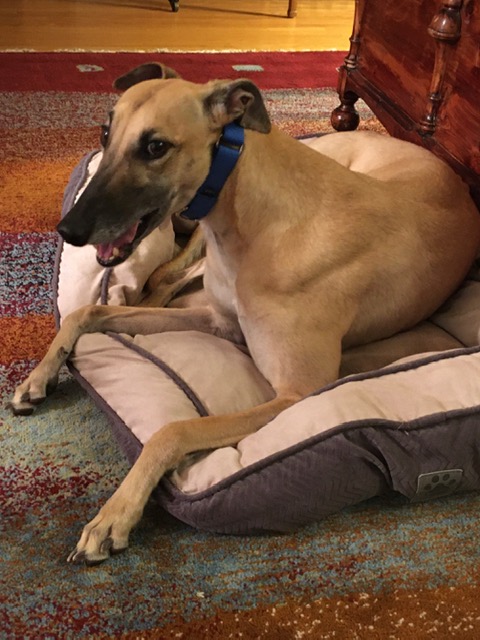
Uses of Manuka Essential Oil in Canine Care
Fleas and ticks are a huge problem for our canine friends. One solution is to give your dog a pill that works systemically…the flea bites the dog and then dies, often leaving an irritating bite or wound on the dog’s skin. To avoid having to give your dog a medication, it would be nice to keep the fleas and ticks away from the dog in the first place.
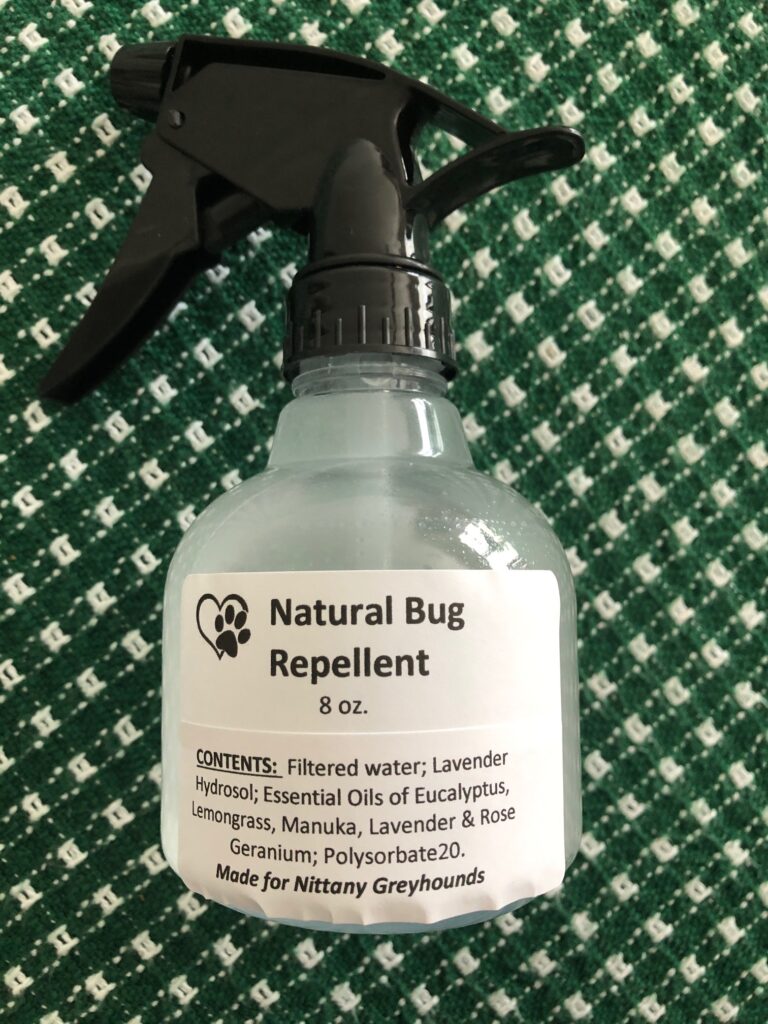
A few drops of Manuka essential oil can be incorporated into three ounces of chemical-free shampoo to remove fleas and ticks before they bite. To soothe irritating sores from bites, a drop of Manuka essential oil (diluted with a teaspoon of a carrier oil like grapeseed oil or sweet almond oil) may be applied directly to their skin. To help deter the fleas and ticks from even landing on their fur, a natural bug repellent spray made with various essential oils, including Manuka, may help between shampooing. I have added Manuka essential oil to my aloe vera soap/dog shampoo to strengthen its healing properties. Manuka essential oil is also a major component to my natural bug spray. (see https://marykisner.com/greyhounds-still-in-my-heart/)
I’m sure you’ll be hearing more about the healing properties of Manuka honey and Manuka essential oil in the next few years! Enjoy!
GENERAL SAFETY INFORMATION
When used according to instructions, this essential oil is generally well-tolerated, however adverse reactions are possible: (1) It may cause skin irritation (2) If you are allergic to bees, you should avoid Manuka honey, while the risk of a separate allergy to the Manuka essential oil is possible but not common, (3) There is unknown safety during pregnancy and breastfeeding.
Do not take any oils internally and do not apply undiluted essential oils onto the skin without advanced essential oil knowledge or consultation from a qualified aromatherapy practitioner. If you are pregnant, epileptic, have liver damage, have cancer, or have any other medical problem, use oils only under the proper guidance of your medical professional.
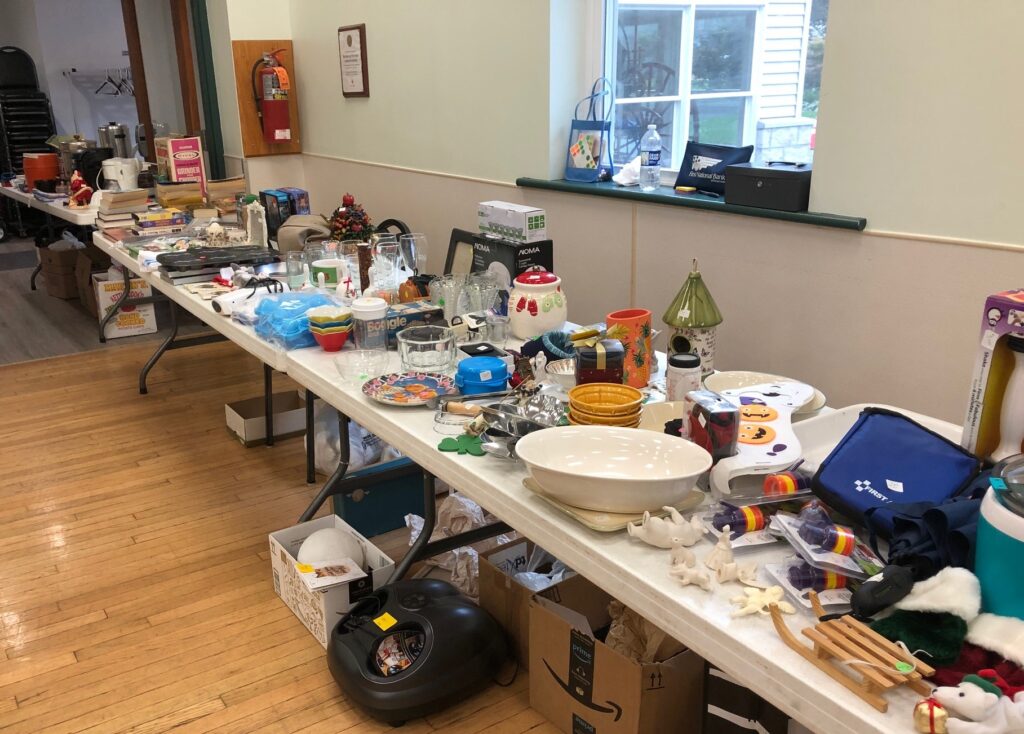
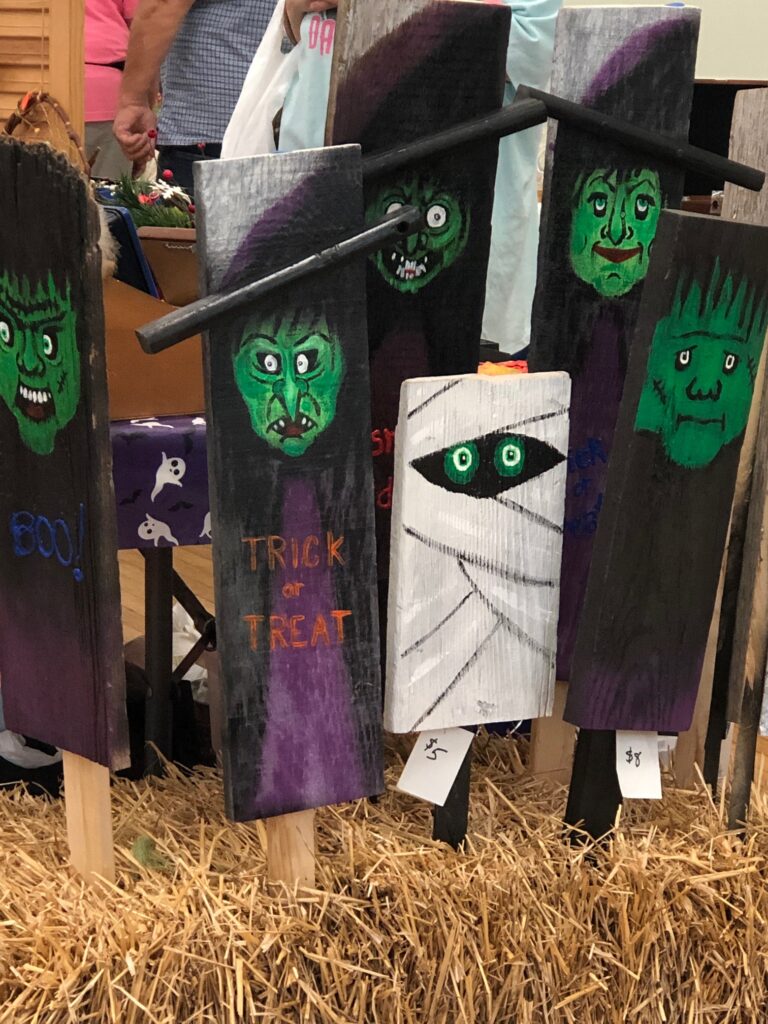
Yesterday I spent the day helping with the indoor yard sale sponsored by the Ladies Auxiliary to the Boalsburg Fire Company. The fire hall was filled with tables that were rented out to individuals in the community to display their own items for sale. This was closer to the Flea Market model. I helped with the table displaying items from the members of the Ladies Auxiliary.
Sales formats of markets could be classified by size…like yard sales (with one seller), flea markets (with many individual sellers), or estate sales (providing the goods from one family estate); or by the kind of goods, like hand crafted items, glassware or tools.
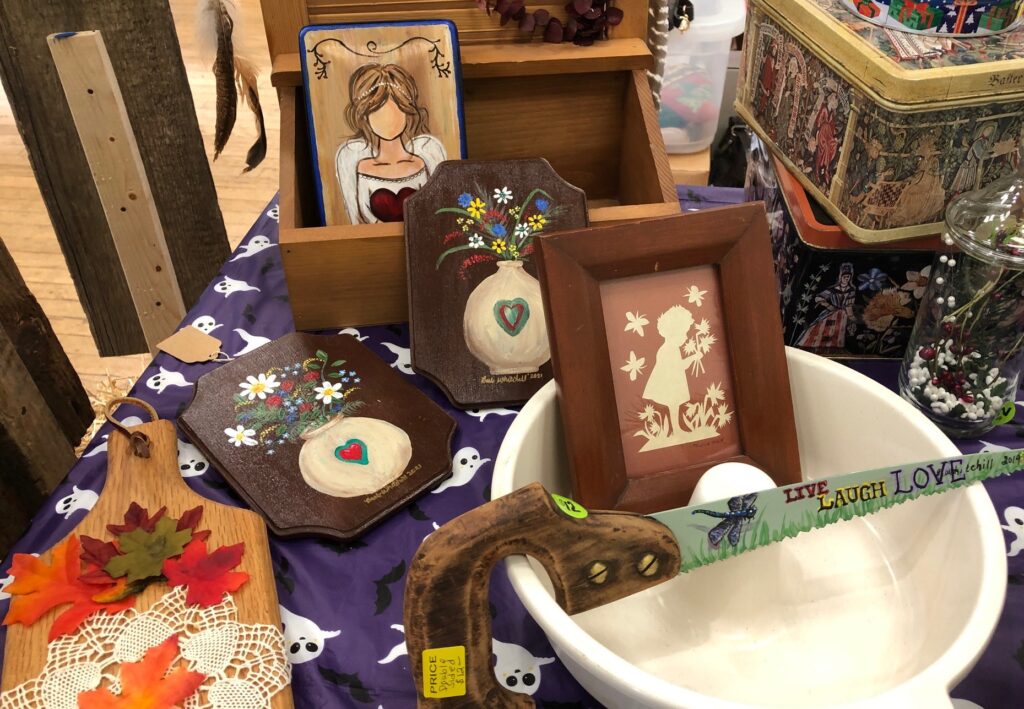
It is easy for me to get overwhelmed when I first go to a sale. So many neat things available, so many choices! I am easily distracted by things that folks have offered for sale. Of course, I really don’t NEED any more stuff, but as a crafter and seamstress, I’m especially attracted to beautiful things other creative people have made.
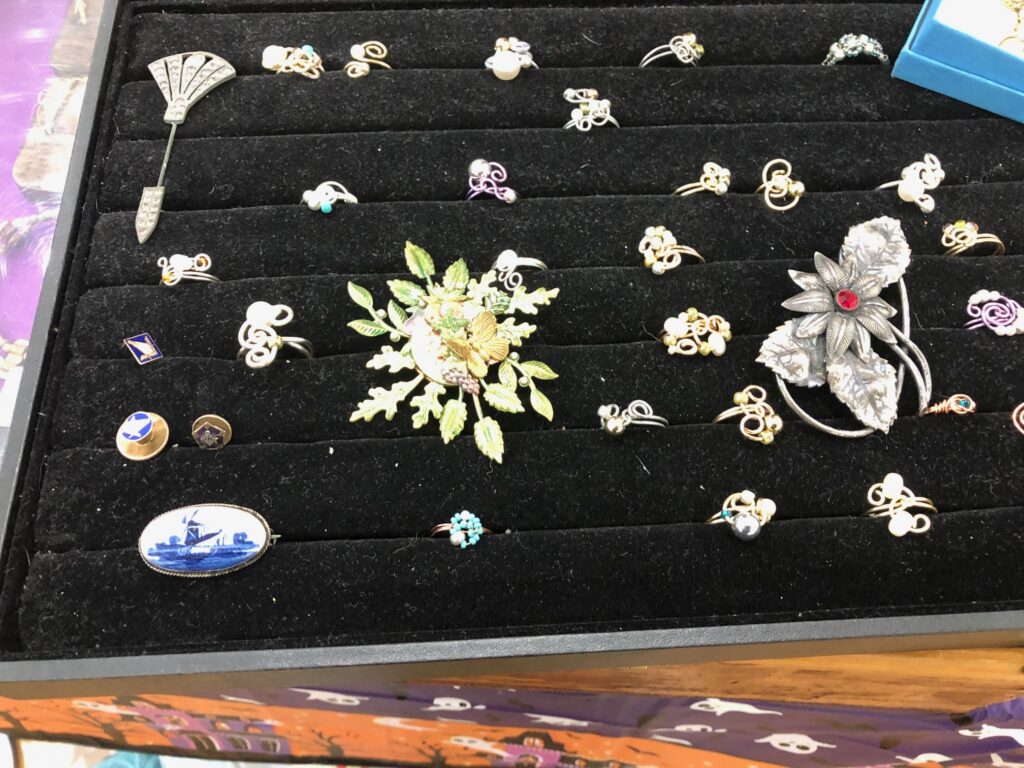
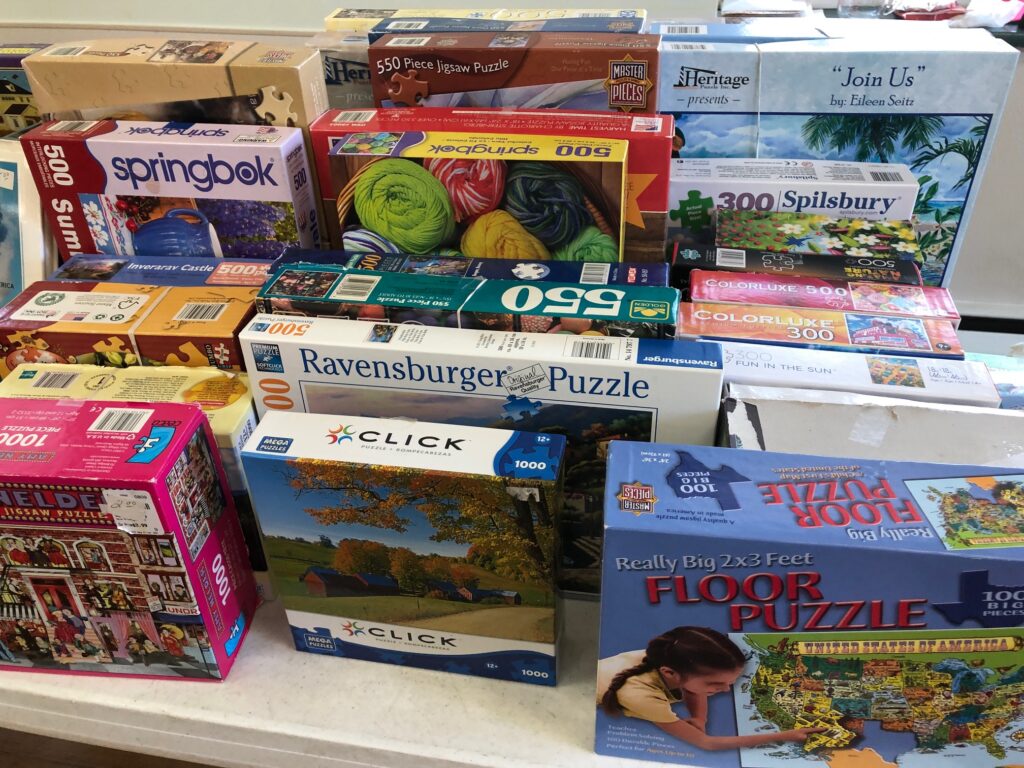
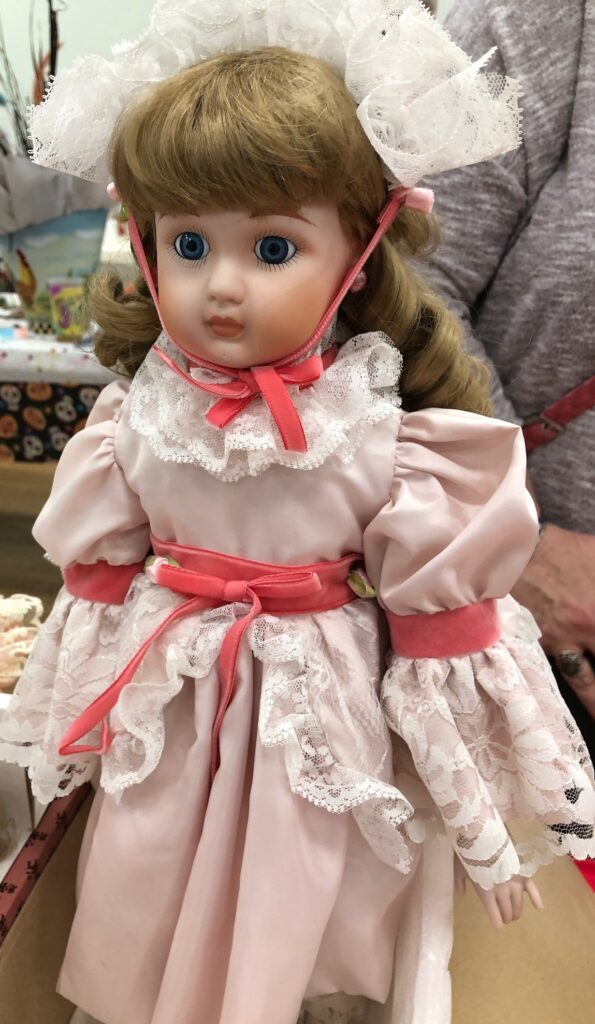
Often, I’ll find evidence of the kinds of things folks collect, from glassware or jewelry to puzzles and collector dolls.
Red ruby glassware reminded me of my mother’s collection. Luckily, I have enough so I wasn’t tempted to add to my collection!Jewelry from pins and rings and more!Puzzles galore!Beautiful collector dolls.
I especially enjoy talking with the sellers. It’s fun to find out where they find their items, what motivated them to collect certain items or how they made the items for sale.
I managed to control myself and found only a few things that just had to come home with me.
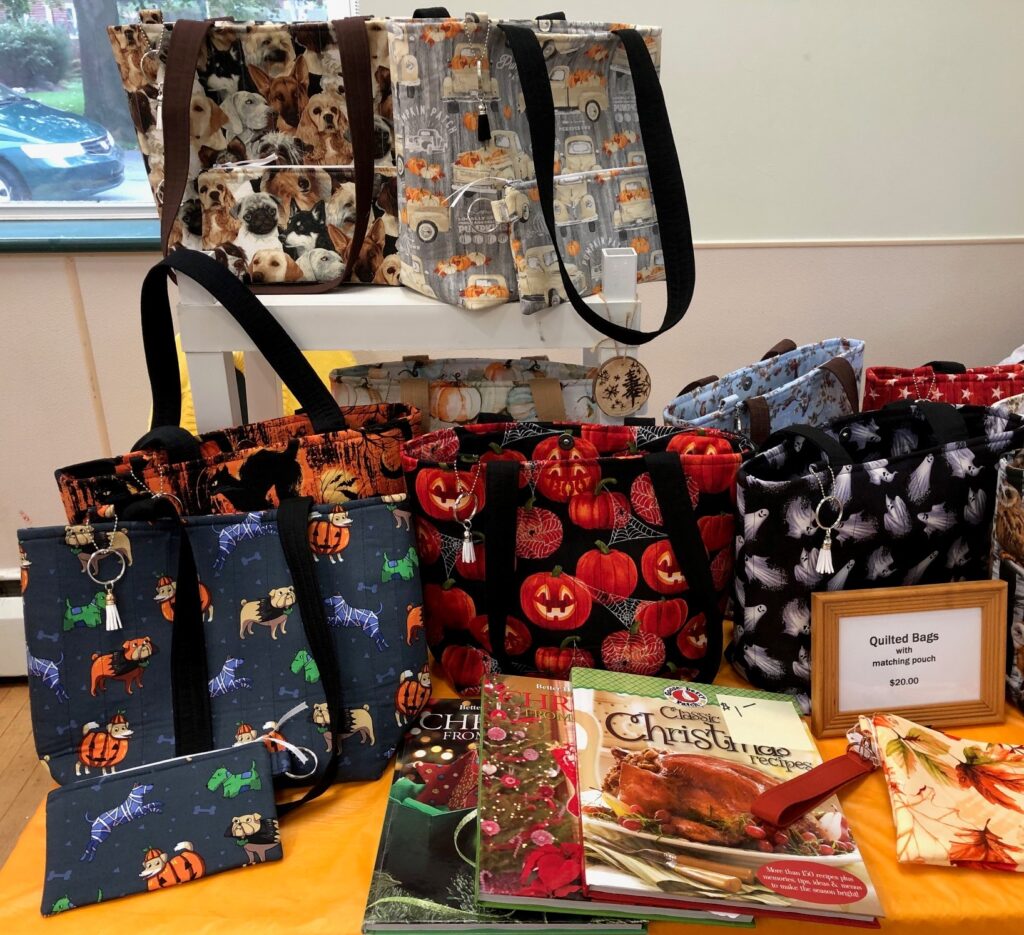
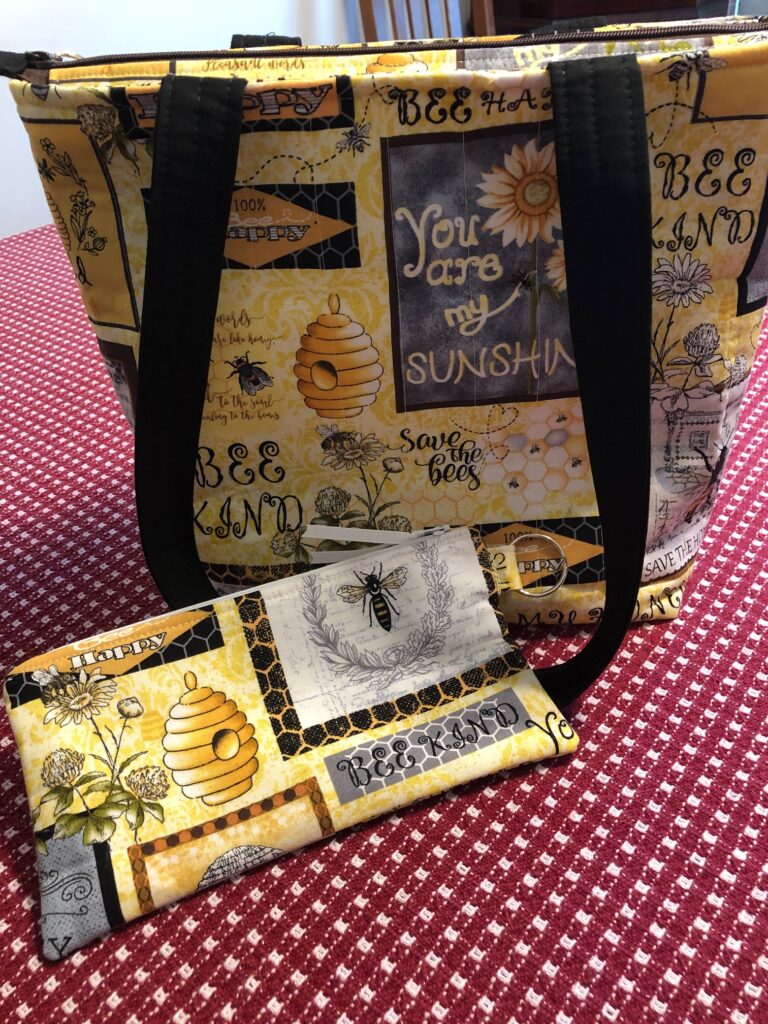
Of course, a handmade tote bag was first on my list. A wonderful visit with the seller made it even more enticing. I truly can appreciate the work that went into this bag. Thanks Susan!Then I found three books hidden under a pile of paperbacks. Not bad for 50 cents each!The grandkids might find this book interesting. I know I will!
It would be so easy to fall in love with many items offered for sale, like old toys that I remember from long ago or a beautiful glass vase that would just go with my decor. However, at this stage in my life I must remember I still have a lot of stuff in my cupboards that should probably grace a yard sale table at some point!
Yesterday, I resisted picking up things I would never use and went with the lovely tote bag I will use and some books the grandkids might enjoy reading.
Explore a yard sale or flea market near you! Enjoy!
Water, water everywhere! One pass through the “water” or “soda” aisle in the grocery store can be enlightening. We can buy plain water...bottled from local tap water or spring water from someplace else; carbonated water…with added fizz; flavored water…with added sugar, high fructose corn syrup, artificial sweeteners from sucralose to aspartame, to natural sweeteners from fruit to stevia; and water that’s been incorporated into soda drinks, with sweeteners and caffeine. So many choices and so expensive!
Apparently, many of us are still dehydrated! Hard to believe, I know! I guess our bodies know when we aren’t getting enough water. Sugar water with fizz makes us think we are drinking enough, but our bodies still have to filter out the sugar and other chemicals to make use of the water. So, the advice out there is to drink more plain water!
I’m still working on drinking more water (see https://marykisner.com/from-the-bookshelf-infused-water/). While the water infused with fruit and herbs was interesting and tasty, it was just not easy to work into my day. I prefer bottled water or water in a thermos when I’m driving, or ice water in a restaurant, and I found I was still reaching for diet soda at home. I’m now going to try harder to drink more water and get the diet soda out of my life!
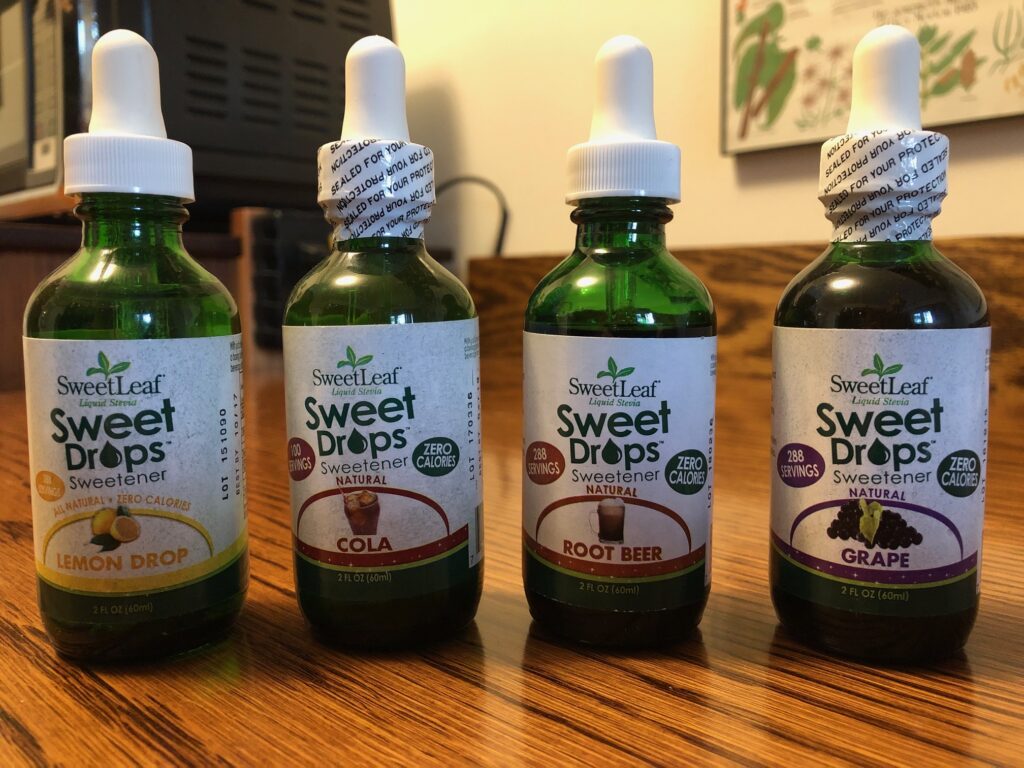
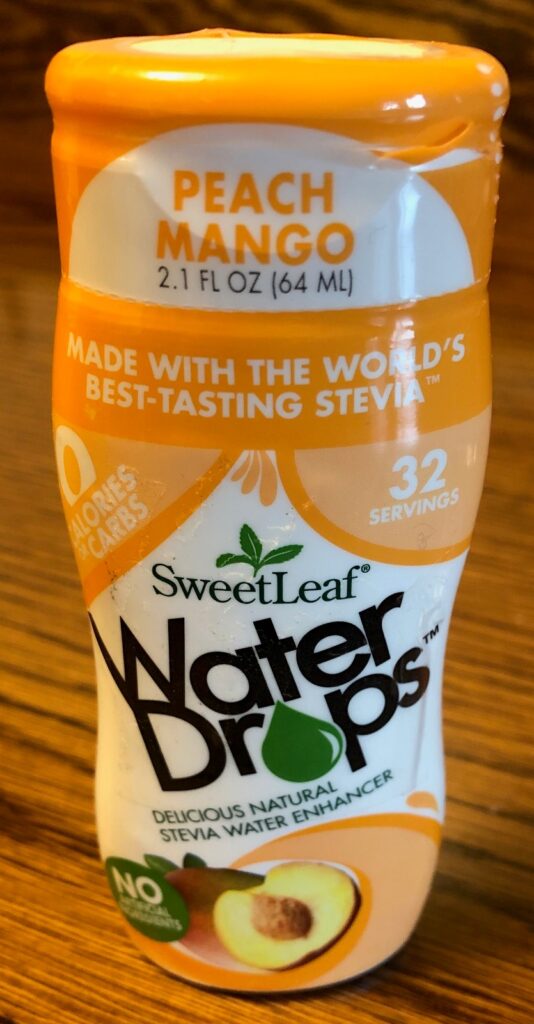
I remembered I had these Sweet Drops in my cupboard and pulled them out.
It says on the bottle: “each tiny 2 oz. bottle will flavor over 200 8 oz. glasses of water!” (Each bottle costs about $6.00). The Drops are made with Stevia, a natural sweetener. Some folks say they don’t like the after-taste of Stevia, but I think they are using too much. Five drops are enough to counteract the chlorine taste in the water and ice cubes and generally make the water “taste” better. The goal is not to make a sweet soda-like drink out of these drops, but to make the water itself more appealing. Some of the flavors come in drops like this:
I think the drops must be “bigger” since this has only 32 servings!
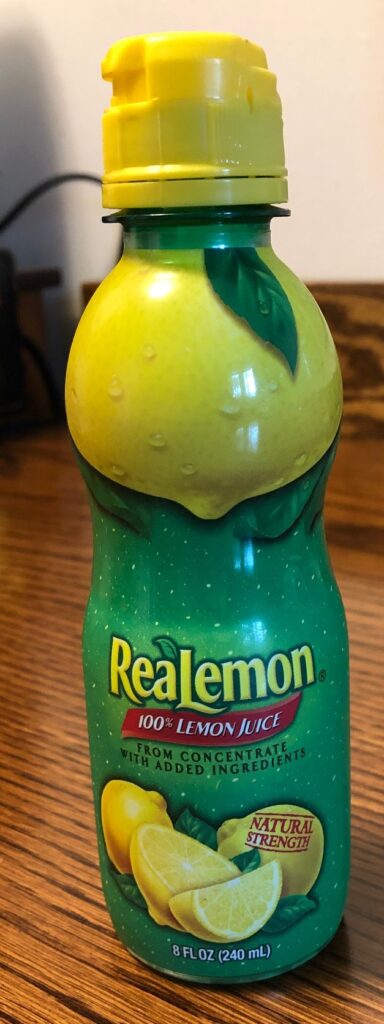
You can find these drops on Amazon and possibly your Health Food Store. Another idea is to add a splash of ReaLemon concentrate to a glass of ice water. It feels like I’ve added a slice of lemon…just like in a restaurant.
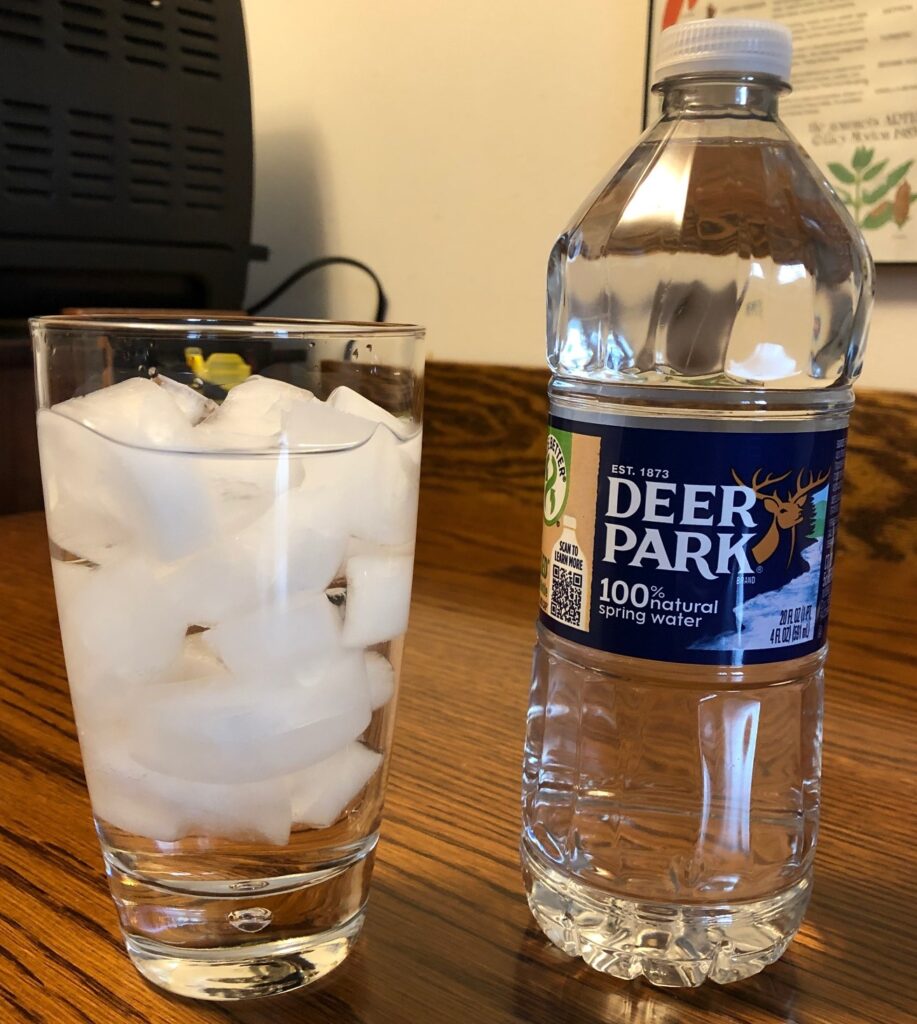
So, find your favorite glass, mug or thermos…add cold water and maybe ice…and a few Sweet Drops and hydrate! Enjoy!
Over the last few months, I have encountered a few folks that have commented that they prefer unscented products, or had a preference for certain scents in the things I’ve made. Since I’m usually not selling my products, it hasn’t been an issue…my feelings aren’t hurt when my gifts have been turned down. When I think about it, I’ve added scents to a few of my products that could have been left unscented. Curious!
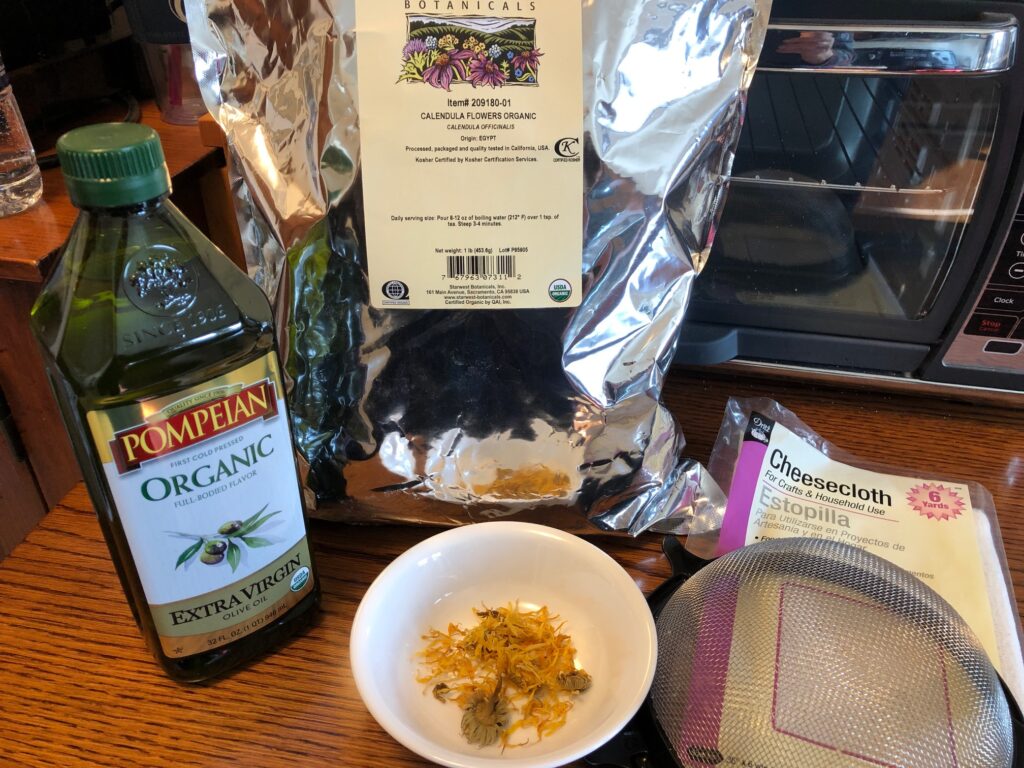
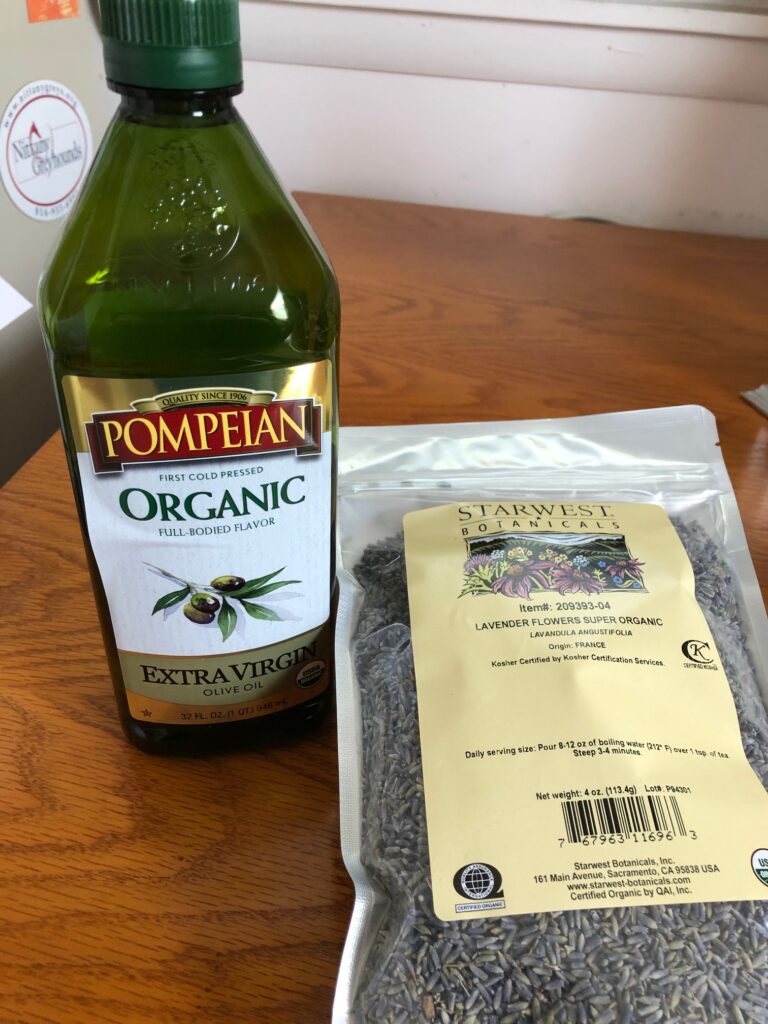
When I look back over the last 10 months of web posting, many of my body products either start with an organic olive oil that has been infused with either calendula flowers or lavender buds; or they begin with beeswax and shea butter that also have their own subtle scents. To those products, I add a scent or two…not just for the smell but for the healing properties of the essential oils.
Dried calendula flowers add a scent to olive oil, along with healing properties.Lavender buds add a subtle scent to olive oil along with healing properties.
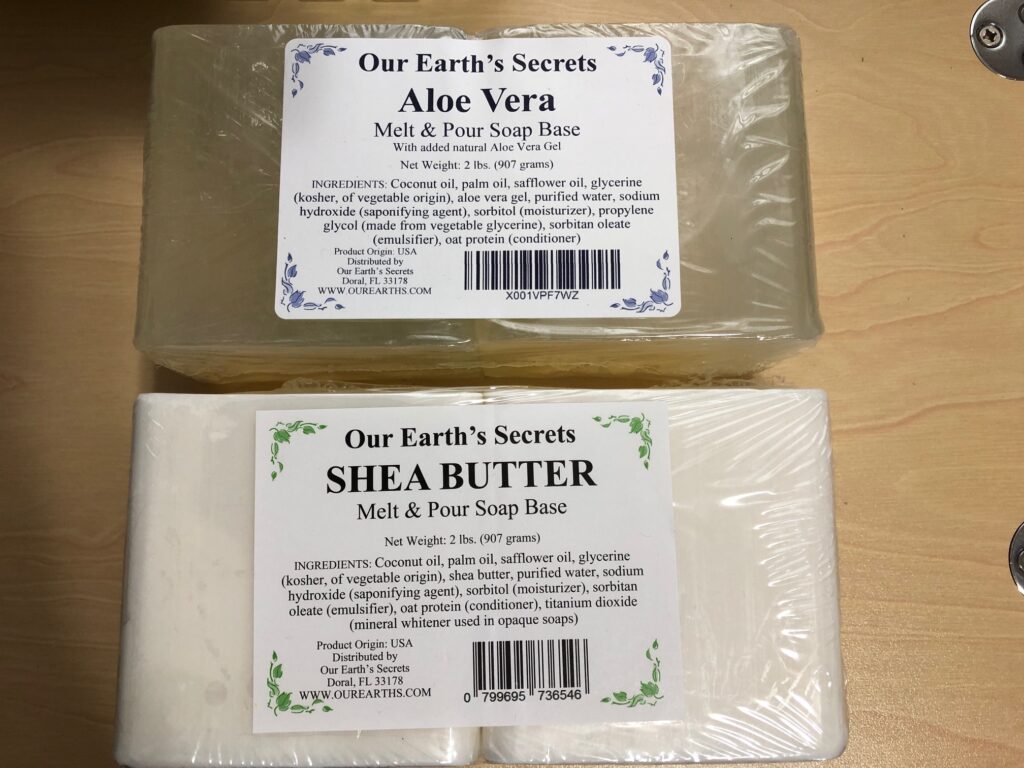
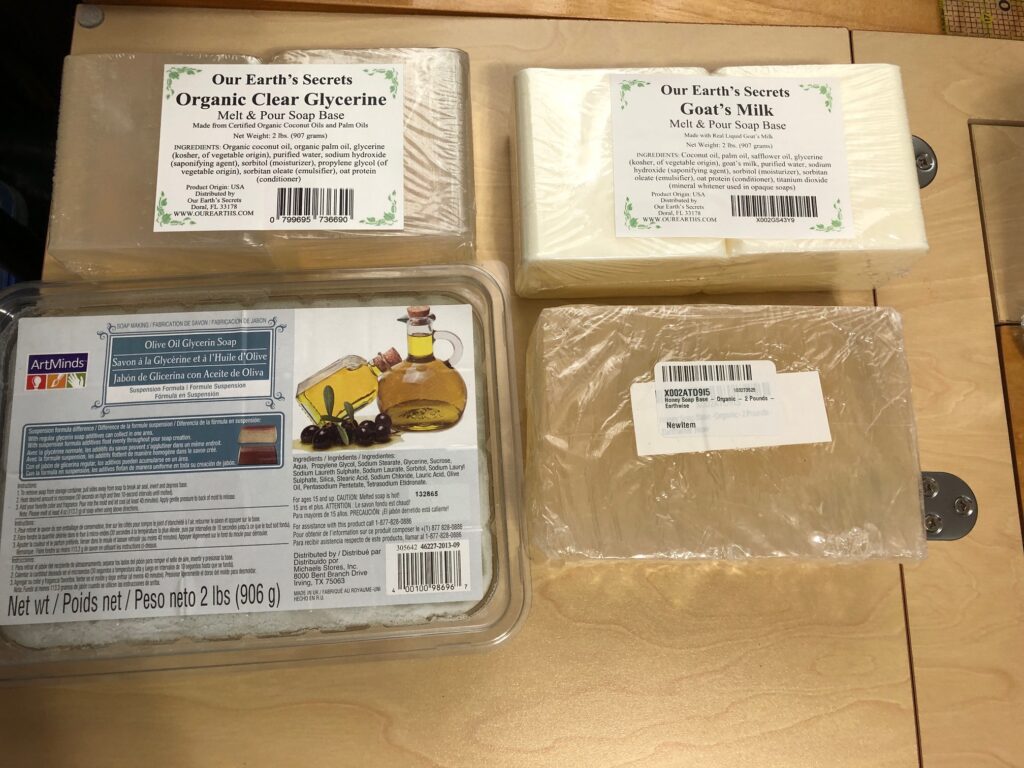
My soaps all start with a melt-and-pour soap base of some kind…my favorite is an aloe vera base. I also use goat’s milk, shea butter and a clear glycerine base. Each of these has a mild scent, with probably the glycerine soap base as the least scented.
Just a few of the soap base choices out there.
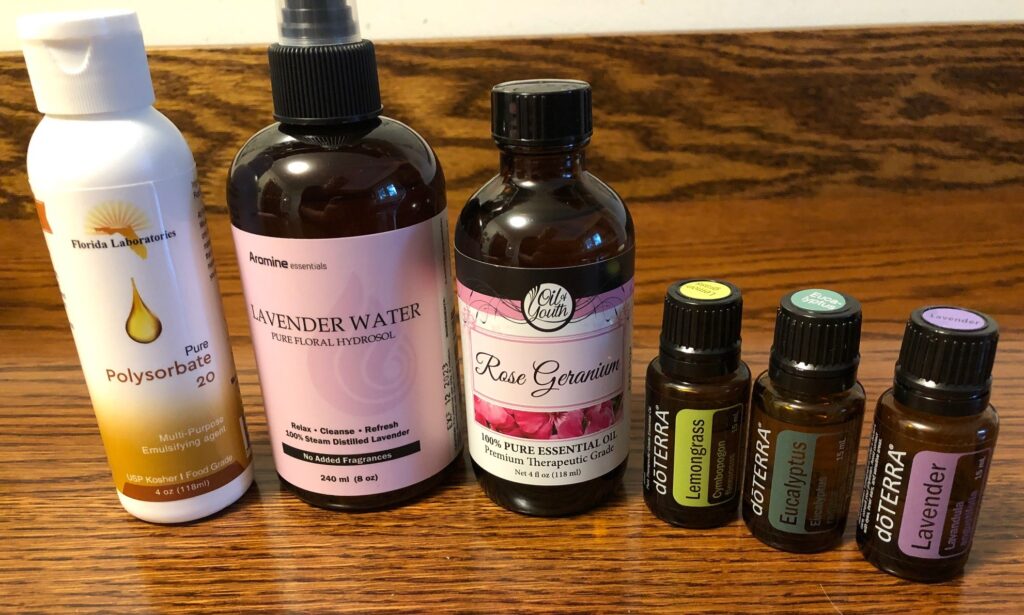
My specific interest has been in the various healing properties of the essential oils that I add to all these products. The natural bug spray used 5 different scents of essential oils! (https://marykisner.com/natural-bug-repellent-for-dogs/)
The natural bug spray used 5 different essential oils…all disliked by bugs!
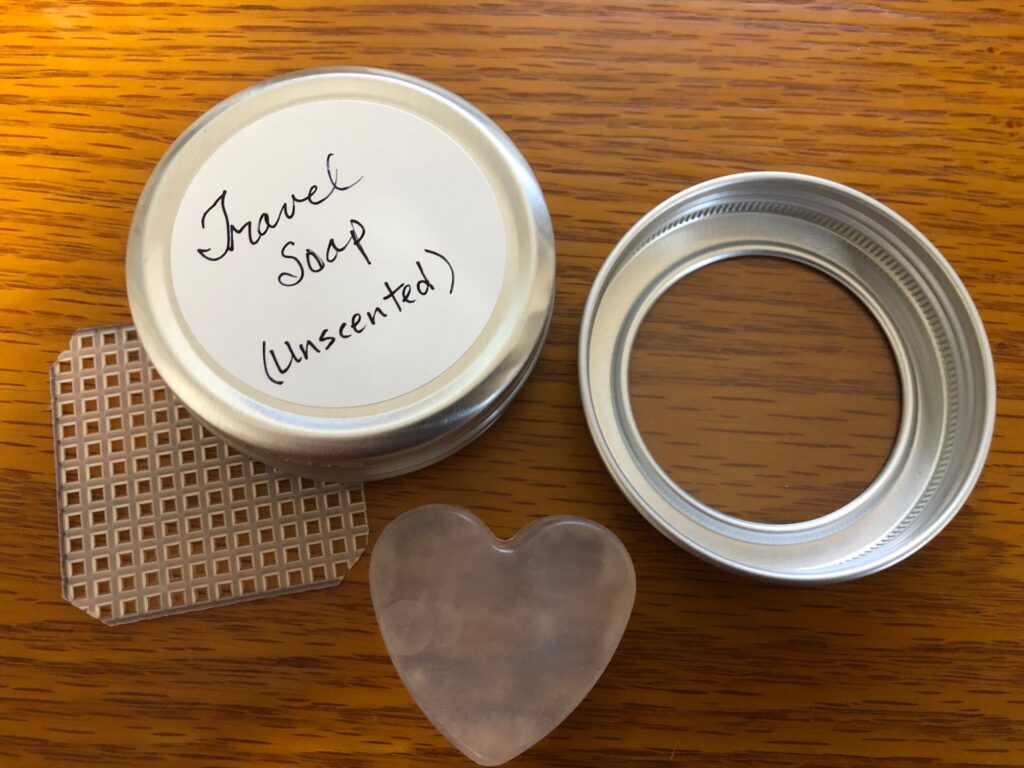
My latest product was the travel soap tin that had an insert to allow a small bar of soap to dry better between uses. Since the focus of the product was the tin with insert, the kind of soap included really didn’t matter. I first used my aloe vera soap:
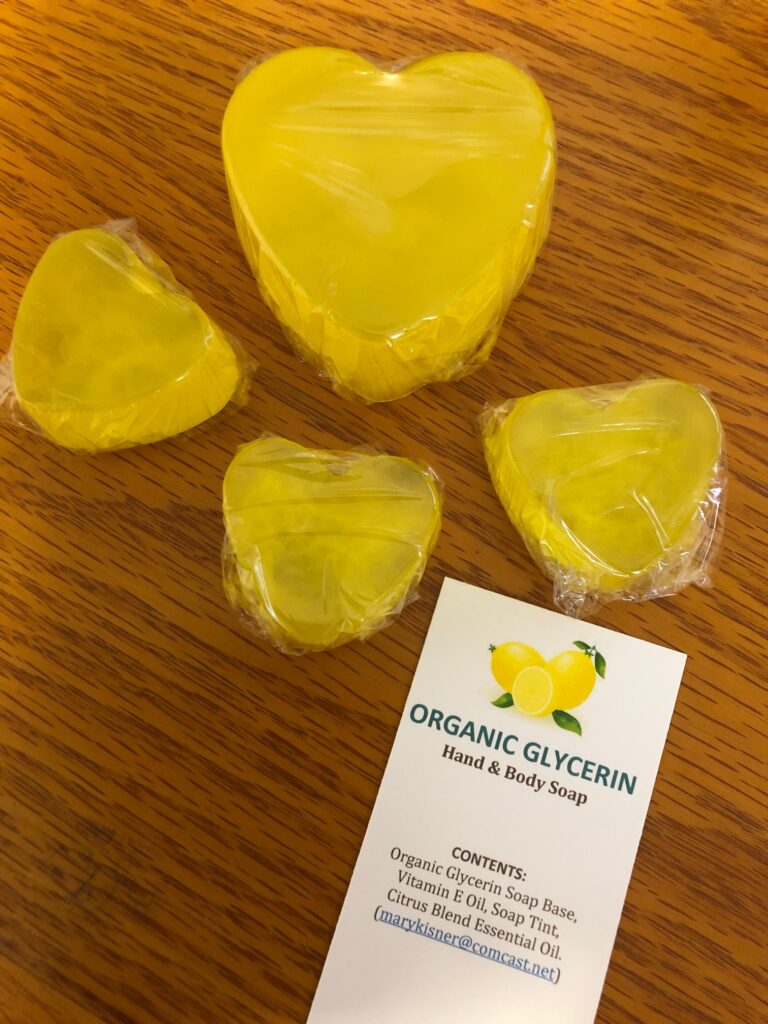
So, while I was thinking about unscented products, I grabbed a 1-pound chunk of clear organic glycerine soap from my stash and melted it down in two glass containers.
The first container I left absolutely plain. Hopefully, the mild scent of the glycerine soap would be OK for folks that preferred unscented. The second container I added a yellow soap tint and citrus blend essential oil just for variety. I now have a way to offer the travel soap tin to someone who prefers unscented. That felt good!
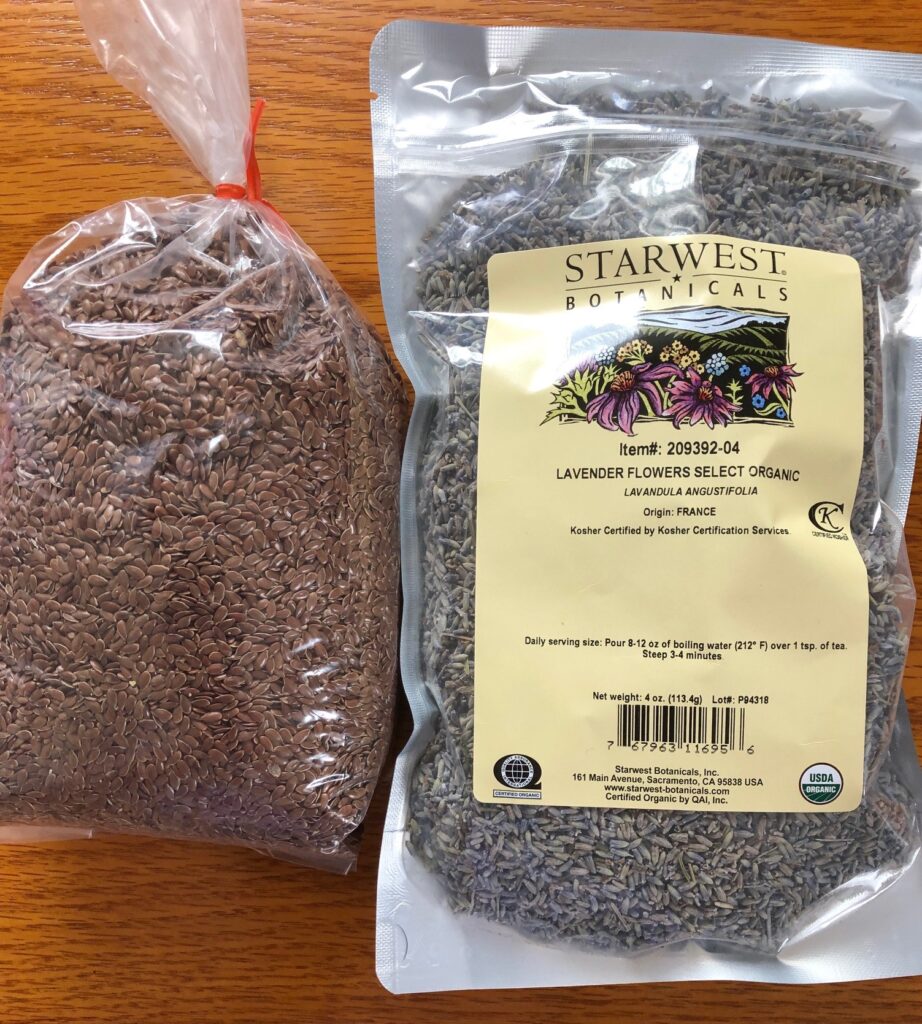
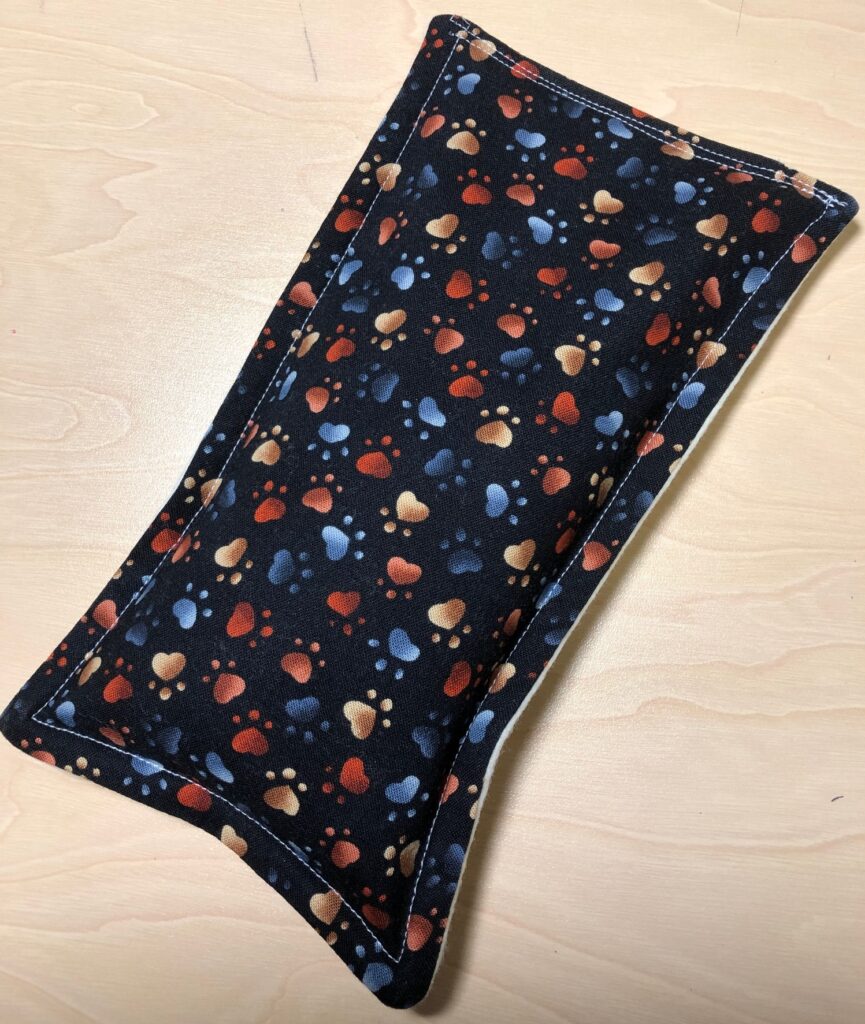
I will try to pay attention to where I use scents in my products, or at least mention ways to leave them unscented if possible. I also make a point to include a card with each item that tells exactly what is in each product. For example, when I made the eye pillows for headaches or toothaches, I added lavender buds to the flax seeds so when they were heated in the microwave they smelled good. It would be just as easy to leave the lavender buds out…the flax seeds are what held the heat/cold. (https://marykisner.com/making-a-hot-or-cold-eye-pillow-for-headaches-or-toothaches/)
As time goes on, I’m sure I’ll find other ways to reconfigure my products without scents. At the moment, I will continue to identify all the ingredients in my stuff so folks can make their own choices. Enjoy!
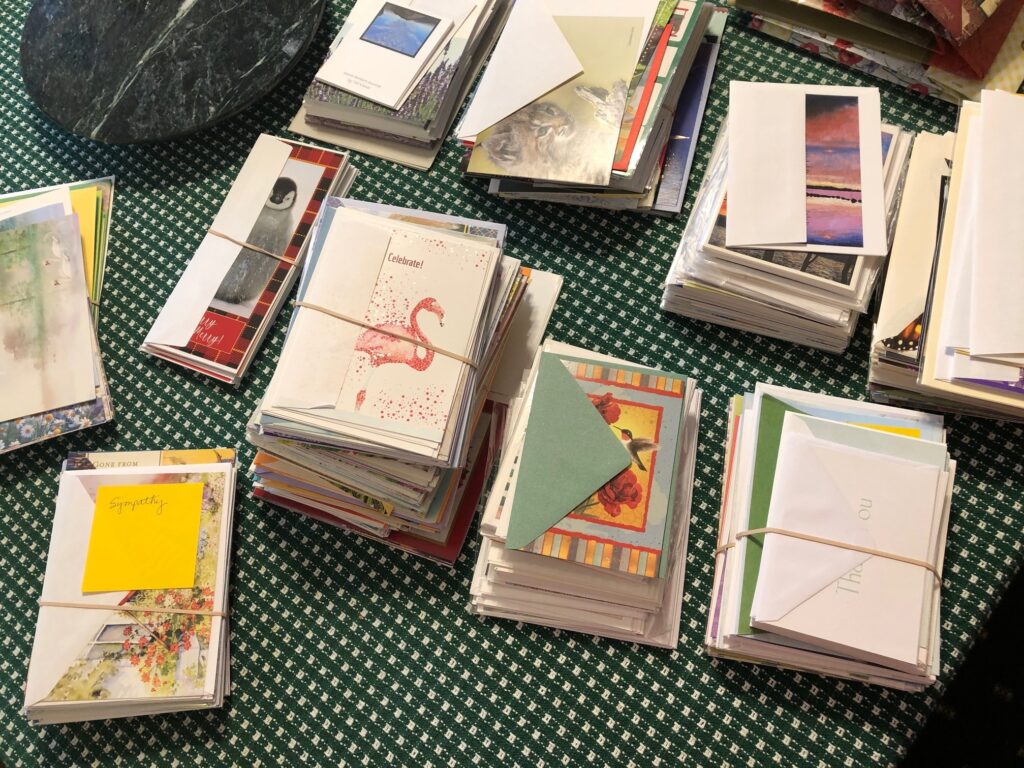
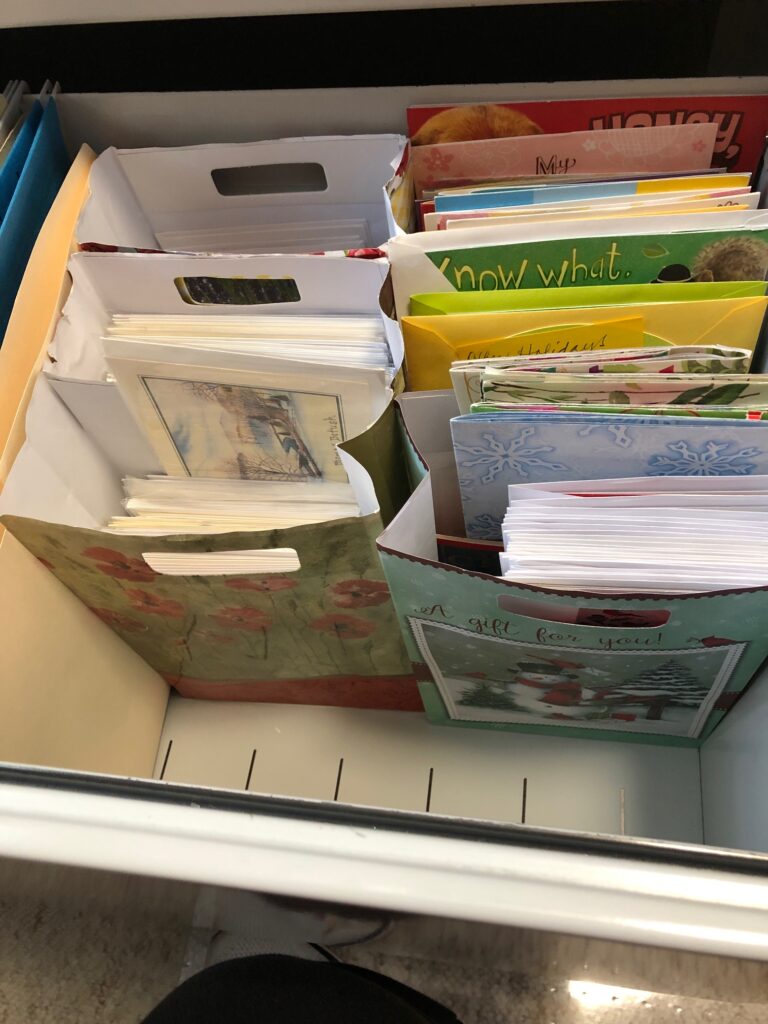
I have a file drawer jammed full with assorted greeting cards…that have arrived over the last year FREE from assorted charities and organizations. I have enough to send a birthday card, a get-well card, a thinking-of-you card, a thank you card and a card with a pretty picture where I can write my own message…to everyone I know for the rest of my life! And they keep coming! I can hardly wait for the influx of Christmas Cards to arrive.
I was ready to pitch them all until I went to a meeting of the Ladies Auxiliary of the Fire Company last week. One of our members mentioned she was almost out of Get-Well cards that she sends to our members and others as needed. Another woman said she uses cards to make placemats. My goodness! I have cards!! So, I came home and cleaned out the drawer.
Mixed in with all the free cards are the ones I have purchased over the years. I try to pick up ones with photographs made by local artists and they are blank inside. I find these at almost every craft show I go to. Some are good to cheer people up; others are low key for folks that are sad. I put these cards back in the drawer.
Now the drawer looks like something I can handle!
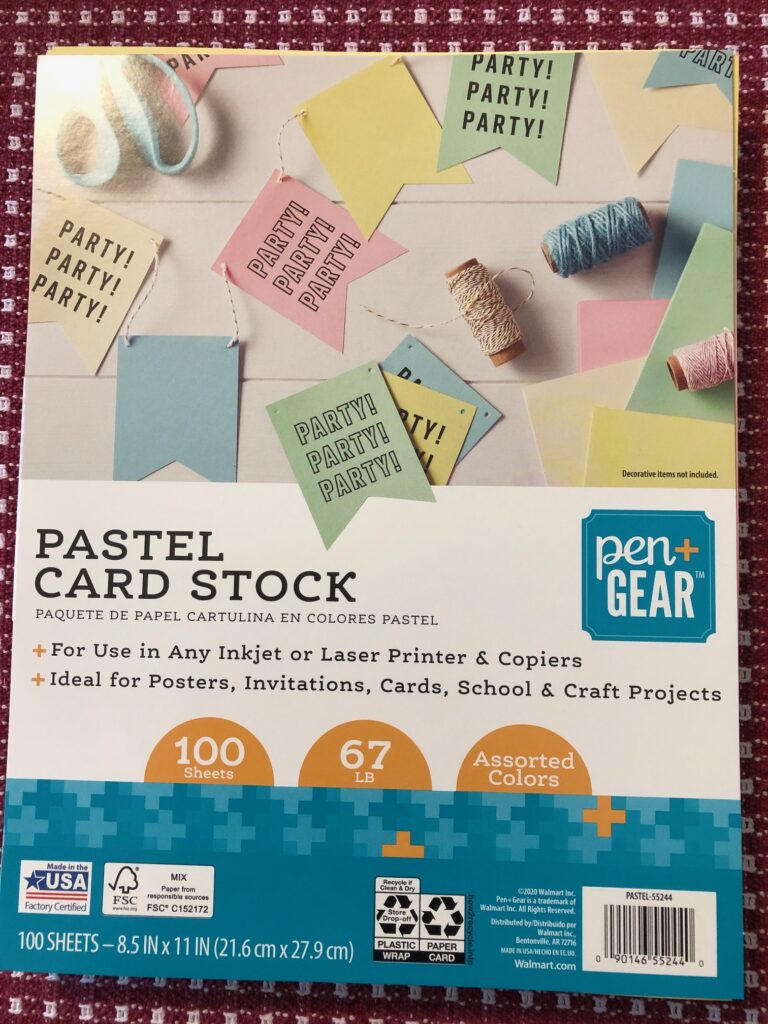
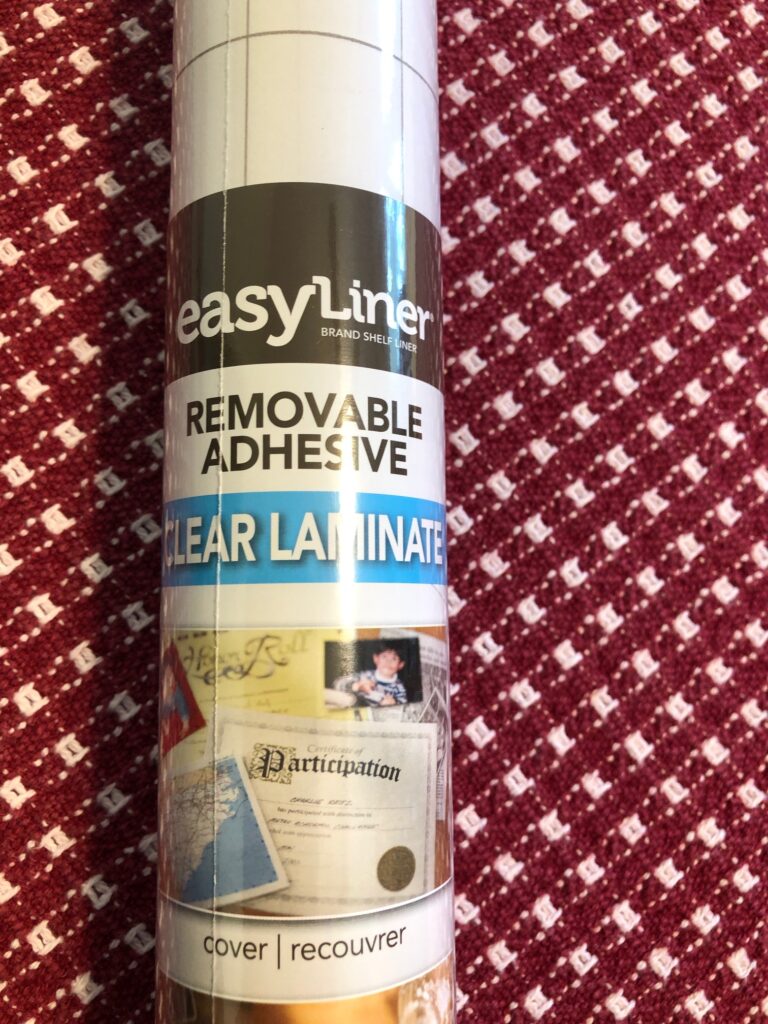
Next, I looked up making placemats using greeting cards and found one tutorial that used circles cut from the cards. They were mounted on card stock and laminated with clear Contact paper. So, I headed to WalMart.
I found the card stock in office supplies but couldn’t figure out where to find the sticky clear Contact paper. Office supplies? Nope. Craft supplies? Nope. I finally asked someone. It is with the home furnishing stuff…with the kitchen drainers, etc. Who knew Contact came in all different colors and patterns to use as drawer and shelf liners. Boy am I out of touch!
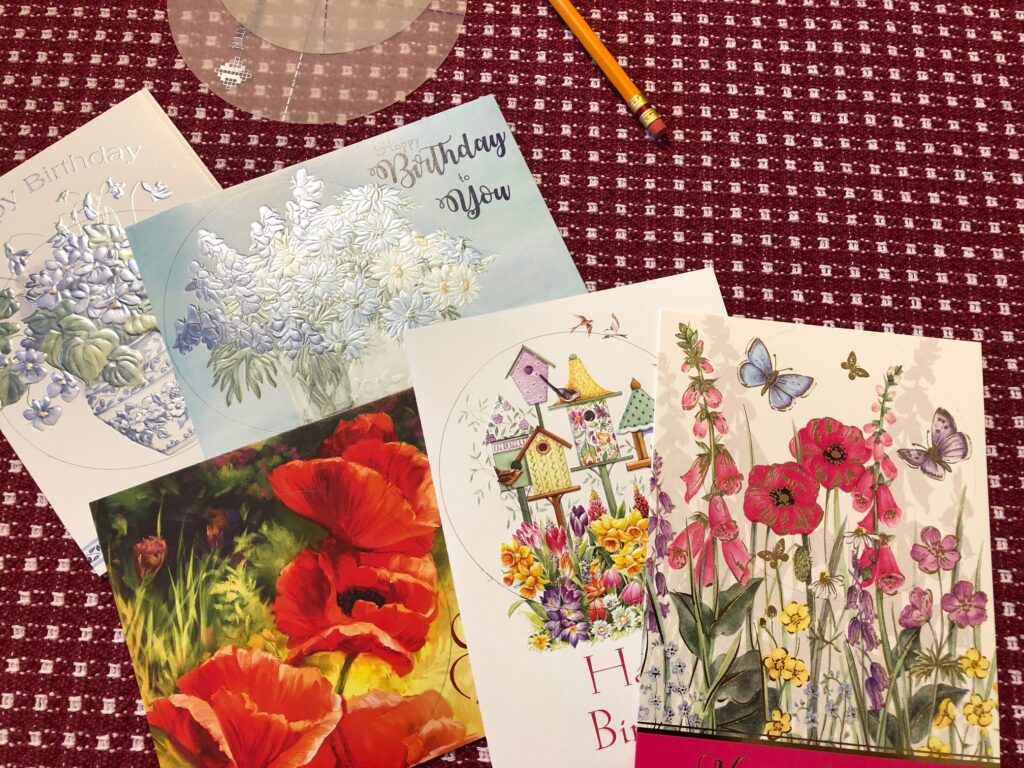
While I was sorting out cards, I picked out nine Birthday cards that had pictures of flowers. I used a circle template and drew around the flowers I wanted to use.
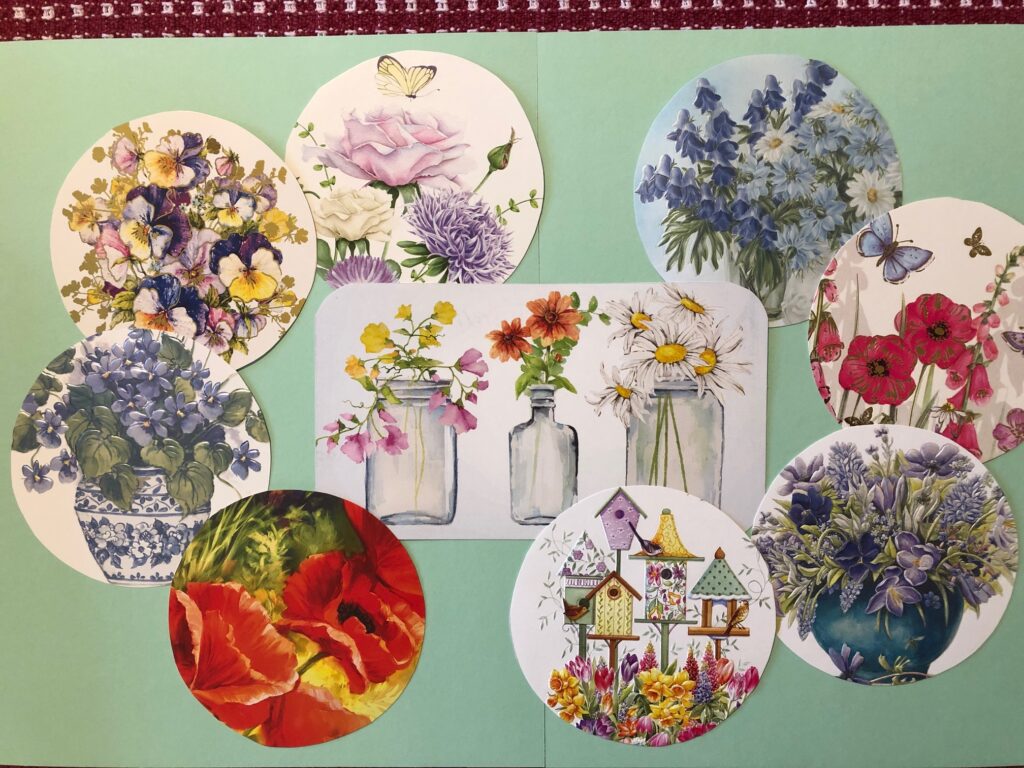
I cut out the circles and played with the arrangement. One card had a nice rectangular image, so I made that the center.
I used two 8 1/2″ x 11″ sheets of card stock and taped them together (on the back) as my base.
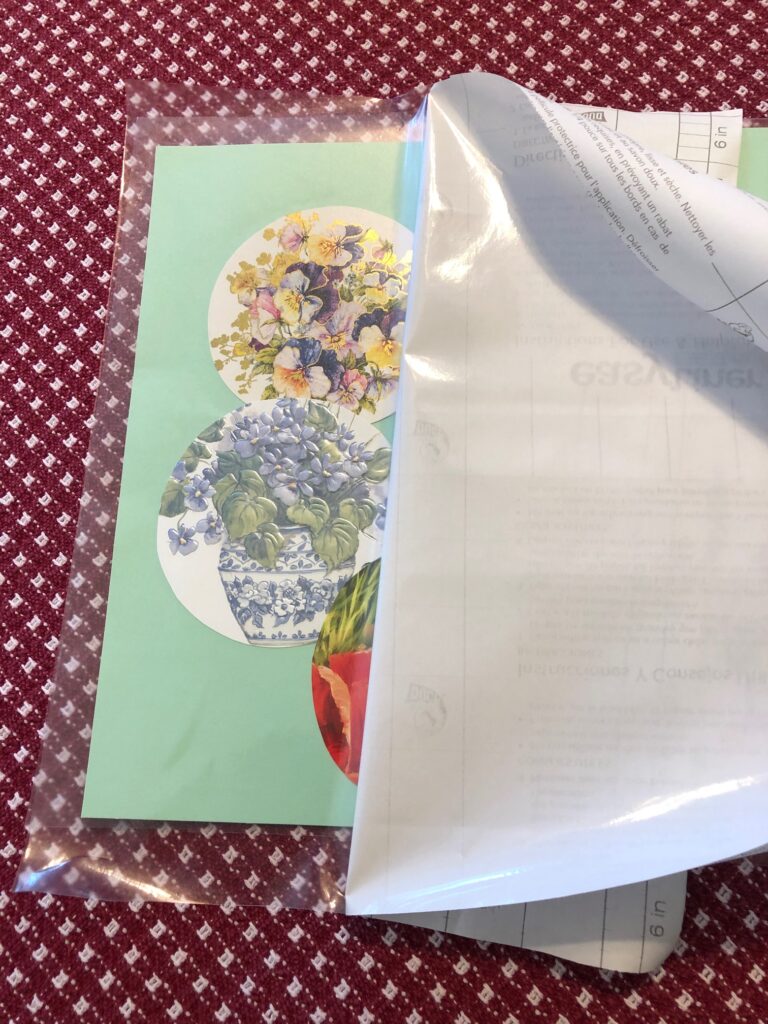
Once I liked the arrangement, I used glue stick to keep them from shifting while I used the Contact paper.
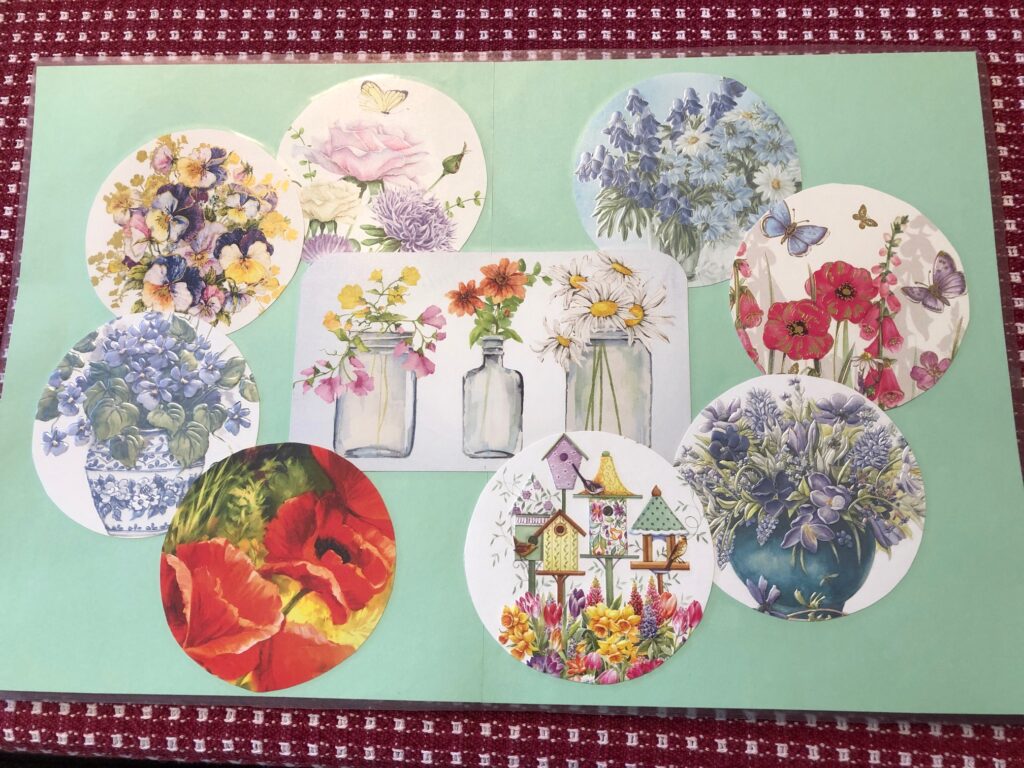
I did the back first. Then I flipped it over and attempted to do the front. No small challenge to get it started. Somehow, it seemed to work in spite of my technique with just a few wrinkles. I trimmed around the edge and I now have a pretty placemat.
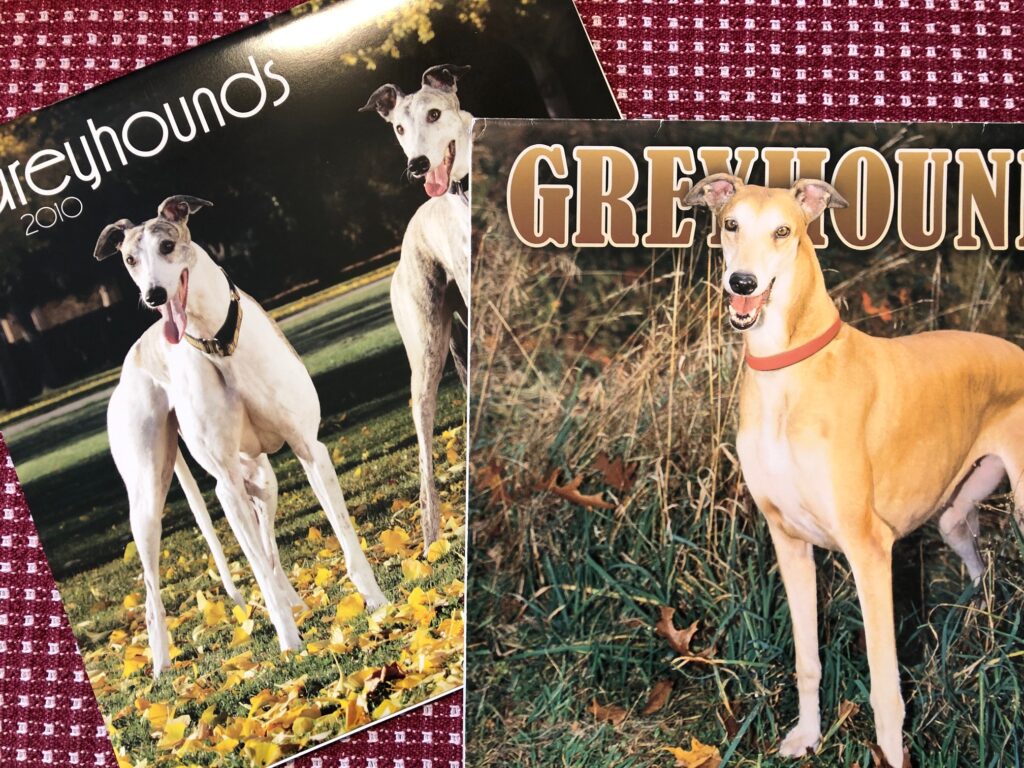
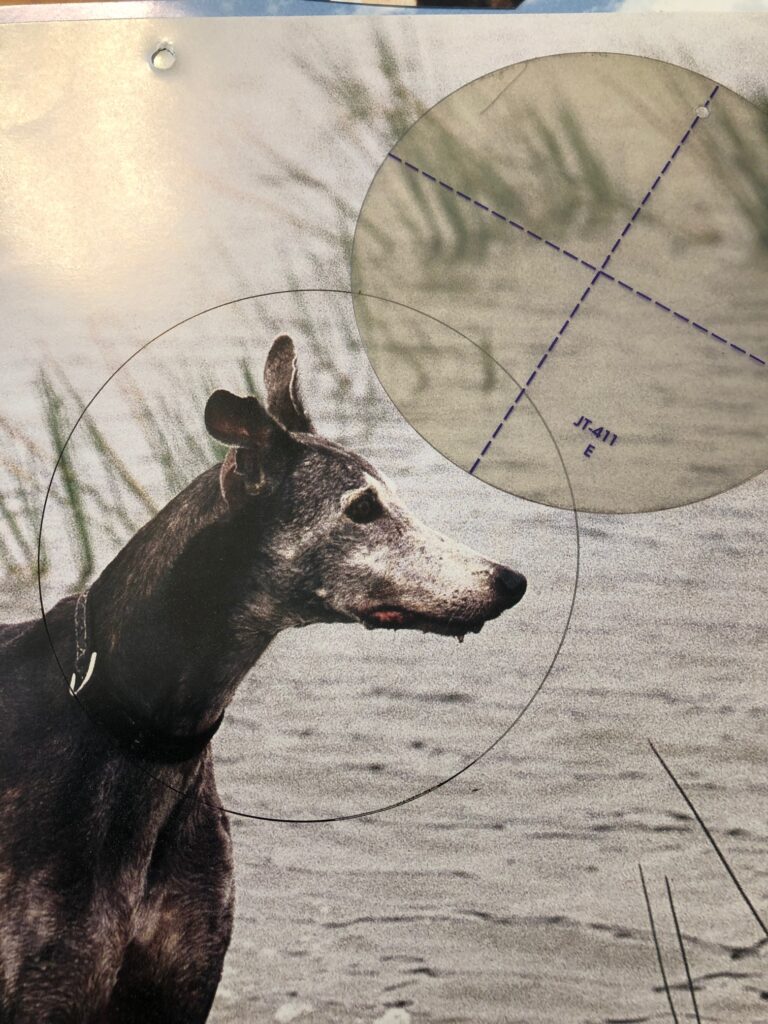
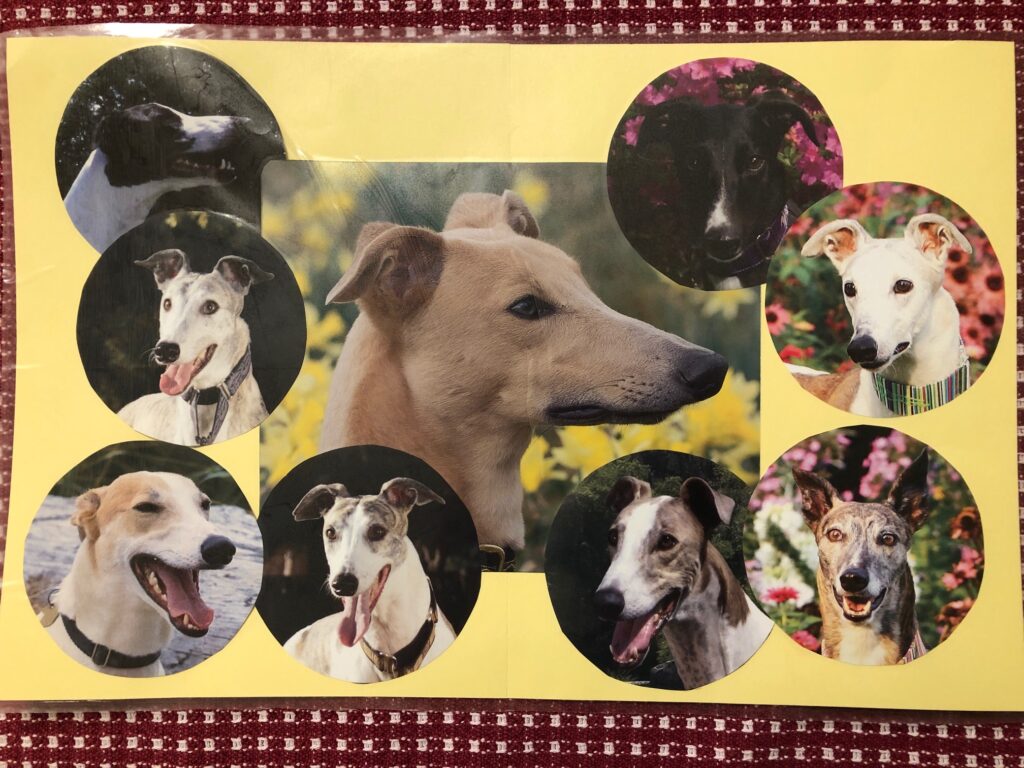
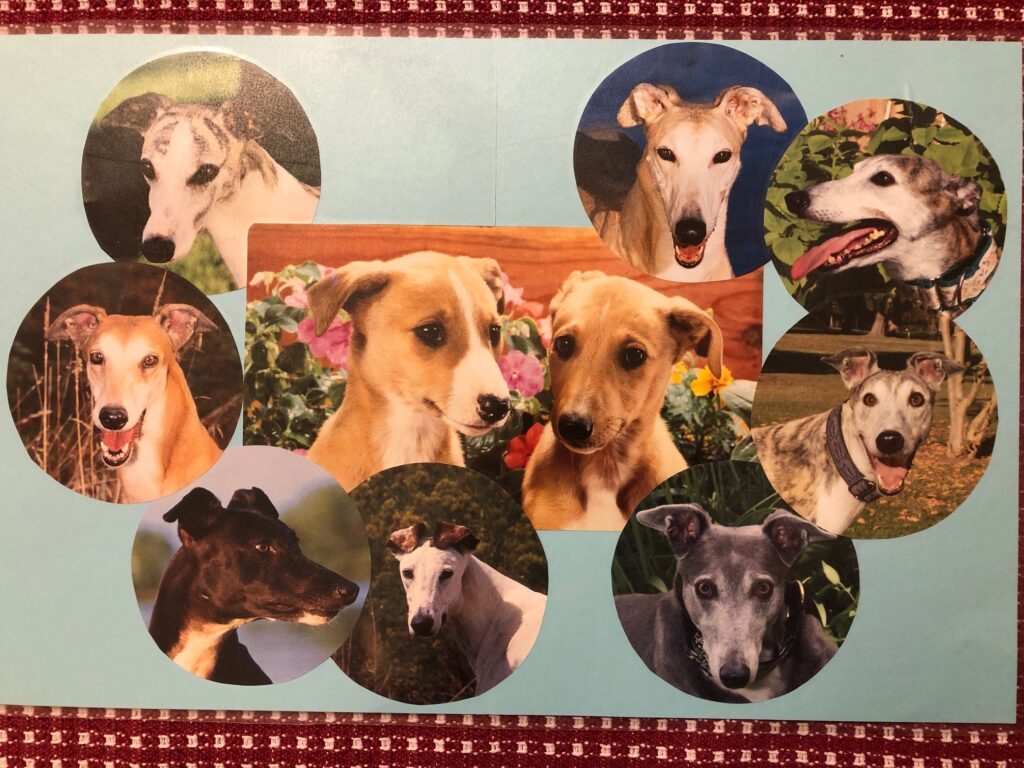
I was feeling pretty smug about my success and decided to try another one using pictures from a Greyhound calendar. (Just so you know…being SMUG is dangerous!!)
I ended up having enough pictures to make two placemats, with the larger pictures as my center focus. However, getting the Contact paper to go on smoothly was a real PAIN! It was determined to wrinkle and stick everywhere I didn’t want it to! From a distance, not too bad. Up close they were a wrinkled mess. I think the calendar paper was not as sturdy as the cards so they refused to stay flat. Anyway, I did it. Not sure if I’ll make any more, but I can say I tried!
So, if you are getting free cards in the mail and don’t use them, look for folks who do use them…or try making a placemat! If you have any tips about using clear Contact I could use them!! Enjoy!
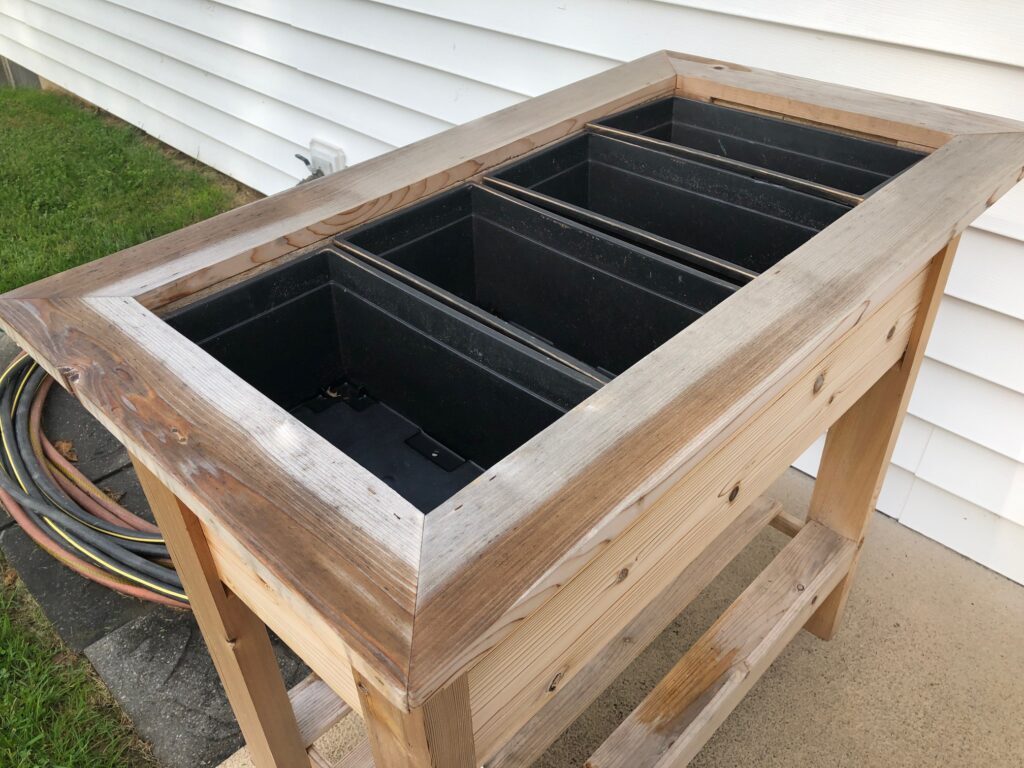
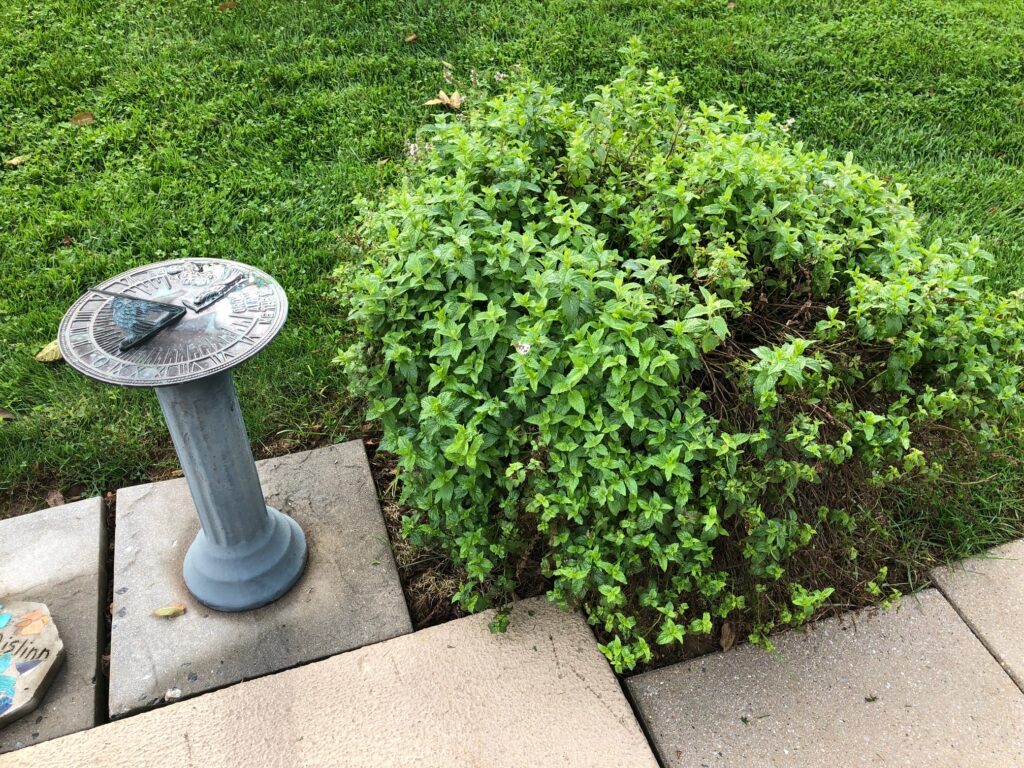
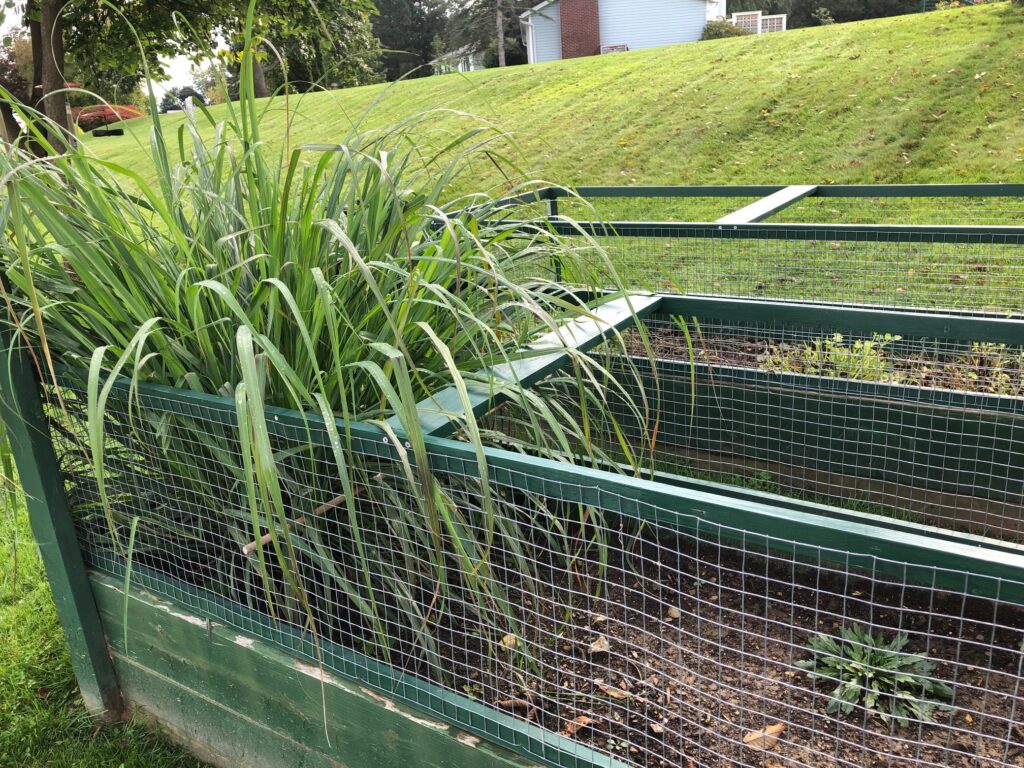
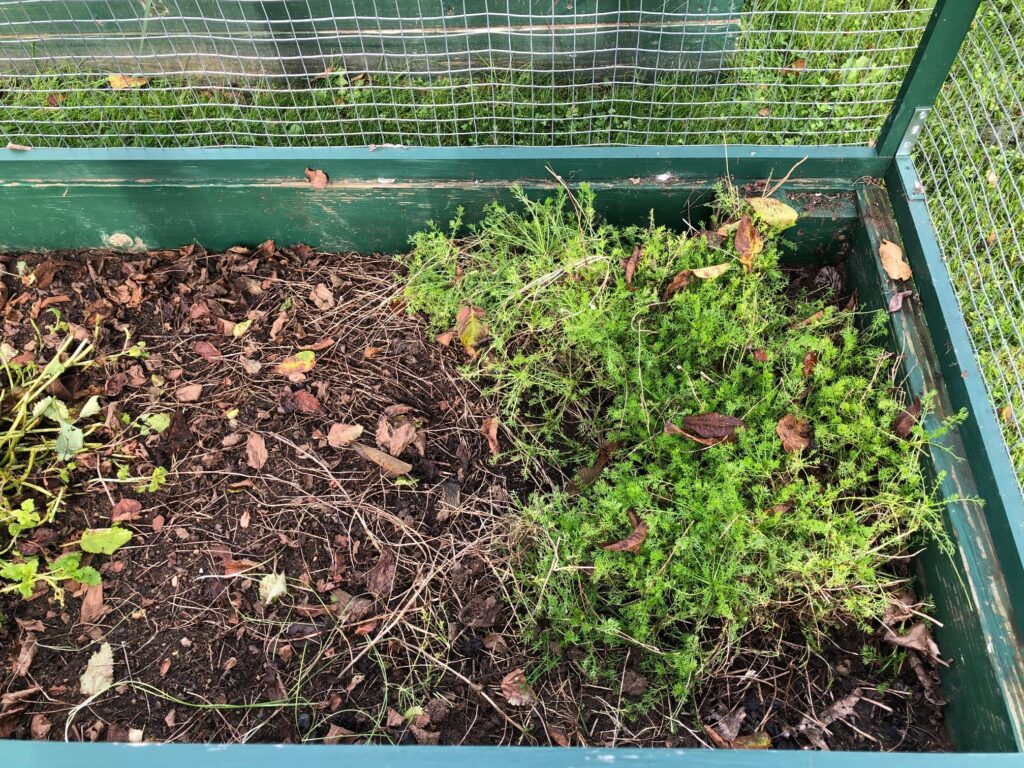
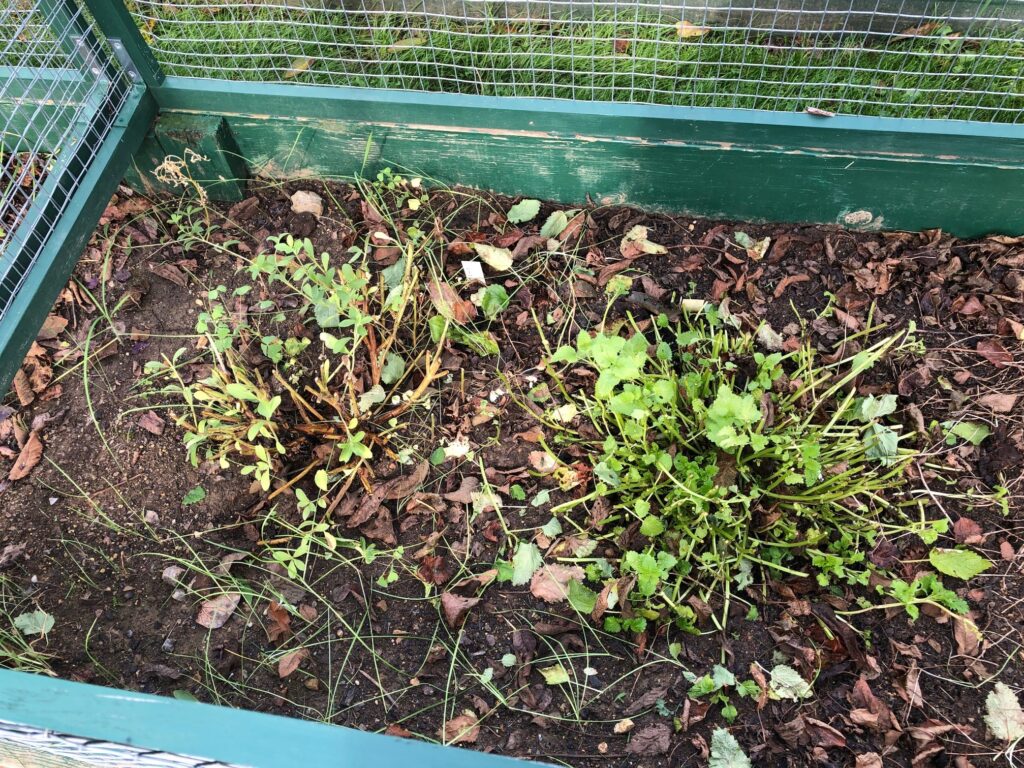
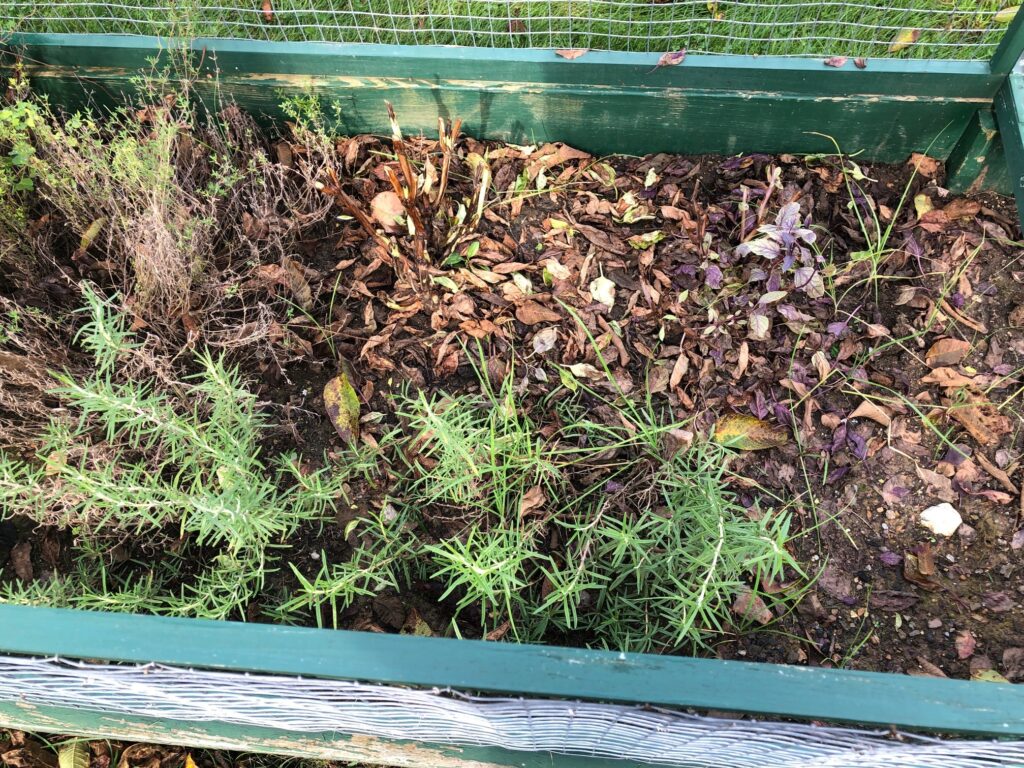
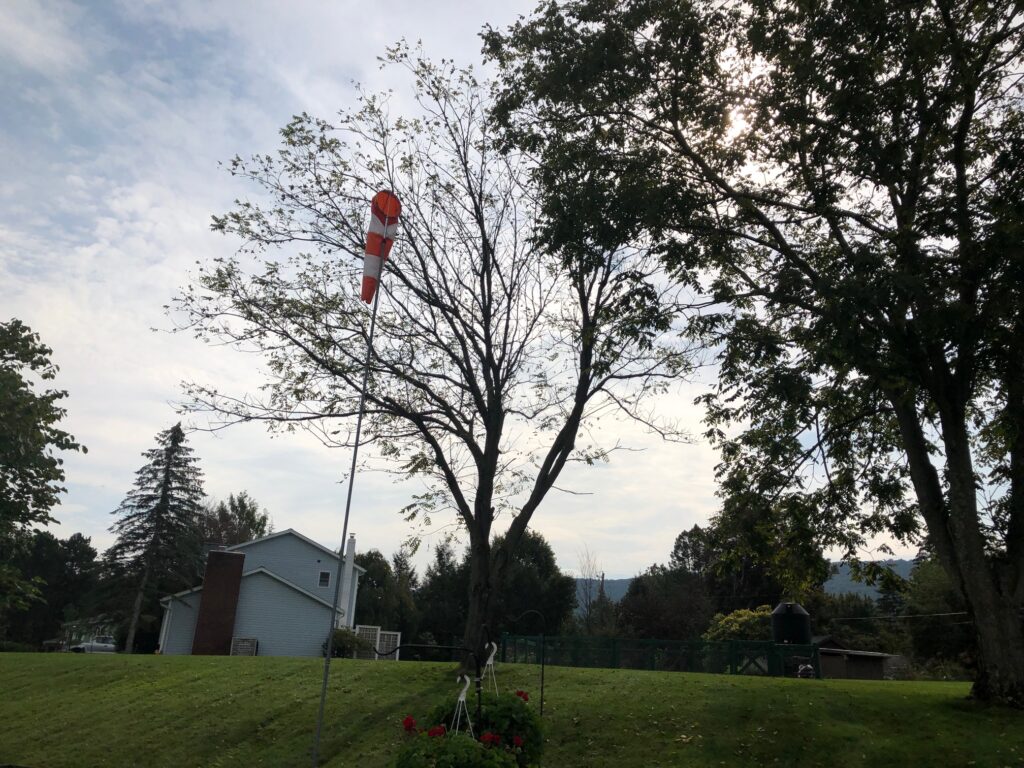
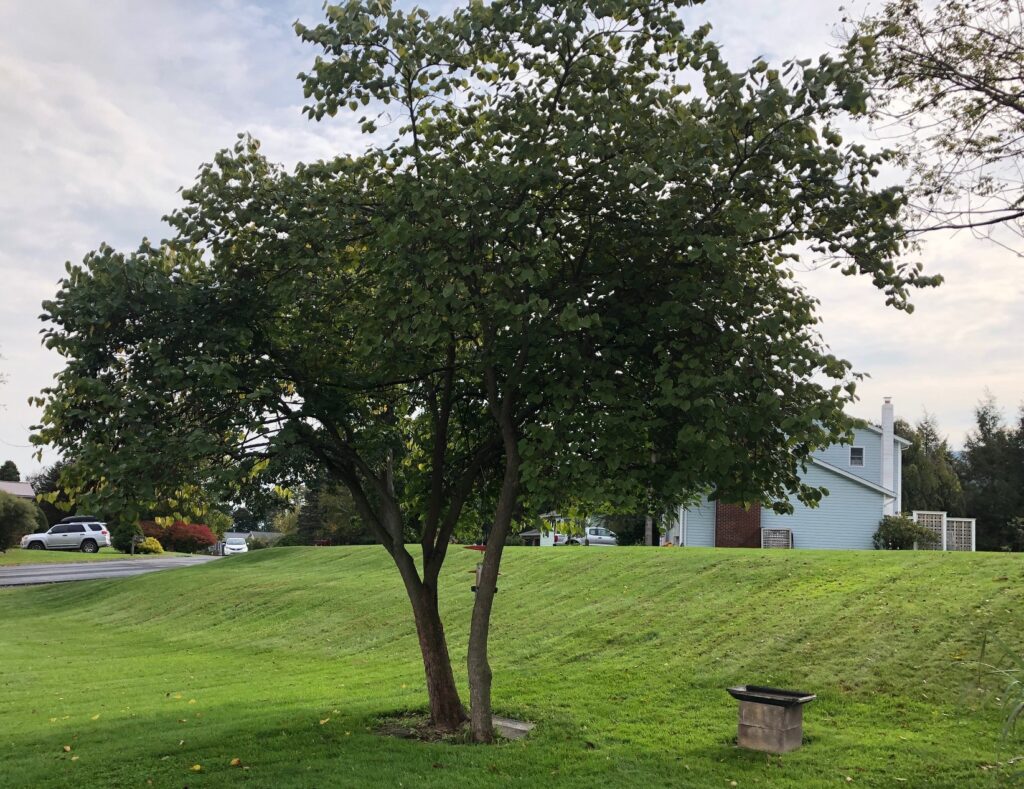
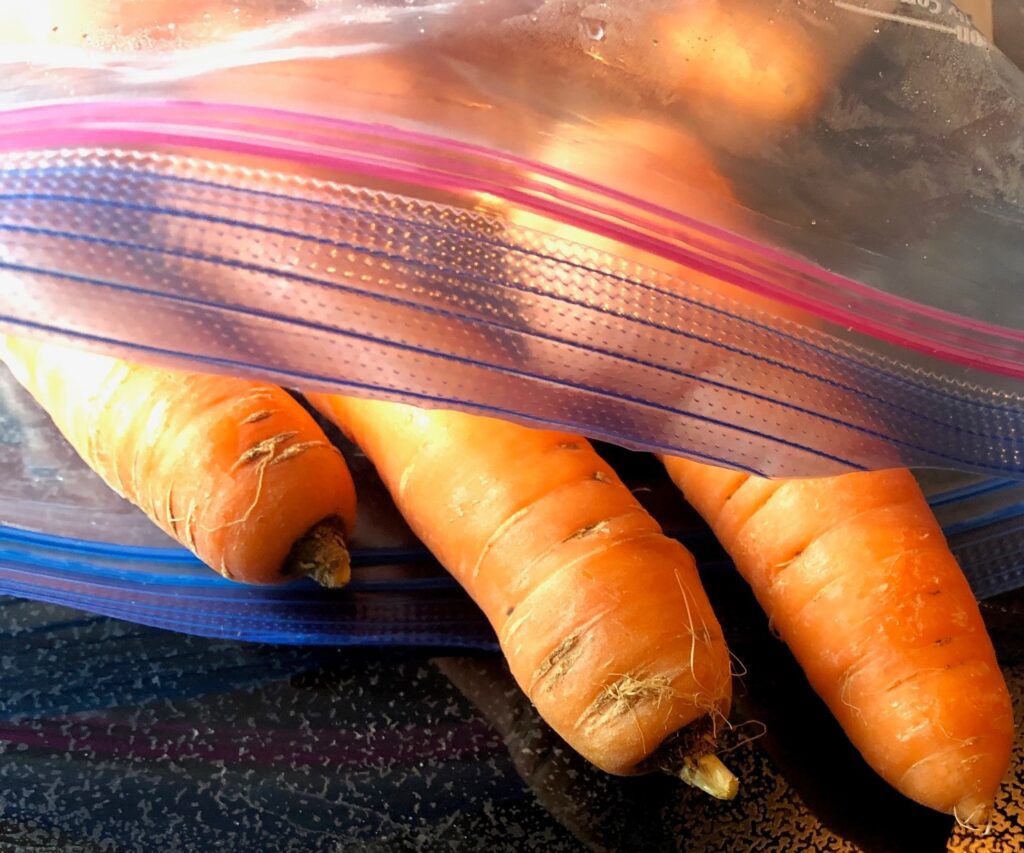
The weather is finally feeling like fall and our garden tasks change from production to preservation and clean up. The only food item left in the garden is carrots, and we’ll dig them up as we need them. Take a look at things today:
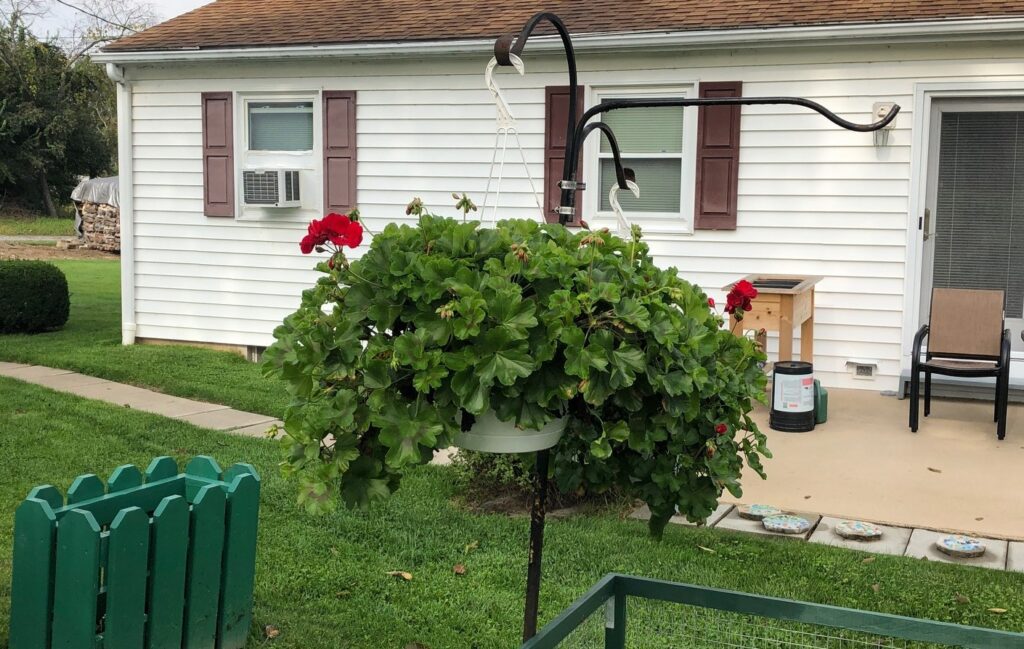
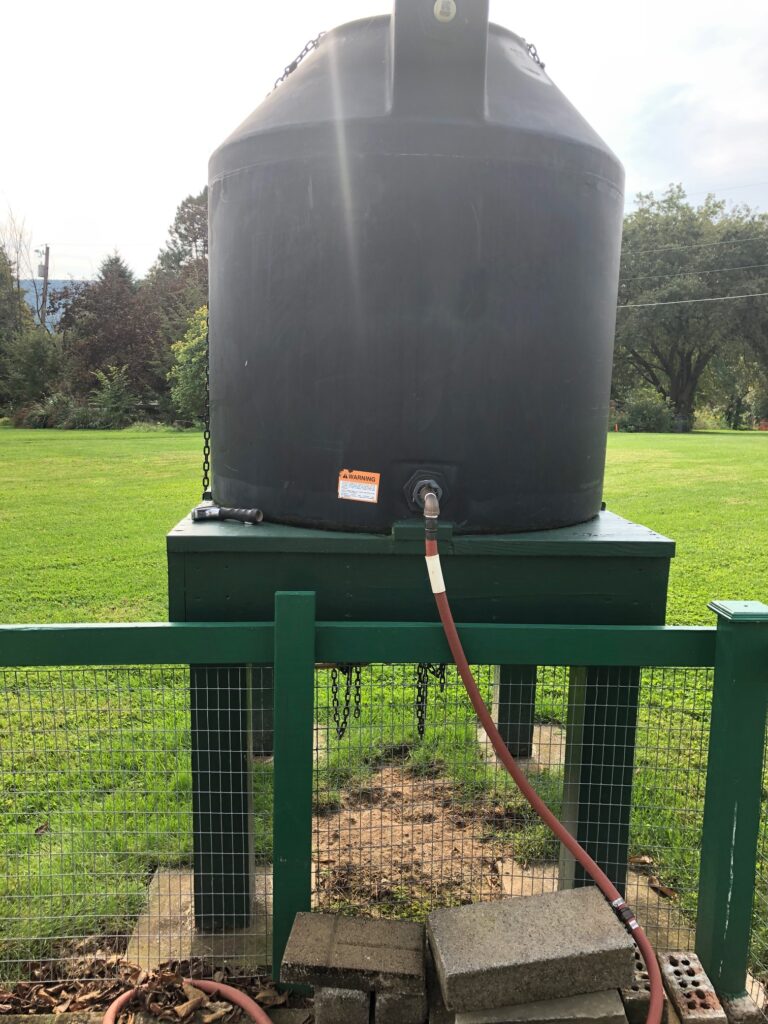
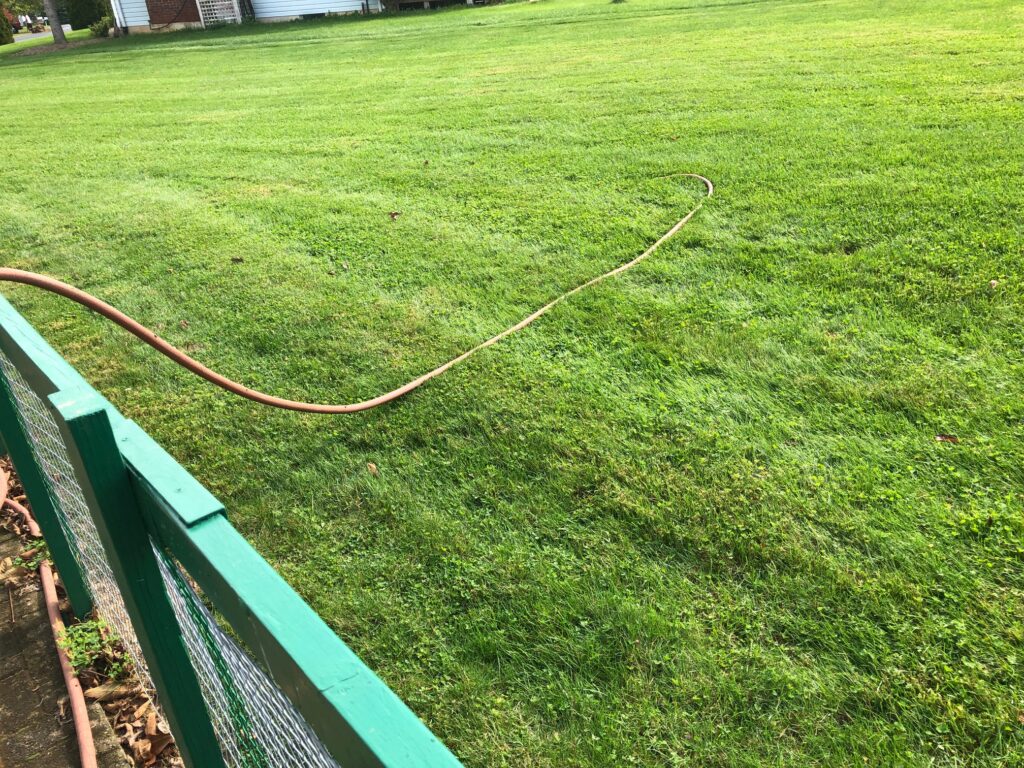
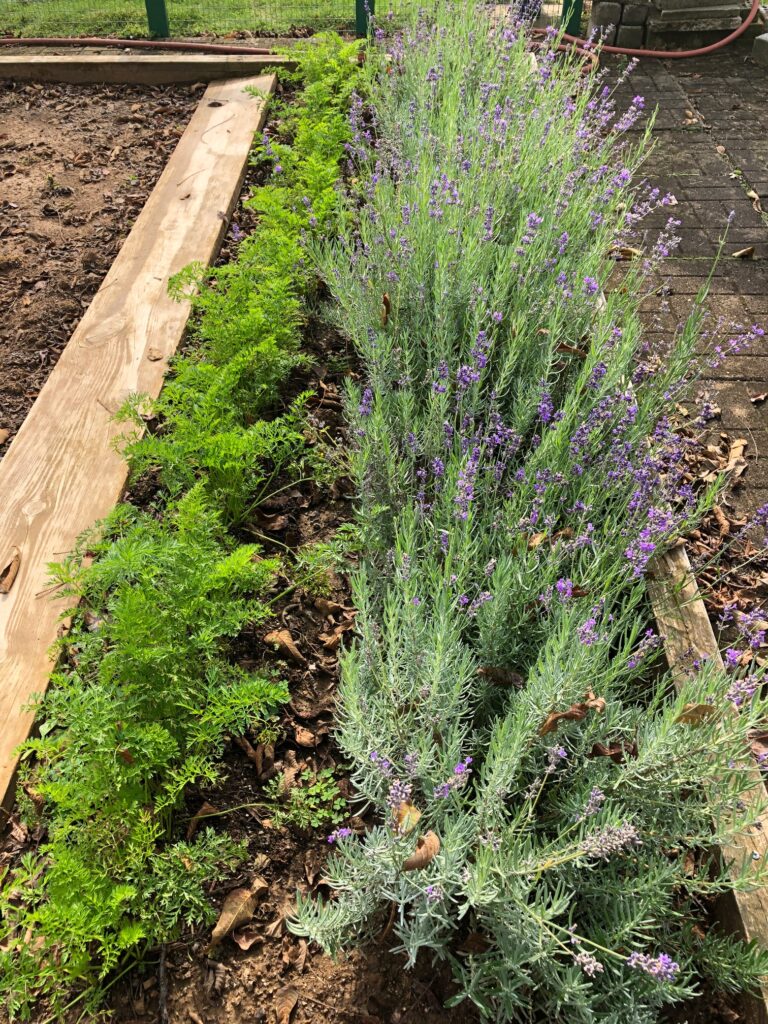
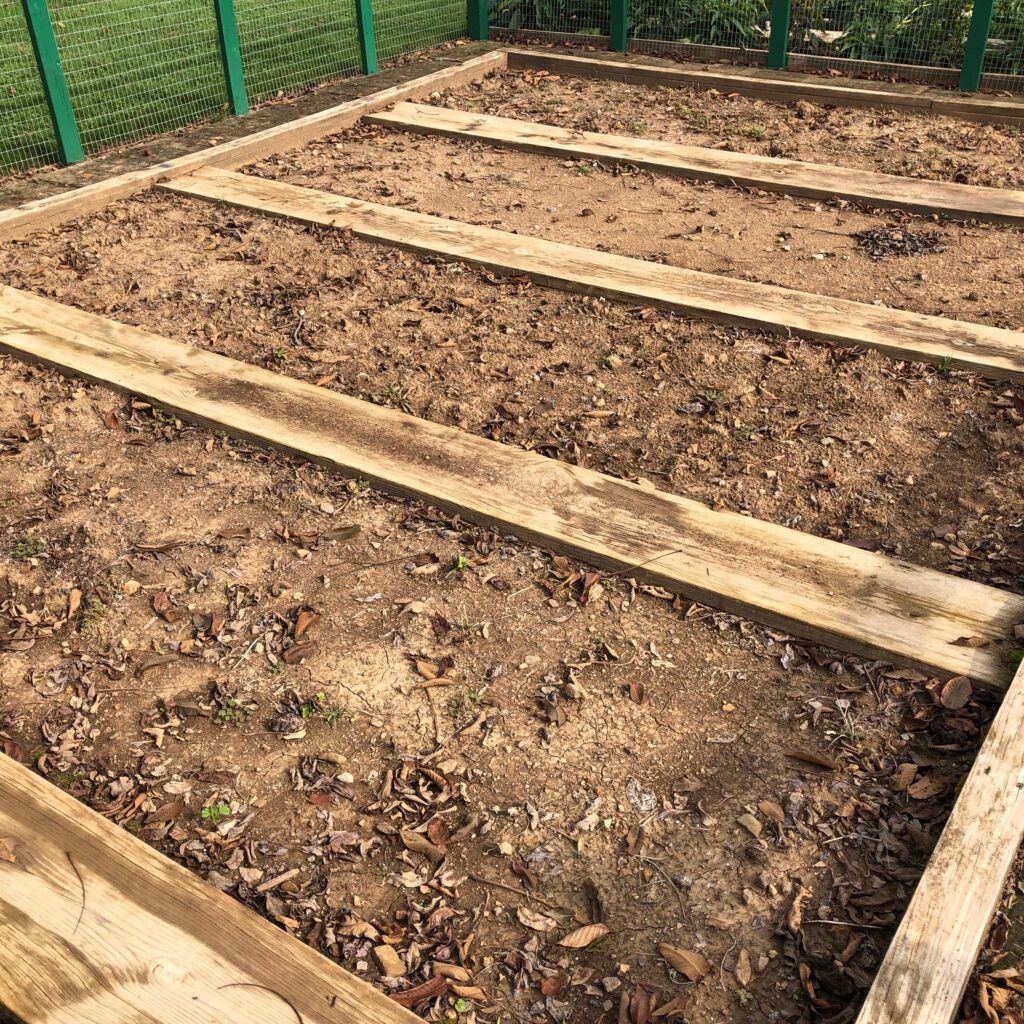
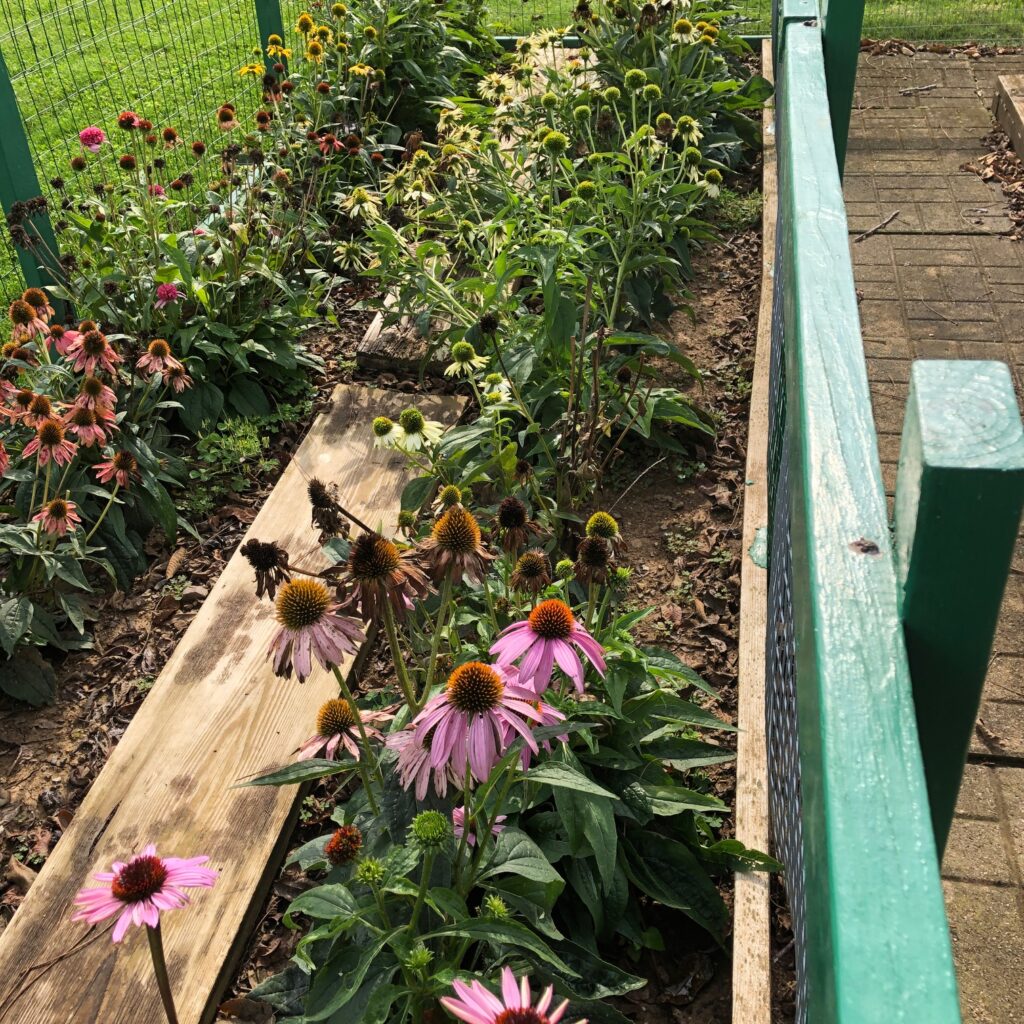
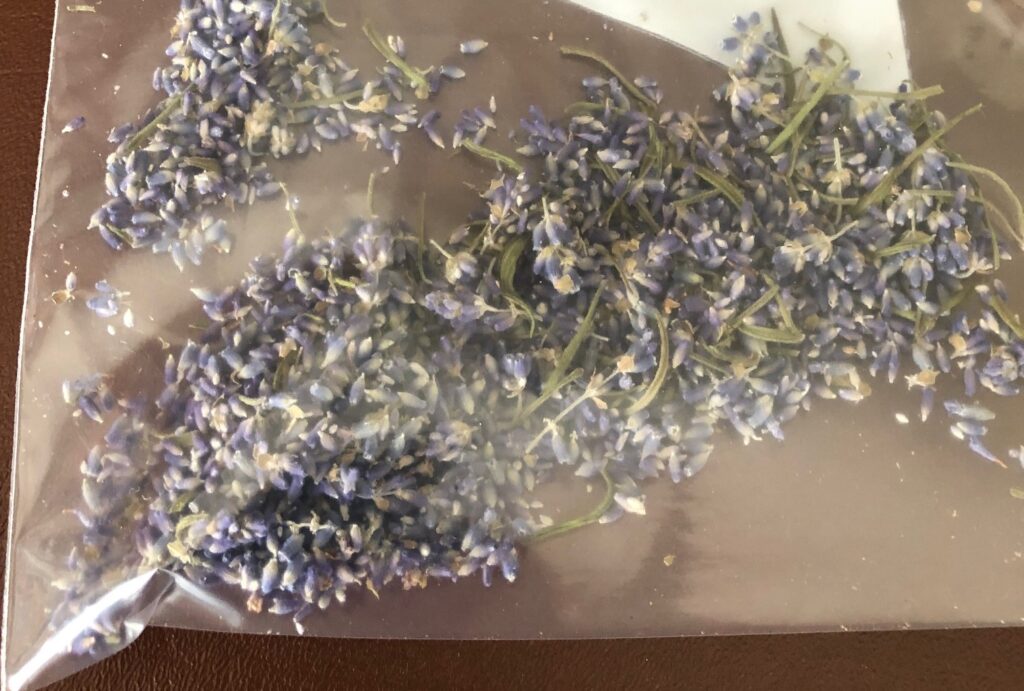
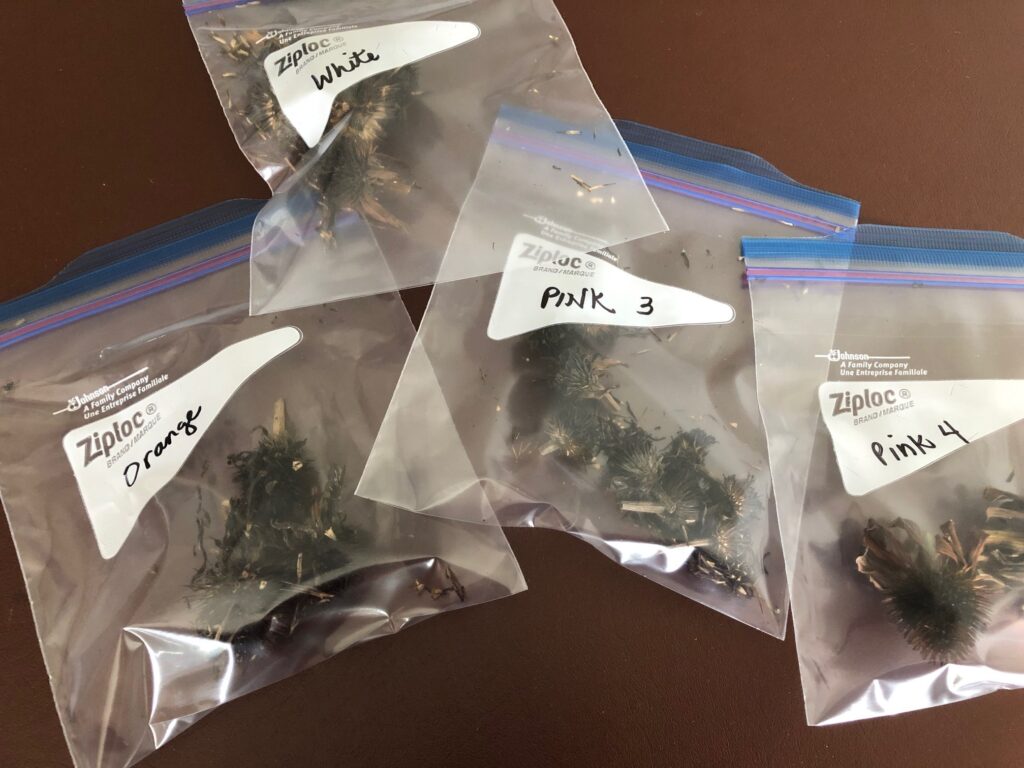
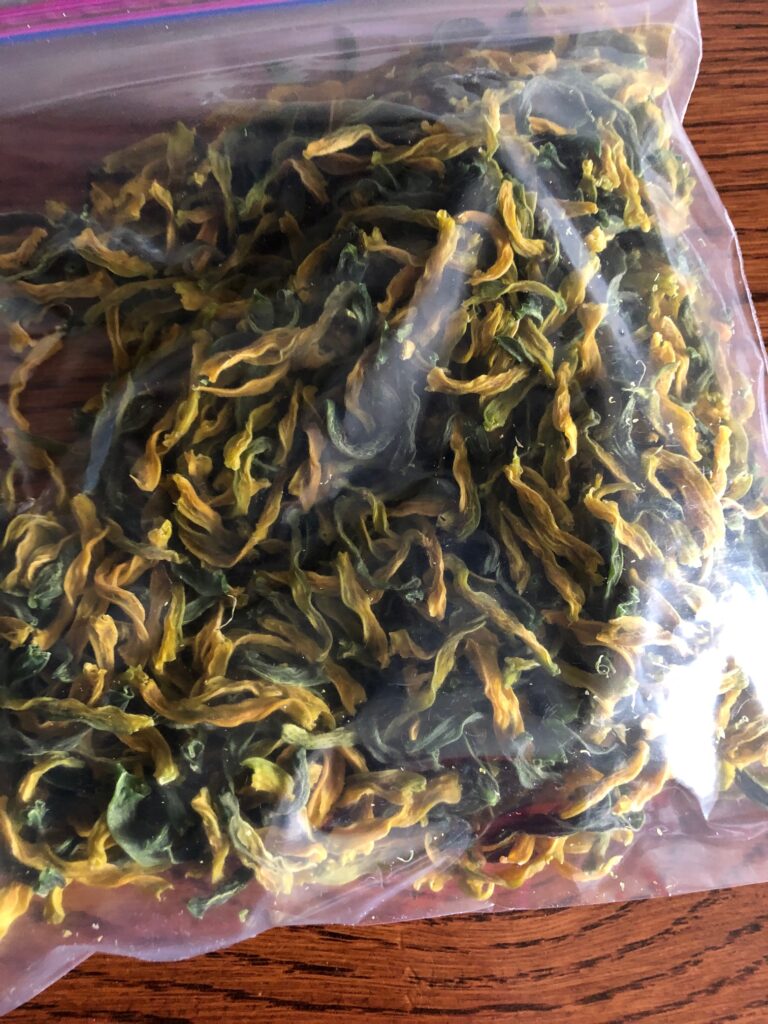
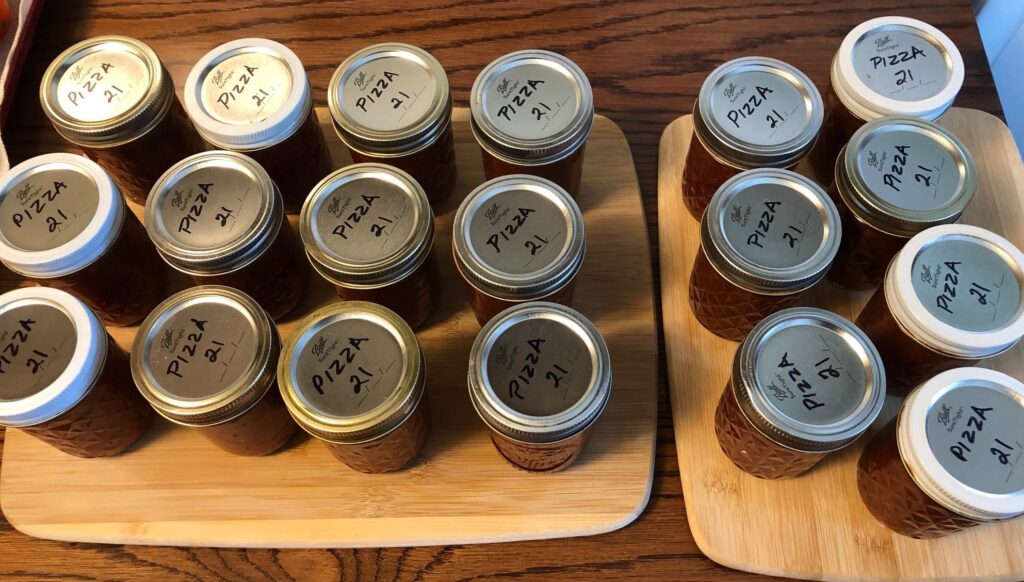
The planter I used for lettuce and radishes is at rest until next spring.The spearmint is drooping a little but we’ll enjoy it until the first frost.We planted the lemon grass late this summer. Not sure what to do with it yet.Chamomile was buried under the lemon balm, but it’s still green.The stevia and lemon balm are trimmed for the winter.I cut the basil off, but the rosemary is still looking good.I may still harvest some thyme from these plants.The geraniums still have flowers.Bert emptied the rain barrels by the shop and today he’s draining the big tank out into the grass.Up in the garden the only plants left are the carrots and the lavender. We’ll use the carrots over the next two months. Not sure if the lavender will come back next year.The rest of the garden beds are empty.The echinacea is going to seed.The large butternut trees are two different varieties and the one on the left loses its leaves first.But the redbud trees have shown no sign of changing color or dropping their leaves.The lavender I picked during the summer is finally dry enough to rub off the buds.Here’s the bag of lavender buds ready for me to use in sachets.Some of the echinacea seed heads were ready to pick.The green and wax beans are dried and ready for soup.The tomatoes are processed into sauce…ready for pizza or spaghetti.And the carrots are ready to eat!
So that’s the end of the adventure of the Kisner’s garden for 2021. This year we tried to grow only what we will eat or at least are willing to weed and preserve! Who knows what the seed catalogs in the spring will entice us to try? Enjoy!
By now you know that my favorite bar of hand soap is my Aloe Vera soap that I make myself (see https://marykisner.com/a-healing-aloe-vera-soap/). That’s great when I’m mostly washing my hands at home. However, when I go out of town…like I was this past weekend…I really wanted to have my soap with me. I was already taking small sample size soaps with me to give out at the conference, but without a way to use one in the hotel room I was stumped. The bar really needed to sit on something so it could dry between uses.
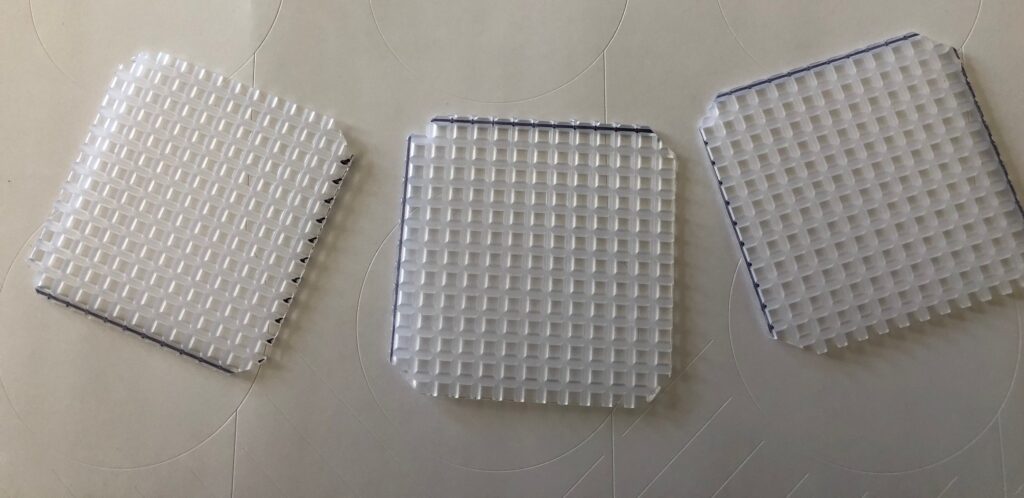
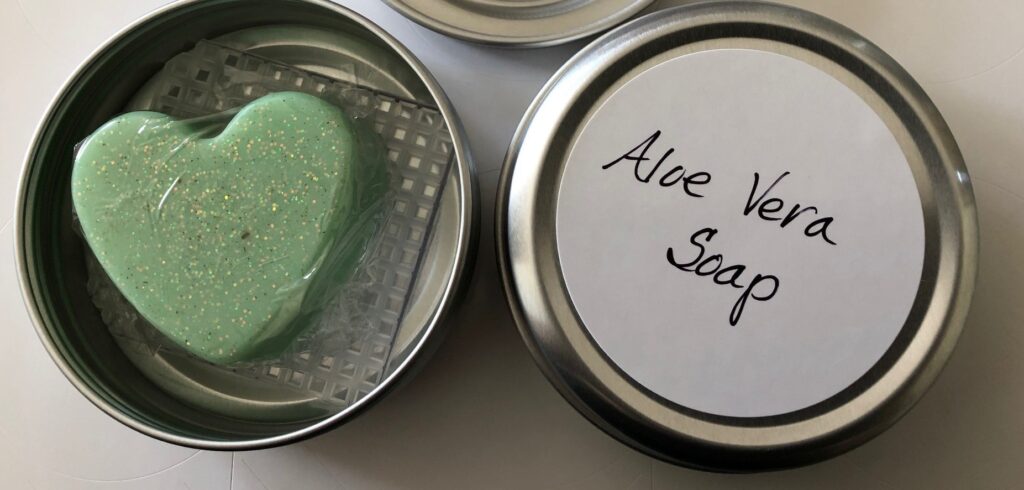
I did have 2 oz. tin containers about 2″ round that would easily hold the small bar. Then I needed some way to keep it up off the bottom of the container while it dried. I found I had a sheet of plastic canvas grid that is used with yarn to make coasters. I marked off a few 2″ squares and cut them out. Trimming the corners slightly allowed the plastic to just fit in the bottom of the tin. The small bar of soap just fit and enough air could circulate around it so it dried between uses.
The tin was small enough to fit in my cosmetic bag, and I was able to leave it open beside the hotel sink to dry. My hands were very happy!
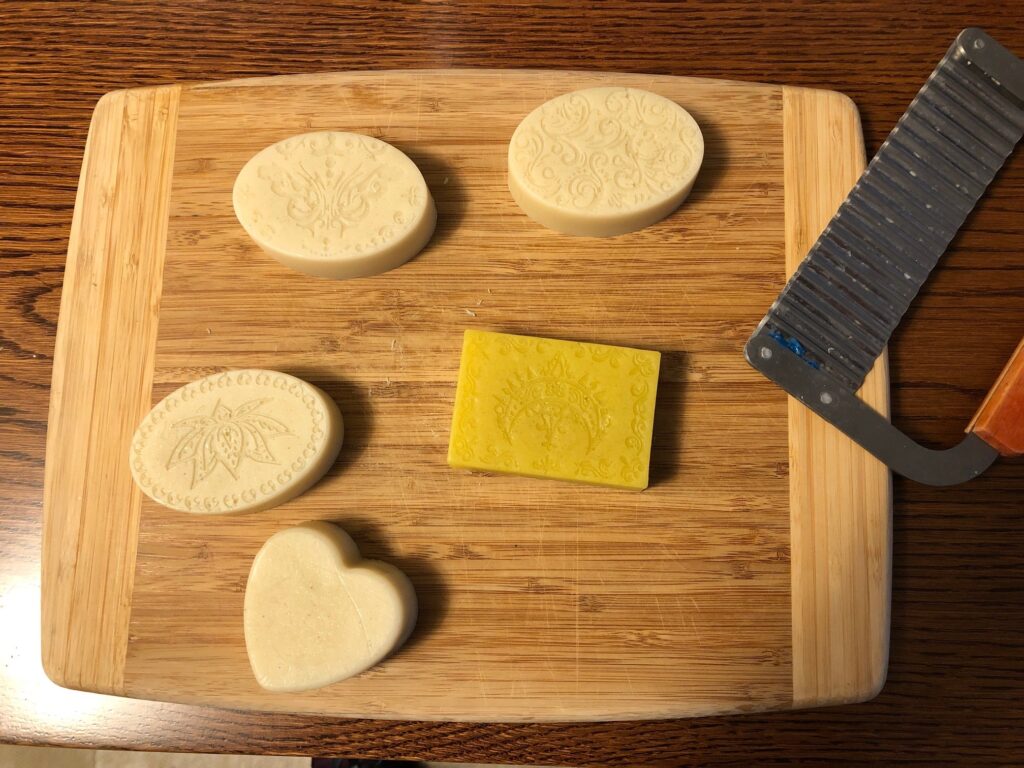
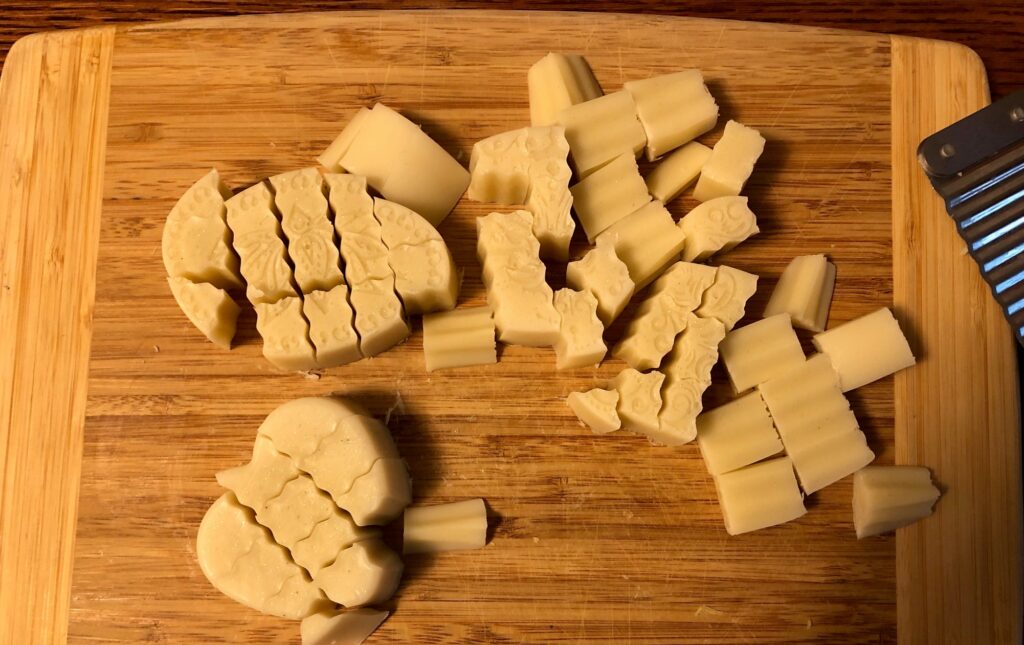
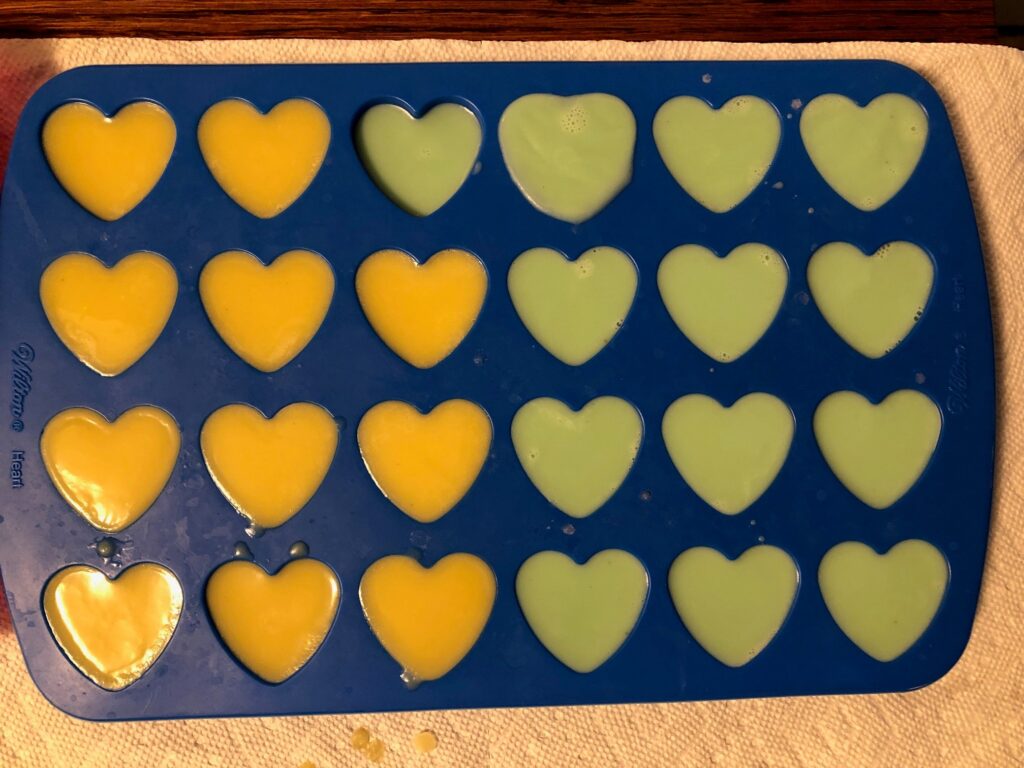
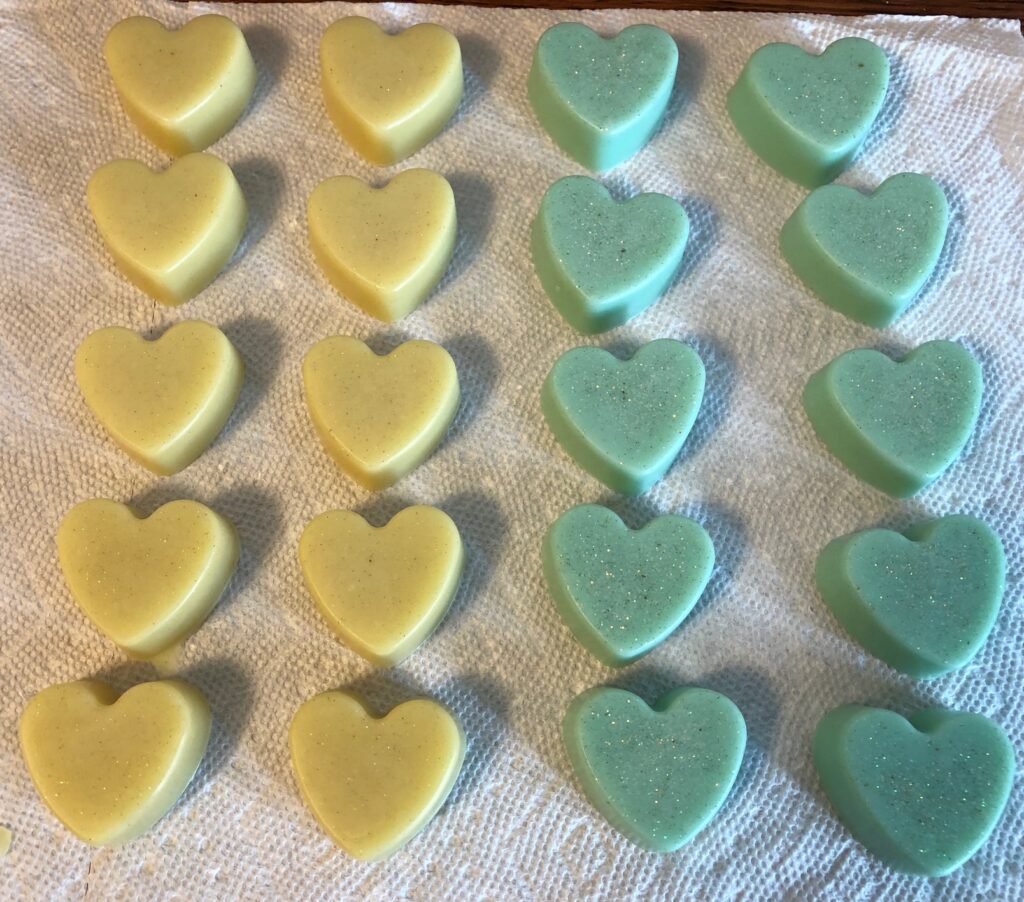
When I got home, of course I wanted to make more of these to give as gifts. I found several bars of Aloe Very soap that I had made recently. Instead of starting from scratch I decided to remelt these bars and pour them into smaller molds.
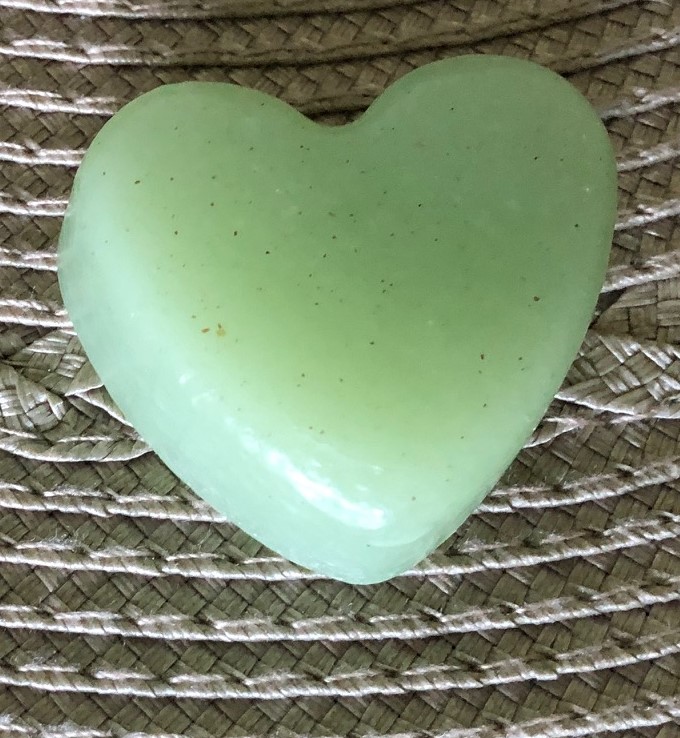
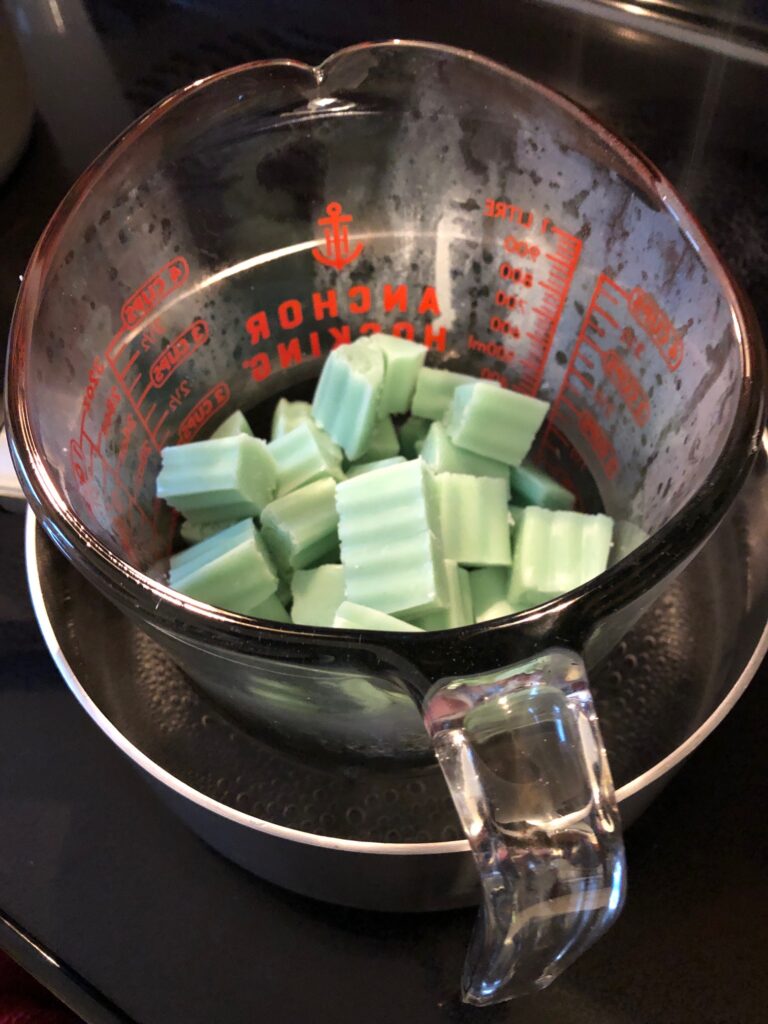
Since I had 3-4 bars of two different colors, I melted them separately.
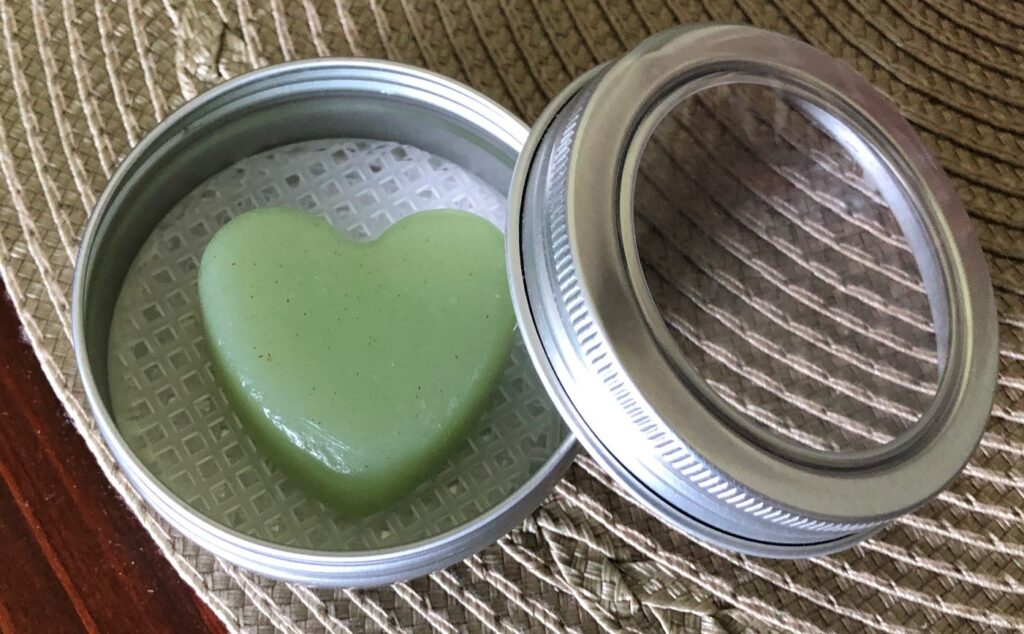
These bars were originally colored with calendula petals. One batch got a little darker than the other.These bars had originally been colored with a drop of green soap tint.I added a few extra drops of essential oil, just to refresh the scent……and I poured them into small heart-shaped molds.These plastic grids just fit into the tins.First, I wrapped each soap in plastic wrap to keep it dry until I gave it someone. Then I dropped the plastic grid piece into the tin. With a label on the back of the tin it’s ready to be a gift!