A lotion bar is a convenient way to have hand lotion nearby. They are easy to make, easy to carry in your purse or briefcase and safe to put in your carry-on luggage without worry about restrictions on liquids.
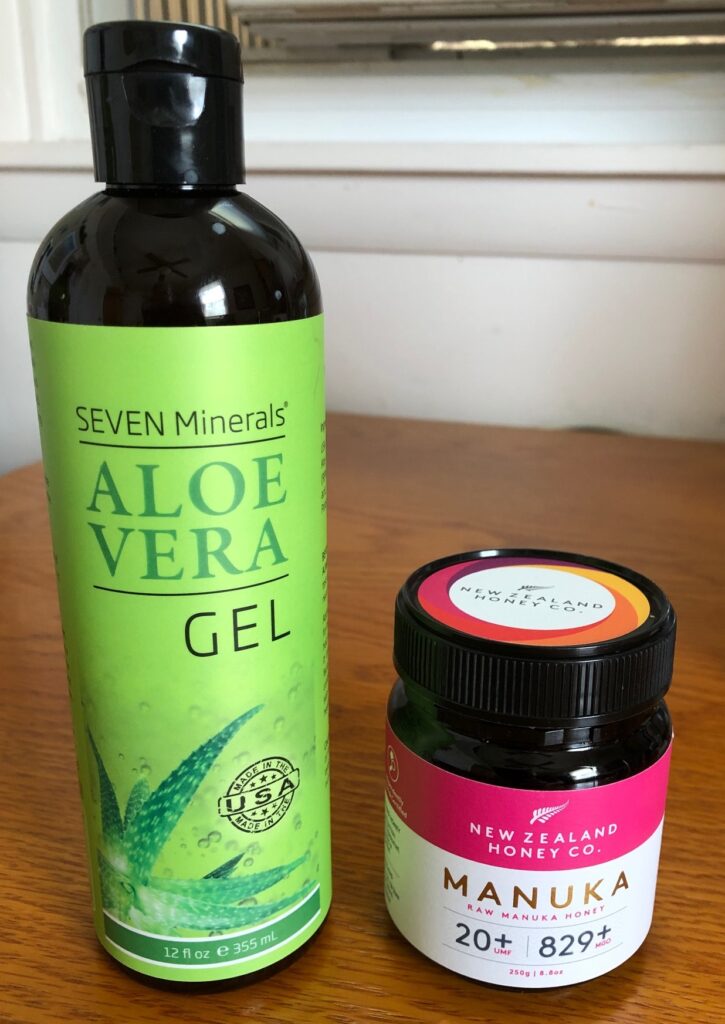
I’ve been making lotion bars for several years and I was interested in making them not only convenient but also healing for your hands. I tried to incorporate Manuka honey into the mix, but it doesn’t incorporate easily and I couldn’t add enough to make a difference. I tried using Aloe Vera gel, but that posed a similar problem. The heavy gel would sink to the bottom of my mix and the last bar I poured was big glop of Aloe Vera gel! Very frustrating!
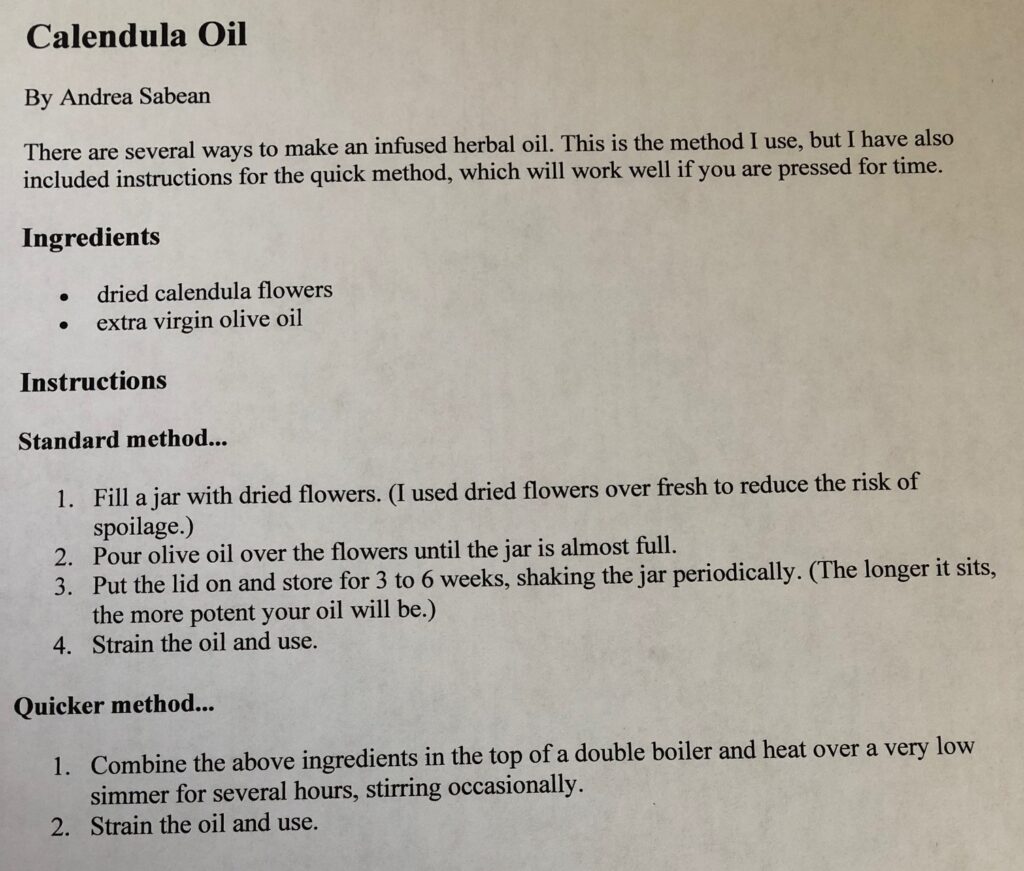
I often start with Calendula-infused olive oil (see my post from April 7, 2021) and calendula has healing properties of its own, but I have a few folks that can’t use that herb. Lavender also has healing properties so I decided to use that.
About Manuka Essential Oil
Then I discovered Manuka Essential Oil was on the market. This essential oil has been found to have many of the same healing benefits of Manuka honey, and does not have the issue of being a bee product. The oil is made through steam distillation of the leaves, branches and other parts of the tree…no bees involved! That’s good, because folks who are very allergic to bee stings could also be triggered by honey and other bee products.
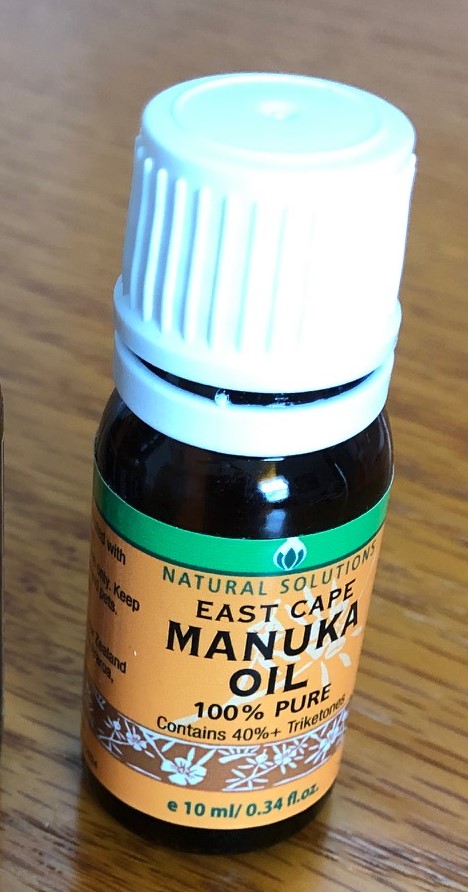
Manuka essential oil, like Tea Tree oil, possesses antifungal and anti bacterial properties. Unlike Tea Tree oil, Manuka oil is non-toxic and non-irritating. It is 20-30 times more active that Tea Tree oil against certain bacteria and more effective against strains of fungi and viruses. It is safe and soothes symptoms of itching skin, rashes and exzema.
Essential oils also do well when added to hot oil/wax mixtures. A small amount can make a difference. Now I had a better way to enhance the healing properties of my lotion bars.
(Please note: Do not use Manuka Essential Oil directly on your skin…always mix it with a little carrier oil like almond or olive oil.)
First Make Lavender-infused Olive Oil
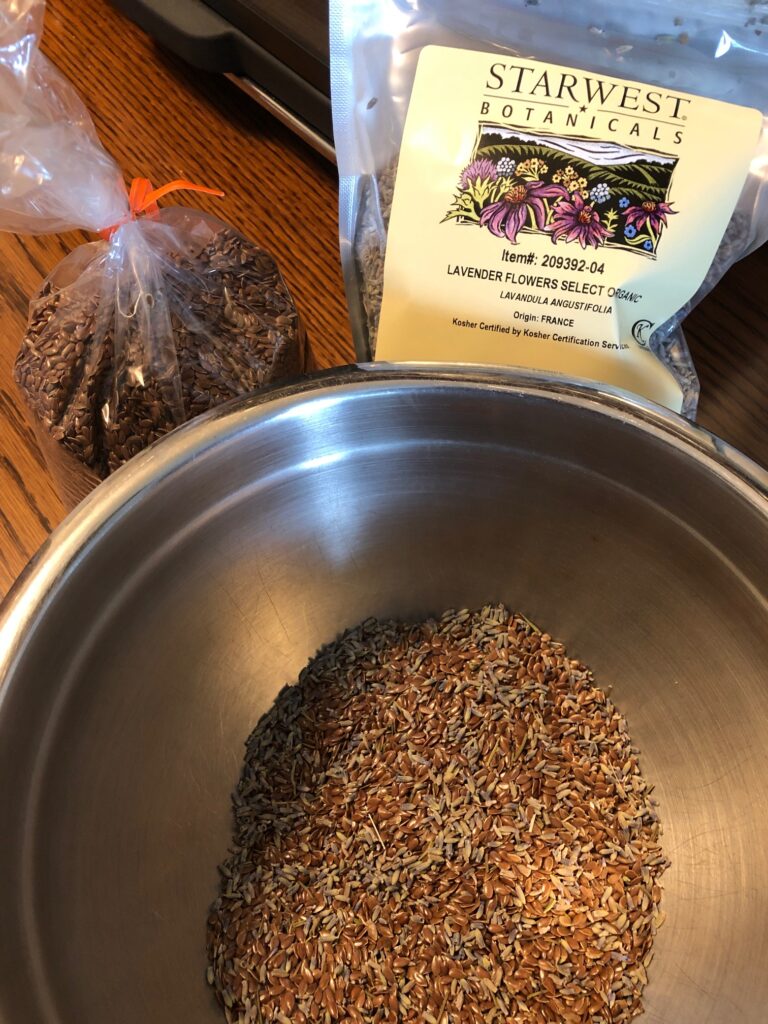
Most lotion bars start with a good olive oil infused with herbs. Instead of using dried calendula flowers, I decided to use dried lavender buds. This would be better for some folks.
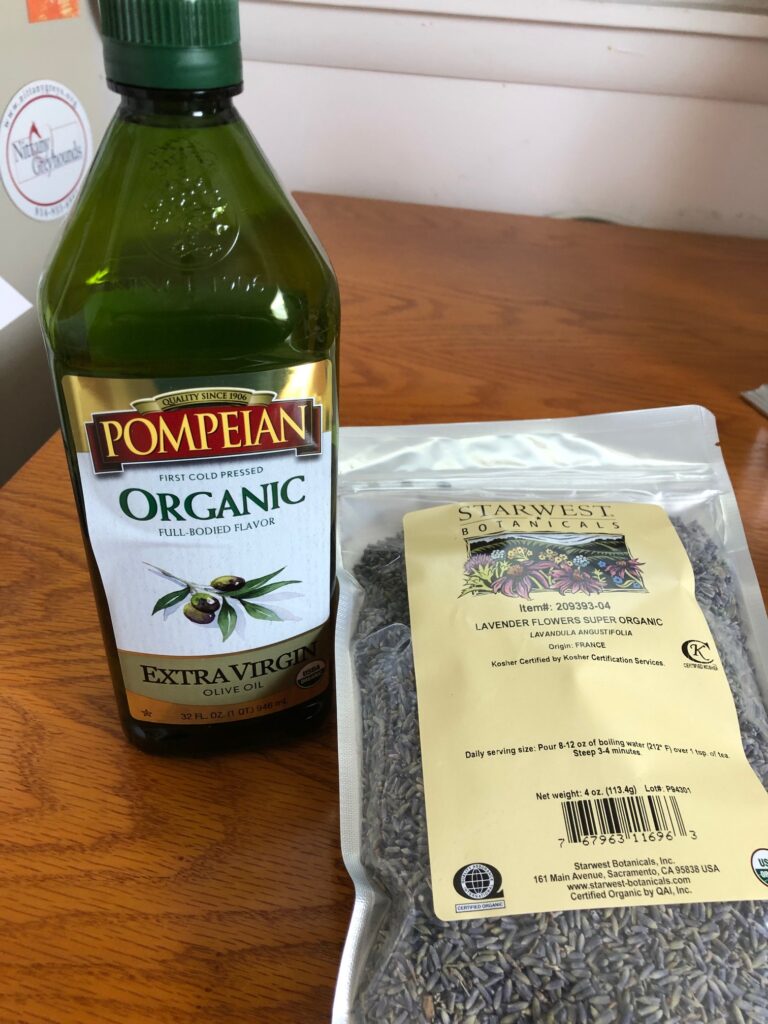
Infusing olive oil with lavender is the same process I used to infuse calendula (see the recipe below). I basically did the quicker method.
I started with a 1-quart canning jar and used about 2 cups of lavender flower buds. I simmered the oil/flower mixture for about 6 hours. Once I strained the flower buds out of the oil, I had about 2 cups of oil. I stored this oil in the refrigerator until I was ready to make these lotion bars.
Making the Lotion Bars
Now that I had the oil prepared, I was ready to make the lotion bars. Here’s the recipe:
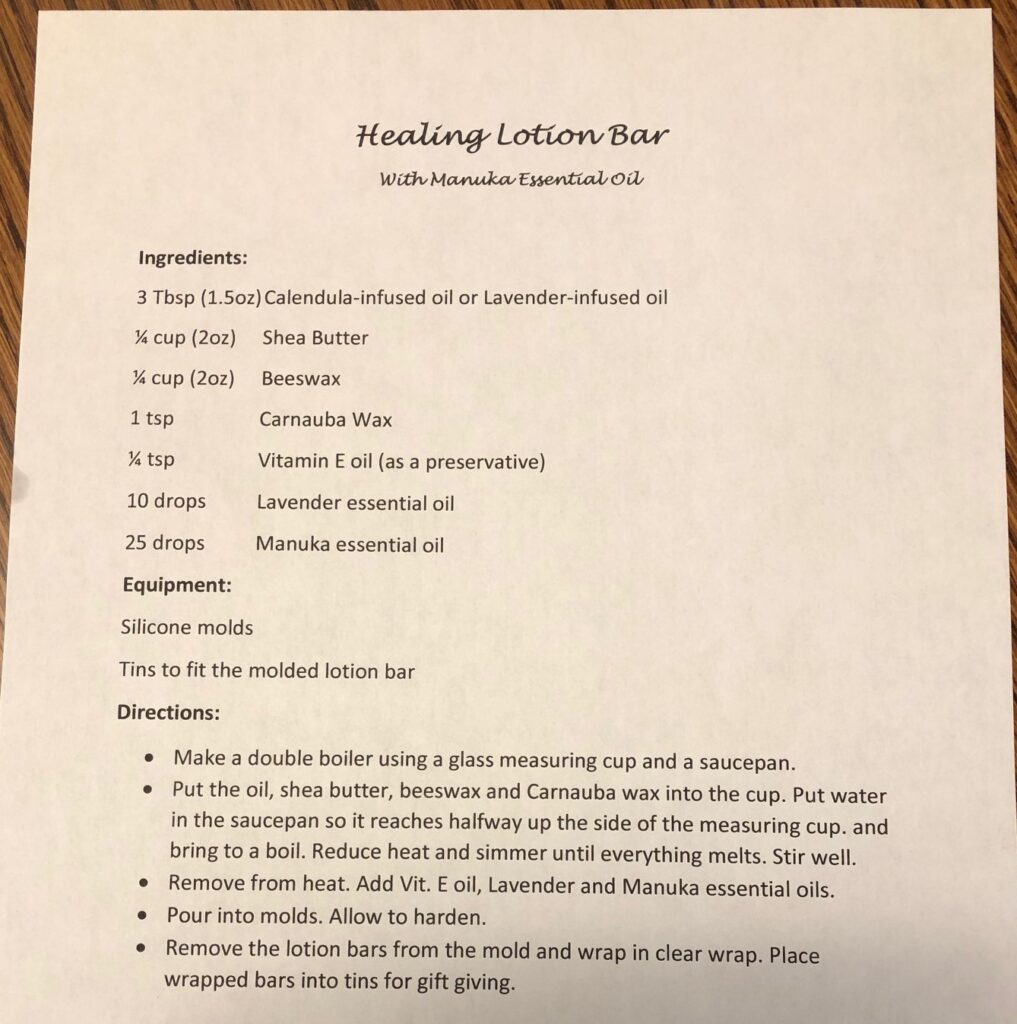
You can see, the recipe is the same whether you are making Calendula-or Lavender-infused oil. The rest of the ingredients are shown below.
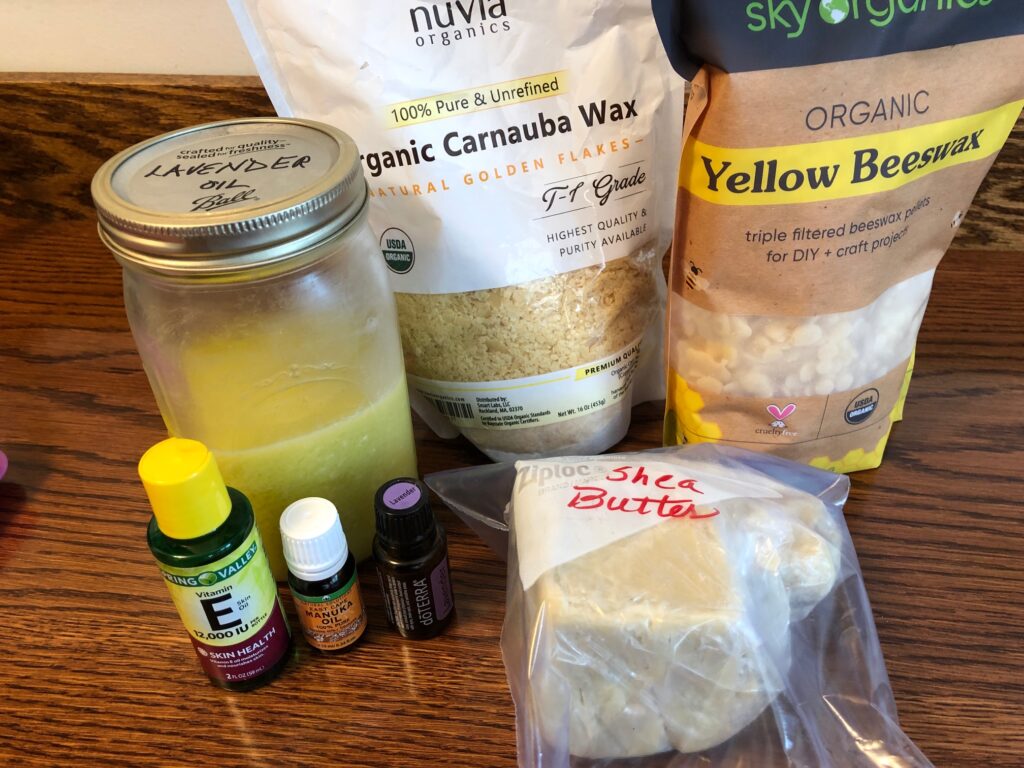
I measured and/or weighed out the ingredients into a glass heat-proof measuring cup, set the cup into a saucepan with water and slowly brought the water just to a boil. Then I reduced the heat until everything melted.
After removing it from the heat, I mixed in the Vitamin E (which acts as a preservative), the Lavender essential oil and the Manuka essential oil.
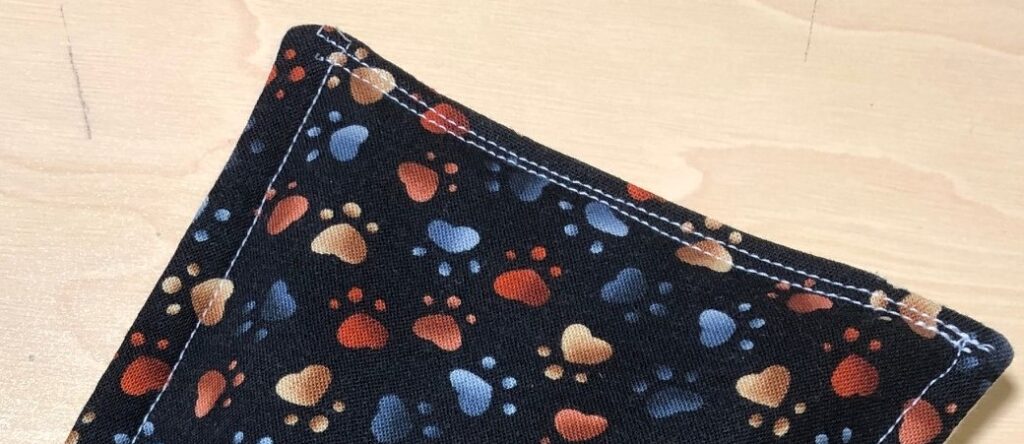
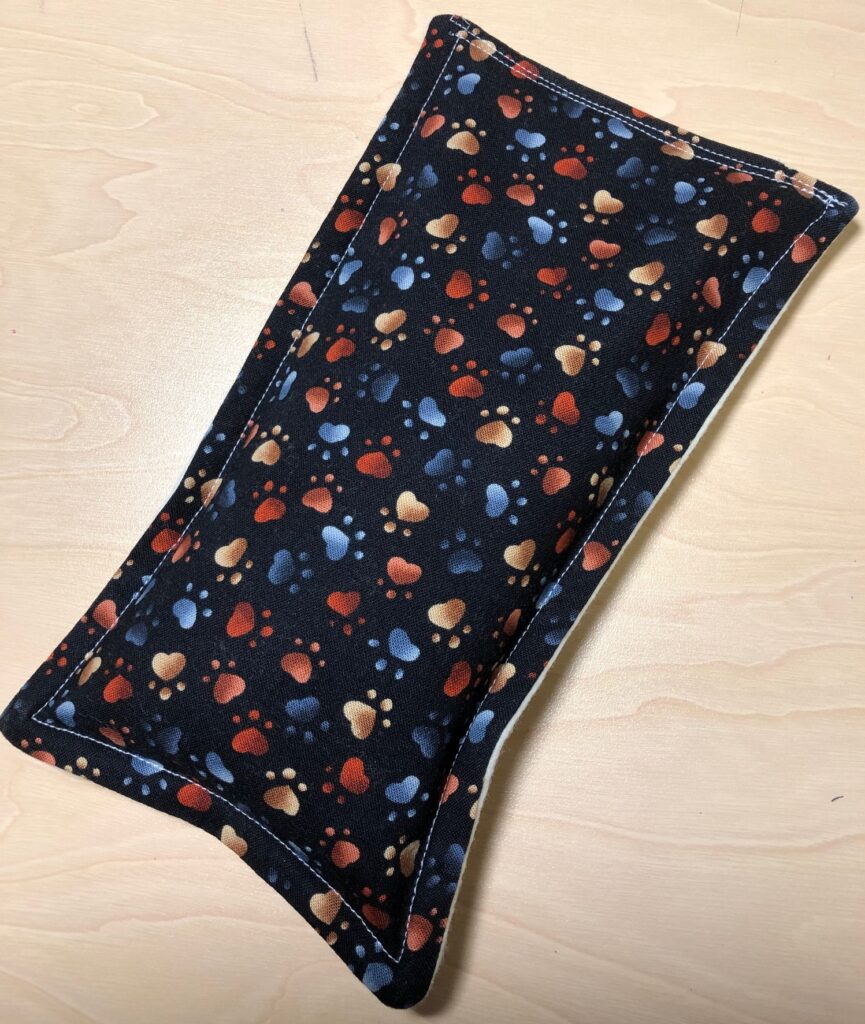
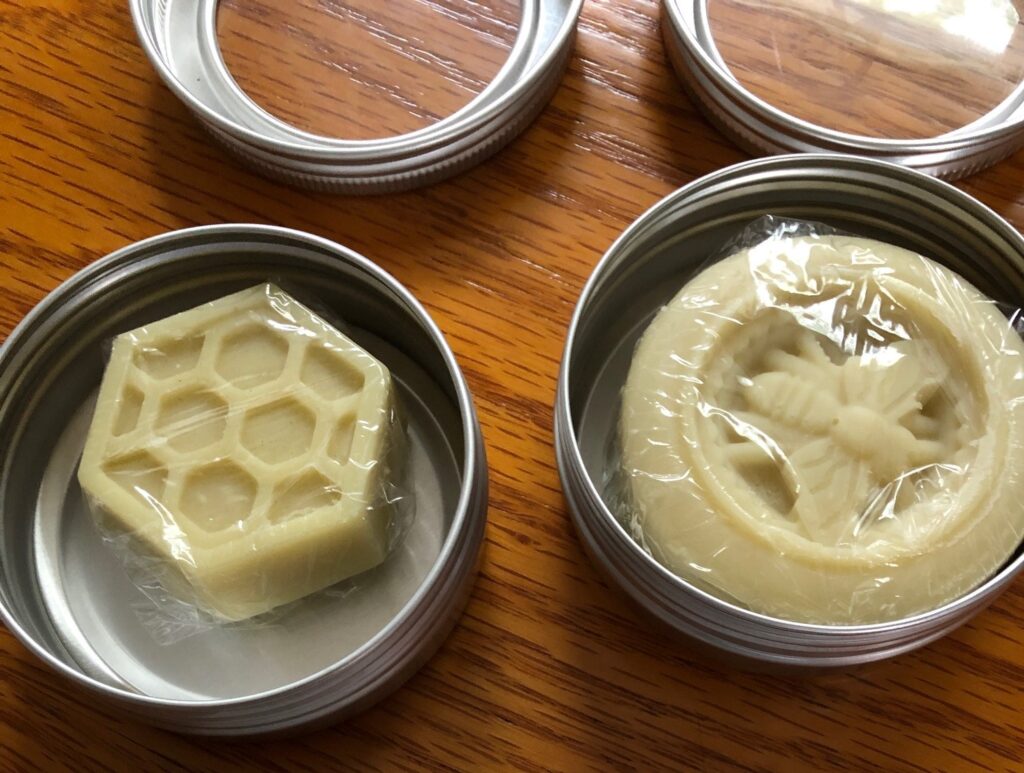
I poured the now clear, hot mixture into molds. This time I chose the paw print mold.

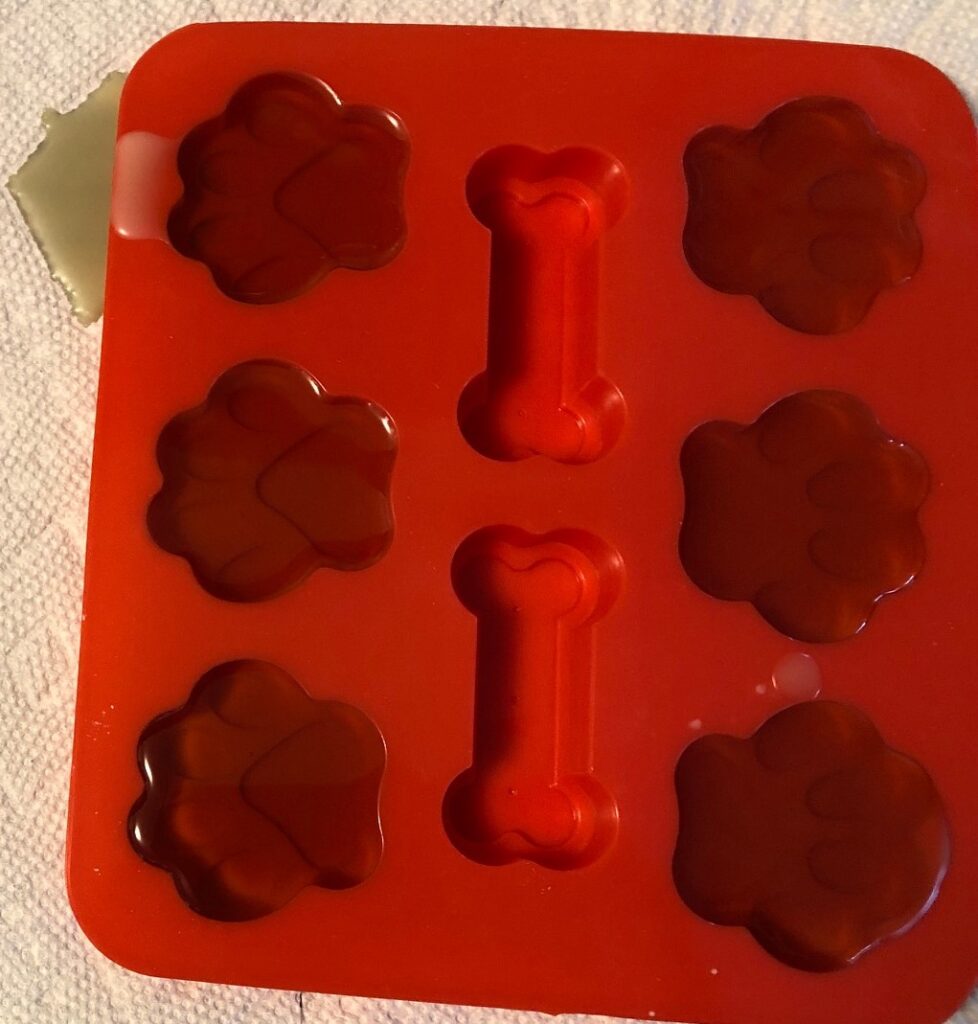
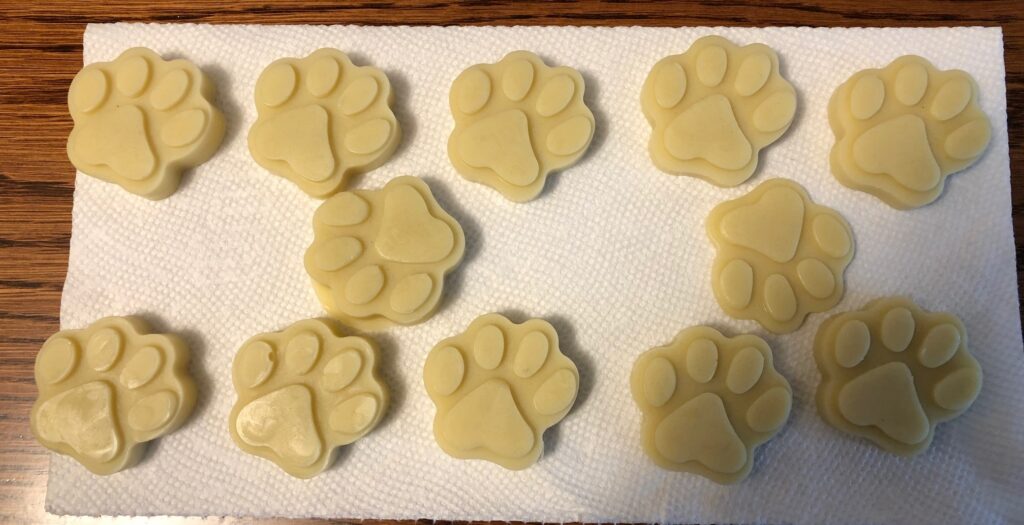
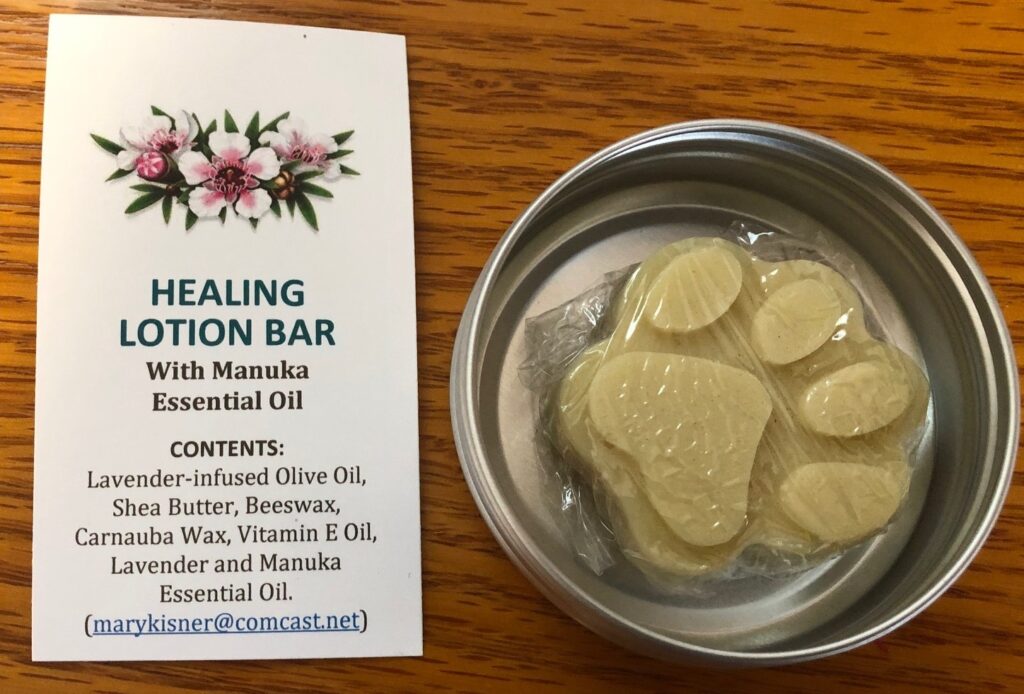
Your choice of mold will depend on what you plan to put them in and how many you want to make…the smaller the mold, the more you make. These bars do need a container of some kind. To take up less space they could be dropped into a zip lock bag, but the tins really are easier. I used 2 oz. tins with a clear window in the lid. I put a sticker/label on the back so folks know what it is (you may laugh, but I also make small soaps like this and it pays to label everything). When the bars are cool, I like to wrap them individually in clear plastic wrap so they look nice until I give them away!
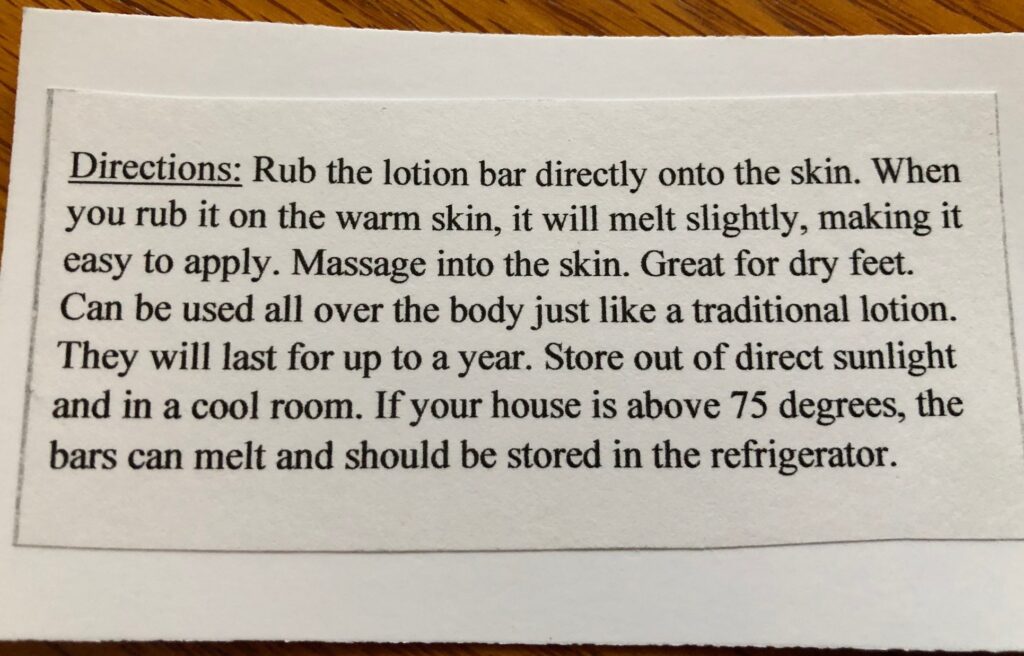
When I package them, I include a card with the ingredients. On the back I’ve pasted a paragraph describing how to use them. The card says they will melt at temperatures above 75 degrees, but while they may soften, I haven’t found that to be a problem.
Now I’m ready to have lunch with some high school friends! Maybe they’ll agree to test these lotion bars! Enjoy!
Please comment or email me directly at marykisner@comcast.net.