
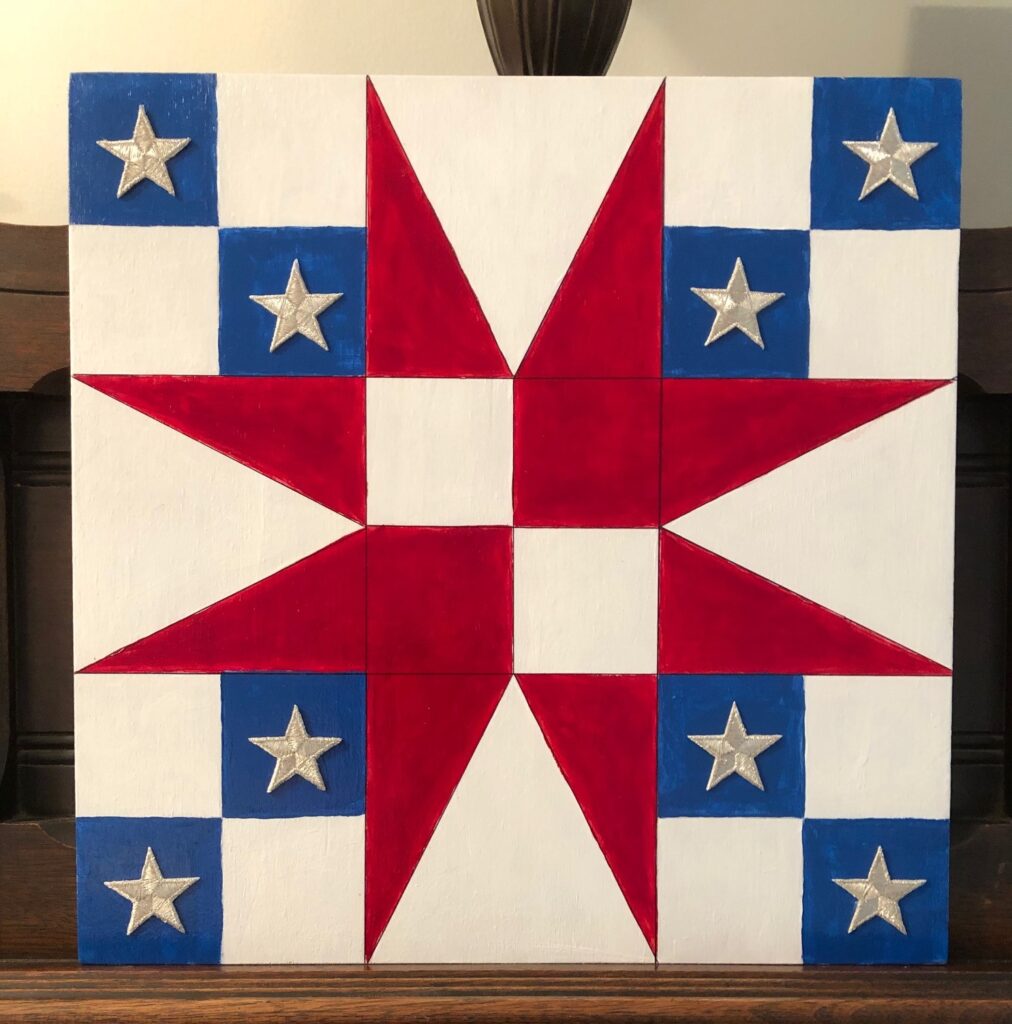
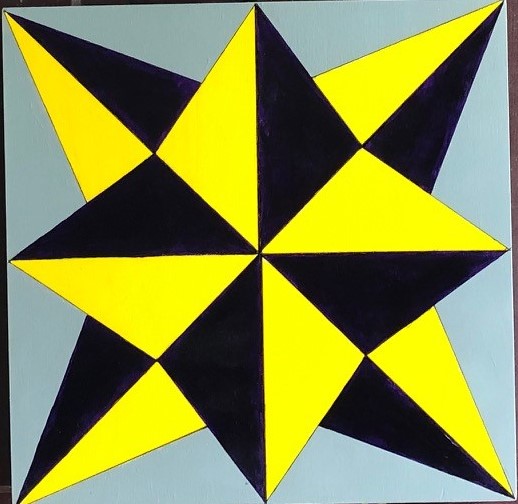
This week I was determined to choose a new quilt block that I could paint on wood. I wanted something different and colorful for Autumn. I enjoyed painting my first two blocks and you can see them below. If you want to read how I made them, click on the link under each picture.
For the Autumn block I wanted something totally different. I pulled out my favorite book for ideas:
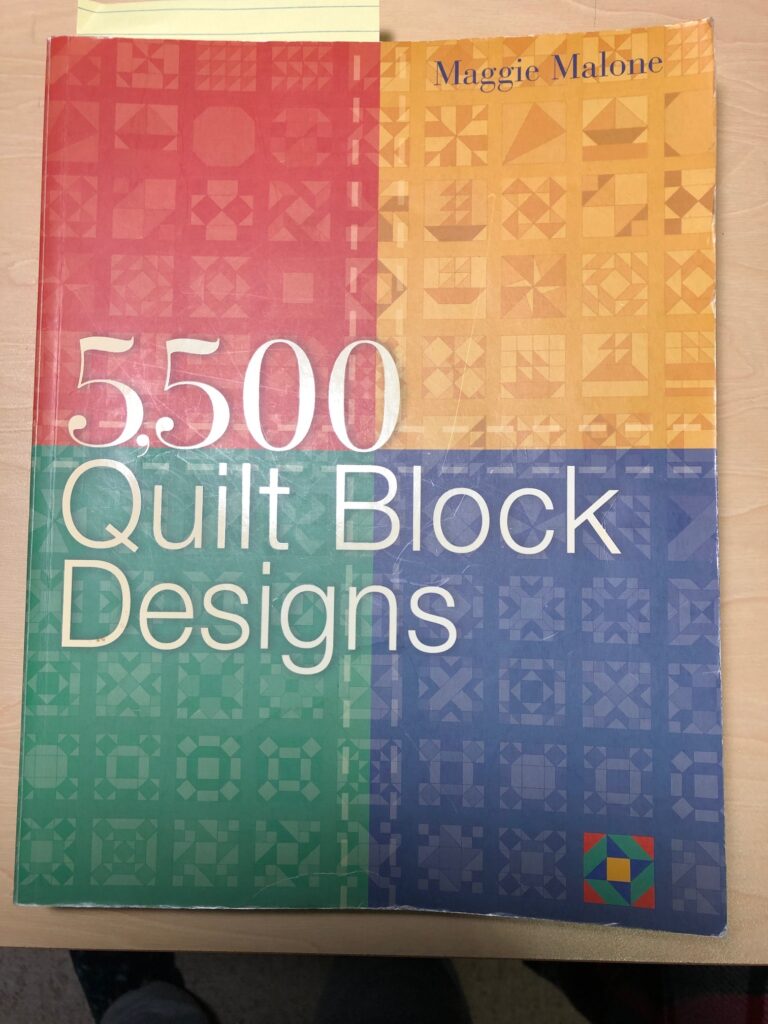
This book organizes quilt block designs by the grid they are based on:
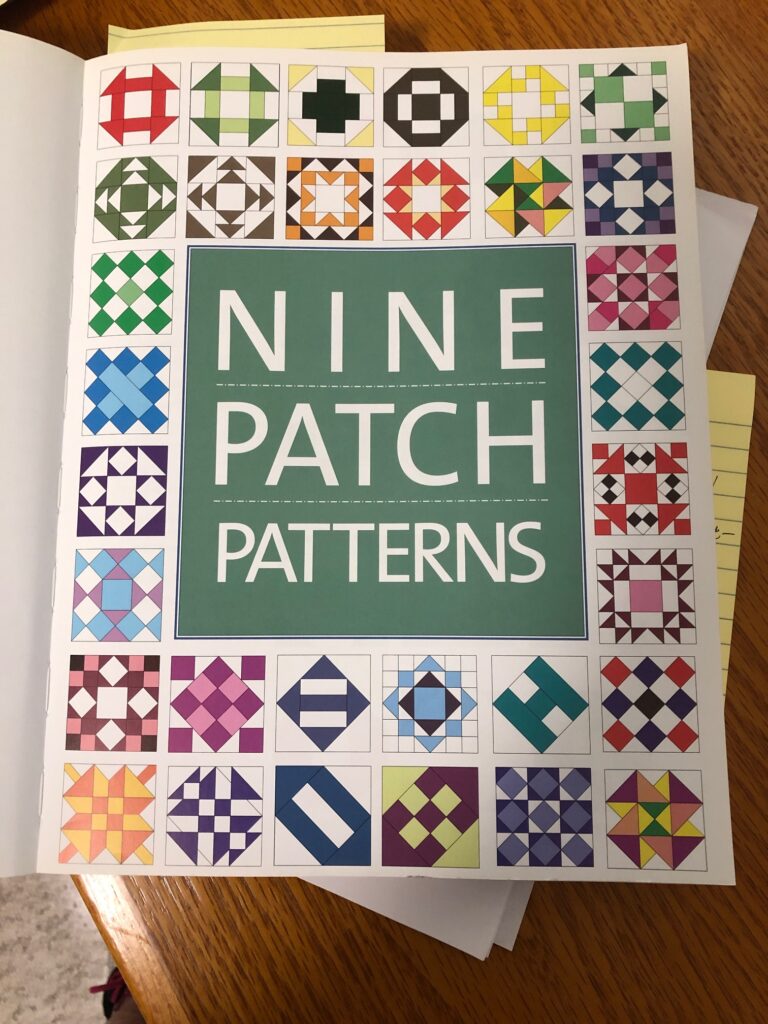
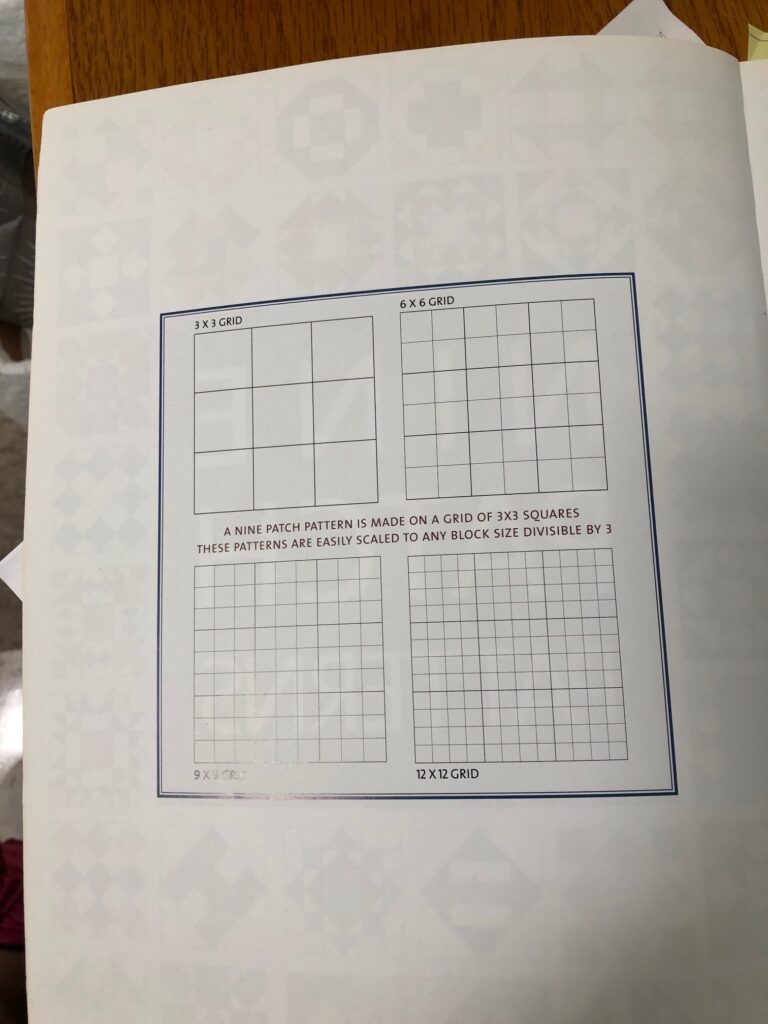
And followed by pages and pages and pages of sample blocks! Thank goodness there is an index, by names, of all the patterns. I usually start by just browsing through the book. So many choices!
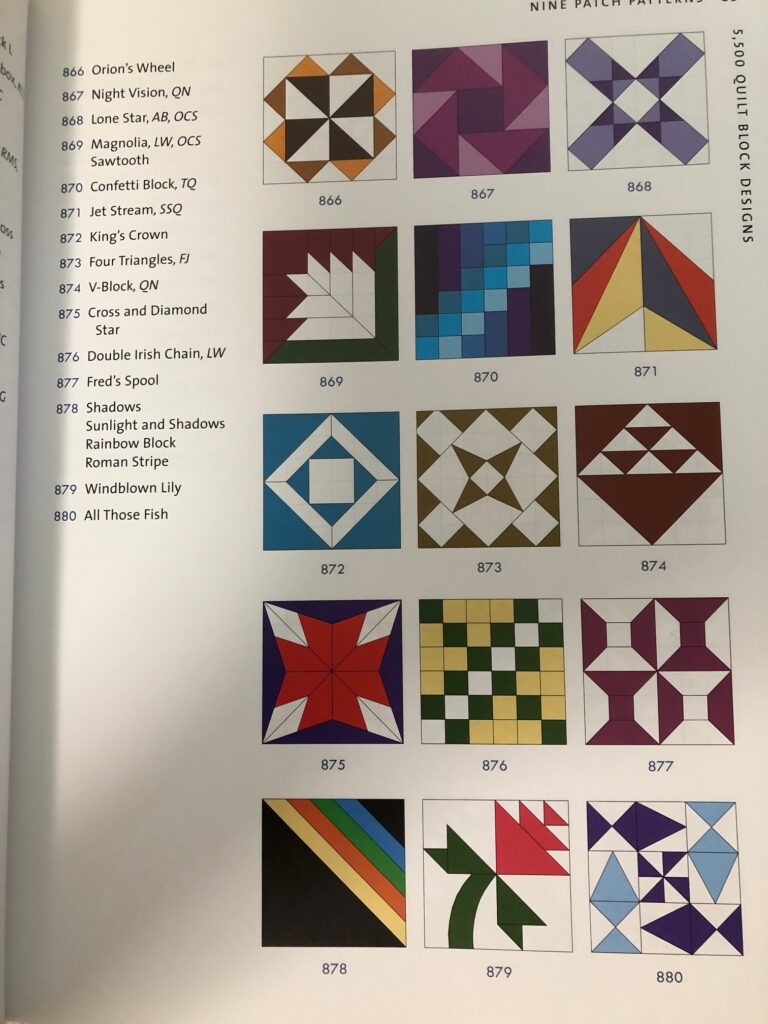
I ended up choosing this block:
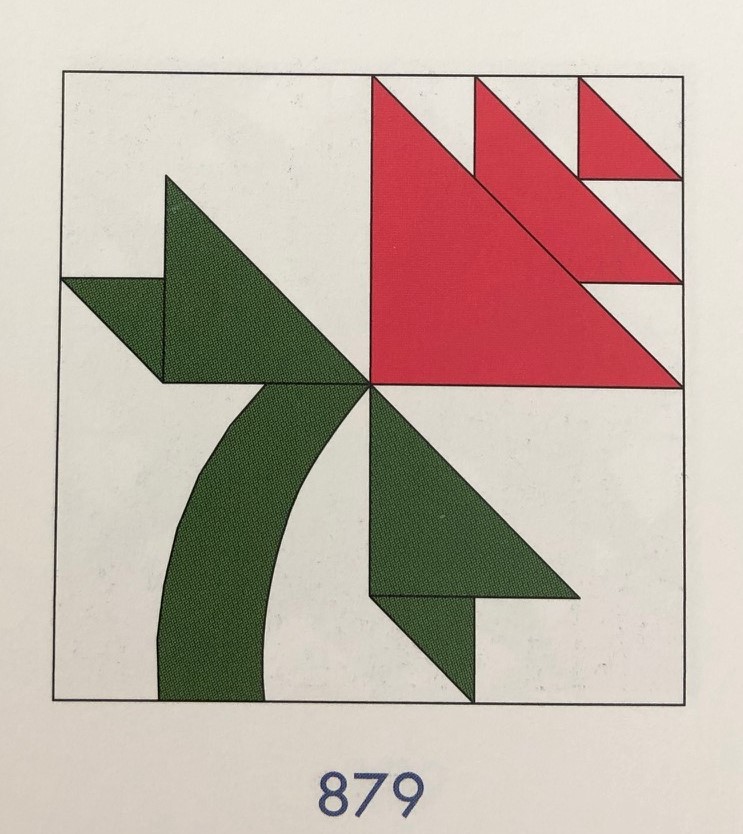
Next to the picture was a number and the name was in the list to the left.
I really liked how different the block was and figured I could make the flower in orange, which would make me think of all the autumn flowers I see right now. I don’t think it matters that it’s called a “Lily”–I can call it anything I want!
Making the Sample Block
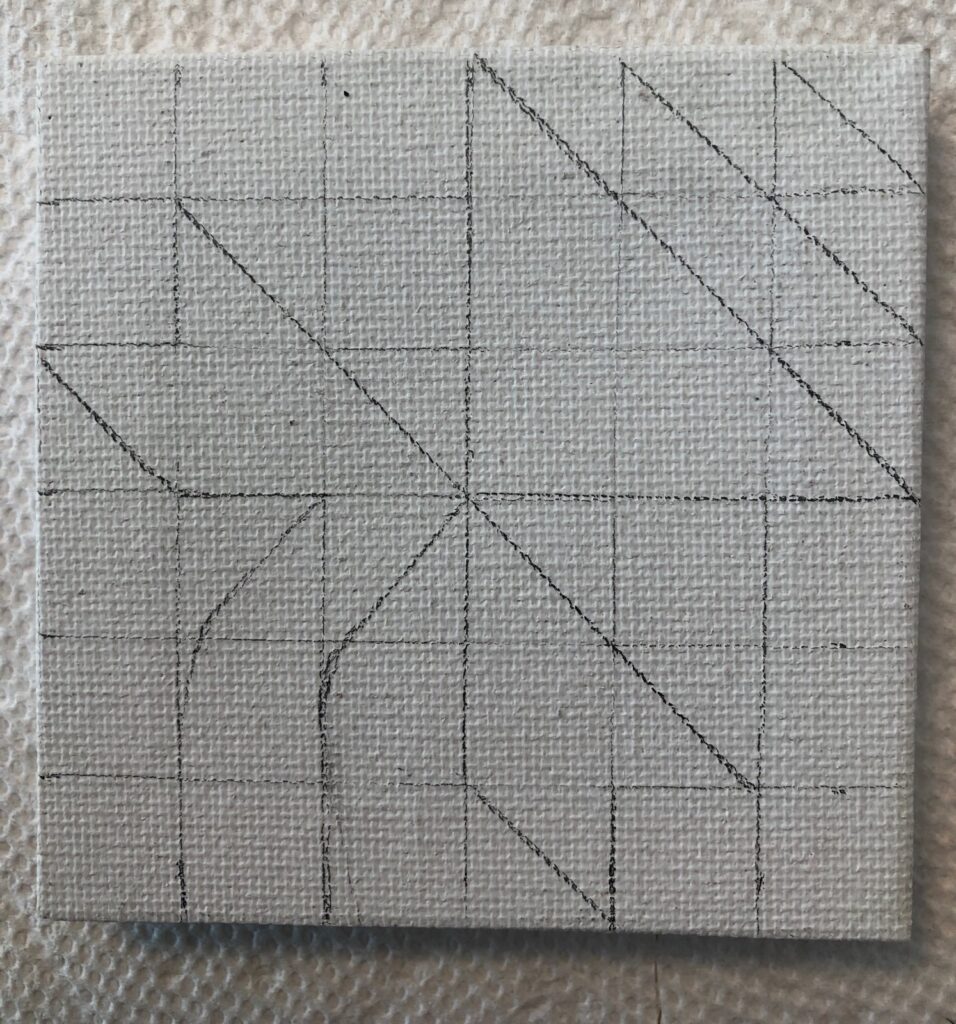
I like to start with a 3″ x 3″ tiny canvas. It helps me visualize the layout on a small scale. I don’t worry about making mistakes or erasing pencil marks. When I make this sample, I can decide if I like the colors I’ve chosen. It’s much easier to throw it away and start over if I need to.
Making the Full-Size Block
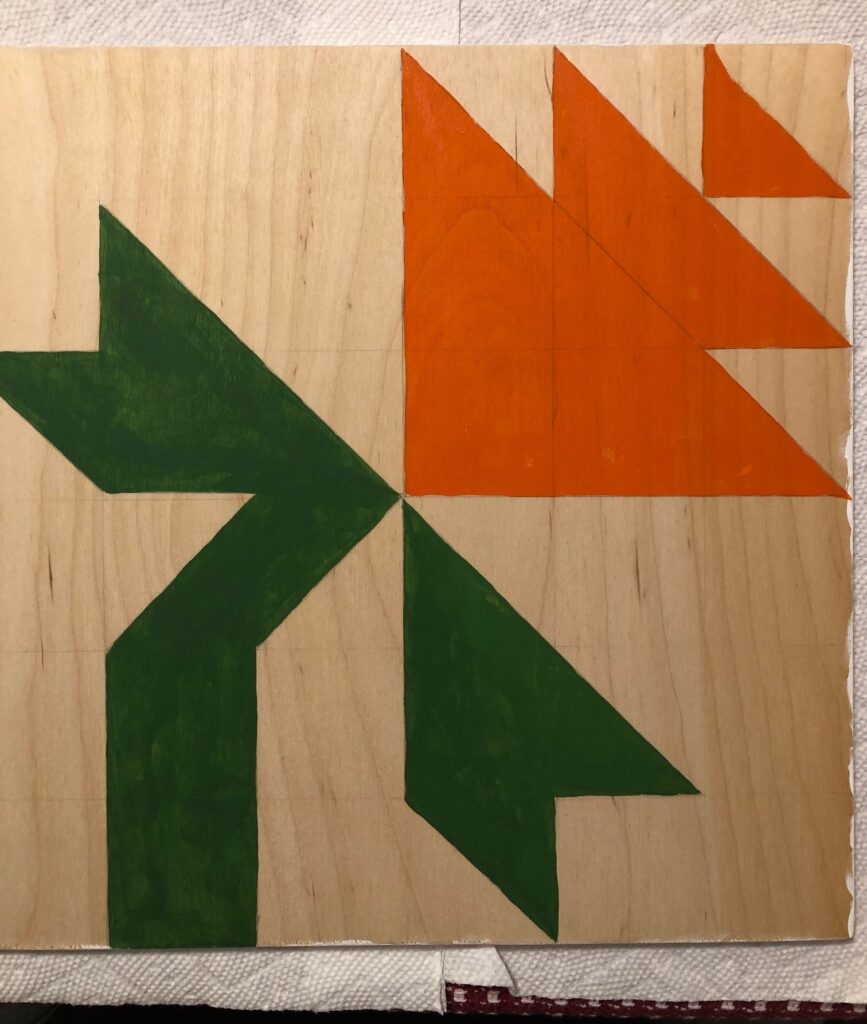
Step 1: I pulled out the 12″ x 12″ piece of 3/8″ plywood that Bert had cut out for me and sketched out the pattern with a pencil.
Step 2: I flipped the wood over and painted the back and edges white just to protect the wood from the weather.
Step 3: I painted the first coat of orange and green. I can still see the internal lines so a second coat is necessary.
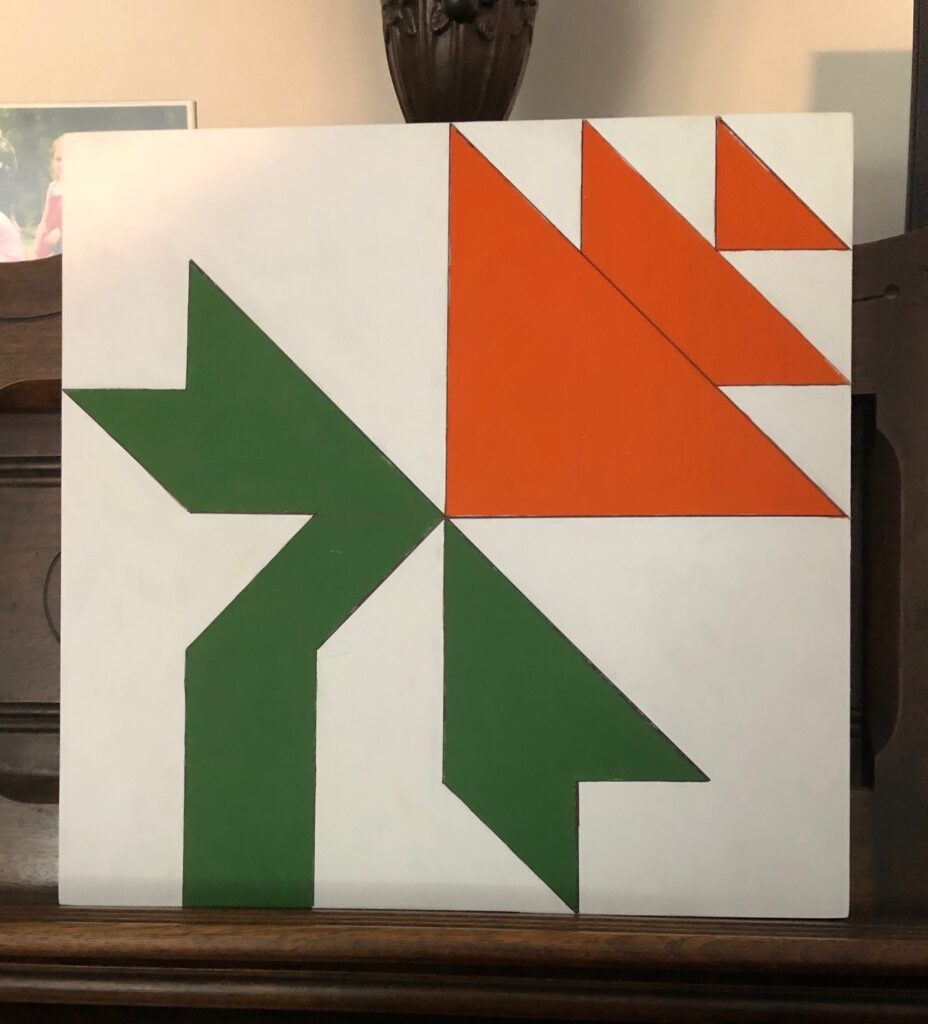
Final Step: I will spray both sides of the block with a clear acrylic spray so it can handle the weather on the front door. Finally, Bert will attach magnets to the back so it will stick to the front door! Yea!
I think this block will be cheerful this fall and will show through the screen door well. Don’t be afraid to experiment!
Please comment or email me directly at marykisner@comcast.net.