The last few days, when I needed a distraction, I decided to get the dehydrator ready for garden season. I look forward to planning what we’ll be canning, freezing and dehydrating. I also had fun with a new canning tool.
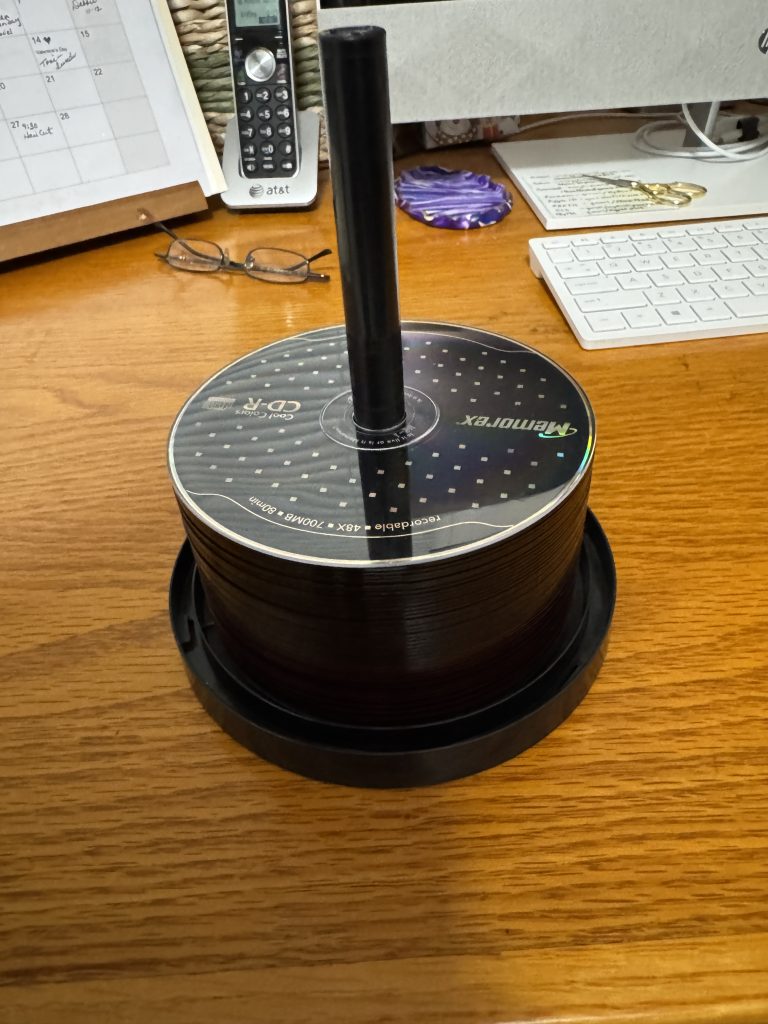
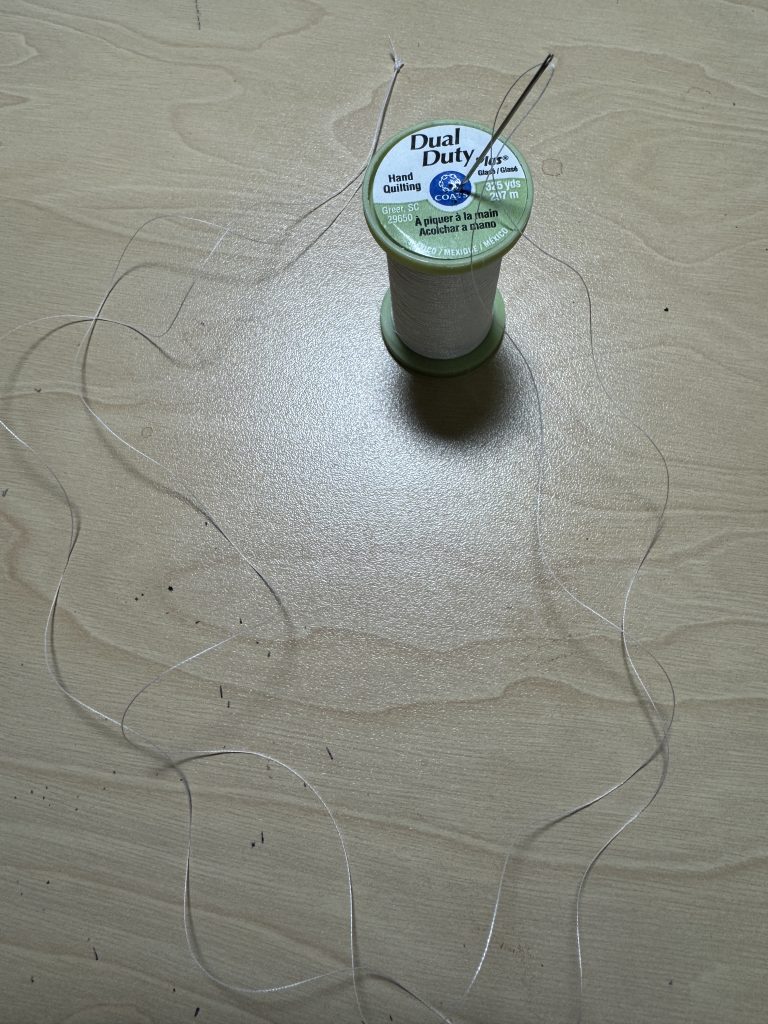
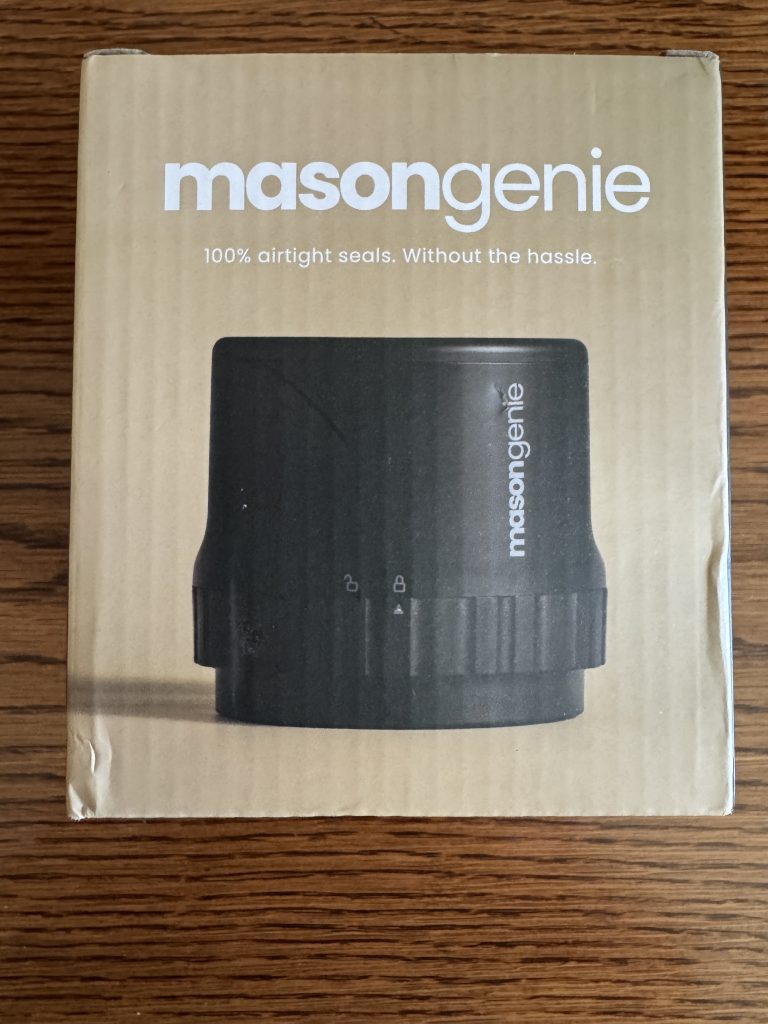
It all started with an ad for a tool, called a masongenie, that would suck out the air in a canning jar to seal it…as a way to preserve dry goods, like cereal, rice, beans or dried fruit. It looked pretty simple and could be used to re-seal the jar after using some of the contents. (NOTE: This is not a substitute for regular canning processes of raw, uncooked produce.)
I thought it might substitute for my usual way of taking the air out of a jar with little packets of “oxygen absorbers.”
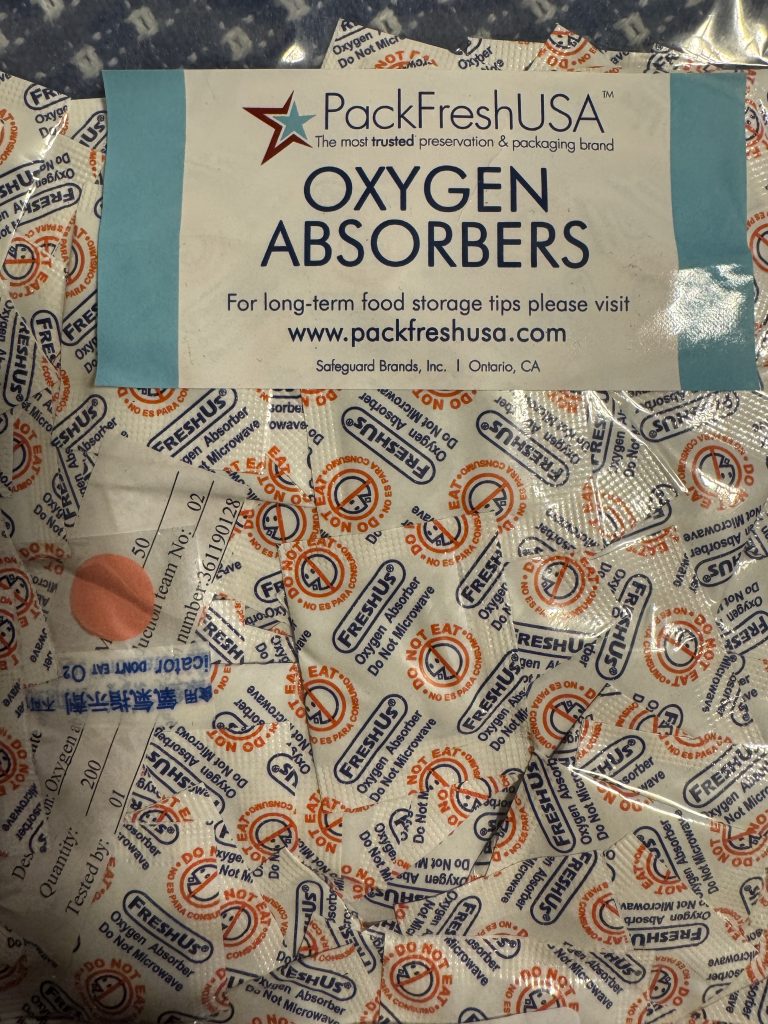
They worked, but if I opened the jar to use some of the contents, they had trouble sealing the jar again.
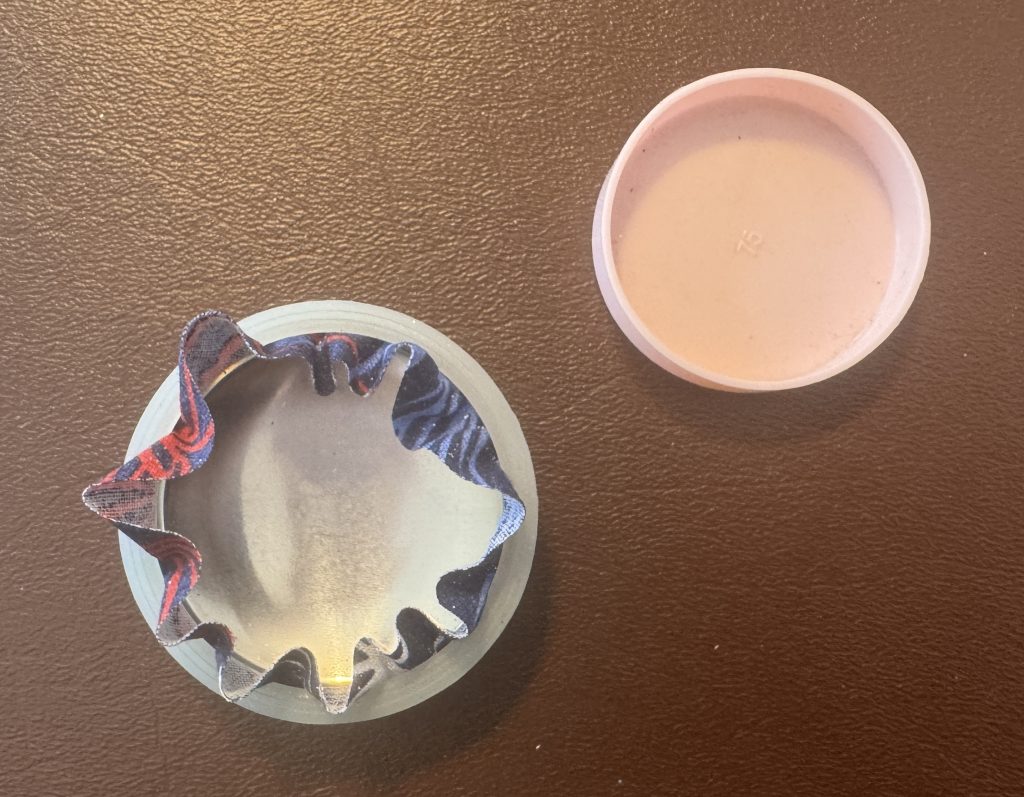
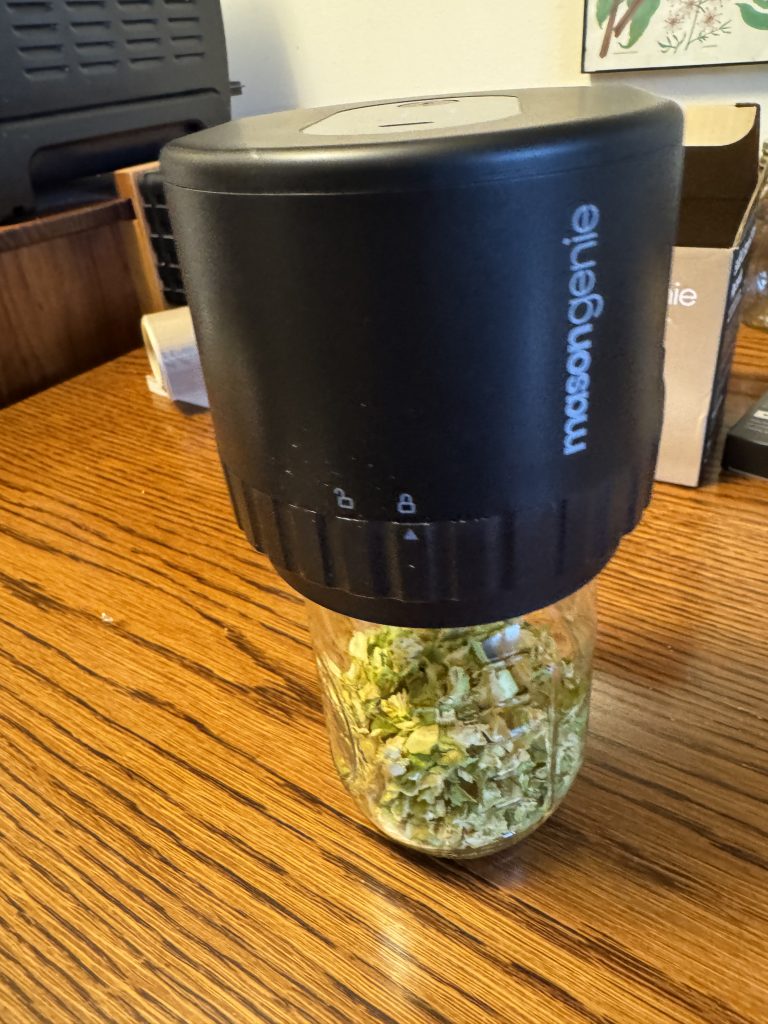
The masongenie works with regular-mouth and wide-mouth jars. It can be charged with a USB connection and can seal most jars in 60 seconds.

I started with a partial bag of rice just to give it a try. In 60 seconds, the lid sealed and I could put the jar on the shelf. Looked much better than the wrinkled bag of rice and should keep the rice fresher. Now, when I use some, I can easily reseal the jar.

Of course now I looked around to see what else I could seal! I got distracted with the package of dried bananas we had been snacking on. When we read the packet, it said, “Made in China!” Yikes! Certainly, we could do better than that. I started thinking about other snacks I could make in the dehydrator.

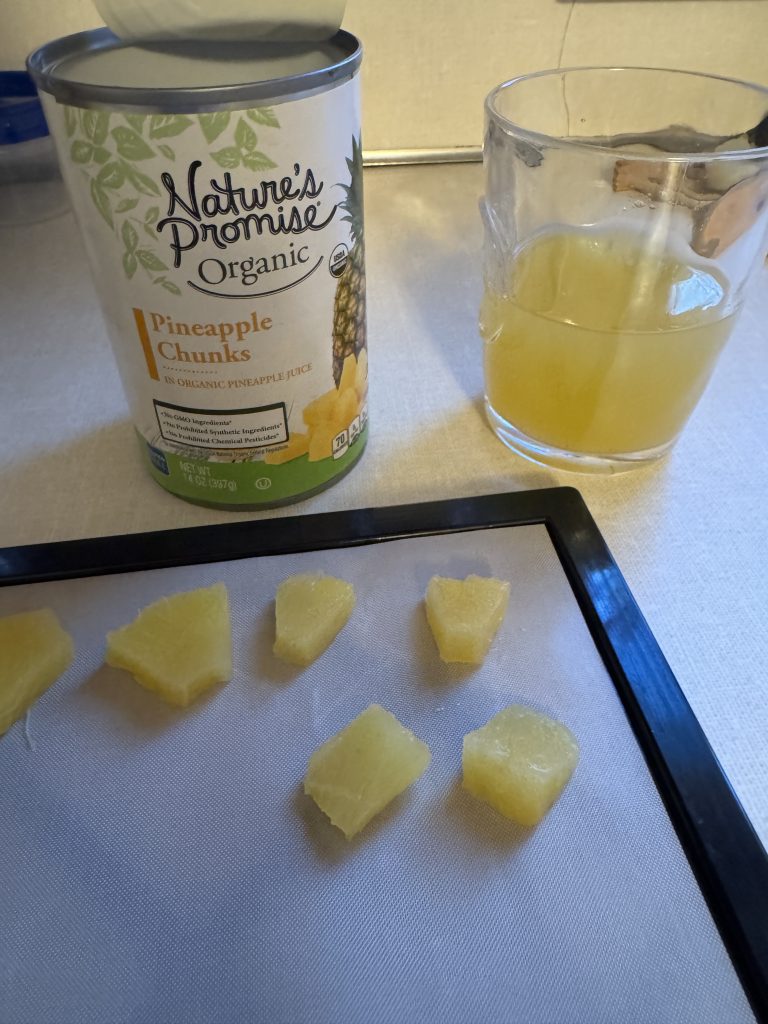
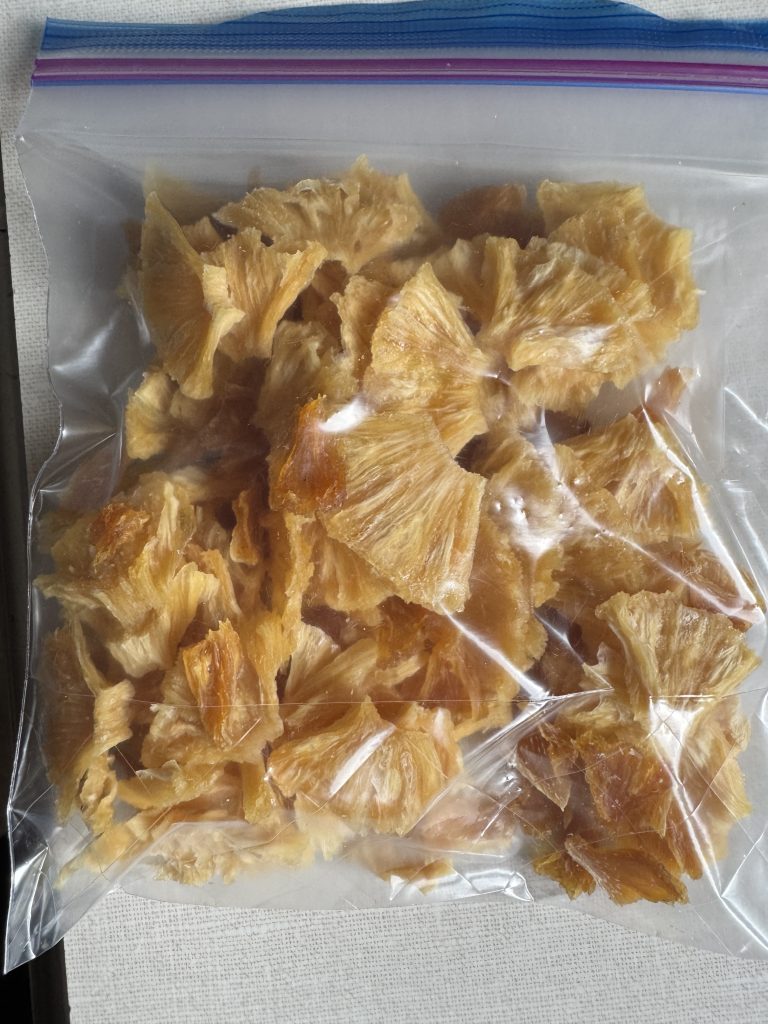
I understand these bananas were freeze-dried…which is something I can’t do with my dehydrator. However, I can do regular dehydrated bananas. I didn’t want to go to the store to buy them right then, but I did have cans of pineapple that could be cut up and dried. They might make a good snack until I could buy bananas!
With the can of chunk pineapple, I cut each chunk in half to make it thinner and laid them out on my dehydrator tray. I had several cans of pineapple slices so I cut them into quarters and laid them on trays. Frankly, the slices worked best!
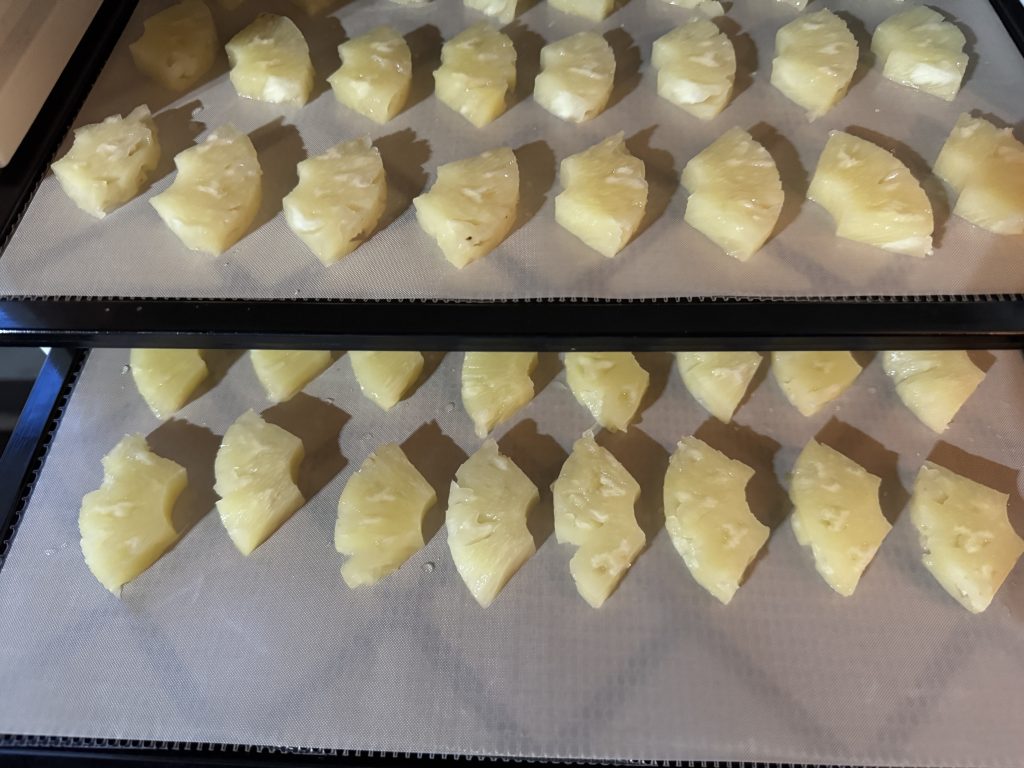
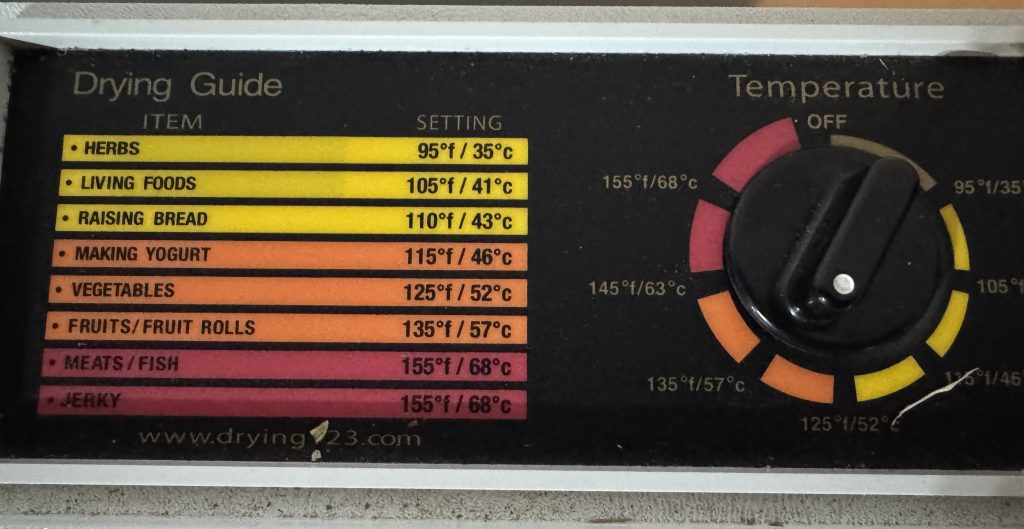
I filled three trays and started the dehydrator…135 degrees for about 16 hours!
The dehydrator ran all night until noon the next day! Delicious!
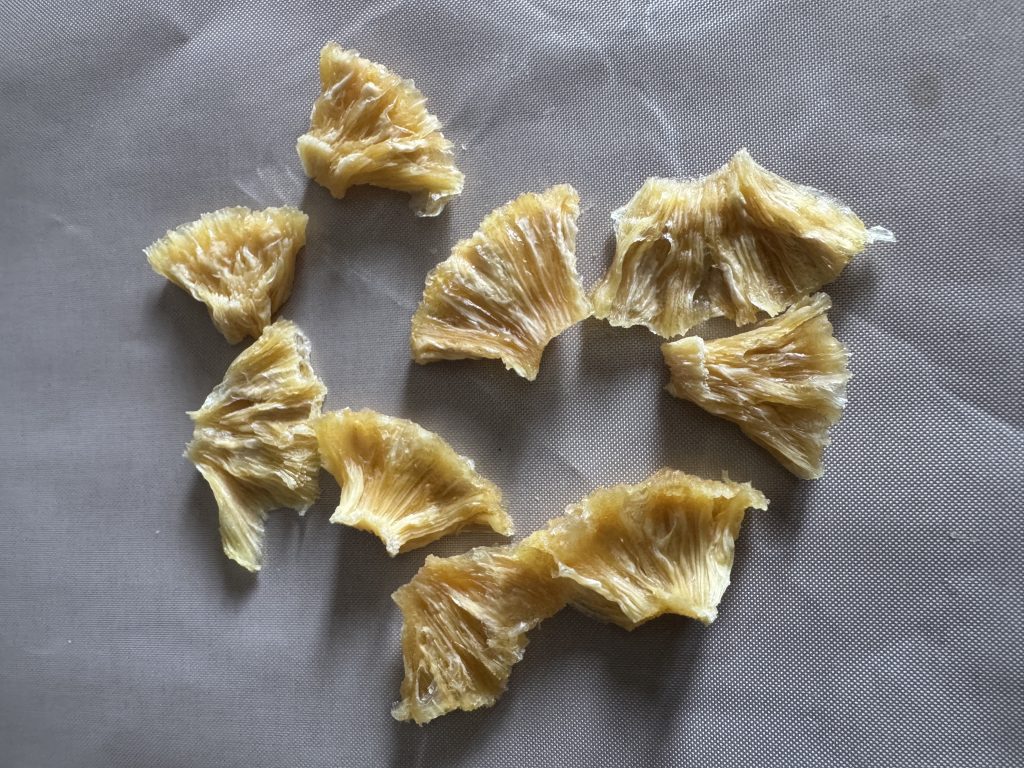
The pineapple is the first of several fruits I’ll experiment with…this batch is going into the fridge…the pieces were too big to bother putting in a jar!
Dehydrating Zucchini
Now that I had the dehydrator ready to go, I decided to work with the 4 medium zucchini I had on the counter. I use zucchini in a sausage/tortellini soup recipe, but I never seem to have zucchini at the time I want to make the soup. So…time to chop zucchini. Thinking ahead…that I wanted to dry the zucchini and store it in mason jars…I peeled the zucchini and cut it into small cubes. I filled up 4 trays with zucchini cubes.
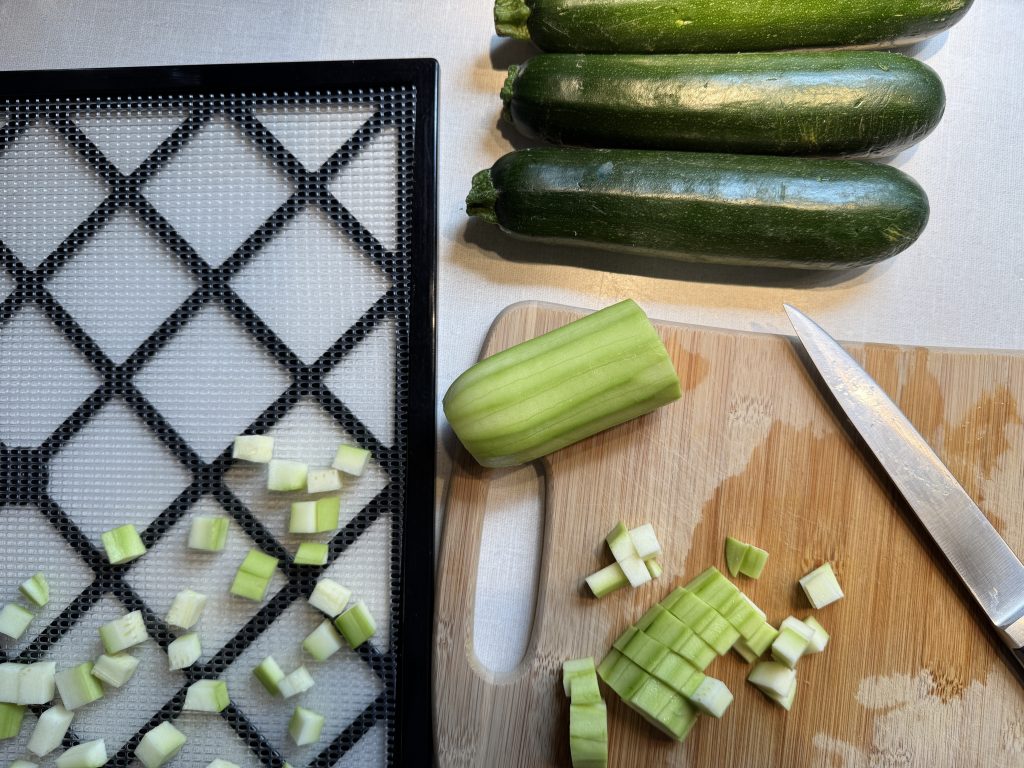
When dried, the chunks were pretty tiny, but all four zucchini made about 1 cup of dehydrated chunks! Next time, I won’t cut them so small.
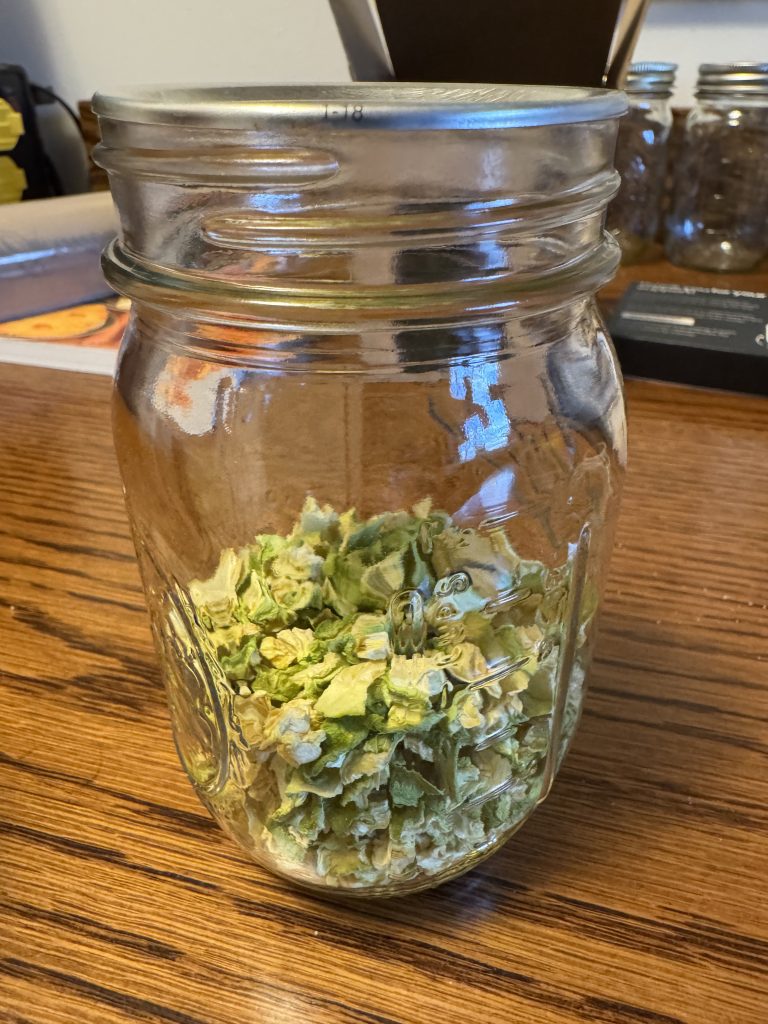
I put a lid on the jar, set the masongenie on top and in 60 seconds the jar was sealed! I added the jar to my shelf!
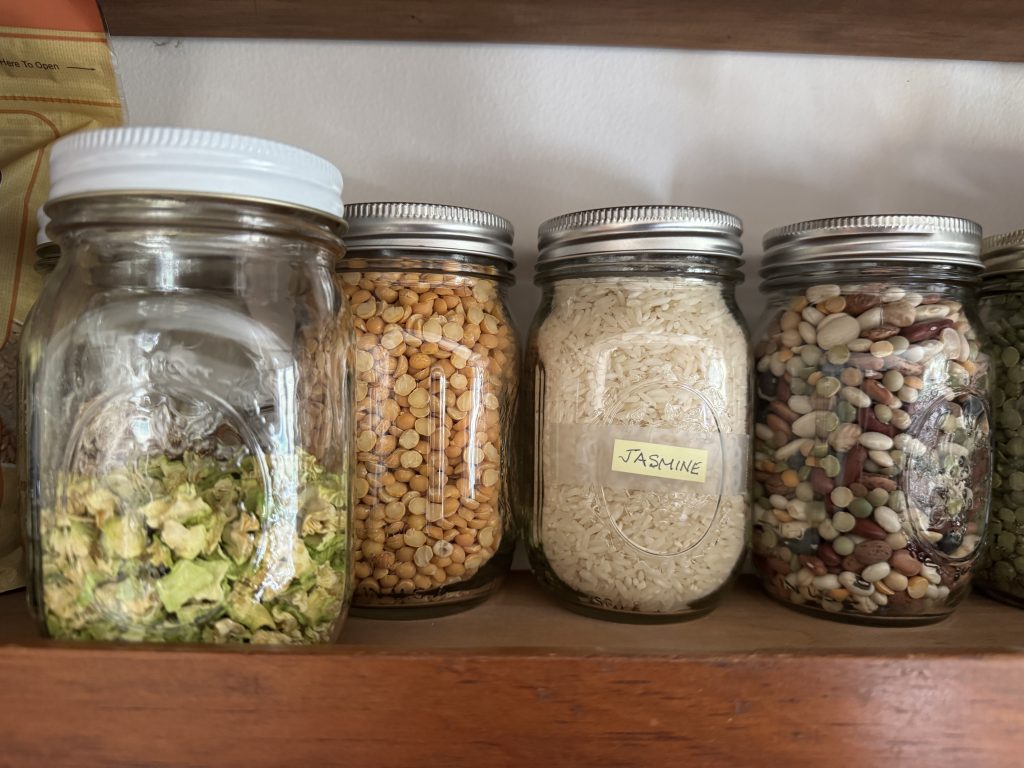
I’ll let you know when more produce and dry goods make it to my shelf! Garden season 2025 is coming soon!