Ok ok. If you have two greyhounds you have a “brace” of greyhounds. If you have more than two…like a whole bunch…it’s called a “leash”. Sorry if I offended anyone. At least a bunch isn’t called a “murder” (like crows) or a “herd” (like cattle) or “flock” (like chickens).
So…on Sunday I enjoyed spending time with a “leash” of greyhounds! Read all about it in my previous posting!
What a wonderful experience I had at the annual “Gathering of the Greys” also called the Greyhound Picnic, at the Nittany Greyhounds facility outside of State College! I learned several months ago that a bunch of greyhounds is called a Brace. I’m not sure how many folks attended but I know over 100 had signed up to come…most with their dogs!
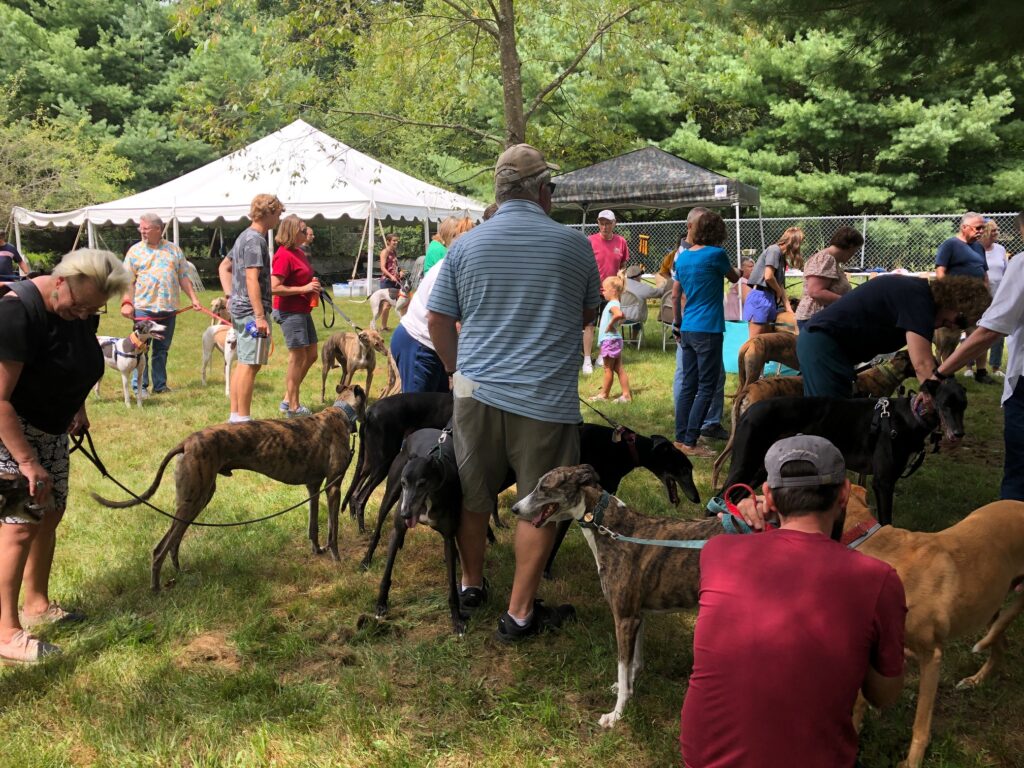
I thought I had some idea of what to expect because I had hugged quite a few greyhounds over the years as I made coats for them. But one at a time was nothing compared to more than 75 dogs (all on leashes of course) at a gathering. It was amazing!
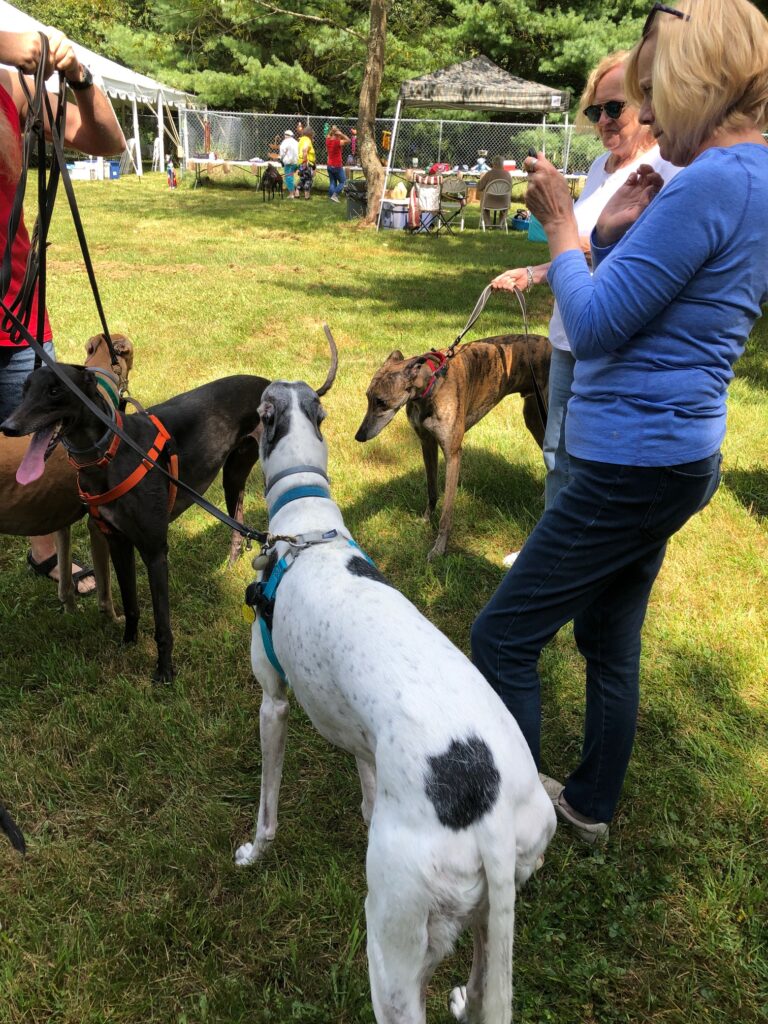
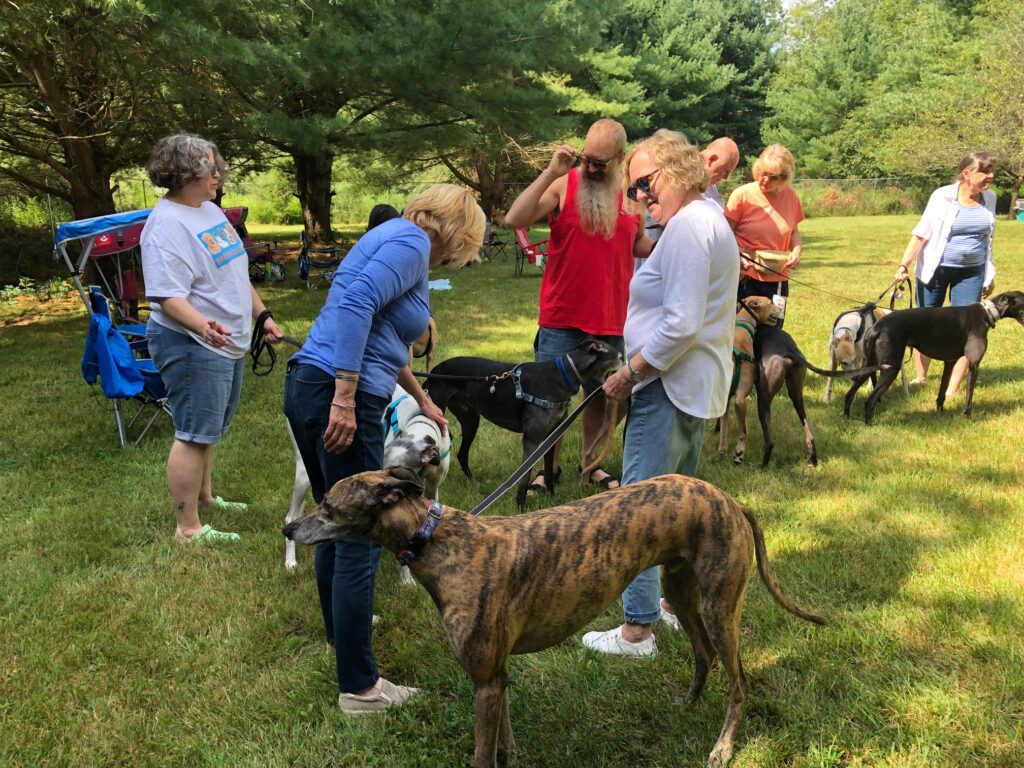
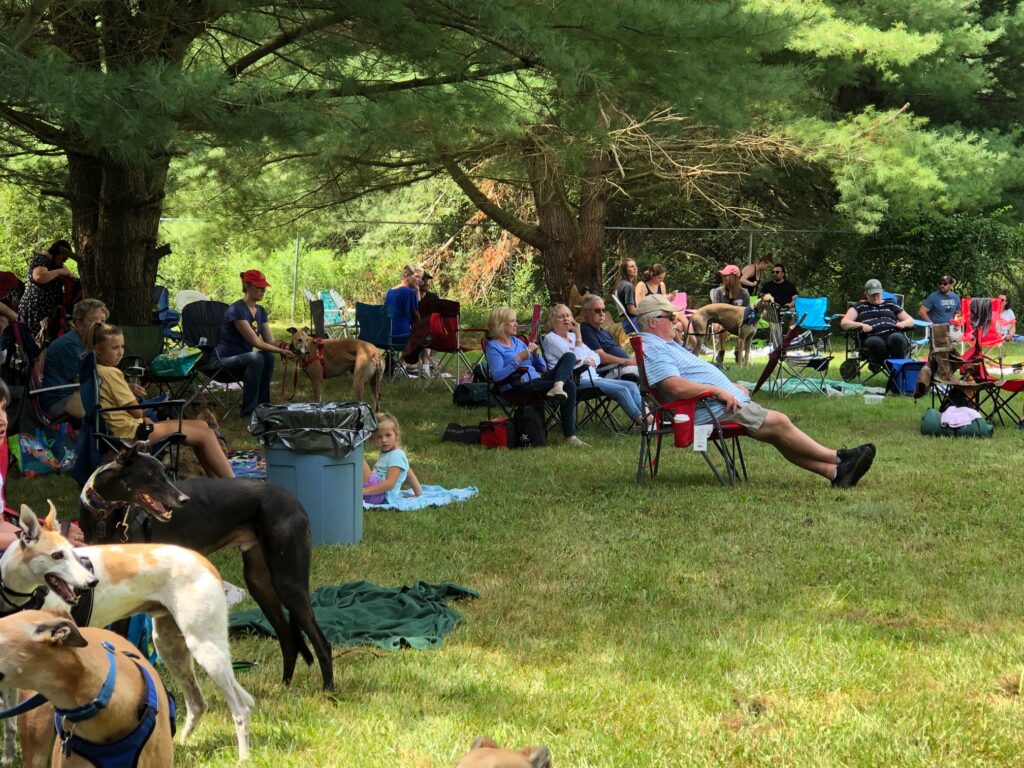
As they arrived a few at a time with their special humans, their calm personalities showed how well they fit in, in a variety of settings…waiting in lines, standing beside their humans as folks caught up with friends they hadn’t seen for a long time. The dogs checked each other out of course, but no barking or growls were heard. A few had muzzles on for general safety but I didn’t observe any issues among the crowd. I suspect any dogs that were uncomfortable in large groups might have stayed home.
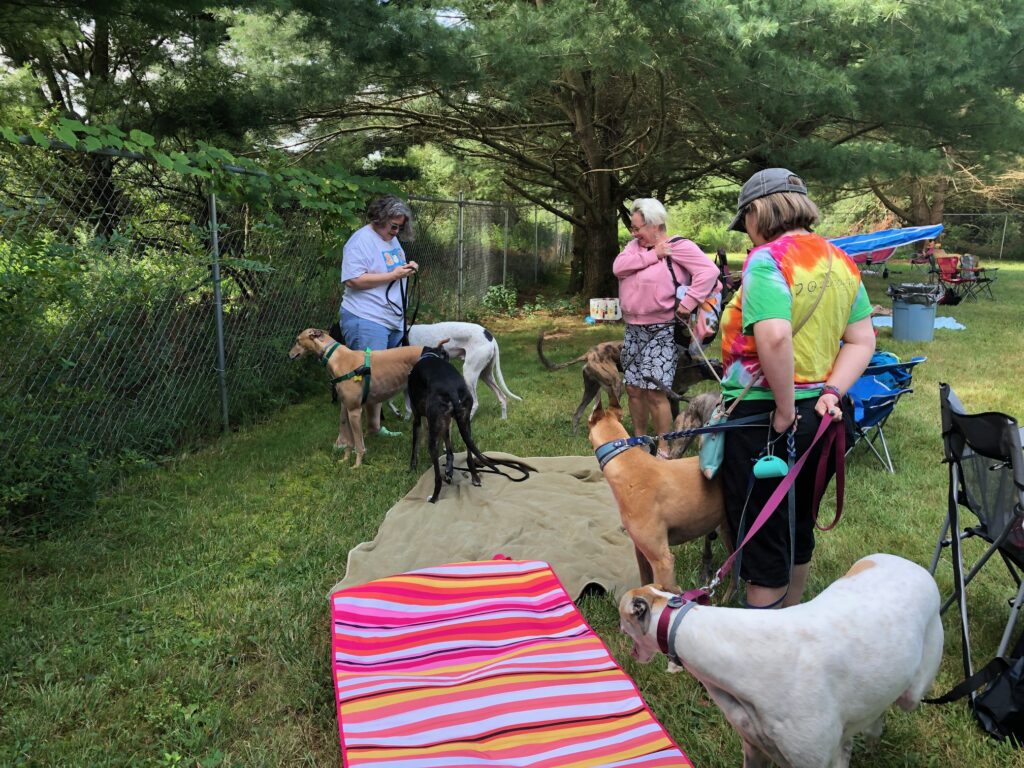
Folks came with chairs, mats for the dogs and a casserole to share for lunch. Nittany Greyhounds provided the meat, drinks and a huge cake! It felt like any normal gathering of people at the beach…except each human had one or more dogs beside them. The field had some shade so of course folks set up their chairs and mats for the dogs in the shade.
I felt welcomed by owners and dogs alike. All owners were delighted with my interest in their companions. Any dog I put my hands on leaned into my touch and let me give them a scratch.
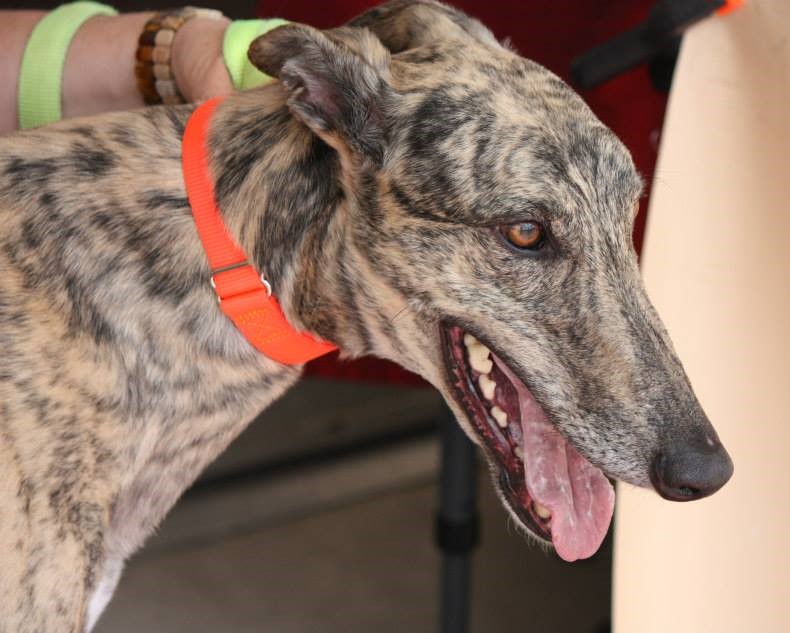
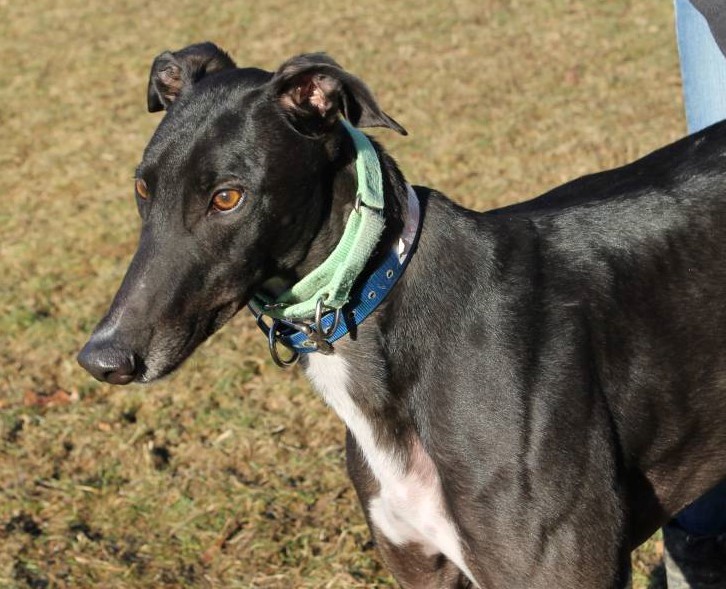
These greyhounds came in many colors, but the brindle shown here was especially striking.We had a beautiful summer day…about 80 degrees, not too humid and no threat of rain. Just perfect!
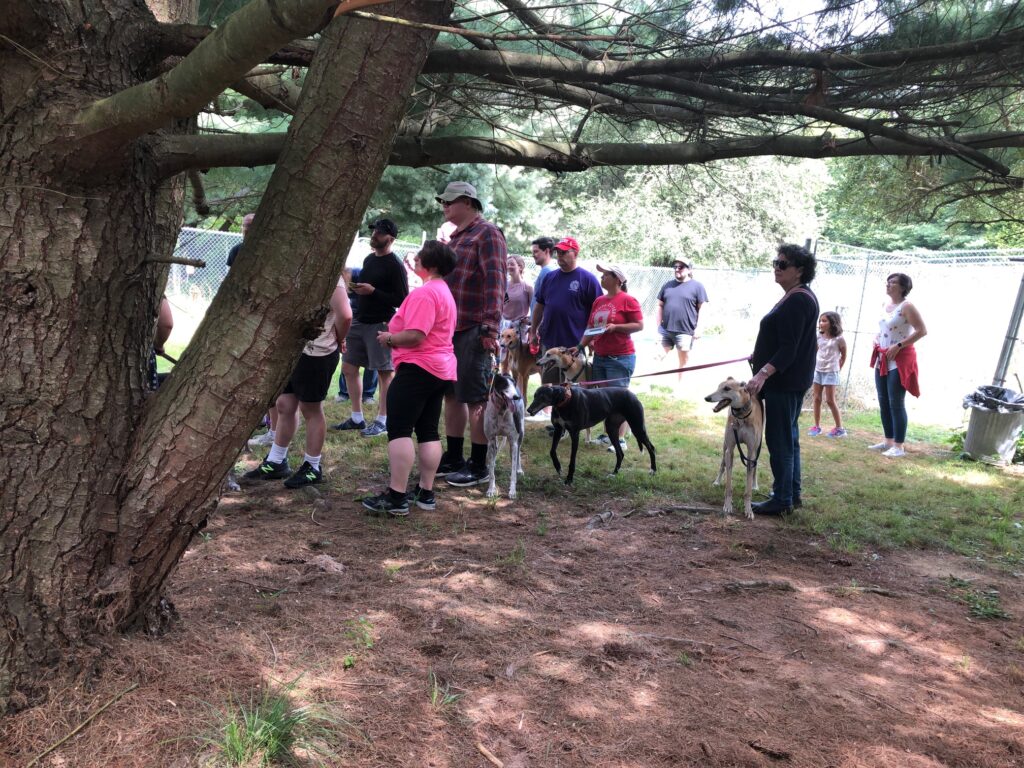
About noon everyone was encouraged to gather together around Bob Koch, the president of Nittany Greyhounds, for announcements and a prayer. At the end, one energetic person (who remains unidentified) let out a howl of, “ROOOO”. All the dogs responded with their unique sound of “ROOOOO”. It was wondrous!
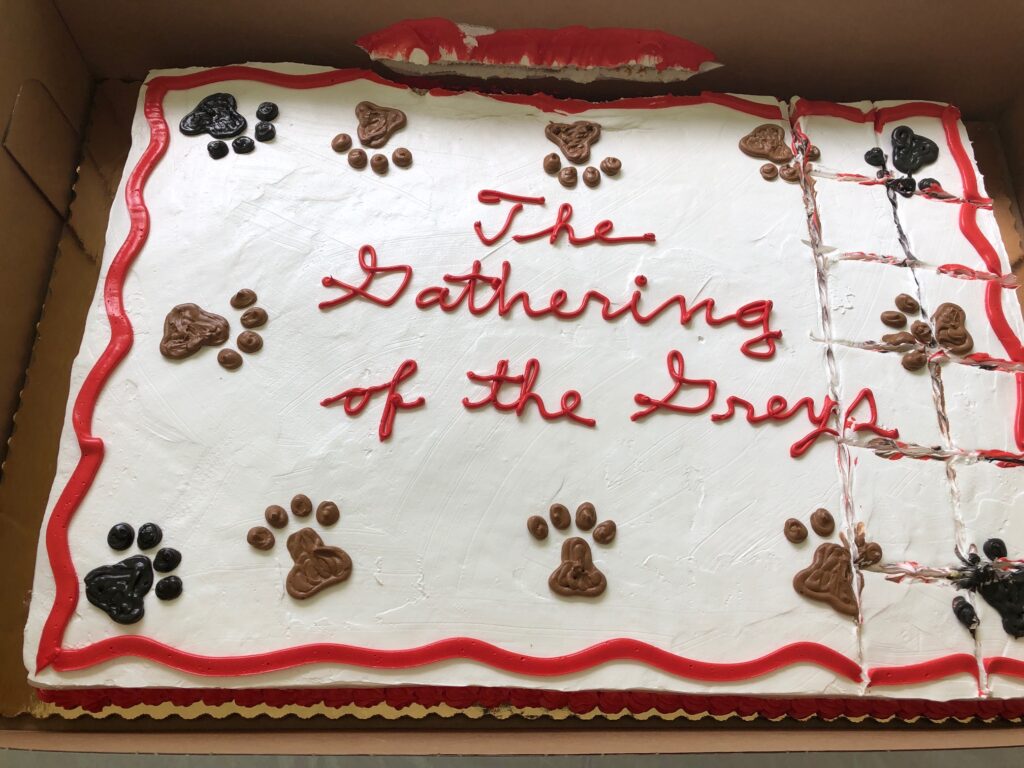
Over the next hour or so folks went through the buffet line and enjoyed lunch with friends. A huge delicious cake was shared by all.
I wasn’t able to get the picture before the cake was cut!
One event that I was not able to watch was the timed runs. The participating dogs were timed as they ran, one at a time, a 60-foot course. I had read that a greyhound could hit over 40 mph in just 6 strides. The fastest dog on this course was timed at 34 mph! Amazing! I had to chuckle when Toni shared that the slowest dog was just 16 mph…because he stopped to pee! Too funny!
Of course, the reason I was at this gathering in the first place was to share the products we had developed to help with specific greyhound issues…a healing salve for their paws, a healing soap for their sensitive skin and a bug repellent to keep the fleas and ticks away. (See my post from August 5, 2021 for more about the products…Greyhounds Still in my Heart.)
Feedback was generally positive with quite a few folks using the bug repellent spray on their dogs and the salve on various sores evident on their noses and skin. The soap was hard to test, but no one really requested to test it. A few did buy it anyway.
Once they realized they would be able to purchase the product at Nittany Greyhound’s store on Etsy, many decided to wait to order them when they got home. I could see why. Being a vendor at this event was certainly different from any other conference I had attended. All of the participants who stopped to look at stuff had at least one moving dog on a leash beside them while they tried to ask questions.
I did hear many great stories about the needs of the dogs, but trying to put a salve on the dogs’ paws while they were standing on the grass was out of the question. The Bug Repellent was easy to spray but they did not have an extra hand to rub it onto the dog’s fur. Everyone did comment that the spray smelled good and were glad to give it a try since they were going to be sitting around in the grassy field.
So, while we did not sell a lot of our products, I learned a lot about trying to be a vendor when each interested human had their hands full with one or more dogs moving around them.
Nittany Greyhounds is a dedicated group of greyhound owners that have the well-being of their dogs in mind as they deal with issues common to all dogs, and many issues specific to the breed. Marketing to this group will need to be creative and supported by word-of-mouth advertising. The internet Facebook group and Etsy store will be instrumental in getting the word out.
Thank you, Nittany Greyhounds, for letting me share a day with this “Brace” of greyhounds. It was wonderful!
About 10 years ago I volunteered my sewing skills to make memory bears for a local Hospice organization. Over several years I made over 100 bears for families who had lost loved ones. I learned a lot about how to make a stuffed bear from almost any kind of fabric.
All of my work was arranged through a volunteer coordinator and a Chaplain with the Hospice organization. It was very rewarding work. Over the years, the volunteer coordinator’s position changed and memory bears have not been requested for a long time. I miss making those bears…and I think they meant a lot to the families.
I’d like to share pictures of a few of those first bears. Then I’d like to show you how you could make one too, or at least what kind of fabric makes the best bears. You might want to save something from a loved one in the future.
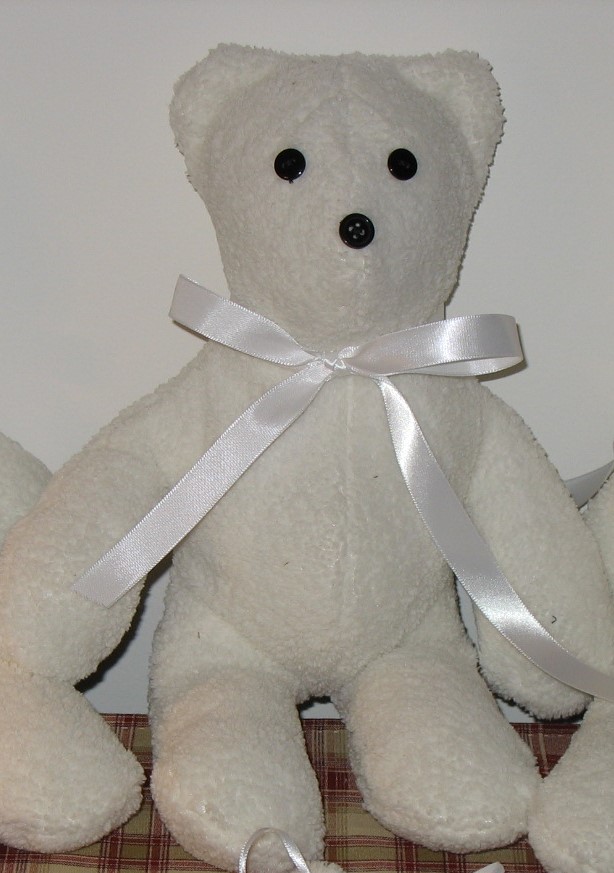
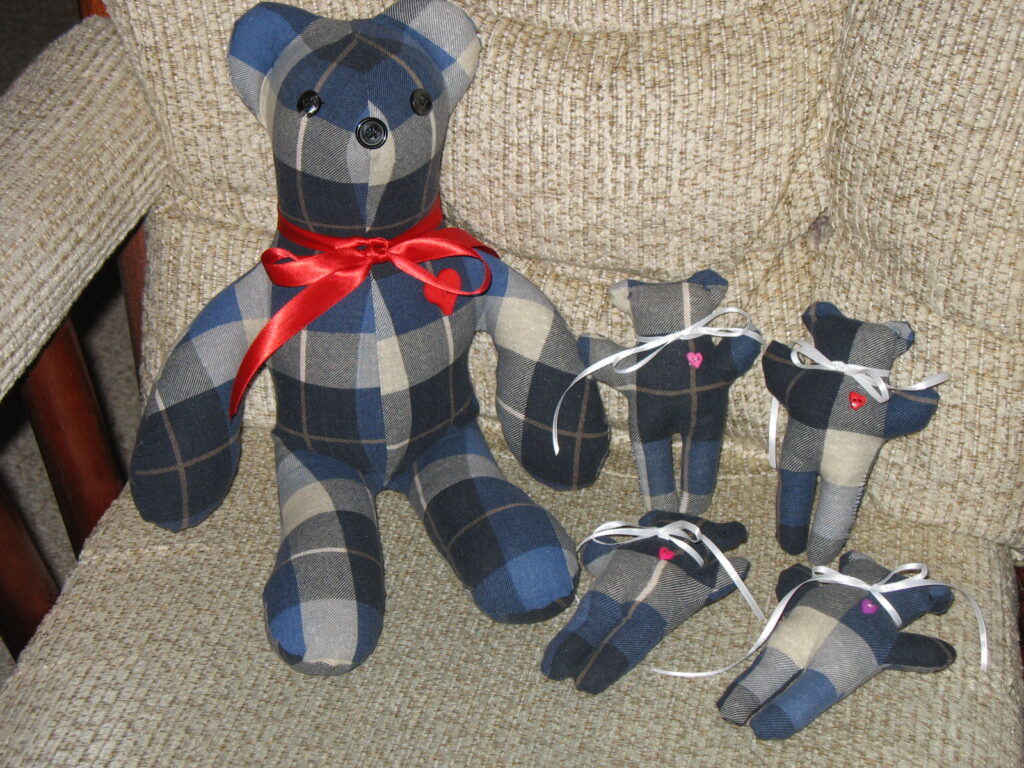
The very first bears I made were for a family who had just lost a young mother. They gave me a while fluffy bathrobe that she wore in her last days. It seemed pretty morbid at the time, but I found it very healing to be able to offer a way to remember her.
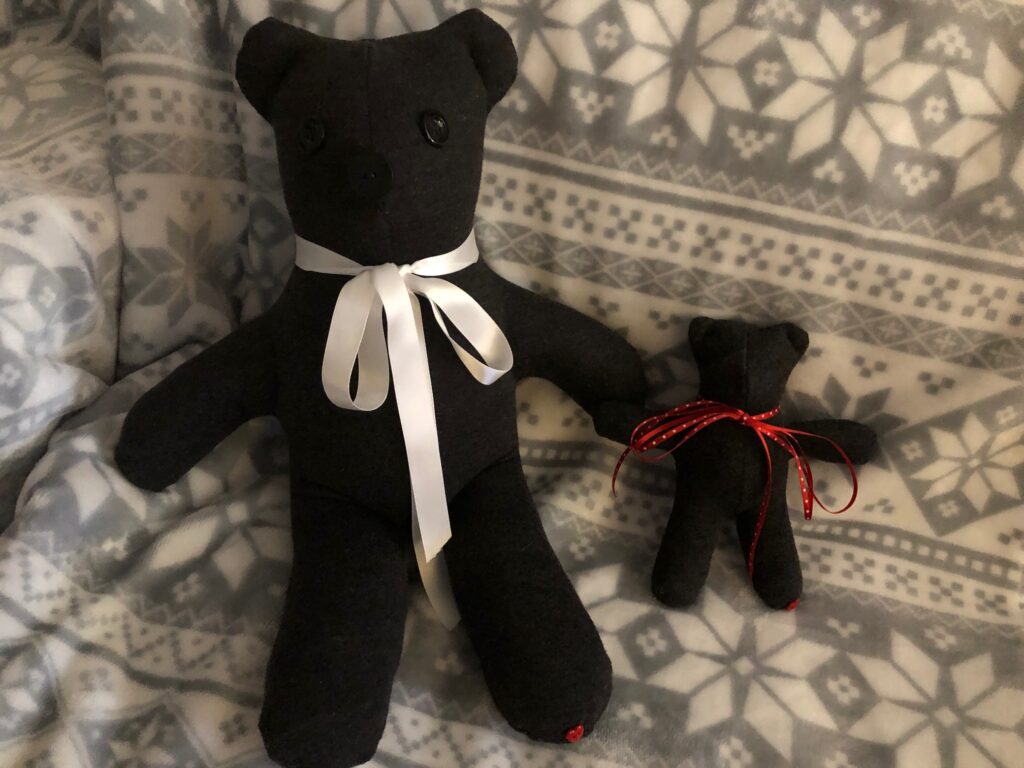
Since it was a full-length bathrobe, I couldn’t make just one bear and throw away the rest of the robe. So, I kept going and made three large bears and then was able to make 5 little ones too. They were shared with the extended family. This first project was the most meaningful for me!
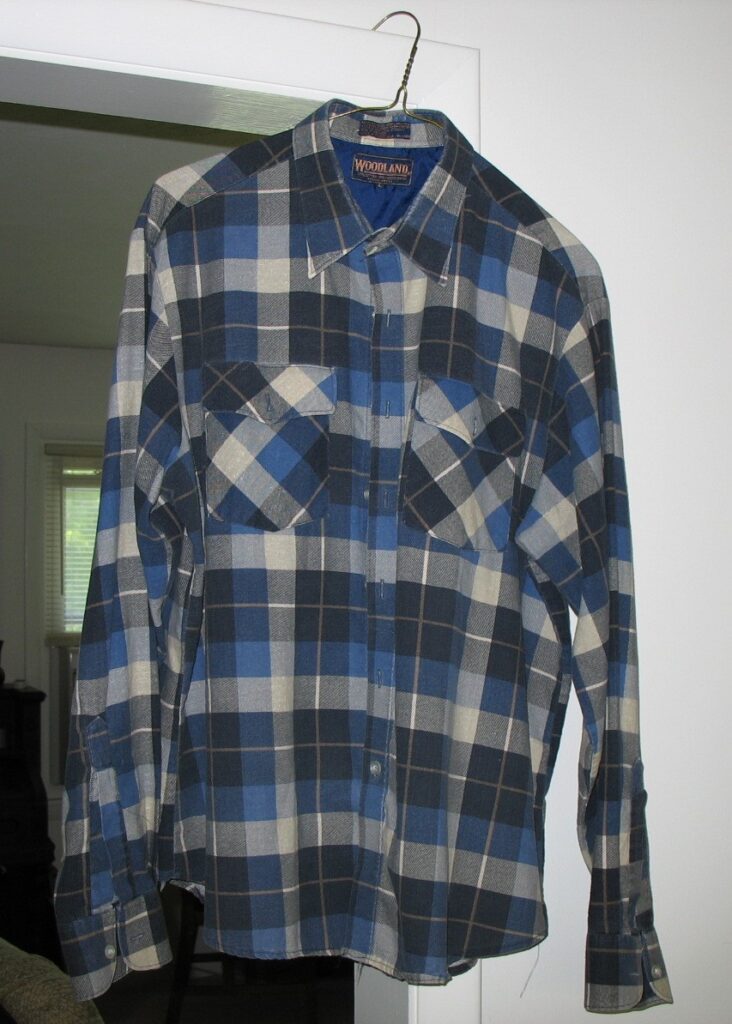
These bears were made from one full-length bathrobe.These bears were made from a single flannel shirt, in memory of a Grandpa.
While I was waiting to get more requests from the Hospice volunteer coordinator I went to Goodwill and picked up a flannel shirt to make a sample for the Chaplain to show families.
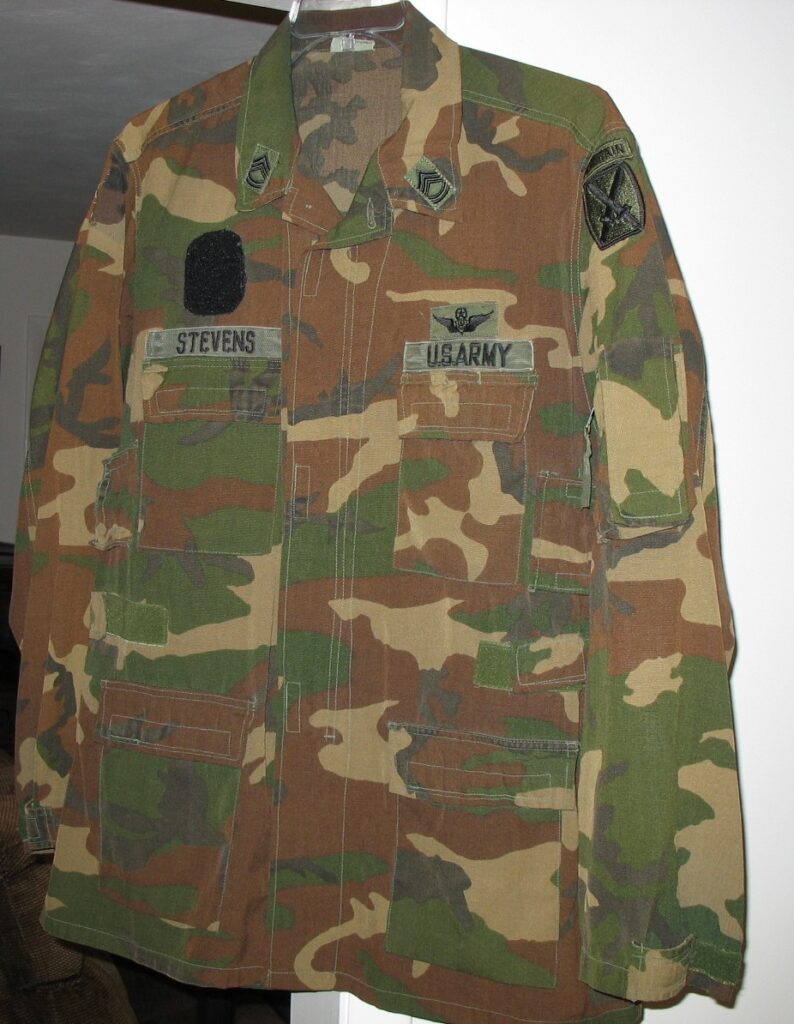
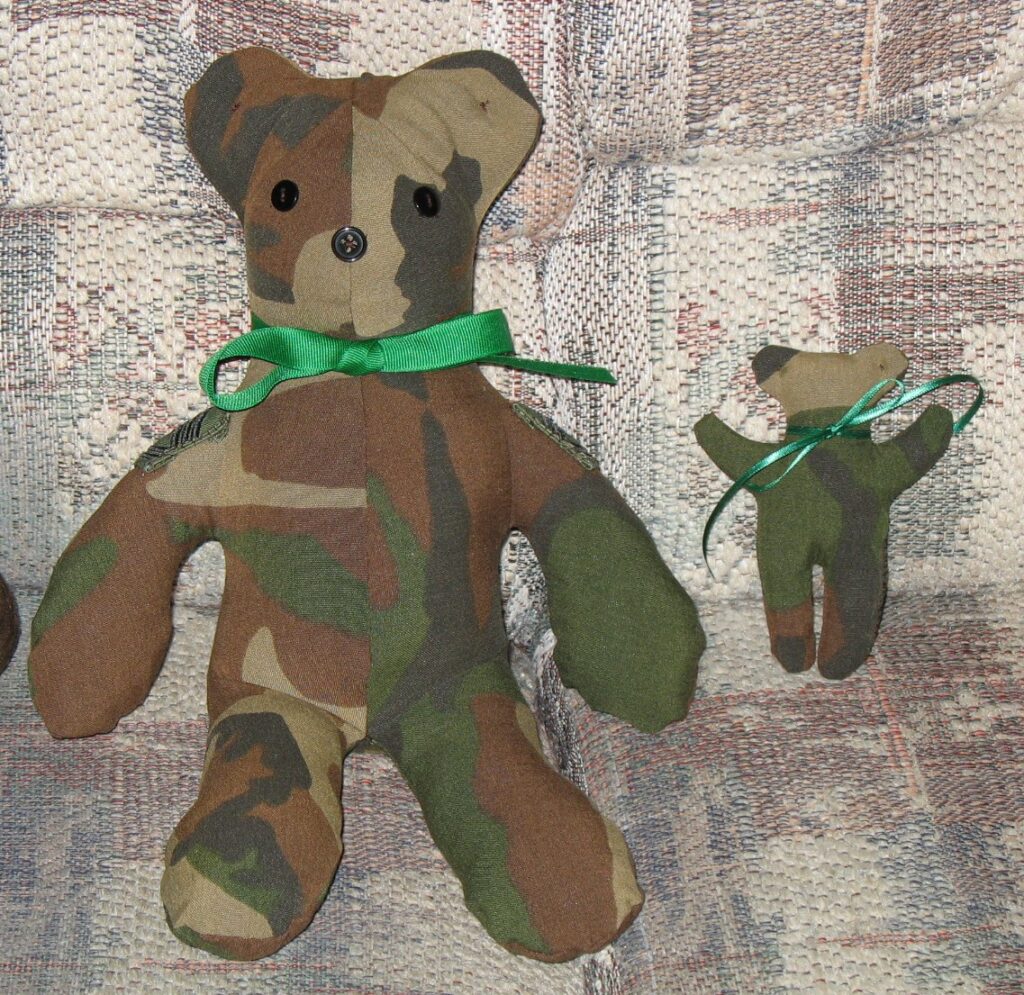
I also went to the Army/Navy surplus store and found a camouflage shirt. I thought I might get requests from a military family and wanted a sample to share. The military shirt was a major challenge…very little fabric available that didn’t have pockets all over it! (Incidently, I did not have a single request from a military family. I guess around this area we don’t have a huge military presence.)
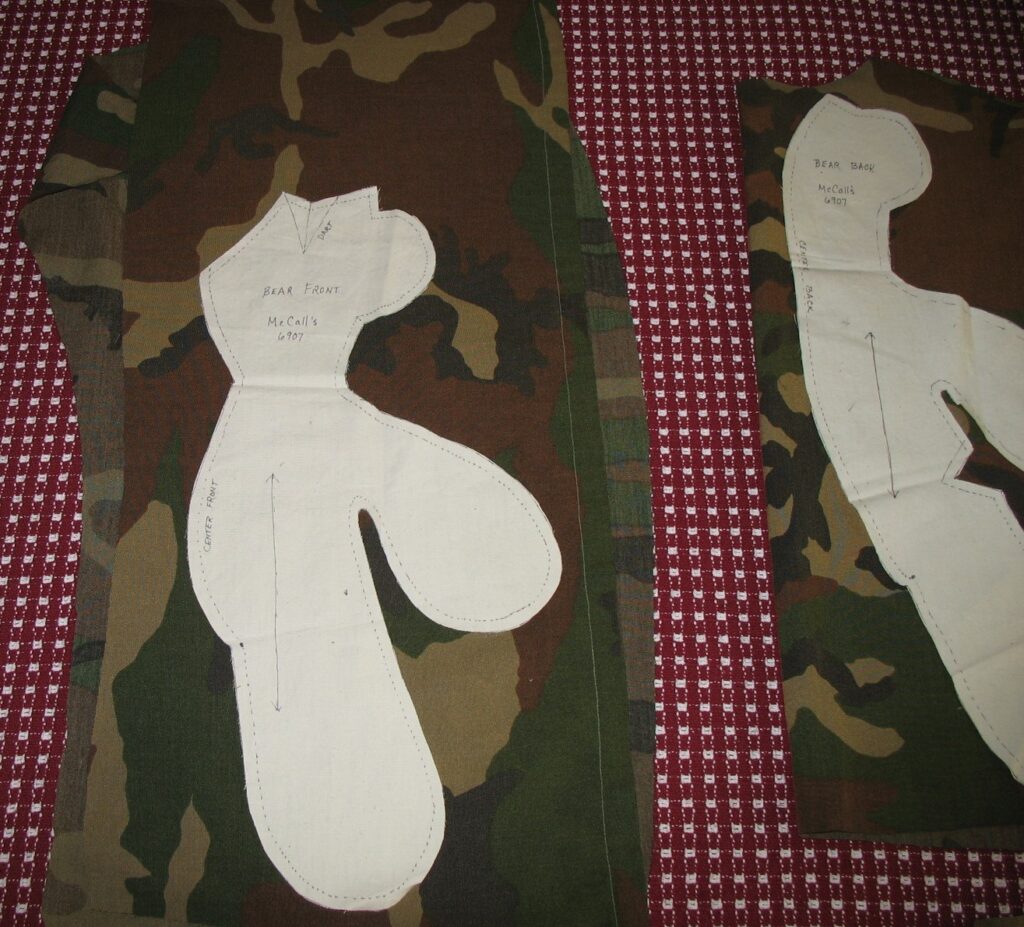
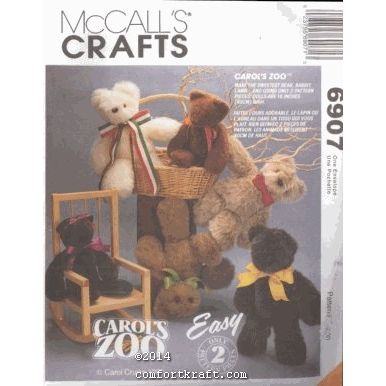
This was the first pattern I used. I have since tweaked the pattern so I liked the shape better. I found the tiny bear pattern on another stuffed animal pattern…like a toy for the stuffed animal!
Almost any stuffed bear pattern would work, but the simpler patterns were the easiest to work with. If I were making just one bear, a complex one would make a nicer bear but would take longer to make and need more fabric. Since this was a volunteer project and I was making multiple bears, the most important part was the actual fabric of the loved one…that’s where the memory resided. When I start with a loved ones’ clothing, I feel compelled to make as many bears as I can with it. The little bears even make good Christmas ornaments!
Of course, by now the only bears I have around the house are a few I made out of soft fabric for my grandkids (along with a few stuffed dogs!).
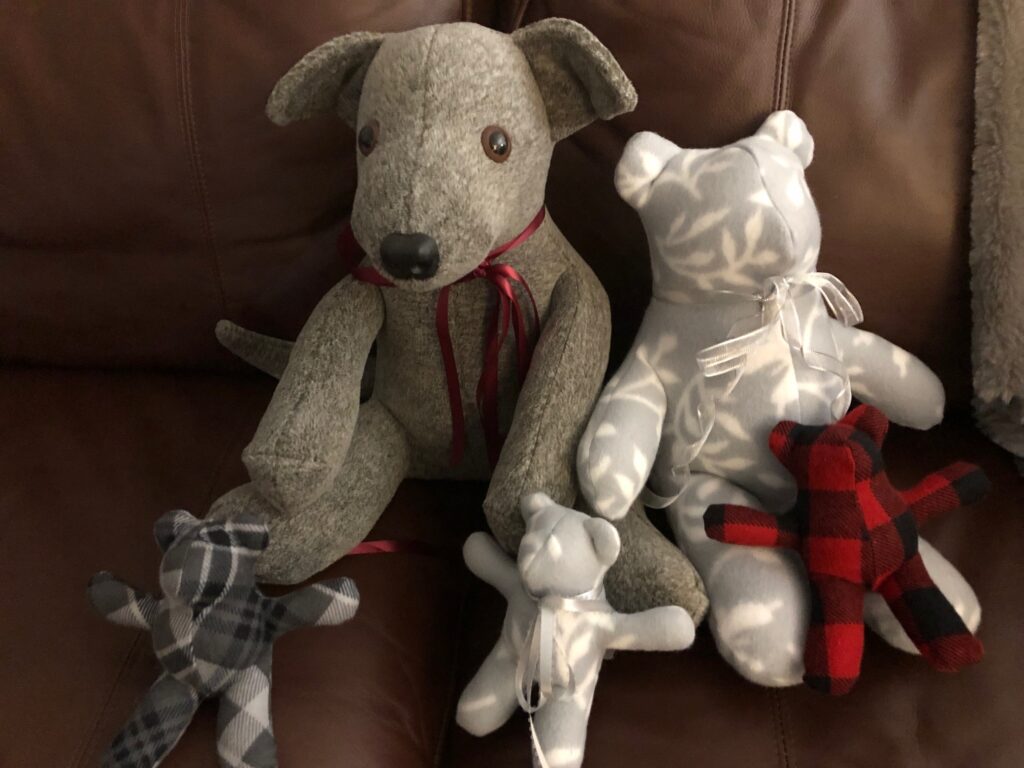
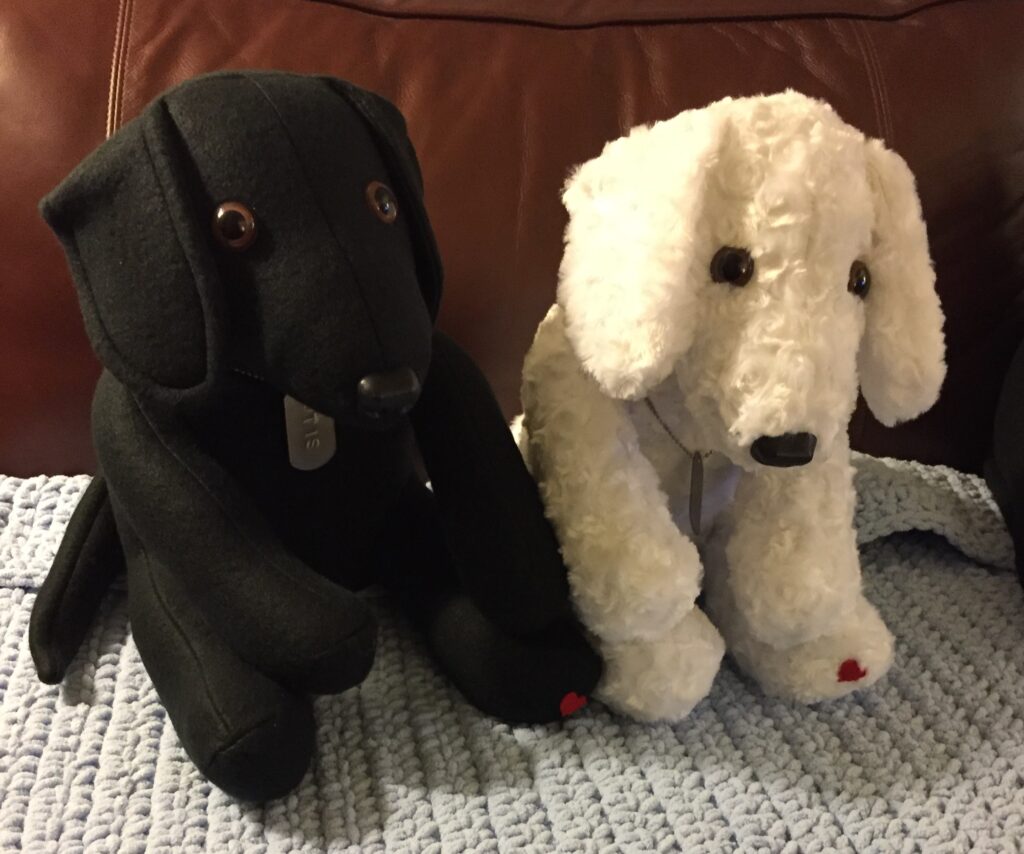
Of course, I had to try a stuffed greyhound puppy…I worked hard to figure out the ears!This is how we remember Otis and Max. I even made dog tags with their names on them.
Steps to make a memory bear
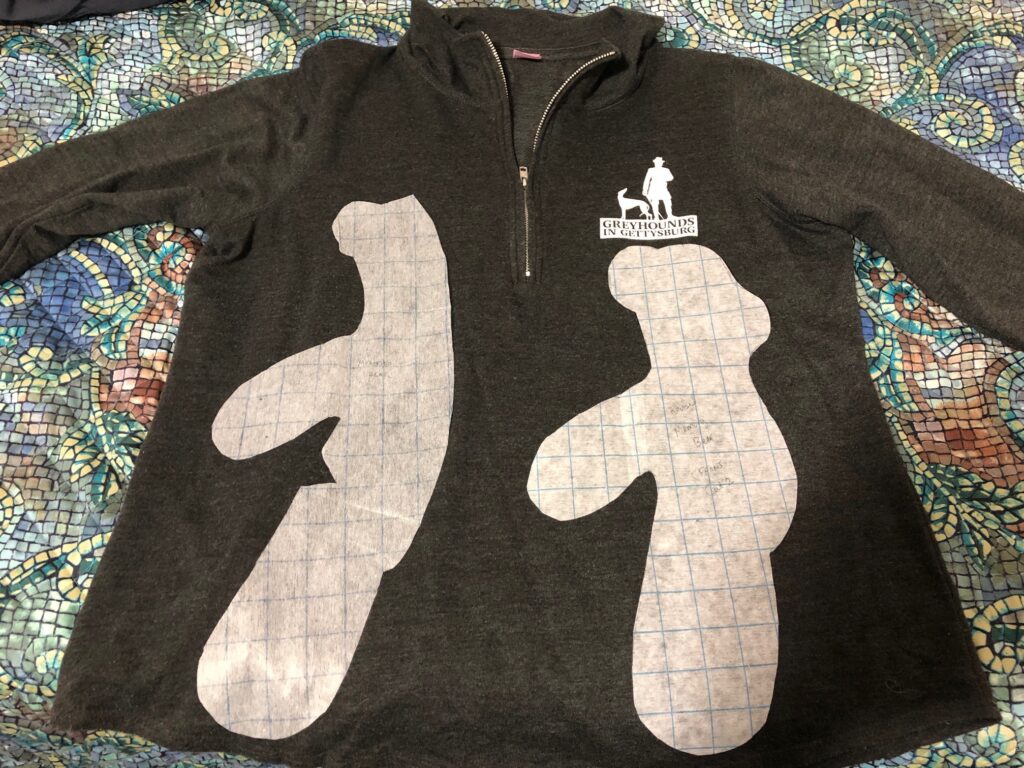
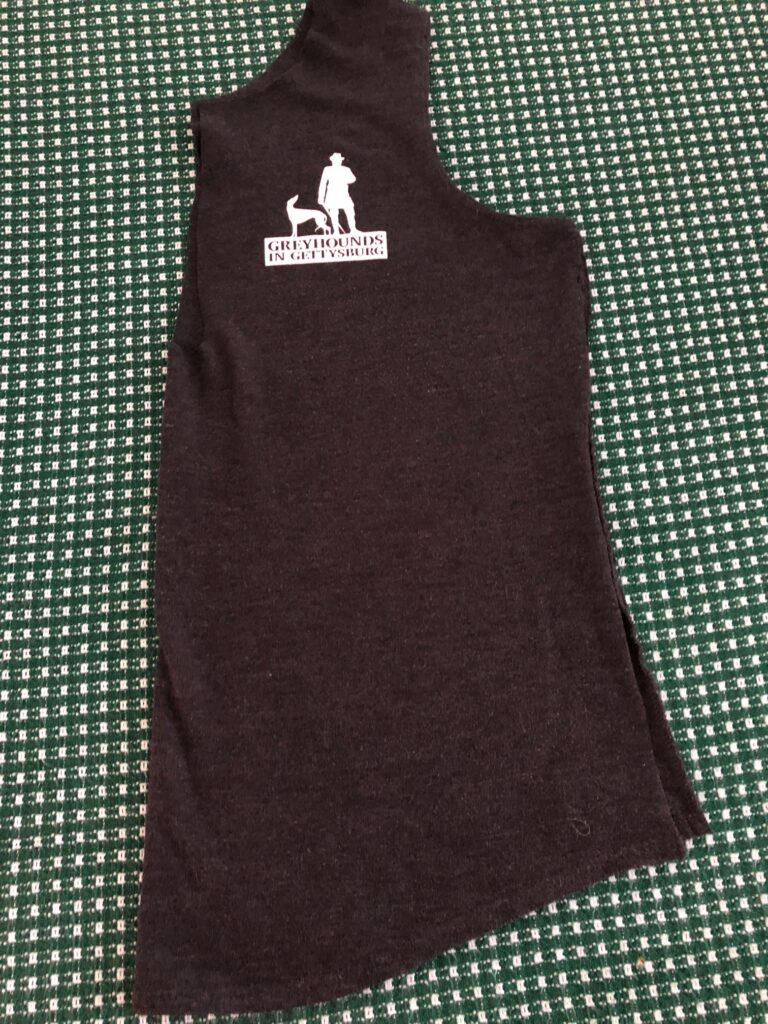
I managed to persuade a friend to let go of a soft fleece shirt that she didn’t wear anymore so I could take pictures as I made a bear. I prefer to work with flannel…it doesn’t stretch as much and is more colorful.
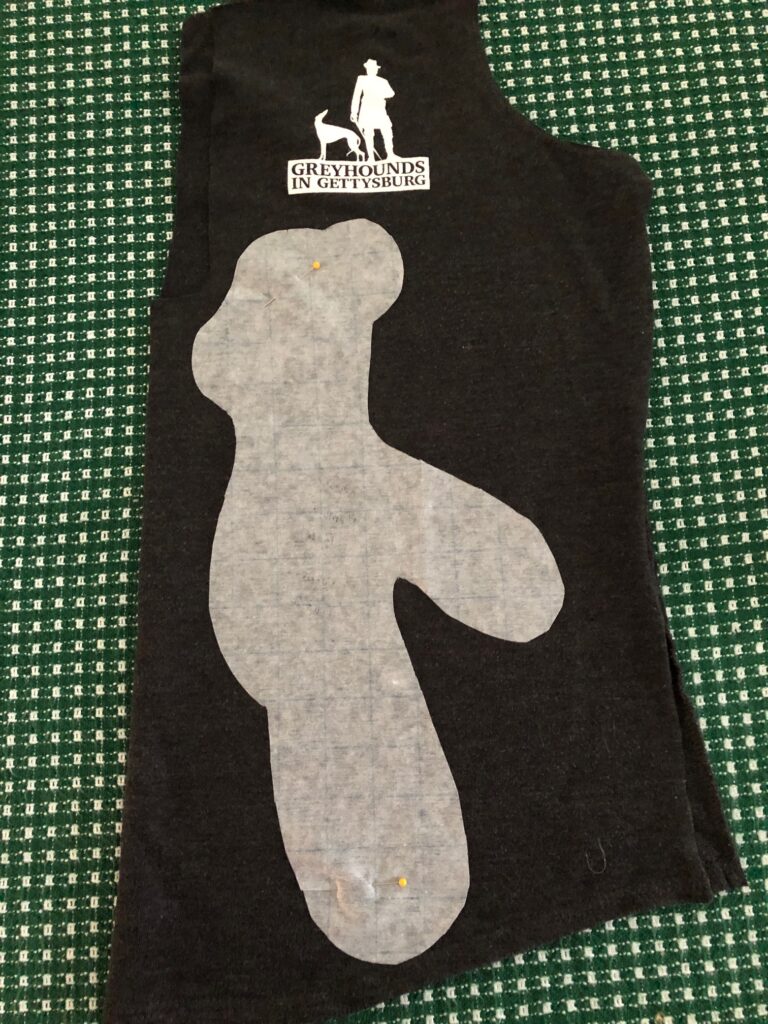
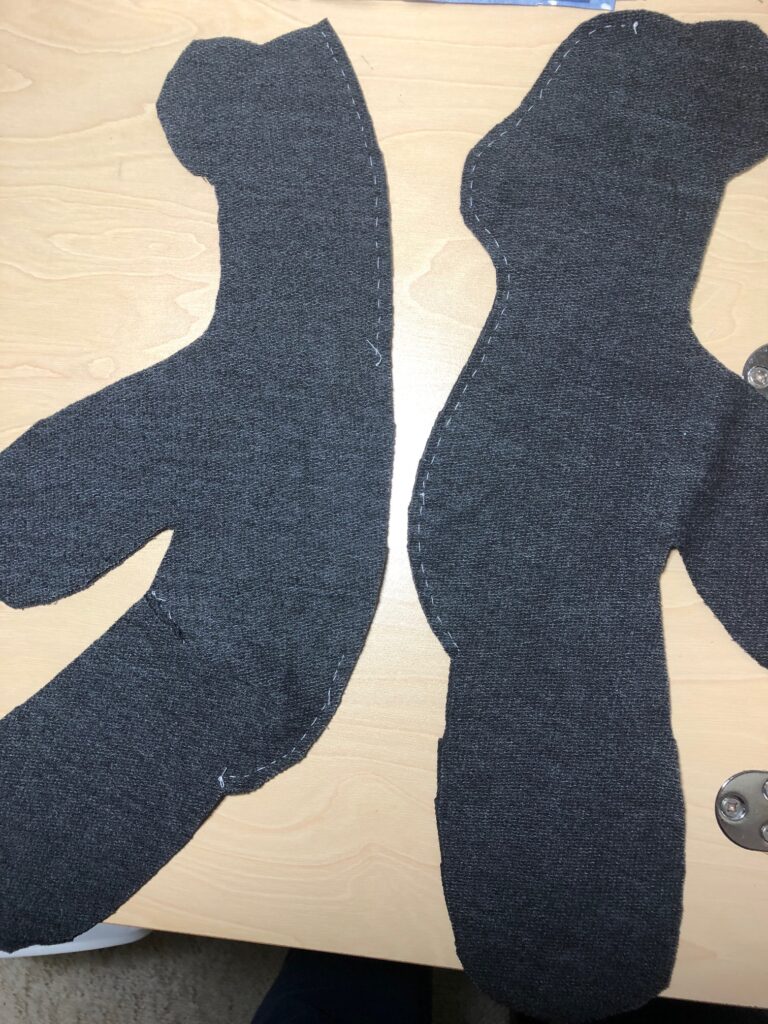
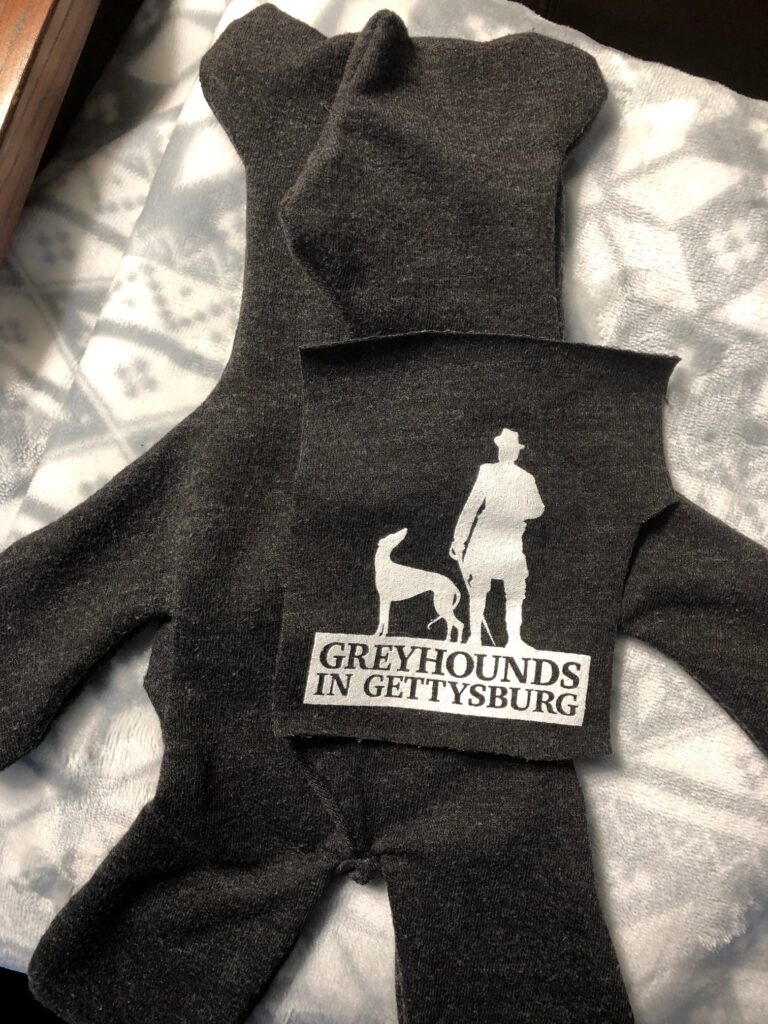
First, I laid the pattern pieces on the shirt to make sure there was enough fabric to make the bear.
Sometimes a logo can be appliqued to the finished bear. I’ll make the bear first and then see if the picture/logo will fit.
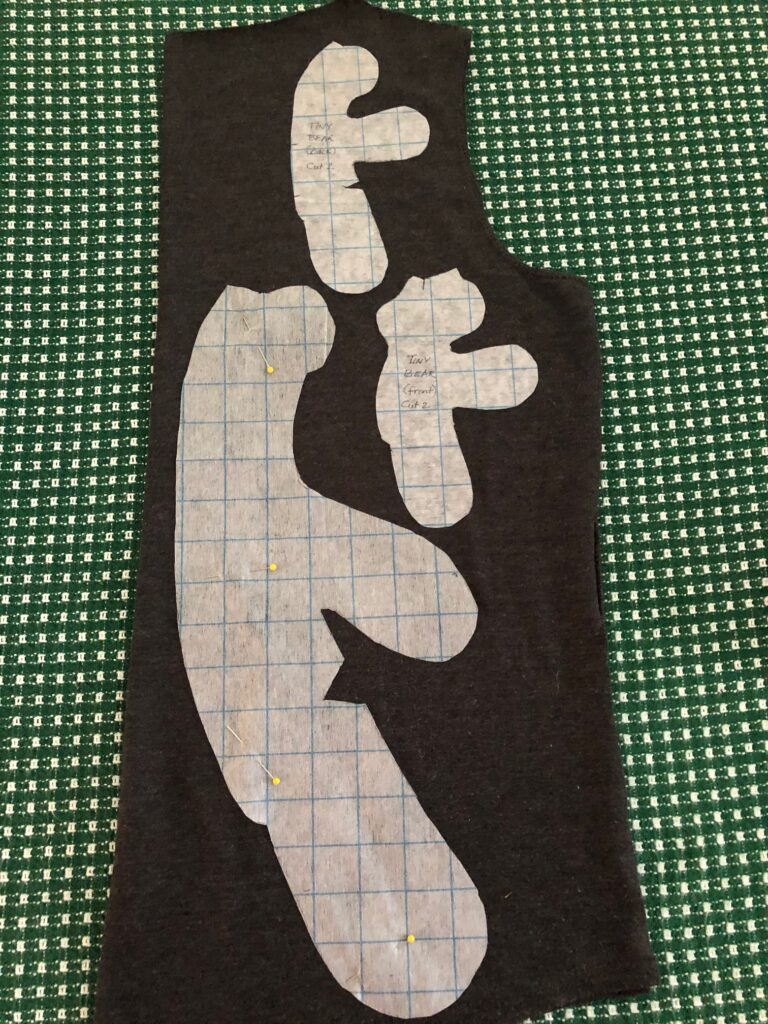
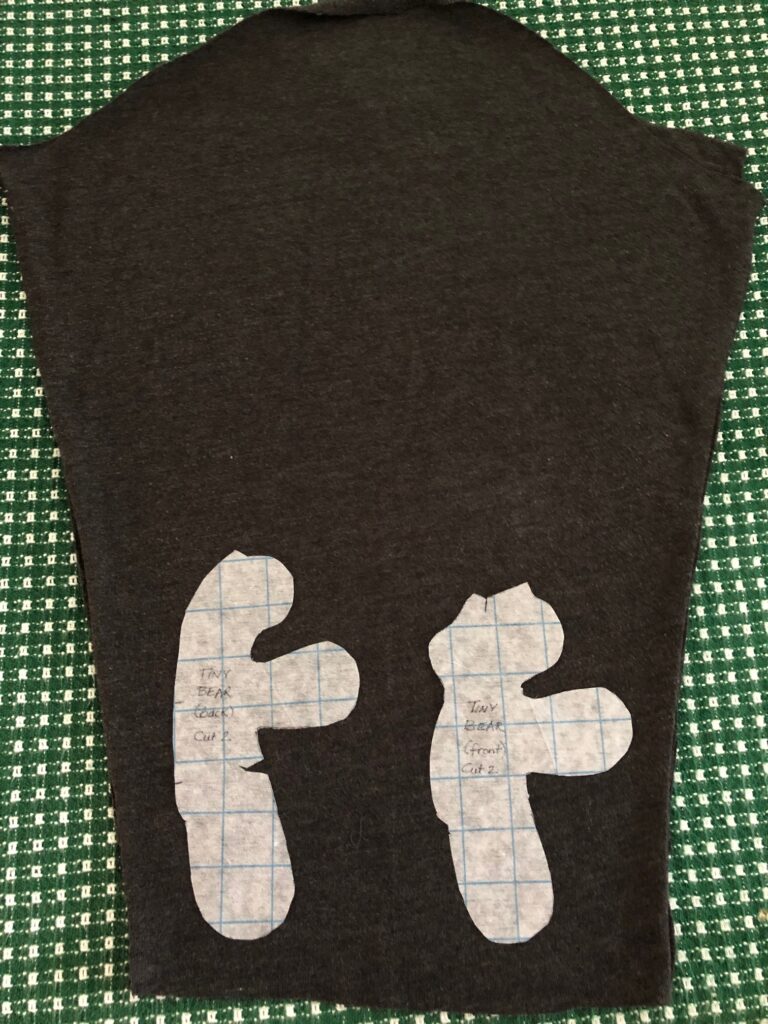
The next step is to cut the shirt apart along the seams. I removed the zipper and discarded the collar. (My mother would be proud of me…I saved the zipper!) The front is folded to cut two of the front pieces; the back is folded to cut two backs. The sleeves when opened up work well for the smaller bears.
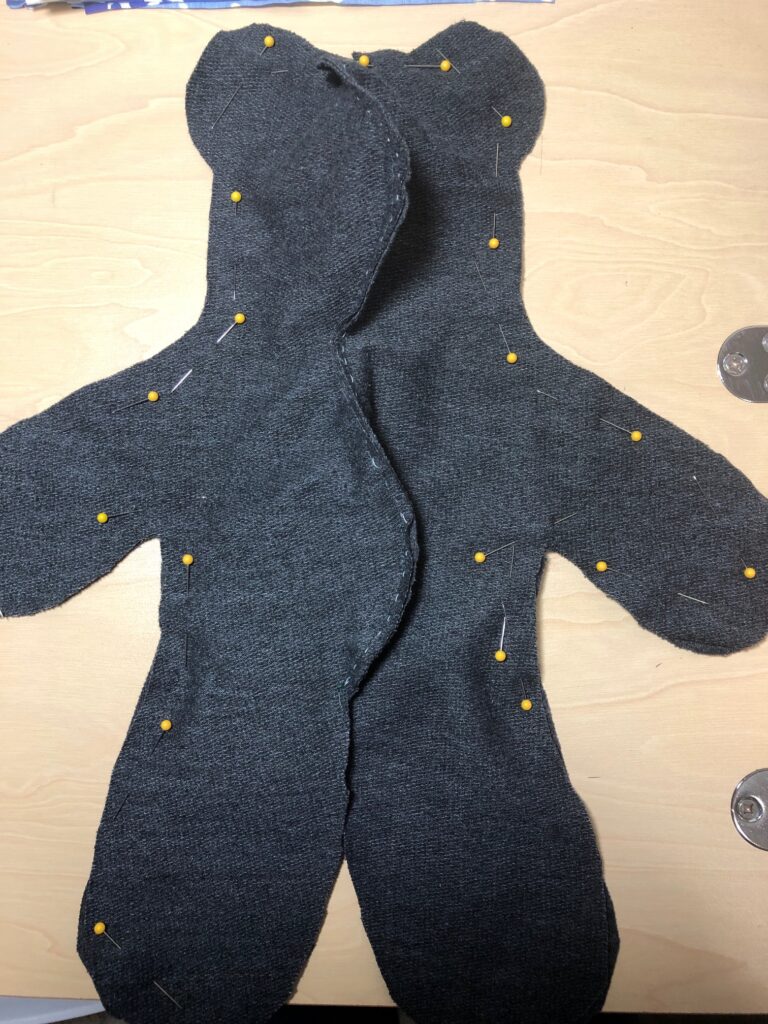
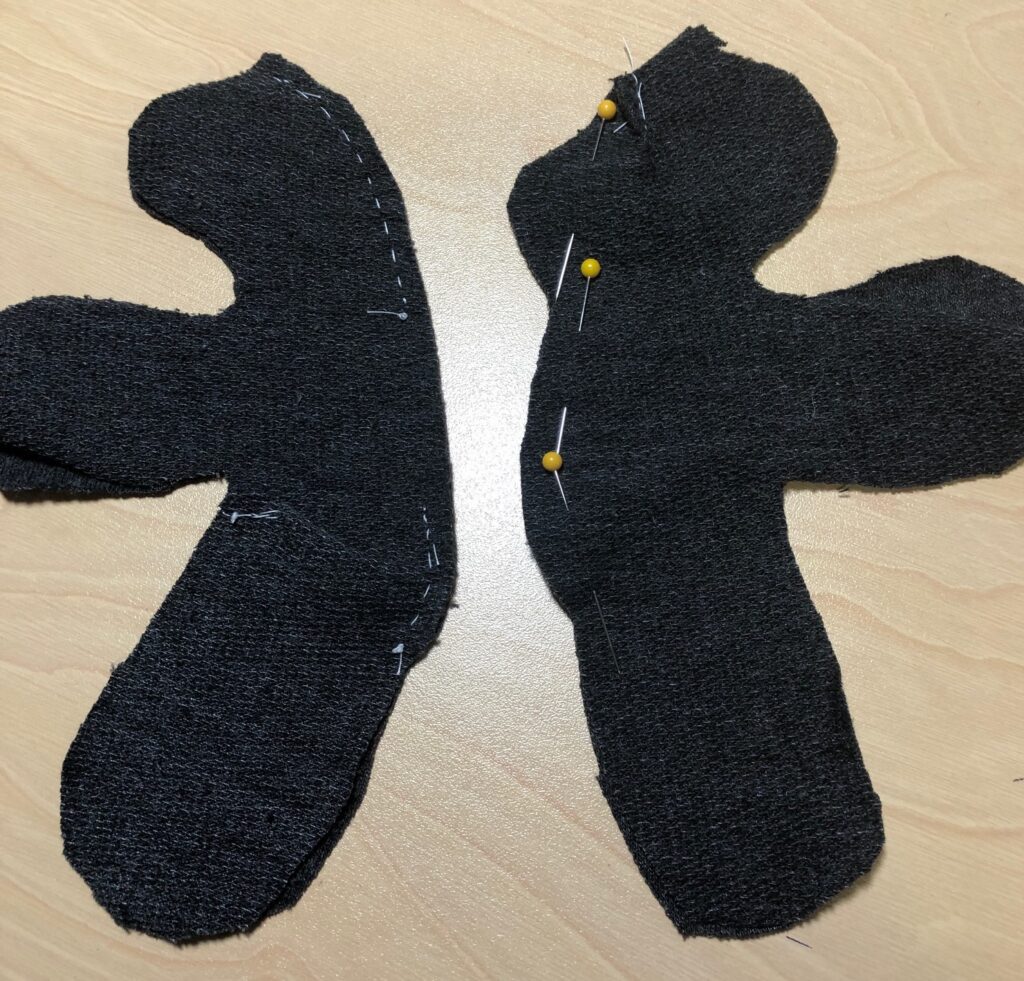
I baste pieces together by hand first because the fabric is so stretchy that sewing around the curves makes it hard to keep the two pieces aligned.
Basting is especially helpful on the tiny bear!
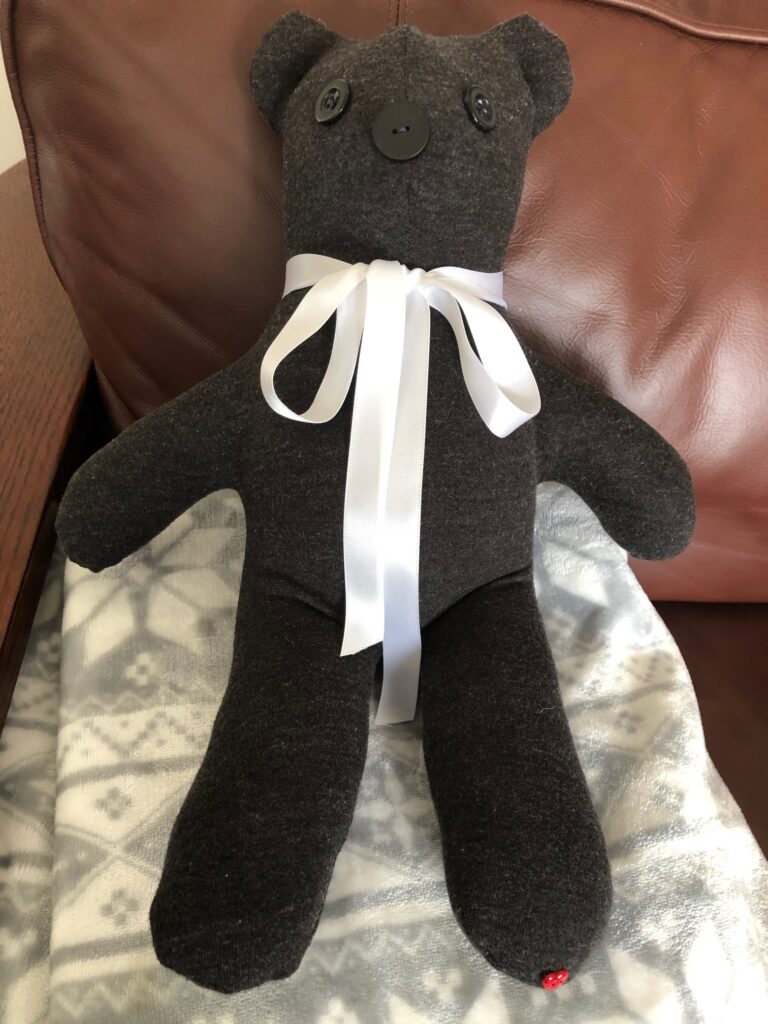
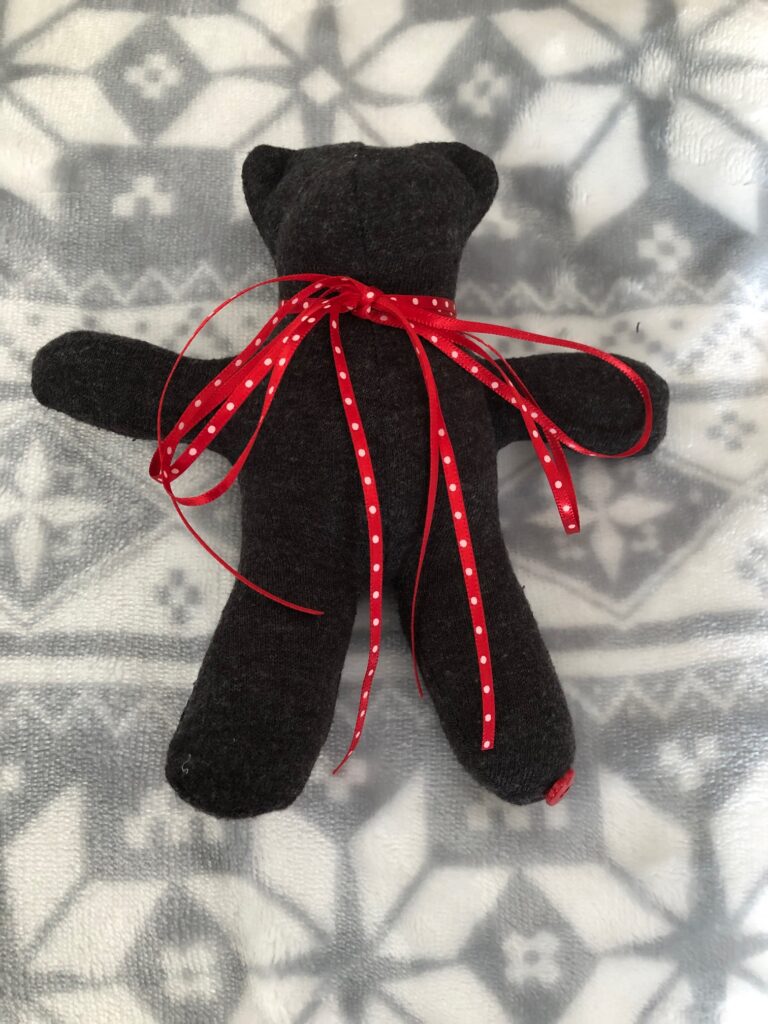
My finishing touches include tacking the ears, adding button eyes and nose, a ribbon and a small red heart button on the foot. If I know a bear will be loved by a child, I’ll use the eyes that are fastened through the fabric…see the dogs above…but I really prefer buttons. The tiny bears have only the heart button, so it can be cut off if necessary.
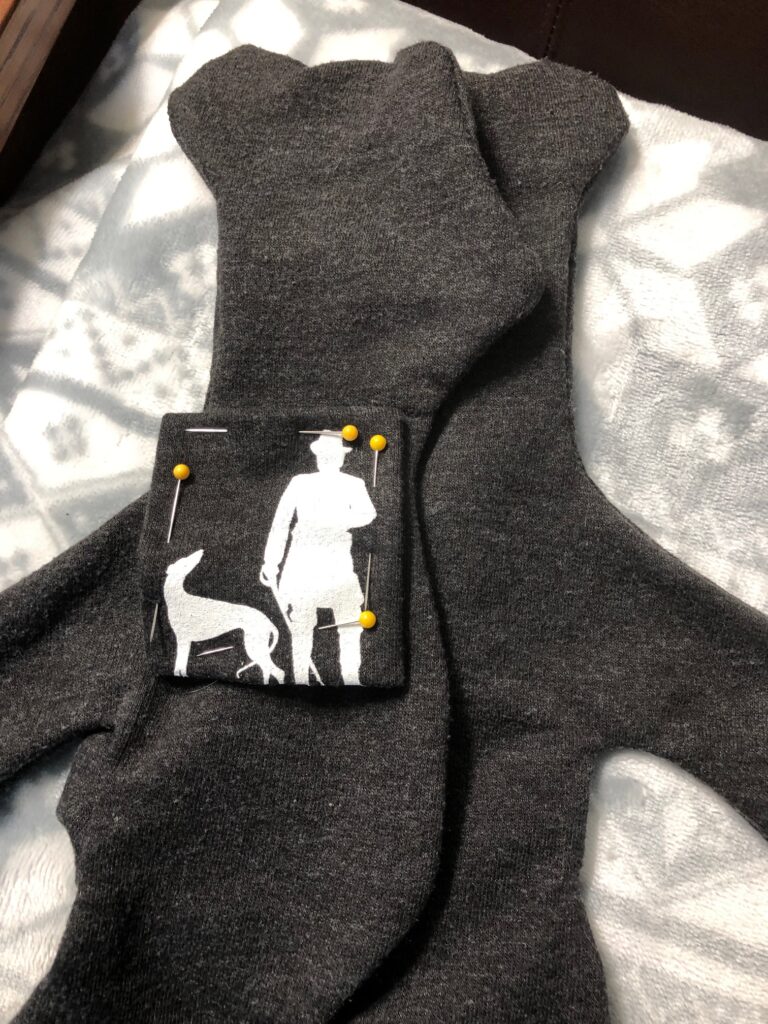
I still haven’t decided whether to add the logo from the shirt. I will have to make it smaller by using just the picture and not the words. It just feels too big, but I’ll ask the recipient first. What do you think?
Making memory bears for Hospice families was one of the most rewarding volunteer activities I’ve ever done. It was more than just making stuffed bears…it was preserving memories of a loved one. Enjoy!
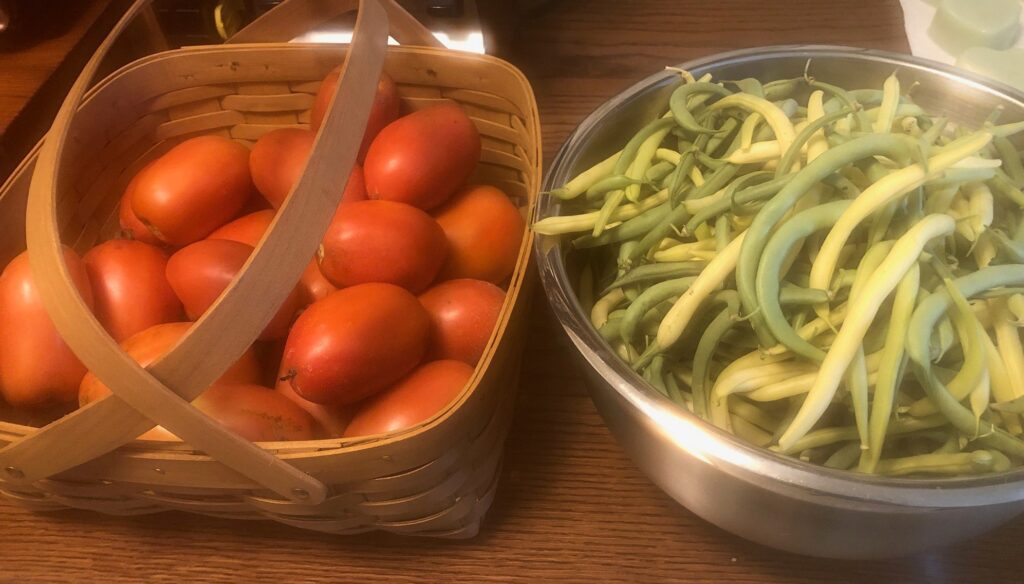
August is the month when the garden comes to fruition! Yesterday, the kitchen was hopping…and warm! Time to process the last of the beans and deal with the pile of tomatoes that are ready now.
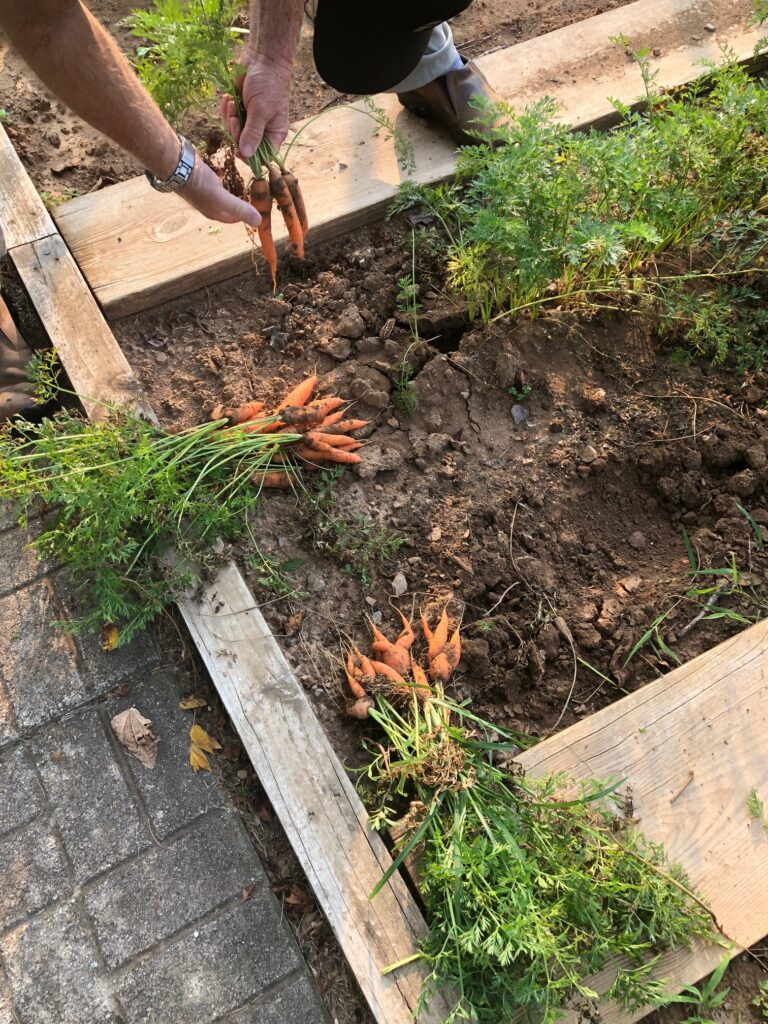
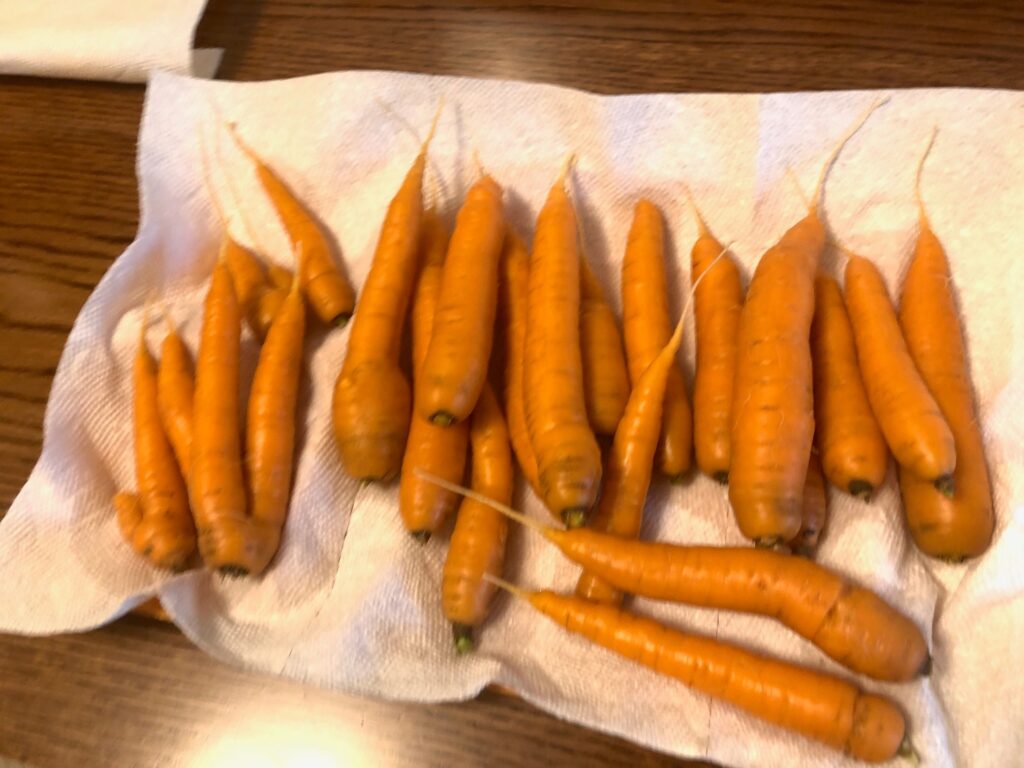
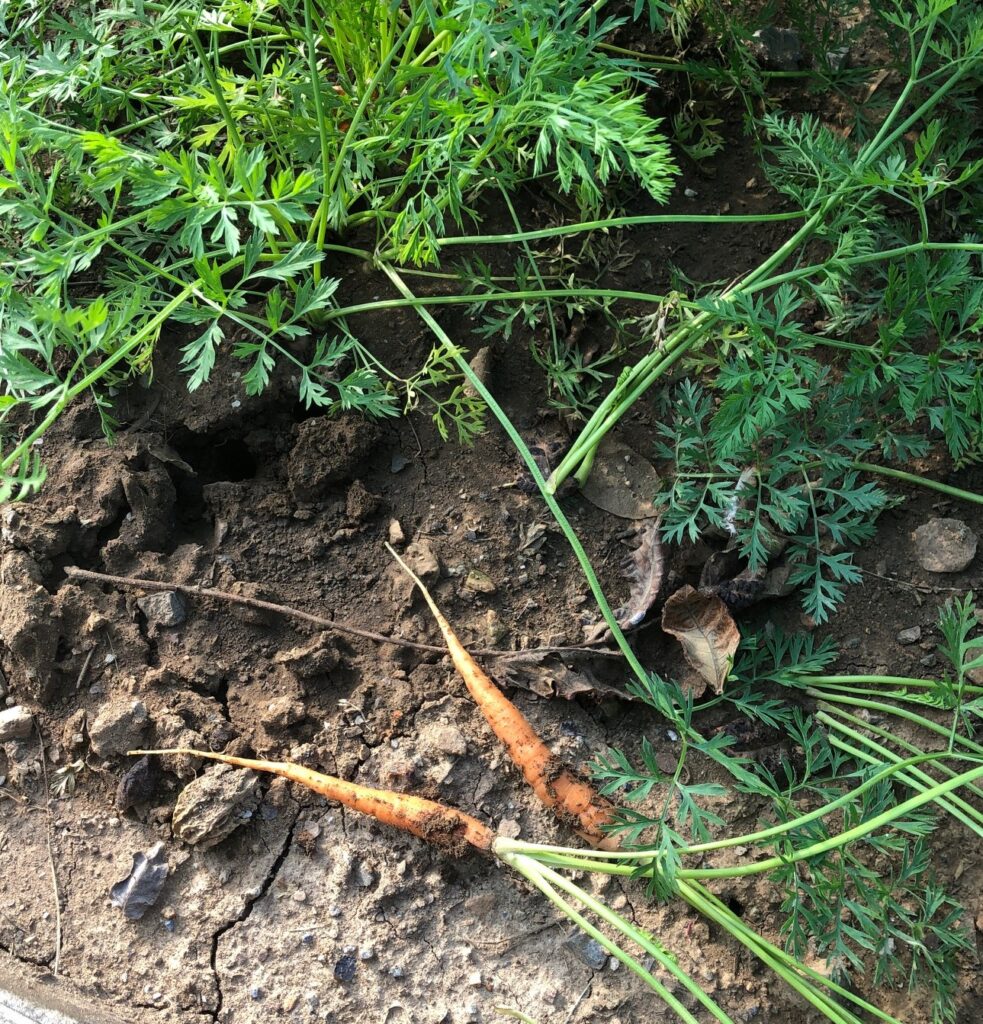
Luckily, the carrots have just begun to fill out. We’ll munch on these for a while and let the rest get bigger.
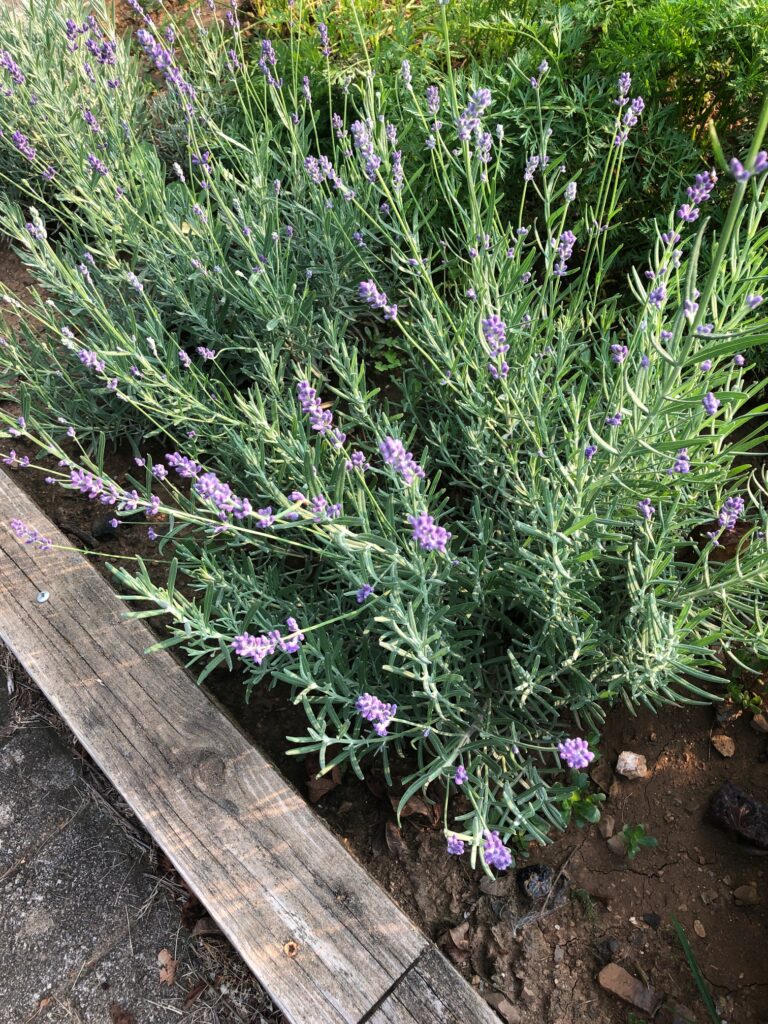
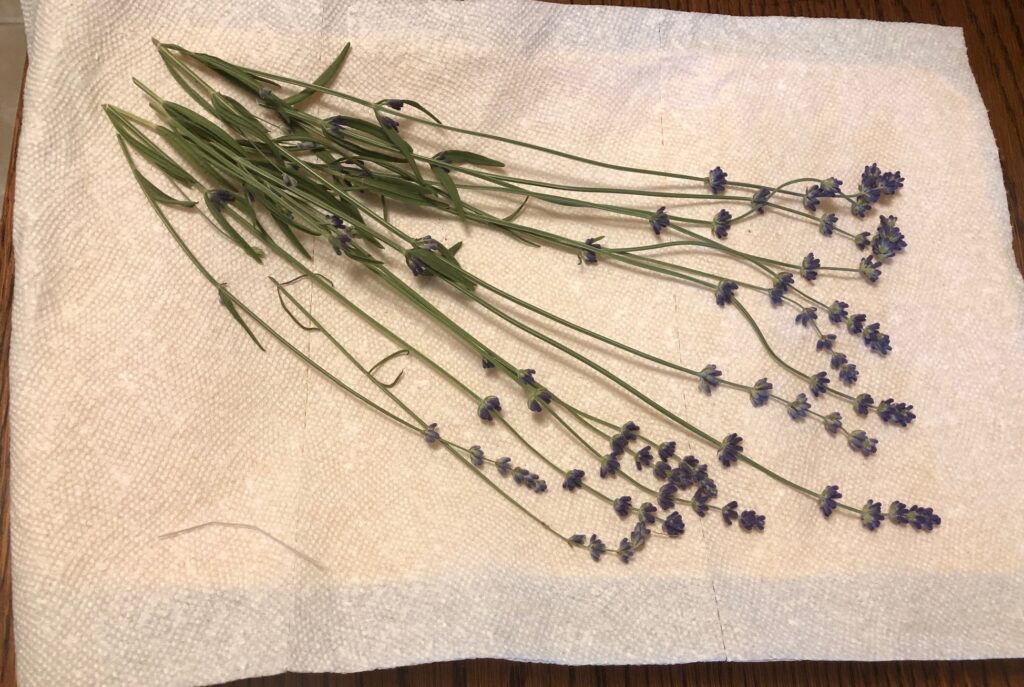
Lavender
The lavender is finally flowering so I’ve begun cutting a few of the stems. A tray of lavender will be sitting around for the next few weeks as they dry. When dry, I’ll rub off the flower buds and let them dry some more. They’ll be useful when I make lavender-infused olive oil.
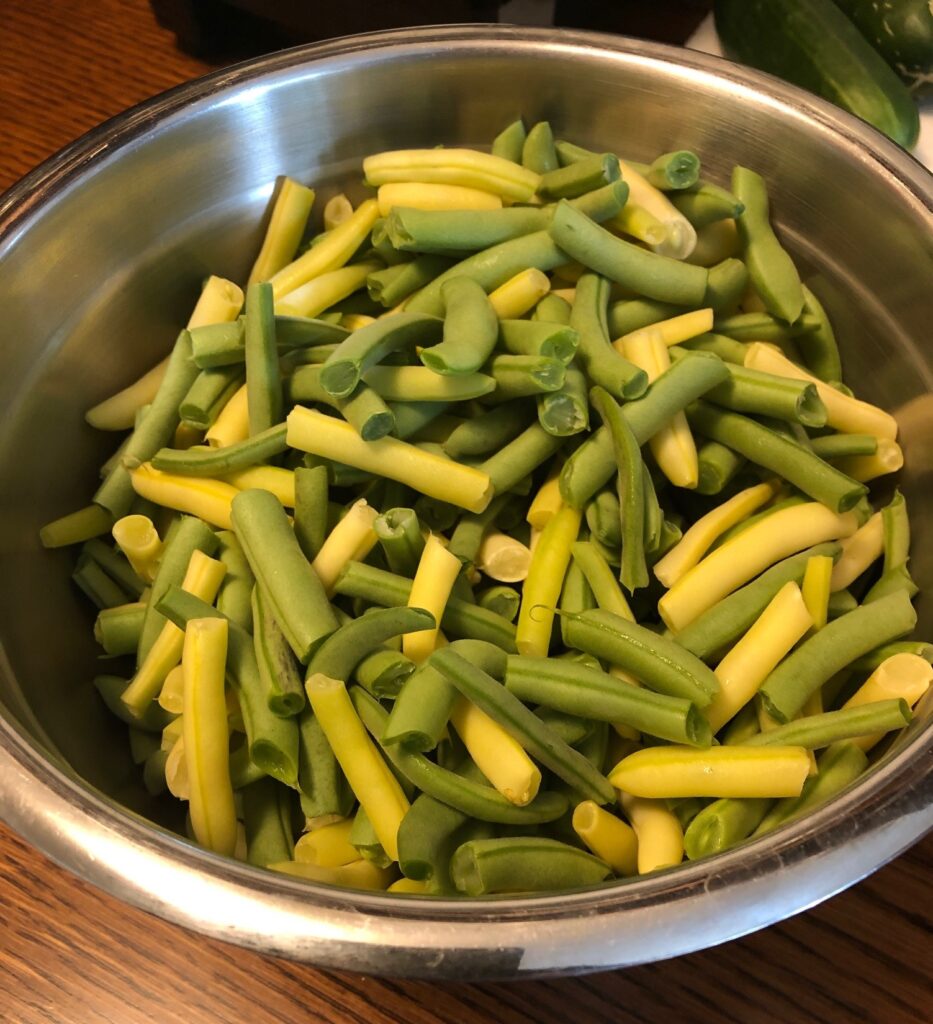
Dehydrating Beans
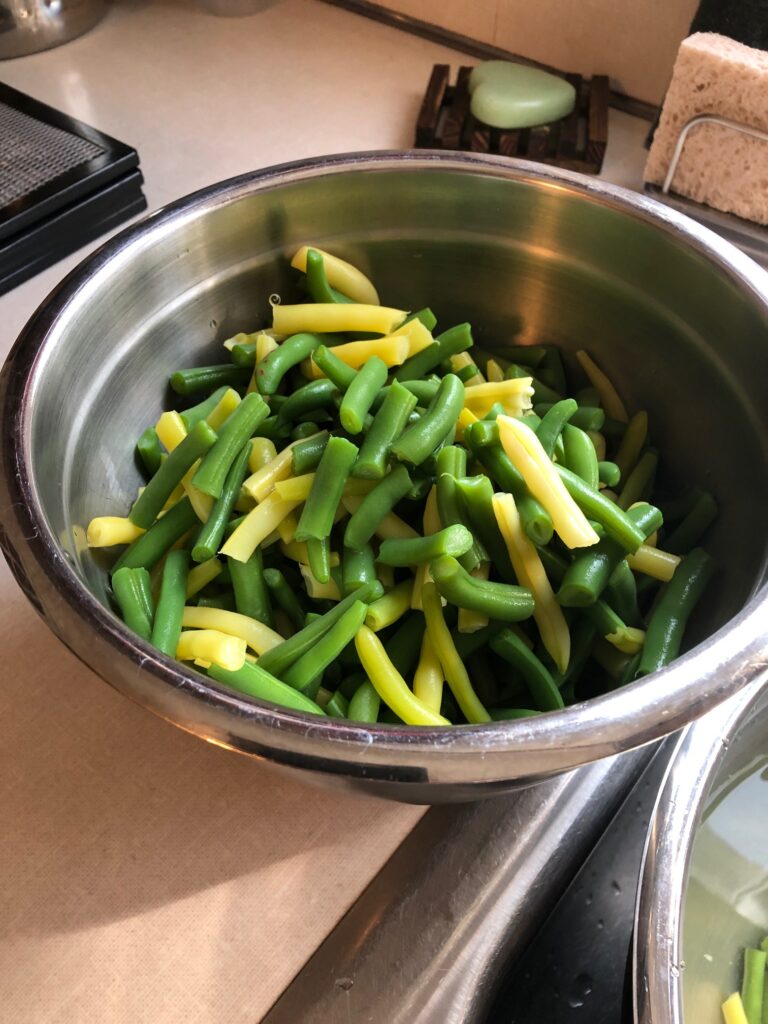
This was the last picking for this second planting of beans. We pulled the plants as we picked. I snapped the beans, blanched them and chilled them in ice water.
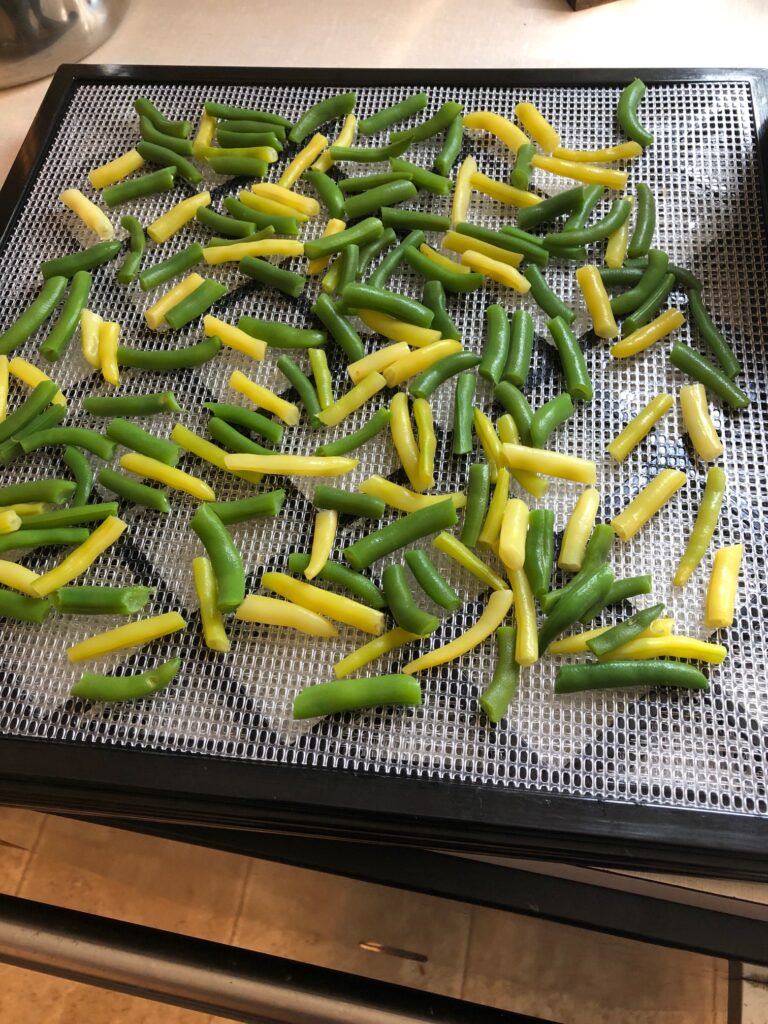
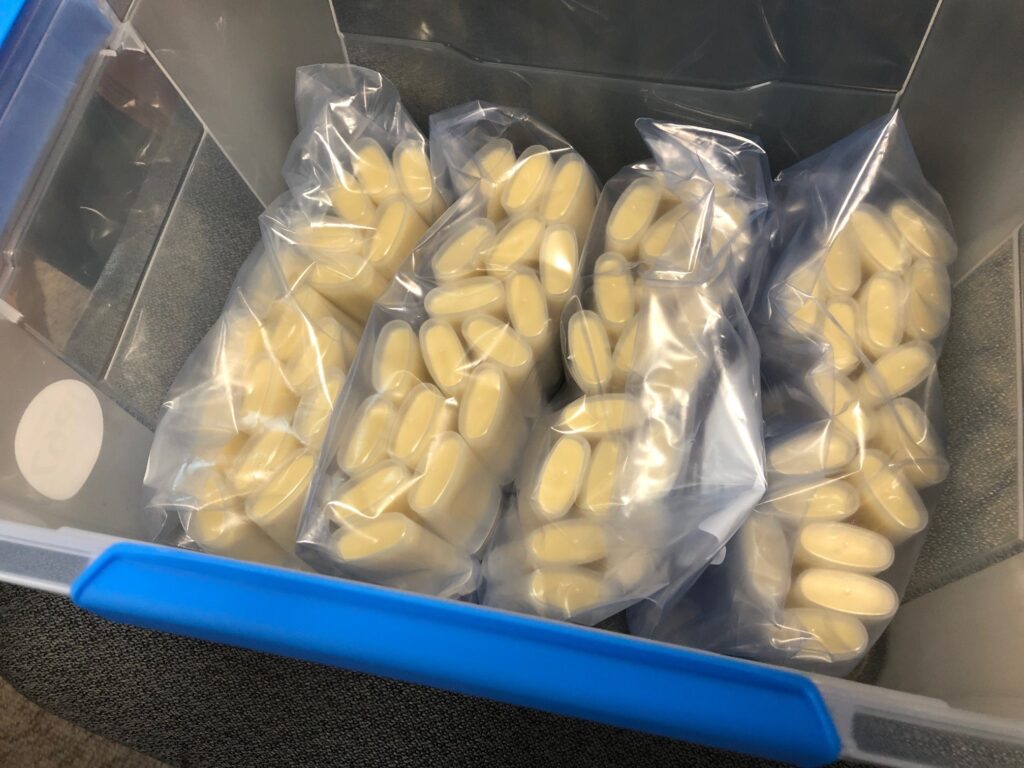
Then I laid them out on the dehydrator trays. They filled 4 trays.
And 10 hours later…
It always amazes me how little space dehydrated beans take up, compared to putting them in the freezer. Since I use them mostly in soups and stews it’s a very efficient way to store them.
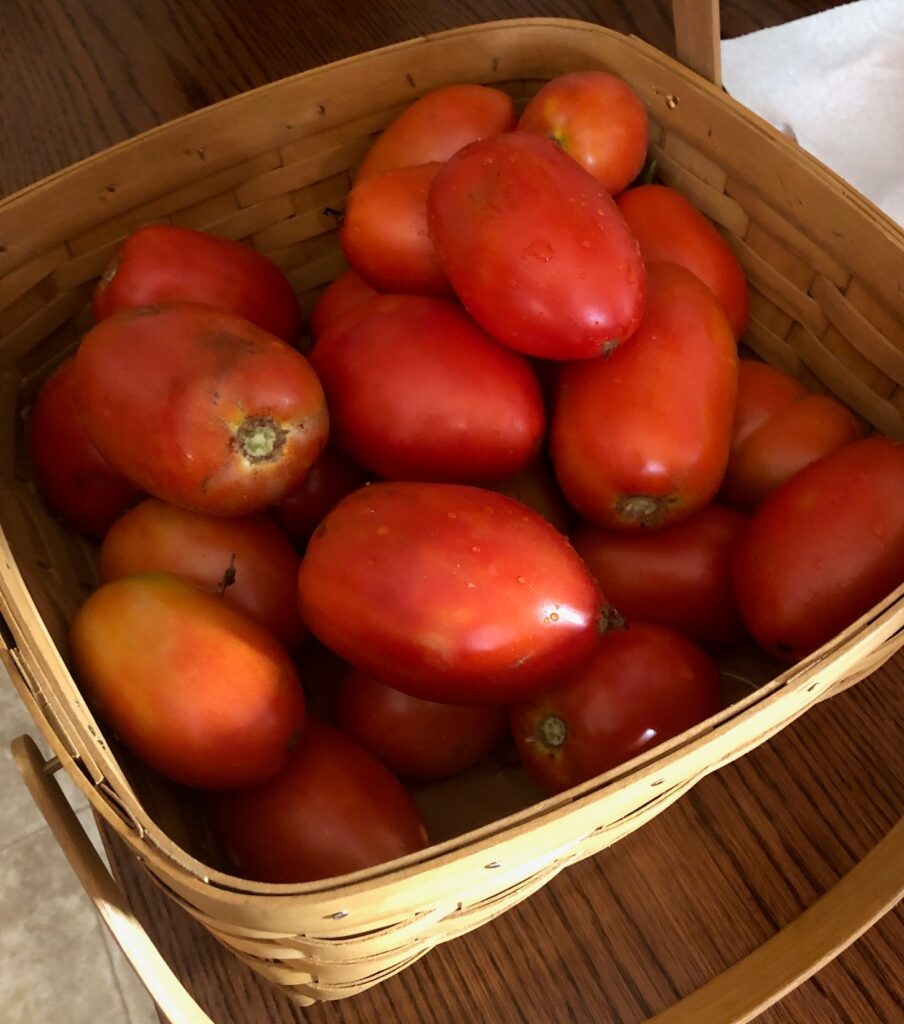
Cooking Tomatoes
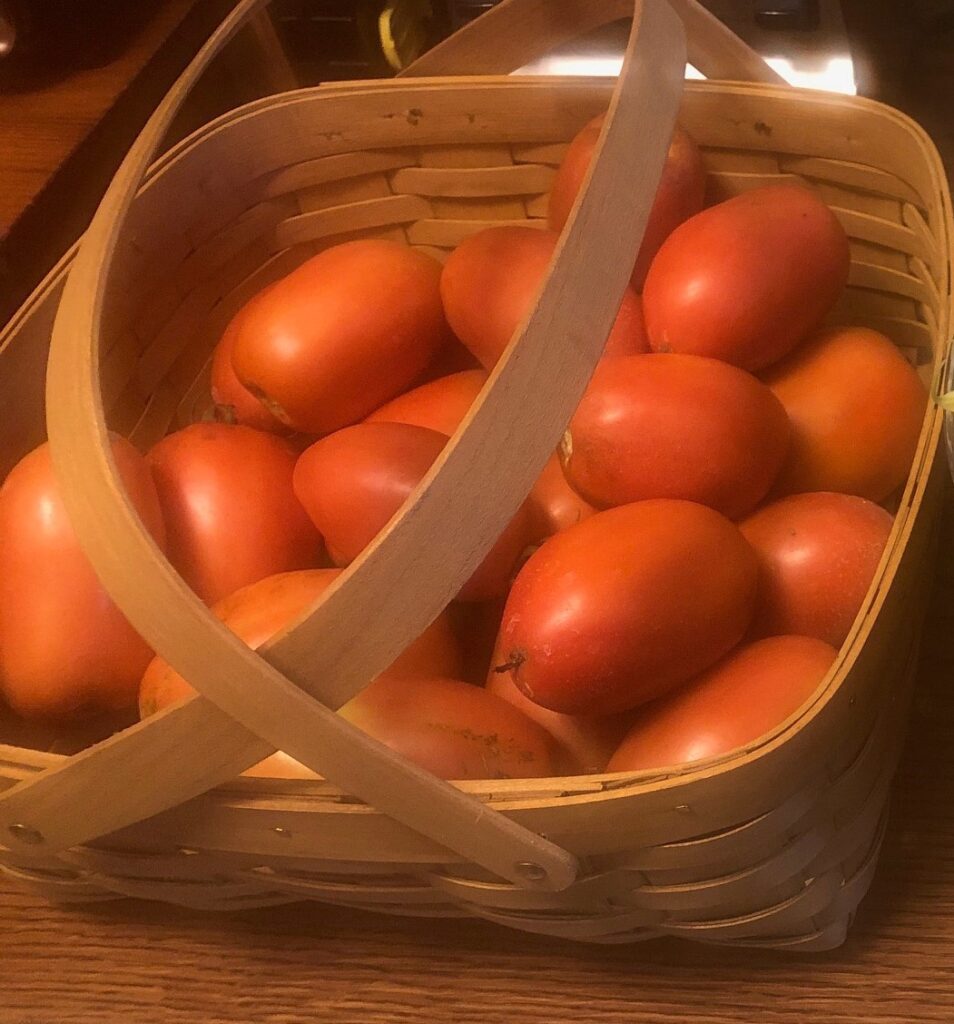
We have eaten the first tomatoes to ripen. This larger batch of tomatoes will be cooked enough to soften them but I won’t put them in the food processor to make them smooth. I’ll use these in vegetable soup.
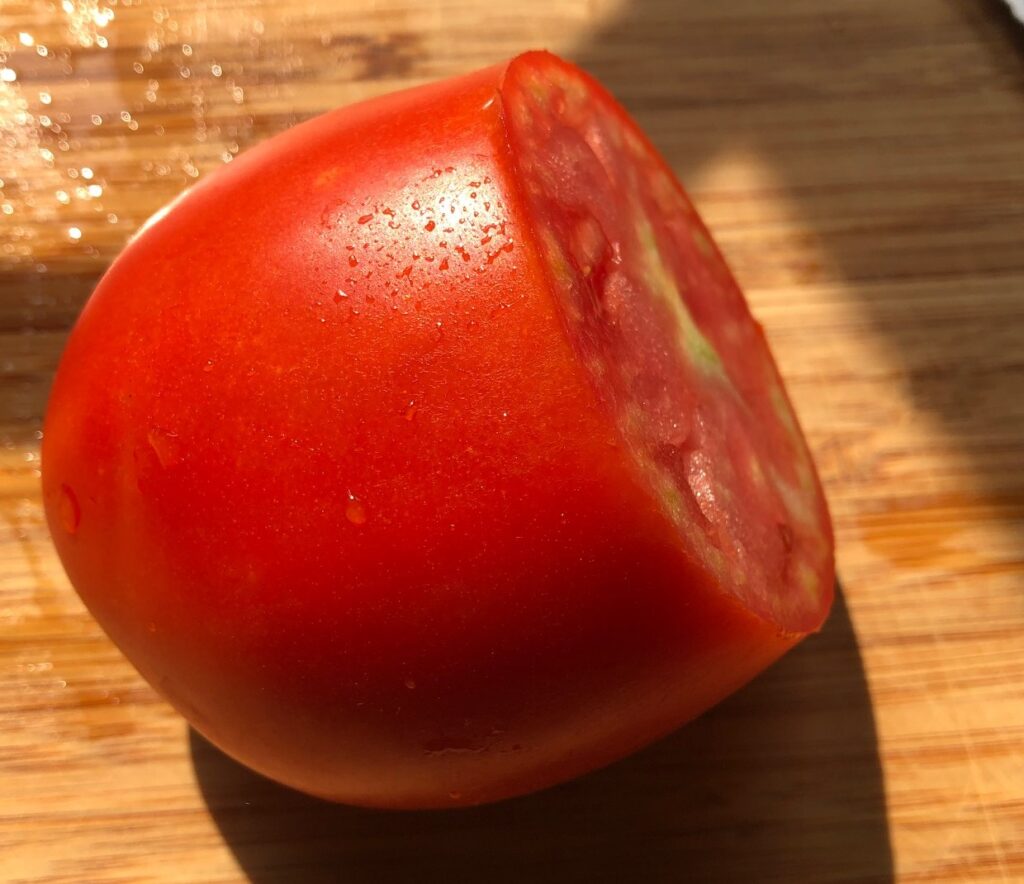
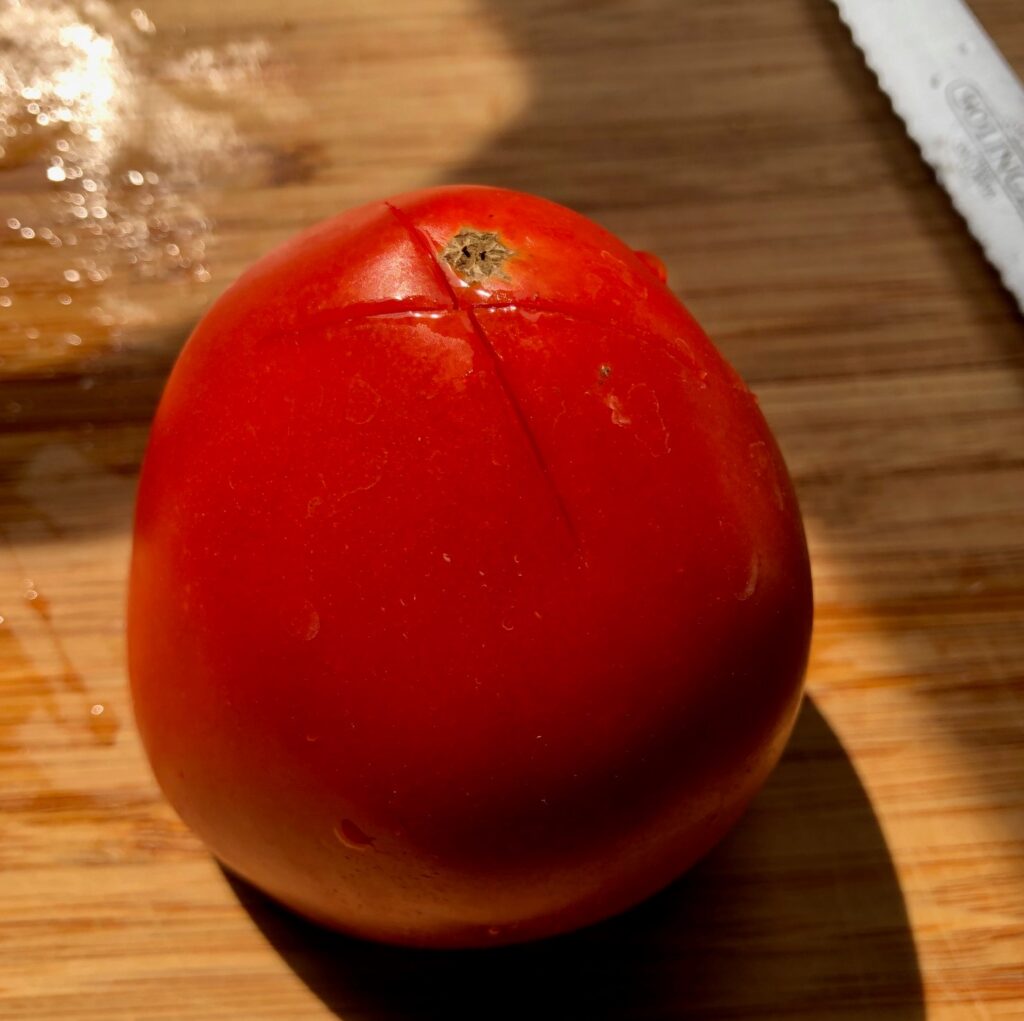
The tomatoes are washed. I cut the tops off to get rid of any ugly stems. Then I turn each tomato over and cut an X on the bottom.
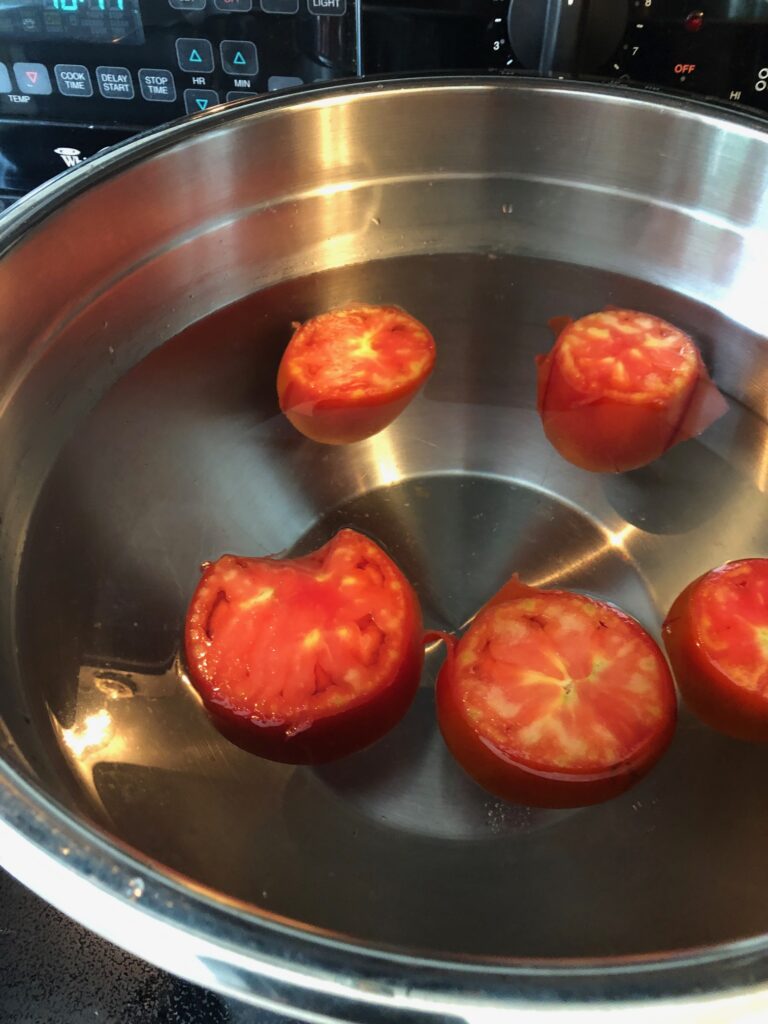
Next, I bring a pot of water to a boil and drop a few at a time into the boiling water. In less than 1 minute the peel starts to split and separate from the tomato.
Then, I quickly transfer them one at a time to a big bowl of cold water with ice cubes. That helps loosen the peel.
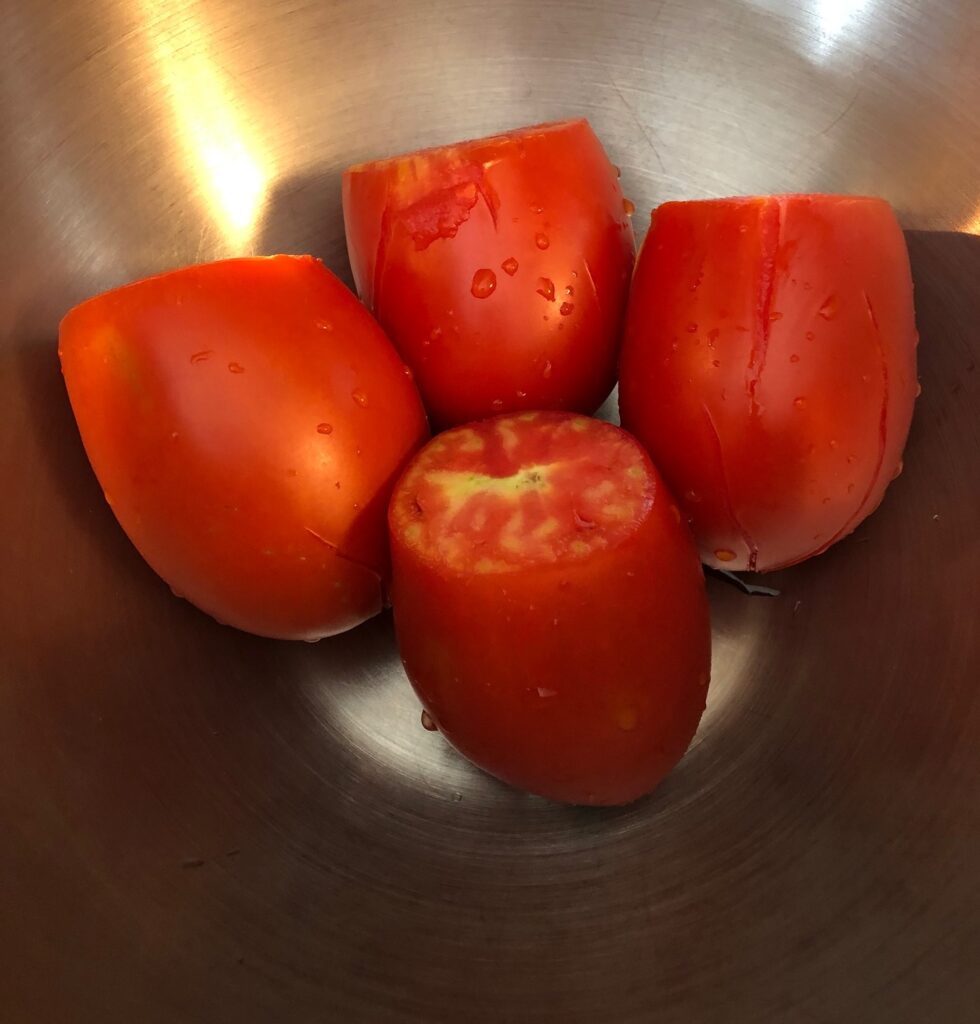
Then, I stack them gently into a bowl until I’ve done them all.
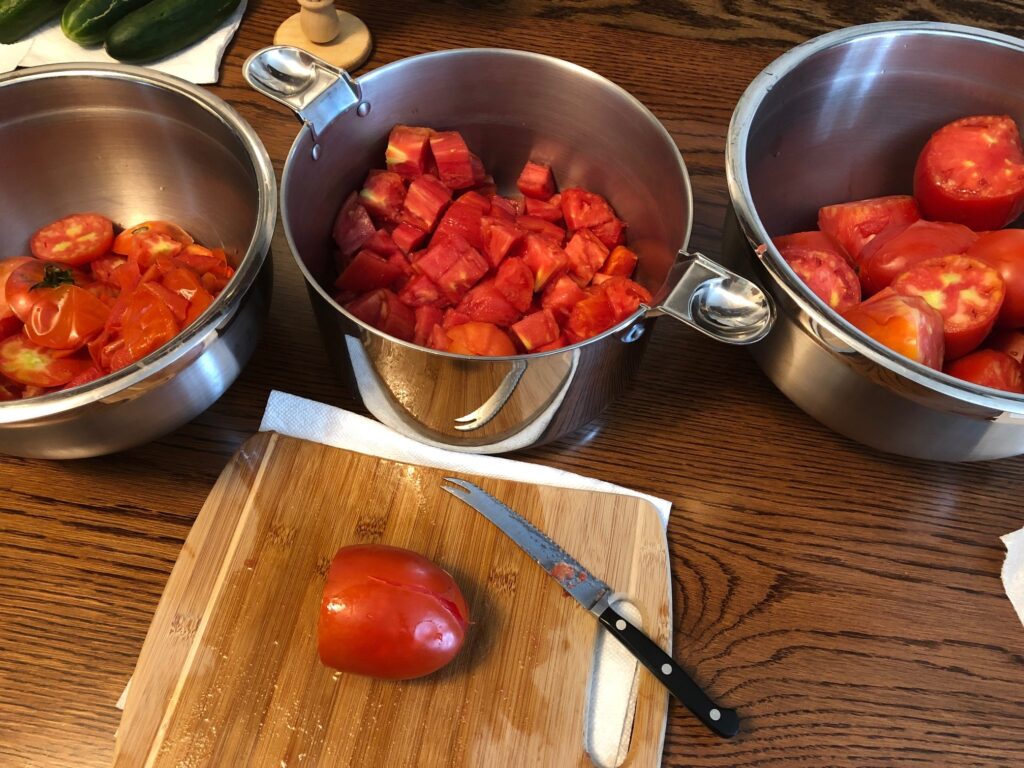
Now, I sit down at the kitchen table and take each tomato, remove the peel and cut the tomato into smaller pieces. These go into a pot that will go back on the stove to simmer until the mixture is soft and some of the water is boiled off. The time depends on if I’m going to run them in the food processor or not. I like a chunky mixture for my vegetable soup. If I’m making spaghetti sauce, I’ll cook them longer uncovered and let more water boil off.
They really are quite easy to peel at this point!
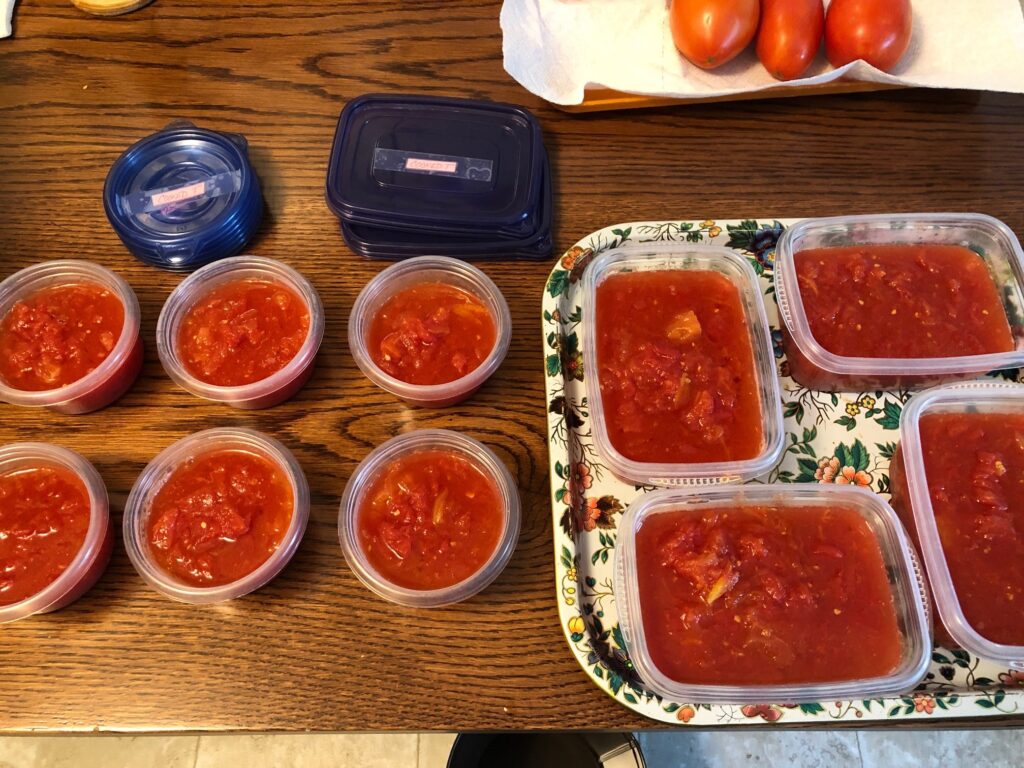
This is how much I put in the freezer yesterday…and the tomatoes are just starting to ripen! It’s going to be a busy August!
Bert just came in with more tomatoes! Yikes!
More Beans?
The next planting of beans is still pretty small, but they look good. I’ll be watching the weather in early September to see if we get any beans before the first frost.
So that’s what’s happening in my kitchen the second week of August! I know I’ll appreciate it in the winter when I want to make soup! Enjoy!
Over the last few months I’ve been working on researching and producing various products to make life more comfortable for greyhounds and their owners. Thanks to Toni Duchi and Nittany Greyhounds, their wealth of knowledge and experience with greyhounds gave me a lot of guidance on what some of their issues were.
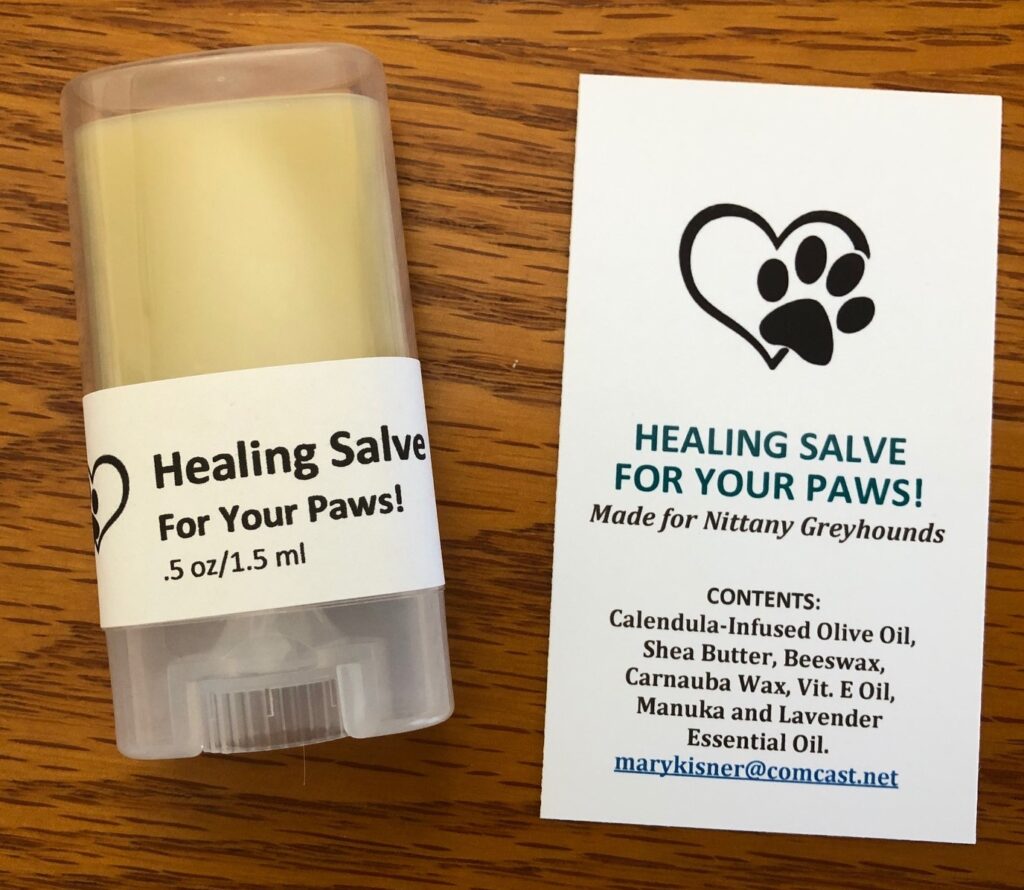
Healing Salve for your Paws!
An issue shared by the greyhounds was the difficulty owners had with keeping their dog’s paws soft and their noses undamaged. The salve that I made with calendula-infused olive oil and beeswax felt good on our hands as a lotion bar. Why not make something a little softer with the right essential oils that were safe for dogs? I also discovered the great healing properties of Manuka Essential Oil while I was researching Manuka Honey. I tried using the honey in my products but it just didn’t incorporate easily into soaps and lotions easily. I found Manuka Essential Oil had many of the same healing properties but incorporated well into those products. This salve was soothing and helped with healing paws and noses.
I’ve now made over 60 salves and they are ready for labels. We will share them at the Greyhound picnic on August 15.
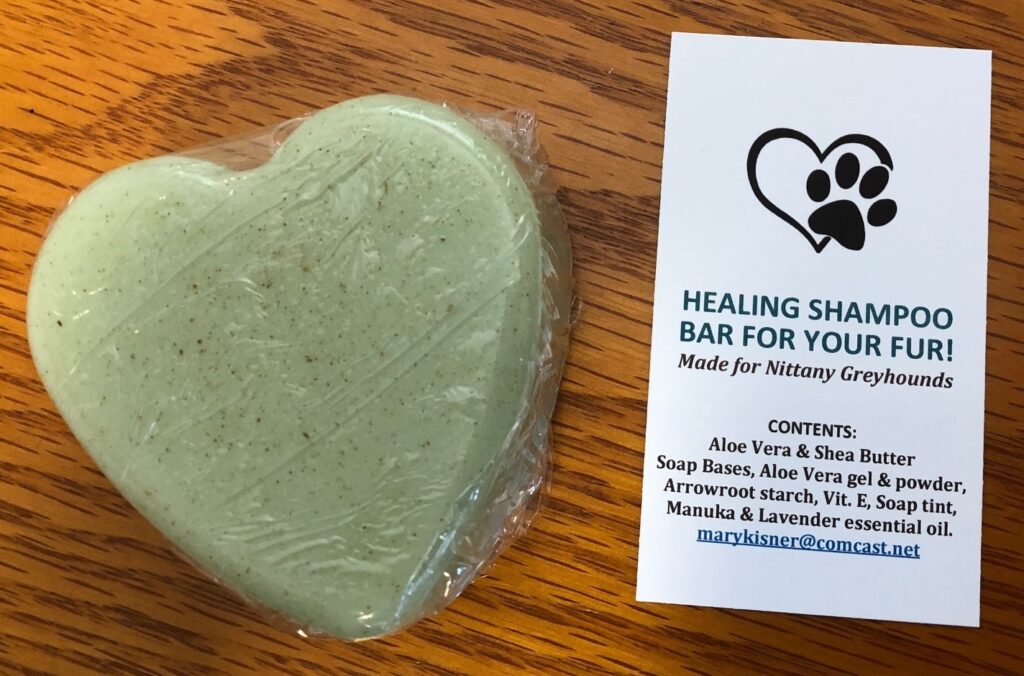
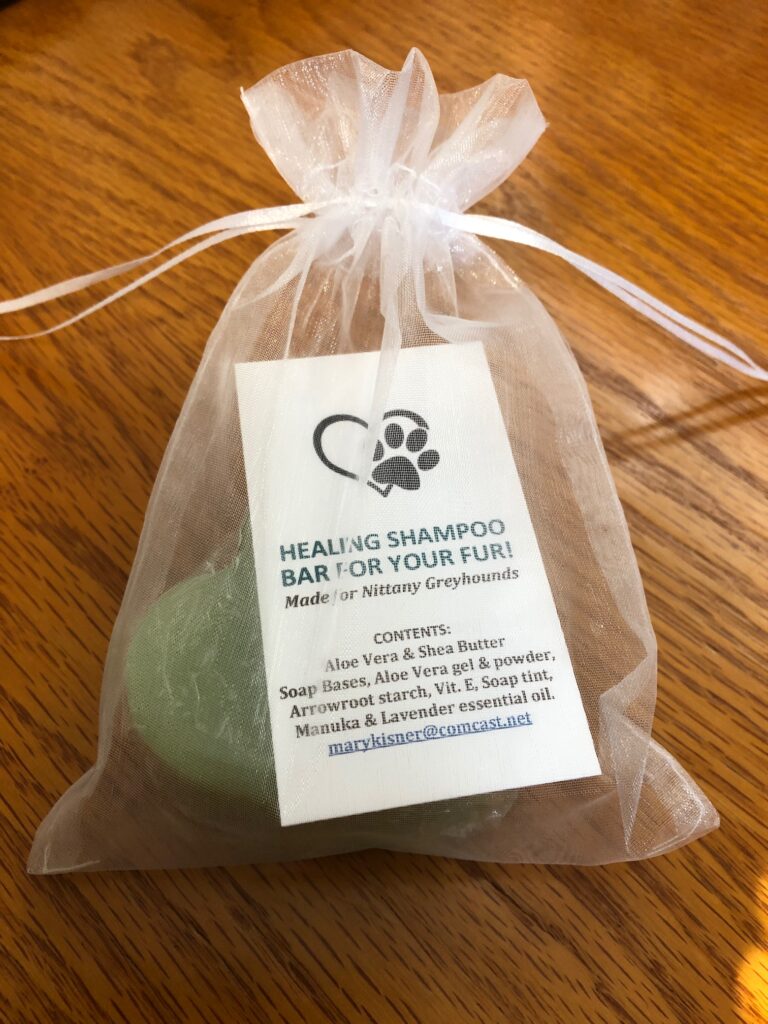
Healing Shampoo Bar for your Fur!
I was asked if I could make a flea soap for the dogs. I’ve been making soap for several years…actually, it’s melt-and-pour soap with enhancements…so I made a batch with a goat milk soap base to see if I could incorporate the necessary essential oils to repel bugs. I gave this soap to a volunteer at the kennel who also grooms dogs. I also gave her one of my Aloe Vera soaps that I make for myself, since I’m not happy using goat milk soap…may be my allergy to milk? She used them on two dogs that were in the kennel at the time. She said she preferred the Aloe Vera soap! Interesting! Thanks to Teresa for testing these out!
Why not just medicine for fleas?
Dogs can be given a pill that will kill the bugs if they bite the dog. This medicine is hard on the dog’s system and really is too little too late. If they have already bitten the dog, they leave behind a sore, itchy spot that is irritating. According to the research any soap will wash off the fleas, however the flea soap can aggravate the sore spots.
So now the focus shifted to a healing, soothing soap and then we’d figure out a topical spray that could deter the bugs from landing in the first place. Essential oils have a good track record of being soothing to the dog while offensive to bugs. Let the experiments begin!
My Aloe Vera soap recipe uses an Aloe Vera soap base with an additional Shea Butter soap base. Then, extra Aloe Vera gel and powder is added. Finally, Lavender and Manuka essential oils enhance the healing qualities of the soap.
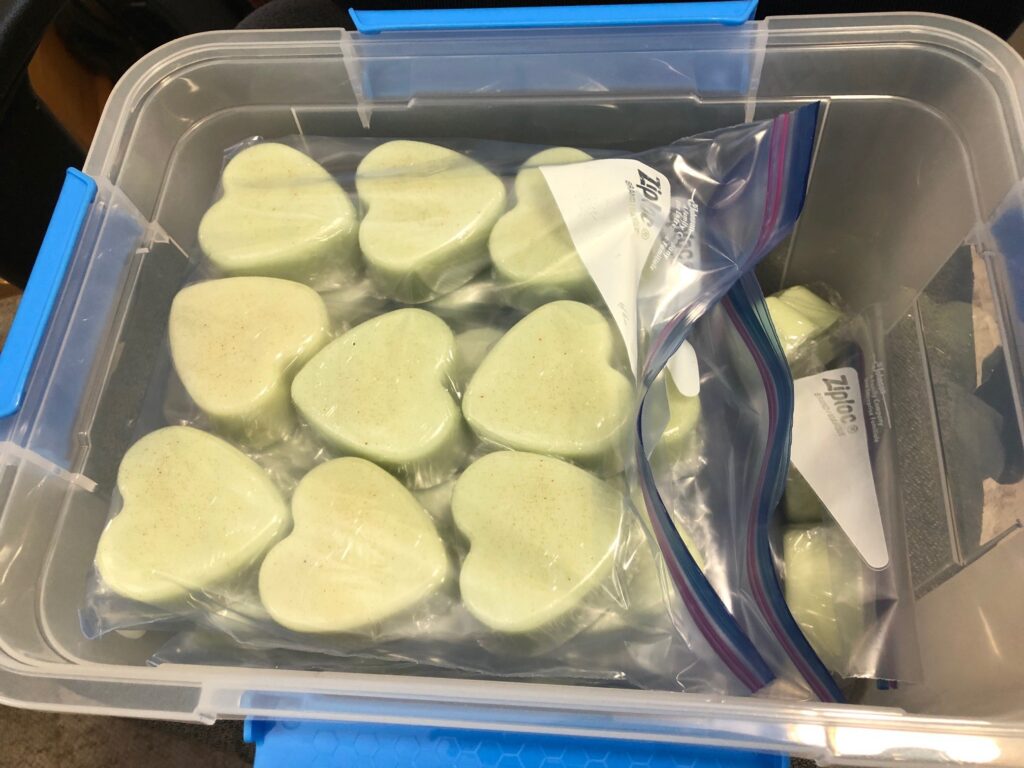
Even the shape of the bar matters…a smooth oval was deemed too slippery when wet. The heart shape seemed to give the appropriate hand hold in the notch.
I now have 50 shampoo bars of Aloe Vera soap ready for the picnic. Since I can’t put a label on the bar, I’ll put each bar in a mesh bag so I can include the card with each one. It’s important to me that folks know exactly what’s in the bar.
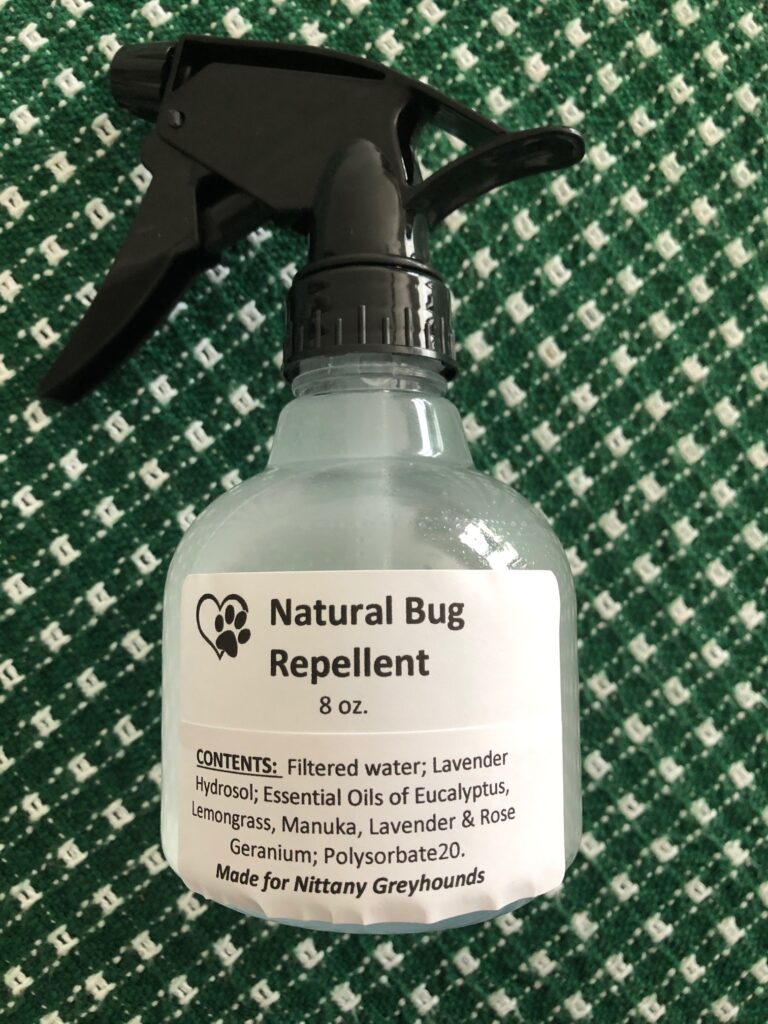
Natural Bug Repellent for Dogs, not Cats!
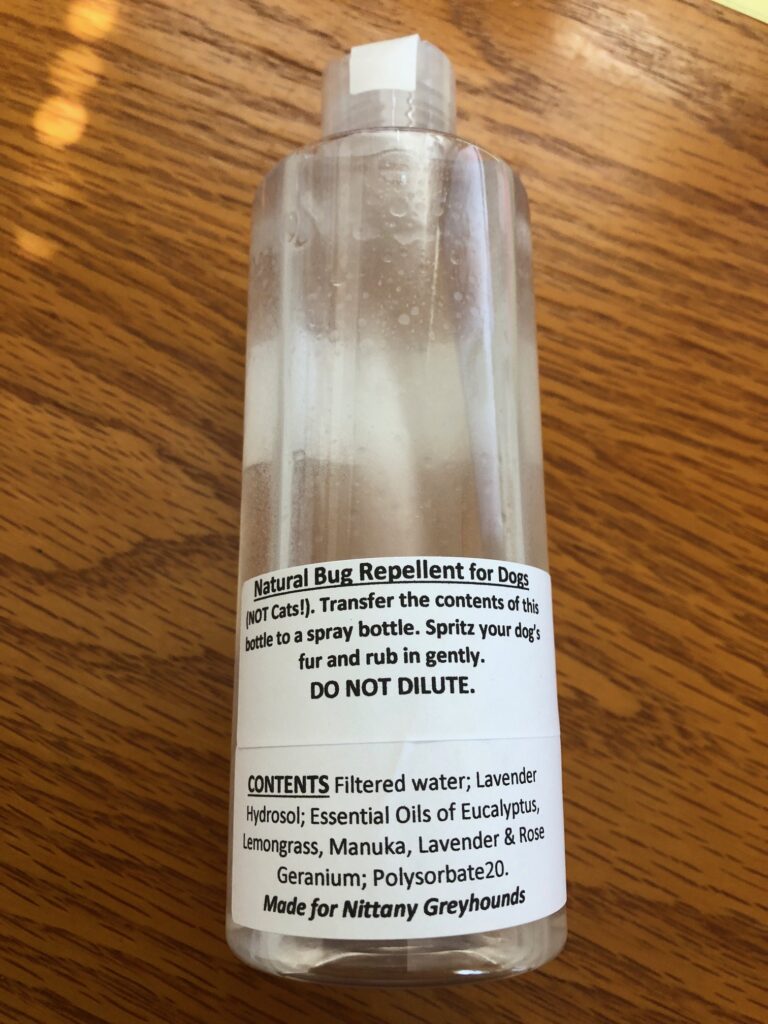
The next challenge was to figure out what kind of spray would keep the bugs off the dogs. The first issue was to research which essential oils are safe for dogs. After reading many lists from many sources, I settled on this combination of oils:
For healing (and apparently the bugs don’t like these either): Lavender and Manuka Essential Oils.
For bug deterrent: Eucalyptus, Lemongrass and Rose Geranium.
Because there are very few essential oils that are safe for cats, I’ll make sure to put on the label that this spray is not for cats!
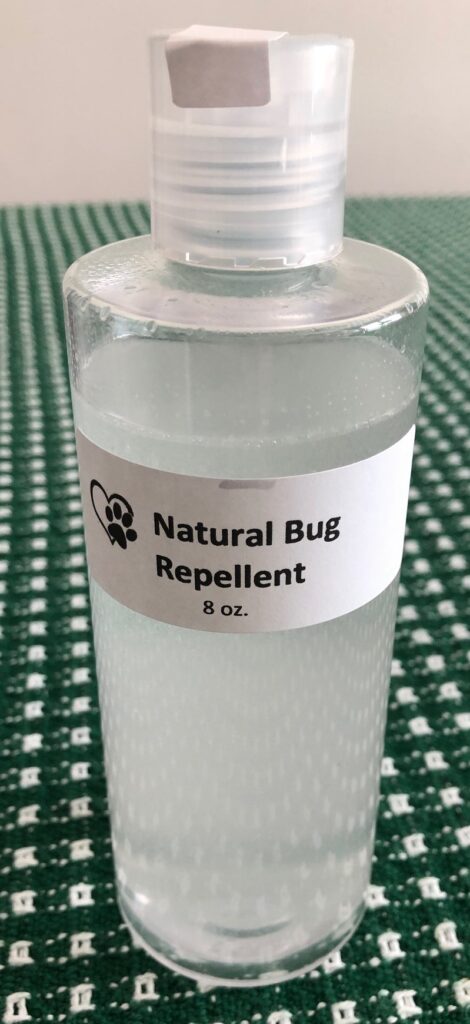
I was going to mix up the spray in 8 oz. spray bottles but decided that they might not travel very well. So, we’ll offer the refill and folks can buy the spray bottle or go home and use their own.
We’ll offer these tester spray bottles at the picnic so folks can try it on their dogs right there.Now I have a bunch of bottles ready for labels!
These are not necessarily the finished products, but we’re hoping folks will give them a try and give us feedback. As I said at the beginning of my blogging adventure back in March, the Greyhounds are Still in My Heart! Enjoy!
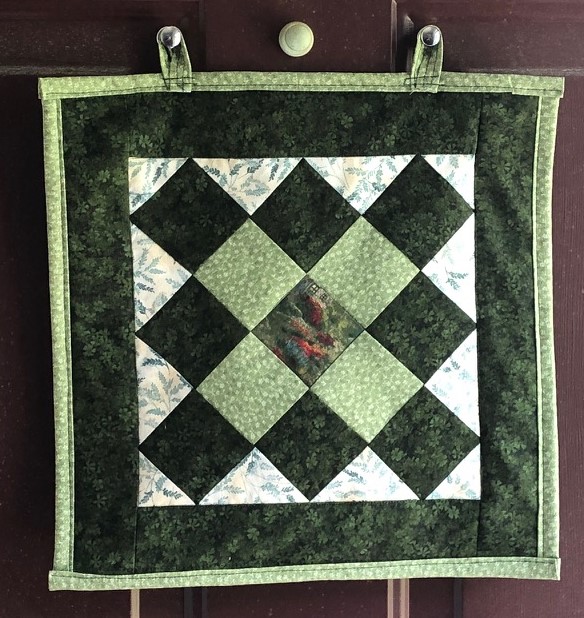
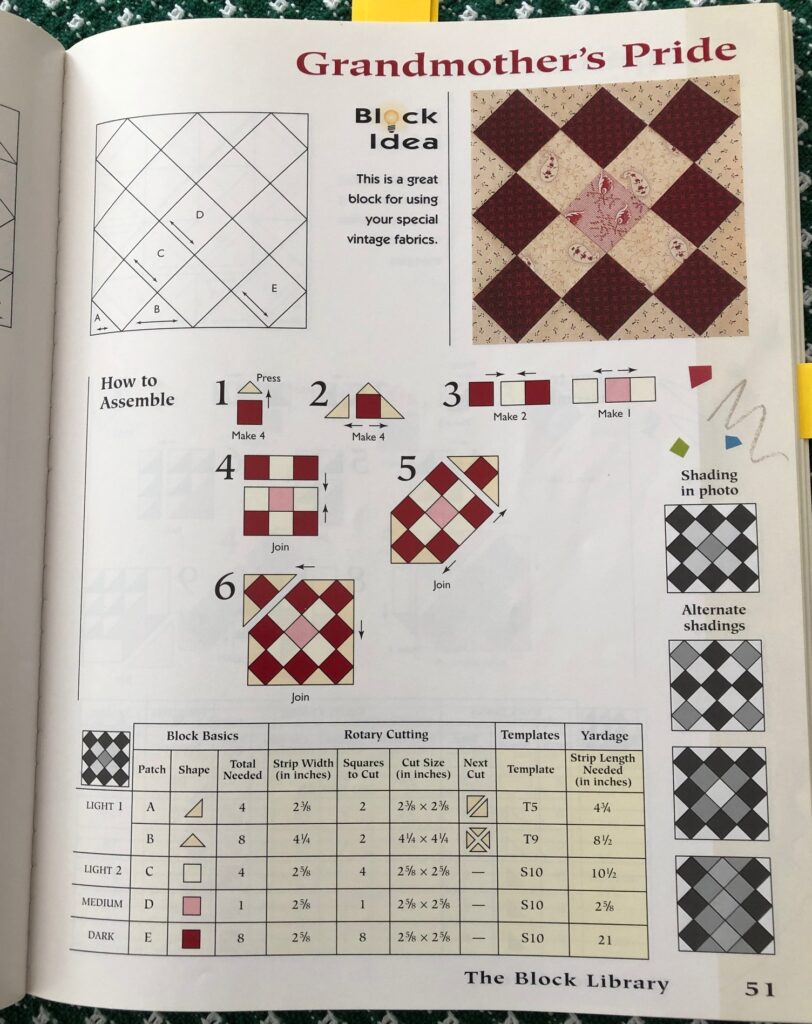
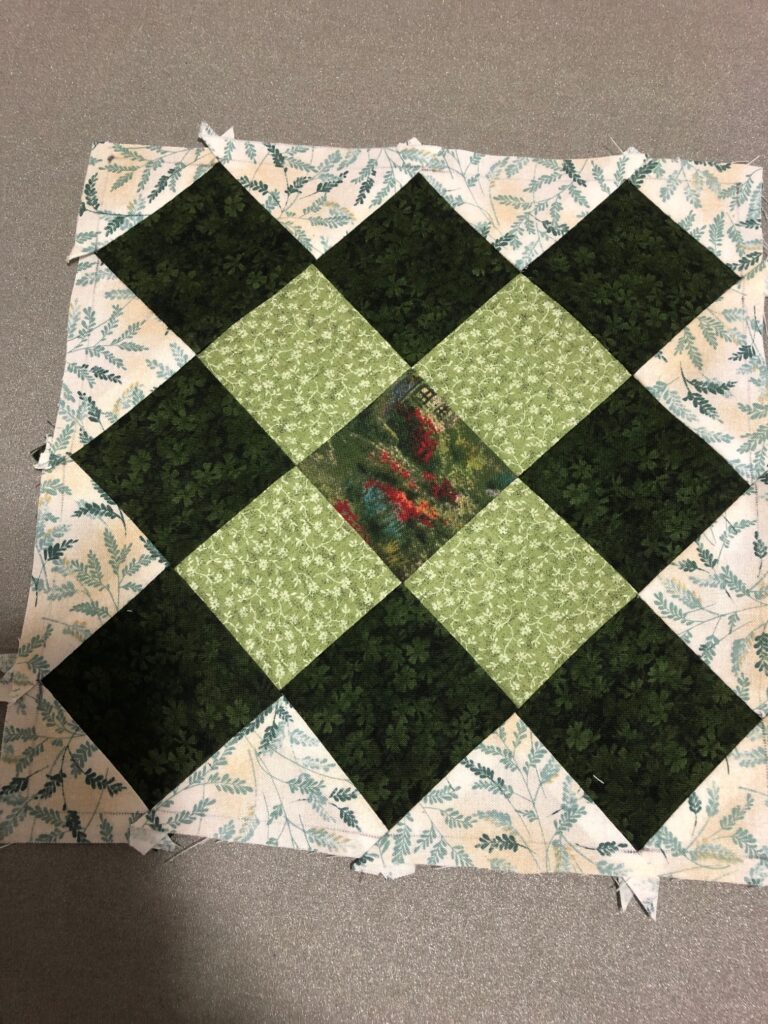
Time for my Patriotic Door Quilt to retire! The colors in the fabric were starting to fade. The block I chose for August and September is called Grandmother’s Pride (sometimes called Courthouse Square).
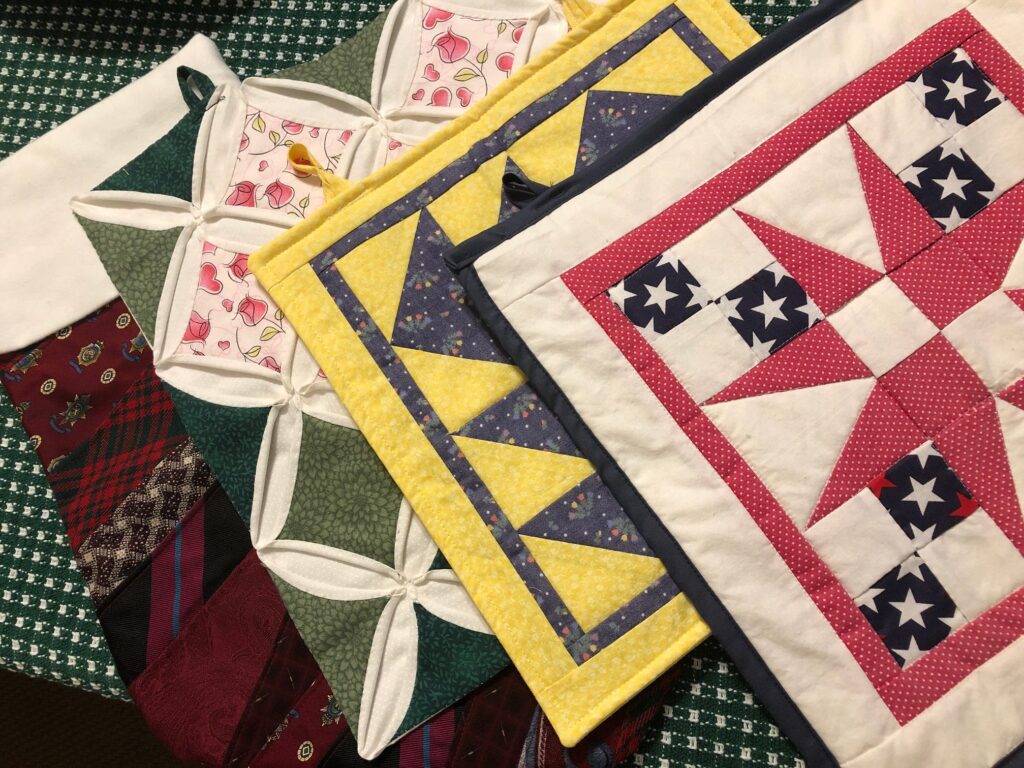
Here are the four previous door quilts lined up, beginning with the Christmas stocking made from recycled neckties. (See earlier postings for each of these blocks.)
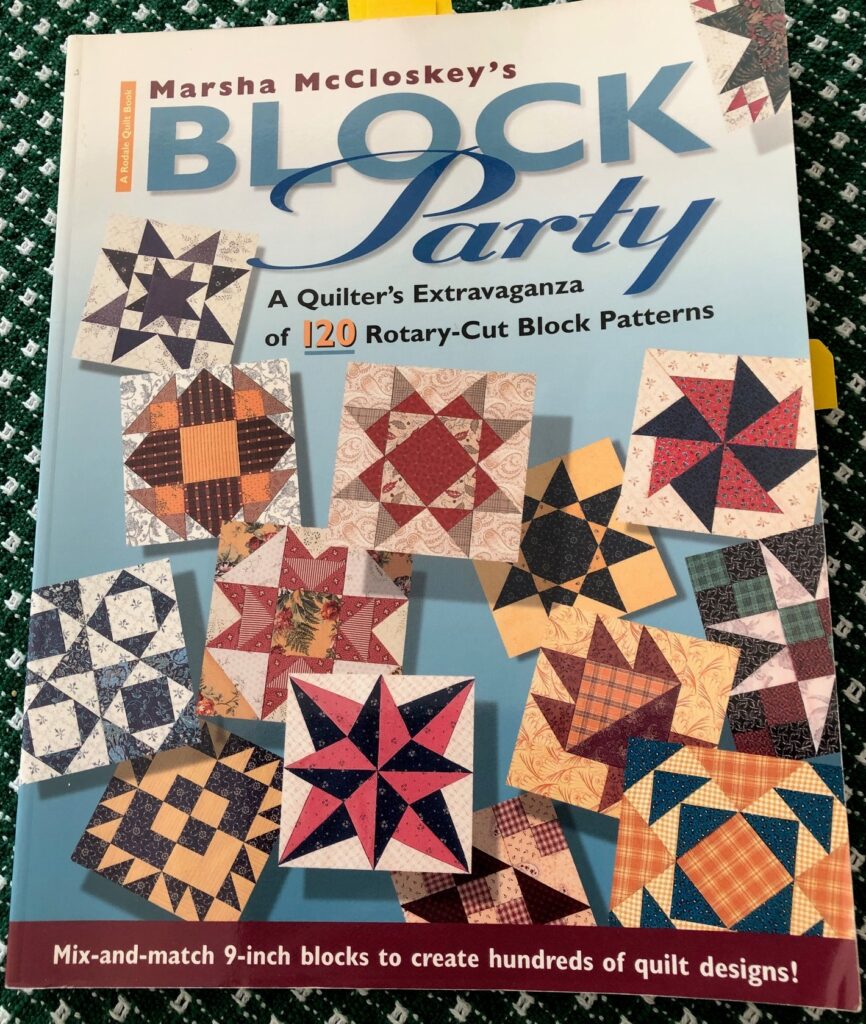
Given the parameters I’ve set for myself…a single quilt block with borders about 12″ to 14″ square, with the outer color being lighter so it will show up on our dark red door…I usually start with Marsha McCloskey’s BLOCK PARTY book…a mix and match book of 9″ blocks.
I love the way the pages of instructions are laid out and I have many of the templates already cut. Each page has a color picture of a finished block, a diagram showing the straight of the grain for each piece, step-by-step how to assemble the pieces, alternate color choices and how many of each template to cut.
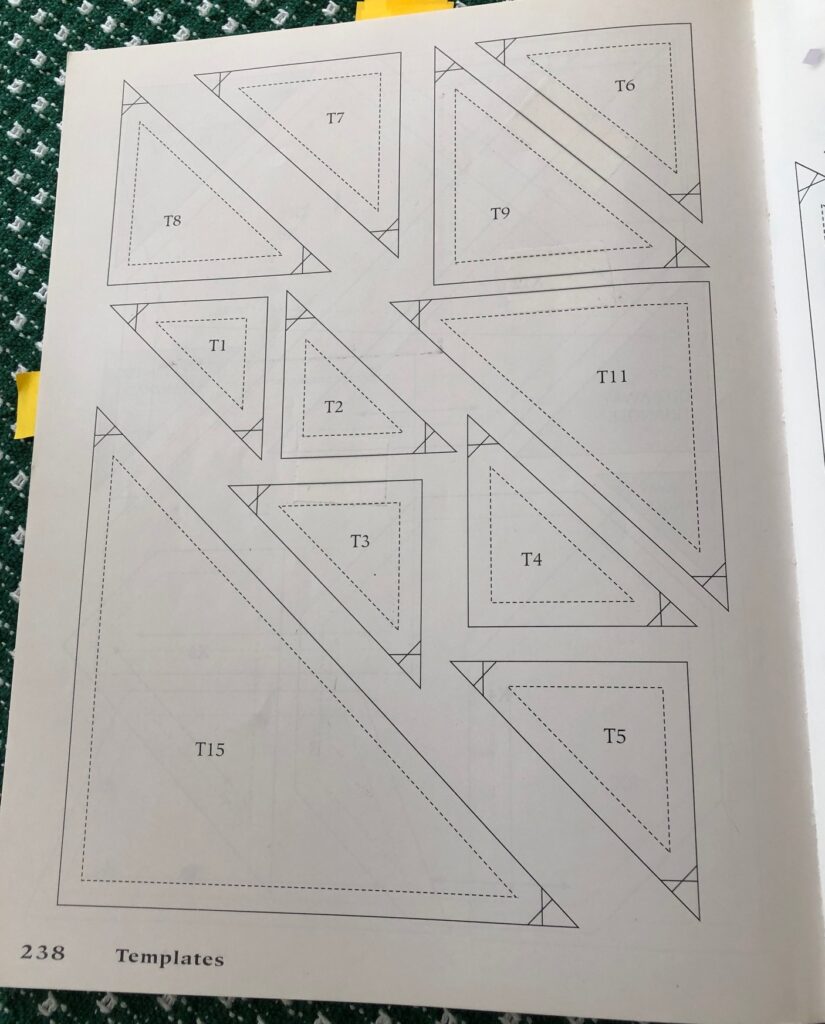
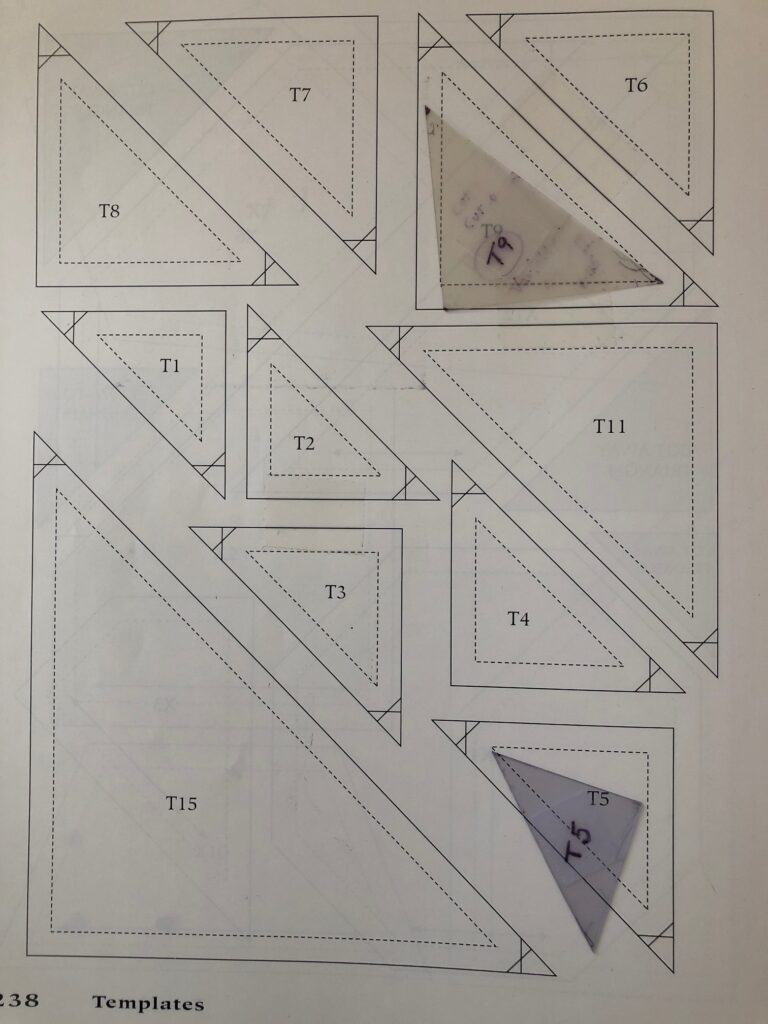
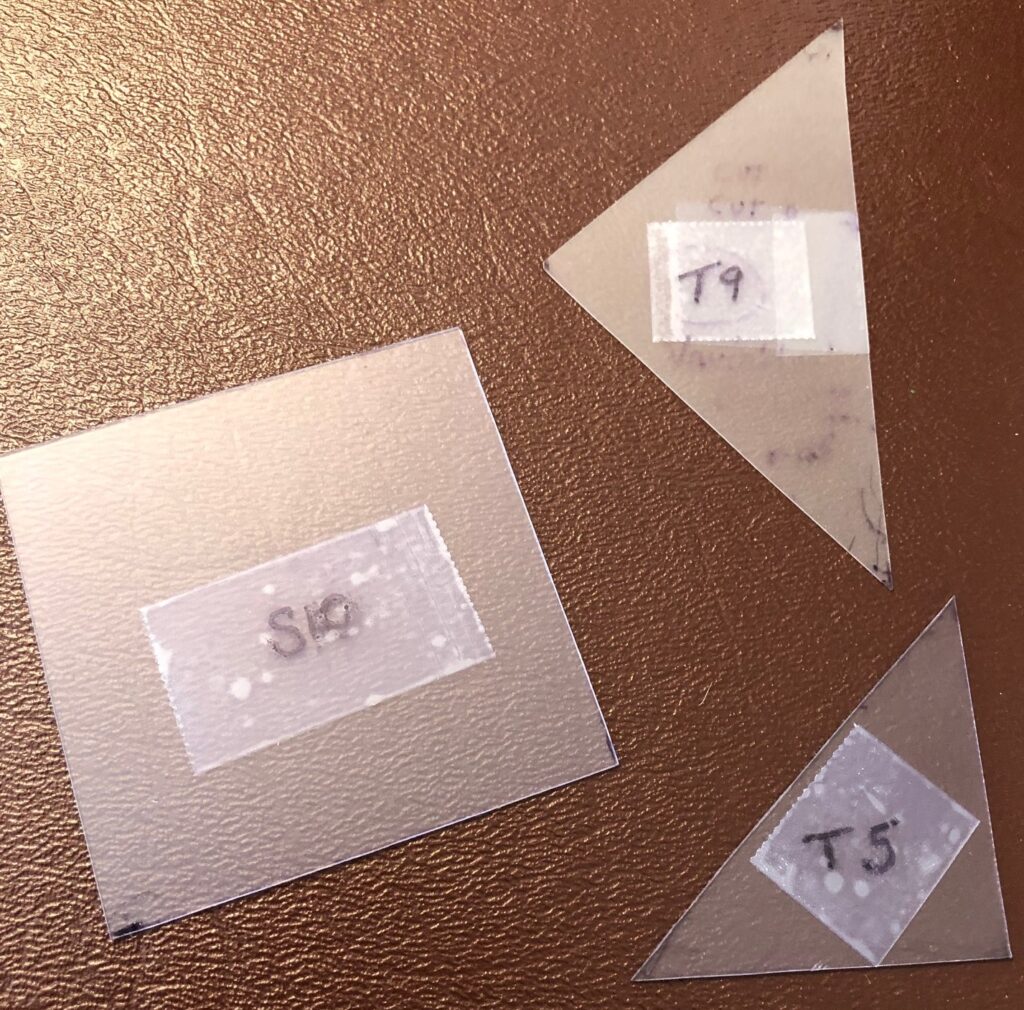
All the templates are diagrammed in the back of the book. All I have to do is lay clear template plastic over the template I want, trace the lines and cut out the template.
Since I usually plan to hand stitch the pieces, I need the stitching line marked not the cutting line. Then I draw around the template onto the back of the fabric and cut each one out, leaving about 1/4″ to 3/8″ seam allowance. It doesn’t matter if I’m exacting in cutting…the stitching line is what matters. So, I trace the inner line of the template.
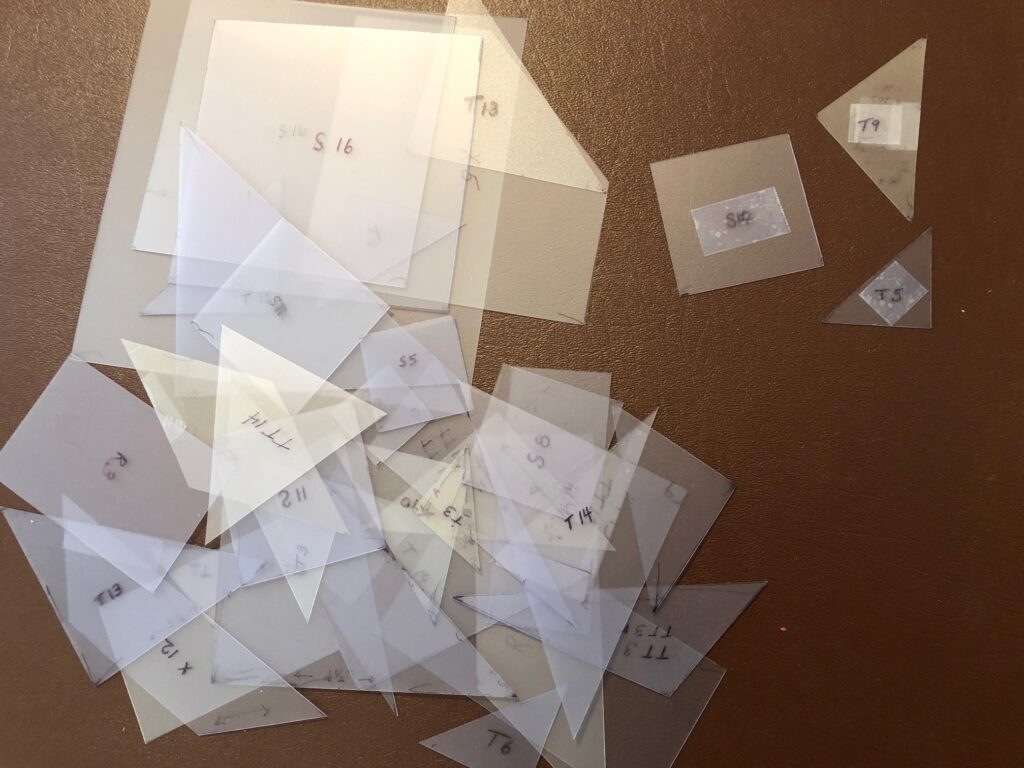
I have made many of the blocks in this book, so I have many of the templates already cut out. All I have to do is dump them out on the table and sort through to find the ones I need.
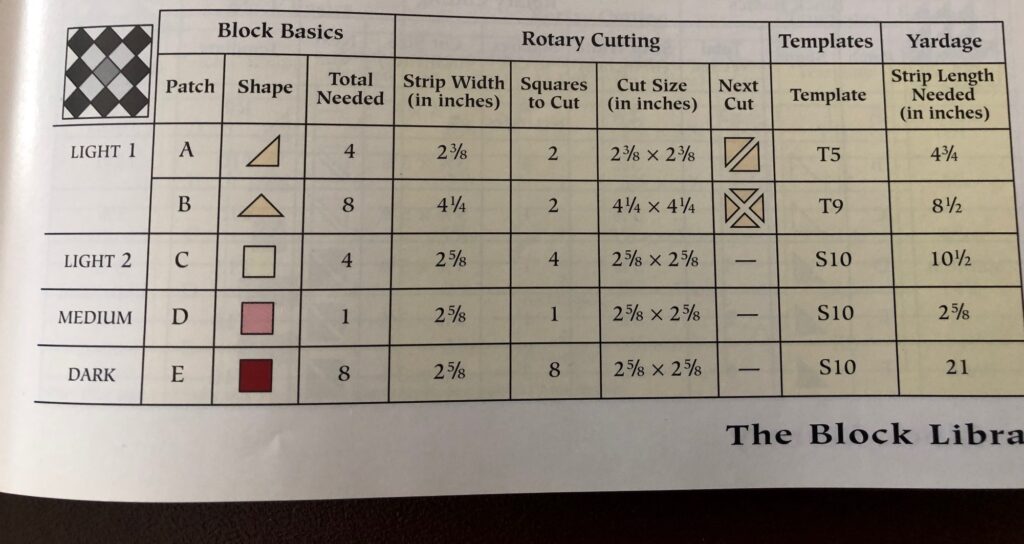
The block I’m making needed only three templates, as indicated on the box of instructions at the bottom of the page. The shapes in the diagram refer to the diagram at the top of the page, which shows the straight grain of the fabric with arrows. You can see on the chart below, Template T5 will be used to make 4 of Shape A. They also give instructions if you are using a Rotary Cutter.
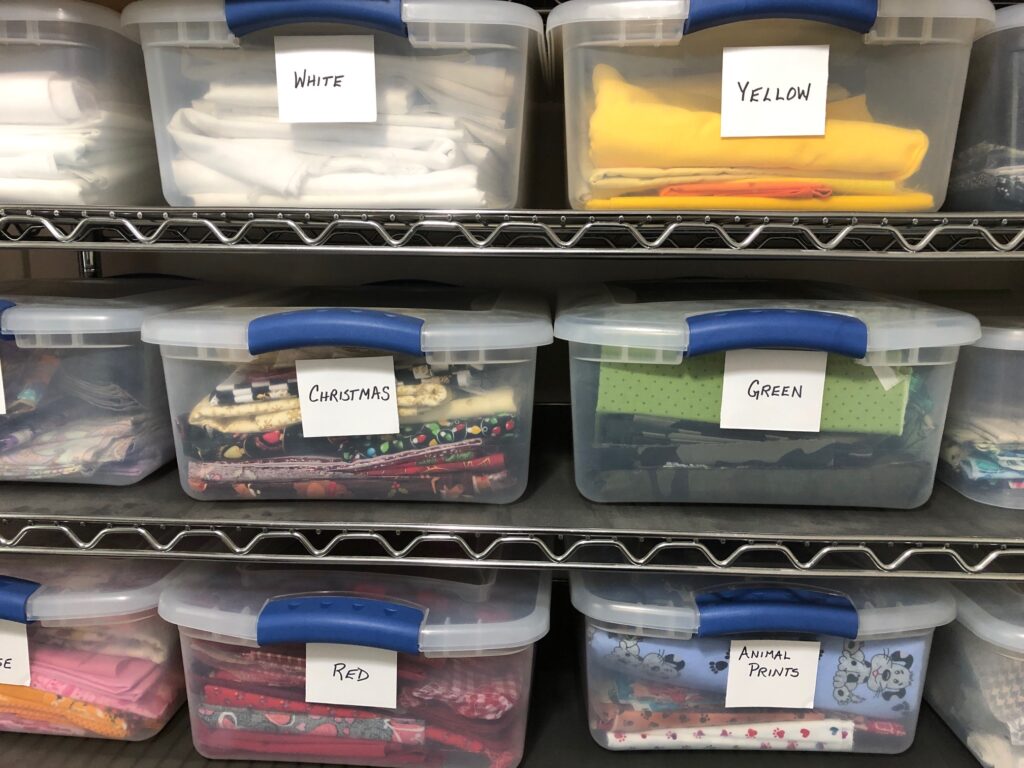
Now that I know I will need 4 different colors, and I know I’m aiming for colors of the season…late summer greens and a splash of color, I head to my bins of fabric. I have found I tend to look for fabric by color, not size of the piece. Most of the fabric I have is cotton and is washed right after I buy it.
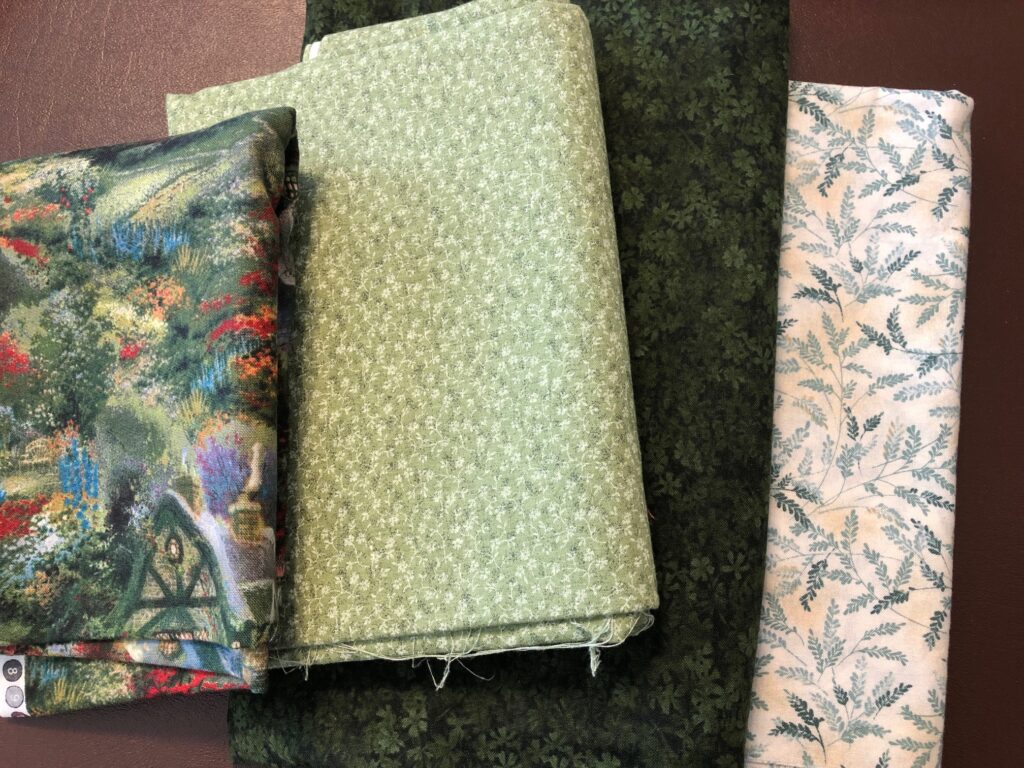
In the “Green” bin I found these choices:
This is how I arranged the pieces:
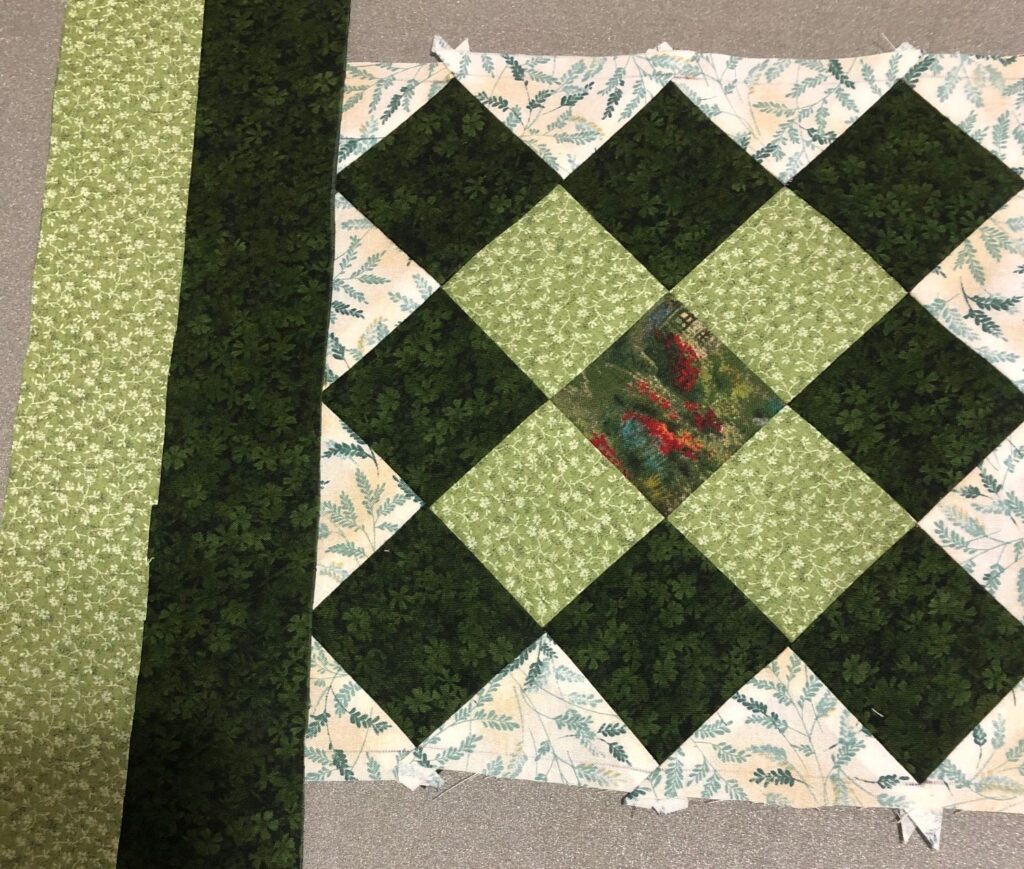
Next, I tried out some strips to see what I liked for the border:
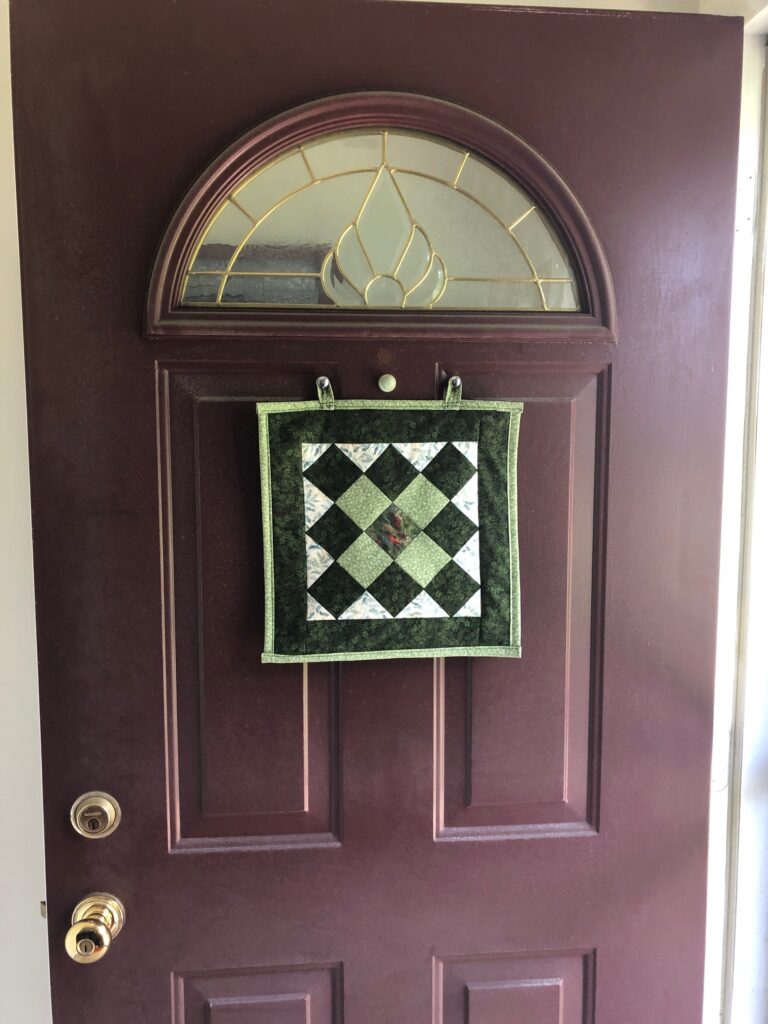
I’m pleased with how the finished block shows up on the door!
So, my door is decorated for the next two months. Around the beginning of October, I’ll find orange fabric to make something for Fall/Halloween/Thanksgiving. Such fun! Enjoy!
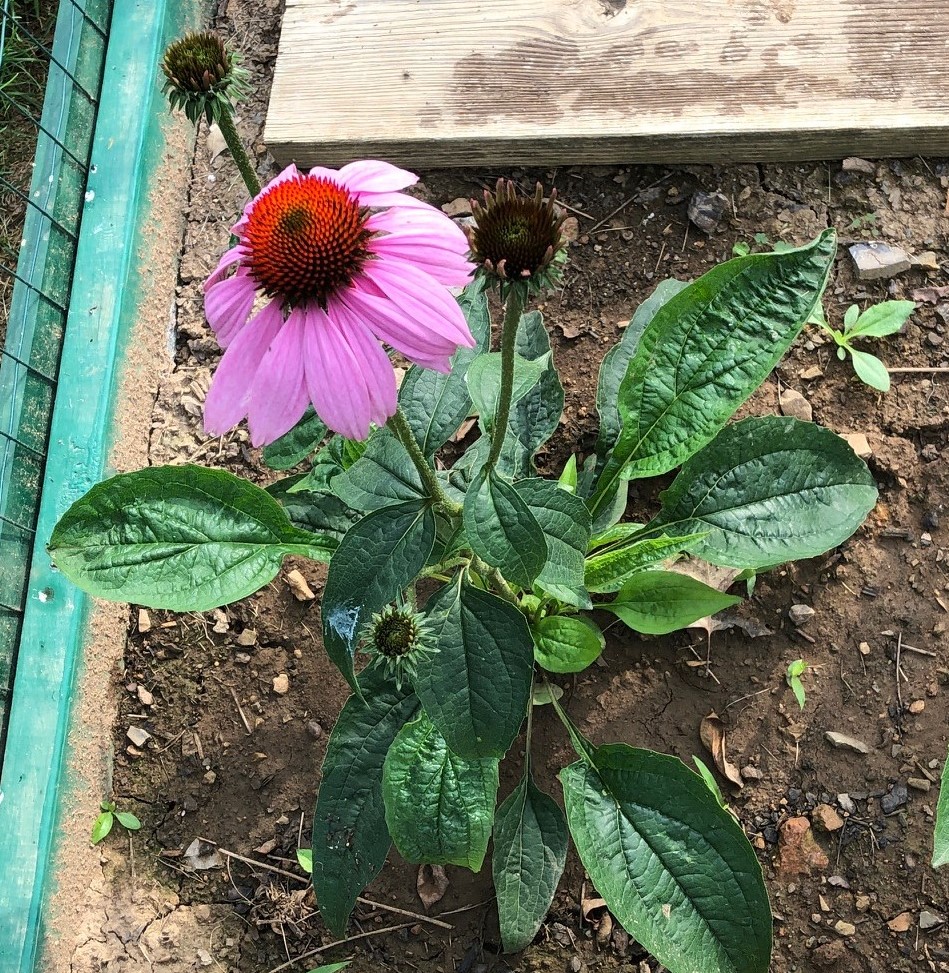
The Echinacea plants in the garden are looking very pretty, especially because we have several different varieties. Three plants I purchased at a local plant sale. Bert started the rest from seed indoors in the early spring. A friend asked if I would save some seeds for her so I decided it was time to research how to do that.
I found a wonderful site online where the author walked through the steps to saving the seeds. It even had an embedded video clip of him putting the dried seed heads into a coffee can and shaking them hard to loosen the seeds! I won’t try to embed videos in my blog, but I will post a link to the article I found helpful.
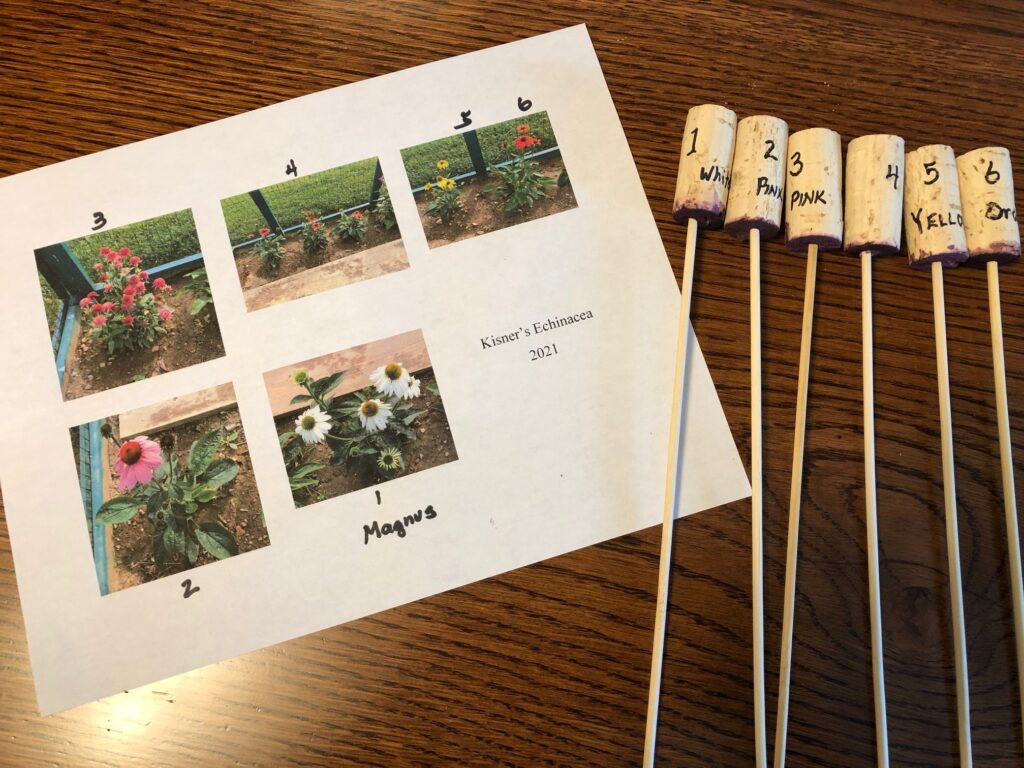
Step 1 said to cut off the seed heads when the blooms have faded and turned brown. Already I could see I would have a problem, because I have several different colors…when they are brown how would I know which is which?
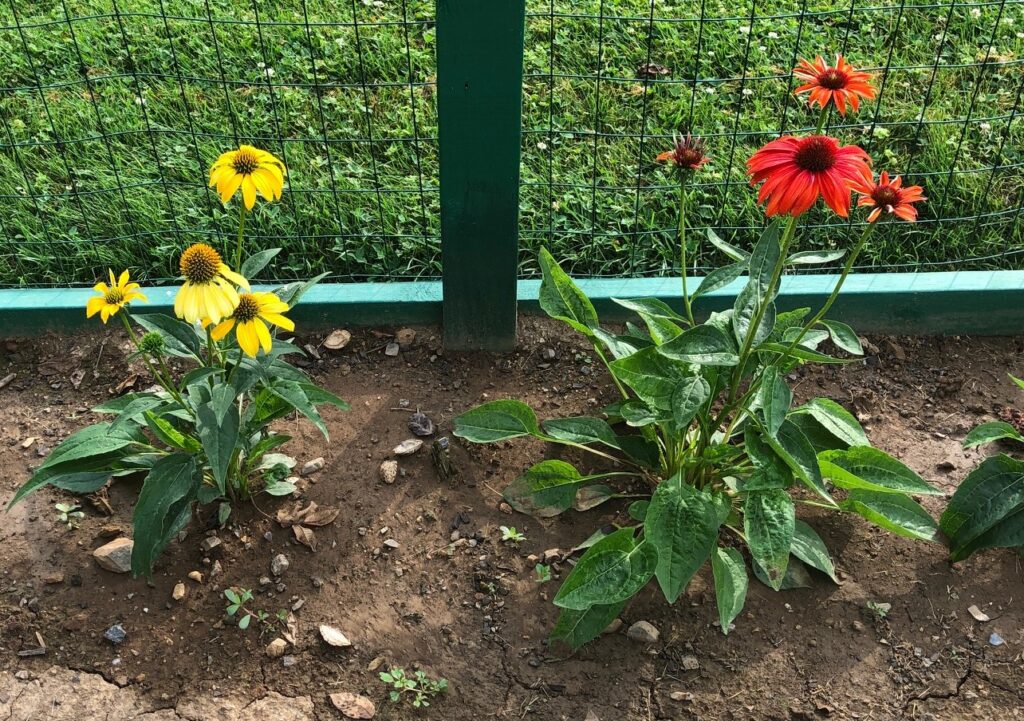
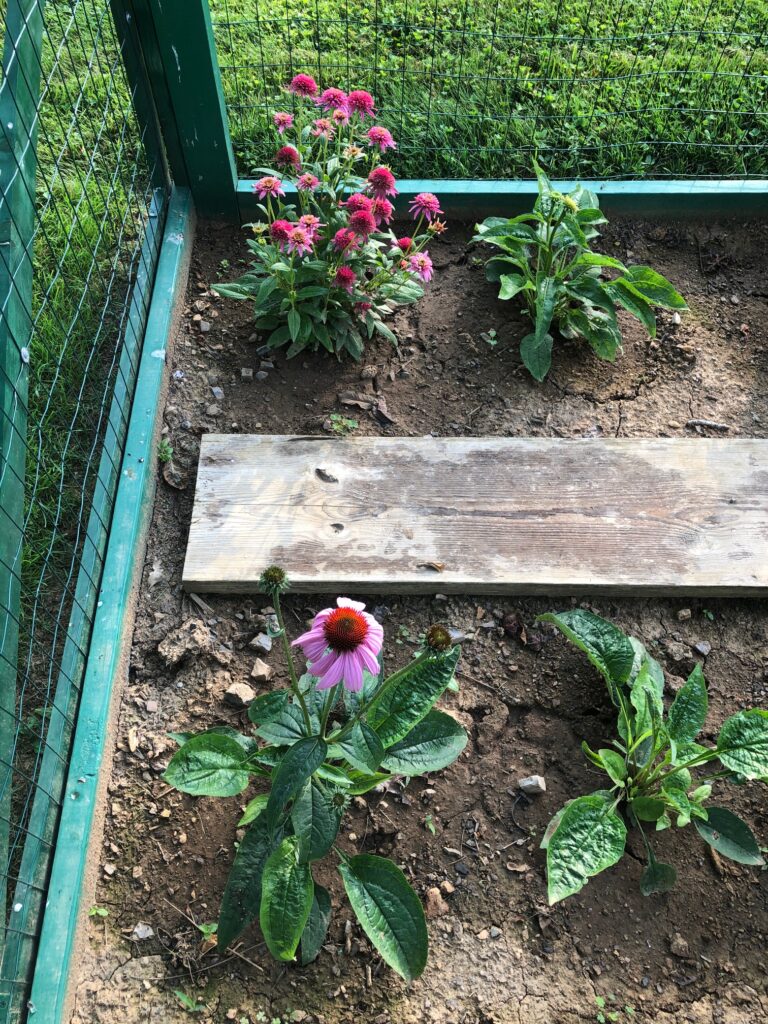
So first, I went out to the garden and took some close-up pictures of the plants. Then I numbered them on the picture and made markers to put beside the plants. In the fall, when they are all brown, I should be able to keep the seeds I collect separated by color (theoretically!).
The markers I made out of skewers for the grill and wind corks we had saved. I wrote the number and color on the cork with a marker.
Then I went up to the garden and placed the markers beside the plants. I did not mark every plant, because the way we planted them and where the picture shows them along the fence should be enough.
Anyway, at least now I don’t have to remember what color is where. When they start turning brown, I’ll continue with Step 2!
Step 2 said to store and dry the seed heads in a paper bag. Great…I’ll have to go get some paper bags…maybe lunch bags??
Step 3 said to knock the seeds off the heads. The author did this by putting several seed heads into a coffee can and shaking vigorously. This should release the seeds from the seed heads.
Before storing, the seeds should be allowed to dry another week or so exposed to the air. They can then be tossed gently in a strainer to separate out the chaff that gets mixed in.
Step 4 said I can then store the seeds in an envelope for several years.
The only issue is…I don’t know if the original seeds we bought were hybrid seeds, in which case they will not necessarily reproduce the same plant when grown the second year. If they don’t, oh well…at least I’ll know how to do it for the future!
So, while I’m waiting to continue this process, I’ll just enjoy the colorful flowers in the garden! Enjoy!
Two years ago, we invested in an air fryer. We thought it might keep the house cooler in the summer instead of turning on the oven. Who doesn’t love crispy foods without all the oil? Most of the folks we talked with said they were great to prepare frozen French fries so they turned out crispy. Very few people we knew actually prepared recipes from scratch. Our daughter also uses hers as a toaster!
We have a great toaster/oven we use all the time, so we didn’t think we would replace that appliance. We really don’t buy or eat frozen French fries. Most of the recipes I found started with a breading of some sort made with eggs and seasoned bread crumbs. Since I avoid coatings like that because of my allergy to eggs, I first tried making chicken “nuggets” by cutting up boneless chicken breasts, coating the pieces with oil and seasoning and cooking them in the air fryer. That worked well, but certainly made a mess inside the fryer. Too much oil! Broiling them in the oven on foil was much easier to clean up! Needless to say, storing the air fryer was a real pain! It was finally relegated to a cupboard in the garage.
Fast forward to today. We recently enjoyed veggies that were skewered and cooked outside on the grill (thanks Todd!). We love grilled vegetables! How could we get them more often? There are just two of us and we usually don’t bother firing up the grill for a quick meal. We wondered if the air fryer could be useful?
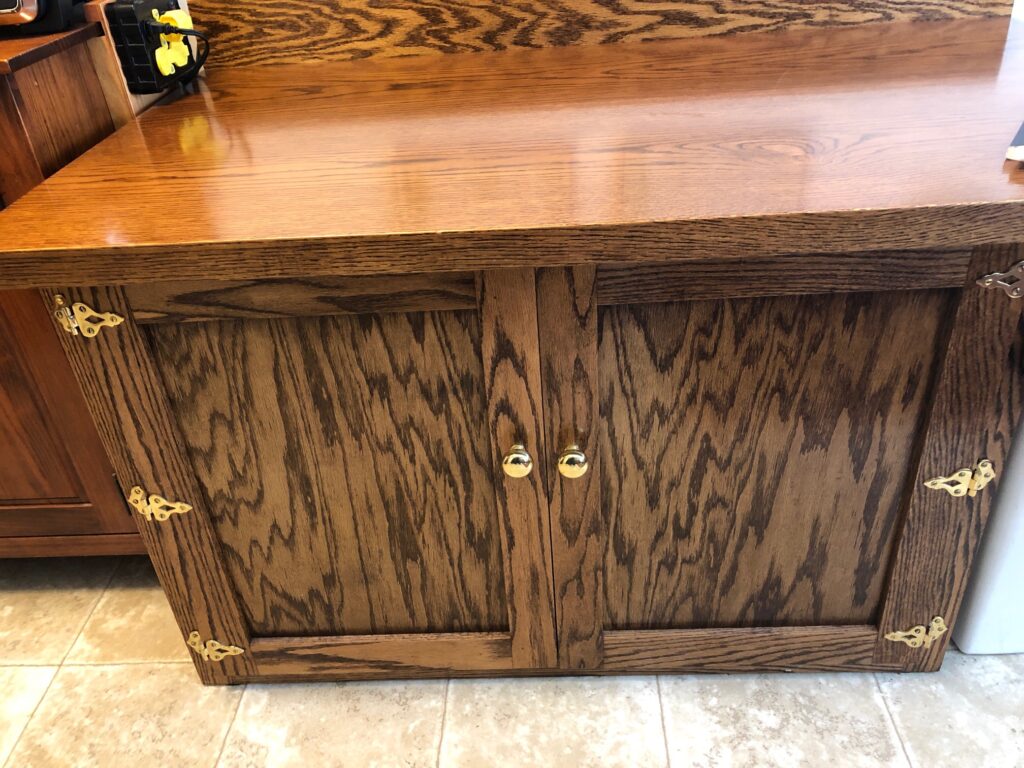
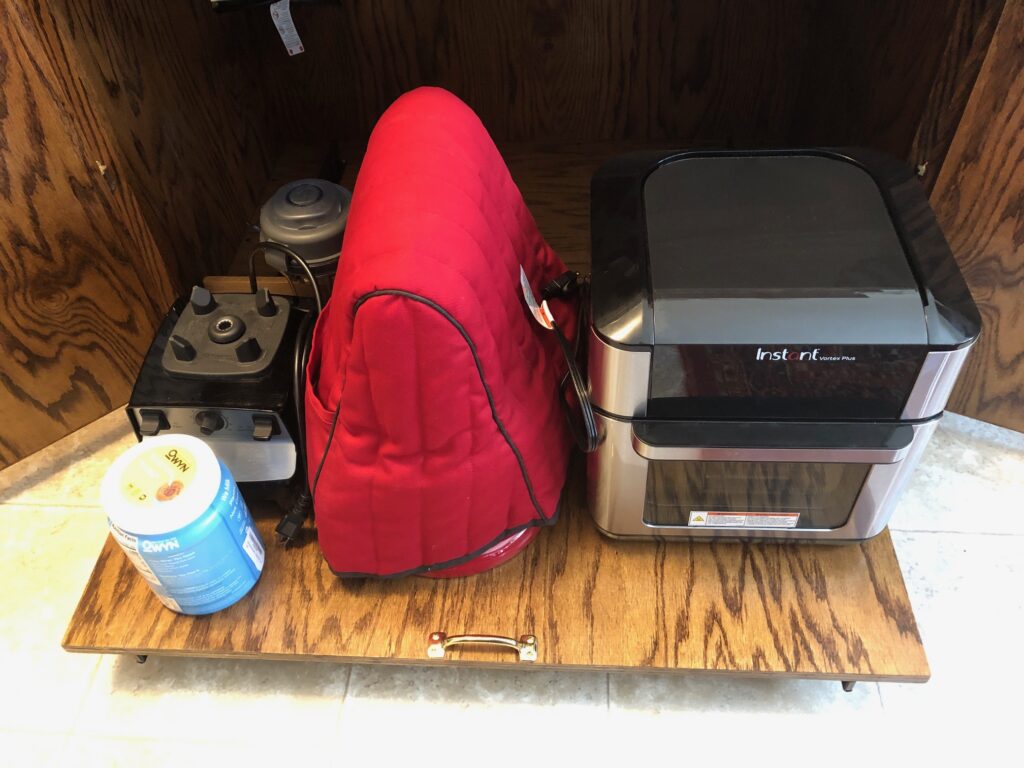
First, I had to locate the air fryer in the garage cupboard and figure out where to set it up. I have a small kitchen without a lot of counter space. Before the Pandemic I had just a table for a work surface in the kitchen. During the Pandemic, Bert stayed busy by building me an enclosed table/cupboard that was just the right height to knead bread…my main request.
This table/cupboard has a shelf that slides out so I can store three large appliances. I rearranged appliances and made room for the air fryer. I can move it to the table when I want to use it. (see the pictures below)
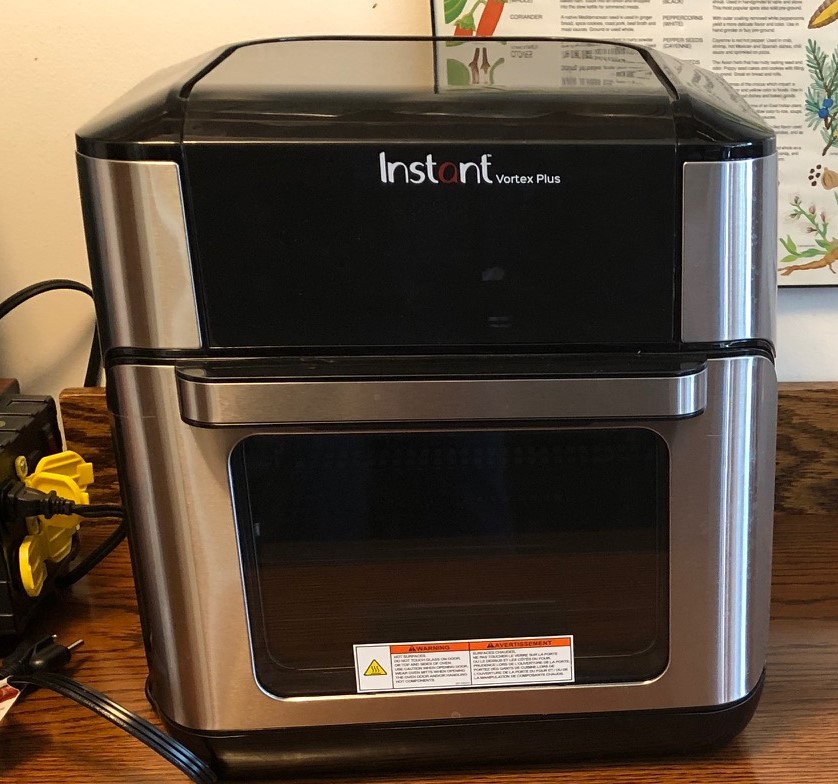
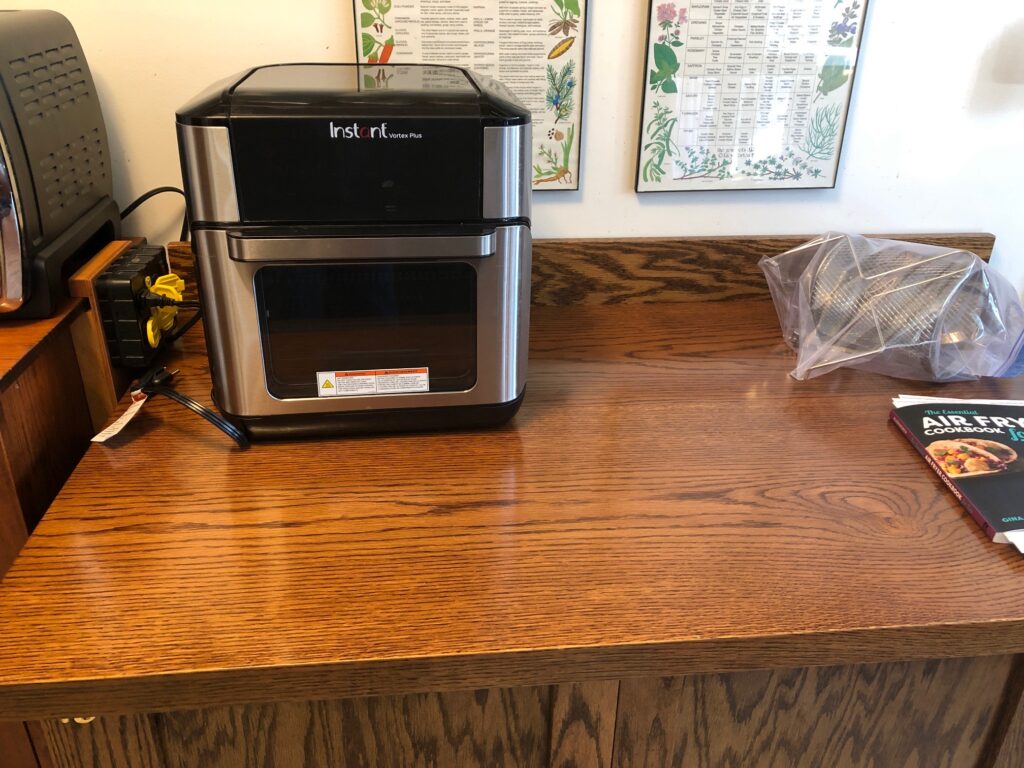
Our air fryer is called the Instant Vortex Plus. I think it’s made by the folks that made the original Instant Pot popular.
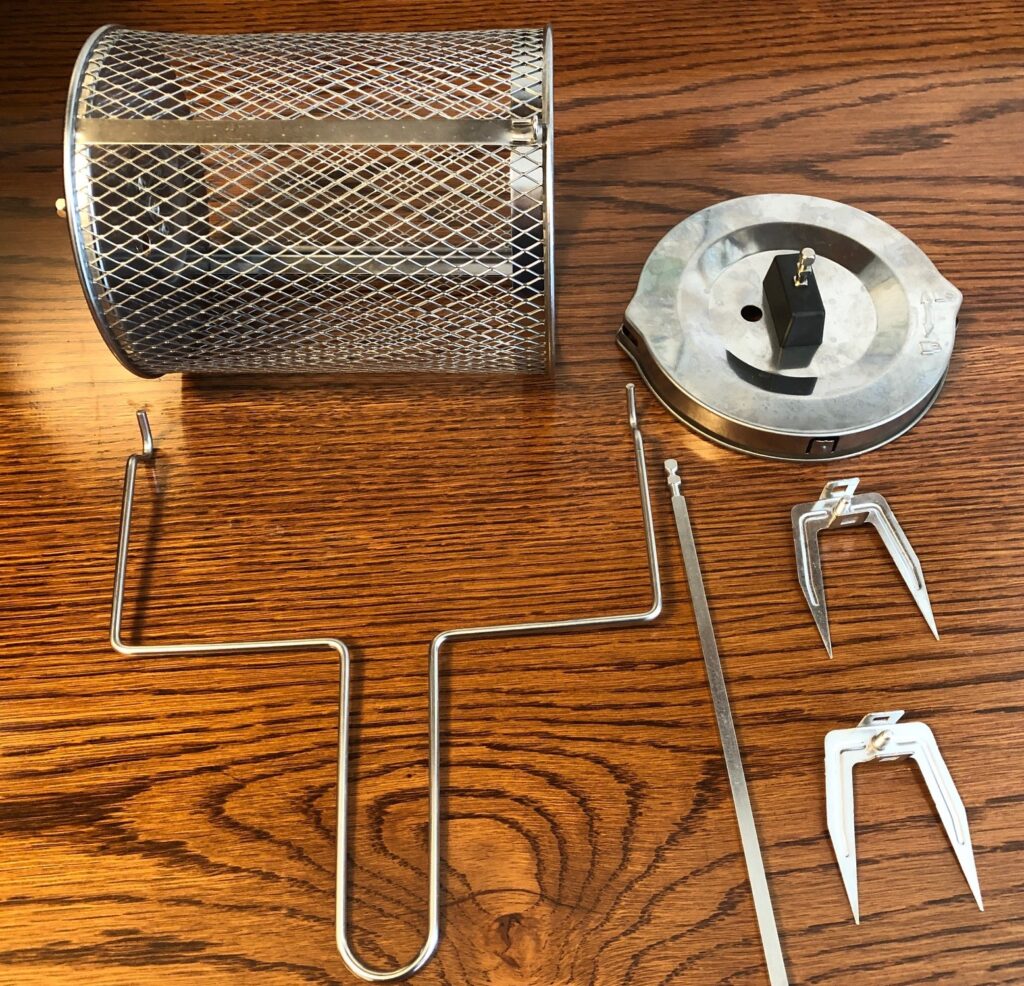
Our air fryer comes with two shelves and a rotisserie basket. It rotates as it cooks so I don’t need to flip foods halfway through the cooking time. I guess I could also use the long skewer and do a whole chicken or roast, but I’ve not tried that…yet.
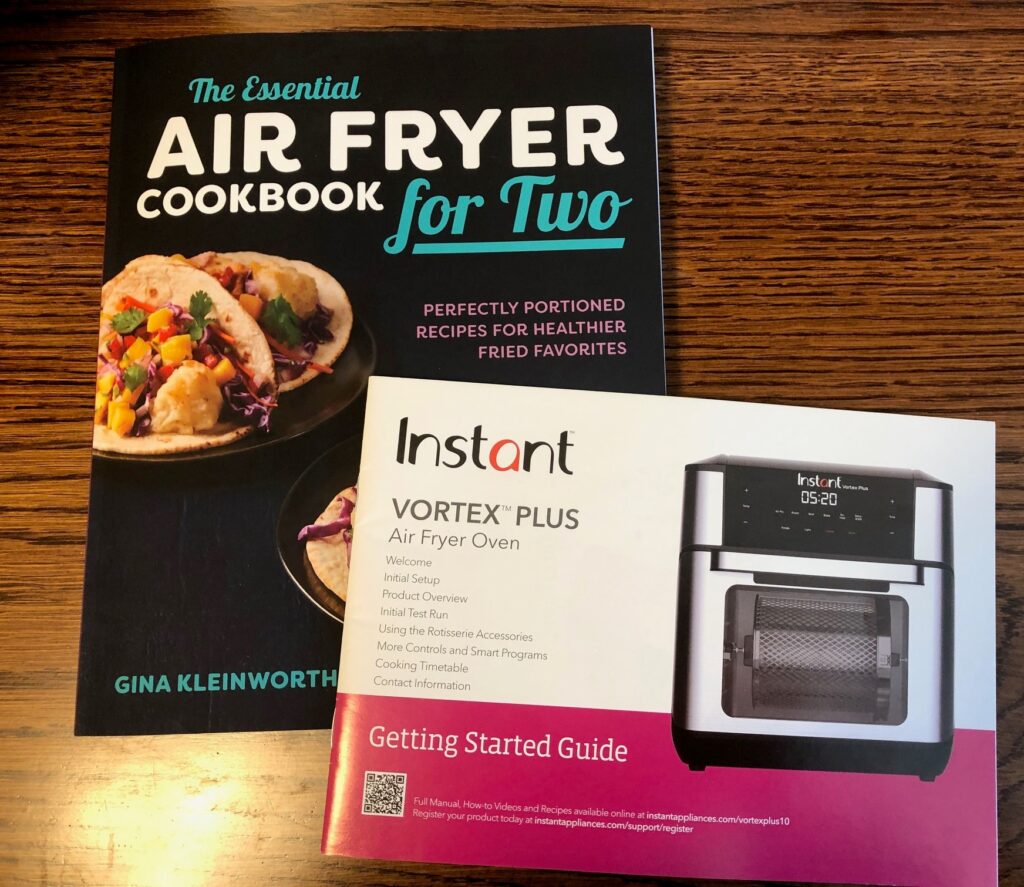
I found the instruction manual and picked up a new cookbook that looked like it might have smaller portion sizes. Turns out, much hasn’t changed about air frying…most all the foods needed a batter of some sort, which won’t work for me. I did find two recipes online that sounded like what I had in mind: one was for air frying vegetables, another was for baking a potato with a crispy skin.
I could see the basket would be helpful for the veggies…I wouldn’t have to flip anything halfway through the cooking time.
Air Frying Vegetables
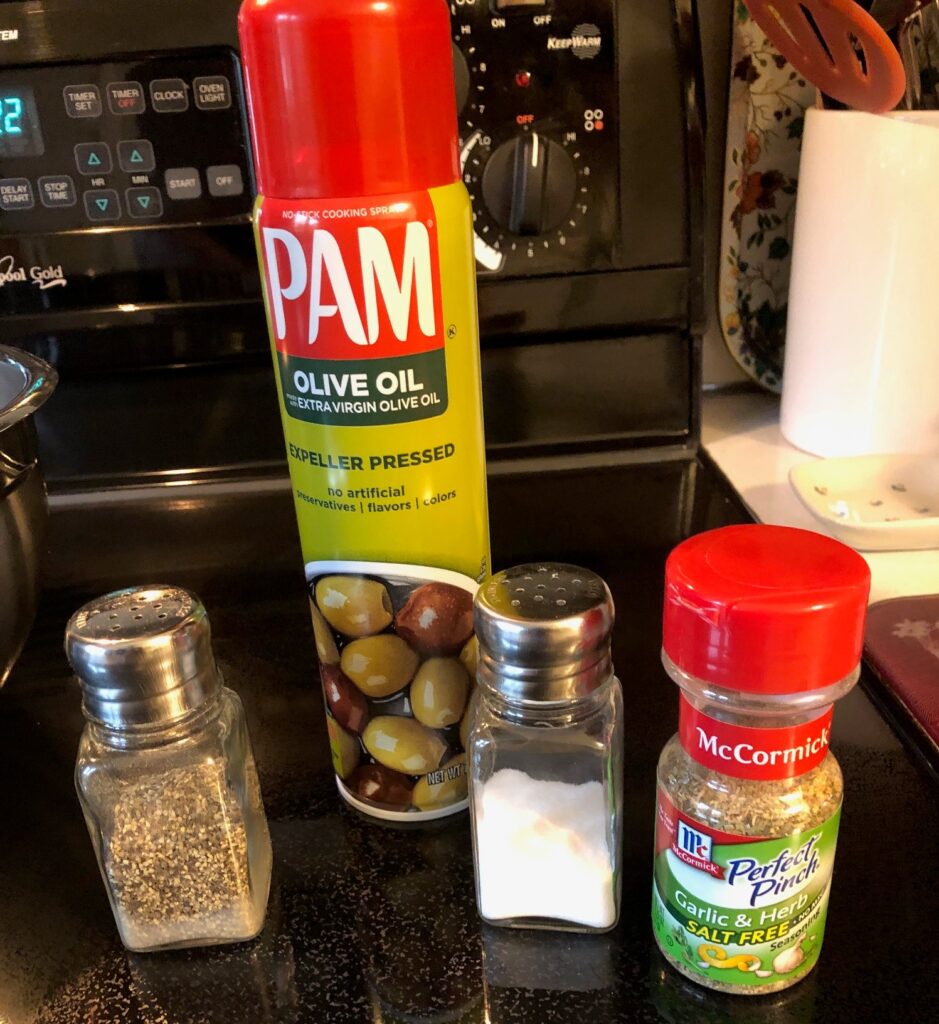
The first thing I noticed in the recipes was foods were sprayed with spray oil, like PAM. I think that would cut down on the drippy mess of too much oil. I didn’t need a lot of seasoning, so we started with salt, pepper and a simple Garlic & Herb Salt Free seasoning (from McCormick).
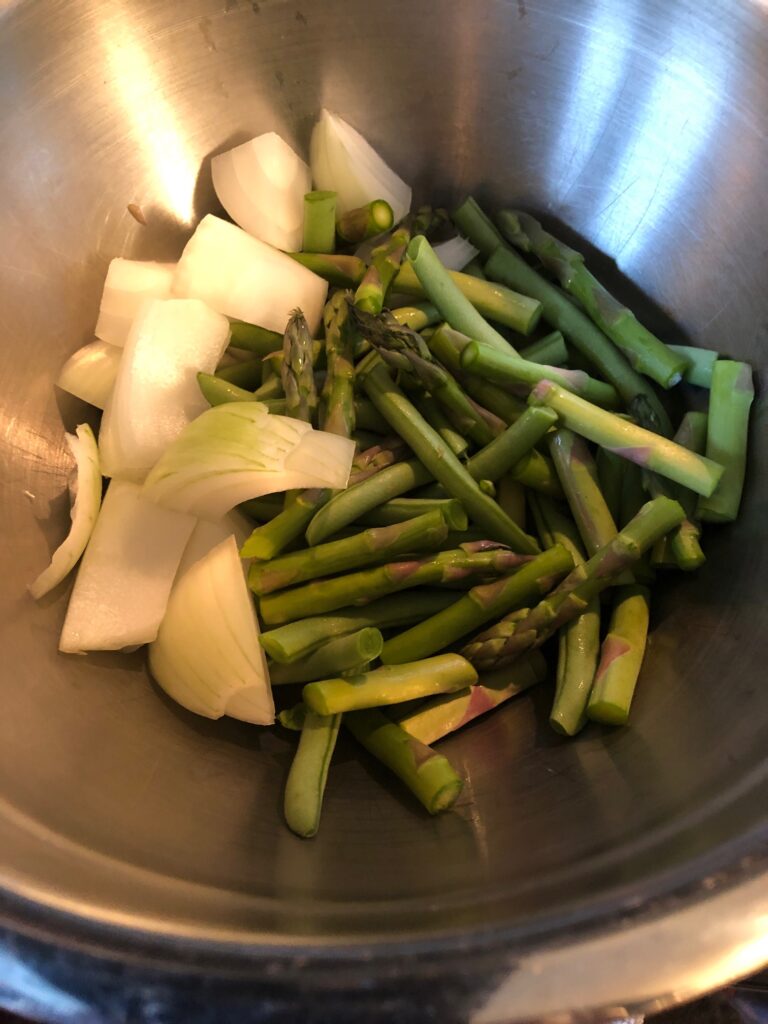
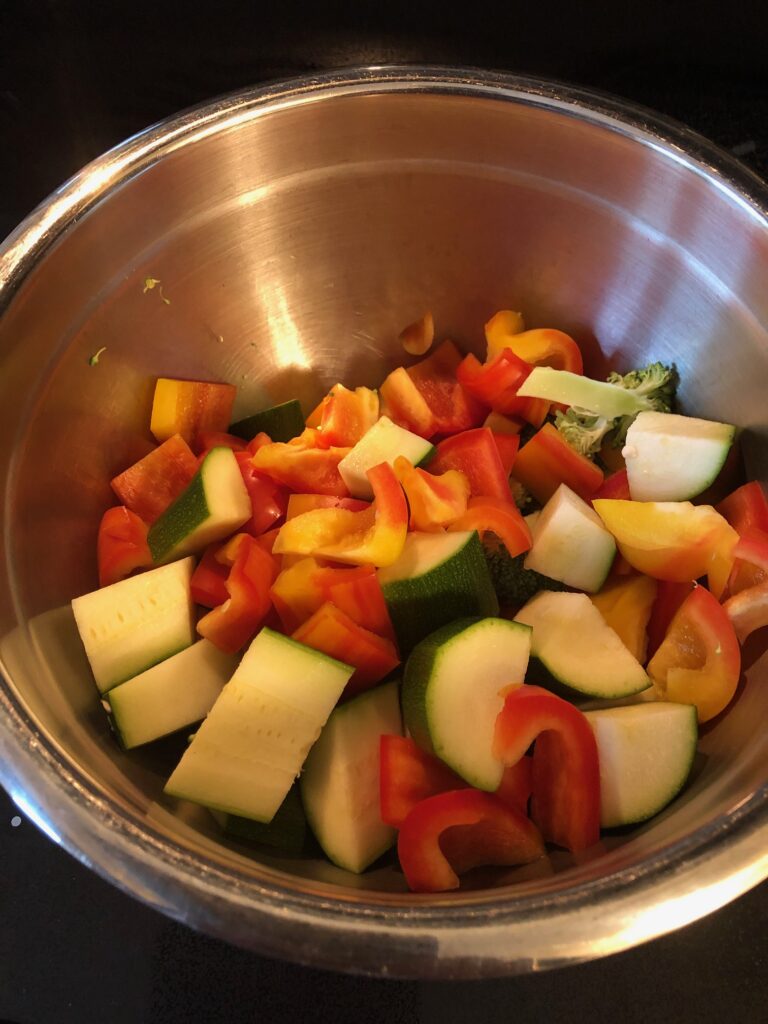
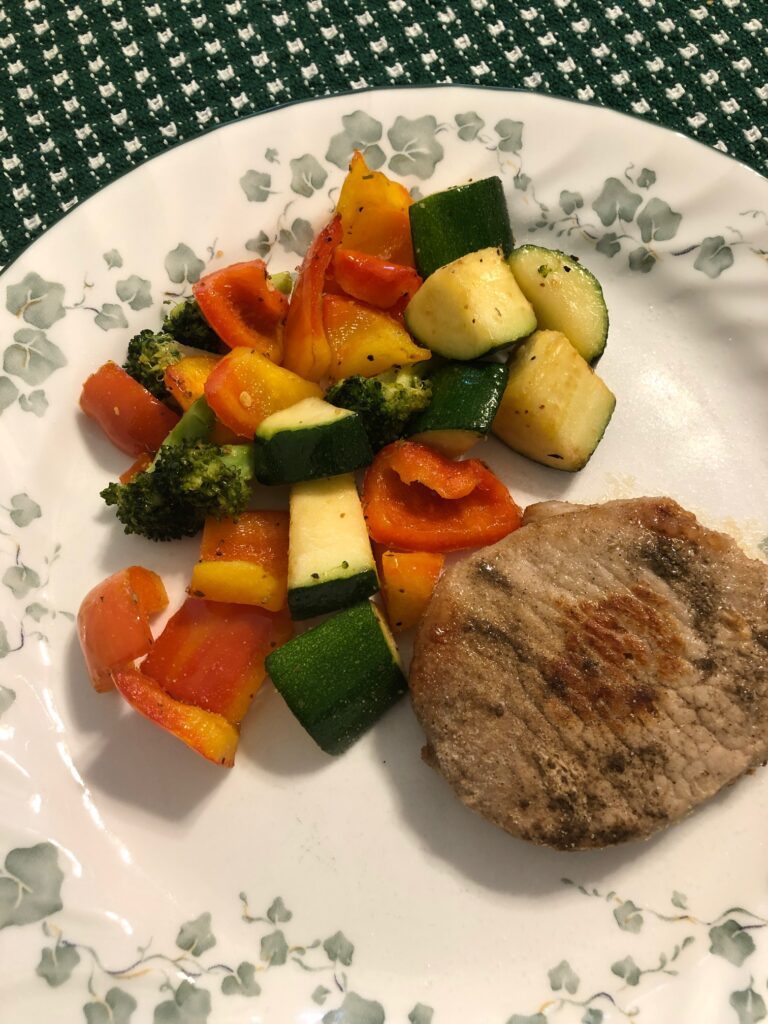
The first batch had green beans, asparagus tips and onion. The second batch had red sweet peppers, broccoli and zucchini.
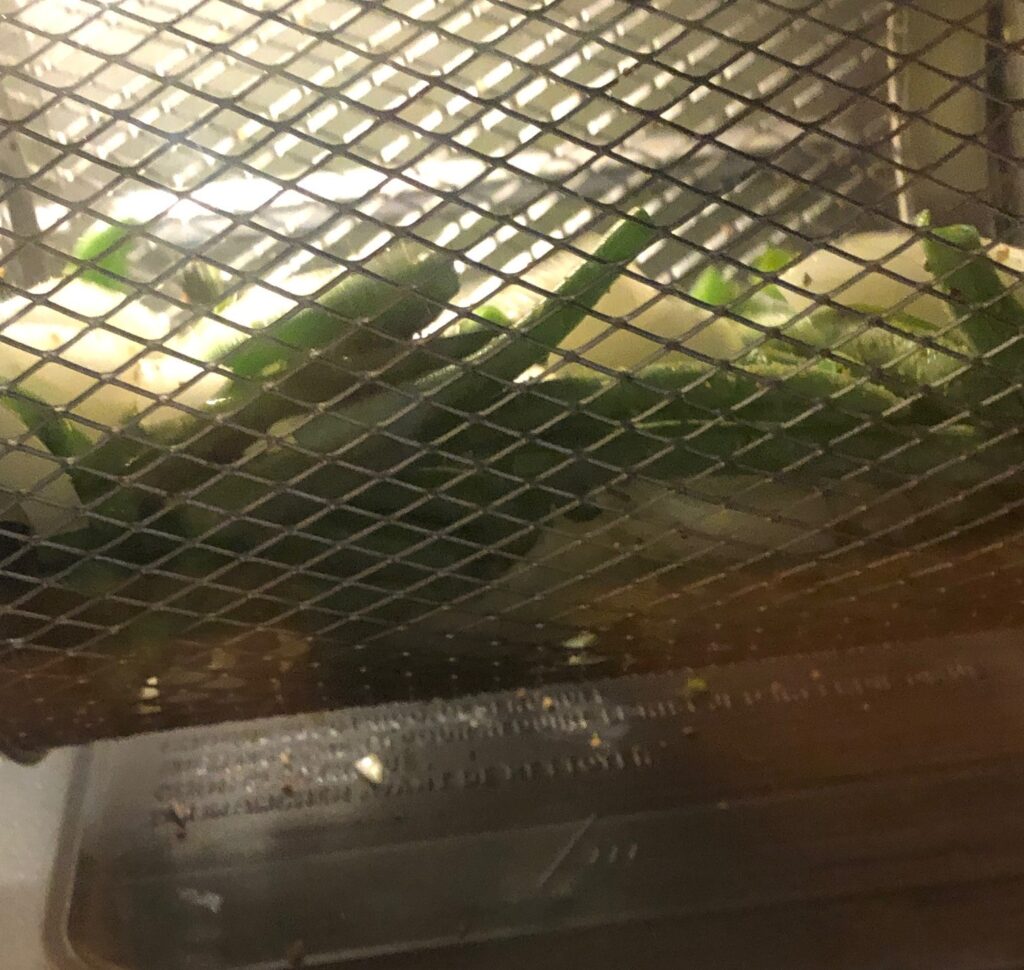
We preheated the air fryer to 360 degrees (took about 4 minutes) and put the vegetables into the basket, one batch at a time. When the air fryer beeped to tell us it was preheated, we put the basket in and set the timer for 7 minutes. I tried to take a picture of the basket rotating…but obviously it’s a still picture. Haha.
The basket was a little awkward to open when hot, but it worked great!! Just perfect with our pork chops for dinner.
Now that I have a place to store the air fryer in the kitchen, and have figured out the details, I think we’ll do this more often. It’s great for just one or two servings without heating up the oven or the grill. I consider my experiment with the air fryer a success! Enjoy!
Notes:
–An air fryer with a non-rotating basket or drawer should work just as well. You will have to take the basket out about halfway and give it a shake.
–Next time I think we’ll increase the temperature to 370 degrees and give it about 8-9 minutes to crisp up the edges.
The garden is going into production mode! With over 6″ of rain this month so far I’m just grateful the garden drains well and the sun comes out once in a while. Time to show you how things are growing.
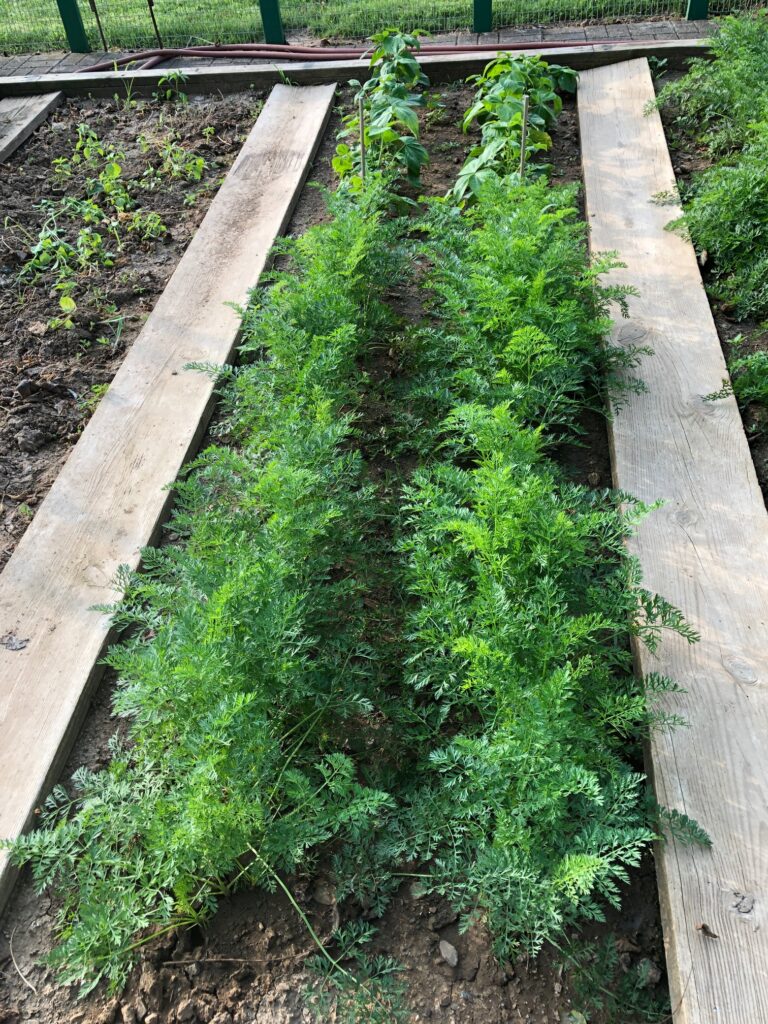
First, we have the row of lavender and the first row of carrots. Hope you can see the lavender buds ready to pop. I’m so hoping the whole row will eventually be in bloom at the same time. I have memories of the lavender fields in California that were so impressive. Plus, I can dry the buds and use them in my soaps and skin care products.
The second planting of carrots are doing well. The end of that row has a few late green bean plants. That’s where we tried to grow beets, but nothing came up. Must be the seeds. Oh well…I can buy beets at the Farmers’ Market.
I couldn’t resist pulling a few carrots just to see how big they were.
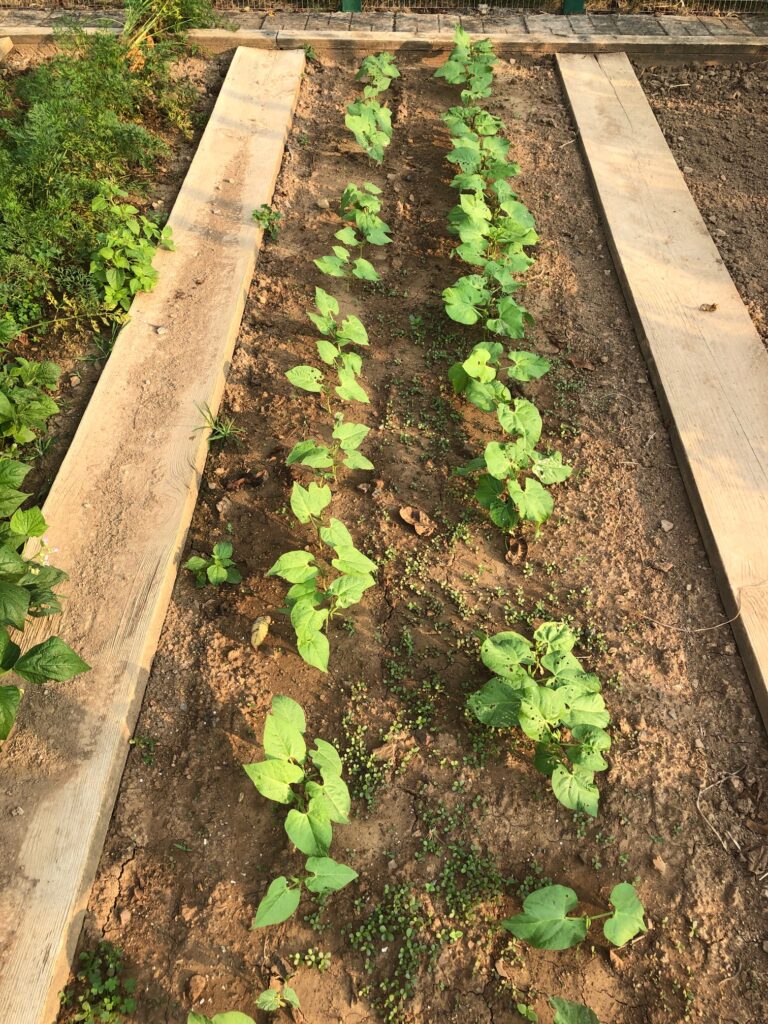
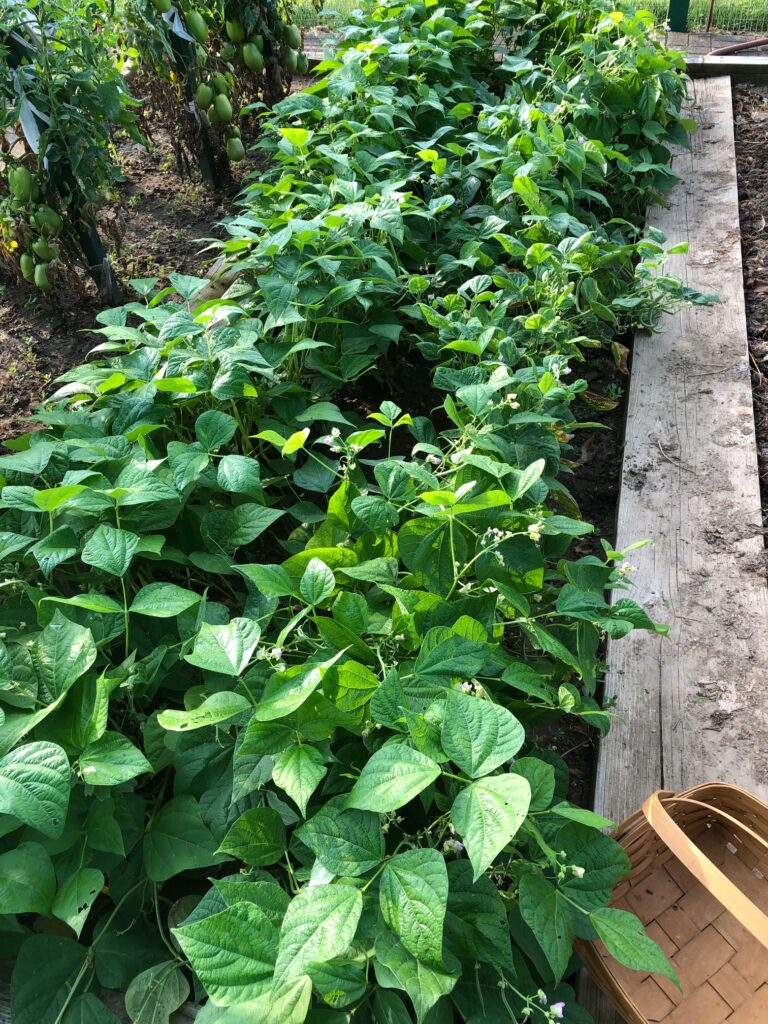
This section had two rows of green and wax beans. My California granddaughters helped me pick them and we ate them right away! Very tasty!
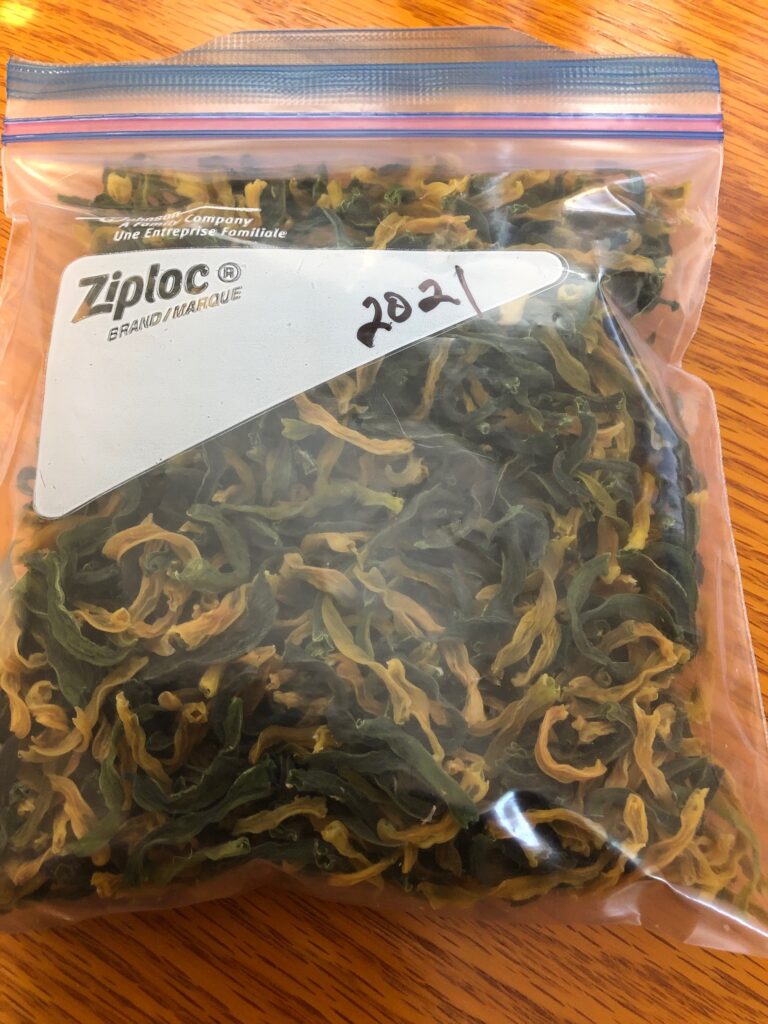
The extra beans went into the dehydrator and now fit in this little bag. Storage is easy and they are ready to toss into soup anytime.
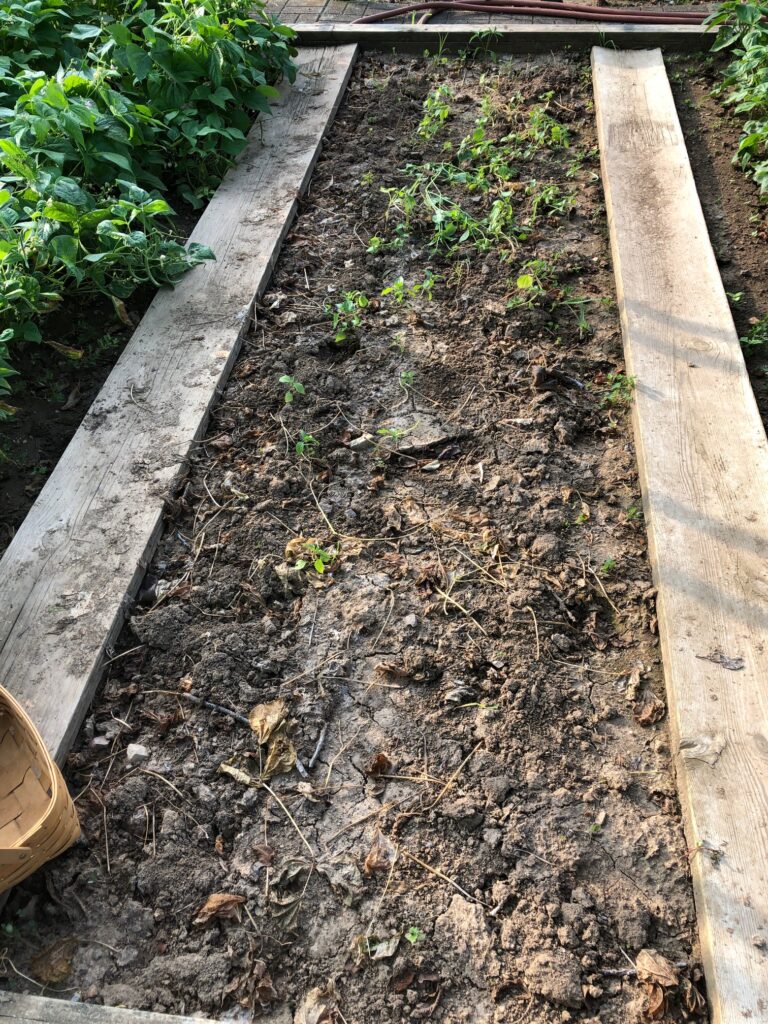
These two rows were the second planting of green and wax beans. Yesterday I picked the largest green beans. Today, the largest wax beans were picked. By Monday many more will be ready to pick.
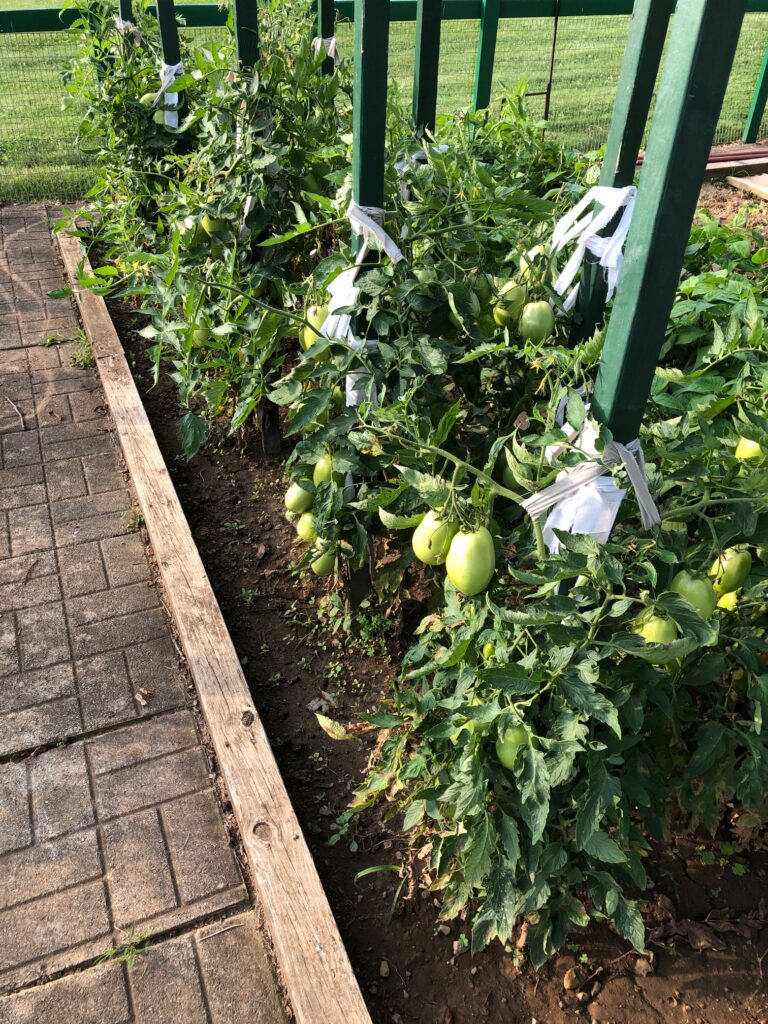
We have lots of tomatoes…only one was ready to pick.
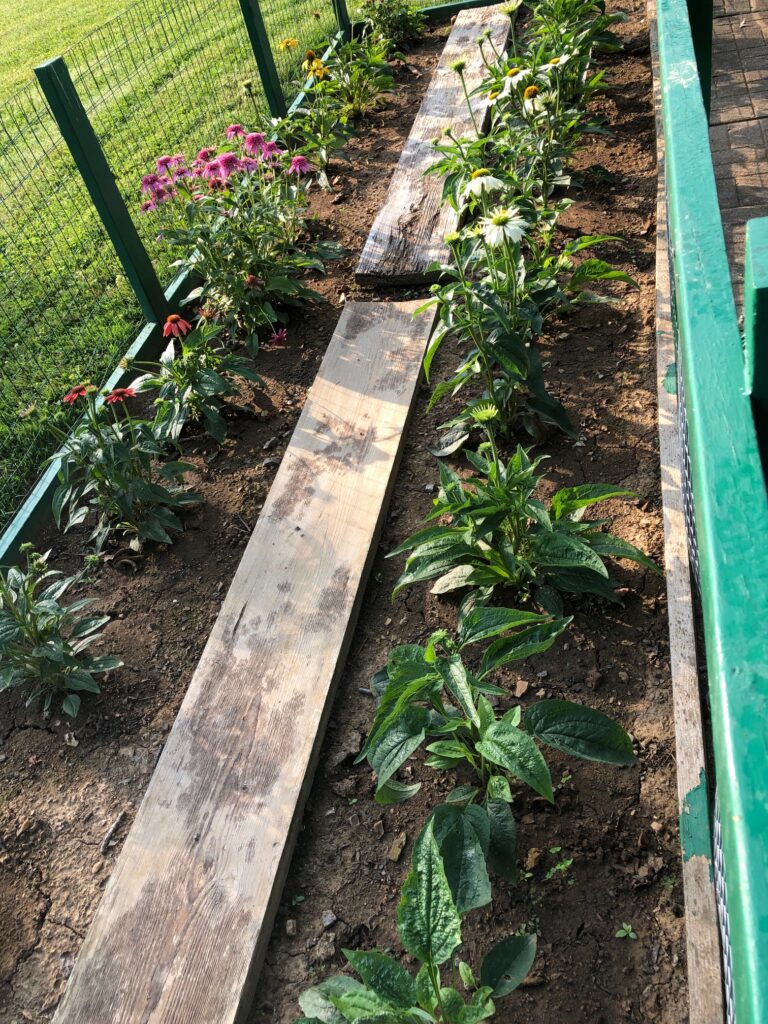
The echinacea is finally making flowers. Who knew we had such a mix of colors? I hope the bees enjoy them.
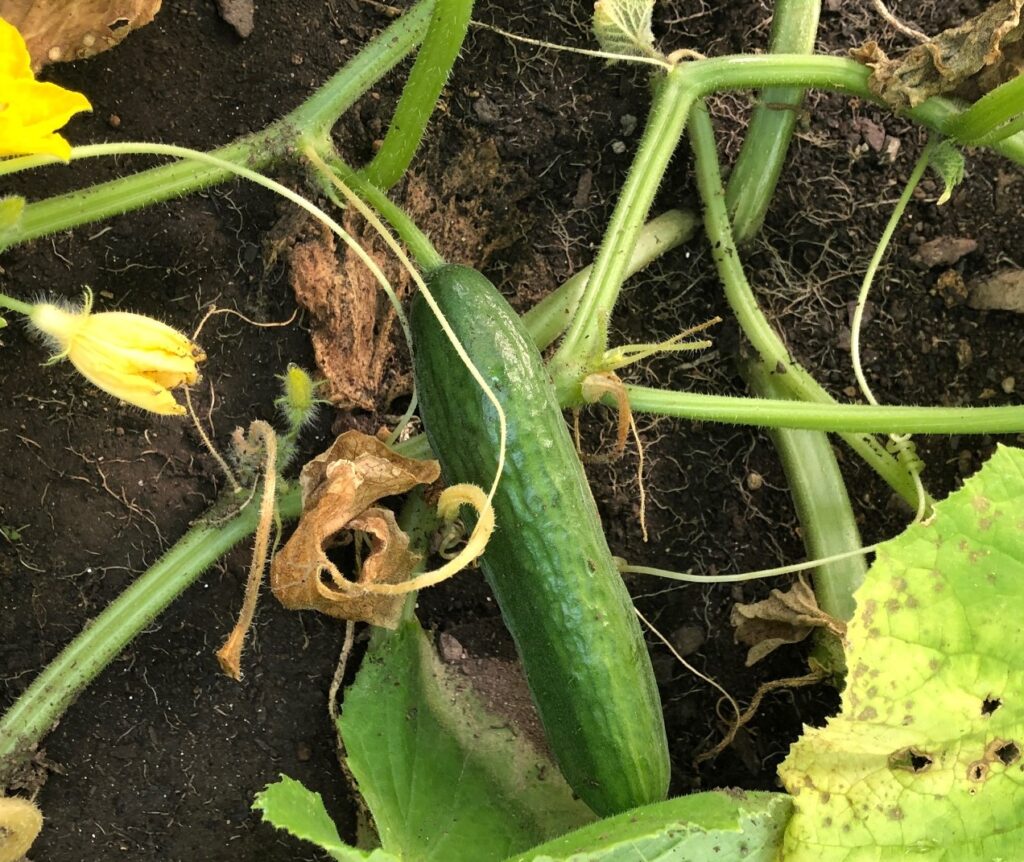
As I walked down the hill, I passed the cucumber plants and peeked under the leaves. Surprisingly, the few plants that are left are making cucumbers!
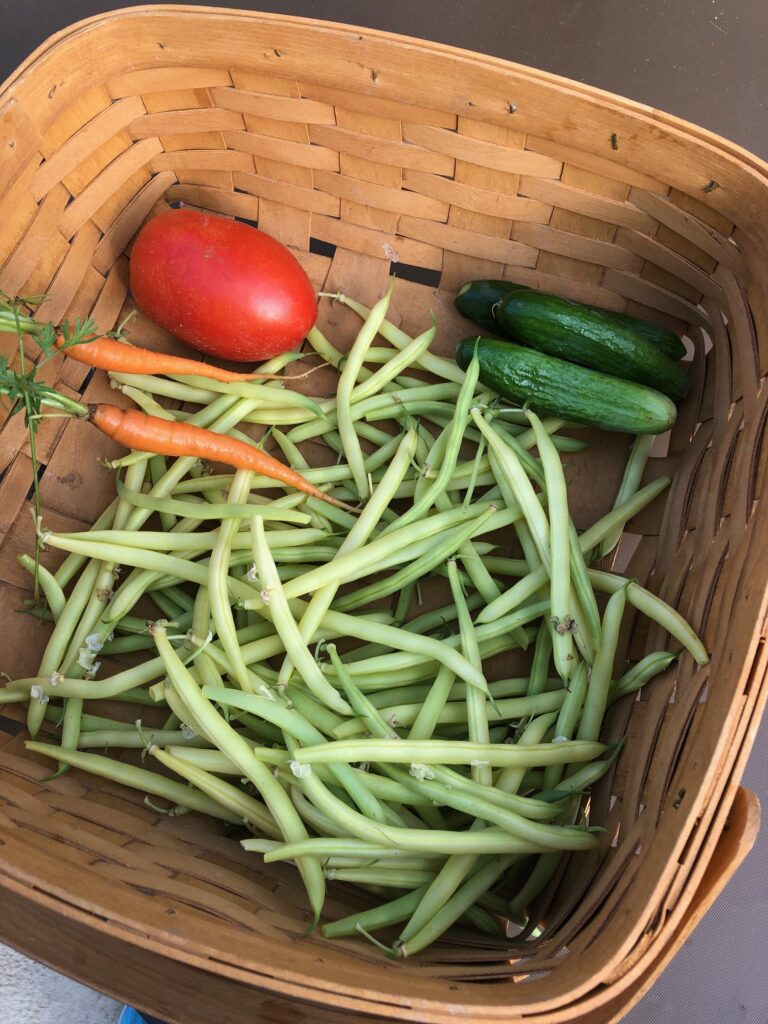
So, this is my early morning harvest today! There are still some hot days ahead this week so things will start ripening faster.
We do not have a huge garden this year, but it is fun to check it out each morning. If I really want a quantity of produce, the Farmers’ Market is still my best choice. At the end of each season, I can usually get large bags of cucumbers or tomatoes to make into relish or spaghetti sauce for a good price. Enjoy!
I just finished posting pictures of the garden today and when I check, only the title is there! Yikes! I’ll work on figuring out what’s going on but know that the garden is doing well. Hopefully this will post!