The garden is going into production mode. With over 6″ of rain this month I’m just grateful the garden drains well and the sun comes out once in a while! Time to show you how things are growing.
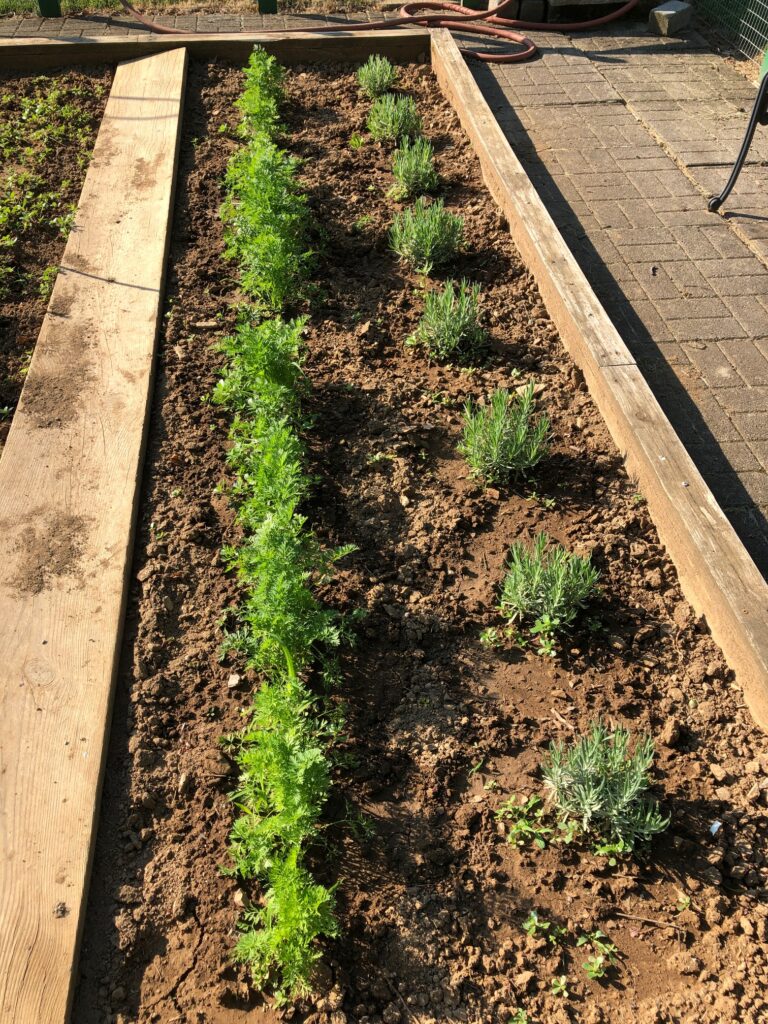
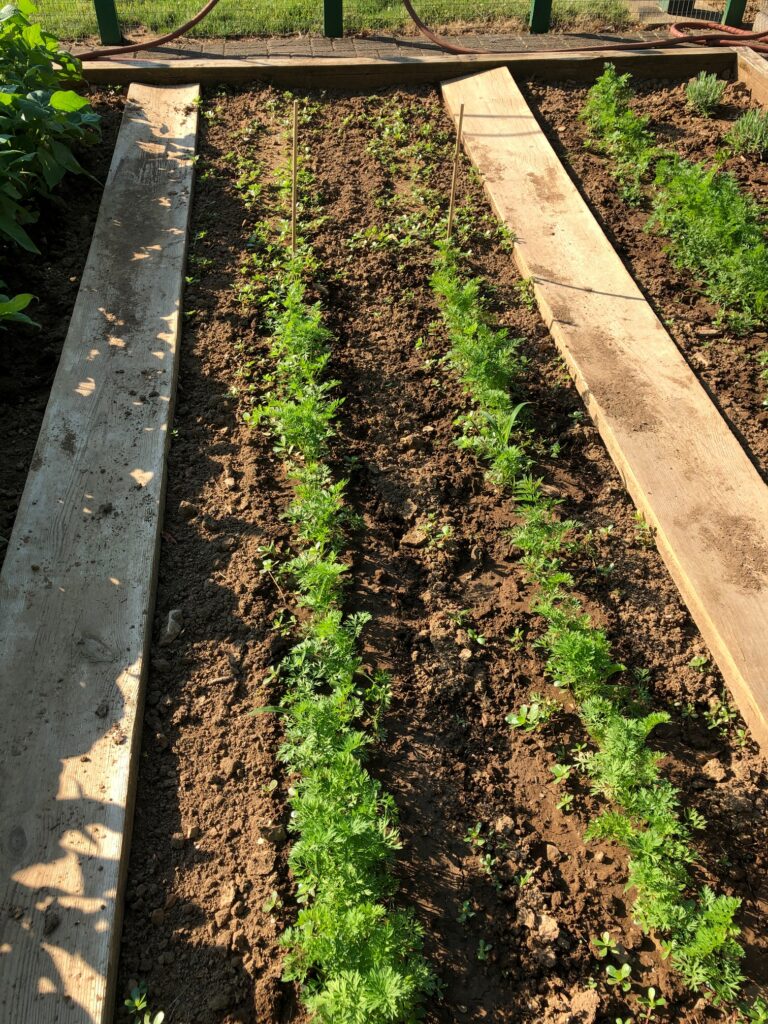
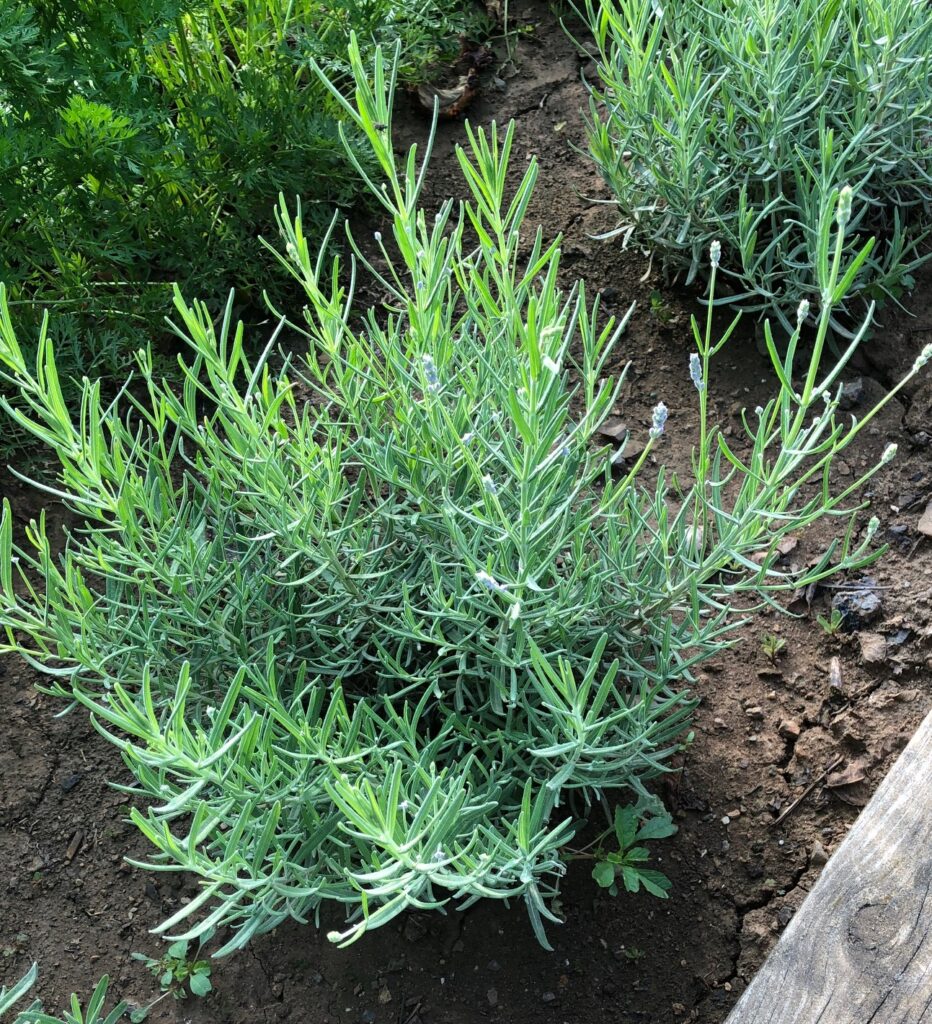
First, we have the row of lavender and the first row of carrots.
Hope you can see the lavender buds ready to pop. I’m so hoping the whole row will eventually be in bloom at the same time. I have good memories of the lavender fields in California that were so impressive. Plus, I can dry the buds and use them in my soaps and skin care products.
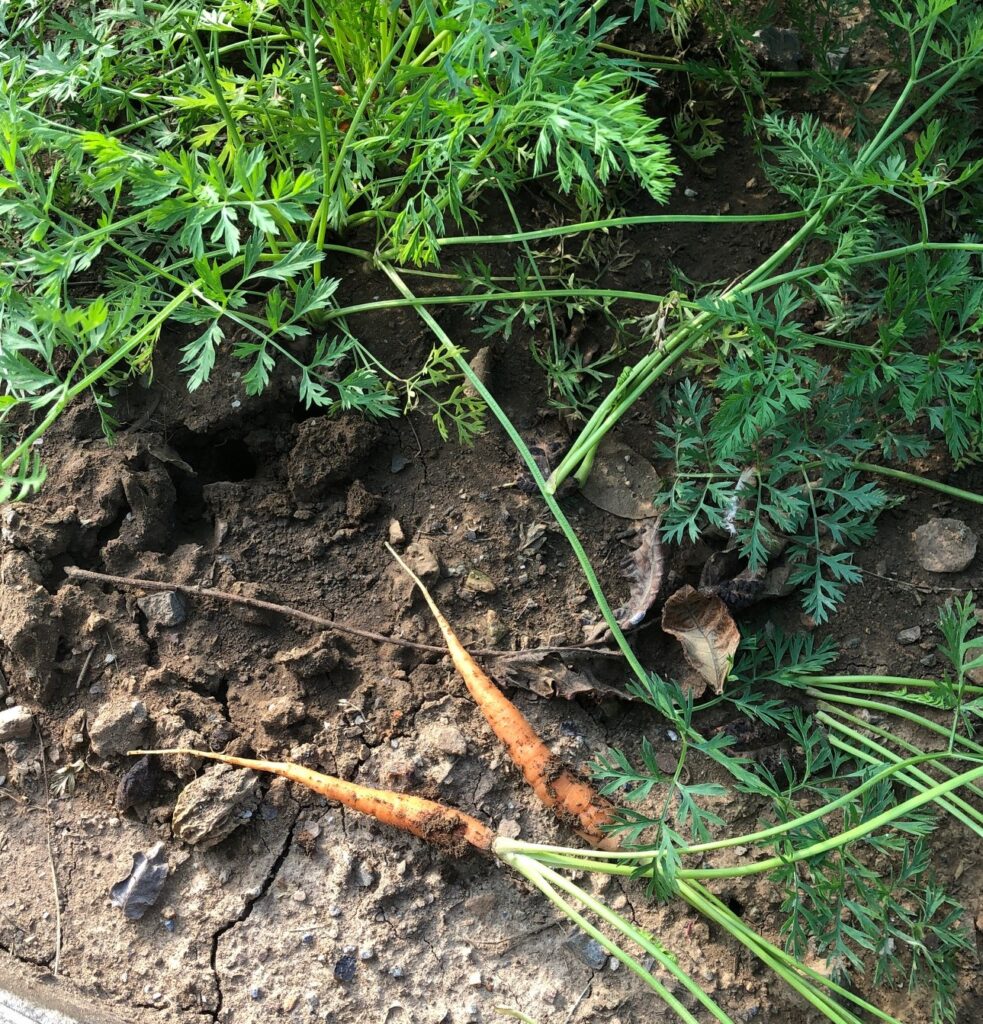
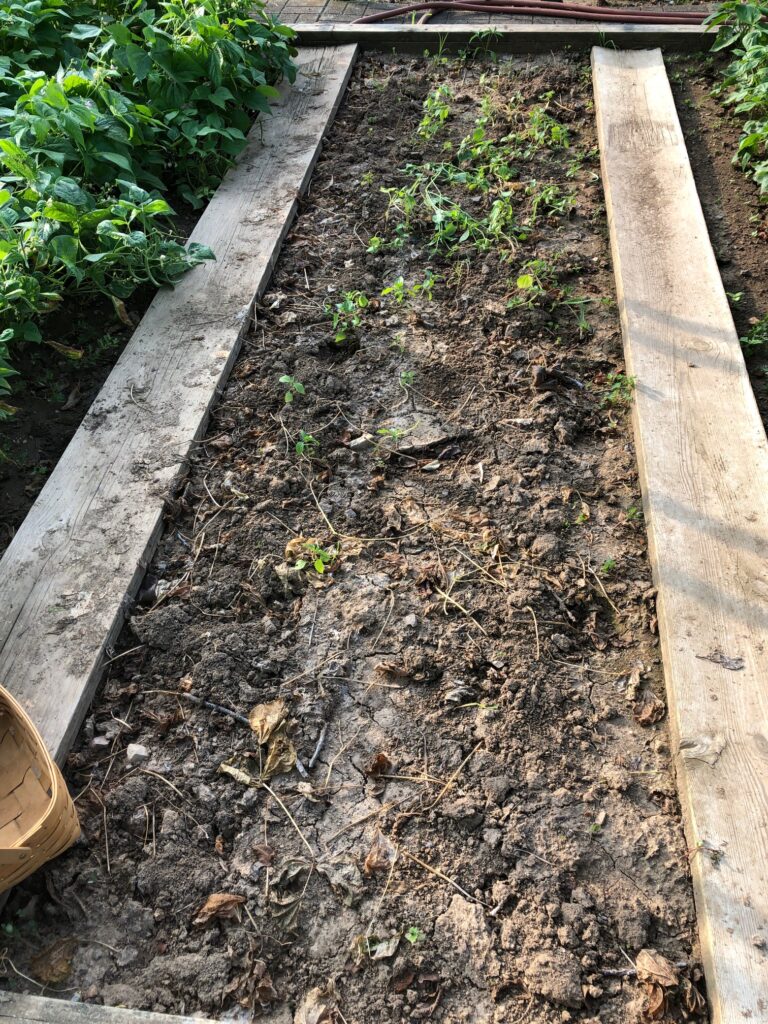
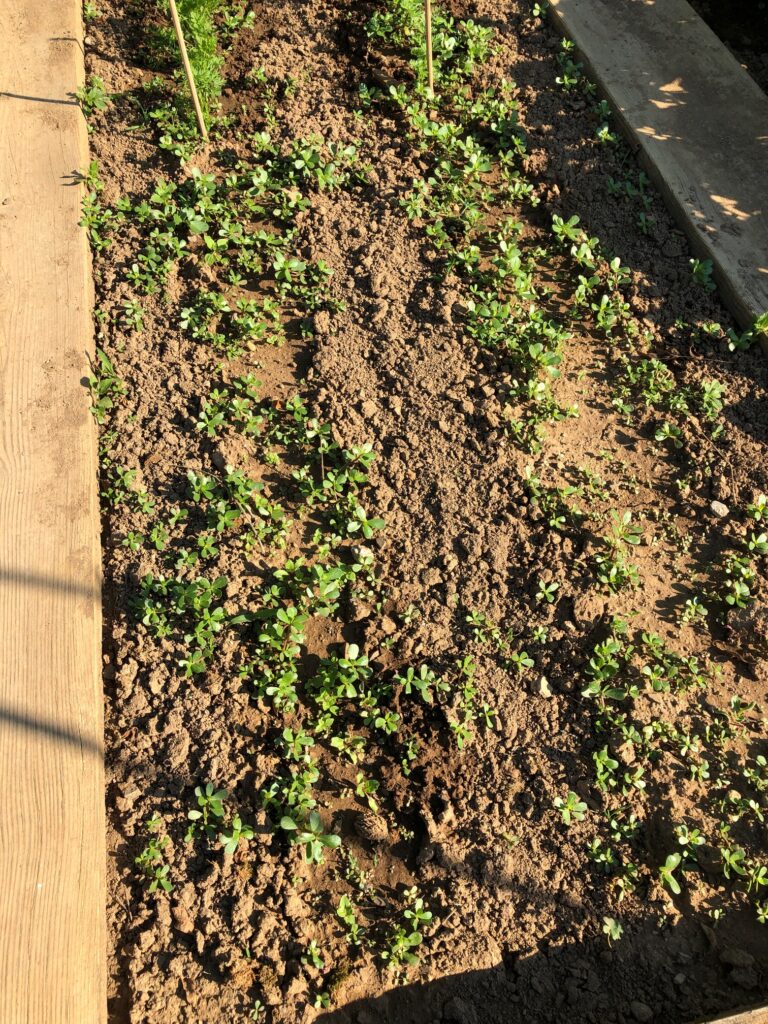
The second and third partial row of carrots are doing well. The end of that row has a few green bean plants. That’s where we tried to grow beets, but nothing came up. Must be the seeds. Oh well. I can buy beets at the Farmers’ Market.
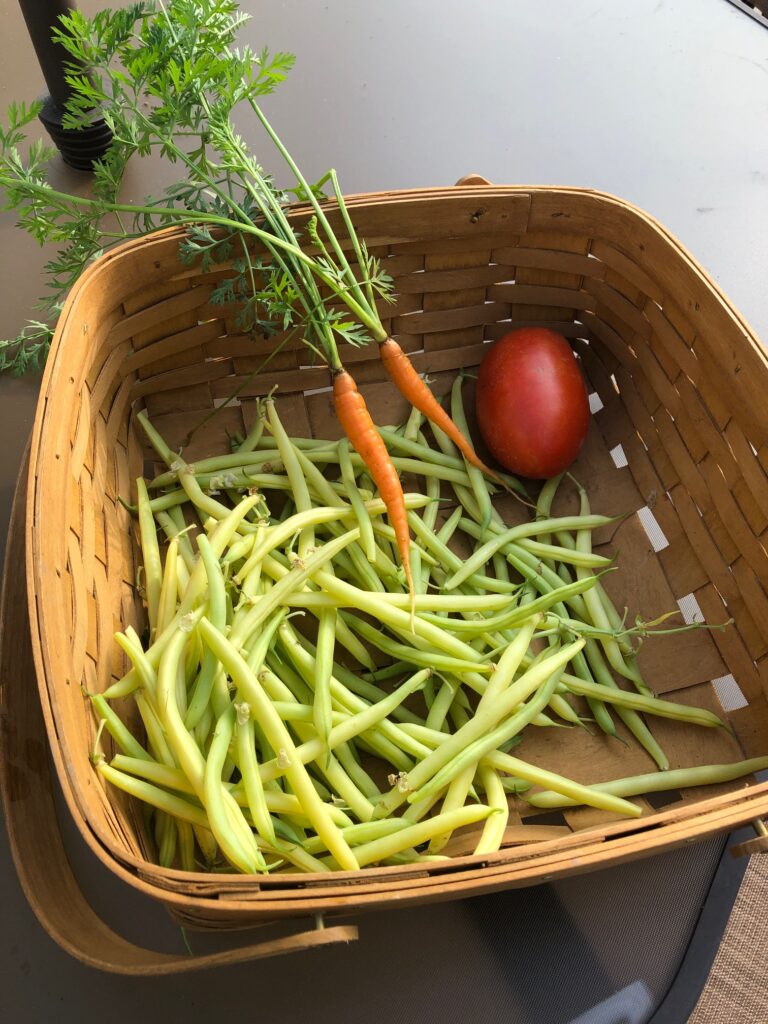
I couldn’t resist pulling a few just to see how big the were.
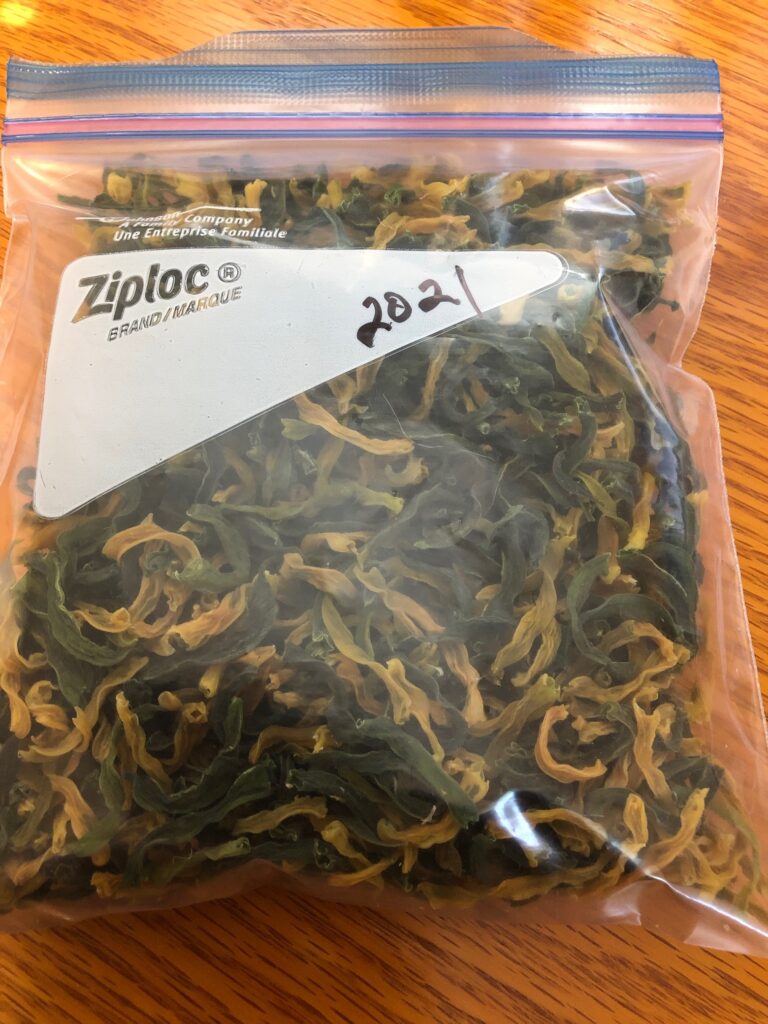
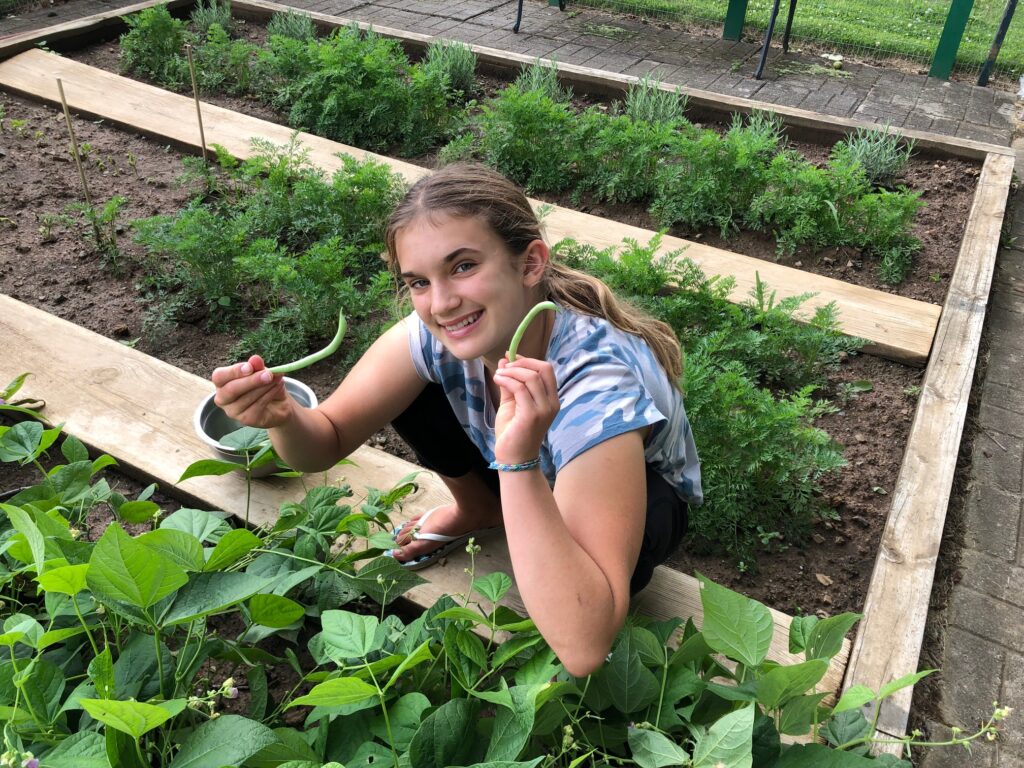
This section had two rows of green and wax beans. My California granddaughters helped me pick them and we ate them right away! Very good!
The extra beans went into the dehydrator and now fit in this little bag. Storage is easy and they are ready to toss into soup anytime.
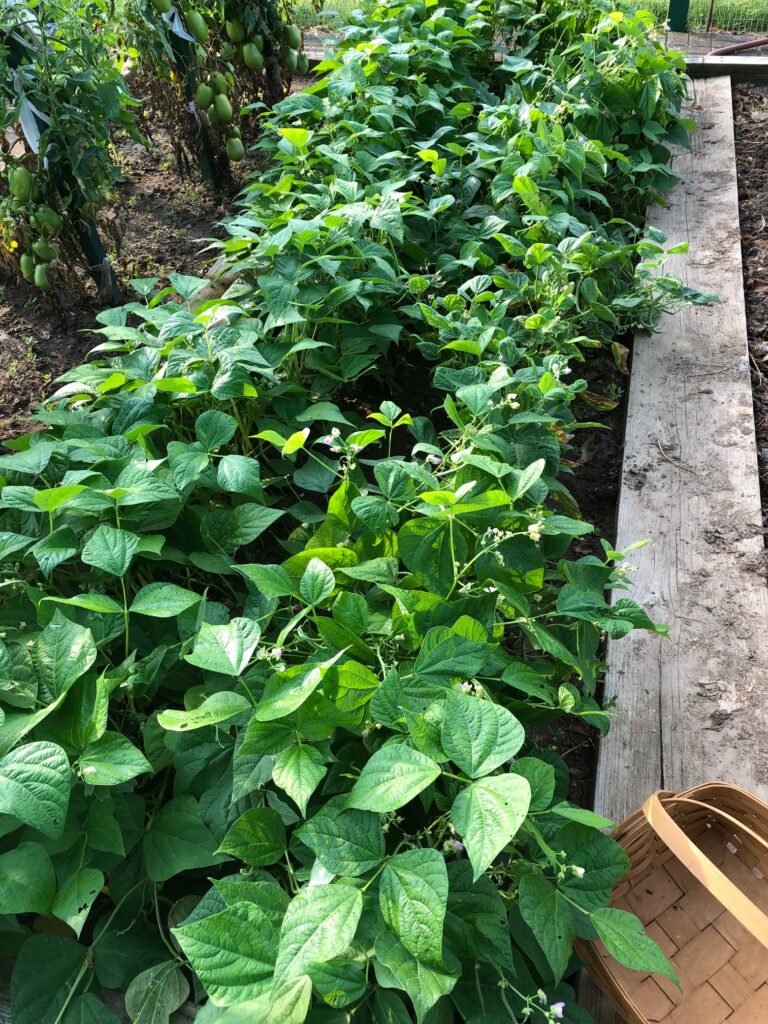
These are the second two rows of green and wax beans. Yesterday I picked the largest green beans. Today, the largest wax beans were picked. By Monday many more will be ready to pick.
We have lots of tomatoes…only one was ready to pick.
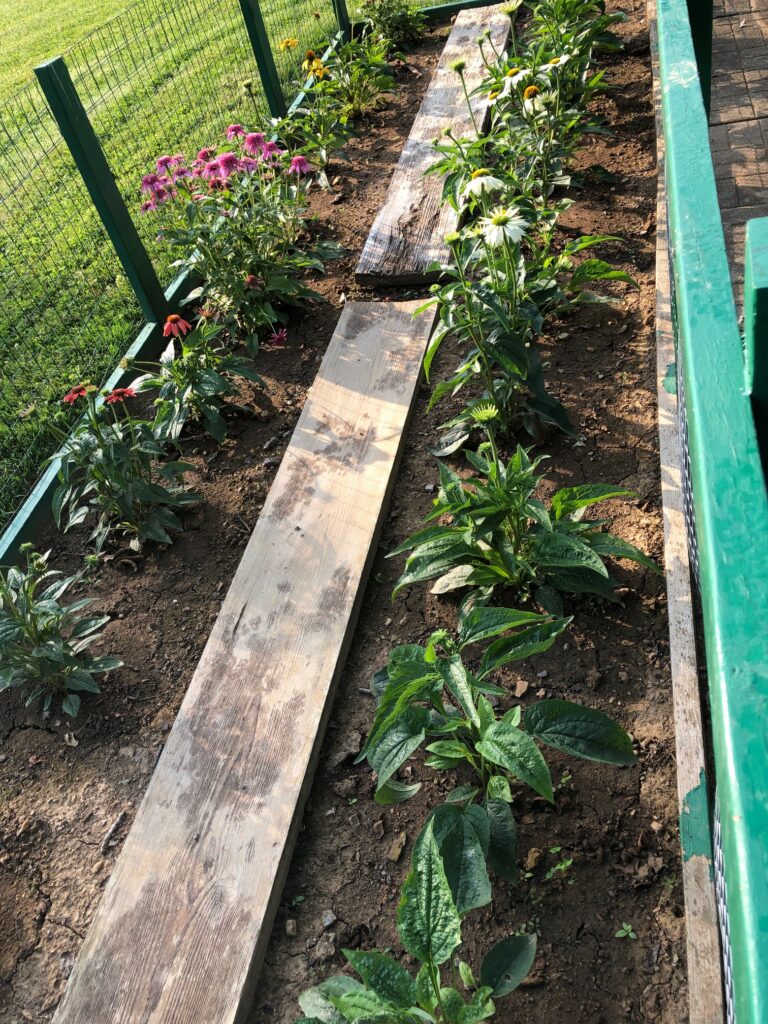
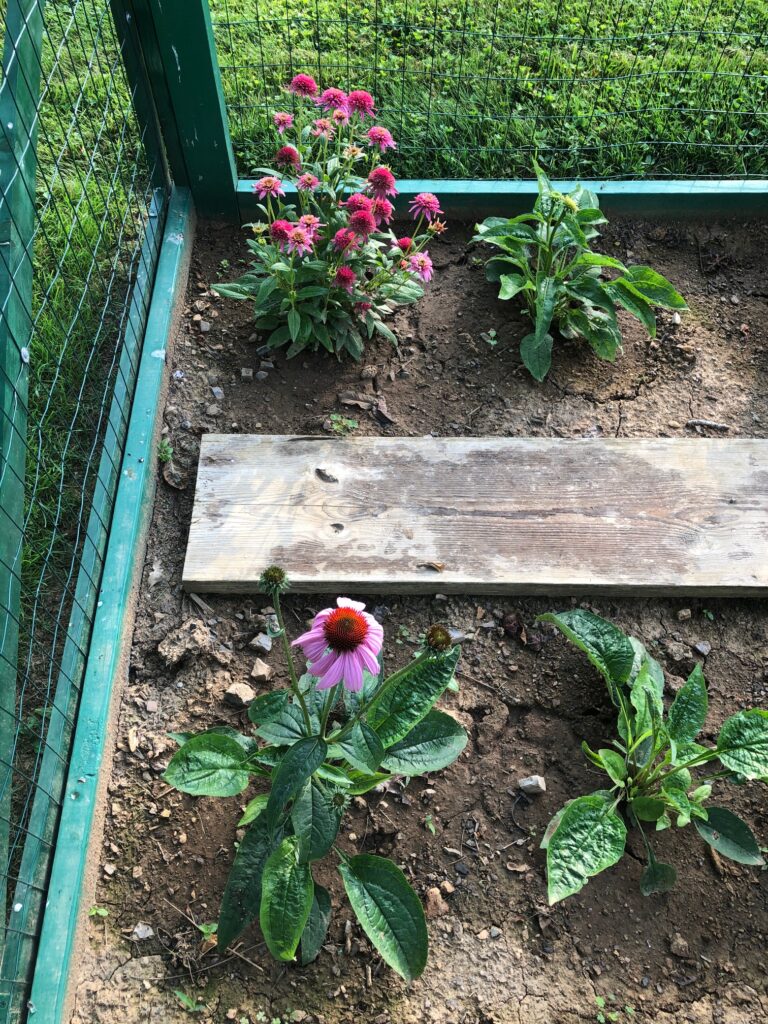
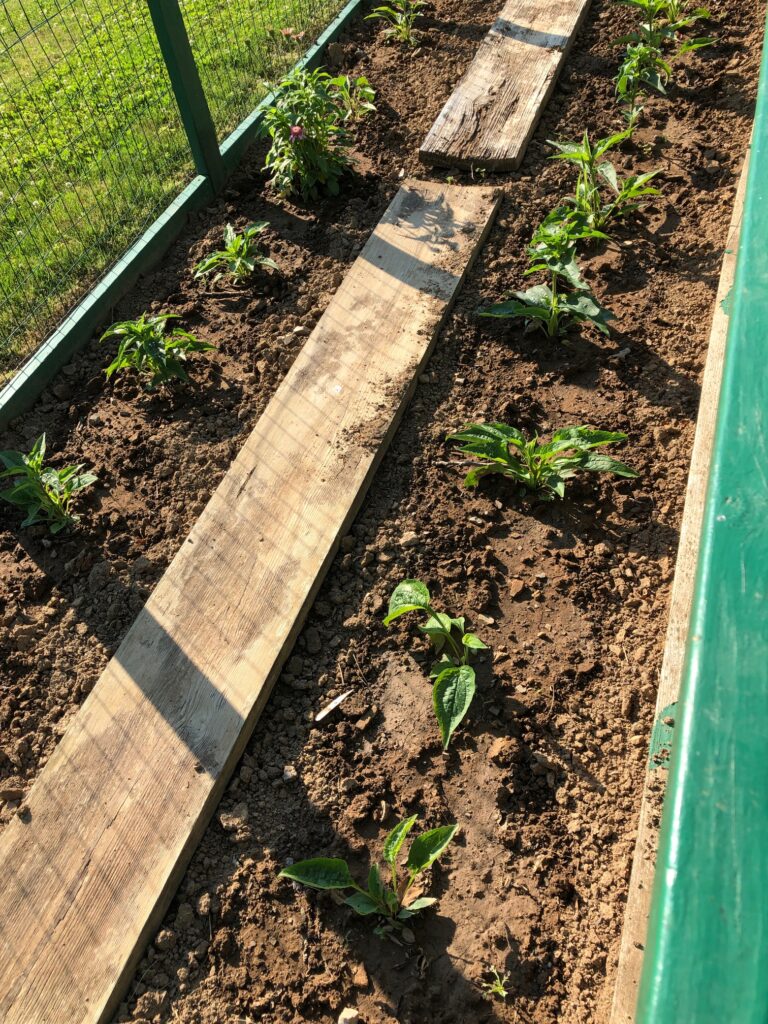
The Echinacea is finally making flowers. Who knew we had such a mix of colors? I hope the bees enjoy them!
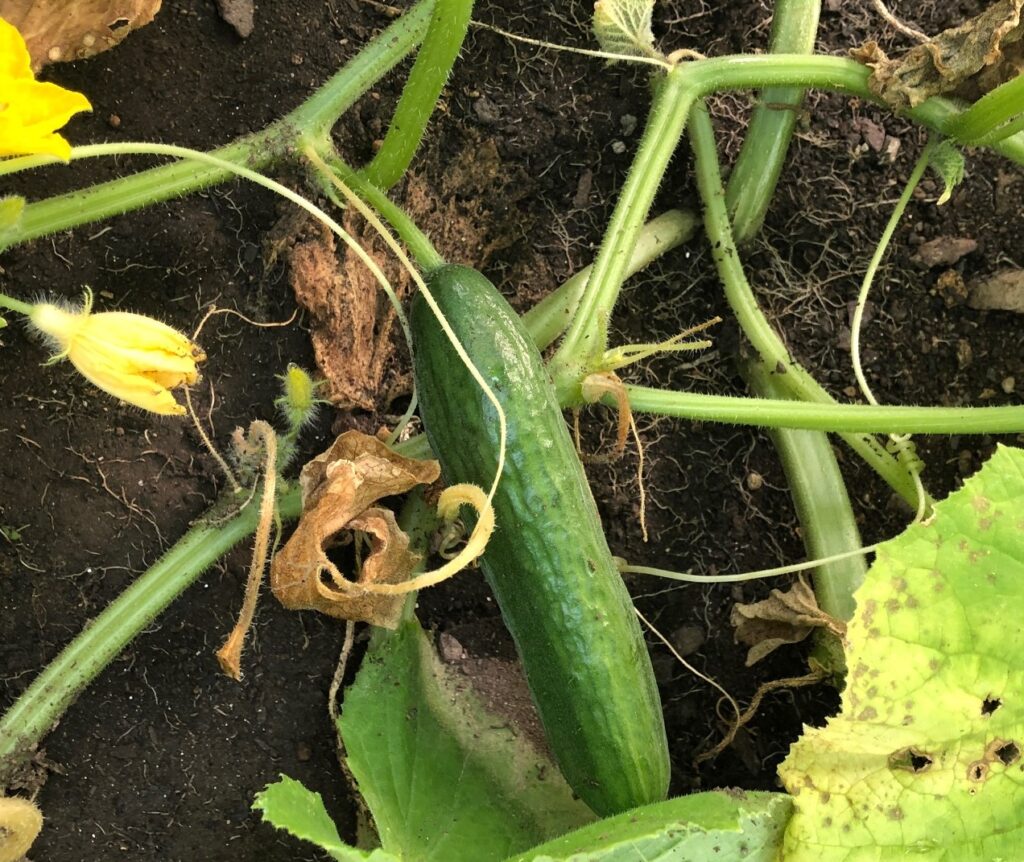
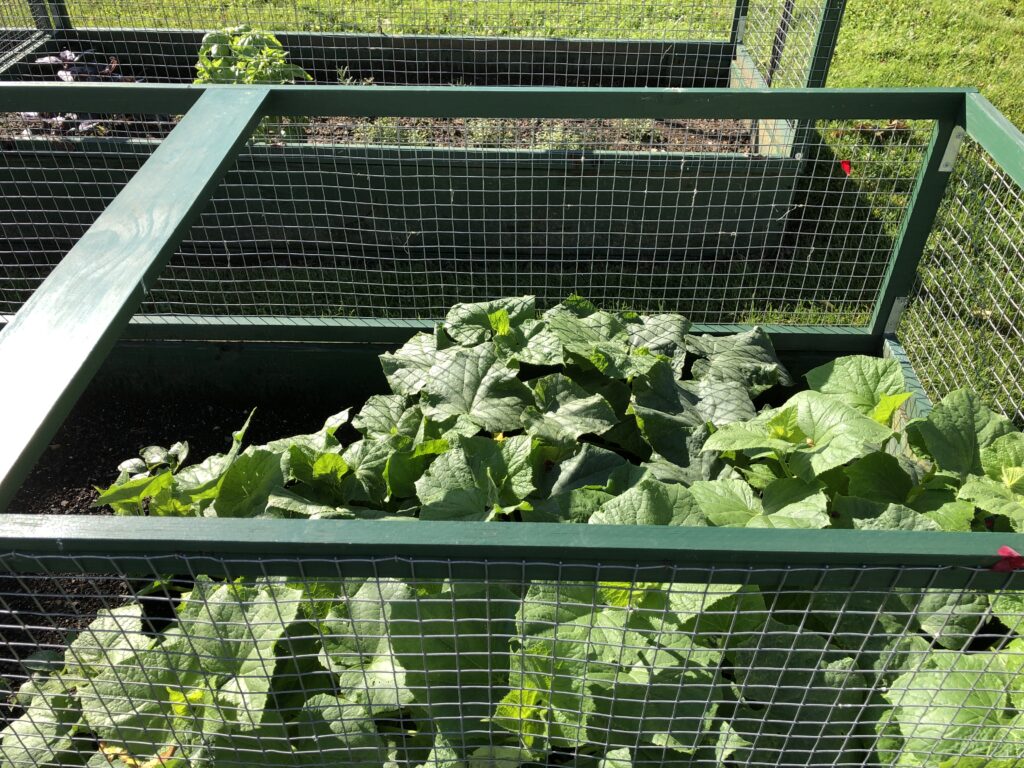
As I walked down the hill, I passed the cucumber plants and peeked under the leaves. Surprisingly, the few plants that are left are making cucumbers!
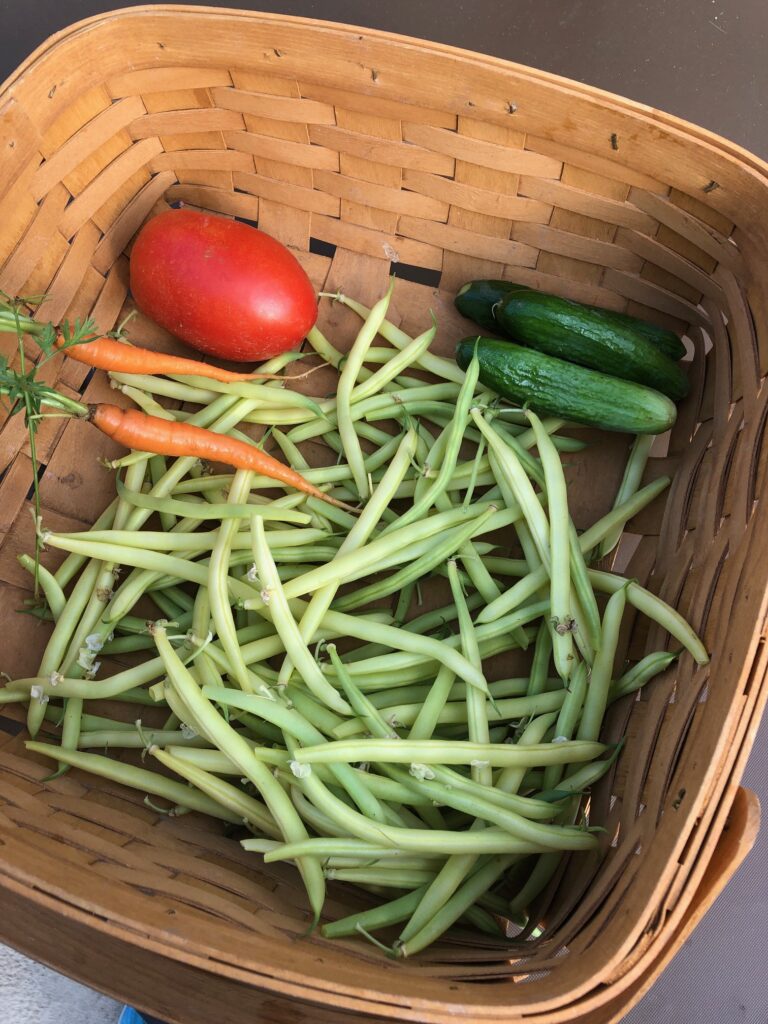
So, this is my early morning harvest today! There are still some hot days ahead this week so things will start ripening fast.
We do not have a huge garden this year, but it is fun to check it out each morning. If I really want a quantity of produce, the Farmers’ Market is still my best choice. At the end of each season, I can usually get large bags of cucumbers or tomatoes to make into relish or spaghetti sauce for a good price. Enjoy!
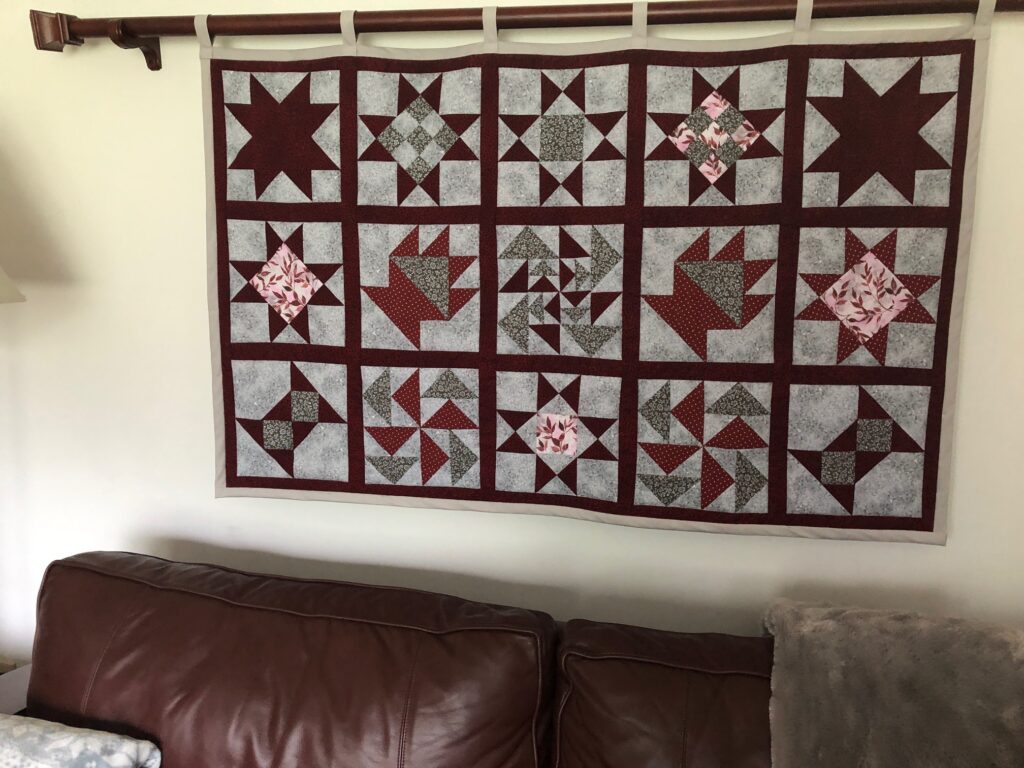
Changing color schemes in our living room isn’t too hard. The furniture is dark wood and brown leather. I add color around it. I seem to have established a common element…a small quilt hanging above the sofa. This started years ago with a full-size quilt draped over the rod (thus the hefty rod on the wall). After that I went with smaller wall hanging quilts that I could make by hand. They satisfied my love of hand-piecing quilt blocks on a smaller scale. I can change the color scheme in the room by changing the wall hanging and swapping out pillows and throws to coordinate the color.
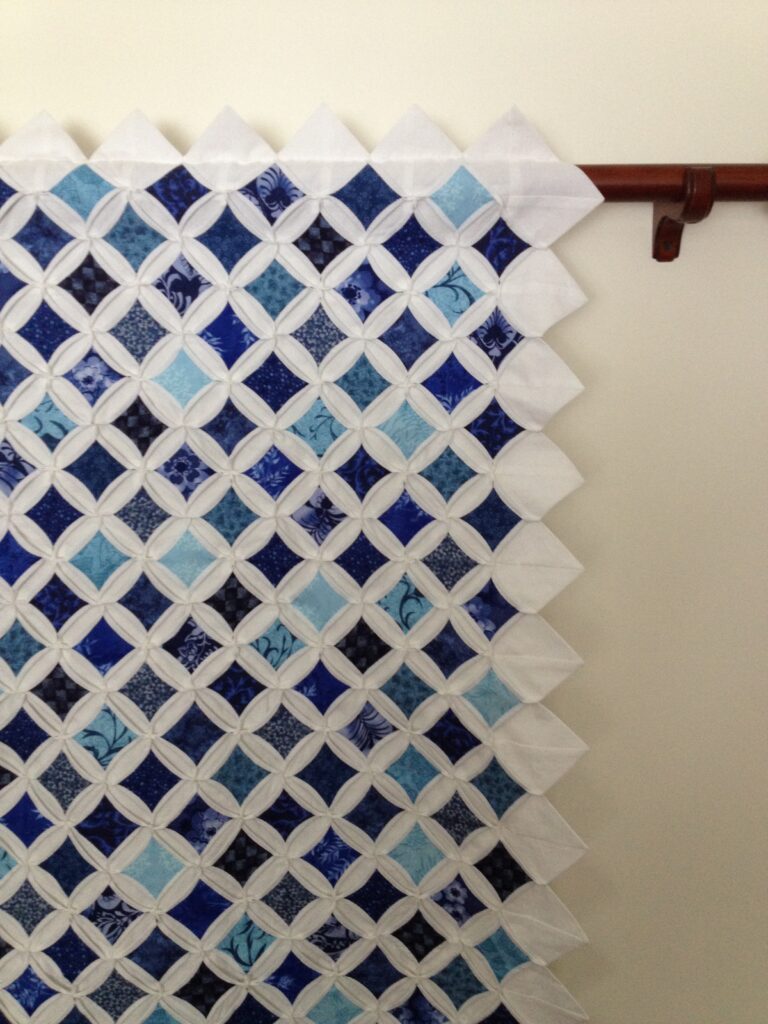
The Cathedral Window quilt hanging that I made several years ago was blue and white and I love it, but I tired of the color over time.
The most recent quilt (that I’m phasing out) started with a plan to make a full-size quilt for Kathy, but by the time I had hand-pieced a few blocks her colors had changed and I lost my motivation. So, it became the next quilt on the wall.
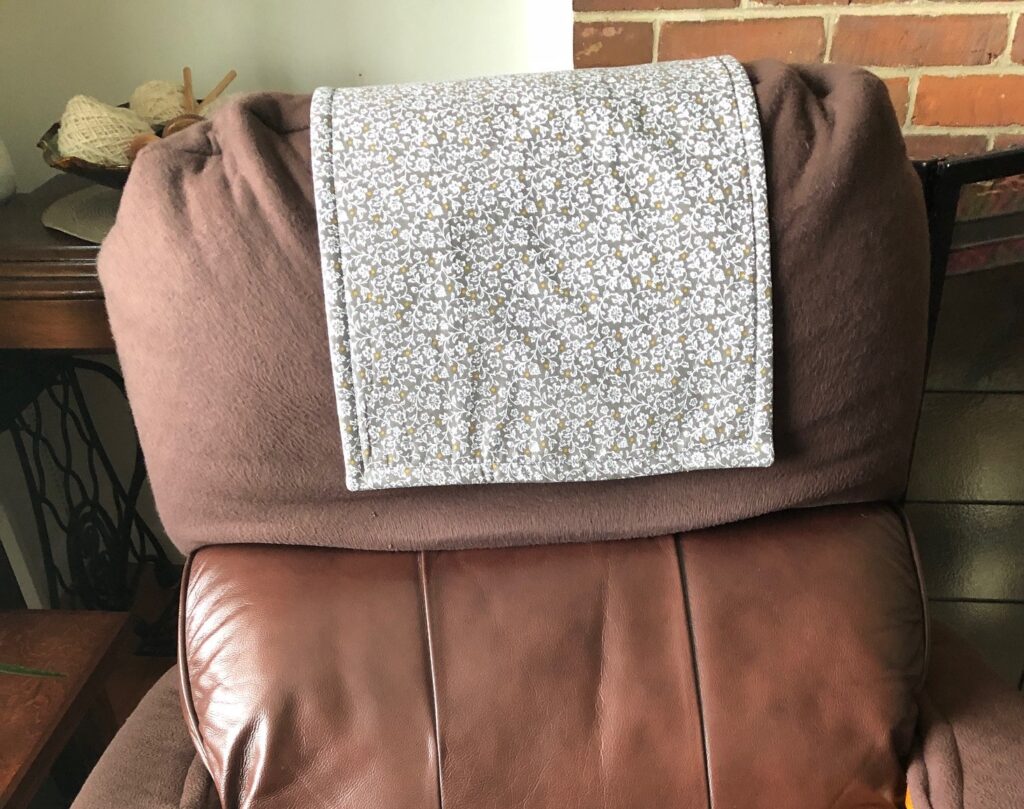
Of course, as I change color schemes, the pillows and throws on the sofa have to change too. A small matching piece of fabric provides a pad on Bert’s chair to protect the back under his head. Thus, I had used extra fabric to make this:
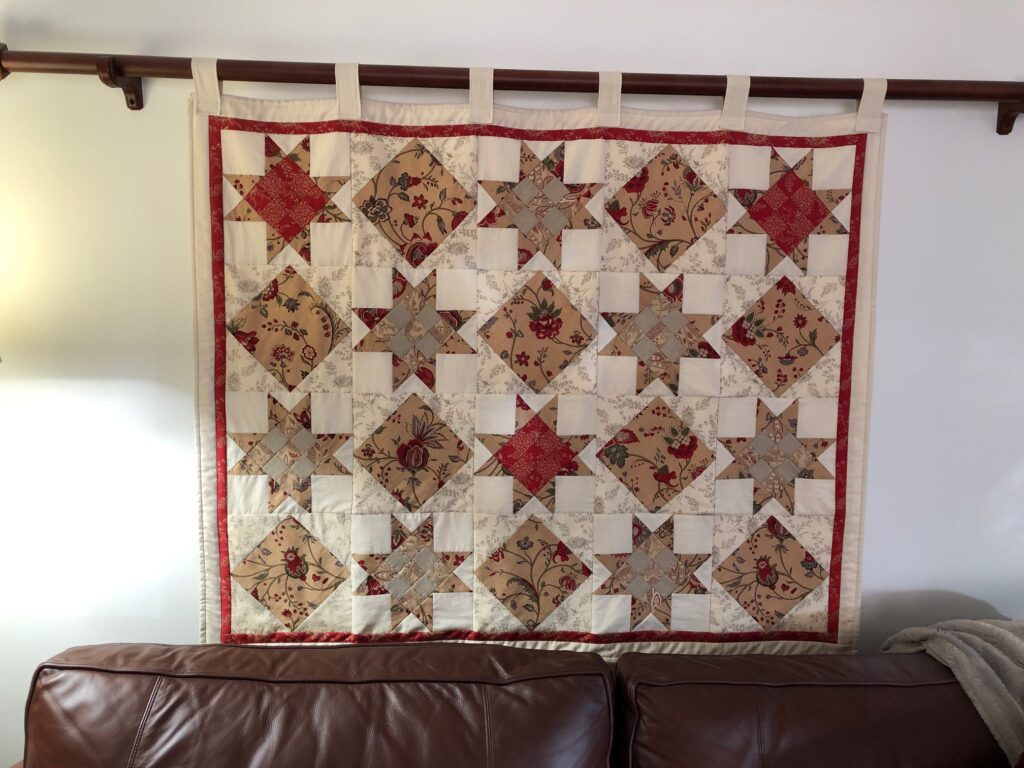
Now that I’ve finish the next quilt, changing my color scheme to gray and burgundy, his chair needed a new head rest piece. This is the new wall quilt:
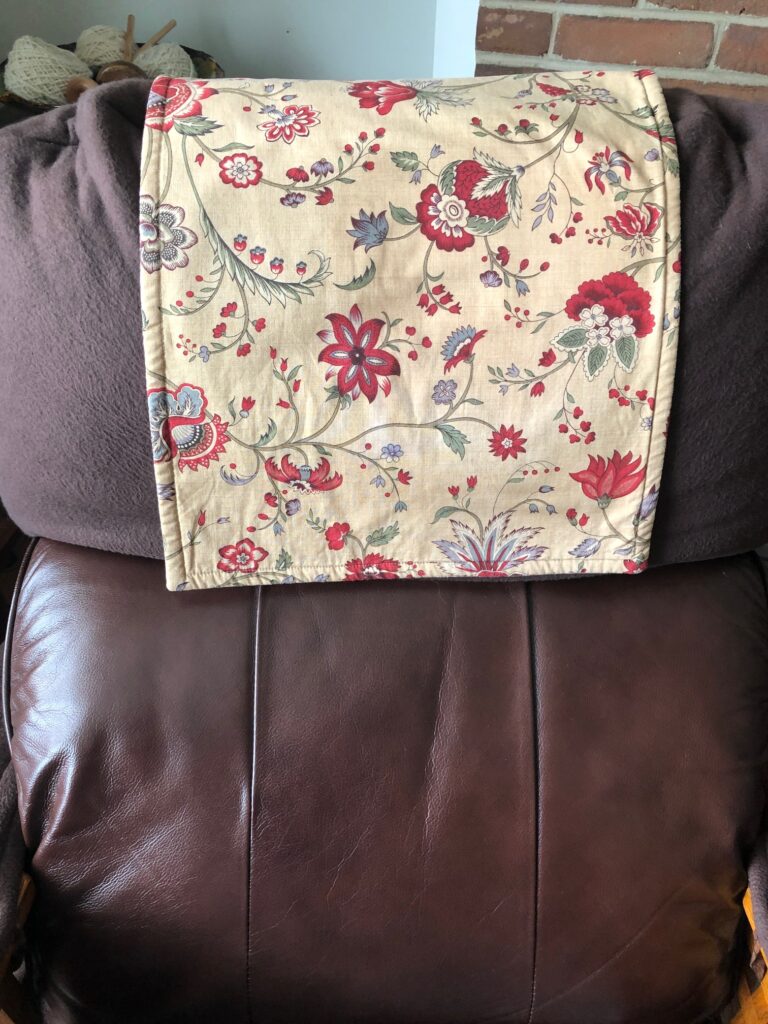
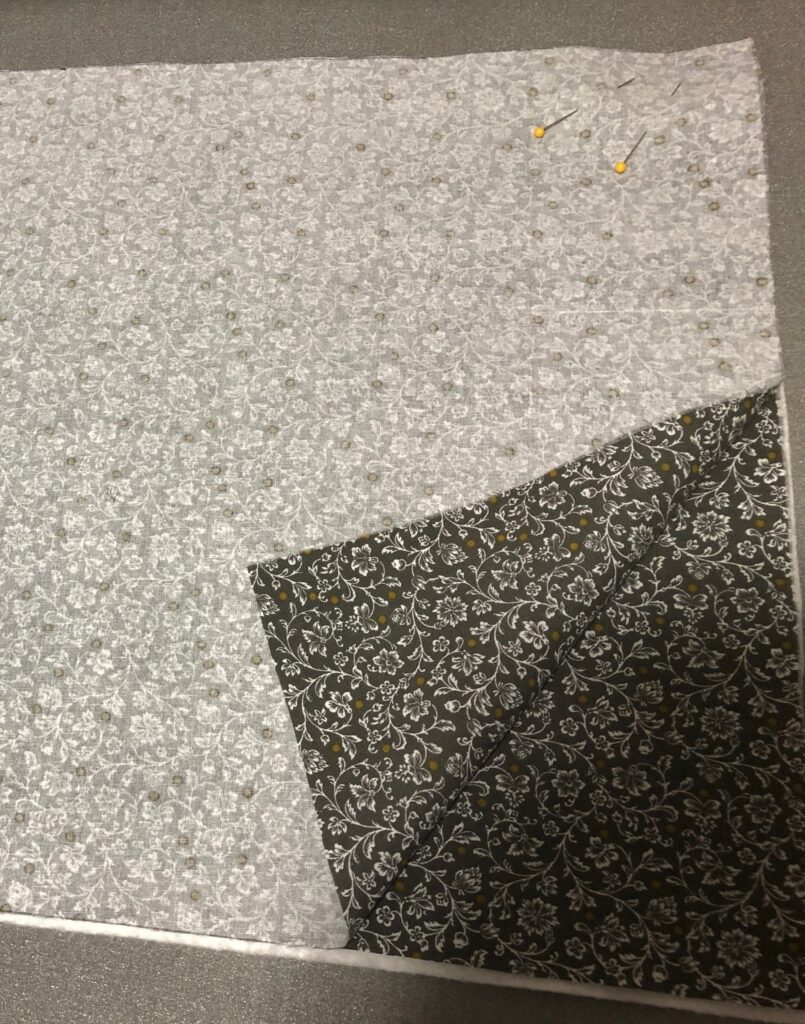
So today I pulled out the extra fabric and whipped up a new head rest pad. I had two fat quarters and trimmed them to 14″ x 21″ and added a piece of batting.
The fabric pieces are right sides together on top of the batting. I stitched around the outside, leaving a 4″ opening to turn right side out. I hand stitched the opening closed and top stitched around the edge. In half an hour I had the final piece of my decorating! Finally, everything matches! Whew!
I am definitely not a decorator, but somehow these quick changes I can handle. The slowest part is hand-piecing the quilt, but that makes a good winter project…one block at a time! Enjoy!
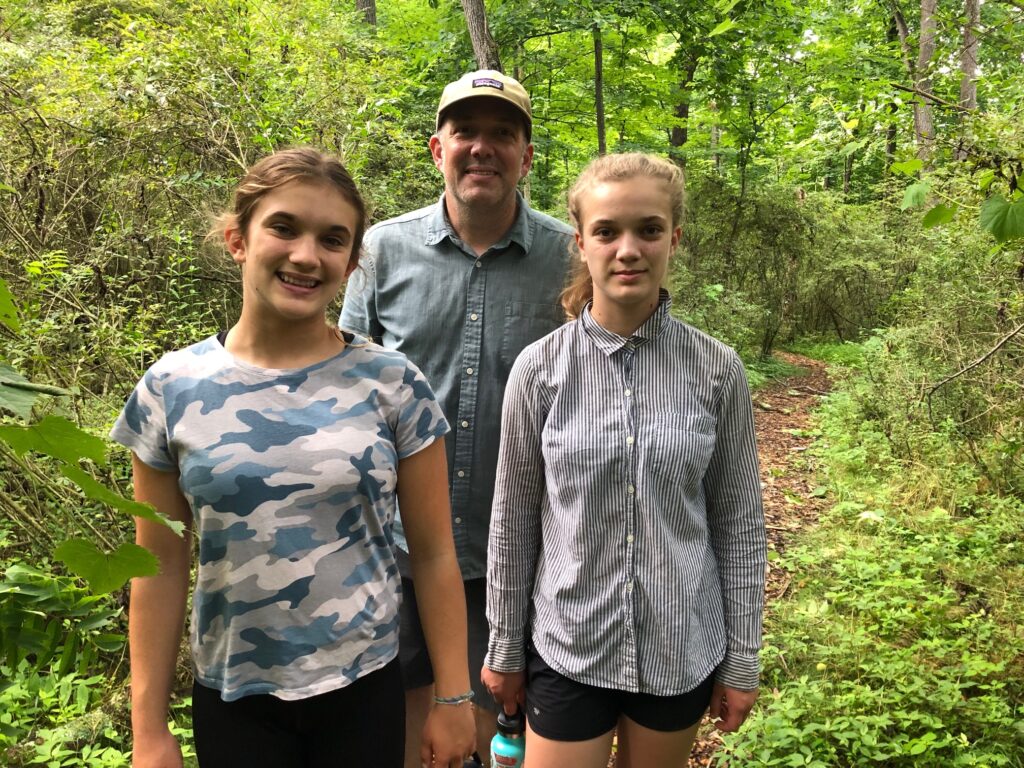
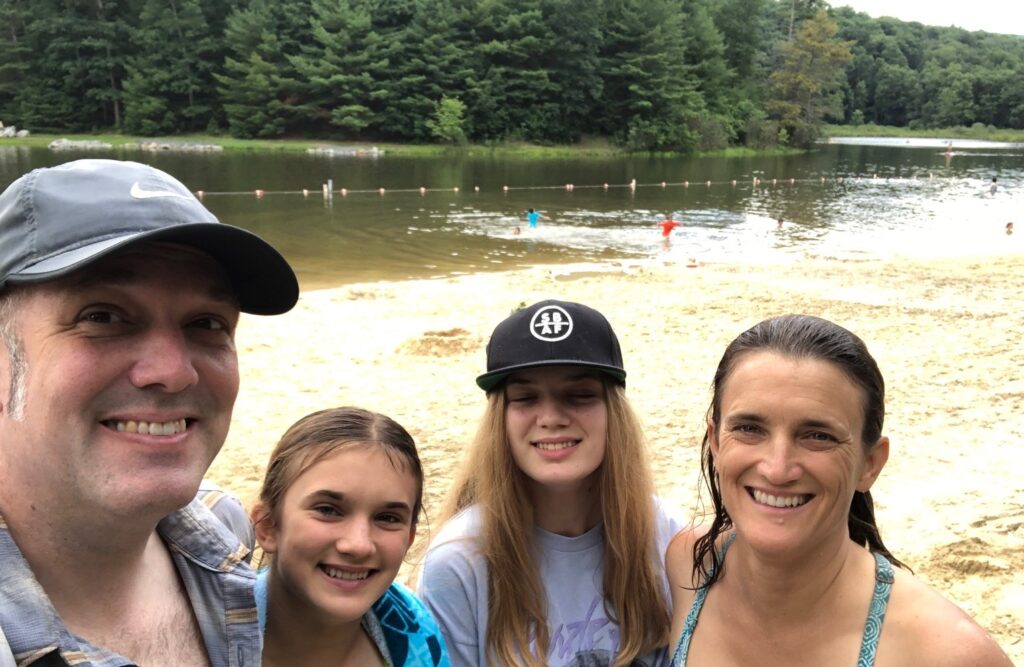
Ted’s family has been visiting us from southern California for the last two weeks. It’s been two years since we’ve been able to give them all a hug! Luckily, Ted is able to work remotely and Erin is a teacher and can travel in the summer. The girls are 15 and 12. We try to plan a few activities but mostly we let them explore the area as they like.
Here are some photos of their visit. (Thank you, Erin, for having your camera ready…you took some wonderful pictures of your activities!)
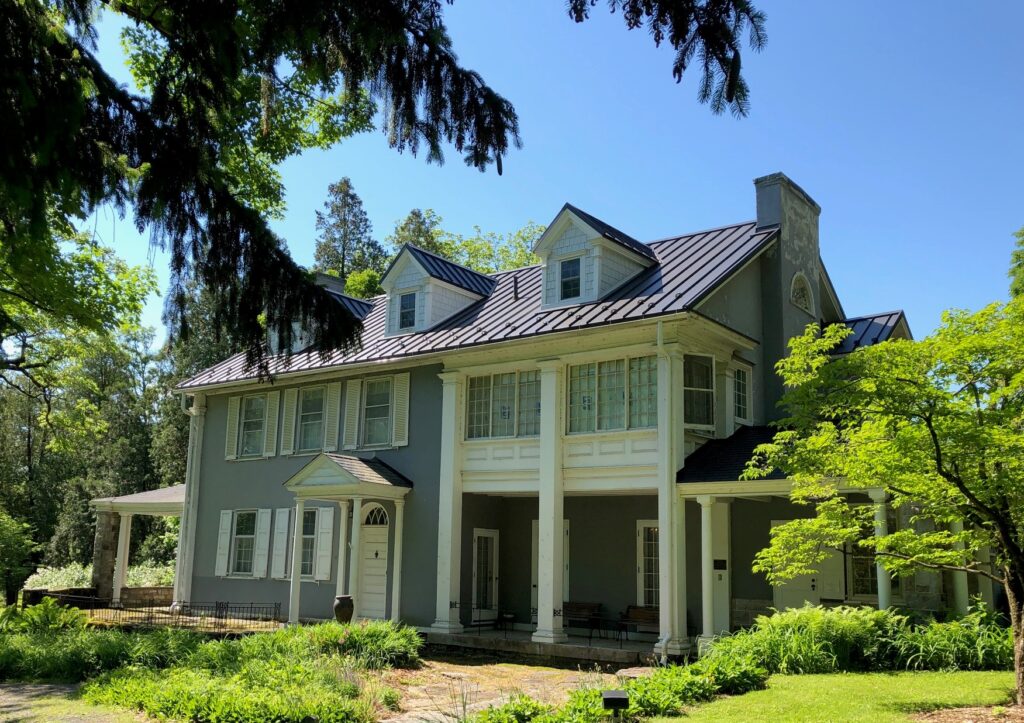
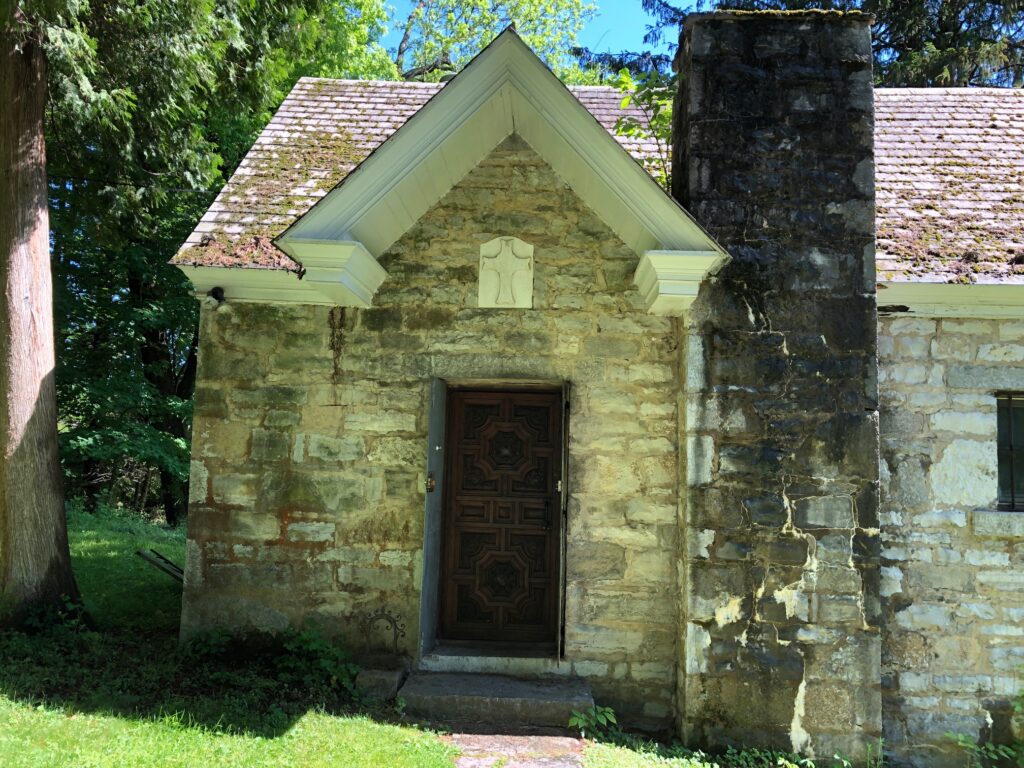
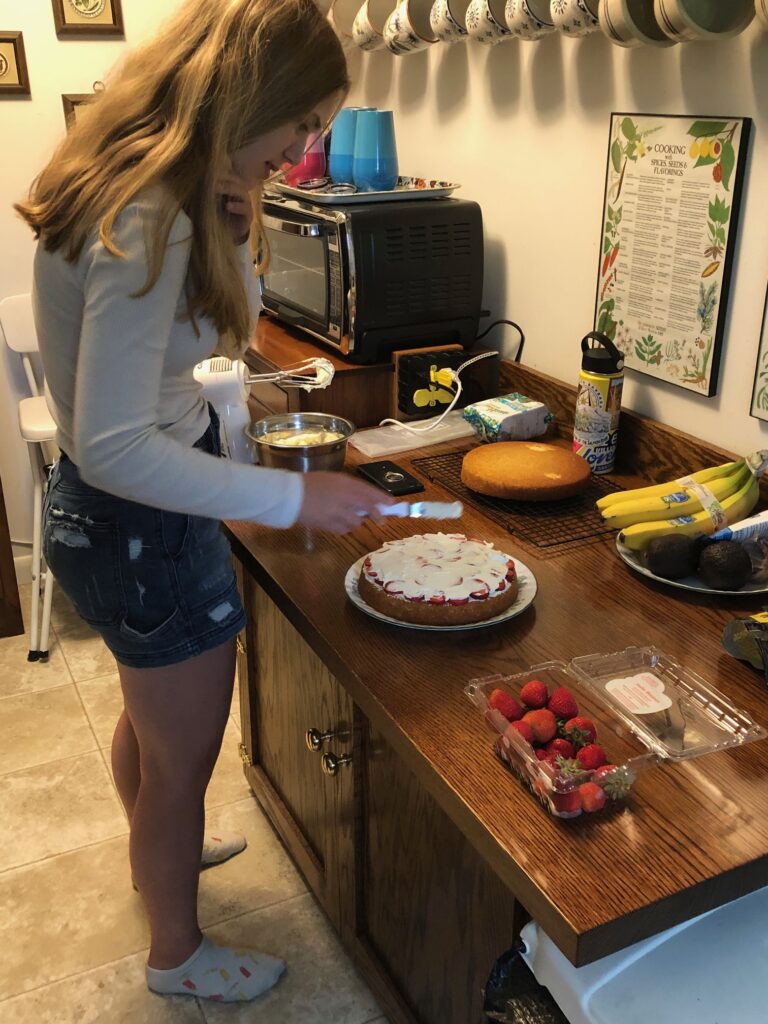
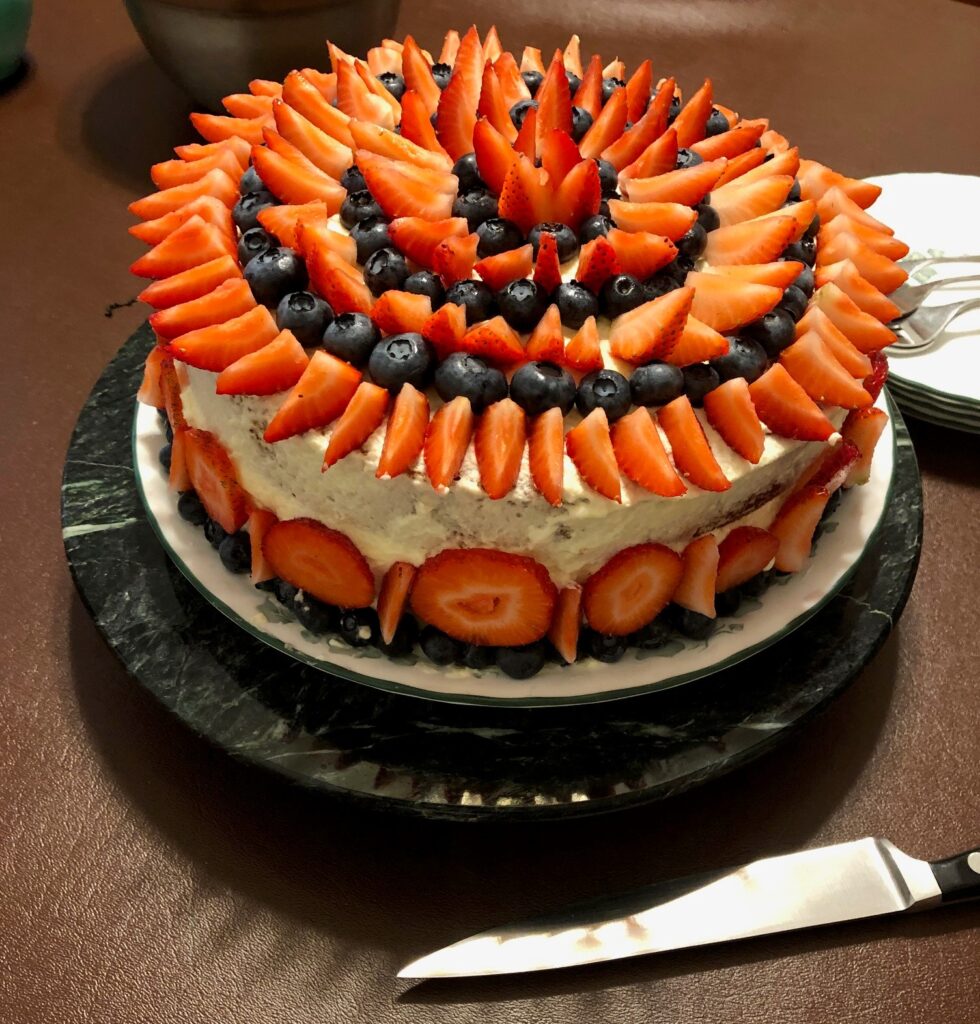
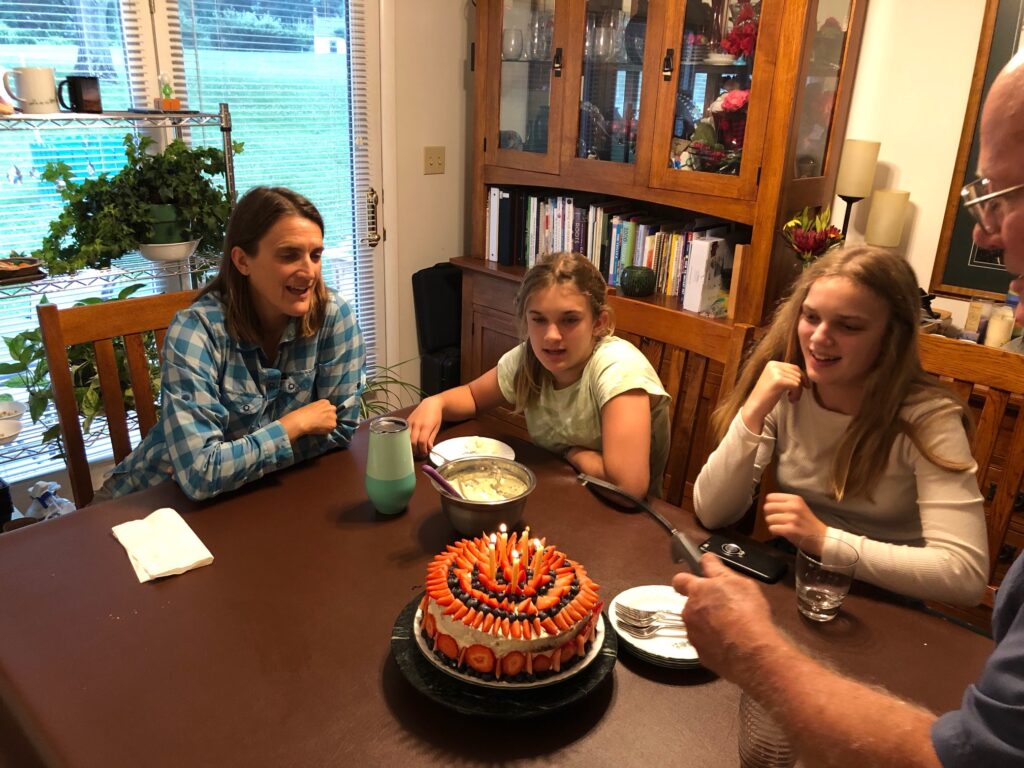
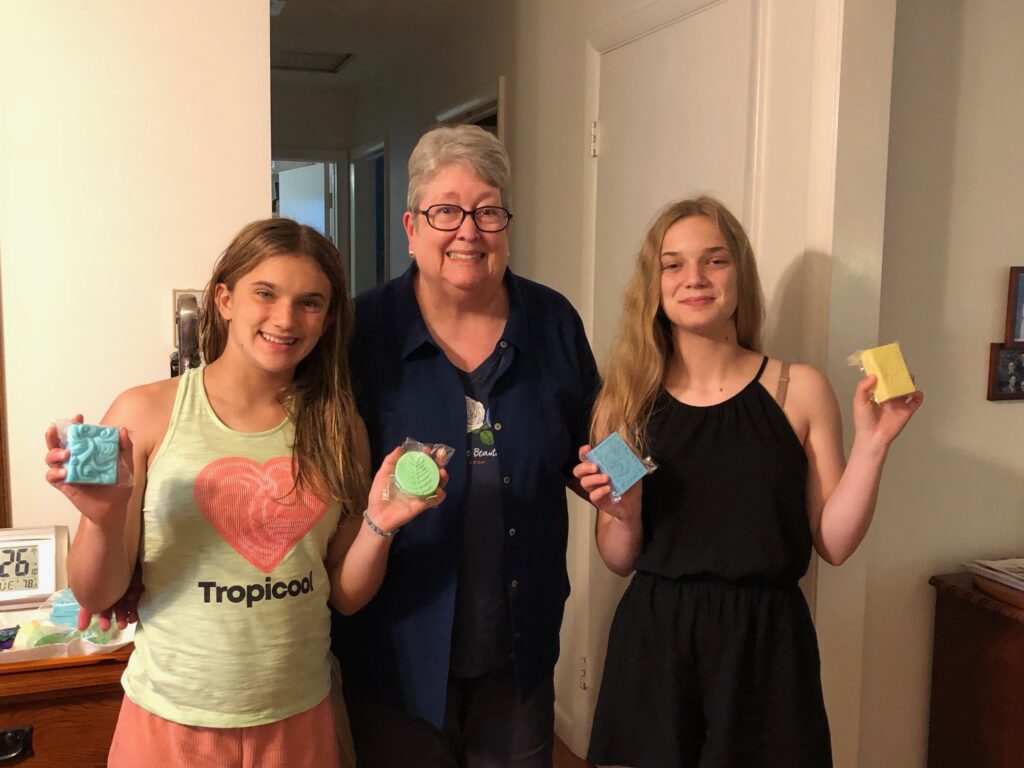
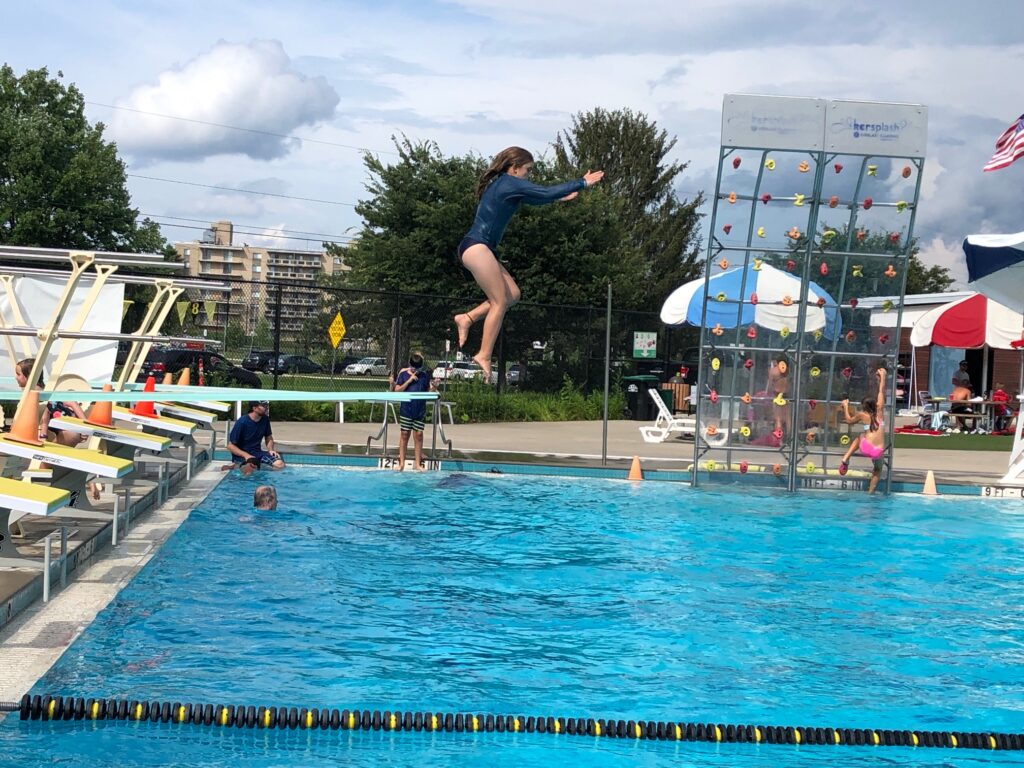
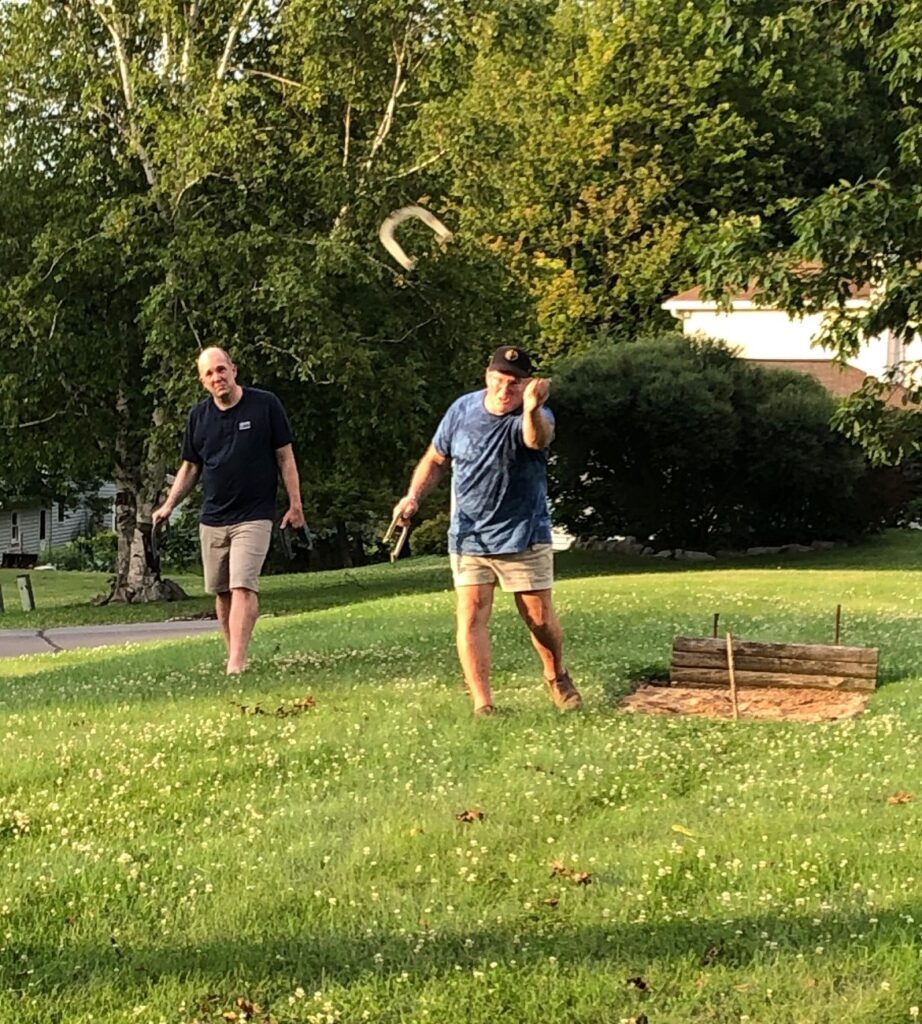
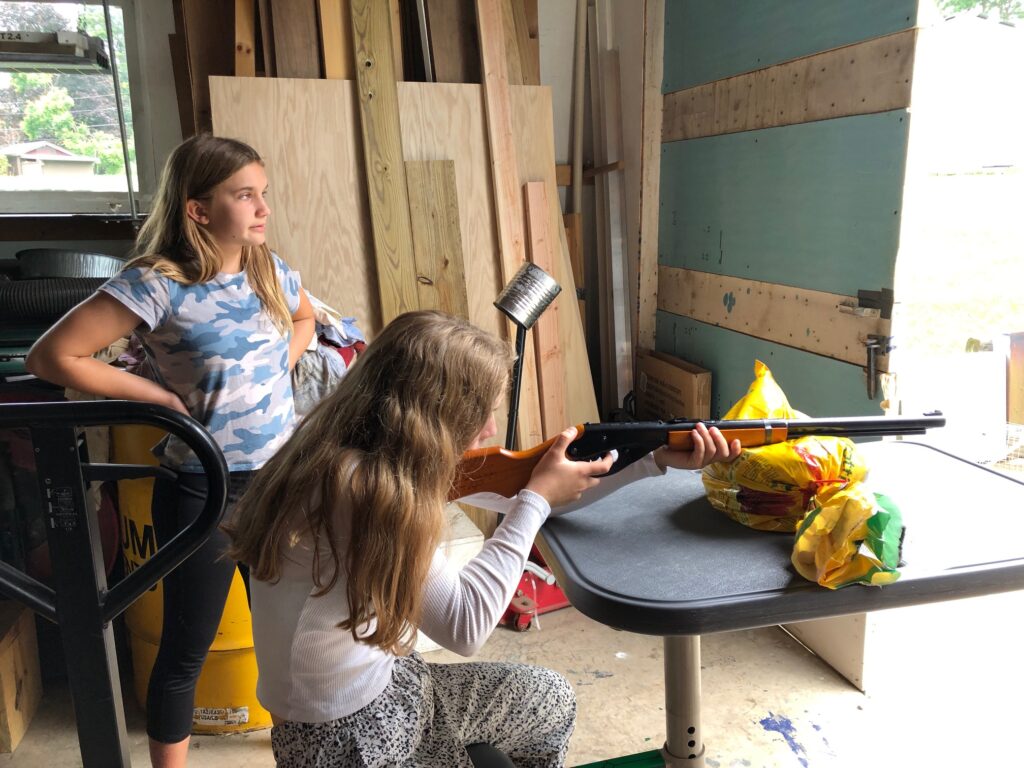
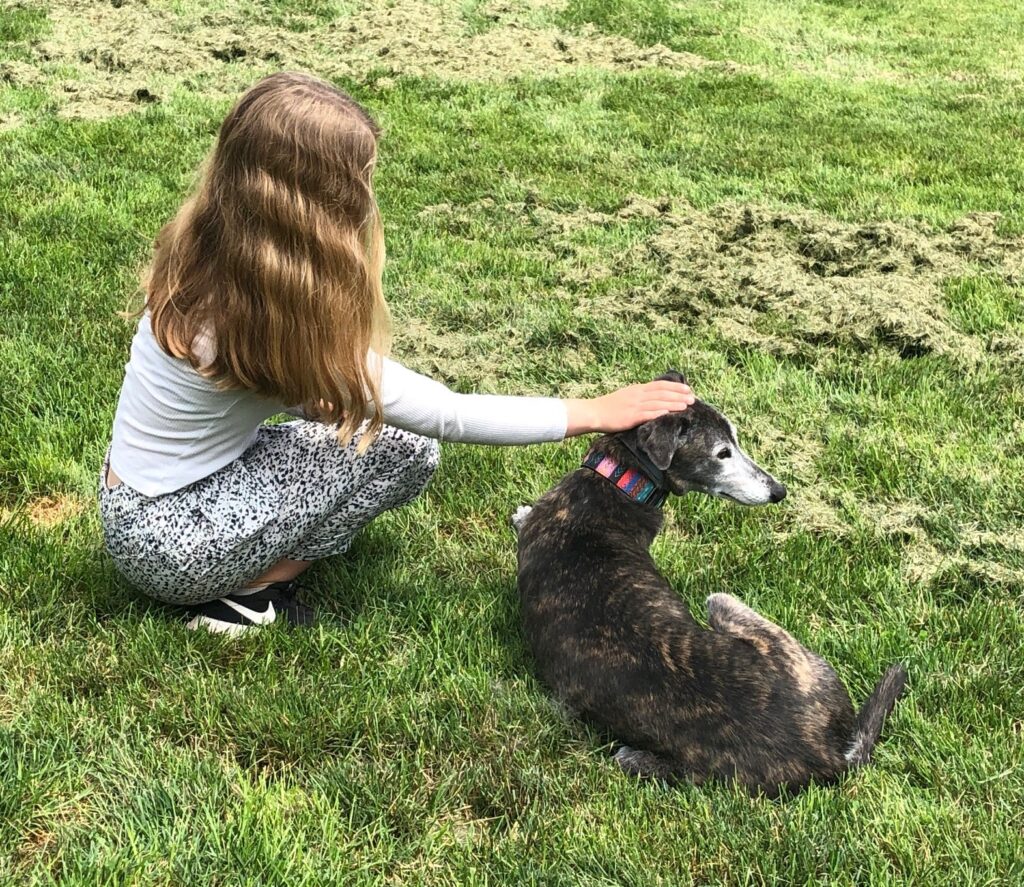
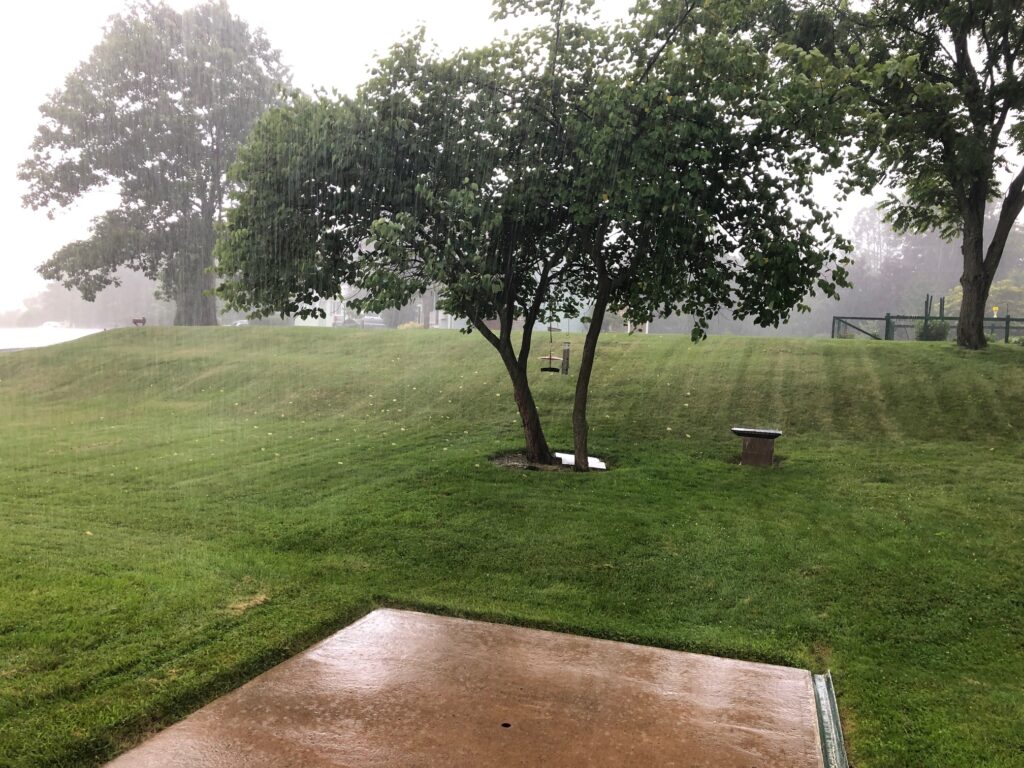
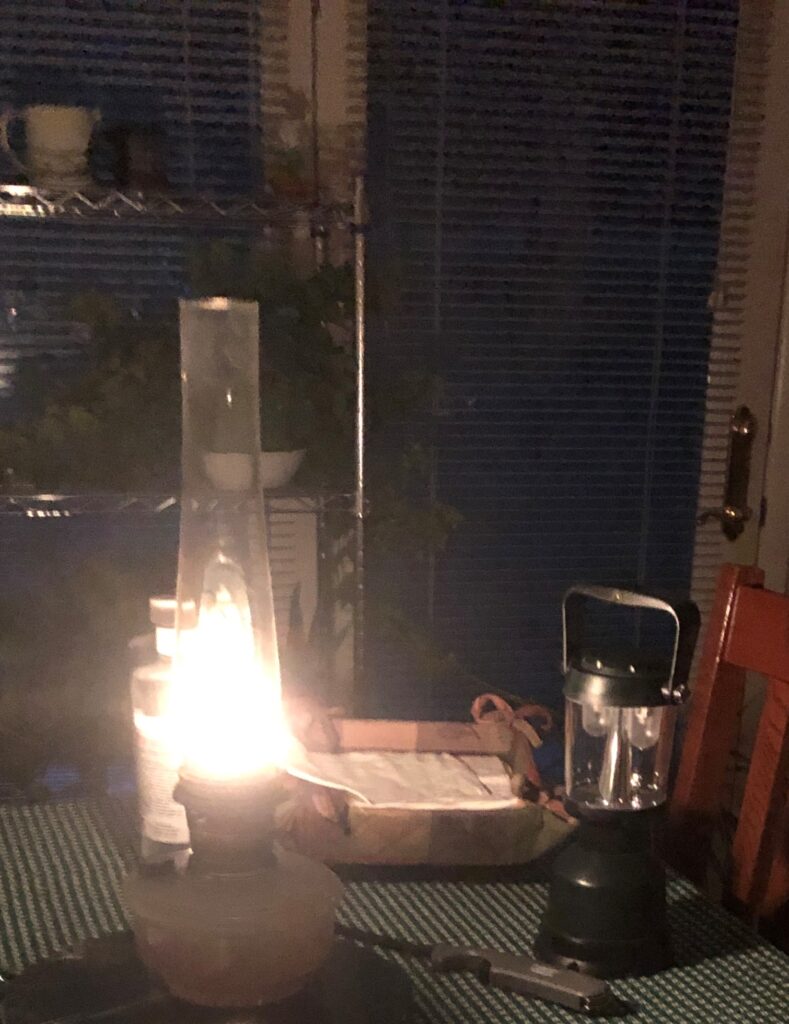
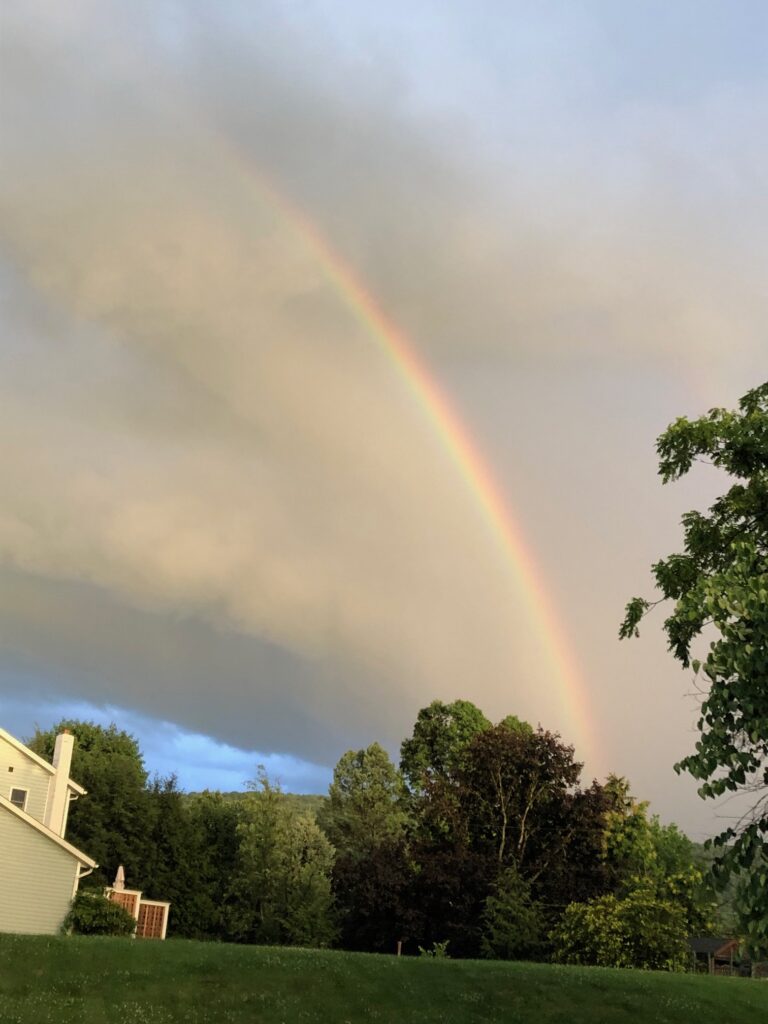
Of course, no visit to Boalsburg is complete without a guided tour of the Boal Mansion Museum & the Christopher Columbus Chapel.Near the Mansion are lots of new trails with blueberries along the way.It was time to bake a cake to celebrate birthdays!Happy Birthday Erin, Annika and Aislinn!The girls were very helpful at bean picking time!There are always lots of craft projects at Grandma’s house.We had to try my new soap molds. (Gee, I look like I’m gritting my teeth! I wasn’t, really!)They couldn’t resist the local swimming pool. Lots of updated stuff since they were here several years ago.Ted remembers learning to swim at Whipple Dam, so they had to check it out.Most of the time Ted was hard at work……but who can resist a game of horseshoes!They couldn’t come to see Grandpa without a little shooting!This is what they were aiming for!And of course, a trip to the Penn State Creamery was necessary!They said the Creamery offered only one size of ice cream cone! Riiight!Can’t come see Grandma without checking out the greyhound kennel on the edge of town.This hound got special attention from Aislinn.The most exciting event of their visit seemed to be the huge thunderstorms we had this past week! California is dry right now and all that rain invited dashes off the porch to feel the rain.Three power outages gave us a chance to light all the lamps and remember why most people went to bed at dark way back then. Of course, we all had backlit e-readers and phones, so we were fine!The rainbows after the storms were impressive!That concludes some of the adventures with our California kids and grandkids! They will head out tomorrow to get home in time to get ready for a new school year. It was a great visit!
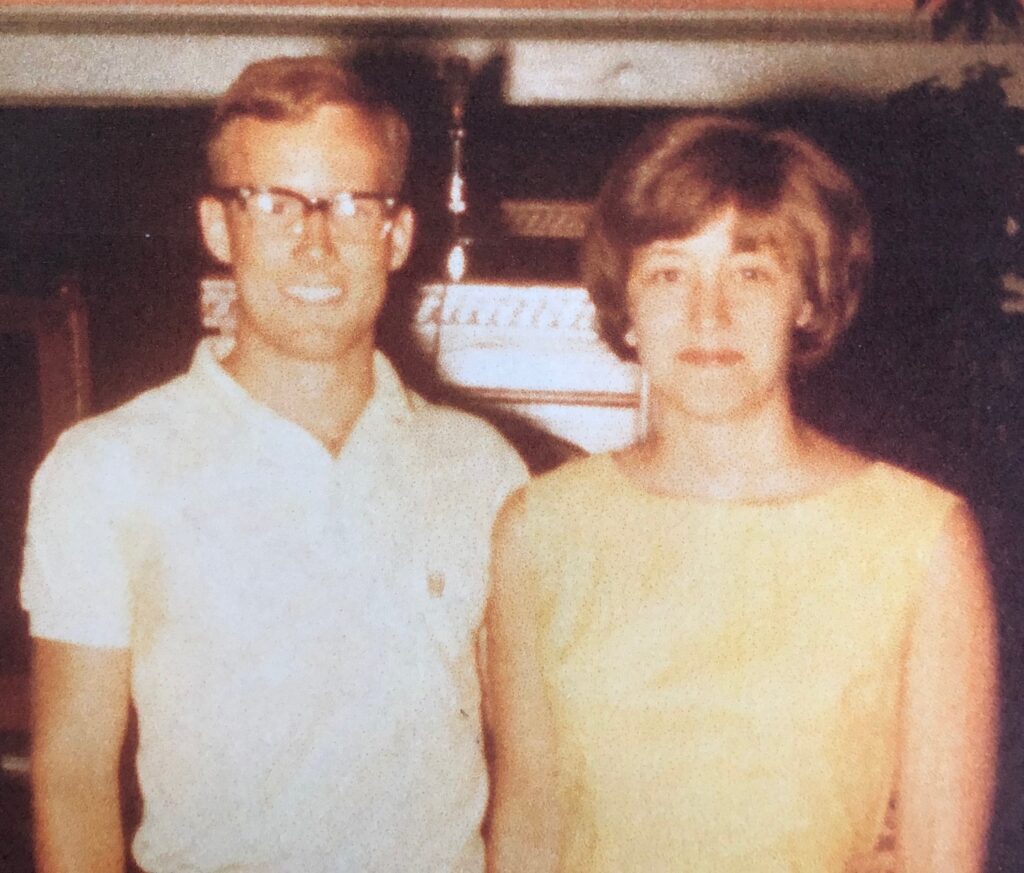
Today is our 54th Wedding Anniversary! I know! Hard to believe! Actually, we celebrate the date we eloped in 1967…
My goodness we were so young!
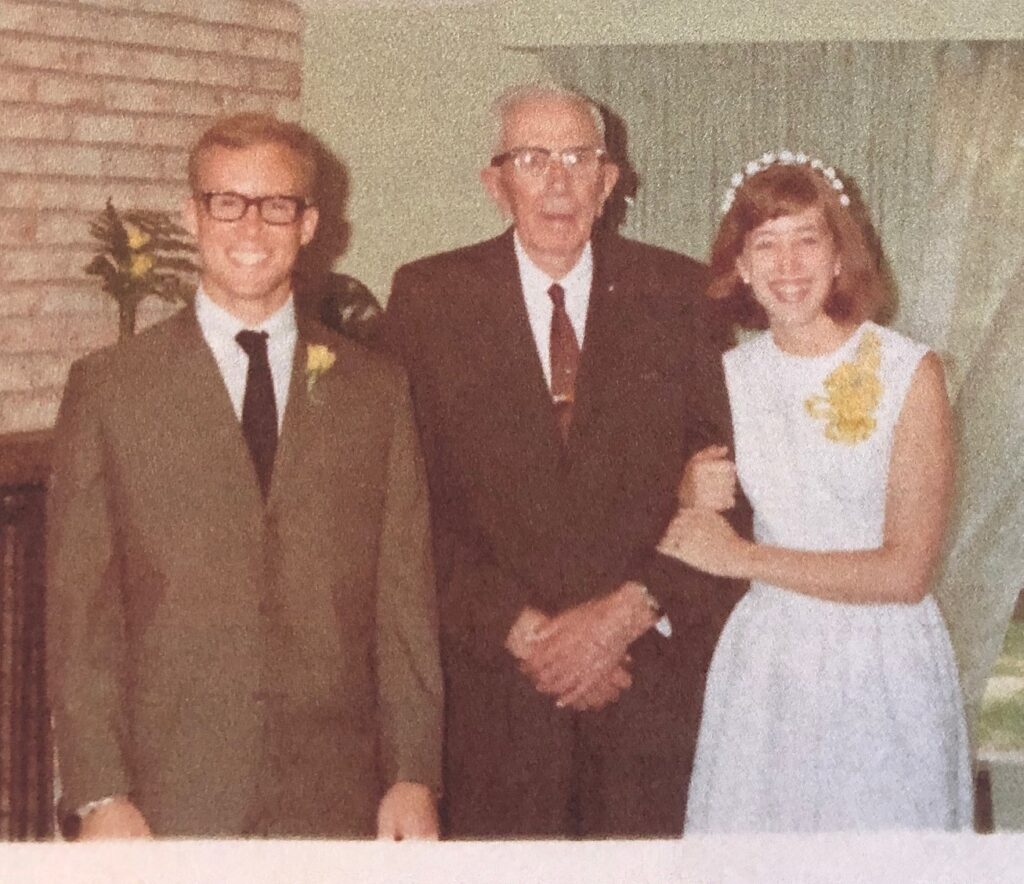
…not the next August (1968) when we fessed up and told the family. Long convoluted story for another time! We renewed our vows and had the reception! Who knew it would last 54 years!
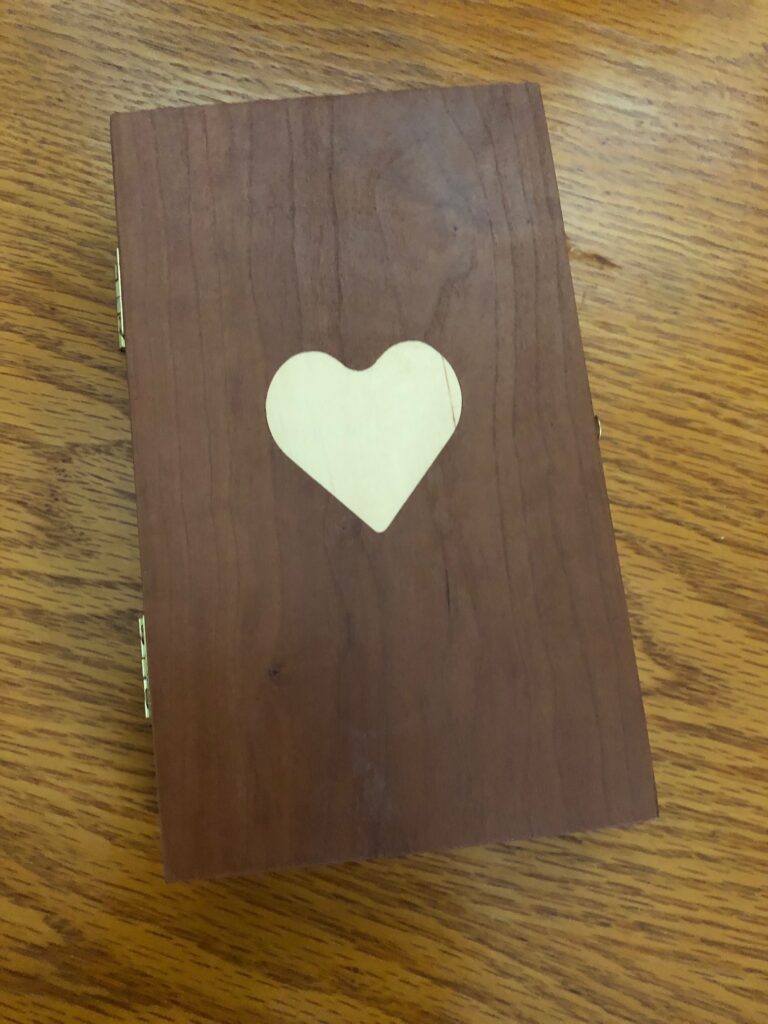
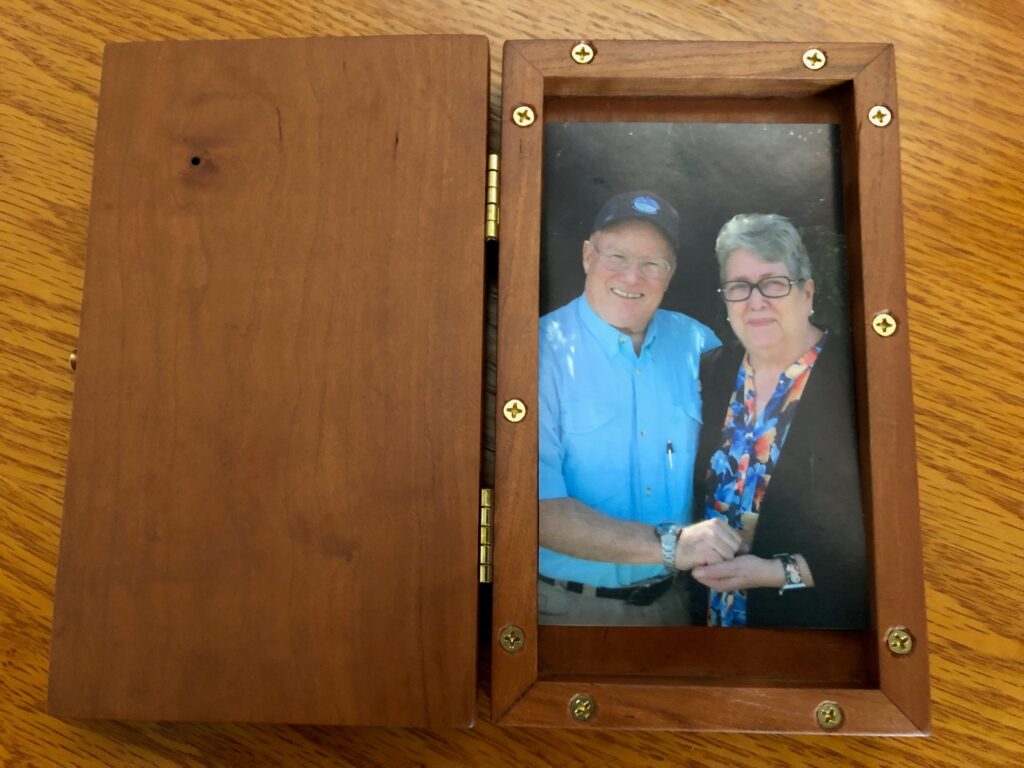
Bert, Grandpa John Bixby and Mary.Bert made me this beautiful box/picture frame last year. A real keepsake!
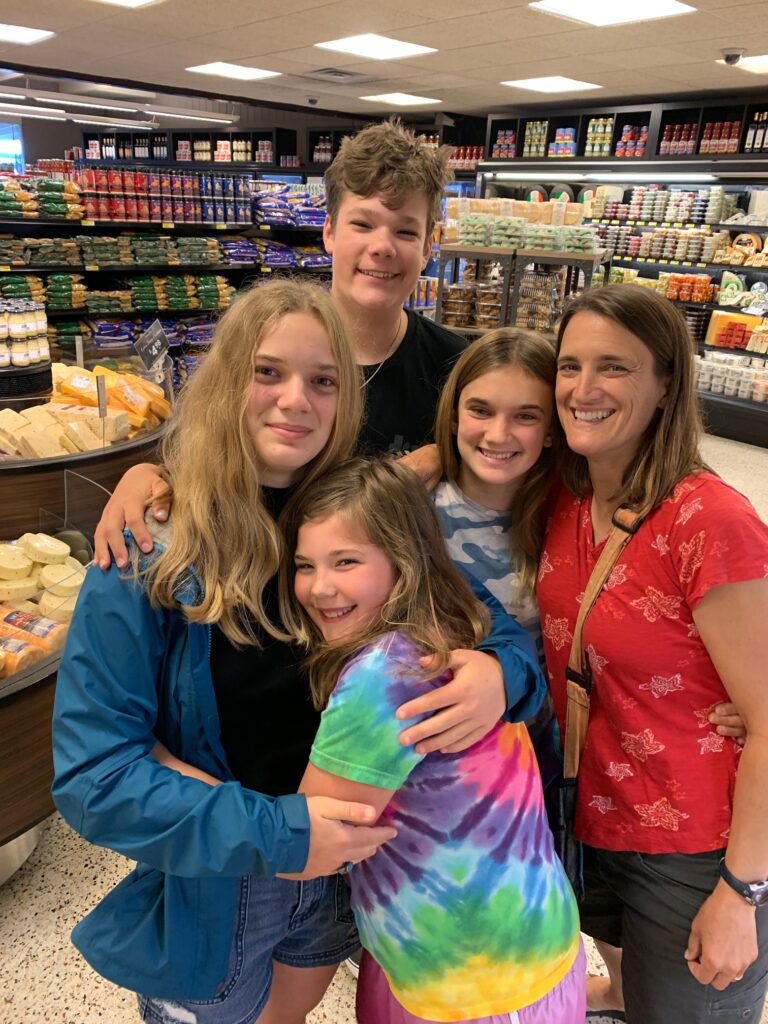
Our family now has two grown kids with kids of their own! We were thrilled to spend time with all of them over the last few weeks. Ted’s family lives in California and it’s been two years since we’ve been together. Luckily Kathy’s family is near Pittsburgh so we’ve seen them more recently. We are blessed!
What a pair!All four cousins got to bond and Erin was able to get into the picture too! Not sure how Steve got away with not being photographed!
What a wonderful visit! More pictures about what they did at Grandma’s house in the next post! Enjoy!
This is the second year that our large local summer festivals were cancelled. Even though things are finally opening up, large festival schedules had to be finalized in March. So, all Memorial Day activities, from the Fireman’s carnival and parade to the huge craft fair that usually attracts over 130 vendors, were cancelled. The 4th of July fireworks and day-long celebration had to be reduced to having a smaller fireworks display incorporated into a minor league baseball game.
The Central Pennsylvania Festival of the Arts (https://arts-festival.com) that is held in downtown State College and The Peoples Choice Festival (https://peopleschoicefestival.com) usually held in Boalsburg in July was cancelled for the second year in a row.
It has been interesting that smaller community festivals are being organized around the county to fill the empty weekends. These smaller venues are easier to plan, attract smaller crowds and give folks a place to celebrate getting back to normal.
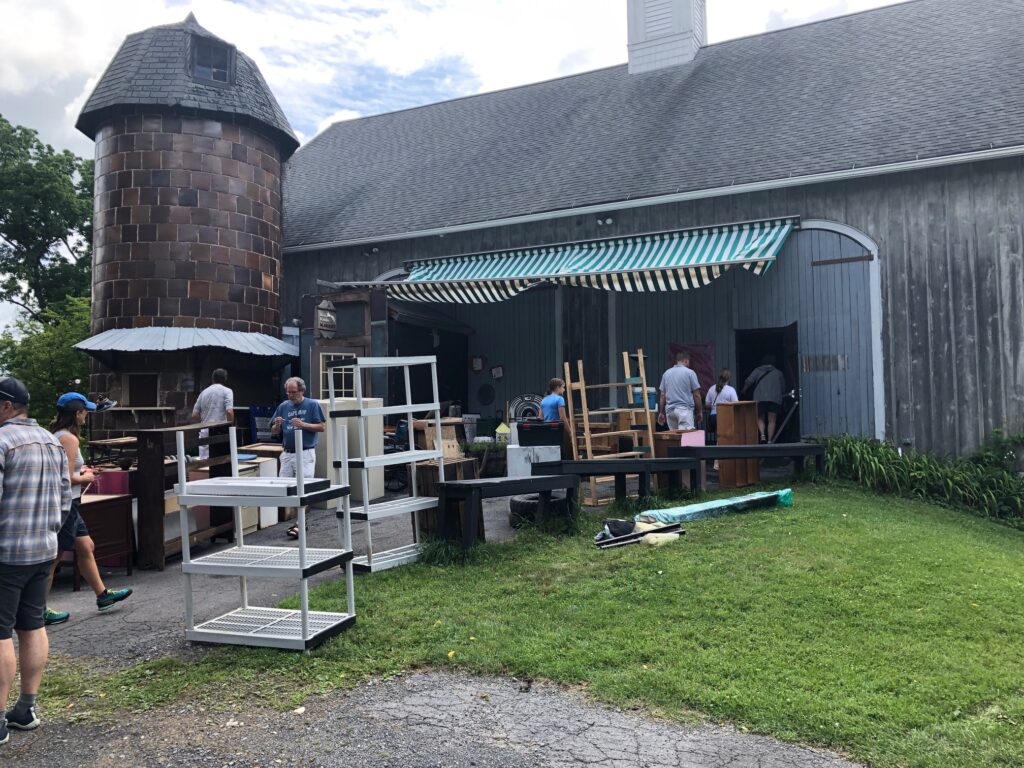
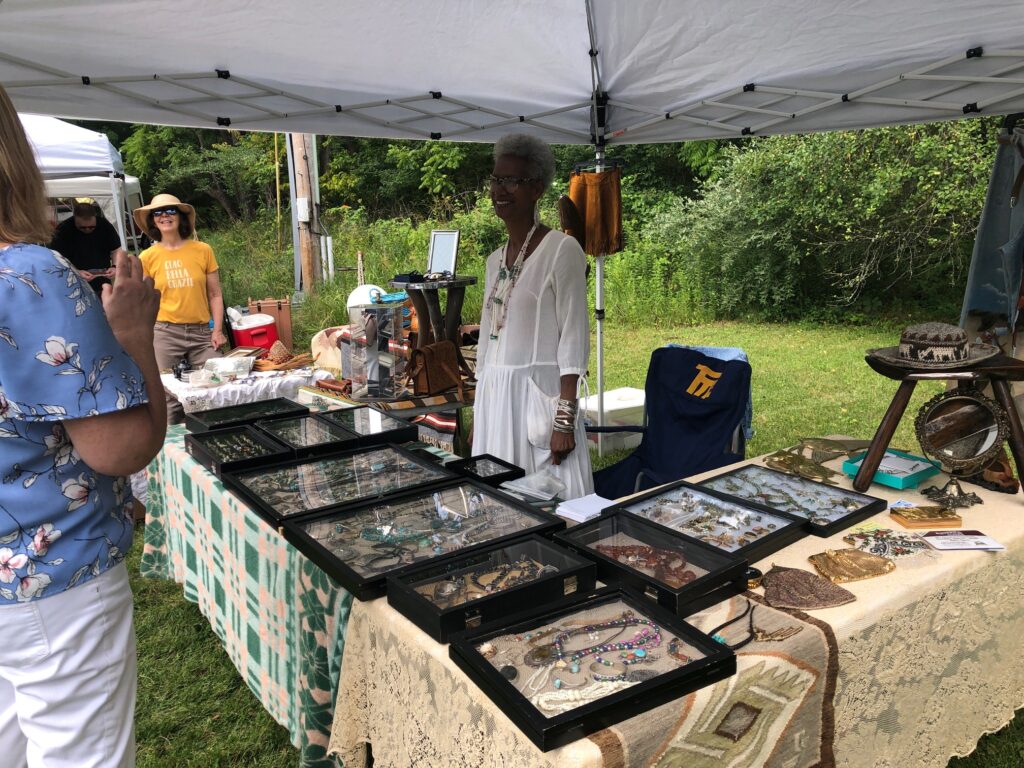
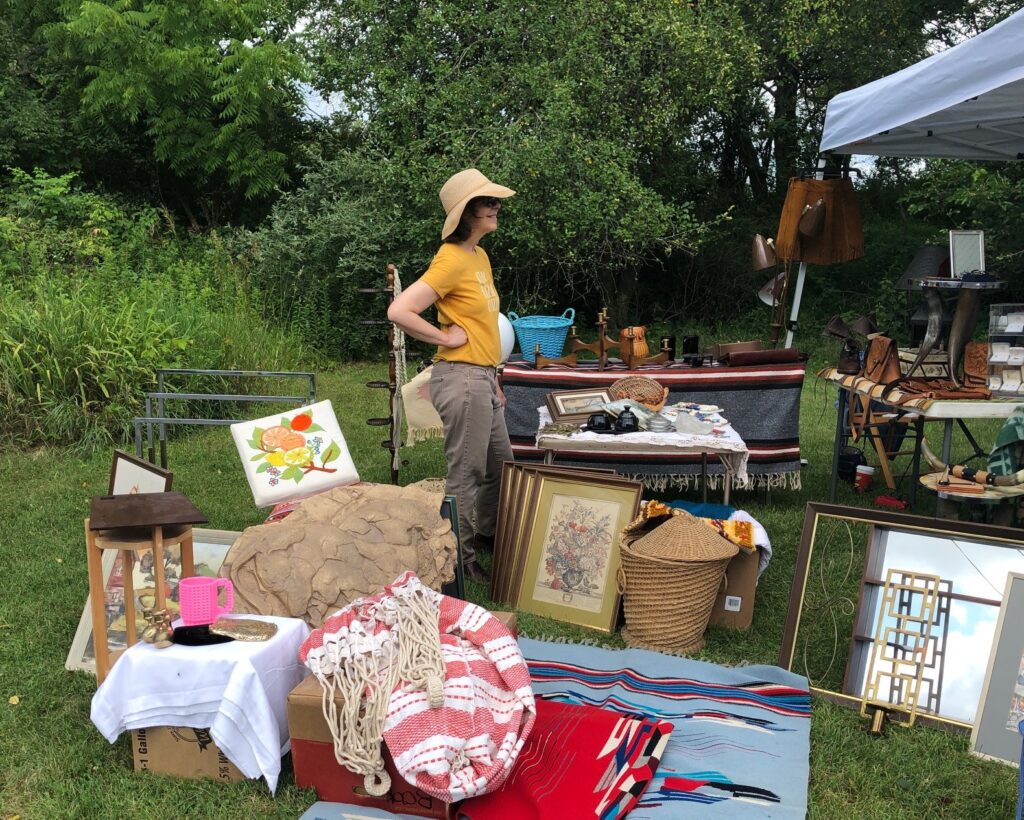
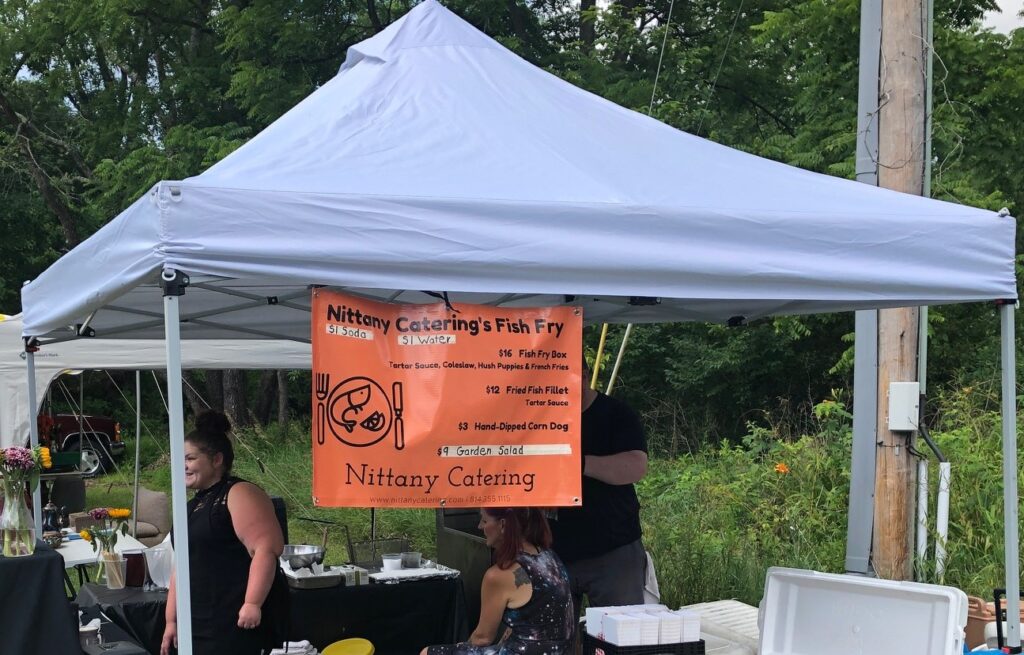
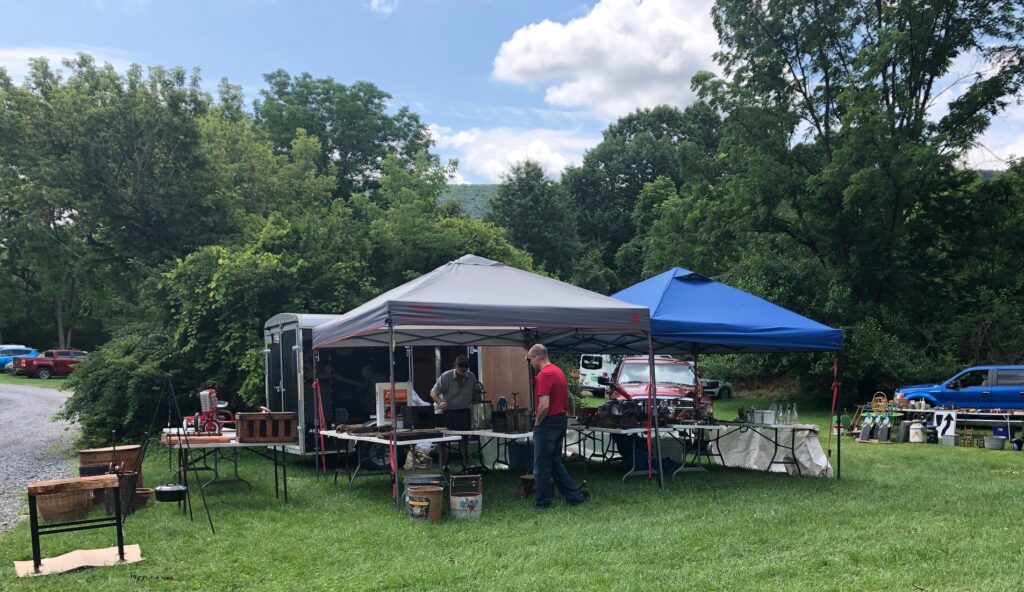
This weekend in Boalsburg, on the grounds of the Columbus Chapel & Boal Mansion Museum (https://www.boalmuseum.com) a small festival was set up for a few vendors to share their wares. Ted’s family and I checked it out and got to see the inside of the Boal Barn that is under renovation. We had a few food choices, some interesting items for sale and time to wander the Boal Mansion property. A beautiful day was served up by Mother Nature and we feel like we’ve had a break from isolation. Hopefully, something resembling “normal” will develop over the next year. Here are a few pictures of the Boal Mansion “Antiques, Arts & Crafts” festival:
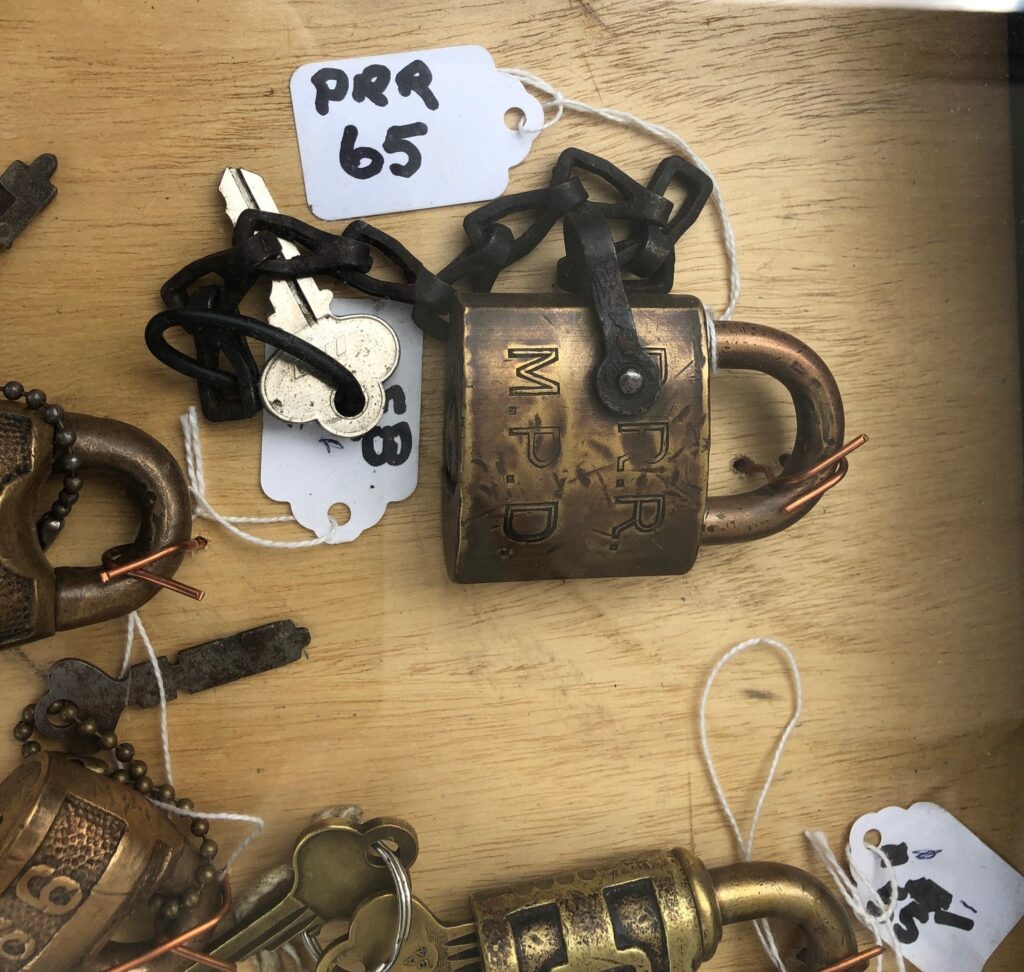
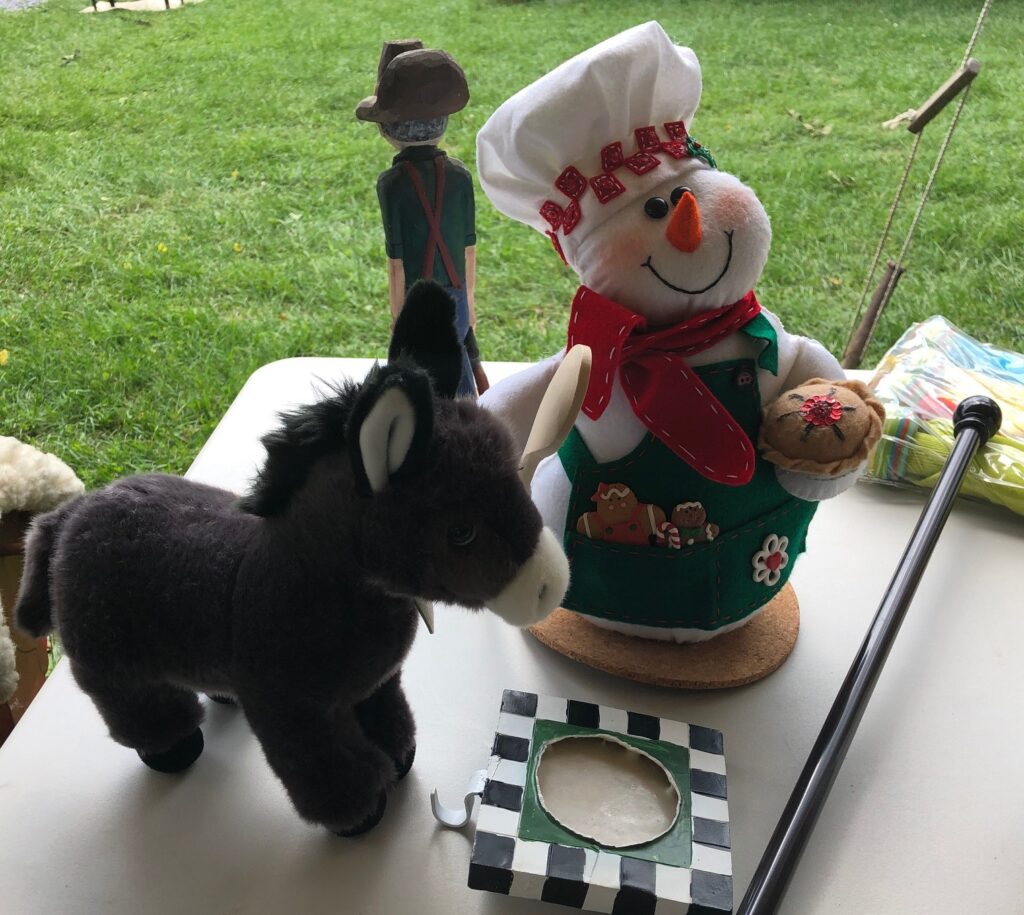
The Boal Barn is being renovated and will be air-conditioned.One granddaughter found a lovely ring at this booth.Had to make sure to show Bert this picture of this PRR Lock with Key. He has several but he’s always interested in what’s out there.Old toys are always interesting.
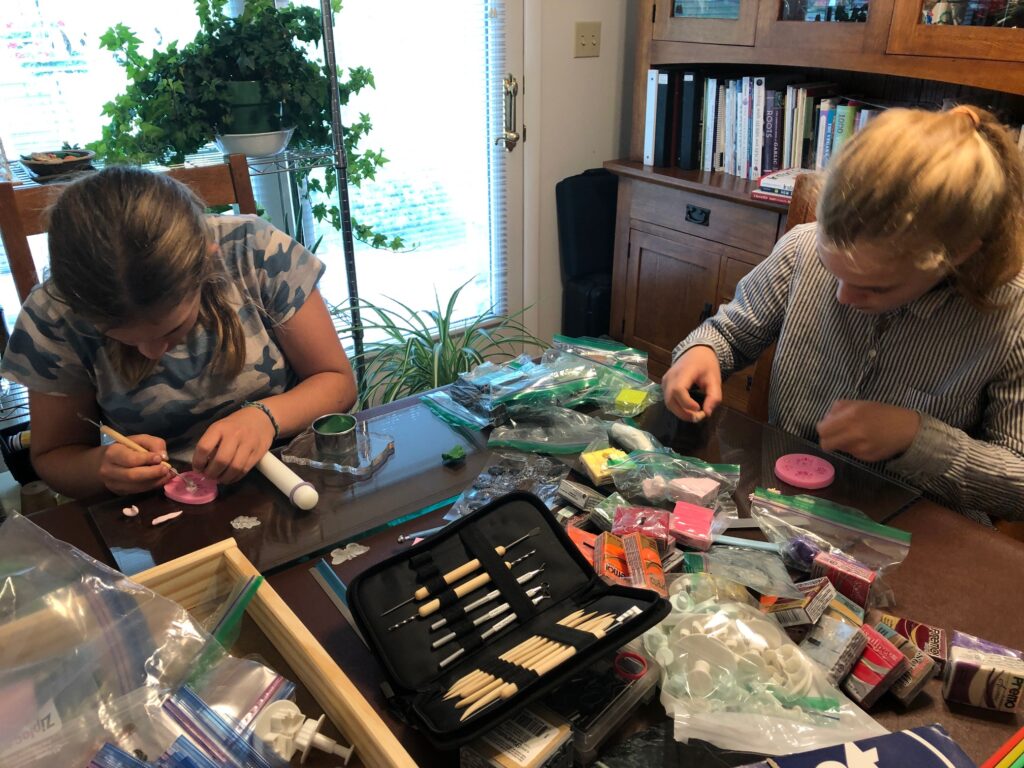
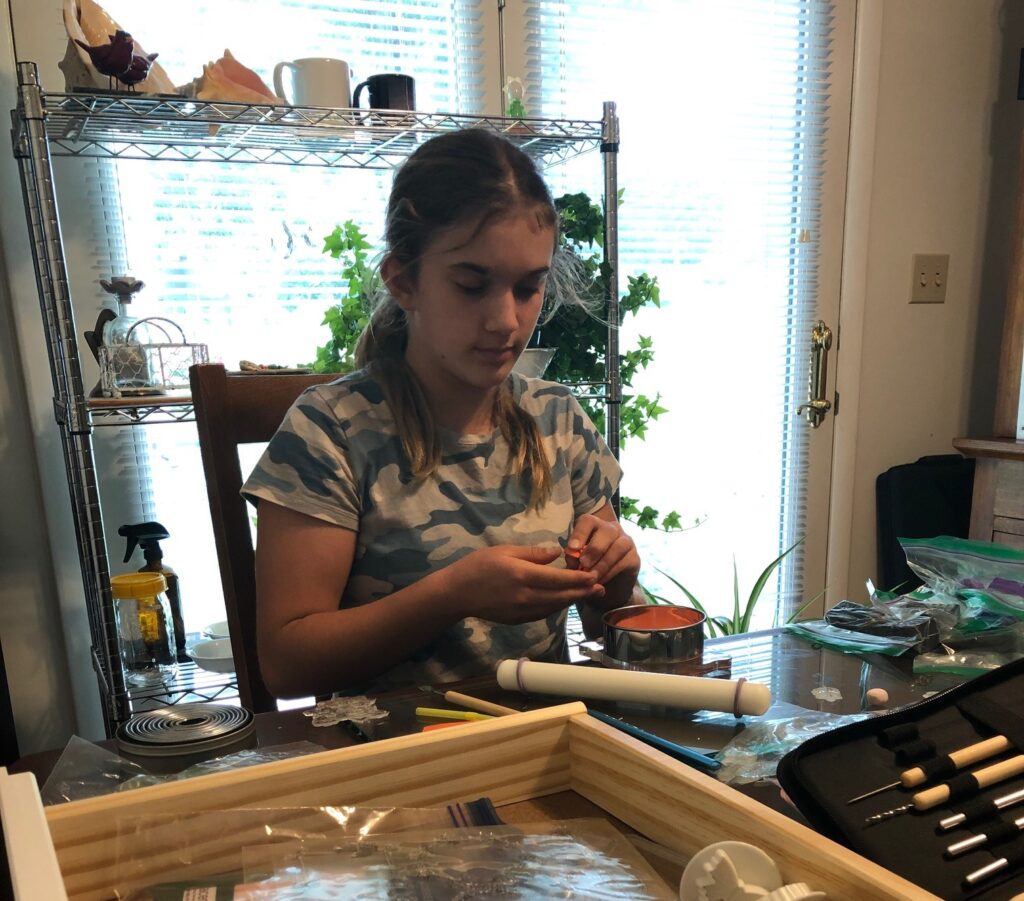
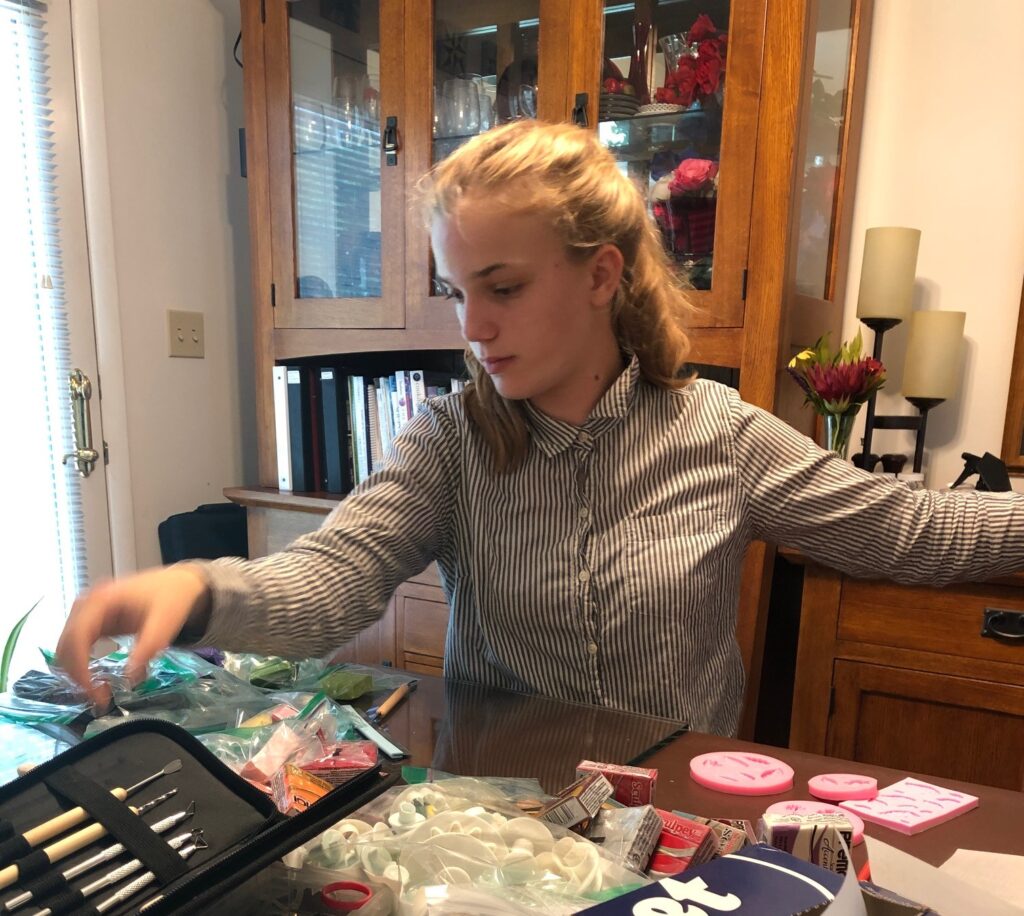
During the weekend, I let my granddaughters loose with my polymer clay. I think someday I might see their art creations at a festival someplace!
Sometimes the BEST festivals are with family! Enjoy your local festivals!
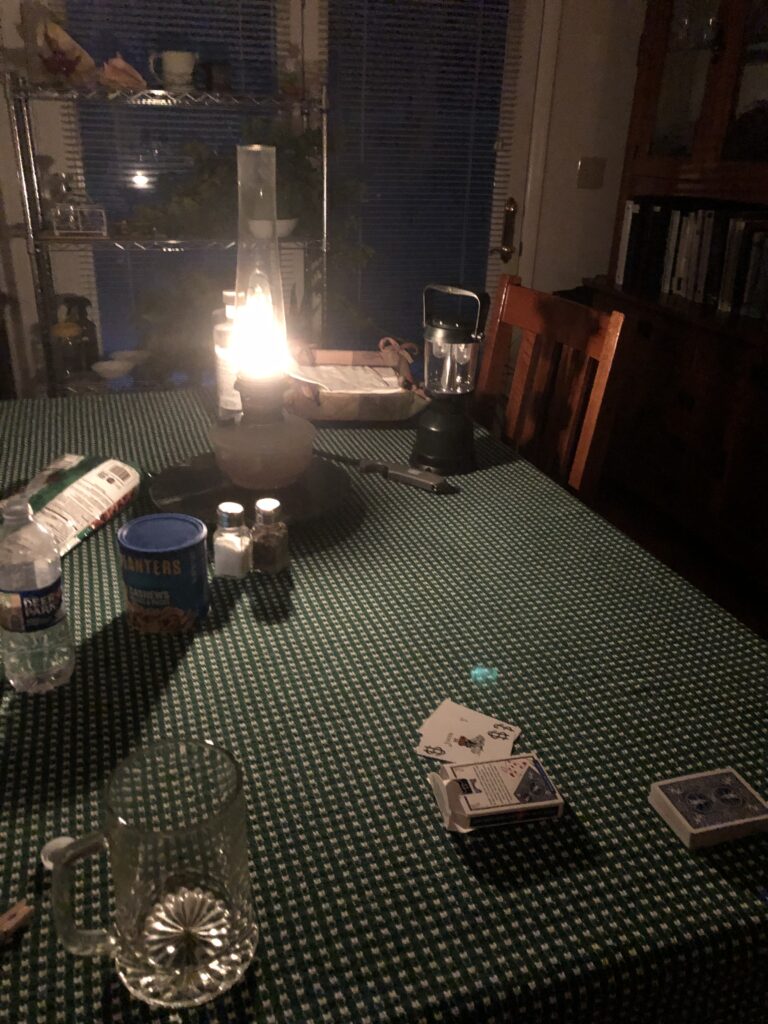
Things happen…or they don’t! A large thunderstorm rolled through the area last night (not related to the approaching hurricane from the South). Ted is visiting from California; Erin and the girls arrive this evening. Around 7 p.m. the power went out and apparently to about 4,000 homes around us. State College did not lose power. Since it was still somewhat light outside, we gathered a few flashlights and Bert found two oil lamps that were ready to go.
I think the clock says 9:20…when I got around to take a picture.
Bert plugged the small wired princess phone in that we save just for these occasions so we could call out if necessary. The land line still worked but the cordless phones would not when separated from their bases. Of course, our cell phones still worked.
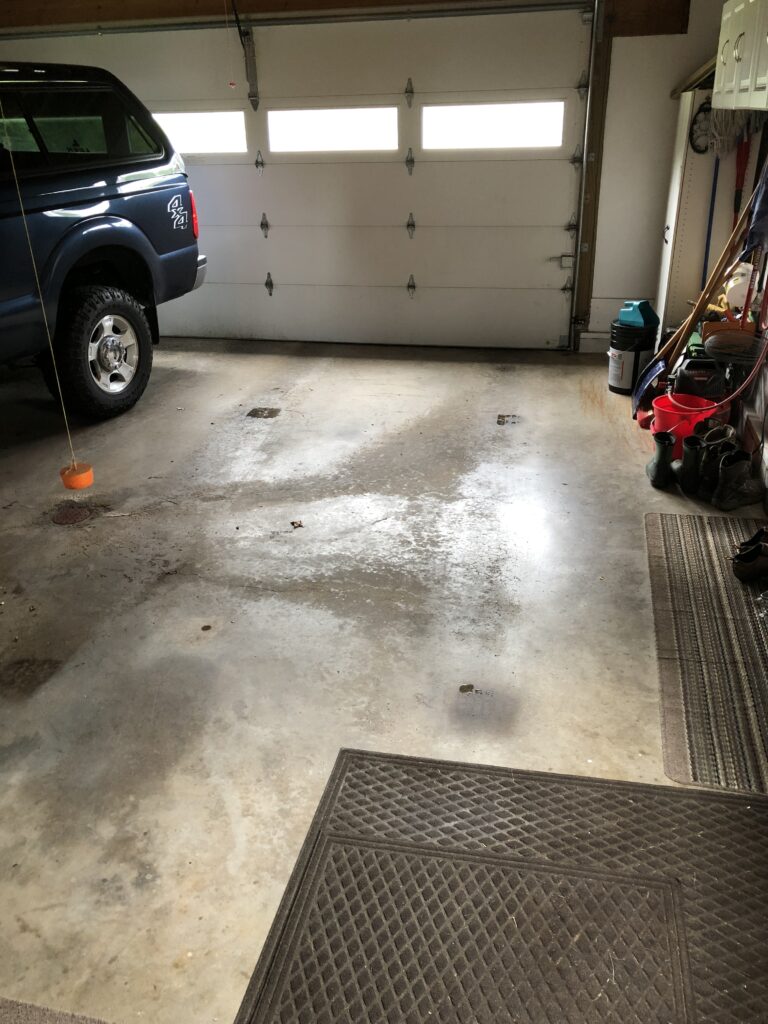
Ted was headed out to visit a friend in State College…and then we remembered the automatic garage door would not open without electricity. Undaunted, Bert and Ted manually lifted the door and Ted went off to visit.
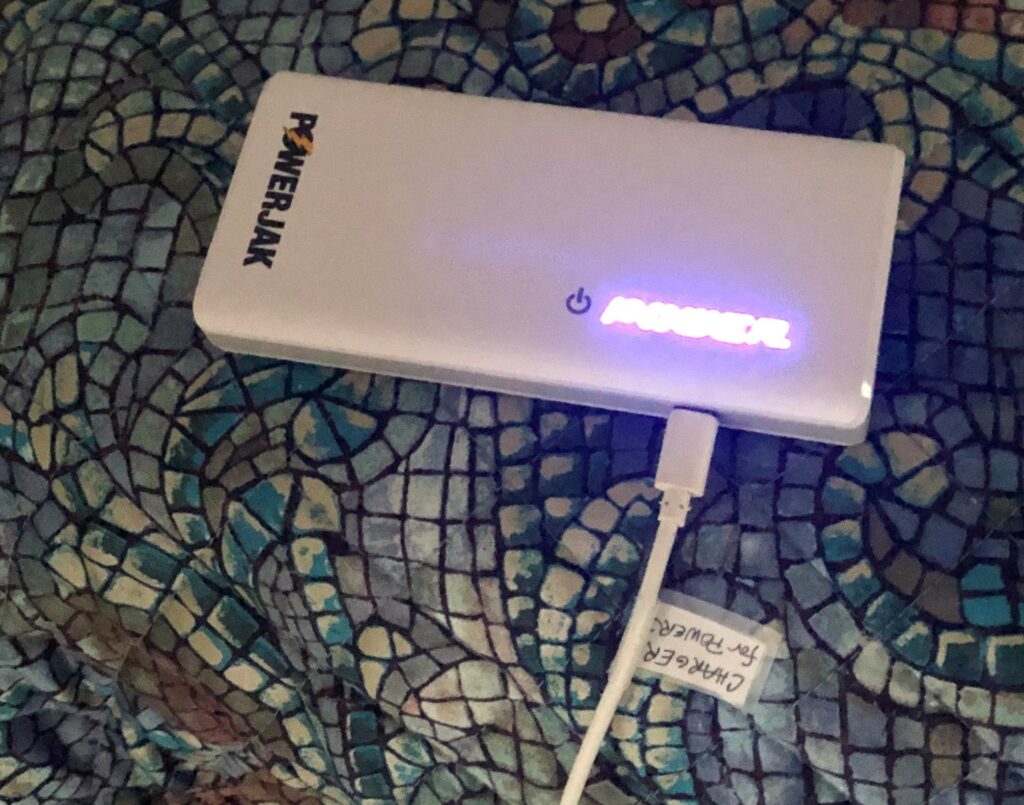
As it got dark, we found ourselves sitting at the dining room table where the Aladdin lamp was. Bert was able to play Solitare and with the help of my Powerjak, I charged my phone while I finished reading a book on Kindle. No problem. Luckily, the dinner dishes were done and no machines were running. We had turned the air conditioners off when the storm started because surges of energy are hard on them.
We had a nice evening. West Penn Power said the power could be back on by 10:30 p.m. so we stayed up for a while. It felt like we were at camp…with indoor plumbing!
I was reminded of all the women way back when who had to do their mending and quilting by lamplight. Carrying a flashlight from room to room I could see all the projects I could not do right then, from my sewing machine to the computer. Not enough light from the oil lamps to do my hand stitching for my old eyes either! How times have changed!
When we went to bed the power was still out. It was amazing how dark it was…no tiny lights from various electronics; no dusk-to-dawn lights shined across the yard; no light from the neighbors. However, a glow in the sky told us that State College still had electricity. Power came back on about 1:00 a.m. We got up to turn off lights and reset battery backups.
This morning, we found bits of debris from the trees littering the ground but the plants near the patio did just fine. It’s still raining, so I’ll wait a while to check out the garden on the hill.
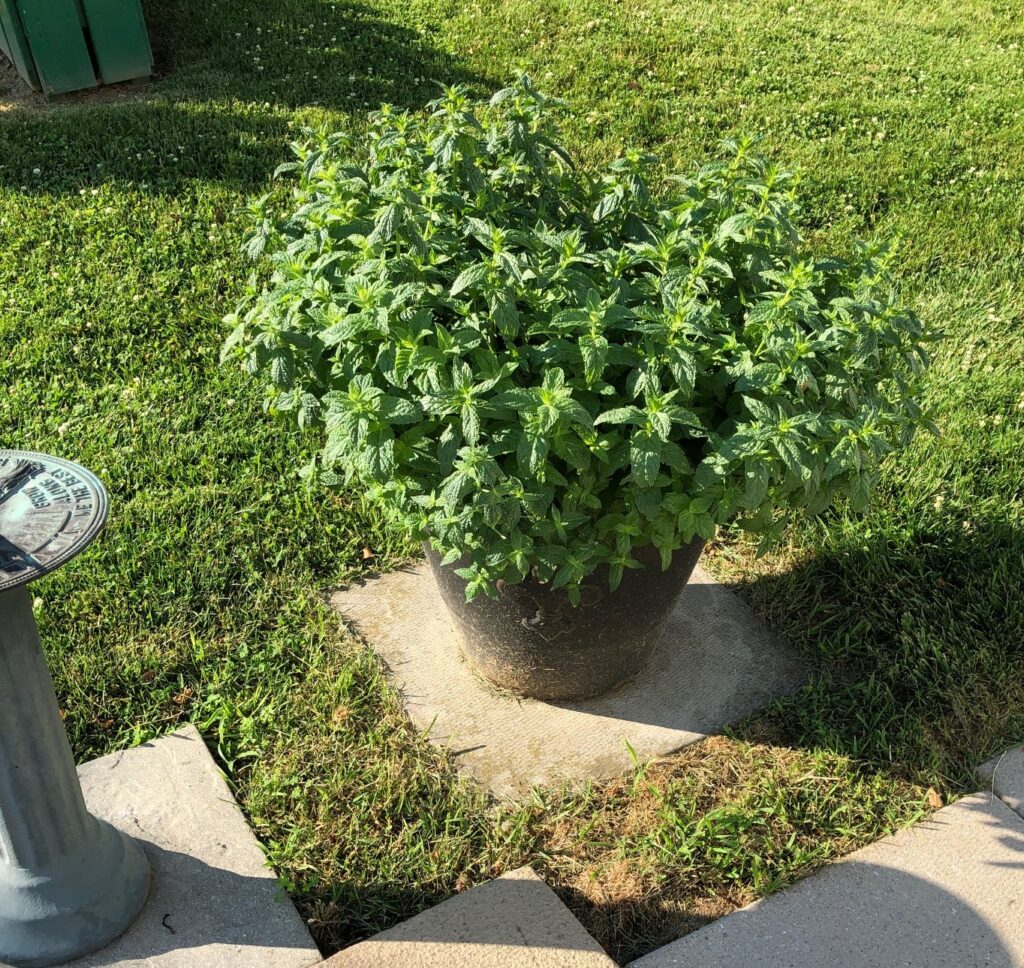
No big limbs down, just lots of leaves.The lettuce and radishes were fine.The Spearmint was a little beat down in the middle, but it is fine.
And of course, it was time to recharge my Powerjak…get it ready for the next time!
I’m expecting to hug the rest of Ted’s family later today. We have not seen them for two years due to Covid travel restrictions, so we’re ready for some hugs! Enjoy your day!
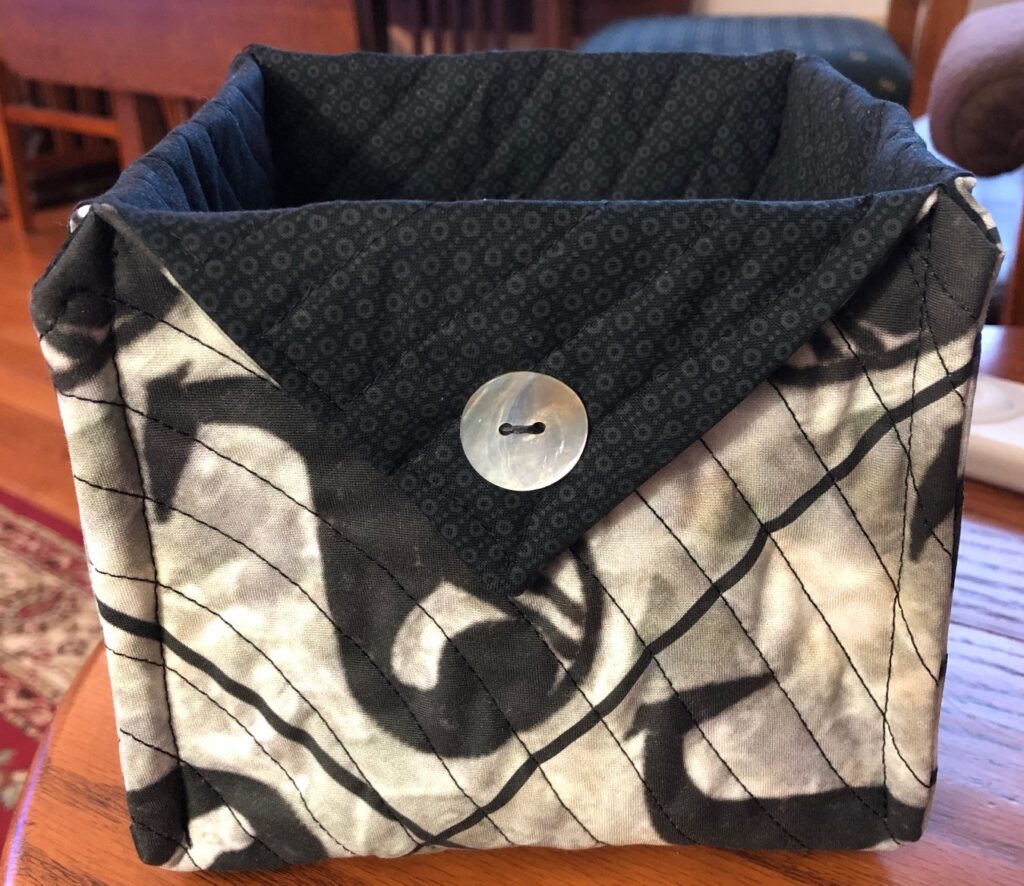
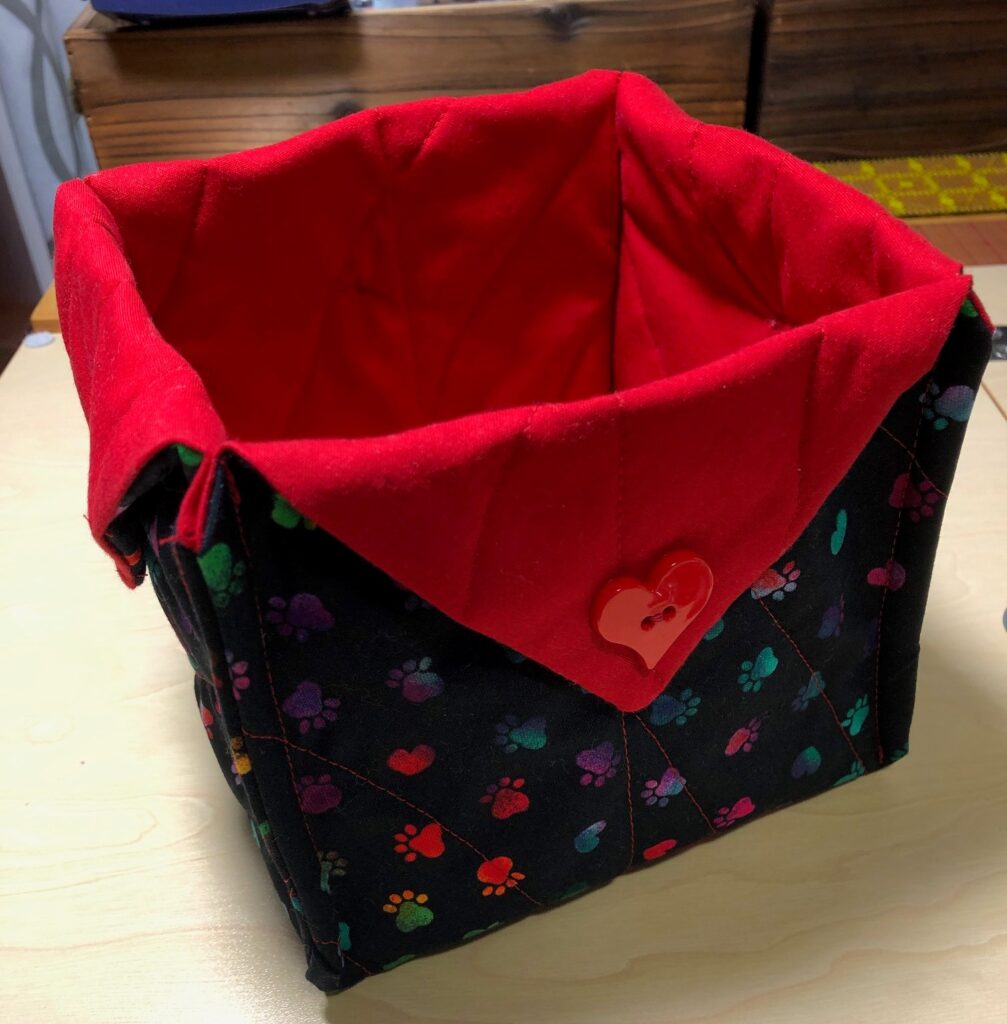
Last week I was brainstorming a nice way to package up three odd shaped items to use as a gift. I didn’t want to have to stock up on small wicker baskets to do the job. My daughter suggested I make a fabric box like the ones I gave to the grandkids. That way I could make one at a time as I needed them. At the time I cranked out a whole bunch of them for gifts and for a greyhound conference and I still have a few around the house.
Luckily, I saved the link to the tutorial, because frankly, I couldn’t remember how to make them! The original instructions are from a website by Connie Kresin Campbell. Here is the link to the tutorial:
What I do recall about these boxes was they perfectly held a square box of tissues but they were not sturdy enough to really pick them up without squishing them. However, they could be made in any appropriate fabric for most any holiday.
I wanted to refresh my memory about how to make them so I referred to the link above. I documented my steps here, but they do mirror the ones in the tutorial from Connie.
How to Make a Fabric Box
Materials:
Two 16″ squares of coordinating fabric, one will be the outside of the box, the other the lining.
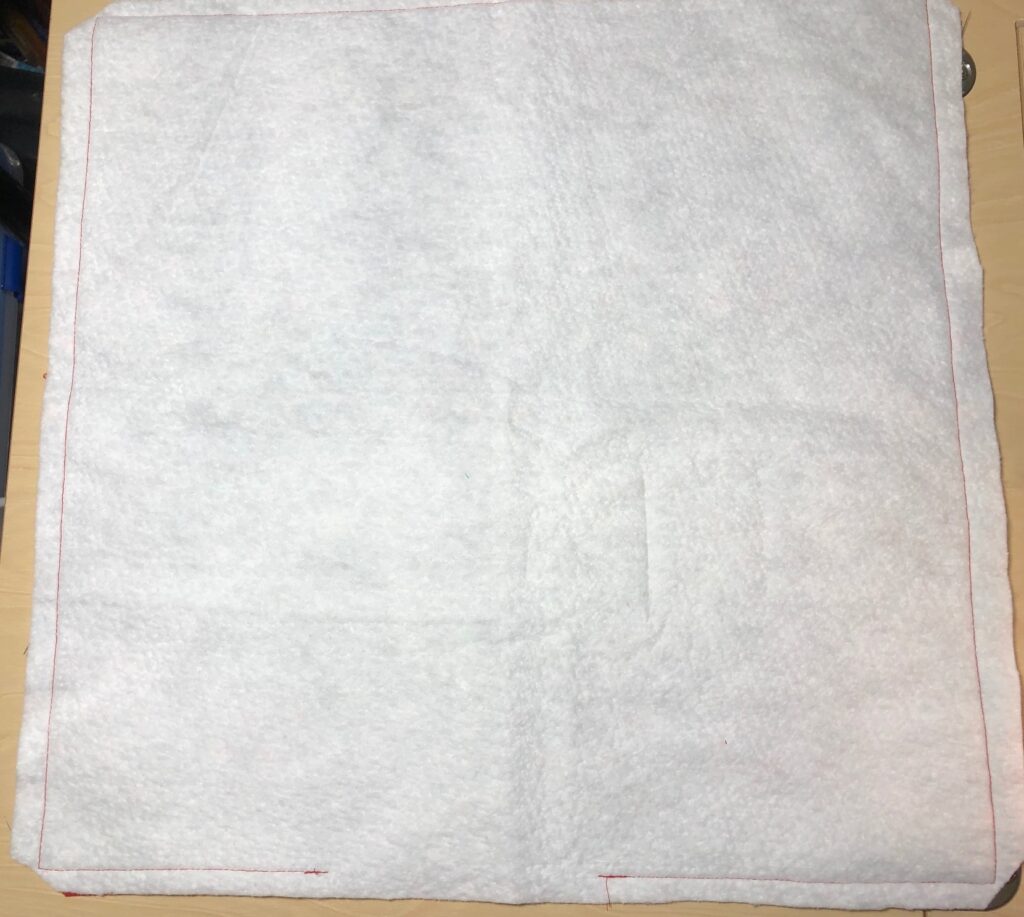
One 16″ square of lightweight low loft batting
4 buttons
Instructions:
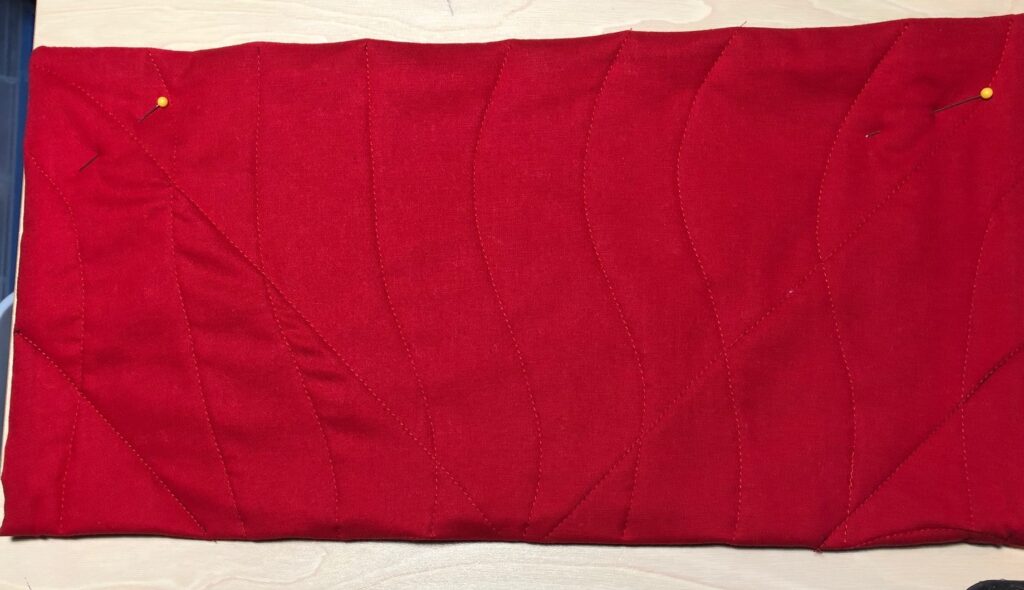
Sandwich the fabric, right sides together, on top of the batting square.
Stitch around the “sandwich” with a 1/2″ seam, leaving a 3-4″ opening to turn.
Trim the corners to reduce bulk.
4. Turn the “sandwich” right side out. Press the finished square. Hand or machine stitch the opening closed.
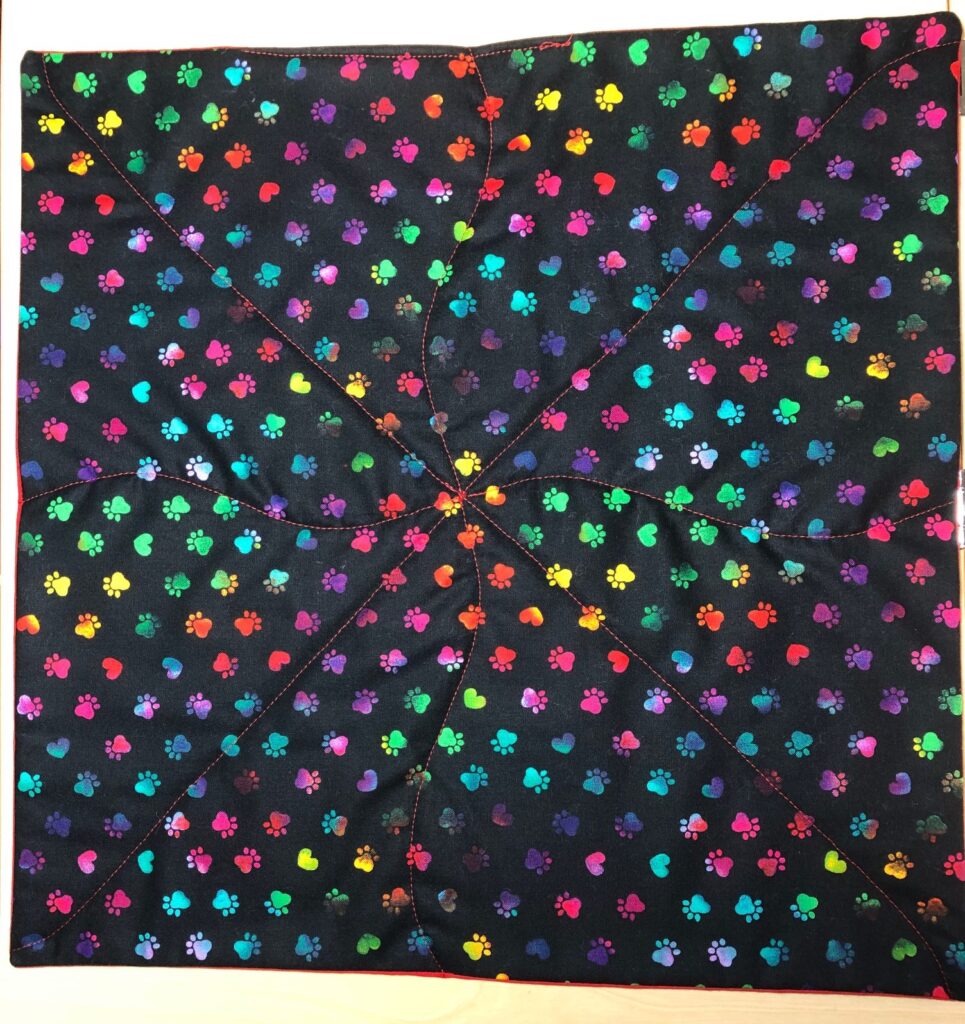
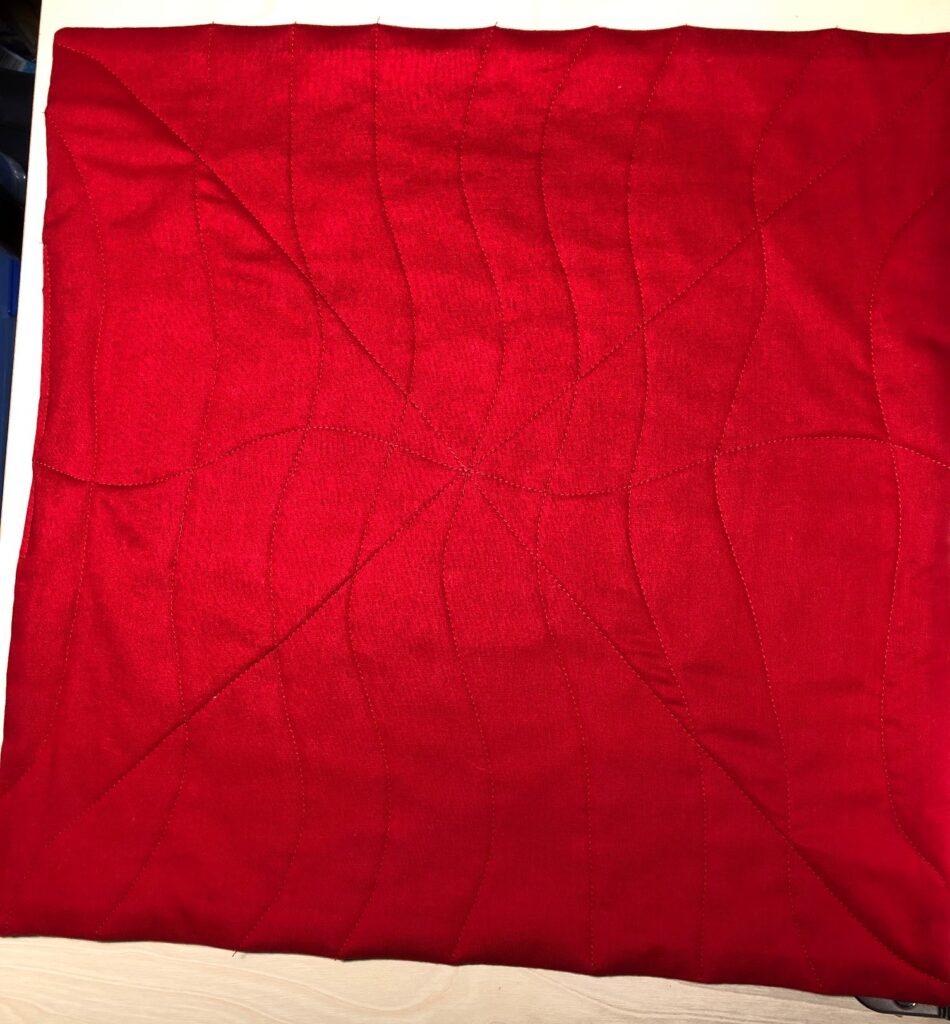
5. Quilt the square in any pattern you like…free motion, straight lines, wavy lines, etc. (Hint: Unless the fabric is quite stiff, the fabric will “creep” as you sew. I started all my stitching from the center to reduce this problem. I also started with two diagonal rows of stitching to stabilize it.)
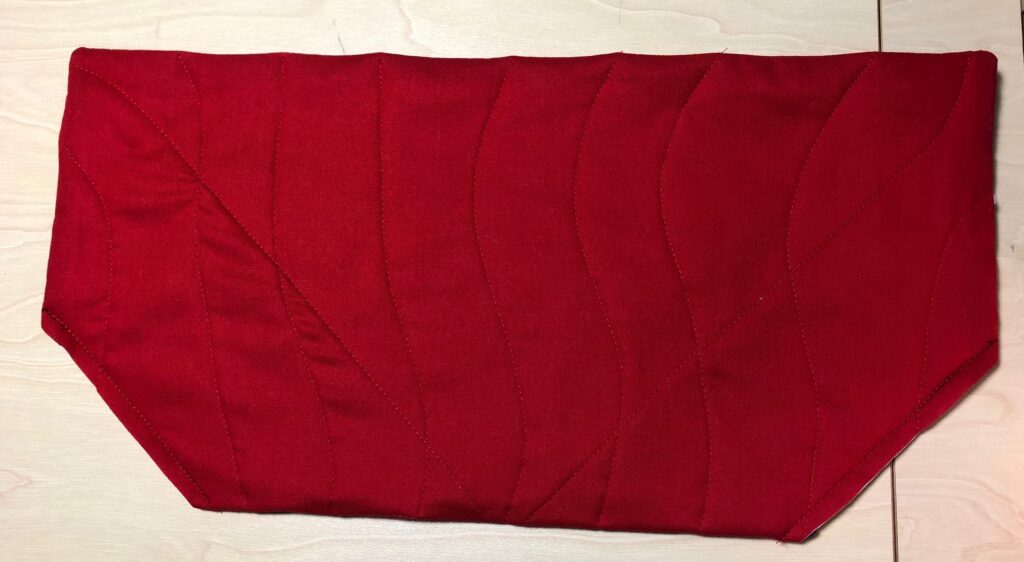
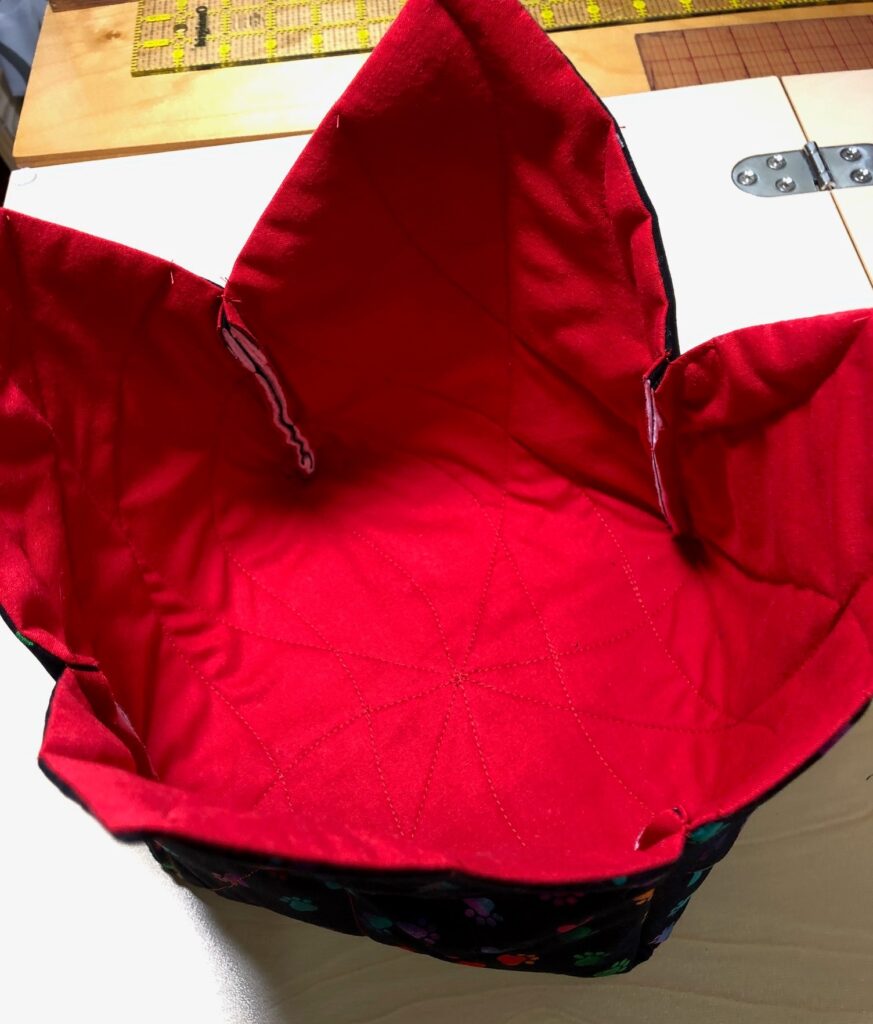
6. Decide which side will be the outside of the box. Fold the square in half with the lining out.
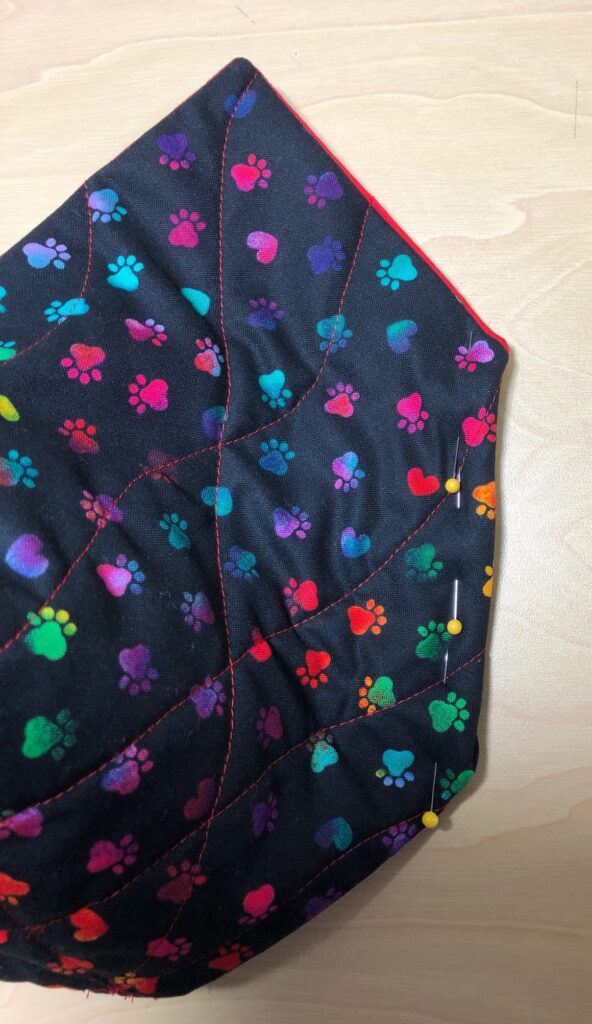
7. Mark the corners 3″ by 3″ with a ruler and pen. Stitch on the lines. Trim close to the stitching.
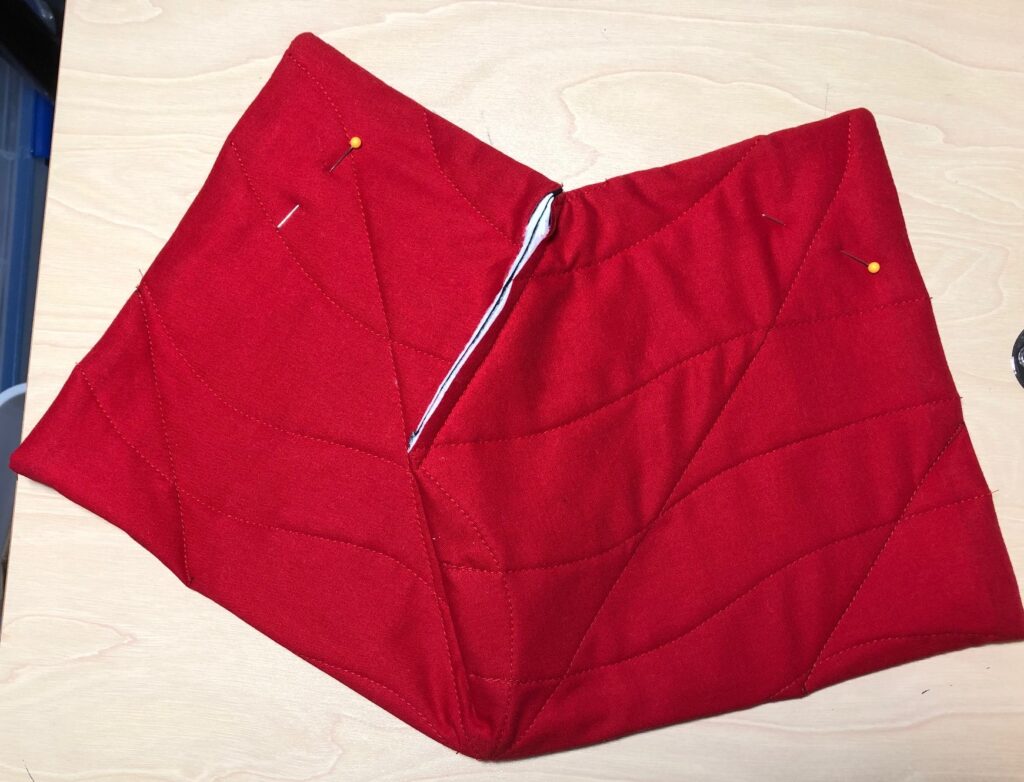
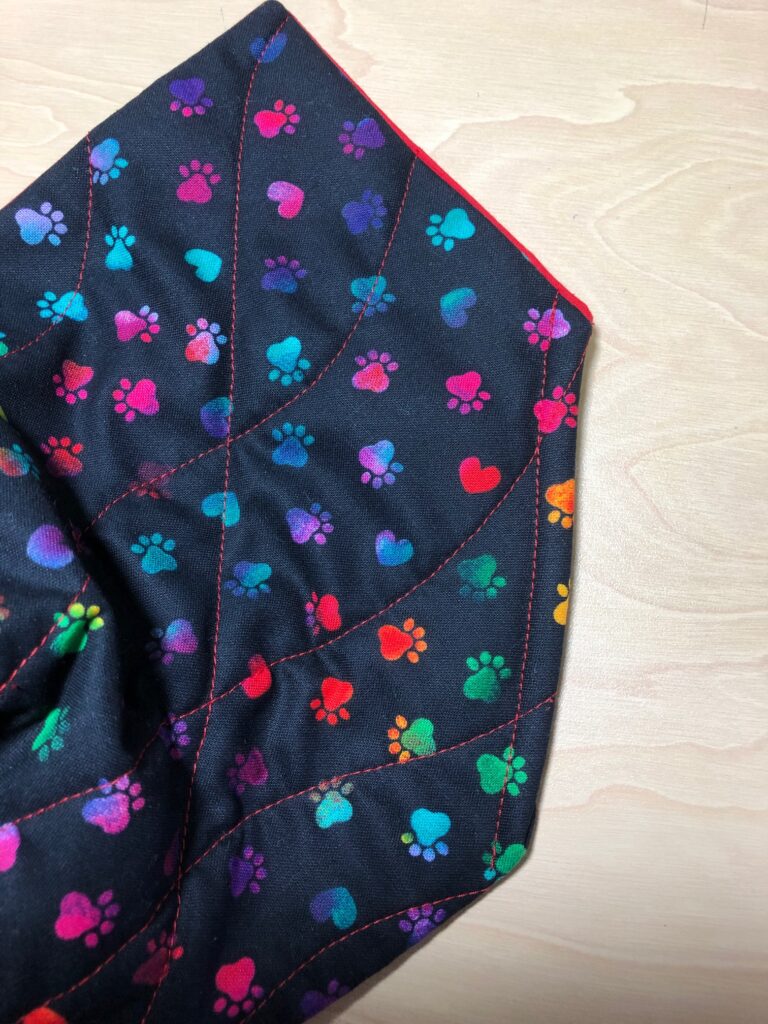
8. Open the square and fold again in the opposite direction. Mark the corners, stitch and trim as before.
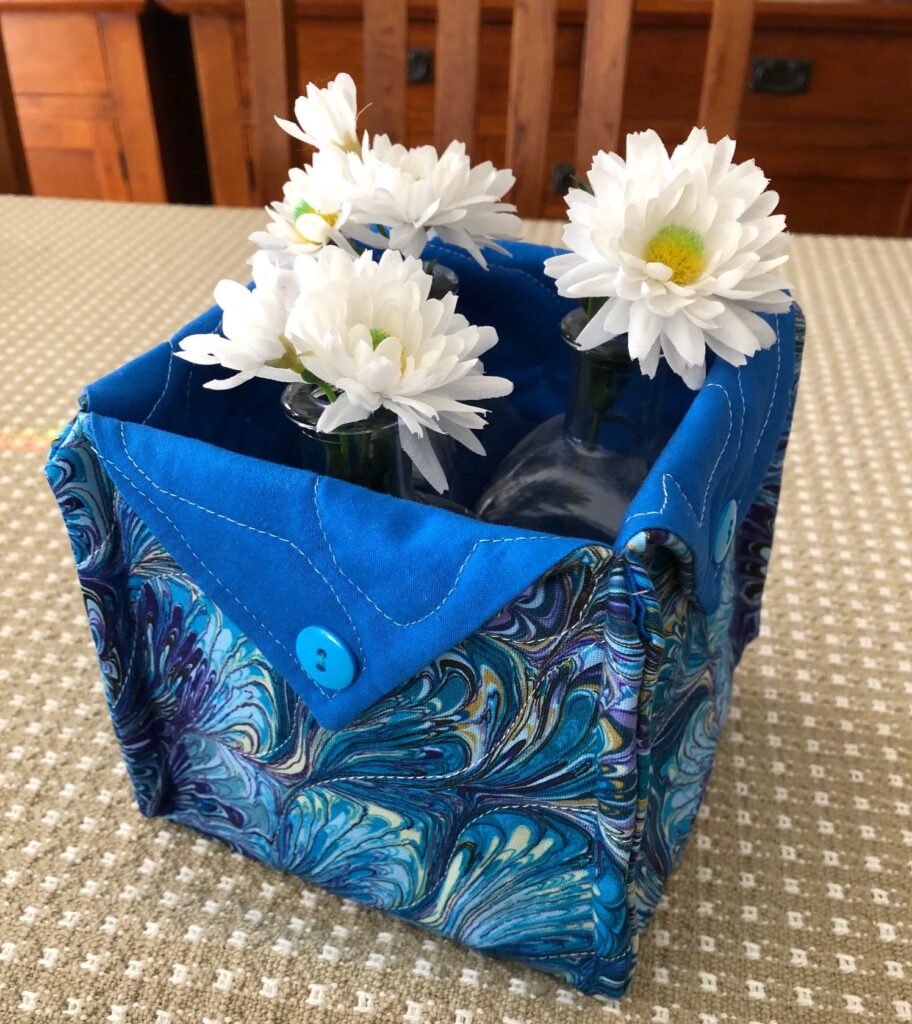
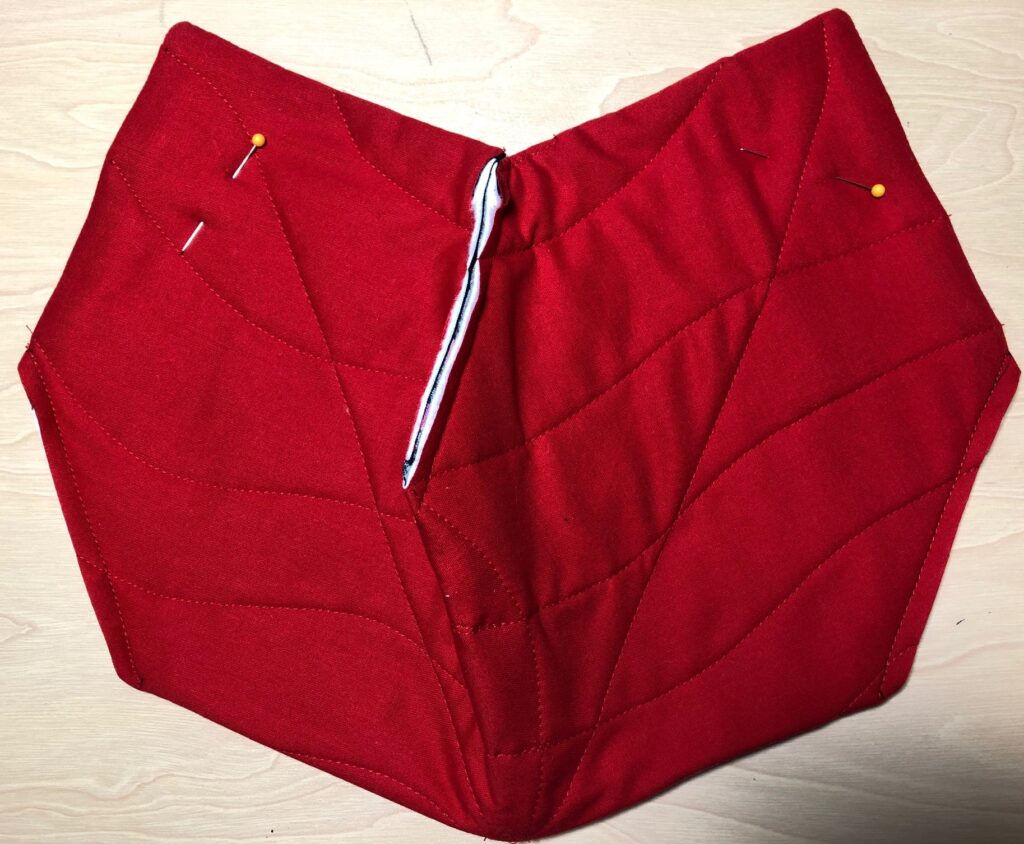
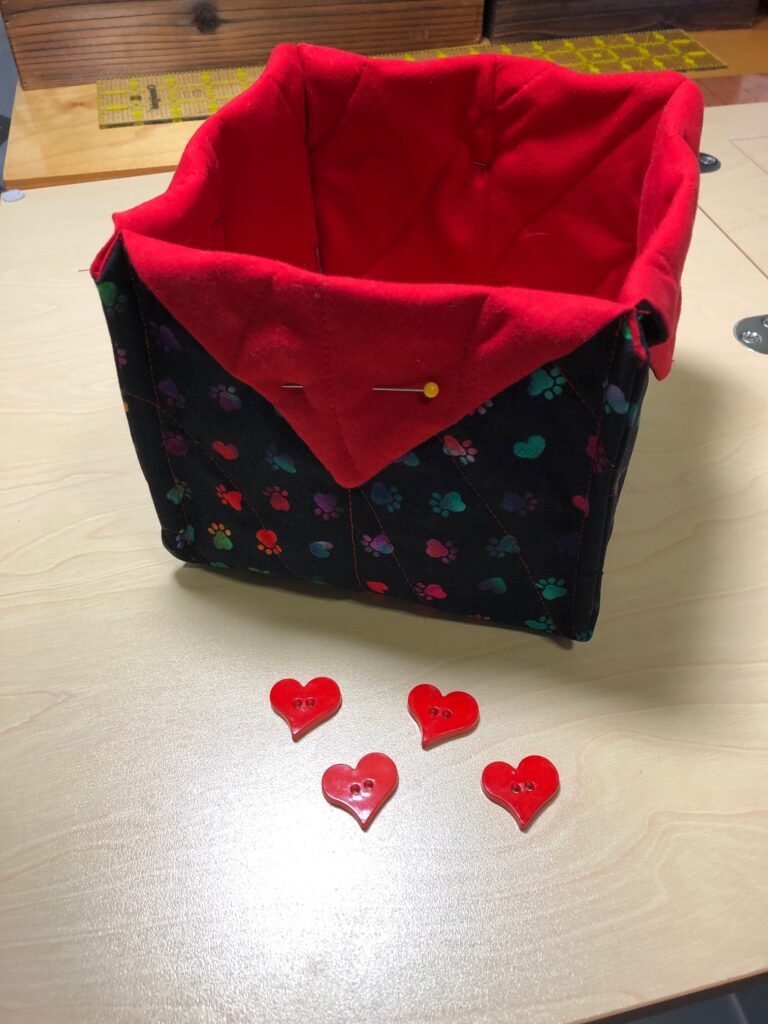
9. Turn the box right sides out. Pinch each corner flat and top stitch as shown below:
10. Fold down the points and add a button to secure them.
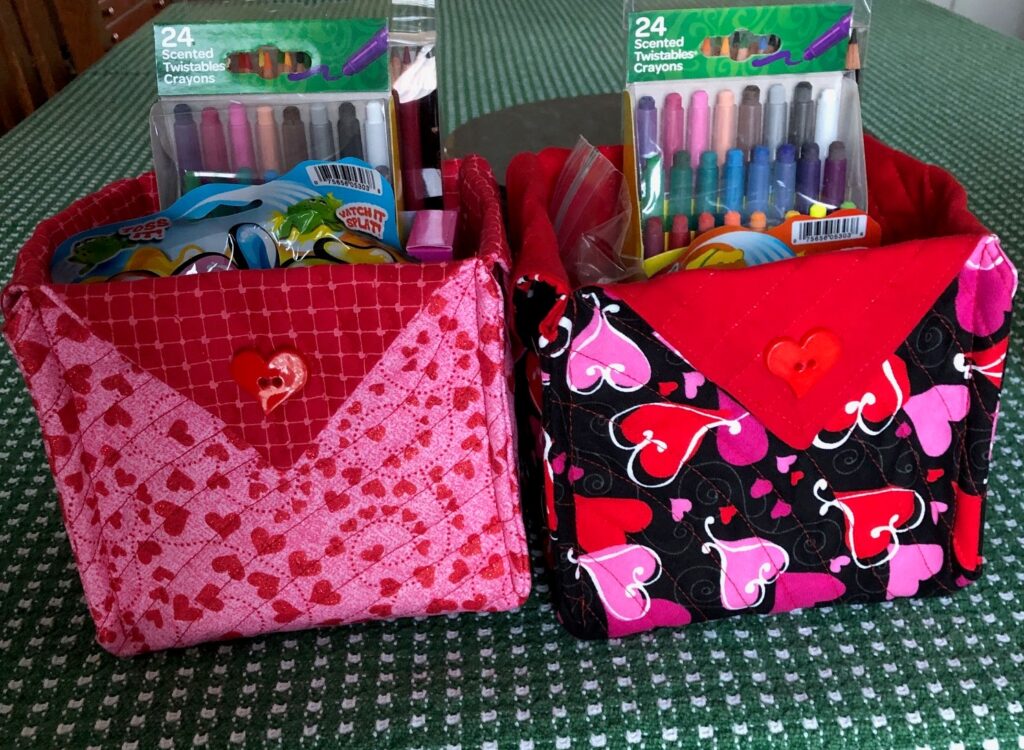
I had three items that I wanted to put in this box. They are lumpy and the basket is hard to pick up.
I think I will have to figure out how to shrink wrap them like a gift basket so they are easier to pick up, or I’ll have to put a handle on the fabric box and add a piece of stiff cardboard inside on the bottom of the box.
I’ll be glad to hear any suggestions you might have! Anyway, now I’m clearer about how to make these boxes…and you can try it too! Enjoy!
I always have winter vegetable soup in mind when I’m planning my summer garden. Eating fresh produce is wonderful, but in Pennsylvania if we depended on our small garden for everything, we would be pretty hungry this time of the year. Lots of tiny green beans and hard green tomatoes, but that’s about it. Even with local farmers’ markets, most of us are limited by our frost dates. Yes, there are some folks with greenhouses, high tunnels and cold frames, but if you look at where much of the produce at our grocery stores is shipped from, you’ll notice locations and countries across the globe.
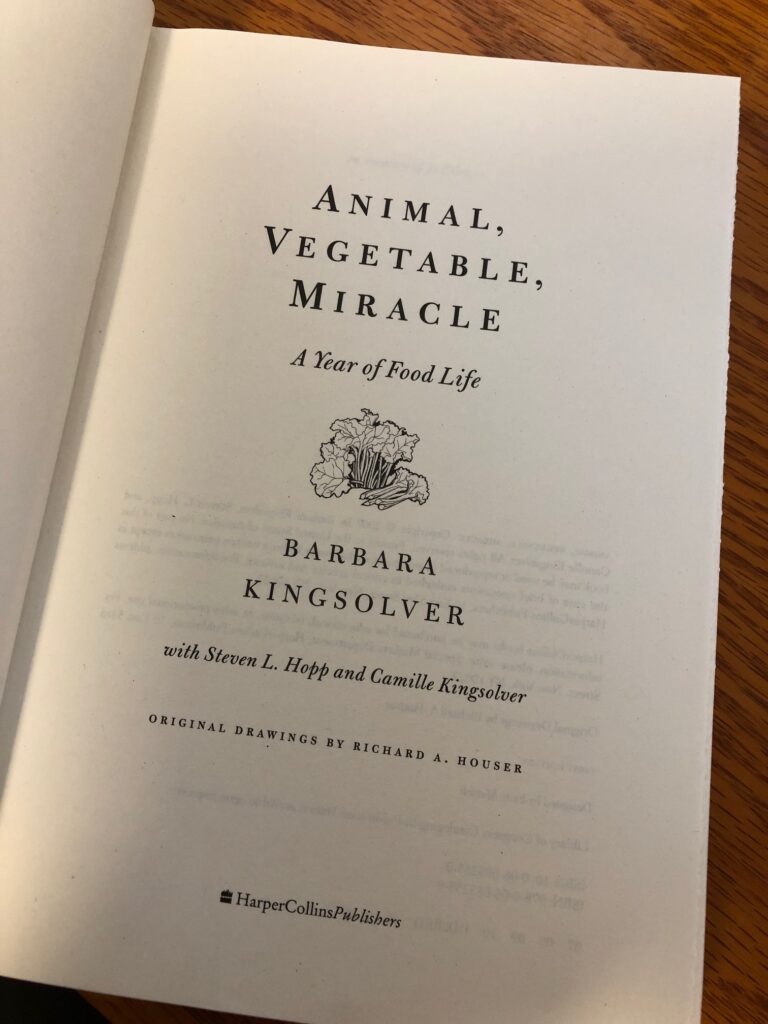
One of the books I re-read every spring for inspiration is by Barbara Kingsolver, titled Animal, Vegetable, Miracle: A Year of Food Life, (2007).
This is a non-fictional account of her family as they move from Arizona to a family farm property in Virginia. She documented their efforts to eat only what could be grown in their local area, beginning with asparagus in the early spring through the next spring, using foods they had grown and preserved. This account is a good reminder of how many of our families had to survive before foods were transported from far off lands. It was a very dedicated family project!
To me this was an incredible effort to show how it can be done by adjusting our daily recipes to use local foods and finding ways to preserve the foods we do grow so we can use them in the winter, spring and early summer.
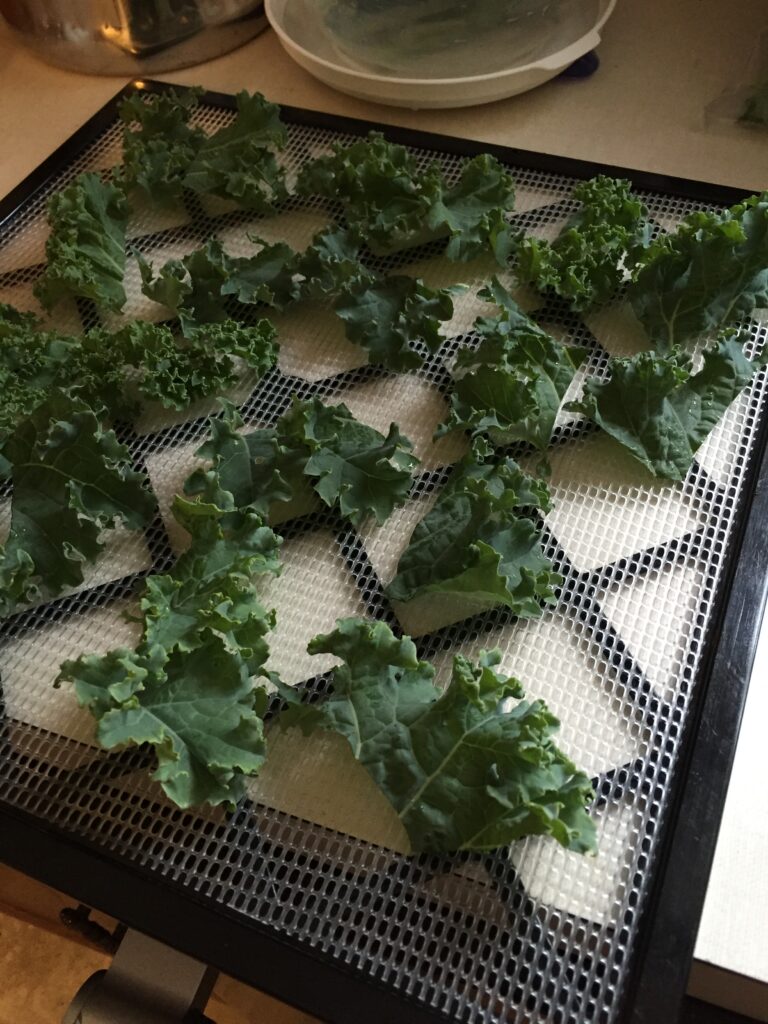
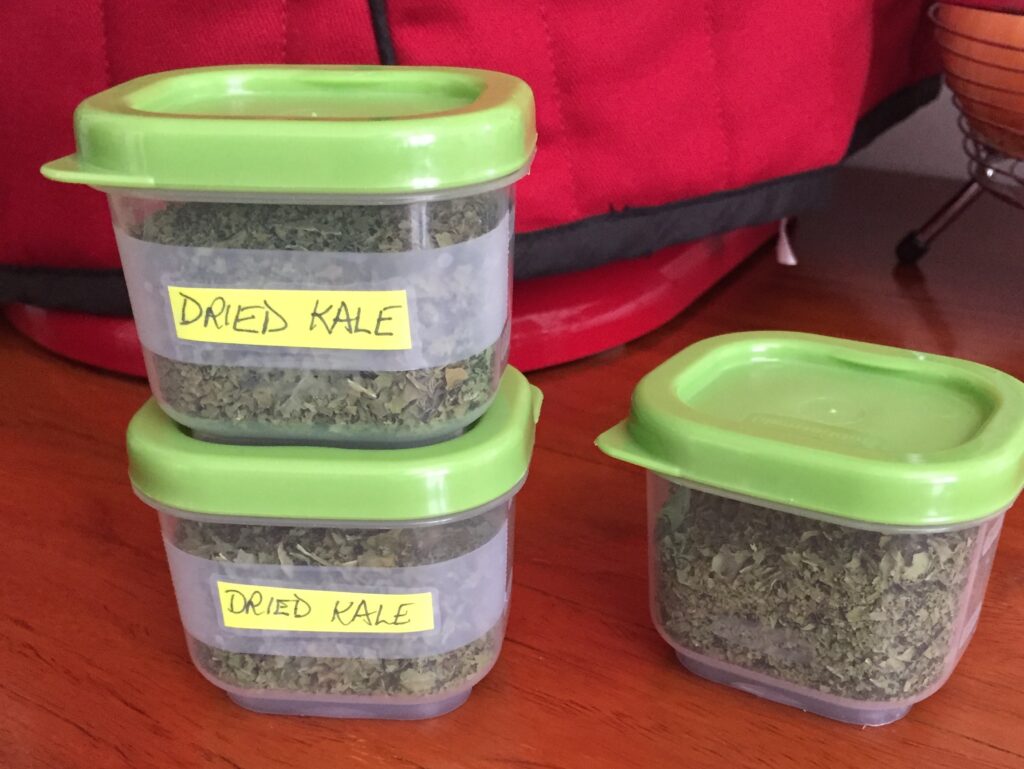
I have no interest in trying to duplicate their year-long project, but I am inspired to find ways to preserve the foods we do grow so they are available in the winter. I have grown basil, parsley, thyme and oregano in the past. I still have little jars of dried parsley, thyme and oregano in the cupboard. I needed more basil flakes, so I made sure I had some in the garden this year. Last year I dehydrated kale just for fun. That made a nice addition to vegetable also.
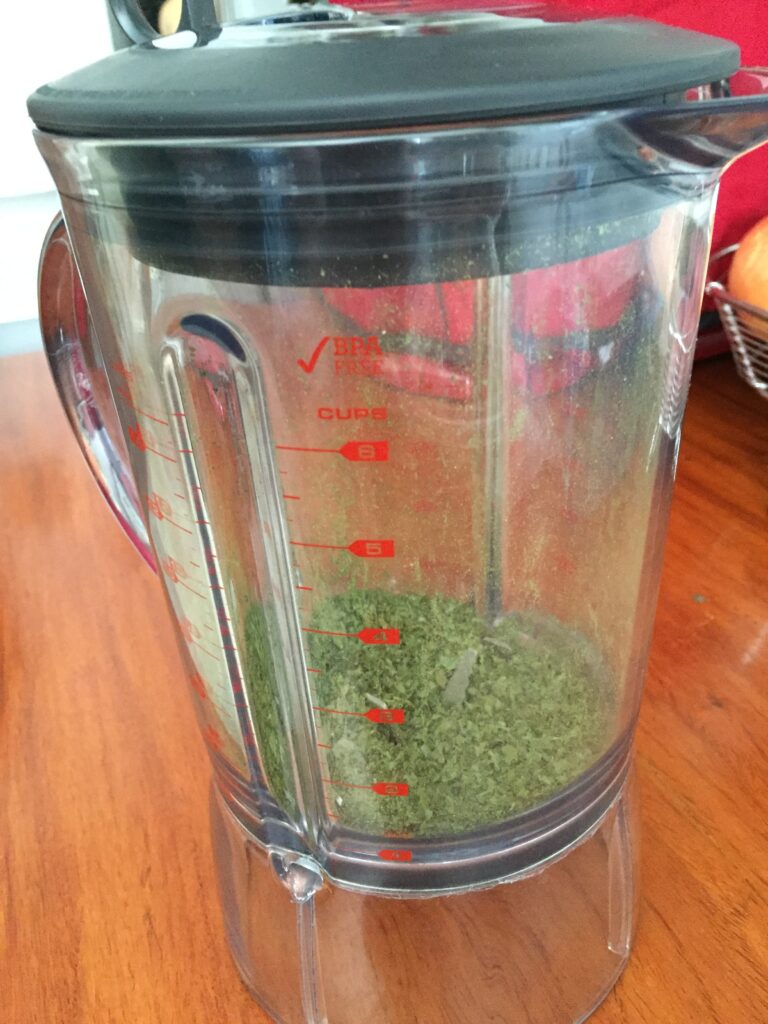
A quick buzz in the blender made kale flakes to add to soup!
Our tomatoes will be cut up, cooked enough to soften them and canned or frozen to be added to soup or made into spaghetti sauce. (Sorry…no pictures of canned tomatoes…all gone! It will be several months before I have any ripe tomatoes.)
No ripe tomatoes yet!
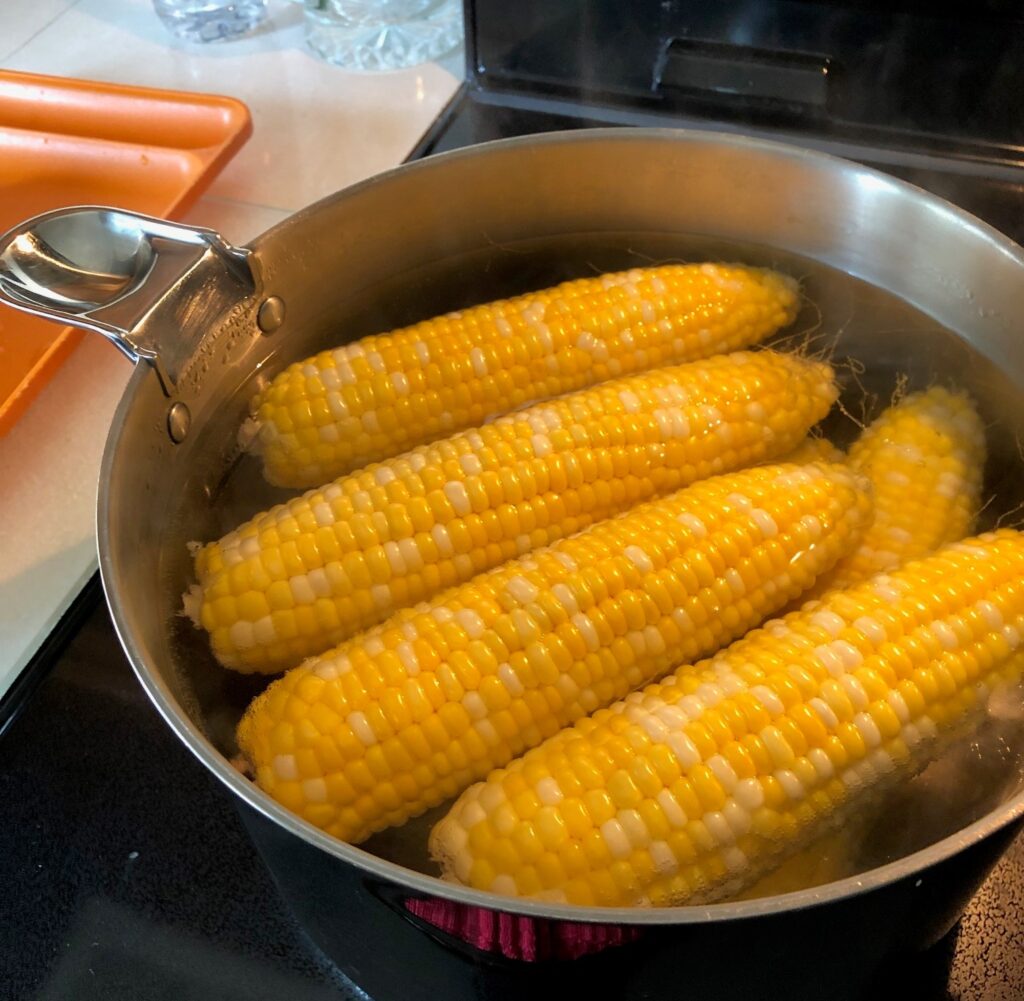
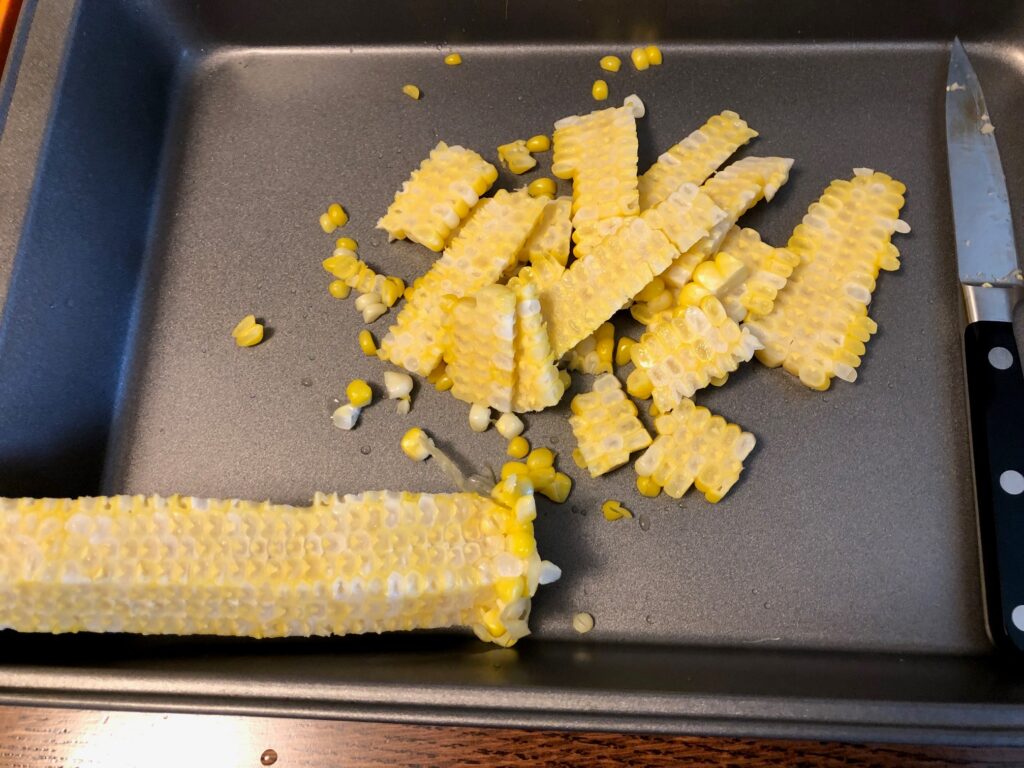
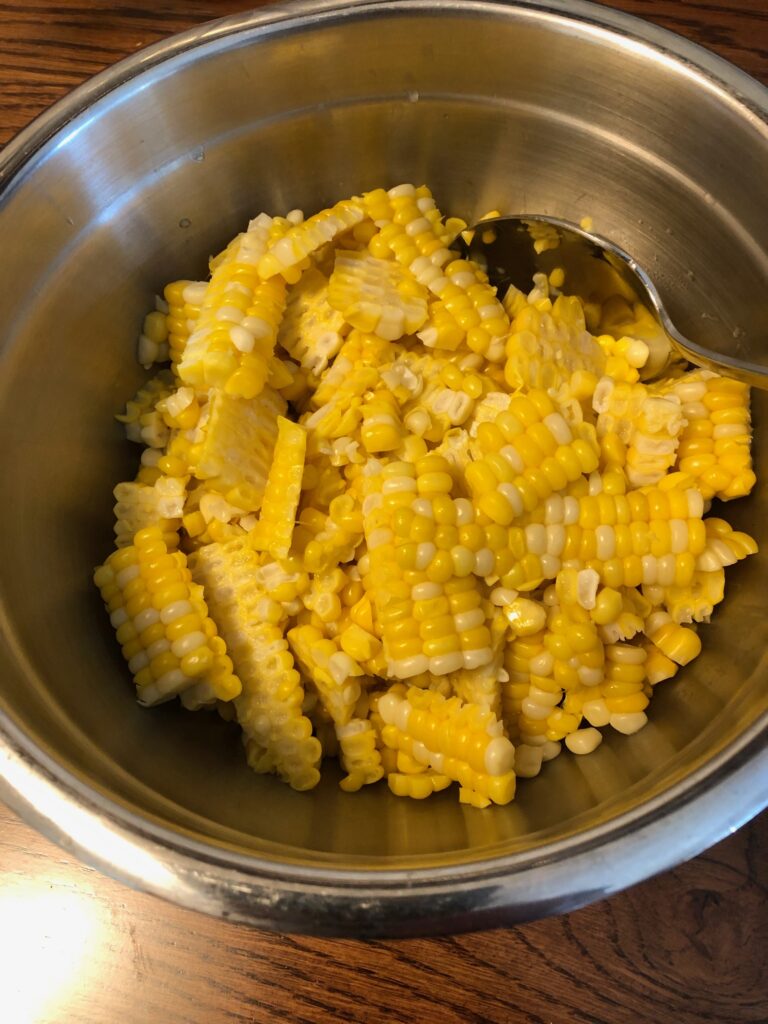
We did not grow corn this year, but we will eat it in season when it’s available at the farmers’ market. We’ll cook a little more than we eat each time, cut it off the cobs and freeze or dehydrate it. At the end of the season, I can pick up a bushel of corn and do a marathon of dehydrating!
This early corn…from someplace else…was not very sweet but will work in soup this winter!
We will eat green beans fresh and the extra is snapped, blanched and dehydrated. They will take up so much less room than frozen!
No meals from beans yet!
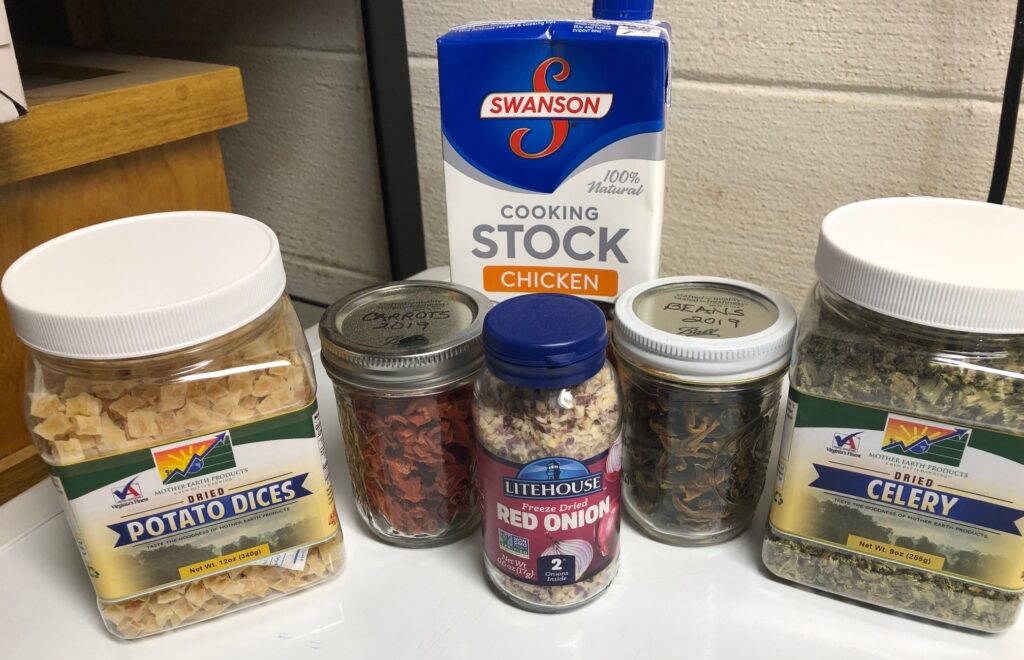
I always try to have dehydrated onions and celery available. They are easy to store and fill in if the celery that has been shipped from California or Mexico doesn’t look good.
And of course, stock! There is usually canned stock or broth in the grocery store, but if I have it in the freezer, I prefer that. When I cook a chicken, I always try to make my own stock. Canning is worth it if I have a huge batch. Otherwise, it goes into the freezer. Check out how to make chicken stock in an earlier post from May 20, 2021.
As you know, vegetable soup is pretty flexible. After dried vegetables have simmered a while in the broth to reconstitute, I check the refrigerator to see what other vegetables or meat could be added. Adding fresh carrots, onions or potatoes is easy.
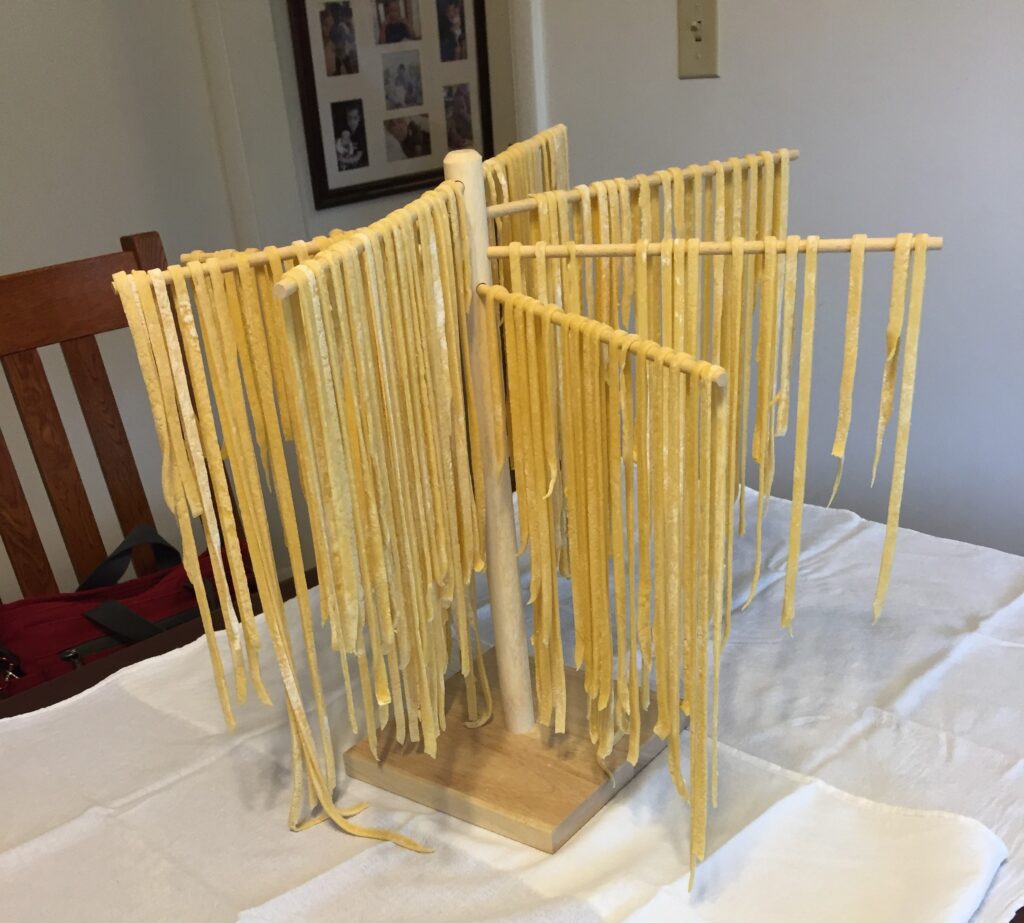
If the weather is miserable outside, there’s nothing like taking time to make a batch of soup noodles! That was always fun when the kids were little. Bert has memories of making noodles with his Grandmother…there was no other choice but to make them yourself! I have not made noodles since I discovered I couldn’t eat eggs, so I’ll have to find a different recipe!
I always feel like I’m the Ant in the fable of the Ant and the Grasshopper. It gives me such satisfaction to know I could pull a hearty soup together from just what I have in the house. Give it a try with the resources you have! Enjoy!
By this time in the garden…about 5 weeks after planting everything…we are seeing some successes and some failures. Frustrating, but totally expected. Between the weather and the bugs, it is almost guaranteed that some plants do very well and others don’t. Things can change even in few days. Ahh, the adventure of gardening! Thank goodness for the Farmers’ Market and even the produce in the grocery store.
It has been 15 days since our last measurable rain. We’ve had some dark and cloudy days, a little sprinkle now and then. We know this because Bert has tracked our rainfall for over 20 years, every day from March 1 to November 30. Our rain gauge measures to the 100th of an inch. Remember, Bert’s an engineer!
We’re grateful for the rain barrels to keep everything watered.
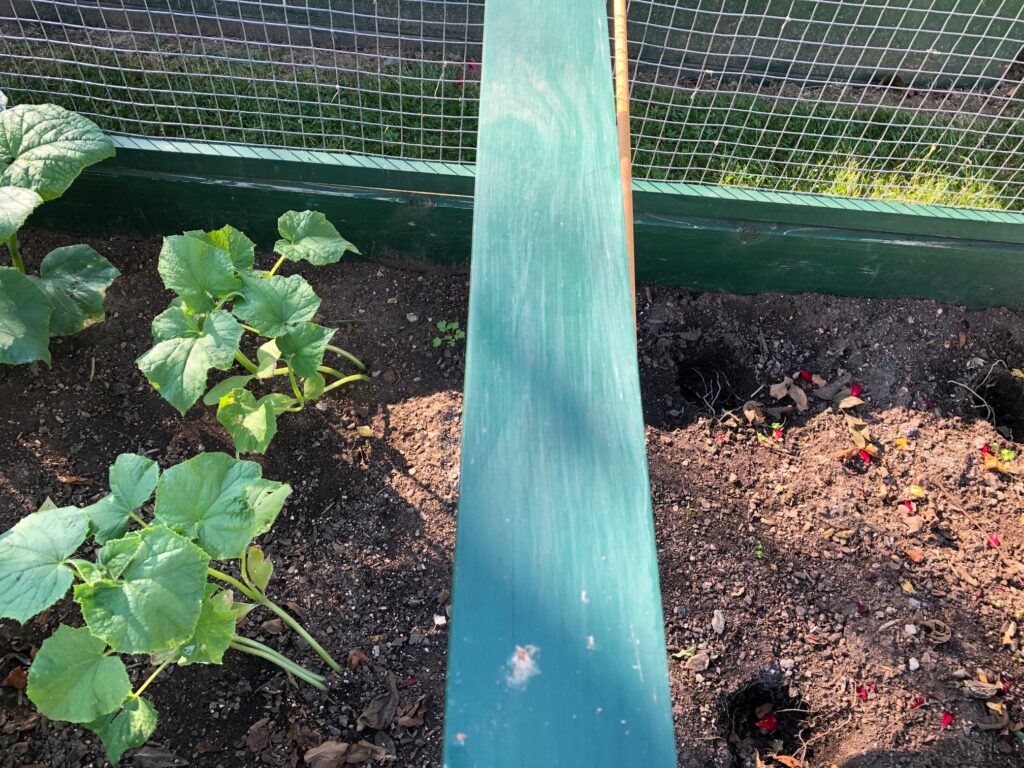
Two weeks ago, the cucumber plants that Bert started indoors back in April were doing very well.
Two weeks ago, these were the cucumber plants.
Over the last few days, I even found 4 small cucumbers that I ate immediately! Yummy! Yesterday the plants were wilting and even with watering they did not perk up. Absolutely dead! With a little online research, Bert found that the culprit was probably a bacteria in the soil. That particular raised garden has had the same problem over the years…first with strawberries and last year with cucumbers. Looks like we need to try to find seeds/plants that are resistant to that issue, or at least plant something else there. Anyway, Bert pulled out the dead plants.
Now we’re left with the plants that we planted directly in the garden from seed. So far, they are doing well but I’m not optimistic that I’ll get any cucumbers! We’ll see.
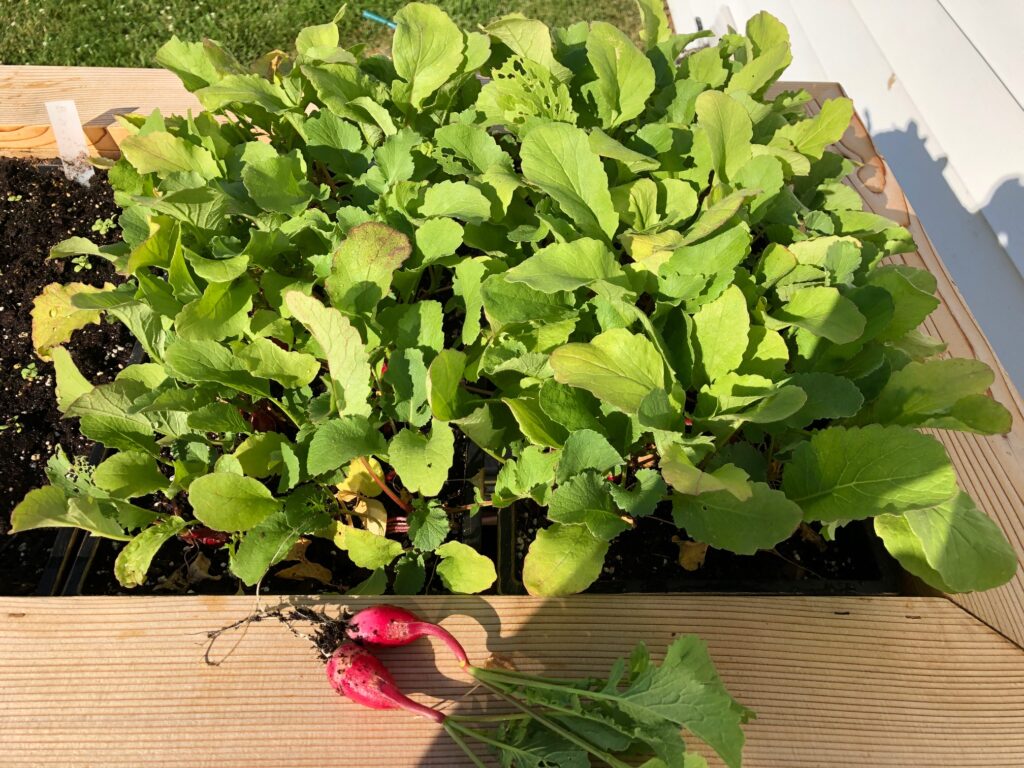
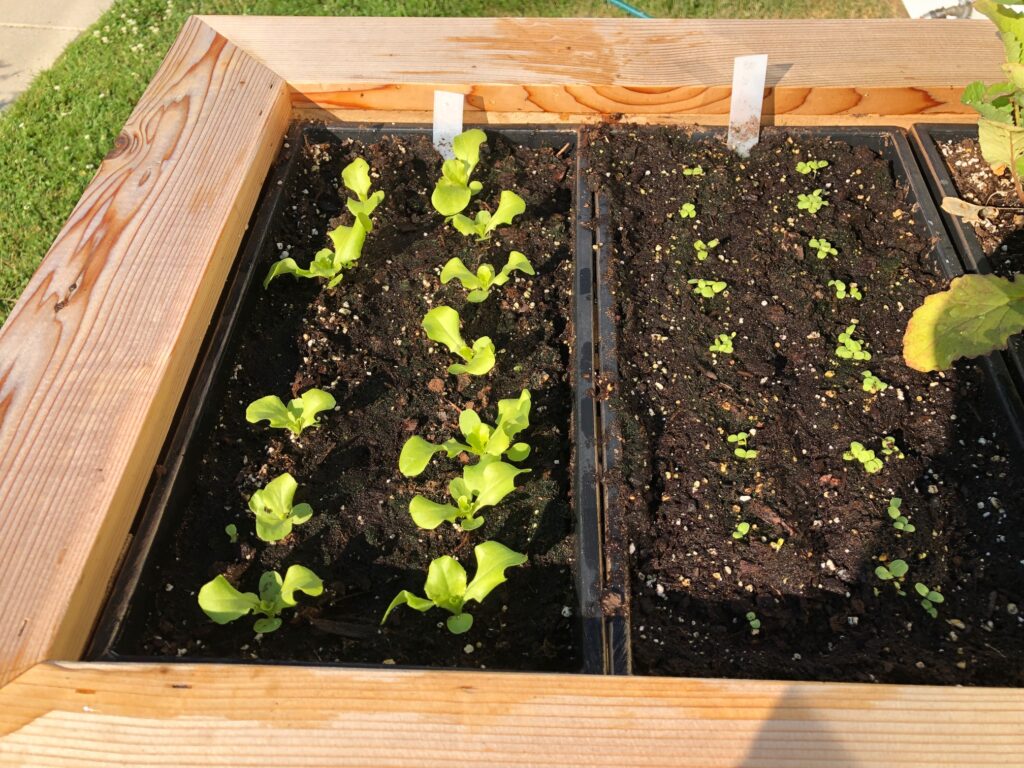
Now how about the rest of the garden! My raised planter is doing well. My second batch of radishes are almost ready and the lettuce has been picked and replanted.
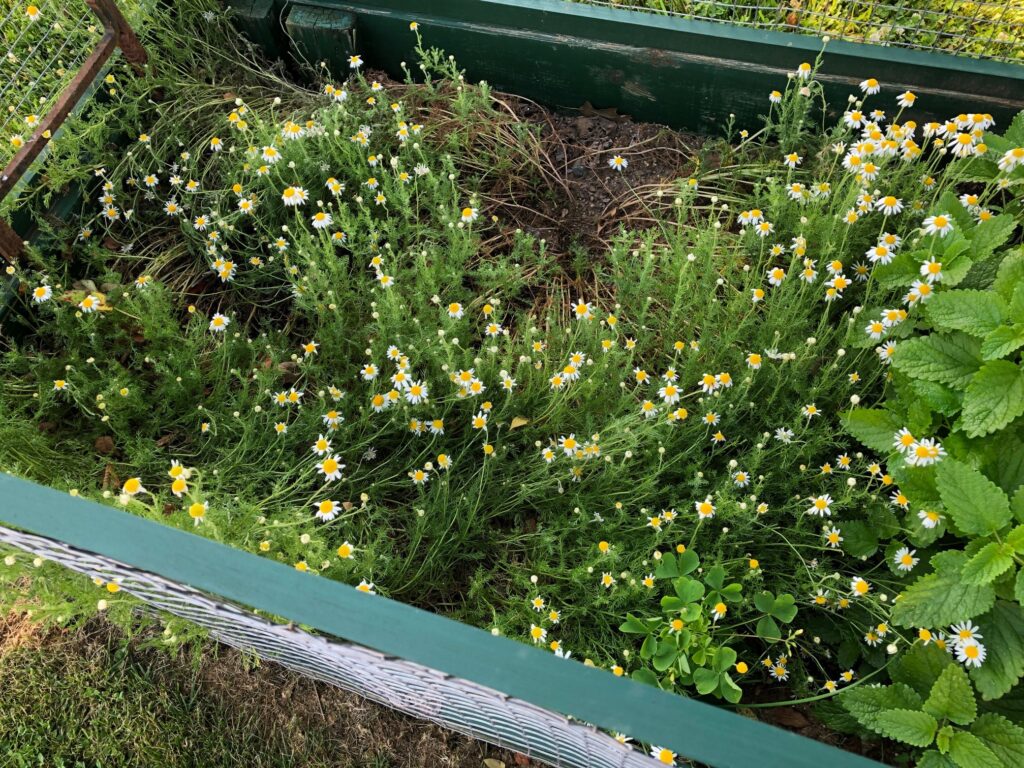
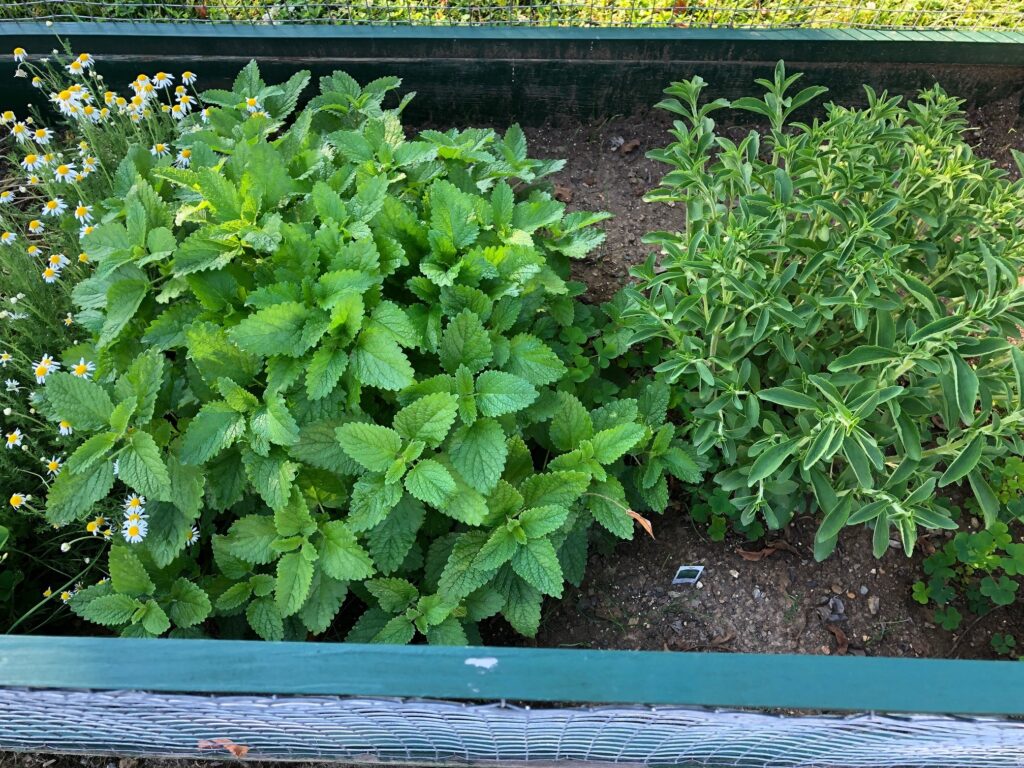
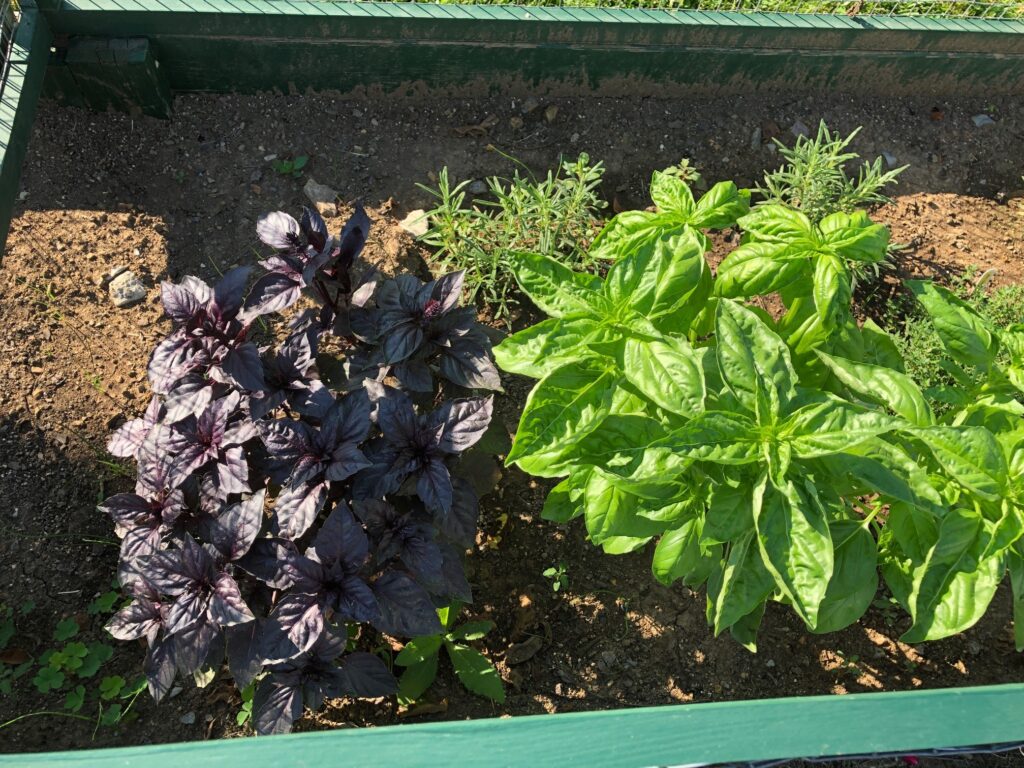
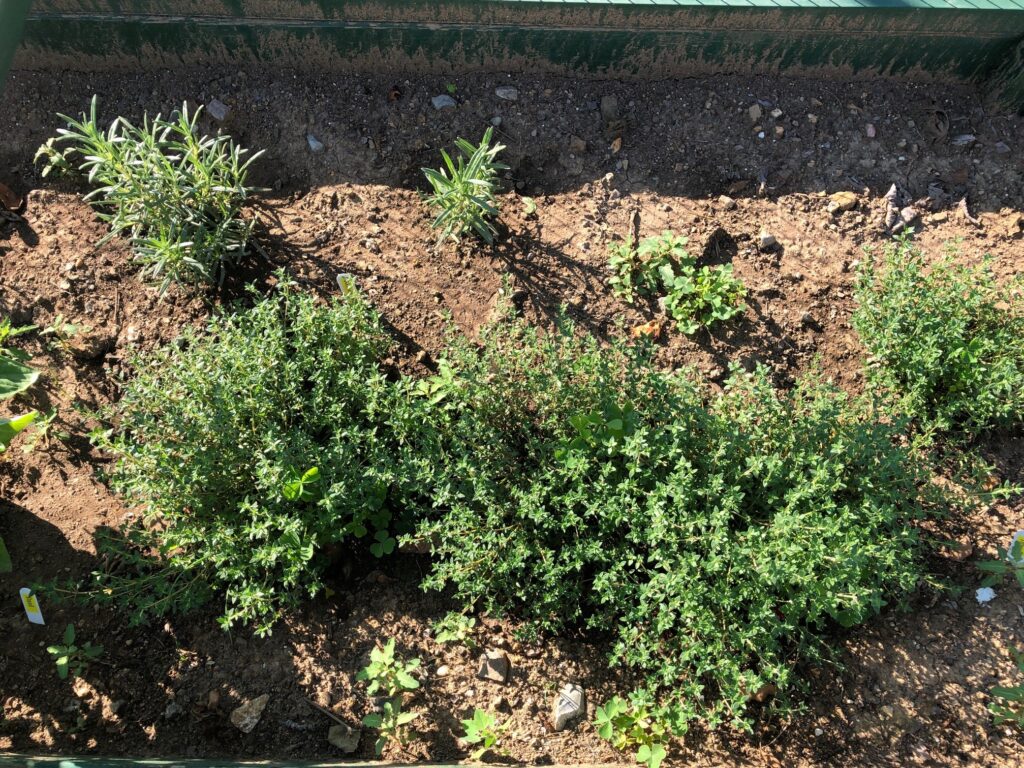
Radishes almost ready to pull.Second planting of lettuce…only Black Seeded Simpson this time.Chamomile…flowers ready to pick!Lemon Balm and Stevia.Basil…ready to pick and dehydrate.Thyme and Rosemary.Carrots and Lavender. Looking healthy!Carrots looking good…however, the beets (at the top, two partial rows) didn’t even come up at all!No beets…just weeds!The first tiny bean! Yea!Lots of green tomatoes. These are Burpee’s Super Sauce tomatoes. Should get twice this size before ripening.However, Bert found these aphids on the back of all the tomato leaves! Time to spray!Echinacea plants finally look healthy. Even some flowers are starting! I sure thought they would be much taller by now.And of course, the Spearmint is doing well. I plan to use some of the leaves fresh for infused water and dehydrate some for tea.
That’s the tour. We certainly don’t grow all the vegetables we like to eat, but over time we’ve decided to let local growers handle the things we don’t have room for (like corn) or the things we don’t eat very much of (like squash and potatoes). Every other year or so I’ll go to the Farmers’ Market at the end of the season and pick up a pile of cucumbers to make relish, or even tomatoes and make ketchup. Our carrots will stay in the ground until probably Thanksgiving and we’ll just dig them up as we need them.
The older we get we know which vegetables are labor intensive and which we don’t want to mess with anymore. As the season goes on, I’ll start preserving any abundant vegetables by canning, freezing or dehydrating. More on that as I do it!
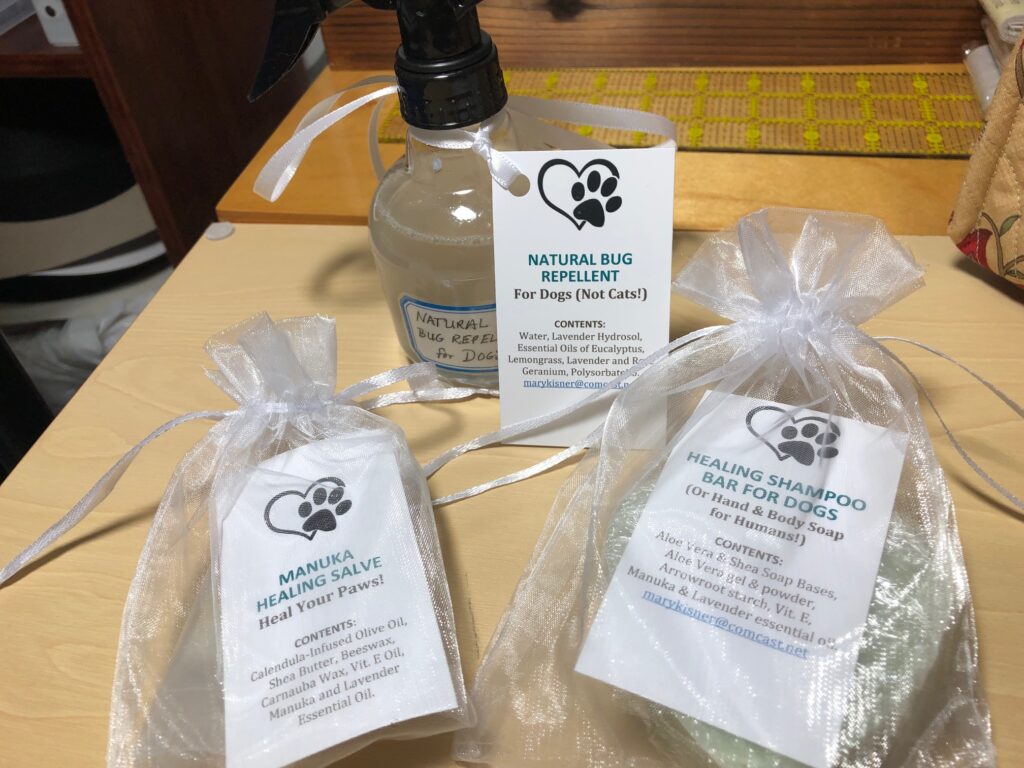
Many of the projects I’m working with now include at least one essential oil. These oils impart a subtle scent to the products I’m making with added benefits like being soothing to the skin, or especially healing to damaged skin. Many essentials oils can be taken internally or can be used in aromatherapy.
Essential oils are extracted from different parts of a plant, such as flowers, stems or roots, usually through the process of steam distillation and are not cut with a type of carrier oil. Essential oils are difficult to reproduce synthetically since they can be made up of 50-500 different naturally occurring chemicals found in the plant. Many of these chemicals have not even been identified.
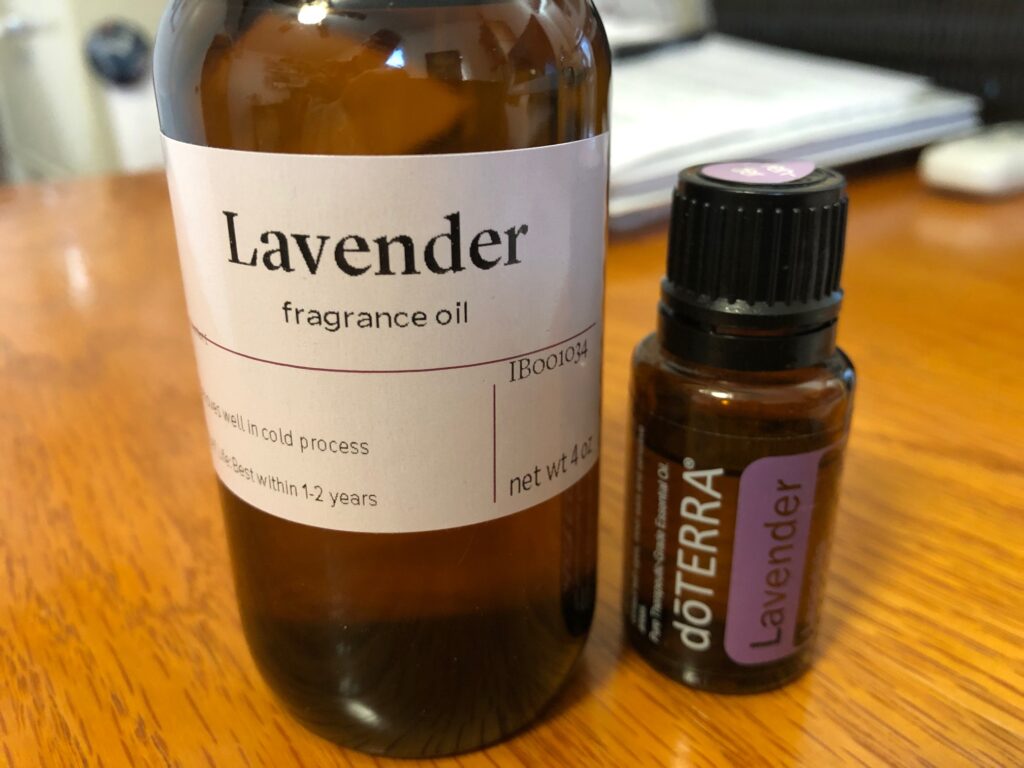
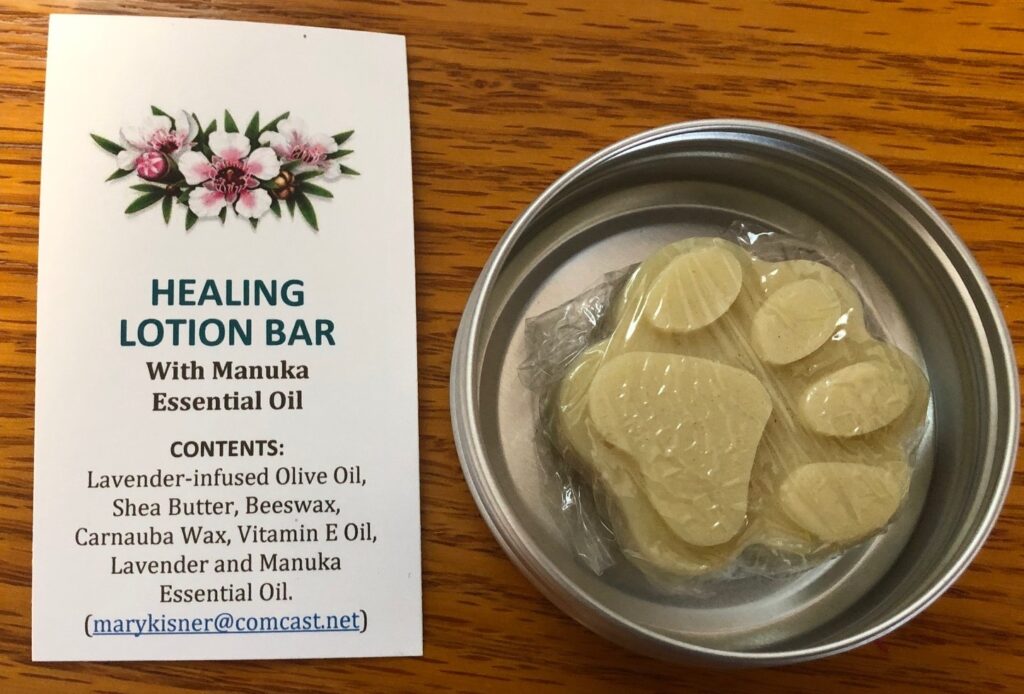
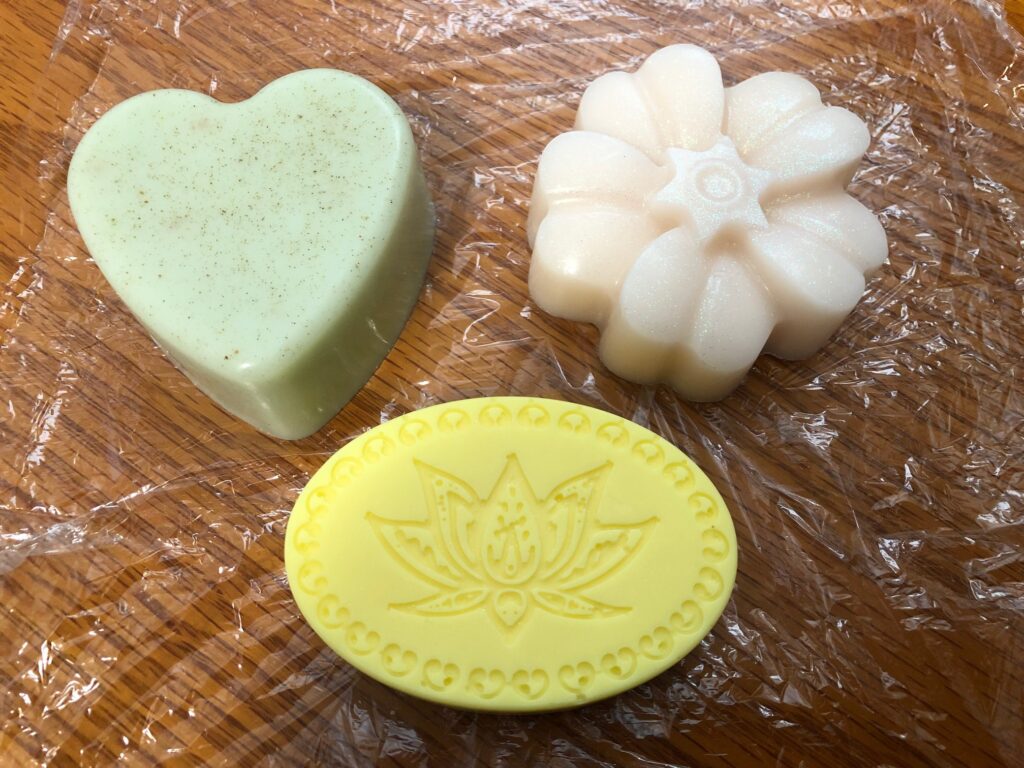
Most of the oils I use are essential oils. With a few exceptions, my products are meant to be soothing or healing to the skin…whether human or canine! For example, my lotion bars and soaps often include Lavender and Manuka Essential oils.
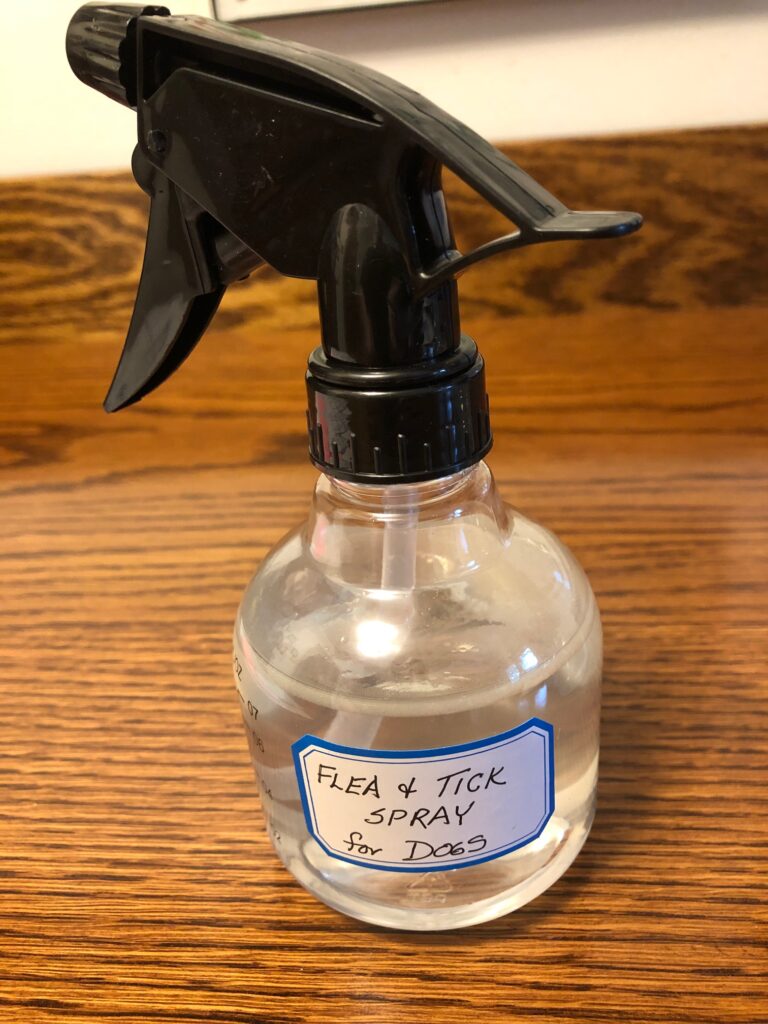
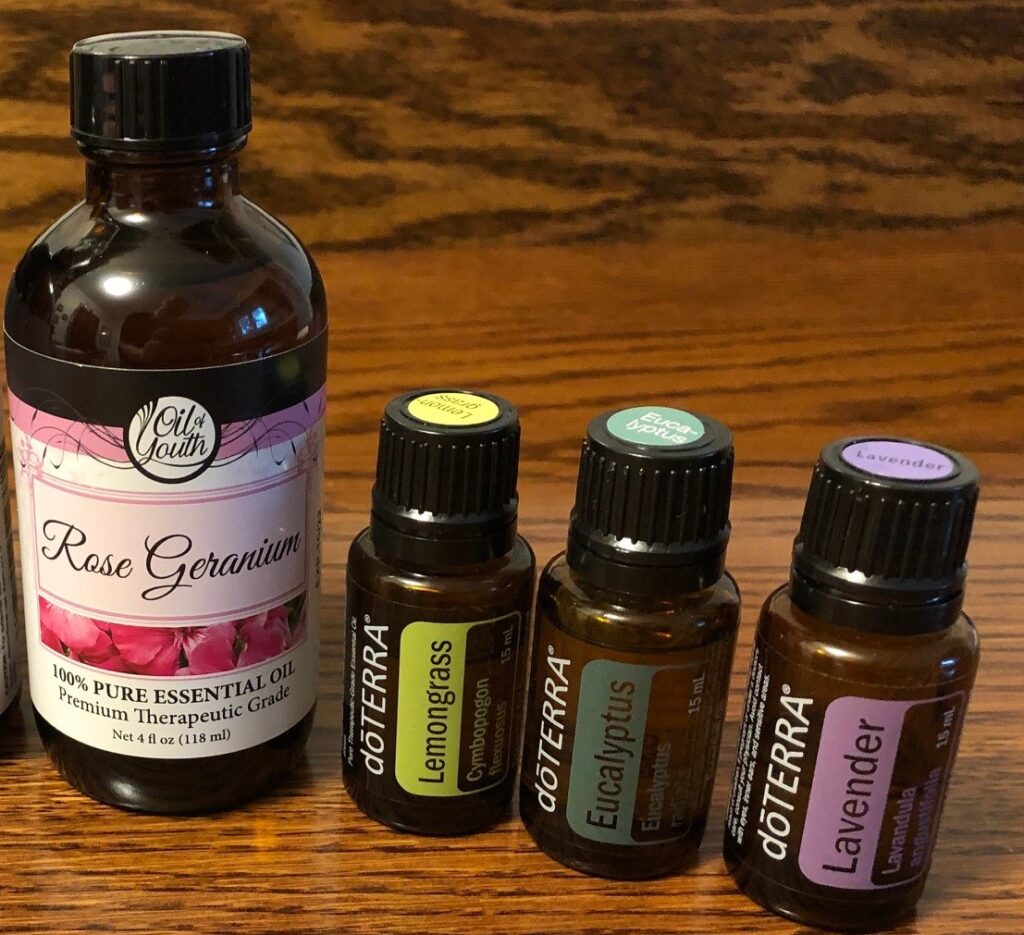
The Flea and Tick repellent includes Lemongrass, Eucalyptus, Rose Geranium and Lavender essential oils. This mixture needs to be safe for the dog’s skin.
Oils used in the flea and tick repellent.
Fragrance oils
Fragrance oils are created in a laboratory. One of the main benefits of using these oils is that they are are non-volatile and the scent generally lasts longer than essential oils. However, they don’t provide the same health benefits as essential oils. They are designed purely for the purpose of mimicking a scent. Fragrance oils are problematic because these synthetic compounds are drying and irritating to the skin and can cause many other health problems. These compounds are hard to get away from as they’re found in most commercially offered cleaning products, room fresheners, personal care products, laundry soap, baby diapers, toilet paper, food, drinks, candy, toys and so on! If you have allergies, you have already learned how to read the fine print on products you buy.
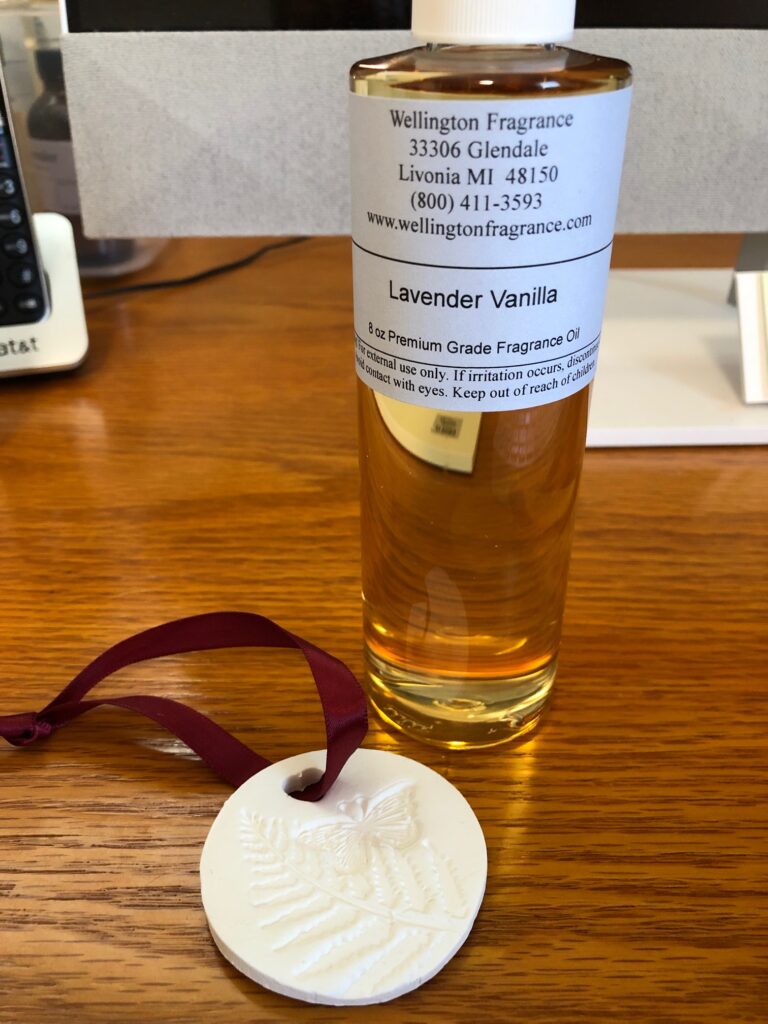
A benefit of fragrance oils is their cost! They cost about half as much as the essential oils. Taking advantage of their long-lasting scent, I use fragrance oils in a few products. In my air-dry clay air freshener, I’ve found the essential oil lasts about a day. The fragrance oil will last for several weeks. In an air freshener, the scent is what matters to me.
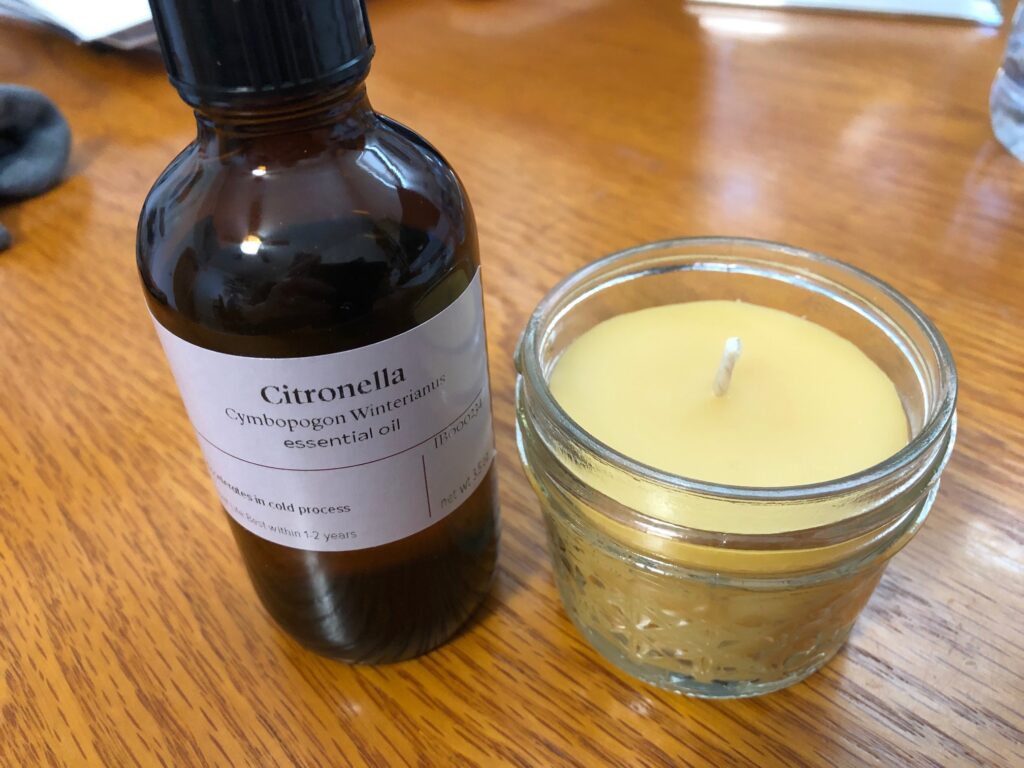
Before I realized the cost difference, I used Citronella essential oil in my beeswax candles. I could have saved some money with the fragrance oil…although I don’t know if that scent would still repel mosquitos or if it’s something in the components of the oil that is given off when the candle is burned. We’ll see this summer!
Read Labels Carefully!
I can see it would have been very tempting to use a Lavender Fragrance Oil instead of Lavender Essential Oil in my products, since I use so much of it, but I think I would not have been able to say my products are good for your skin. However, they might have had a nice strong scent of Lavender for a longer time.
Read labels carefully on the products you buy. If it is supposed to be soothing to your skin, make sure it says Essential Oil! Enjoy!
Please comment or email me directly if you have questions, at marykisner@comcast.net.


 The second and third partial row of carrots are doing well. The end of that row has a few green bean plants. That’s where we tried to grow beets, but nothing came up. Must be the seeds. Oh well. I can buy beets at the Farmers’ Market.