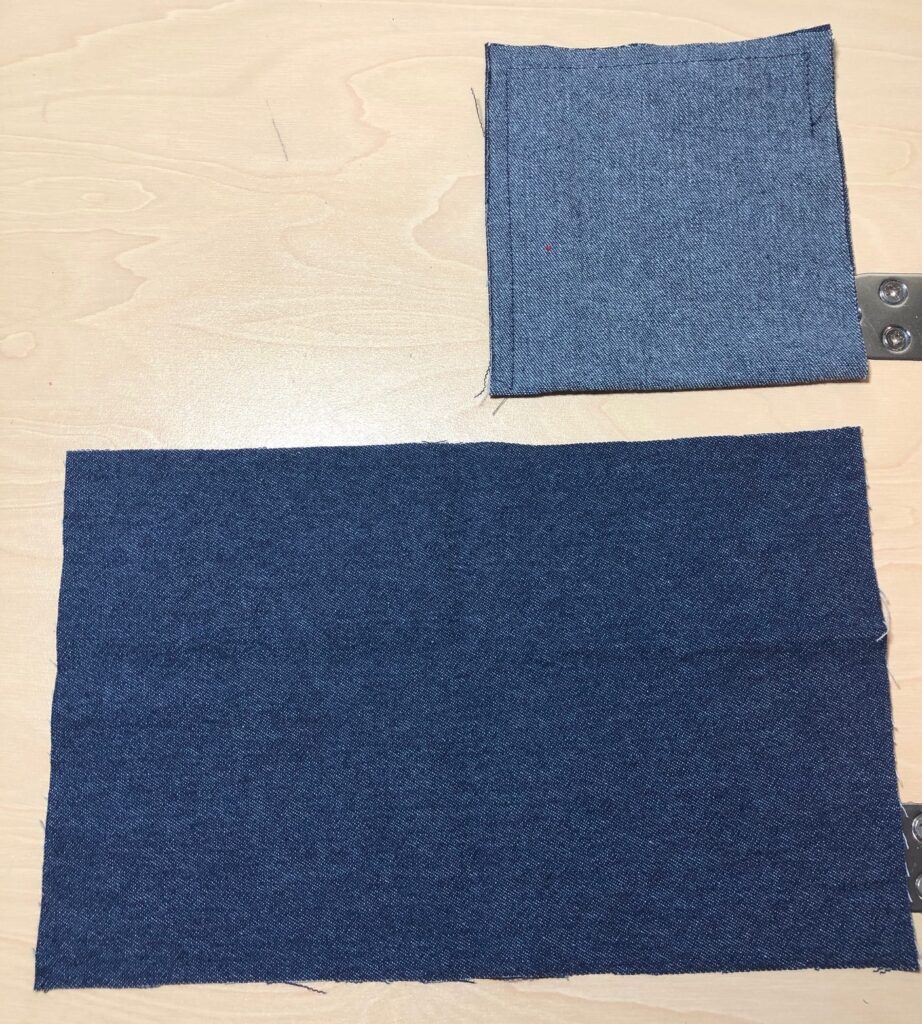
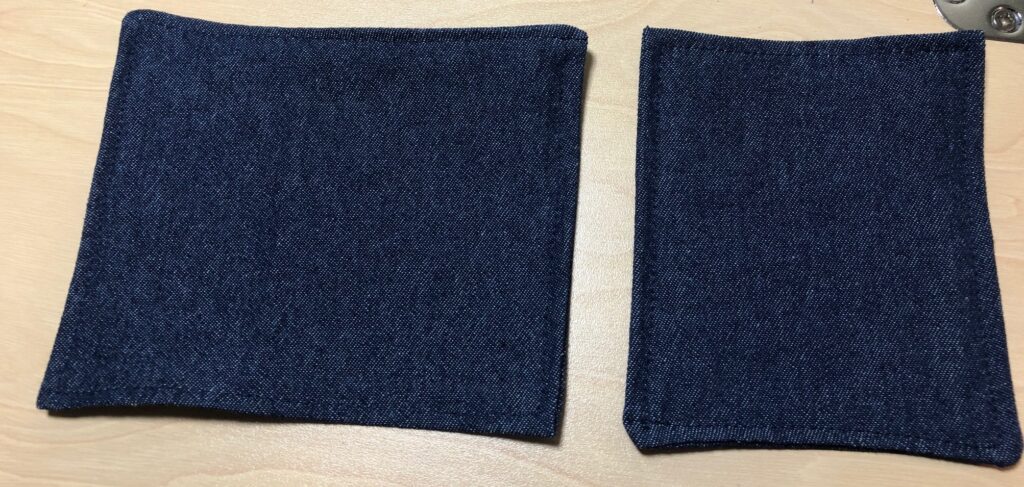
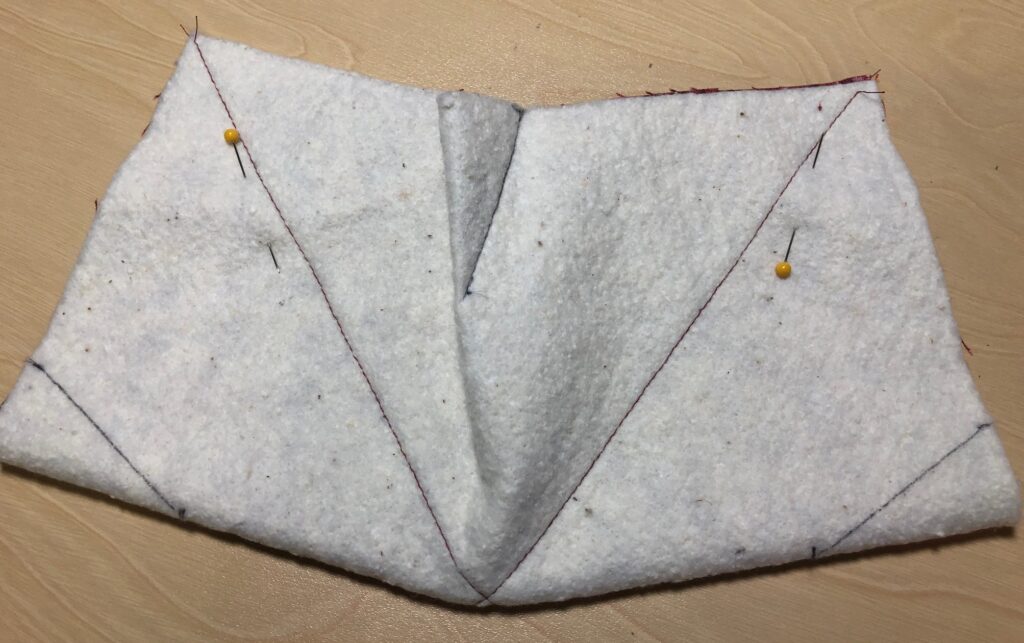
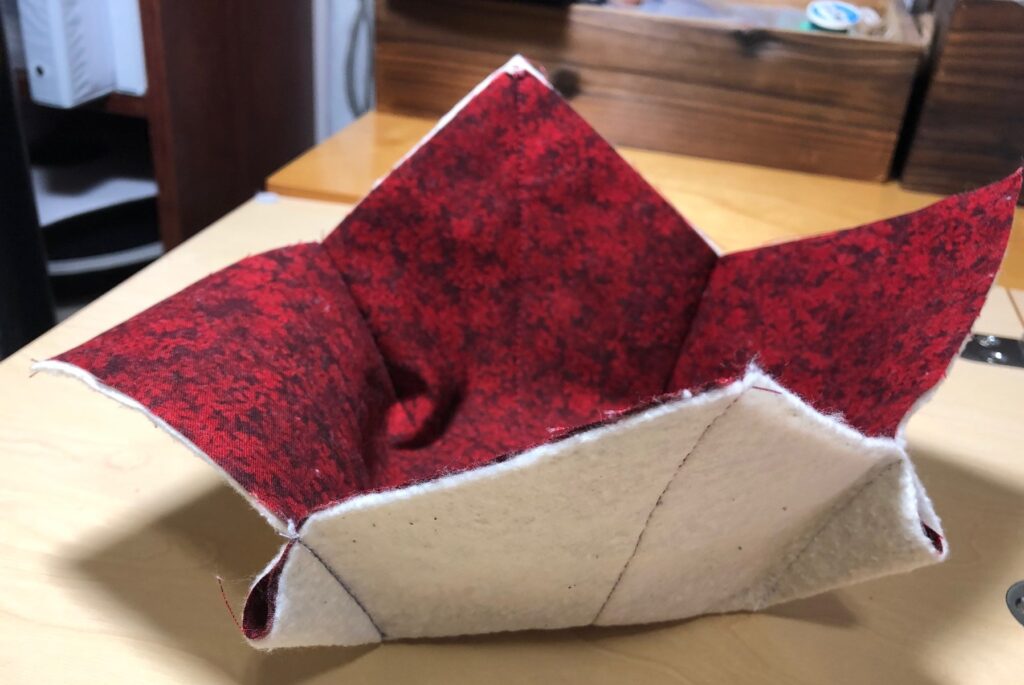
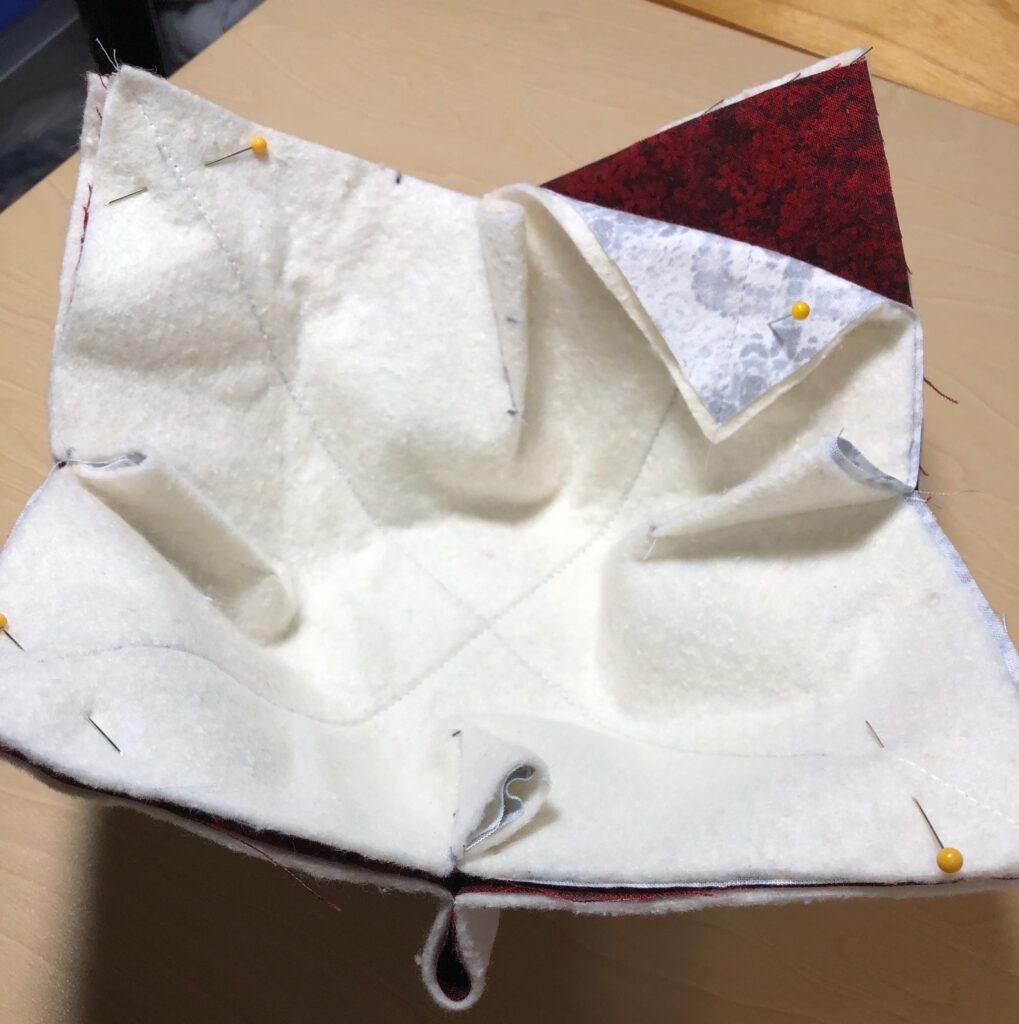
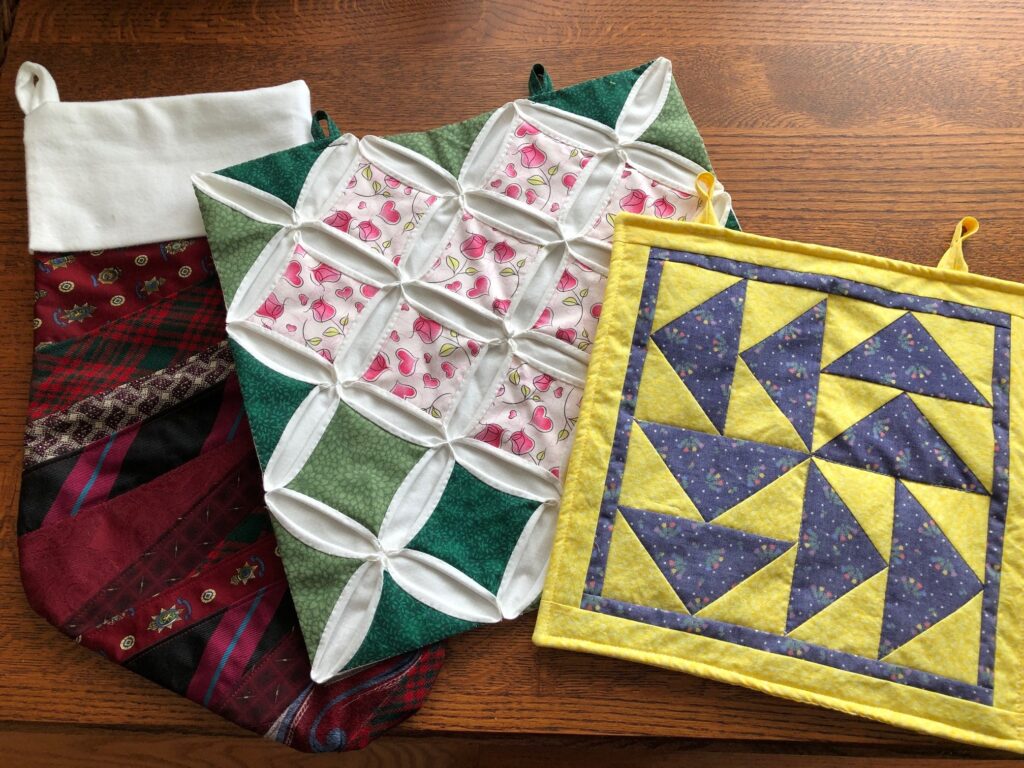
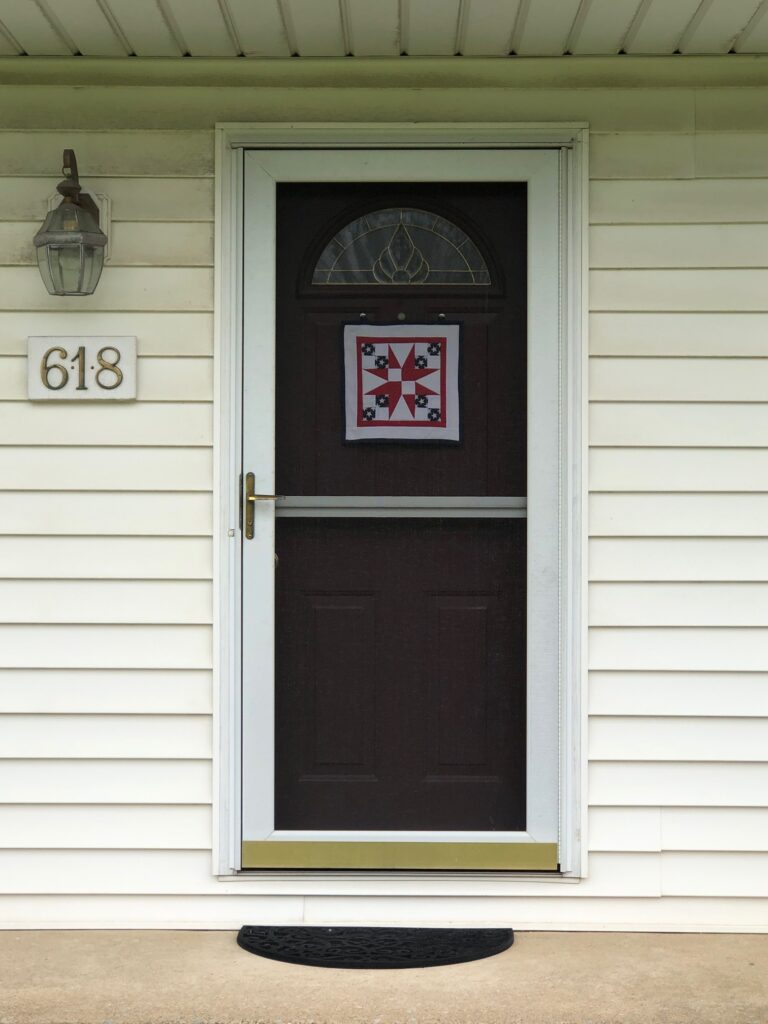
Time for a new door quilt. As you might recall from my earlier posts, I needed to find a solution to the problem of putting a wreath on my front door and then squashing it when I closed the screen door; not enough clearance. Flat door quilts have solved the problem. Here are the previous ones I’ve made (starting with the Christmas stocking, the Heart in a cathedral window pattern and the spring quilt in the Dutchman’s Puzzle pattern).
I seem to be continuing with a seasonal quilt about every three months. I have also discovered that three months exposed to the sun has faded the fabric some so it was time for something new.
With some major patriotic holidays coming up like Memorial Day and the 4th of July, it was time to try a patriotic theme.
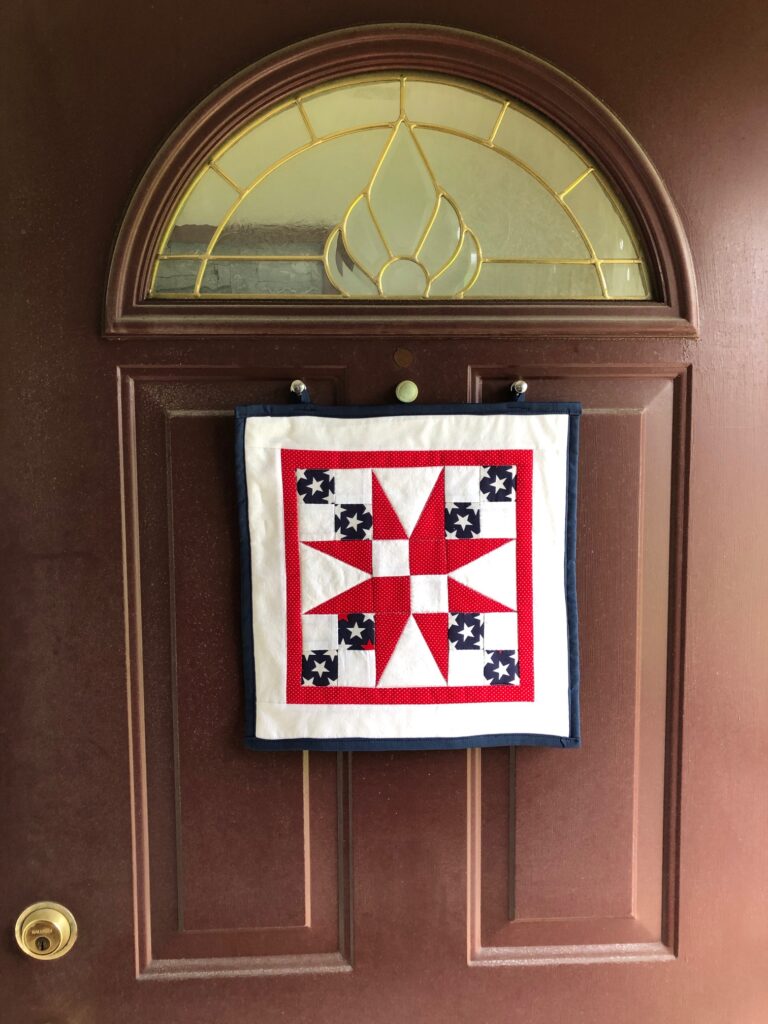
This quilt pattern is called Fifty-Four Forty or Fight. You’ll see several color variations below.
This phrase was the famous 1844 presidential campaign slogan of James Polk that contributed to his unexpected victory. The slogan was named after a line of latitude that served as the northern border of Oregon at 54 degrees 40 minutes. The slogan was not actually coined during the election but appeared only by January 1846 and was promoted and driven in part by the press. Women often stitched their political views because they weren’t supposed to voice them. That’s where this block comes from.
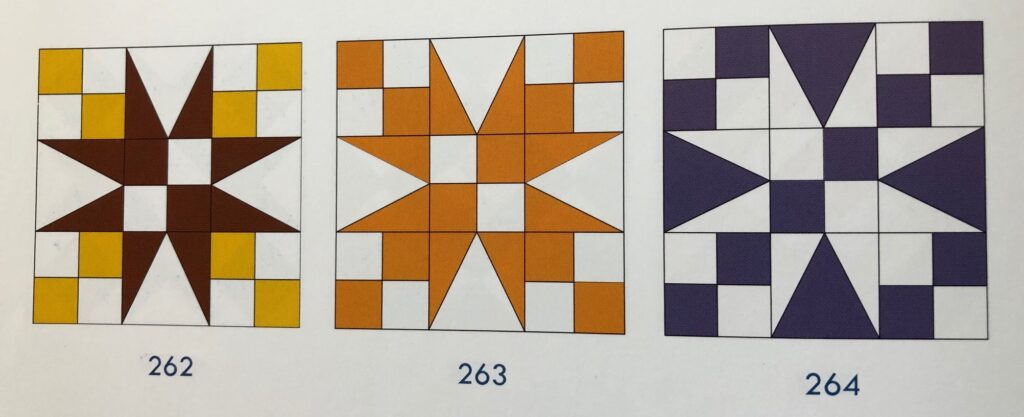
By altering the color arrangement of the pieces it has also been called Grandma’s Star, Railroad Quilt, Nine Patch Star Quilt, Garden Walk, Garden Patch and An Old-Fashioned Pinwheel.
When colors are arranged like in #265 below, it has been called Bird of Paradise.
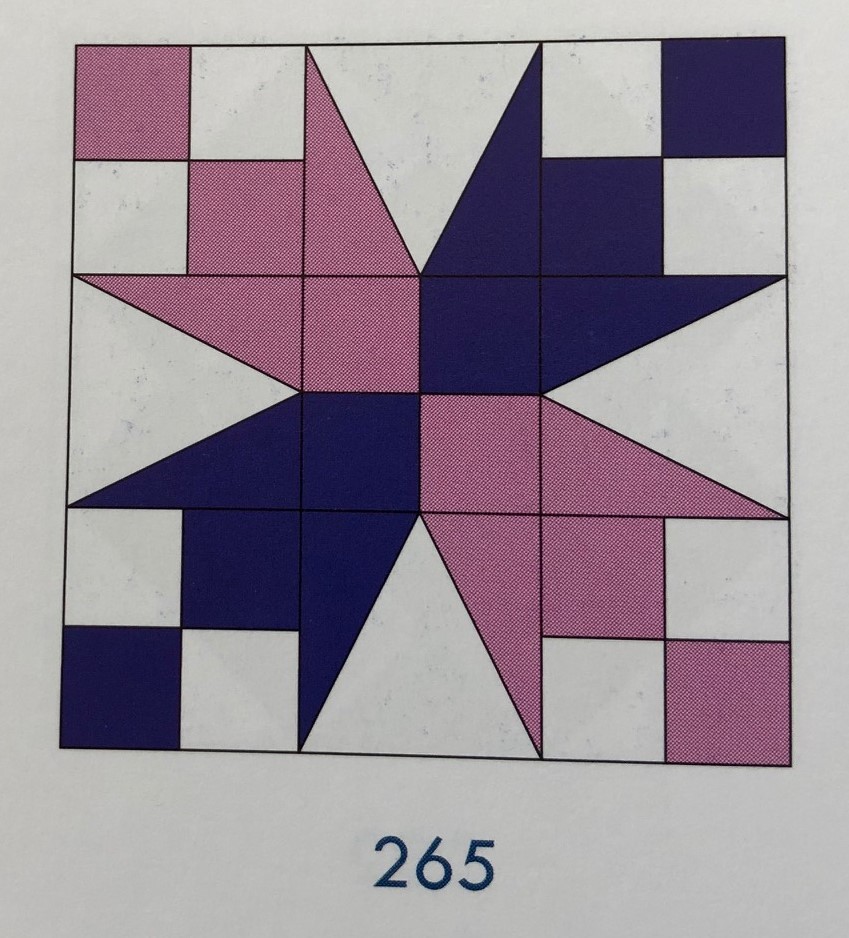
As you can see, the same arrangement of blocks and triangles can be called something else if changing the colors gives a different impression.
I always want to check from the front yard to see if I have the colors right (meaning, light around the outside so it can be seen through the screen door). I think it works!
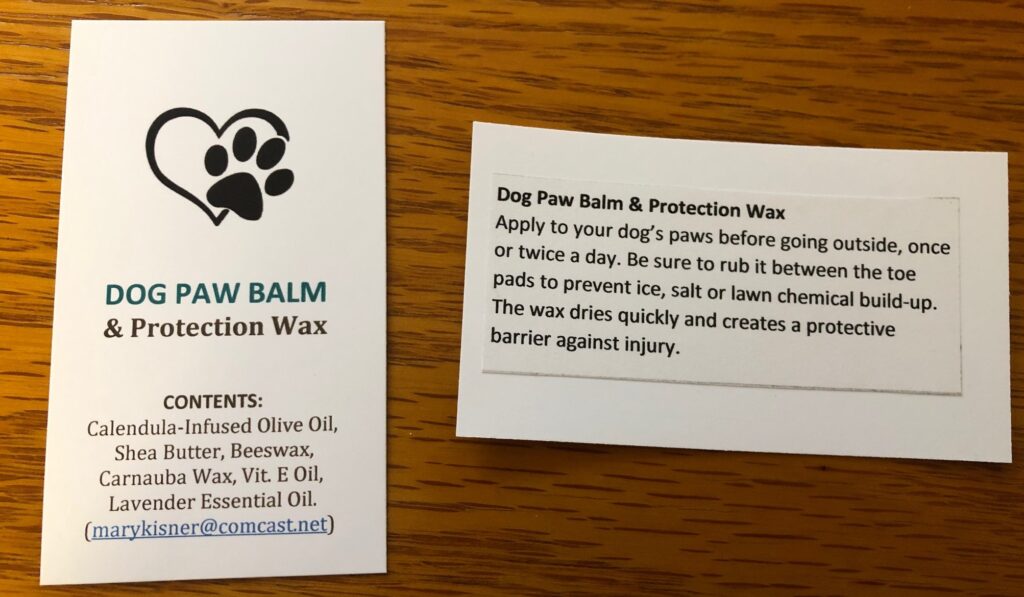
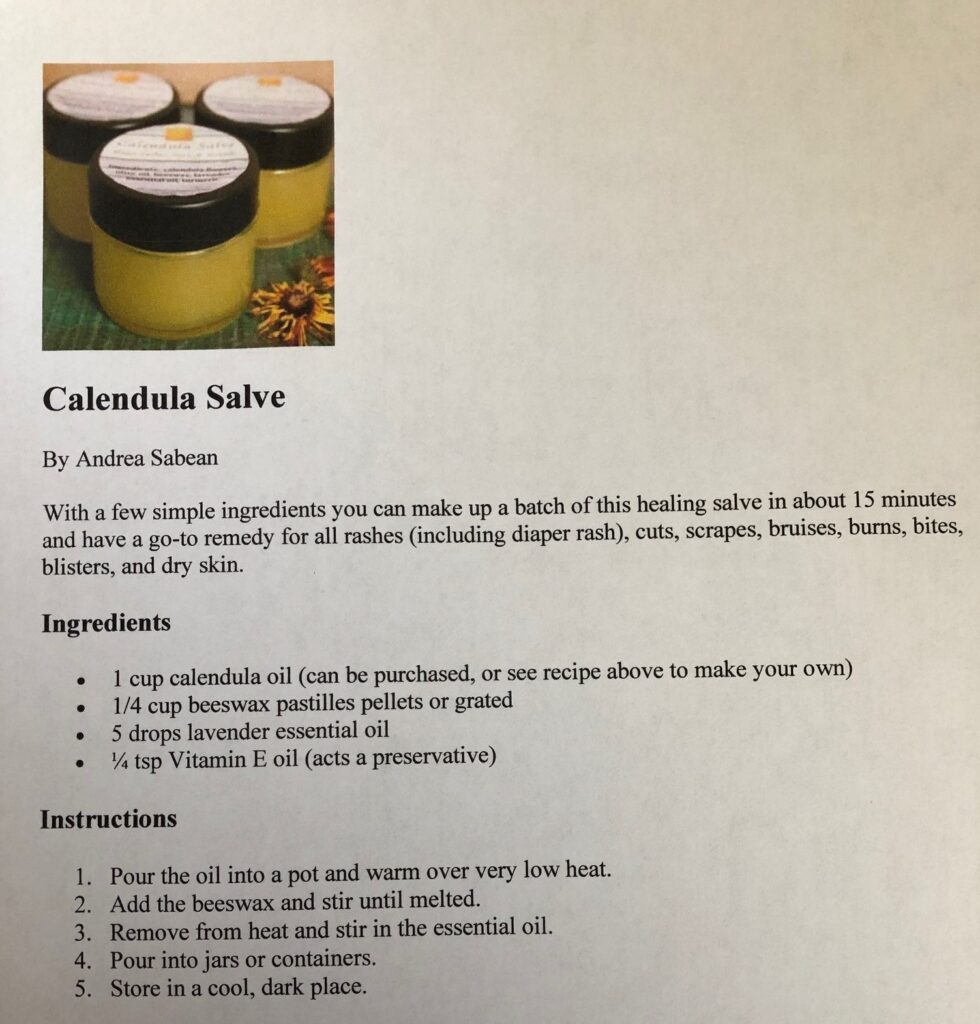
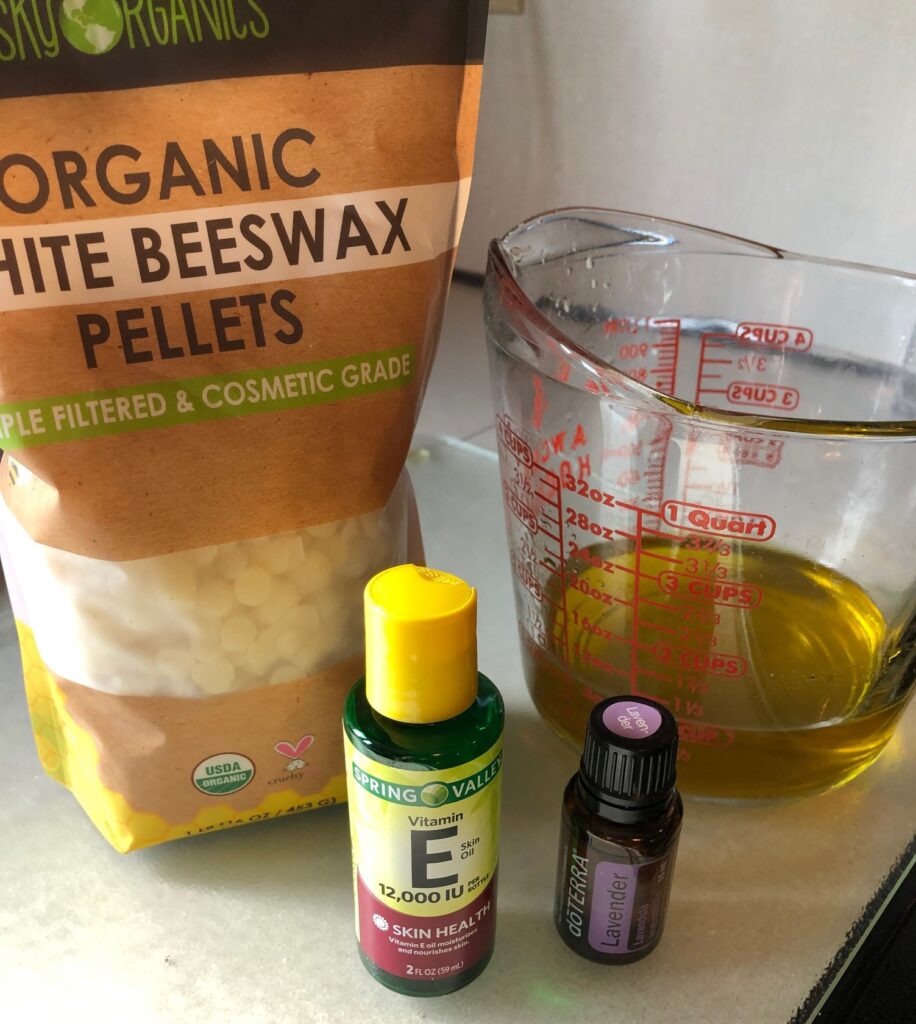
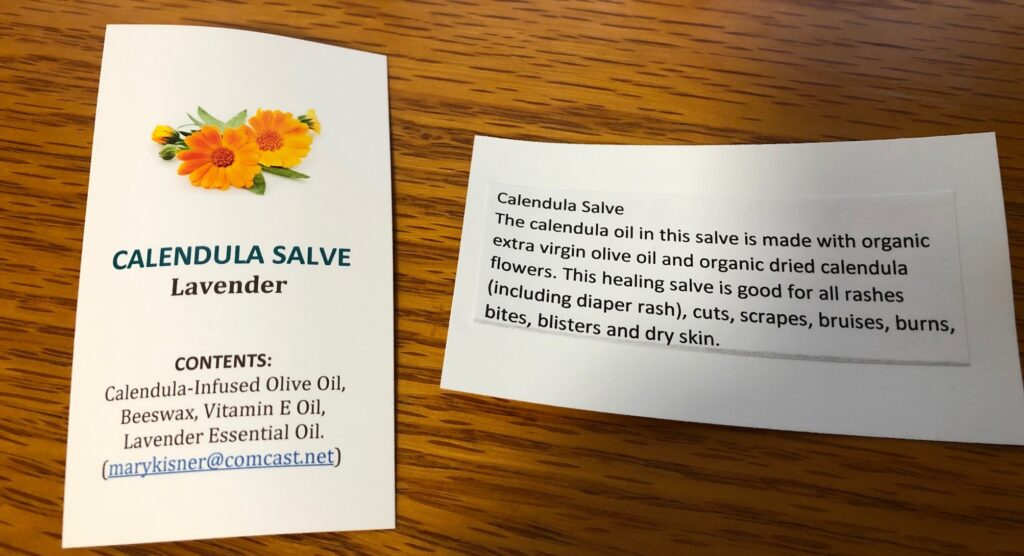
Please comment or email me directly at marykisner@comcast.net. Enjoy!
If you would like to be notified when I post, sign up on the Welcome/Home page and you’ll be sent an email automatically by this wonderful program. Your email will never be shared! Thanks!