I should not be surprised by the growth in the garden in mid-July! We’ve had hot days and lots of rain. I’ve been distracted by the festival preparations and clean up from last week, so when I headed out to the back yard yesterday, I was amazed to see how things had popped! Join me in a quick tour.
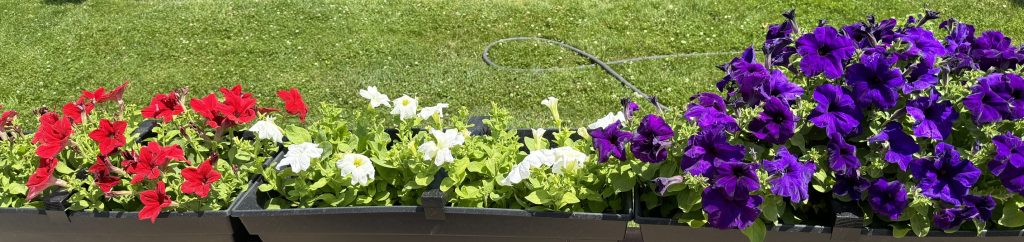
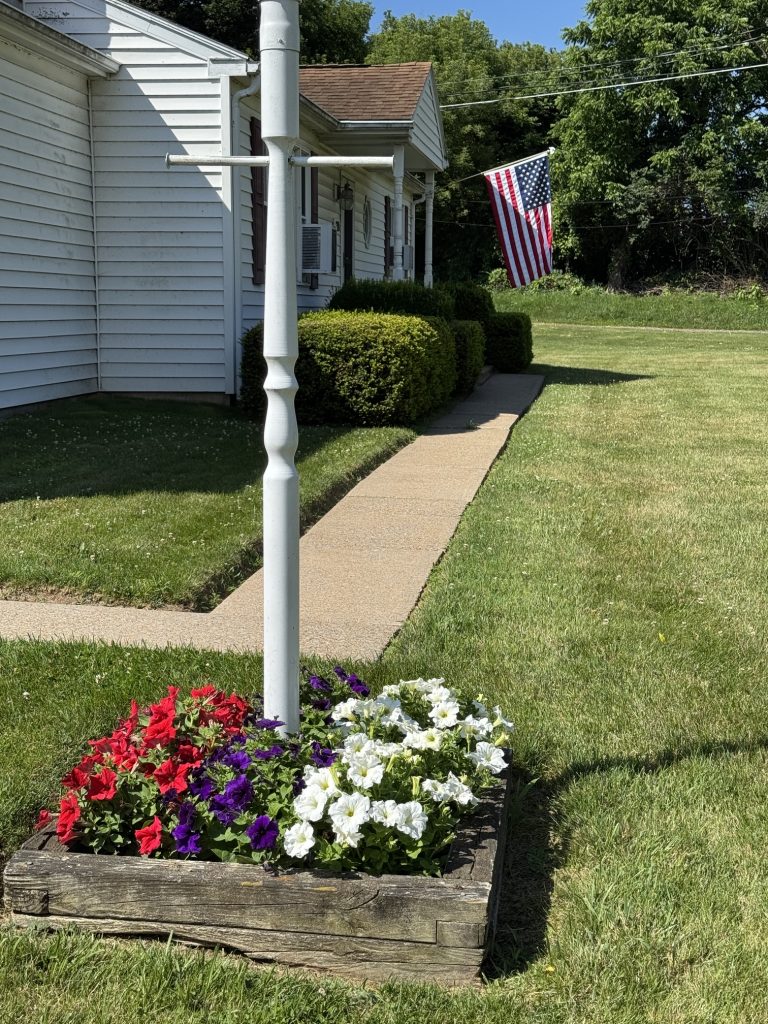
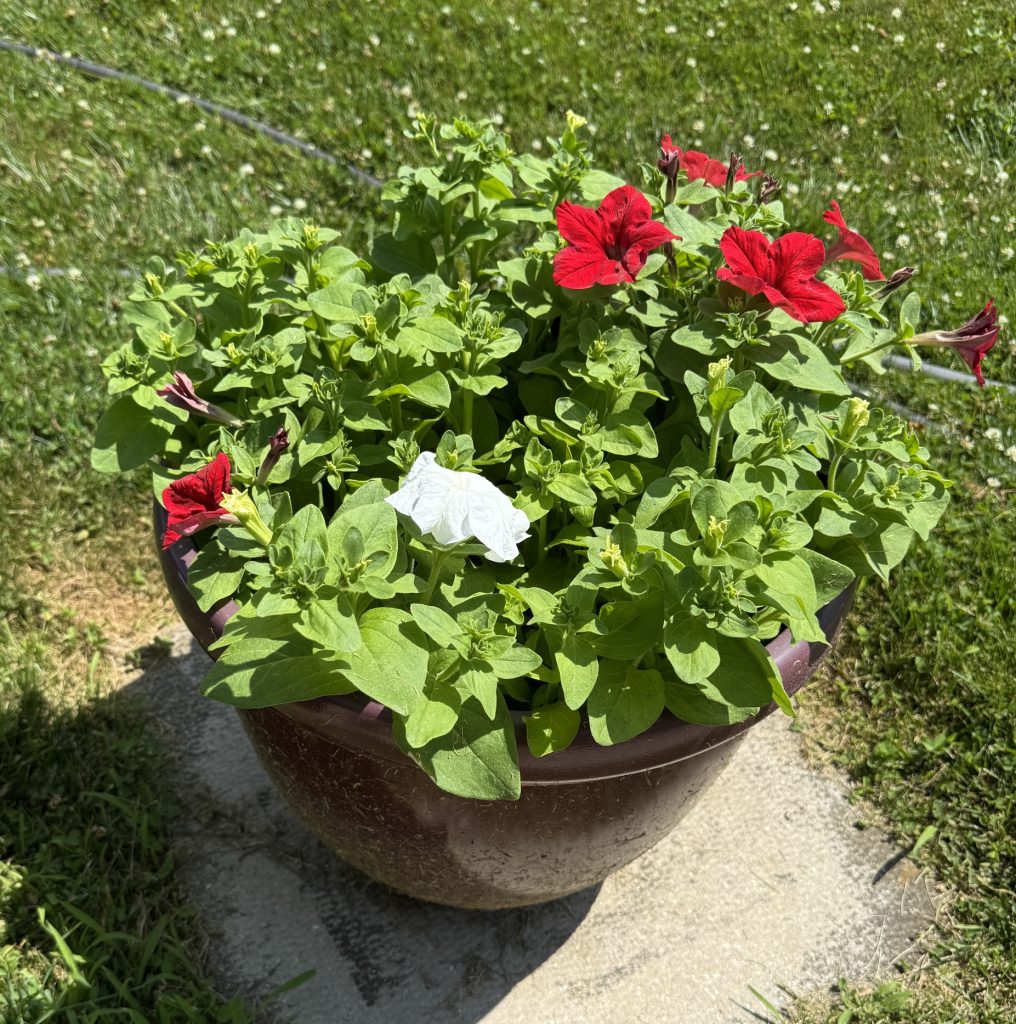
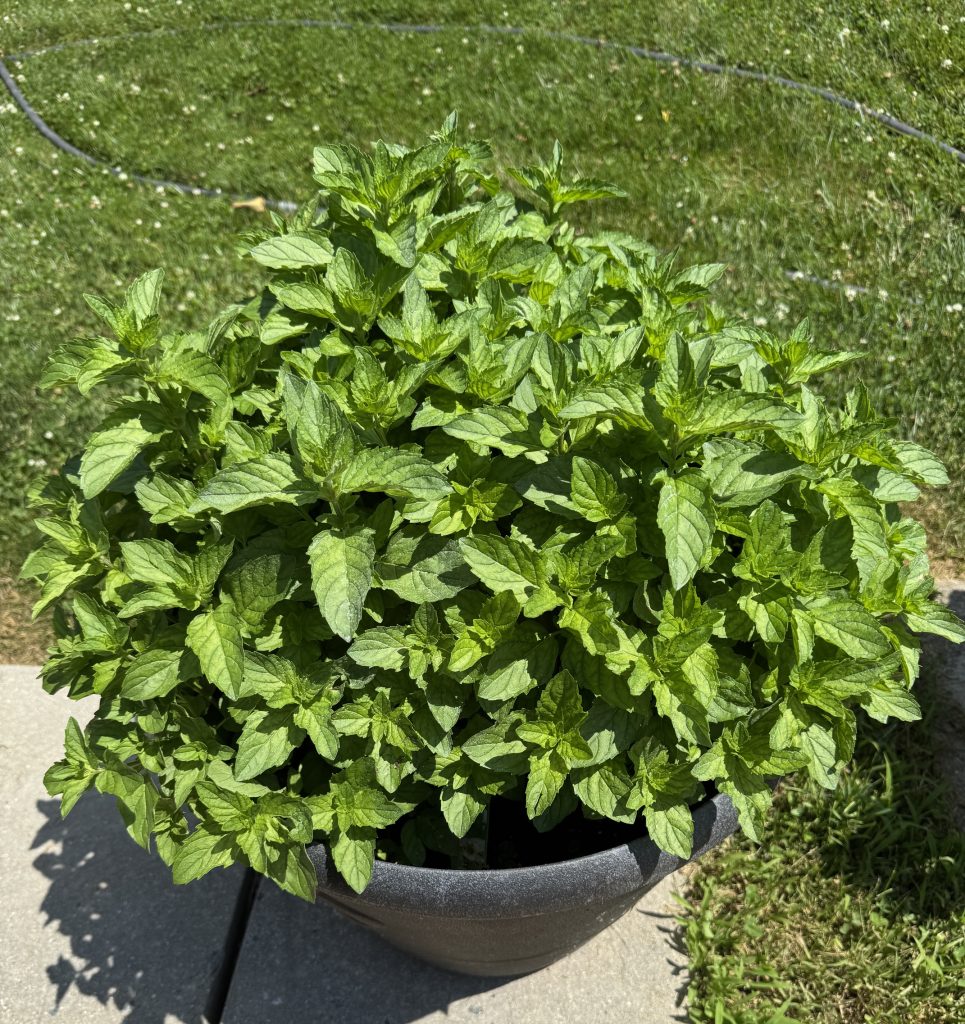
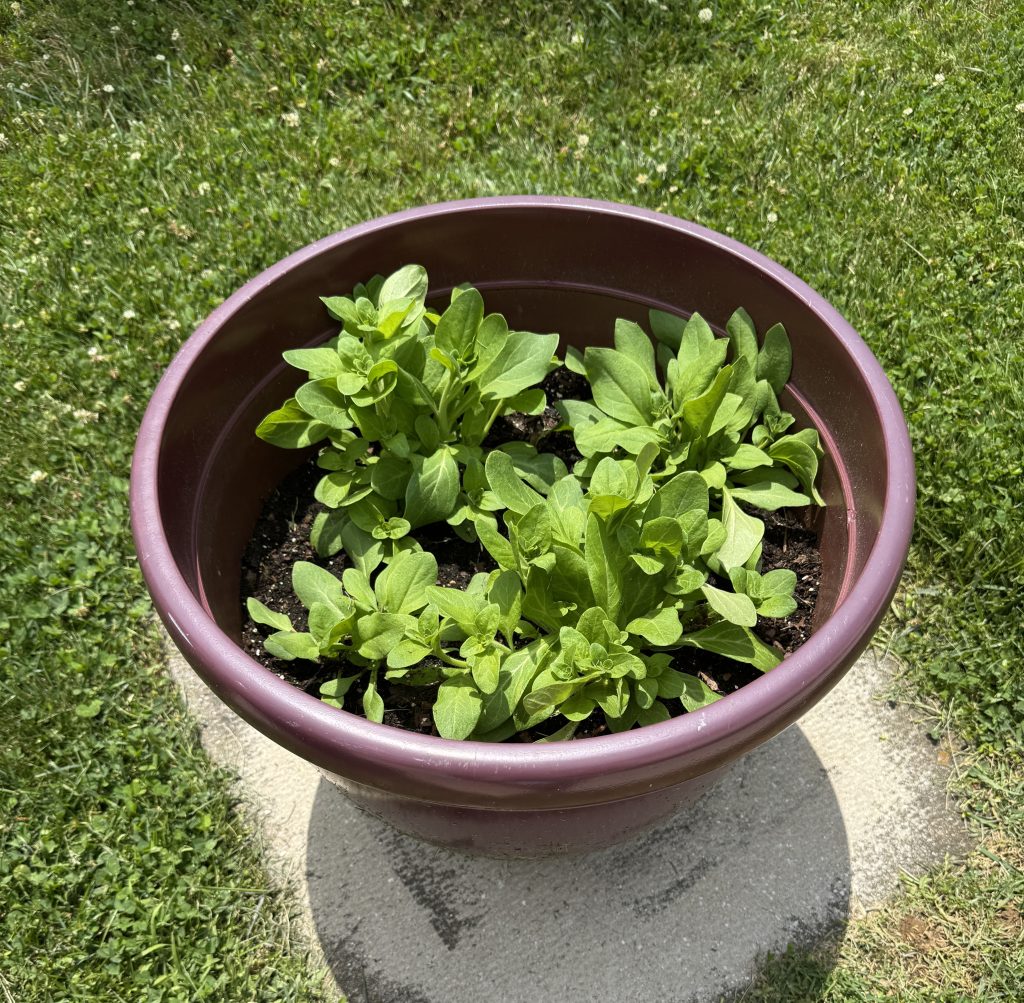
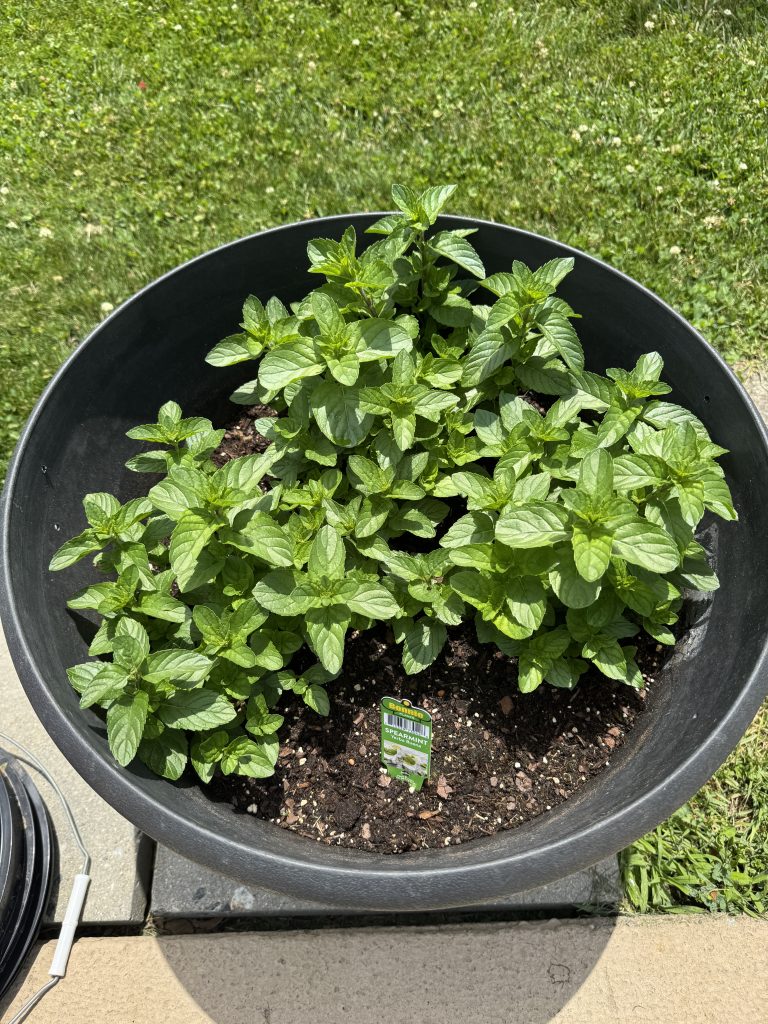
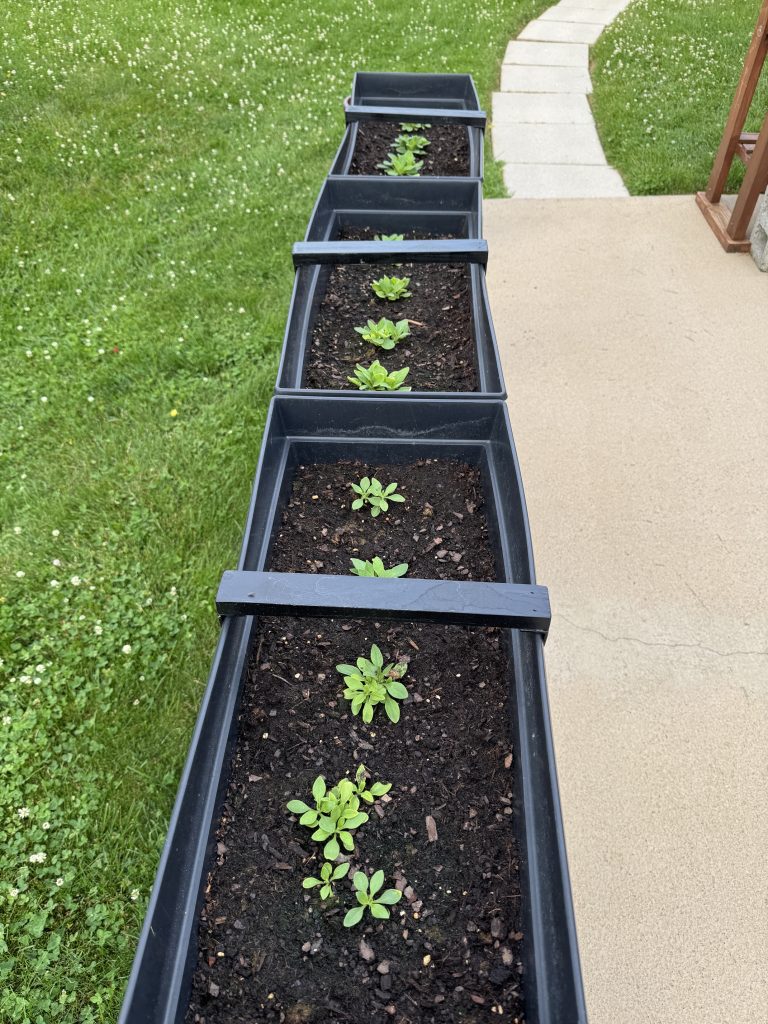
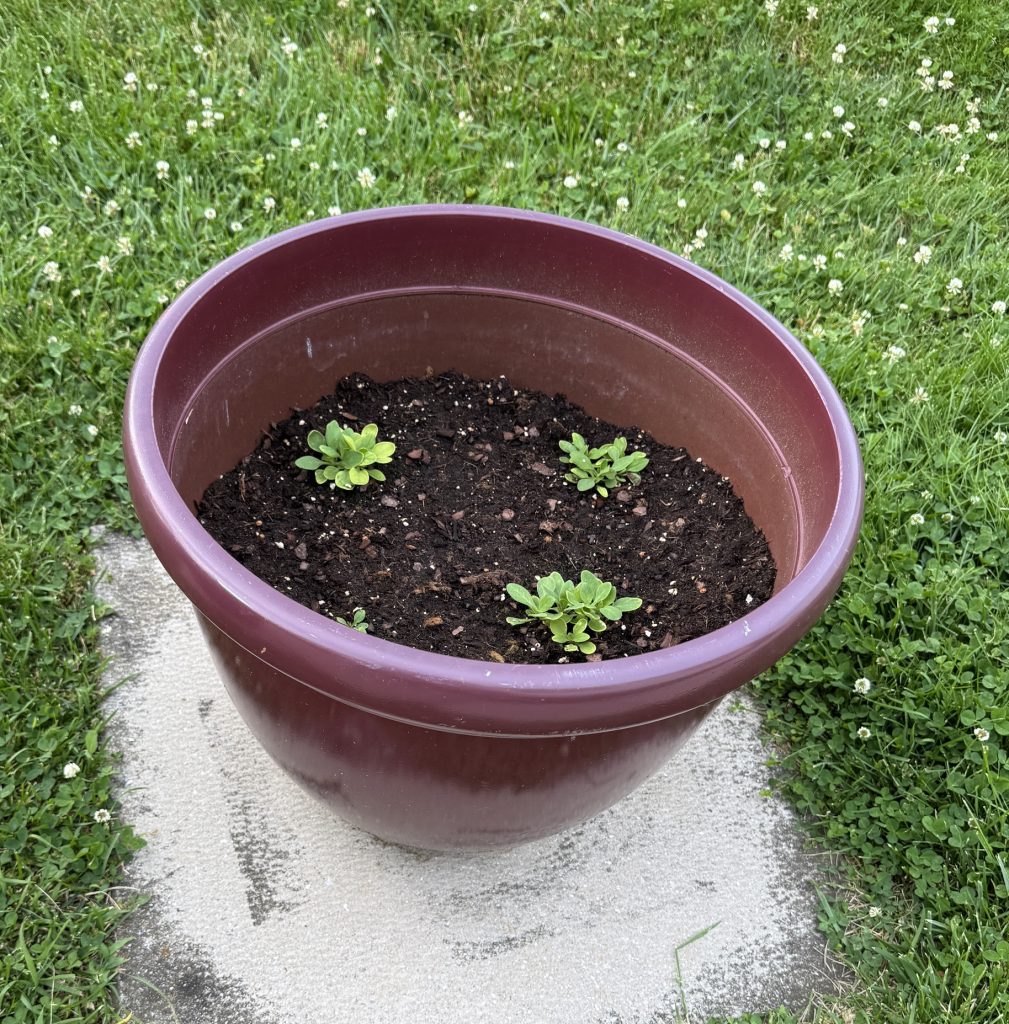
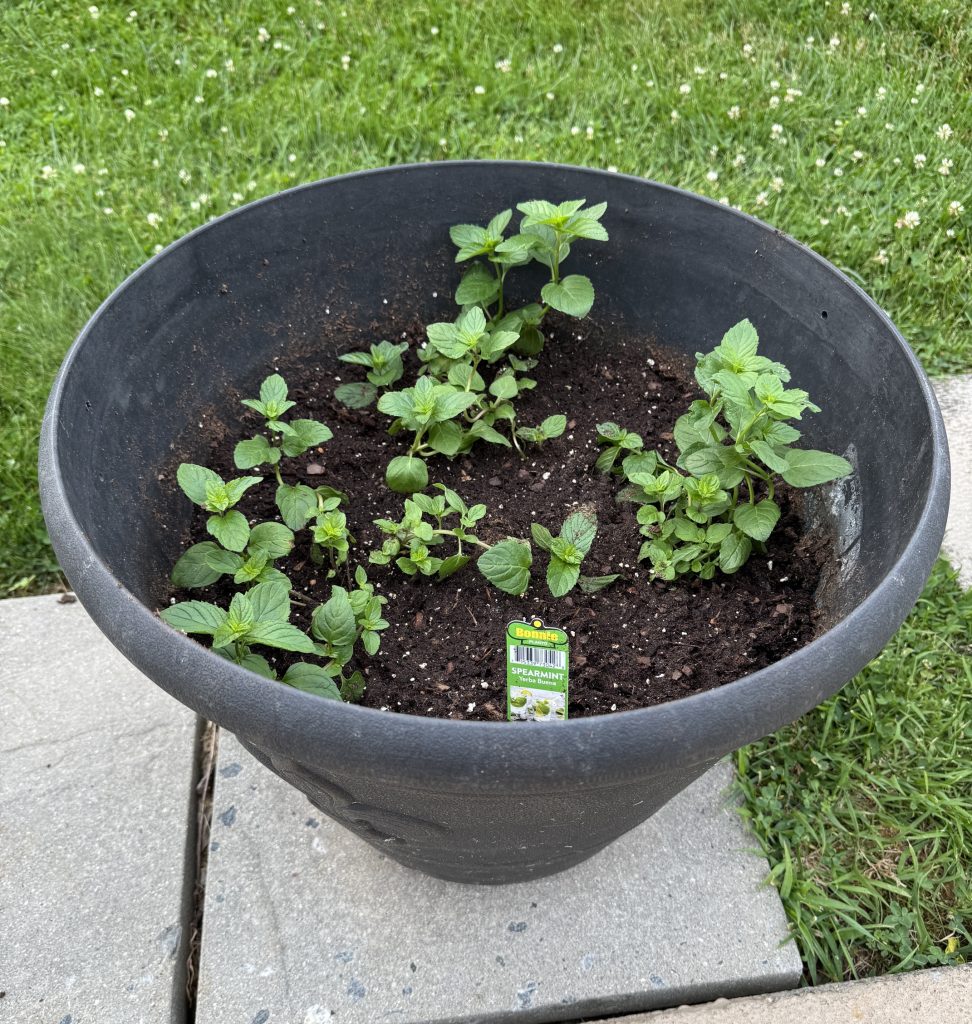
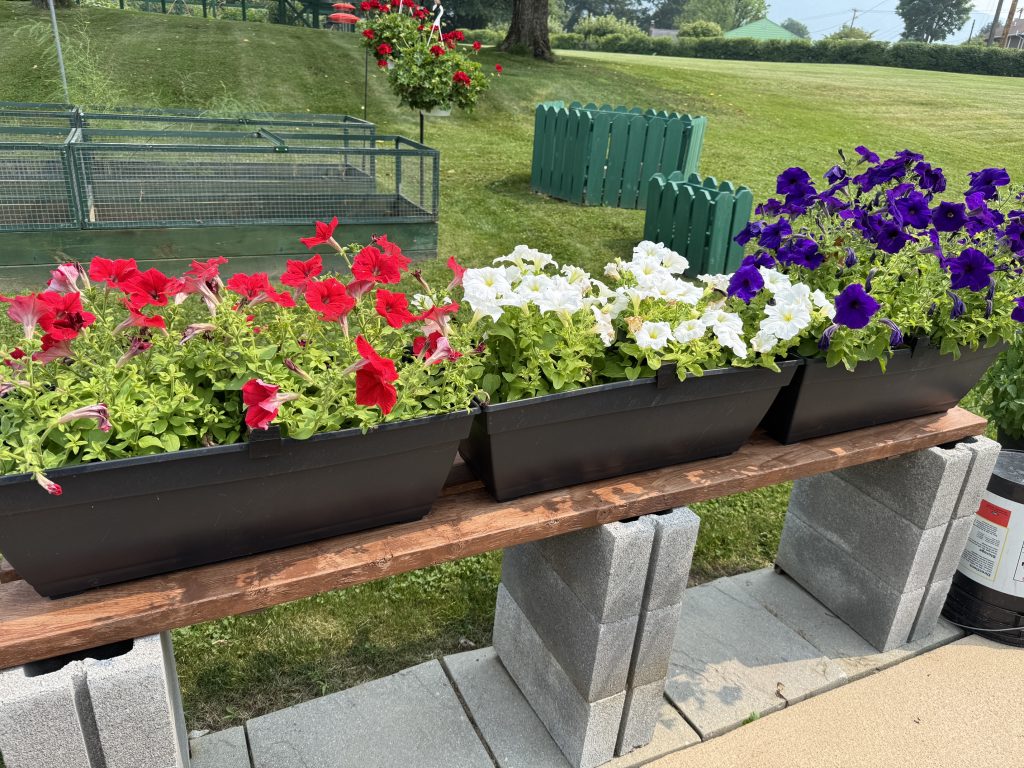
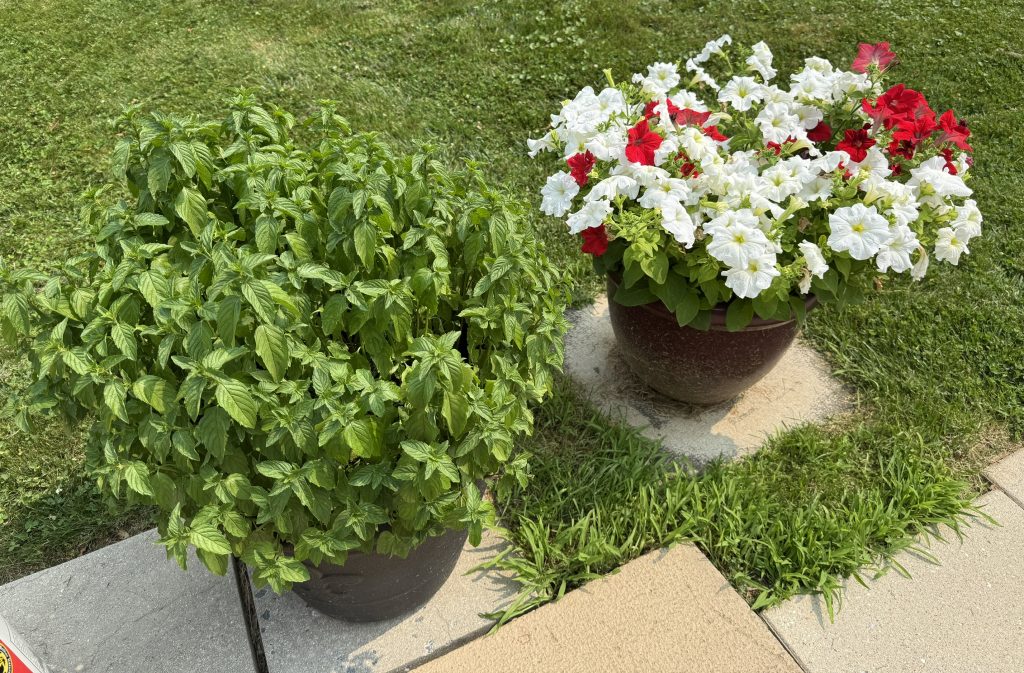
The petunias still look pretty…in the planters and in the pot. The spearmint is growing like a weed!
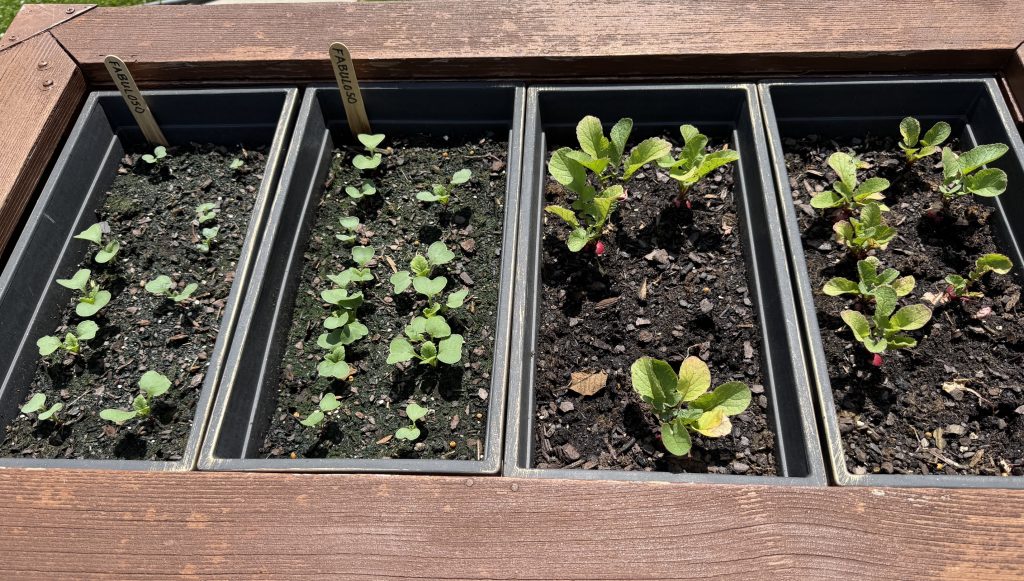
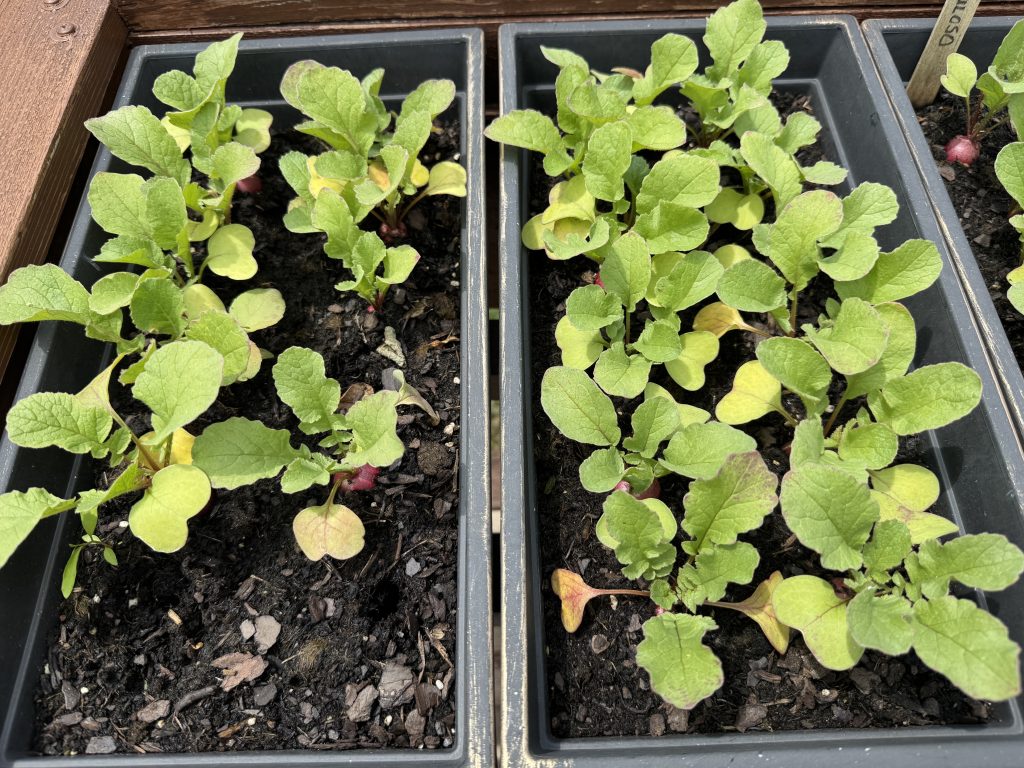
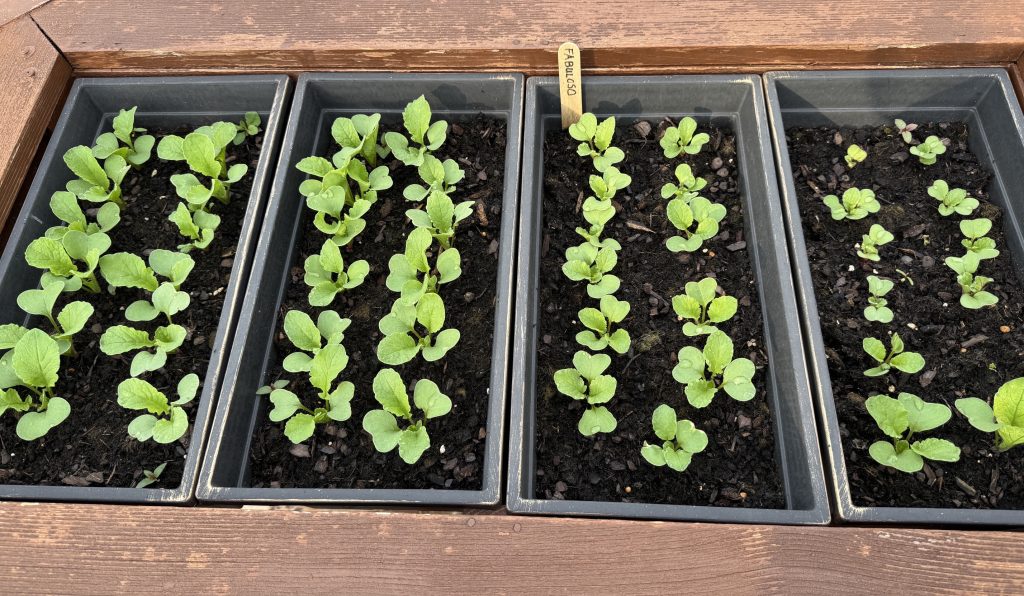
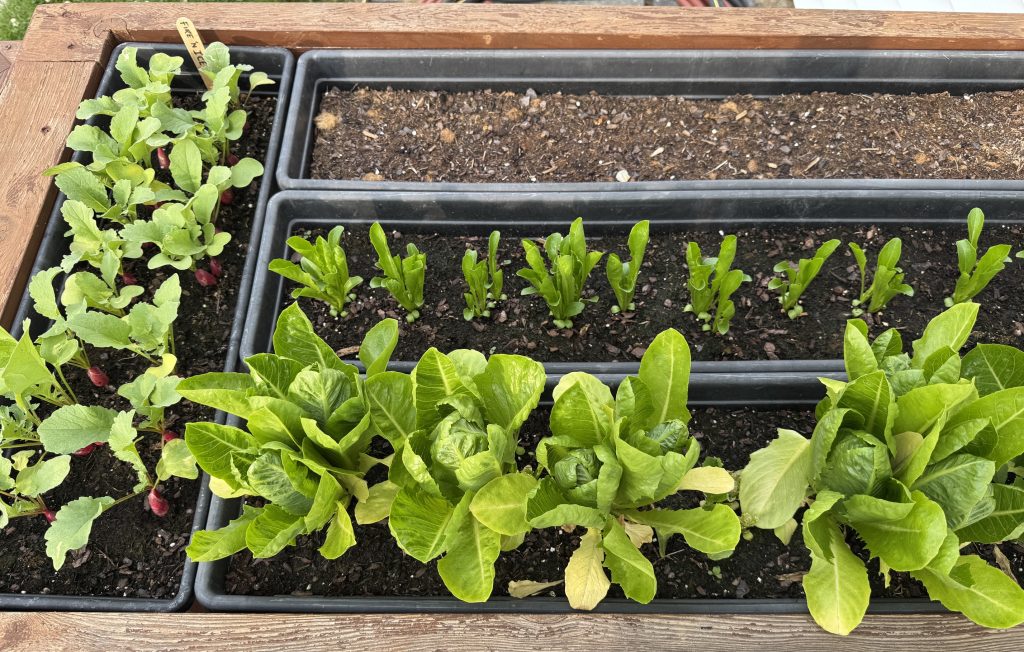
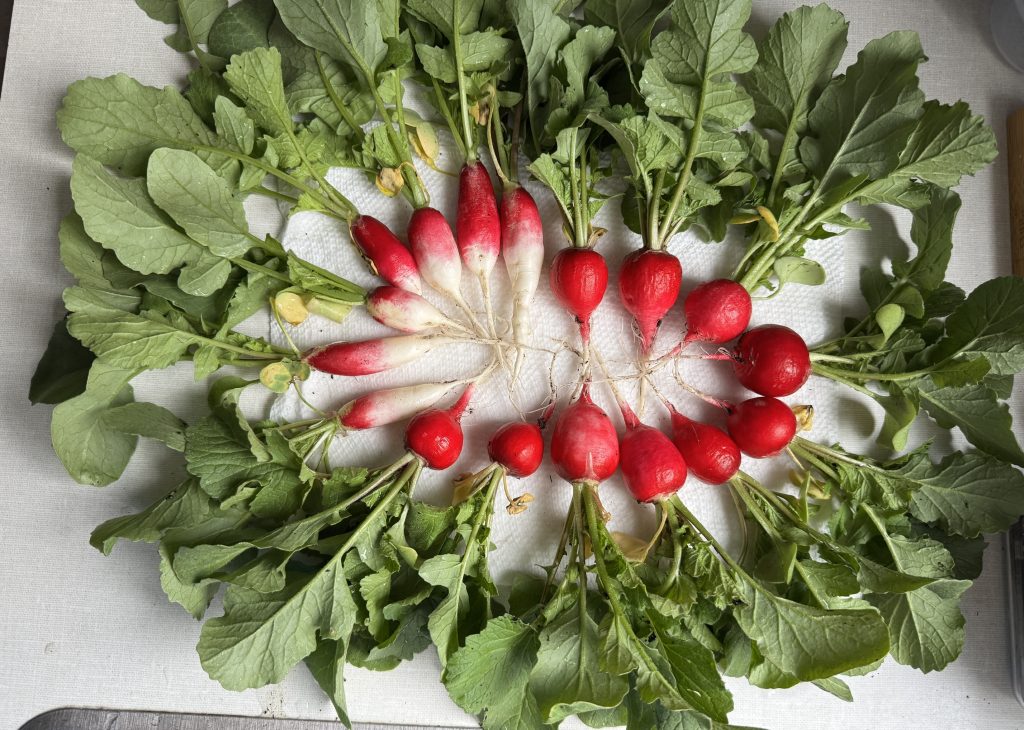
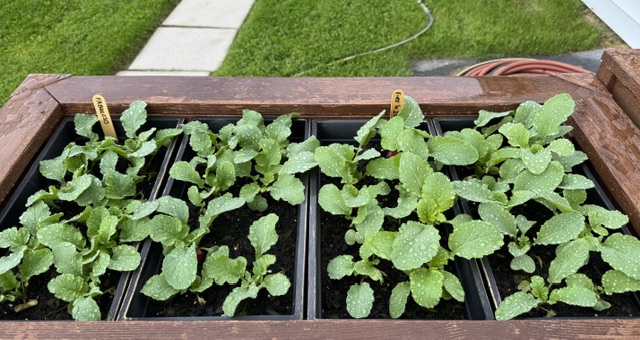
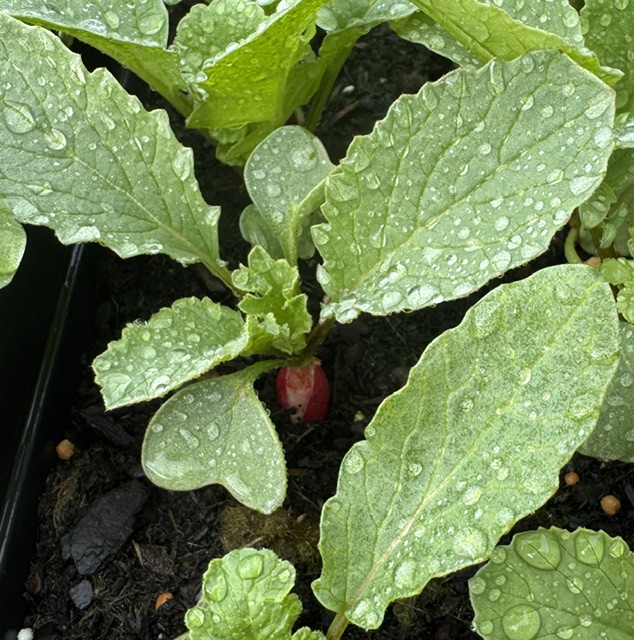
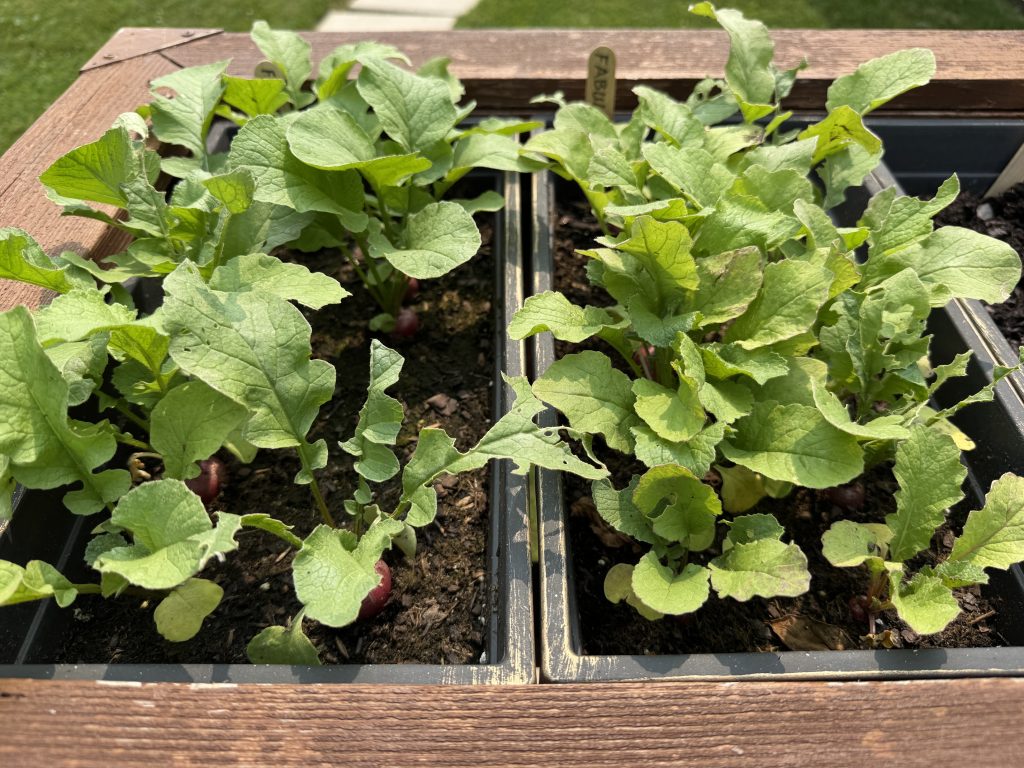
The radishes are minding the heat but the rain keeps them going.
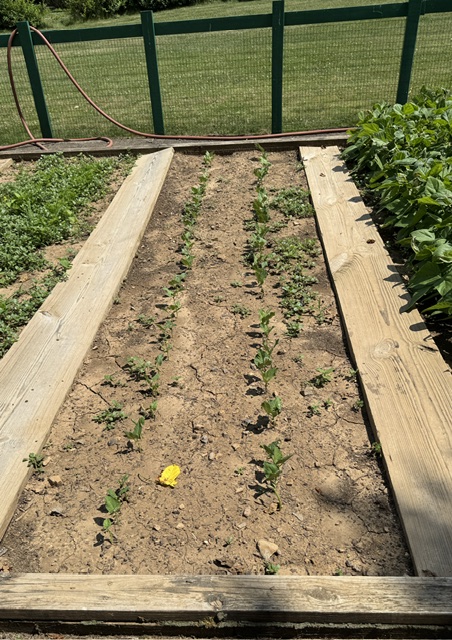
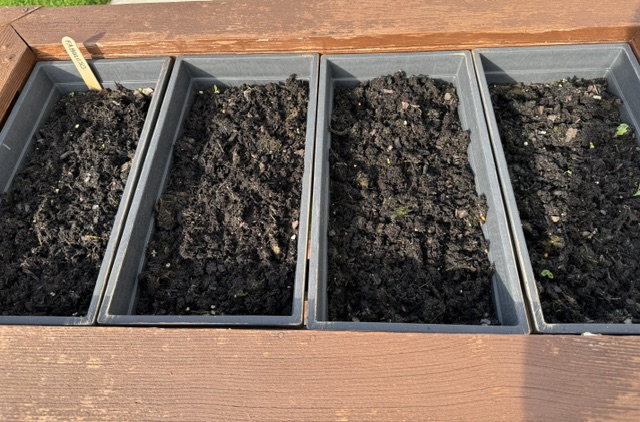
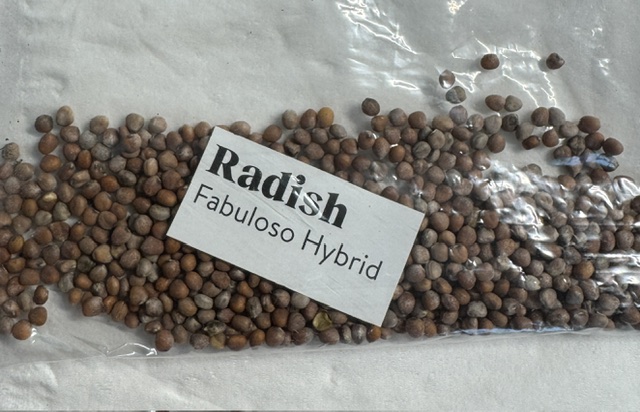
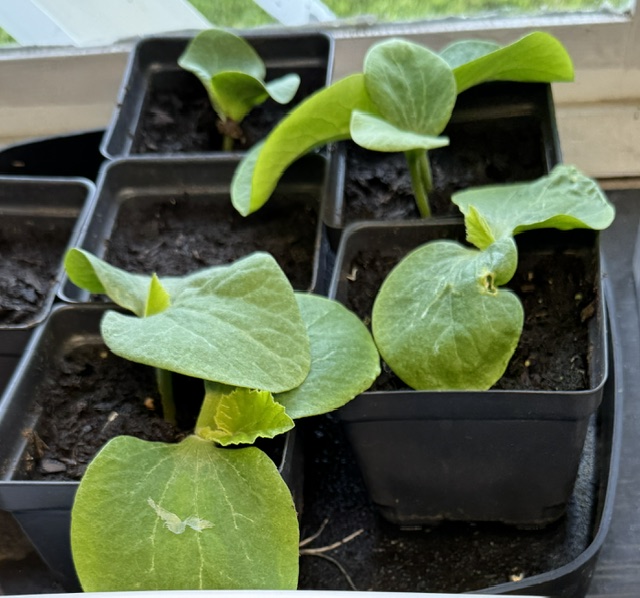
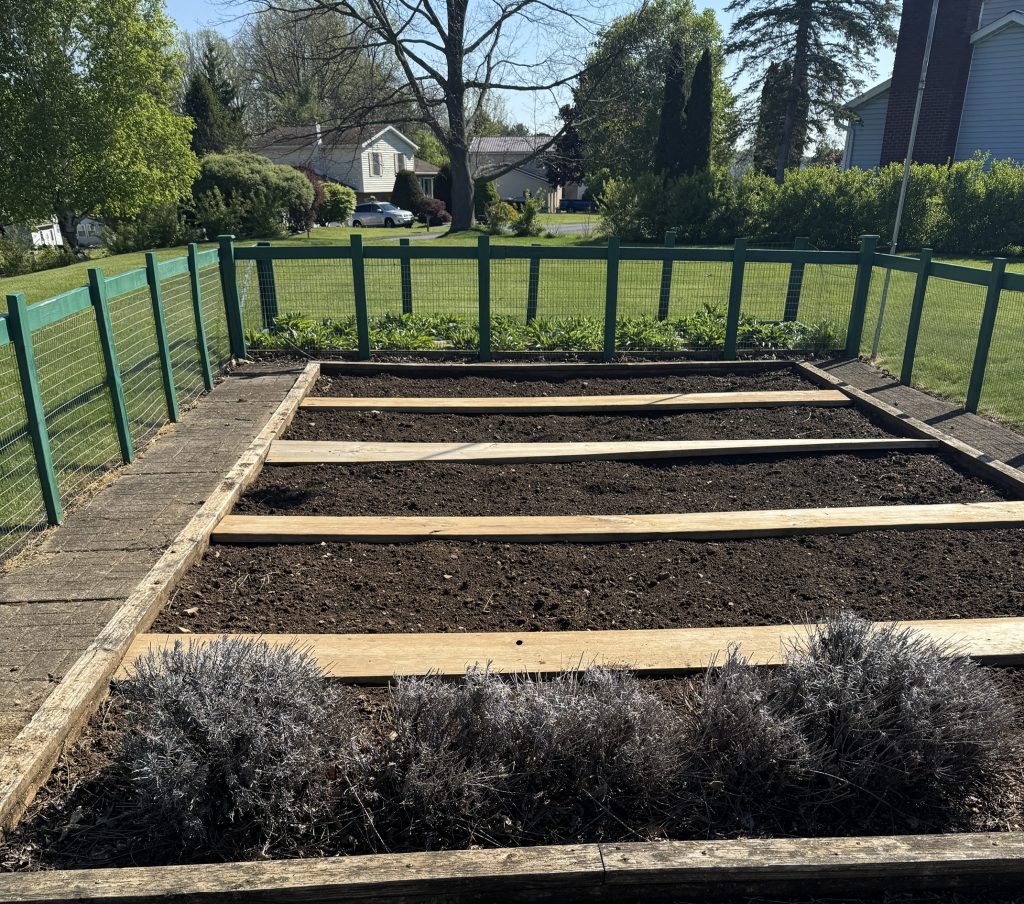
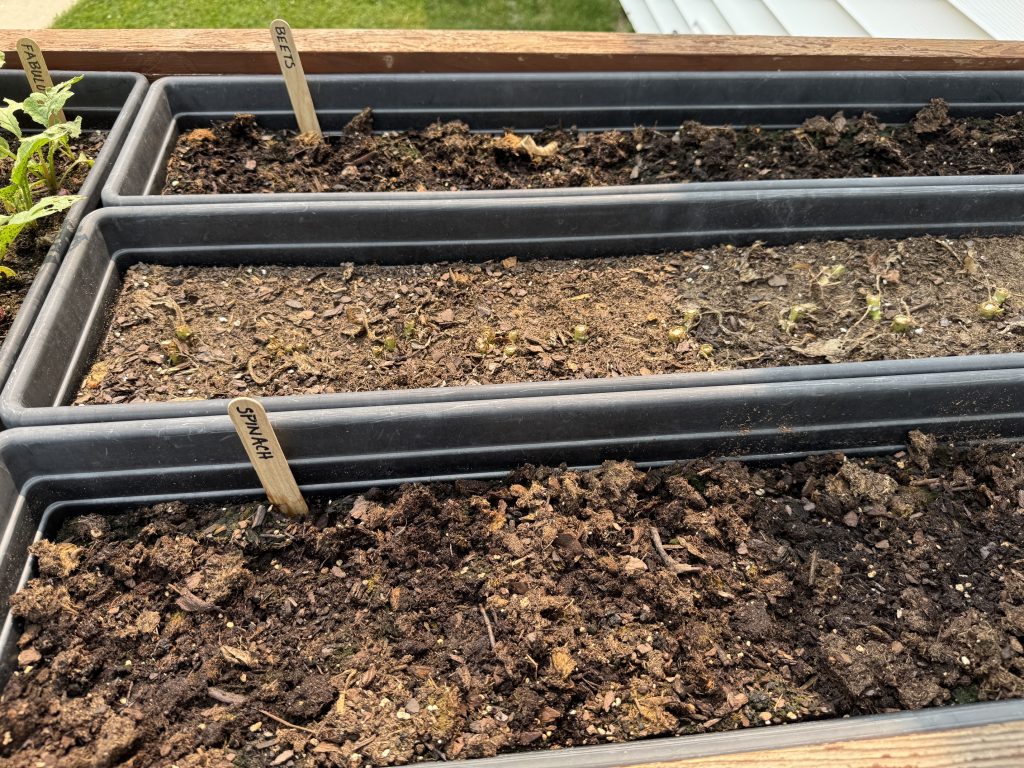
I’ll wait until fall to plant more radishes so instead I found some old seed for beets and spinach. Not sure if it will even sprout!
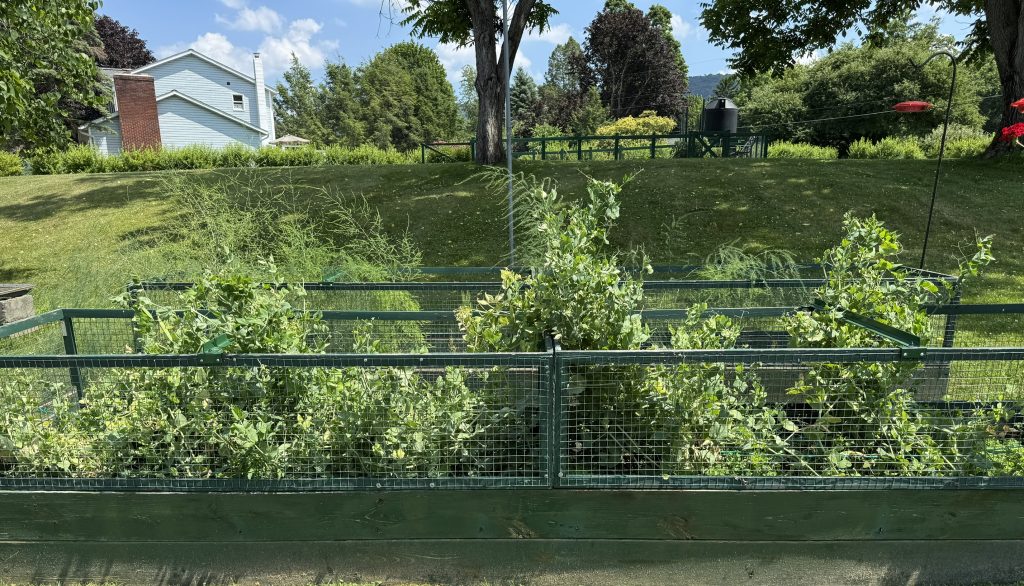
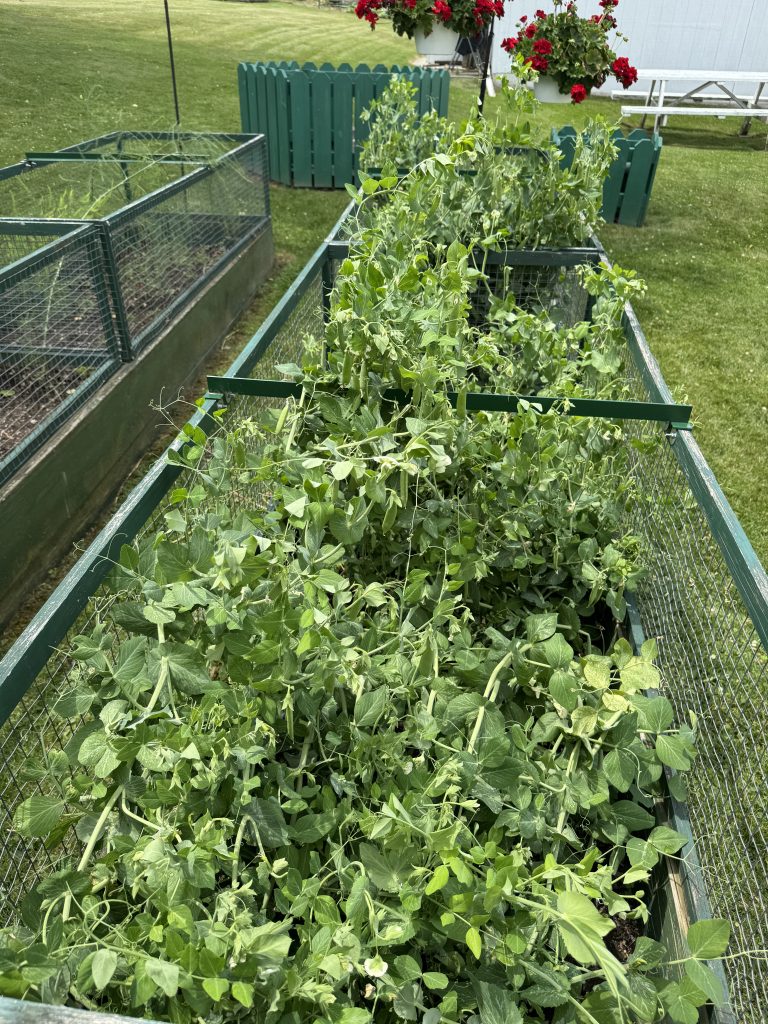
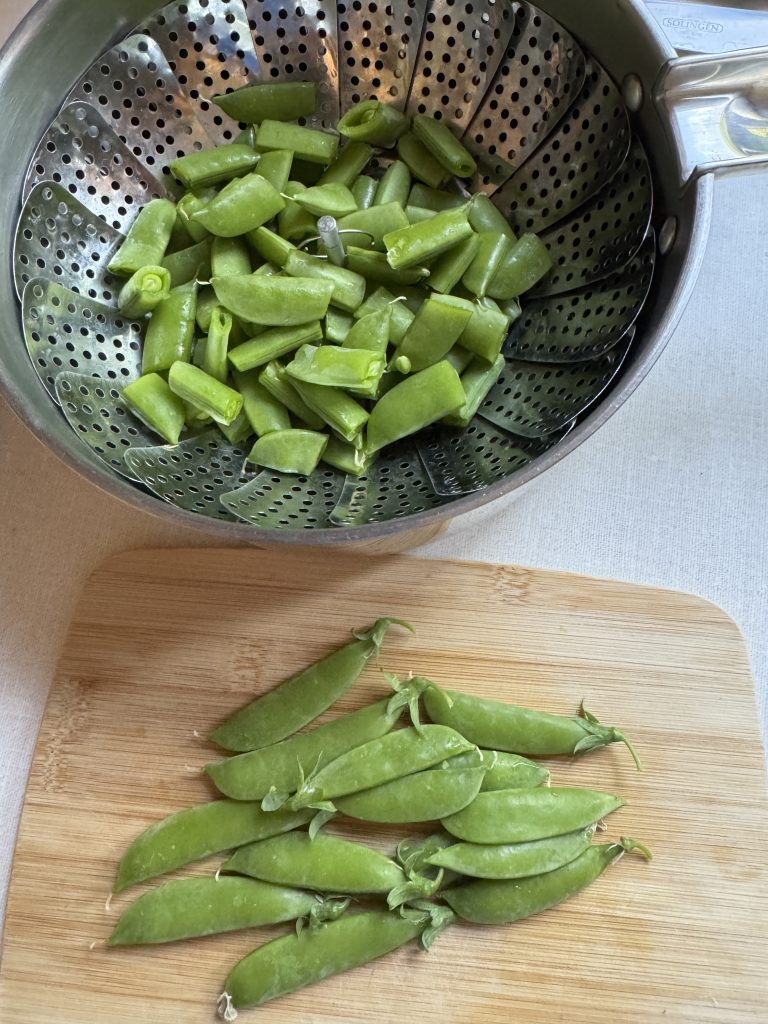
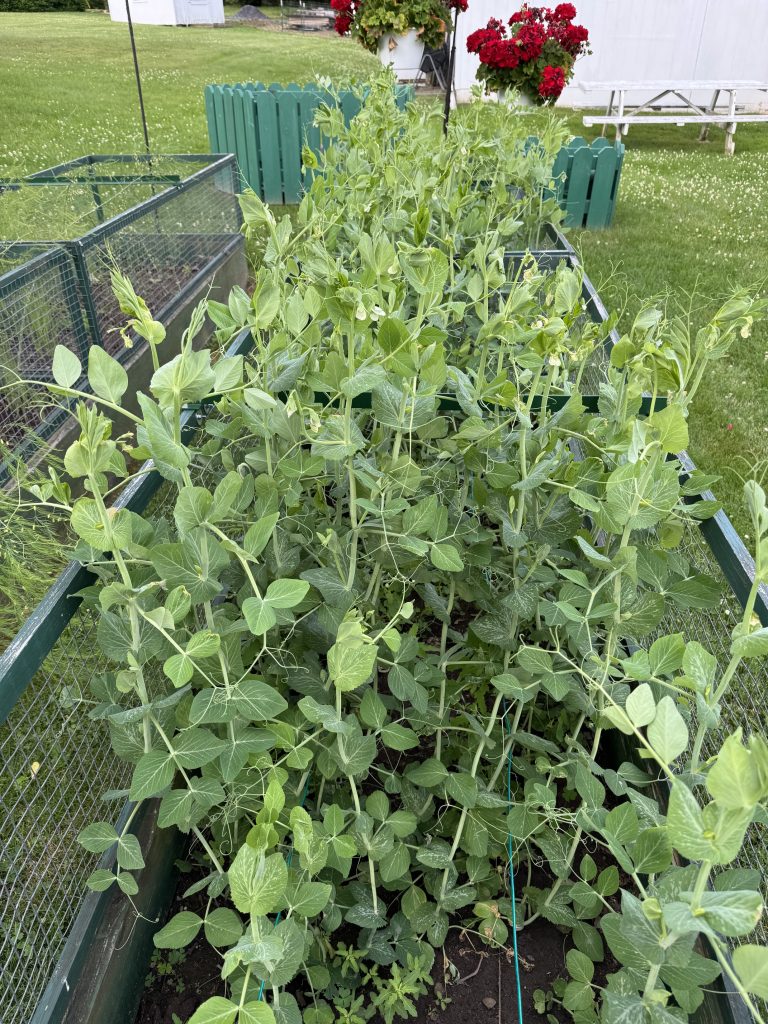
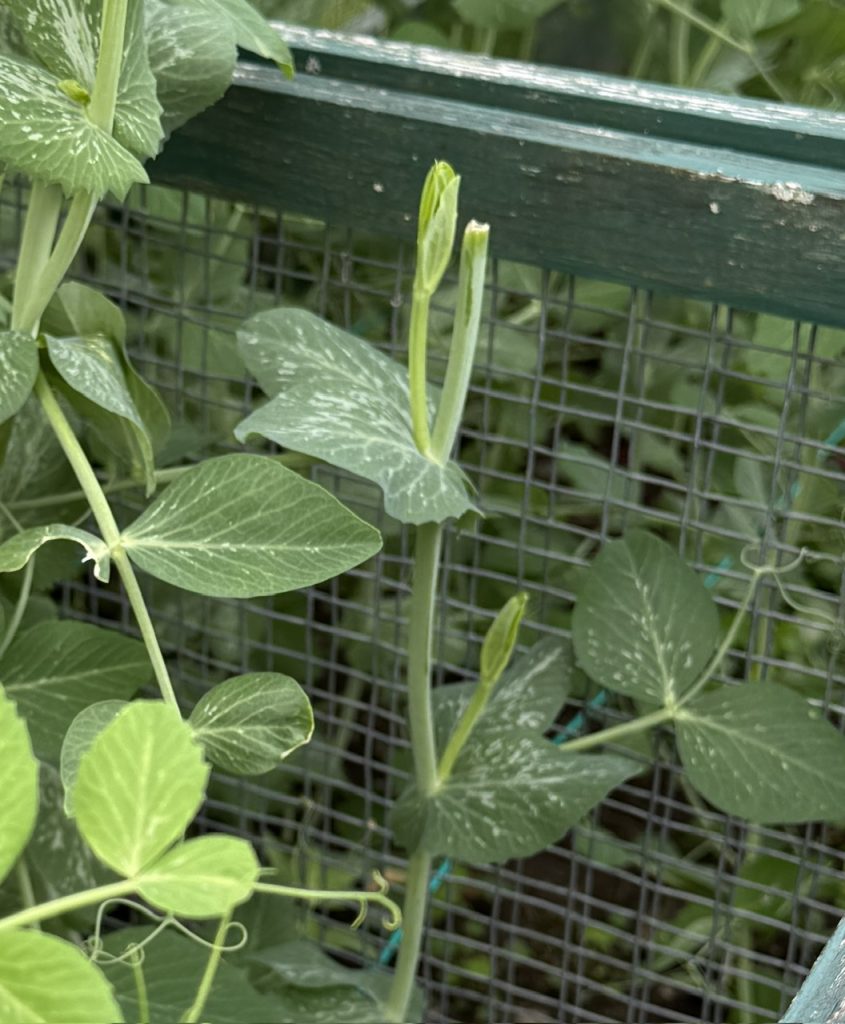
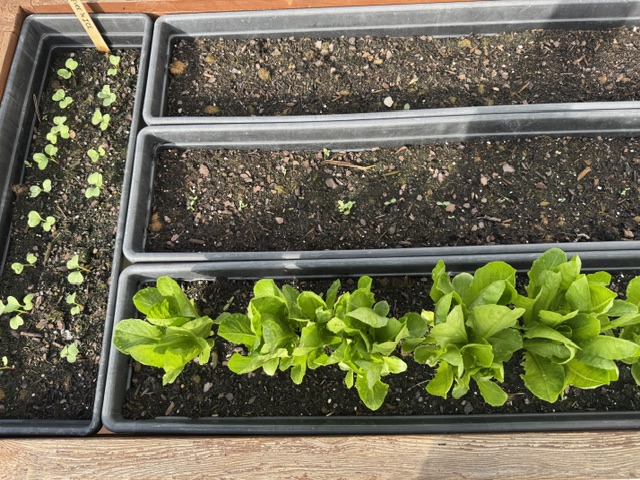
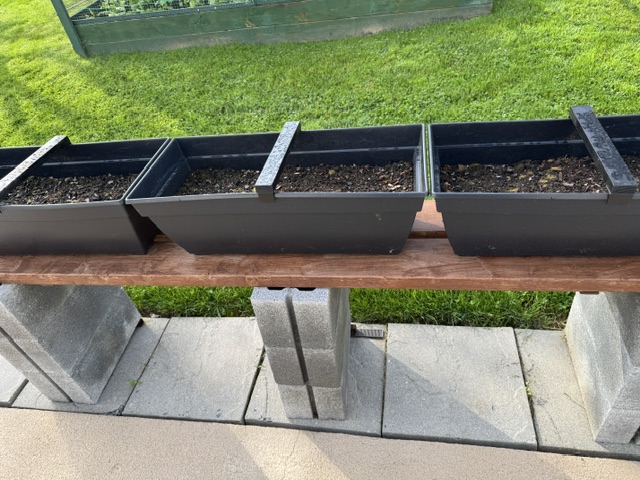
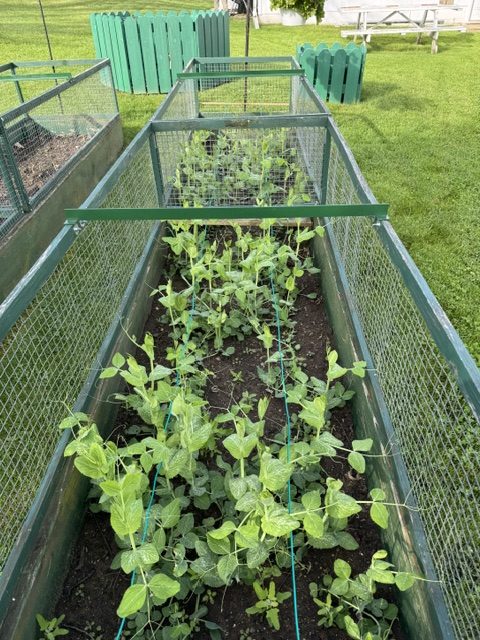
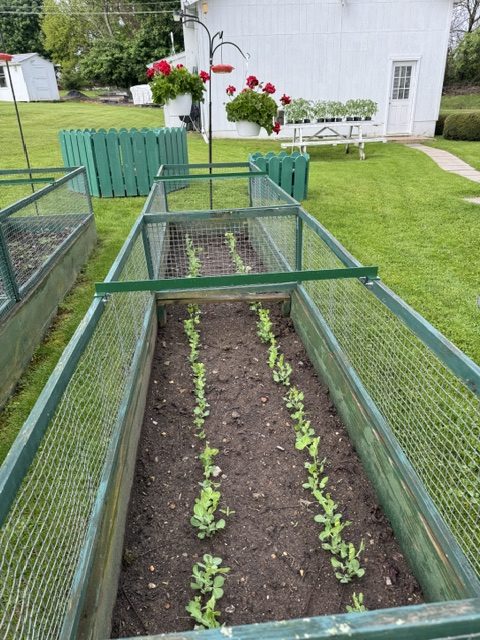
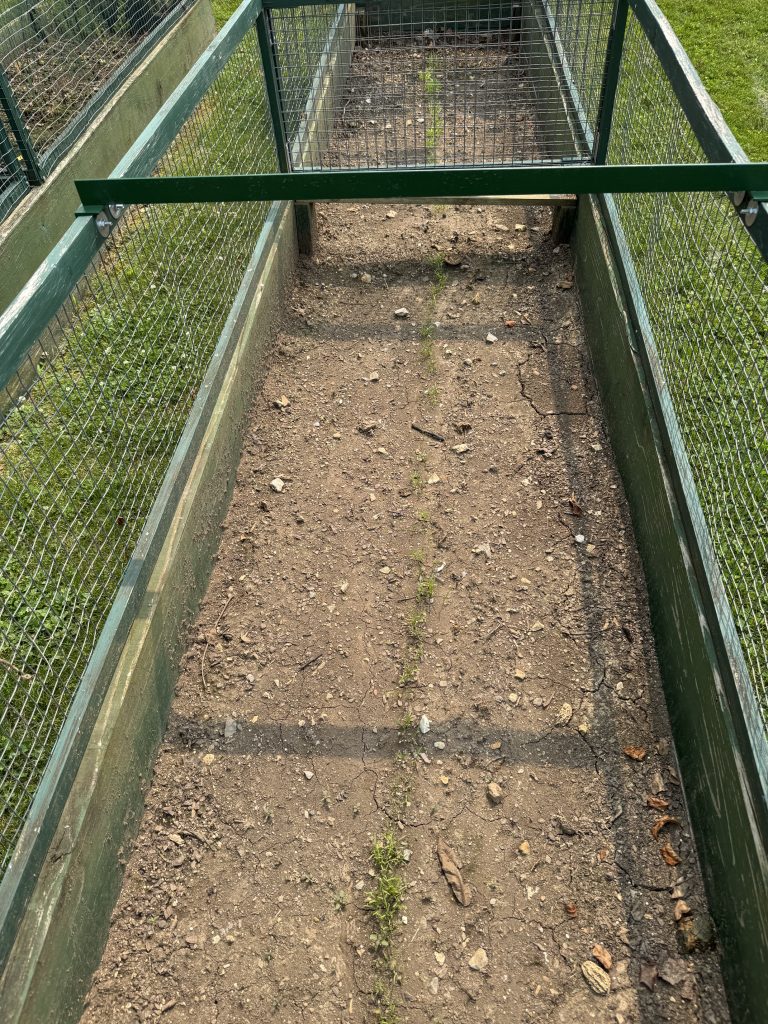
We had to pull the sugar snap peas two weeks ago. Bert took our extra carrot seeds and planted a long row in that planter. They came up quickly. We might have to use that planter for carrots in the future…they don’t seem to do well up in the garden.
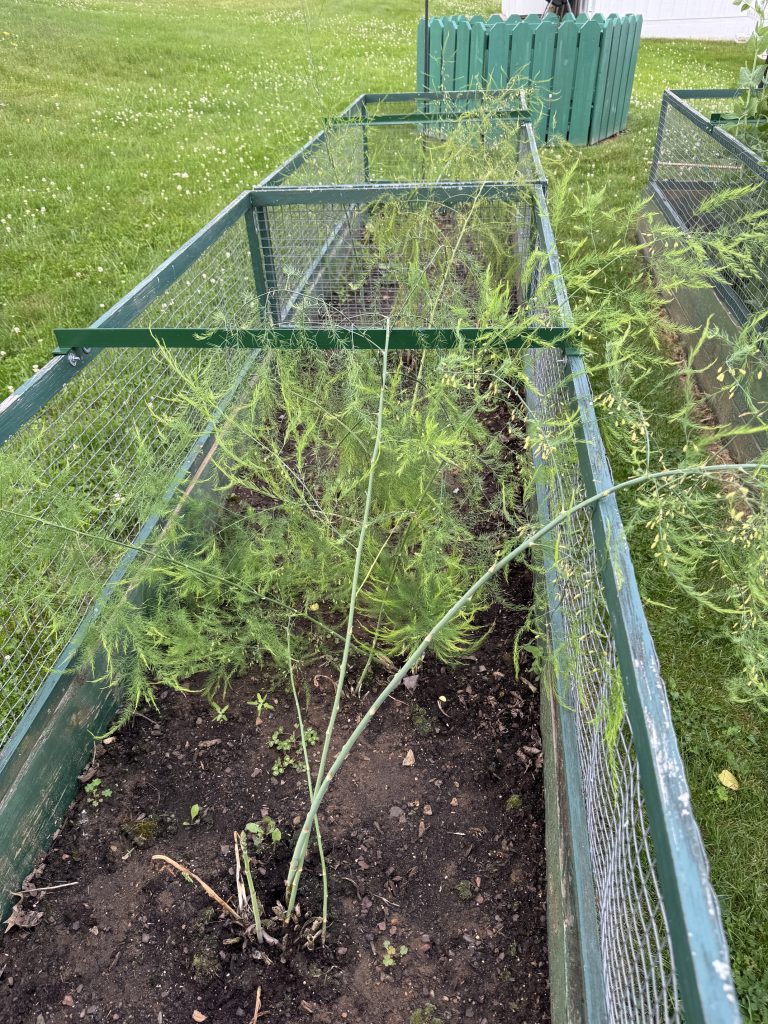
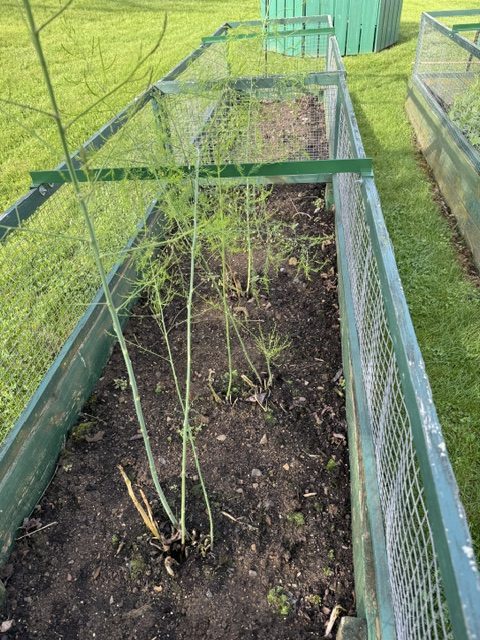
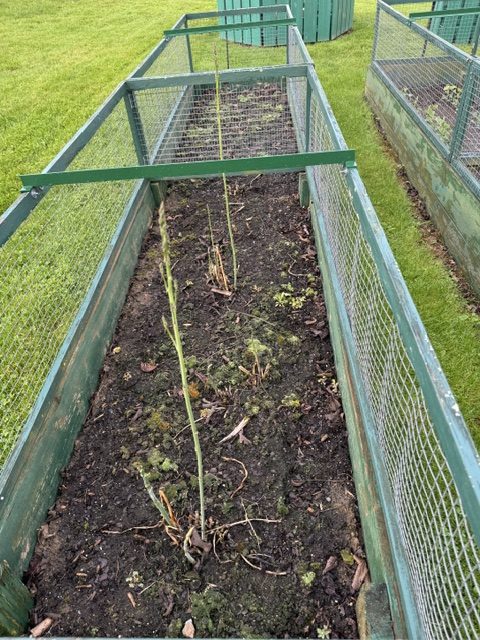
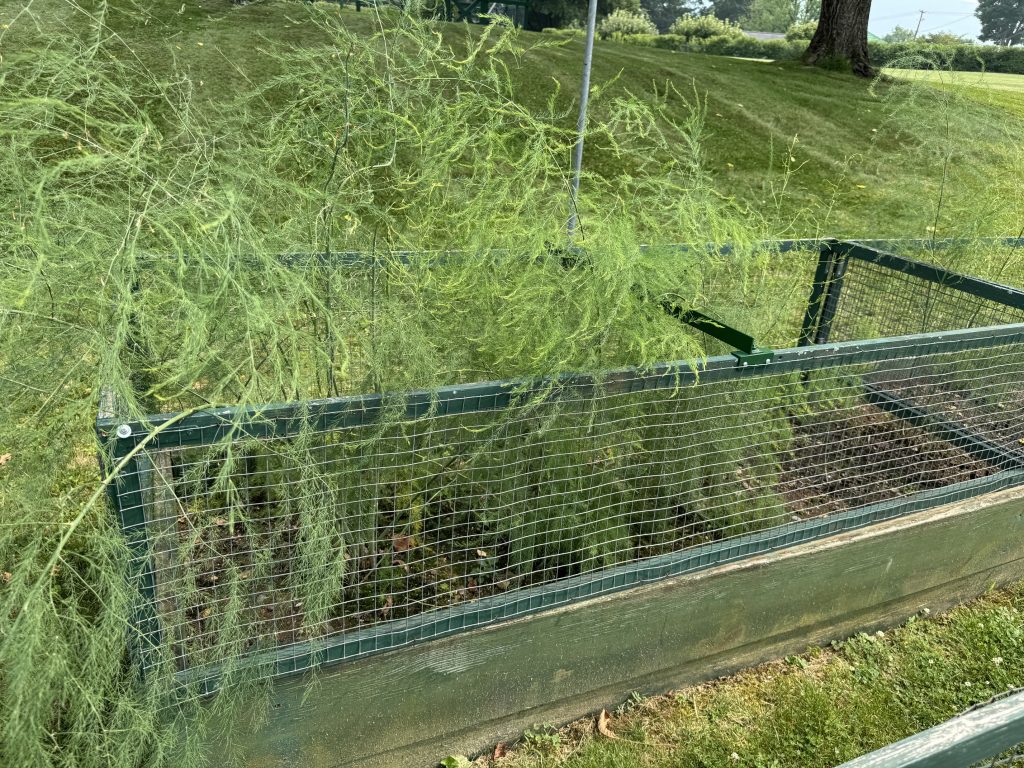
The asparagus looks pretty waving in the wind!
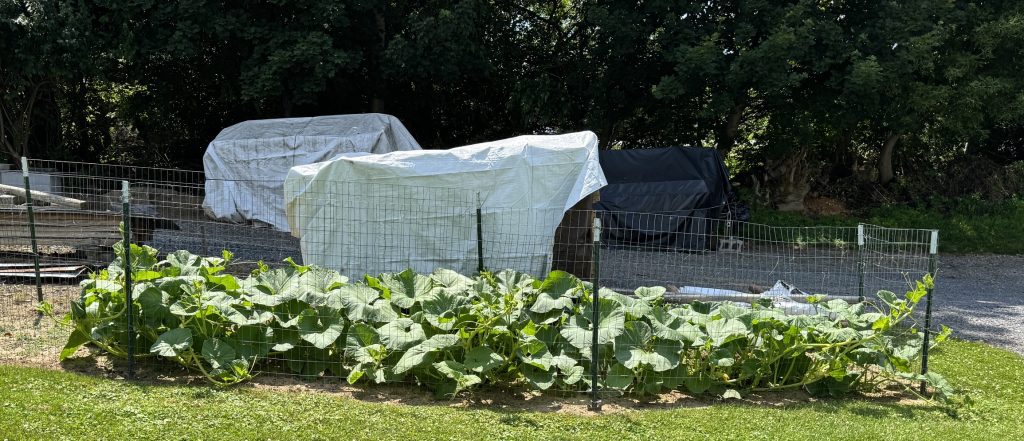
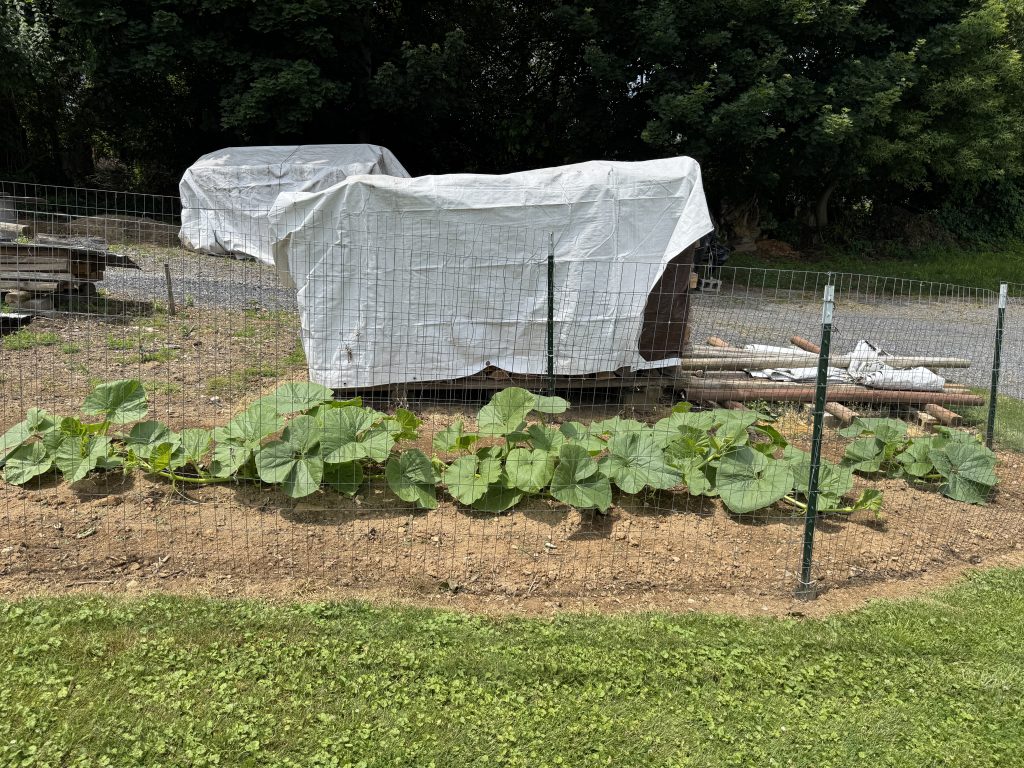
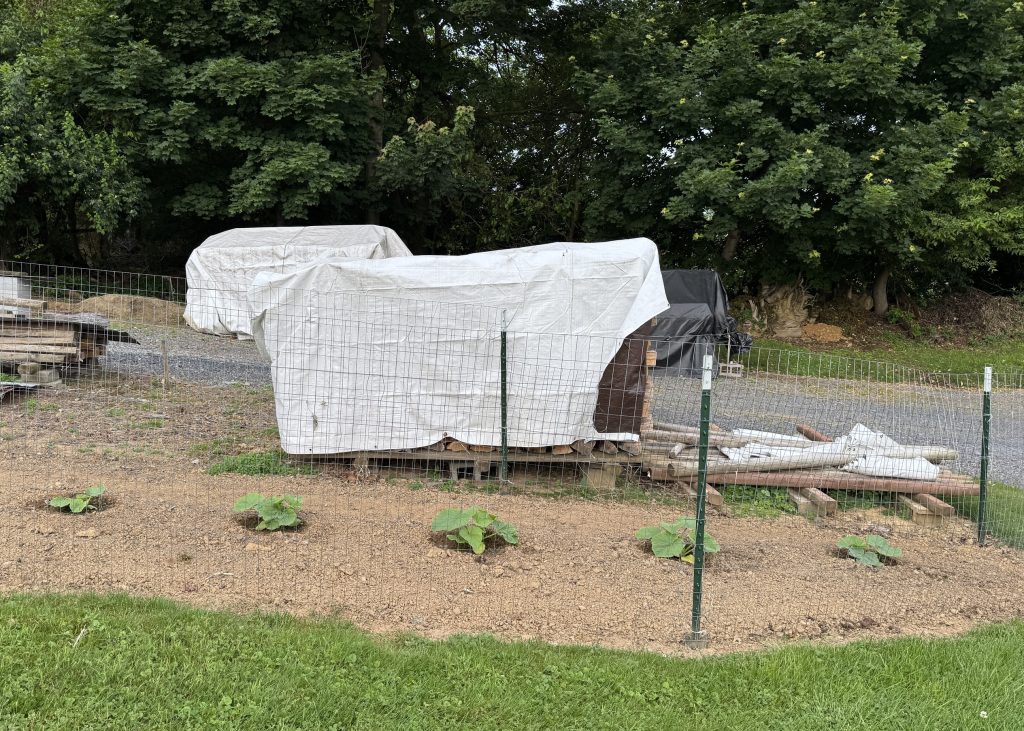
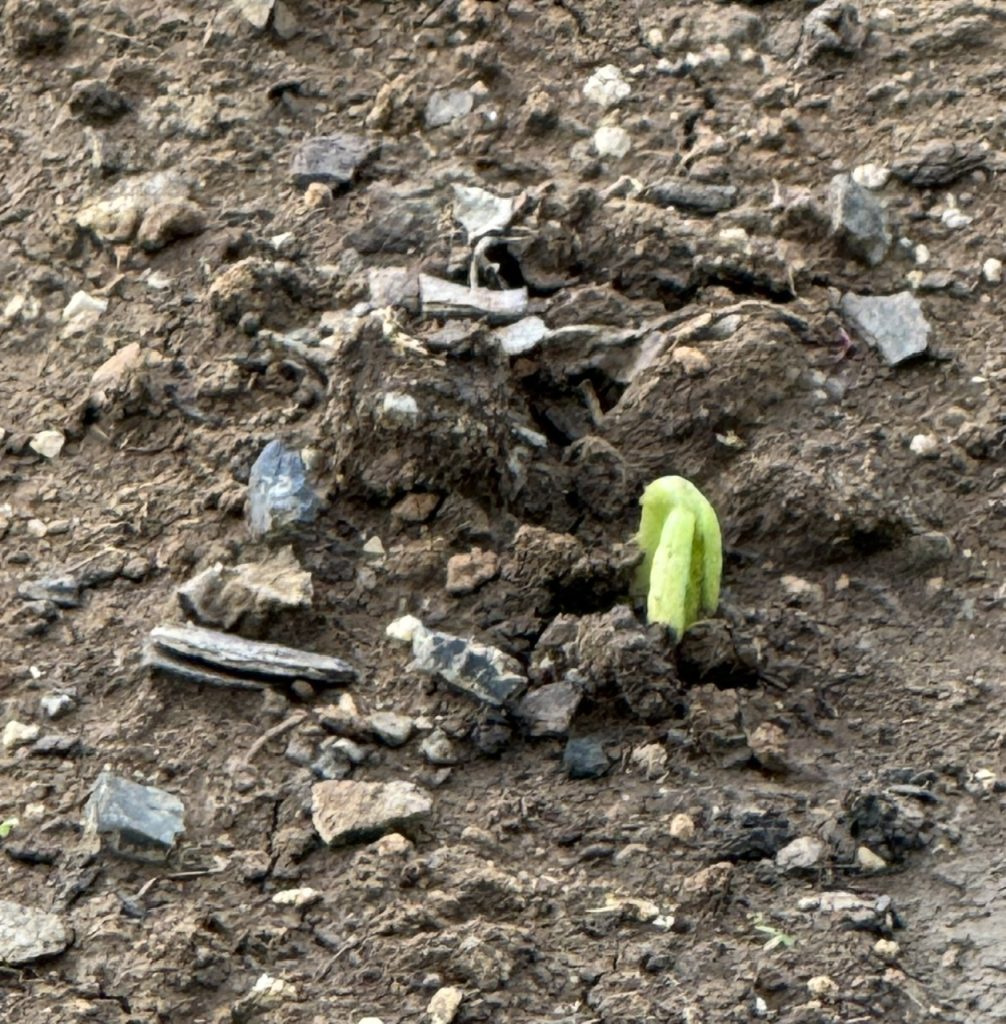
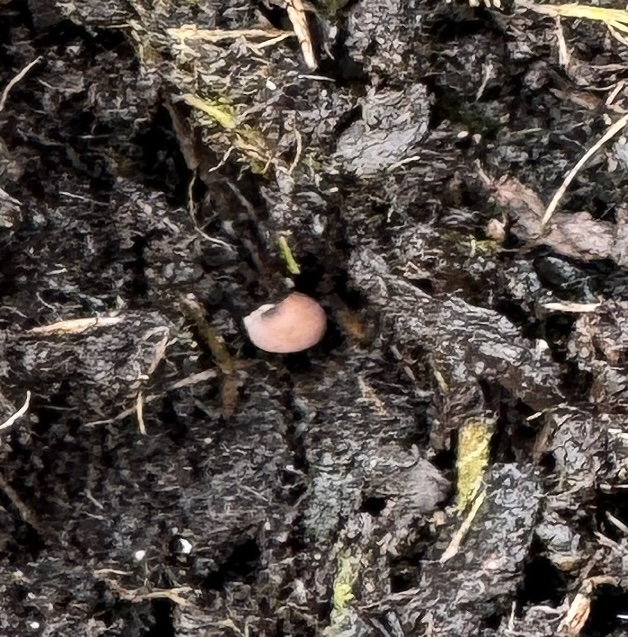
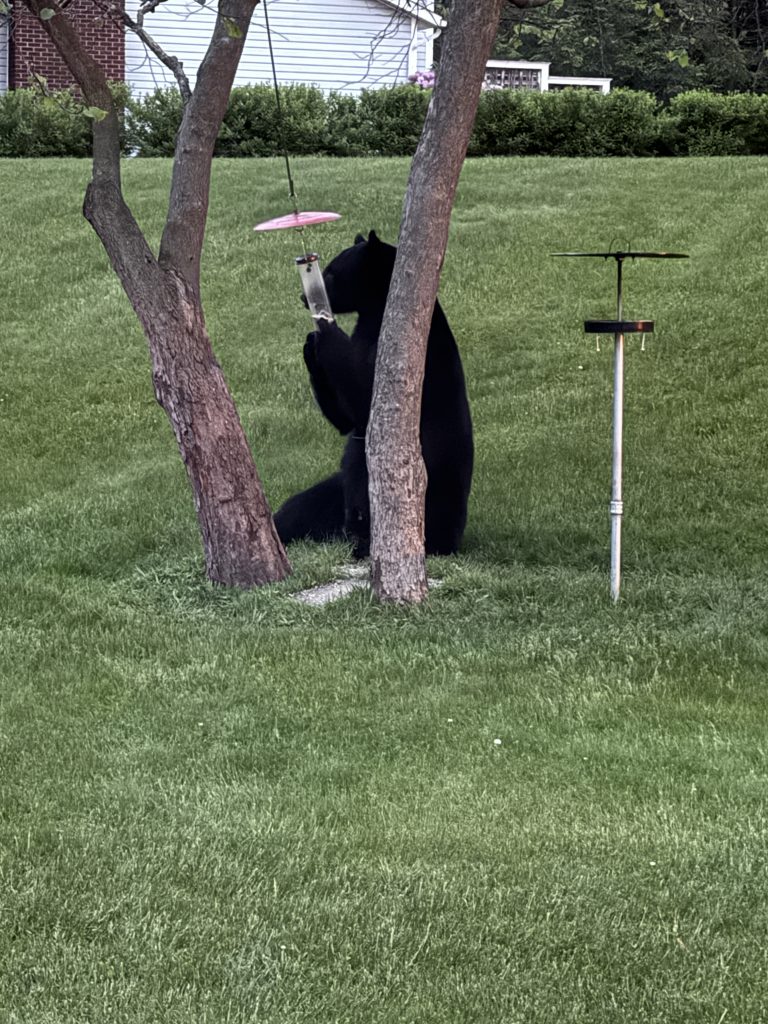
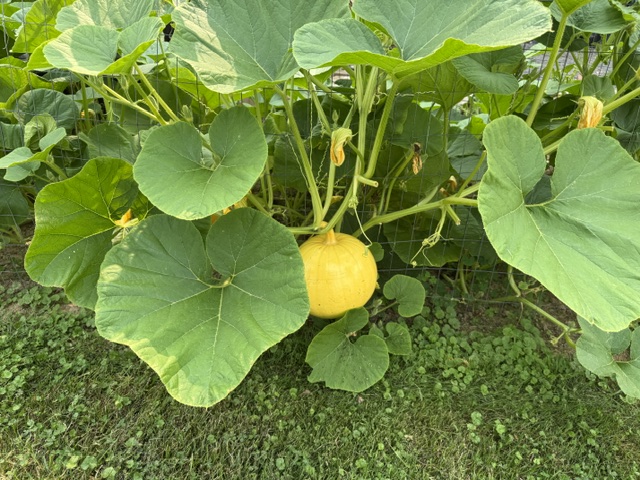
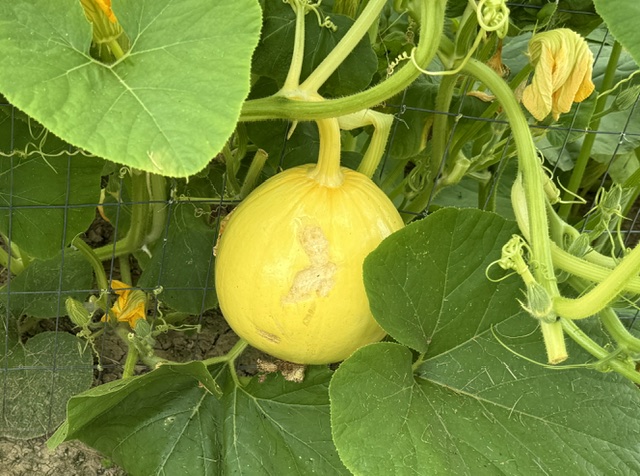
The pumpkins are determined to grow outside the fence! In the second picture you can see a critter must have taken a taste!
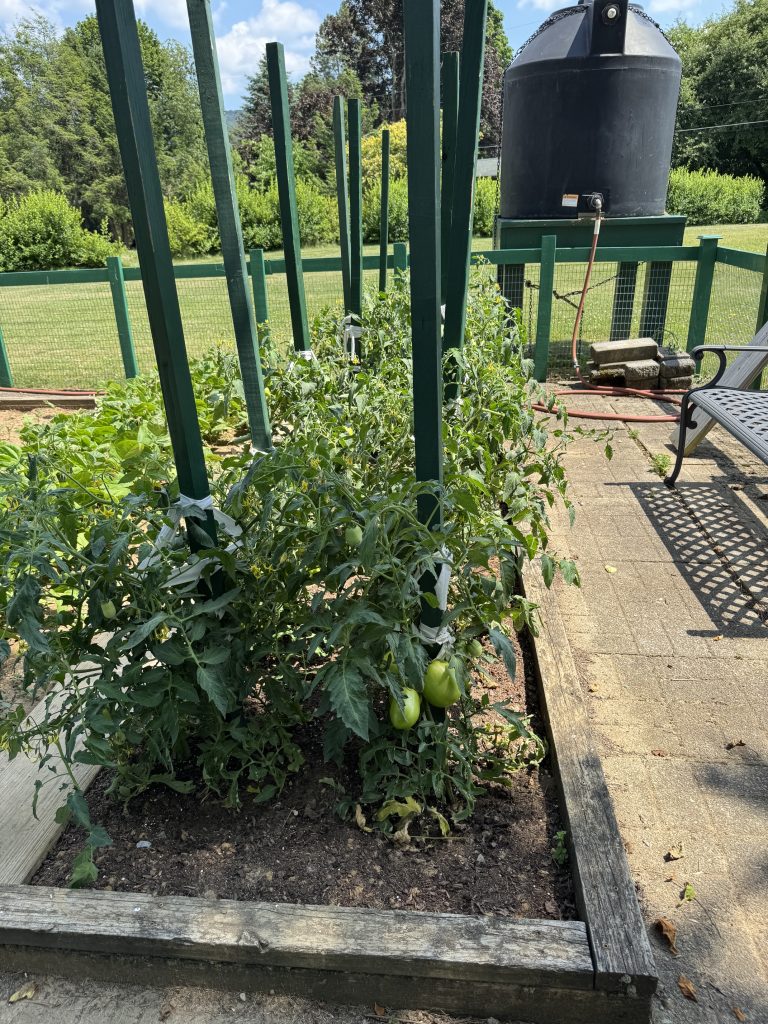
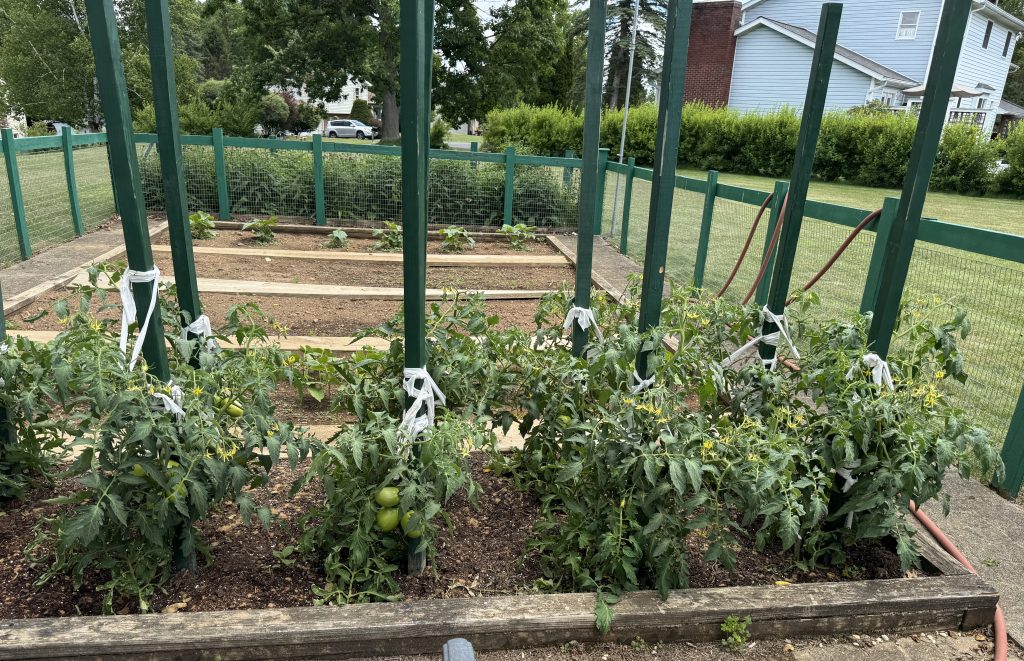
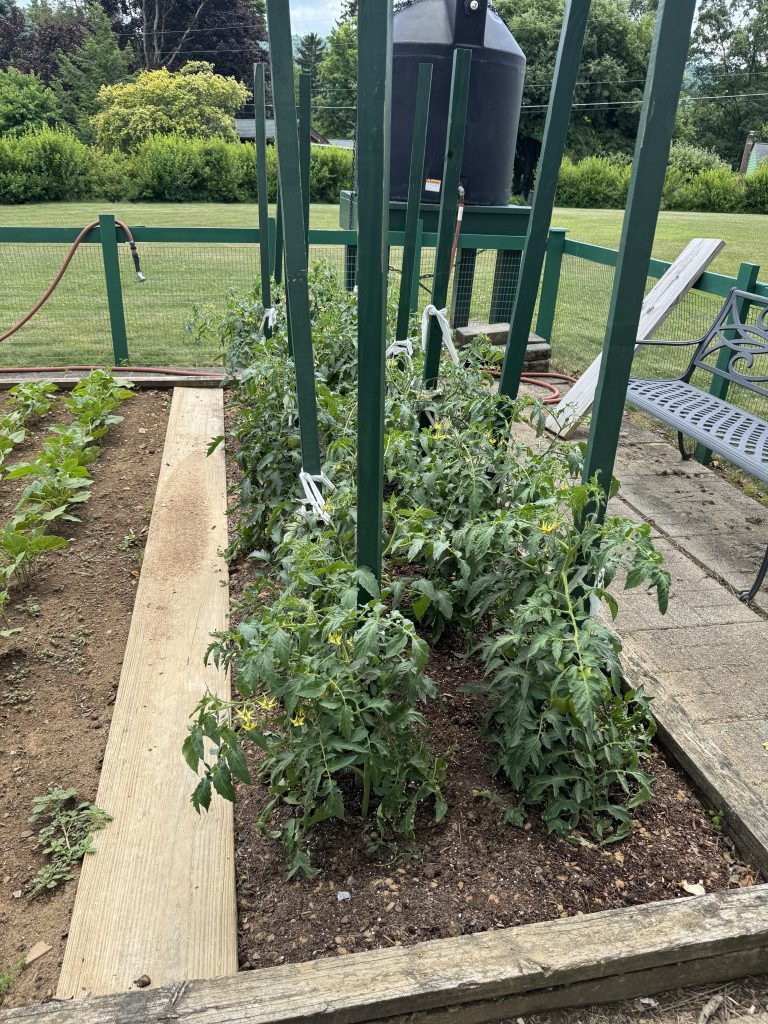
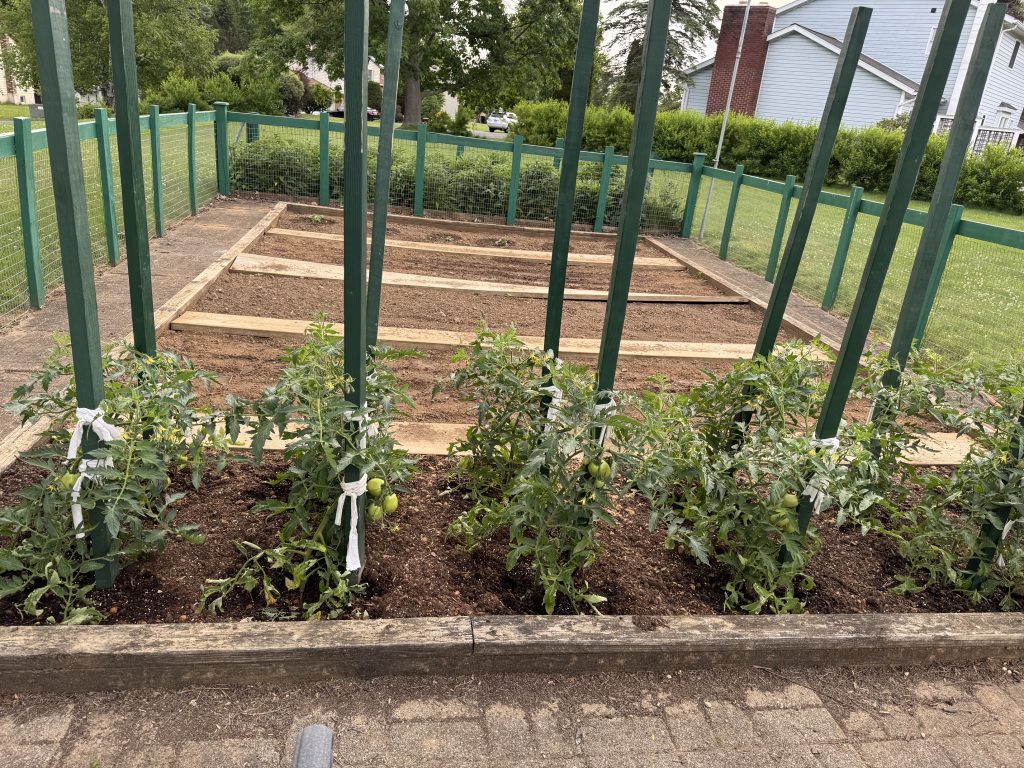
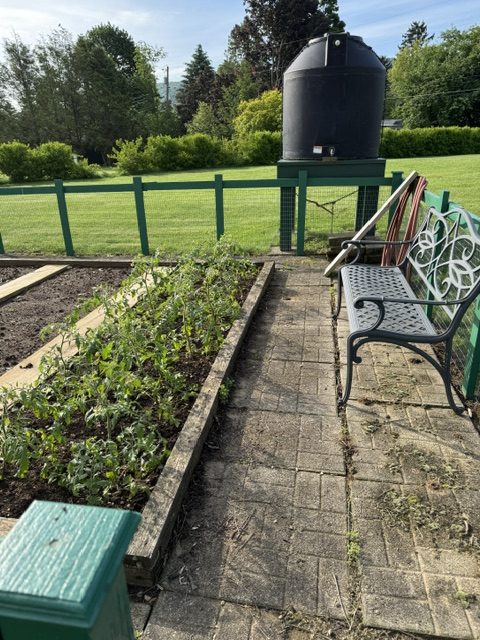
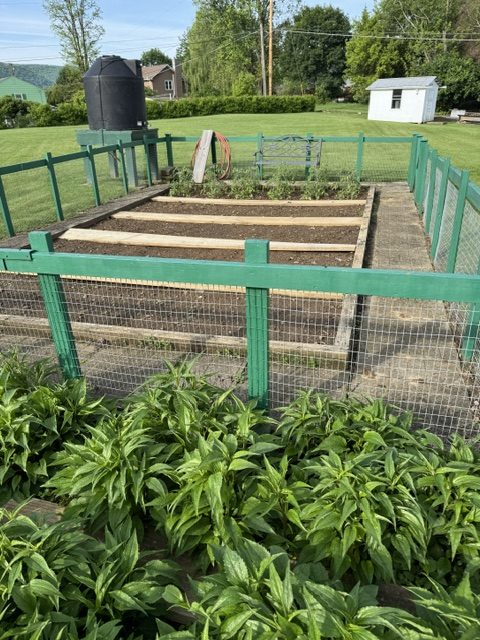
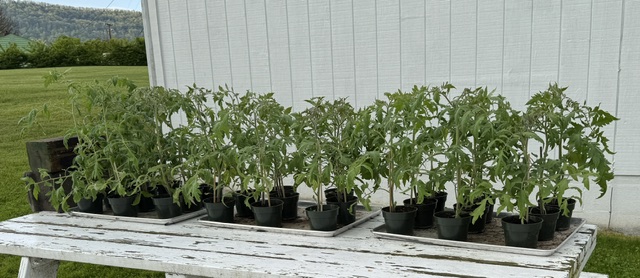
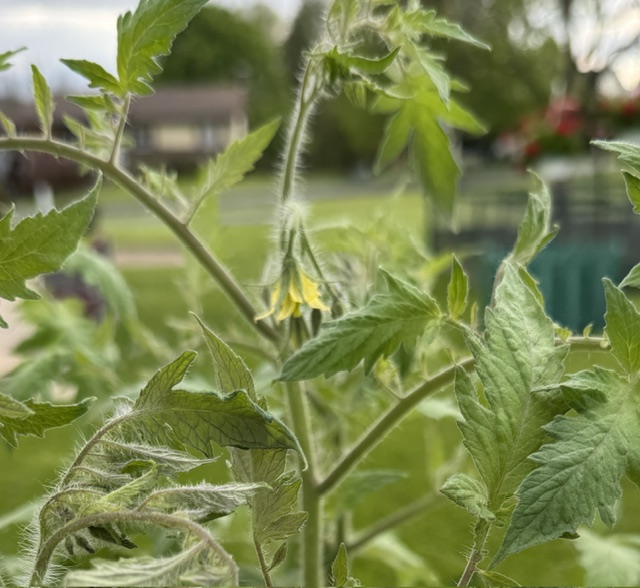
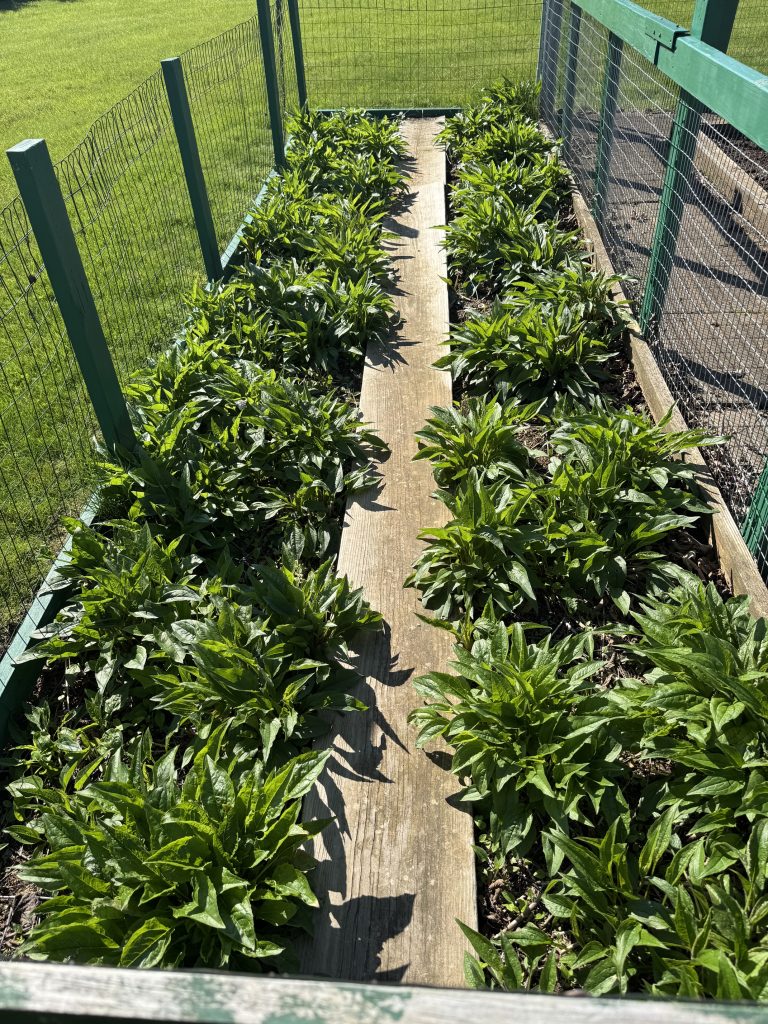
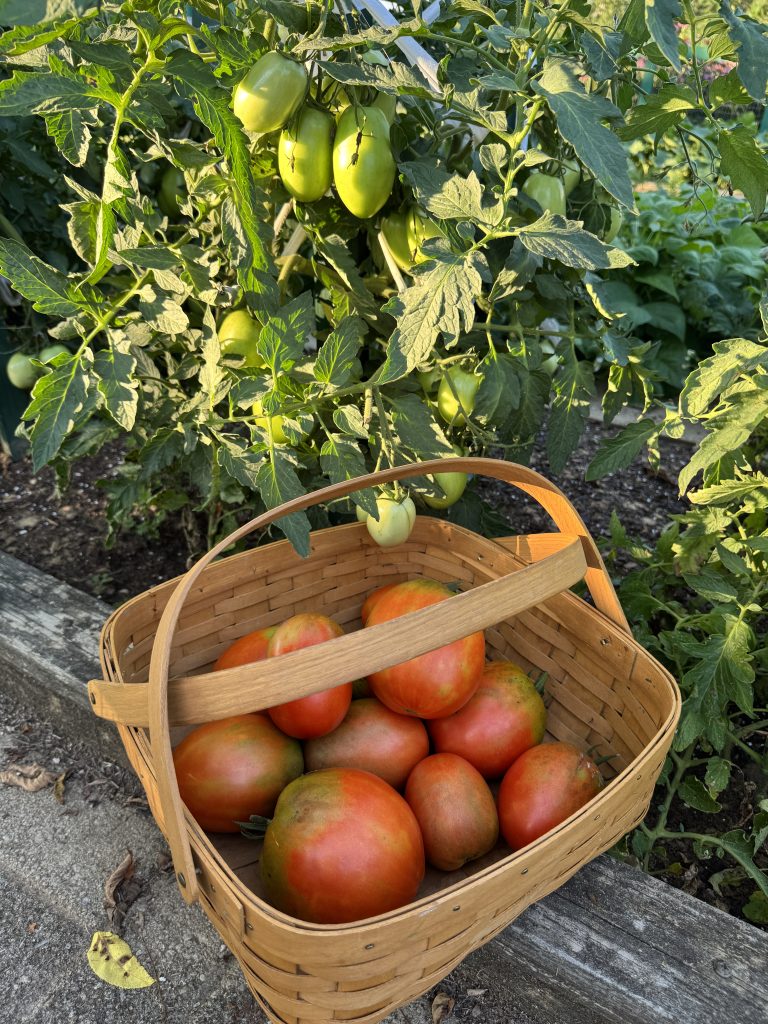
Up in the garden on the hill, the tomatoes are doing well!
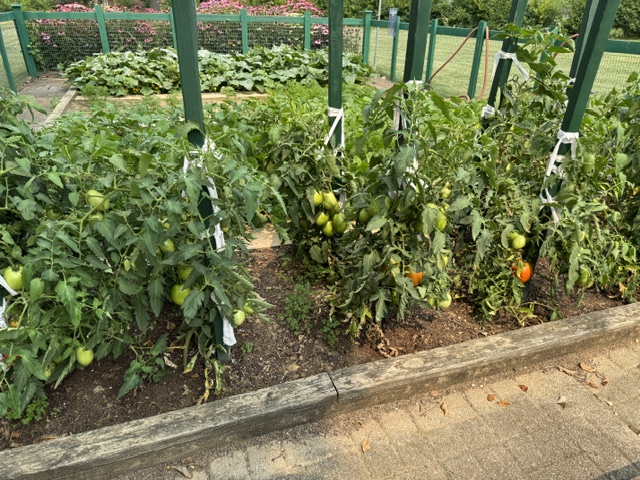
The first picking included some pretty big tomatoes! I like to pick them while they are still firm. In a day or two they’ll finish ripening on the kitchen table.
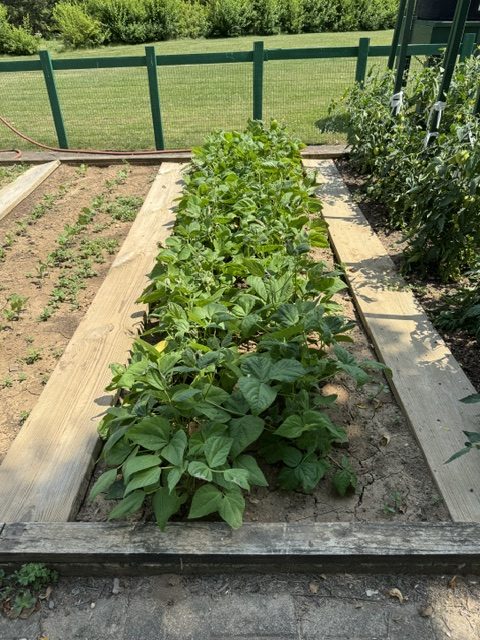
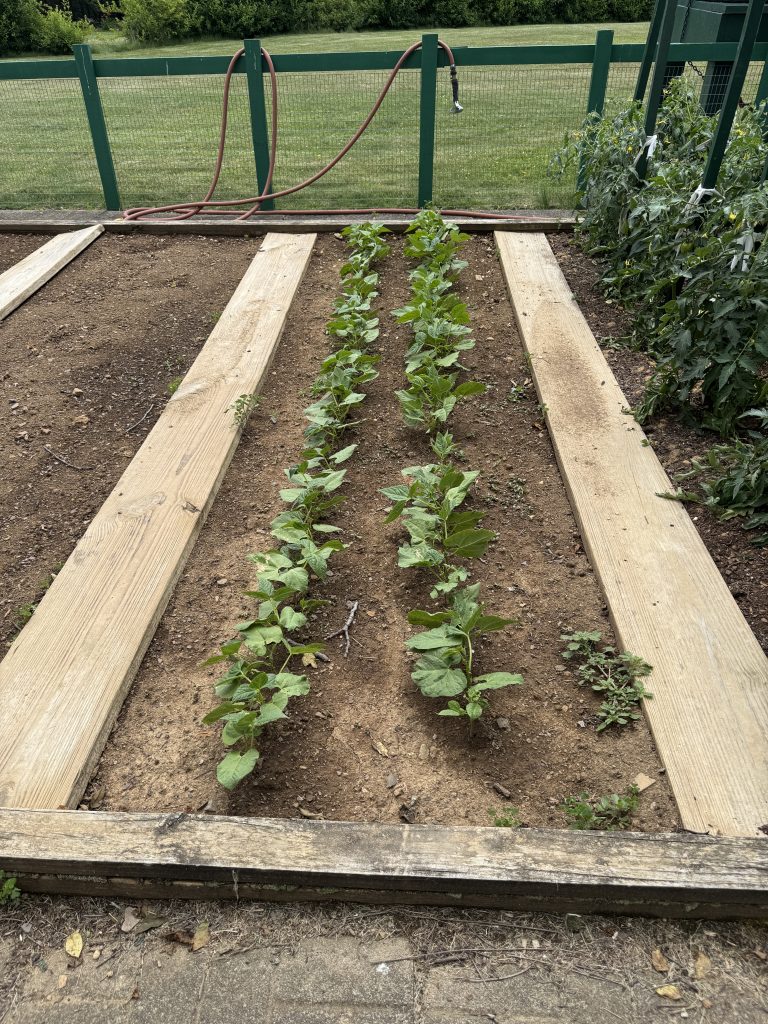
Next, the green and yellow beans are making beans! Finally!

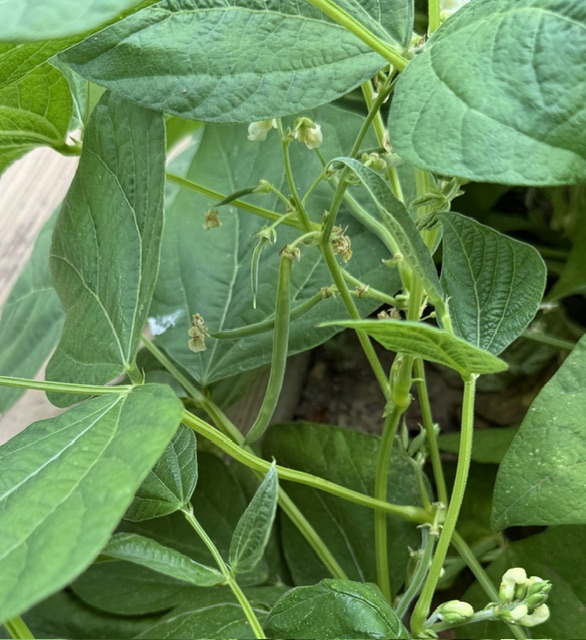
Here is the second planting of beans:

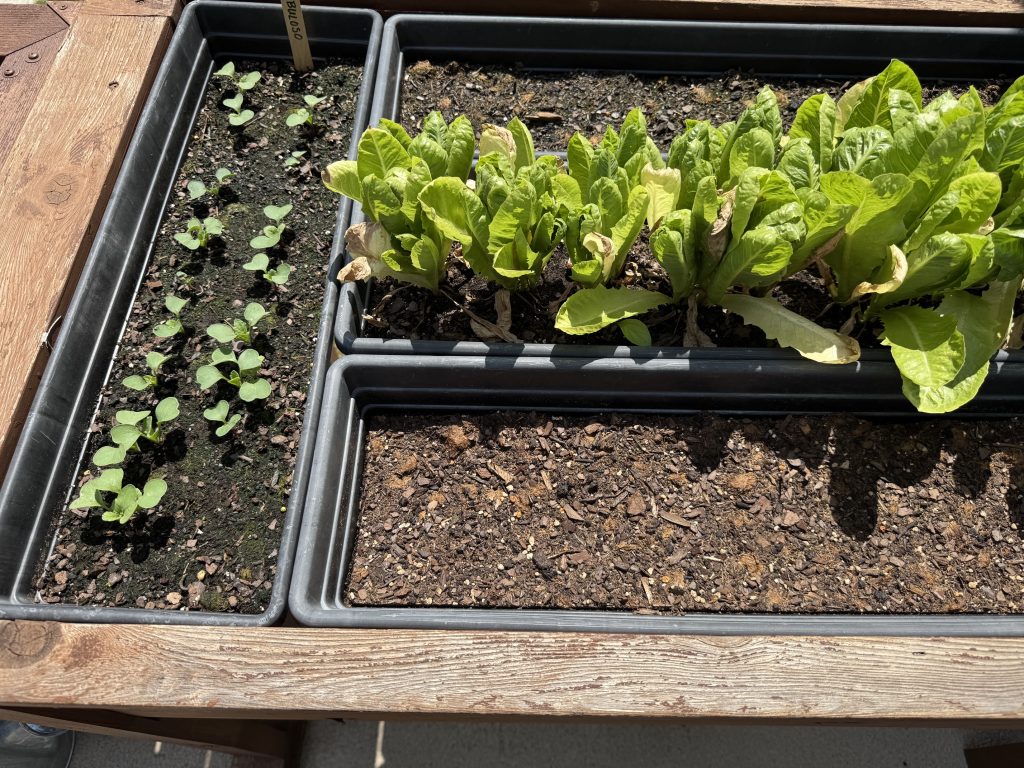
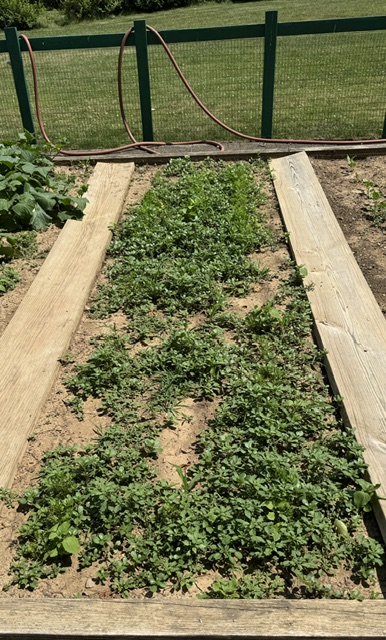
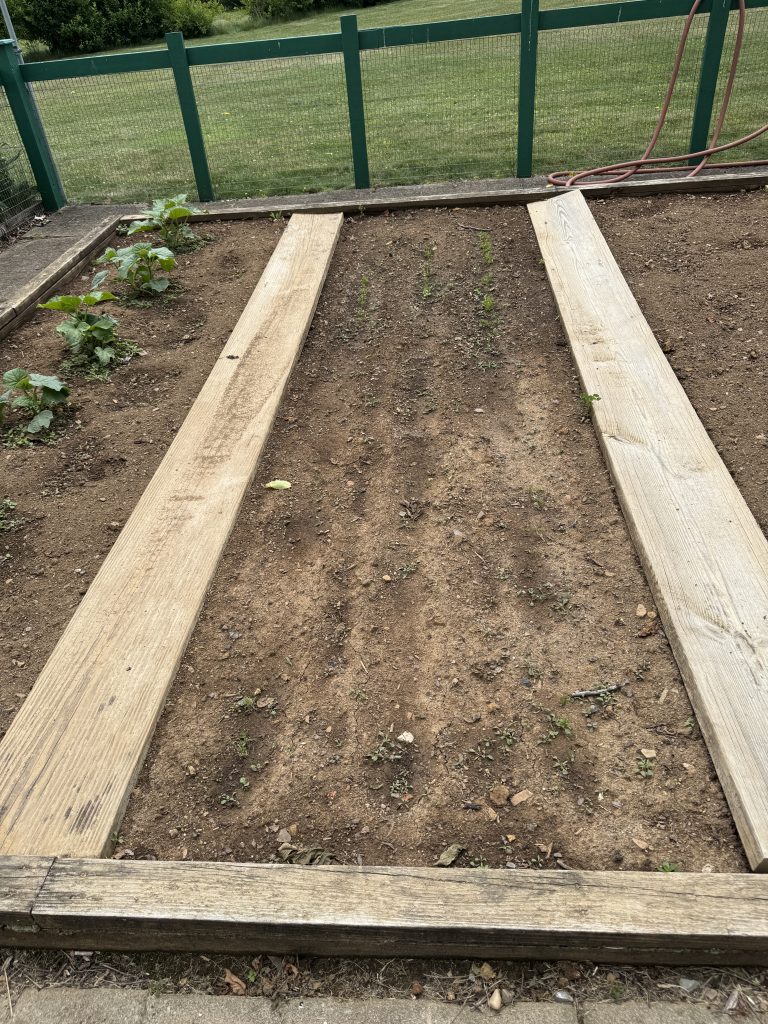
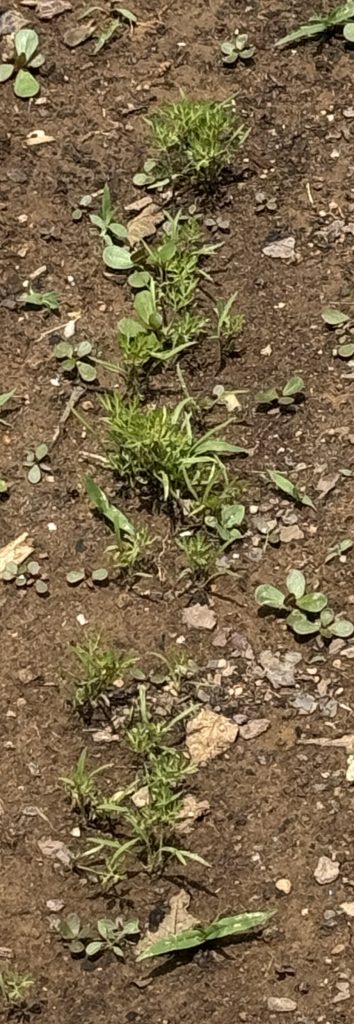
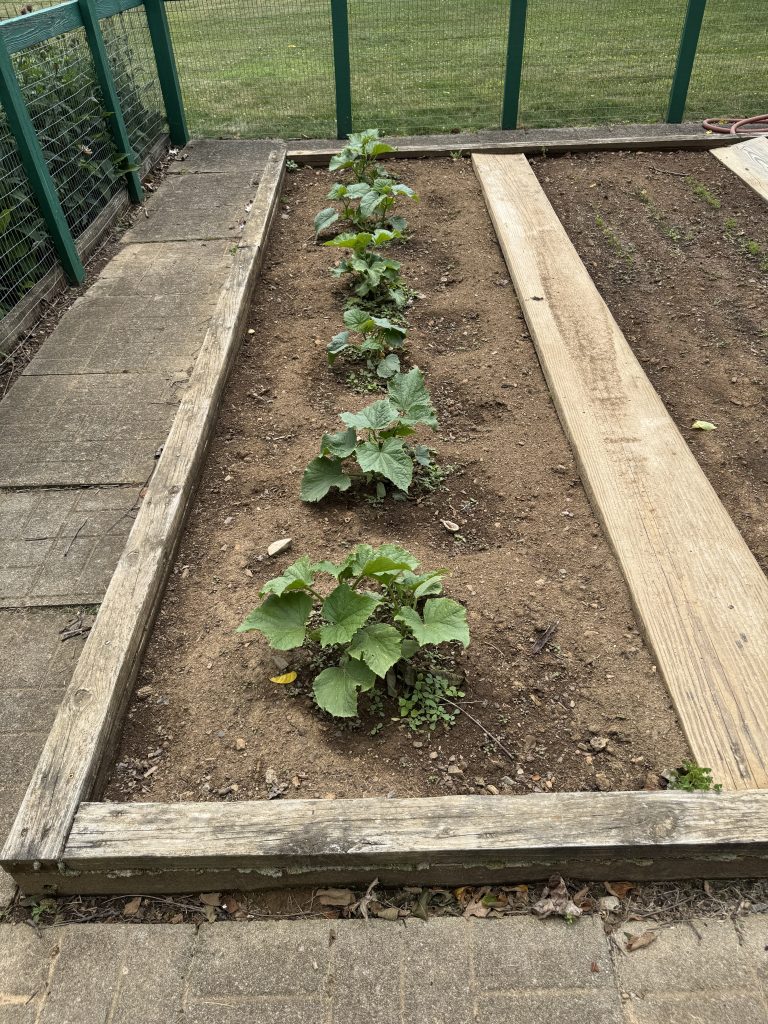
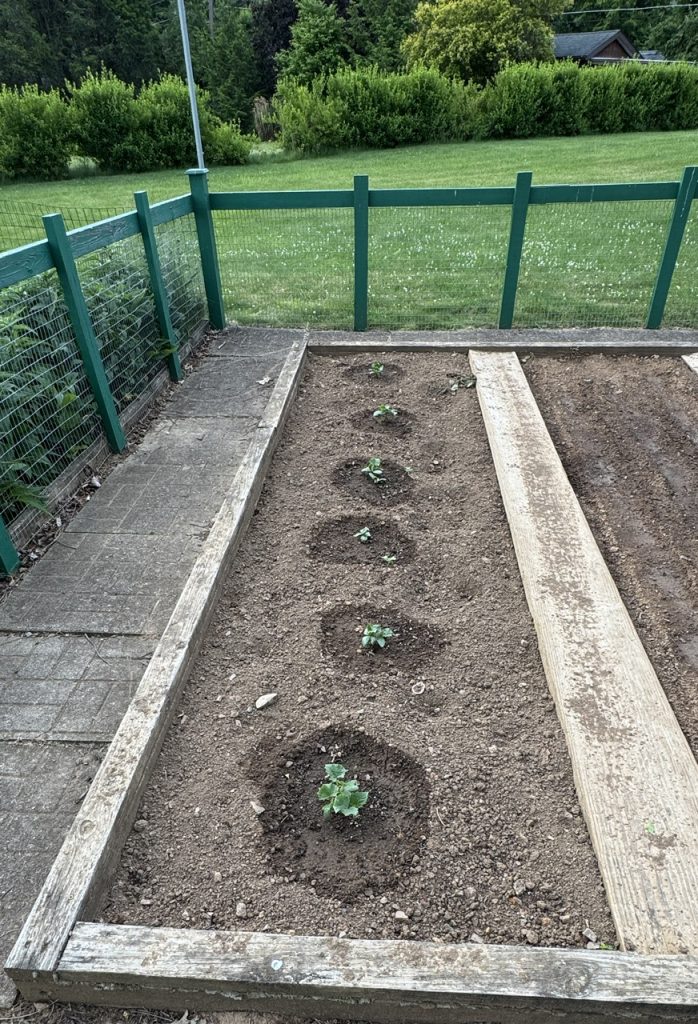
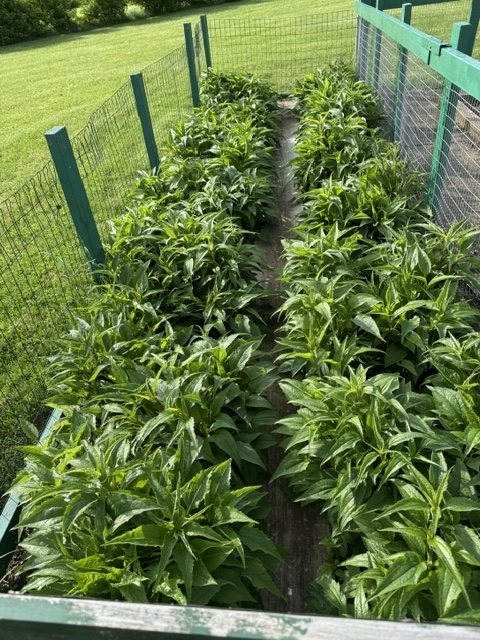
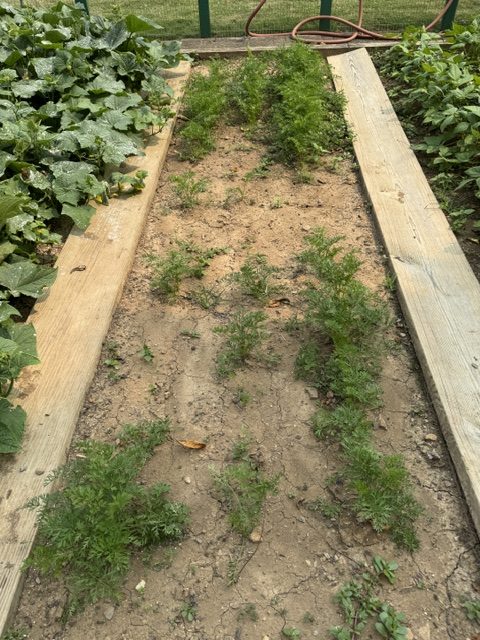
The carrots just can’t catch a break but some are trying! Maybe the soil just isn’t right. They seem to be growing more quickly in the bed near the patio (see picture above).
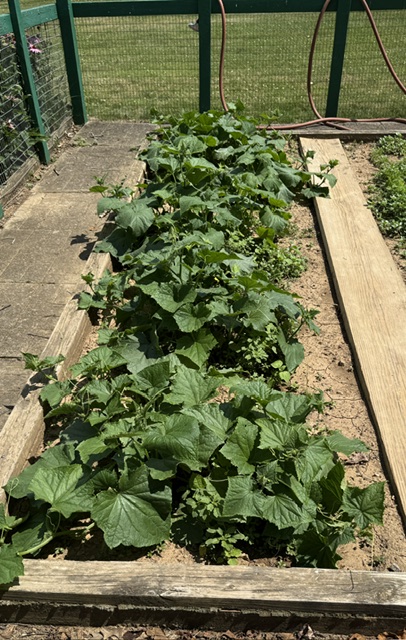
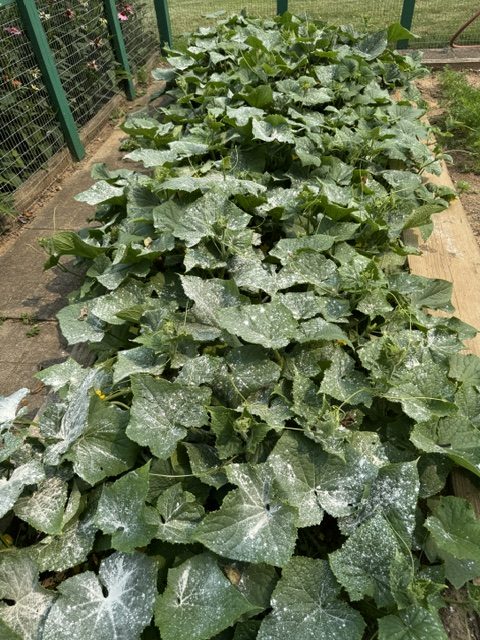
The cucumbers have gone nuts! Bert is spraying them for fungus I think.
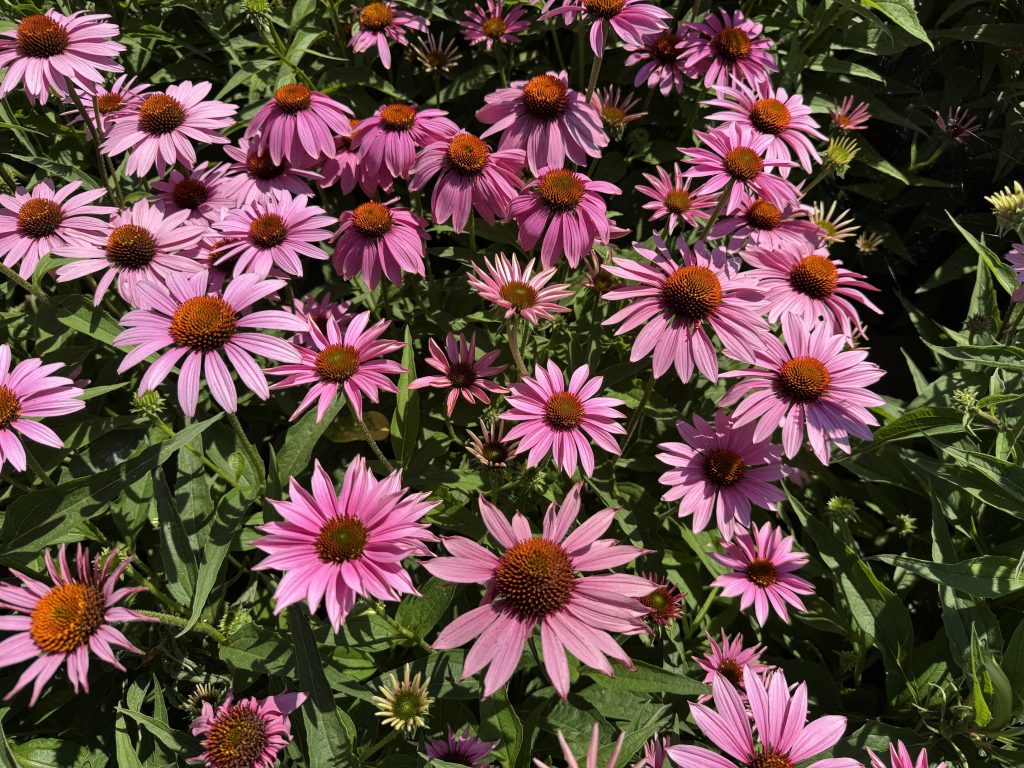
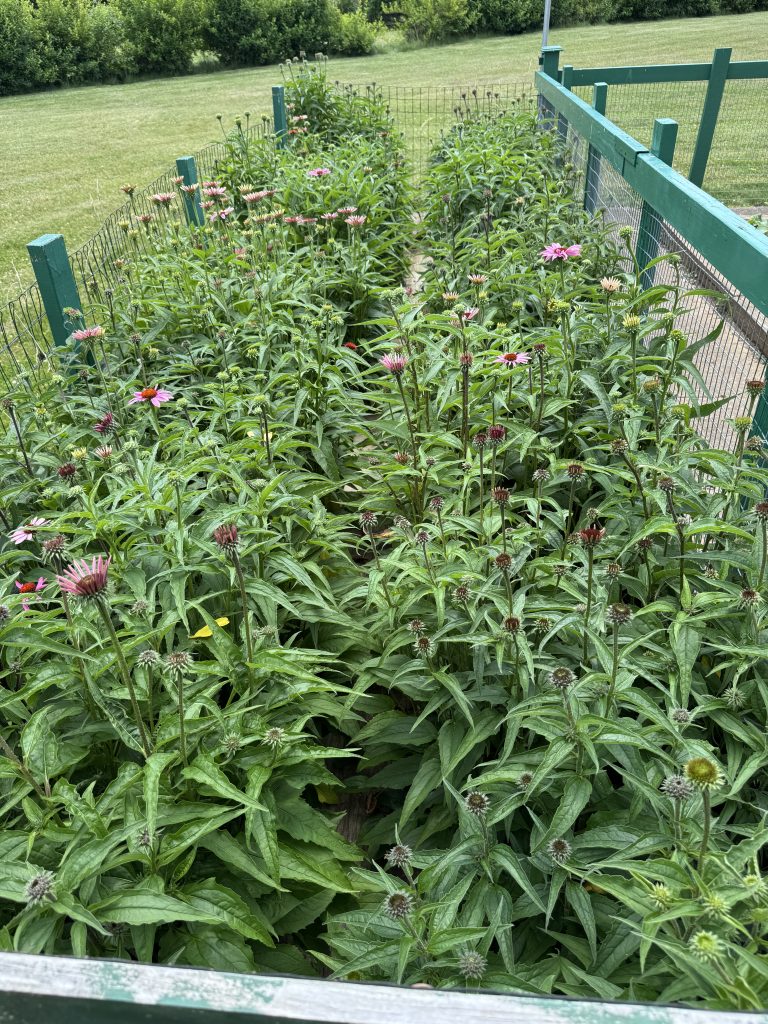
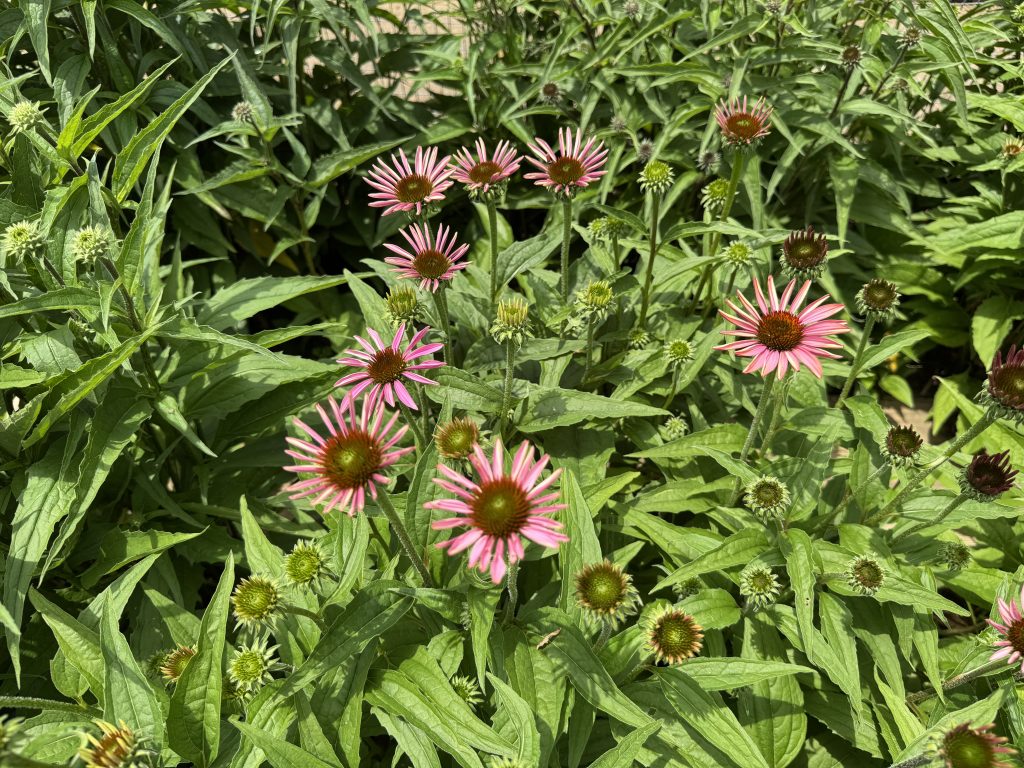
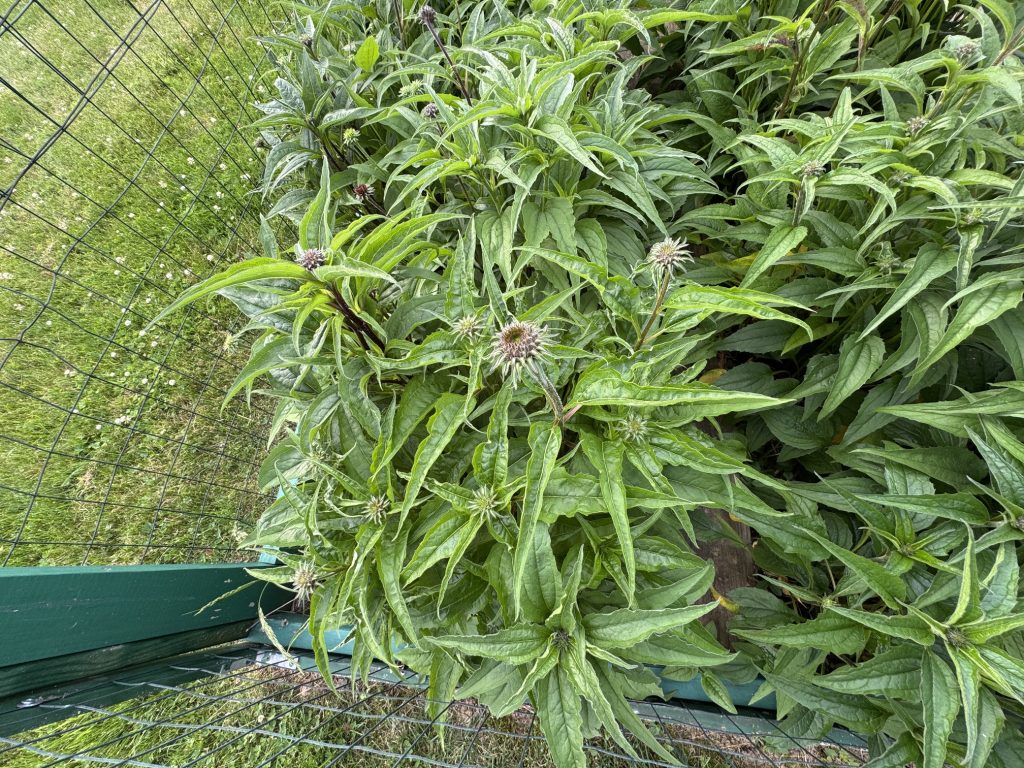
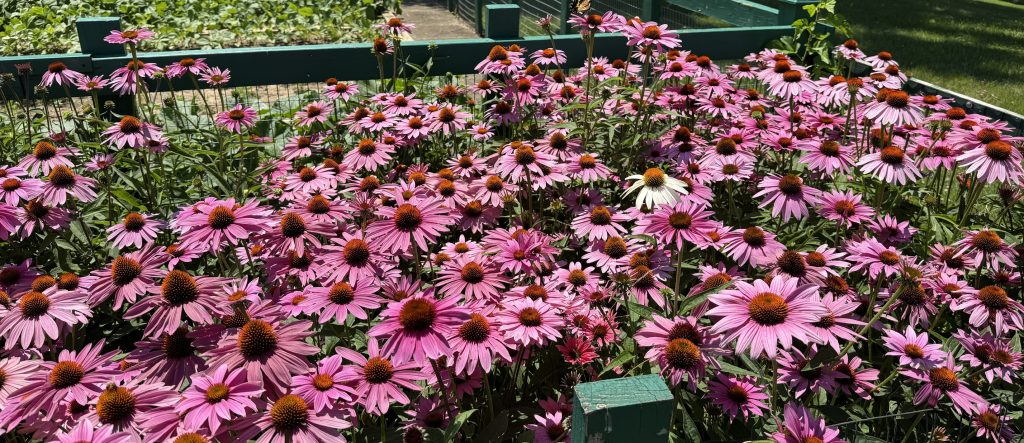
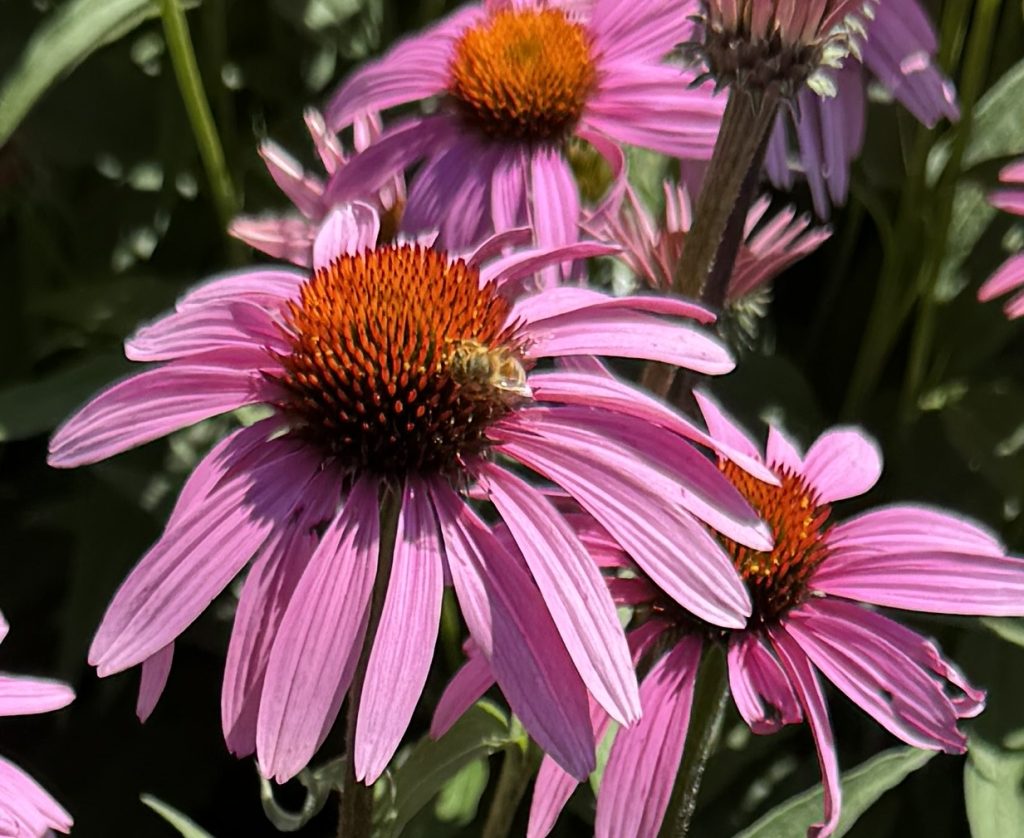
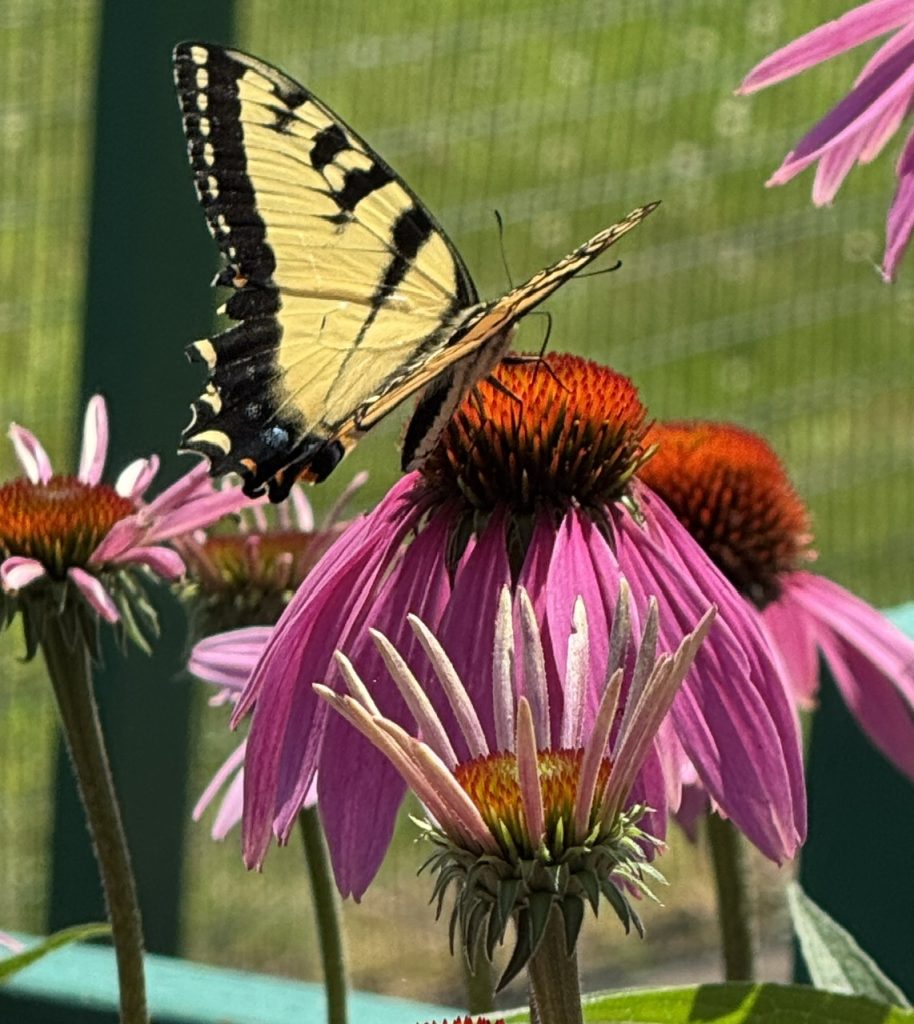
The echinacea are spectacular this year! We started with several colors of flowers five years ago, but each year the pink ones take over more.
The bees and butterflies like them!
Enjoy! Please email me directly if you have comments or questions: maryjkisner@gmail.com.