Canning Four Bean Salad with Produce from the Farmer’s Markets

Summer is in full swing! Every day I can see changes in the garden. Of course, with the exception of lettuce and radishes we need to be patient with the rest of the produce. I know folks at the Farmer’s Markets use greenhouses and hoop houses to get produce earlier. I’m sure the Amish Markets provide produce from their friends and families that live farther south. If I want a big watermelon for the 4th of July picnic, it has to come from outside our area!

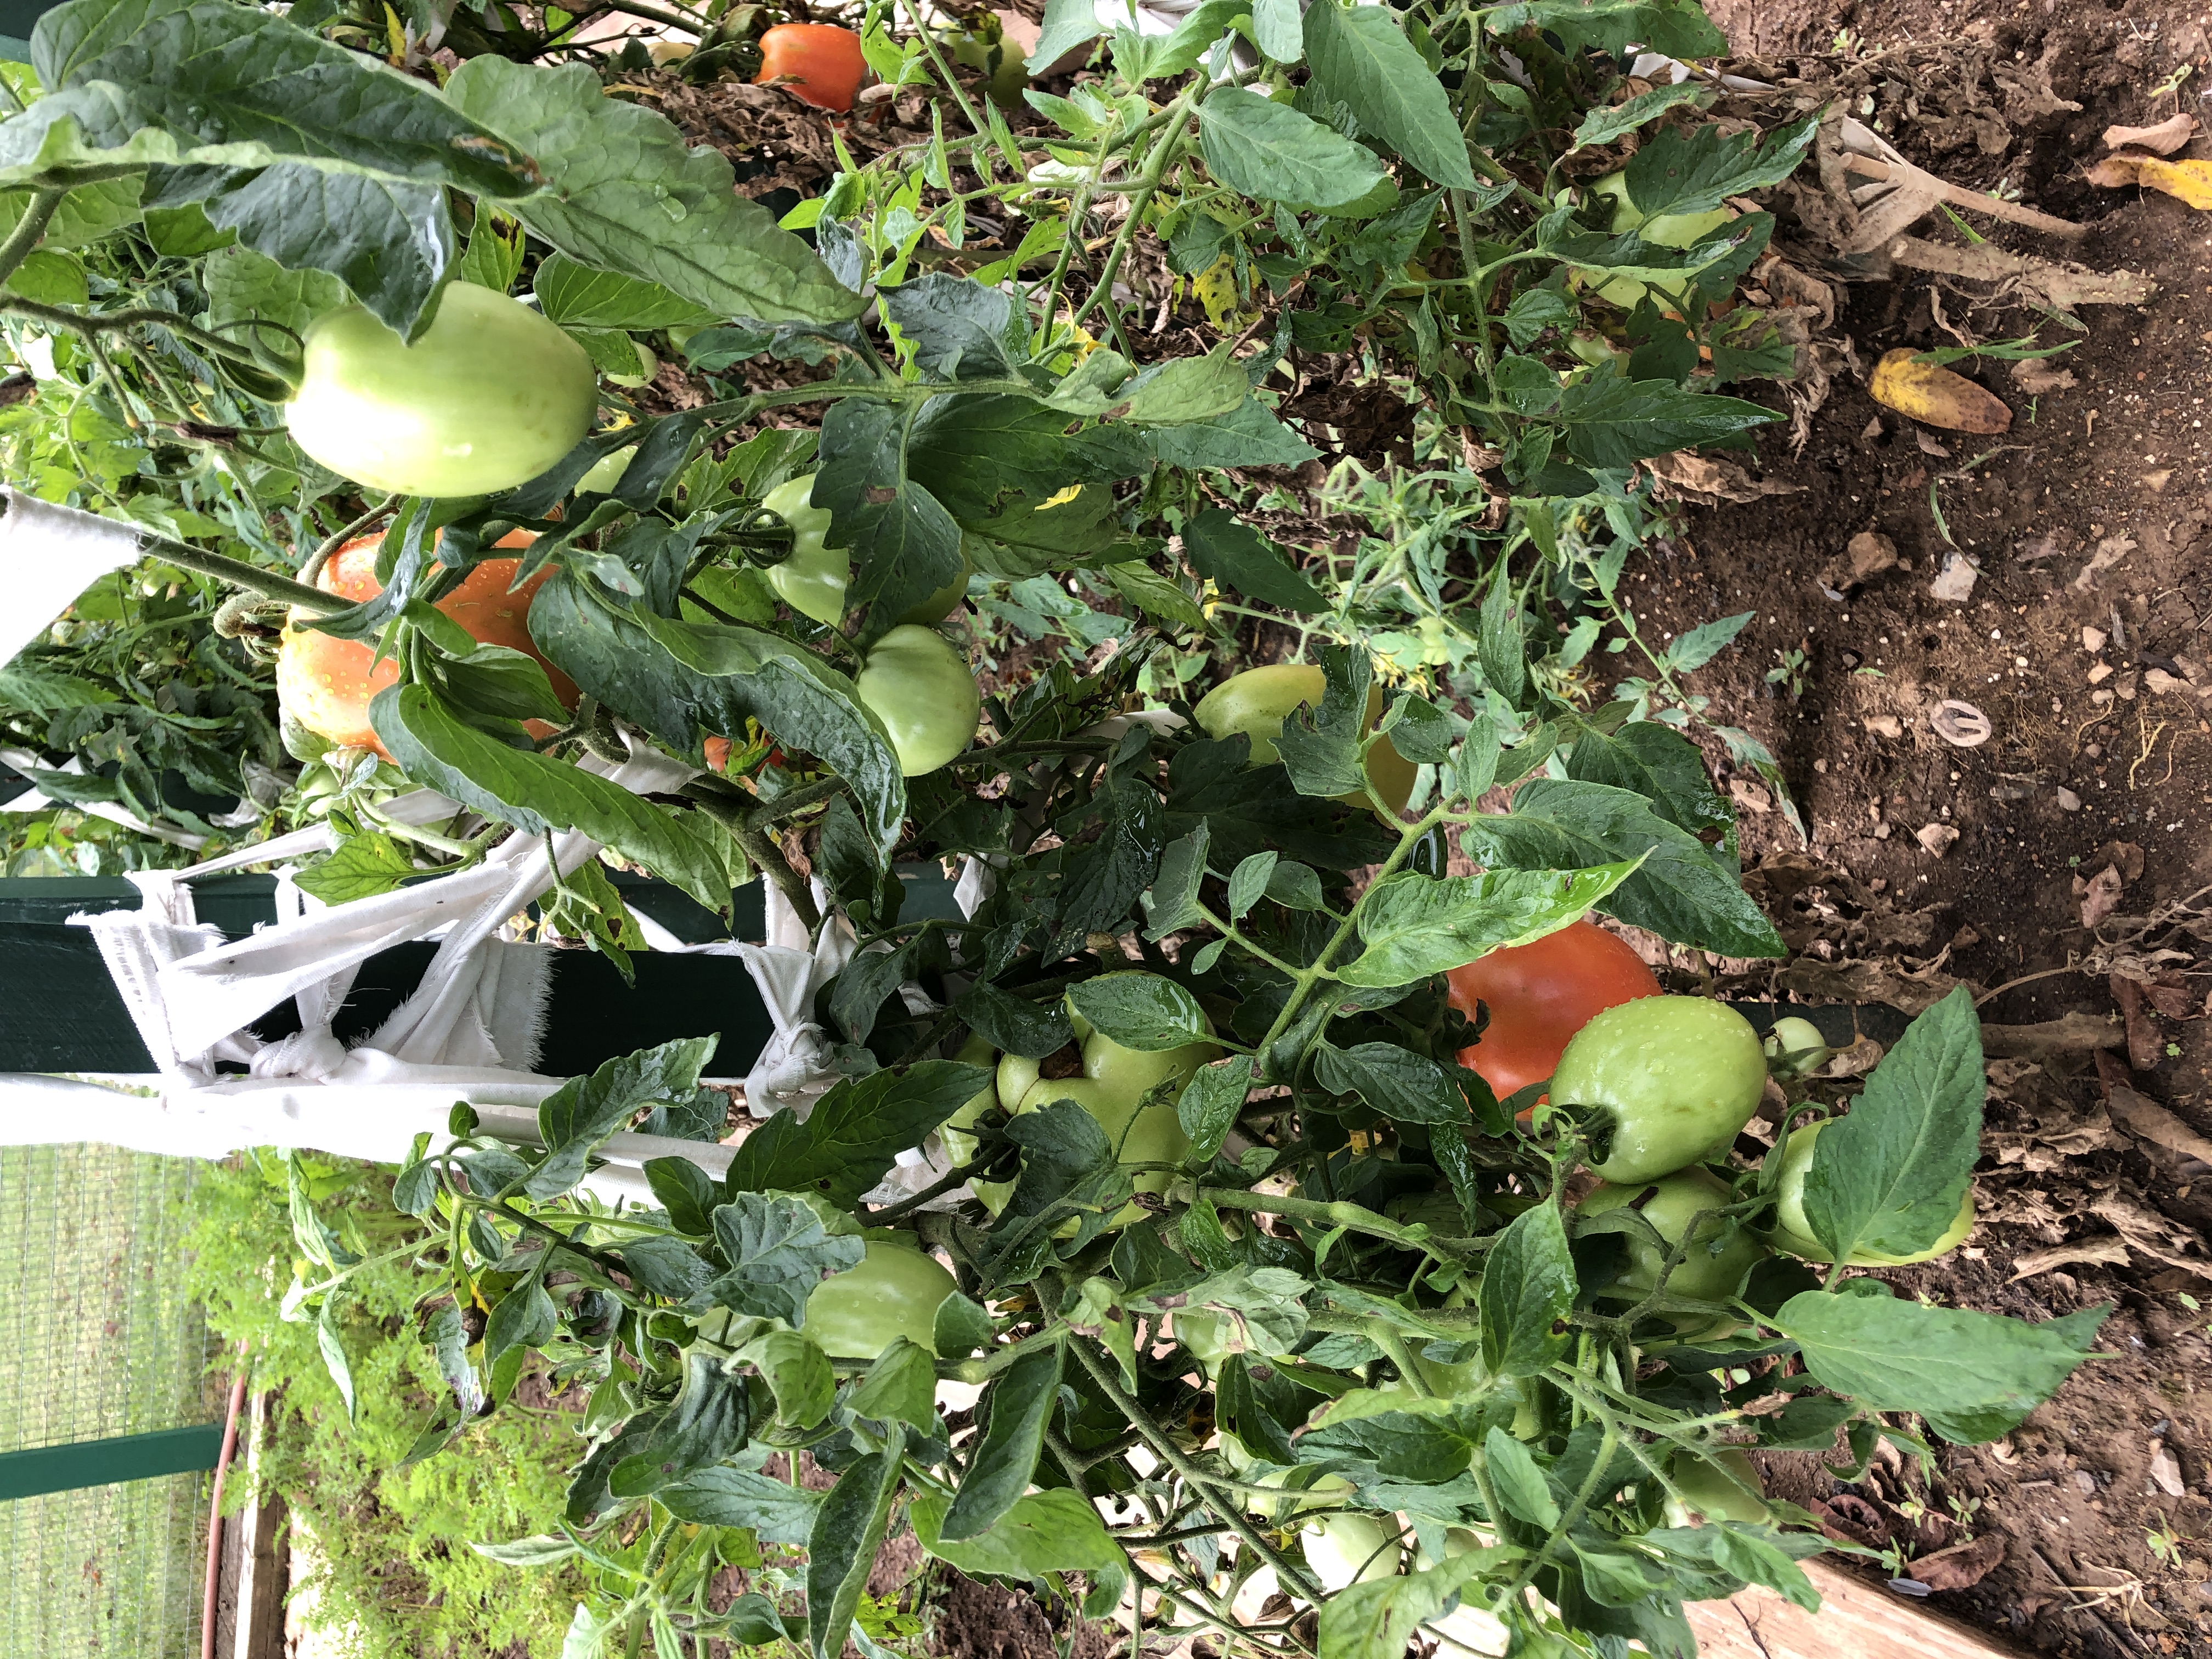
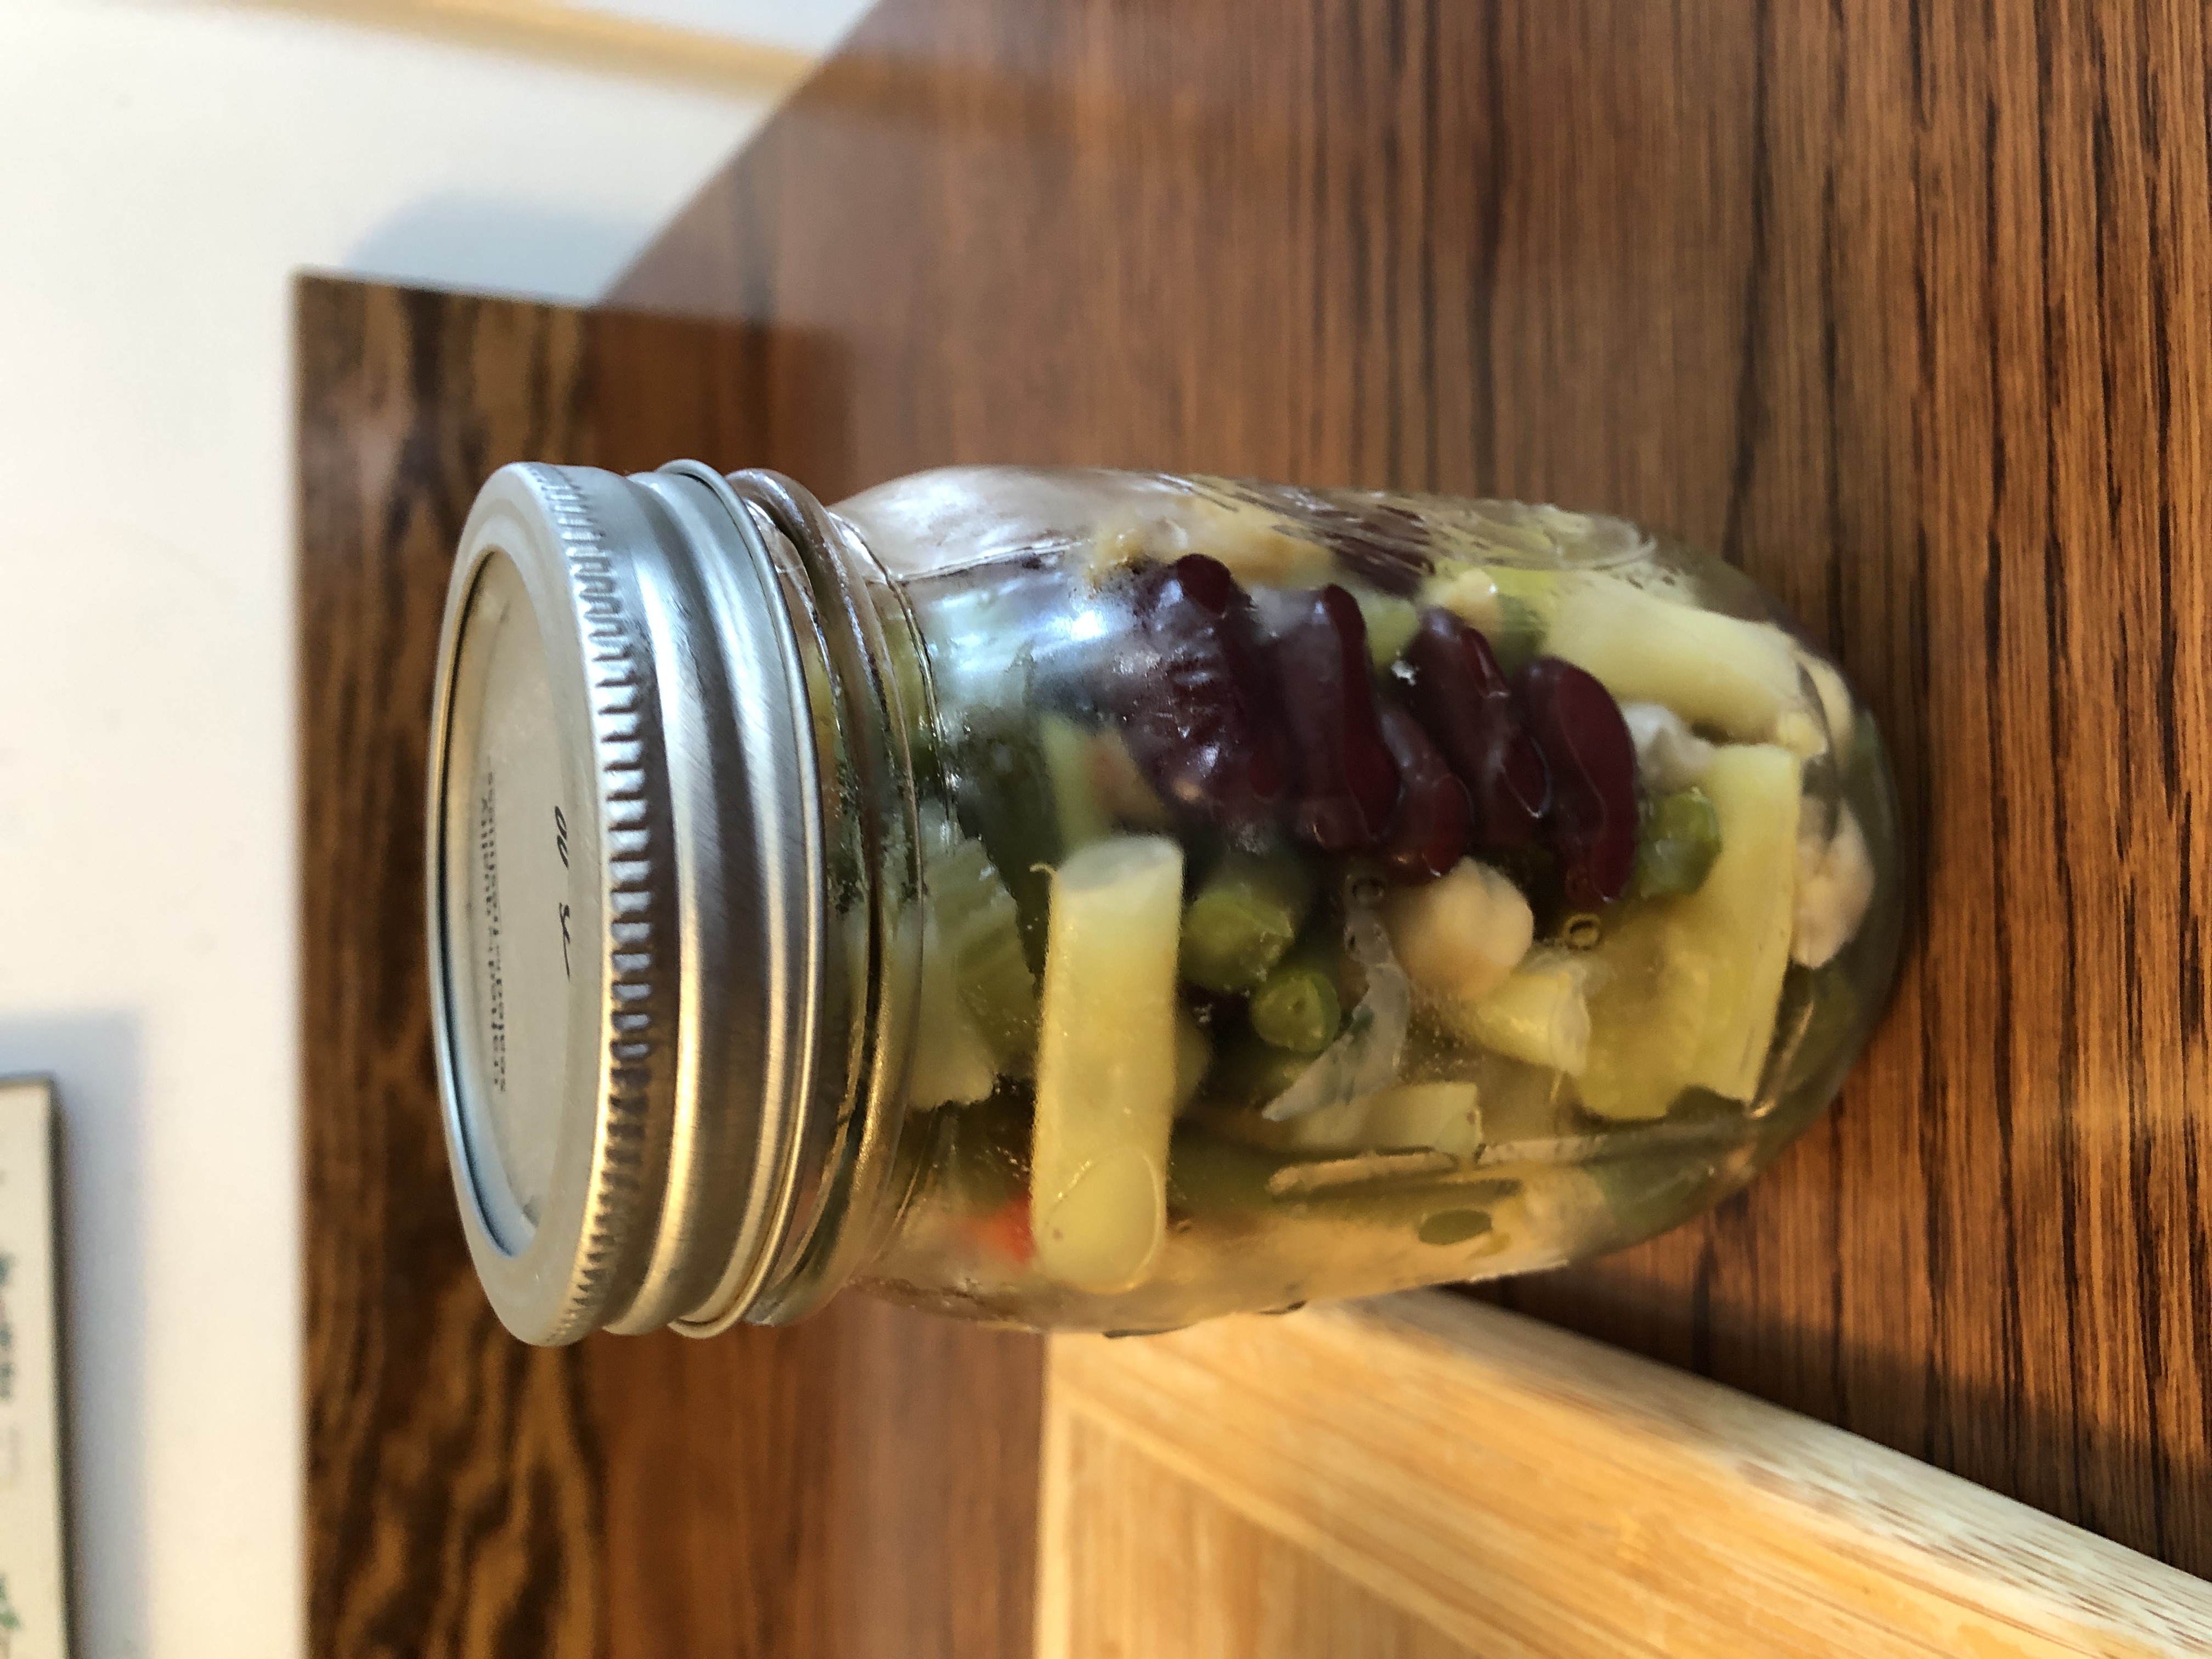
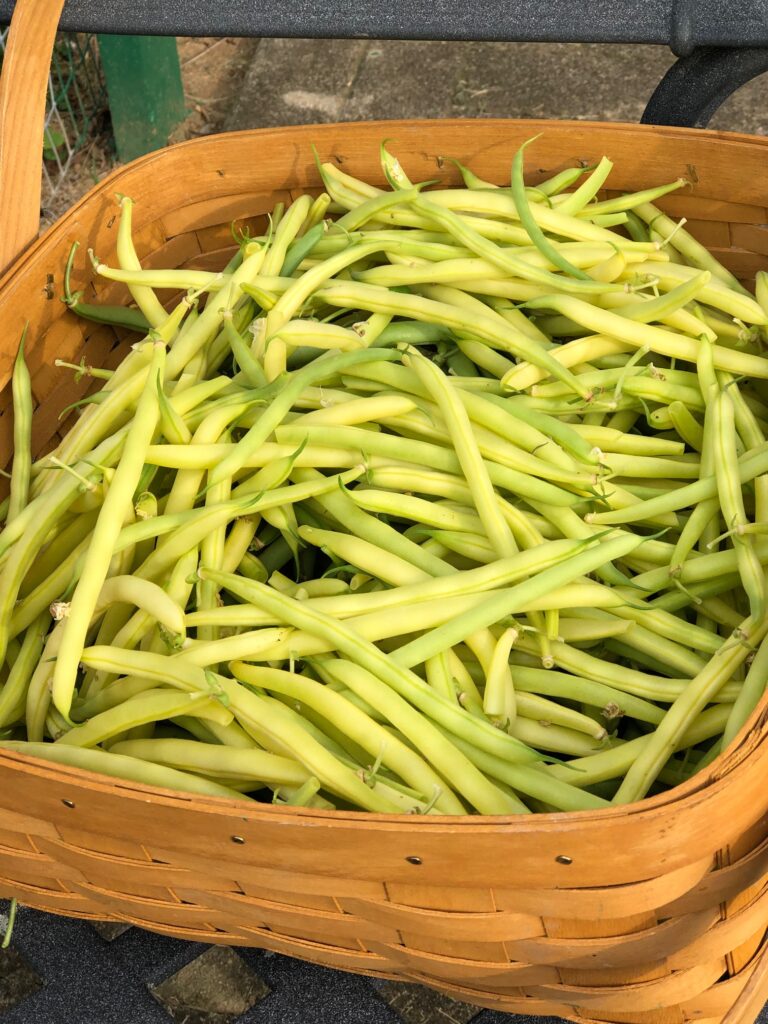
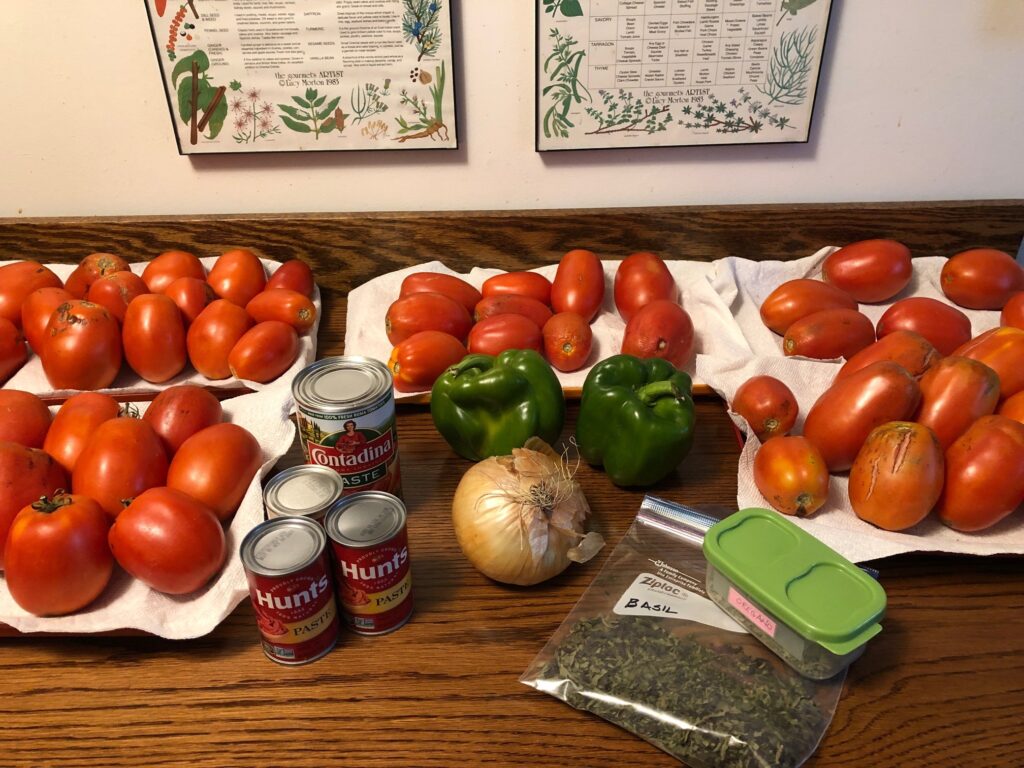
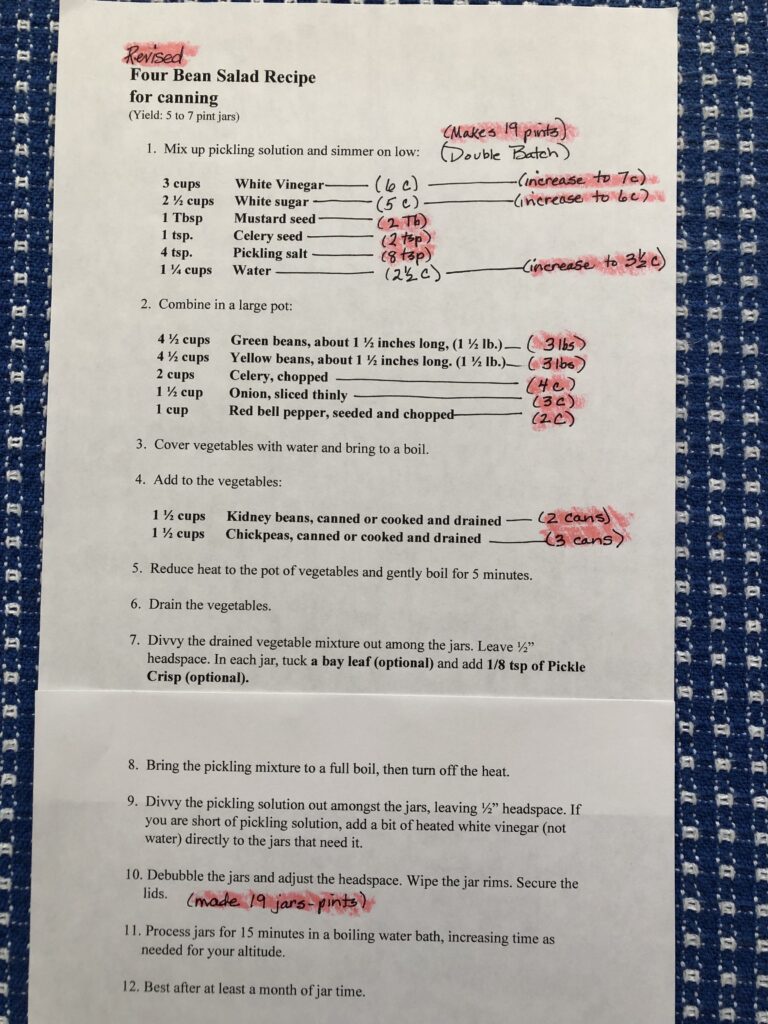
I can see our green beans are a week or two away, and tomatoes will start to ripen in 2-3 weeks. Two things that I want to get canned before our own produce demands attention are my 4-Bean Salad and Pickle Relish. Right now, at the Amish Market the green and yellow beans are piled high on the tables; cucumbers are just the right size and also piled in boxes. So…while I wait for our vegetables to be just right, I made a big batch of my 4-Bean Salad and we canned it last evening.

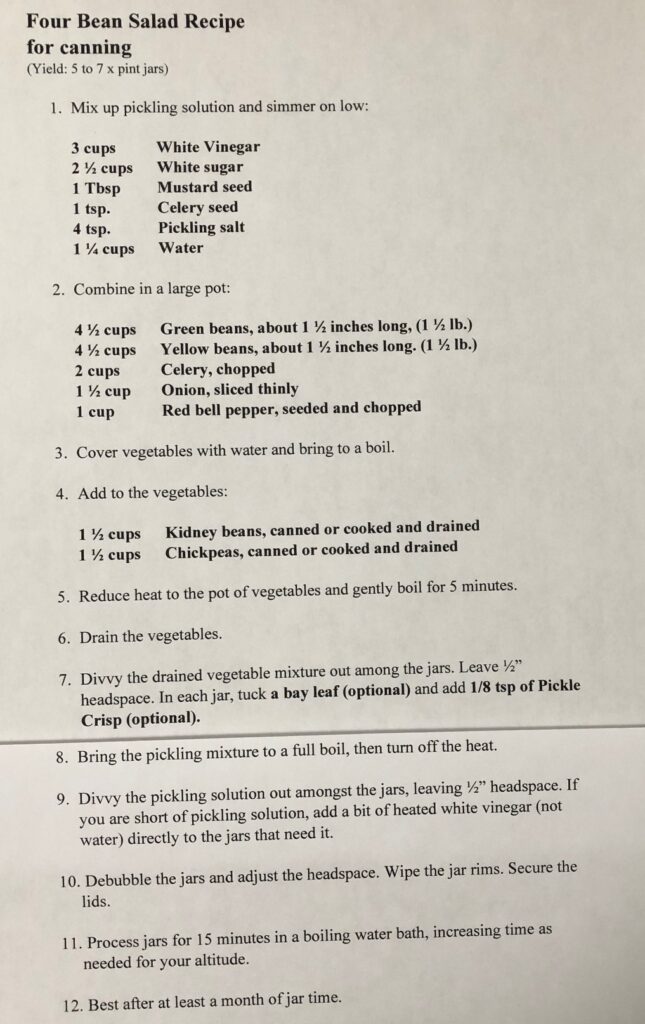
You can read all the details about how to make this salad in my post from a year ago at https://marykisner.com/revised-four-bean-salad-recipe-for-canning/

I’m so grateful I went into such detail of the process in my post. It made it easy to do it again. In face, I’m keeping the notes on the revised recipe sheet so I can remember how to do it again.

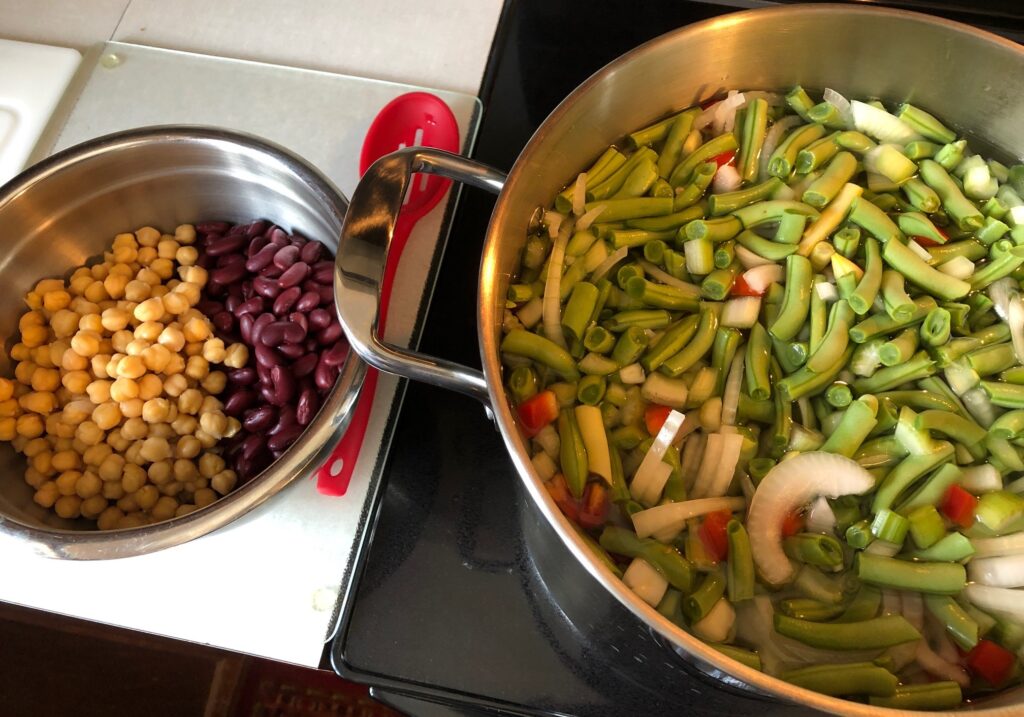
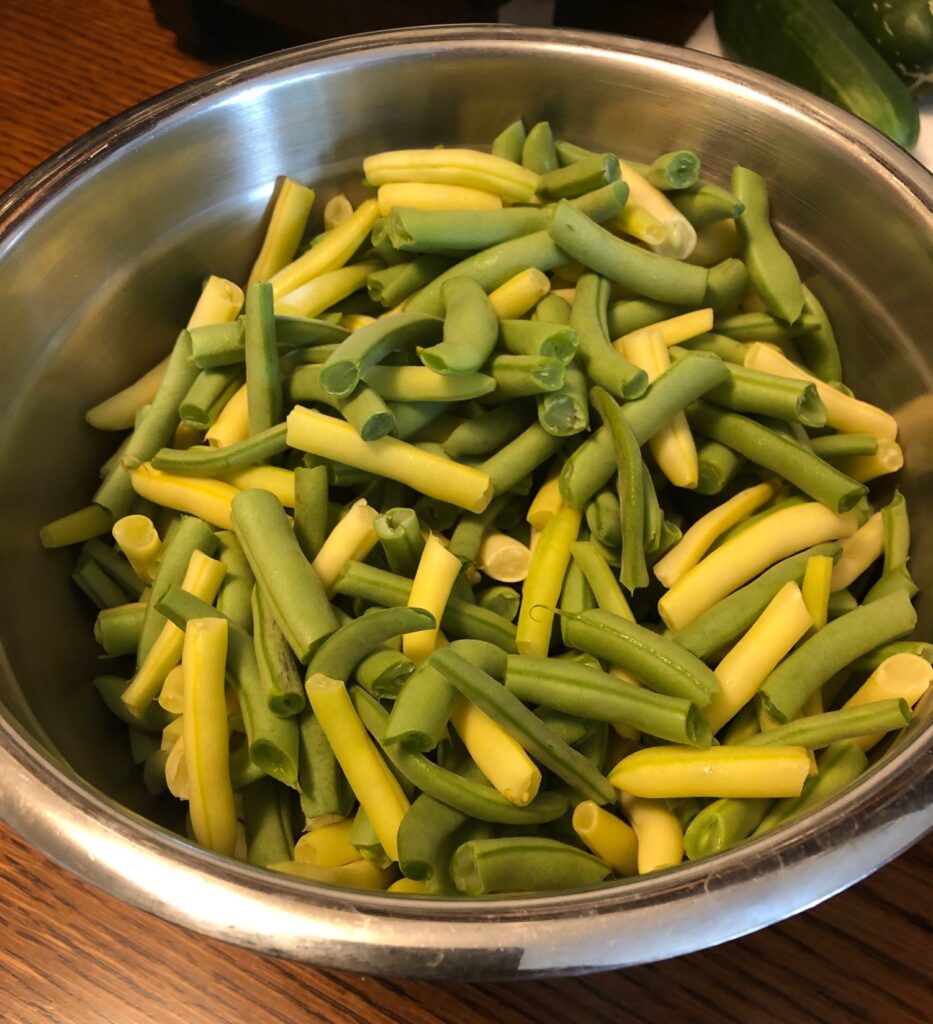
I picked up 3 pounds each of green and yellow beans at the Amish Market. I snapped them and put them in the refrigerator.

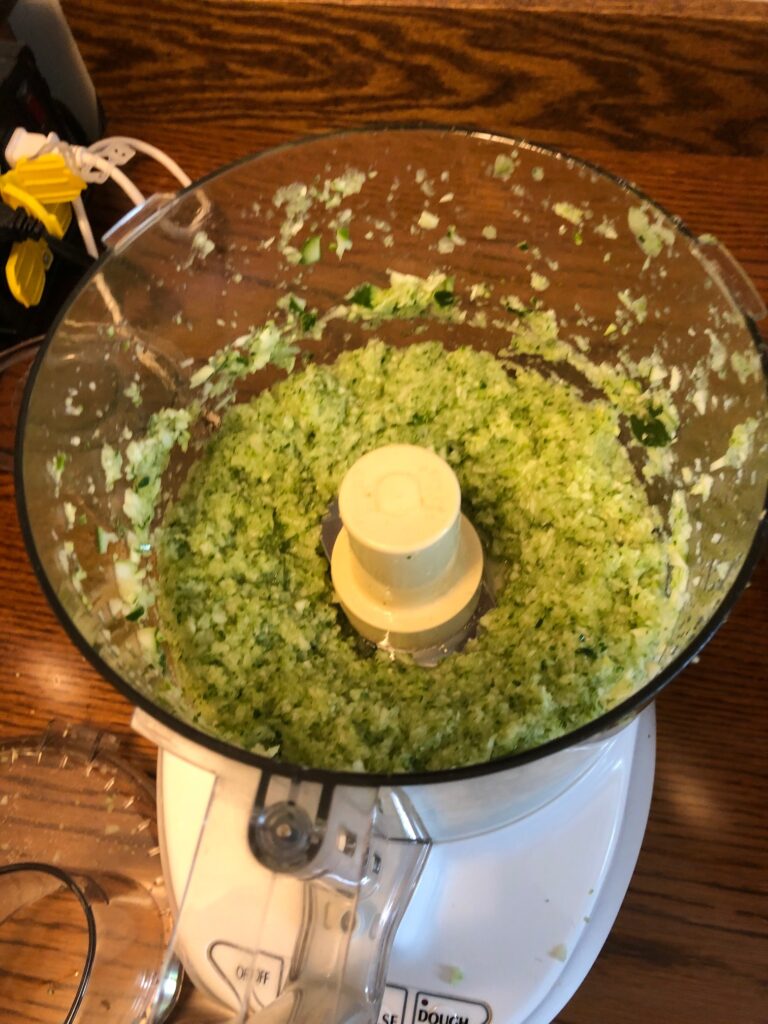
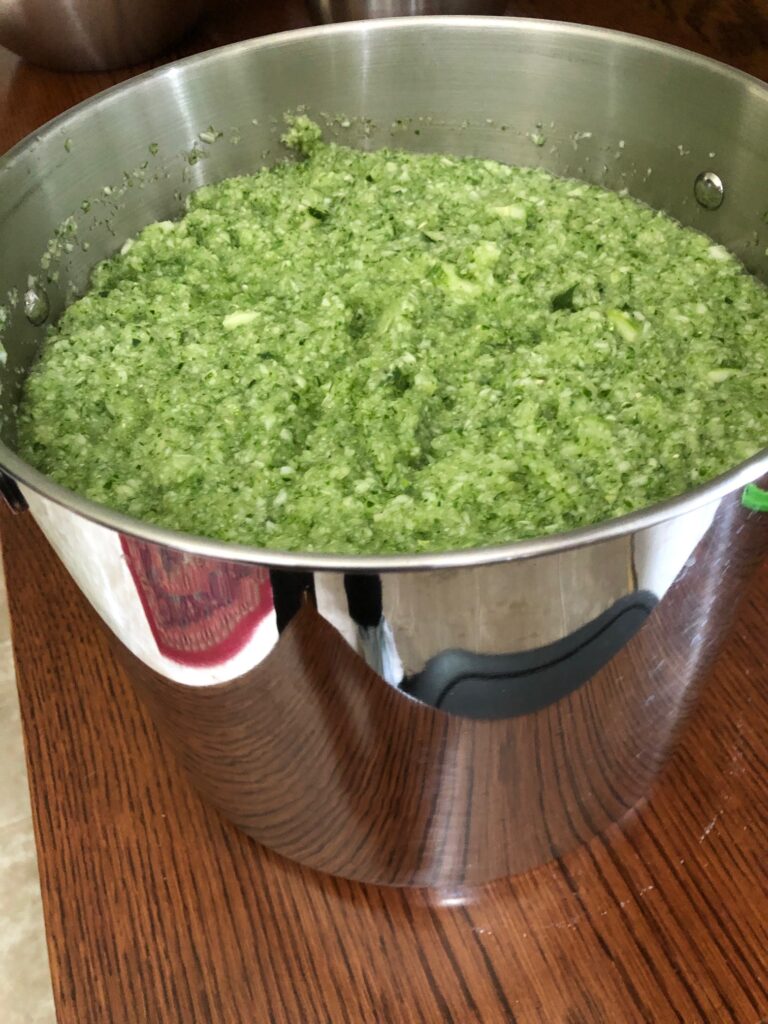
I bought sweet red peppers, celery and onion at the grocery store and chopped them up yesterday.

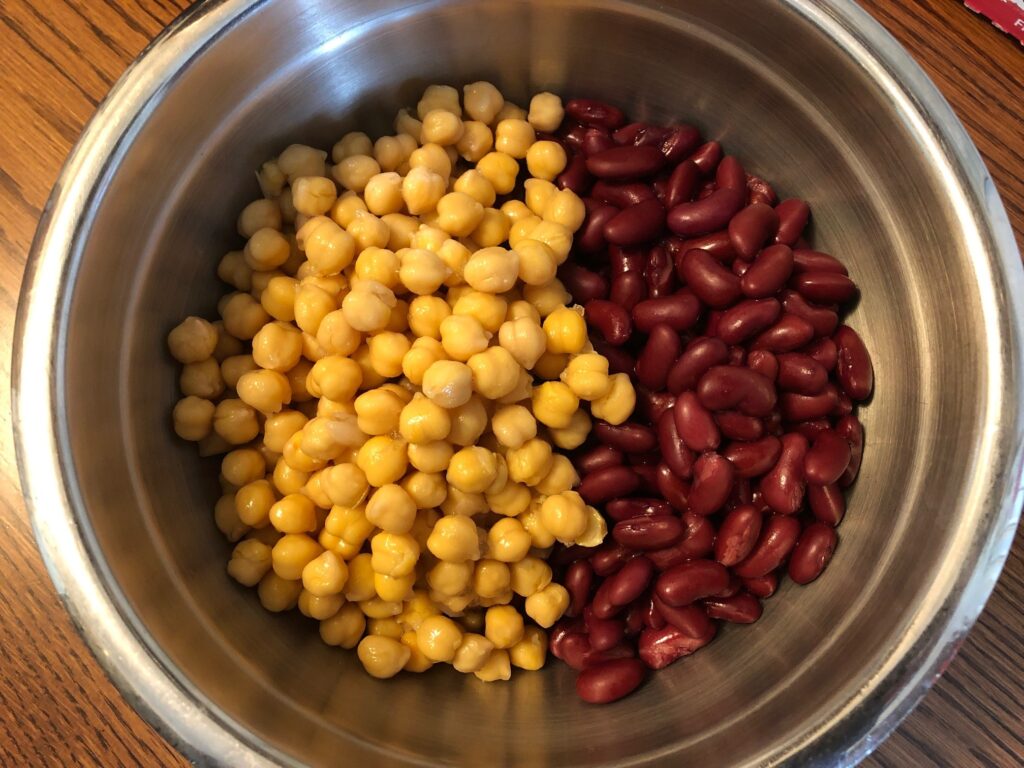
The five cans of beans (kidney and garbanzo beans) were ready on the shelf and just needed to be drained.

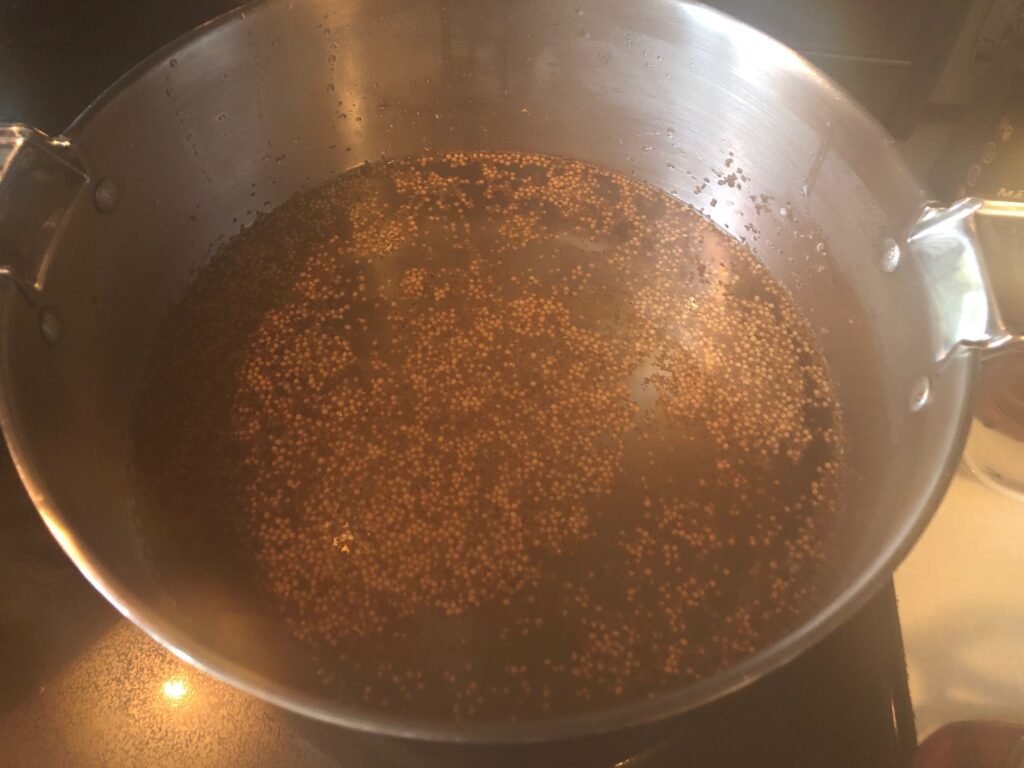
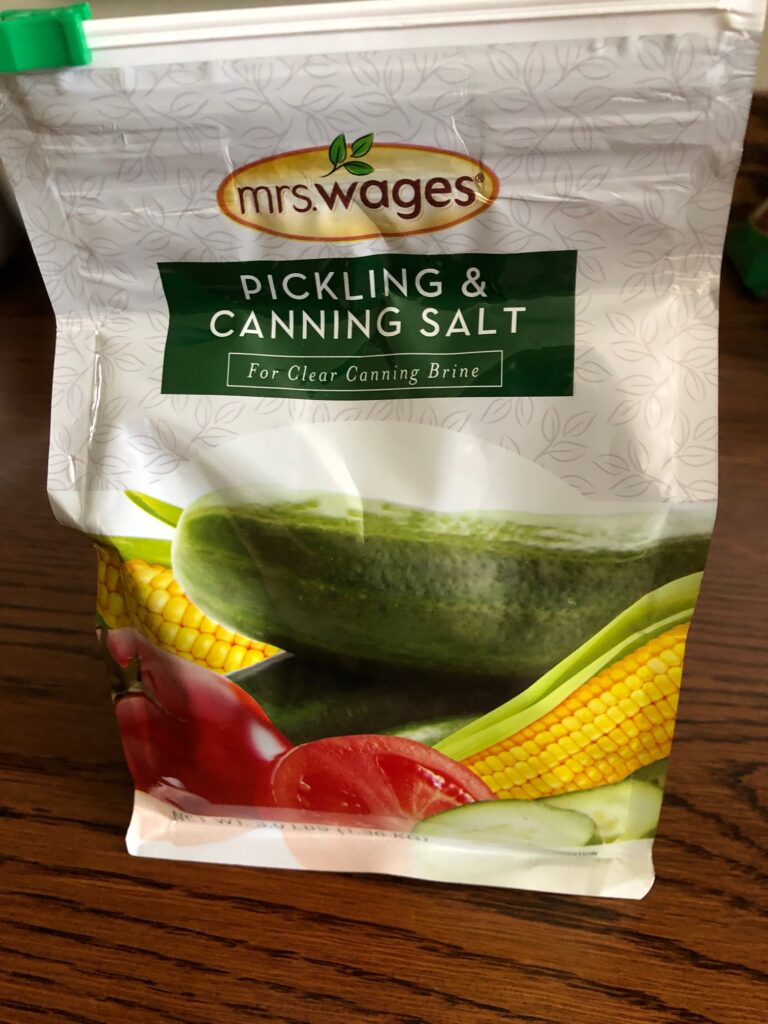
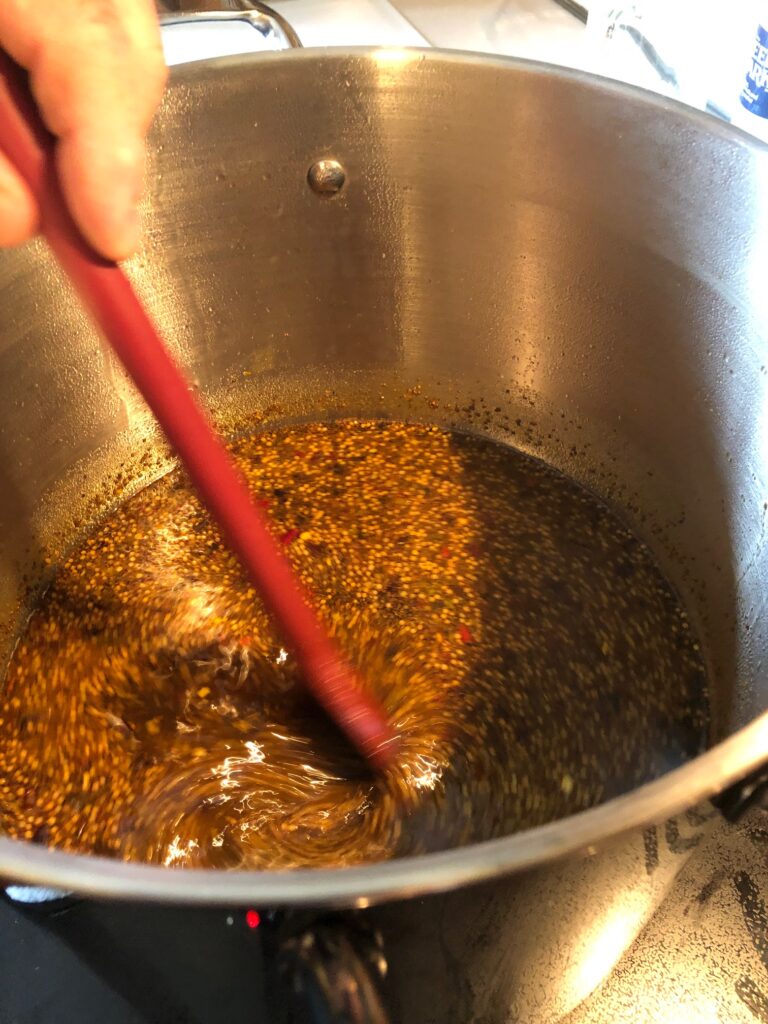
Bert had picked up another gallon of White Vinegar and extra sugar for the brine. Seems like a lot of work, but I’ve tried just buying a jar/can of this salad at the store. I can’t seem to find any that doesn’t use High Fructose Corn Syrup! I can do better!

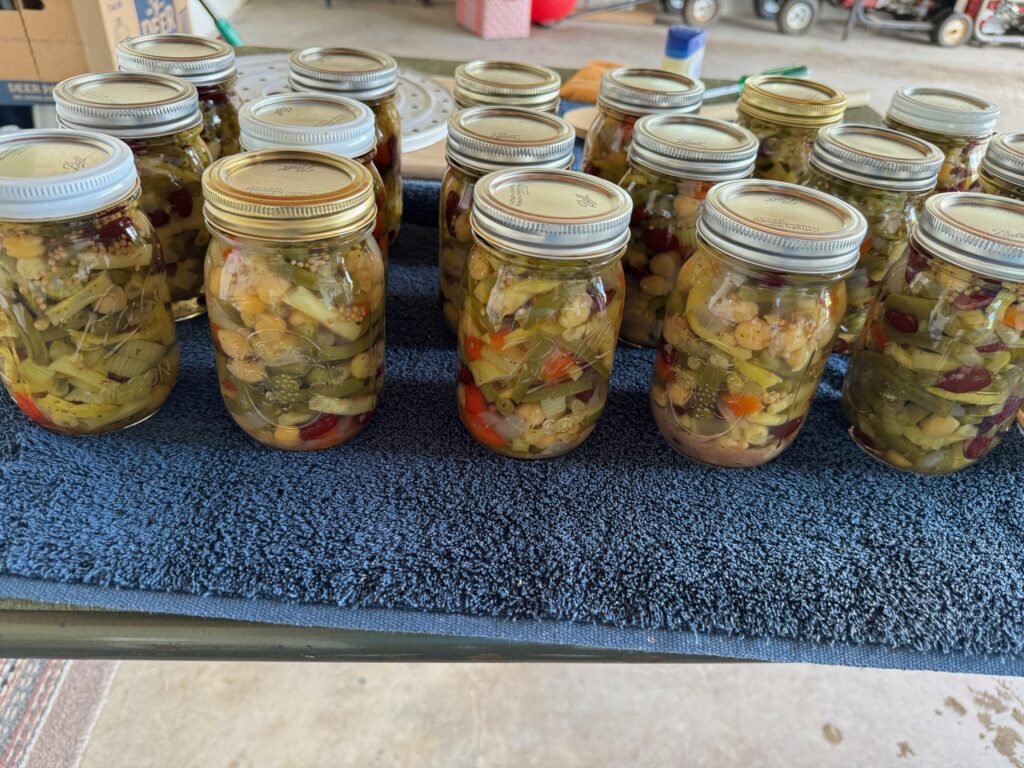
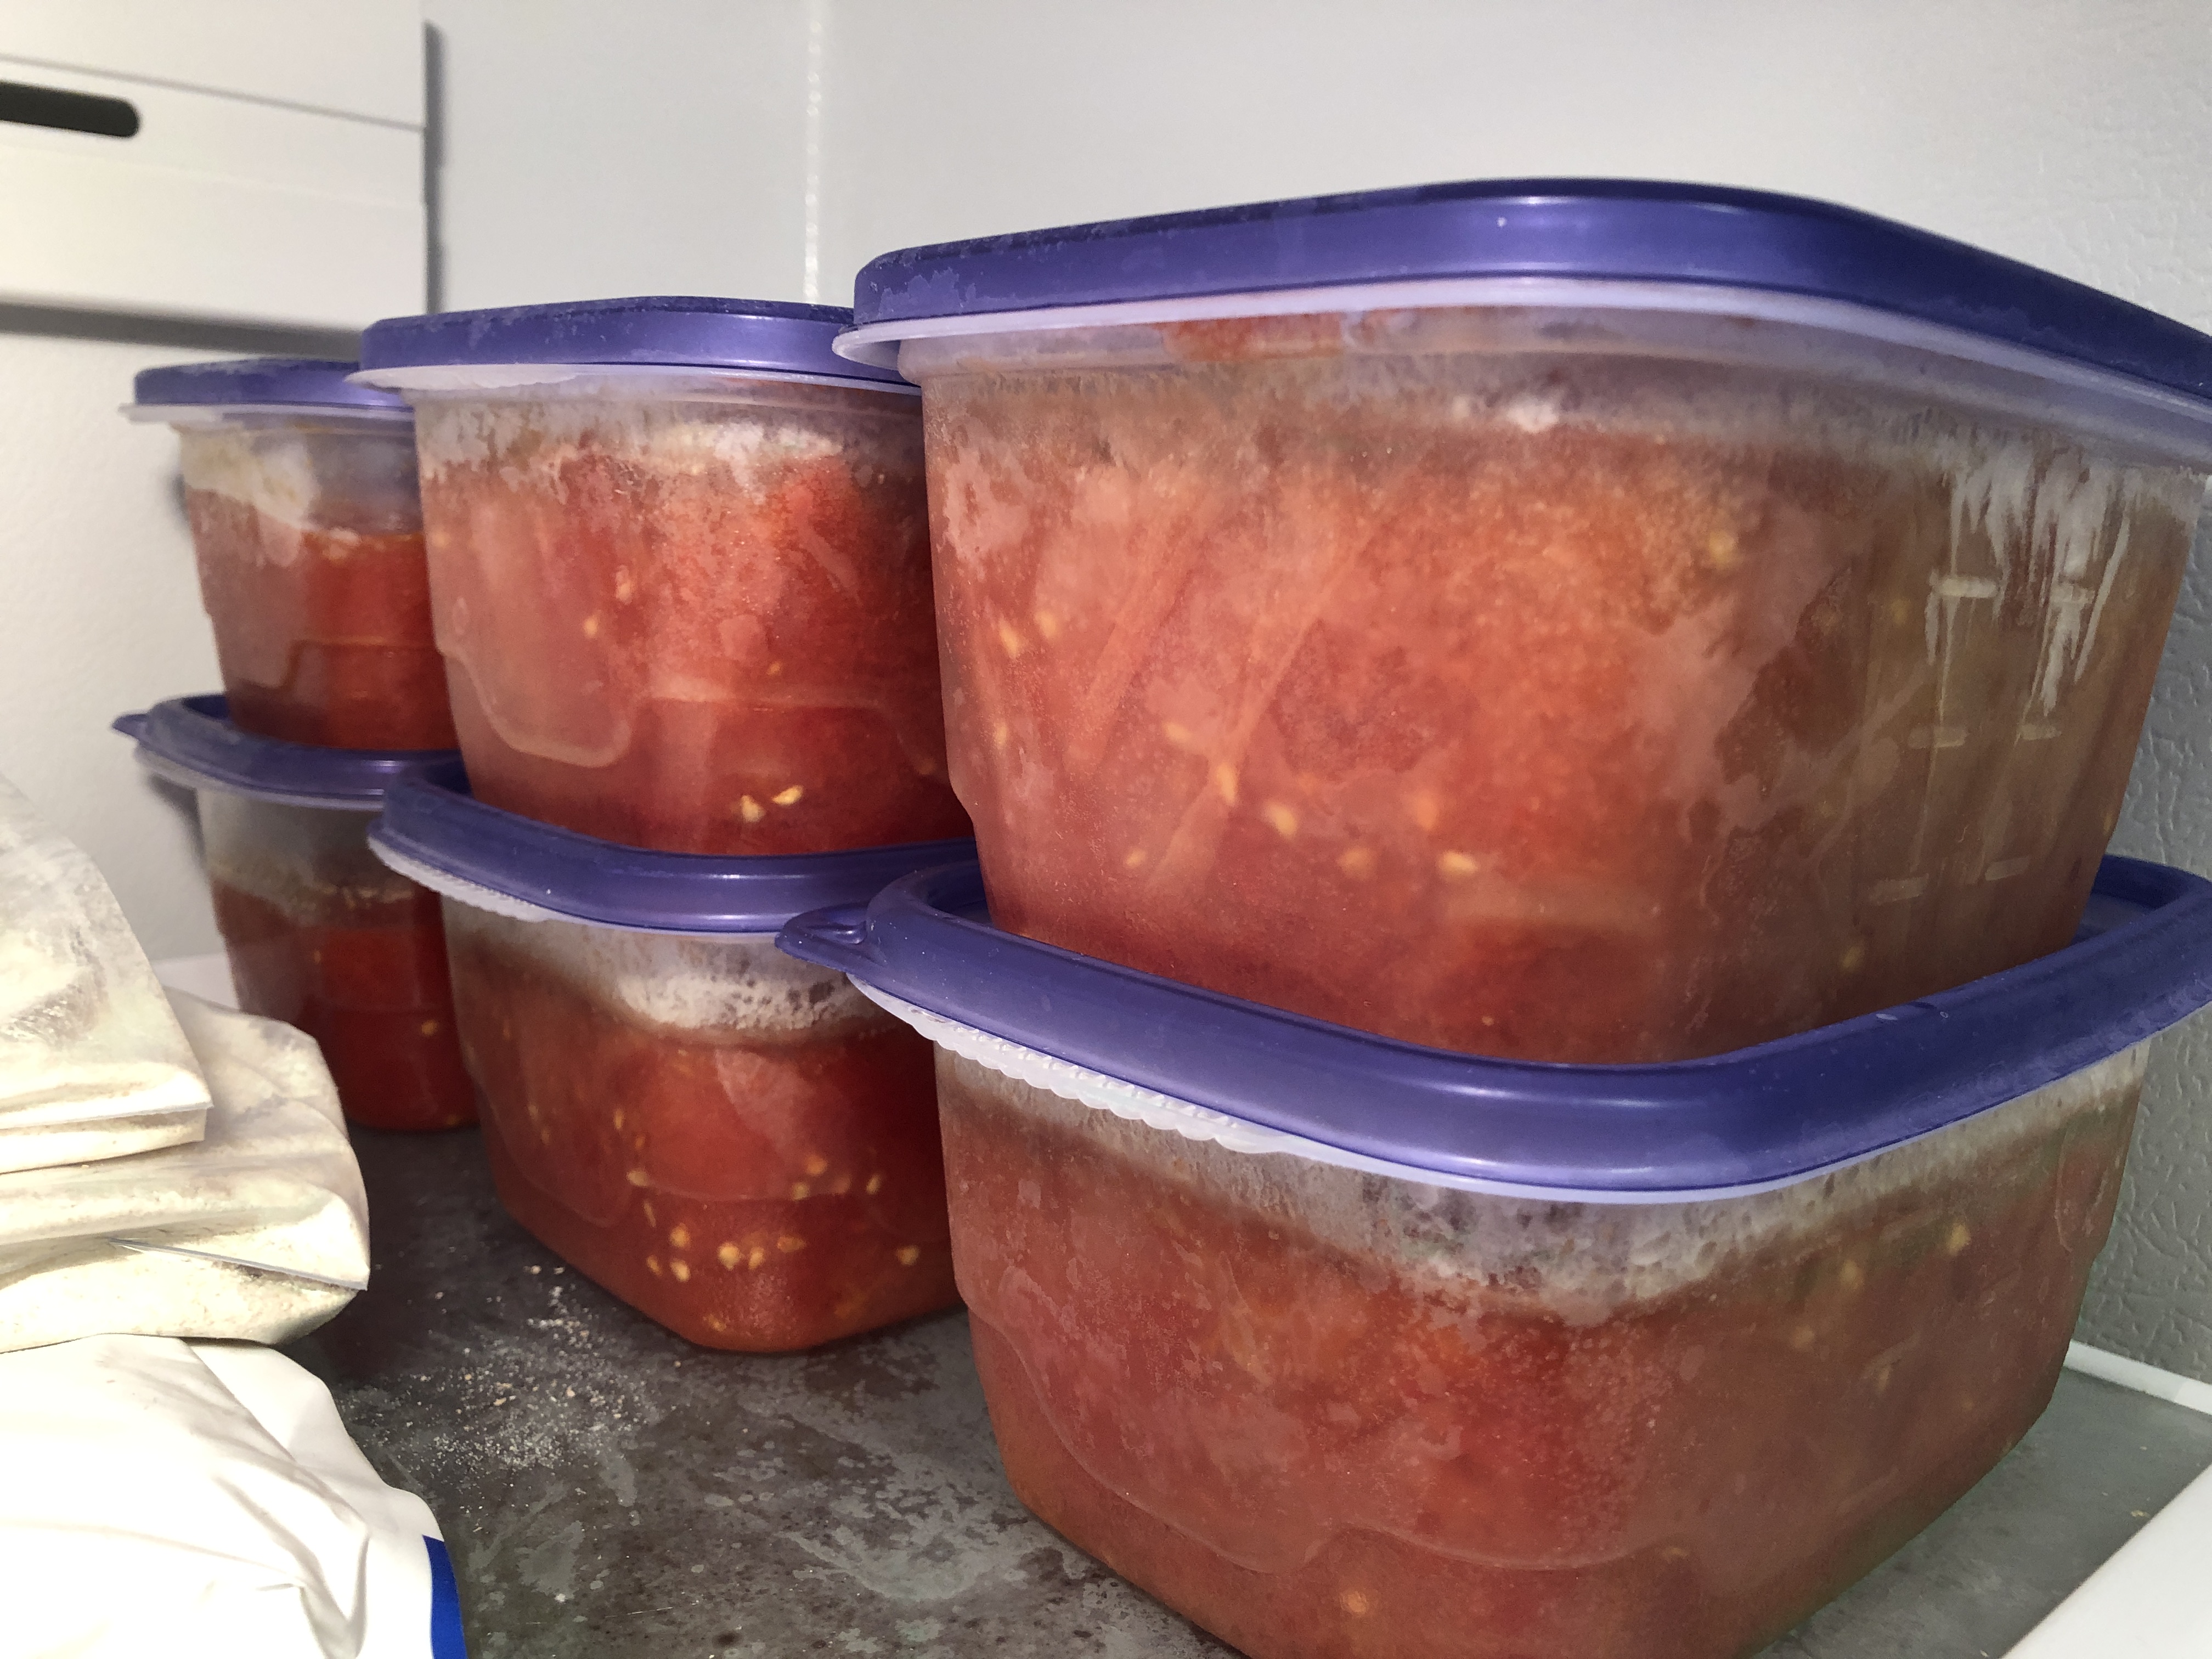
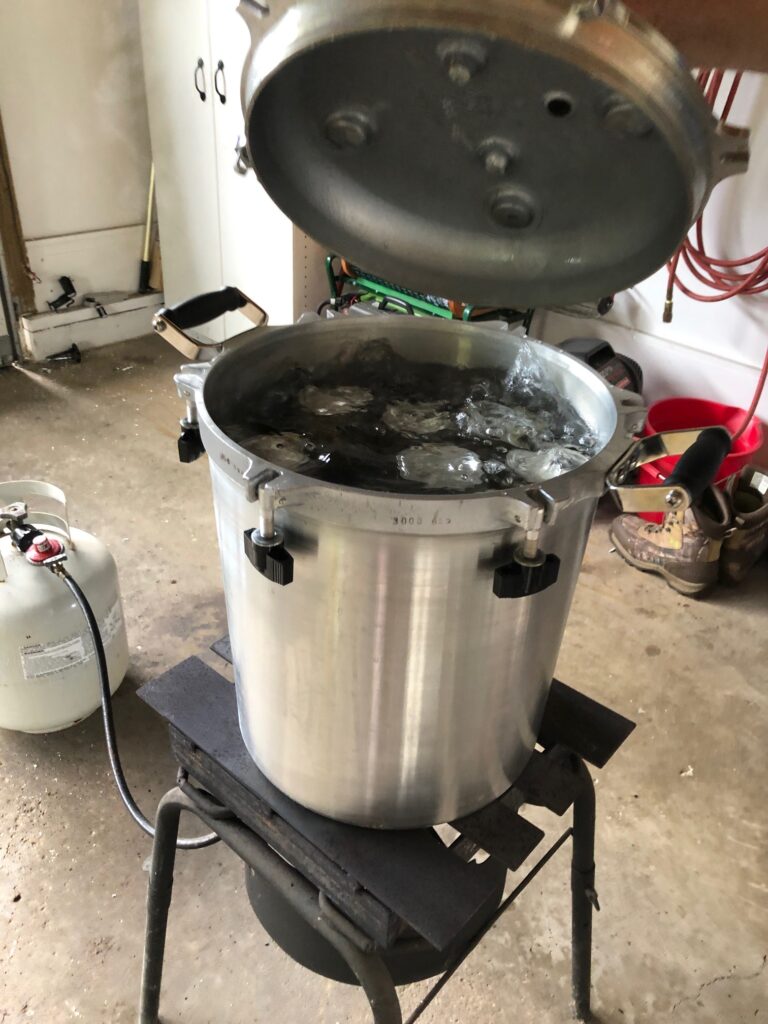
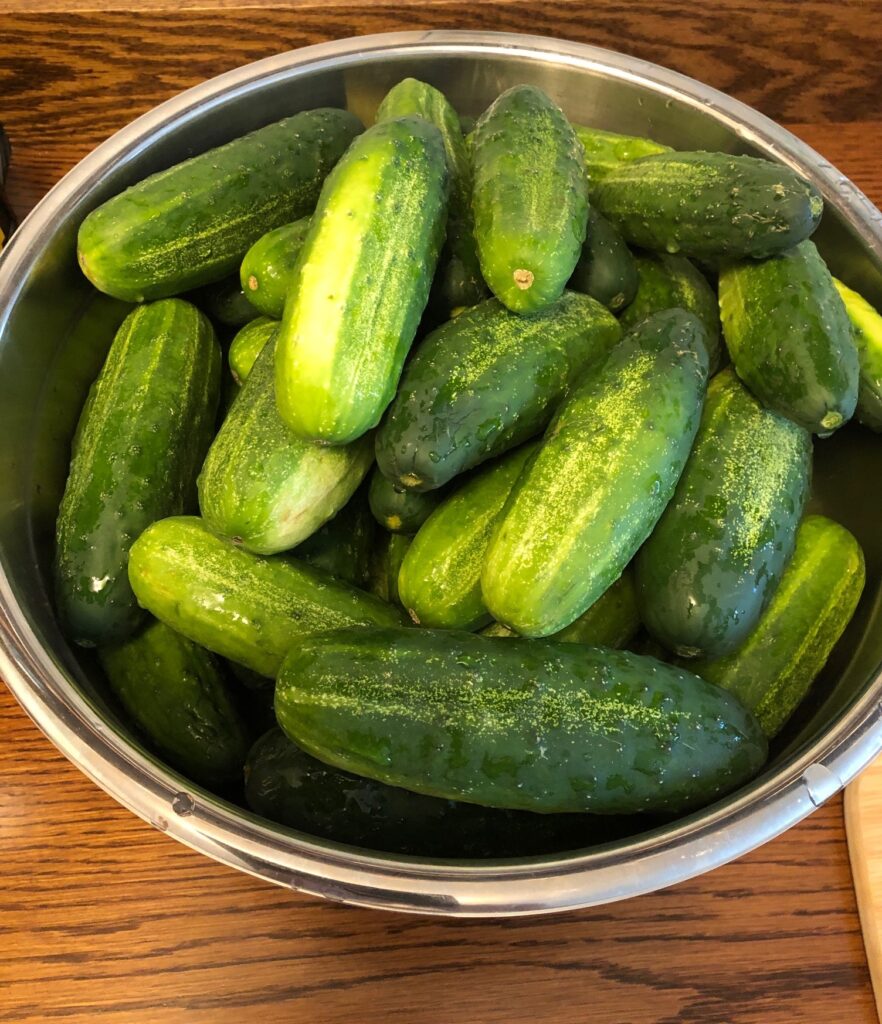
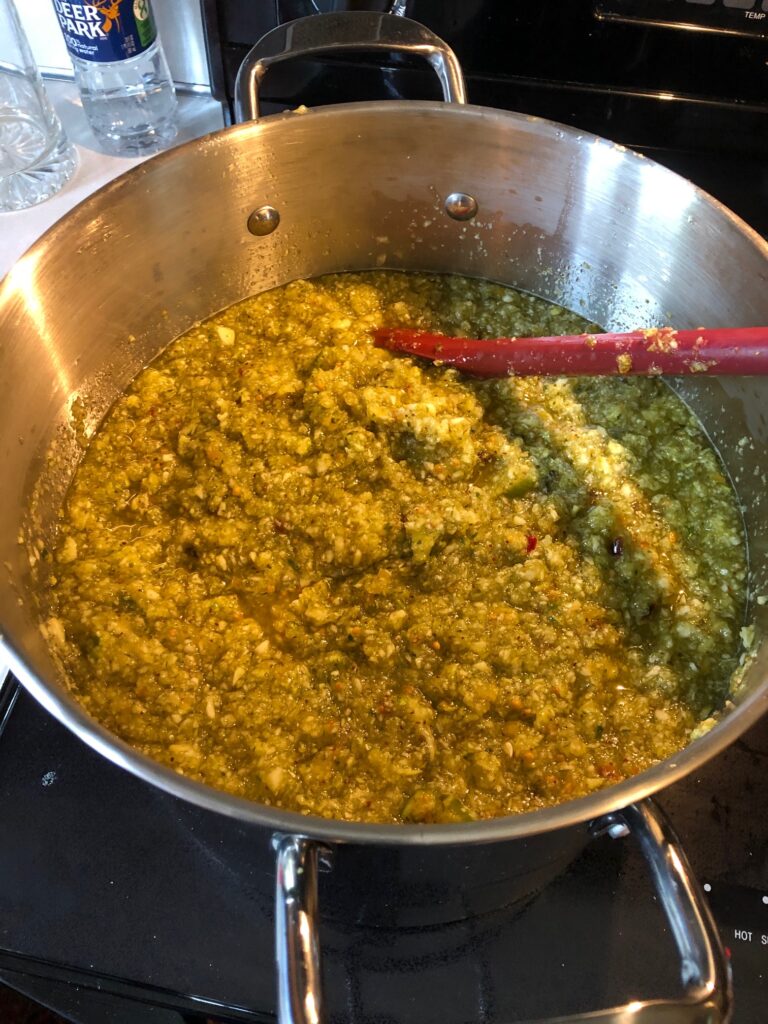
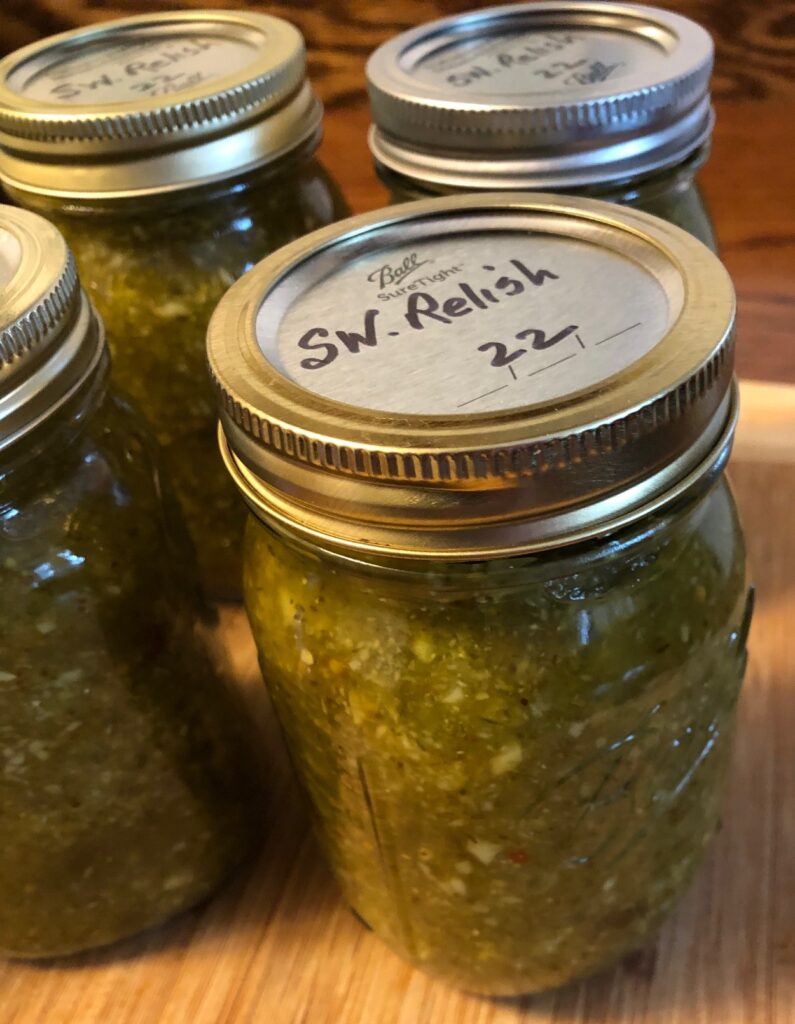
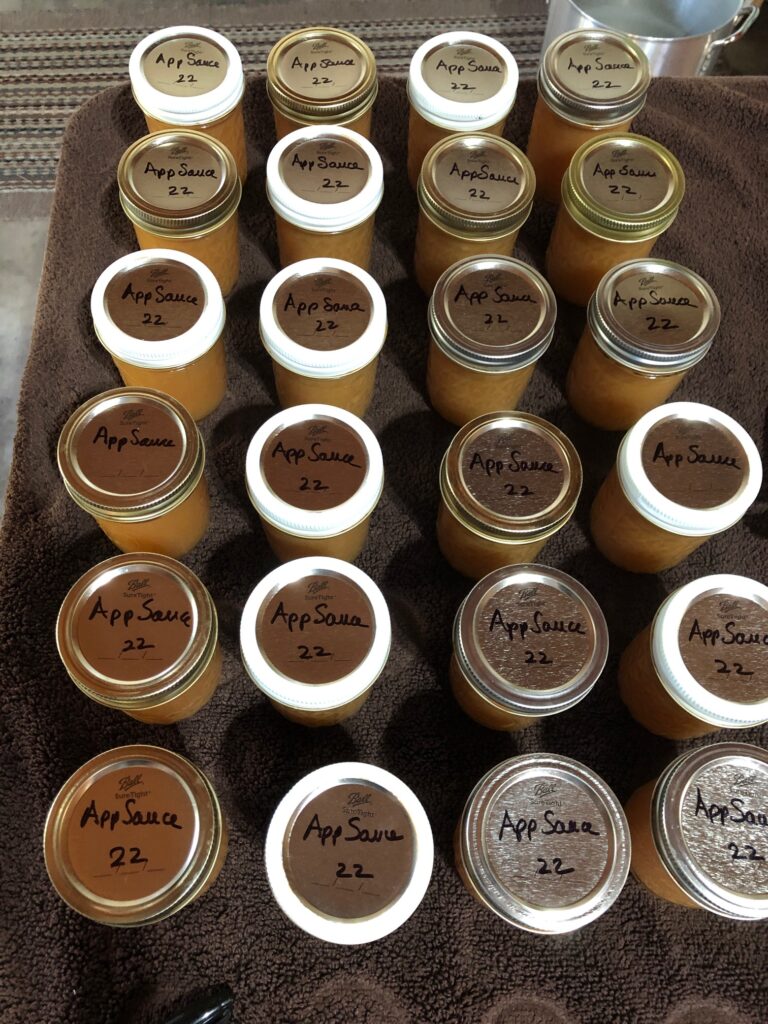
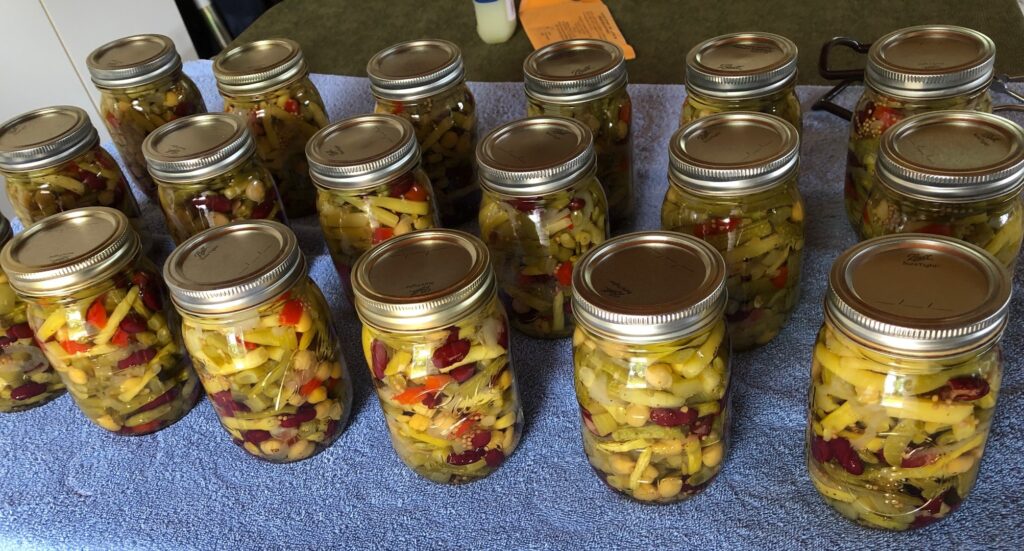
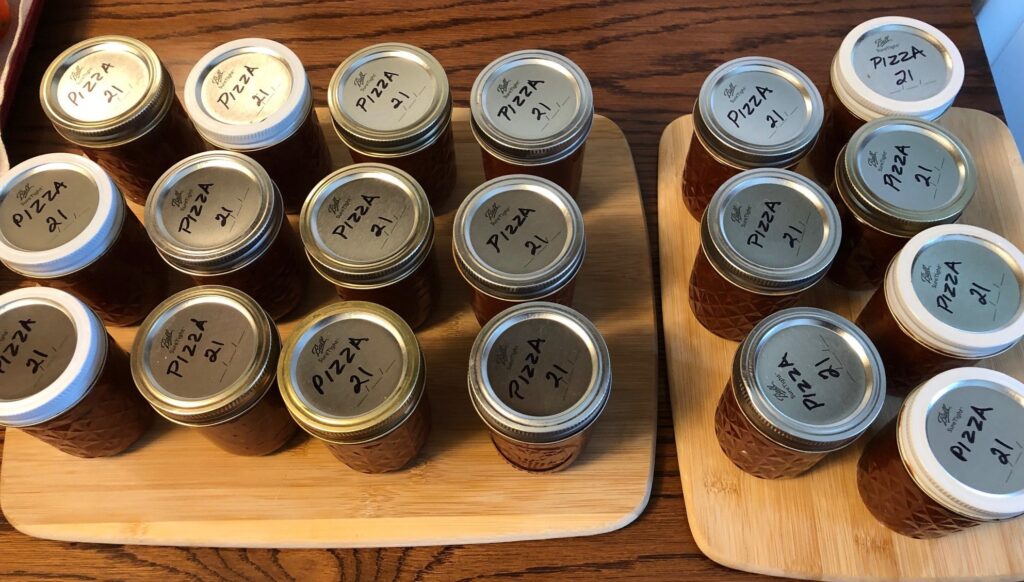
At the end of the day yesterday, I had 18 pints of 4-Bean Salad ready to put on the shelf. Feels good! Later this week I’ll take the cucumbers I bought at the Amish Market and make my pickle relish! THEN…I’ll be ready to deal with my own produce!

Take advantage of Farmer’s Markets around your area to fill in with produce that you don’t grow, or is ahead of your own garden produce. Enjoy!

Tomatoes-Too Many or Not Enough

One of the joys of gardening is to be able to eat fresh produce we grew ourselves. I also like to grow enough extra so I can preserve my favorite foods for the winter. The three foods I like to have on my shelf include pizza sauce in 1/2 pint jars, sweet pickle relish in pints and the pickled 4-bean salad in pints. (see https://marykisner.com/revised-four-bean-salad-recipe-for-canning/ )

Each of those foods are things we use and if we don’t grow it, the farmer’s market usually has an abundance of tomatoes, cucumbers and green and yellow beans at some point in the summer.

I work around the available volume of produce to decide when it’s time to can. Right now, we have way too many tomatoes to just eat them…they would spoil even if we both eat 1-2 tomatoes every day! However, the pile is not quite enough to make a batch of pizza sauce to can.

So, we eat what we can work into our meals, and before the tomatoes rot on the counter, I cook and freeze the rest. When I have enough frozen to make a batch of pizza sauce, I thaw out the cooked tomatoes and continue on with the recipe. I now have about 11 pints of cooked tomatoes frozen.

I will continue cooking tomatoes in smaller batches for another week or two. when I see tomatoes being sold at the farmer’s market by the box or bushel, I’ll decide if I want to save my frozen tomatoes for soup and other recipes, or clean out the freezer and use them to make the pizza sauce. I have choices! If you’d like to see how I make the pizza sauce I posted about it here in 2021: https://marykisner.com/time-to-make-pizza sauce/.

In case you don’t do projects like this, here are some pictures of how I cook the tomatoes to freeze.

First, the tomatoes are washed. Then I cut off the top of each tomato and score an X on the bottom.

I drop them gently into boiling water for about 1 minute to loosen the skin.

Then I move the tomatoes to a bowl of ice water. That stops the cooking action and really gets the skin to start peeling back.

Then I take each tomato, peel off the skin and chop the tomato into chunks. I place the chunks into a pot on the stove. Our tomatoes are pretty solid, so I add about 1 cup of water and let the tomatoes simmer and soften slowly. I the temperature is too hot at the beginning, the tomatoes will burn at first…ruins the whole batch! Ask me how I know!!

It takes about 2-3 hours on low to boil off some of the water and get the tomatoes cooked.

I scoop the cooked tomatoes into freezer boxes and put them in the freezer.

At least the tomatoes are safe in the freezer until I decide if I want to use them to make pizza sauce later. For now…it’s back to the garden to pick some more tomatoes! Enjoy!

Revised Four Bean Salad Recipe for Canning

Fresh green and yellow beans are abundant right now…at least at the Farmer’s Market! Since my poor bean plants were dried out and then drowned, if I wanted my four bean salad for the winter, I had to count on the Farmer’s Market to supply them. In one quick trip to the local market I was able to bring home 6 lbs. of green and yellow beans, onions and red peppers. I also had celery, kidney beans and chickpeas ready to go.

Here is the original recipe:

For this next batch of Four Bean Salad I doubled the recipe. I started with 6 lbs. of green and yellow beans, snapped and washed.

In this post, I’ll try to edit the recipe so you can see what I need to change the next time. I was hoping to make 19 pints, which would fill my canner. However, at 16 pints I ran out of the pickling solution. I decided to just put the extra blanched vegetables in jars and put them in the fridge. I’ll use the bean mixture in soup or over rice as is.

The original recipe called for chopped celery, red pepper and onion. I did not care for how the onions turned out last time (kind of stringy and slimy) so this time I chopped the onions like the peppers. (Picture below is from last year!)

I wanted more chickpeas in the mix, so I added three cans and 2 cans of kidney beans.

I did double the recipe for the pickling solution, but I was still short about 3 cups.

Bert got us into production mode with the propane tank and the canner!

Here are the finished 16 jars ready for the shelf. I’ll wait a month or so before I try this batch…give the pickling solution time to work!

The three extra jars are in the refrigerator ready to heat up and eat!

Here is the revised recipe:

Since I was short about 3 cups in the pickling solution, I added more vinegar, sugar and water to the recipe.

Next time should be better but I’ll sure enjoy these!

Canning Sweet Pickle Relish

Canning sweet pickle relish is my next big project this week! I know…why not buy it? Well…I use pickle relish mixed with my vegan mayo to make my own salad dressing, which I also use as tartar sauce for fish and dips for raw vegetables. I seldom use plain vegan mayo by itself. And yes…I can buy it easily, but I have yet to find a brand that doesn’t have high fructose corn syrup in it, or have bits of tough cucumber skins. When I make my own, I can regulate the amount of sugar and make sure to process the cucumber chunks into smaller pieces. I also enjoy the satisfaction of having a year’s worth on the shelf.

Last week I picked up a box of small to medium size cucumbers at the Amish Farmer’s Market for $18.

As I washed them, I counted 75 in total. I use a packet of relish seasoning that makes the process easier.

For each packet, I needed about 25 cucumbers, which will make 5 pints. I had three packets for my 75 cucumbers.

First I started cutting the cucumbers into chunks…the chunks filled my largest bowl…13 quarts!

Next, in small batches, I put them in the food processor to grind them up.

By the time I was done, I had about 10 quarts of ground cucumbers.

Next, I stirred in pickling salt and let the kettle sit on the counter for several hours.

Pickling salt does not have the additives that keep it from caking. Apparently, regular salt with those additives will discolor the finished product.

When the 2 hours were up, Bert helped me strain the cucumber pulp through cheesecloth to get rid of much of the extra salty water. That reduced the volume almost in half.

Then, I added white vinegar, sugar and the seasoning packets to my 12 qt. pot.

Then the cucumber pulp was added and brought to a boil.

I was able to fill 16 pint jars. They processed for 15 minutes in a water bath. Of course, I didn’t get any pictures while I filled the jars! Sorry. However, those jars will look great on my shelf all winter!

My final canning project for this summer will be tomatoes into pizza sauce (here’s the link to canning pizza sauce from last year: https://marykisner.com/time-to-make-pizza-sauce/). Small batches of just cooked tomatoes to freeze will be my end of year project. Enjoy!

Please comment or email me directly at marykisner@comcast.net.

A Fond Memory While Canning Applesauce

The middle of July may seem like an odd time to be canning applesauce, but actually, it’s the perfect time! This is the time of year when all my canning equipment is unpacked and ready for the tomatoes and cucumbers to ripen. While I’m waiting for other vegetables, it’s also the perfect time to work with apples. They usually have been stored commercially in climate-controlled areas since last fall and by July they are much easier to peel and are usually less expensive.

On Monday I made a drive out to the local fruit farm and picked up about 3/4 of a bushel of apples. I first picked out 1/2 bushel of the nicest Fuji apples I could find. Then I collected a peck of Ida Reds. Fuji apples are “sweet & mildly sweet” and the Ida Reds are “crisp, tangy & sharp.” As I cut them up, I chose some of each to get the benefits of both flavors.

How Much Exactly is a Bushel?

I looked up the definitions of bushel and peck, because it’s been a long time since I bought that many apples by that measure. A “bushel” is first a measure of volume. In the U.S. a bushel is equal to 8 gallons, 12 quarts, 64 pints or 4 pecks. (The Imperial Bushel, used in the U.K. is similar, but it can be used to measure dry or liquid products.)

A bushel can also be used as a measure of weight…and the government has established standard weights for each type of fruit, vegetable, nut and grain. A bushel of tomatoes, for example is supposed to weigh 56 pounds, as is a bushel of shelled corn. But if the corn is still in ears, a bushel is supposed to weigh 70 pounds. Leaves and greens take up more space with less weight.

A better way to clarify for the ordinary person like me, is to describe what you can do with a bushel of apples. For example, a bushel of apples typically holds about 125 medium apples. That’s enough to make about 15 quarts of applesauce or around 15 apple pies. That information is so much more helpful for me.

So, this week, I bought 1/2 bushel of Fuji apples and a peck of Ida Reds (shown above). For future reference, that many apples made 28 half-pints of applesauce (equal to 7 quarts) and two apple crisps with about 12 apples left over. Not sure what I’ll make now, but my hands are pooped out and I’ll have to make a decision soon. Once the apples come out of storage they don’t keep well.

A Fond Memory While Cutting Apples

I cut apples up for 3 1/2 hours on Tuesday and filled my 12 qt. pot to the brim with cut apples.

Cutting up apples is a pretty solitary job and I found myself thinking about all the times I watched and helped my mother cut apples for pies (my dad’s favorite). When I was very young, I fondly remember her singing a silly song called, “A Bushel and a Peck.” I finally took a minute to look up the lyrics and sure enough, I found them! It is really silly, but what a fond memory!

Continuing With the Canning Process

By the time the apples had cooked down, the full 12 qt. pot was filled only halfway.

Then I scooped the soft apples into the food processor and gave them a quick zap. I don’t mind the sauce being a little lumpy.

Then I put the sauce back into my smaller 6 qt. pot to simmer. I had to add a sauce pan for the overflow. At this point we tasted it and decided it needed a little sugar, so I added about 1 1/2 cups.

When divided up, the sauce filled 24 half-pint jars, plus 4 plastic containers that went into the freezer. The 24 jars went into the canner and were water-bath processed for 20 minutes. Now these lovely jars are ready for winter!

You might ask…do we really eat that much applesauce! While it’s great as a side dish for pork, I do use applesauce as an ingredient in some vegan baking, as a substitute for eggs.

Do you have any treasured memories that come up when you’re doing something your parents taught you to do? Enjoy!

Please comment or email me directly at marykisner@comcast.net.

Canning Four-Bean Salad

Remember that six pounds of green and yellow beans I picked a few days ago? (https://marykisner.com/garden-update-july-15-2022/) Over the weekend we managed to turn them into 18 pints of beautiful Four-Bean Salad!

I wanted to show you how we did it! I will tell you, canning in the Kisner household is definitely a team activity. I could not do it without Bert’s strong muscles to handle the canner. He was always willing to help, but years ago we invested in a canner that is hard for me to lift even empty…and it couldn’t be put on our glass-top stove burners. We now have a pretty slick set up…as long as Bert is willing to manage the actual canning process.

Since we can’t use the stove burners, he uses his propane burner that he set up to melt lead for reloading. It gets almost too hot so he’s had to put extra shields on top of the burner to help regulate the temperature.

Of course, that also means we do the actual canning in the garage. I’m grateful he knows how to do all this stuff!

My job is in the kitchen getting the jars sterilized and the food prepped. Since this recipe is basically making “pickled” vegetables, which includes mostly vinegar and sugar, the canning can be done with a water bath process. However, we use the same canner, he just doesn’t seal the lid and fills it with water.

When I can, I try to make a batch that will fill the canner…no point in going to all that work for 5 pints. So, I doubled the recipe…using 6 pounds of green and yellow beans, 4 cups of chopped celery, etc. Here is the recipe I’m using:

While Bert was getting the garage set up, I ran the dishwasher with the jars to sterilize them.

First, I mixed up the pickling solution and set it on a back burner to simmer.

Next, I prepped the vegetables. I had the beans all snapped and ready to go.

Then I had to chop the celery, onion and red pepper.

I measured out the kidney beans and chickpeas and rinsed them well.

I was using my largest pot that was full to the brim, before I added the beans! There was no room to add water to boil AND I didn’t have a long enough spoon to stir the pile.

Plan B kicked in! Bert went to the attic and found his HUGE stockpot that he uses to store cookie dough at Christmas. We dumped everything into the big pot (which of course, would not fit on the stove), moved it to the propane burner in the garage, and then added enough water to blanch the vegetables. I found Bert’s GIANT wooden spoon that he used to use to mix up cookie dough and we were able to finish blanching the vegetables out there.

The next dilemma was to drain the vegetables and move them back to the kitchen so I could pack the jars. I pulled out my HUGE colander strainer to scoop the vegetables into the original pot that did fit on my stove. By then, the vegetables had softened and fit back into the pot. Whew!

While I filled the jars, Bert emptied the hot water out of the big pot, set it aside, and put the canner on the burner to begin warming the water for canning.

When all divvied up, the vegetables filled 18 jars! The canner holds 19 jars. Perfect! So, the recipe, when doubled makes many more than 10 jars!

I used the pickling solution to fill the jars and had to add about 2 cups of vinegar to top them off. Once I got them filled, Bert took over, capped them and got them out to the canner. He handled the timing and watched the burner while I cleaned up the kitchen.

I now have 18 beautiful jars of pickled vegetables that will look and taste great all year! Of course, the recipe says to wait a month before opening, so along about Labor Day, I’ll check them out.

If you want to try this recipe, check your instructions that came with your canner to get the time correct for your altitude. Be mindful when you double a recipe…it might make more than you expect!

Four-Bean Salad

Please comment or email me directly at marykisner@comcast.net.

Time to Make Pizza Sauce!

Tomatoes galore! I now had about 3 dozen tomatoes sitting on the kitchen table and a decision needed to be made…what should I make with them? While we don’t frequently have homemade pizza, I thought it was time for me to figure out how to make a good vegan (or at least cheese-free) pizza. I have not yet found a good vegan cheese that melts like mozzarella and actually tastes good. I’ll have to do without cheese, so that means the sauce had better taste good!

I decided to make a hearty sauce with the tomatoes plus green peppers, onion, garlic, basil, oregano, salt, pepper, sugar and canned tomato paste.

All my tomato recipes start with dipping the tomatoes into boiling water for about a minute and then shocking them in ice water. This loosens the skins so they are easy to peel. (If you want to see that process in detail, see the post at https://marykisner.com/garden-update-august-9-2021).

Tomatoes ready for their boiling water bath!
Chopped tomatoes, onions and green peppers.

When the tomatoes were soft and bubbling, a lot of water had floated to the top. Without stirring the mixture, I was able to scoop off about 3 cups of watery juice so the whole mixture would be thicker.

When completely soft but still lumpy I put the mixture through the food processor to make it smooth. Then I added the tomato paste. This made a nice thick sauce. I added the dried basil, oregano, garlic, salt and pepper and about 1/3 cup of sugar.

This is a 12-quart pot and it was about half full.

We took this whole pot of sauce and put it in the refrigerator overnight. This morning I ran the dishwasher with 19 half-pint jars. (Turns out the canner holds 19 pints, but 24 half-pint jars! Next year…). I froze a few containers that were left over.

Sterilized lids and rings.

Bert started loading the canner with filled jars. (Sorry, no pictures of that exciting process!) However, after a few jars were lowered into the hot water, one broke spilling out sauce all over the other jars. Bert had to start over…taking out the unbroken jars, dumping the hot water, carefully removing the broken jar, rinsing the canner, and adding water and vinegar back (we have hard water and vinegar keeps the sediment off the jars). Luckily, I had an extra jar ready to go so 19 jars went back into the canner.

The jar broke right along the bottom…looked like a clean break. I’ve never had a jar break…ever!

The bottom broke right out!

Now the pressure canning process: Bert has rigged up a burner with propane that we use in the garage. The canner is too big to fit on our glass stove top.

Tomato sauce with additional stuff like peppers, onions and garlic is processed at 10 lbs. of pressure for 30 minutes. It always takes longer than that because the canner has to be vented first, then brought up to pressure, held for 30 minutes and then cooled down until pressure is back down.

So…we sit in comfortable chairs in the garage and visit or read while we wait. Occasionally, neighbors will drop by to see what we’re doing since the garage doors are open and we look open for a visit!

Finally, the jars are ready to come out of the canner. They will sit on my kitchen table for a few hours to cool down. I’ll write on the lids what they contain and the year. After that, they go to the basement shelves…ready for Pizza! I’ll let you know when I give that a try…maybe I’ll find some vegan cheese to try too. Enjoy!

Please leave a comment or email me directly at marykisner@comcast.net.