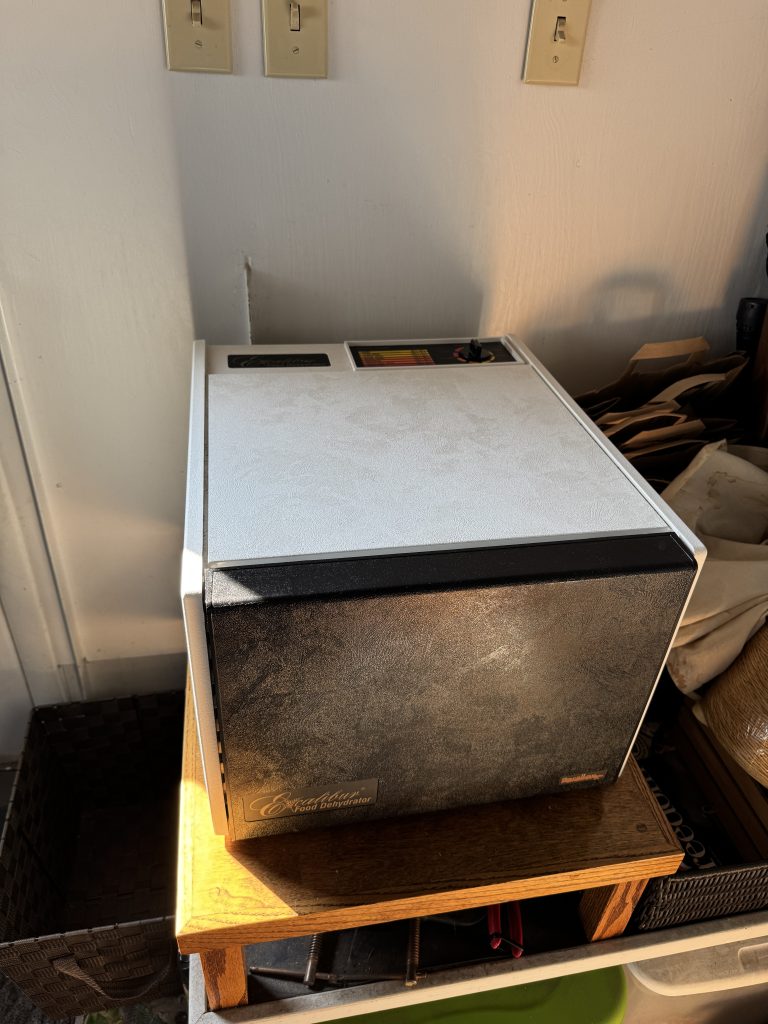
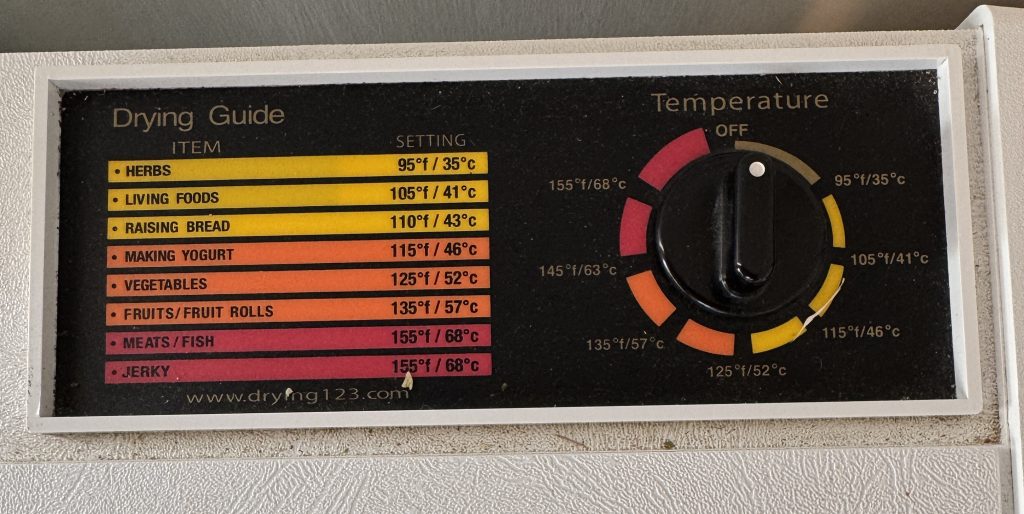
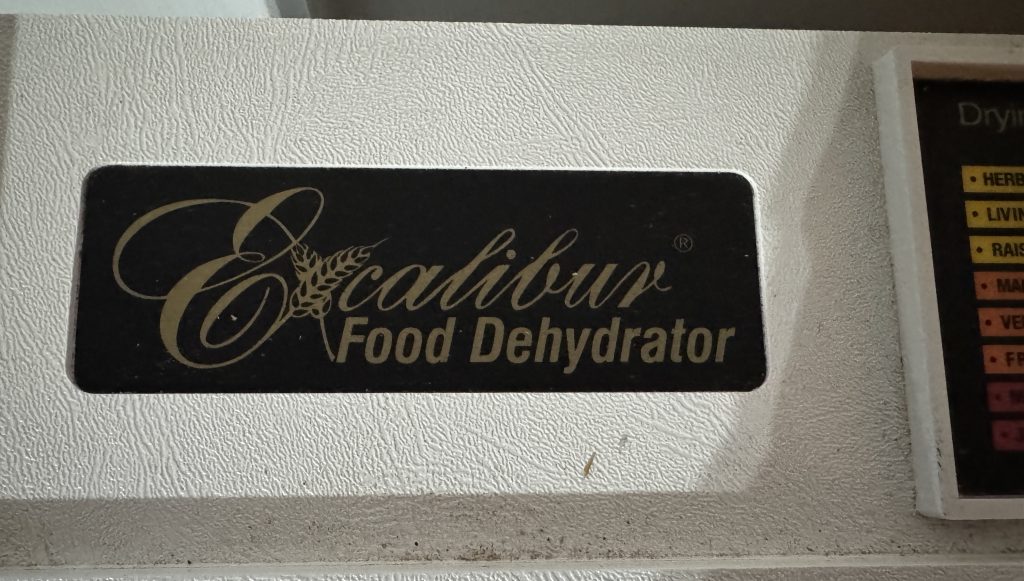
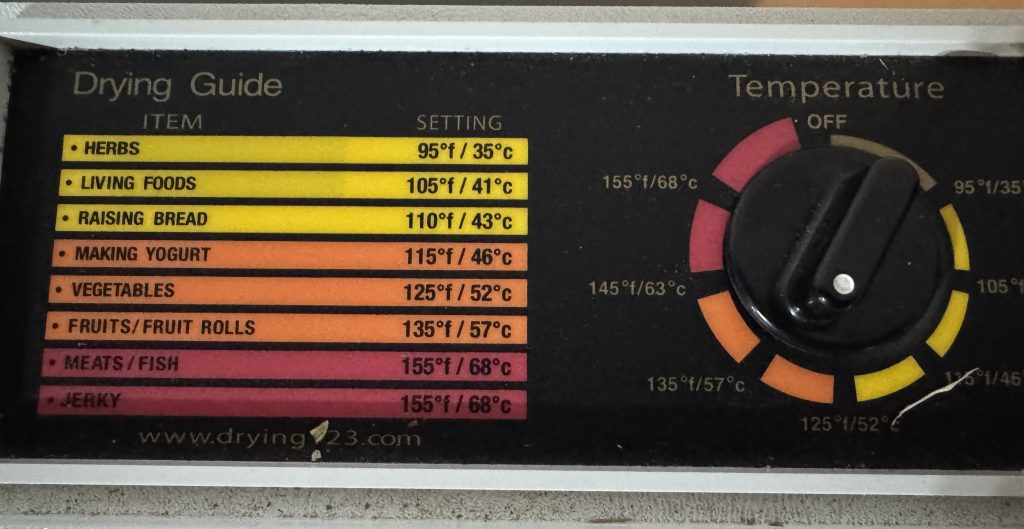
My Excalibur Dehydrator has been an important and useful tool for me over the last 10-15 years. It is basically a low-tech appliance with few moving parts, but it is safe to dehydrate foods without having to monitor the oven at low temperatures or the food over many hours. It is a large box-sized appliance (about 20″ x 18″ x 12″ high). I do not use it often, but when I do I want it near the kitchen where I prep the food to be dehydrated. Here is a picture from the instruction manual. It does have 9 trays, but the food shown in the picture is not realistic. They do not recommend dehydrating so many different kinds of food at the same time!
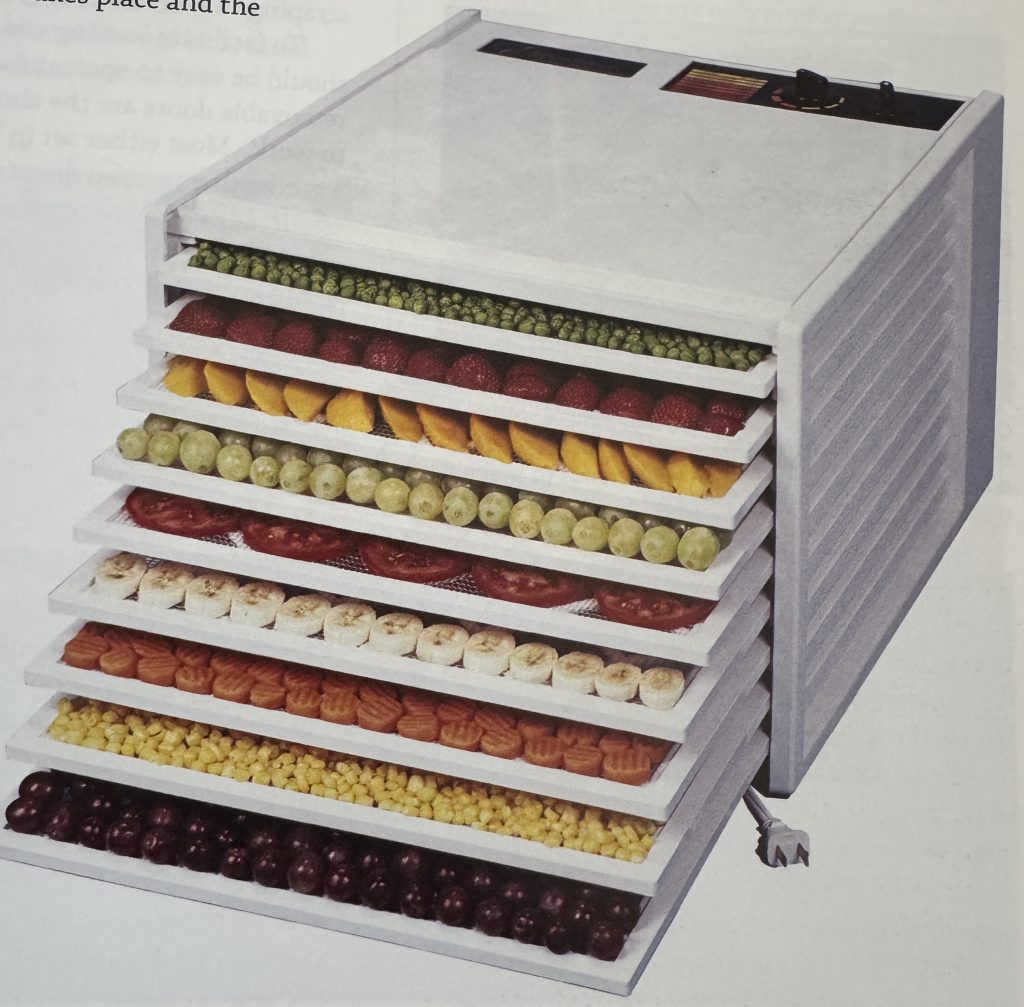
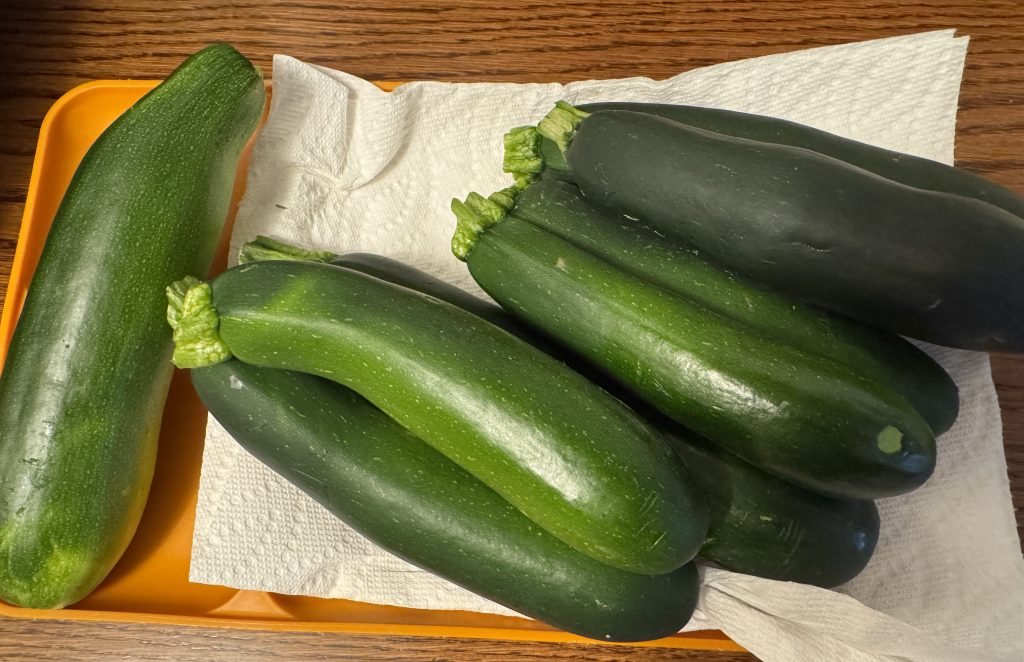
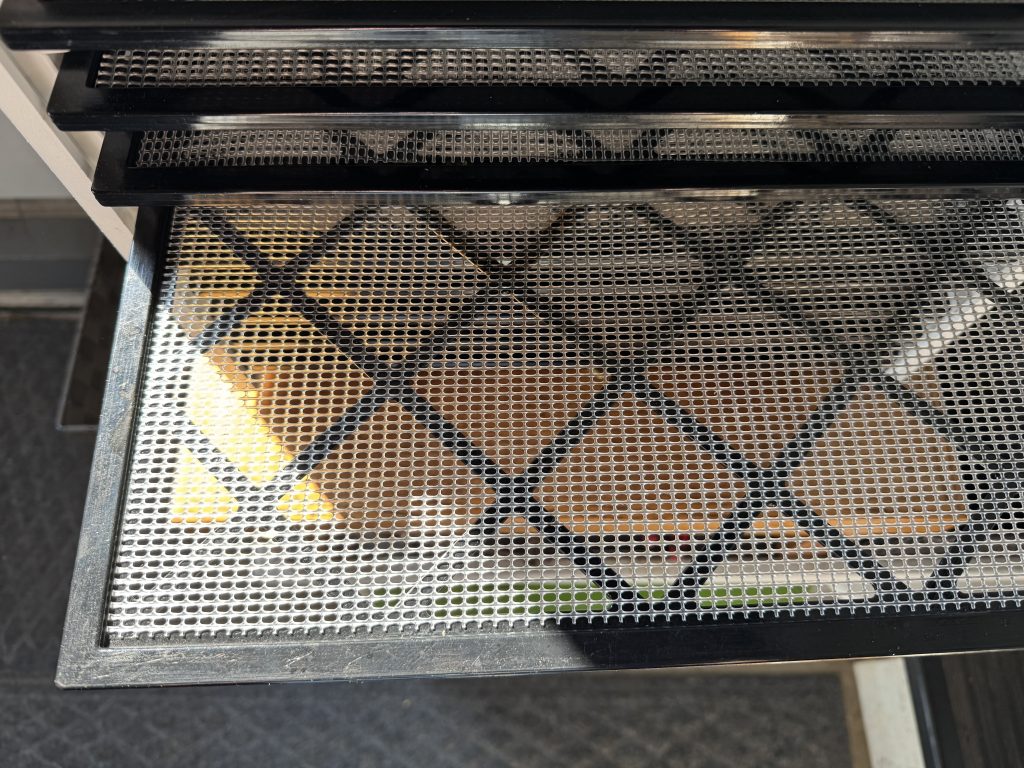
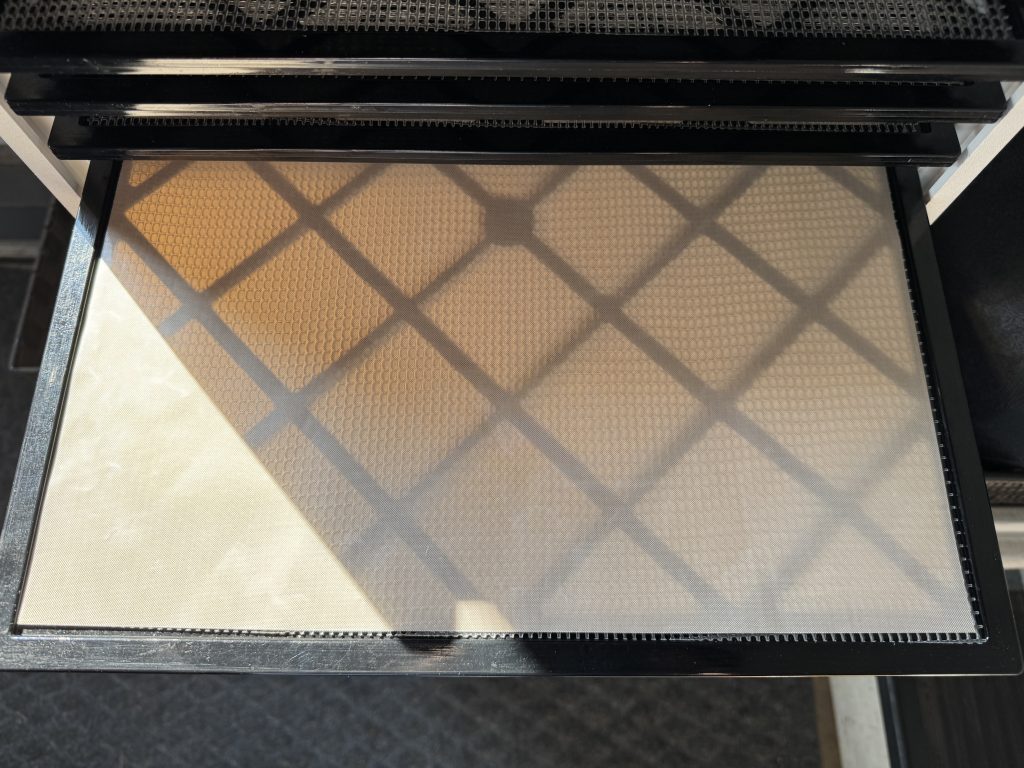
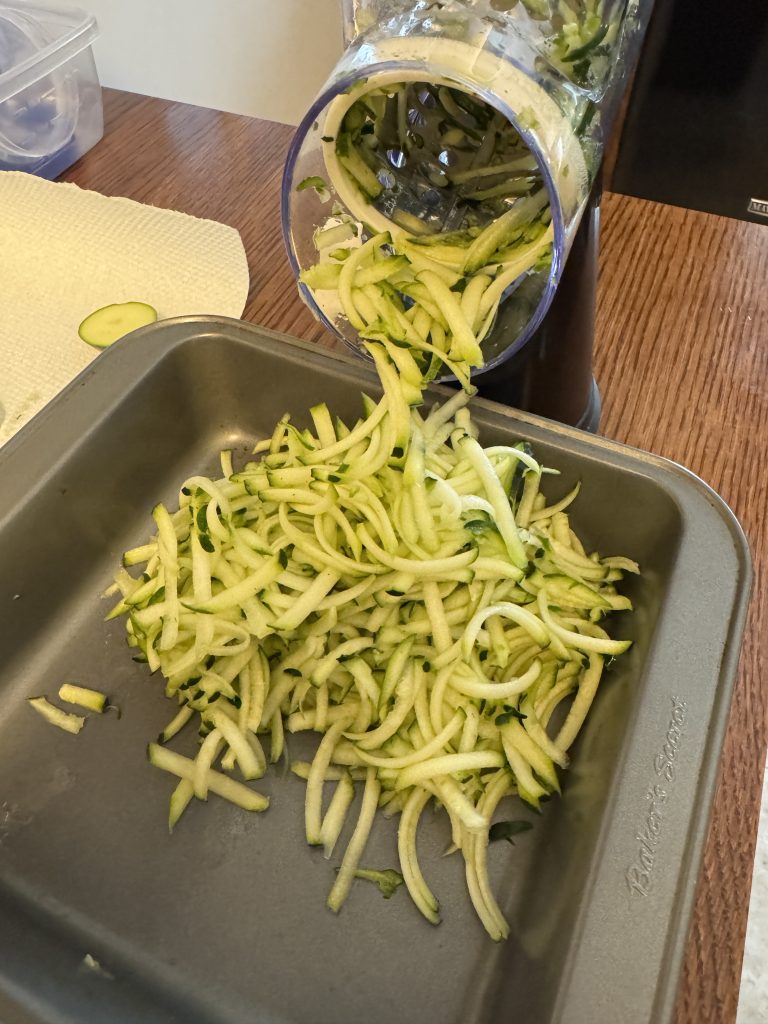
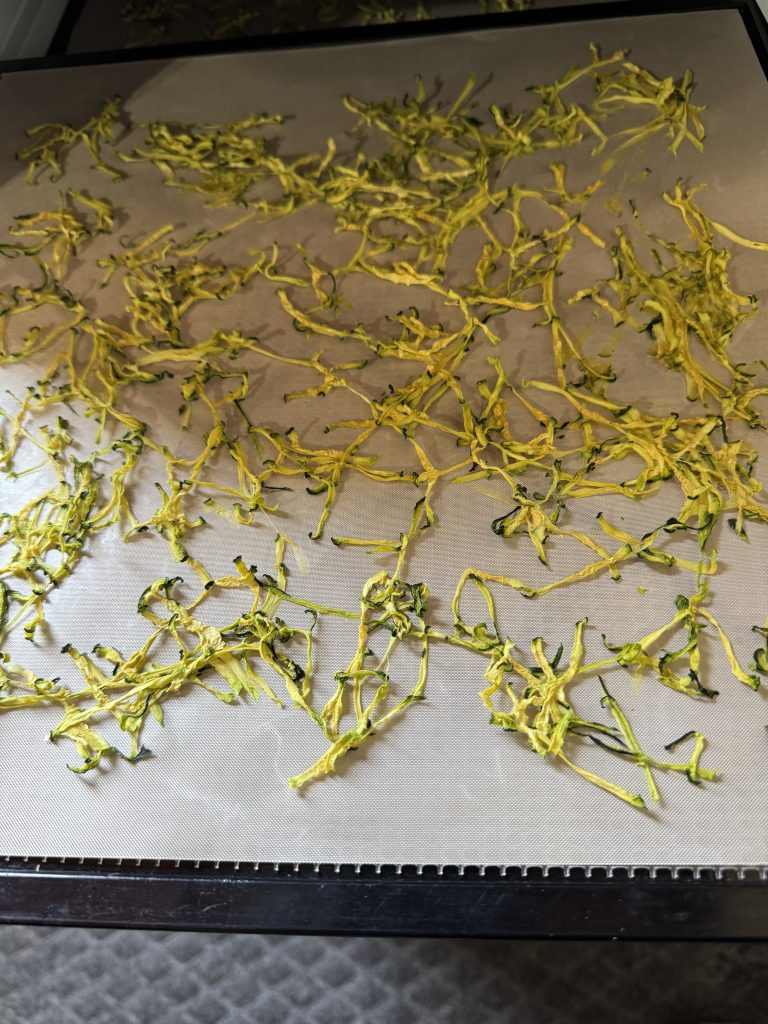
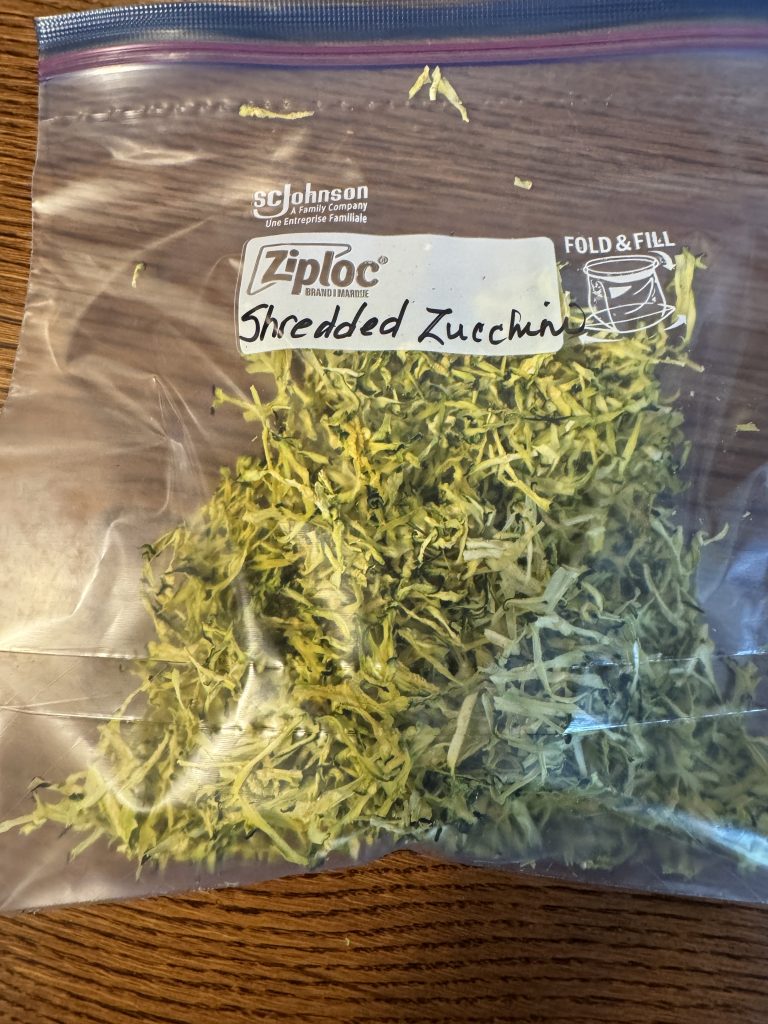
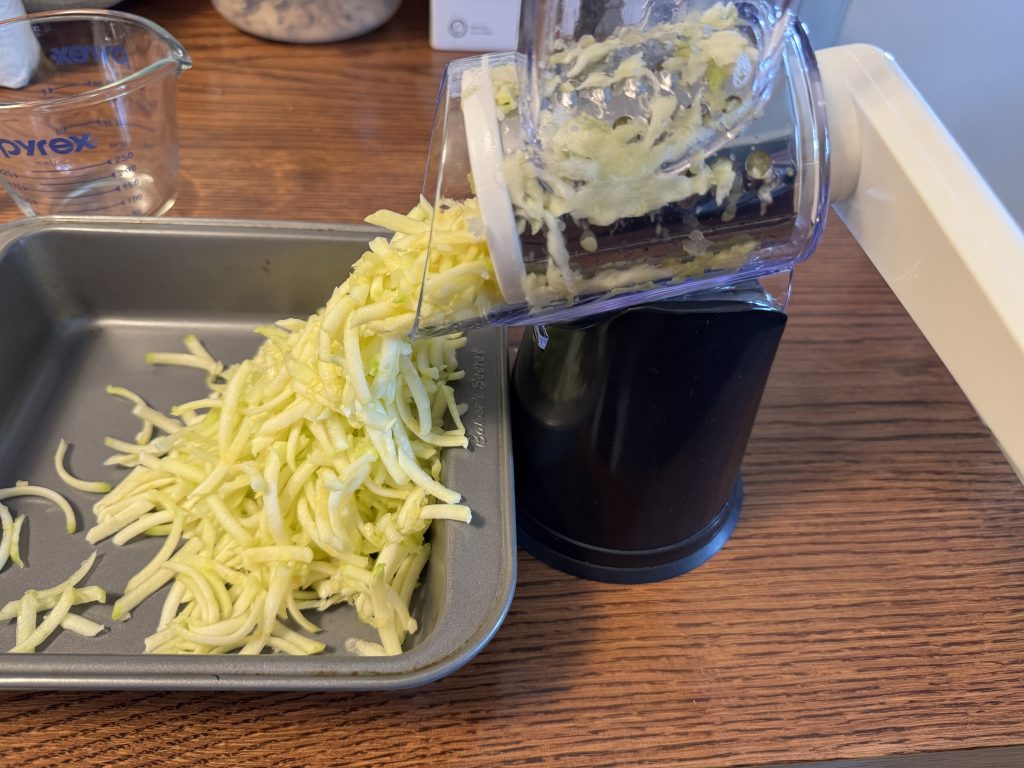
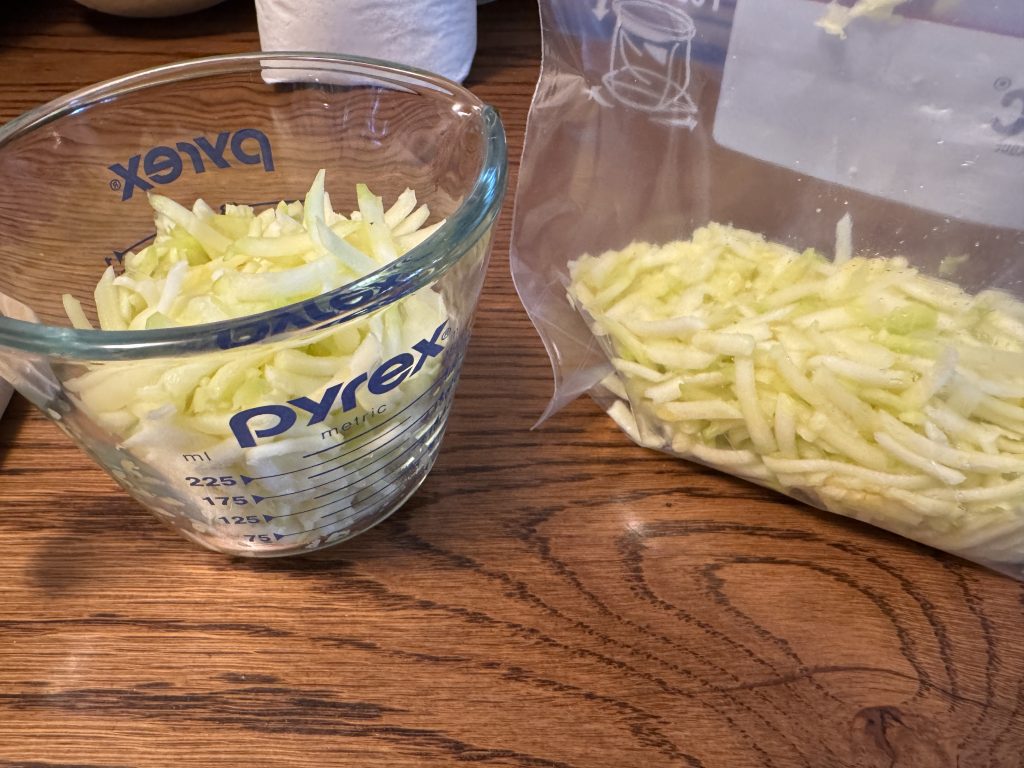
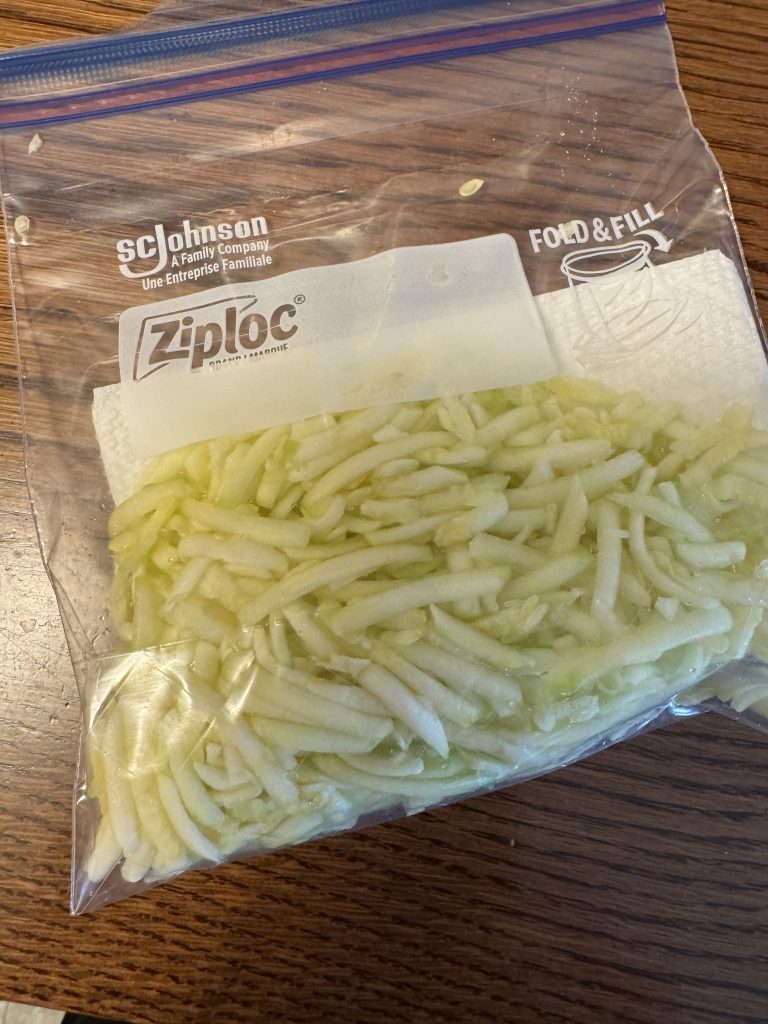
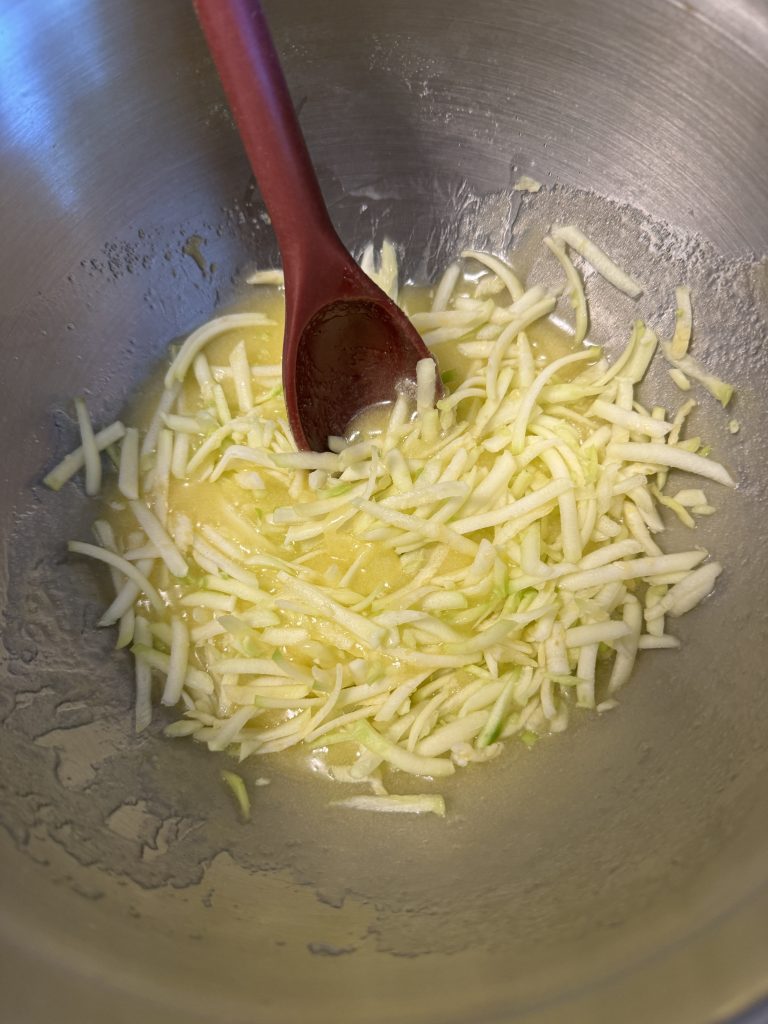
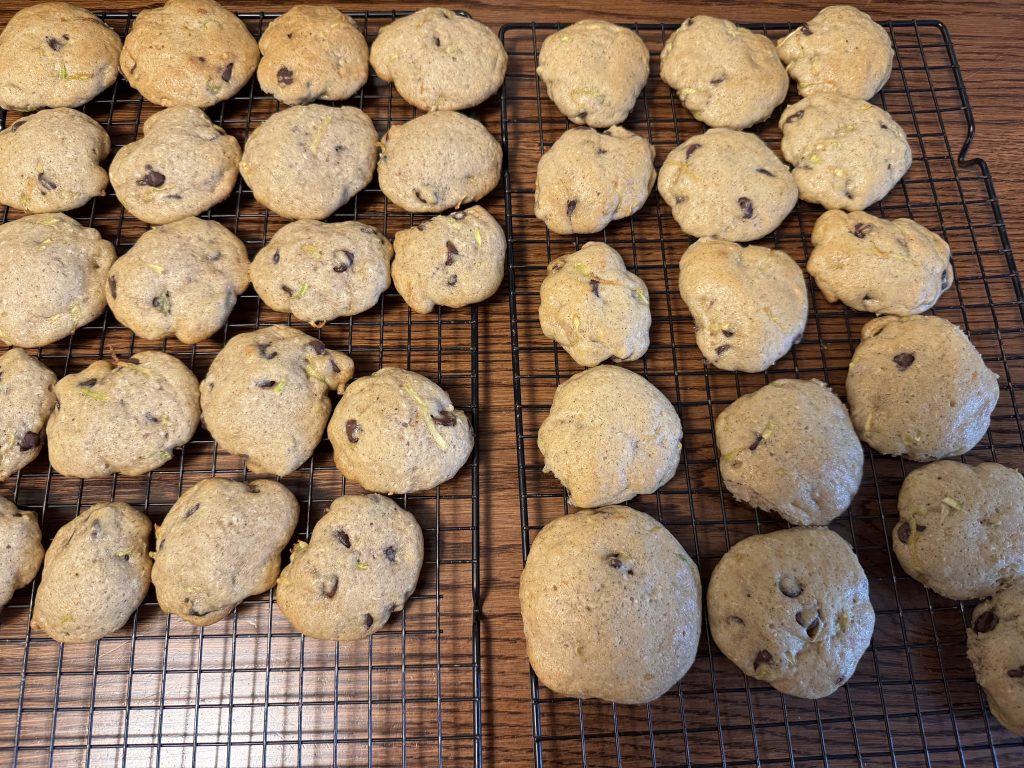
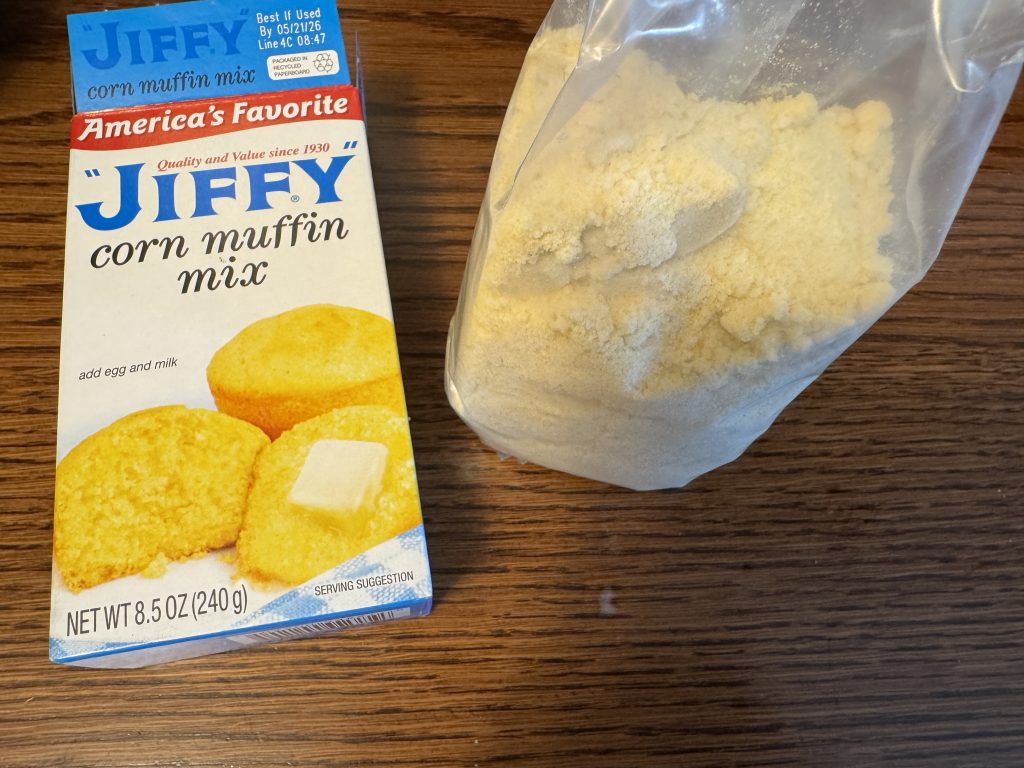
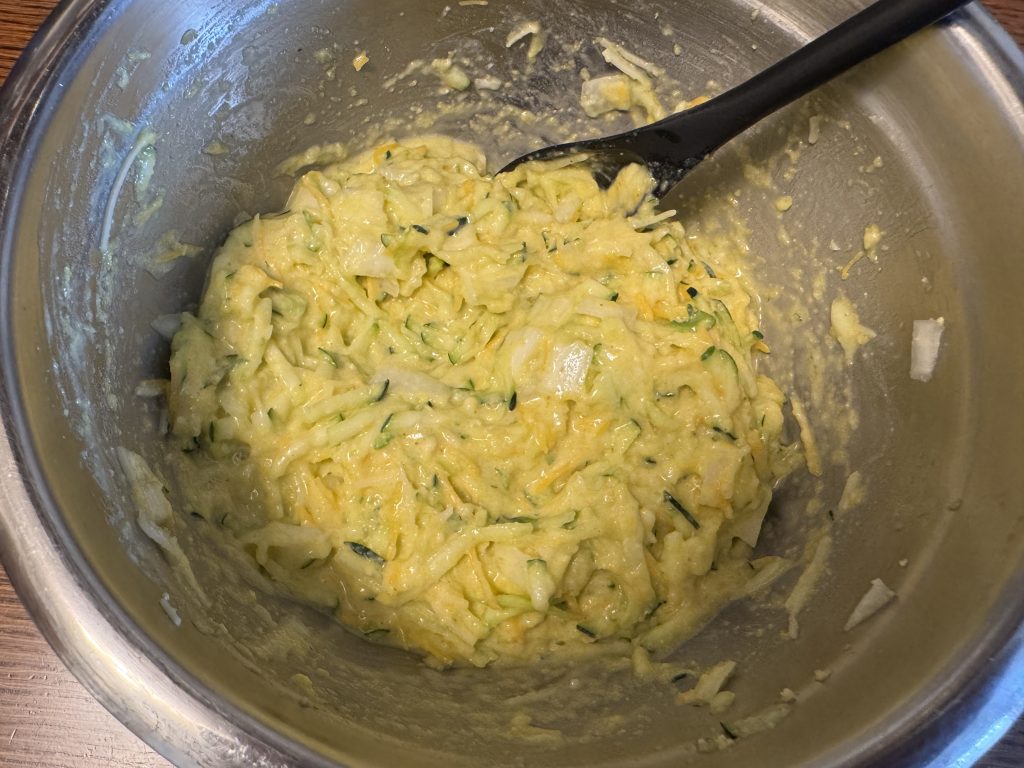
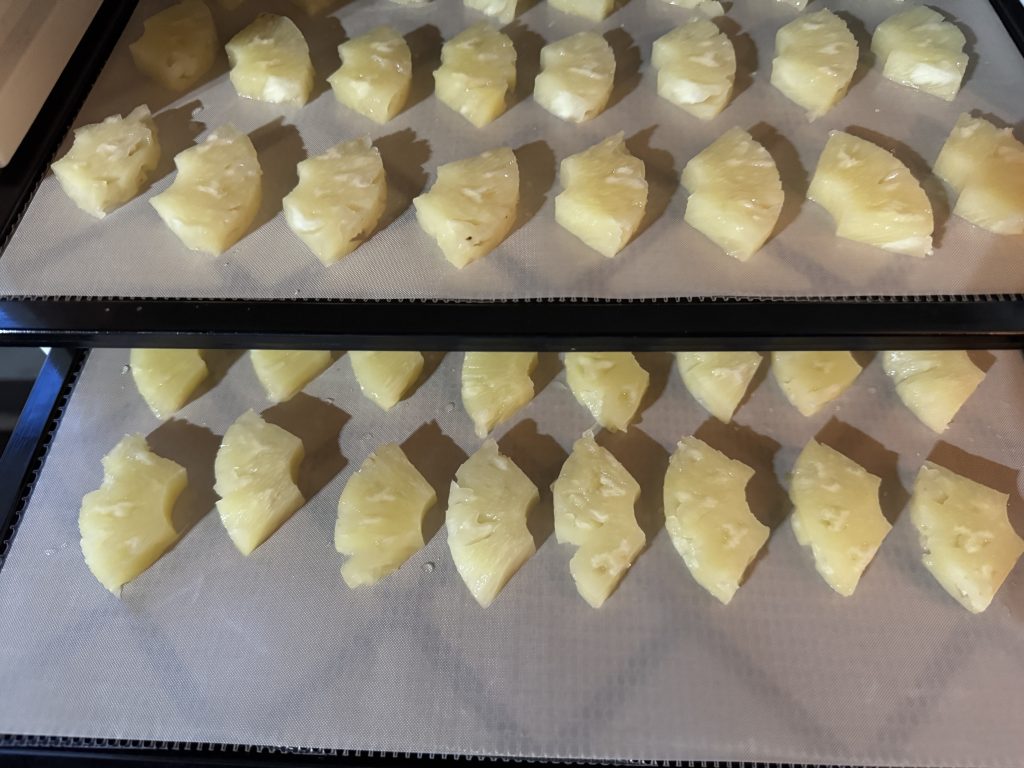
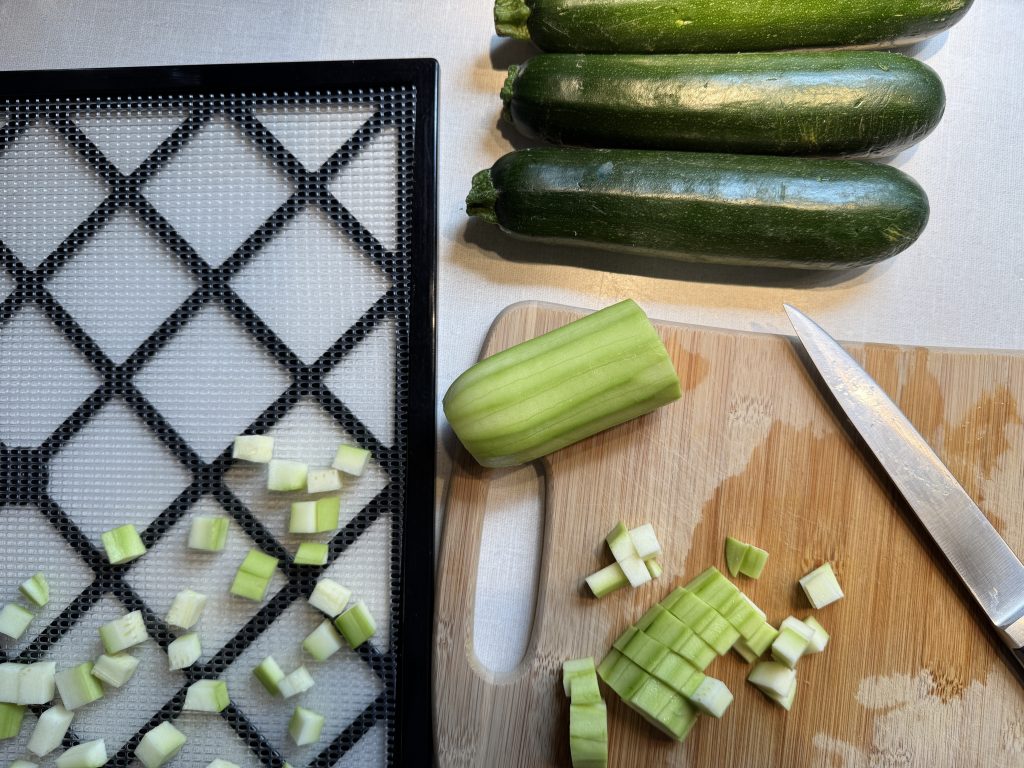
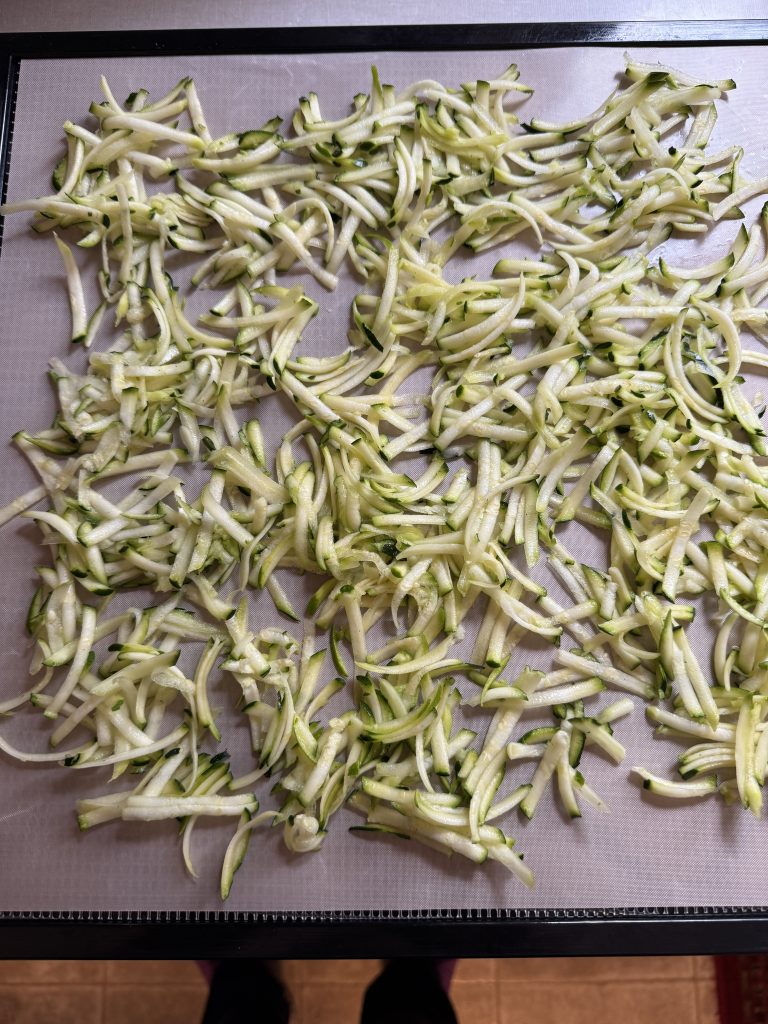
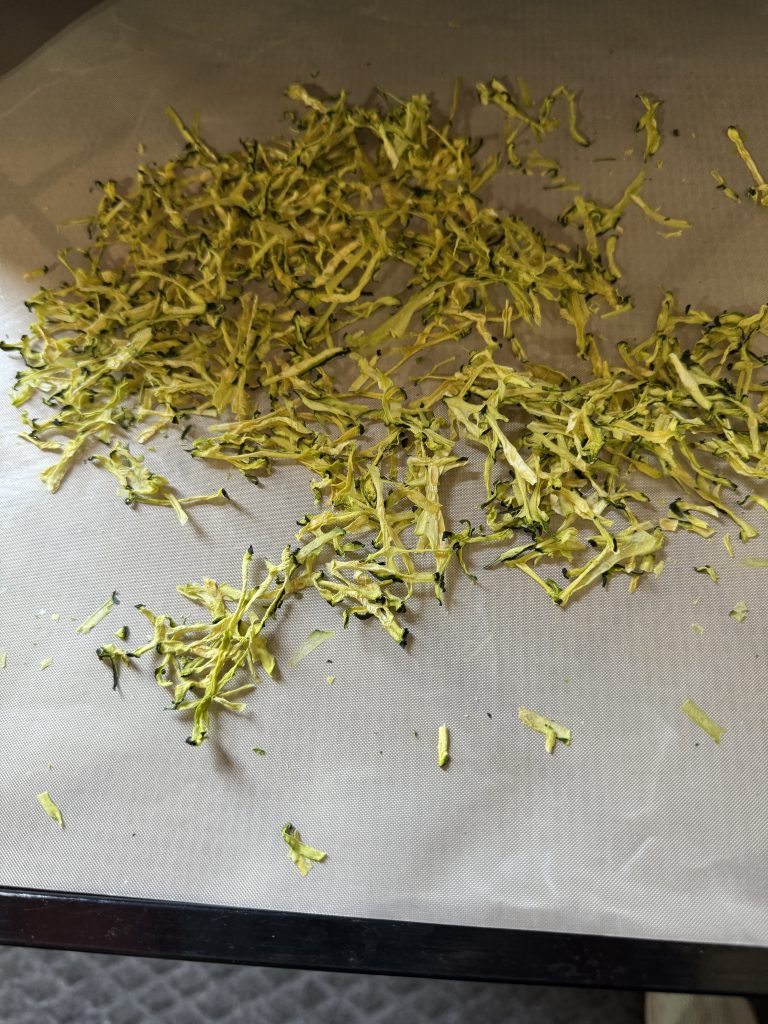
A few weeks ago, I showed pictures of dehydrating shredded zucchini…the shreds needed to be spread out so they would dry properly. The trays shown above are much too crowded.
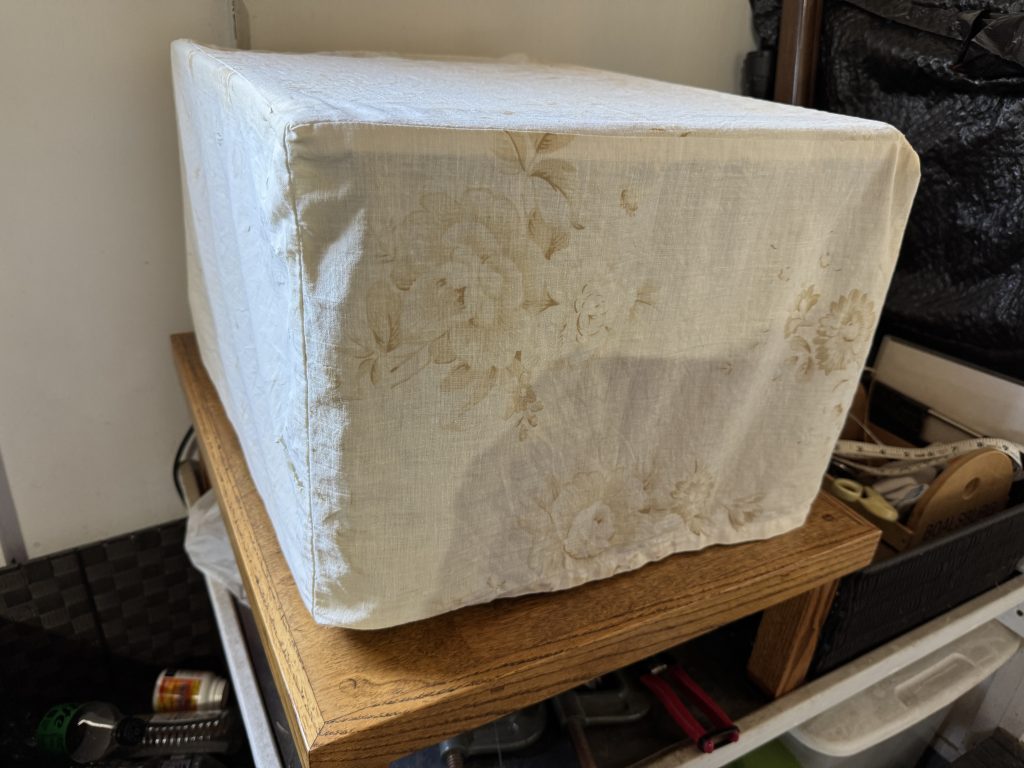
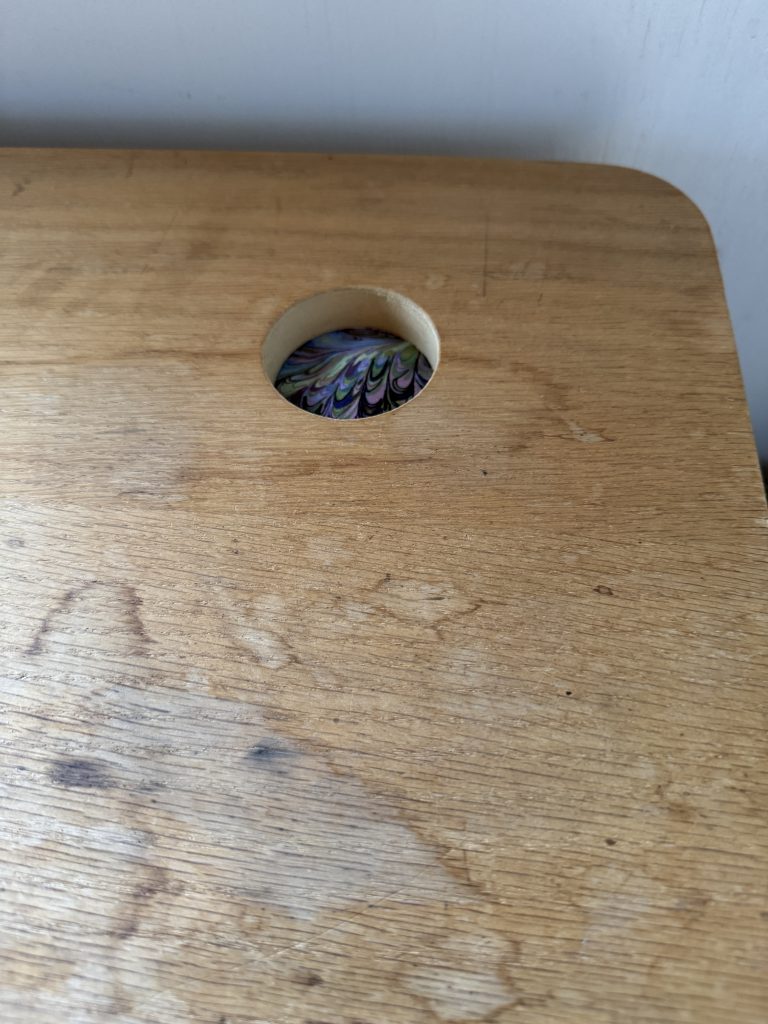
Anyway, the dehydrator is stored in our garage, right outside the kitchen door. When not in use, it is covered with a cloth cover I made many years ago, then covered with a custom board Bert made that has a hole for the temperature dial so it doesn’t get squished. The board keeps the whole dehydrator safe from being bumped and we find we store stuff on top. Packages from UPS often appear there when delivered!
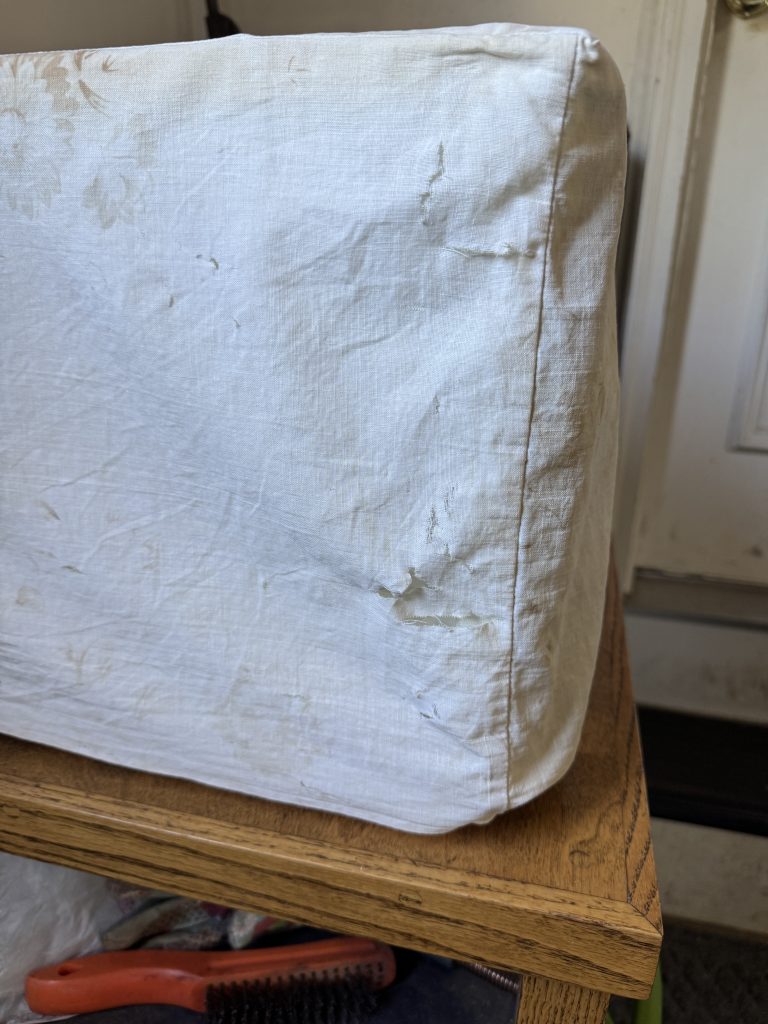
This original cover was made from plain cotton and must have gotten snagged or just worn through with holes! Yikes! Time for a new cover!
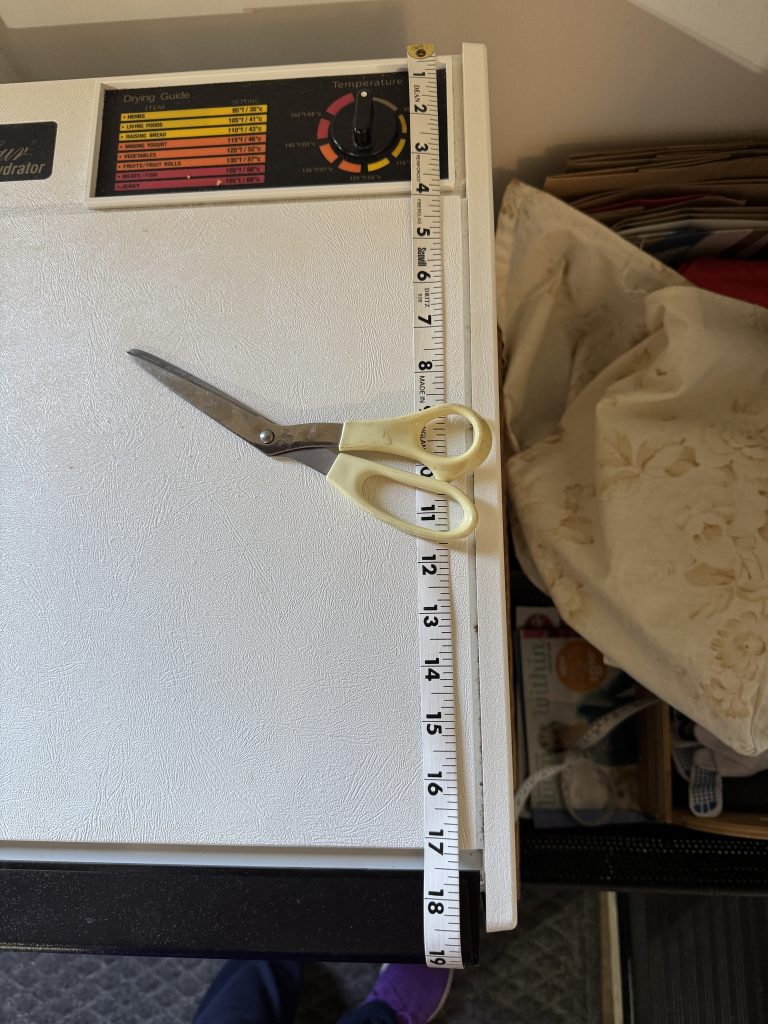
To make a new cover, I needed to measure the dehydrator. Pretty funny…trying to get my tape measure to stay put so I could take a picture of it just right!
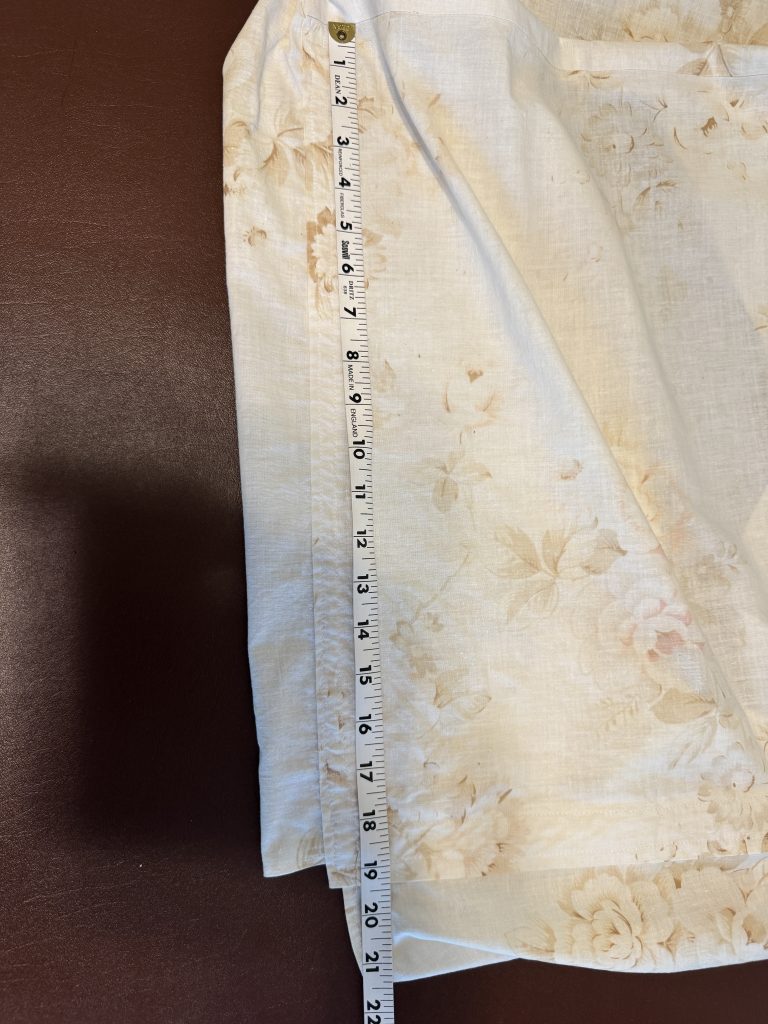
So I ended up measuring the old cover instead. The new cover didn’t need to be snug. I wanted to be able to just slip it on to keep the dust out.
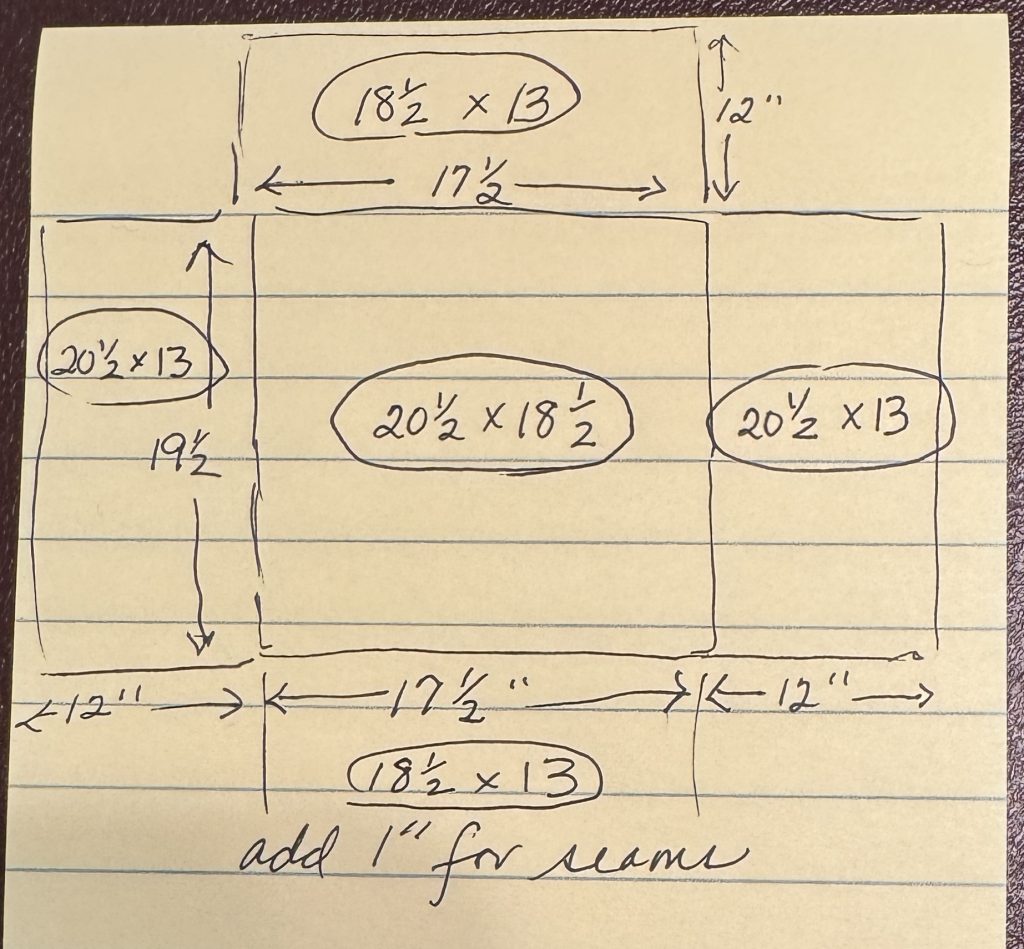
The measurements became this pattern:
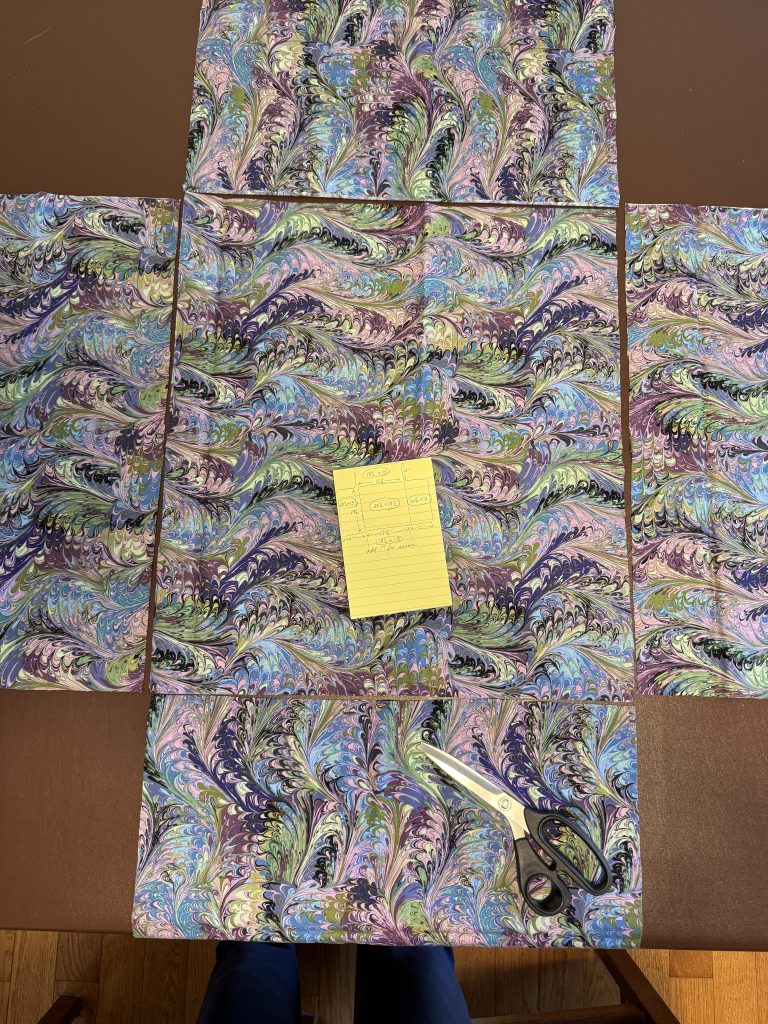
Once I found a piece of fabric big enough to make the cover, I cut the pieces out as measured above:
I stitched the 4 side pieces to the top and tested it on the dehydrator inside out before I sewed up the side seams. (I obviously didn’t go to a whole lot of trouble to iron the pieces before I started sewing!)
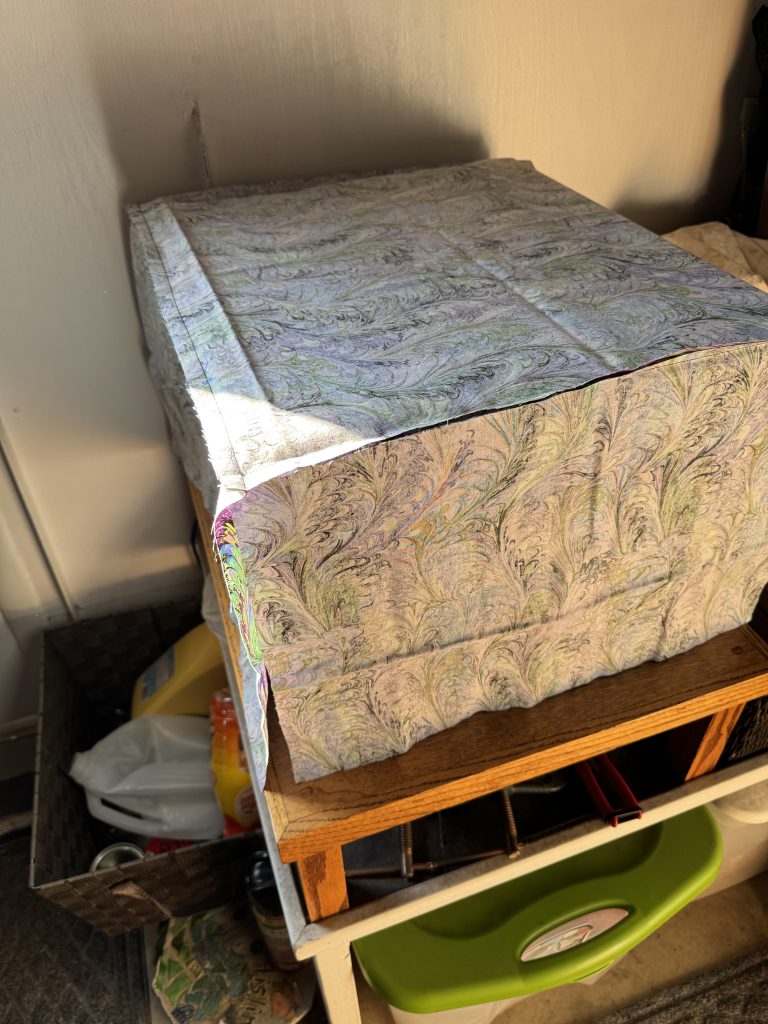
Once the side seams were sewed (and zigzagged for strength) I tested the fit again before I hemmed the bottom edge.

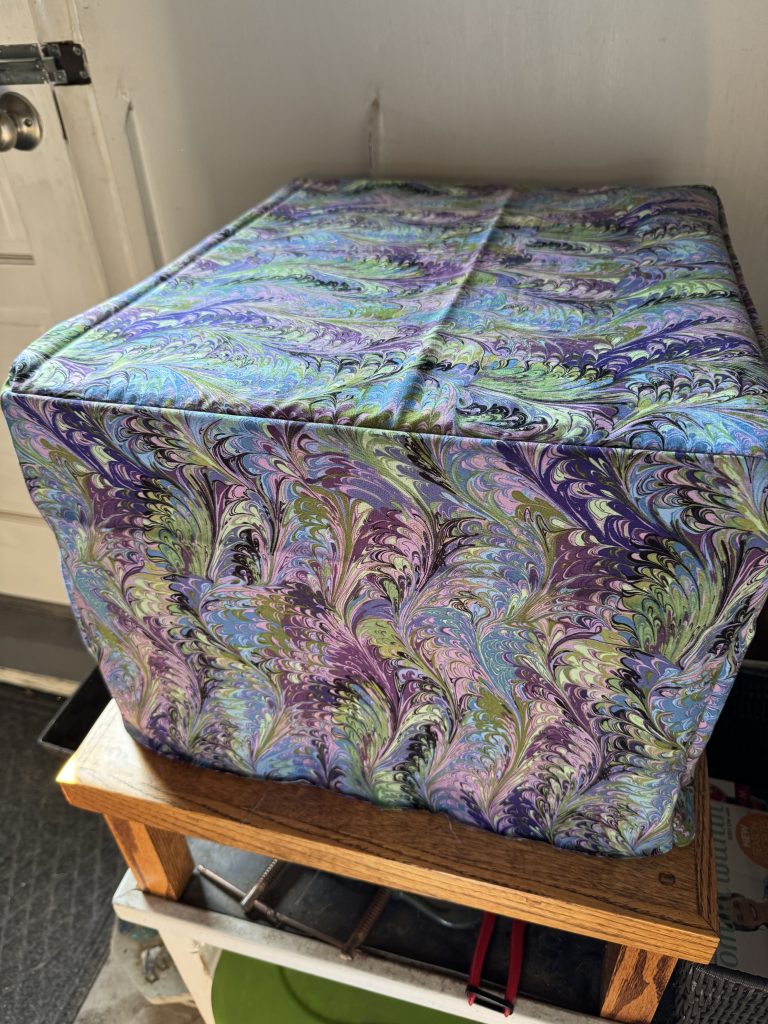
And right side out, it works great. Guess I could break out the ironing board if necessary!
Remember, I said we store the dehydrator under a board with a hole to accommodate the dial on the top. Believe it or not, that board has prevented damage to the dial for 15 years!
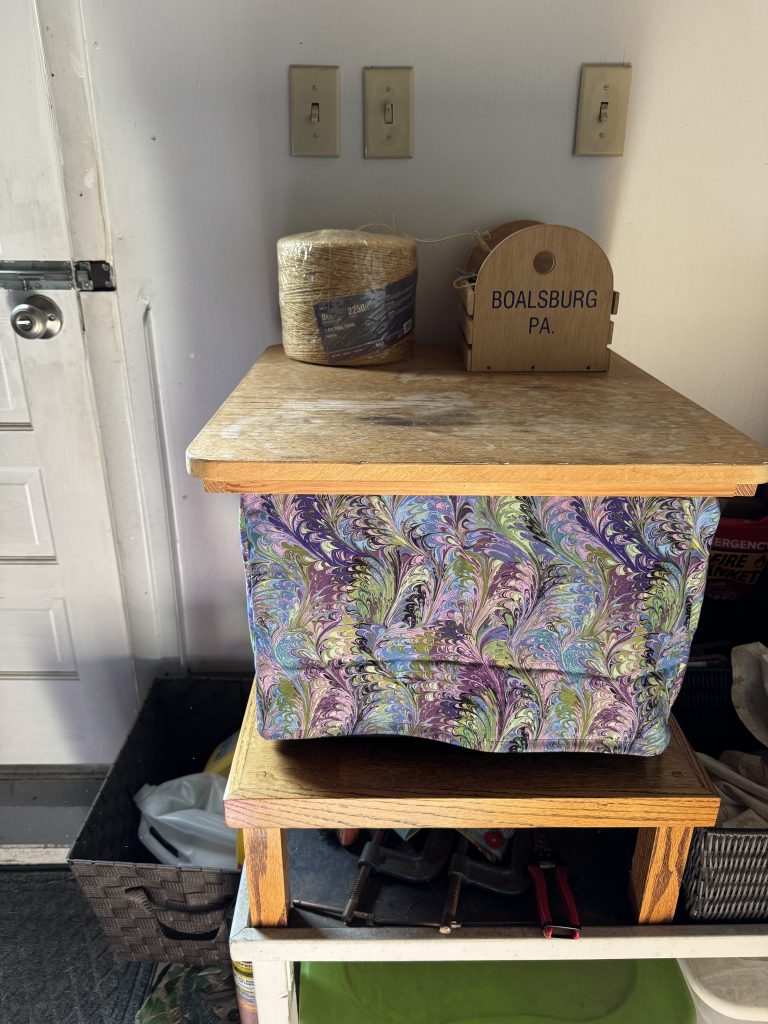
Now, this space is ready for UPS to drop off packages, etc. I feel better that the dehydrator is now covered! Enjoy! If you have questions or comments, please email me directly at maryjkisner@gmail.com.