My mother was the queen of depression-era cooking. Her meals weren’t fancy but they were frugal. She was married in 1935 and raised two kids during lean times while my dad was in college and finances were very tight. By the time I was born in 1946 our family was preparing to leave dad’s teaching job in New Jersey and move to State College and Penn State.
The lean times were finally in the past but my mother never let go of her efficient recipes and could make a meal out of a few leftovers. To this day, my favorite dish was her casserole that had some meat chunks, leftover vegetables and gravy topped with biscuits.
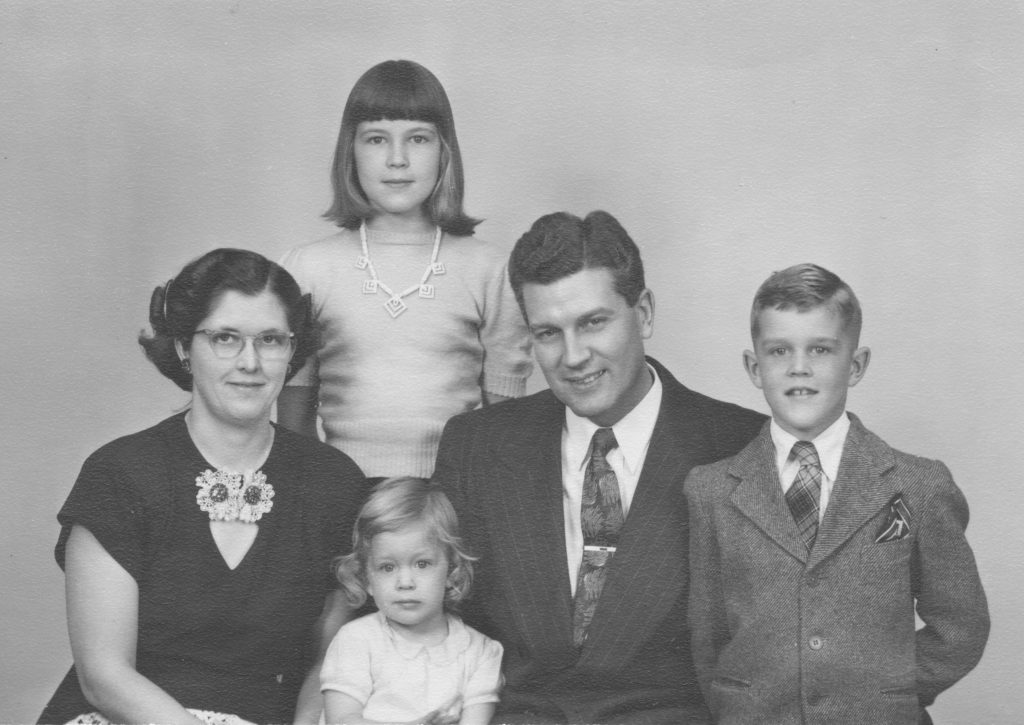
The Paul Bixby family around 1950
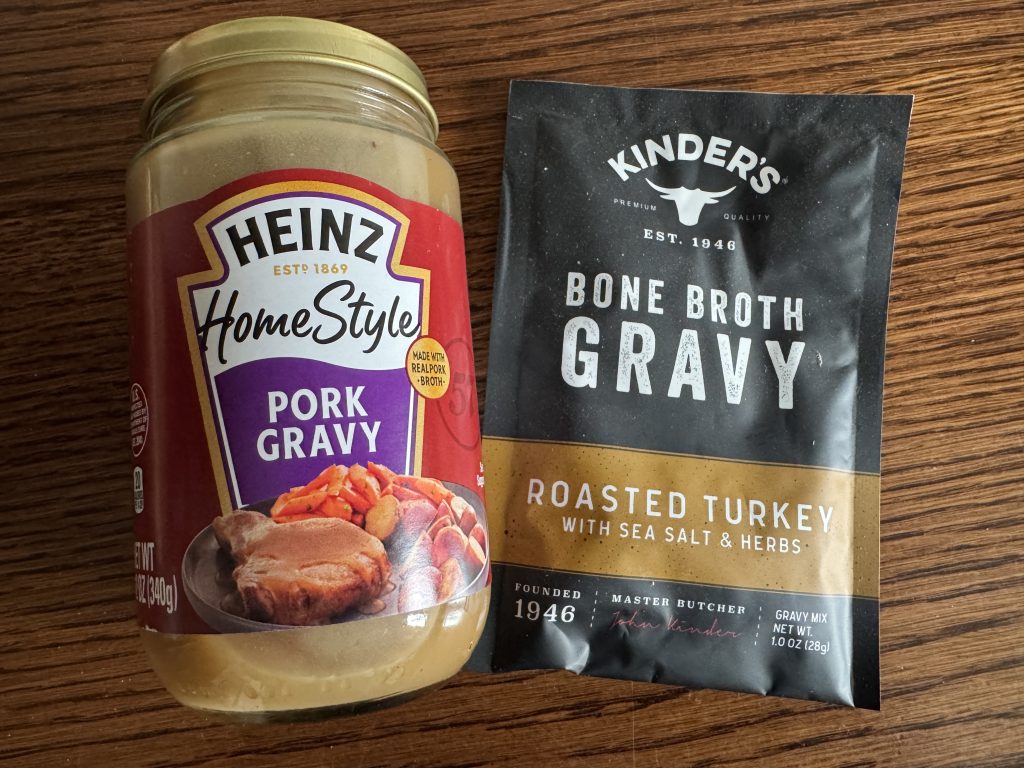
Somehow, I never watched how she made the gravy and I spent many years of my married life trying to duplicate those casseroles. I usually ended up with vegetable soup but could never seem to figure out how to make the broth into gravy. I often gave up and opened a jar of pre-made gravy or used a dry packet to make a cup of gravy.
A few years ago, I finally looked up on the internet how to make gravy and I’ve enjoyed being able to produce a nice gravy with juice left from cooking a roast in the crock pot or roasting chicken in the oven. Last week, I made a delicious chicken vegetable soup and wanted to convert it to my mother’s familiar casserole. I’d like to share the simple recipe with you.
How to Make Gravy
Ingredients:
2 tablespoons butter (or coconut oil, vegetable oil, olive oil, margarine or bacon fat)
1/4 cup all-purpose flour (or 2 tablespoons cornstarch)
2 cups chicken, beef, turkey or vegetable broth (or pan drippings…strained to remove gristle or fat)
Instructions:
- In a medium-size saucepan, melt butter (or other fat) over medium high heat.
- Whisk in flour (or cornstarch) until well combined and no white specks remain. Cook 2 minutes.
- Slowly pour in broth and whisk well.
- Bring to a simmer and heat until thickened to desired consistency, about 2 minutes, whisking constantly.
Making Gravy Out of Soup Broth
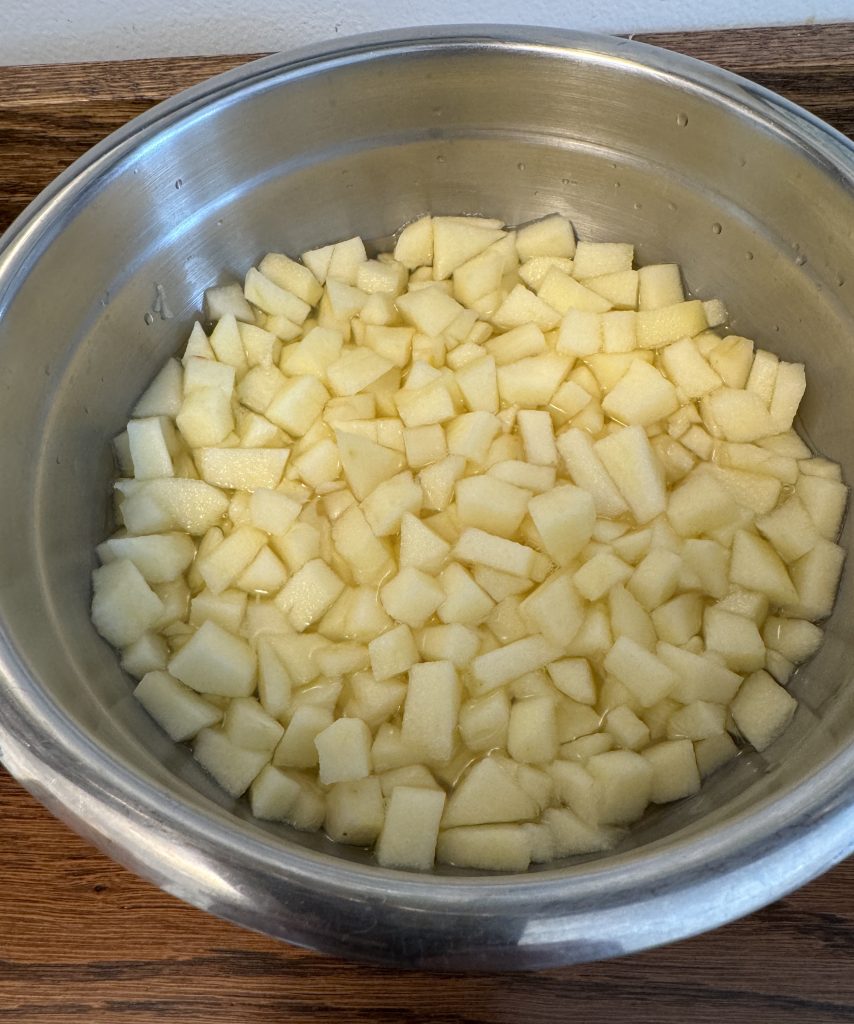
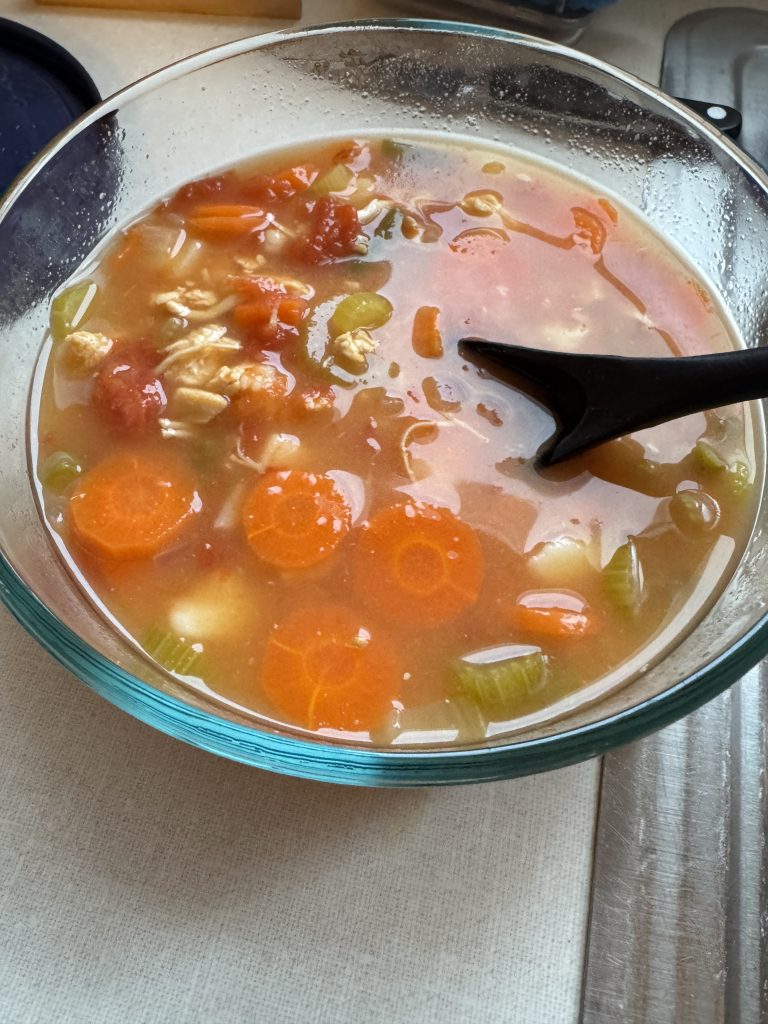
I started with a big bowl of my homemade chicken vegetable soup.
I pulled out my strainer and dumped the soup in to strain out the vegetables.
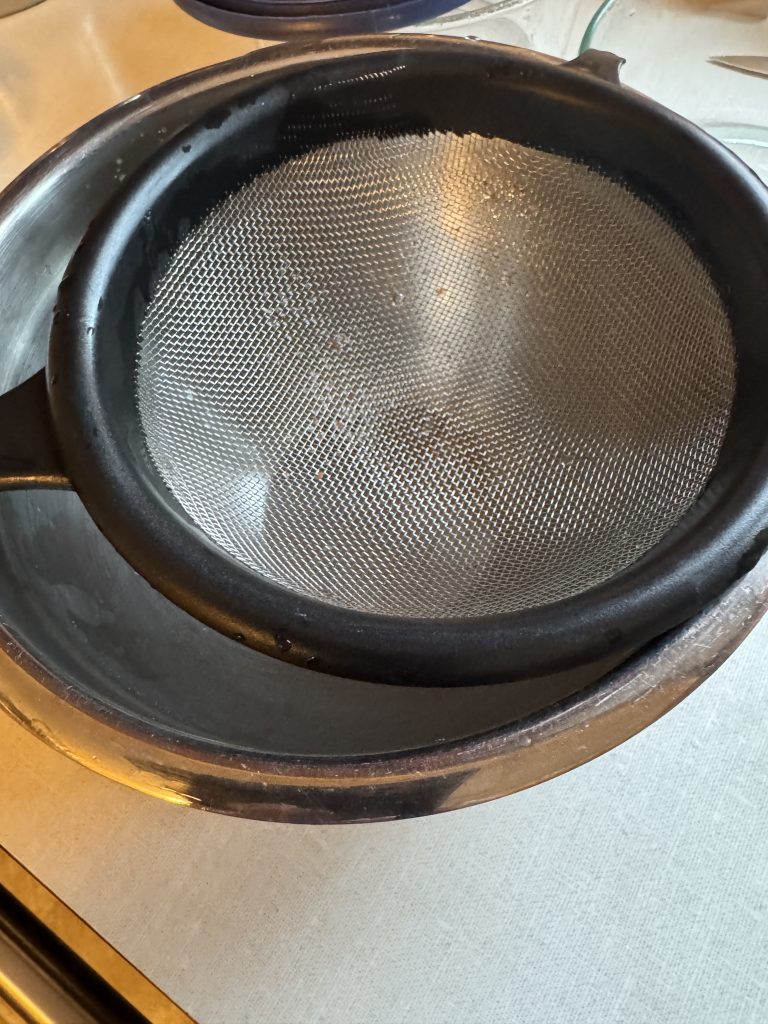

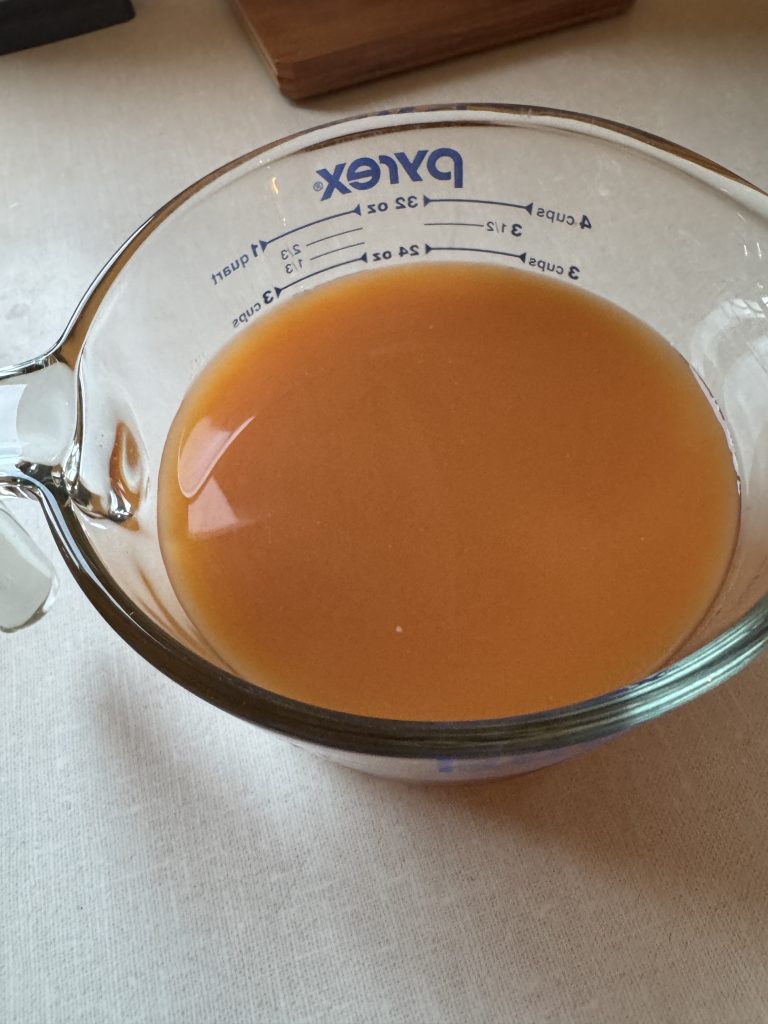
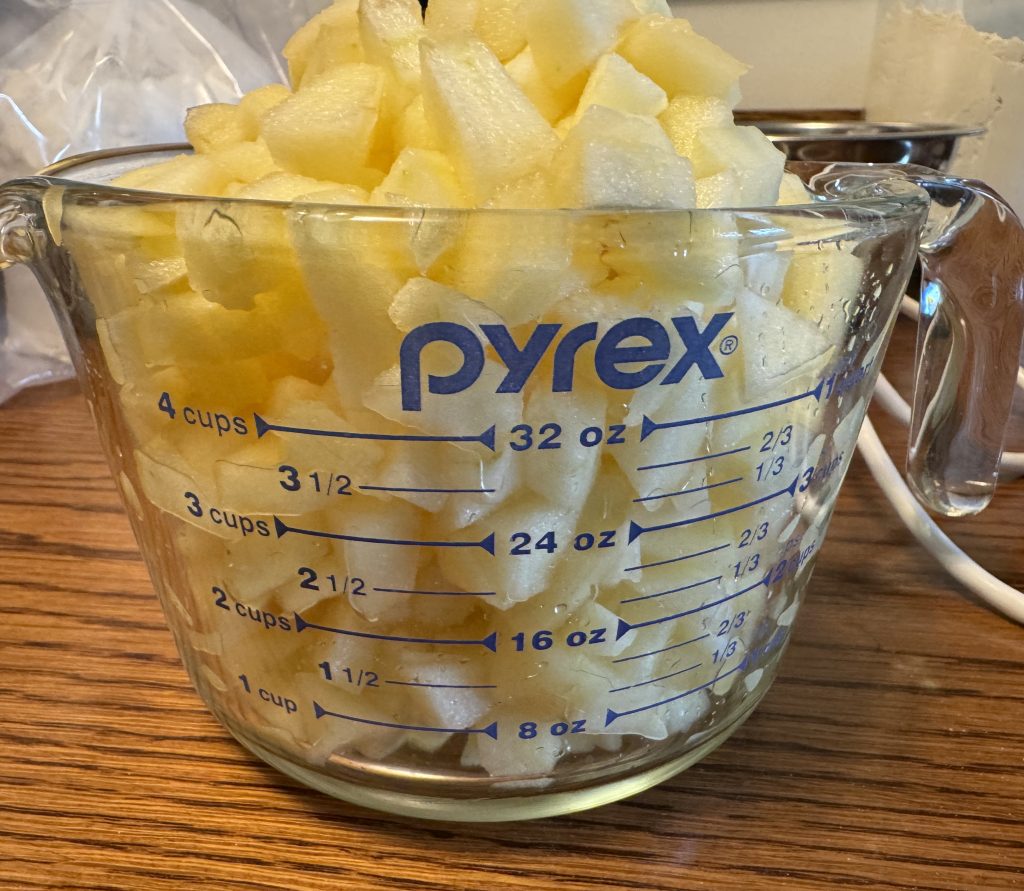
The recipe above is based on 2 cups of broth. You can see I had 3 cups of soup broth. So, I just increased the measurements of the fat and flour to make sure it would thicken properly.
I like to use coconut oil and all-purpose flour to make this gravy.

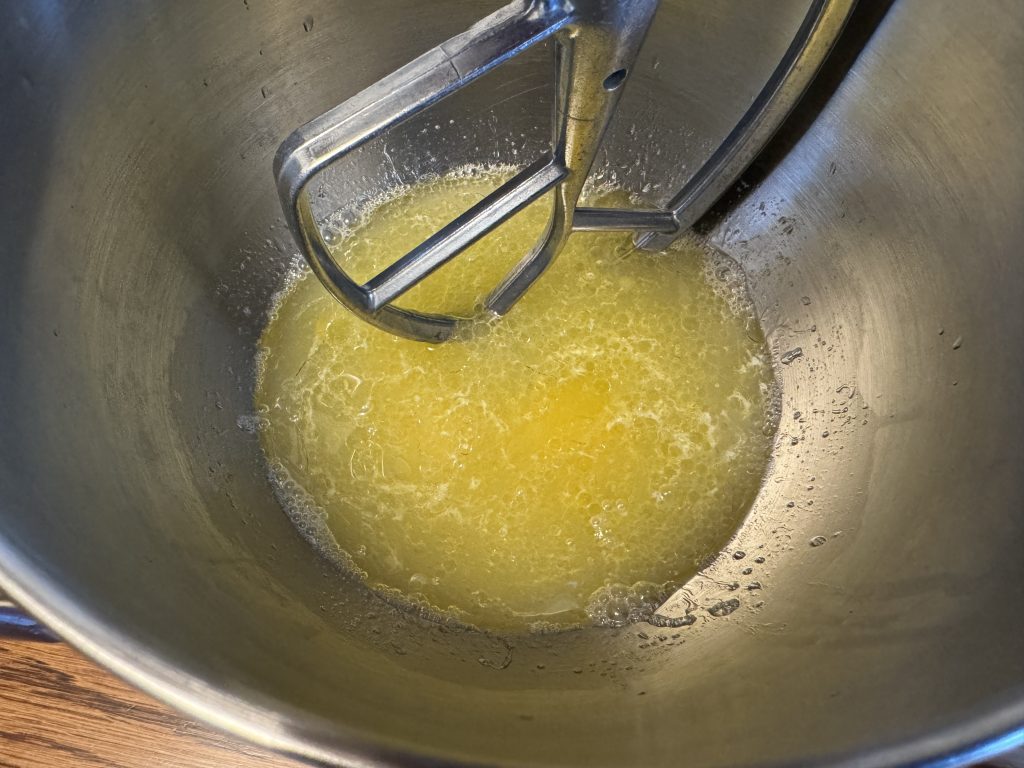
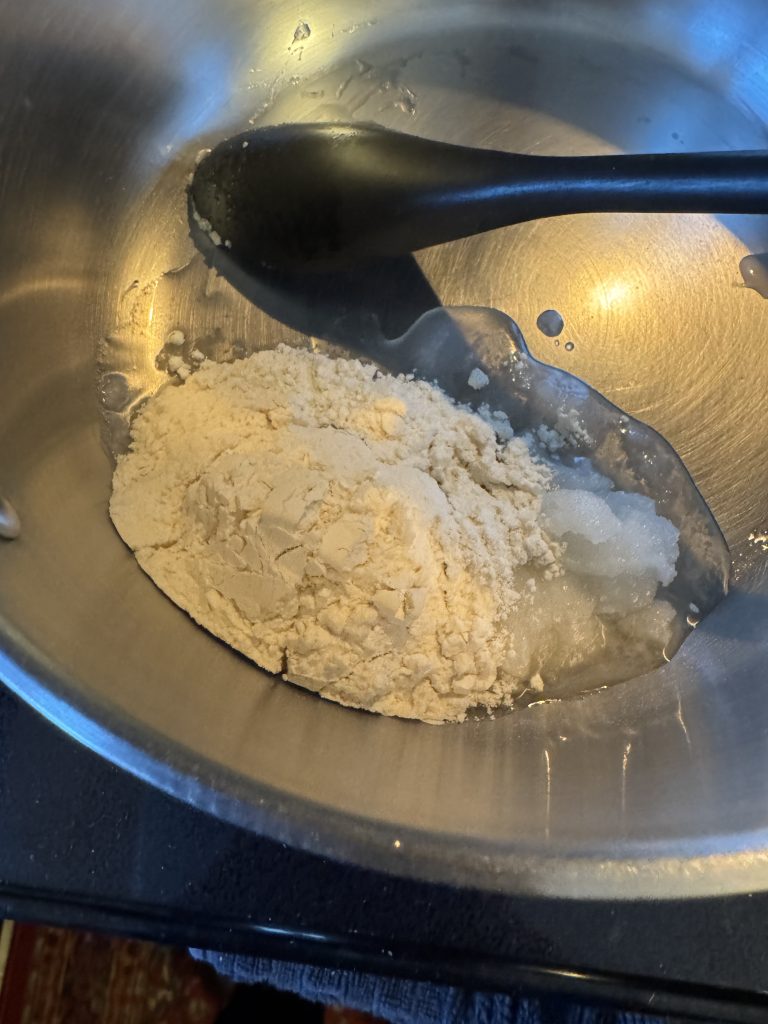
I measured out 3 tablespoons of coconut oil and melted it in the pan.

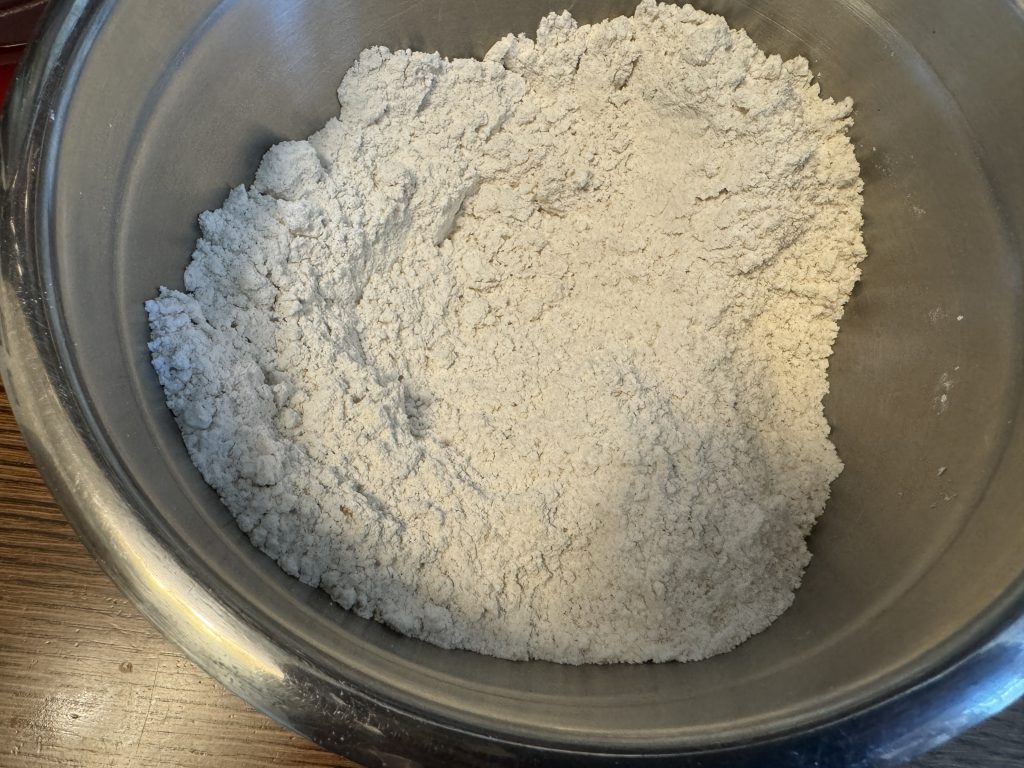
Then I added about 2/3 cup of all-purpose flour and stirred them together until all the flour was absorbed by the coconut oil.
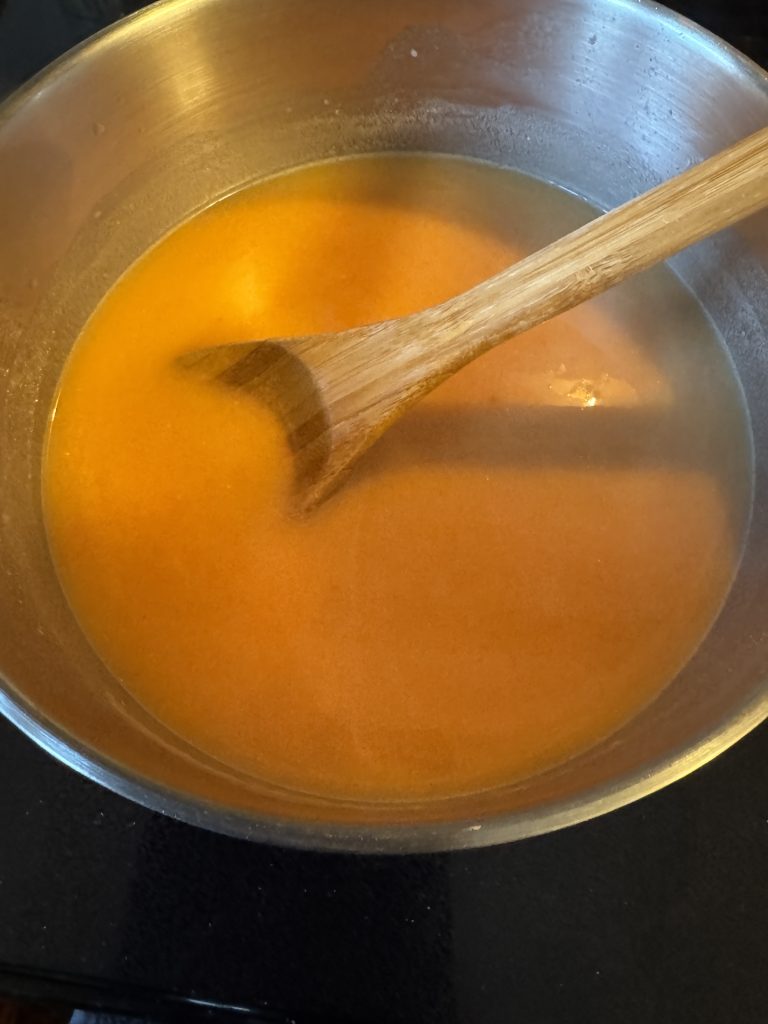
Then, I added the soup broth to the oil/flour mixture and whisked until it was all combined. On medium heat, I stirred until it came to a boil, turned the heat down and stirred until it thickened…about a minute or two.
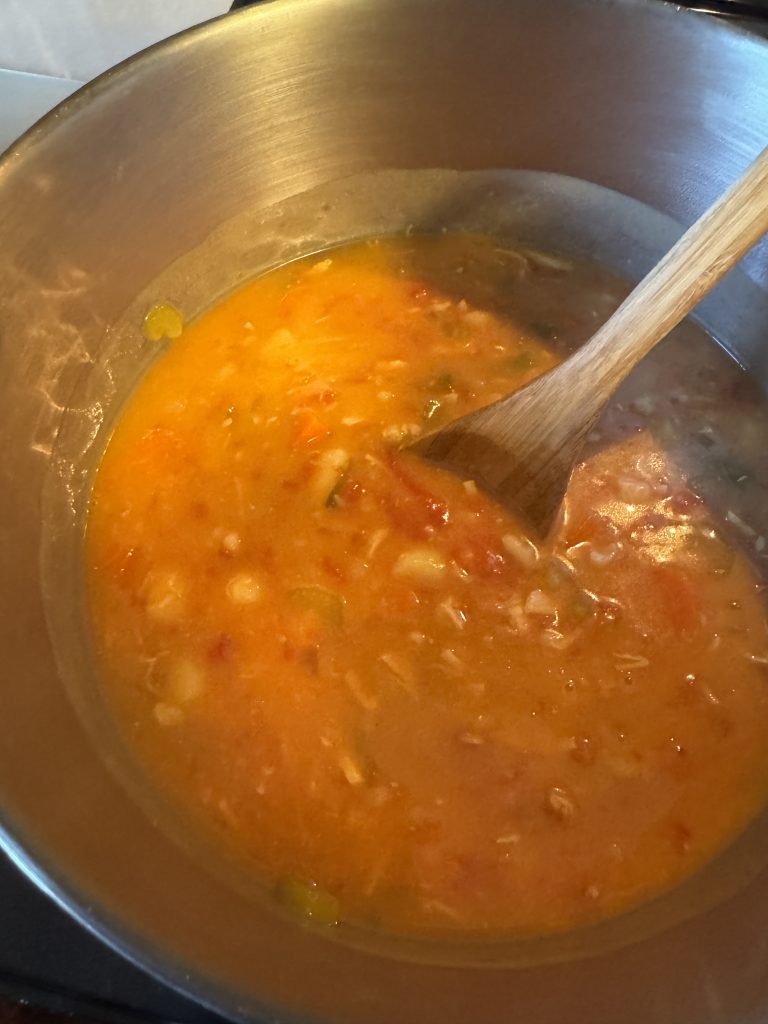
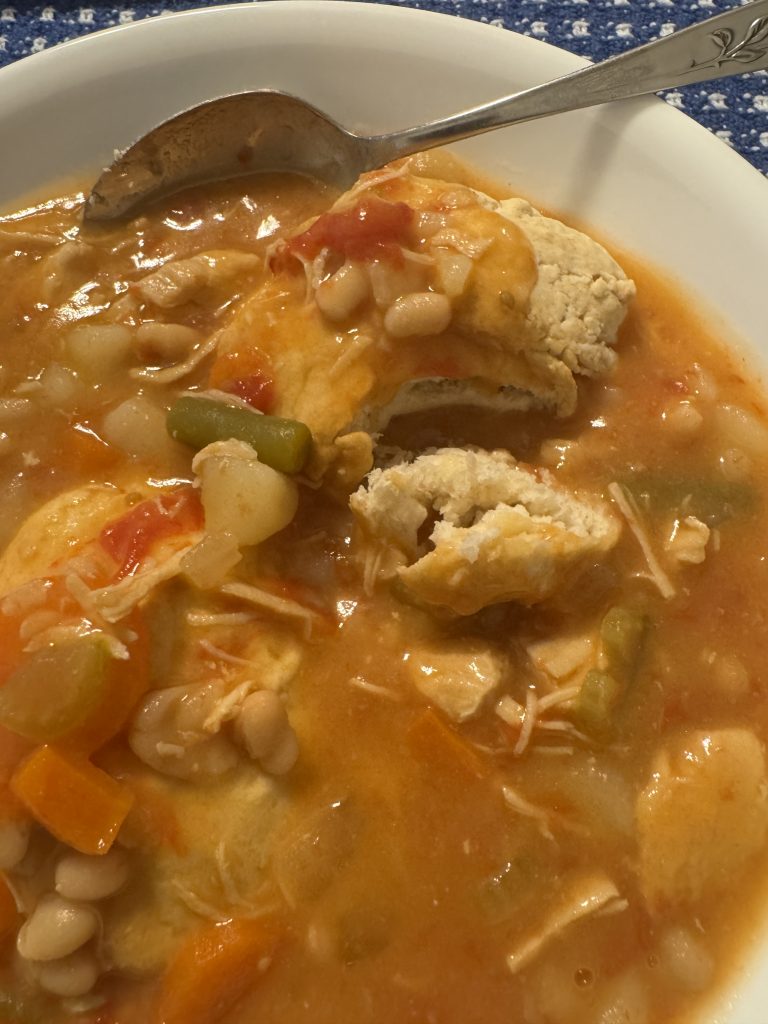
Finally, I added the gravy back to the vegetable soup and had the base for a chicken vegetable casserole!
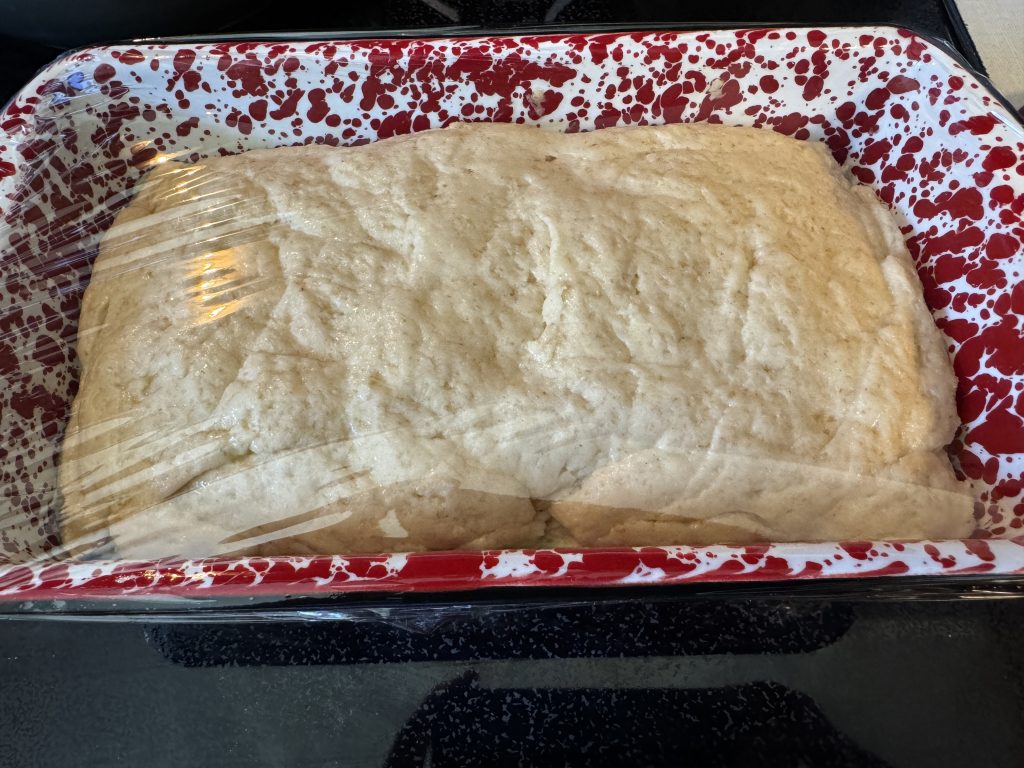
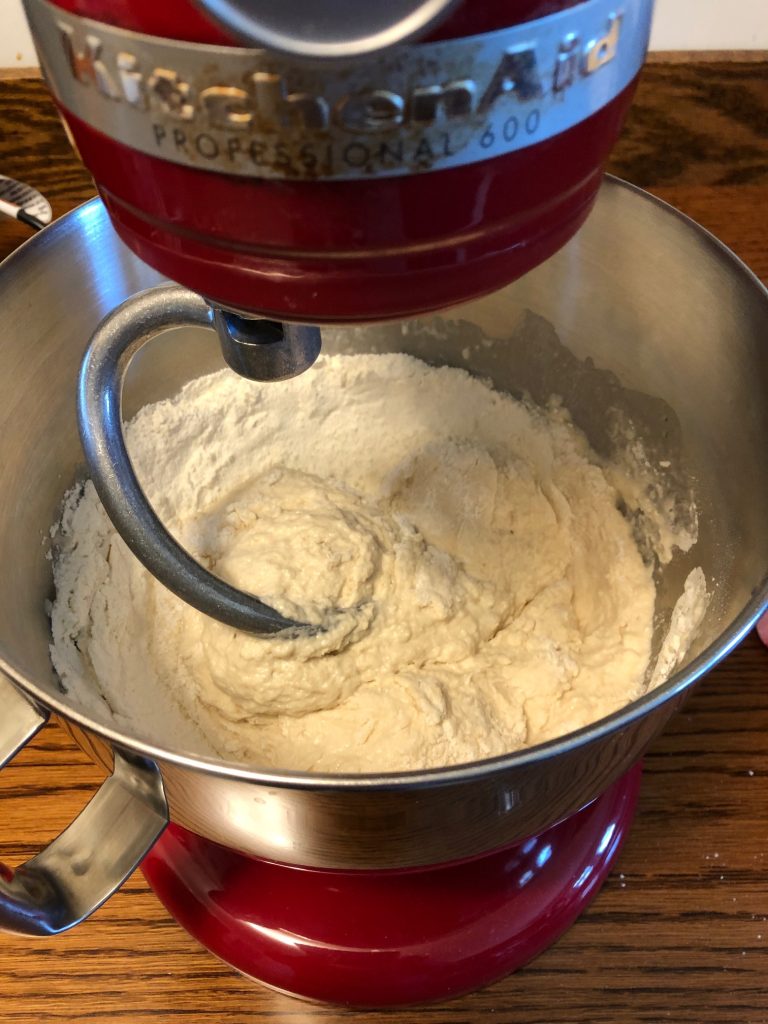
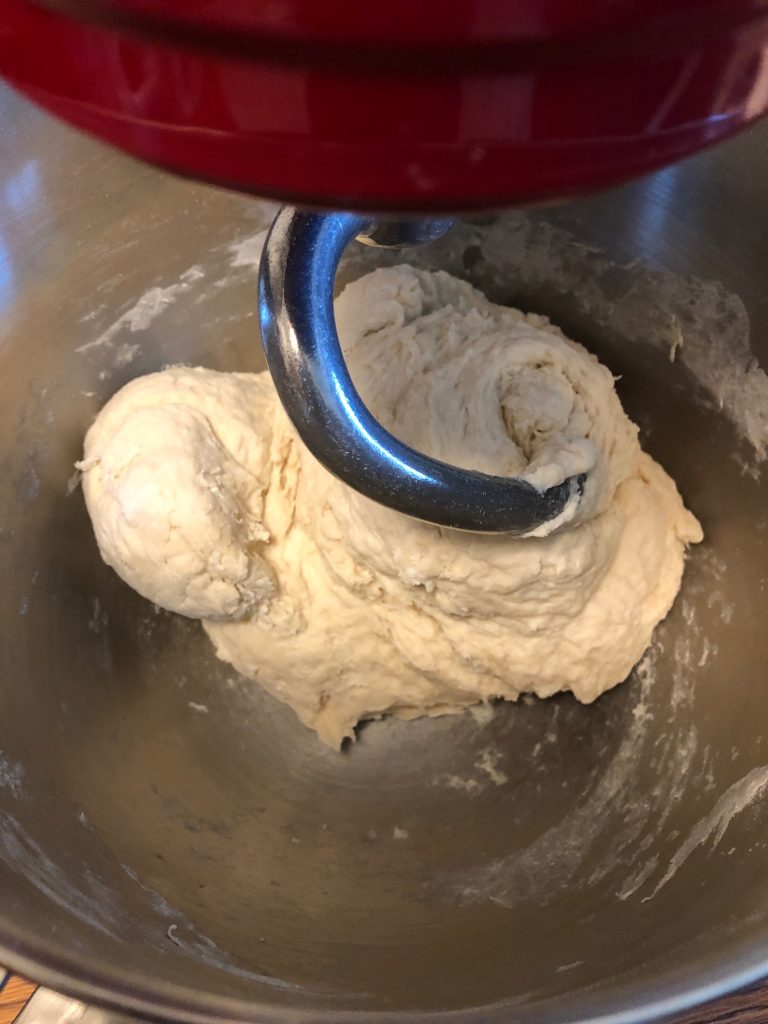
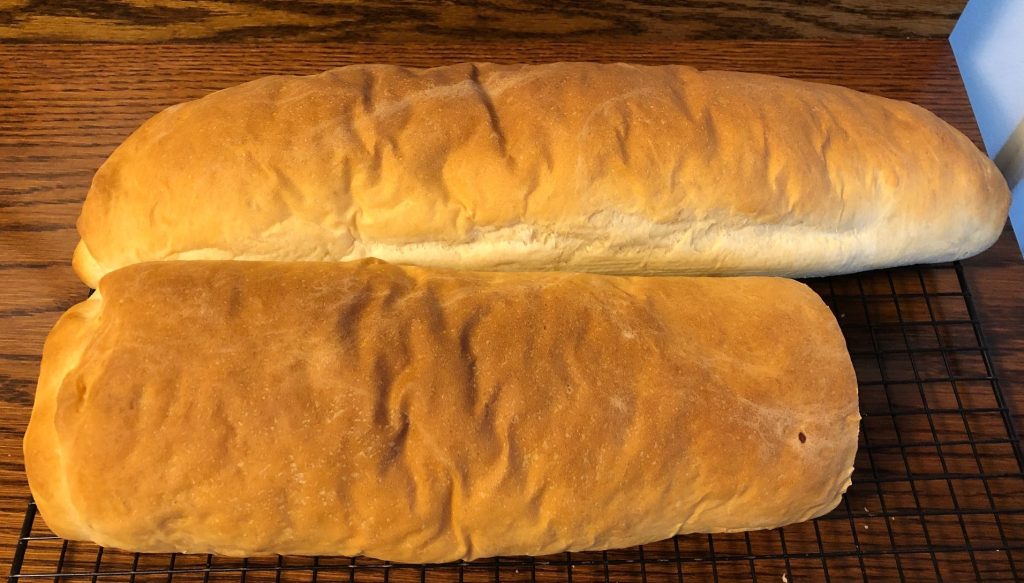
Now for the biscuits! Of course, I had to try Bisquick like my mother used. She reminded me back then that in her high school Home Economics class she had memorized the ingredients to make biscuits from scratch and had usually done so. By the time I was born, she was thrilled to use Bisquick…such a time saver!

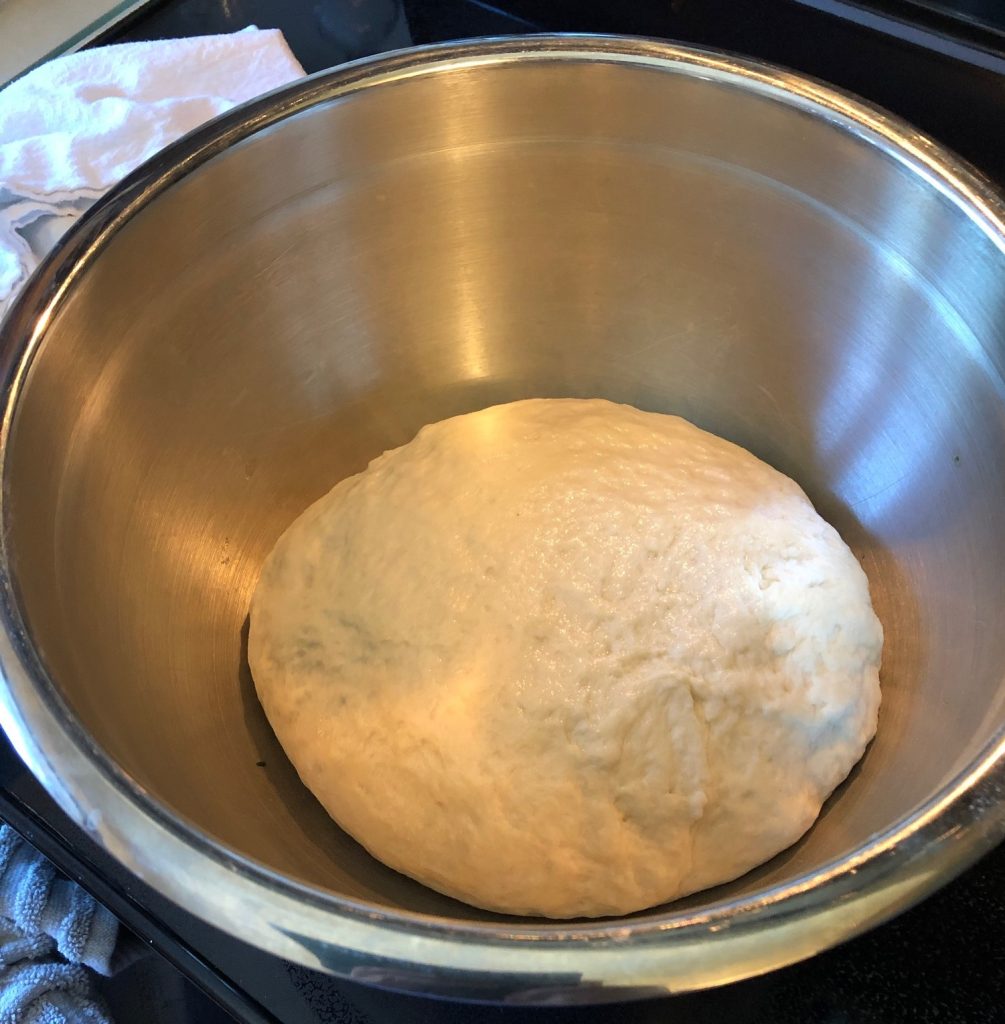
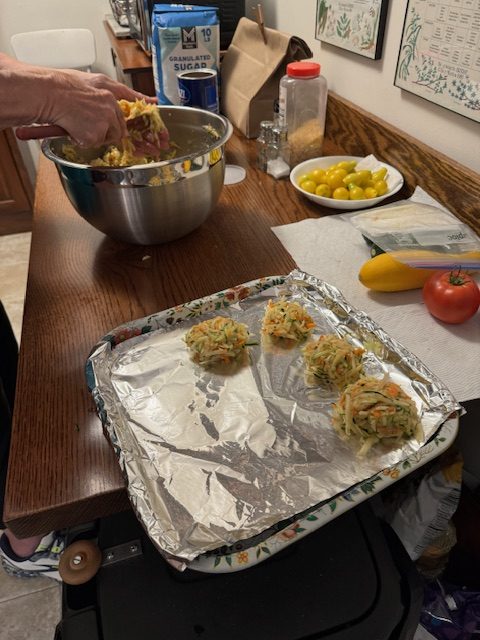
Luckily, I could use coconut milk (or almond milk) to make the biscuits. Of course, with the arthritis in my right hand, I had Bert mix up the biscuits. I just formed them into biscuit shapes and put them on a cookie sheet.
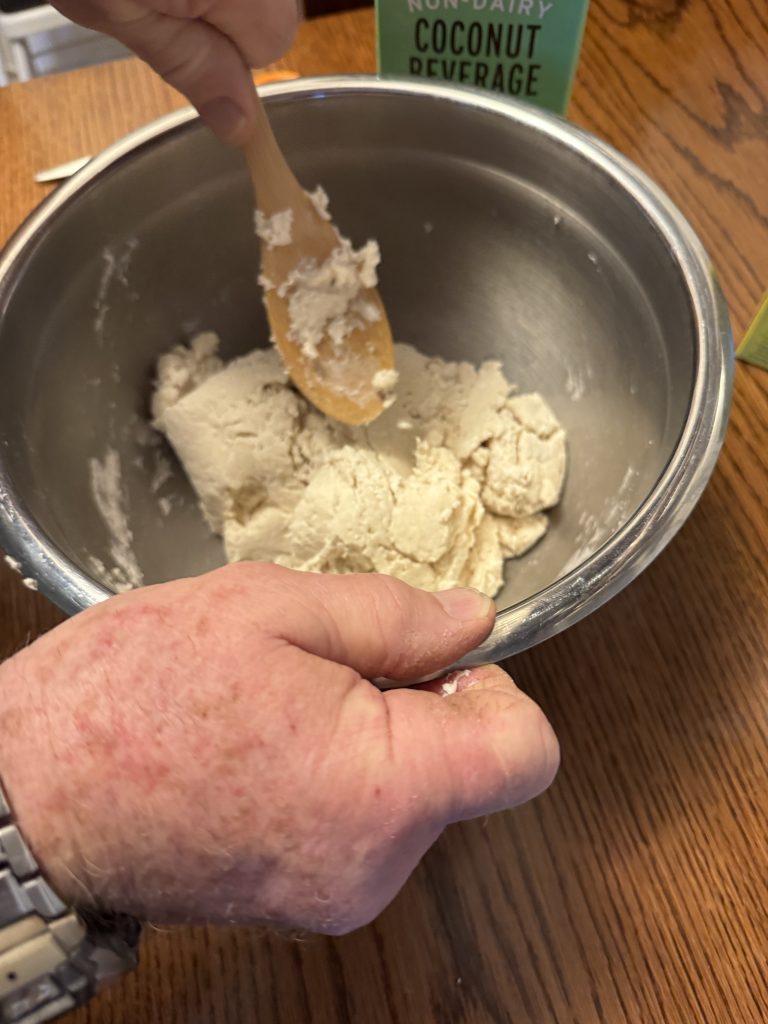

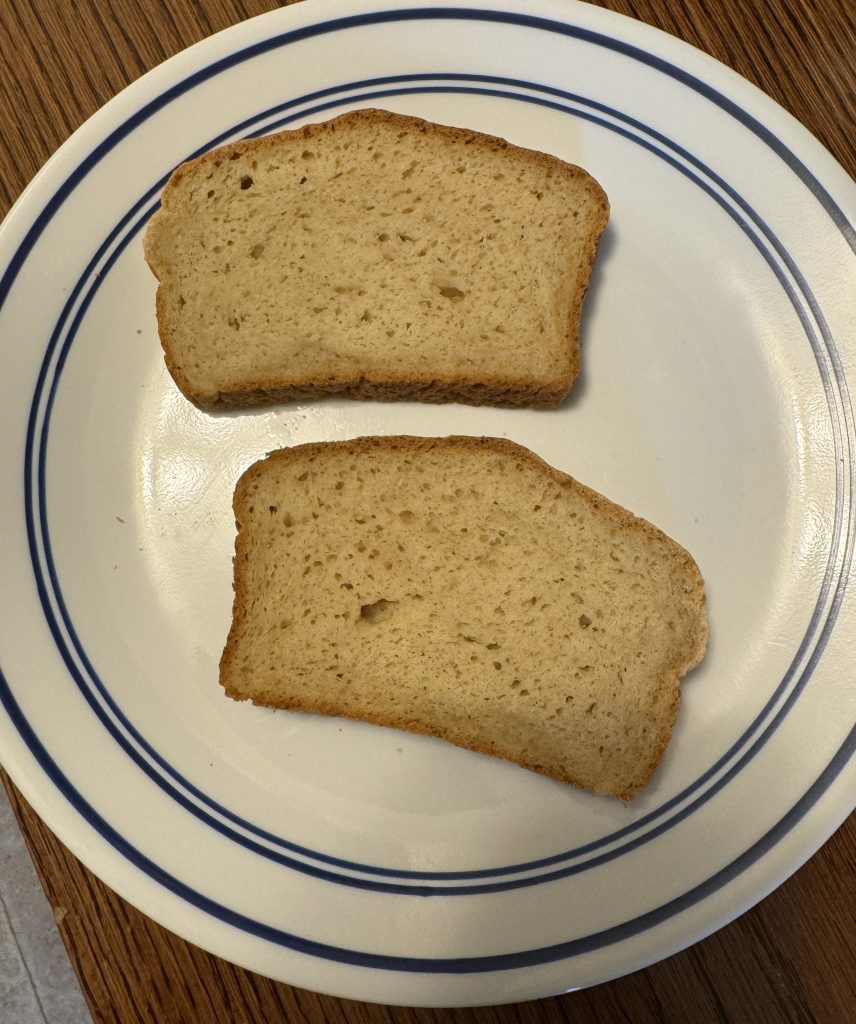
My mother would have spooned the raw biscuits on top of the gravy and vegetables and baked the casserole in the oven. I broke up a biscuit and spooned the hot gravy and vegetables on top of the biscuit. Worked for me!
Save this recipe and make your own gravy anytime! Enjoy!