What to do when the kitchen is off limits!

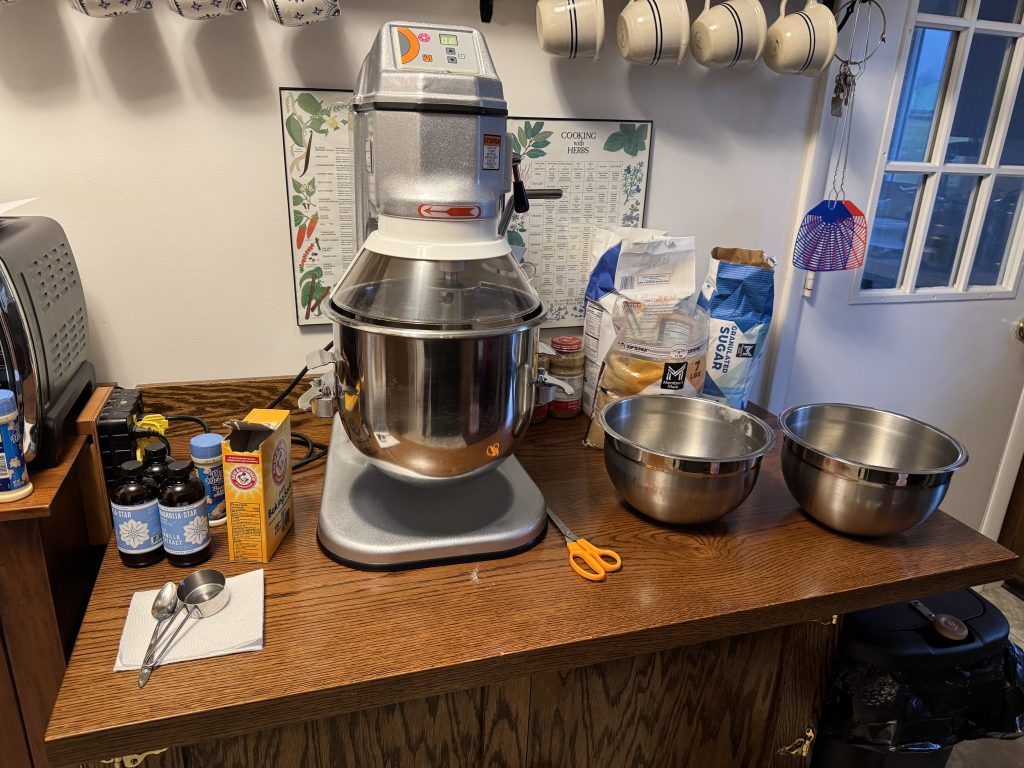
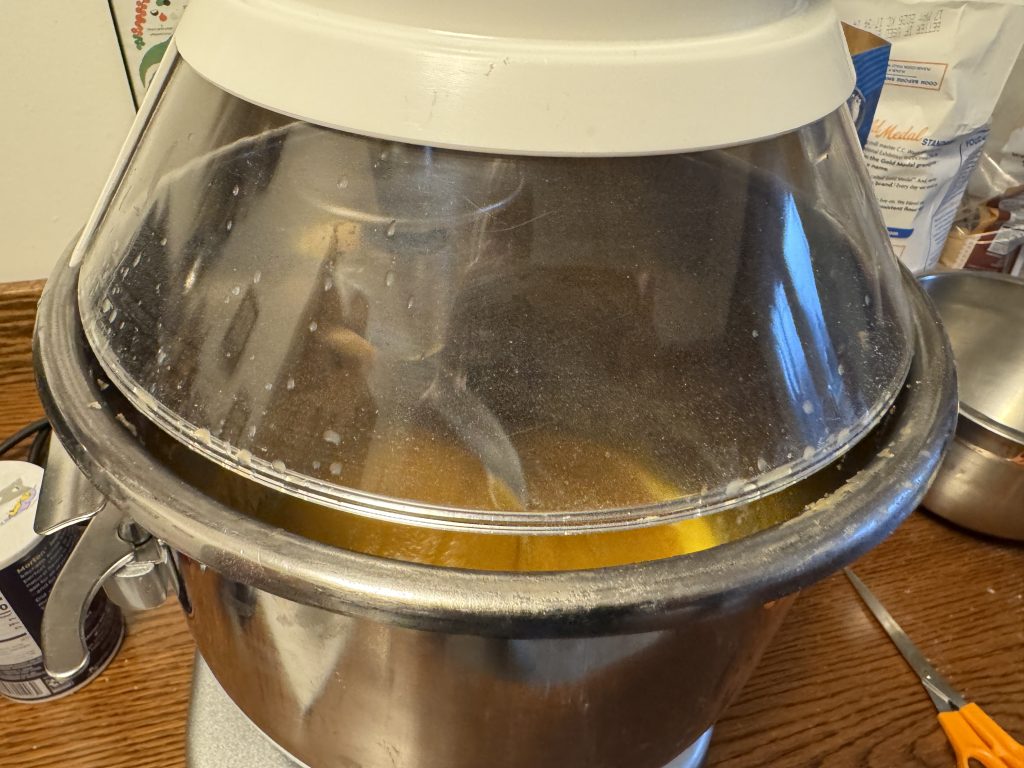
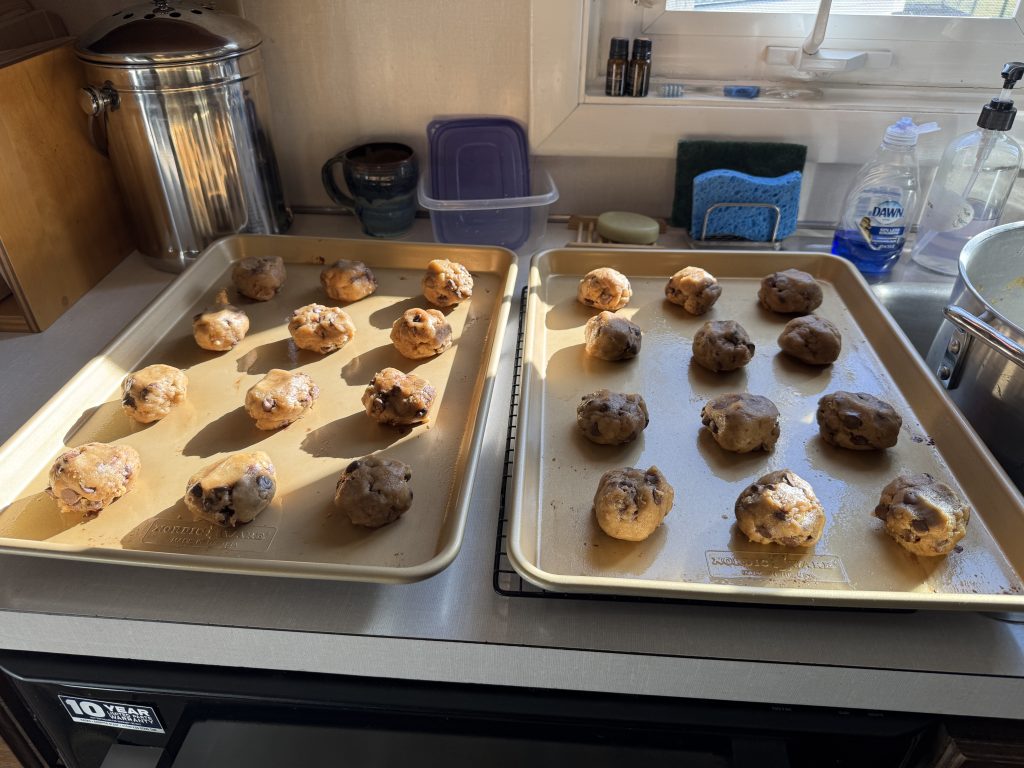
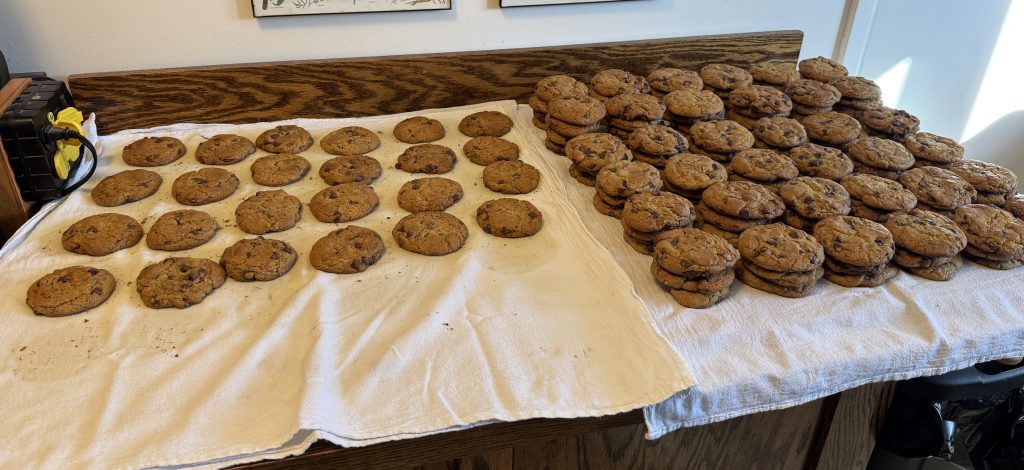
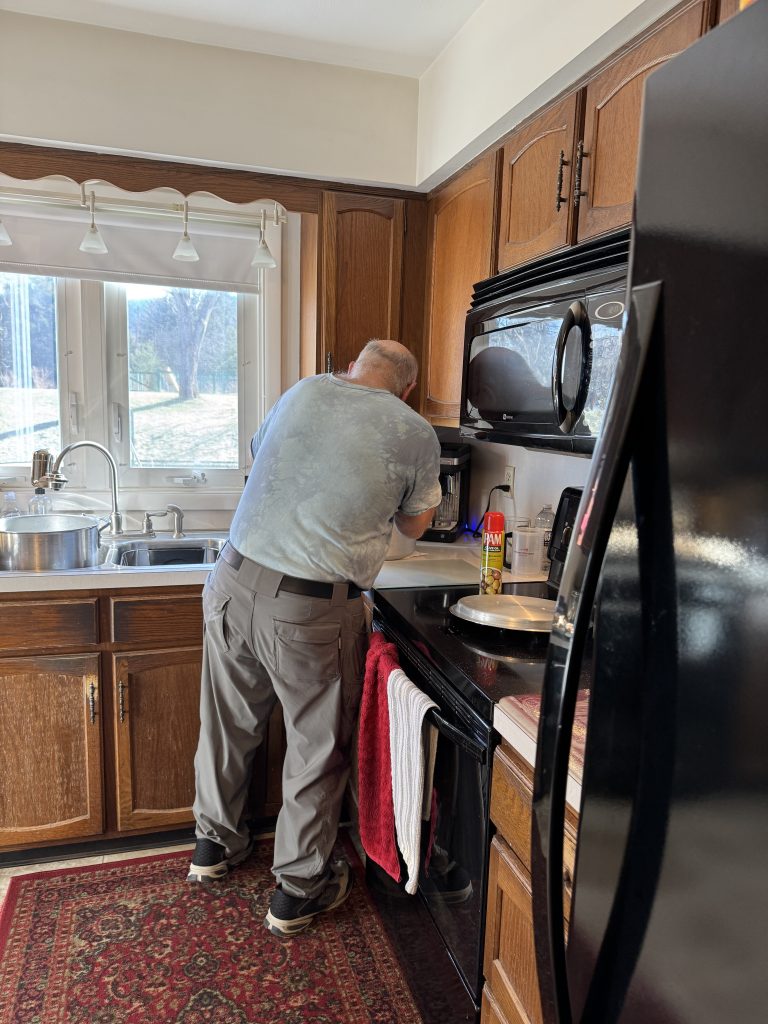
Yes! It’s that time again! For at least a week each December the kitchen is tied up with Bert’s marathon cookie baking! He makes about 170 pounds of dough and bakes about 140 dozen chocolate chip cookies. Of course, the refrigerator in the kitchen, the extra refrigerator in the basement and various tubs in the garage are packed with dozens of eggs, butter, flour, sugar and chocolate chips for a week before the mixing and baking begins.

Bert has been doing this for the last 60+ years so this is just a normal December for me. You can see the recipe and more photos in the two other posts I wrote about his yearly project:

https://marykisner.com/berts-yearly-cookie-marathon/ and

https://marykisner.com/kitchen-tied-up-with-cookies-and-bread/

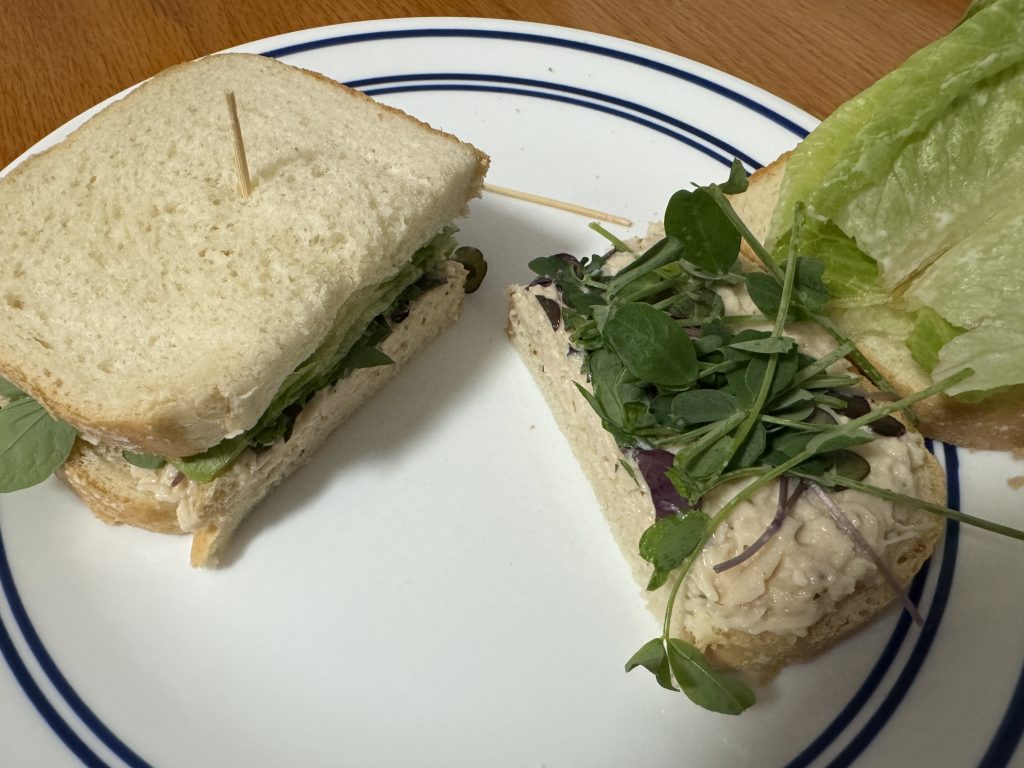
Before I got out of the way this time, I planned ahead and made a batch of chicken salad and egg salad and got a loaf of bread out of the freezer so we could grab food for lunches around all the baking activities! There is no counter or table space available once he gets started!

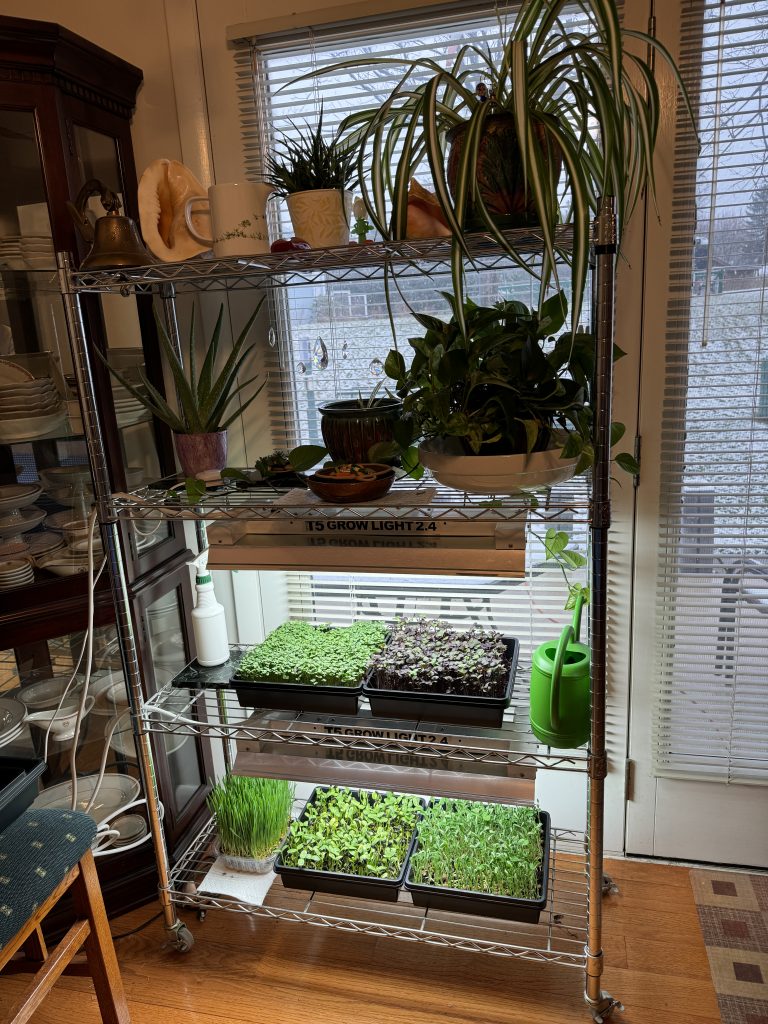
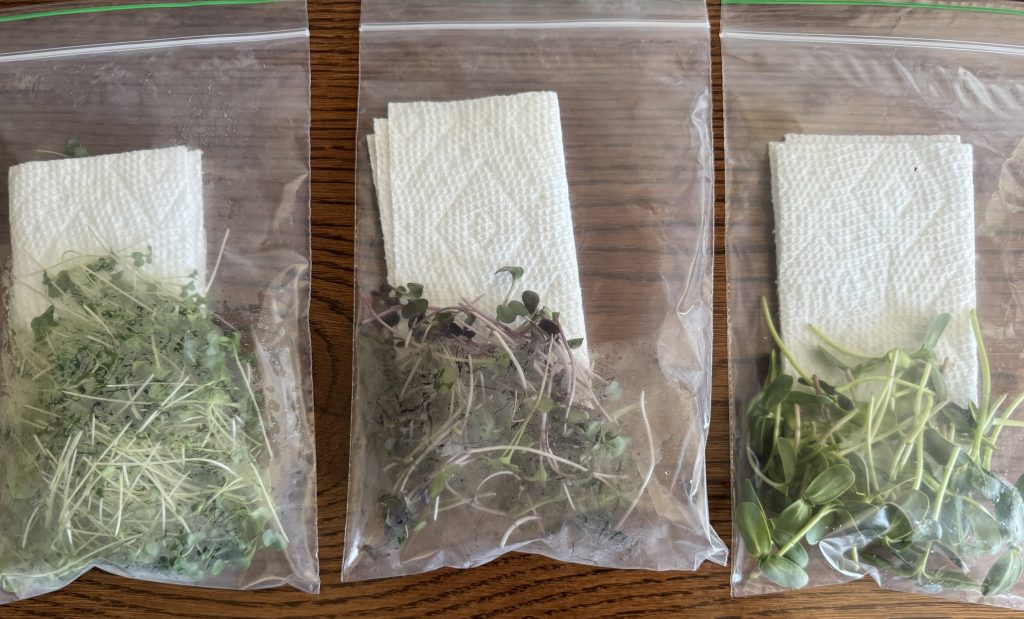
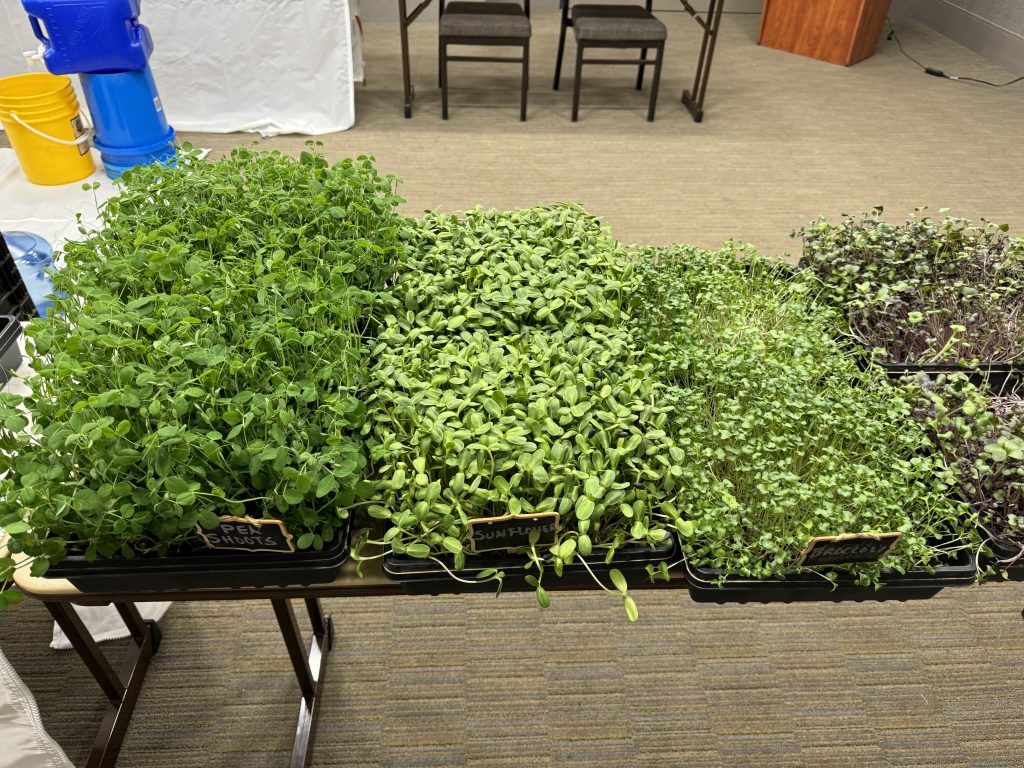
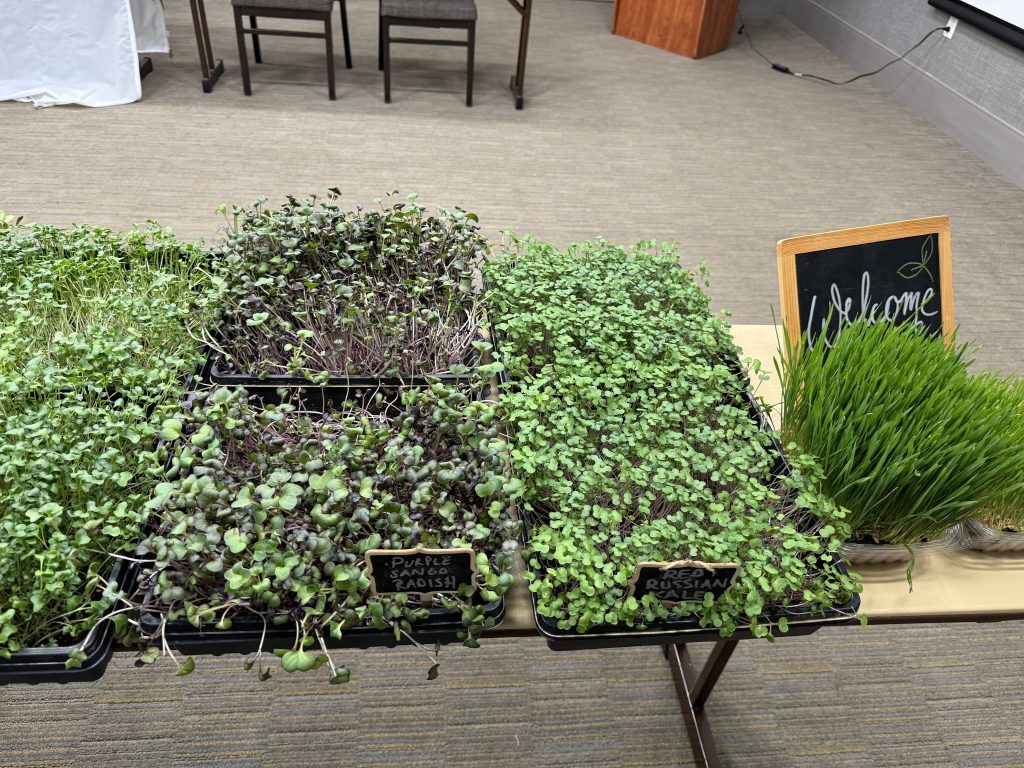
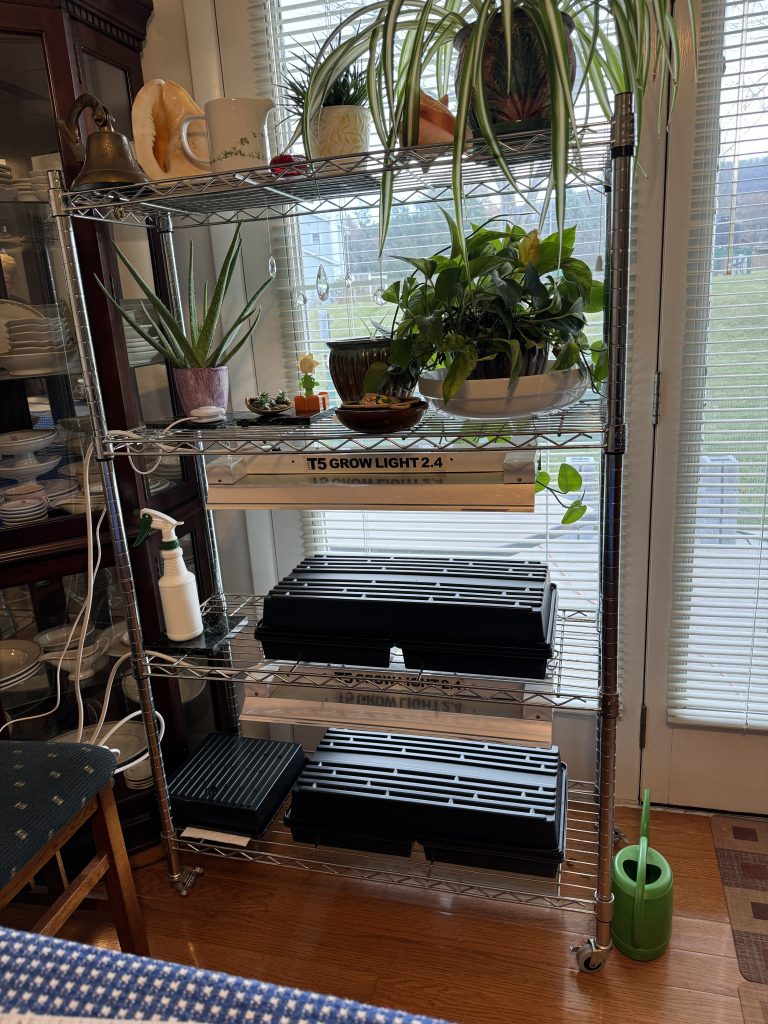
While the kitchen is off limits for any baking I want to do, I took a few pictures of my ongoing projects in other spaces in the house.

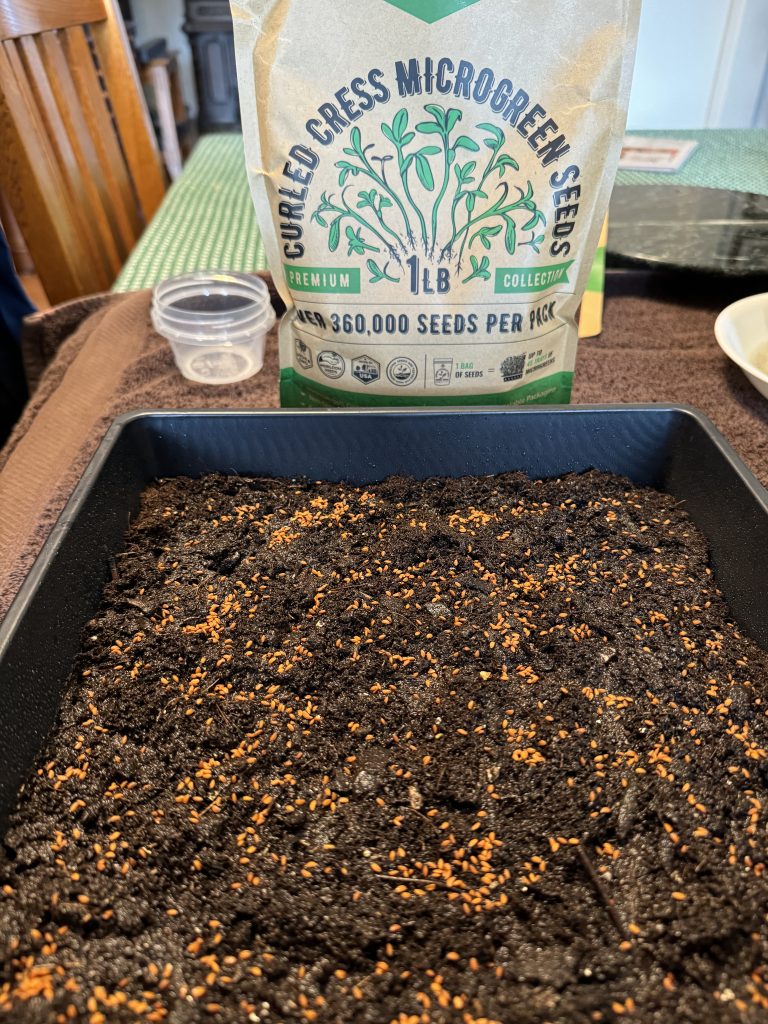
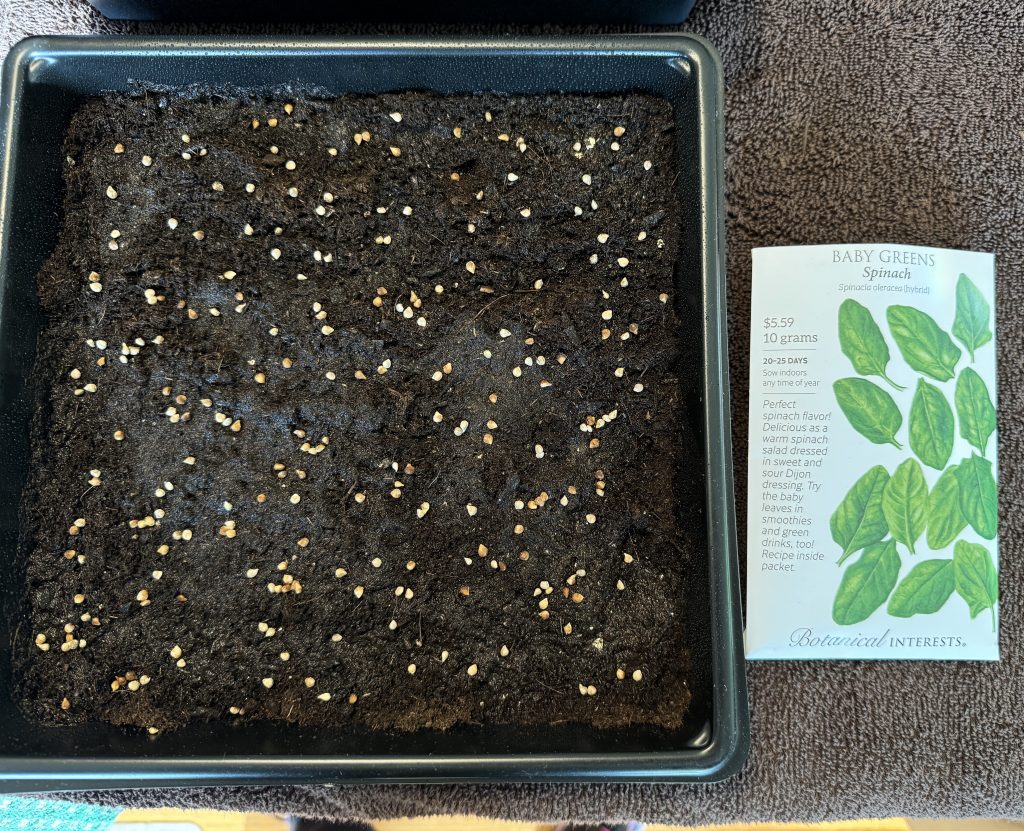
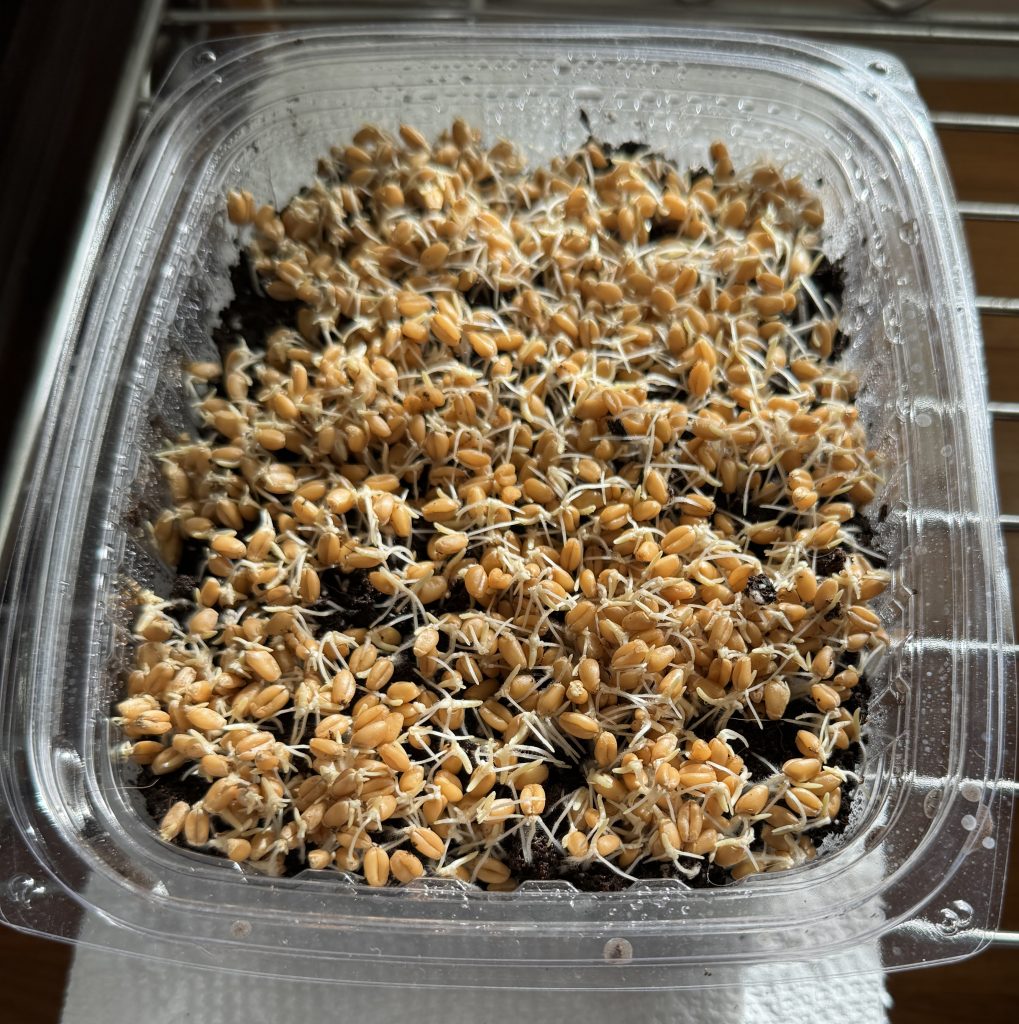
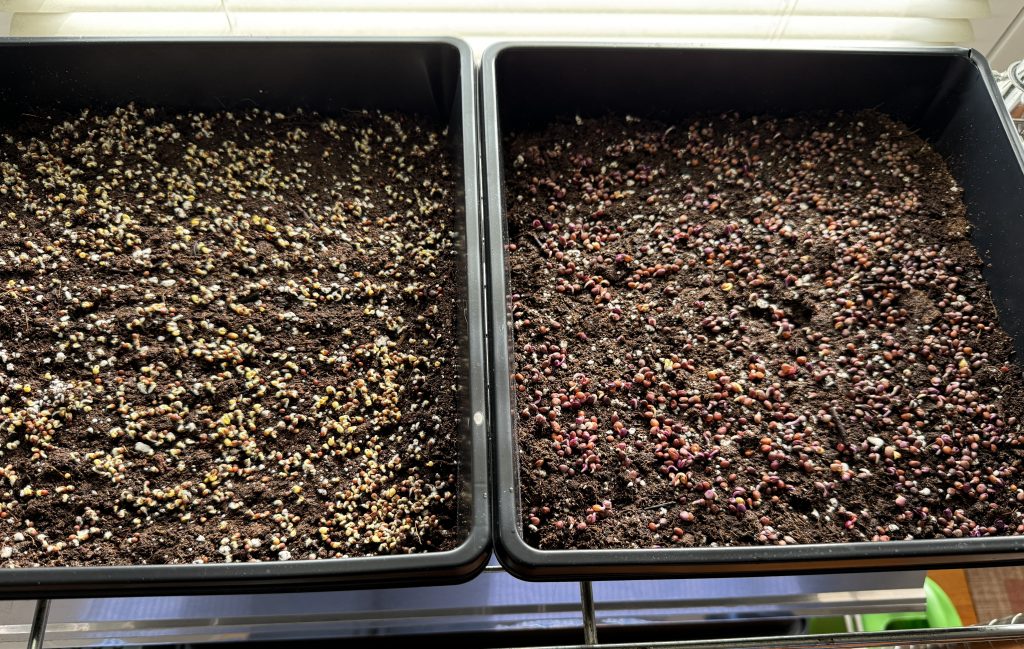
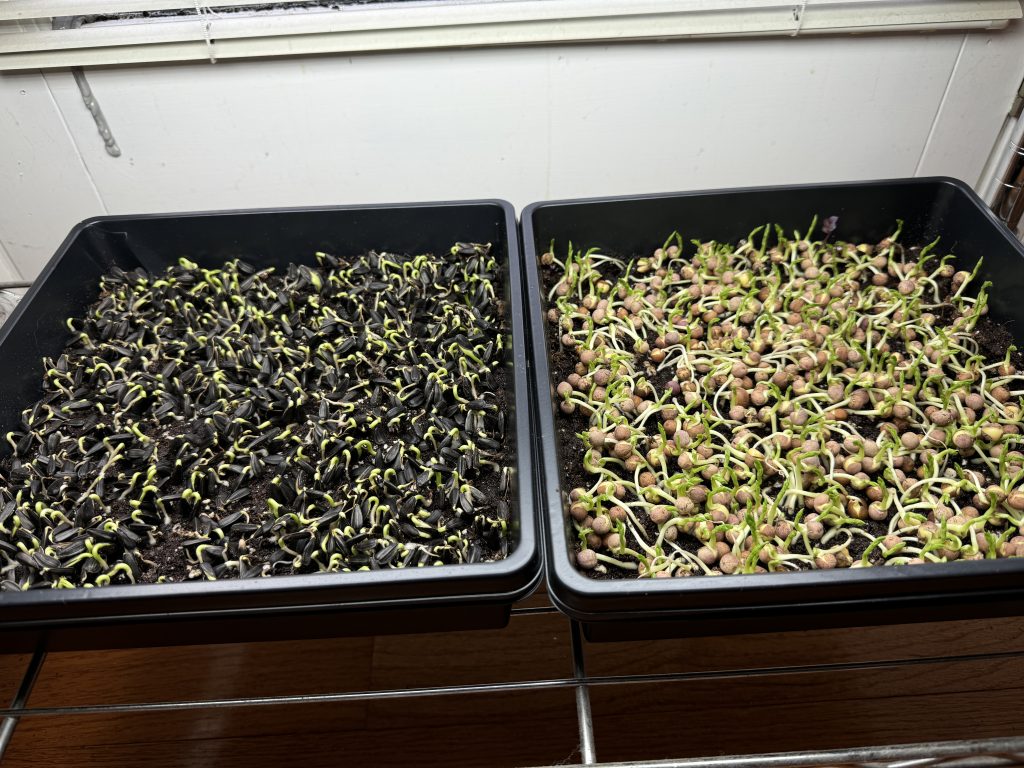
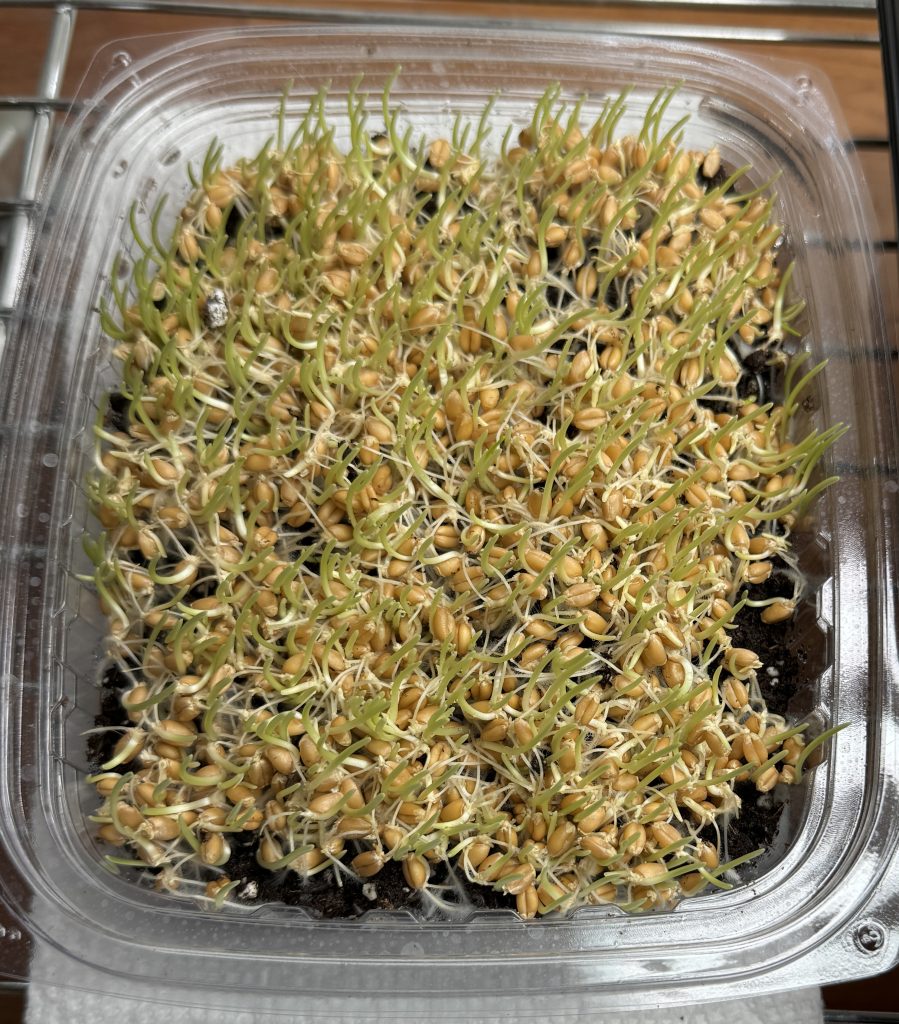
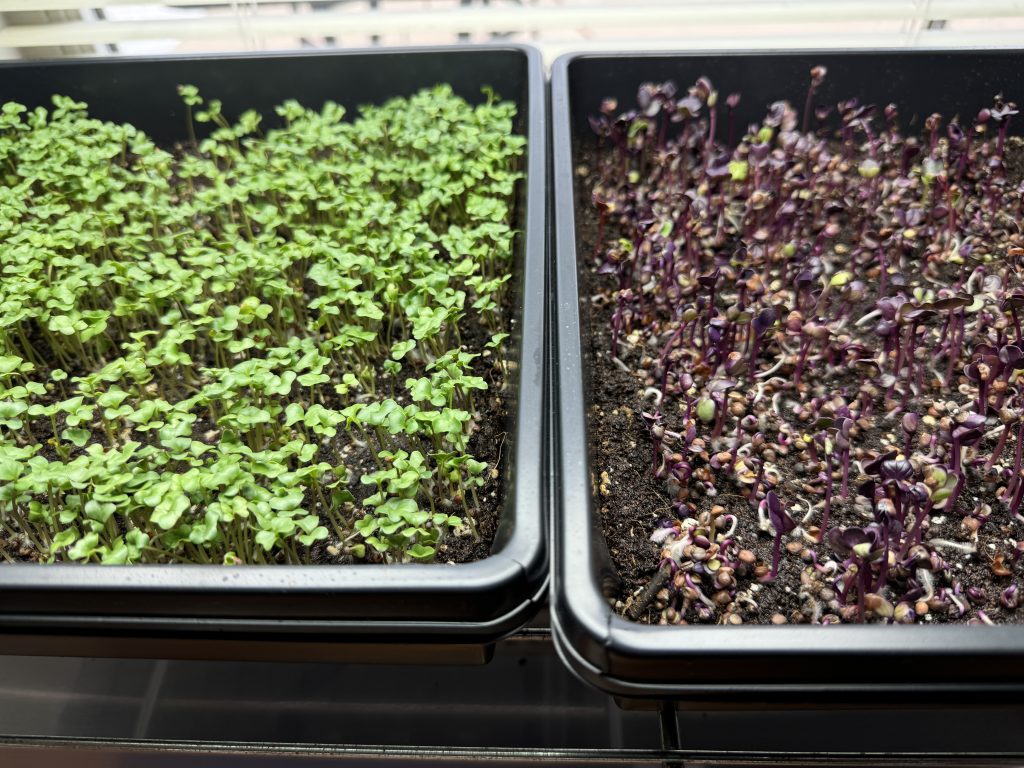
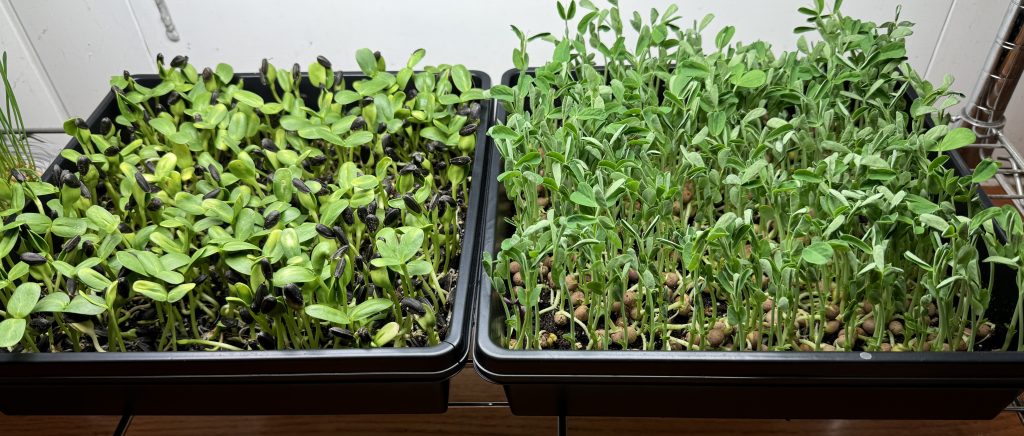
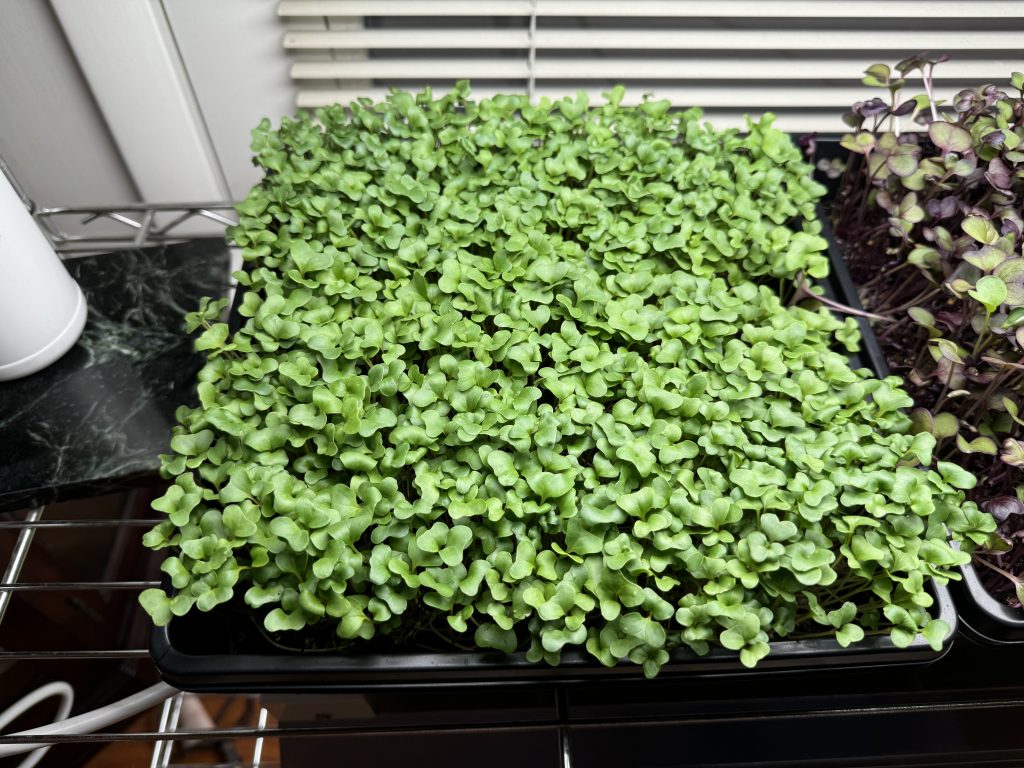
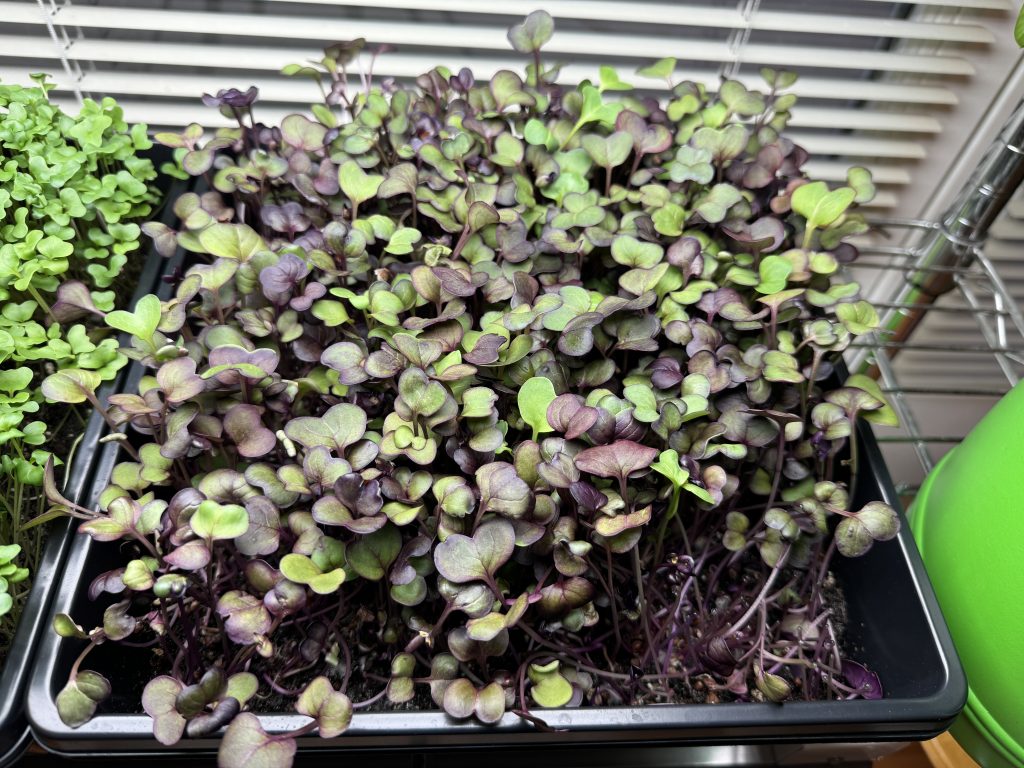
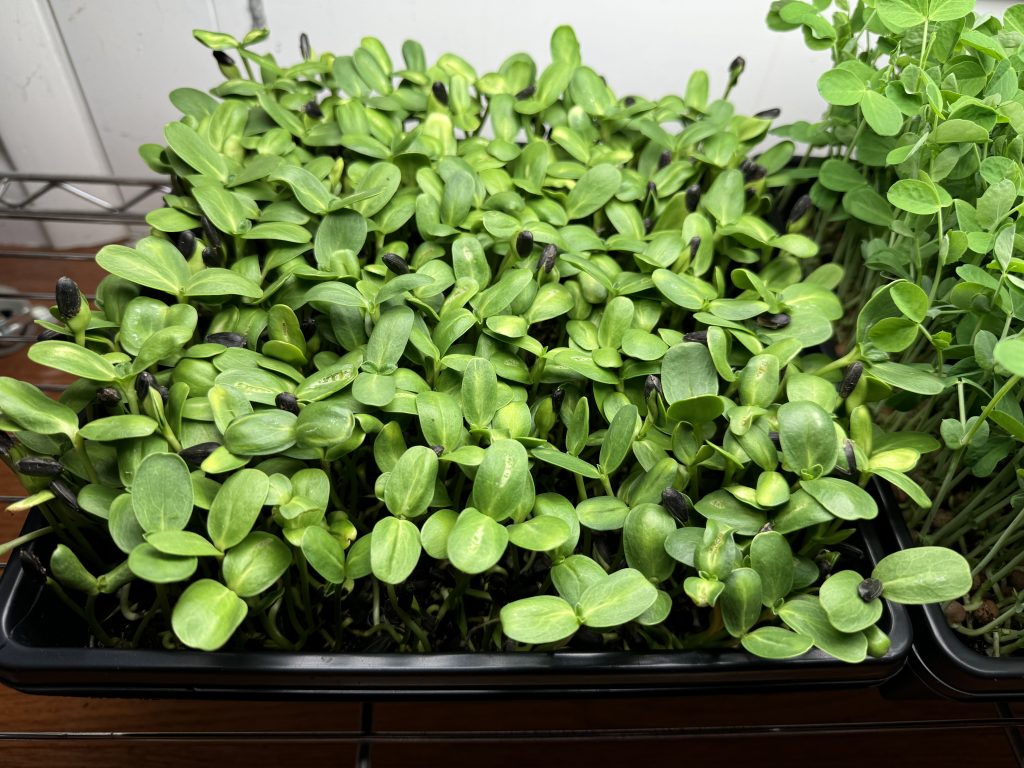
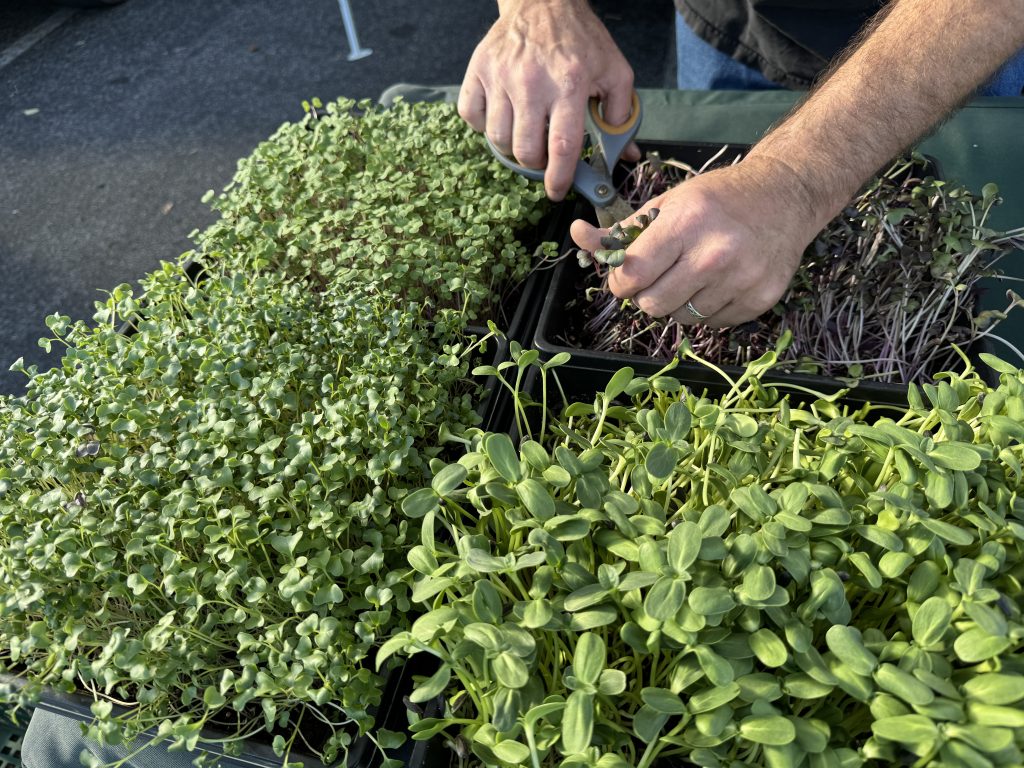
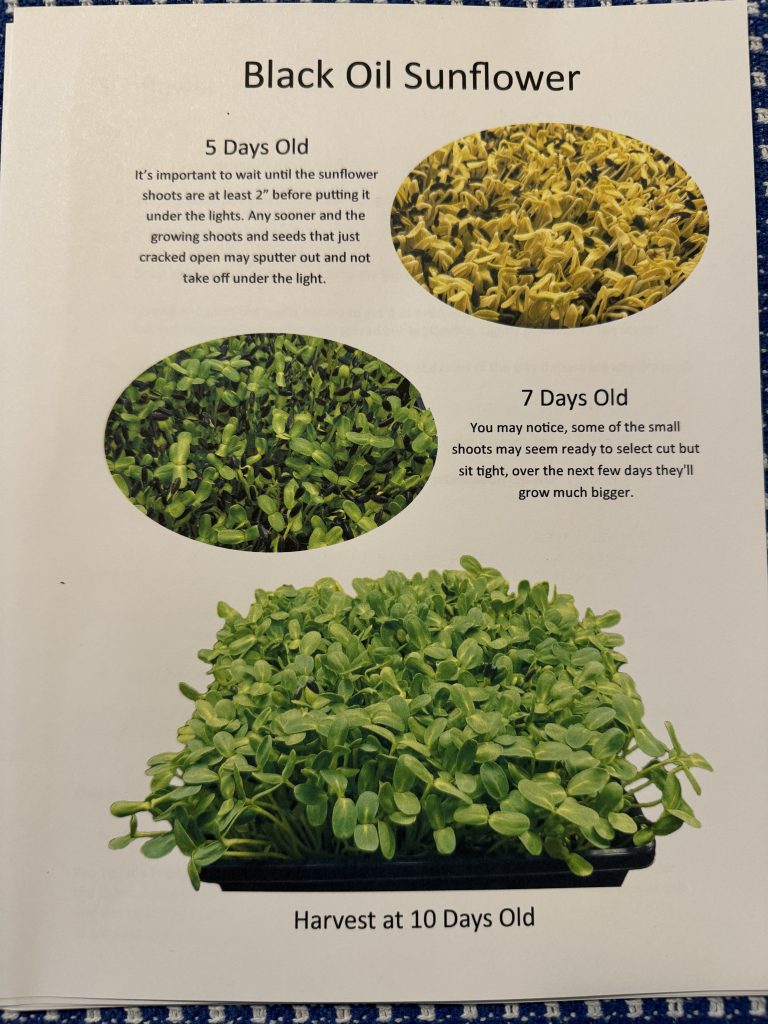
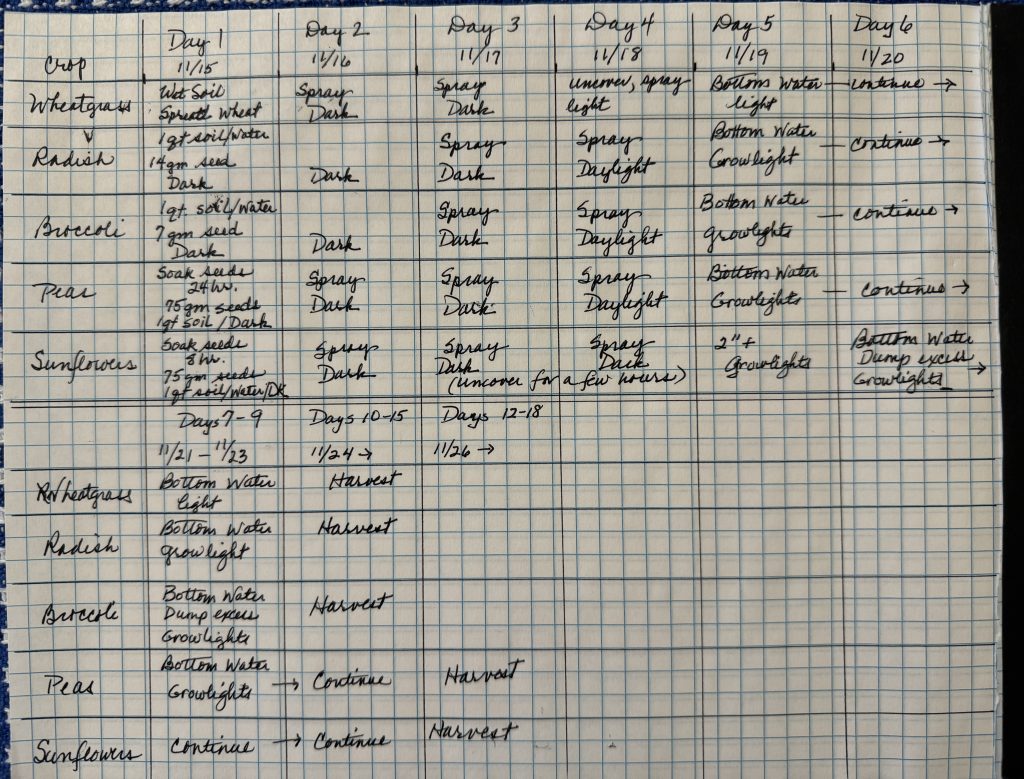
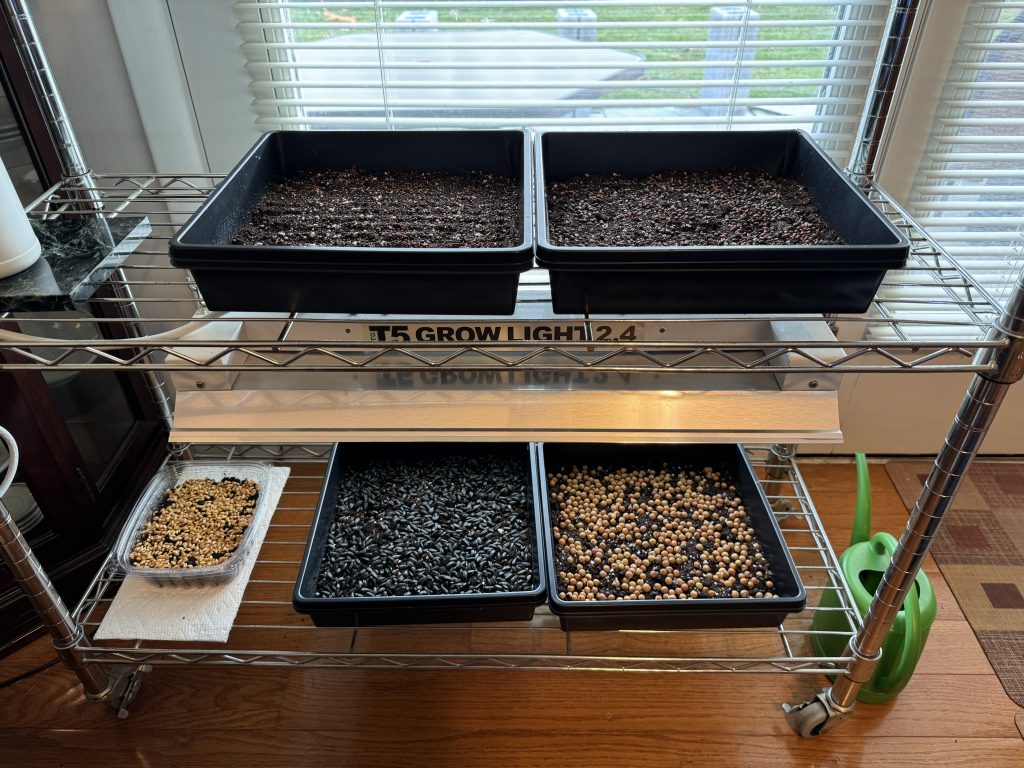
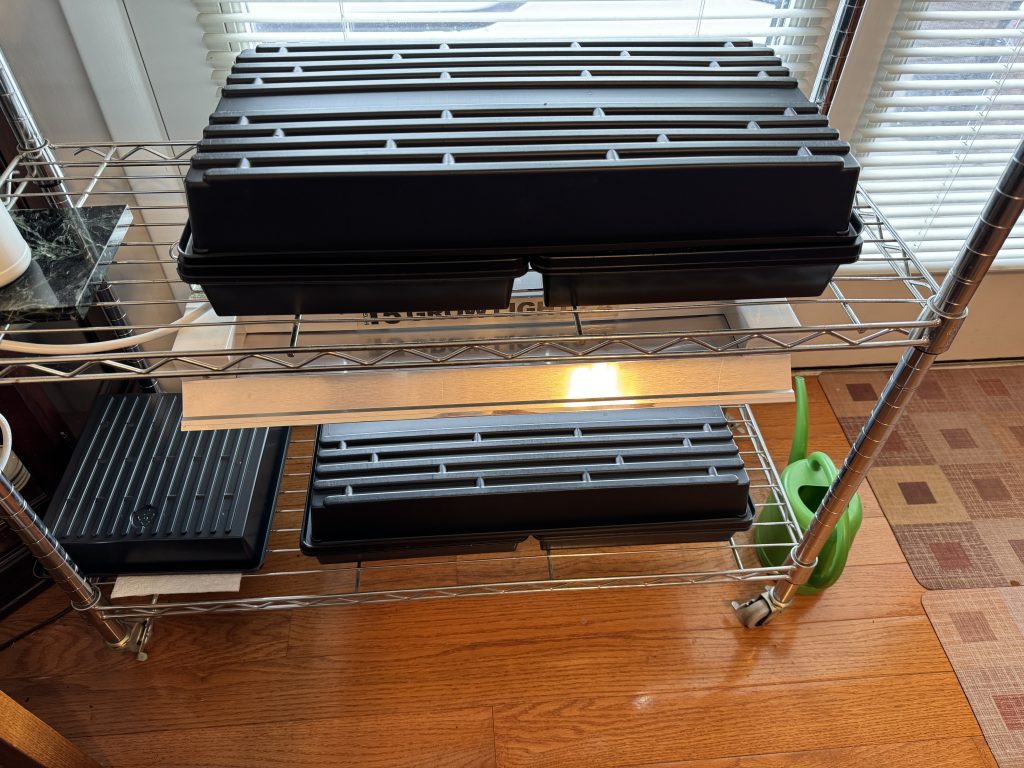
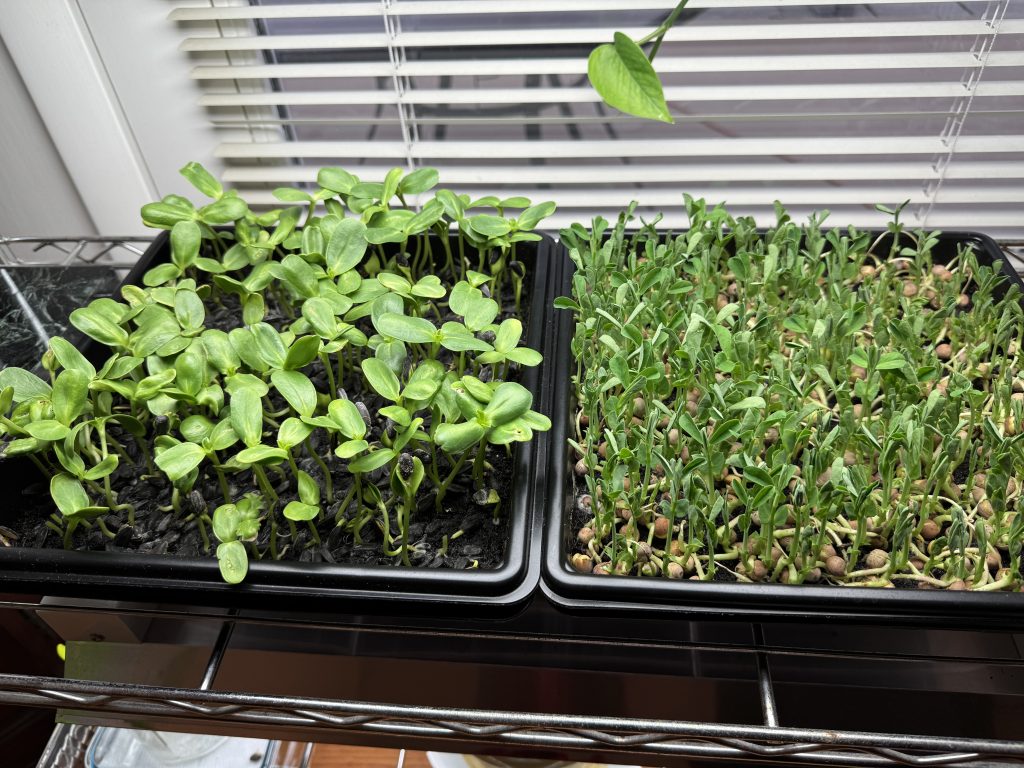
In the dining room I’m keeping my microgreens growing. This batch of sunflowers is about ready to cut. They are not very thick because many of the seeds did not sprout. The seed was saved from last year and it is probably time to order some new seed. The peas (on the right) need a few more days to fill out.

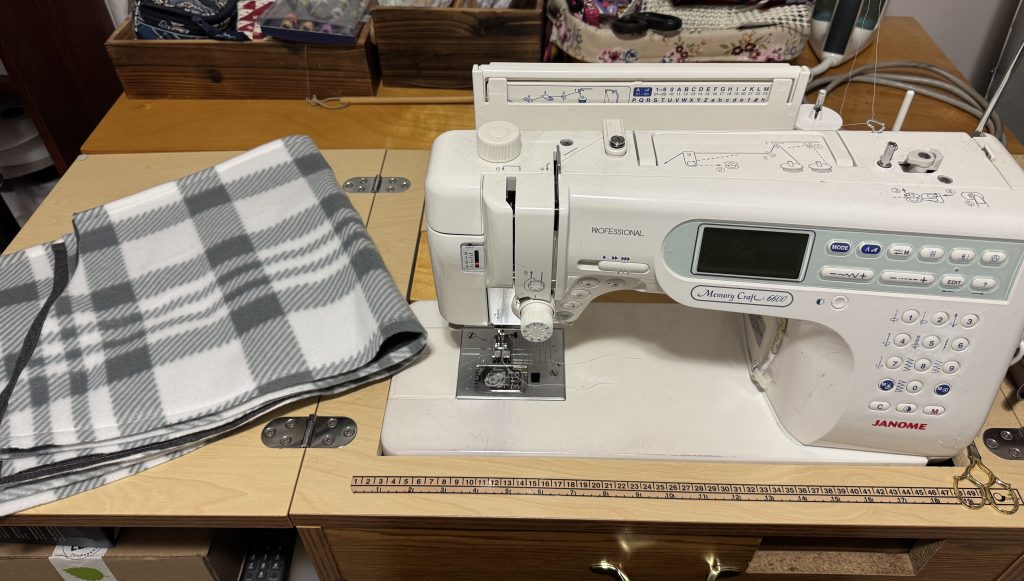
In my sewing room, I have 4 greyhound coats to finish before Christmas. I have a TV to entertain me with the latest Christmas Hallmark movies!

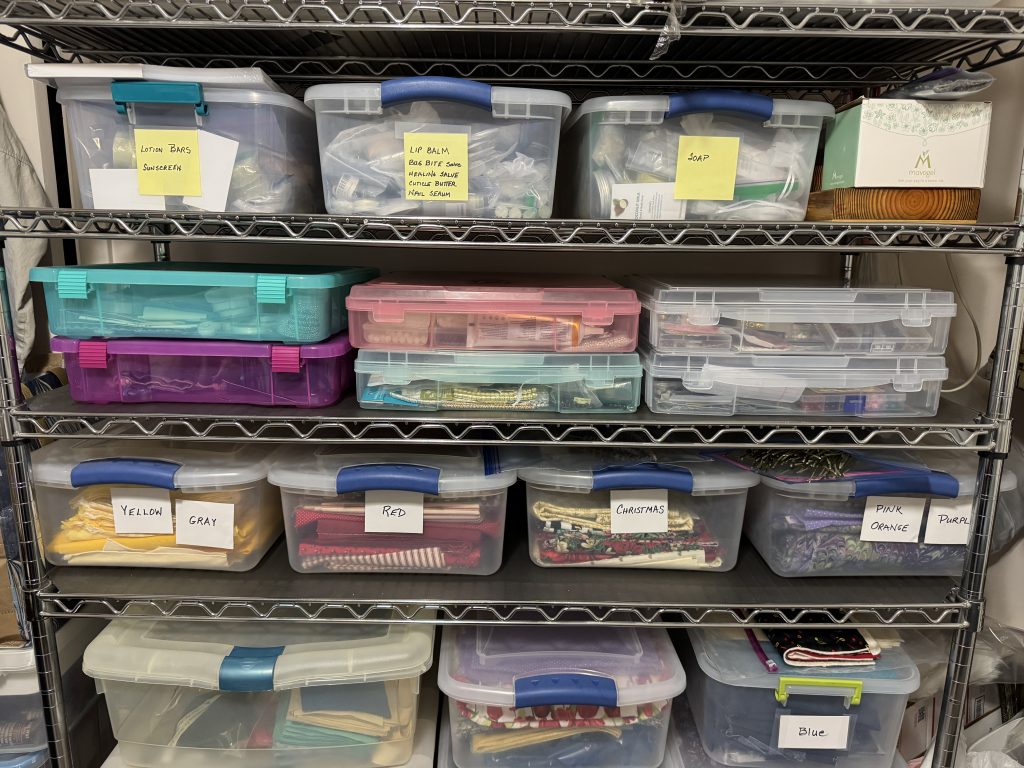
In my sewing room, I also have my beads stored ready to finish a few bracelets. Can you see the second shelf down with flat boxes? All my beads fit in those 6 flat boxes! Of course, when I want to work with them, I lay them out on the bed and choose the beads I need. Work on the bracelets has to happen at my desk in the office.

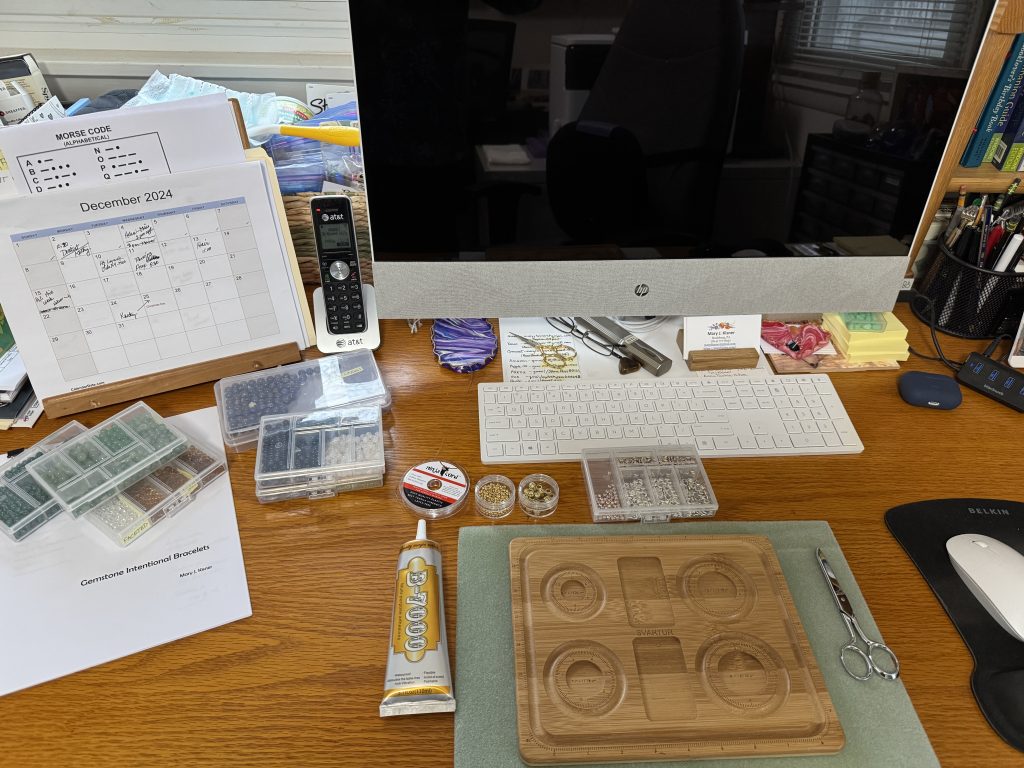
In the office, I can write my posts OR I can make bracelets! Such a multipurpose desk with a good light!

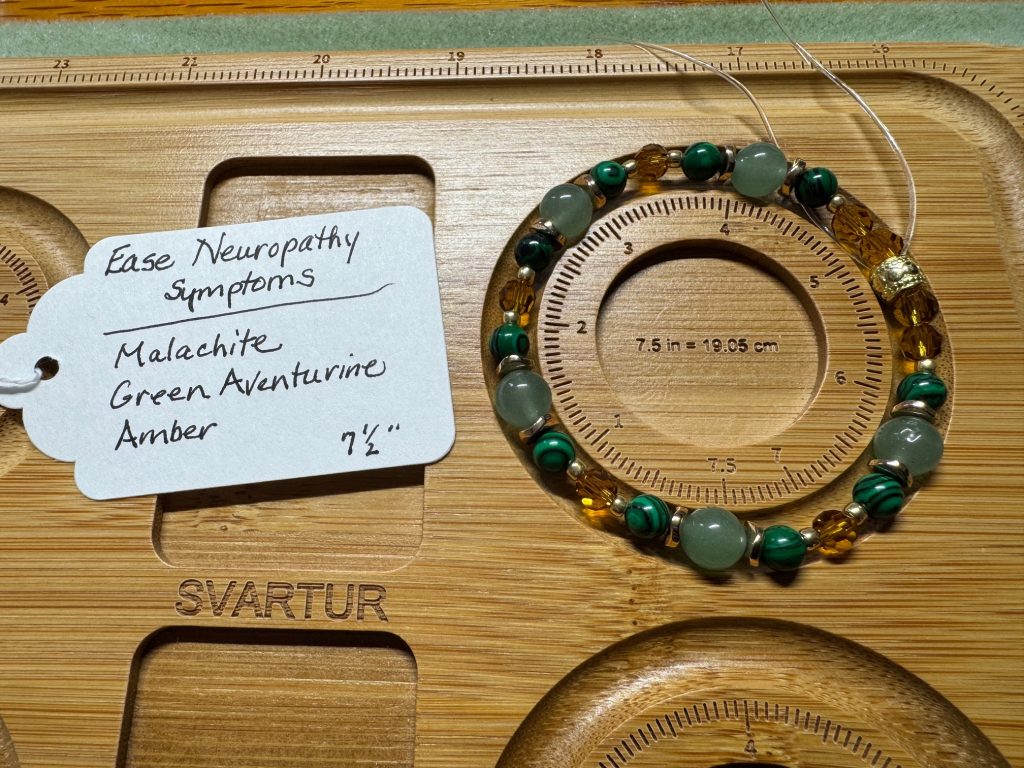
Here’s the latest bracelet I finished today!

So, you can see I have many choices of things to do when I can’t get into the kitchen! I can always do laundry around my projects…but you’ll seldom see me choosing to clean or dust or vacuum! Just too many fun projects to distract me! Haha! Enjoy!

Next Phase of Growing Microgreens

The whole point of learning how to grow microgreens from a workshop with an expert was to be able to do it myself at home. I learned about starting tiny seeds, like broccoli and radishes and larger seeds, like peas and sunflowers. You can read about my successes with those seeds here:

https://marykisner.com/growing-microgreens-part-1/ and

https://marykisner.com/growing-microgreens-part-2/

I’ve shared the greens with friends and added them to my salads and sandwiches. Now that I’ve composted the leftover roots and cleaned out the trays, I’m ready to try something else.

I ordered some potting soil from the Vermont Compost Company, that was recommended by the High Mowing Seed Company (recommended at my workshop). This mix was pretty smooth and loose.

Given the description online of that grow mix, Bert went to Lowes and tried to find a similar product. He ended up with this one:

They looked different from each other…the one from the Vermont Compost Co. was pretty consistent with no big chunks. The one from “Back to the Roots” (above) had chunks of bark and twigs along with the compost mixture.

Next, I needed to decide what to plant. I had some broccoli seeds, some sunflower seeds and a mixed bag of peas, lentils and red beans. I’ll save them for later, because for my second try, I wanted to try something new.

Cat Grass and Catnip

First, after the success of the wheat grass with a friend’s cats, I thought I’d try real cat grass (oats and barley) for another friend with a cat. Because the pot needed to be sturdier, I chose a hefty clay pot that would help the grass last longer and be easier to water.

The cat grass seeds were pretty big, so after I filled the pot with potting mix and soaked the soil, I sprinkled the seeds on the top and covered them with a tiny bit more of the potting mix. I’m sure they won’t be as quick to sprout as the smaller seeds but I’m in no hurry.

The catnip seeds were VERY tiny so you can’t even see them on the dirt. We’ll see what happens!

Watercress and Baby Spinach

I had a friend interested in whether watercress would work as a microgreen. I ordered a bag of seed. If it works, I’ll give her the whole flat! We could probably use the extra seed to make a lot of watercress for a long time. Look out Becky!

Since the watercress seeds are tiny like the broccoli and radish I did first, I soaked the soil, spread the seed around the tray and sprayed the seeds with water. Finally, I covered the tray with an extra tray to keep it dark for a few days.

The final seeds I wanted to try were these Baby Spinach greens. Not sure if they’ll work, but we’ll see! I started with the seeds you can see below…not very dense. I ended up adding more so it looked like the seeds were better distributed. This flat I also soaked the soil, spread the seeds and sprayed the top. Then I covered it with an extra tray for a few days of darkness.

So, in this next phase, I’ll see if I can get the cat grass and catnip started in regular pots (and under grow lights if they sprout!). I’ll handle the watercress and baby spinach like my first trays of tiny seeds.

Stay tuned. We’ll see what works! Enjoy!

Growing Microgreens Part 2

Growing microgreens for the past 10 days has been a rewarding learning experience. The best part is watching how quickly a handful of seeds can grow into a delicious addition to salads and sandwiches! You can read about how I got started a week ago at https://marykisner.com/growing-microgreens-part-1/

I’d like to share the progress from seed to greens to sandwich (or to bunny snacks) with this post. I came home from the workshop on November 15 with four planted trays of broccoli, radish, sunflower, and peas along with a smaller container with wheat grass seeds.

I quickly had to spray the seeds and keep them in the dark for several days. I didn’t need the grow lights at all during this time.

The seeds sprouted well in the dark.

About Day 2-4

Wheat Grass

Broccoli and Radish

Sunflowers and Peas

I showed this picture to Dan (my microgreen expert!) at the next Farmer’s Market and he suggested putting an empty tray with a weight on top of the sunflower seeds to encourage them to get stronger and break out of their seed pods. I added an empty tray with a heavy weight in it. After several days, the sunflowers were cracking the seeds and emerging.

I removed the tray and weight off the sunflowers to take this picture. They were emerging fine. I left the weight on just the sunflowers another day. I had to fight my natural inclination to not squish the plants, but they did fine!

In just a few days I had them under grow lights and had to add water to the bottom tray instead of spraying on the top. Each tray was a double layer and had one with holes in it on top with a second tray underneath where I could add water.

Days 5-8

Wheat grass

Broccoli and Radish

Sunflowers and Peas

By Day 9, the wheat grass was getting top heavy! Time to donate to a neighbor’s bunnies.

We wondered what the cats and bunnies would do with the grass. They were indoor pets and were used to greens being offered in a cut pile, not a vertical plant! Bert was able to get pictures of a cat rubbing its nose in the grass and the bunnies were munching away. I think it will be a hit!

I think I see potential for regular cat grass(usually oats and barley) and maybe catnip plants (seeds have been ordered!).

Day 10

The broccoli and radish look ready to cut. The sunflowers and peas could wait another day or so…I think.

Broccoli

Radish

Sunflowers

Peas

You can see a little missing piece from the broccoli and peas (in the right corners)…they went into my chicken salad sandwich today!

This is how my growing area looked yesterday…before I gave away the wheat grass:

Tomorrow I will cut off all the greens and share some with a neighbor. What we can’t use I will leave in the growing trays and take them to the bunnies!

What’s next? I have ordered cat grass and catnip seeds. I hope to start a tray of watercress for a friend. I have broccoli seeds and sunflower seeds that I’ll start in a few days. Oh my goodness, so many choices!! Enjoy!

Growing Microgreens Part 1

Two weeks ago, at the Boalsburg Farmer’s Market, I found a vendor selling microgreens. He took the time to explain a little about how he grew them and then cut three 1-ounce portions from three different trays…including sunflowers, radish and broccoli. I felt like I had three little bags of nutritional gold!

Then he shared information about a workshop he and his wife were offering to learn to grow them myself!

I came home with my loot and signed up! I’ve tried doing this in the past and I could never seem to get it right. I was looking forward to learning the process.

Hands-on Workshop

I arrived at the workshop and was greeted with multiple trays of beautiful microgreens and supplies to grow my own. Very inspiring!

I had enough trays to plant four different seeds, along with a smaller tray to plant wheat grass. An adorable little scale was at my station. It was perfect for weighing out tiny amounts of seeds. (Of course, as soon as I got home I had to order one from Amazon!)

The workbook had tons of information about starting with the right organic soil and seeds.

I can’t possibly share the whole step-by-step process for each kind of seed (not my workshop…not my expertise) but the most informative part of the presentation were the detailed slides of what the seeds/sprouts would look like on Day 1, Day 2 up to Day 10+ which was harvest day. The workbook had pictures to show the progression of each individual seed, but the slides were much more detailed. Of course, being able to actually see the ready-to-harvest plants was helpful.

I’m grateful for the workbook to take home, because once we started on the hands-on portion of the workshop, I just couldn’t take pictures…of course, I’ll remember the details of planting because I did it myself!

At the end of each section of planting, Dan harvested a try of greens to show me how it was done…where to cut, how to store, etc. Little did I know the cut greens were being arranged into a salad by his wife that I got to take home! No picture, because by the time I thought of it I had already eaten it! Delicious!

I am certainly not an expert at taking selfies, but Dan and his wife graciously let me take our pictures:

My Set-up at Home

I came home with a stack of 5 trays of planted seeds. Each kind had a day-by-day set of instructions in the workbook of when to water them, when to expose them to light and when to turn on the grow lights. Of course, I couldn’t help myself…I had to make a chart so I knew what to do each day for each kind of seed!

I put the trays on the shelves by our patio door.

They will need to be in the dark for several days, so I used some larger trays to cover them. I can easily take them off to spray the seeds each day. I’ll take them off when I turn on the grow lights and start watering them from a bottom tray.

So, at the moment, my dining room is a miniature greenhouse!

This concludes Part 1 of Growing Microgreens. I’ll start taking pictures each day to show how they’re doing and will share those in Part 2…in about 10 days! Enjoy!